Jump into Doom Eternal multiplayer with these Battlemode tips
Take your ripping and tearing online.
Keep up to date with the most important stories and the best deals, as picked by the PC Gamer team.
You are now subscribed
Your newsletter sign-up was successful
Want to add more newsletters?
The wait is over and it's finally time to test your skills in Doom Eternal's Battlemode. Let's take a quick look at a handful of tips to give you a competitive edge before you jump in. The new 2v1 multiplayer mode puts Slayers to the test solo against two demons in a best-of-five frenzy. Both sides have a substantial toolset at their disposal, but using them with good timing will win you rounds.
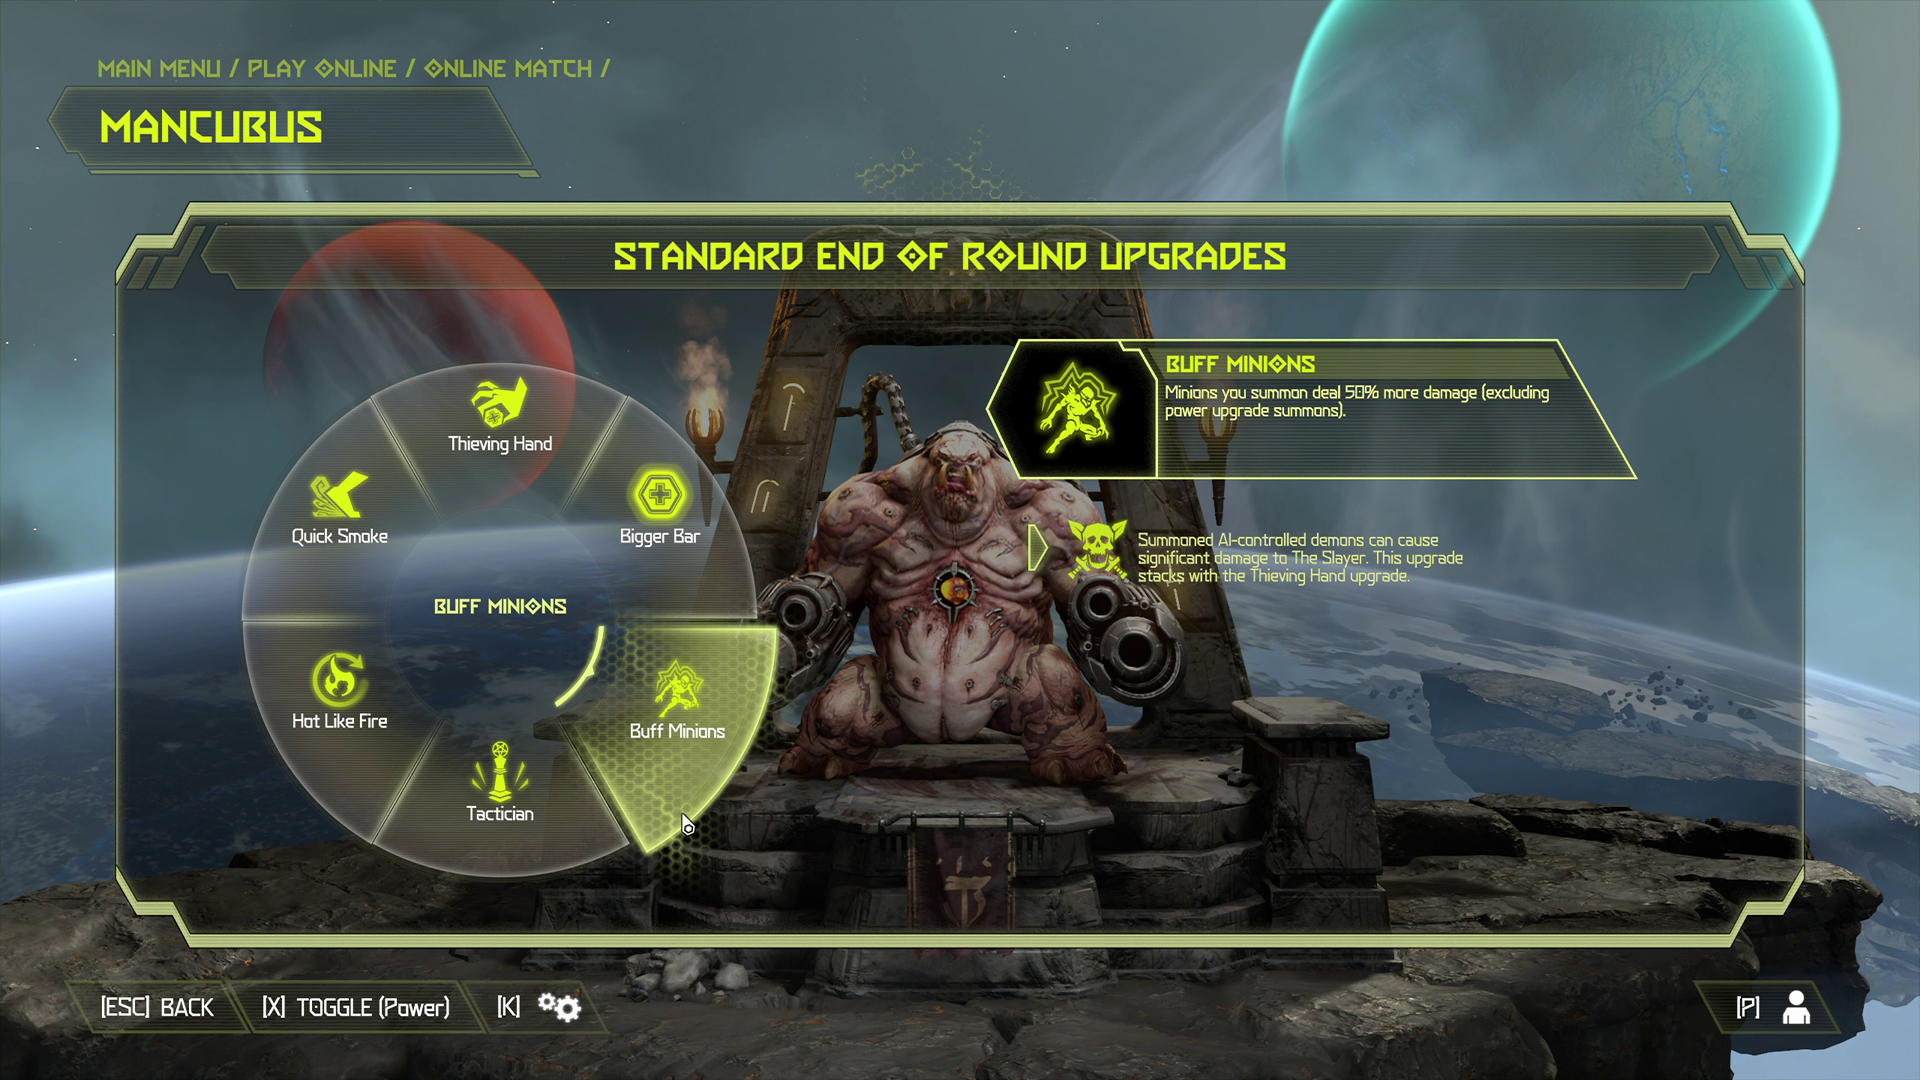
Battlemode features five demons at launch, including the Archvile, Pain Elemental, Marauder, Mancubus, and Revenant. The Mancubus is the tanky choice, the Archvile is more agile, and the Pain Elemental can keep the pressure on. Before storming into Battlemode to show off your quick reactions and impeccable resource management, peruse our top tips to help you run the show in the arena.
Doom Eternal Battlemode tips for the Slayer
Play the campaign
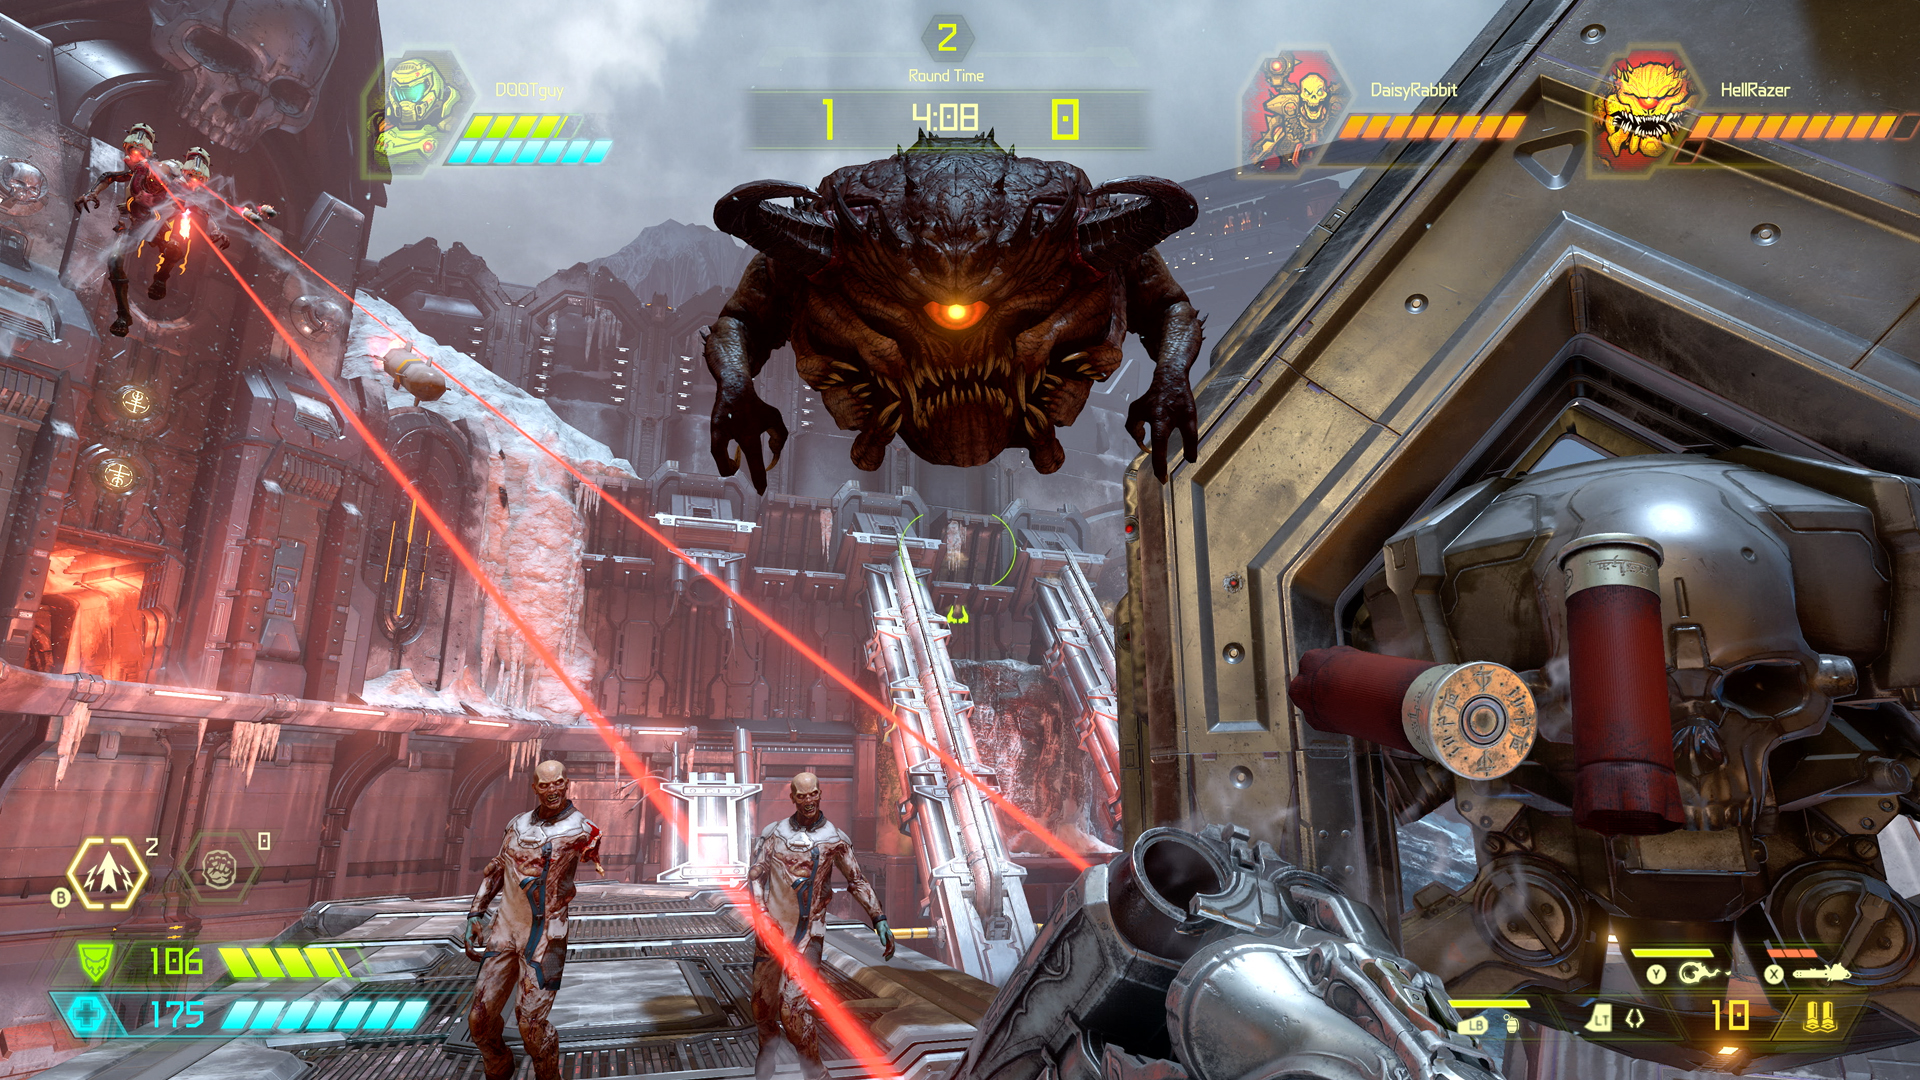
Article continues belowEach demon has a handy Battlemode tutorial to help you familiarise yourself with their unique abilities and playstyle, but it's up to you to master what the Slayer is capable of. Remember, Battlemode's Doom Slayer has every weapon and mod unlocked, giving you access to his full arsenal. Not only does this make the Slayer incredibly powerful in the arena, it means weapon-switching is essential between targets.
Muscle memory plays a huge part in Battlemode and the best way to train yourself is by playing through Doom Eternal's campaign. The single player introduces each weapon at a steady pace to avoid overwhelming you as you progress through the missions. Getting into the habit of combining the Ice Bomb with a Flame Belch follow-up in the campaign translates to devastating combos in the multiplayer mode.
Don't stop moving
Utilising the Slayer's insane mobility is key to clocking up rounds in Battlemode. Take advantage of your double jump and dash abilities to hunt down AI demons for resources.
Keep up to date with the most important stories and the best deals, as picked by the PC Gamer team.
The arenas are kitted out with jump pads, monkey bars, and portals that will transport you to the other side of the level. Again, if you've played through even half of the campaign, you'll be a pro at using these to stay on the move and out of trouble. Spending a good portion of your time airborne gives you a better view of the arena so that you can plan your next move.
Choose upgrades wisely
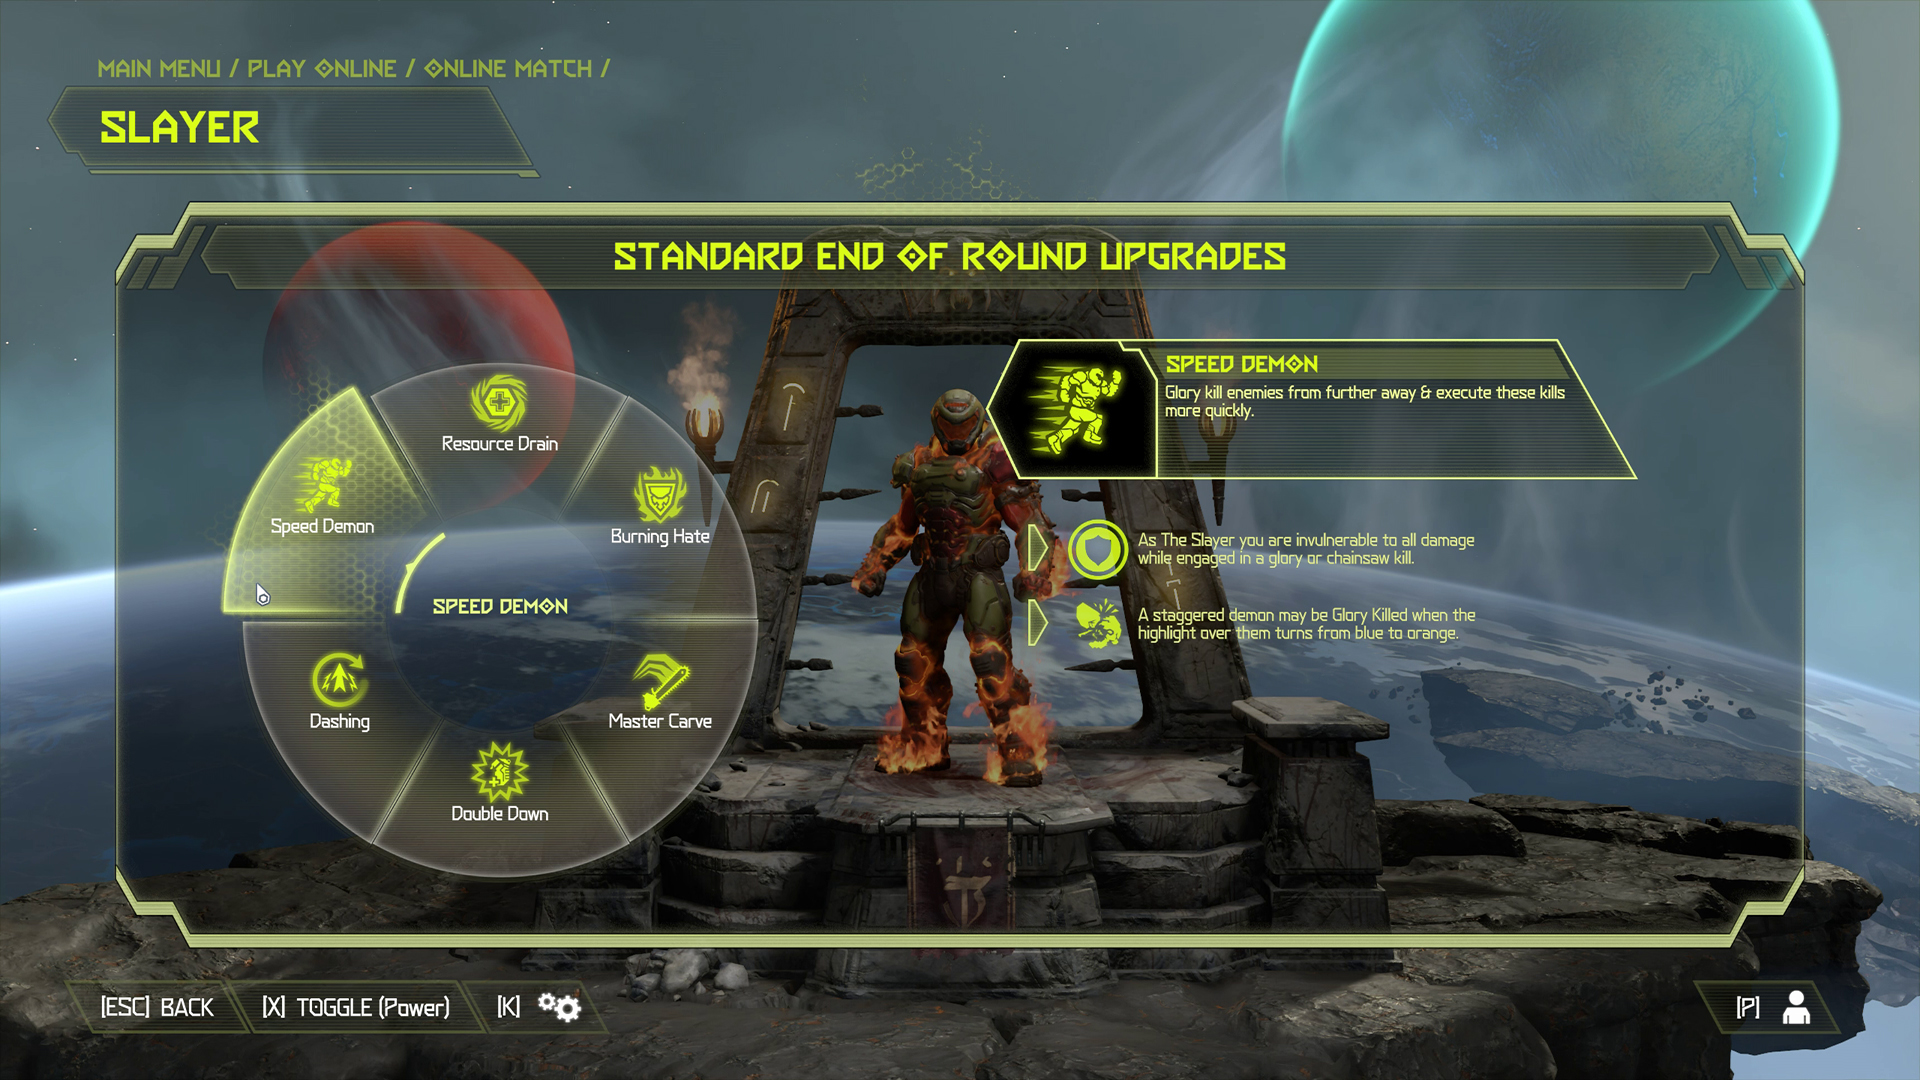
At the end of each round, you select an upgrade to give you a boost going into the next fight. These are similar to the Runes you acquire in the campaign and while all of them feel helpful, I already have a few favourites. My go-to first upgrade is Dashing as it regenerates your dash faster than usual and ensures that Glory kills and chainsaw kills instantly refresh it. Speed Demon lets you execute Glory Kills faster, and from further away, whereas Resource Drain drops more health from eliminated foes.
Keep your eyes on the prize
It's easy to get distracted by the hoards of AI demons chasing after you in the arena, but try to think of these as walking loot caches, rather than serious threats. Truth is, you've got hefty player-controlled demons to fry. If their strategy is to stick together, hit them with the Flame Belch and dash away, then try to focus on one while the other catches up. Keep an eye on the health bars of each as you only have a limited time to eliminate the second demon before the first resurrects. The demons are weak on their own, forcing them to distance themselves from you to hide and wait for their partner to return.
Doom Eternal Battlemode tips for demons
Doom Eternal review: Our definitive verdict
Doom Eternal tips: Weather the steep difficulty curve
Doom Eternal Slayer Keys: Unlock the optional encounters
Doom Eternal Runes: Give Doomguy the edge
Doom Eternal settings: Kill in high-res glory
Doom Eternal computer code: Uncover a special treat
Doom Eternal cheat codes: Escalate the action
Doom Eternal Marauder: Beat the fallen Night Sentinel
Doom Eternal Fortress of Doom: Every secret in your base
Doom Eternal Super Gore Nest: Find every collectible
Get to know your demon
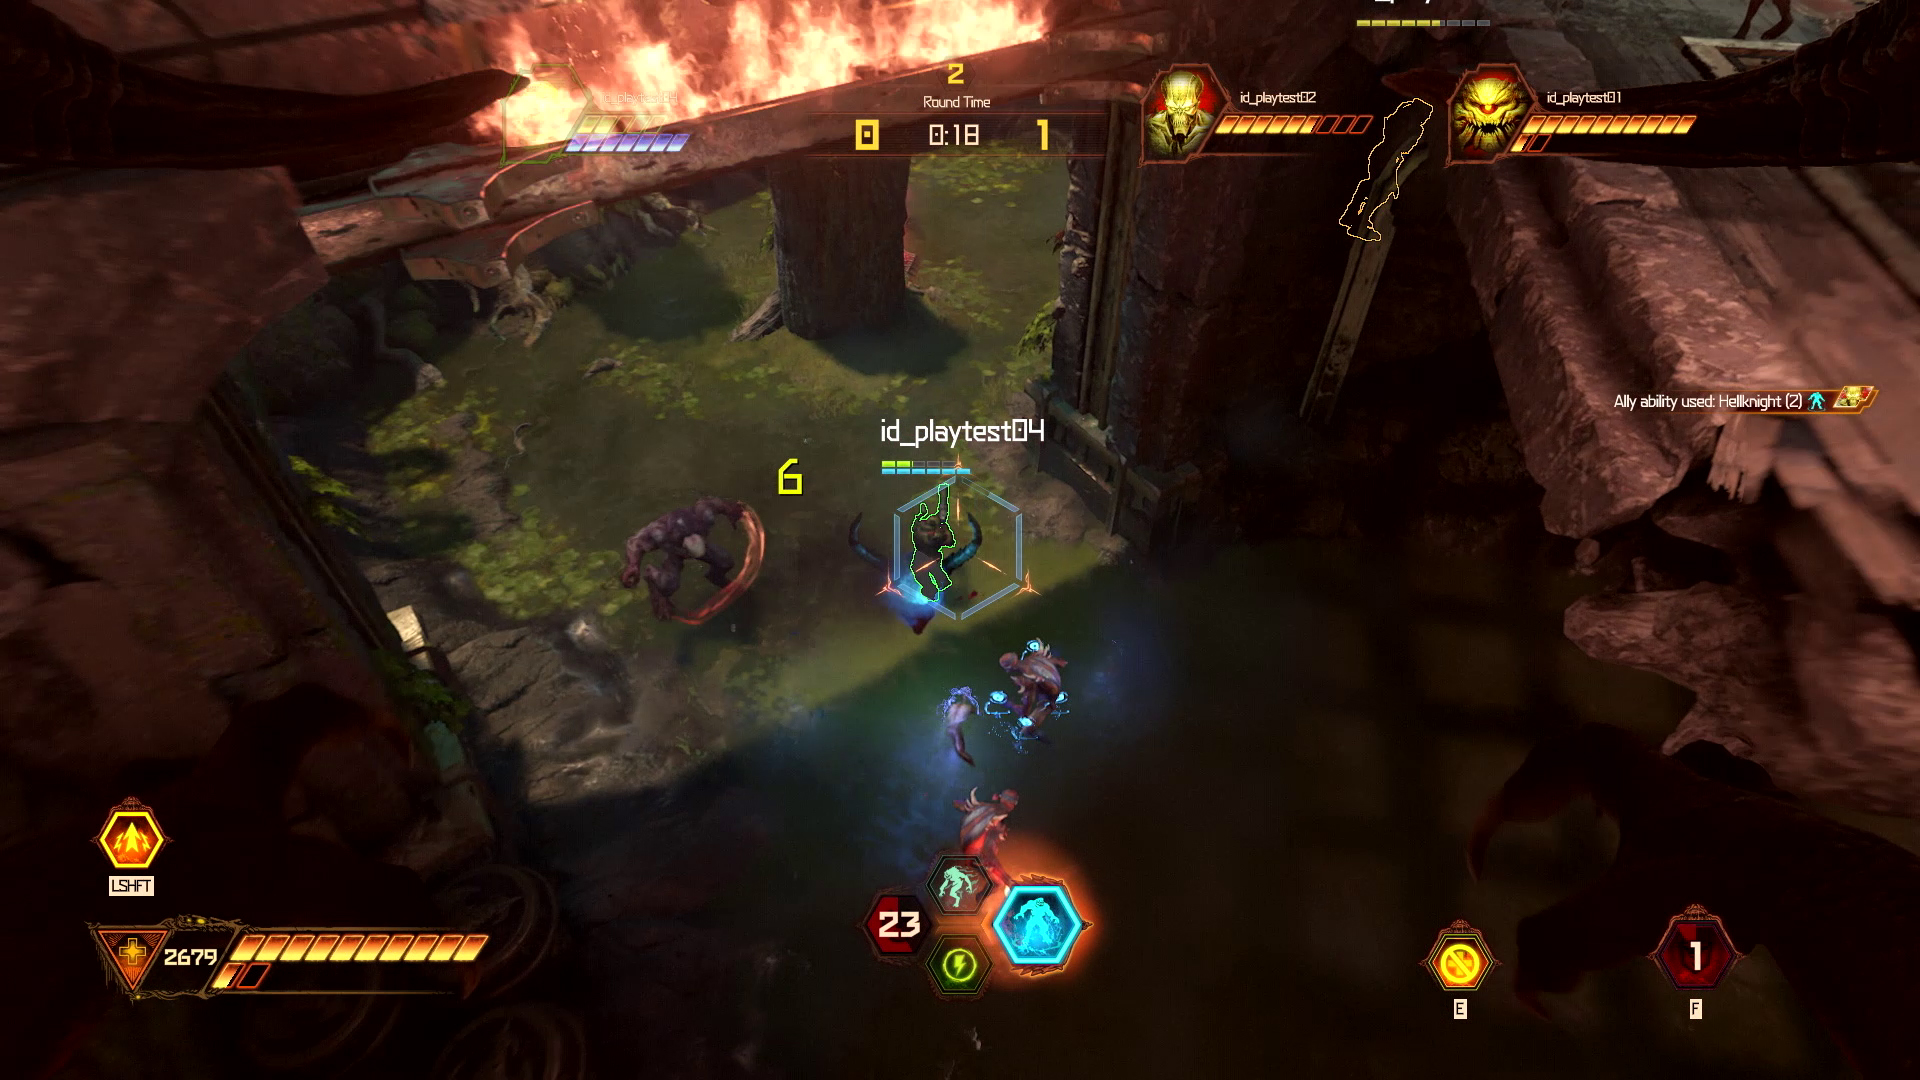
Check out the tutorials for each of the five demons by launching Doom Eternal, selecting Battlemode, followed by Tutorials and then choose the demon you'd like to play. Hell's Demons each have their own set of abilities, as well as an offensive and defensive loadout. In addition, you can spawn two different types of AI demons which vary across the roster. As you'd expect, there's a cooldown, and summoning a fresh demon before your previous one has died runs the risk of dropping the Slayer some health.
The offensive loadout for all demons includes Haste, which increases your movement speed by 50 percent for five seconds and Noxious Hazard, which creates a hazardous area that damages the Slayer for four seconds. Similarly, the defensive loadout has Armored—a four second action that ensures you take 50 percent less damage, and Healing Zone which enables all player demons to heal 100 health per second for up to eight seconds (while standing in the zone).
Maximise damage
It's too early to know which demonic duos are especially powerful pairings but there's no excuse not to work together to stack damage. Take the Archvile/Marauder team as an example. The Archvile can set up their Flame Wall to push back the Slayer, placing their Noxious Hazard on the floor behind the wall to deal damage. Meanwhile, the Marauder can also place their Noxious Hazard close by and summon their wolf to chase down the Slayer. Expect more dream team synergies to surface in the next few weeks.
Nice loot. It would be a shame if something happened to it
Regardless of the loadout you opt for, every demon has access to the Block Loot action. It does pretty much what it says, destroying and blocking loot drops from AI demons for three seconds. Coordinating with your teammate to time loot blocks at critical moments starves the Slayer of the resources they so desperately need, and accomplishing a couple of these in a row is detrimental for the Slayer.
Staying Alive
The guilt of knowing that you could have won that last match and just threw it away is enough to keep anyone up at night, so here's how to avoid those woes. Attack the Slayer together. While this sounds obvious, it can be difficult to remember in the heat of a fight where you're focusing on your own abilities and cooldowns. Pressure the Slayer by cornering them and in the event that one of the player-controlled demons dies, stall for as long as possible while awaiting their return. Odd occasions arise when you can end a round on your own, but the Slayer has to be incredibly low on health and resources for this to pay off.
As PC Gamer's guides writer, Emma is usually juggling several games at once. She loves competitive first-person shooters like CS:GO and Call of Duty, but she always has time for a few rounds of Hearthstone. She's happiest when she's rescuing pugs in Spelunky 2.
