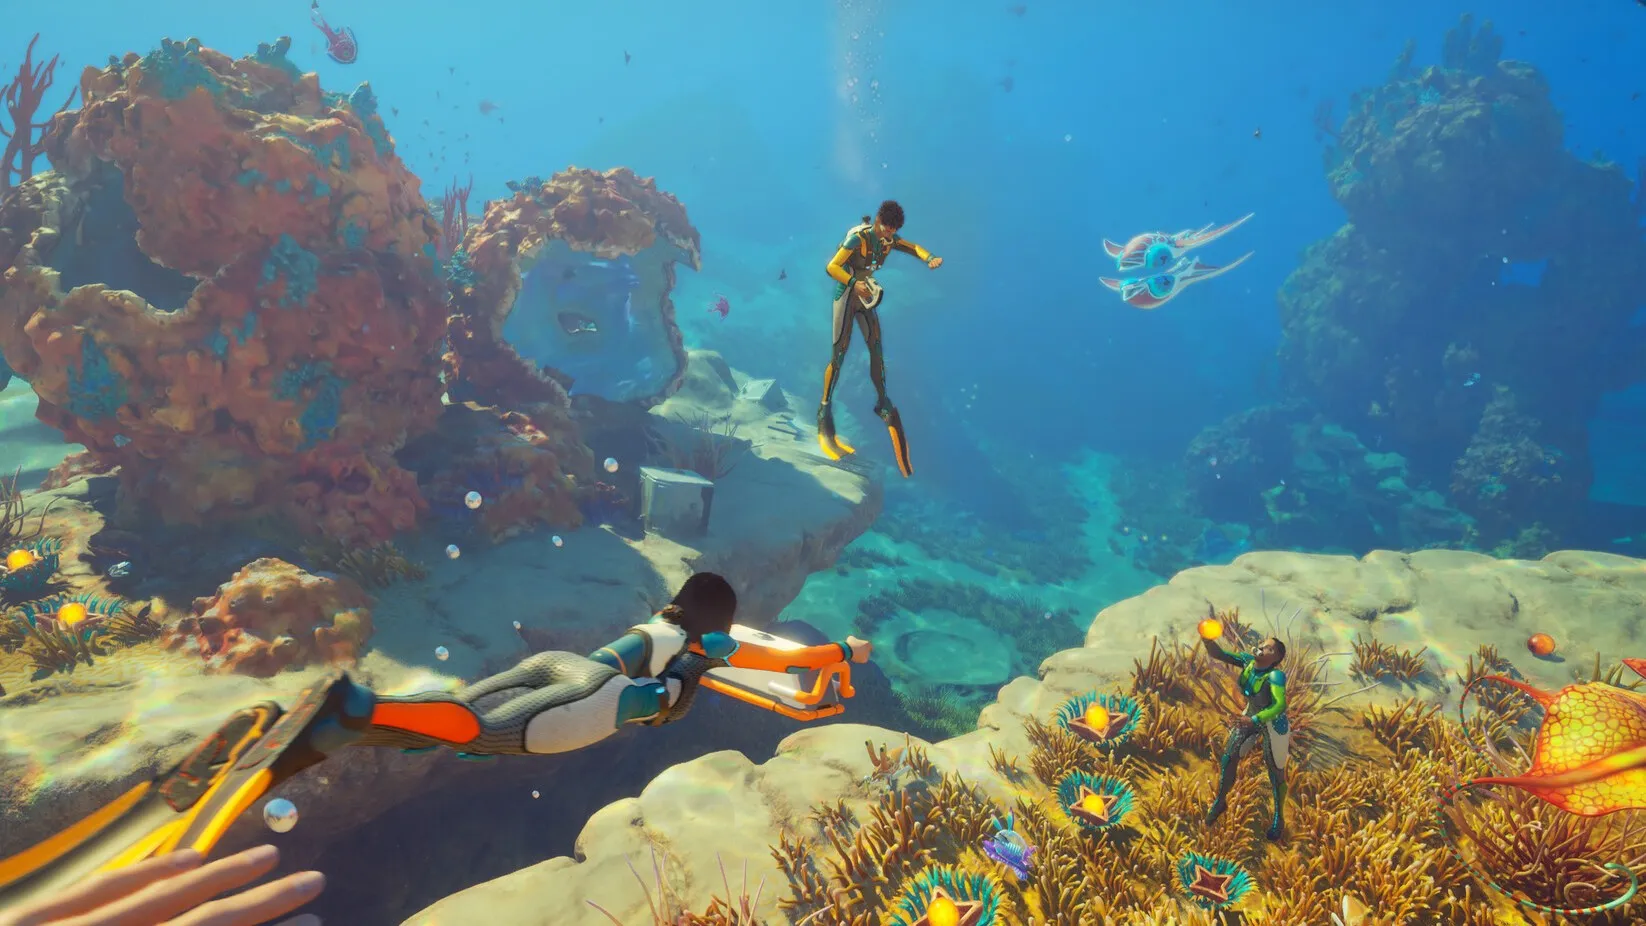
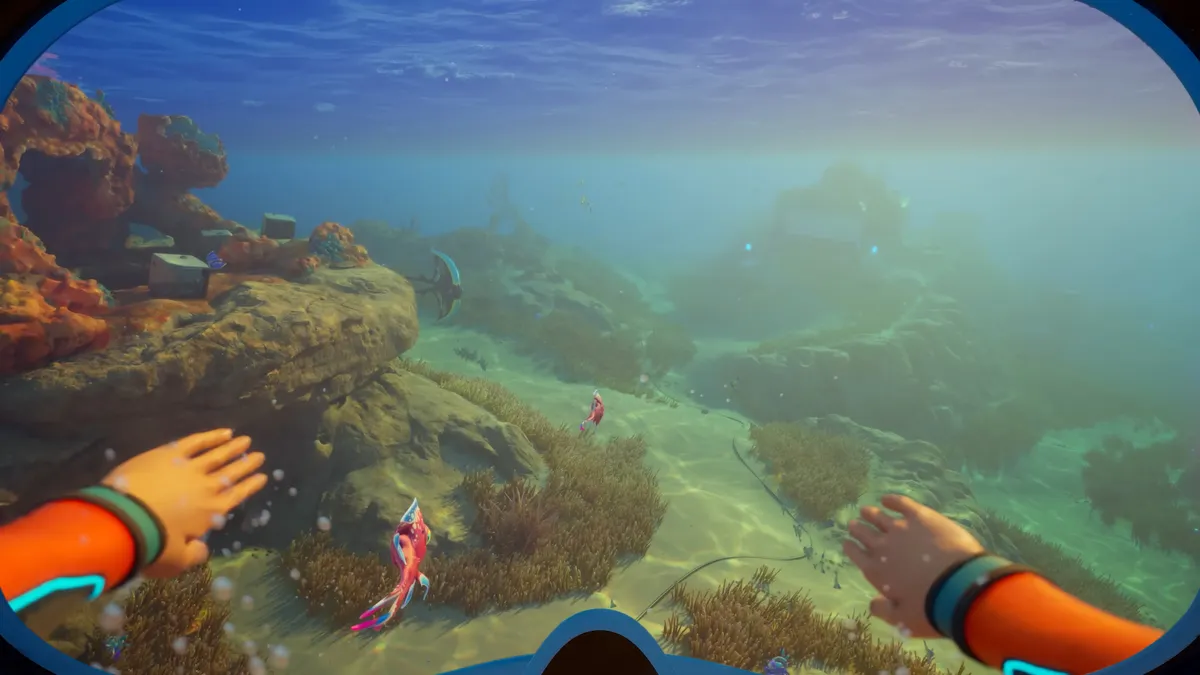
Getting started in Subnautica 2 can be a little overwhelming at first. Whether it's your lackluster lung capacity meaning you have to surface often, or your inability to digest all these colourful alien fish, there's a lot to do, and it's not clear what's worth prioritising first. That was my experience with the game anyway, back when I started 30ish hours ago.
Below, I've laid out my top tips in terms of what I recommend prioritising first to get yourself established. Where possible I've also linked our associated guides to walk you through resources and scan location, plus how to craft vital tools, so you can flourish in this water world.
Subnautica 2 tips
1. Secure a source of food and drink
Check Lifepod storage for some starter supplies. Water is fabricated with Water Slugs, while you can get the Adaptation to digest fish at the underwater tree north-north-west of the Lifepod.
2. Scan everything you see
Your trusty scanner is how you unlock fancy new tools, but also facilities for your base, including rooms and even posters. It'll also teach you about the creatures you find.
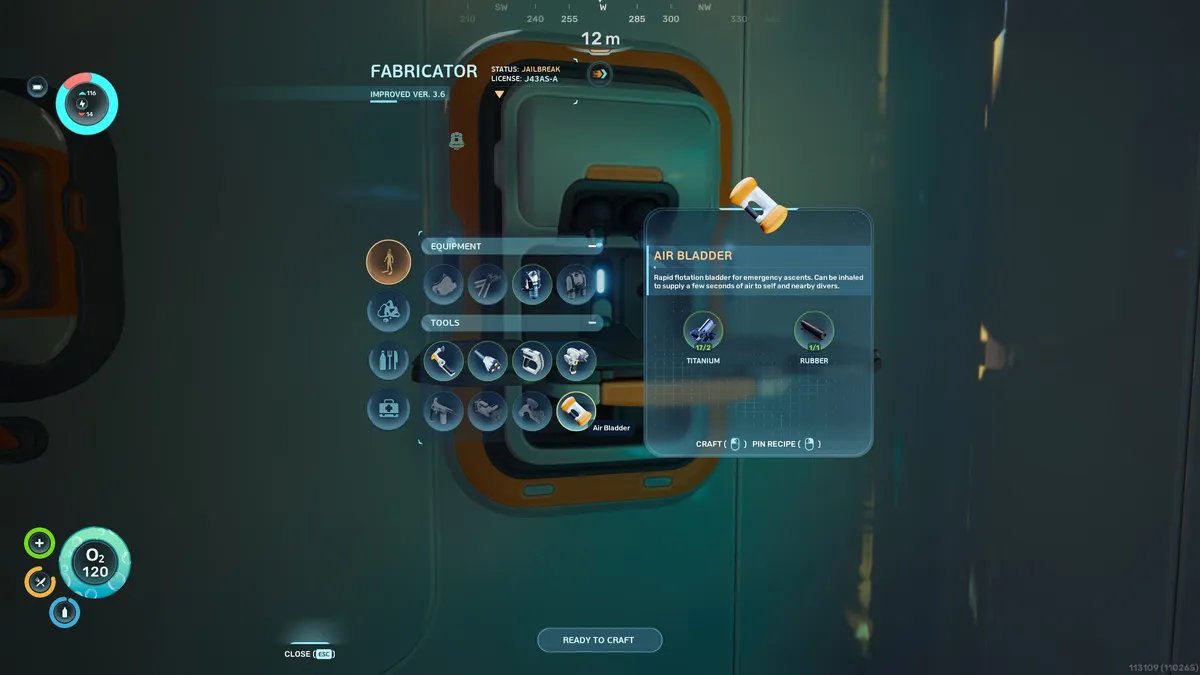
3. Carry at least two Air Bladders
Even after you start crafting O2 upgrades, Air Bladders are a fantastic tool for when you need to surface quickly, escape predators, or chug an extra breath of oxygen.
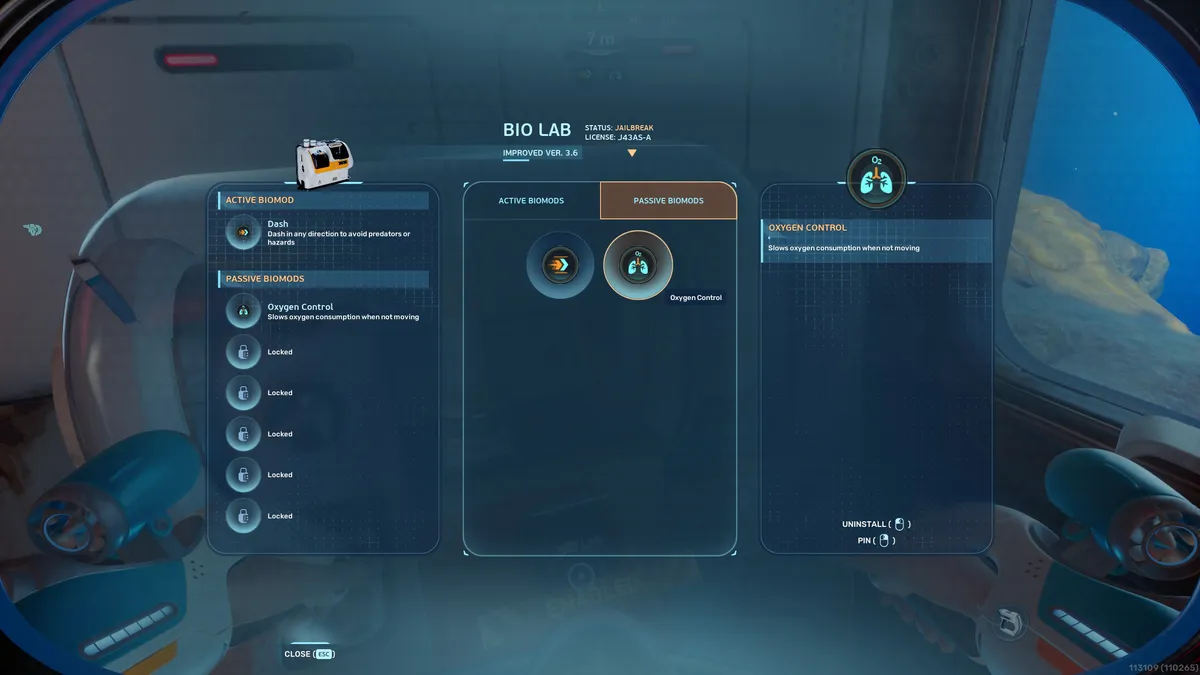
4. Unlock Biomods for handy skills
Once you can craft a basic battery with an Acidic Raion Pouch, head to the Welcome Center southeast of the Lifepod, plug it into the wall, and use the Biolab to get skills—I recommend Dash and Oxygen Control.
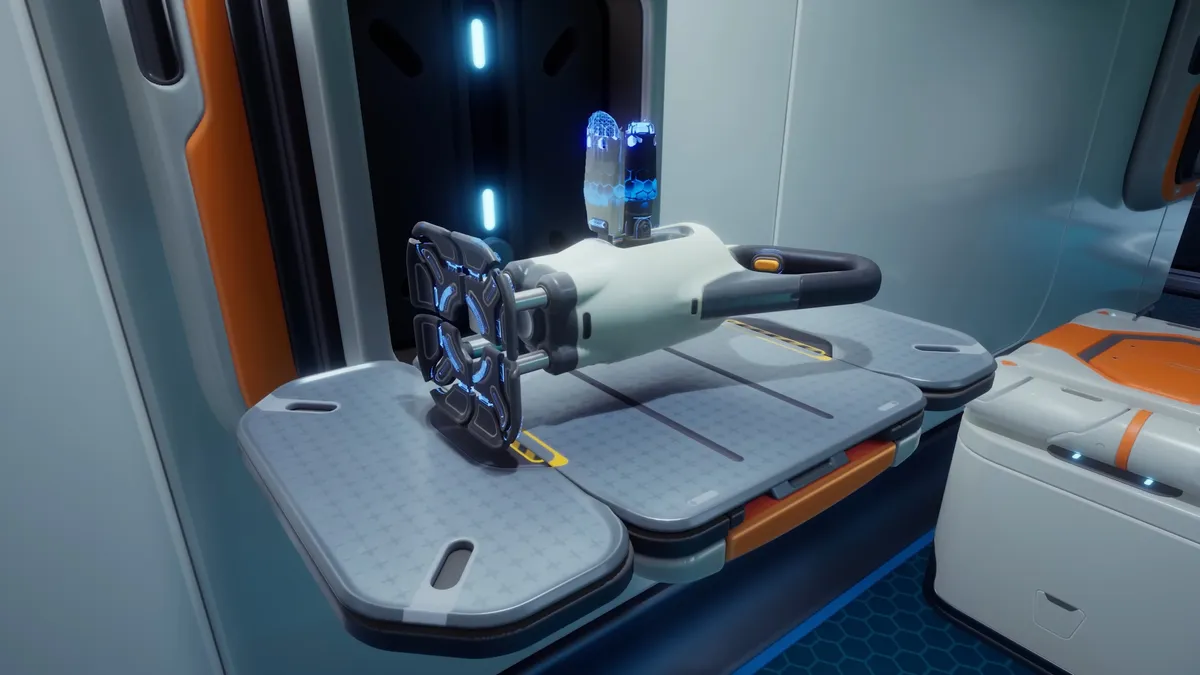
5. Unlock base building
While at the Welcome Center, make sure to scan both Habitat Builder tools. This will unlock base-building, though you'll have to look elsewhere to unlock rooms.
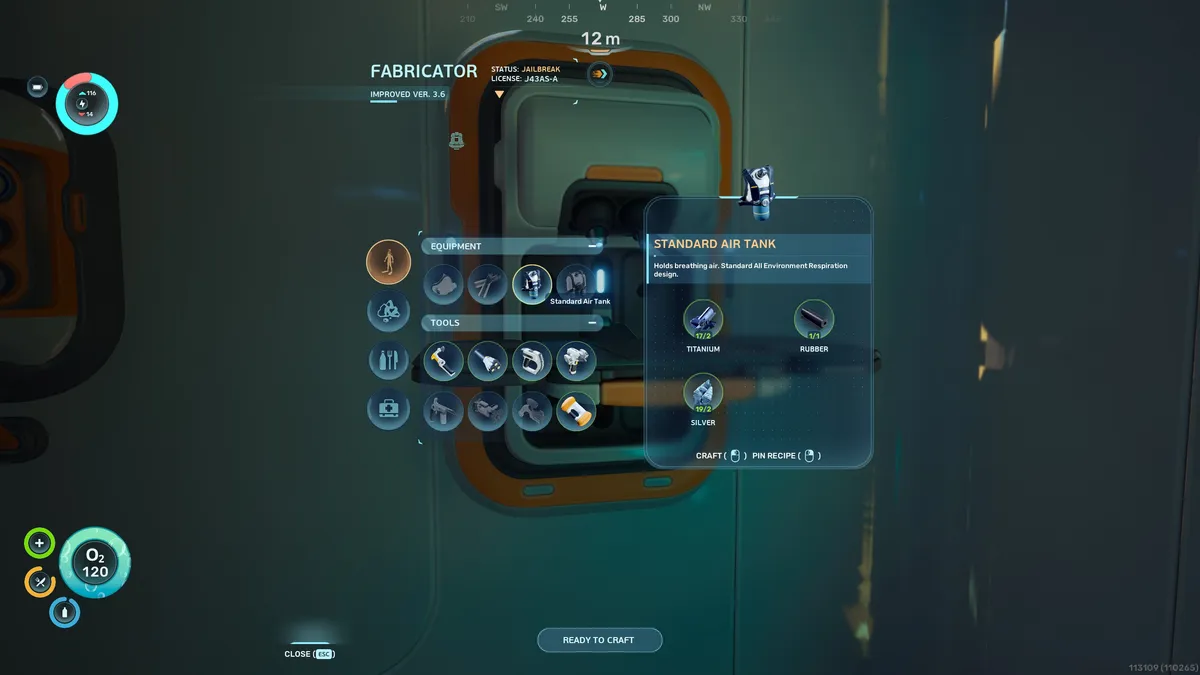
6. Get the Standard Air Tank asap
Resurfacing constantly is annoying, so fabricate this tank as soon as possible. Silver is the hard part, but there's some in a cave north of the Lifepod—see the linked guide.
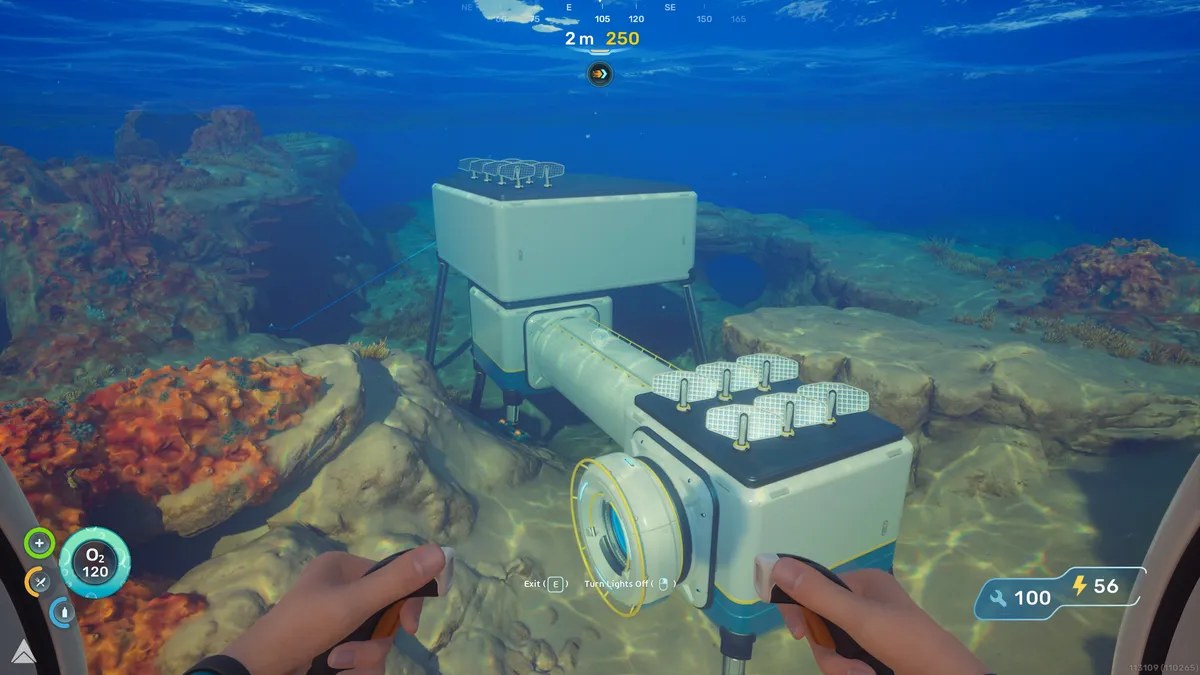
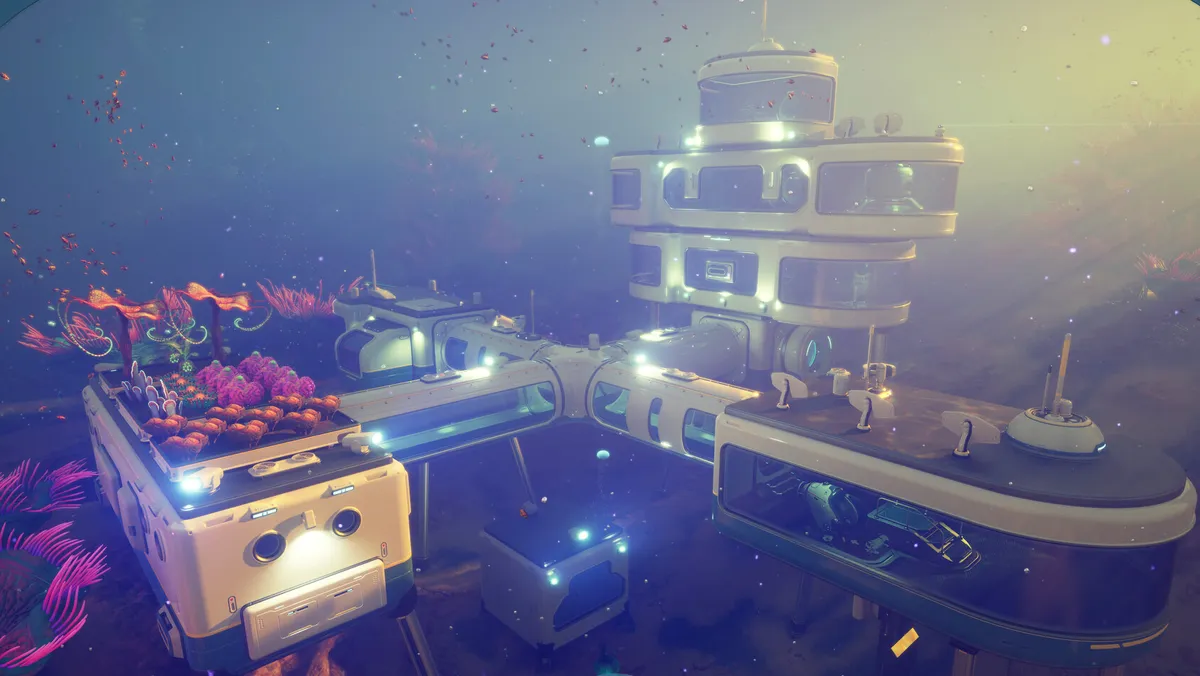
7. Place your base
For a good base location, I recommend setting up near a natural current (the blue wind tunnels) so you can place a Hydroelectric Turbine for power once unlocked. Make sure you have space to expand also.
8. Swim faster to evade predators
While the Dash Biomod will help, I recommend crafting the Basic Flippers and the Wakemaker mobility device when you get time, as these massively speed up travel.
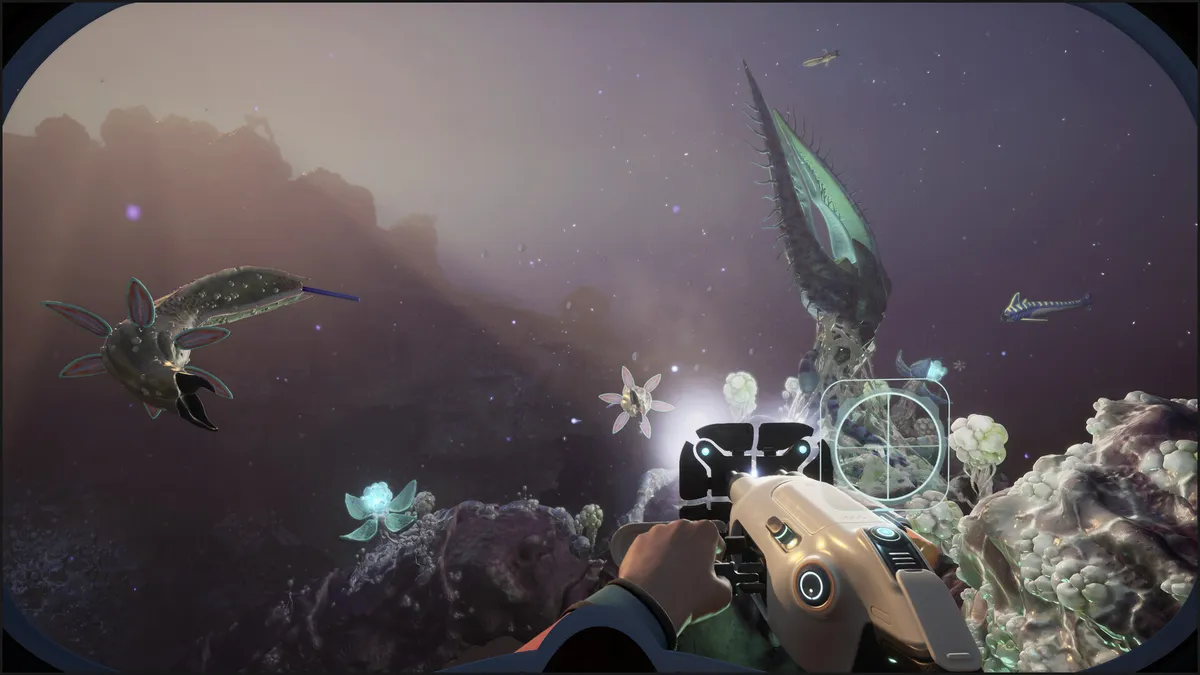
9. Or bonk 'em with your tool
You can also discourage predators by whacking them with your Survival Multitool, blasting them with the Sonic Resonator (more on that below) or tossing a Distraction Flare to…well, distract them.
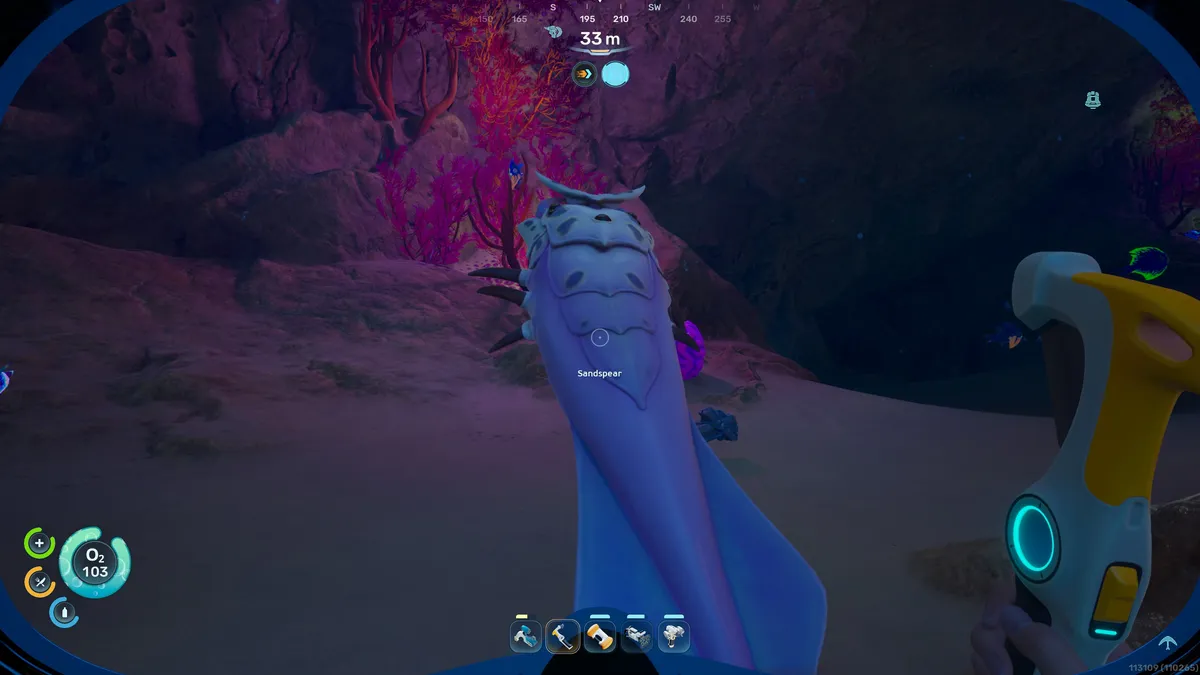
10. Craft the Sonic Resonator
Sonic Resonators let you mine, blast away Bloom Biofilm, discourage hungry predators, and destroy viral blooms to unlock Adaptations at Angel Combs. Lead is the trickiest material to find for crafting one.
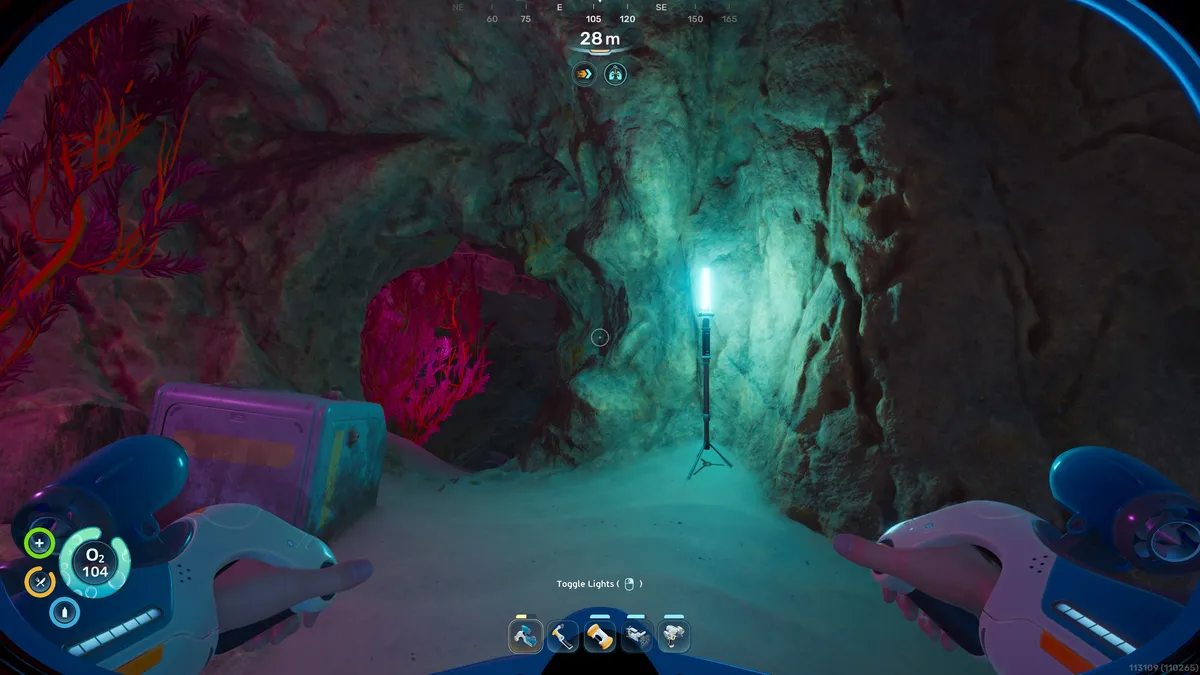
11. Follow the lights
Blue standing lights usually indicate a trail leading to a colony habitat—a small underwater home containing tools you can scan and audio logs that'll impart some lore.
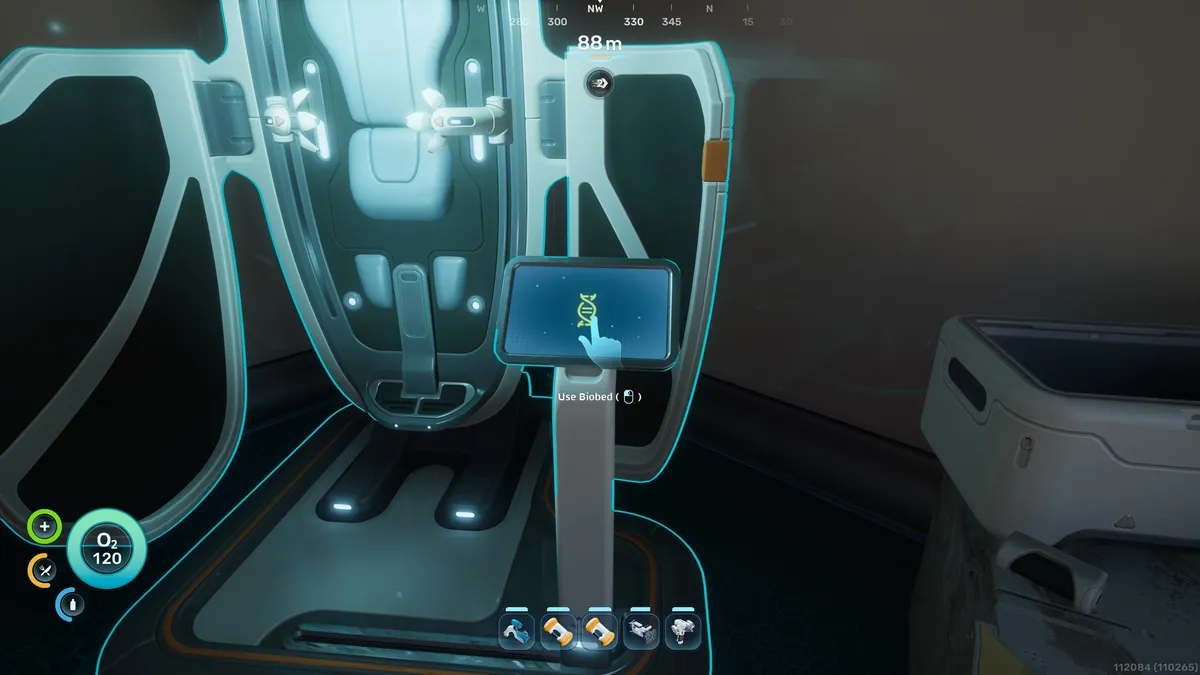
12. Expand your inventory and hotbar
More importantly, colony habitats contain Biobeds. Interact with the screen next to them to unlock endurance (inventory space) and dexterity (more hotbar space).
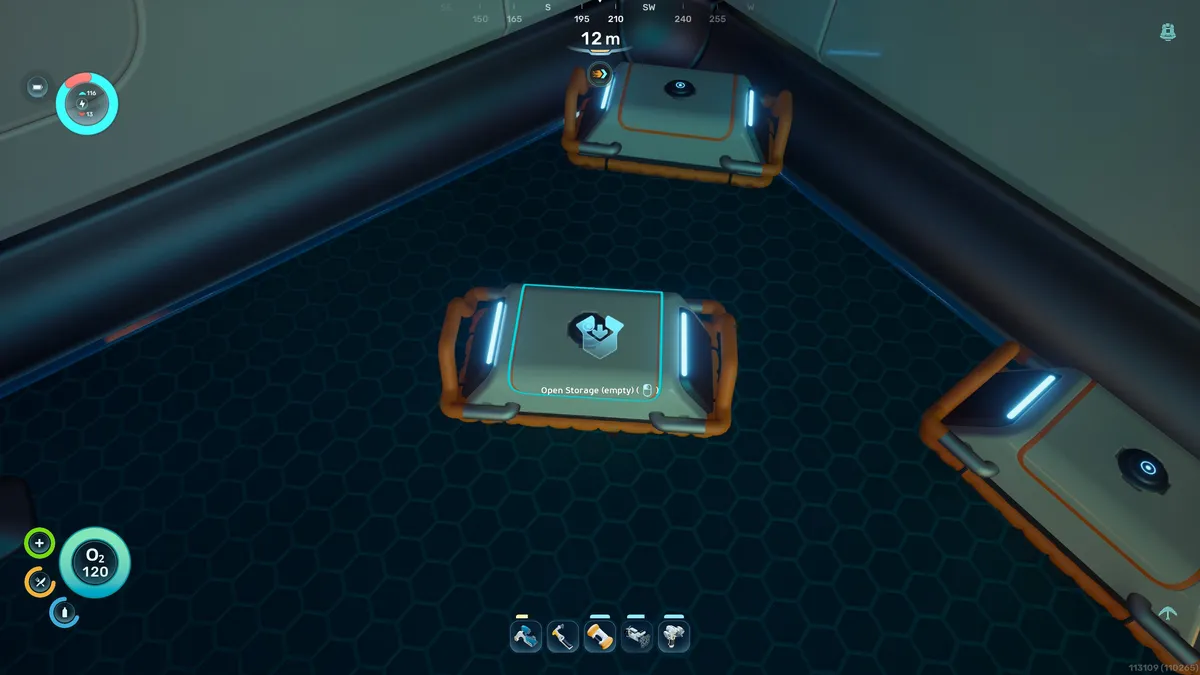
13. Carry a Portable Locker when farming materials
You can find one of these movable storage devices in the cave under the Lifepod, and they are great for stowing extra materials when out farming.

14. Carry spare batteries
A tool's remaining power is shown in the little bar above it. You can change batteries by pressing R and then left or right mouse click to reload. Also build a Battery Terminal once unlocked to recharge the spares.
15. Build a Scanner Station in your base
If you're ever in doubt as to where to find a material, the Scanner Station will point out all locations within 300 meters. You can scan one in the Old Habitat 350 meters north of the Lifepod.
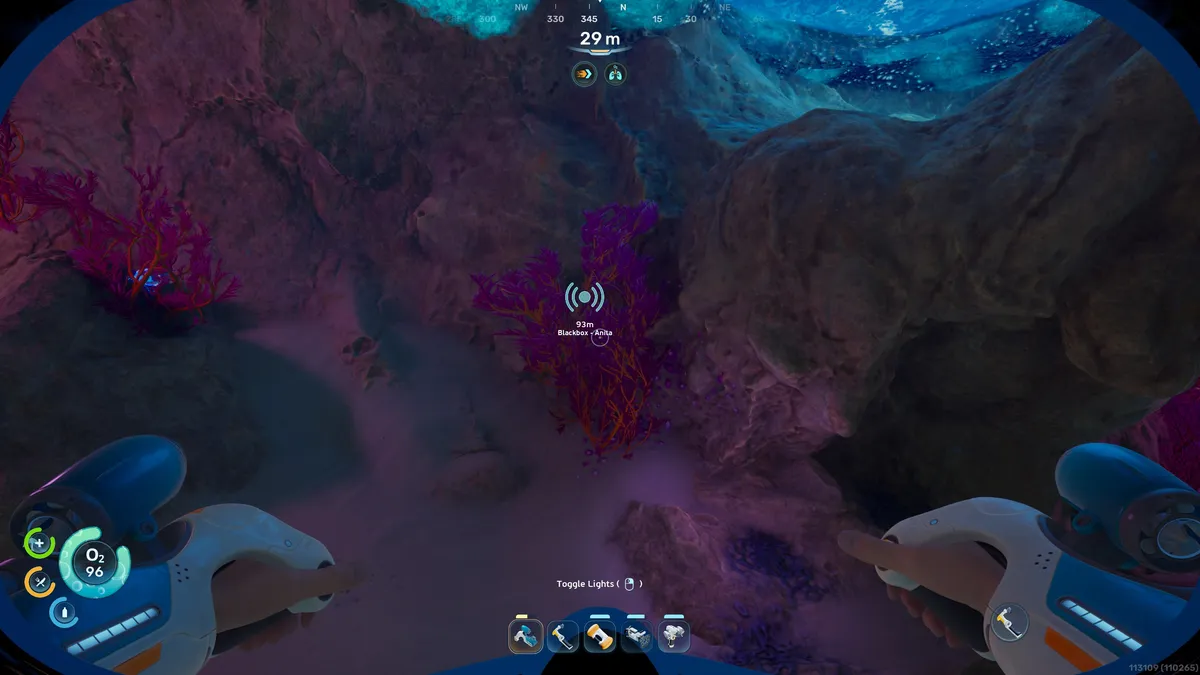
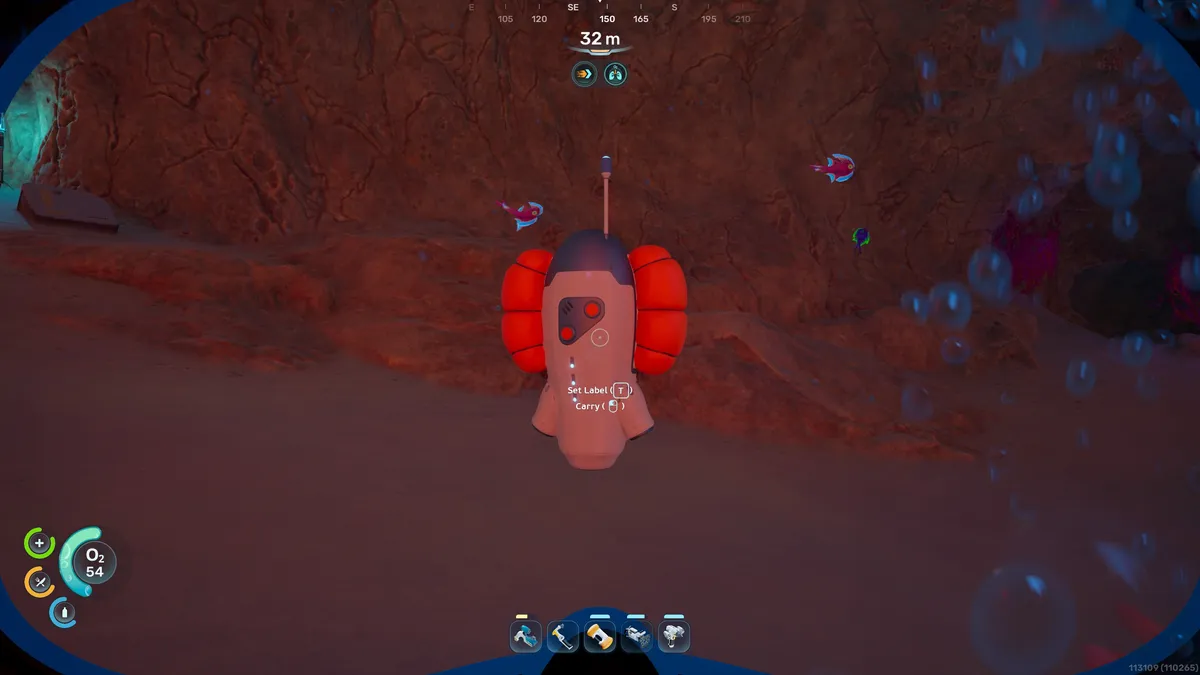
16. Follow the Black Boxes
NOA often asks you to return so it can provide the location of a Black Box. These mark the main story, but each location usually contains vital tools to scan or recipes to collect as well.
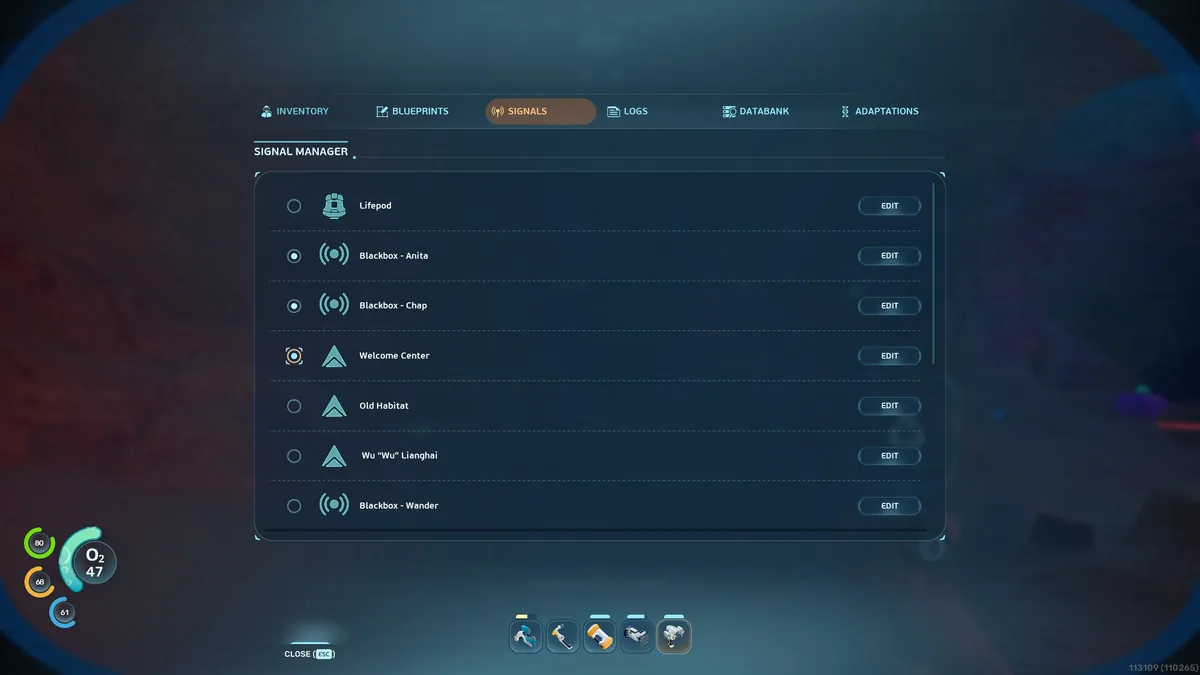
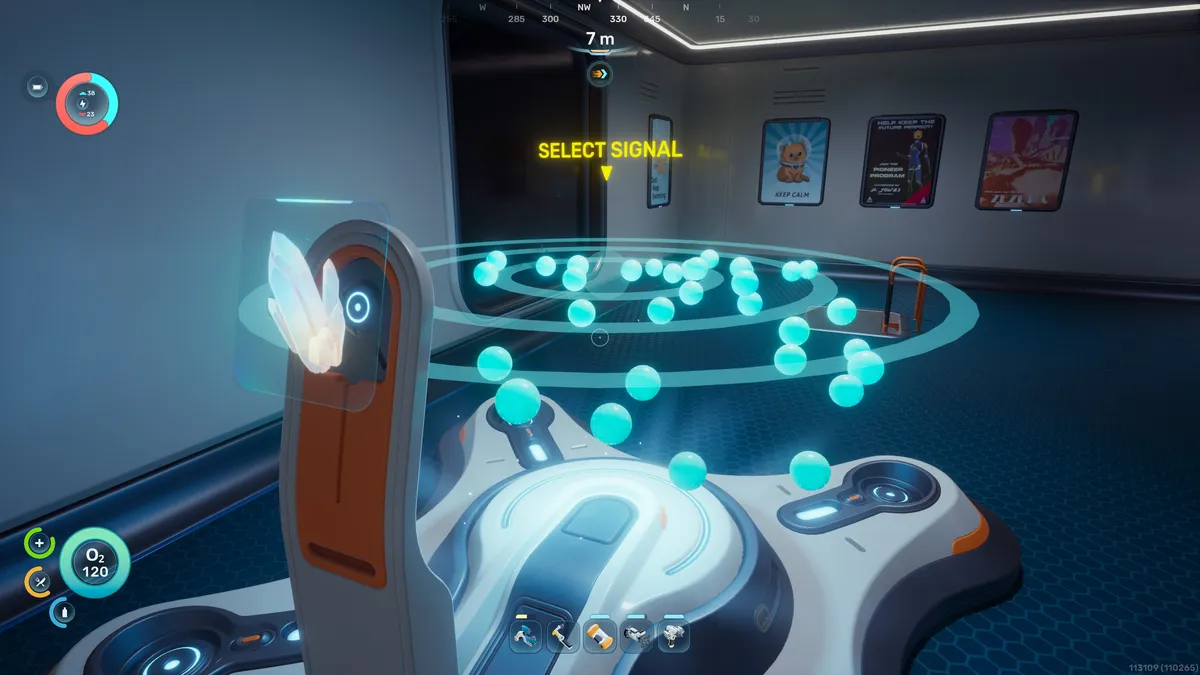
17. Customise your signals
Each Black Box will have a signal, but you can actually customise these nav markers. Press Tab to open the menu, select Signals, then toggle on and off the ones you want active.
18. Place Beacons at important locations
There's no map in this game, but once you scan and unlock the Beacon, you can craft these anywhere using the Habitat Builder, which adds them as a signal you can toggle on and off.
19. Unlock Heat Tolerance by clearing the Angel Comb
If you want to enter the lava vents area, head to the Angel Comb to the northwest of the Lifepod and destroy the viral growths with your Sonic Resonator. This will unlock the Heat Tolerance Adaptation at the Angel Comb.

20. Build your Tadpole
Your final goal before venturing into other waters will be building a Tadpole mini-sub. The linked guide has all the details, but I'd also suggest crafting a Repair Tool to keep it running when you get knocked about by big predators.