The Holy City of Aratum mission in Doom: The Dark Ages is where the secrets start to get a little more complicated, not least because you're racing around on dragon-back. If you're looking to get that prized 100% mission clear, then you'll need to find the two secret landing zones for your dragon.
Not only will this complete the Layover challenge, but you'll need to unlock these two areas to find all the secrets and collectibles anyhow. To save you from scratching your head for as long as I was trying to puzzle out the legwork, here's what you need to do.
Doom: The Dark Ages secret dragon landing zones in The Holy City of Aratum
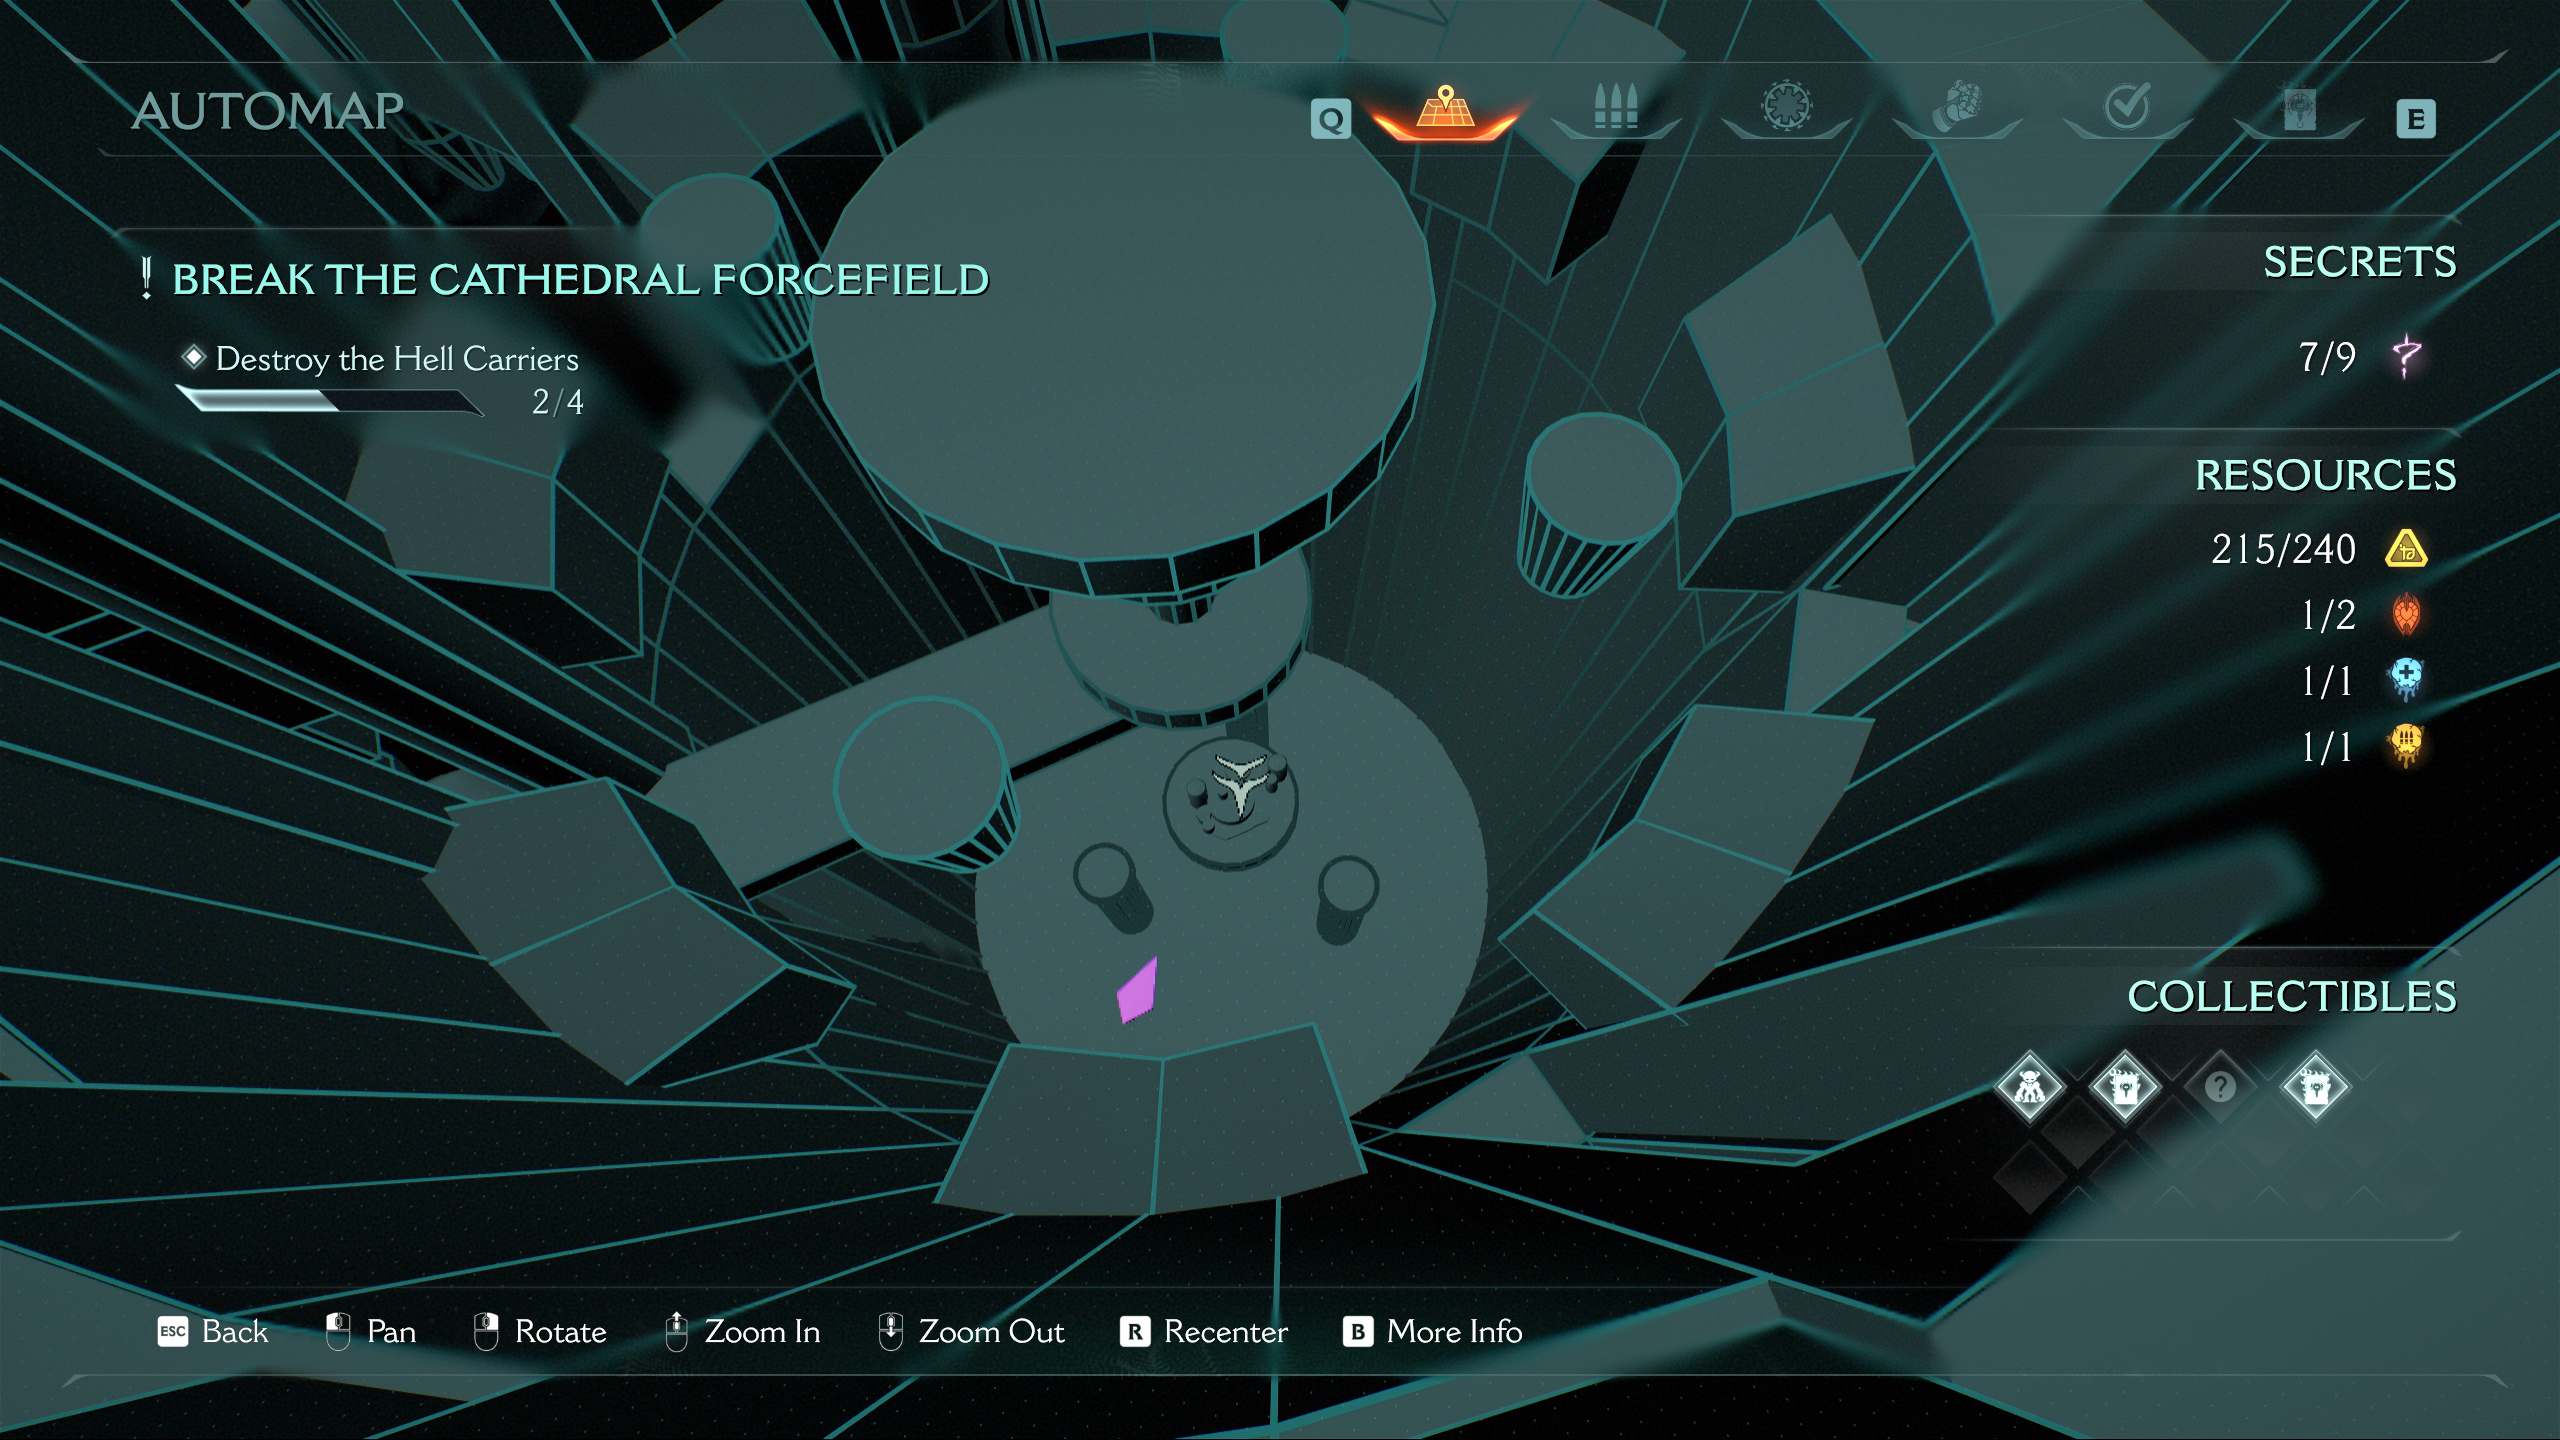
To complete the Layover challenge, you need to dismount your dragon at two secret landing zones. These won't be marked on your map until you've completed the necessary steps to unlock them, but both are located in the open area where you're tasked with destroying the Hell Carriers, so don't progress to the final stage of the mission quite yet.
Article continues belowOn the first island, you'll find a maximum health Demonic Essence and a gold chest, while the second island hides the Nightmare weapon skin for the Pulverizer, so it's well worth tracking down these landing spots. Plus, finding them both completes the Layover challenge, which gives you an additional 50 gold.
Doom: The Dark Ages secret dragon landing zone #1

The first secret dragon landing zone is actually hiding in plain sight. When you spawn into the open city area after the cutscene, look down to the left of the Hell Carrier ahead of you, and you'll notice a titan standing on top of a tower (they're easier to spot if you lock on). Kill this titan and you'll unlock the landing zone, which will appear both on the map and in the world as a bright green marker.
Doom: The Dark Ages secret dragon landing zone #2
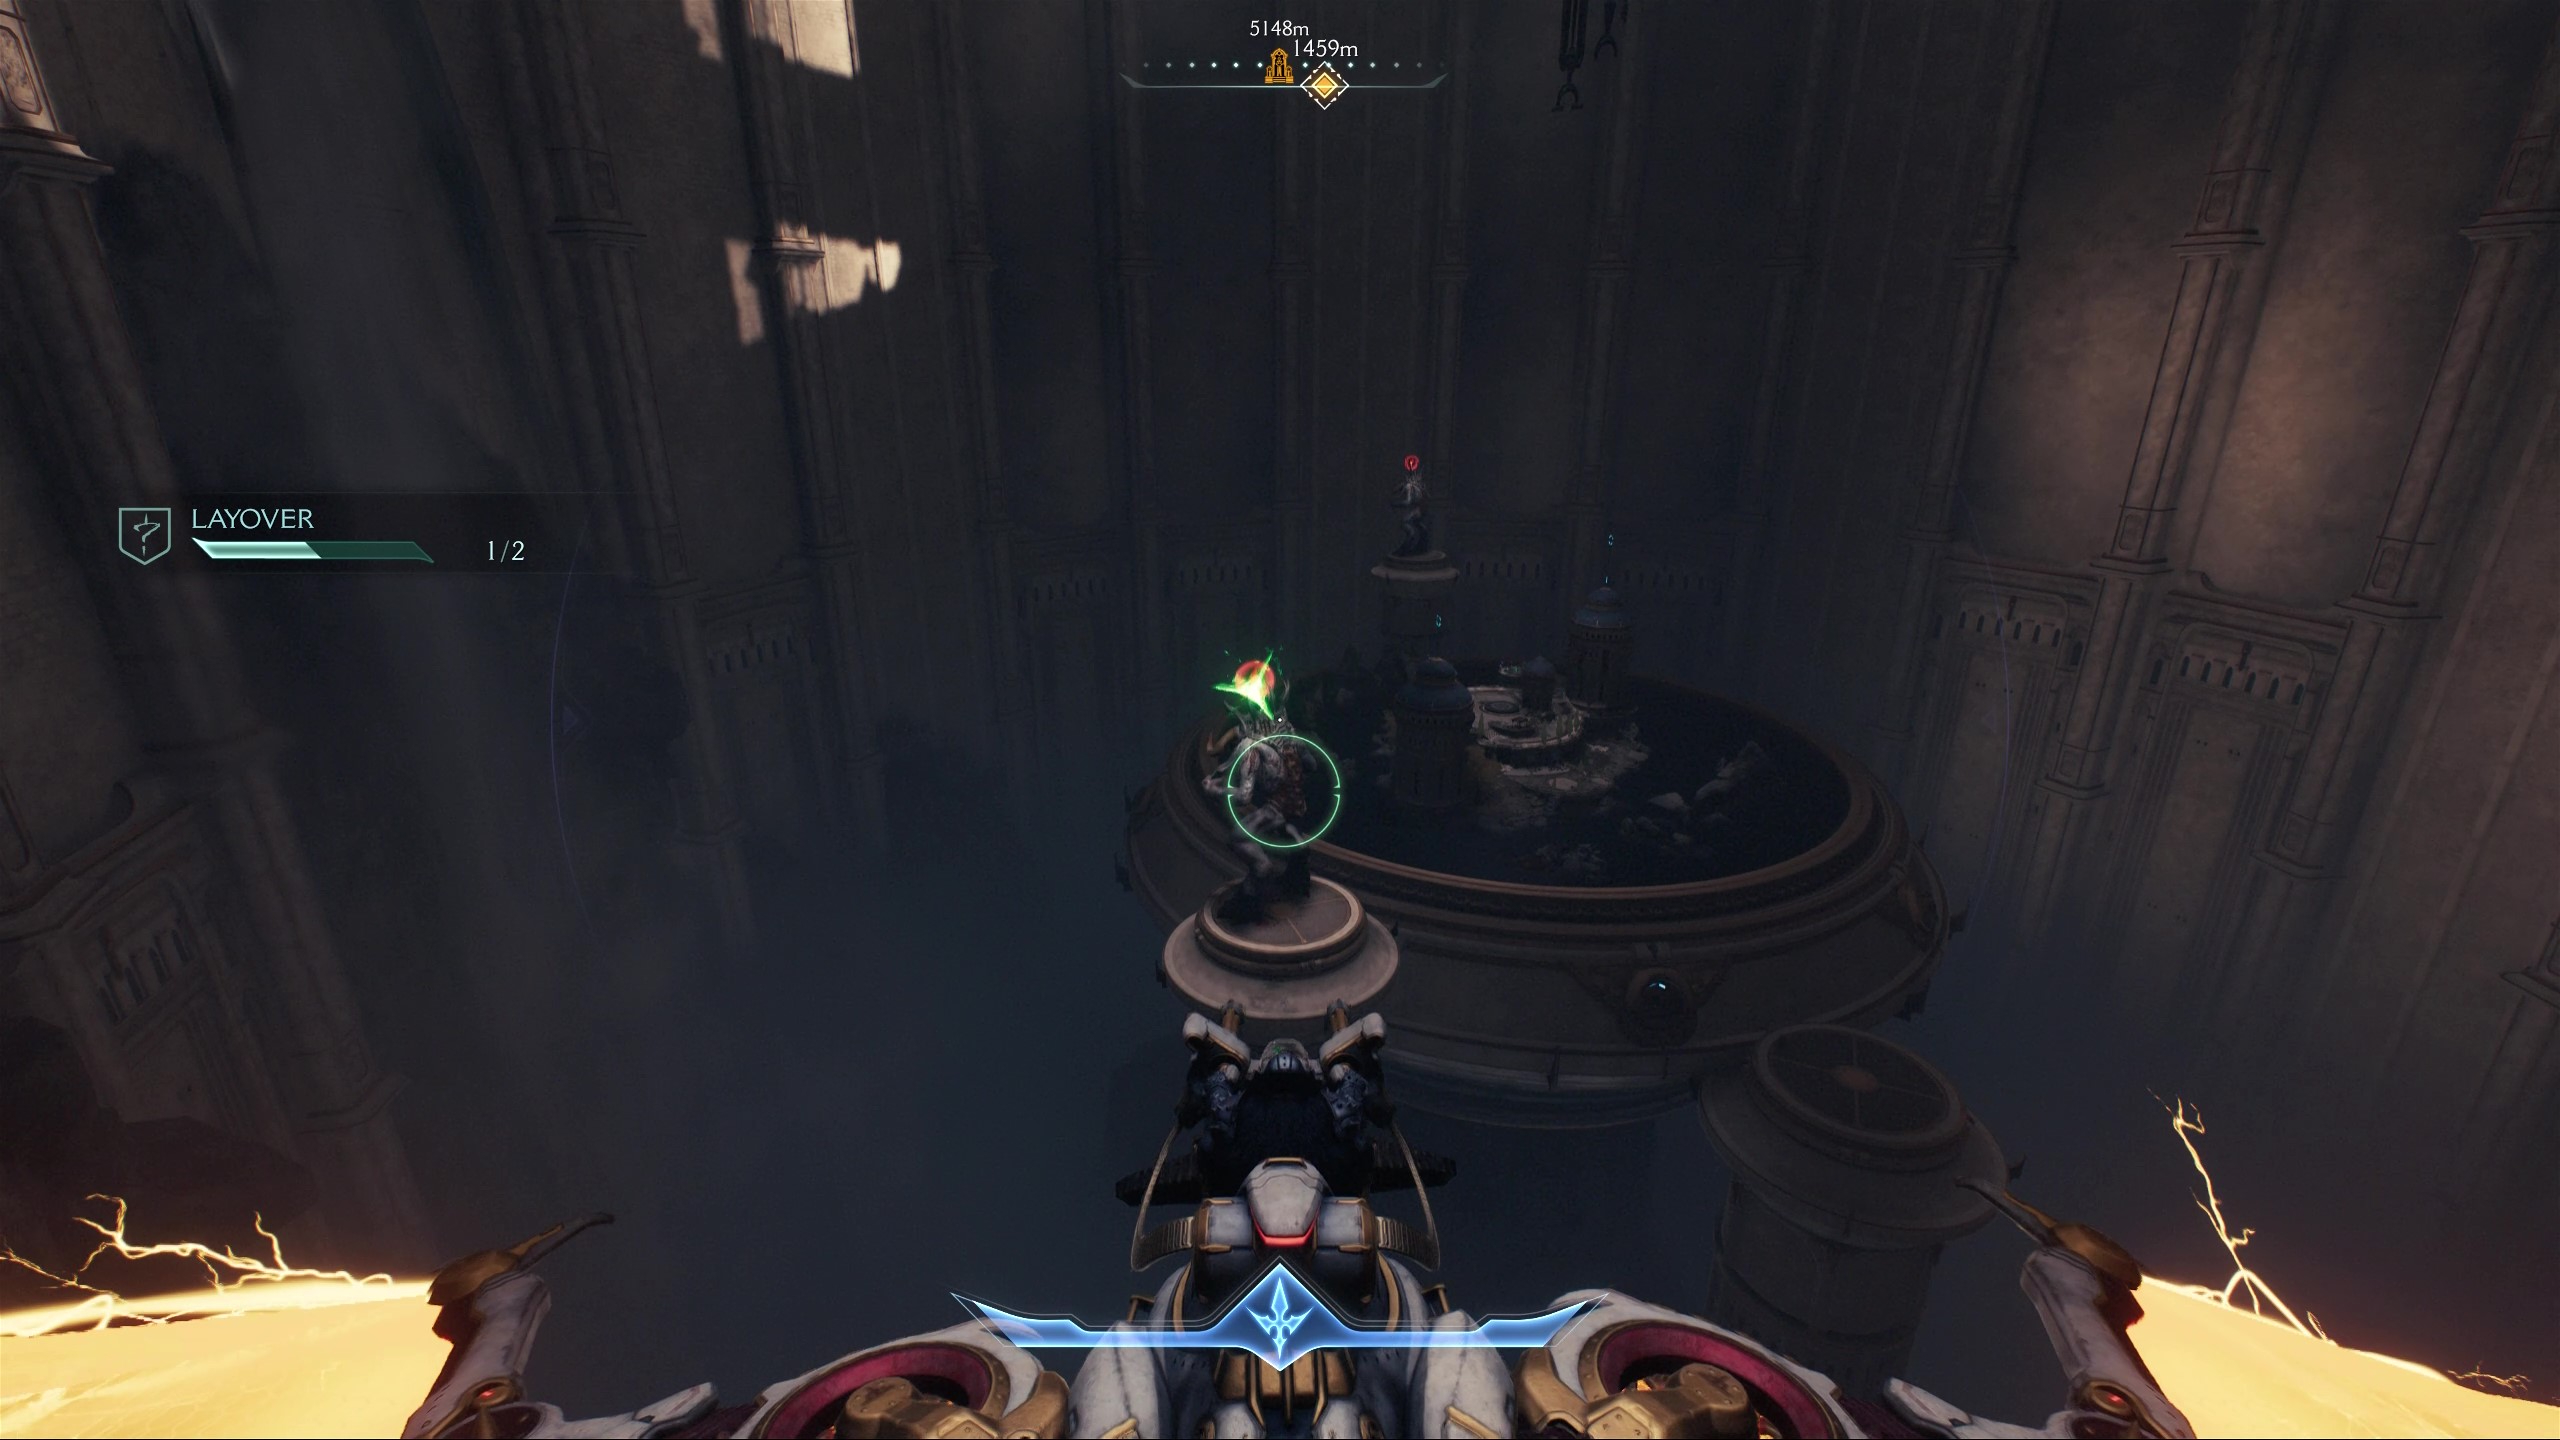
The second secret landing spot is much more hidden. Directly under the first Hell Carrier ahead of where you start, dive down into the large well until you reach the bottom of the map, where you'll find two titans on pedestals that you'll need to kill to unlock the zone. Given that this well area has a larger platform above, it's easy to assume (like I did) that you've reached the bottom and there's nothing here.


You must confirm your public display name before commenting
Please logout and then login again, you will then be prompted to enter your display name.