Tracking down five lost flea locations for Fleamaster Mooshka in Hollow Knight: Silksong might remind you of rescuing the grubs in the original game (if you played it). Mooshka's fleas have flown off across the kingdom and are now trapped in all sorts of tricky to reach spots.
You can undertake The Lost Fleas quest at the flea caravan in The Marrow near the start of the game to rescue them. This sees you finding five fleas in the lower reaches of Pharloom, though as you progress higher towards The Citadel, you'll encounter even more in need of help.
Article continues belowThe Marrow
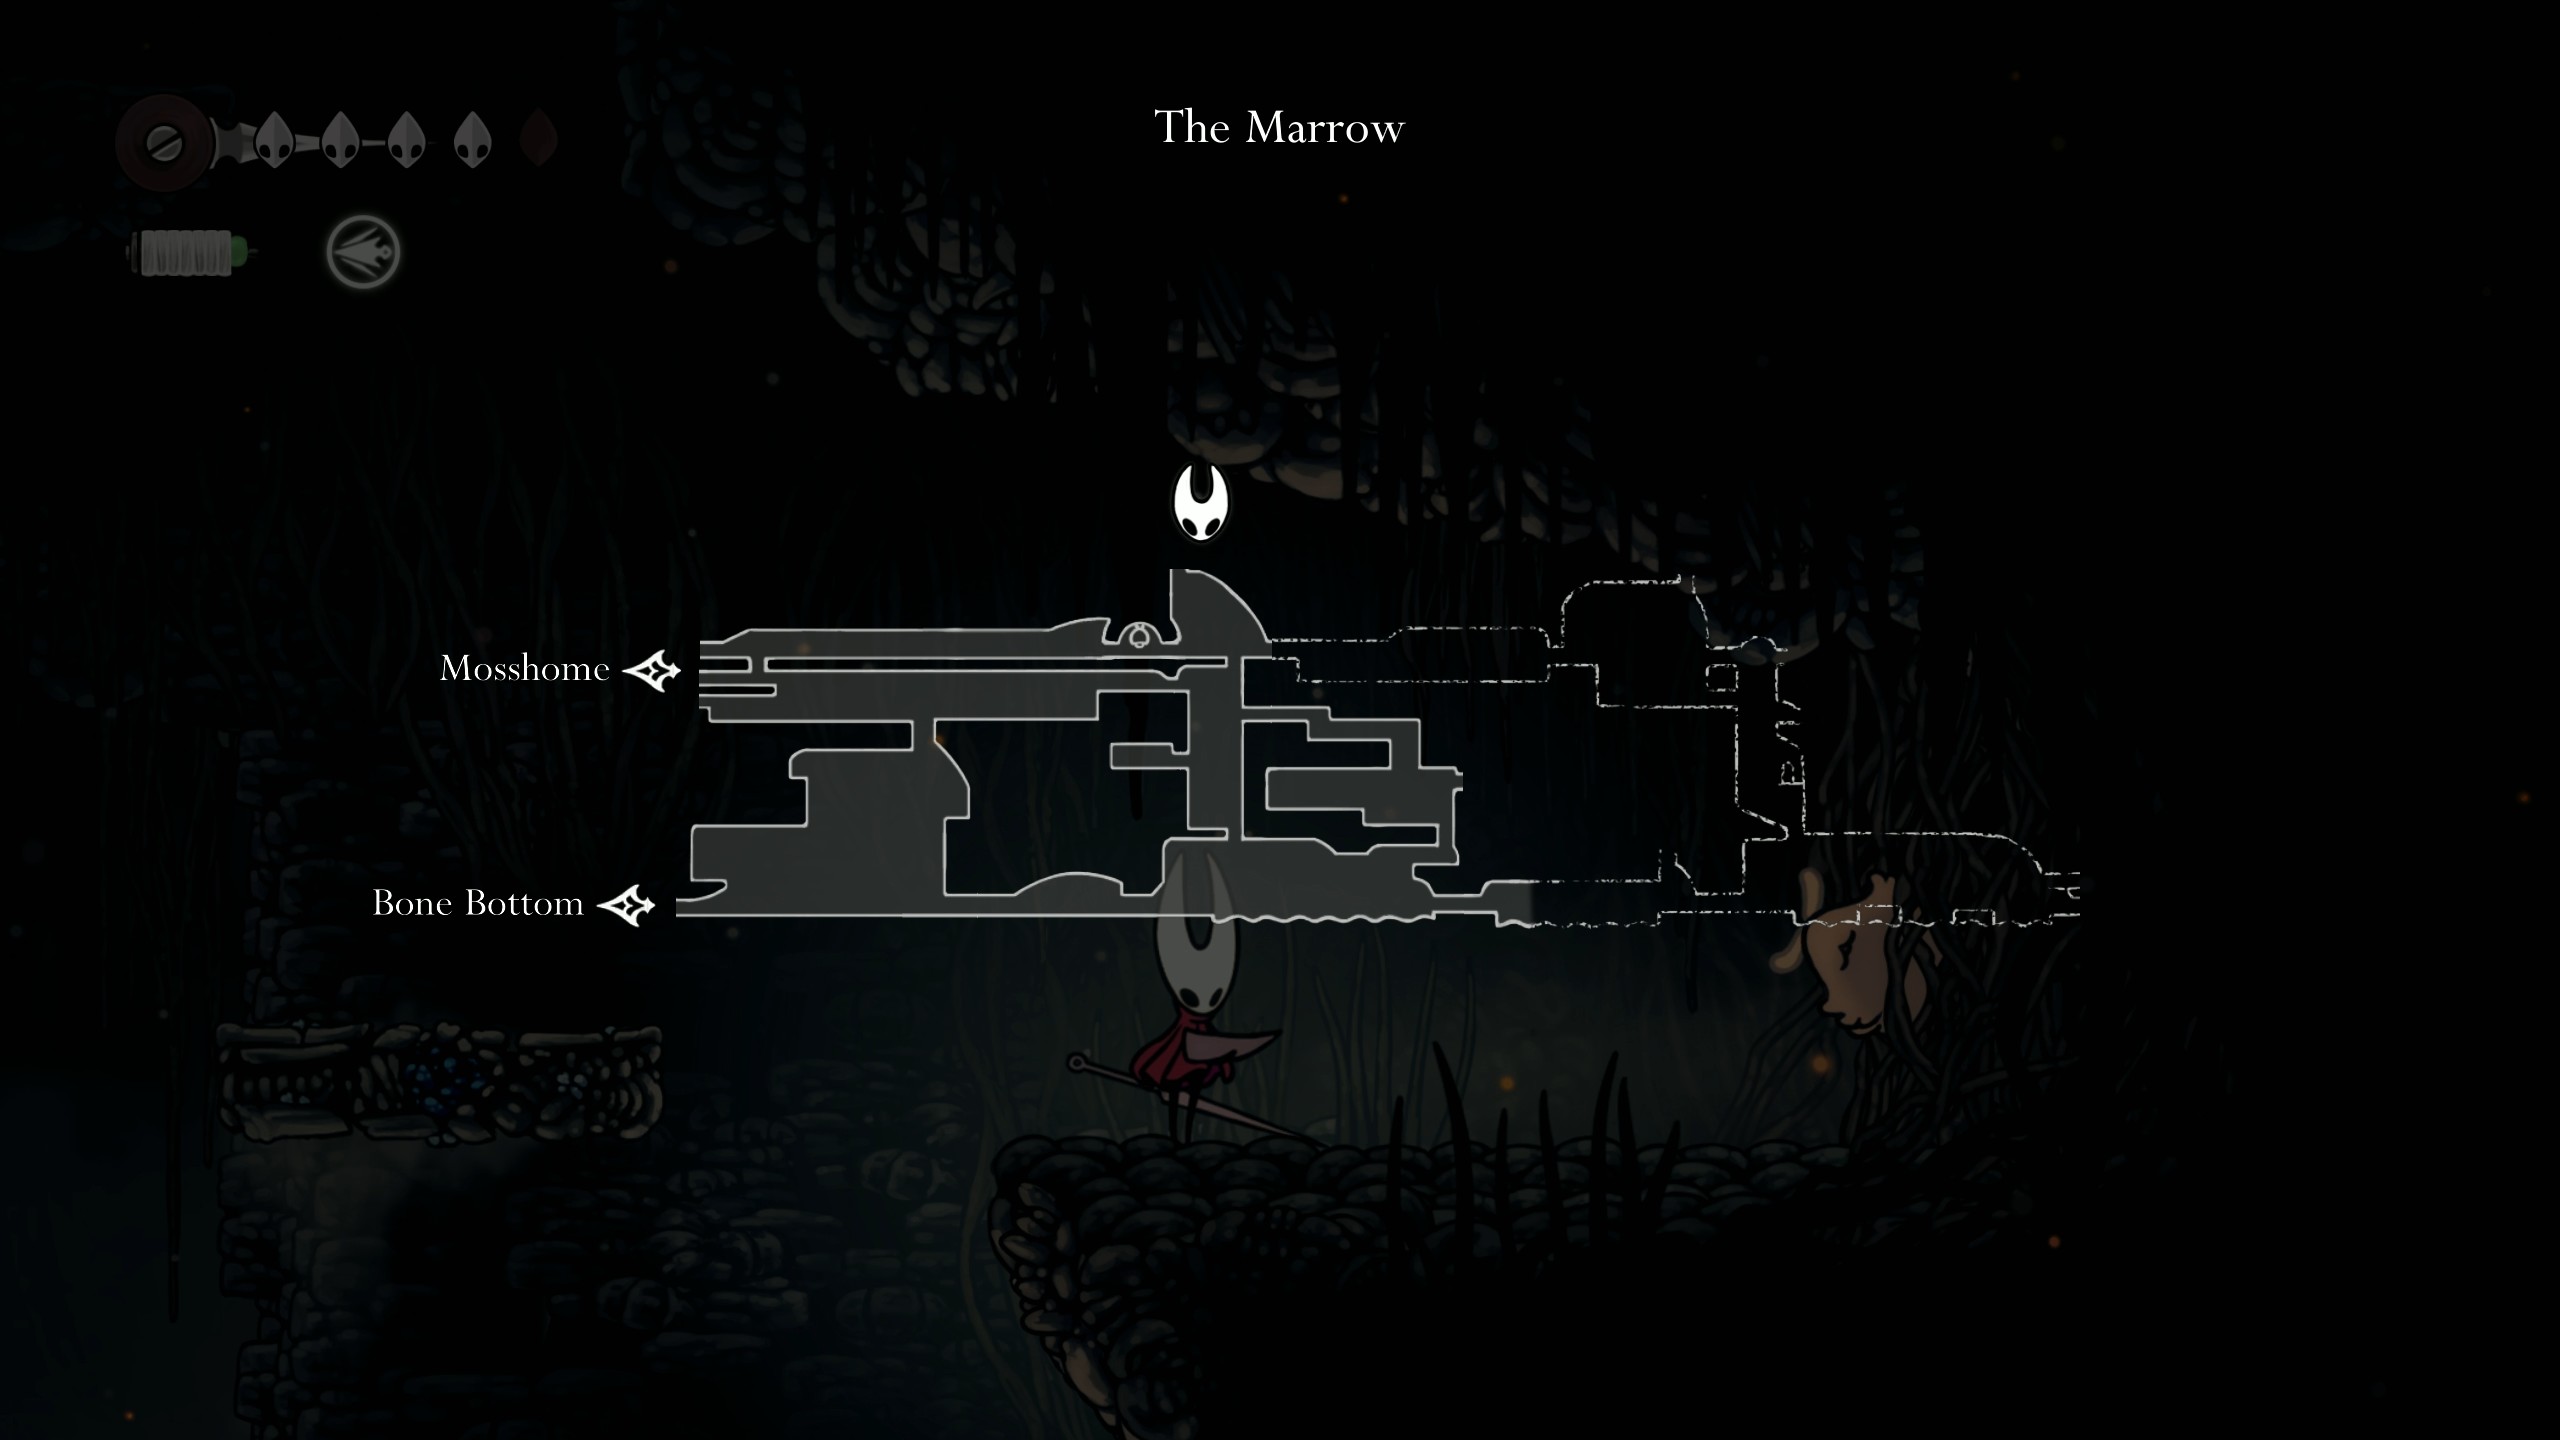
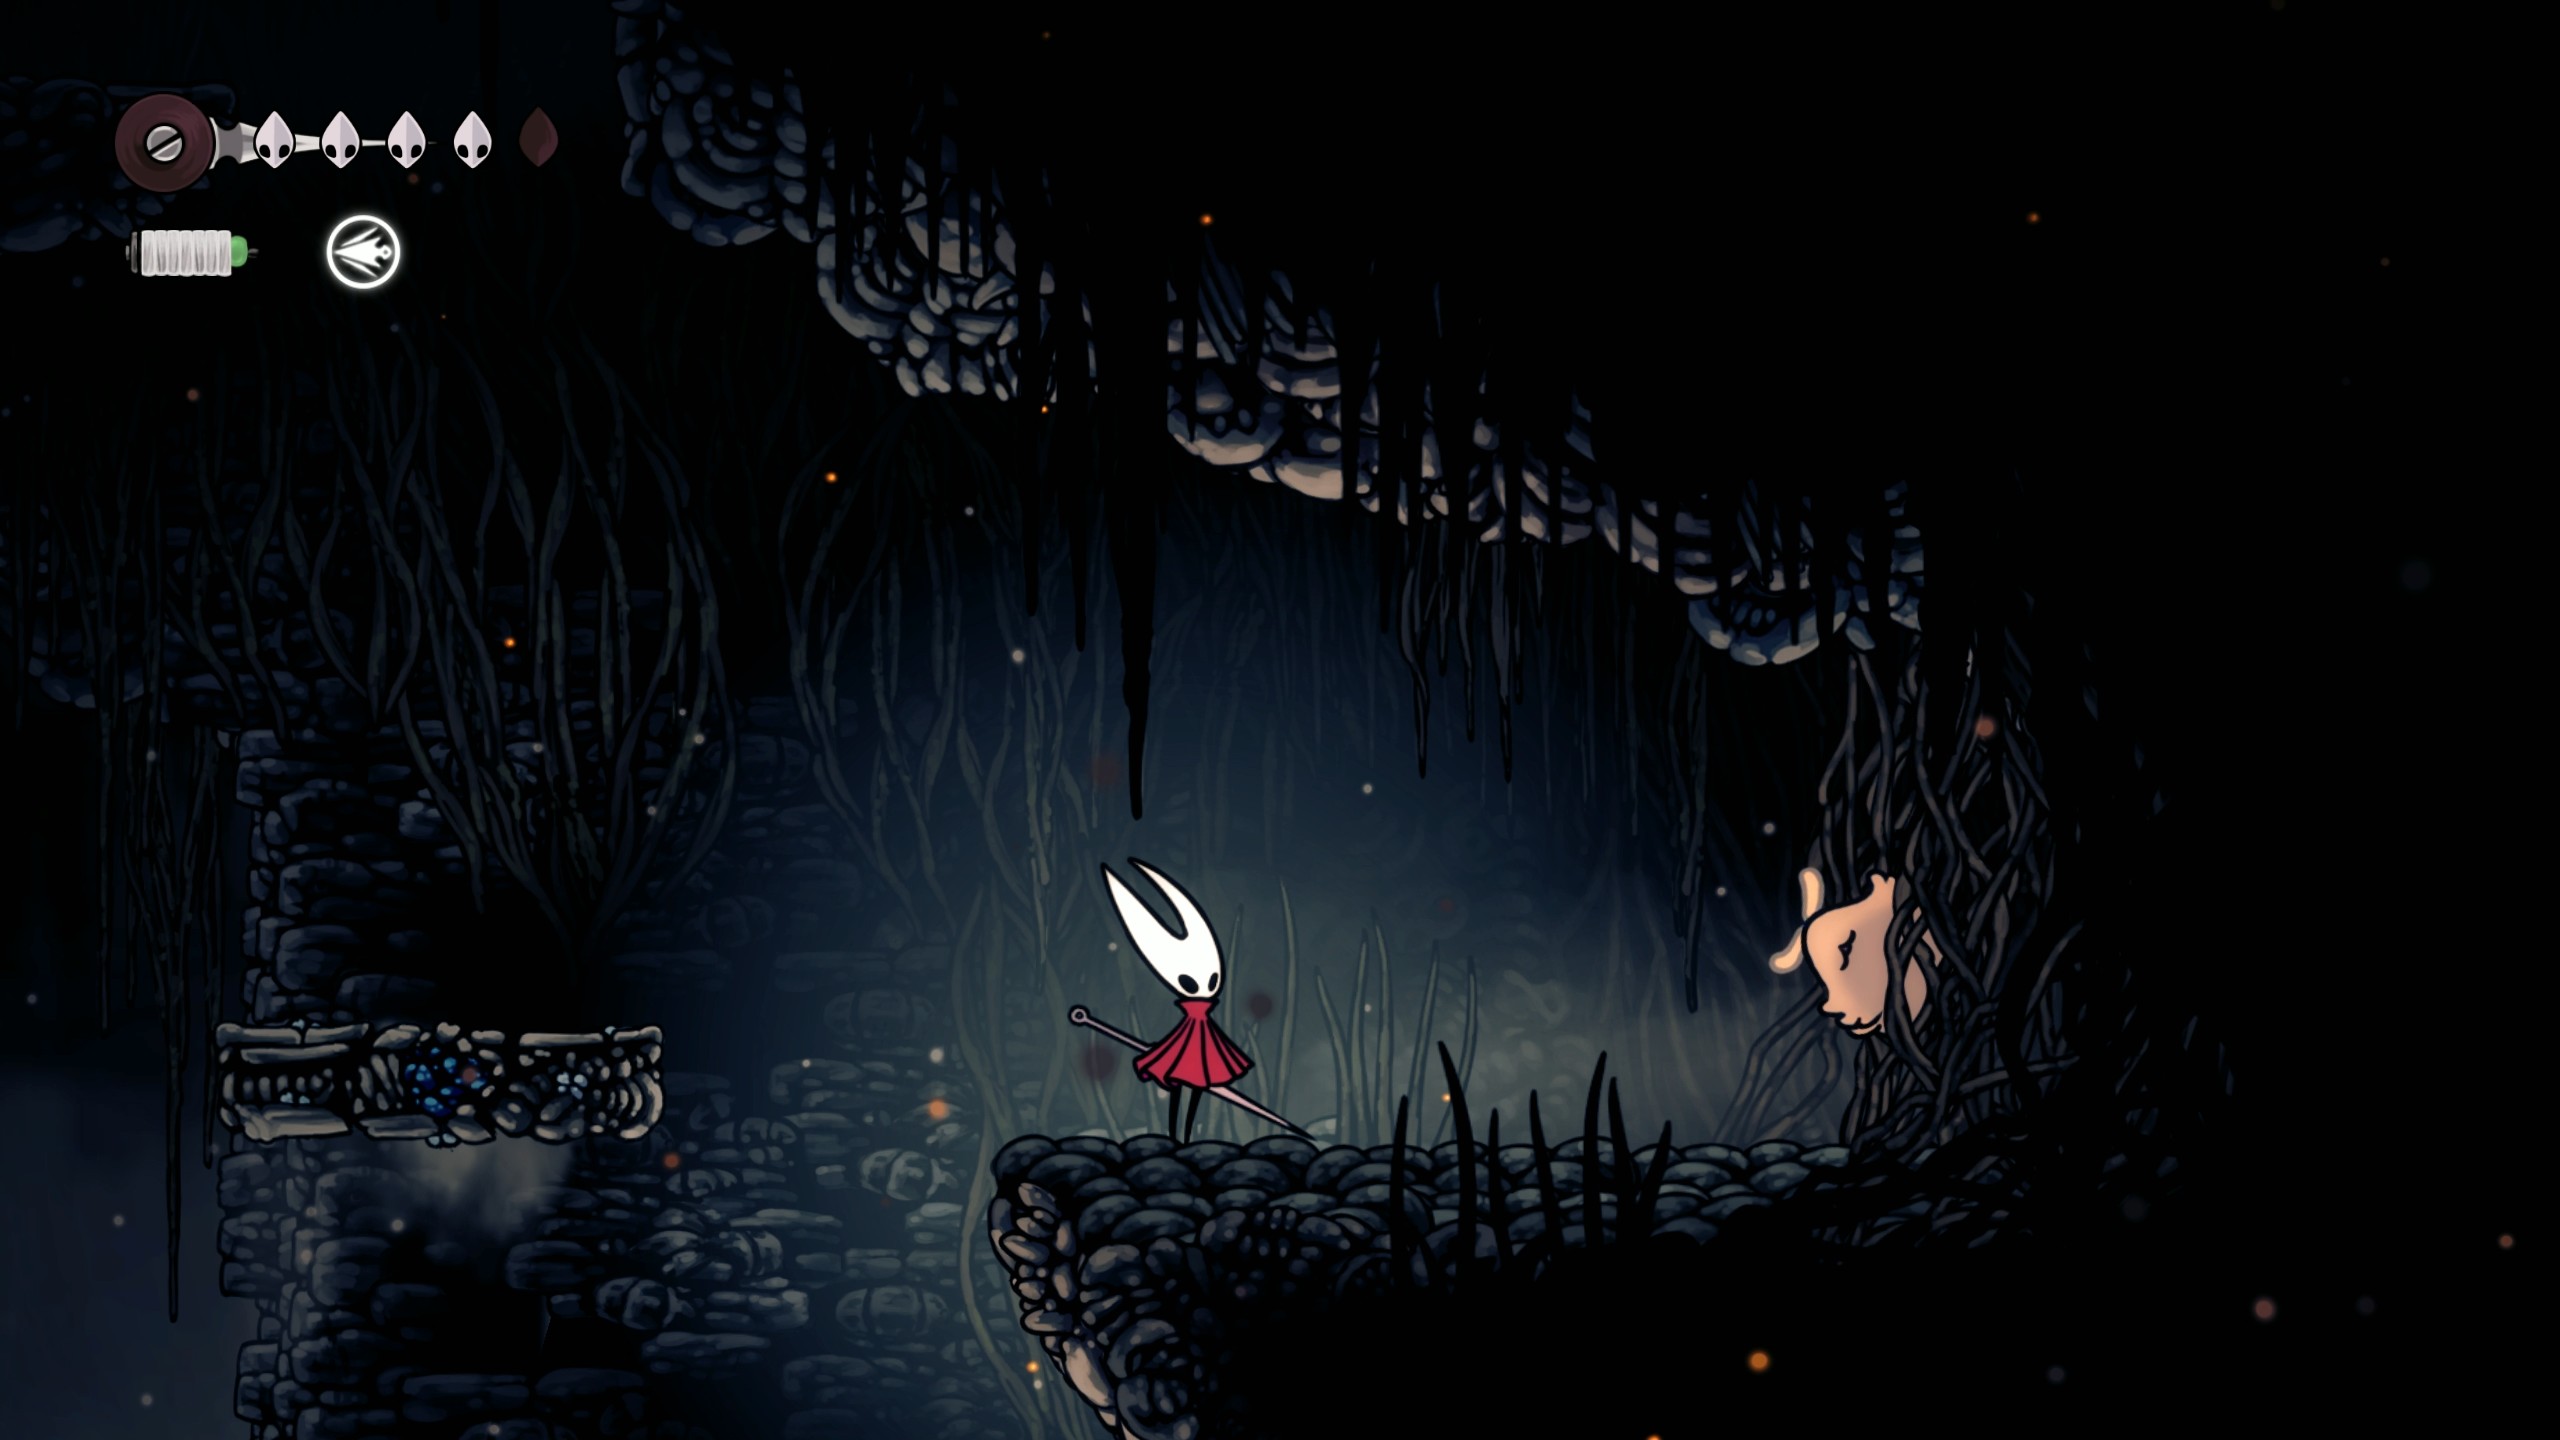
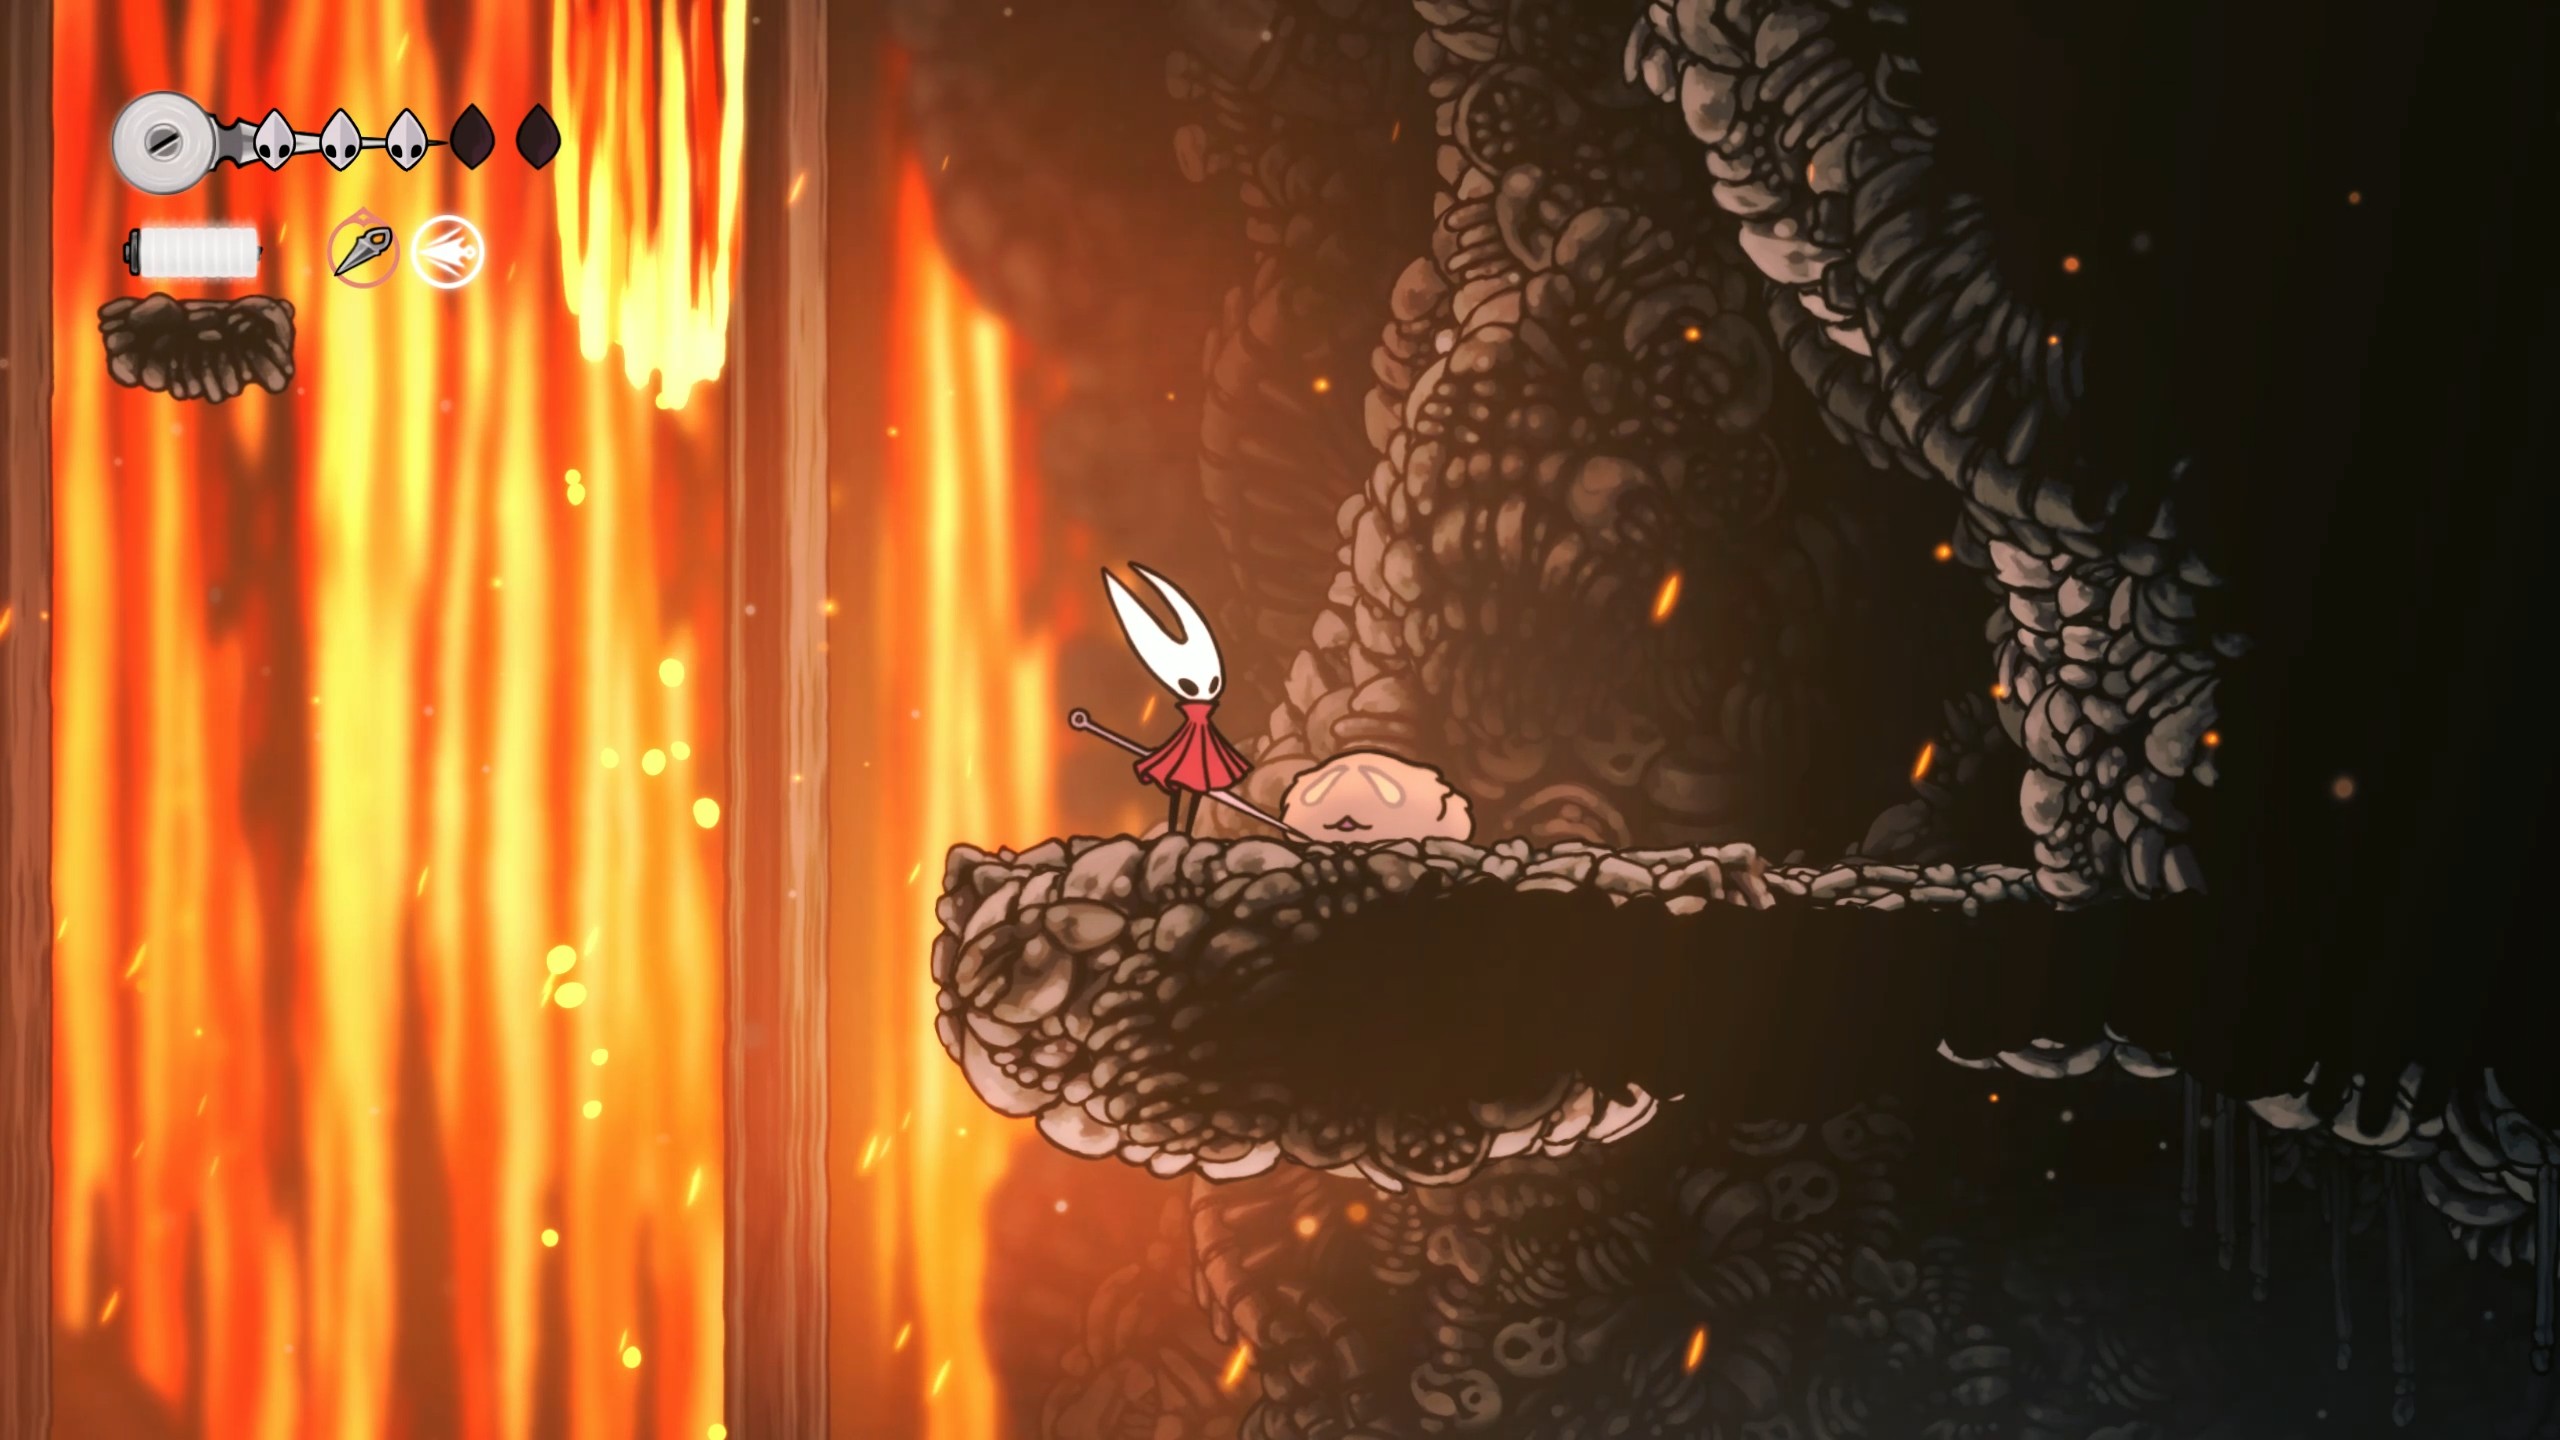
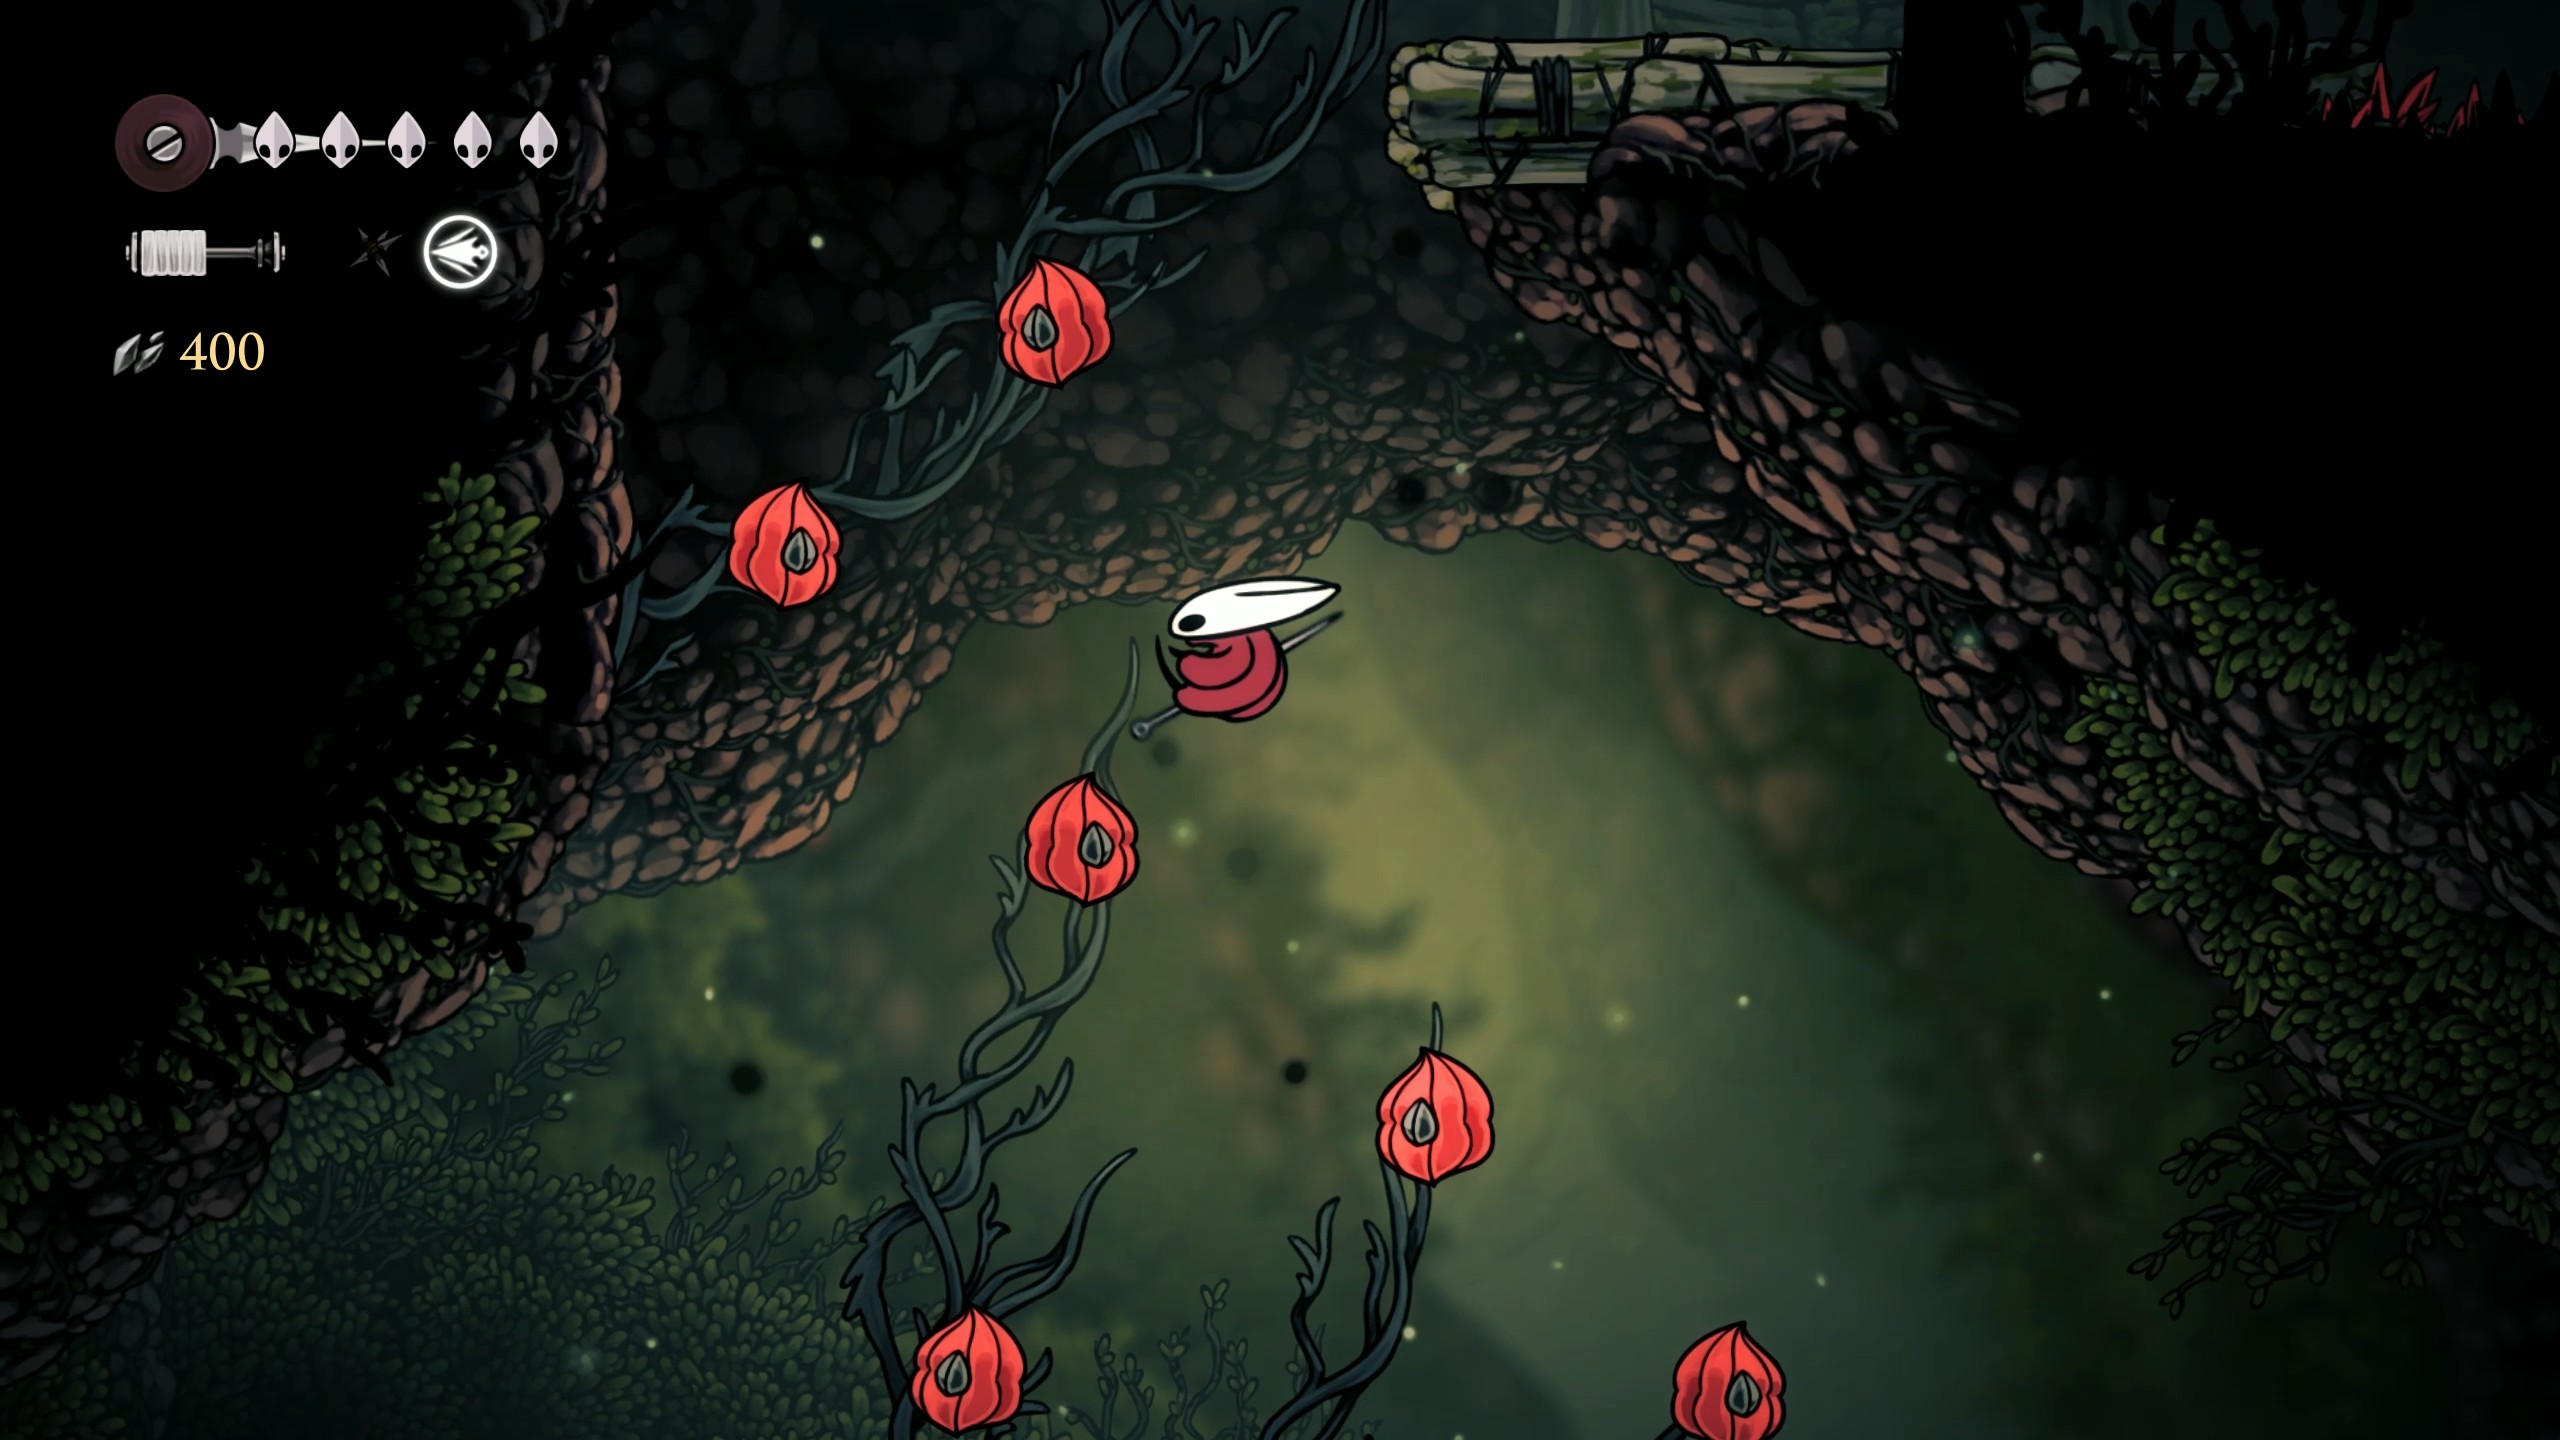
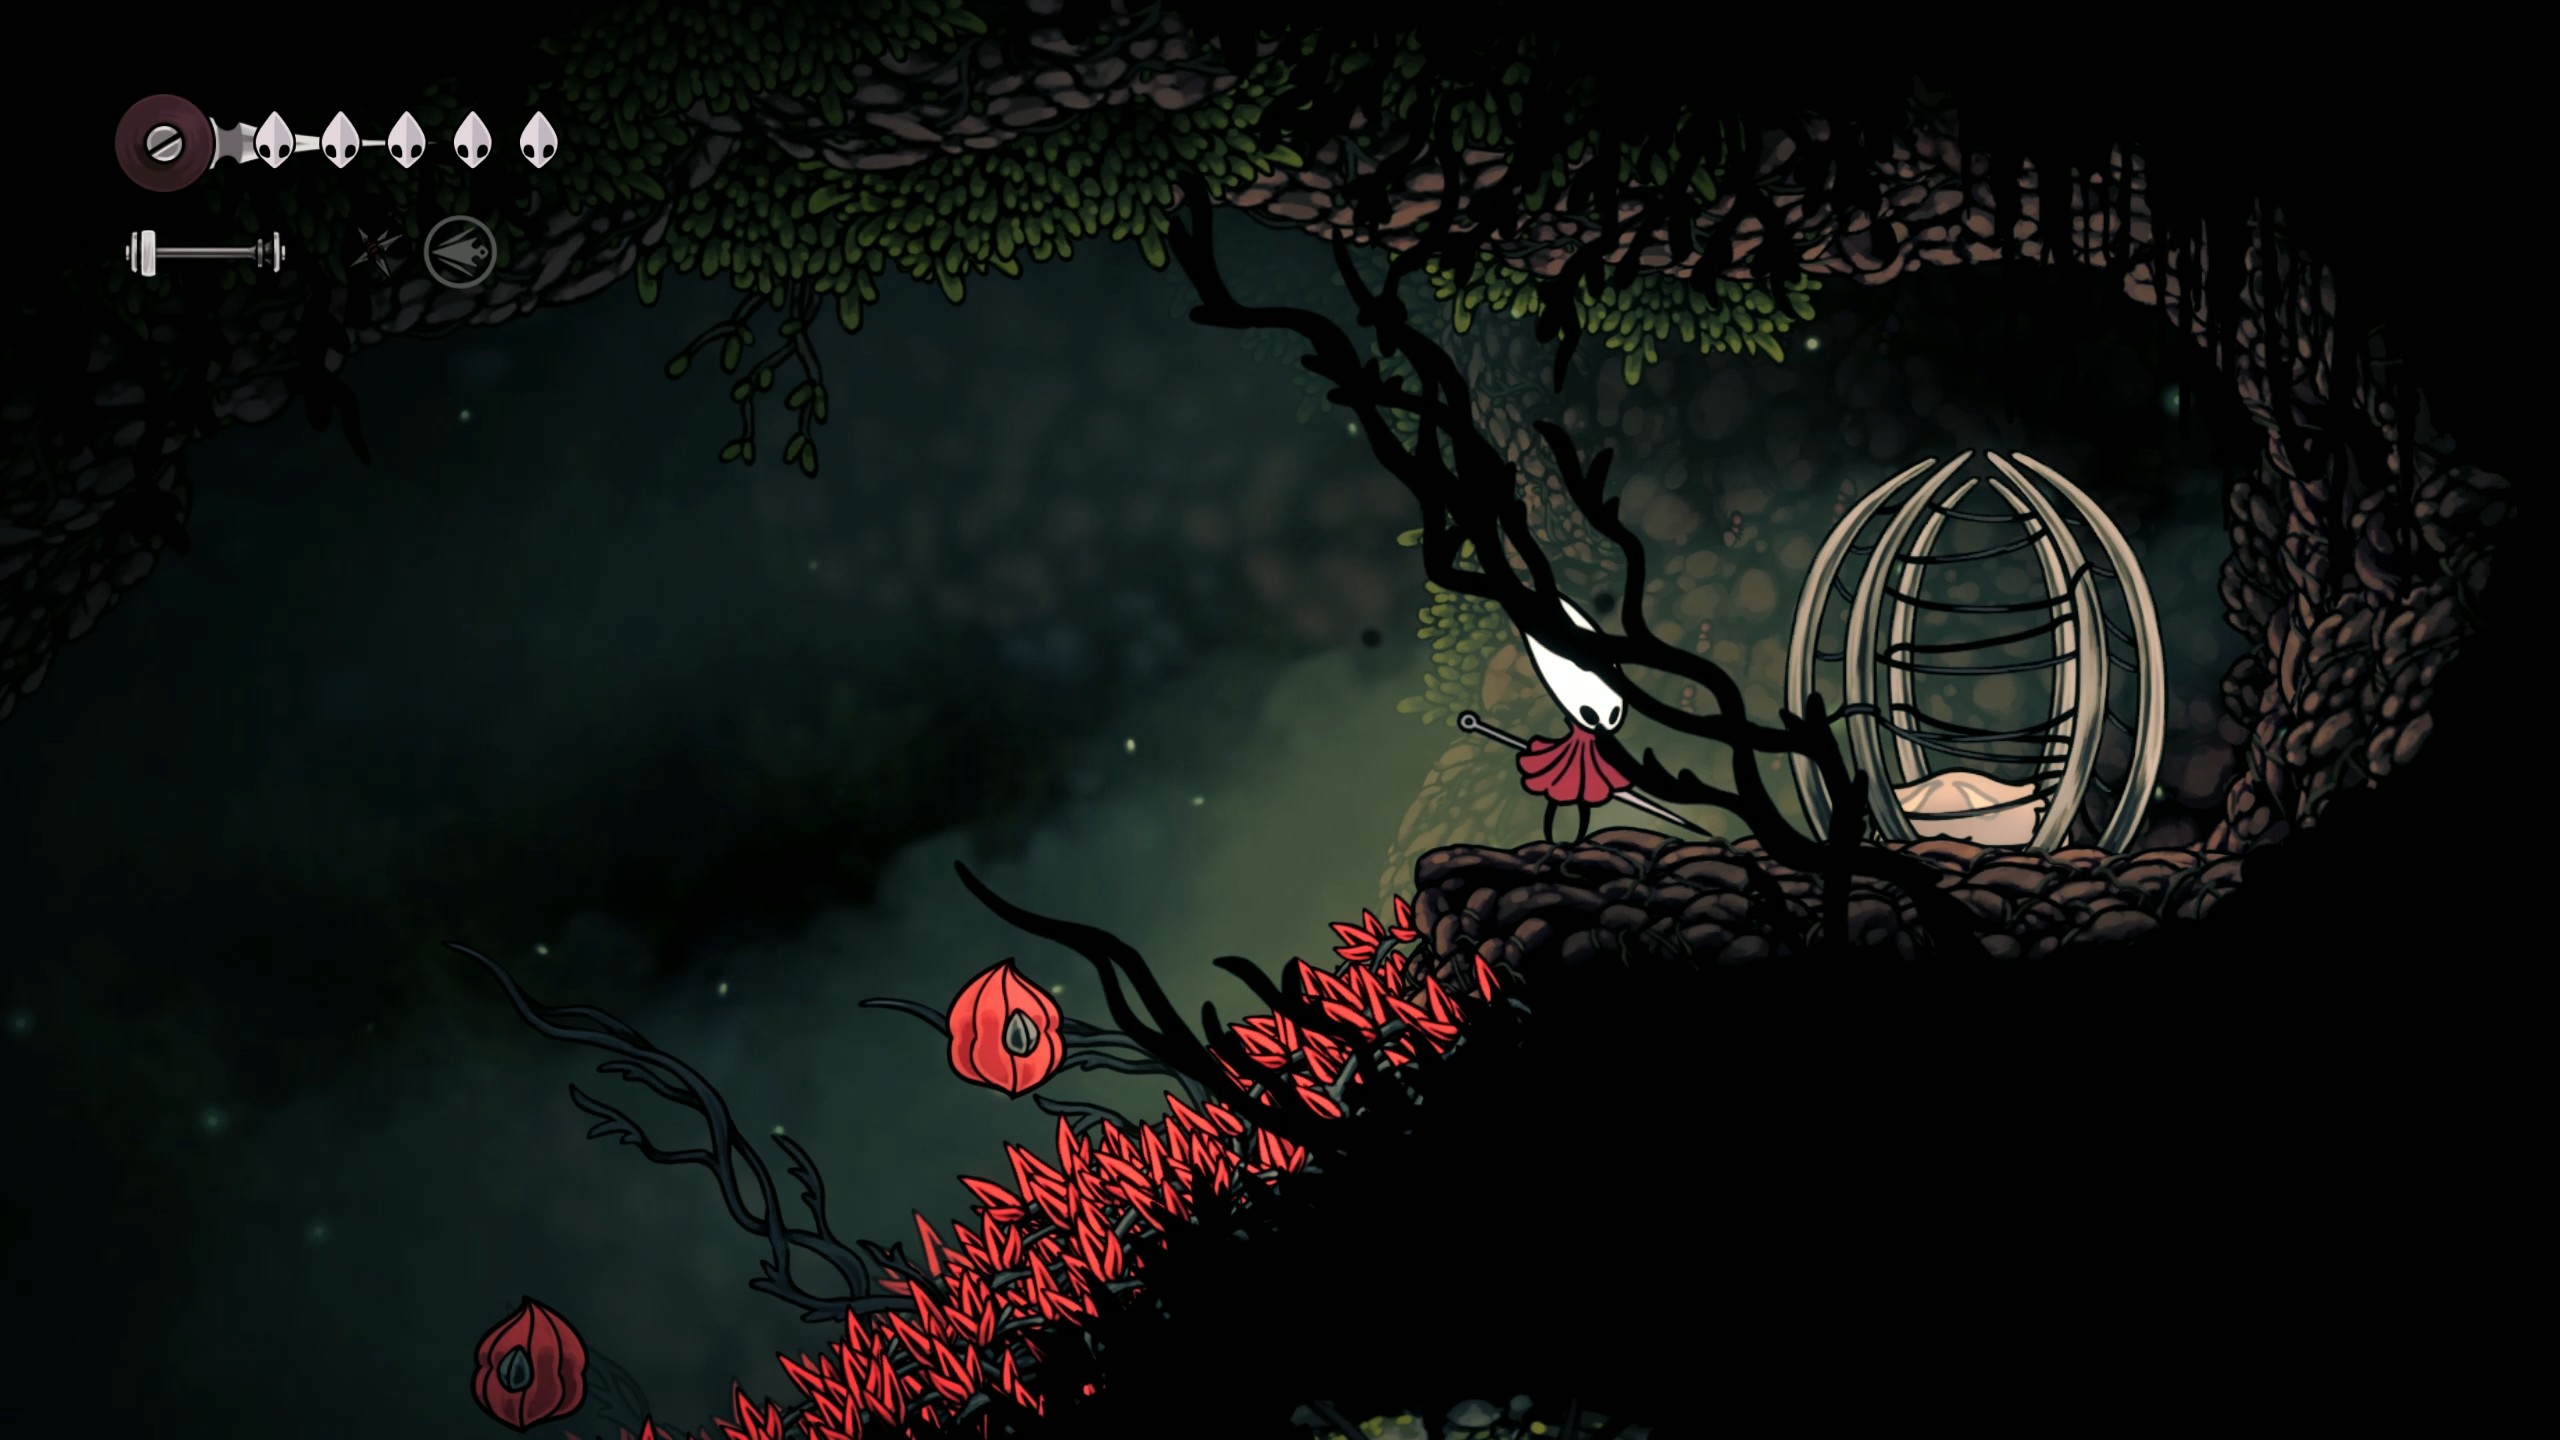
The first flea is located in The Marrow shortly after you defeat the Bell Beast.
- Head right out of the boss arena, past the bench room, and right into the big open chamber.
- Hit the lever that opens the shortcut, but instead of going right into the Deep Docks, climb the platforms to the top of the chamber and into the room above.
- The flea is in the upper right corner of the room—head left along the platforms and ascend up to the top, then drop down just after you fight the second big skull enemy to find the flea in some vines.
Deep Docks Bellway
This one is nice and easy to find. In the Deep Docks Bellway, smash the left-hand wall (just to the left of where the Bell Beast stands—you might have to jump a bit). You'll enter a room with a lava-based platforming puzzle, but it'll lead to the flea which is directly above the entrance.
Also Deep Docks

Another easy one. Right after you acquire the Swift Step ability from the shrine, use it to jump left across the platforms in that same room. Hit the lever at the far end to lower the bell and use it to jump up to the section above where the flea is trapped.
Far Fields
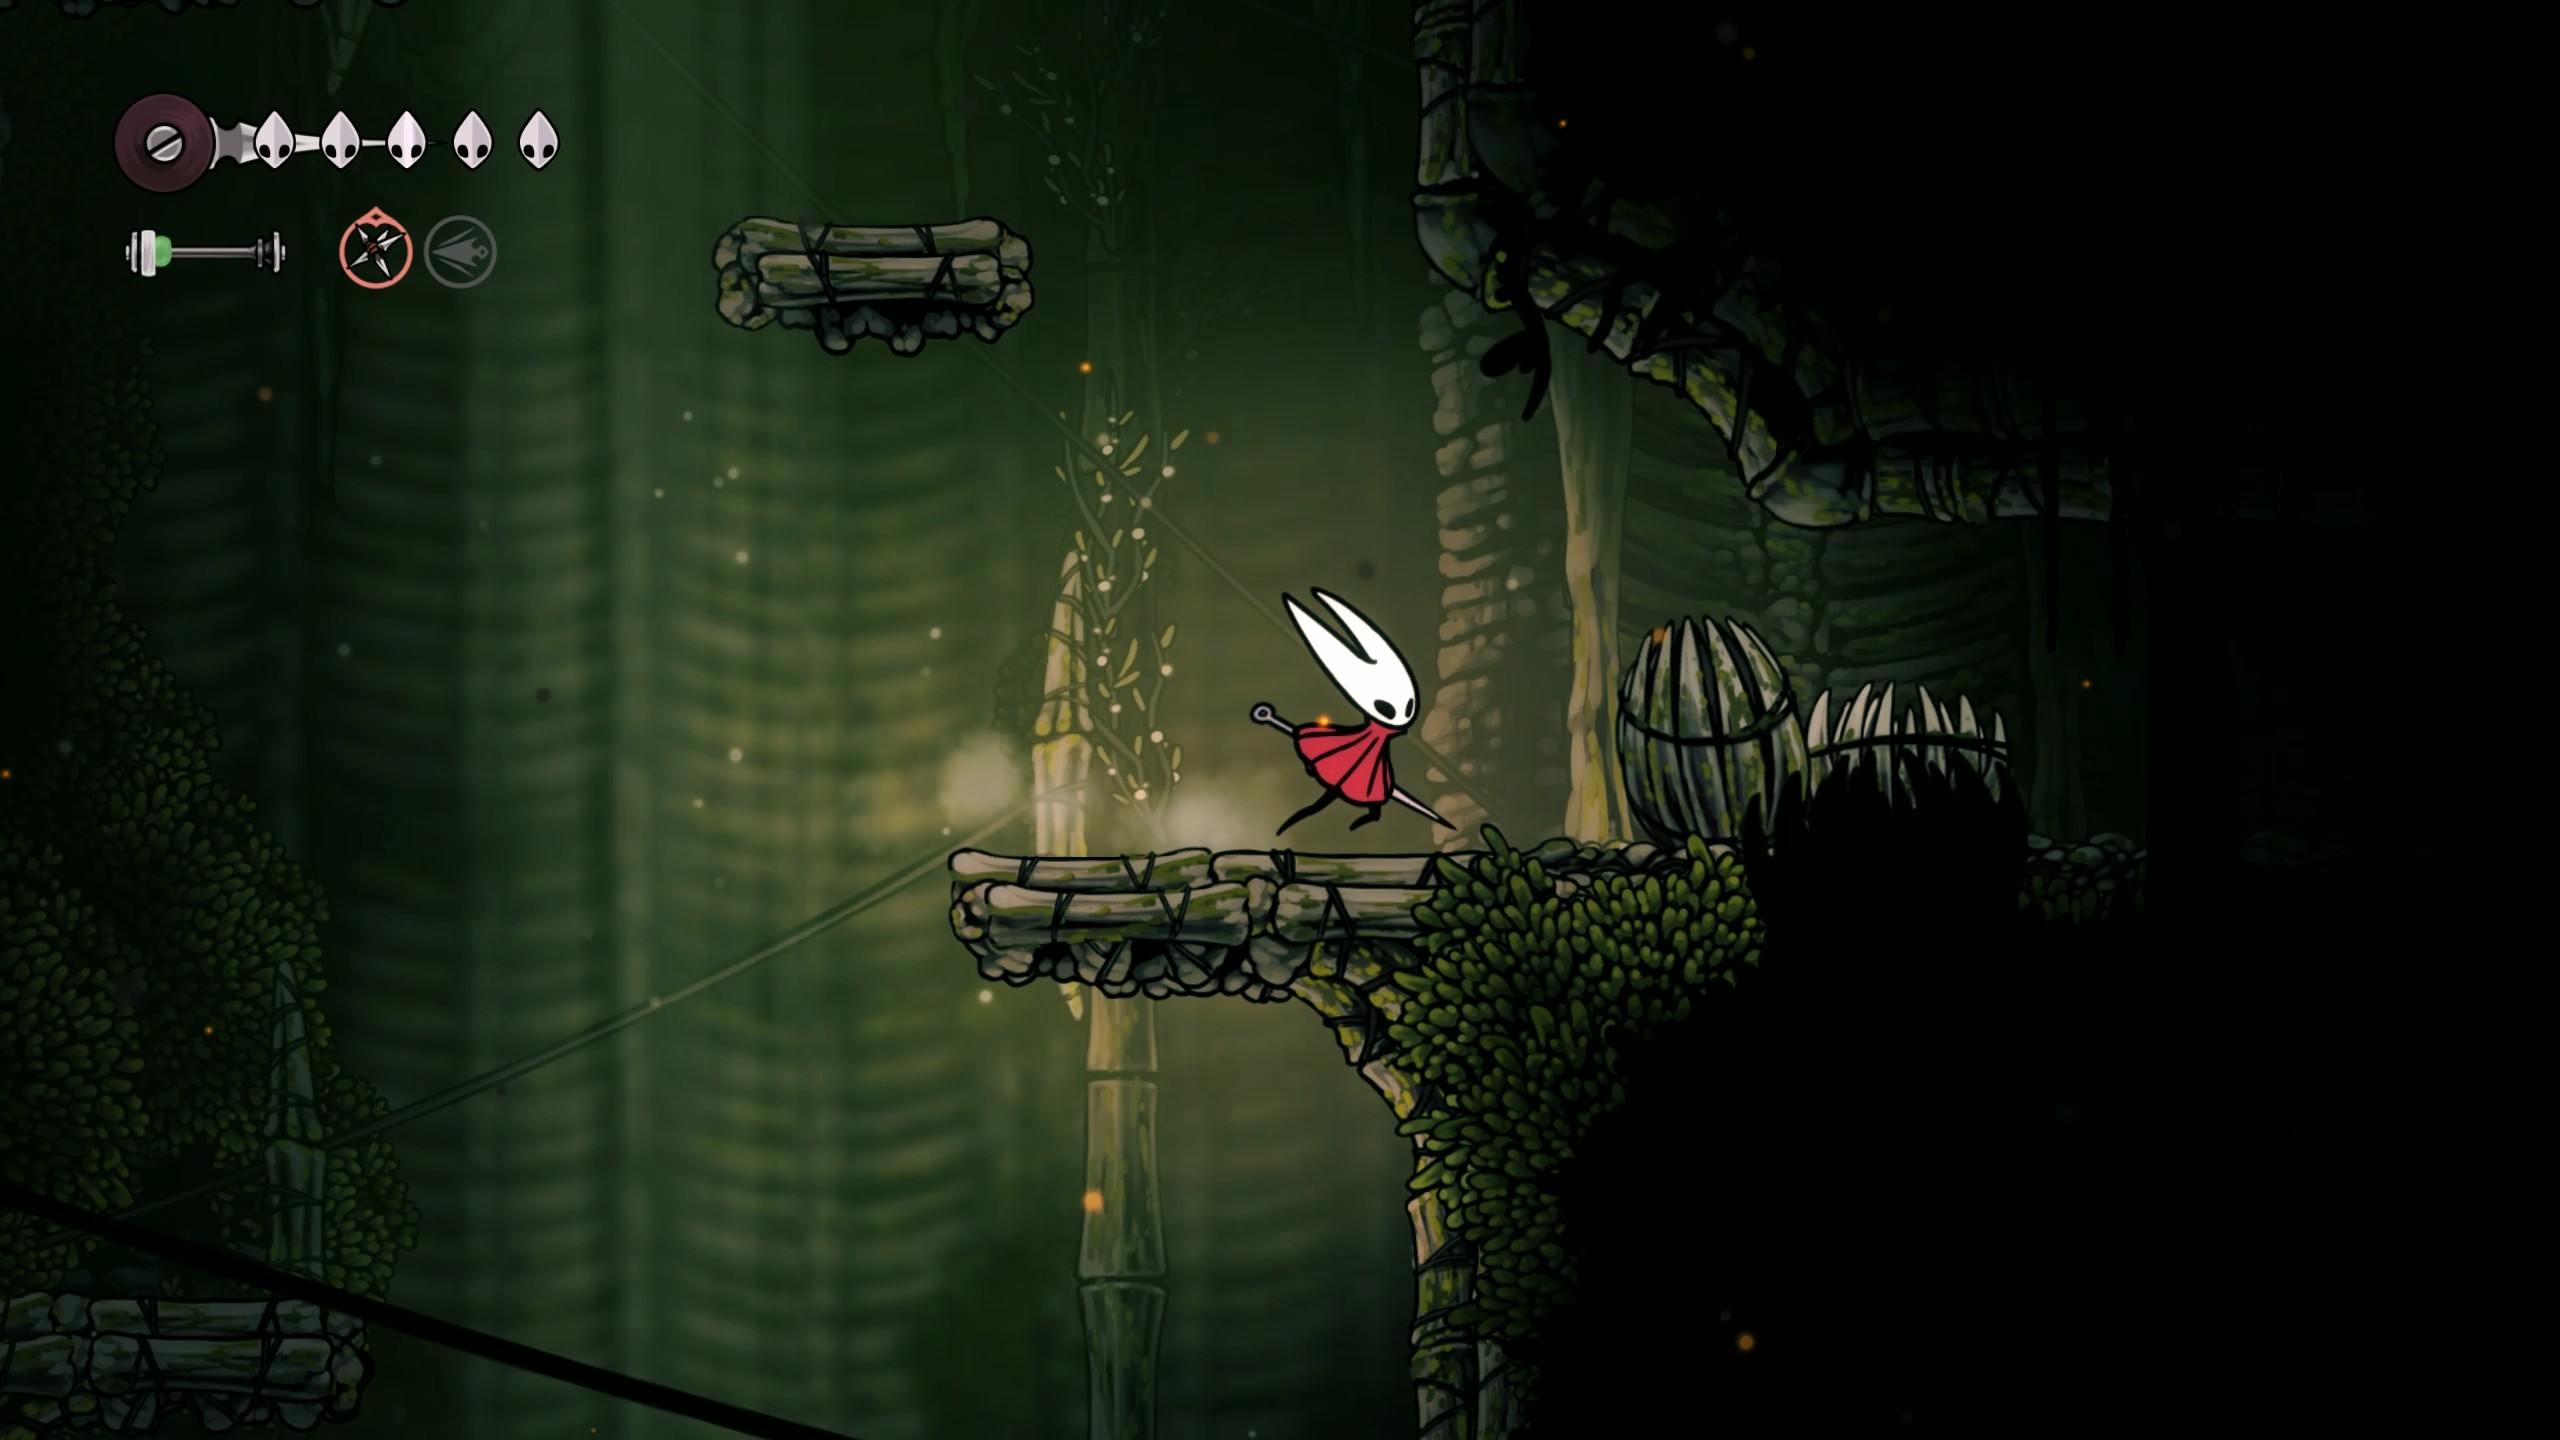
The fourth flea is in Far Fields. To get there, you need to:
- Head to Far Fields Bellway, (you'll need the Drifter's Cloak you get from the Seamstress to get here), then exit and jump left across the chasm and into the room on the other side.
- Head left across the platforms and up into the next room.
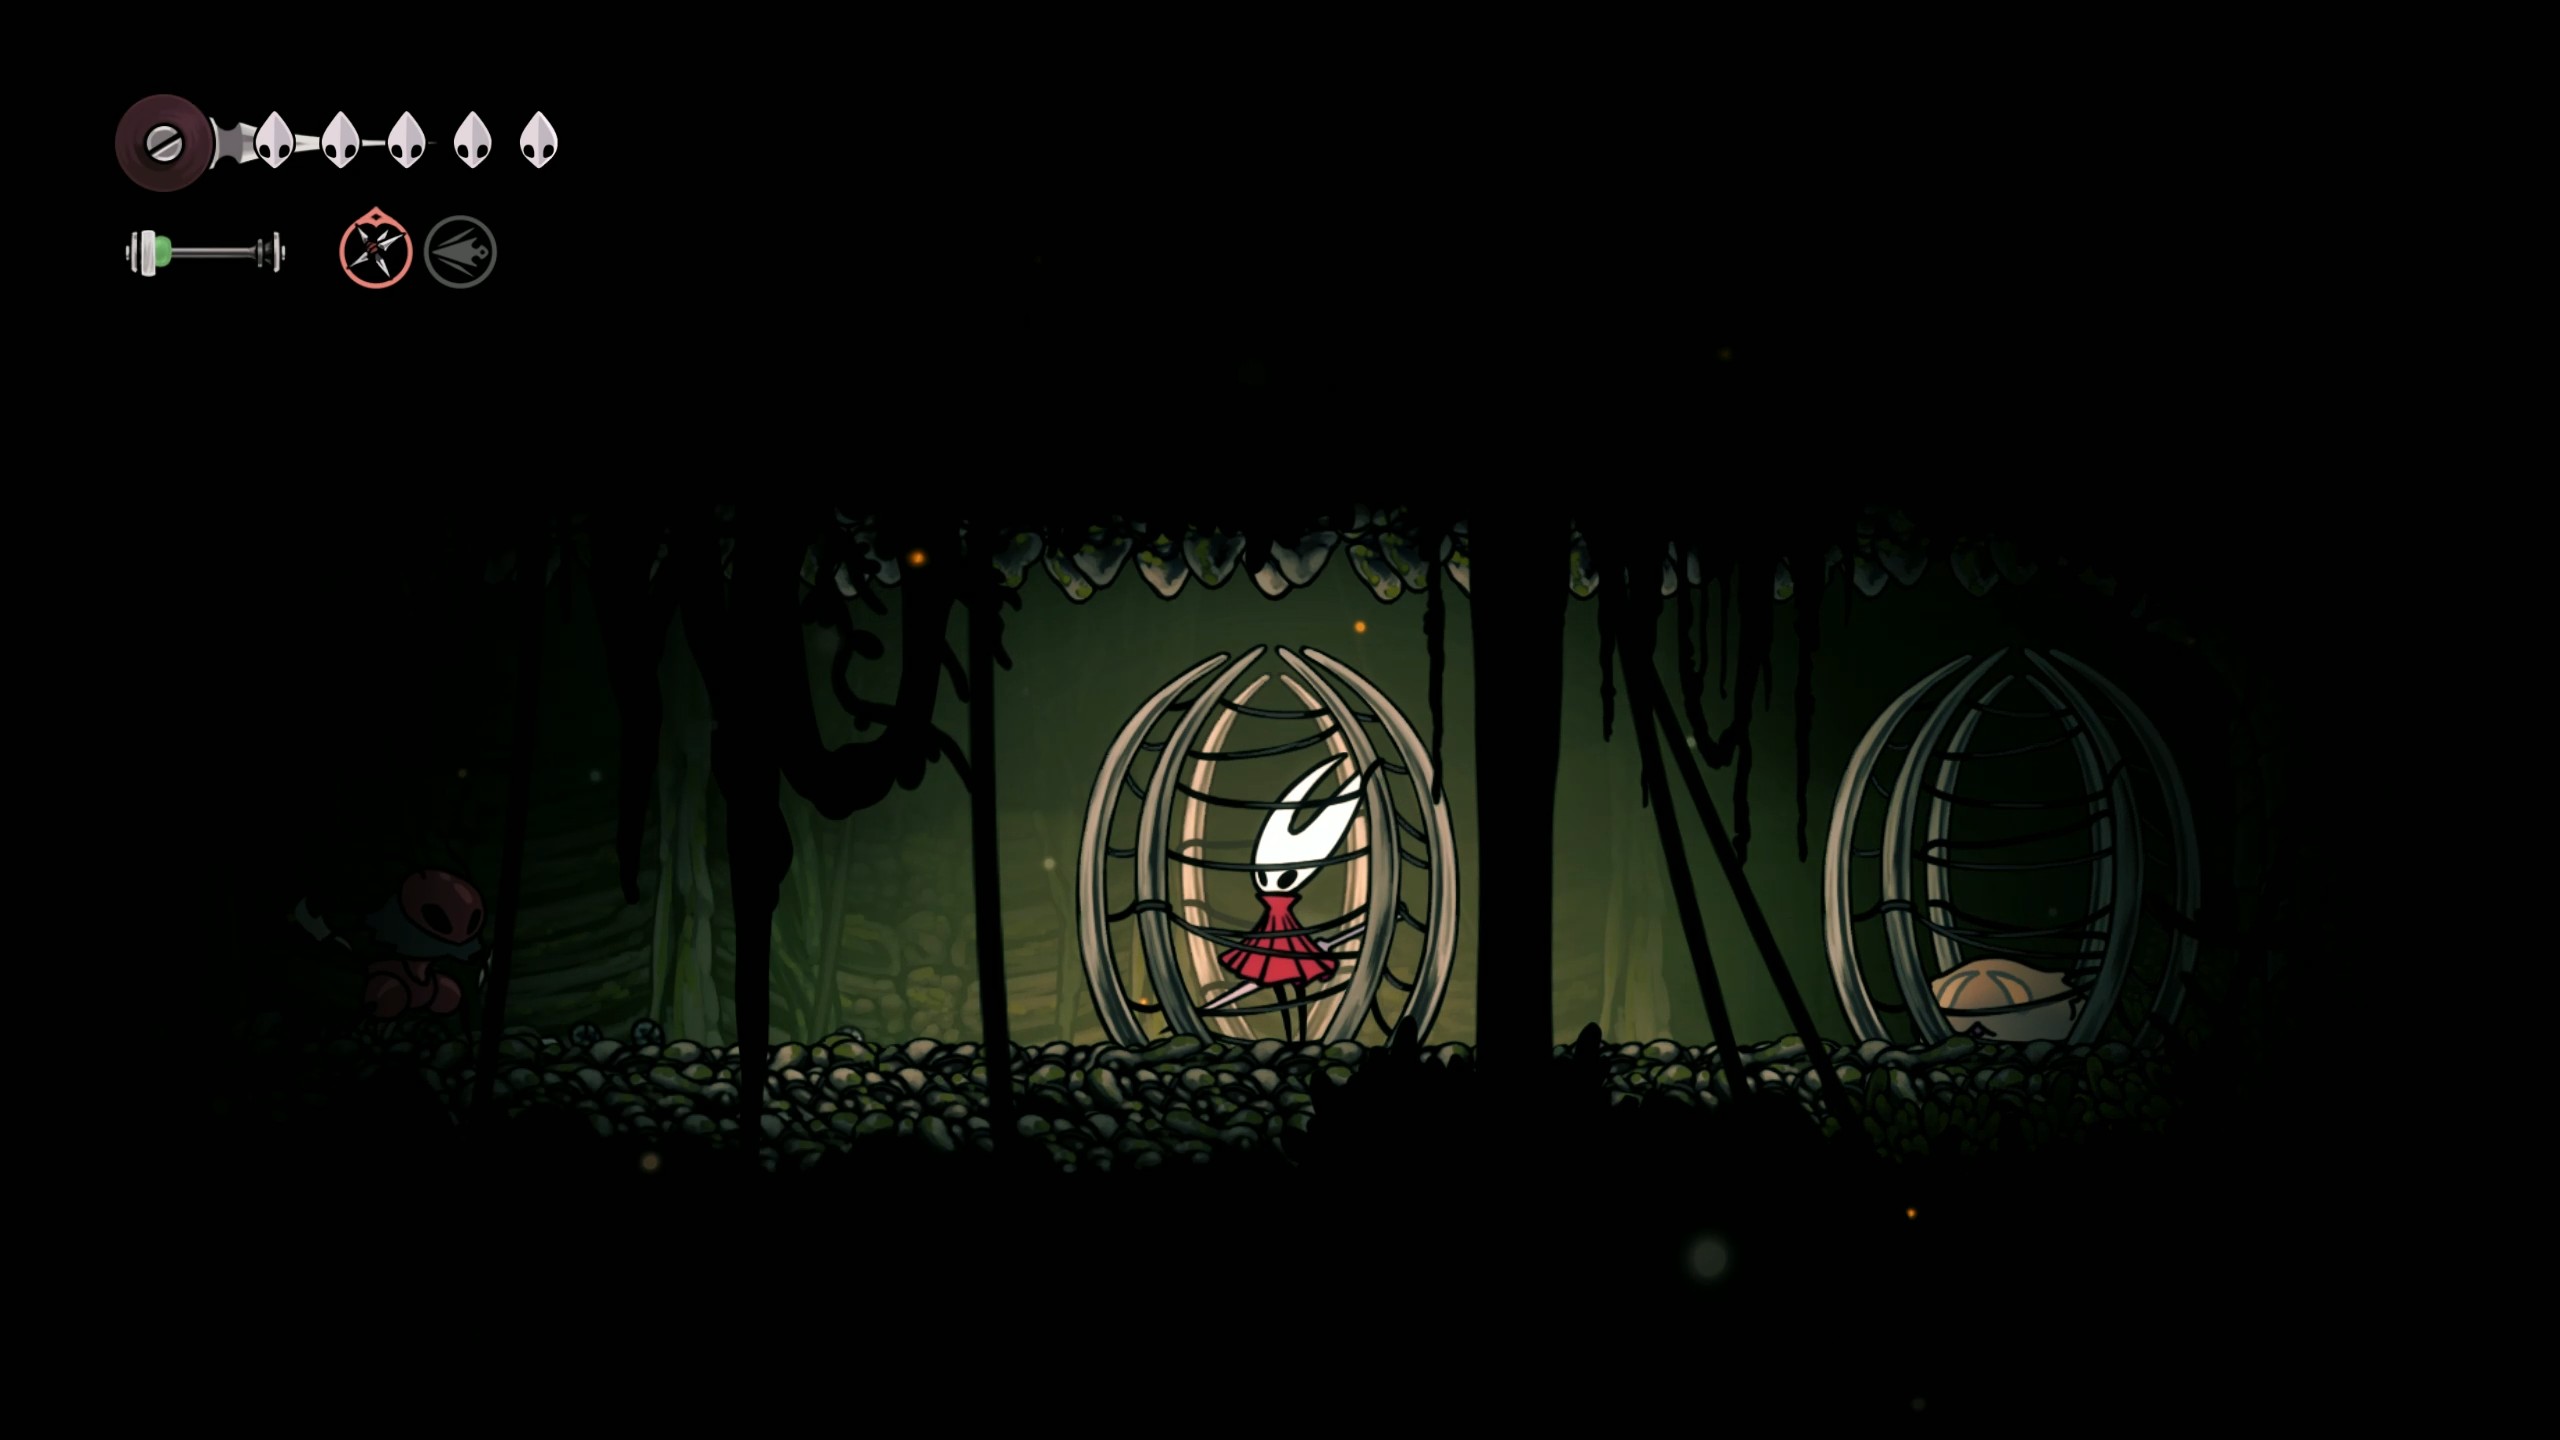
- Go to the far right side of this next room and smash a secret wall.
- Hop up a couple of platforms to spot a passage on the right blocked by some bone containers.
- Smash these and head inside (be warned, a red ant will catch you, so smash out of the cage), then smash the flea's cage to free it.
There is an alternate way if you don't have the Drifter's Cloak yet. While heading into Far Fields via the main path, look for two red ants on a platform above you, huddled around a lantern. From here, you can sprint and jump up the platforms to reach the top of the room instead (and then go from step 2 in the list above).

Hunters March
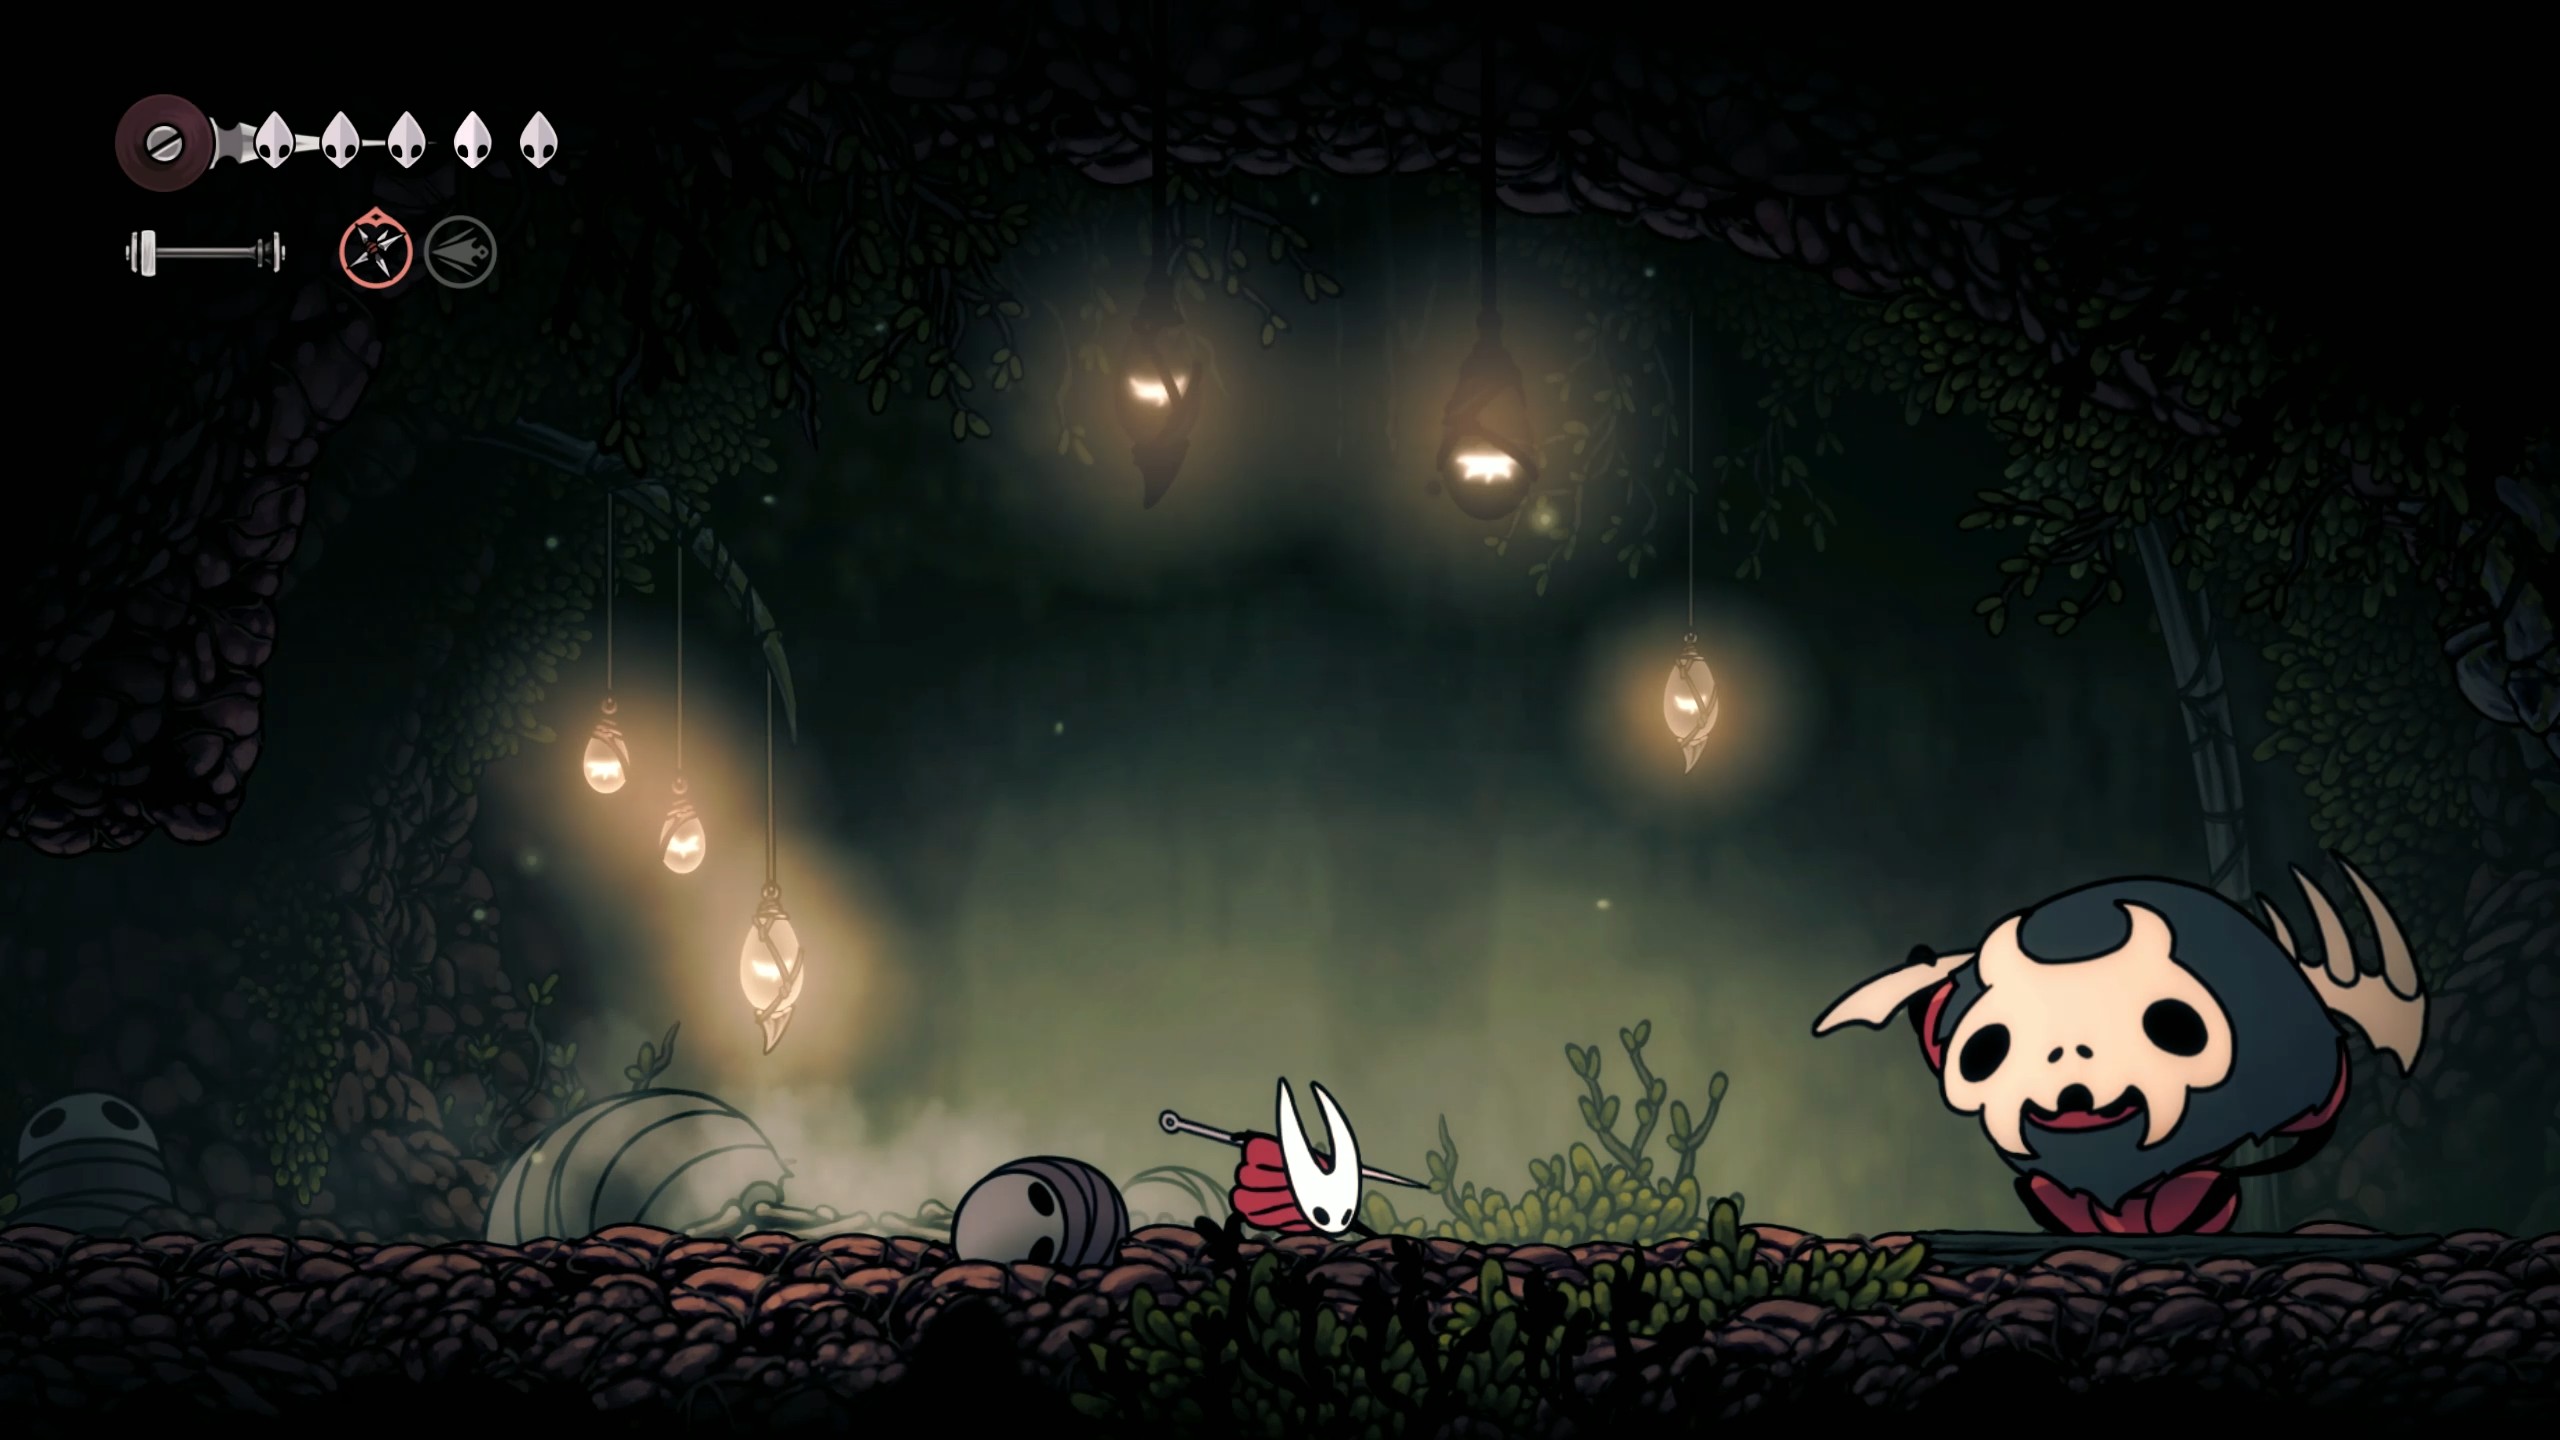
The final flea is in the Hunter's March area. You'll have to defeat the big red ant boss guarding the passage on the far right side of The Marrow, but you can do this easily once you acquire Swift Step. This is the passage to the right above the prison with the bench where you meet Grindle, in case you're lost. After he's beaten, you simply have to use downward attacks on the red orbs to bounce yourself all the way up to the top of the next room, where you'll find the flea.
Go see Fleamaster Mooshka after you've located all five, and he'll take you to the far left side of Greymoor, which effectively skips a huge chunk of the main path. You'll also get three charges of Flea Brew if you talk to the other fleas at the caravan, which boosts movement speed and attacks temporarily.
How to find the remaining flea locations in Silksong

Once you reach Act 2 and acquire the Faydown Cloak double jump ability from Mount Fay, or gain access to the Putrified Ducts via defeating Groal the Great in Bilewater, you can meet a flea hunter called Vog who will mark flea locations on your map in exchange for Rosaries.
You'll also need the Clawline ability you get from the right side of the Underworks. This is accessible through Whiteward if you get the White Key to the right of the First Shrine and unlock the elevator on the bottom level of the Choral Chambers. You can also use the elevator near The Stage in the Whispering Vaults, accessible through the lower Cogwork Core once you've defeated the Cogwork Dancers.
First off, to get to the Putrified Ducts, you'll want to head towards the Cogwork Dancers boss arena from the First Shrine in the top right of the Choral Chambers, and then double jump up into the Memorium area. On the far right of Memorium, you'll find a way outside onto a strut where a load of bats will attack you—incidentily, this is also where you find Jubilana in the Lost Merchant quest.

Head to the far end and jump up to find the entrance to the Putrified Ducts. Now, once you've found the region's Bellway, you'll want to:
- Exit the Bellway, drop down to the bottom of the shaft, and go right into the next room
- Go to the far right side of the long chamber and use the platforms to climb up before smashing a secret wall at the top on the left
- Make your way left along the platforms before jumping up into the room above
- Head right and jump over the spikes, letting the roof enemy snatch you with its tongue and drag you up into a hidden space with a jumping puzzle
- You'll need to get grabbed a couple more times by other roof enemies to complete the puzzle and reach Vog at the top
Speak to Vog and she'll move to the Flea Caravan wherever it's located, letting you purchase any flea locations you haven't found yet. If you don't have enough Rosaries, I recommend my Act 2 Rosary farm. Once you've rescued all the fleas, have reached Act 3, and have told Fleamaster Mooshka about the Pale Lake (which you also find in the right of the Putrified Ducts), you'll be able to take part in the Ecstasy of the End quest which rewards you with a Pale Oil.

You must confirm your public display name before commenting
Please logout and then login again, you will then be prompted to enter your display name.