All Silksong crest locations and the best crest
Change your attacks, moveset, and bind ability by acquiring these upgrades.

Finding every crest location in Hollow Knight: Silksong is a fairly elaborate task, but you'll definitely want to grab a new one as soon as possible so you can get rid of that annoying diagonal downwards attack. In fact, one of the first crests you can grab, Wanderer, actually gives you the original Hollow Knight moveset, which is definitely intentional for those who aren't getting on with the Hornet's Hunter crest.
As you progress through the game, you'll find all sorts of crests which change your moveset, but also grant you a special ability when you bind. Some, like the Reaper crest, will create extra silk when you attack enemies post-binding, while other crests like the Beast or Witch, will let you lifesteal from whoever you're fighting.
These crests even change skills you acquire later, such as the Needle Strike charged attack you get from the Pinstress in the Blasted Steps. Each also has a certain number of tool slots, so whichever one you choose, it's going to make a big difference to your overall playstyle.
What's the best crest in Silksong?
The best crest in Silksong is either the Wanderer crest or the Reaper crest. While it doesn't have a bind ability, the Wanderer crest is the earliest you can access once you get a Simple Key and gives you the moveset from the original Hollow Knight game—a massive advantage to those who played it, learned how to use it, or are maybe coming straight from having just played the game. Overall, its fast attacks make it one of the best DPS crests, plus more hits means more silk.
There's also a case to be made for the Reaper crest as the best. When you bind, this crest grants extra silk you can collect when you attack enemies, which is great for extra heals and silk skill uses. It also has the best pogo attack in the game with a lot of airtime, and an amazing sprinting charge attack you can quickly combo into a second hit. It's certainly slower than the Wanderer crest, but it's super reliable, and you can also grab it quite early in the game.
Silksong Crest of the Wanderer location
"Cut swiftly and nimbly with short, precise strikes."
- Location: Bonegrave, Bone Bottom
The Crest of the Wanderer is technically the first you can access in the game if you purchase the Simple Key from Pebb in Bone Bottom and, once you acquire the Swift Step upgrade in Deep Docks, use it to jump across the gap above Bone Bottom, to the left of Mosshome. Here, you'll find a locked door that leads into the Wormways, and if you descend through them, you'll find yourself at Bonegrave, to the left of the chapel behind a blocked door.
Keep up to date with the most important stories and the best deals, as picked by the PC Gamer team.
You might also be able to get to this area via descending the Wormways through the upper entrances when you come left out of the Shellwood into the main shaft, and can drop down to reach them on the left side. Either way, head inside the Chapel of the Wanderer and complete it to earn the Crest of the Wanderer.
This crest can hit fast, making it perfect for those who like to attack as much as possible in boss damage phases and to get things over with ASAP. It's also a fantastic crest for harvesting lots of silk, since more hits mean more to use. Its only disadvantage is that it doesn't have a bind-based effect, but it's nonetheless a great option if you want to get rid of the diagonal downward strike as fast as you can, and it may have an evolved version later. It's also worth noting that this crest is the closest to the knight's moveset in Hollow Knight.
Silksong Crest of the Reaper location
"Attack with heavy, arcing slashes and reap additional silk from enemies."
- Location: Chapel of the Reaper, Greymoor
As mentioned above, the Reaper crest is extremely strong due to its ability to produce additional silk for a duration post-binding as little collectible balls, and for its very reliable and airy downward pogo attack.
You can get this one after you arrive in Greymoor, either via the Far Fields or by completing The Lost Fleas quest. The Chapel of the Reaper is located on top of a tower on the left side of Greymoor (though just to your right if you arrived via flea caravan). You'll know the place once you're inside, because it's filled with bugs carrying massive scissors.
You'll have to climb the tower and complete a little platforming inside the chapel itself, as well as an arena battle against those scissor enemies. This can be a little tricky, so I recommend grabbing some handy tools like the Sting Shards that you can get from Forge Daughter in Deep Dock. Honestly, these exploding AoE traps are so good for enemy arena battles and can straight up wipe out entire waves if you place them right. Once done, you'll be able to grab the crest at the top.
Silksong Evolved Crest of the Hunter location
"Stalk prey and attack with lethal strikes. Builds focus with successive strikes."
- Location: Weavenest Atla, Moss Grove
While you start off with the basic Hunter crest in Silksong, you can acquire an upgrade for it once you get the Needolin by defeating the Widow boss and freeing Bellhart on the main track through the game. Once you have it, head to the right side of Moss Grove (where the game originally started), and play your Needolin to open the bug face door. Head inside, descend the lift, and go right to find Eva. If you agree to grant her insight, this character will give you the Evolved Crest of the Hunter. The main difference with this one is that it builds focus with successive hits, and deals more damage if focus is full, though you'll lose it if you take a hit.
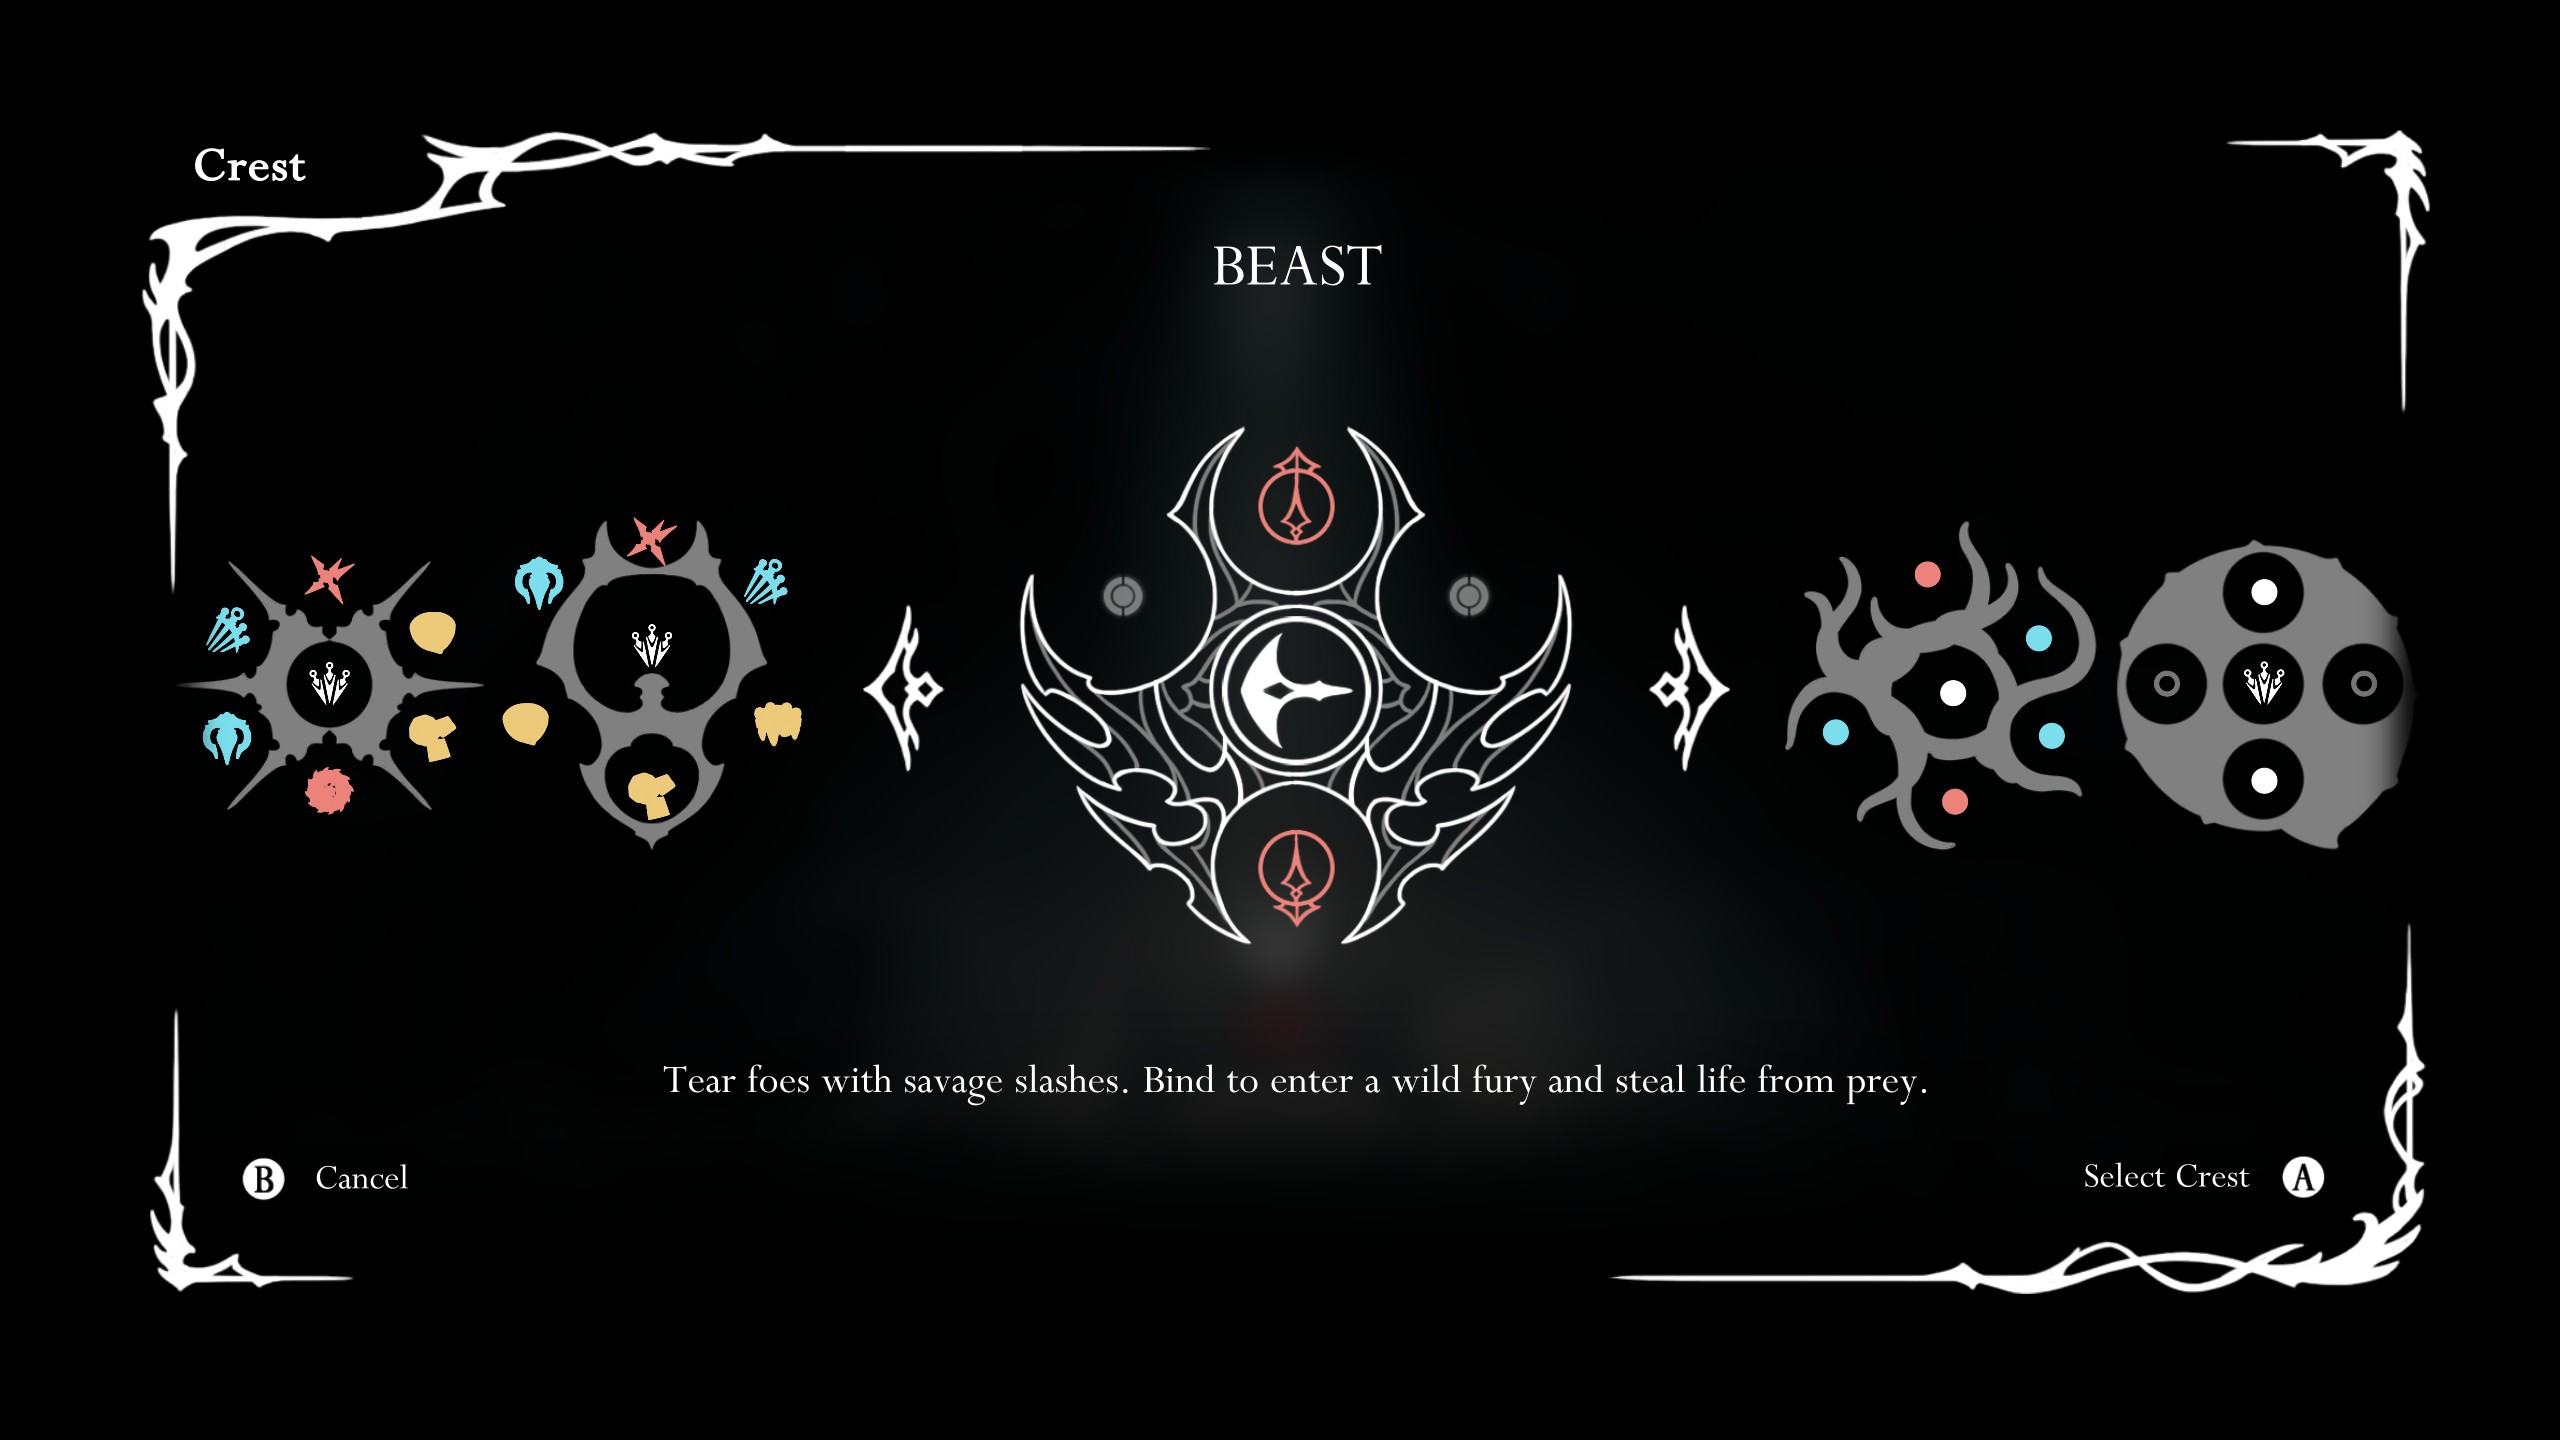
Silksong Crest of the Beast location
"Tear foes with savage slashes. Bind to enter a wild fury and steal life from the enemy."
- Location: Chapel of the Beast, Hunter's March
This is one I recommend grabbing a bit later in the game, after you've acquired the Cling Grip wall jump from Sister Splinter. For it, you'll have to head into Hunter's March, either by defeating the big ant miniboss in the far right of The Marrow, or by travelling up via the top right of Deep Docks (which saves a good deal of platforming). The boss is on the far right of the area, but make sure to grab the Hunter's March bench, since you'll inevitably have to try it multiple times, and otherwise the runback is hell.
After you've defeated the Savage Beastfly (again, wall jump is very good for getting over him when he charges), you'll get the Crest of the Beast. This one lets you slash at enemies as if you have claws and when you bind to heal, you'll enter a state where you can very briefly lifesteal.
Silksong Crest of the Witch location
"Whip the needle in sweeping swings. Leech the life of foes through twisted roots."
- Location: Infect yourself with the Twisted Bud and remove it via the Infestation Operation quest
This is one of the most elaborate crests to get. First, you'll have to find the Twisted Bud, give it to Greyroot in Shellwood, and then complete the Infestation Operation quest. All of these steps are detailed in the linked guide, including the bud's initial location. Once done, you'll be rewarded with the Witch Crest.
I genuinely think this is the best moveset in the game, with a two-hit sprint and two-hit pogo attack. Its only problem is that healing requires you to get close to enemies when using bind, hitting them with the roots you produce to steal their life. Obviously, this is extremely dangerous in bosses, but if you're an aggressive player and use the Injector Band to speed up binding, it's possible to make it work.
Silksong Crest of the Architect location
"Spin the Needle as a screw, shredding foes. Spend Silk to rapidly craft new skills."
- Location: Above the Cauldron, the Underworks.
The Crest of the Architect is likely one of the later Crests you'll get in Silksong, given it's tucked away late into Act 2 at the bottom of a long elevator shaft. You can get to the Cauldron via Whiteworks—where you'll have to go eventually to get the Clawline, anyway. Once you're able to Clawline, you'll find the Twelfth Architect to the top right of the Cauldron's first bench.
There's another step to unlocking this Crest, though—you'll need to have found a certain amount of tools. I'm not sure how many, but I had thirteen in total when she began offering me the key. It had been a while since I'd made the return trip, though, so it could be fewer.
Once it becomes available to you, buy the Architect's Key for 110 rosaries, then head to the right, up, and back across to find the Chapel of the Architect. Unlike other chapels, there's no challenge here. Just waltz right in and bind.
You might want to save some Memory Lockets for this one, as it starts with a whopping three tool slots but no room for amulets or trinkets of any sort.
As seen above, this crest has variable aerial and dash attacks based on how long you hold the attack button for—but its main draw is the ability to refresh tools on the move by spending silk, which you can do by holding up and pressing Bind. It'll probably pair nicely with the Pollip Pouch, which adds venom to all of your tools.
Silksong Crest of the Shaman location
"Cast the blade forward and strengthen Silk Skills with powerful runes."
- Location: In the Ruined Chapel in Moss Grotto in Act 3.
The Shaman Crest is actually quite easy to get once you arrive in Act 3 and complete The Dark Below quest that gets you the Silk Soar ability. Once you have it, head inside the Ruined Chapel in Moss Grotto, go over to the right side of the room, and Silk Soar up to the top. Now, simply follow the path, smashing the snail shell walls, until you reach the big snail shell at the bottom which you can bind for the Shaman Crest.
This crest consists entirely of ranged attacks and makes Silk Skills stronger, so is perfect if you want to keep a little distance from a boss or enemy while fighting them.
How to upgrade crests in Silksong
You can upgrade crests in Silksong by using Memory Lockets; items you find around Pharloom which unlock additional tool slots in each crest. Unlocking slots in any new crest will also grant you upgrades through Eva in Weavenest Atla, similar to how you get the Evolved Hunter crest.
Here's each upgrade plus its unlock requirements:
- 1st Vesticrest slot (gives you an extra tool slot): Have 12 tool slots unlocked across your new crests. You can do this by collecting additional early crests like the Wanderer, Reaper, or Beast, and by using Memory Lockets to unlock additional slots on them.
- 2nd Vesticrest slot (gives you a second extra tool slot): Have 20 slots unlocked across your new crests. You'll need the Witch or Architect crest and then to unlock extra slots via Memory Lockets.
- 2nd Hunter crest upgrade: Have 27 slots unlocked across your new crests. You could do this in Act 2 with enough Memory Lockets and crests, but if not, progress to Act 3 and acquire the Shaman Crest.
- Sylphsong (Silk regenerates when resting at a bench): Have 32 slots unlocked across new crests. Same as before, acquire any of the new crests, besides Hunter, that are listed in this guide and use Memory Lockets to unlock their slots
Silksong guide: Home of all our bug-battling tips
Silksong flea locations: Gather the lost fleas
Silksong simple key locations: Where to use it
Silksong Hokers location: Support the Seamstress
Hunter's March bench: Yes there is one

Sean's first PC games were Full Throttle and Total Annihilation and his taste has stayed much the same since. When not scouring games for secrets or bashing his head against puzzles, you'll find him revisiting old Total War campaigns, agonizing over his Destiny 2 fit, or still trying to finish the Horus Heresy. Sean has also written for EDGE, Eurogamer, PCGamesN, Wireframe, EGMNOW, and Inverse.
- Harvey RandallStaff Writer
You must confirm your public display name before commenting
Please logout and then login again, you will then be prompted to enter your display name.


