The Duskwood Hill Ruins puzzle might just be the most cumbersome Mysterious Energy trial I've come across so far in Crimson Desert. Found in the hills in northern Witchwoods, this puzzle is far from intuitive, and you'll be wrestling with the controls while trying to get all the pillars in the perfect position. Frankly, it's hell.
But it's easier when you know exactly what you need to do to solve it. Below, I'll go over the Duskwood puzzle solution so you don't have to suffer the same way I did.
Crimson Desert Duskwood puzzle solution
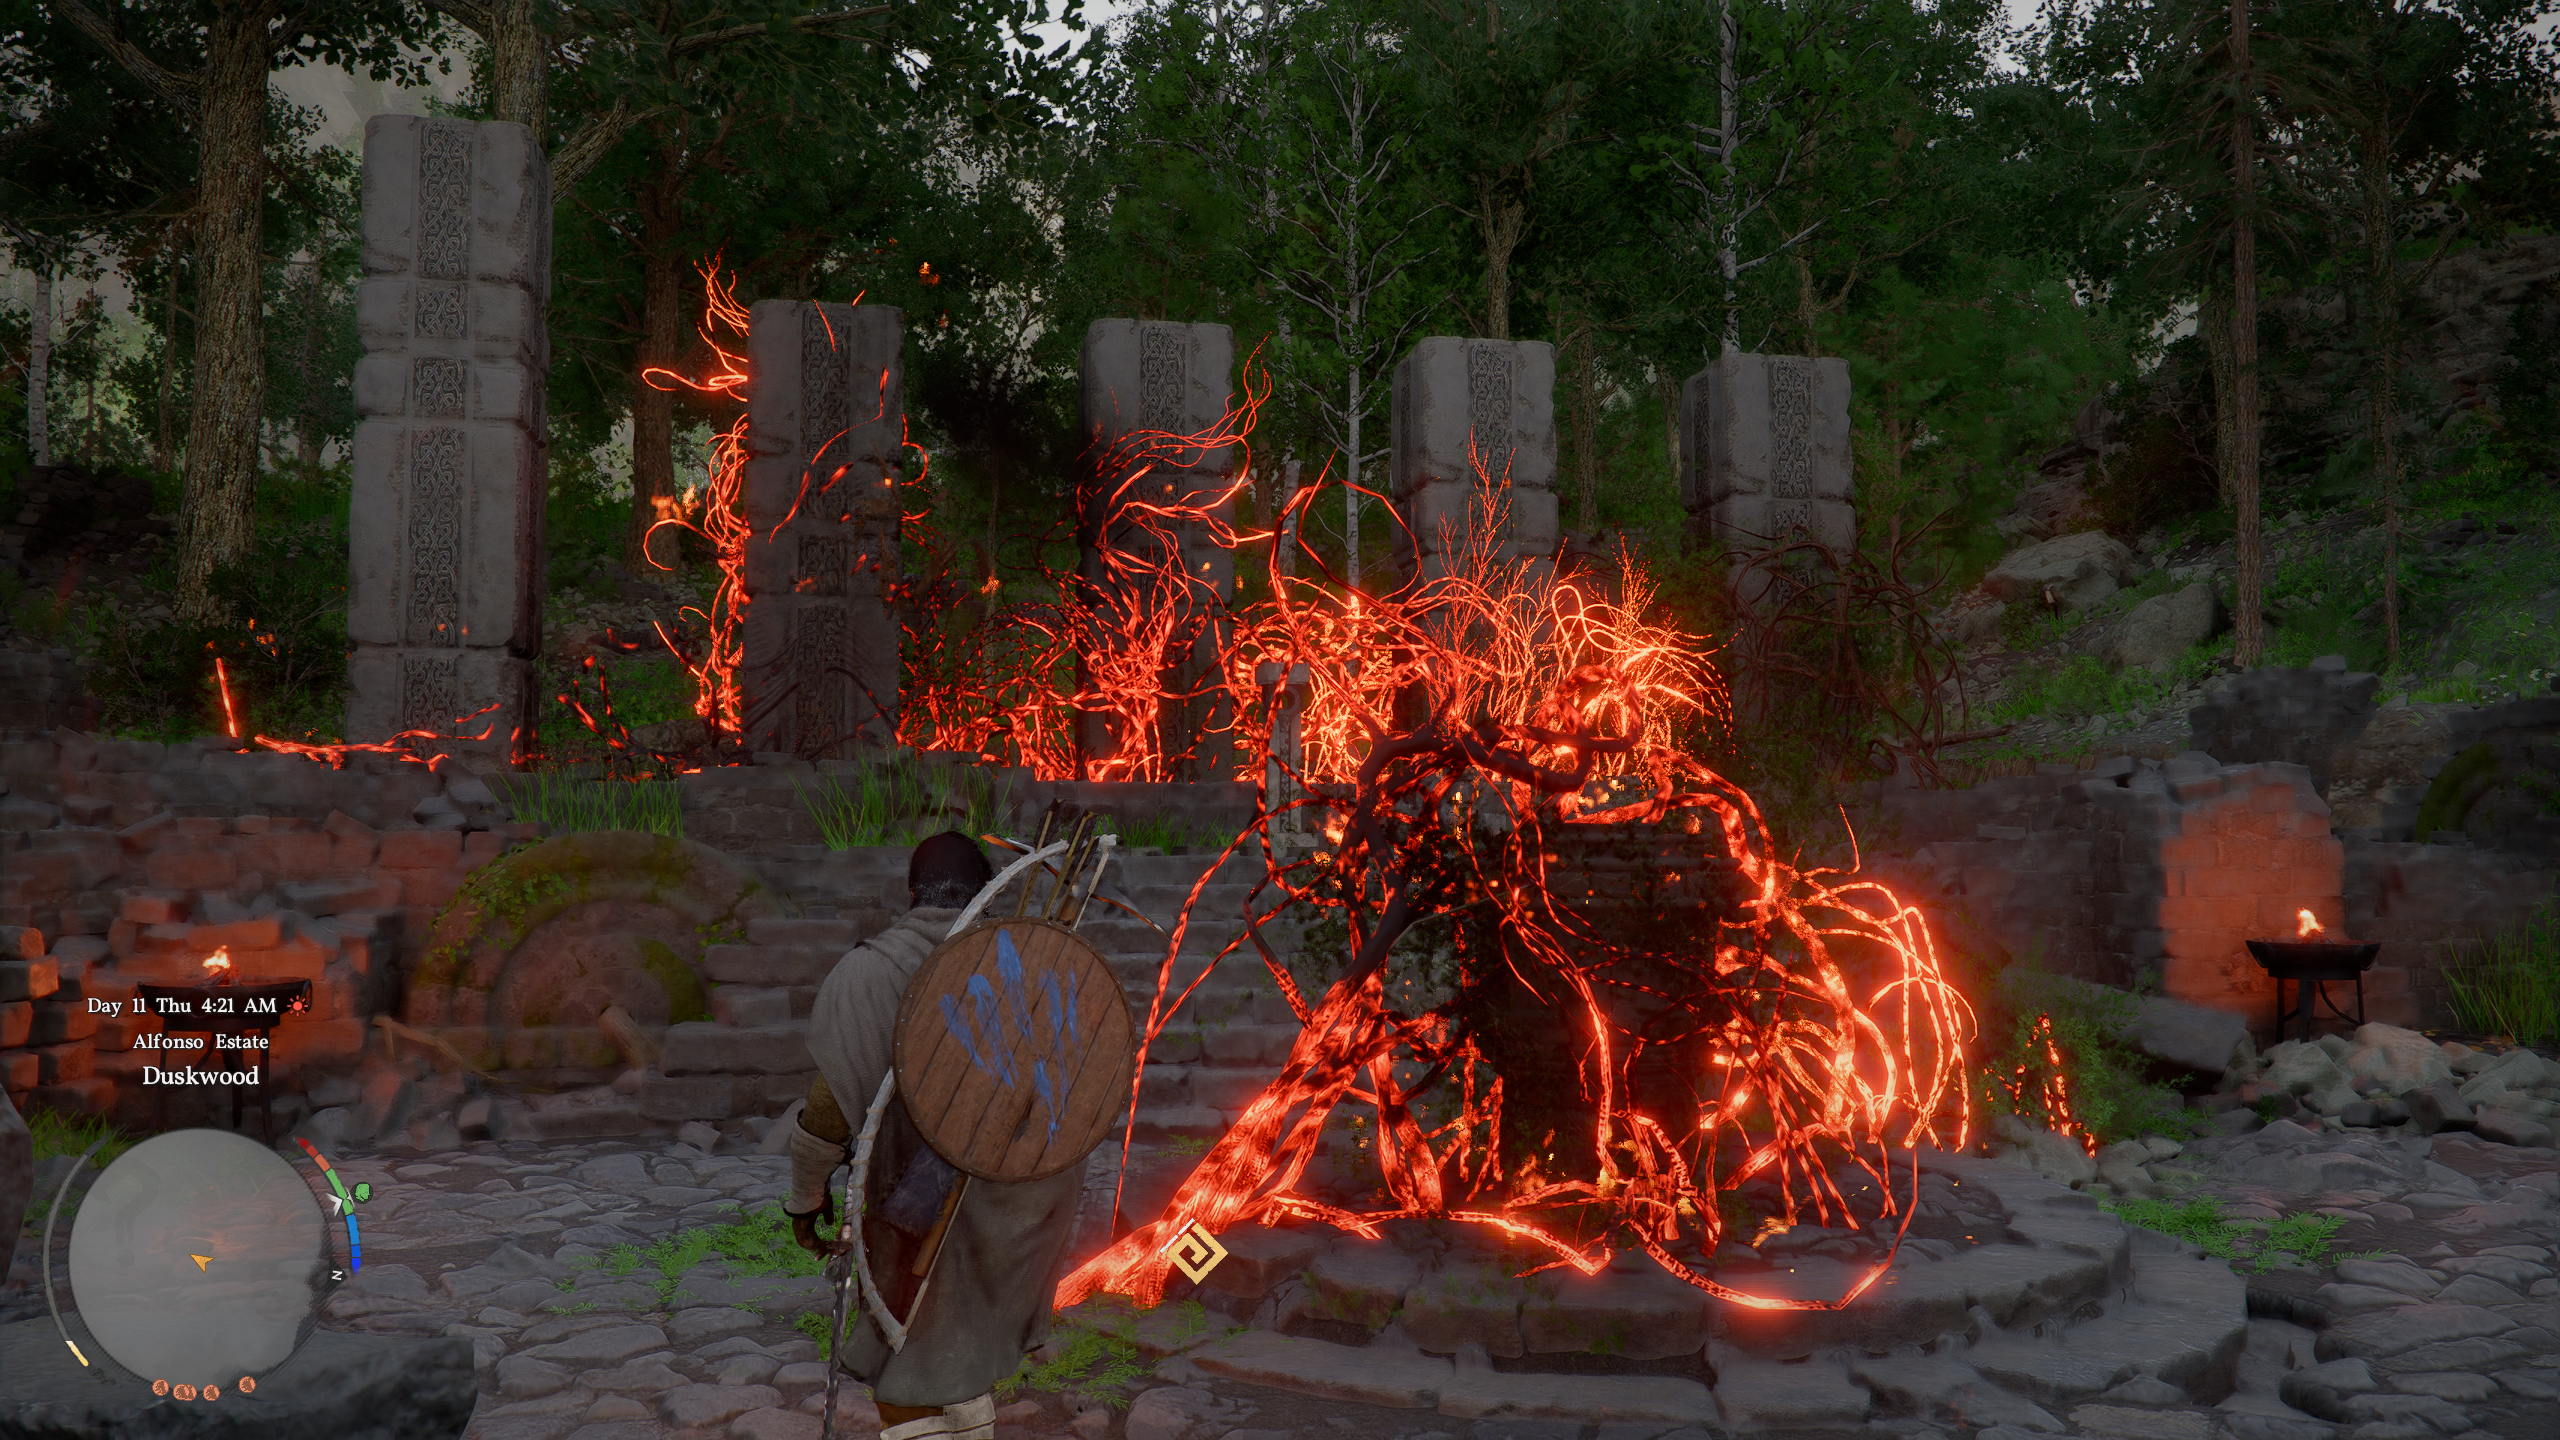

When you first come across the Duskwood Hill Ruins puzzle, it'll be covered in vines. Use the nearby fires to ignite an arrow or use Blinding Flash to burn the vines and reveal the puzzle mechanisms. If you've already done this and started tinkering, I recommend reloading a previous save to start from a blank slate.
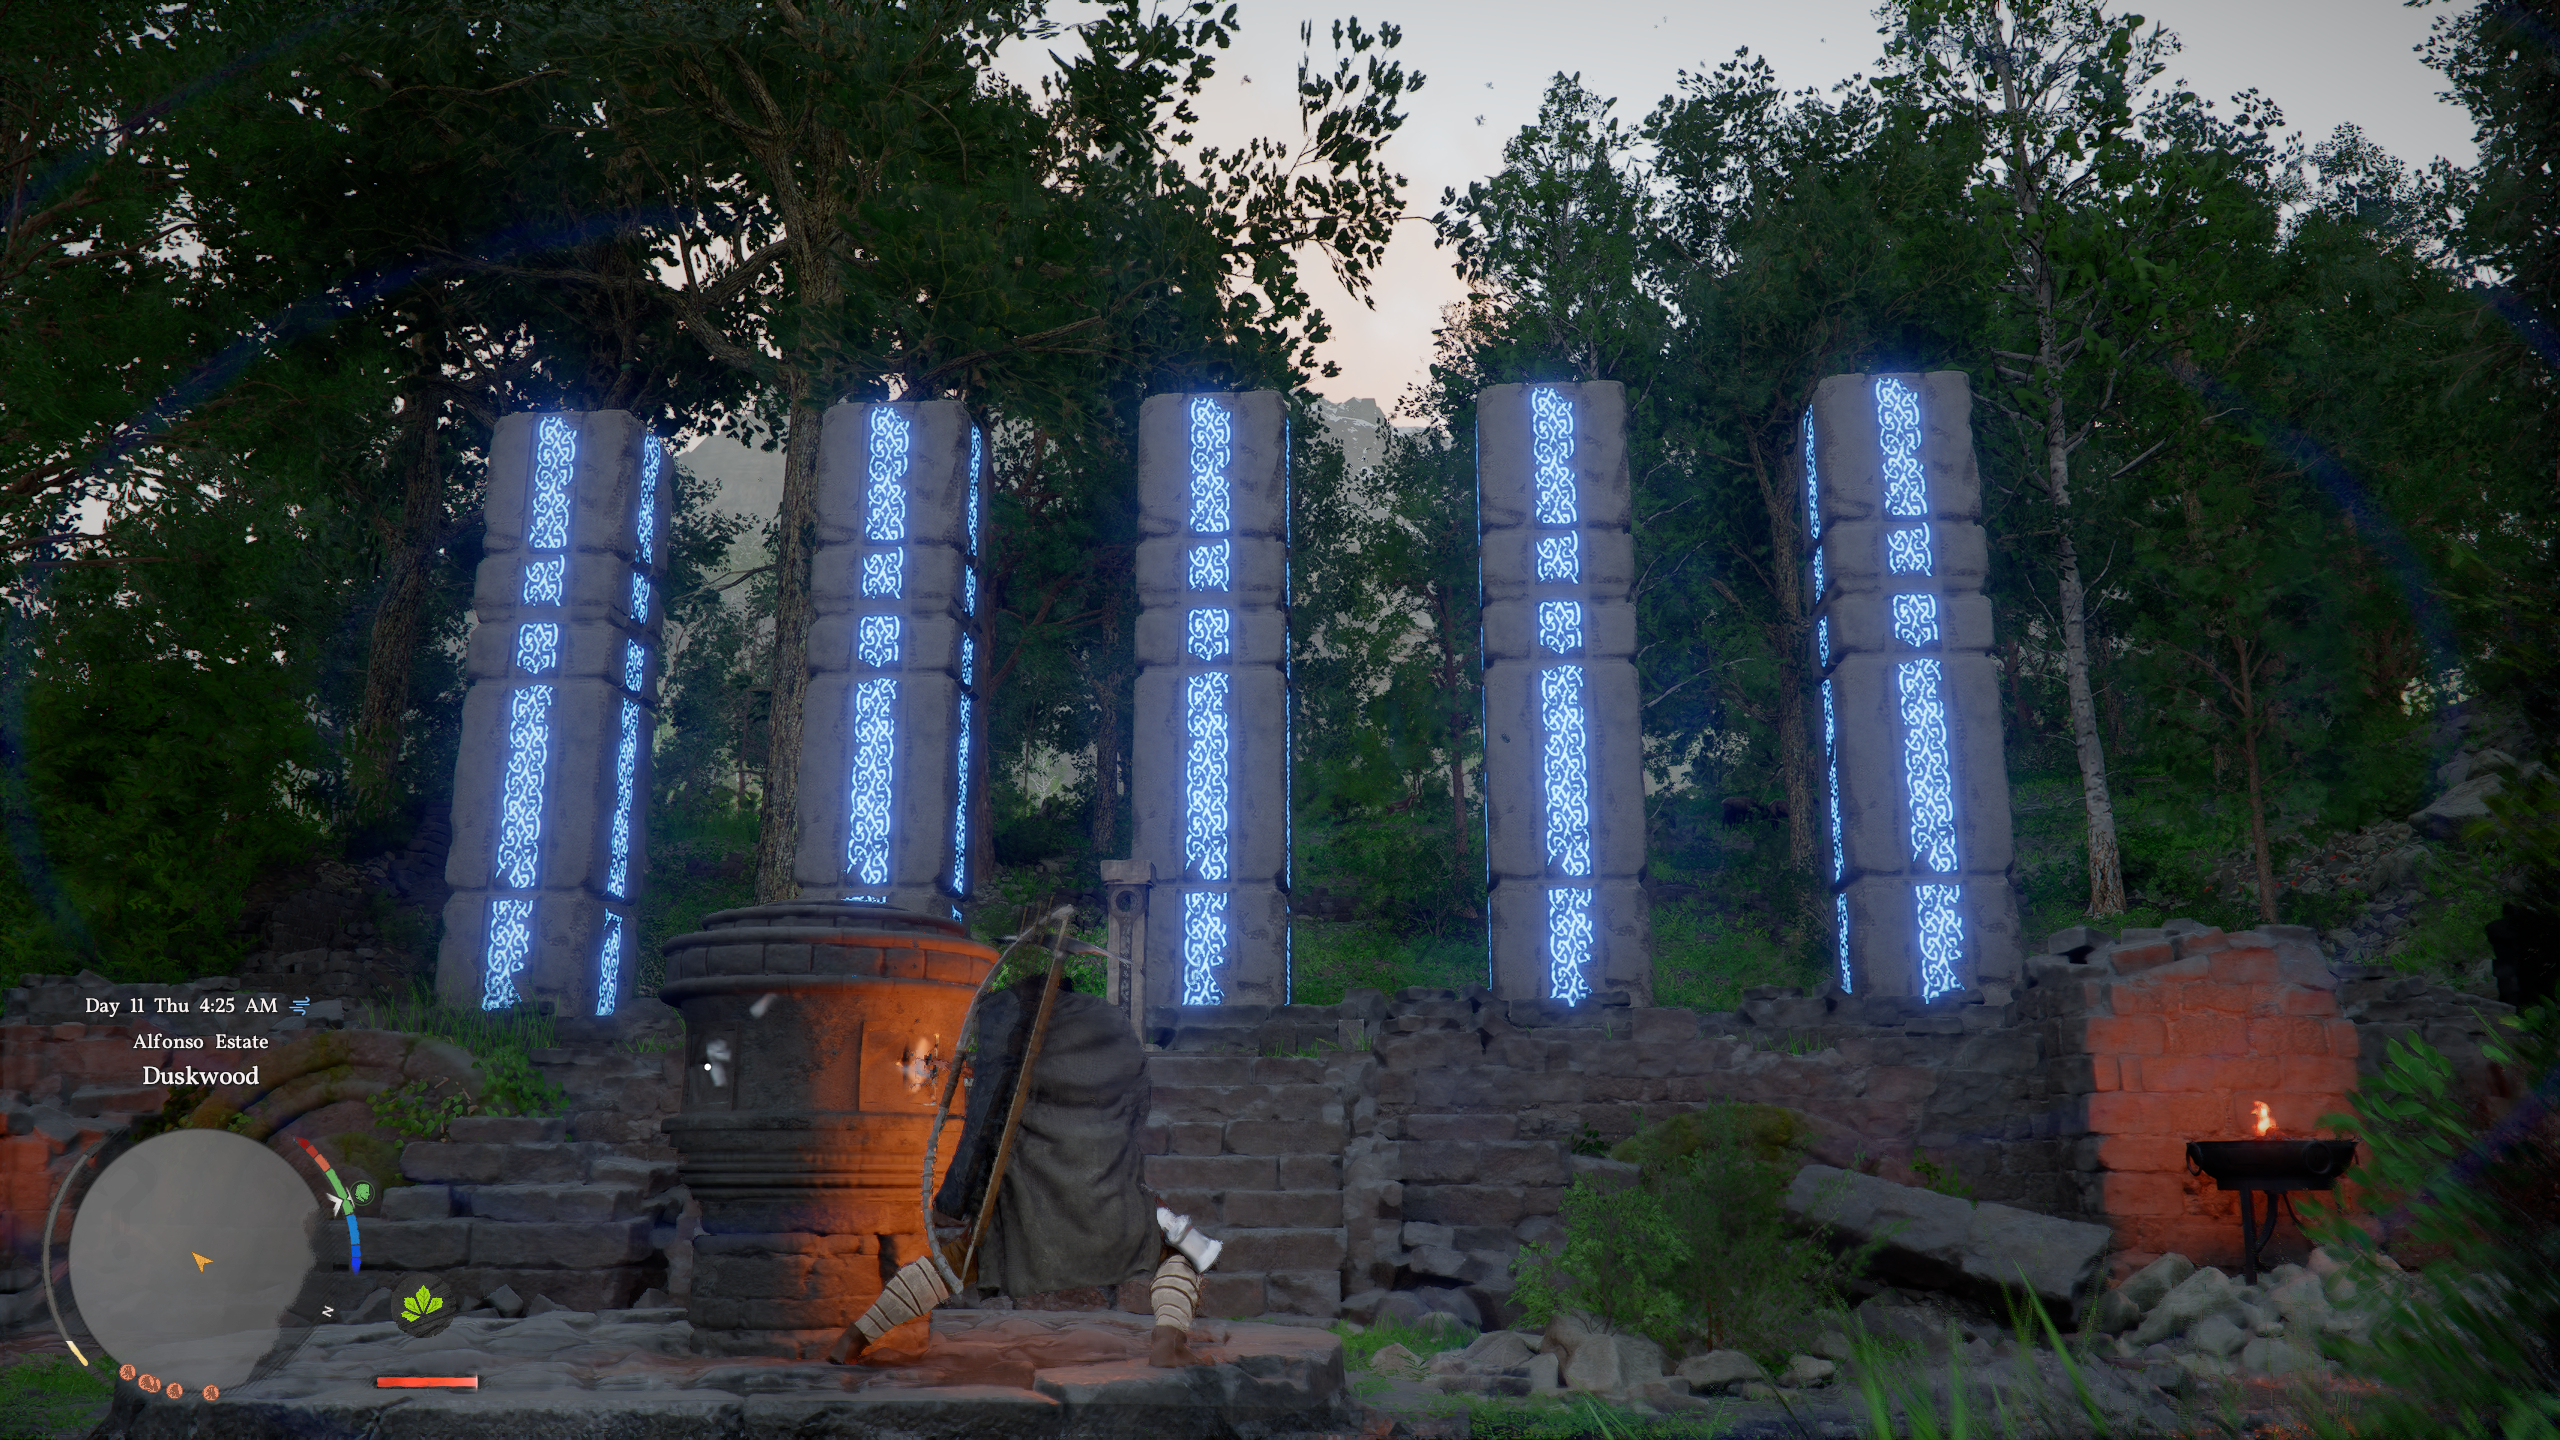
Article continues belowYour goal is to align all five pillars to the same height, using the left-most one as an example since you can't move it. Once aligned, a pillar will glow yellow. Each pillar is separated into tiered chunks, which is helpful as a guideline.
You'll do this by using the stab attack to create a handle for the dial with your sword—each notch on the dial moves a different selection of pillars. You can perform the stab attack by pressing shift and right click (RB and triangle/Y on controller).
From the starting position facing the five pillars (I'll be calling them 1 through 5, from left to right) like in the video above, move the dial as follows:
- Stab the left side of the dial and move clockwise slightly so that the right three pillars (3-5) are raised one thin chunk above the second pillar from the left (2) but not fully raised yet.
- Stab the next notch clockwise (which should now be on the northwest side), and move one step clockwise to raise pillars 2-4 so that pillars 3 and 4 are now perfectly positioned—remember, they'll glow yellow.
- Stab the next notch along (roughly facing the east side now) and move clockwise to raise pillars 2 and 5 all the way up until they are aligned, at which point all five pillars should glow blue and you'll have finished the puzzle.
If that's not the case, then you've likely misaligned the first or second step somewhat, so return to that notch, stab it, and raise those pillars ever so slightly. And if you get a bit lost, reload your save and try again—it's a very finicky puzzle.
Complete the puzzle and you'll receive an Abyss Cresset to get an Abyss Artifact. In other words, a skill point.


You must confirm your public display name before commenting
Please logout and then login again, you will then be prompted to enter your display name.