The Kiln Repair at Kilnden Workshop quest in Crimson Desert is one of the first you'll undertake in Chapter 4, after you spy the ancient facility exploding from a distance. When you head over there, you're greeted by Grimnir, a helmeted master artificer who enlists your help in getting things up and running again.
This is quite a long multi-staged puzzle, so I'll explain all the steps below to help you solve it and repair Kilnden Workshop.
Activate the ancient generator
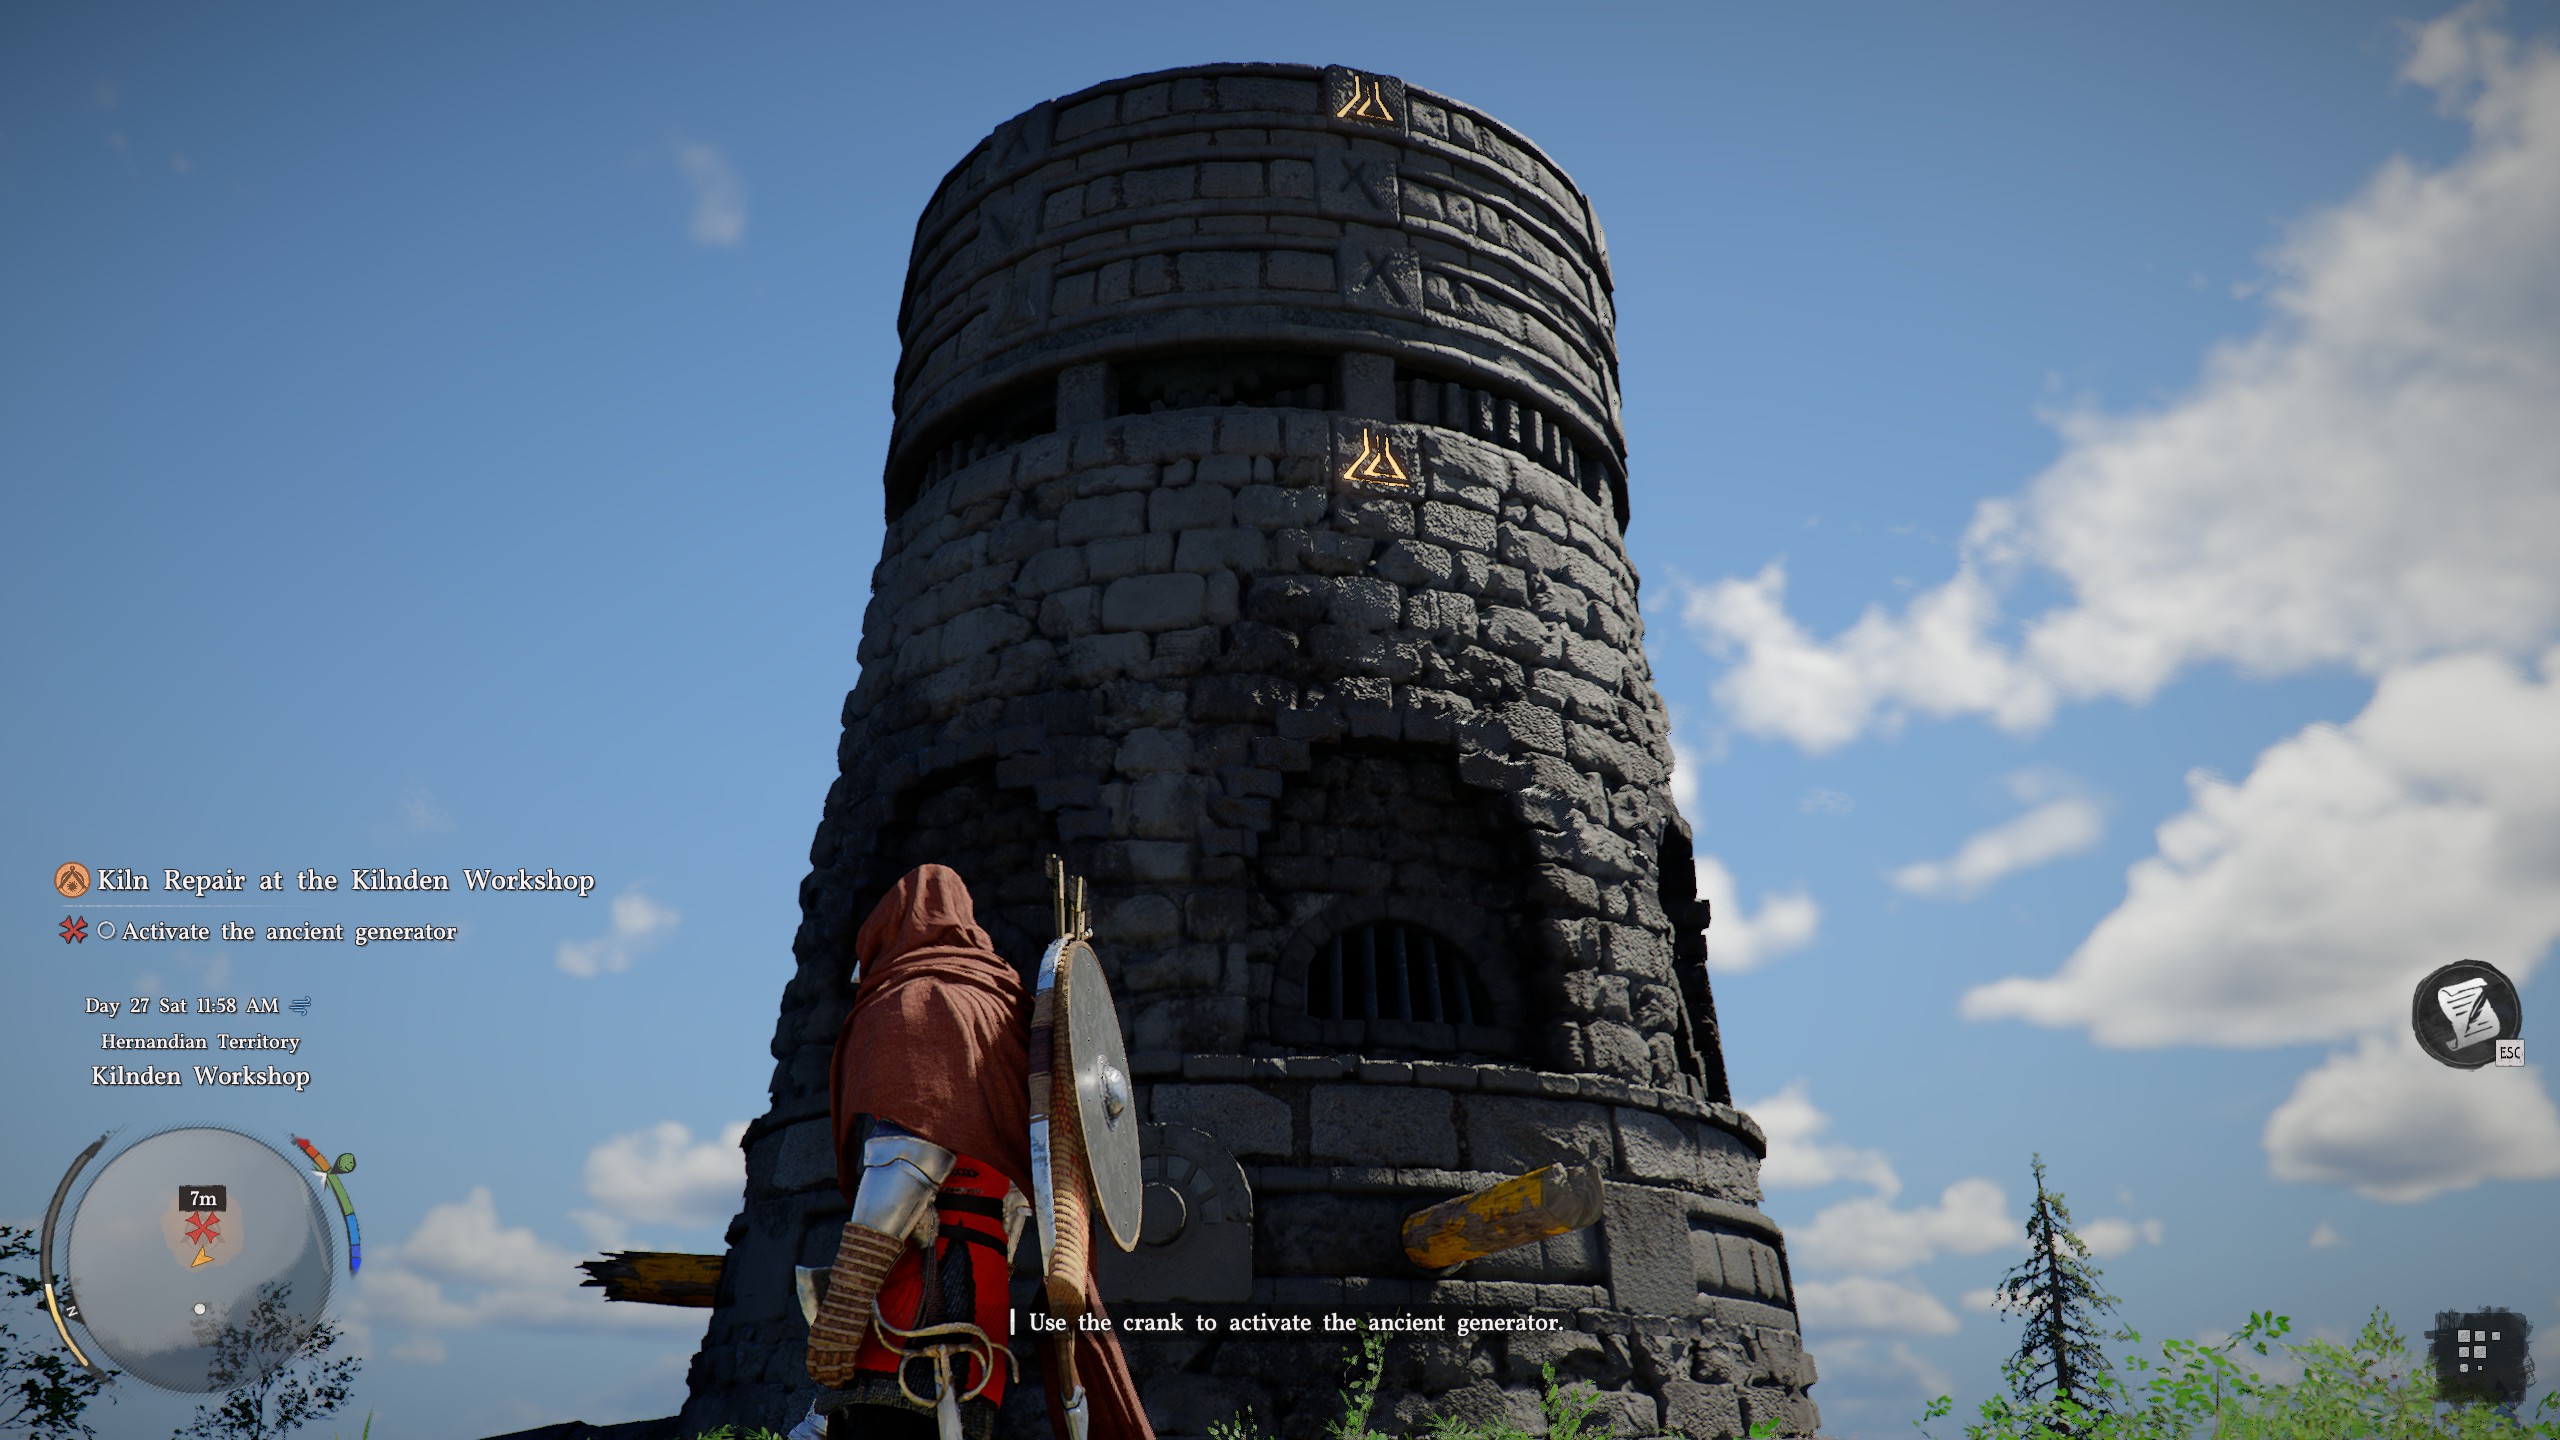
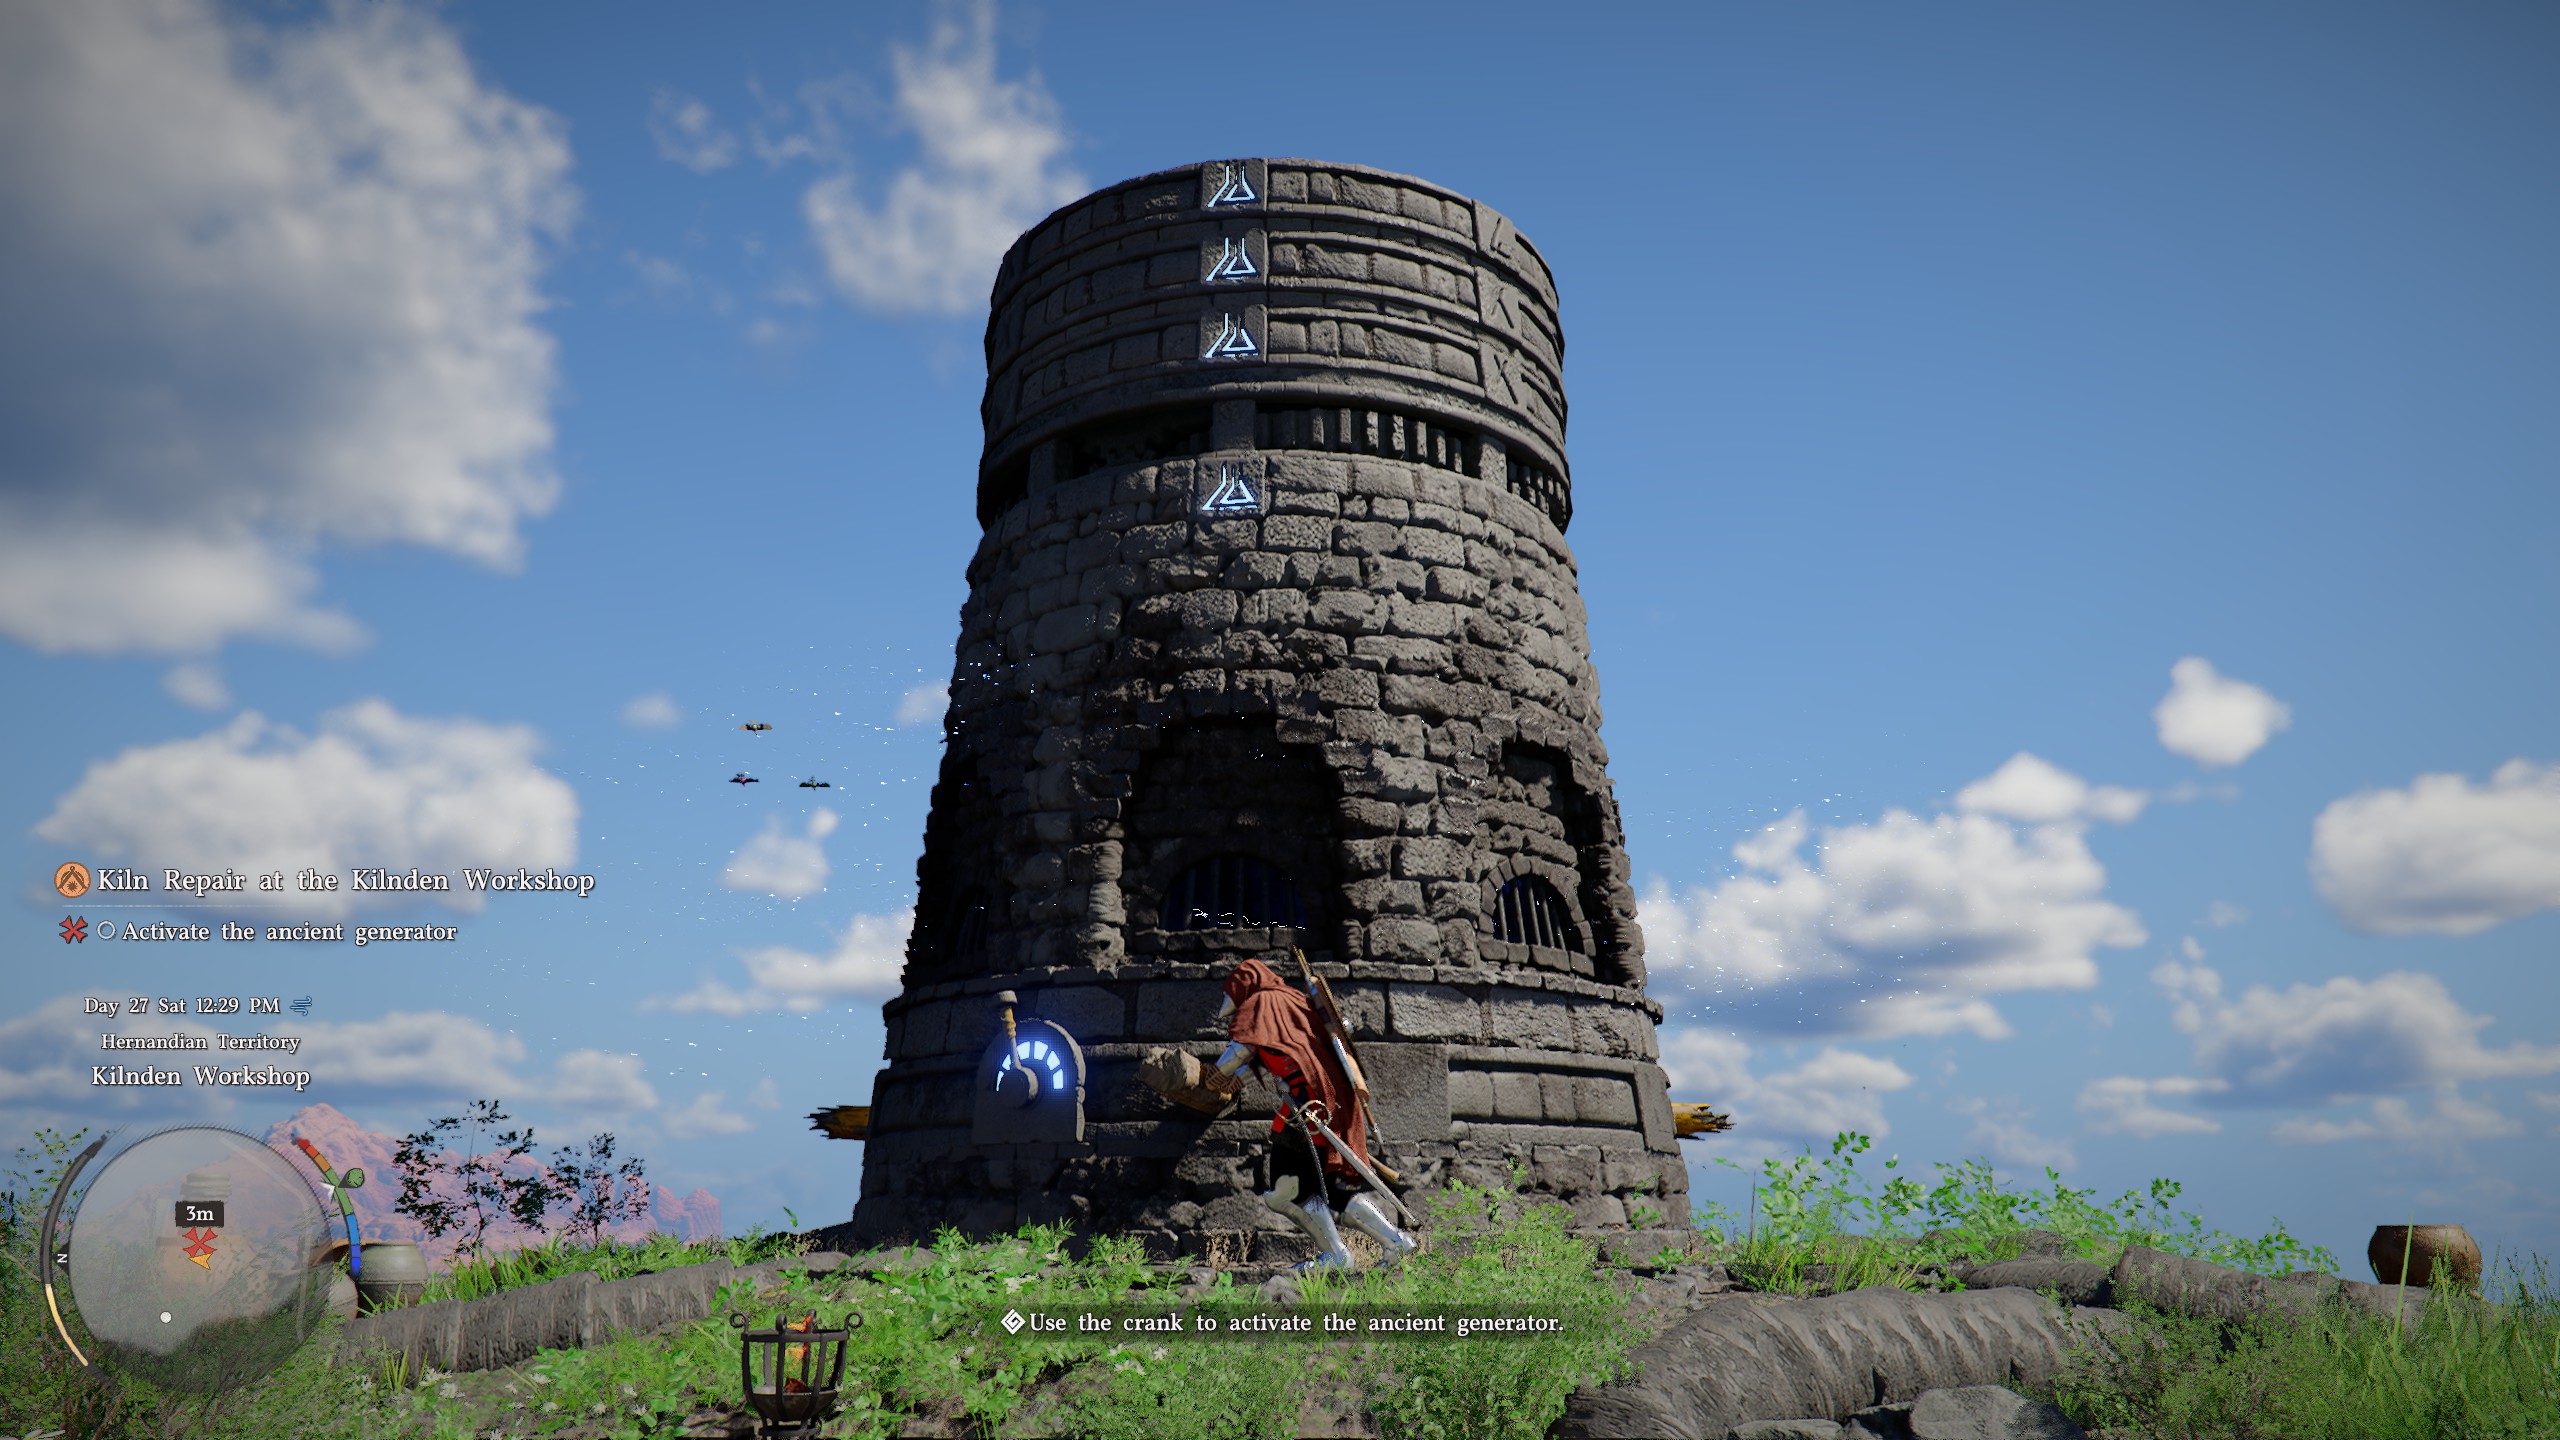
Before we can get to repairing the three kilns, you need to "use the crank to activate the ancient generator". What this means is that you need to align the triangular symbol on the three spinnable rings with the one at the bottom that's lit up. Follow these steps:
Article continues below- Move the lever until the symbol on the second ring up is lit
- Push the handle to your right one step to the right
- Move the lever until the symbol on the third ring up is lit
- Now push the handle one step to the left
This will align all four triangular symbols and power up the generator. Now, onto the kilns.
Put fuel into the kiln
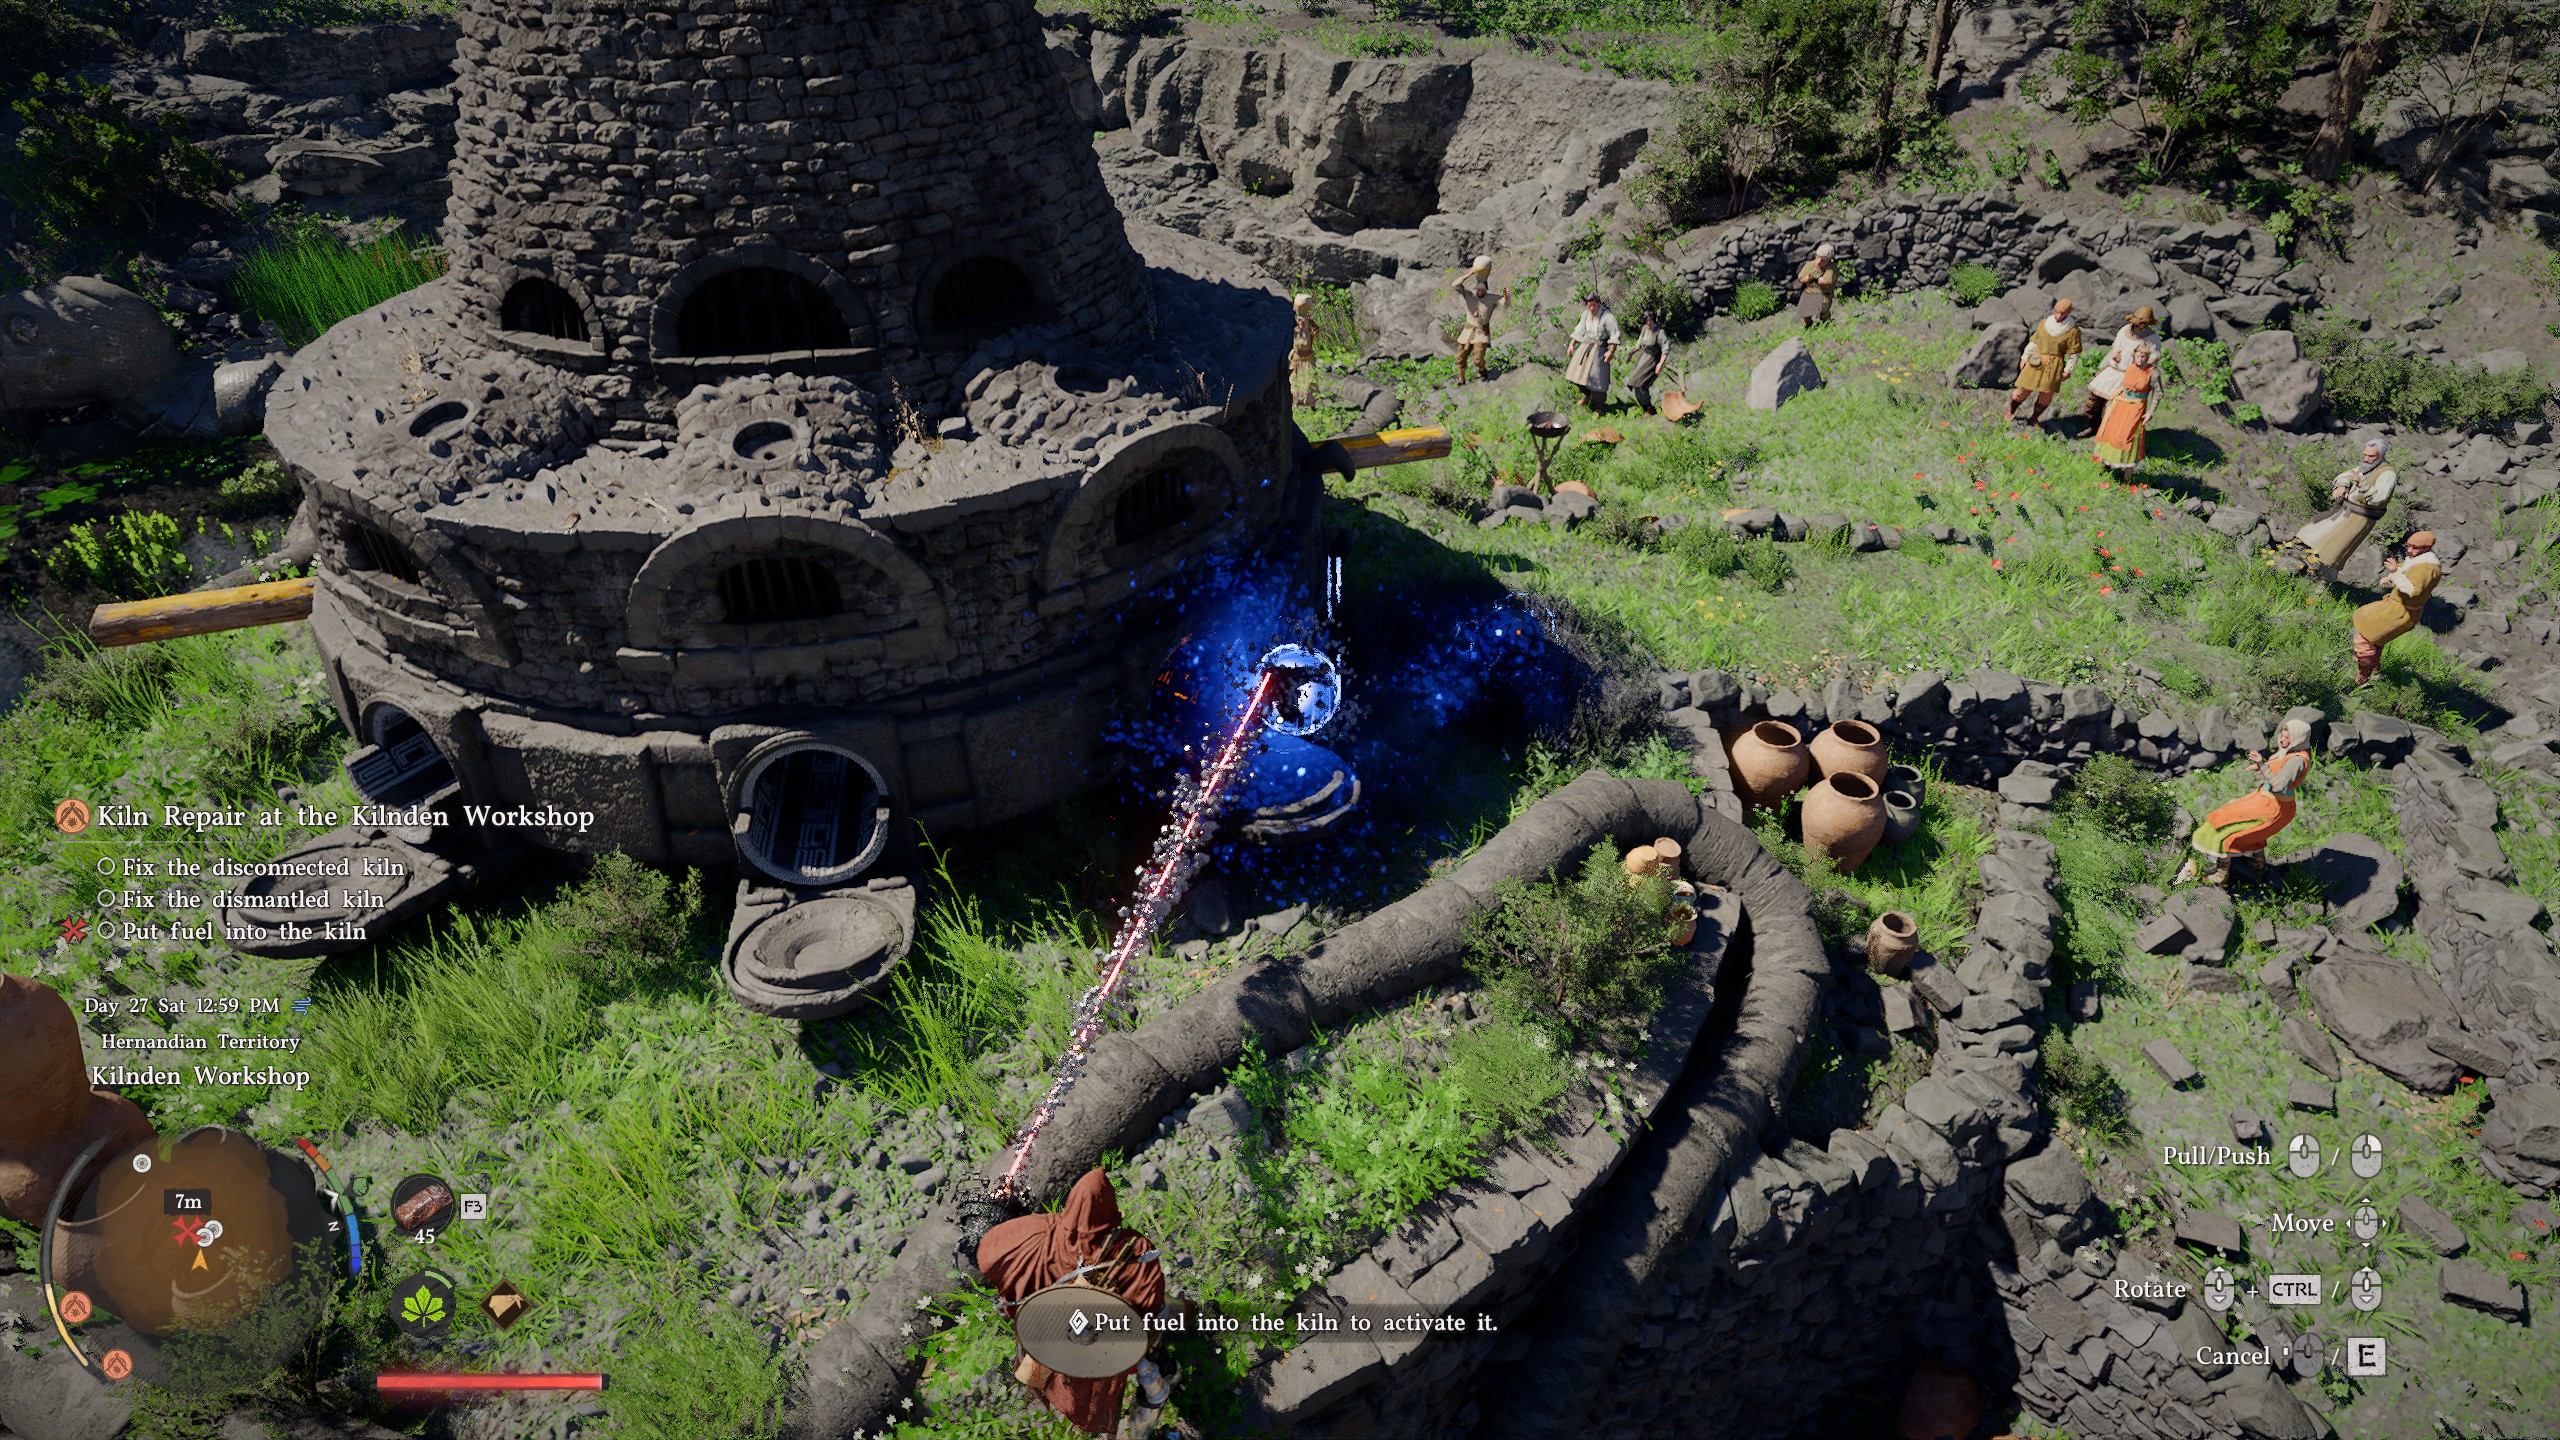
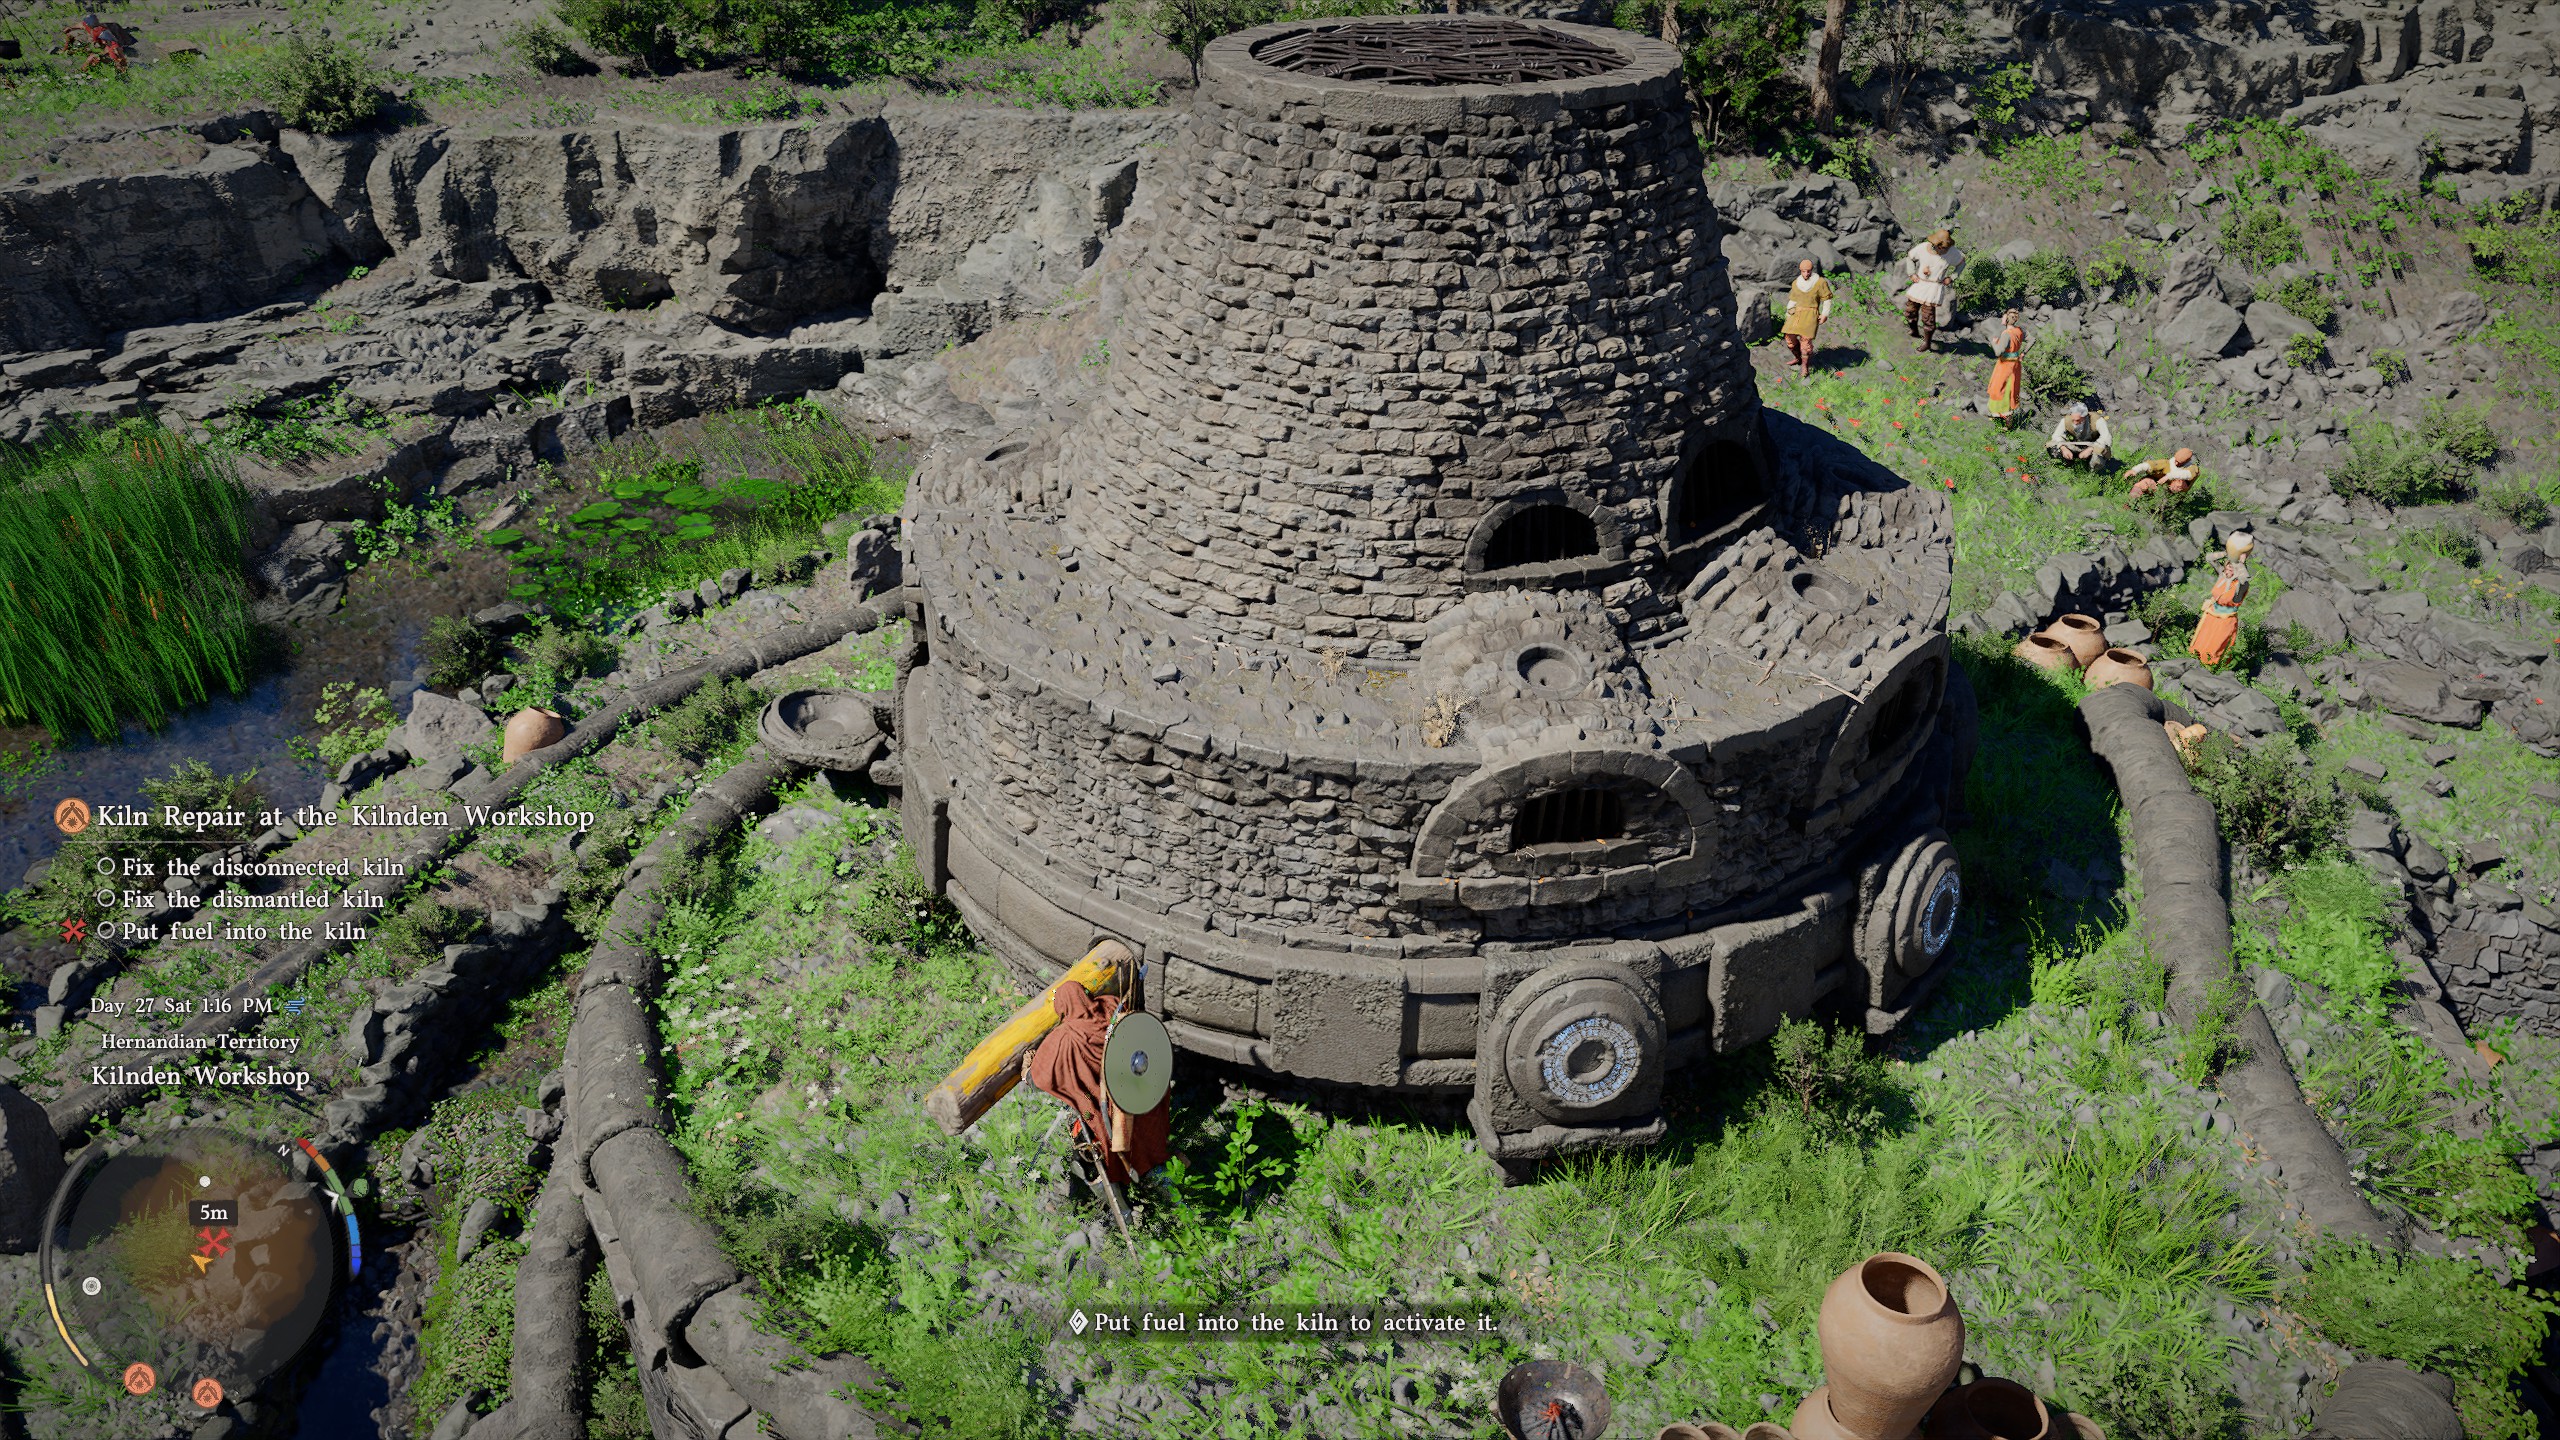
While you can do them in any order, let's start with the northern kiln. For this one, you need to use Axiom Force to pick up the glowing blue fuel balls and insert them into the circular holes on each side of the kiln. When you do it correctly, pushing them inside with Axiom Force, the hatch on the hole will close.
It's fairly straightforward since all five fuel balls are marked on the map. The only ones that might give you trouble are a fuel ball which is actually the eye of a nearby bird statue, so you'll have to pull it out with Axiom Force, and the fuel ball by the entrance to the Duskwood Cave. It should be on the ground by the entrance, but for me this was entirely bugged and didn't appear. After I reloaded a save it did. Once all fuel balls are slotted in, push the handle on the side to activate this kiln.
Assemble the broken kiln
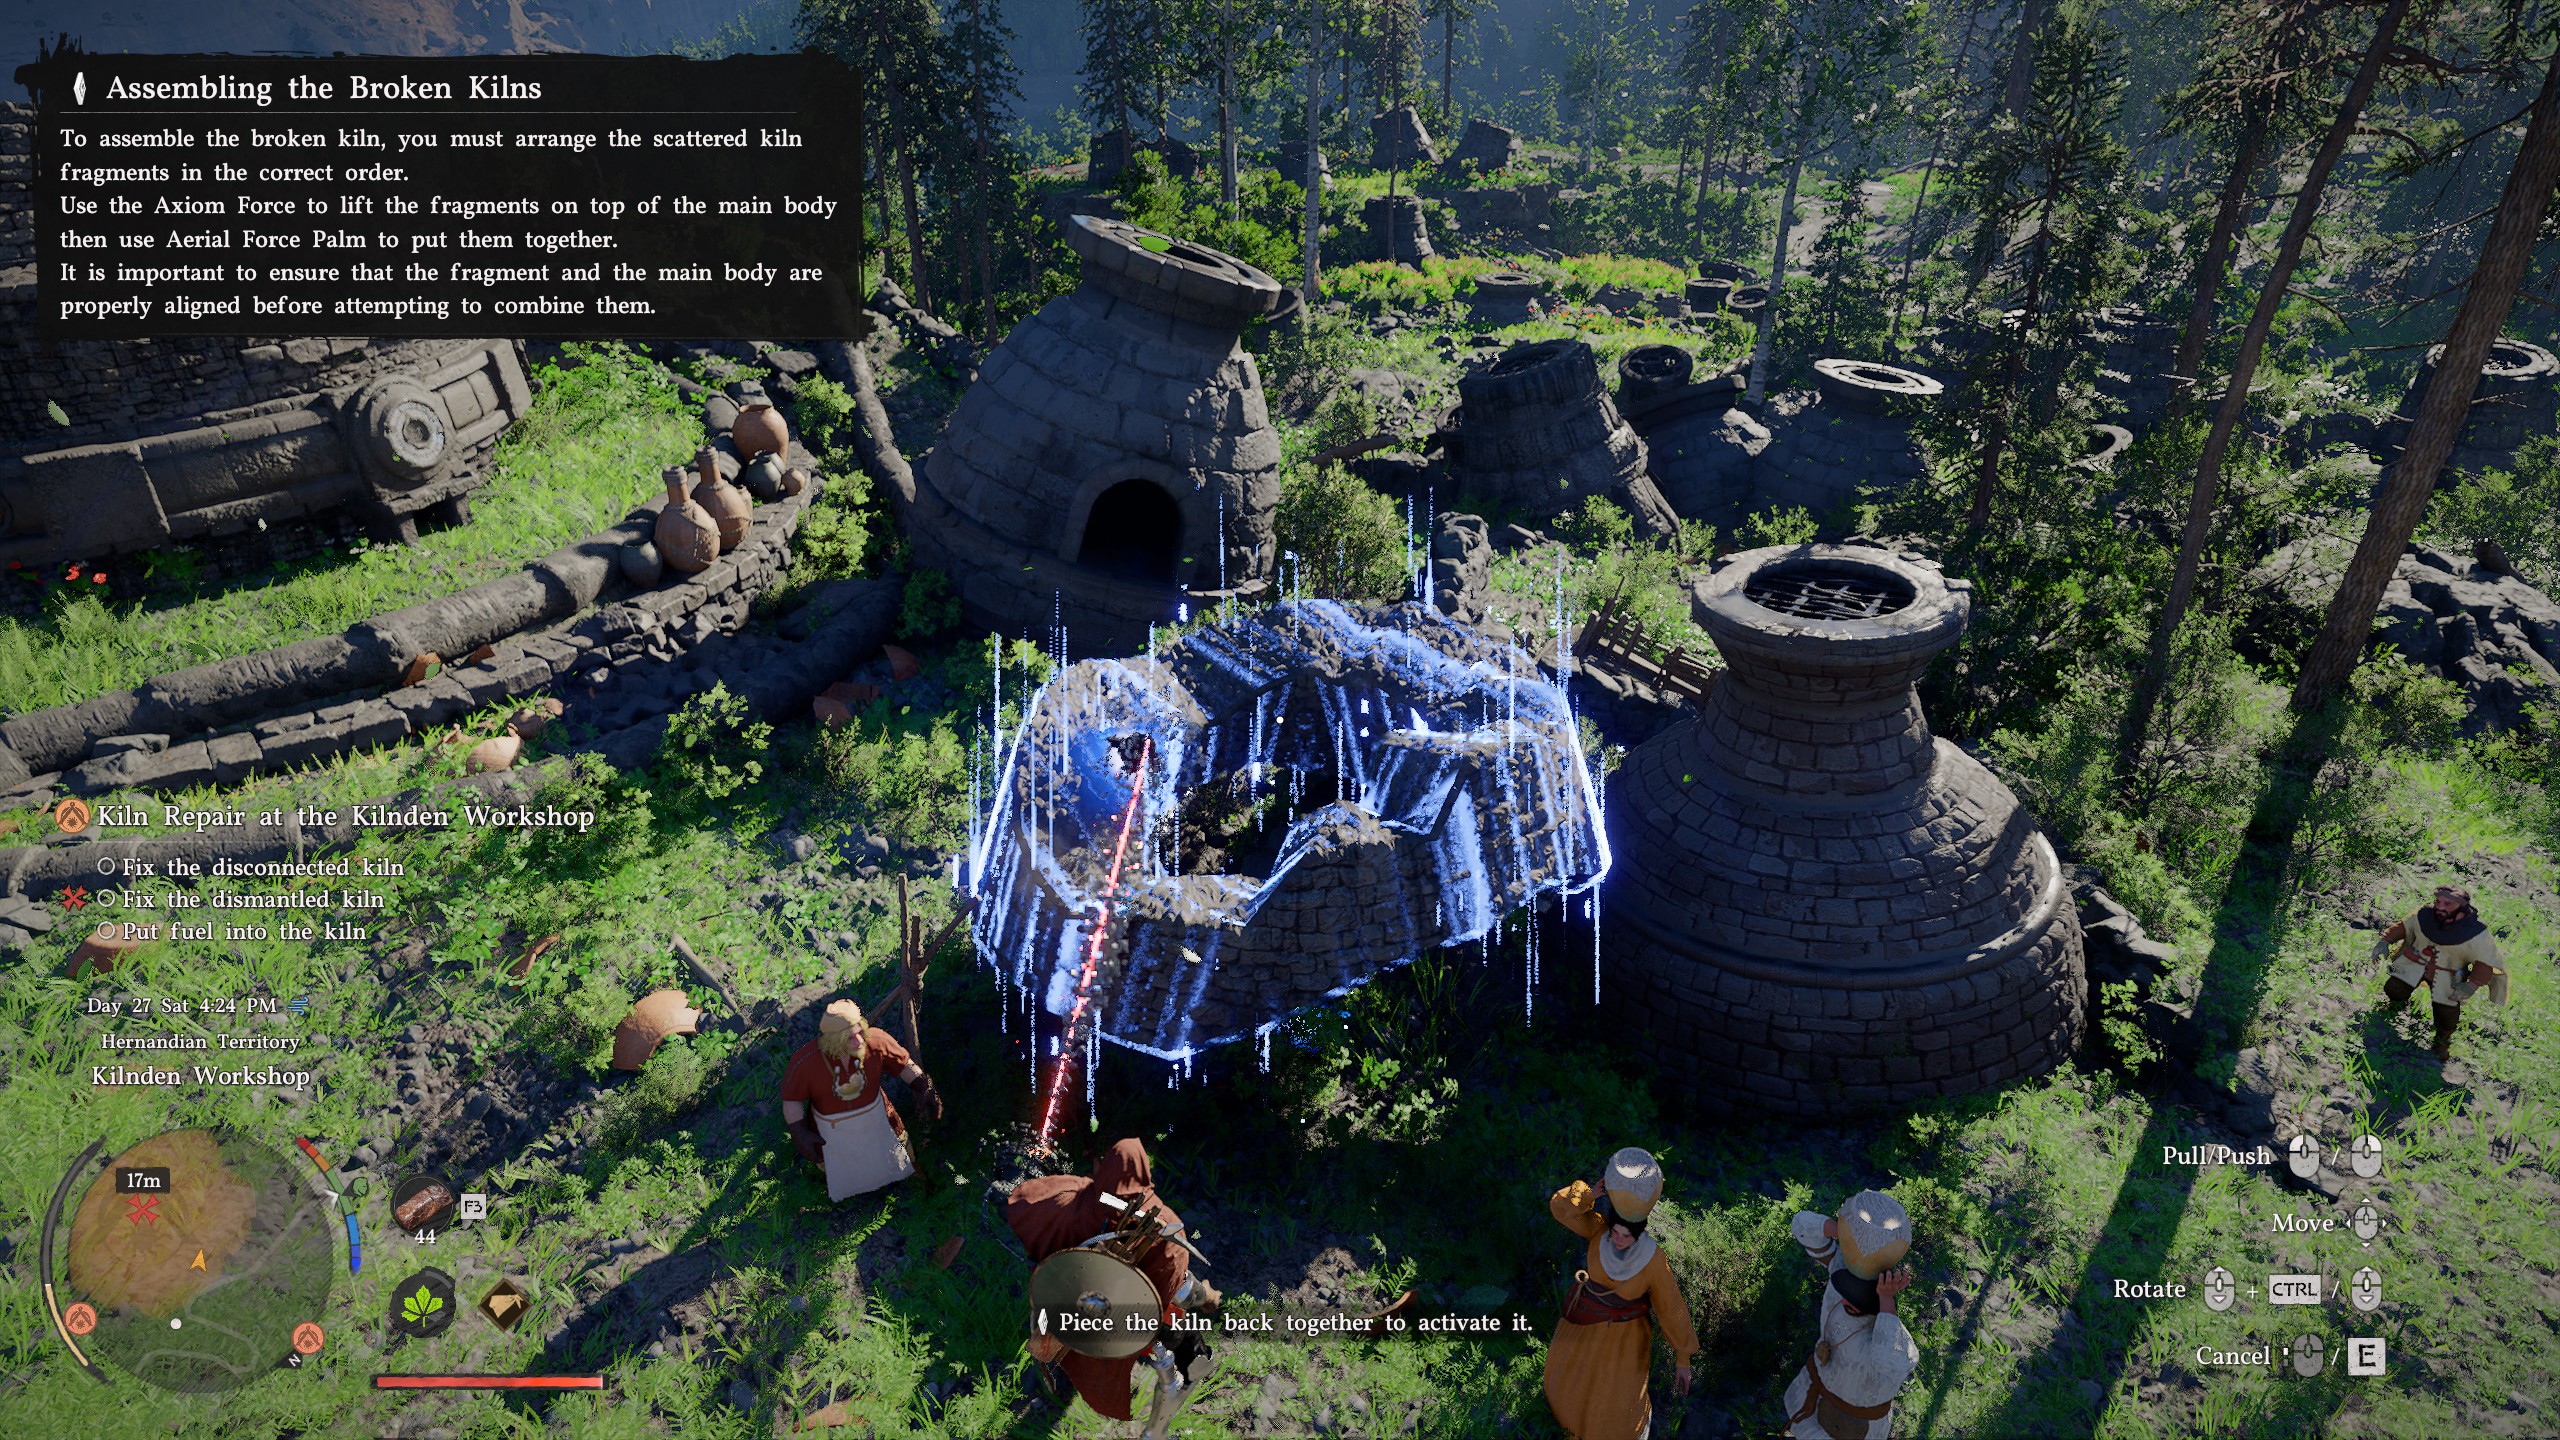
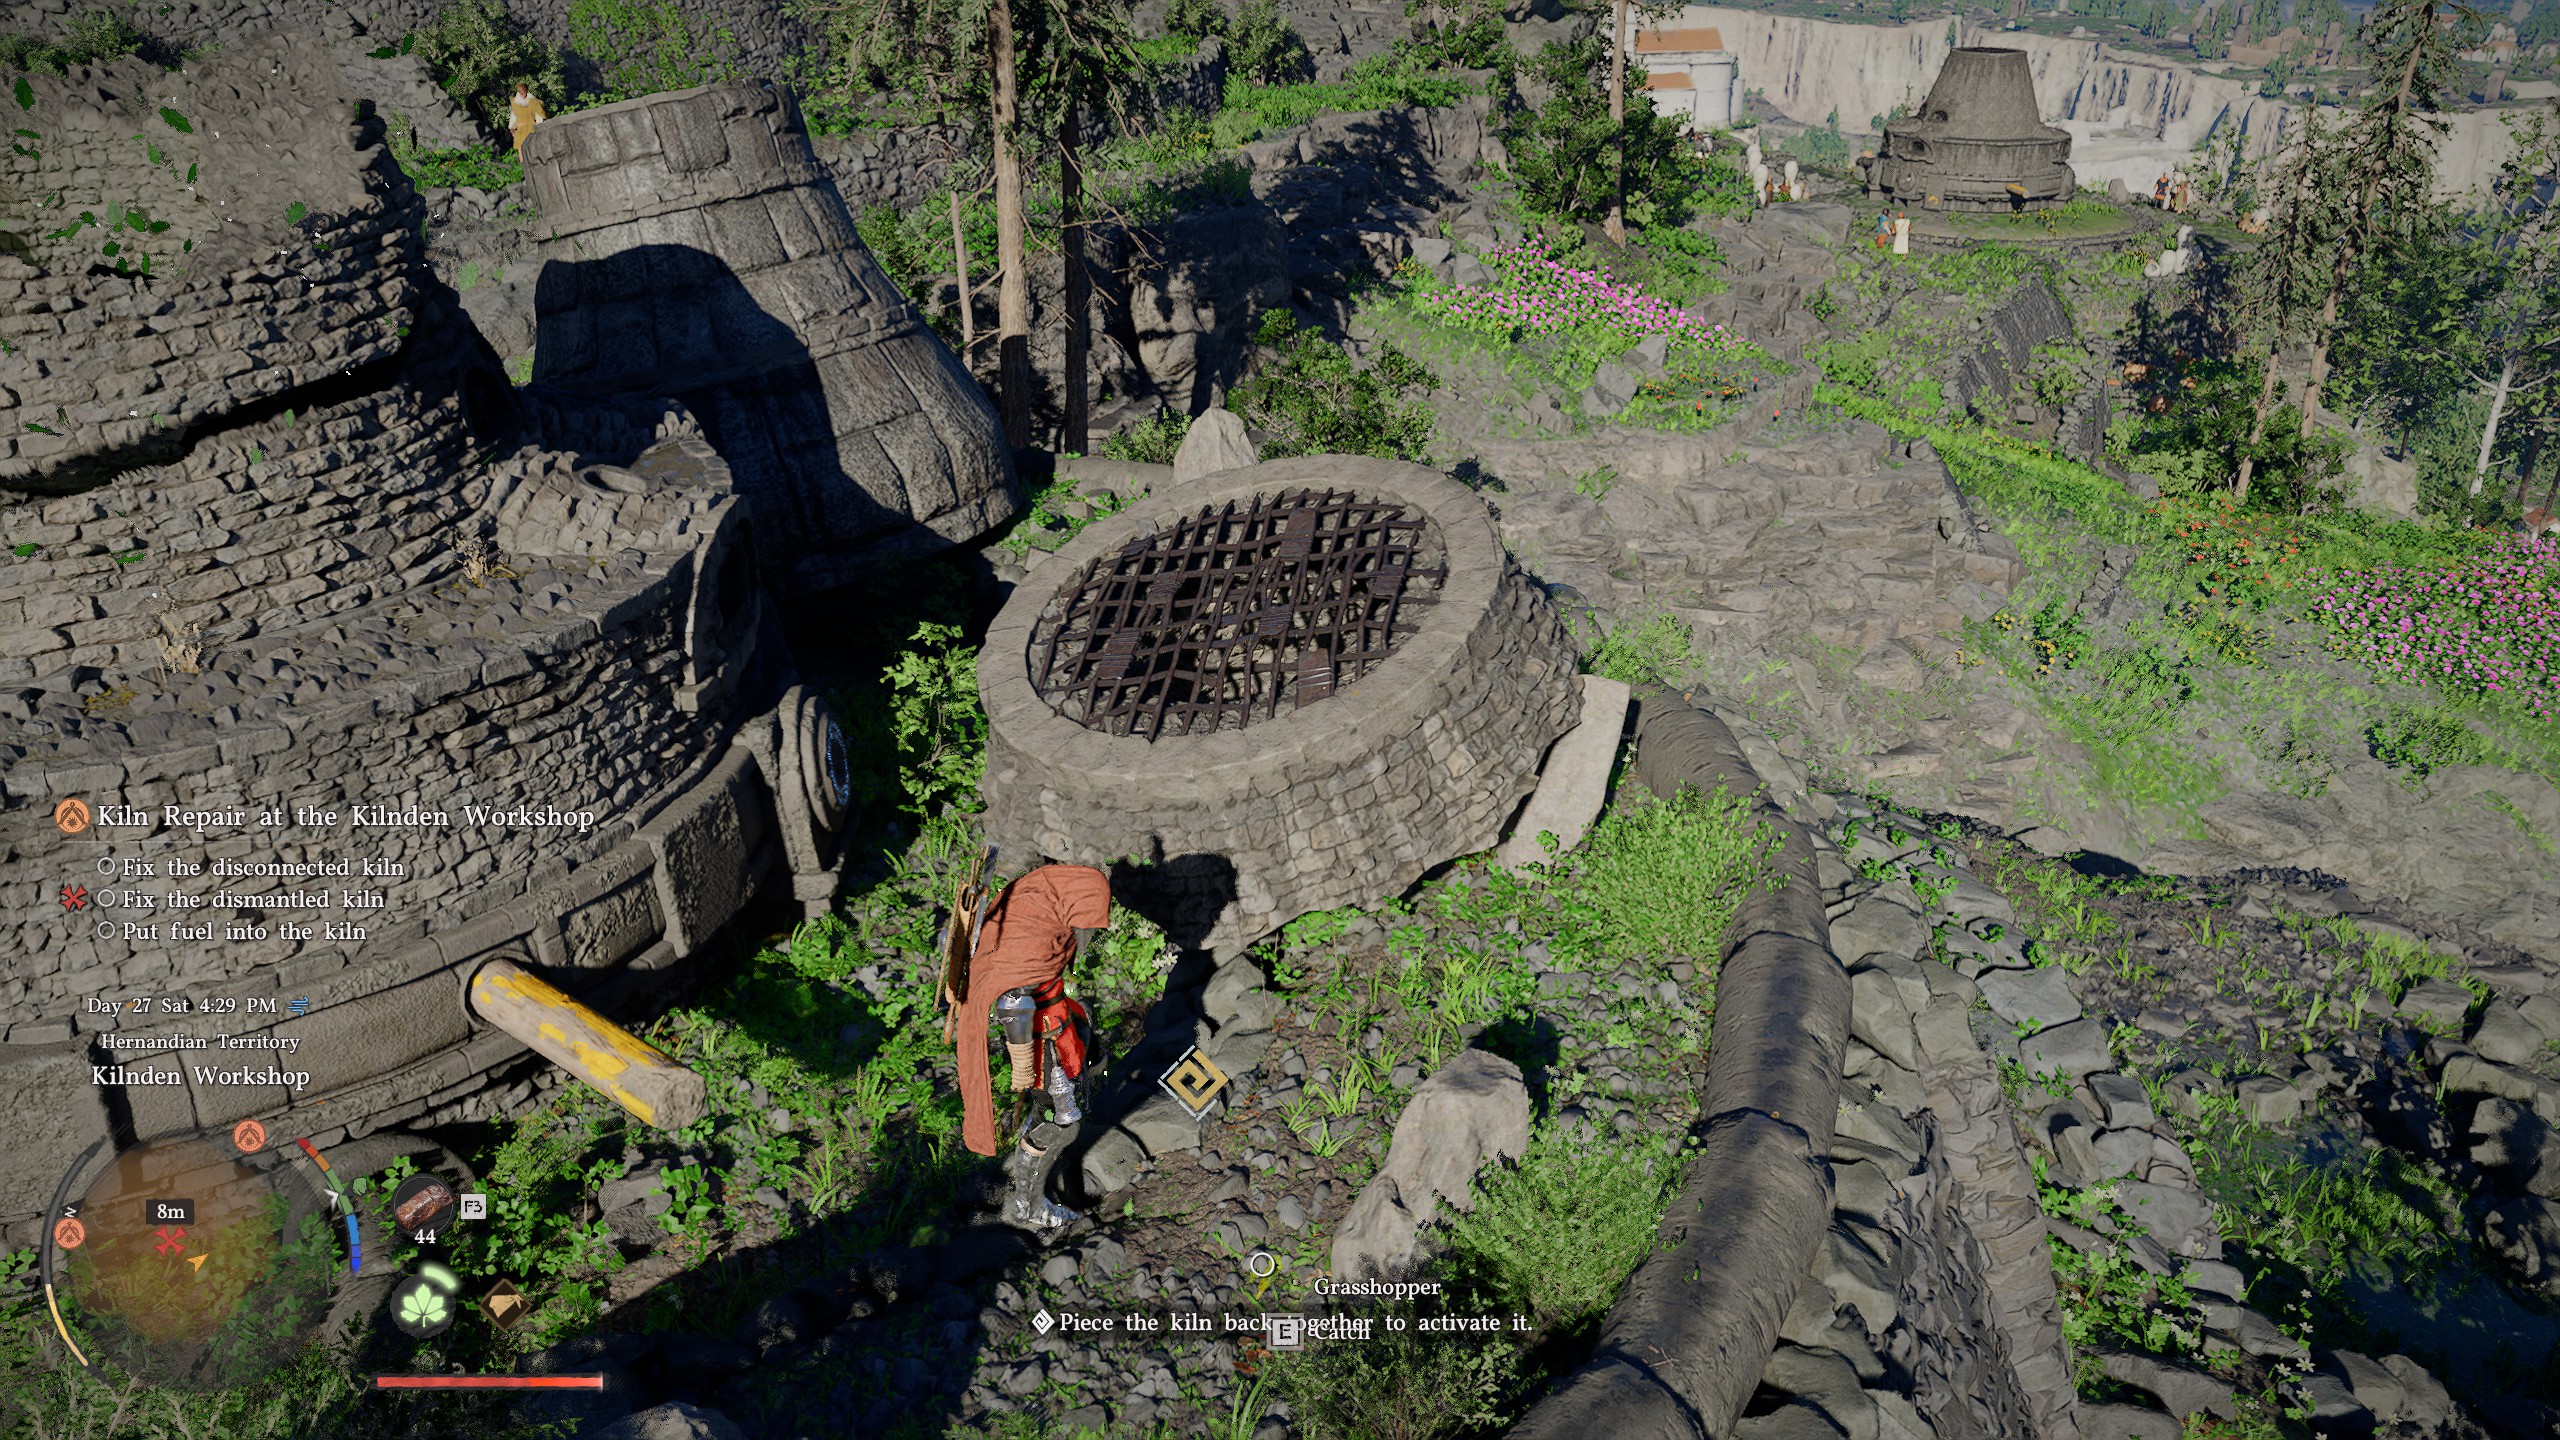
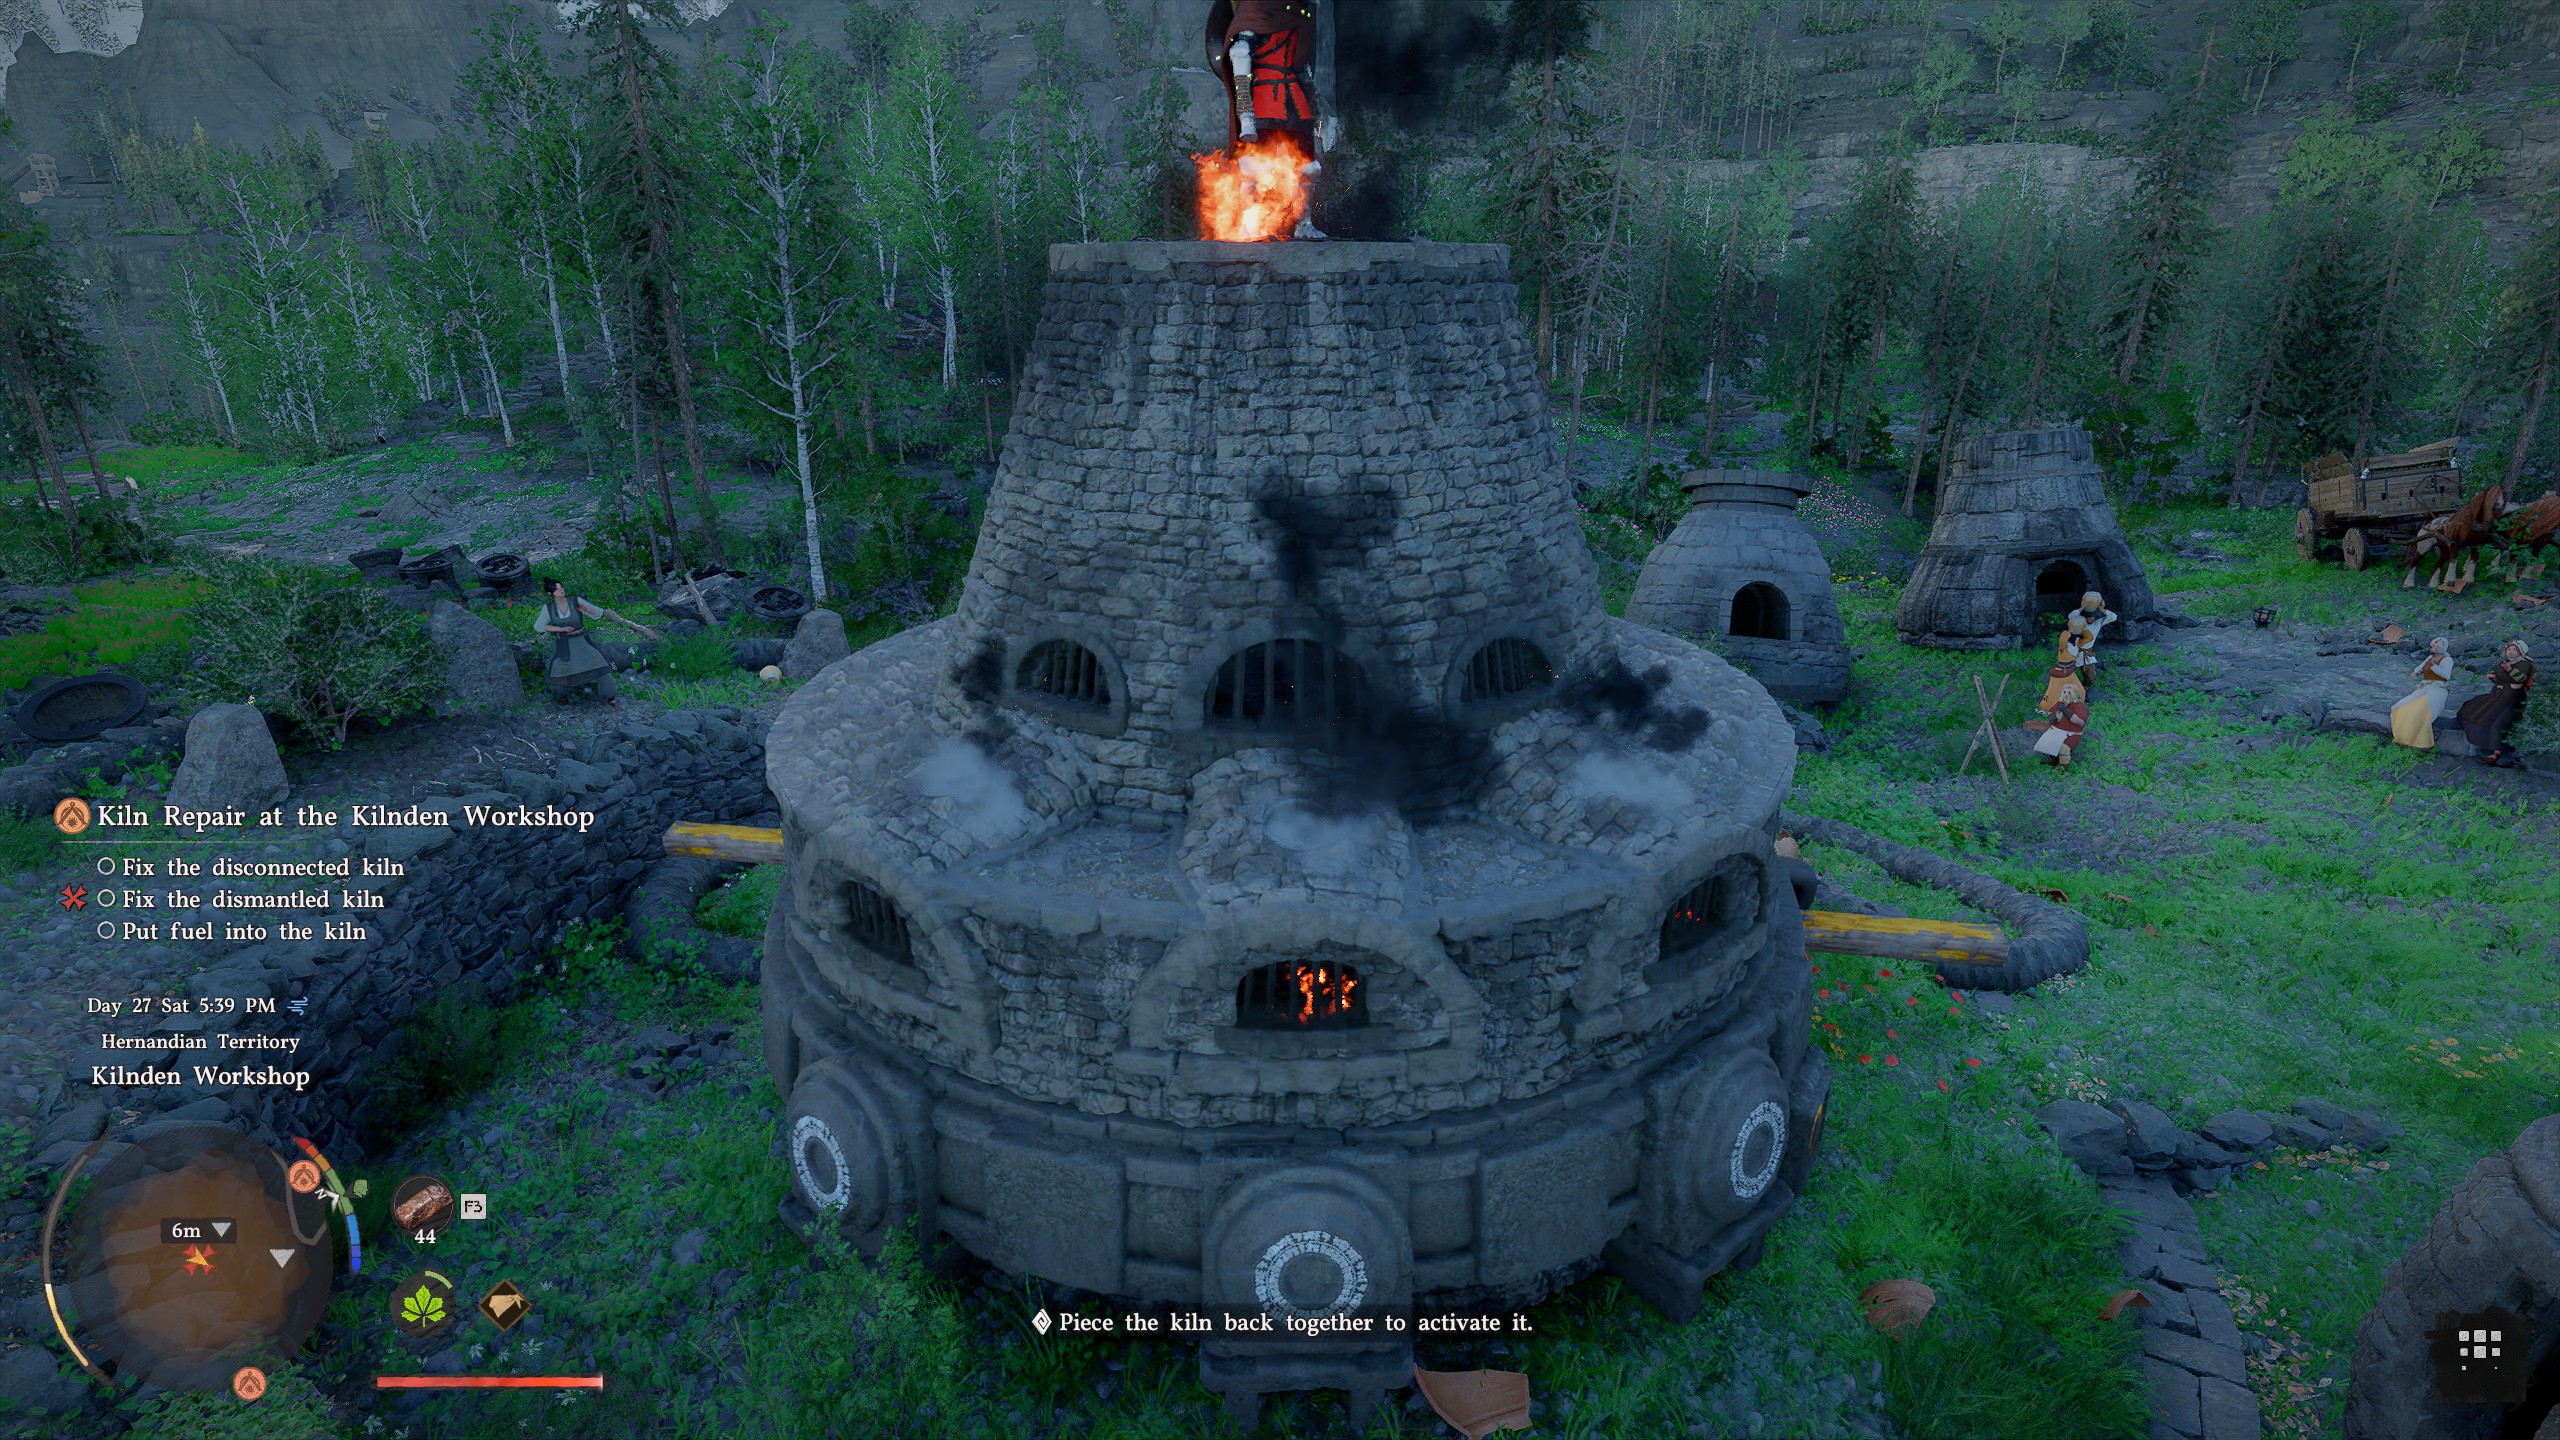
Now for the kiln to the south. With this one, you'll have to reassemble its pieces using Axiom Force. You can see the correct combination above. The first piece you need is immediately to your right with the jagged edges by where the people are standing, and the other is behind the kiln and has a vent grill on top of it. Note, these won't slot perfectly into place. Once you've placed them, climb on top, jump, and perform a Force Palm midair (which will aim it downward), fitting both pieces together to fix the kiln.
Fix the disconnected kiln

This final kiln to the southeast is super easy to fix. All you have to do is interact with the connecting pipe on the side to effectively plug it in, then push the handle to activate it as with the previous ones. With that, you've repaired all three and you can go back to see Grimnir for your reward.


You must confirm your public display name before commenting
Please logout and then login again, you will then be prompted to enter your display name.