How to find the Brigandine Armor set in Assassin's Creed Valhalla
Strut around 9th century Britain in style with the Valhalla Brigandine Armor set.
Keep up to date with the most important stories and the best deals, as picked by the PC Gamer team.
You are now subscribed
Your newsletter sign-up was successful
Want to add more newsletters?
AC Valhalla guide: 6 top tips
AC Valhalla romance: Find love in Dark Ages Britain
AC Valhalla Flyting: Win the war of words
AC Valhalla armor: The best of Britain
AC Valhalla map: All the key destinations
AC Valhalla Hidden Ones Bureaus: Find Codex Pages
AC Valhalla Legendary Animals: Locations and tips
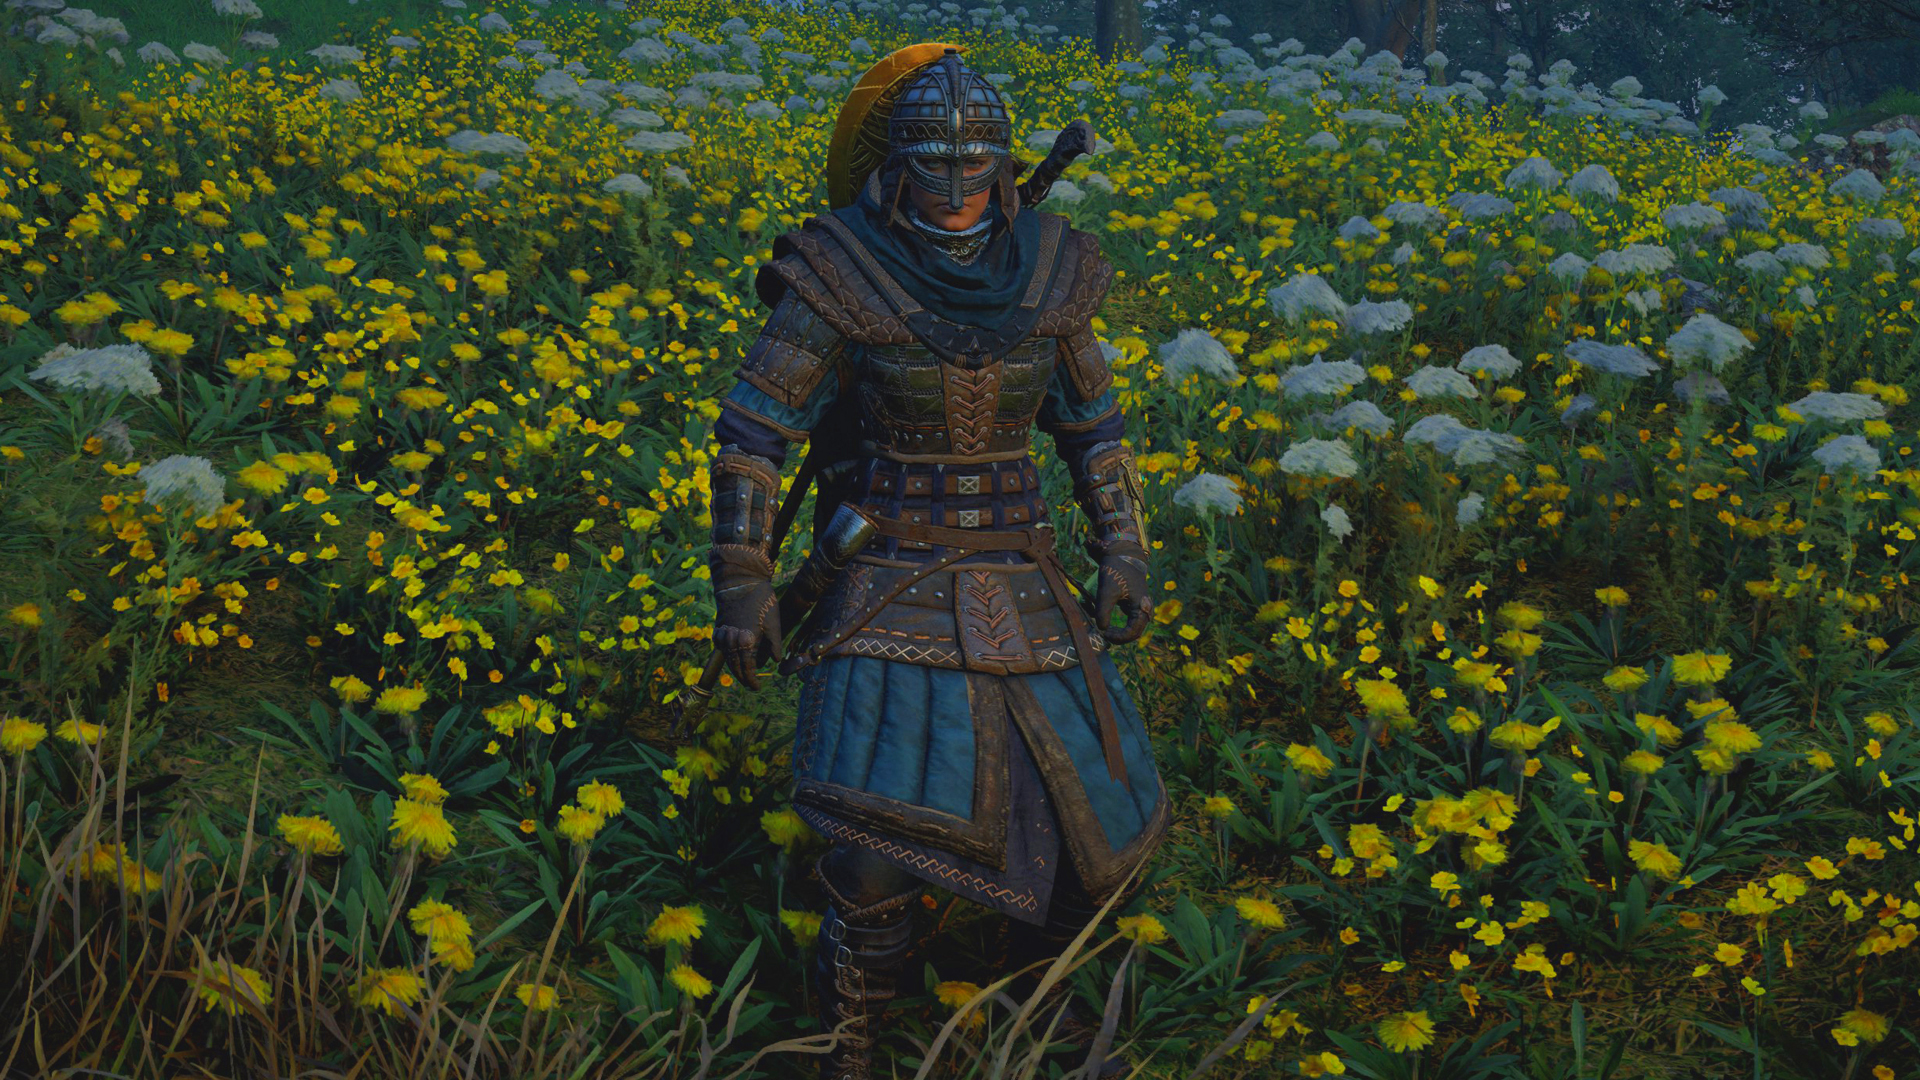
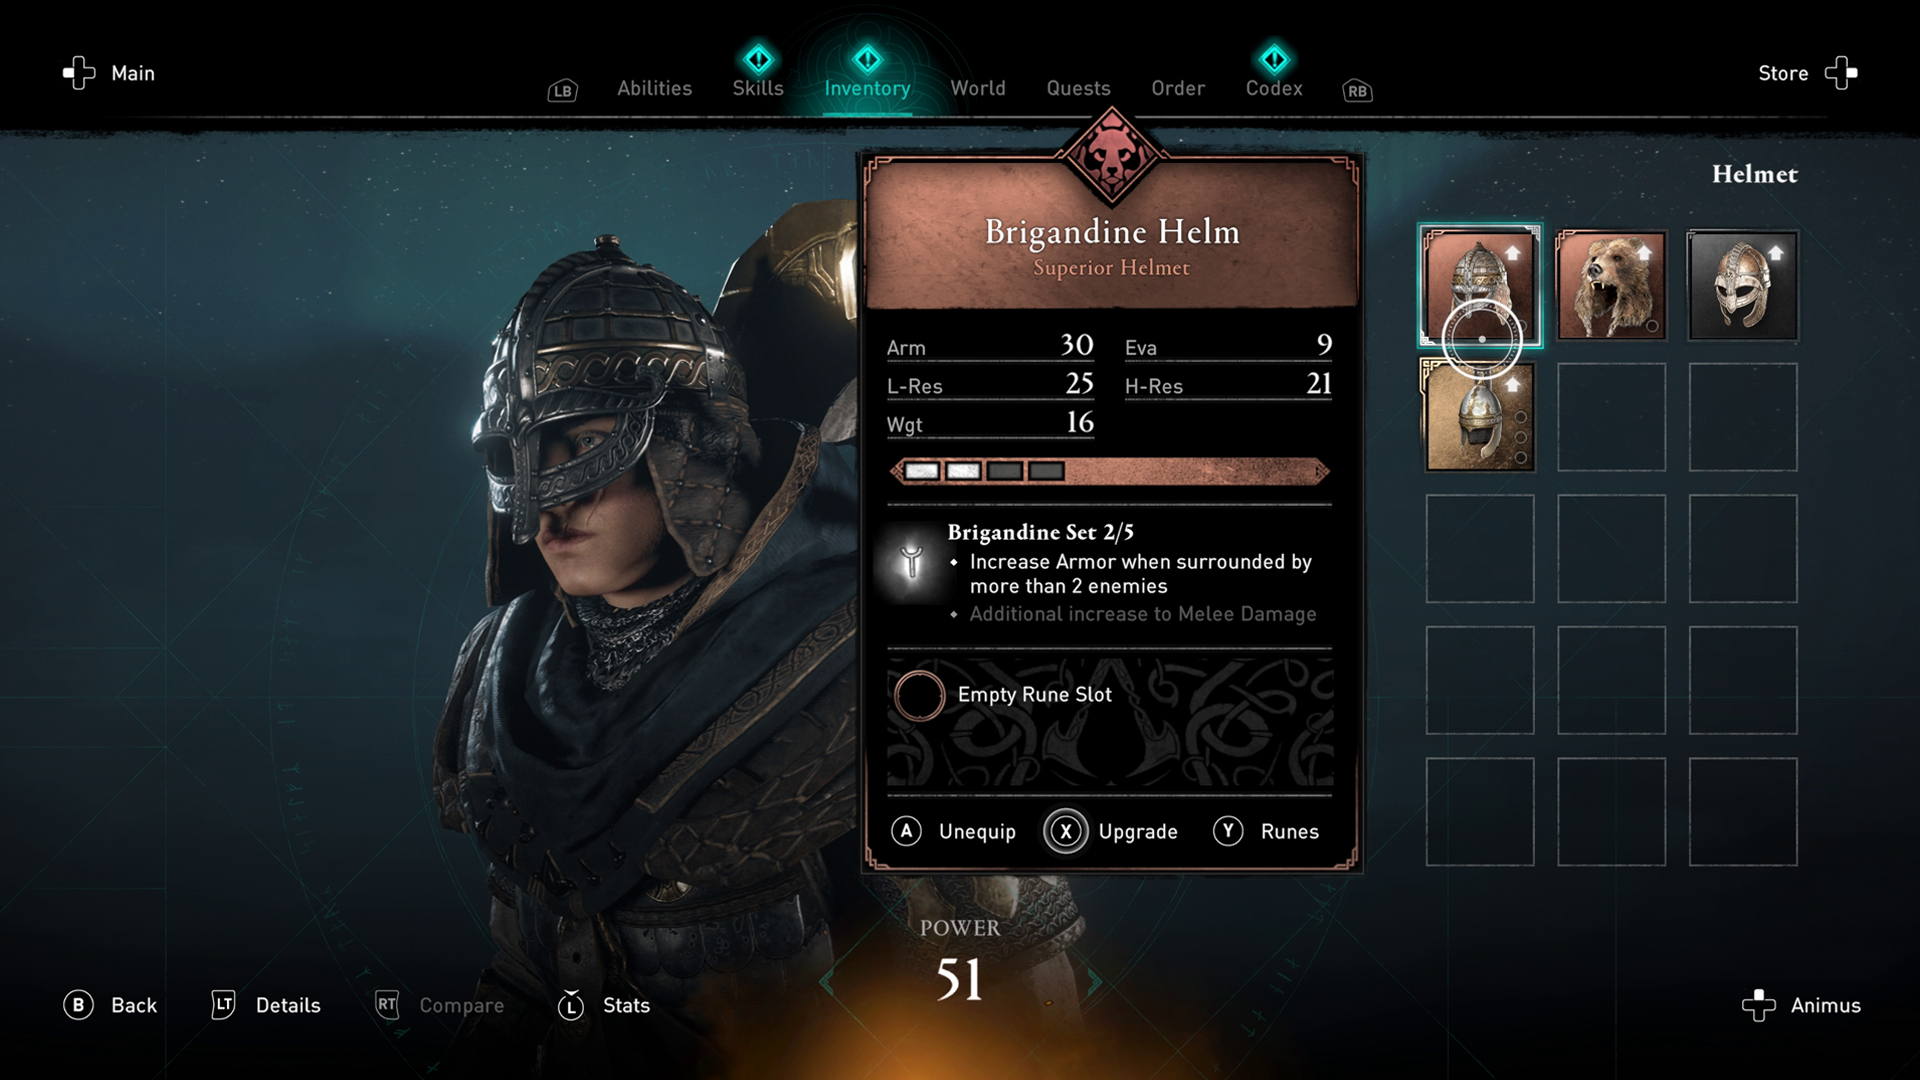
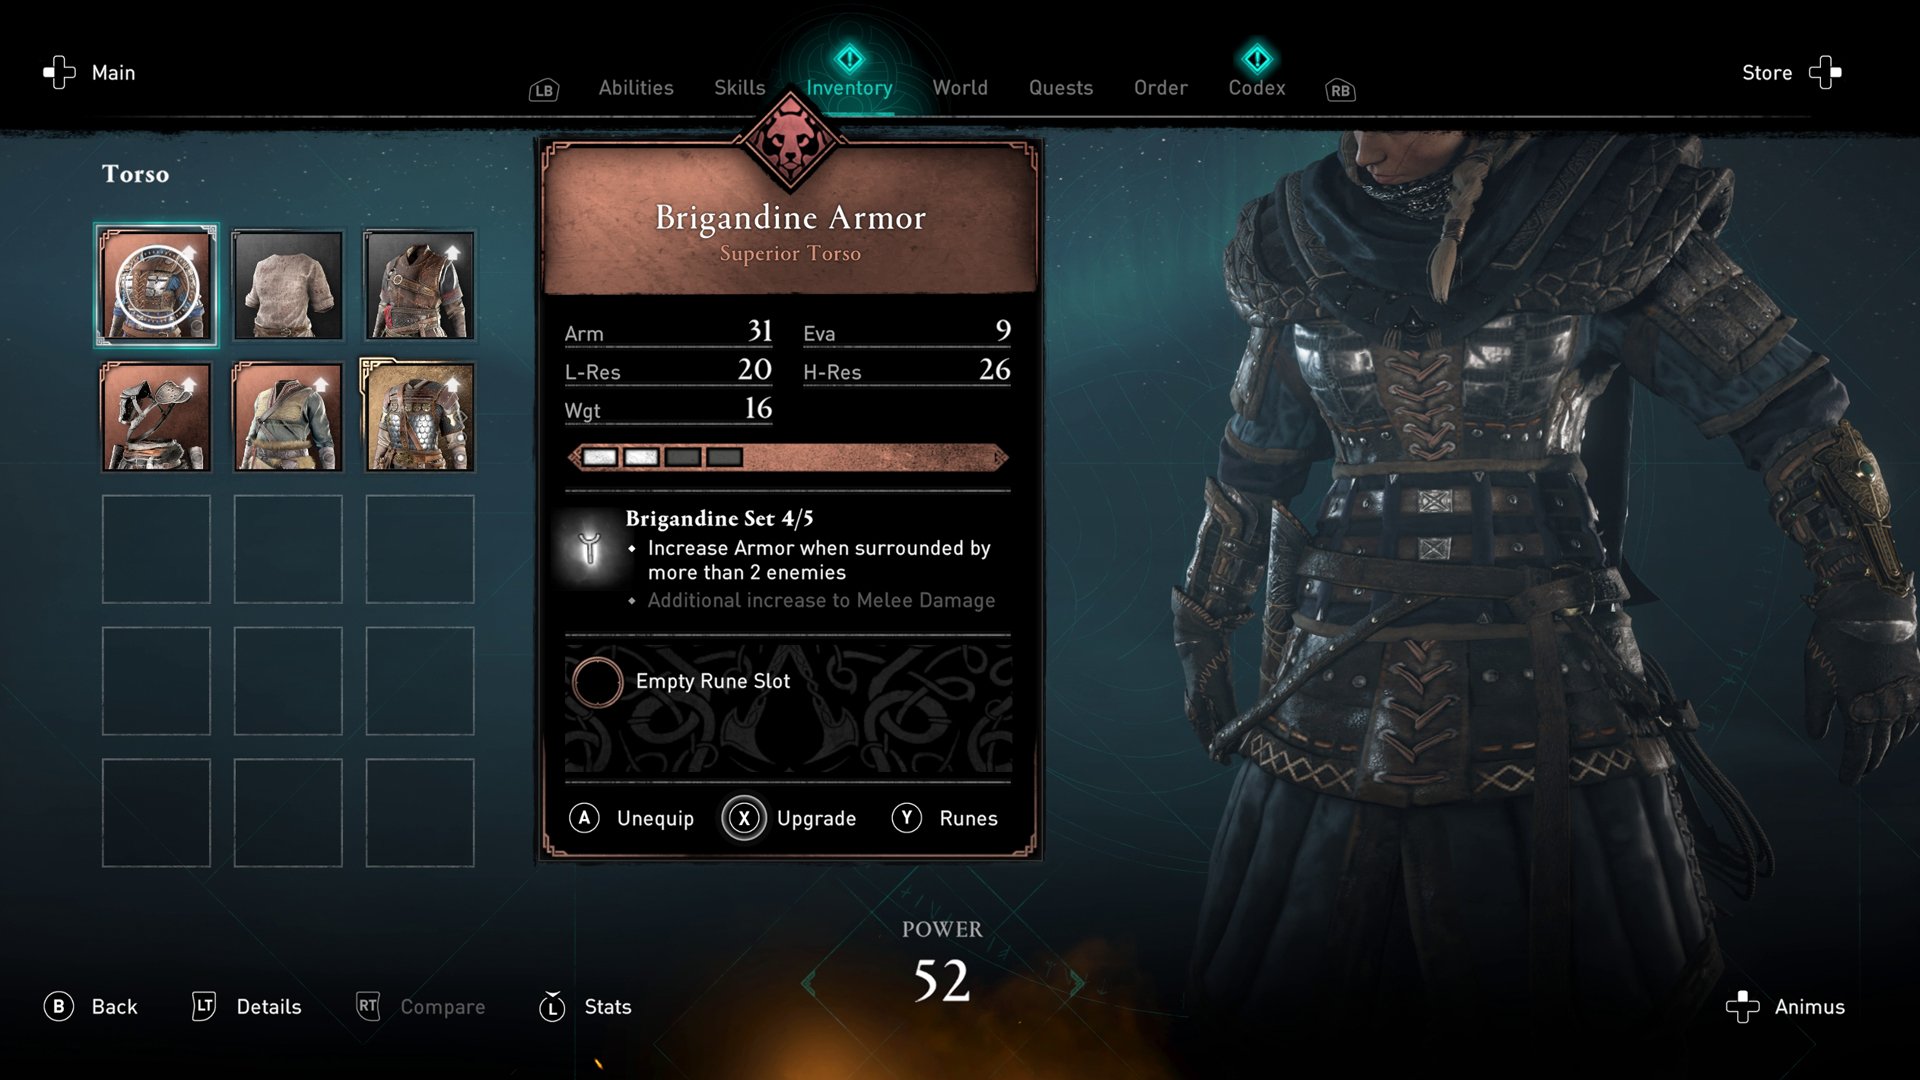
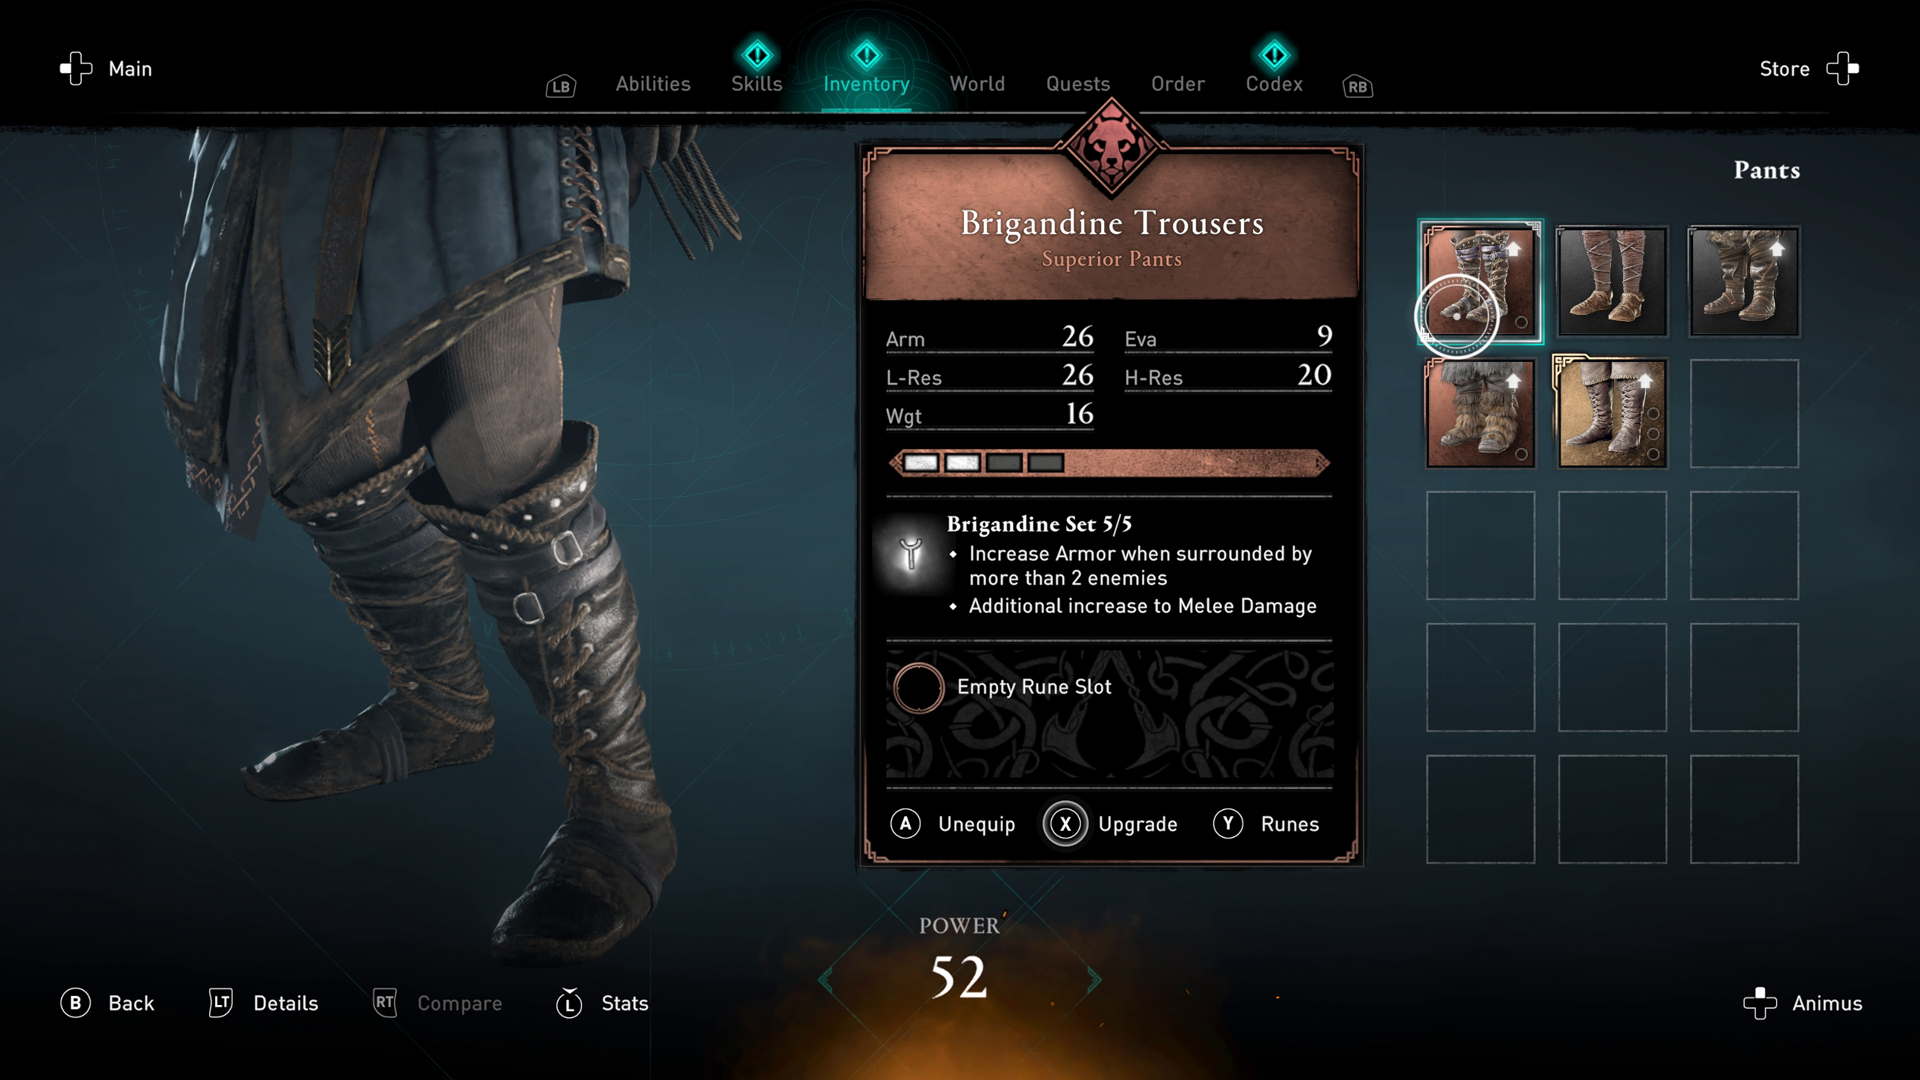
Want to add the AC Valhalla Brigandine Armor set to your collection? Equipping a superior set of garments will protect you as you trek across the countryside. The Brigandine set has a perk that increases your armor when surrounded by two or more enemies, and wearing the entire set boosts your melee damage.
The recommended power level for Sciropescire and Cent is 130, but you can still get your hands on the entire set if your power level is less than half that, provided your stealth game is on point. Make sure you have the Advanced Assassination skill unlocked beforehand, as this saves a lot of time when you encounter challenging enemies. Now you're fully prepared, let's add the Assassin's Creed Valhalla Brigandine Armor set to your inventory.
How to get the AC Valhalla Brigandine Armor set
Cape
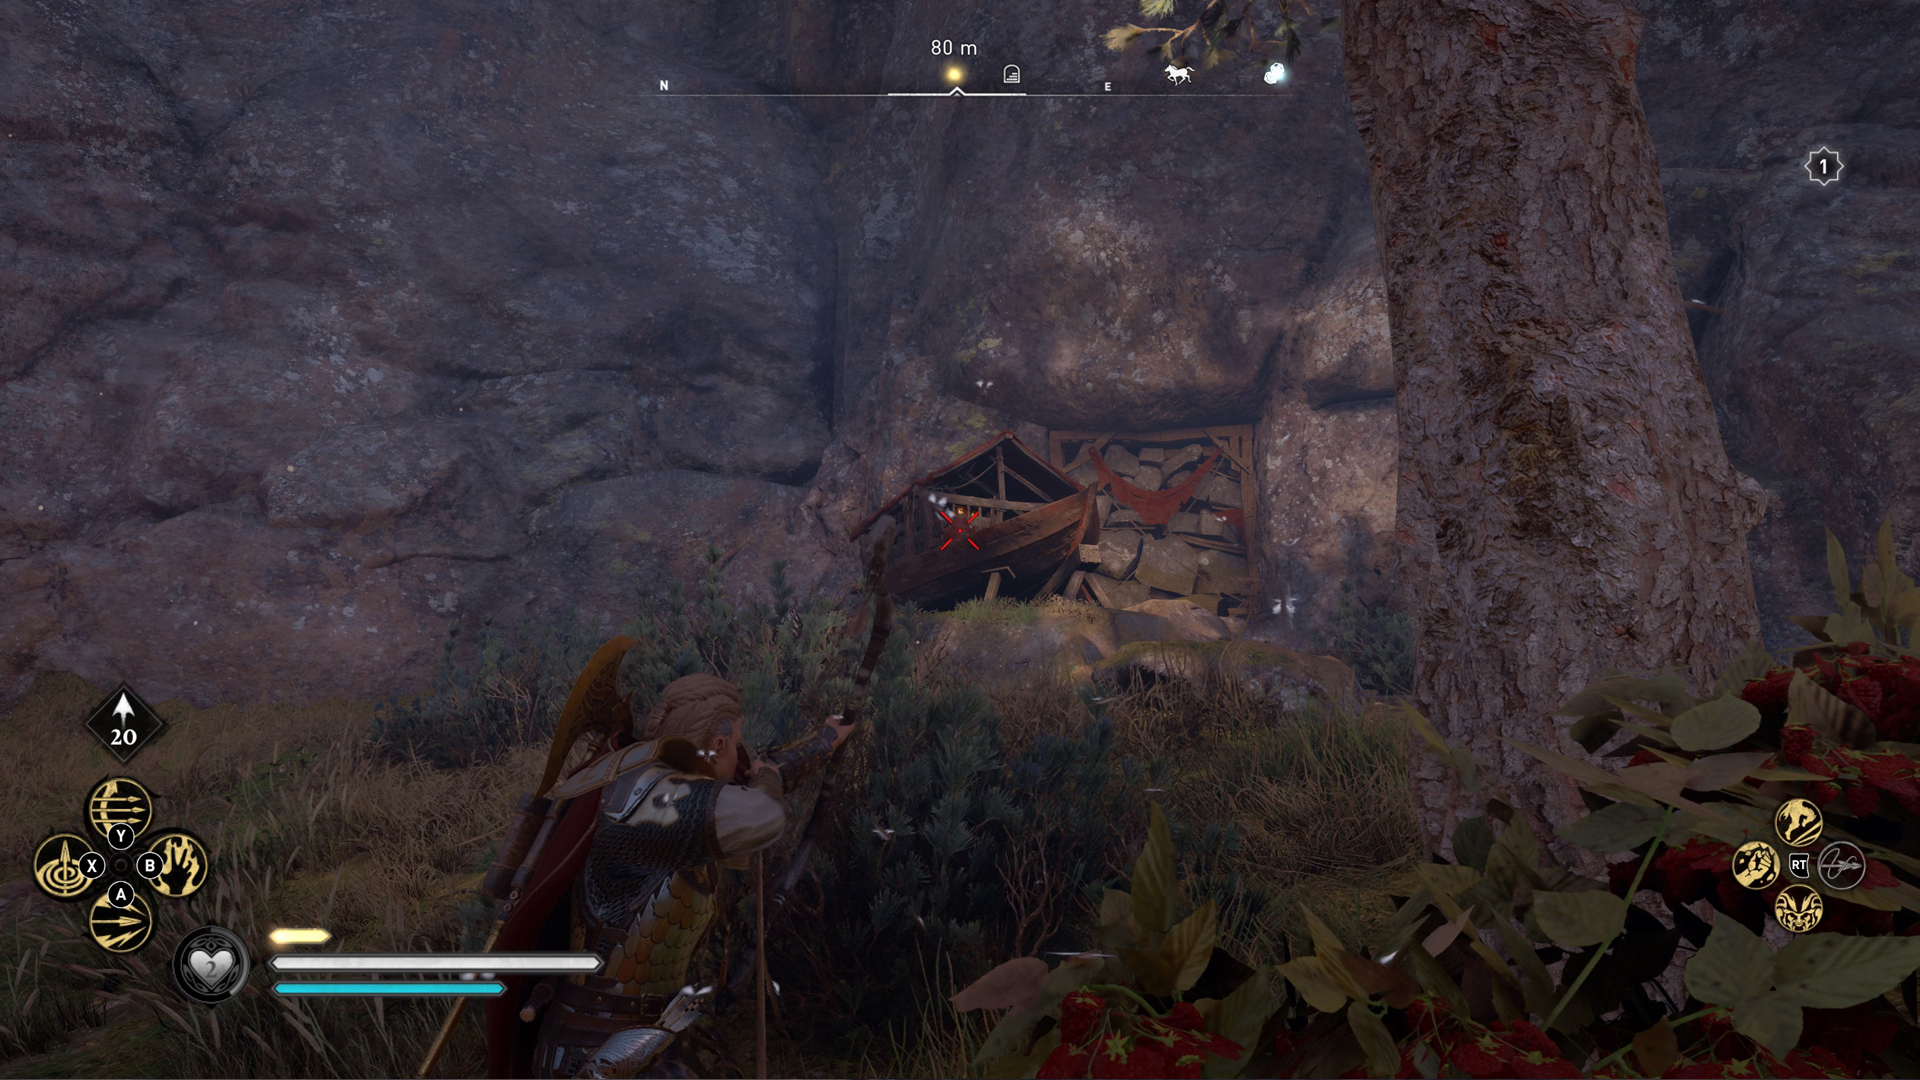
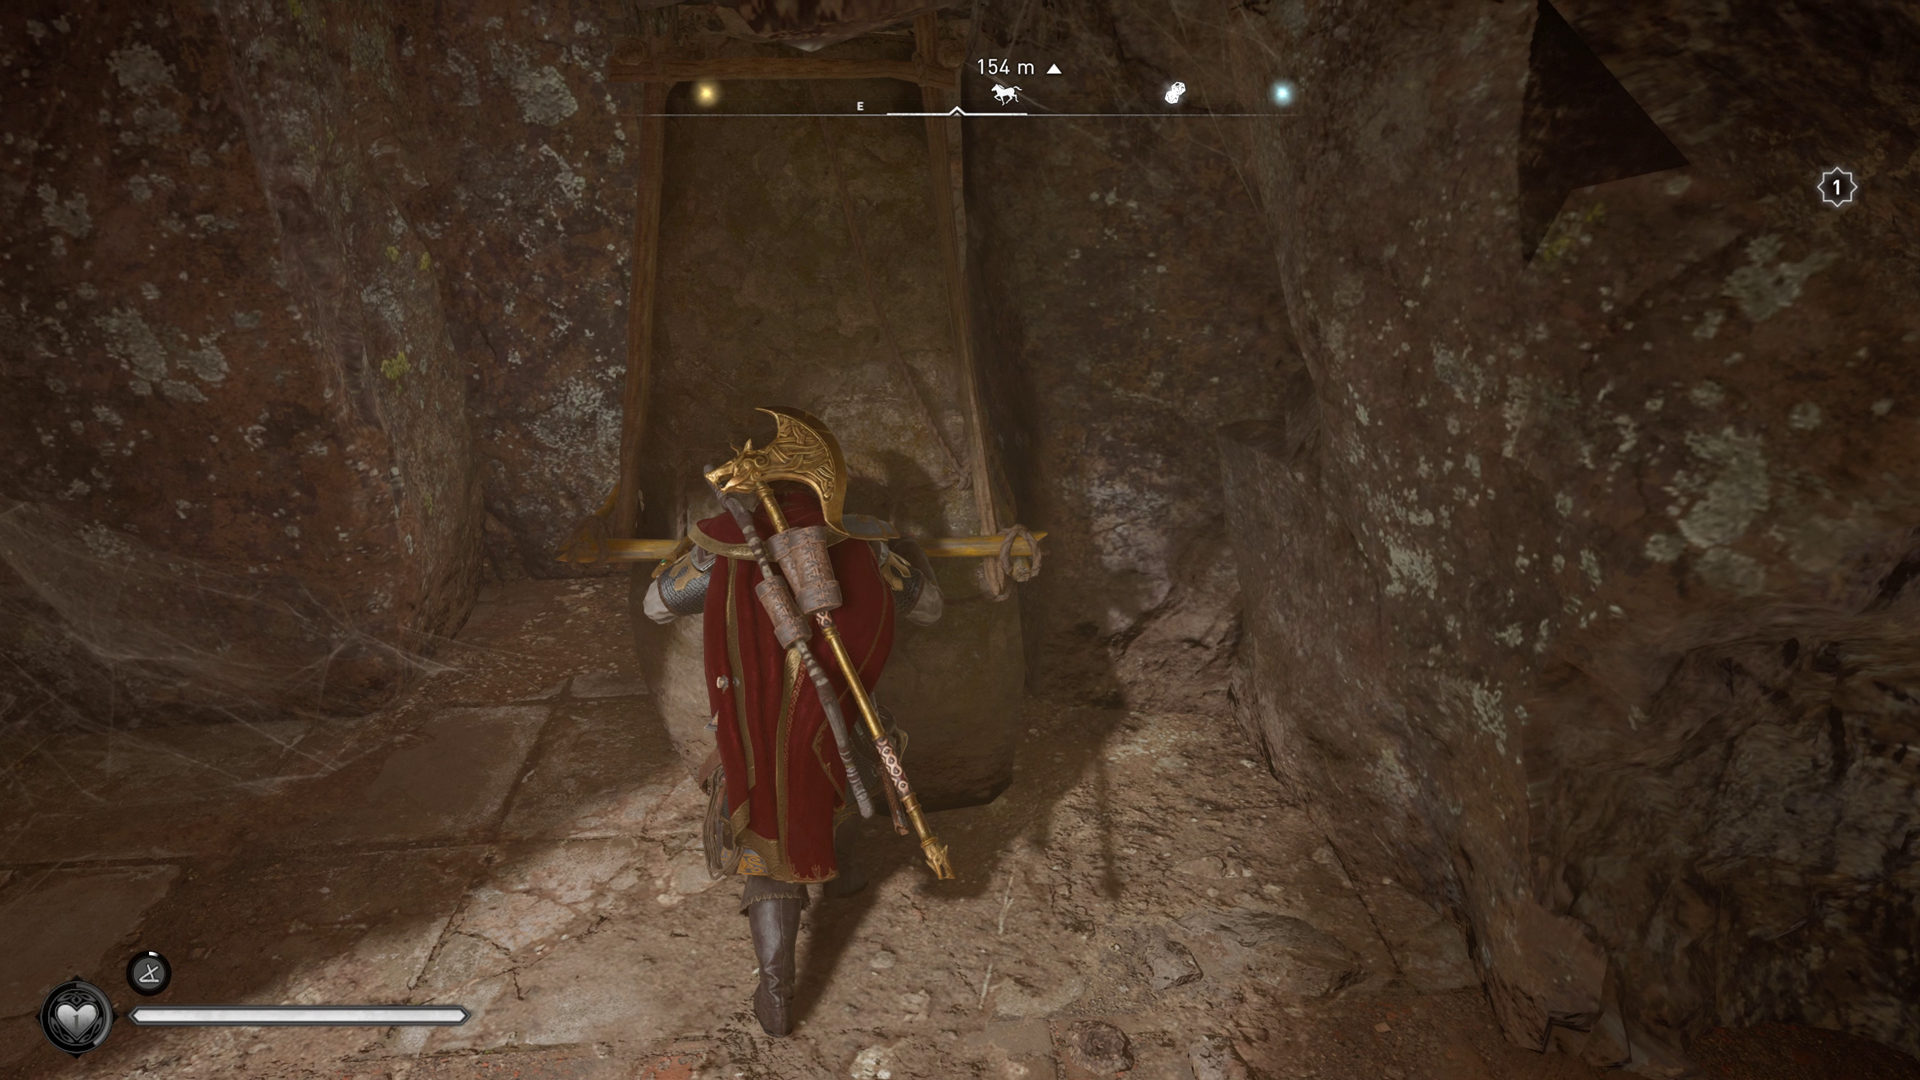
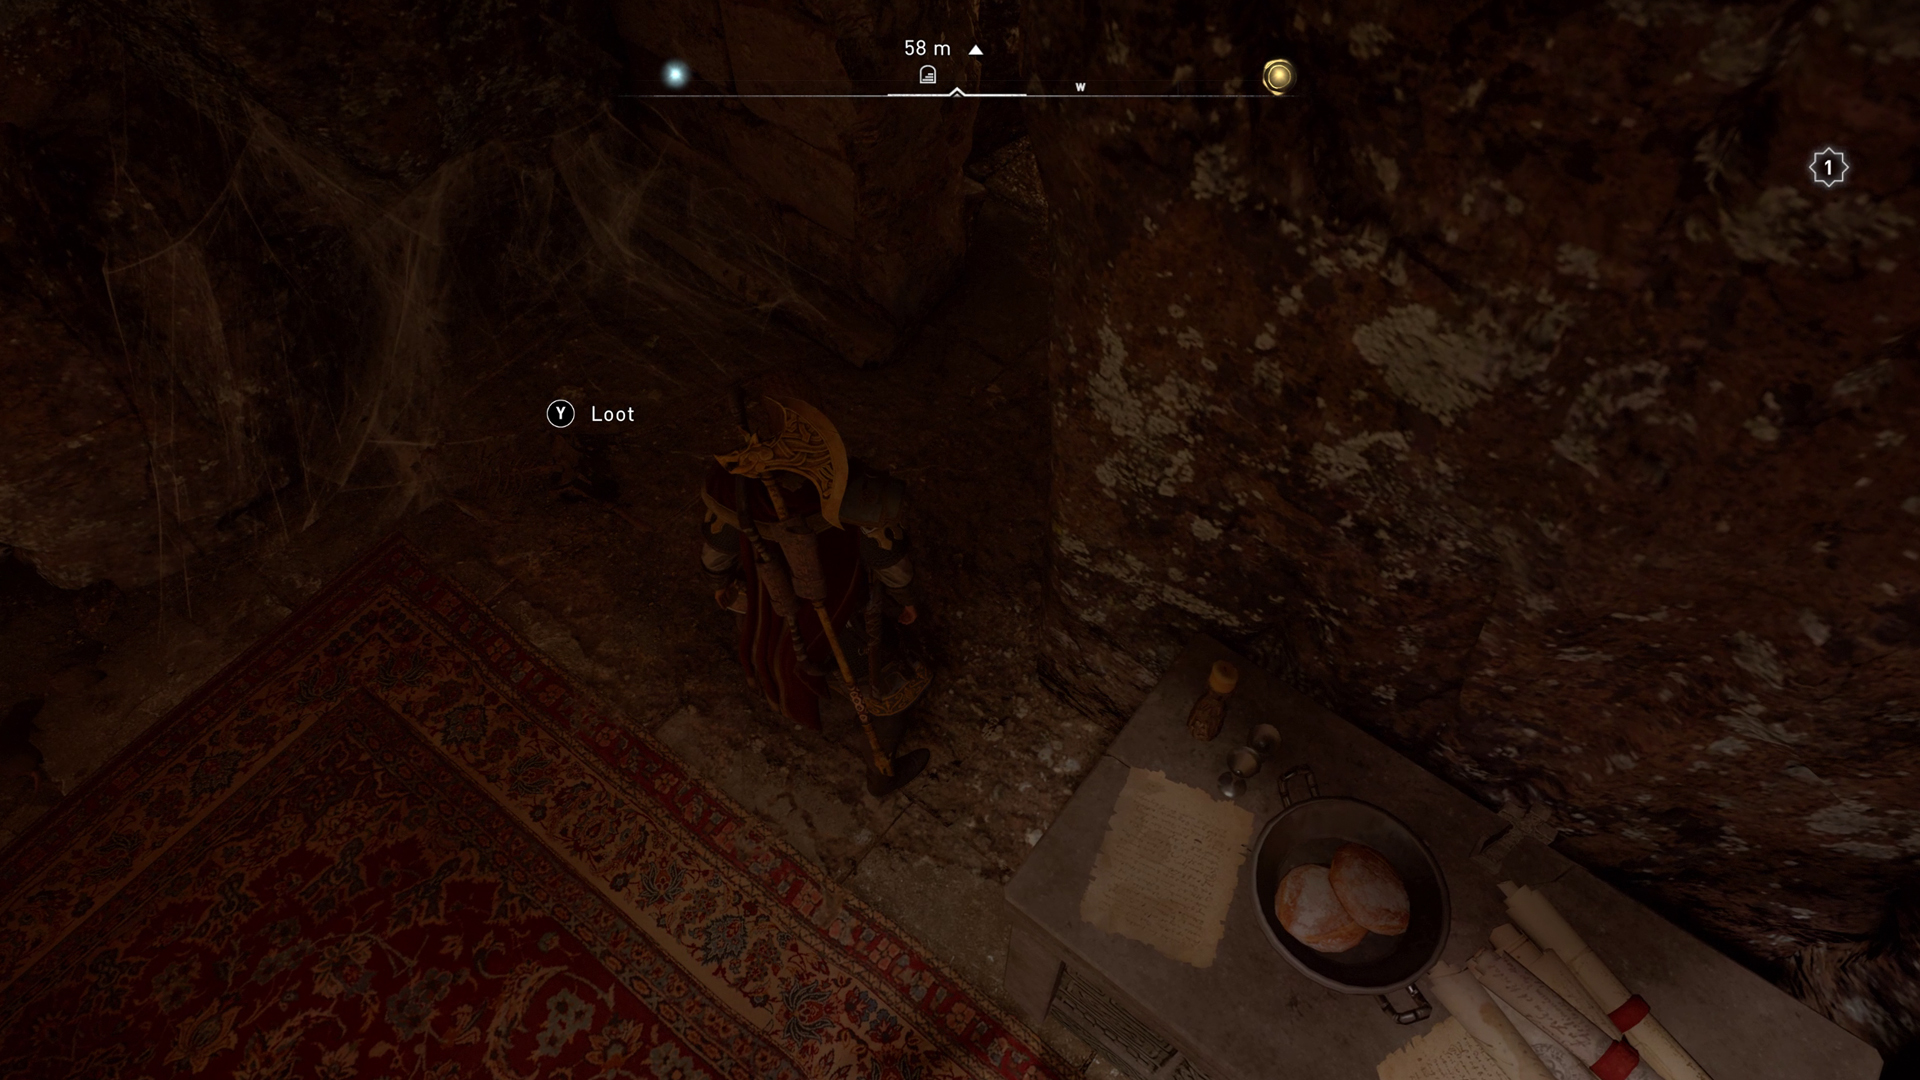
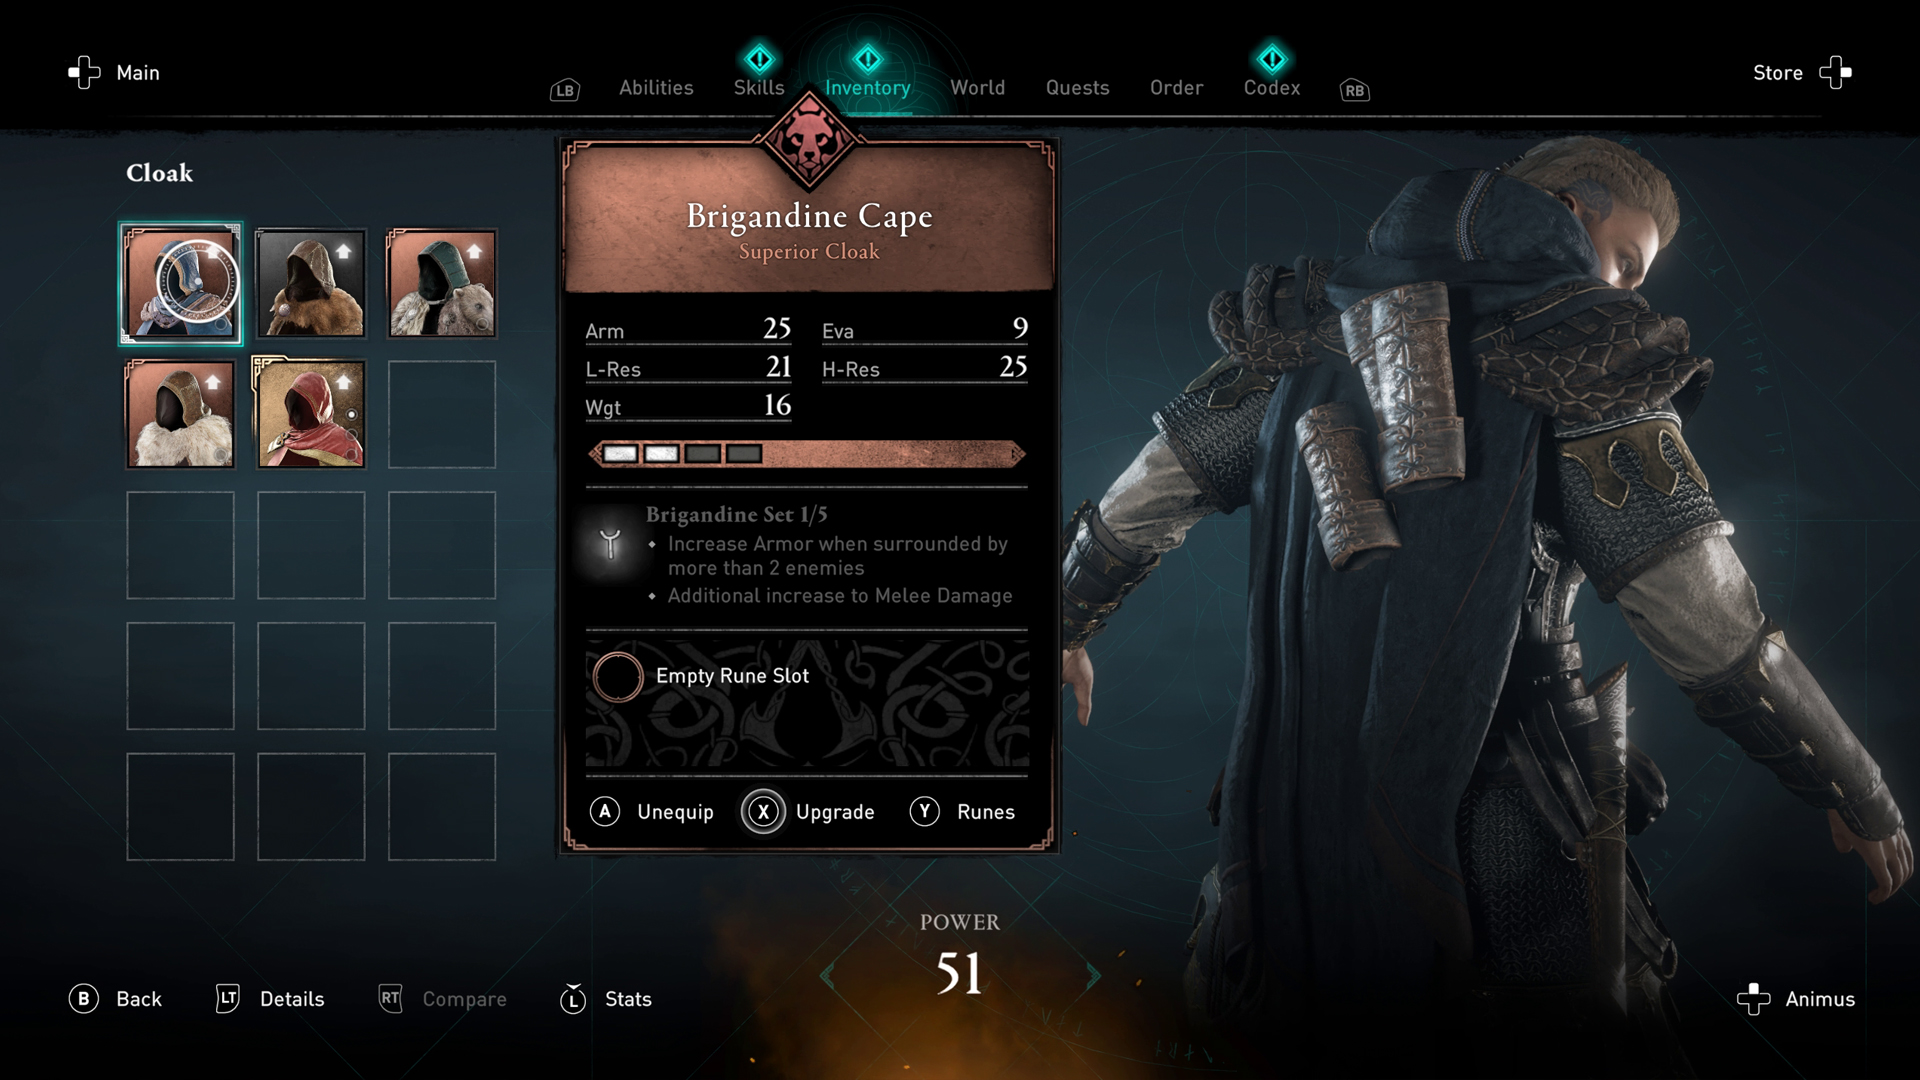
Location: Quatford, Sciropescire
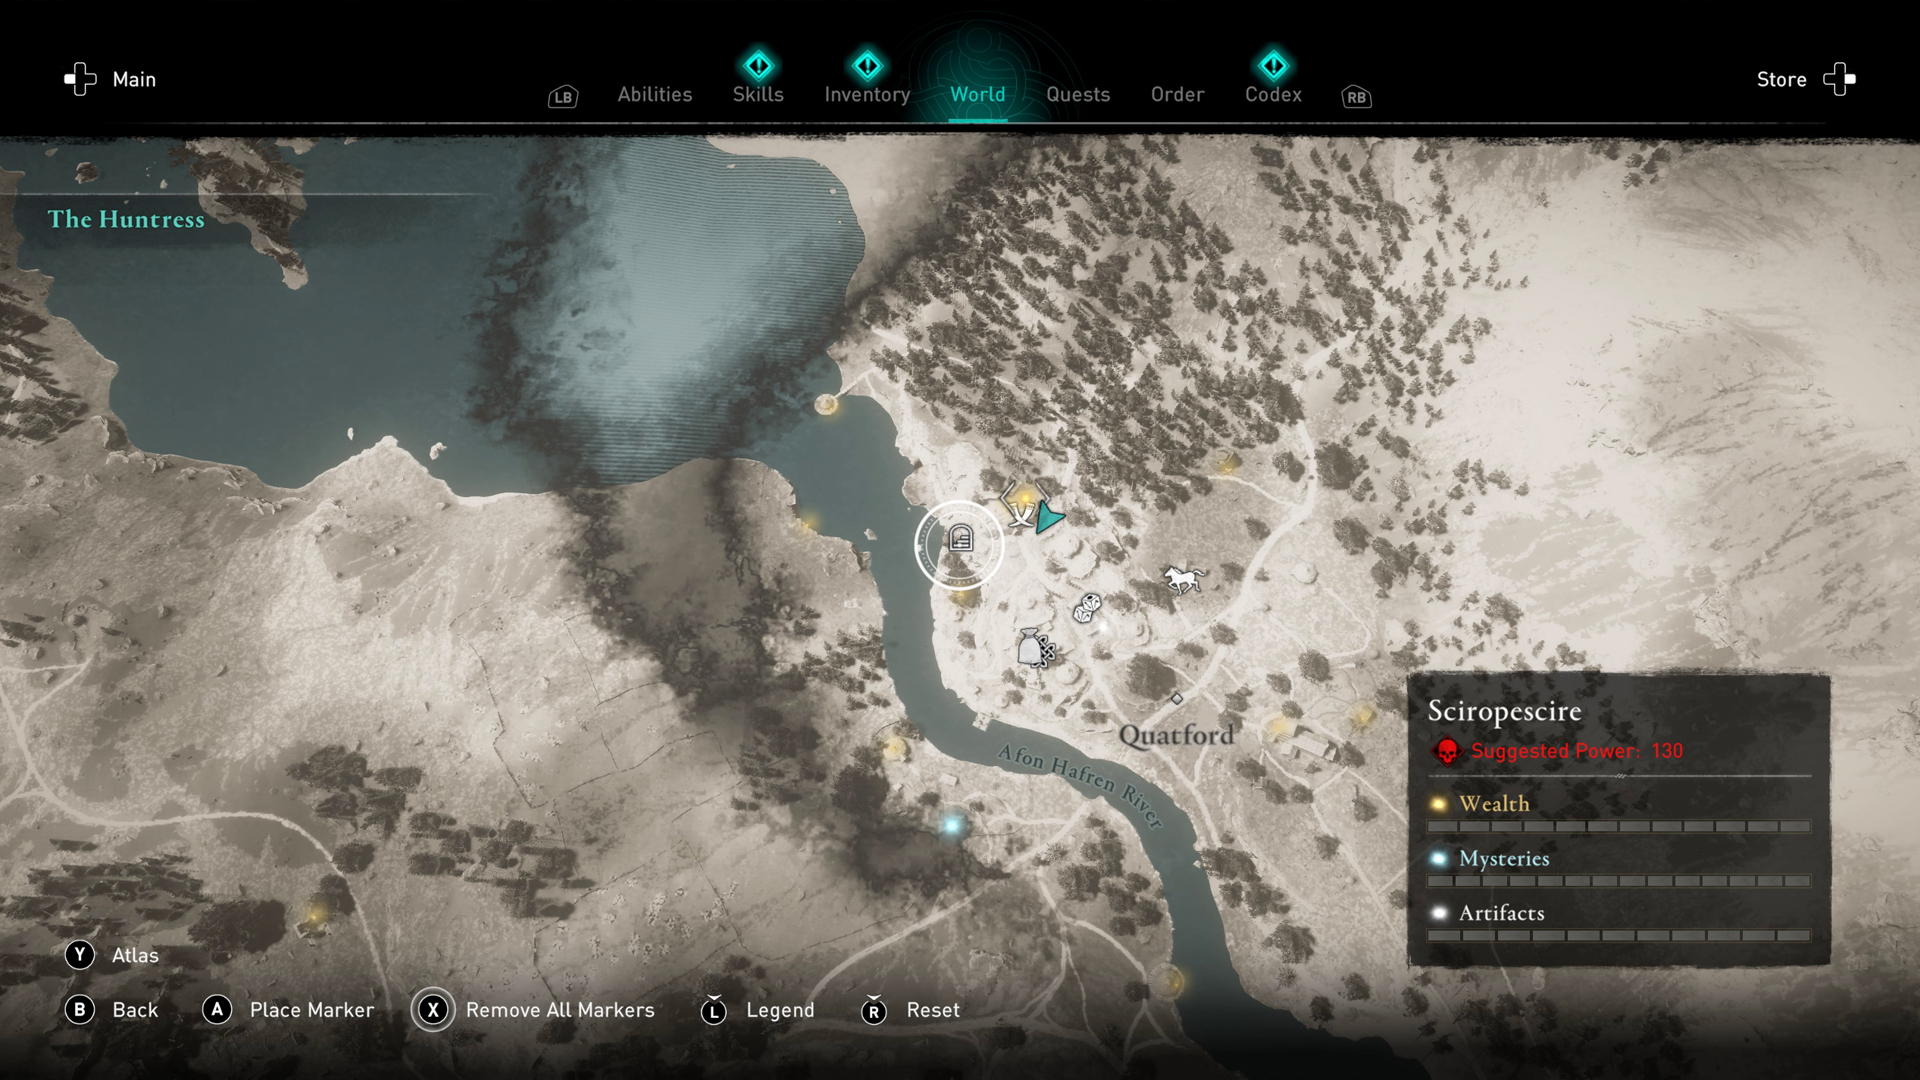
Article continues belowWe'll be making two stops in Sciropescire, and the first is in Quatford. Head northwest of the main Quatford town marker, on the outskirts of the trees, and open your map. On the coast on the west side is a marker that looks like stairs. This is the entrance to where we'll find the Brigandine Cape.
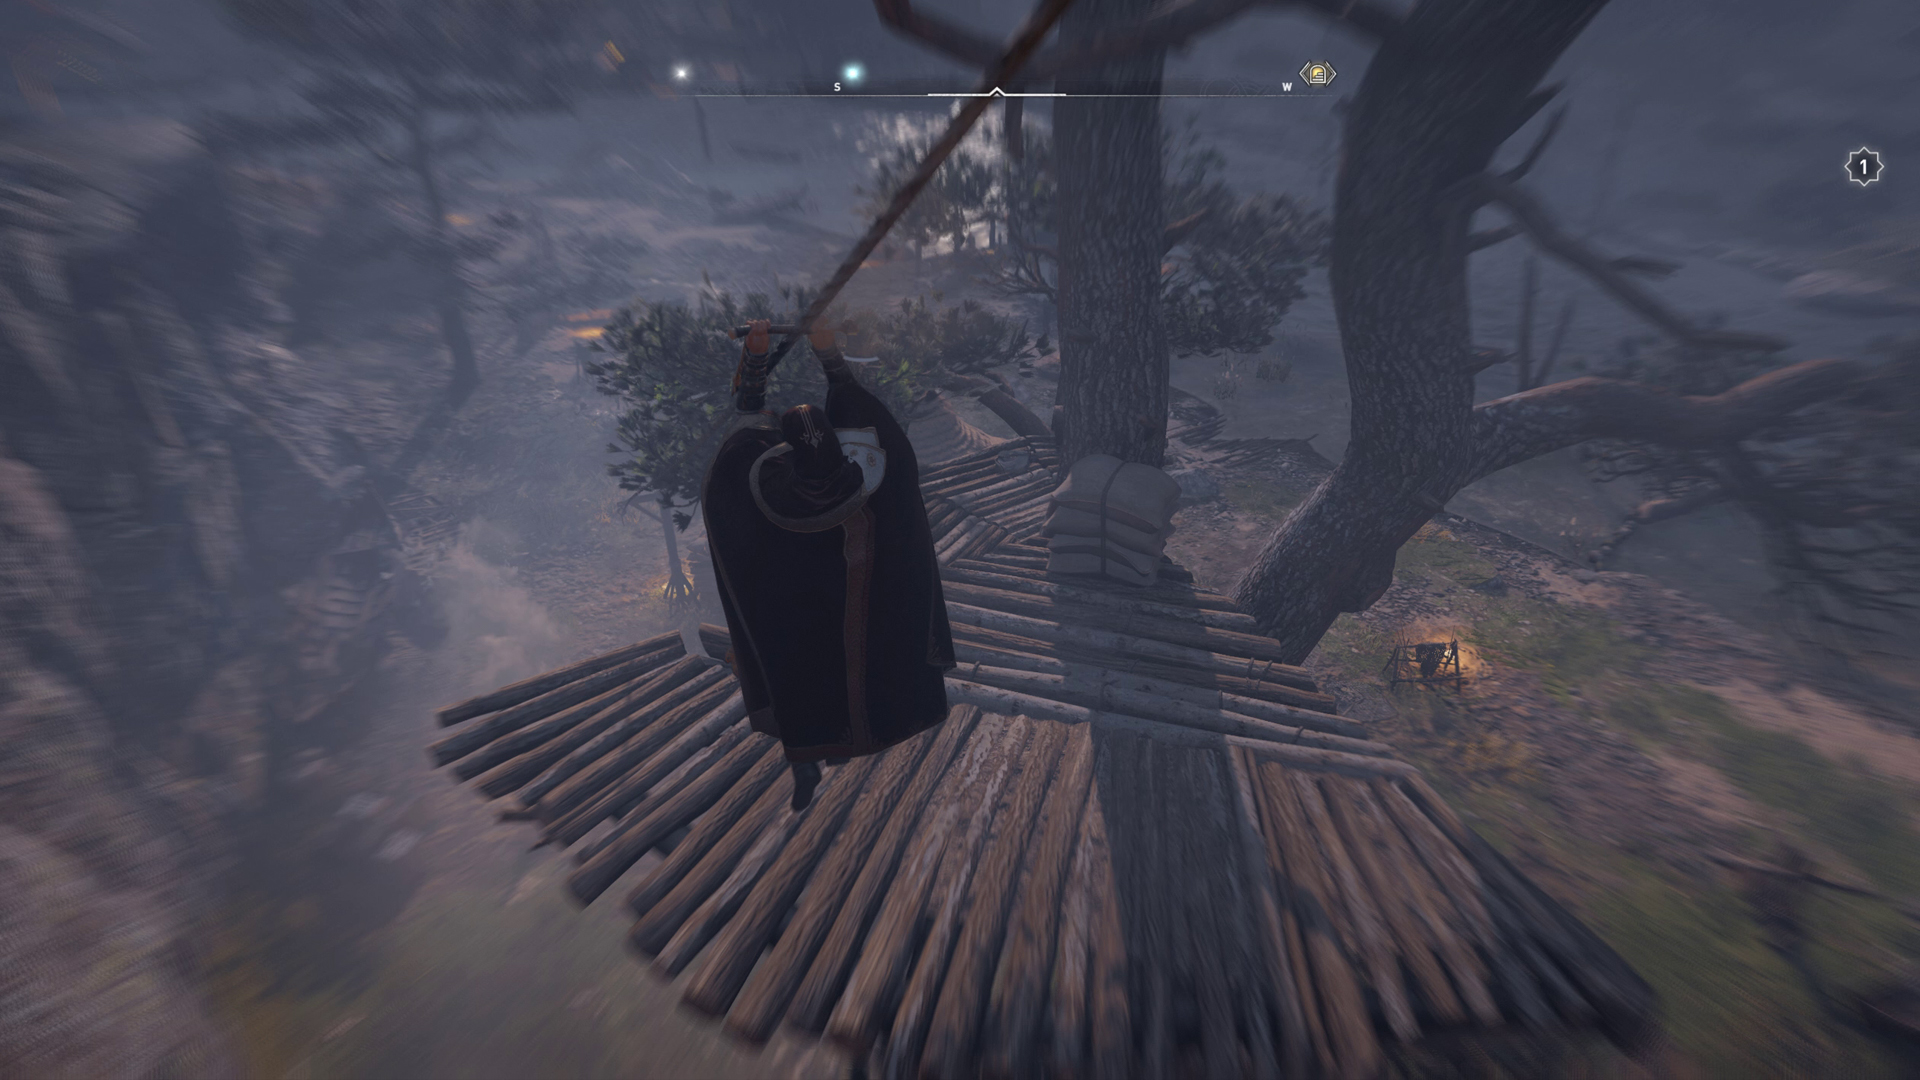
There's a zipline you can zoom down using Eivor's axe to get down to water level, then turn right and run along the water's edge. Keep an eye on the cliffs on your right as you run, and stop once you see the cart next to a blocked entrance in the rock. Stand back, near the tree and use an arrow to shoot the oil jar to cause a small explosion to clear the obstruction. Wait for the fire to burn out, and head inside.
Make your way down the rocky corridor, over the wooden planks, and round the corner. Attack the wooden fence to break it, and pull the large rock away from the wall to enter the next room. There are a few things to loot in here so check the pots in the corner, and don't forget the skeleton near the entrance as it's easy to miss. Open the large chest to find the Brigandine Cape, and tick off one of the Assassin's Creed Valhalla wealth slots on your Sciropescire bar.
Helm
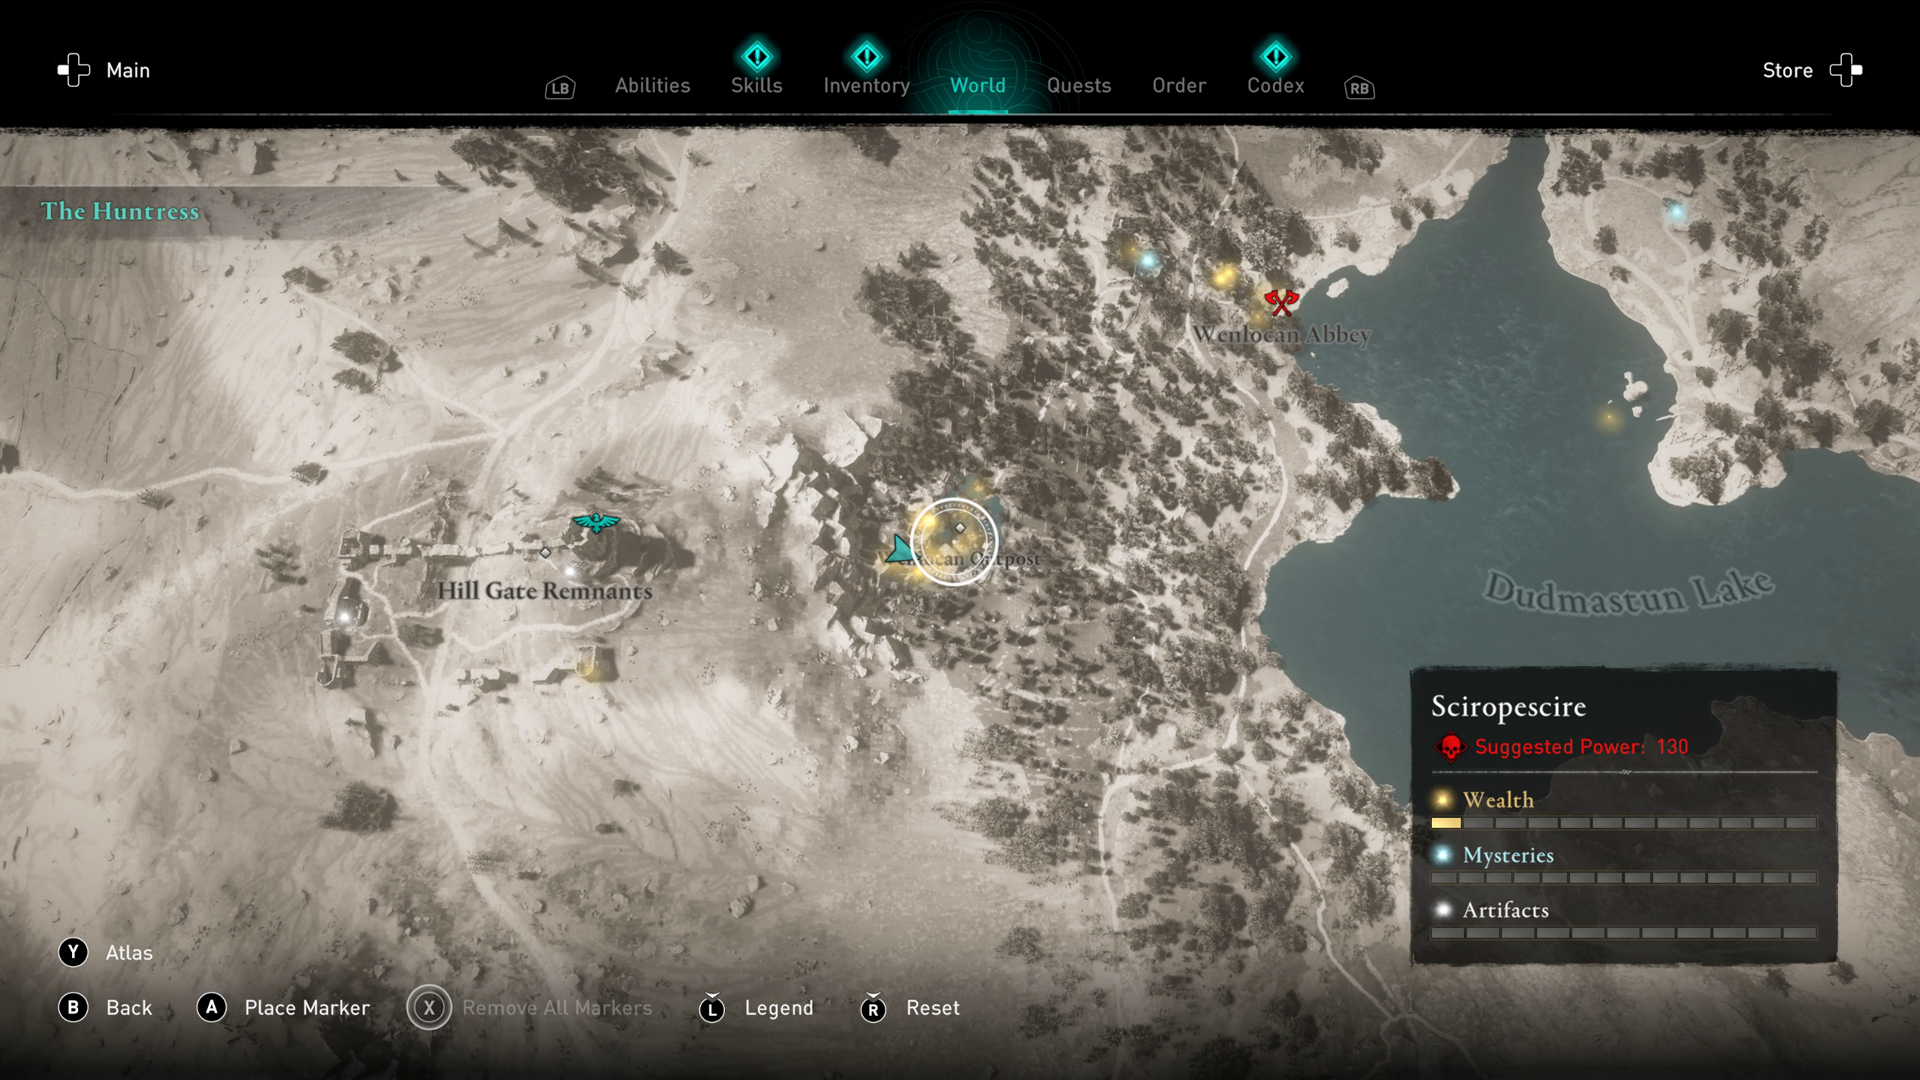
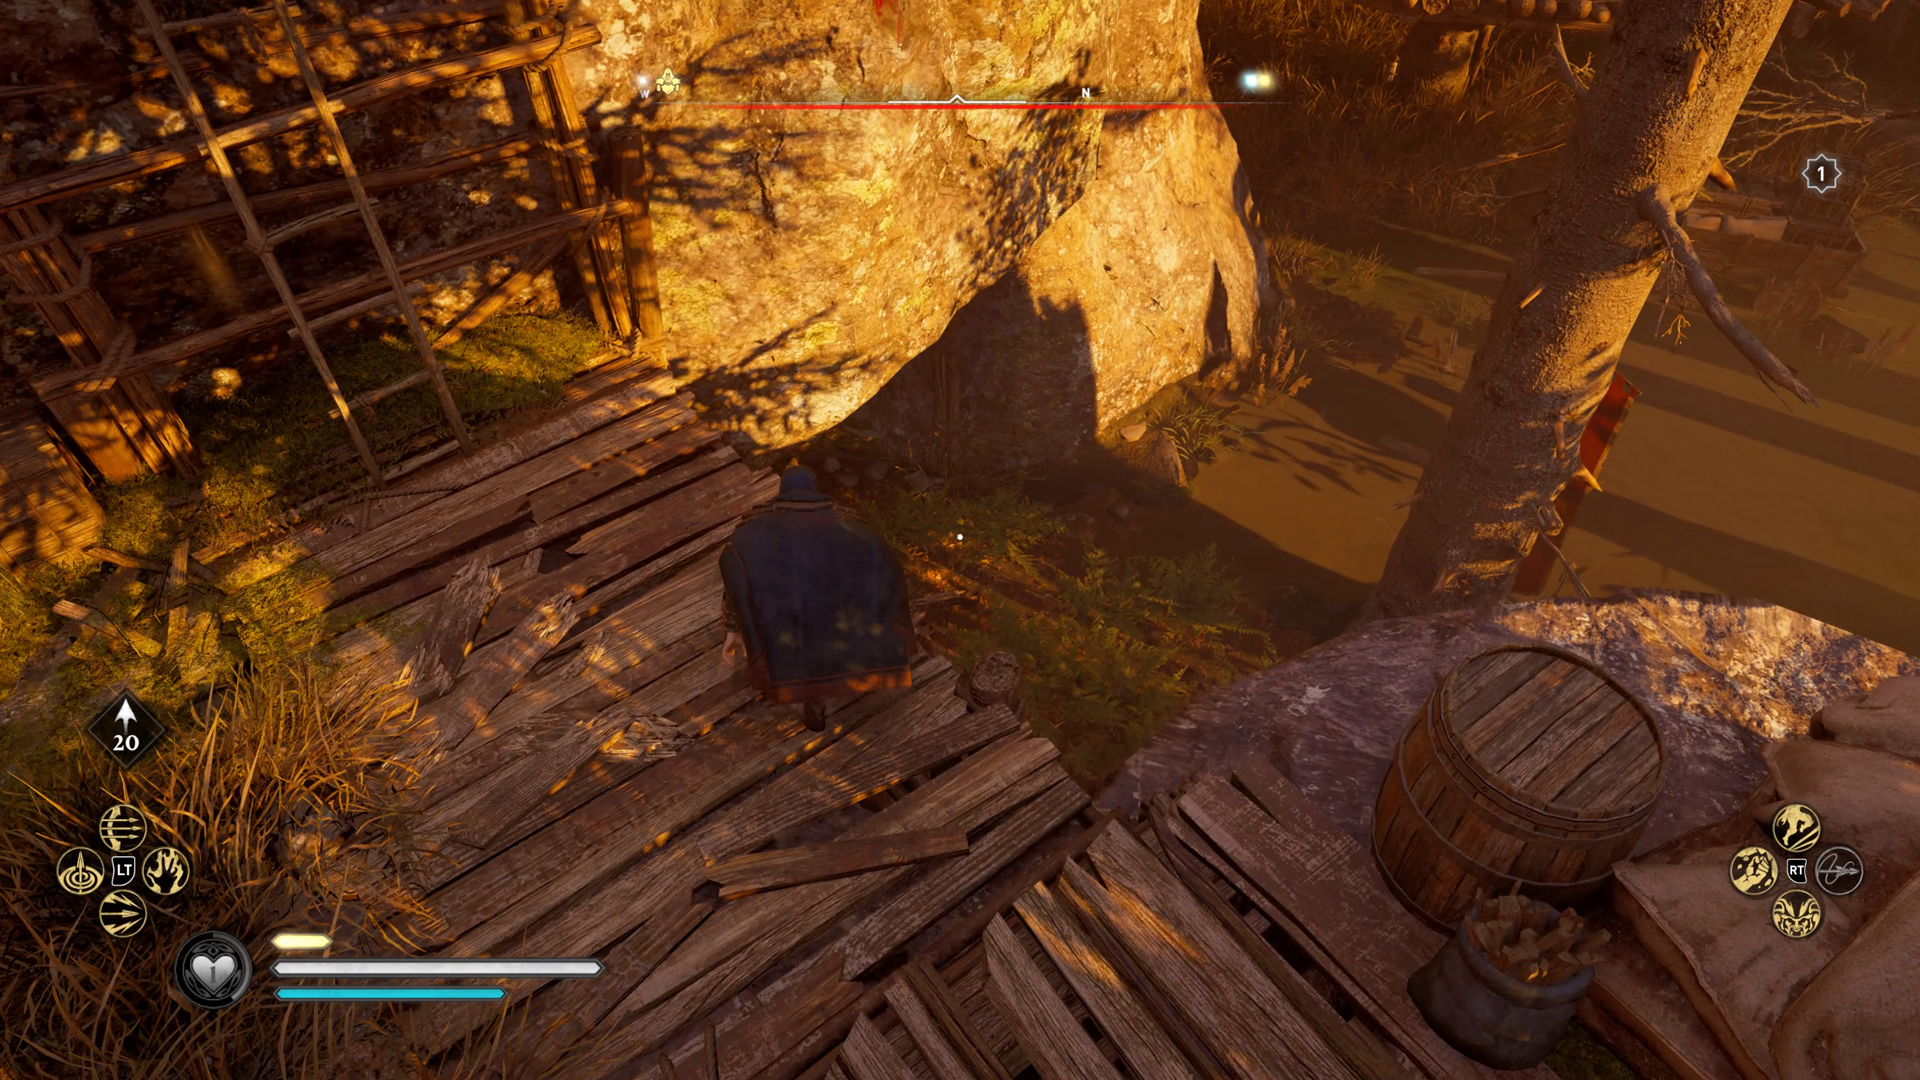
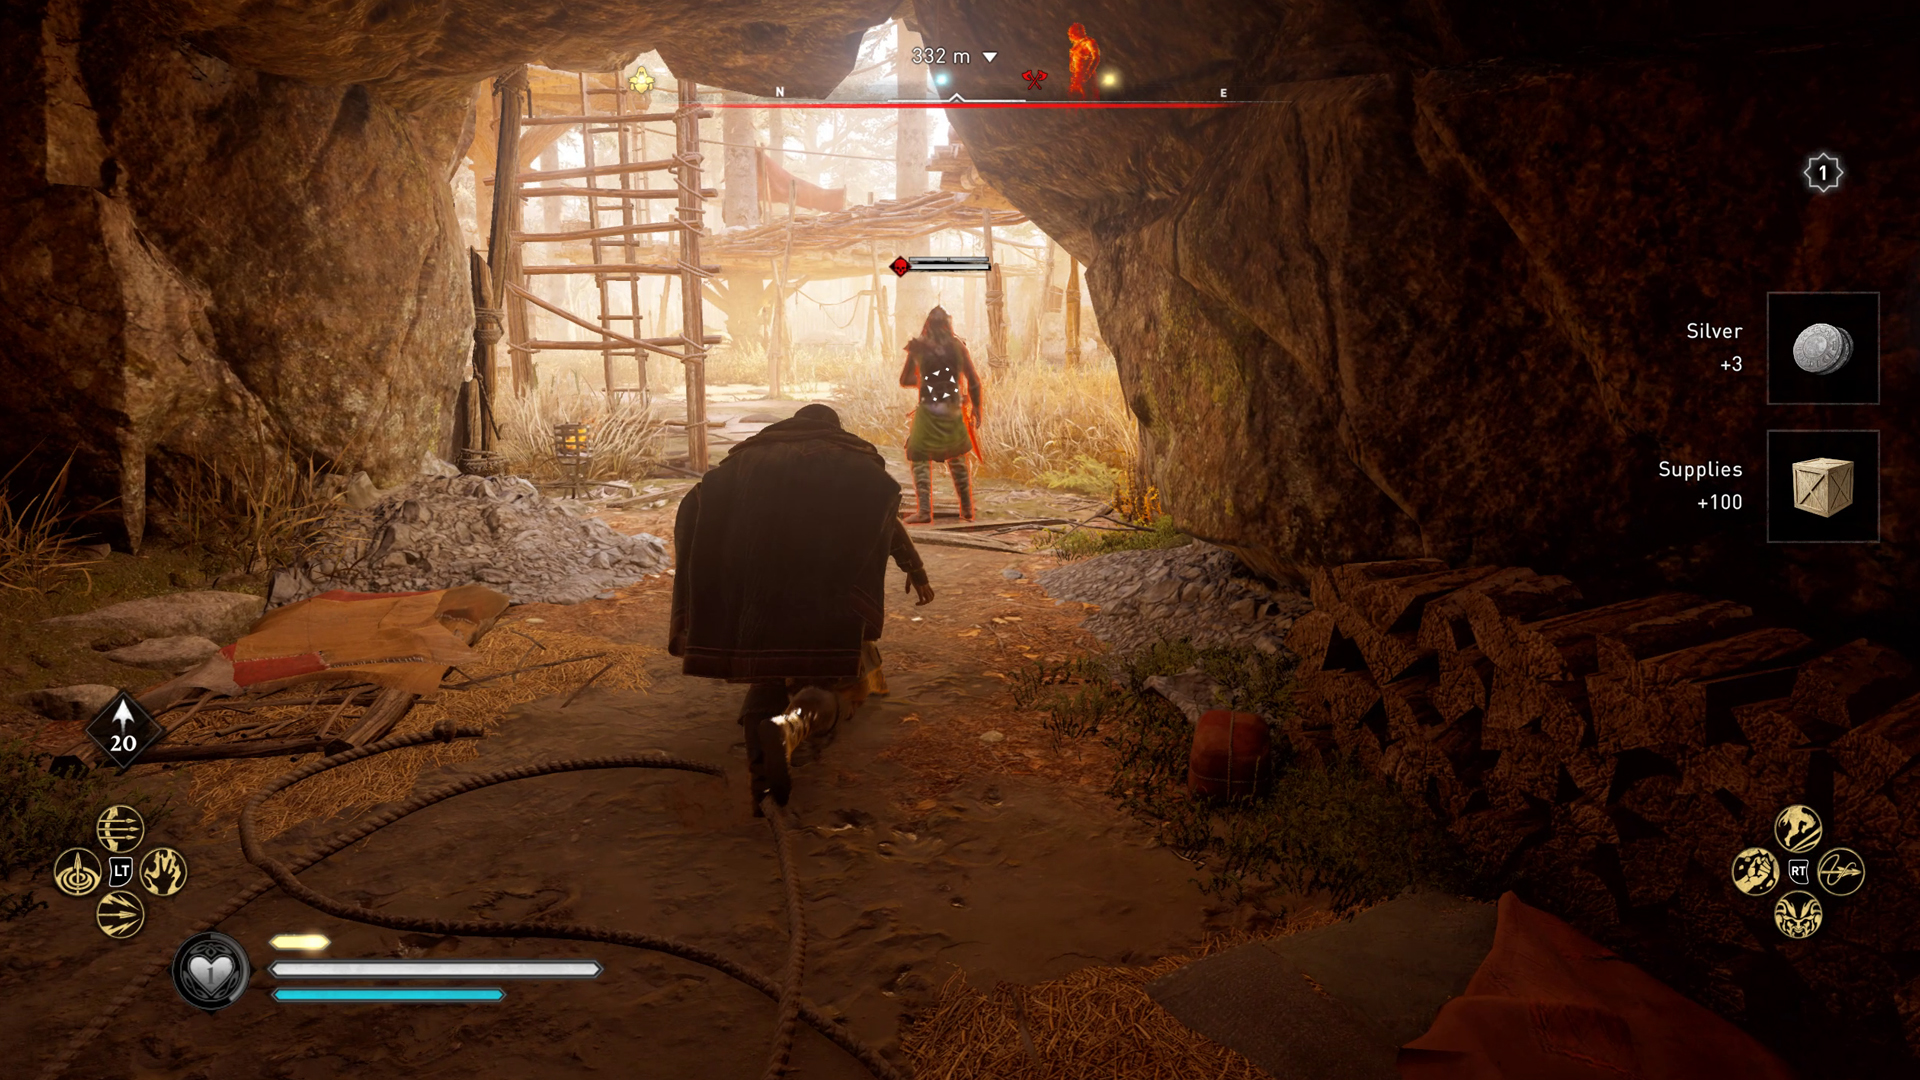
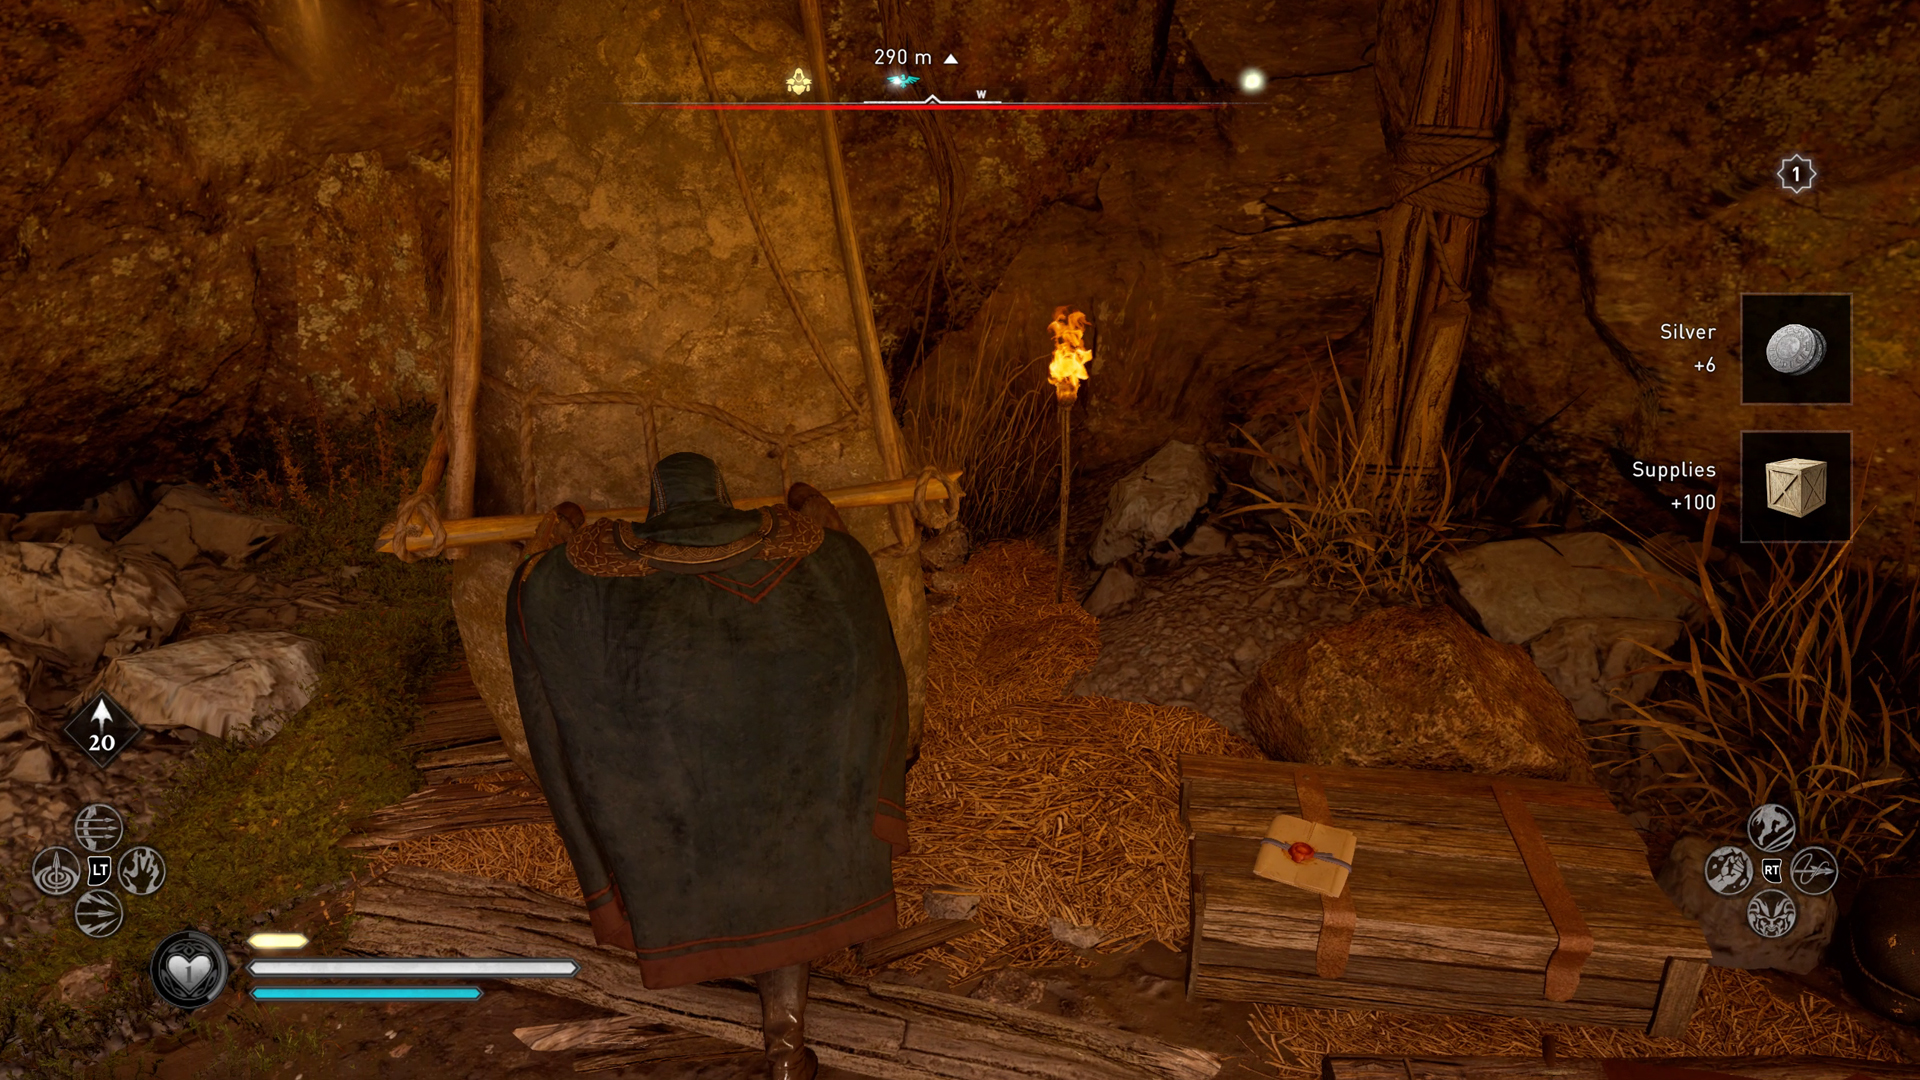
Location: Wenlocan Outpost, Sciropescire
Keep up to date with the most important stories and the best deals, as picked by the PC Gamer team.
We're already in Sciropescire, so we may as well pick up the next item in the Brigandine set. Ride southwest from Quatford to the Wenlocan Outpost. There are lots of wealth markers in the outpost, so it's best to enter the area from the rocky cliffs in the west (above) to avoid confrontation with the guards.
Start off on the platform with the sacks of apples and hug the cliffs on your right as you descend. Next to the wooden ladder you'll notice the entrance to a cave. There are two small chests to loot just inside the mouth of the cave, but be wary of the guard on the right. If you have the Advanced Assassination skill, you can take them out in one shot. You can also read the Note of a Giving Soul here.
Drag the large rock away from the cave wall and squeeze through the gap. There are two pots to loot, and a pick chest in the middle containing the Brigandine Helm.
Armor
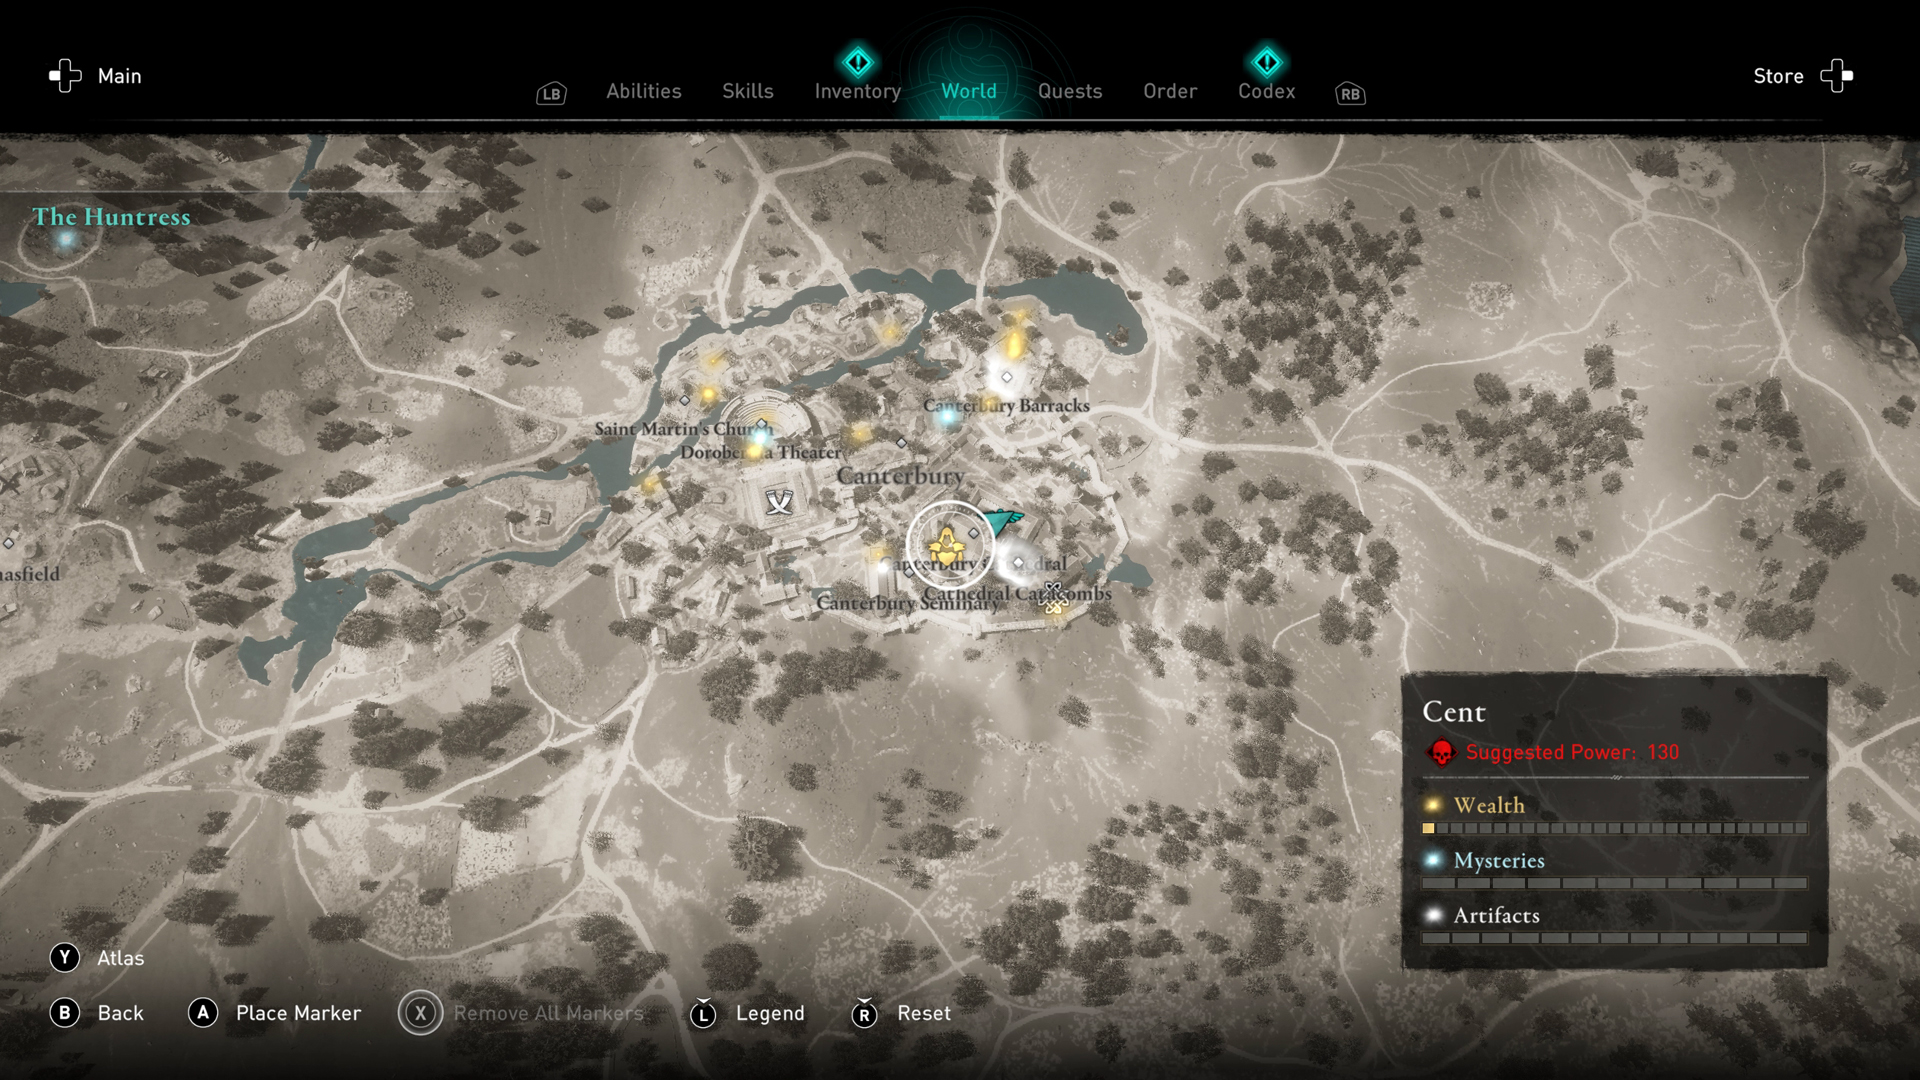
Location: Canterbury Cathedral, Cent
We're venturing all the way to the southeast of England, now. You can find Canterbury near the body of water in Cent. More specifically, we're paying the Canterbury Cathedral a little visit, which is conveniently a fast travel point.
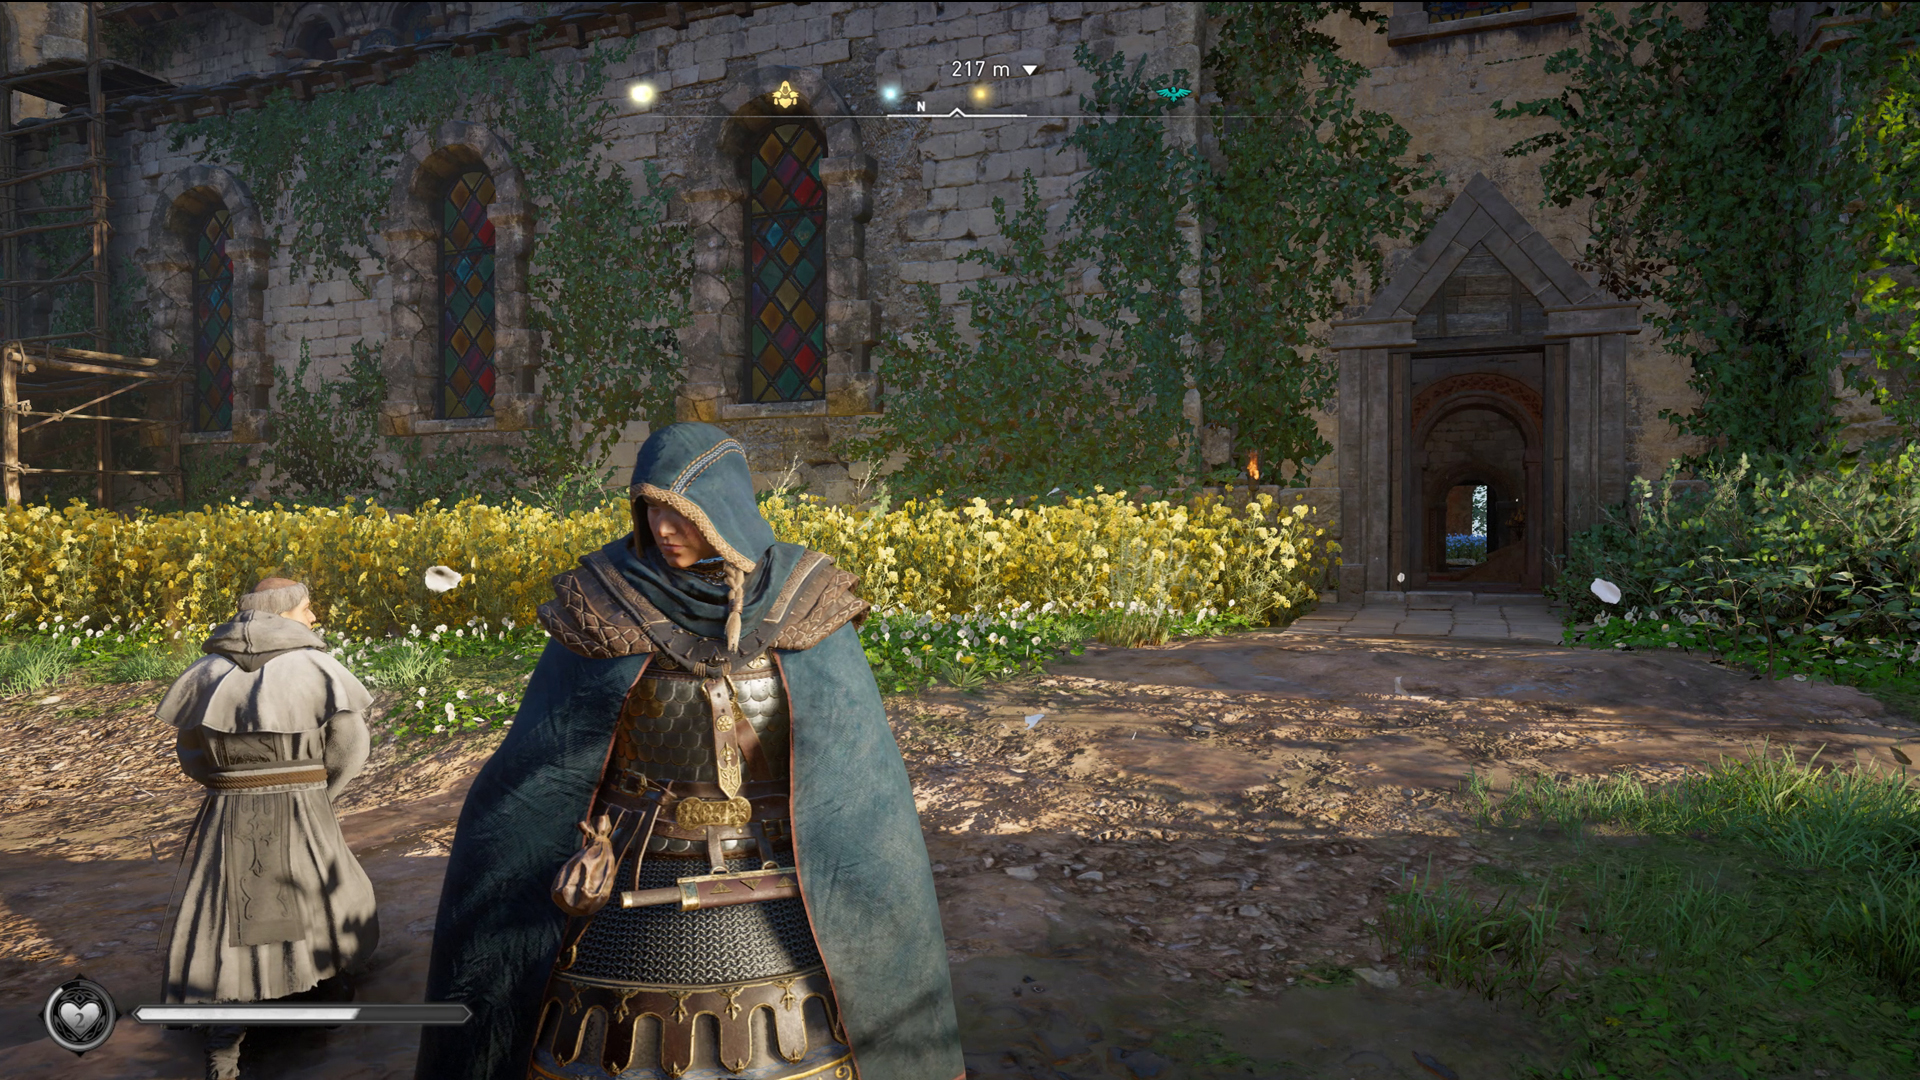
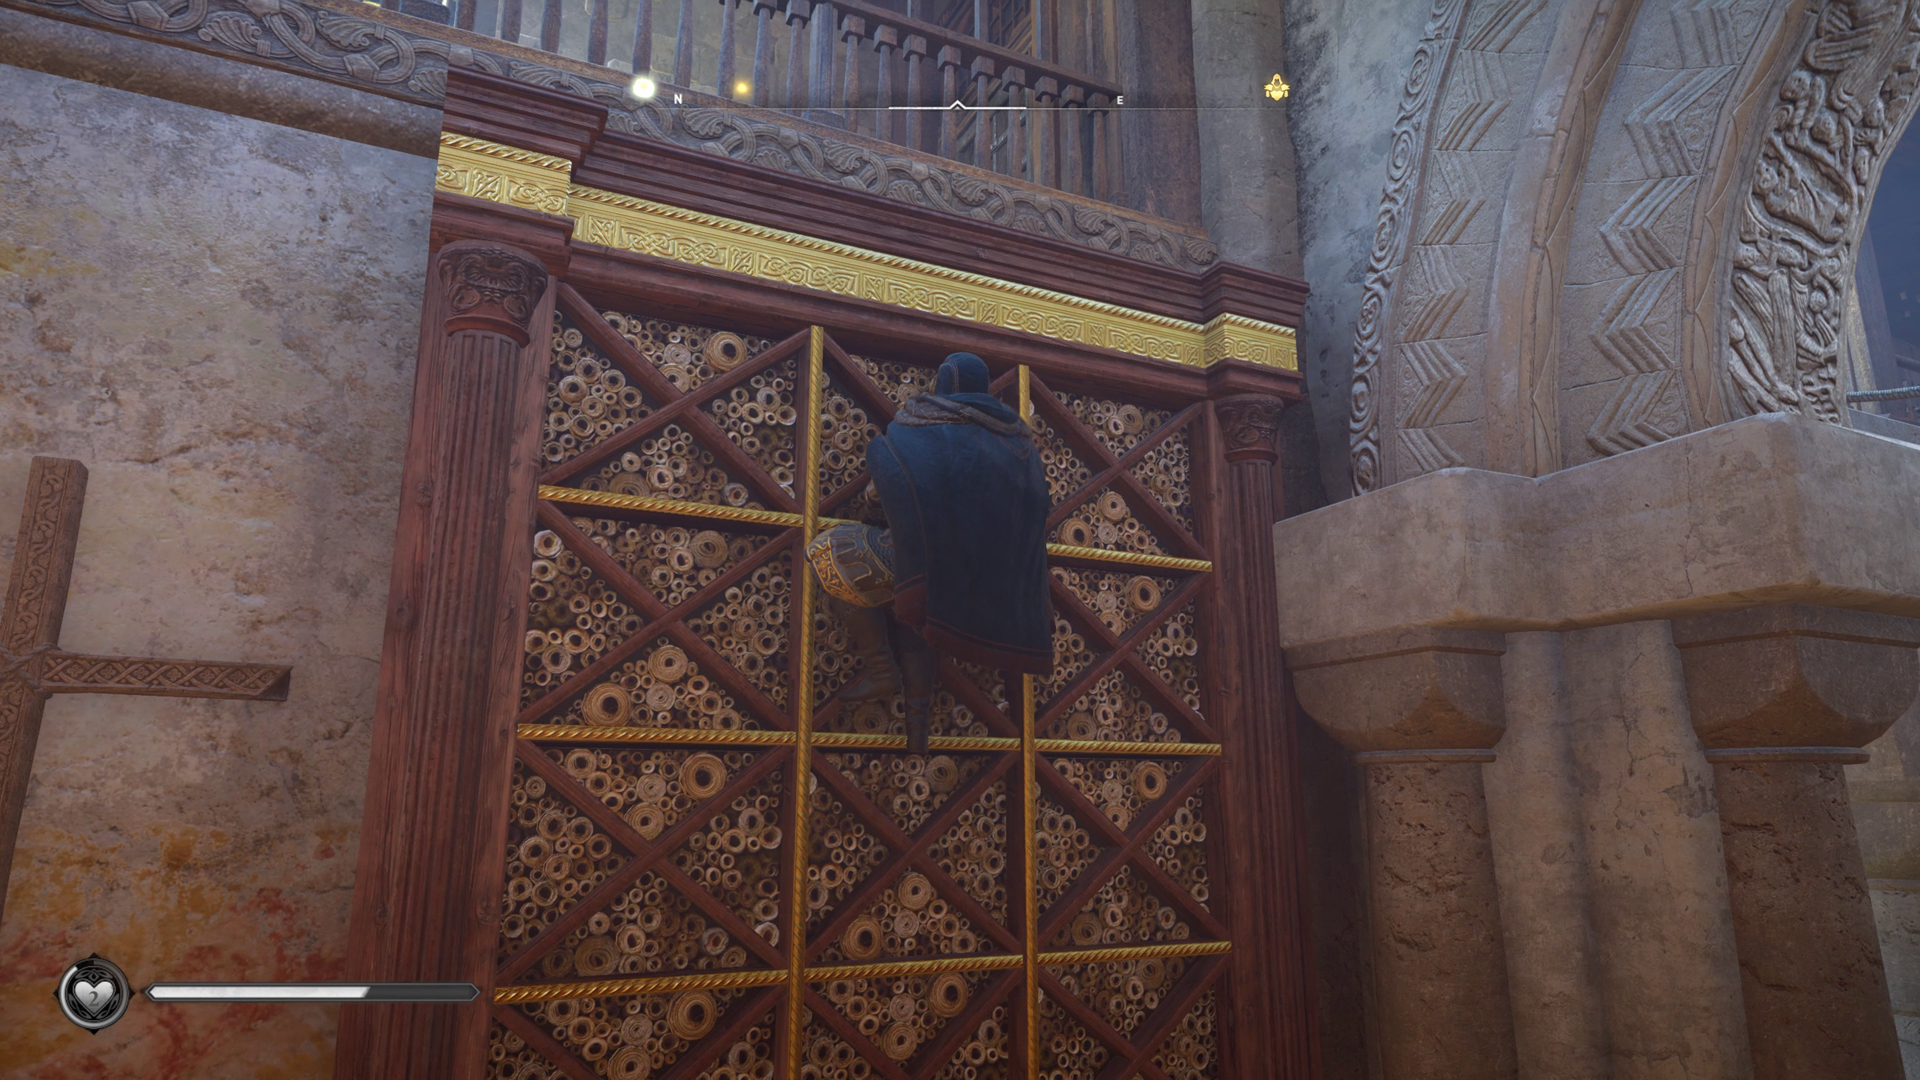
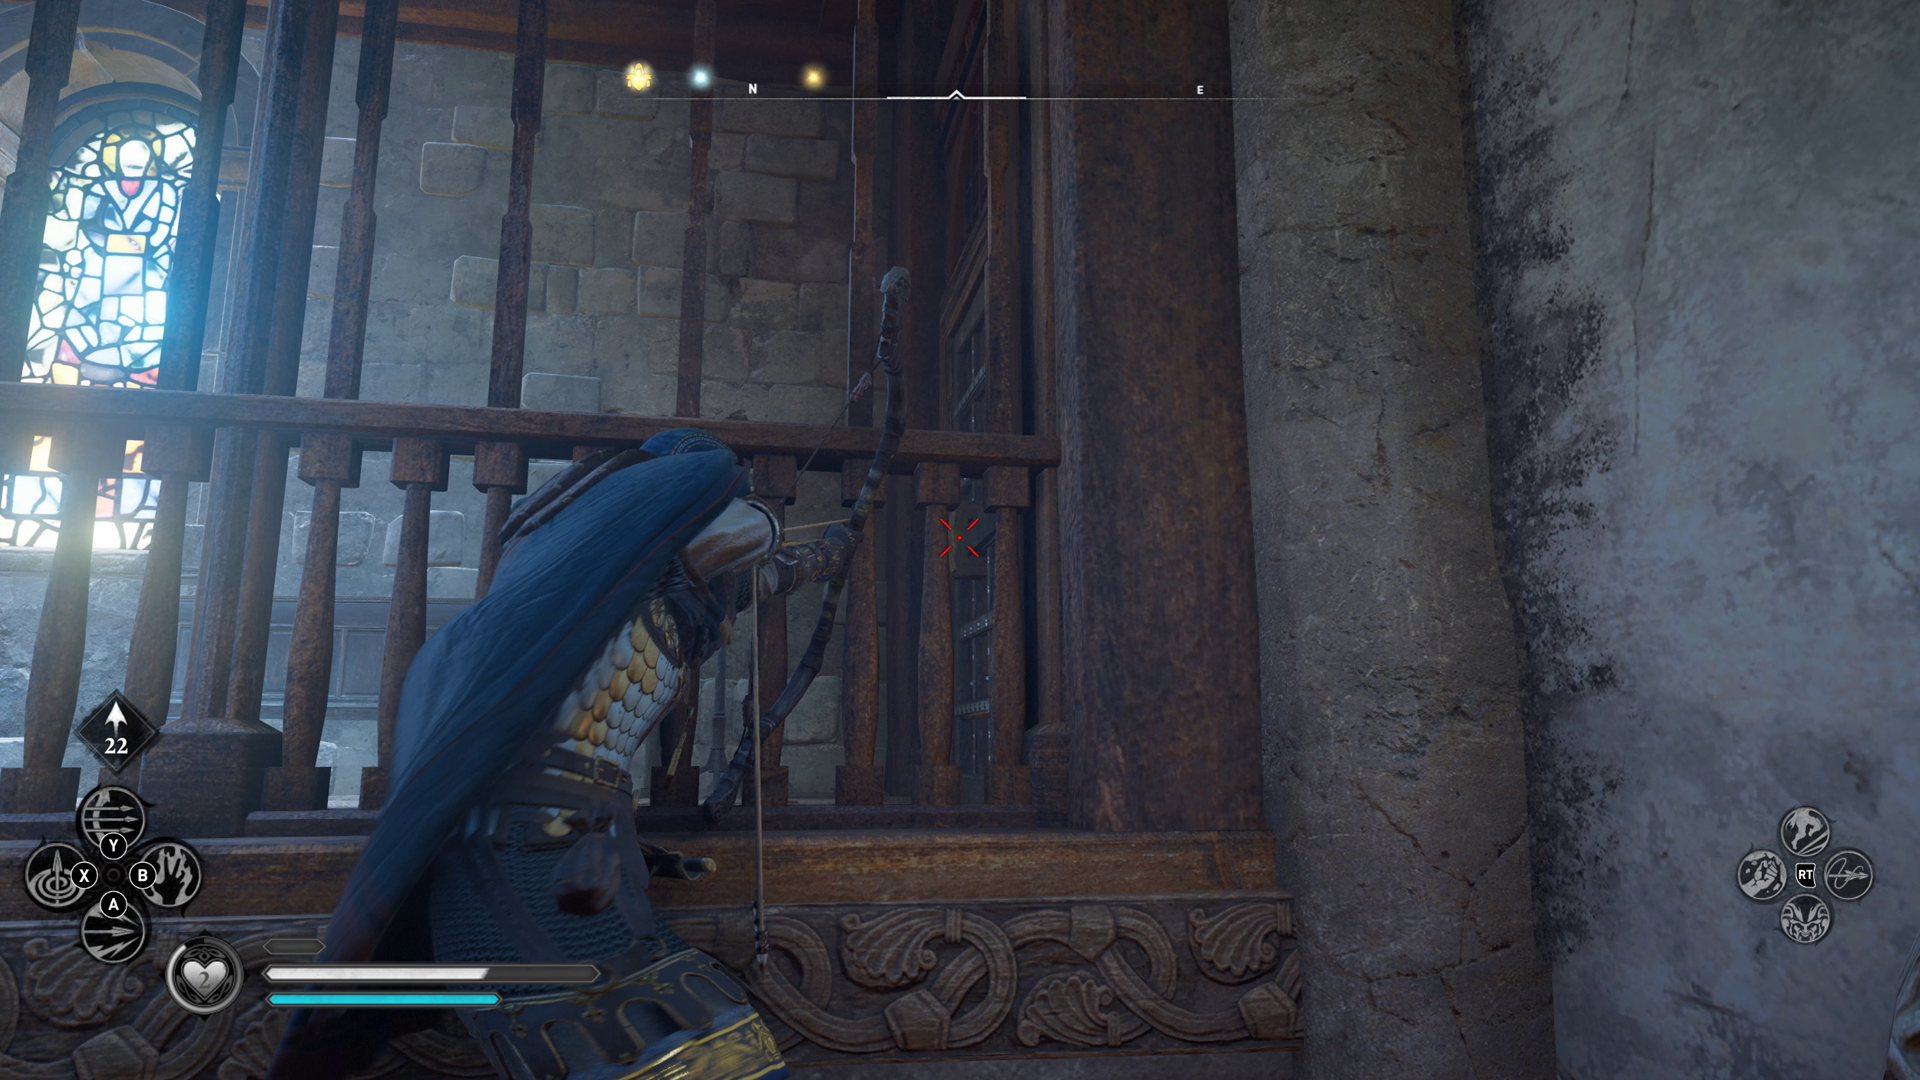
Enter the Cathedral, using the doorway that has four stained-glass windows on the left side, along with some wooden scaffolding (above). Walk inside and turn left, then climb up the large case of scrolls closest to you on the right side. Peer through the banisters at the top and focus on the door. There's a lock on the door that you need to break with an arrow, but lining up the shot can be tricky as the banisters can block it. I found that the easiest way to make the shot is by aiming through the first gap on the right, closest to the door.
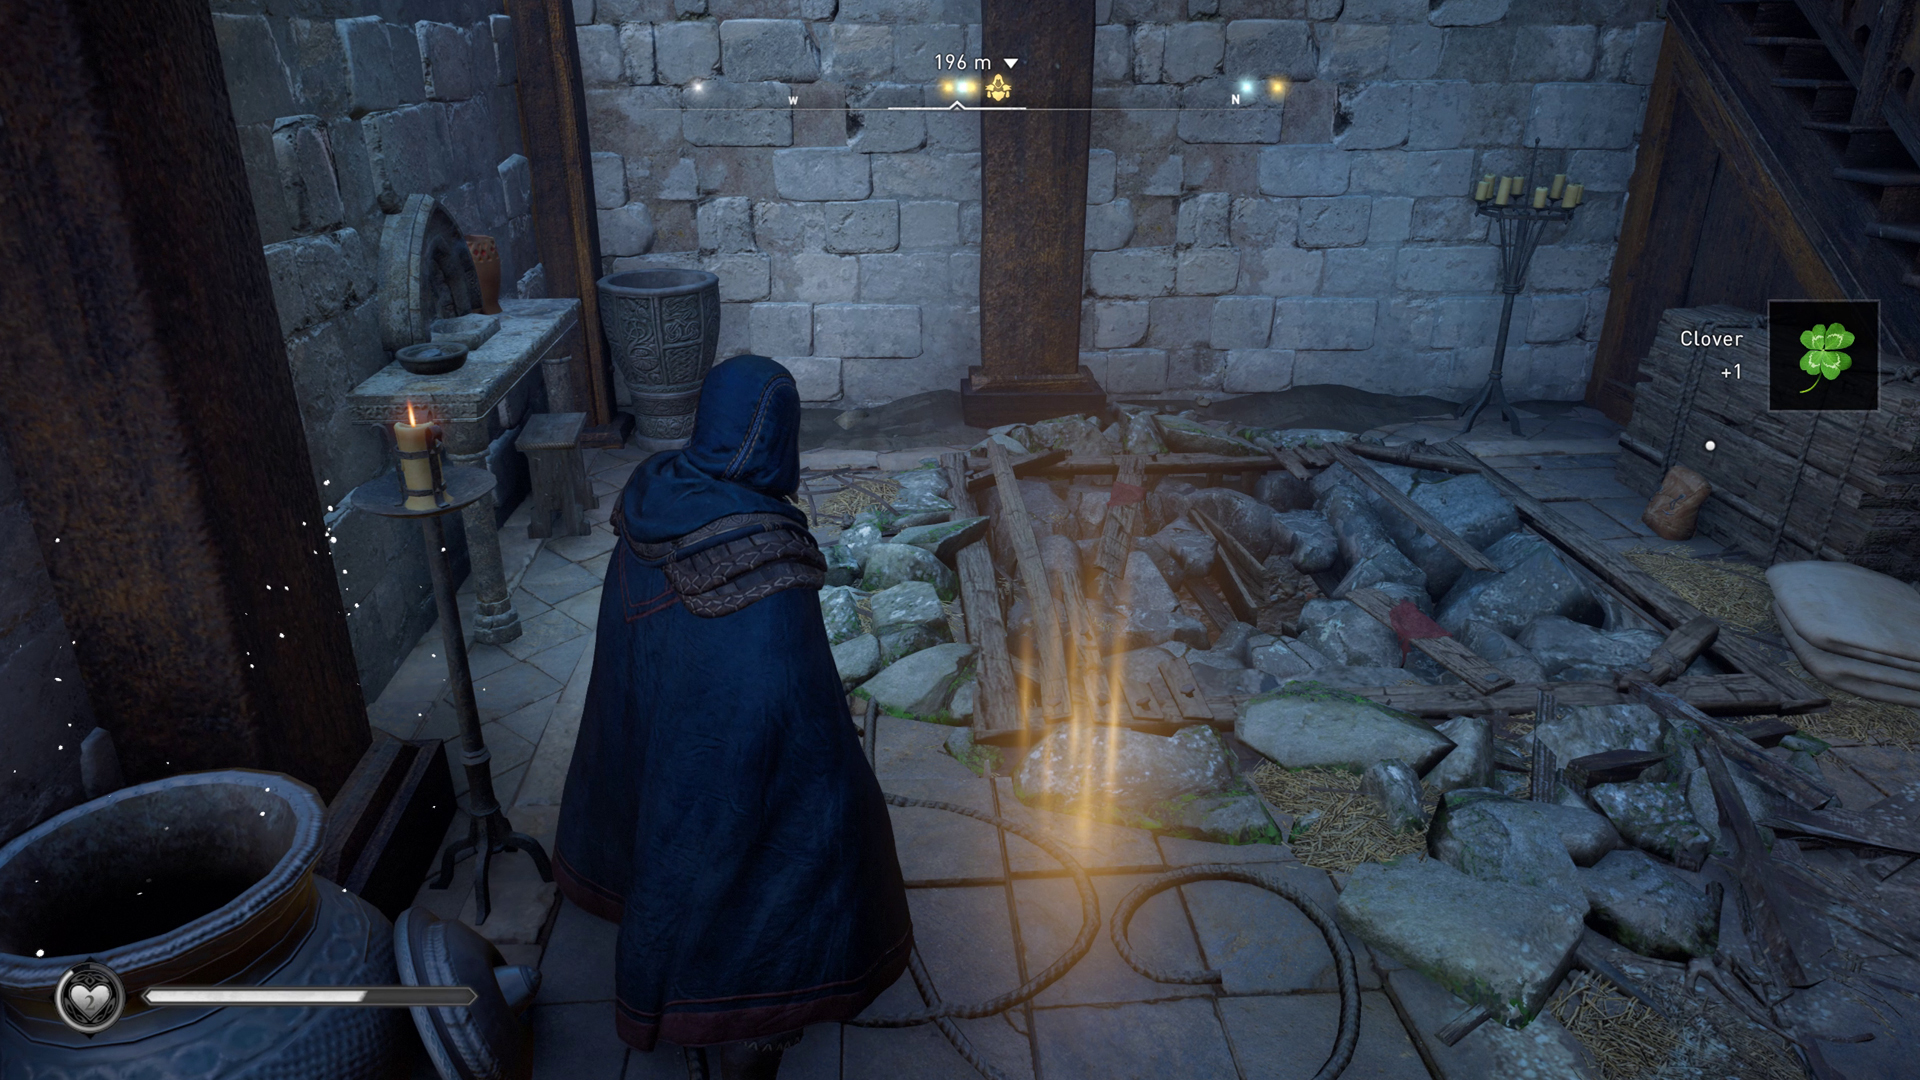
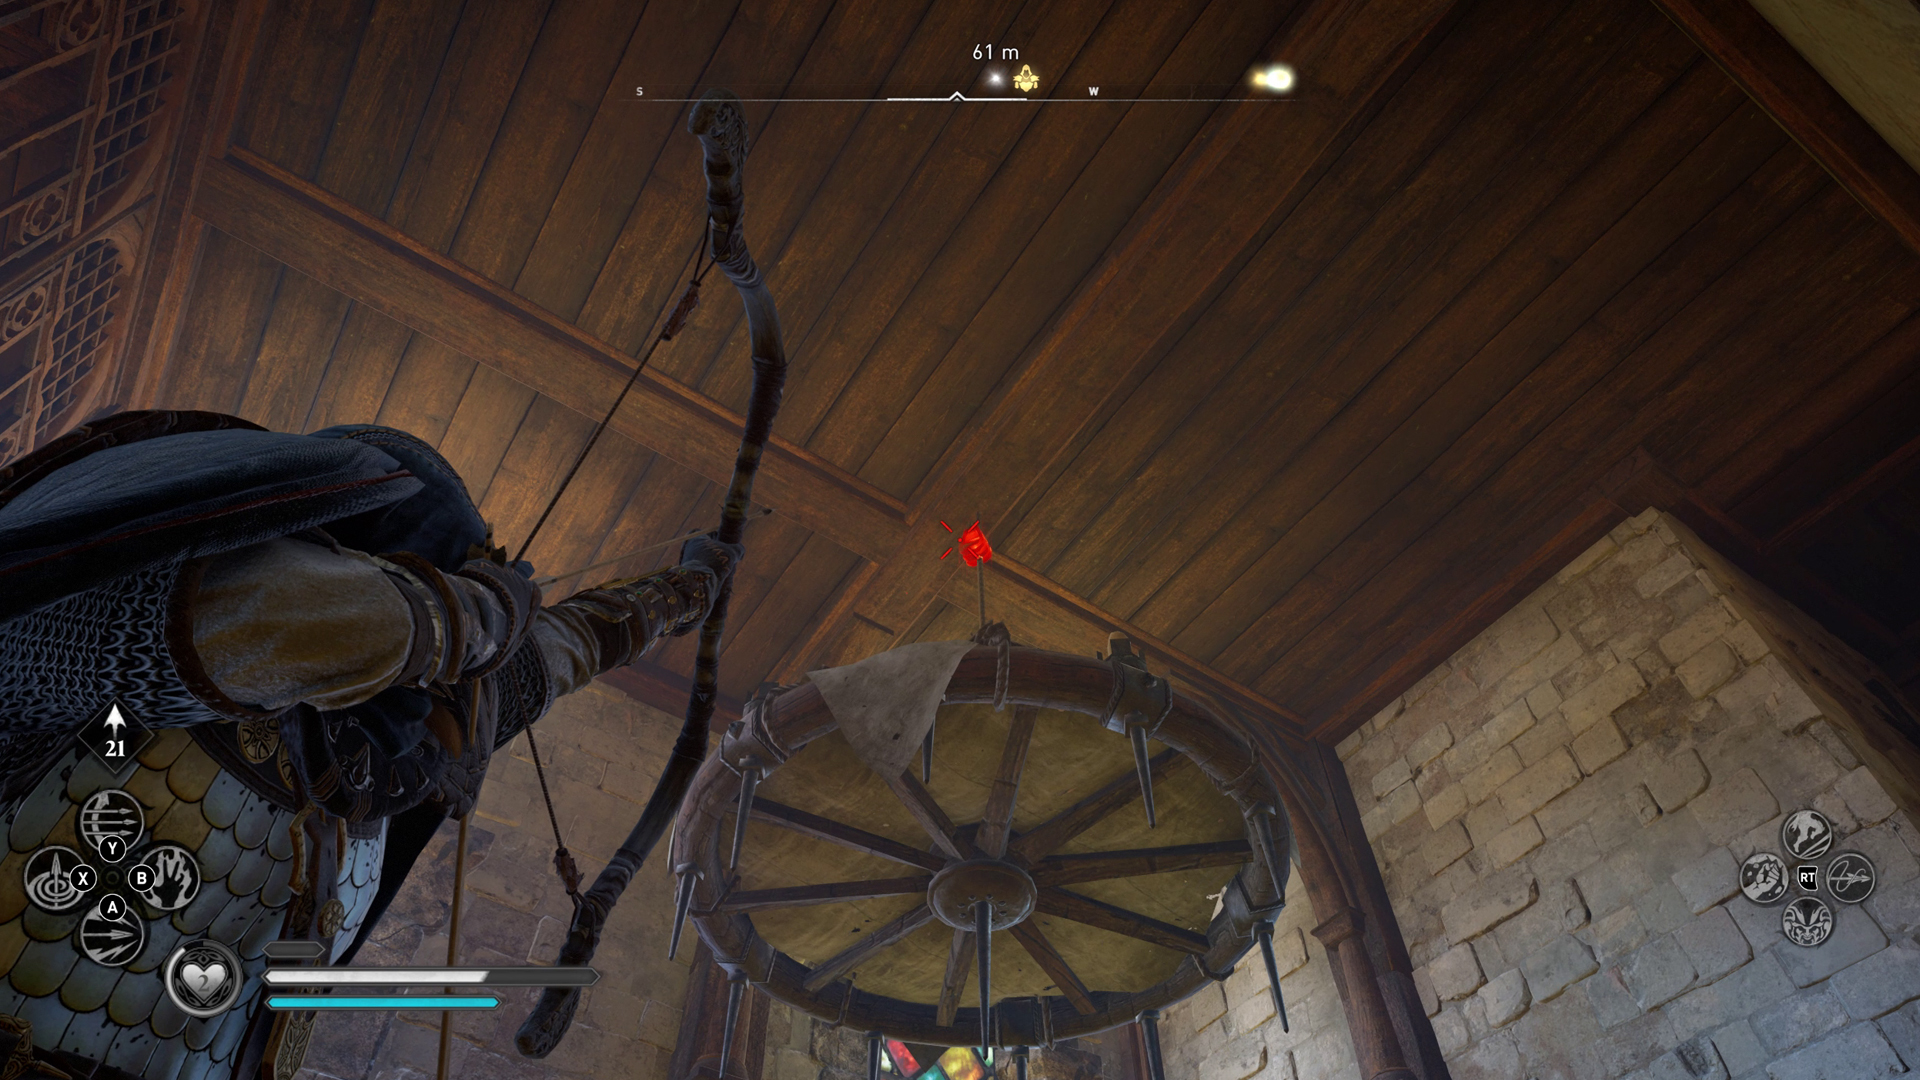
Jump down and climb the tall wooden case opposite to access the first floor. Then run all the way around to the left to open the door. Follow the corridor around and down the stairs, and feel free to loot the pots in the room below. Now it's time to focus your attention on the breakable debris on the floor. Take a few steps back and shoot an arrow at the chandelier's ceiling attachment to break the floor. Hop into the shallow hole and loot the Opal in the corner, then open the chest to retrieve the Brigandine Armor.
Gauntlets
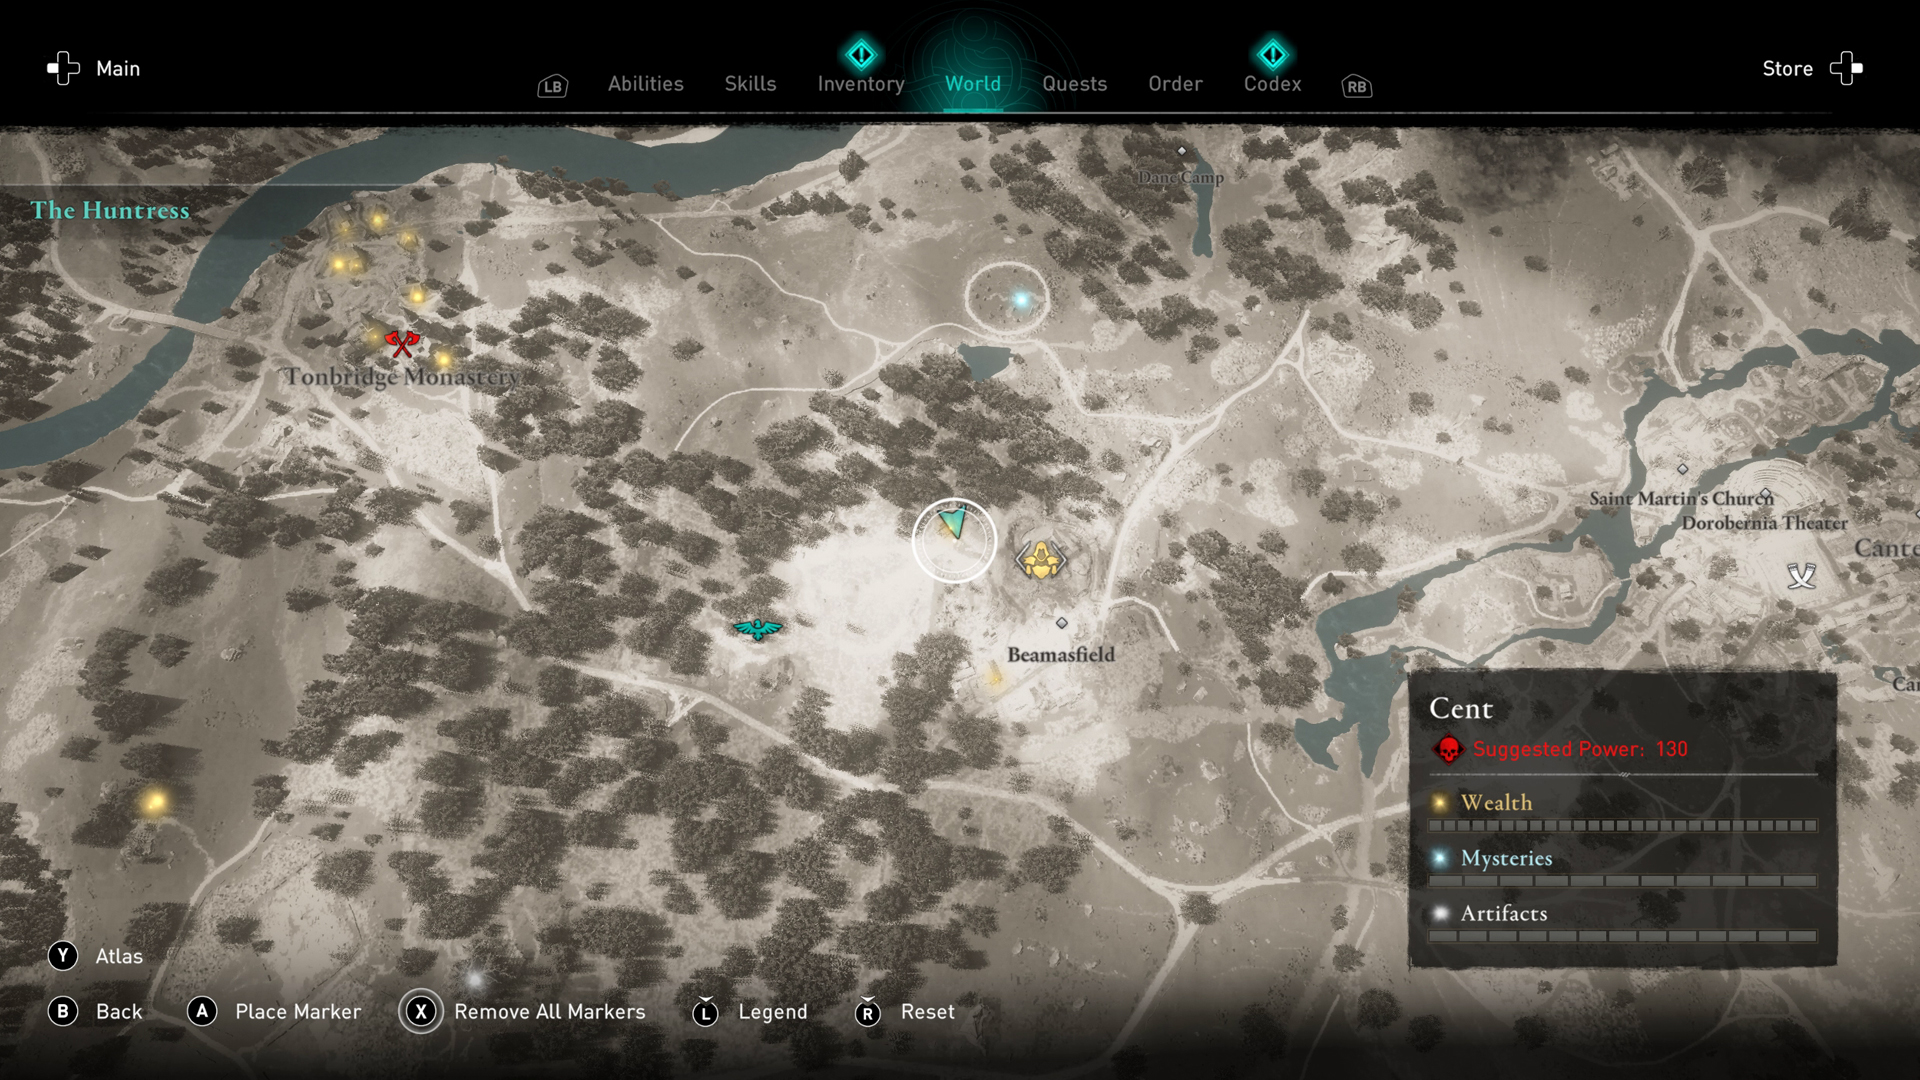
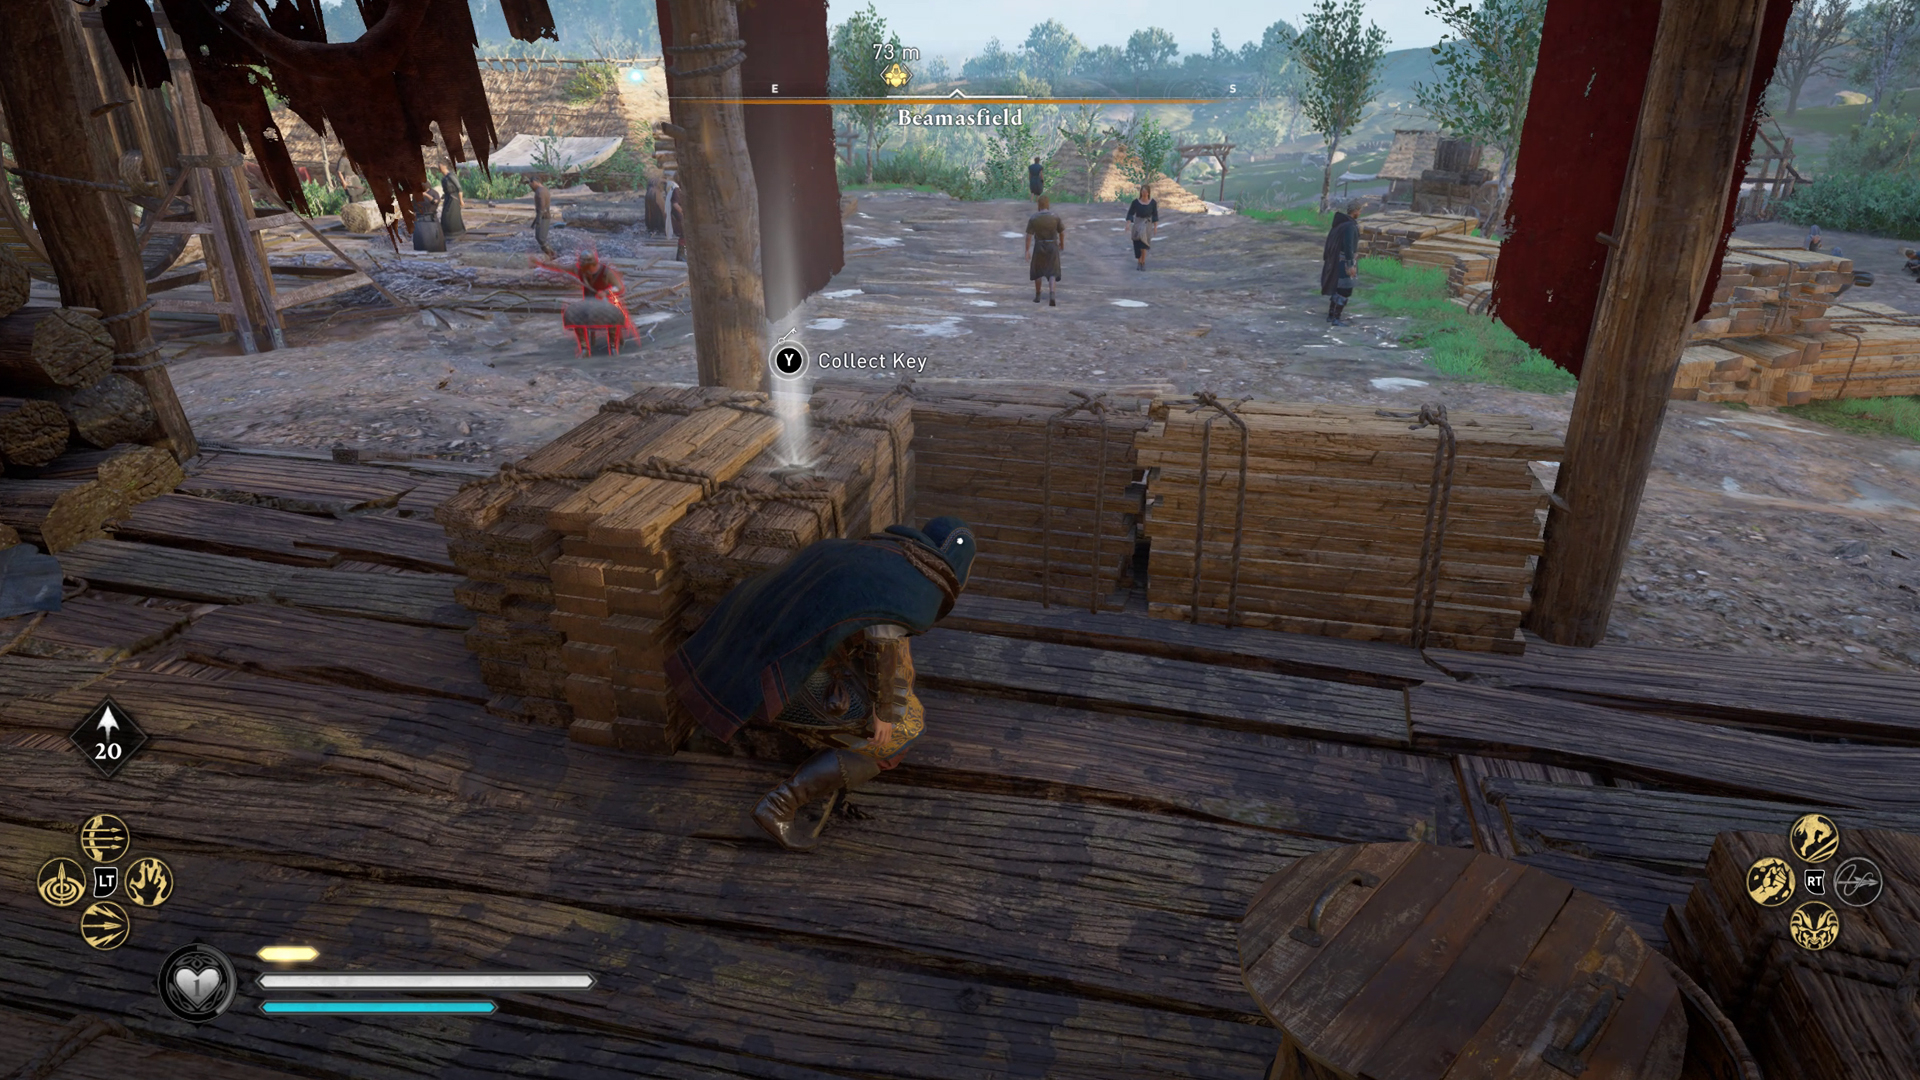
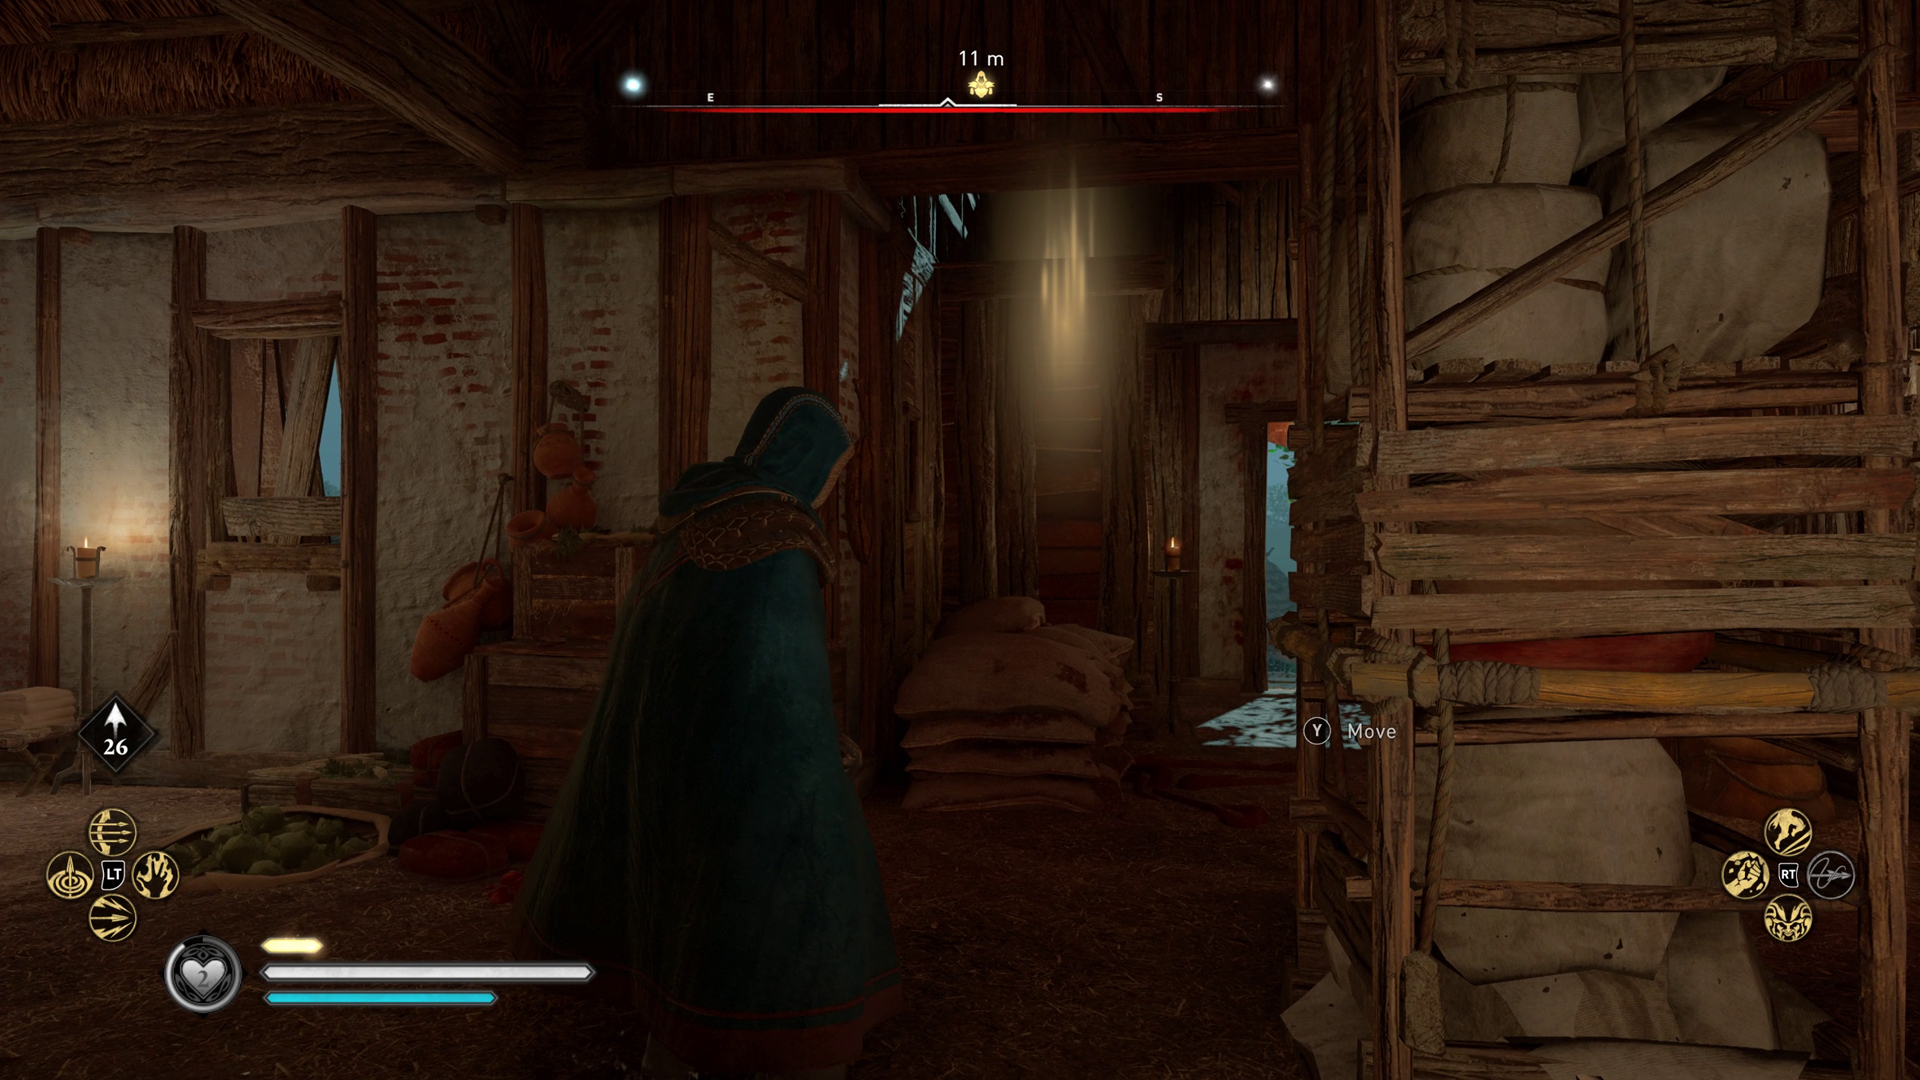
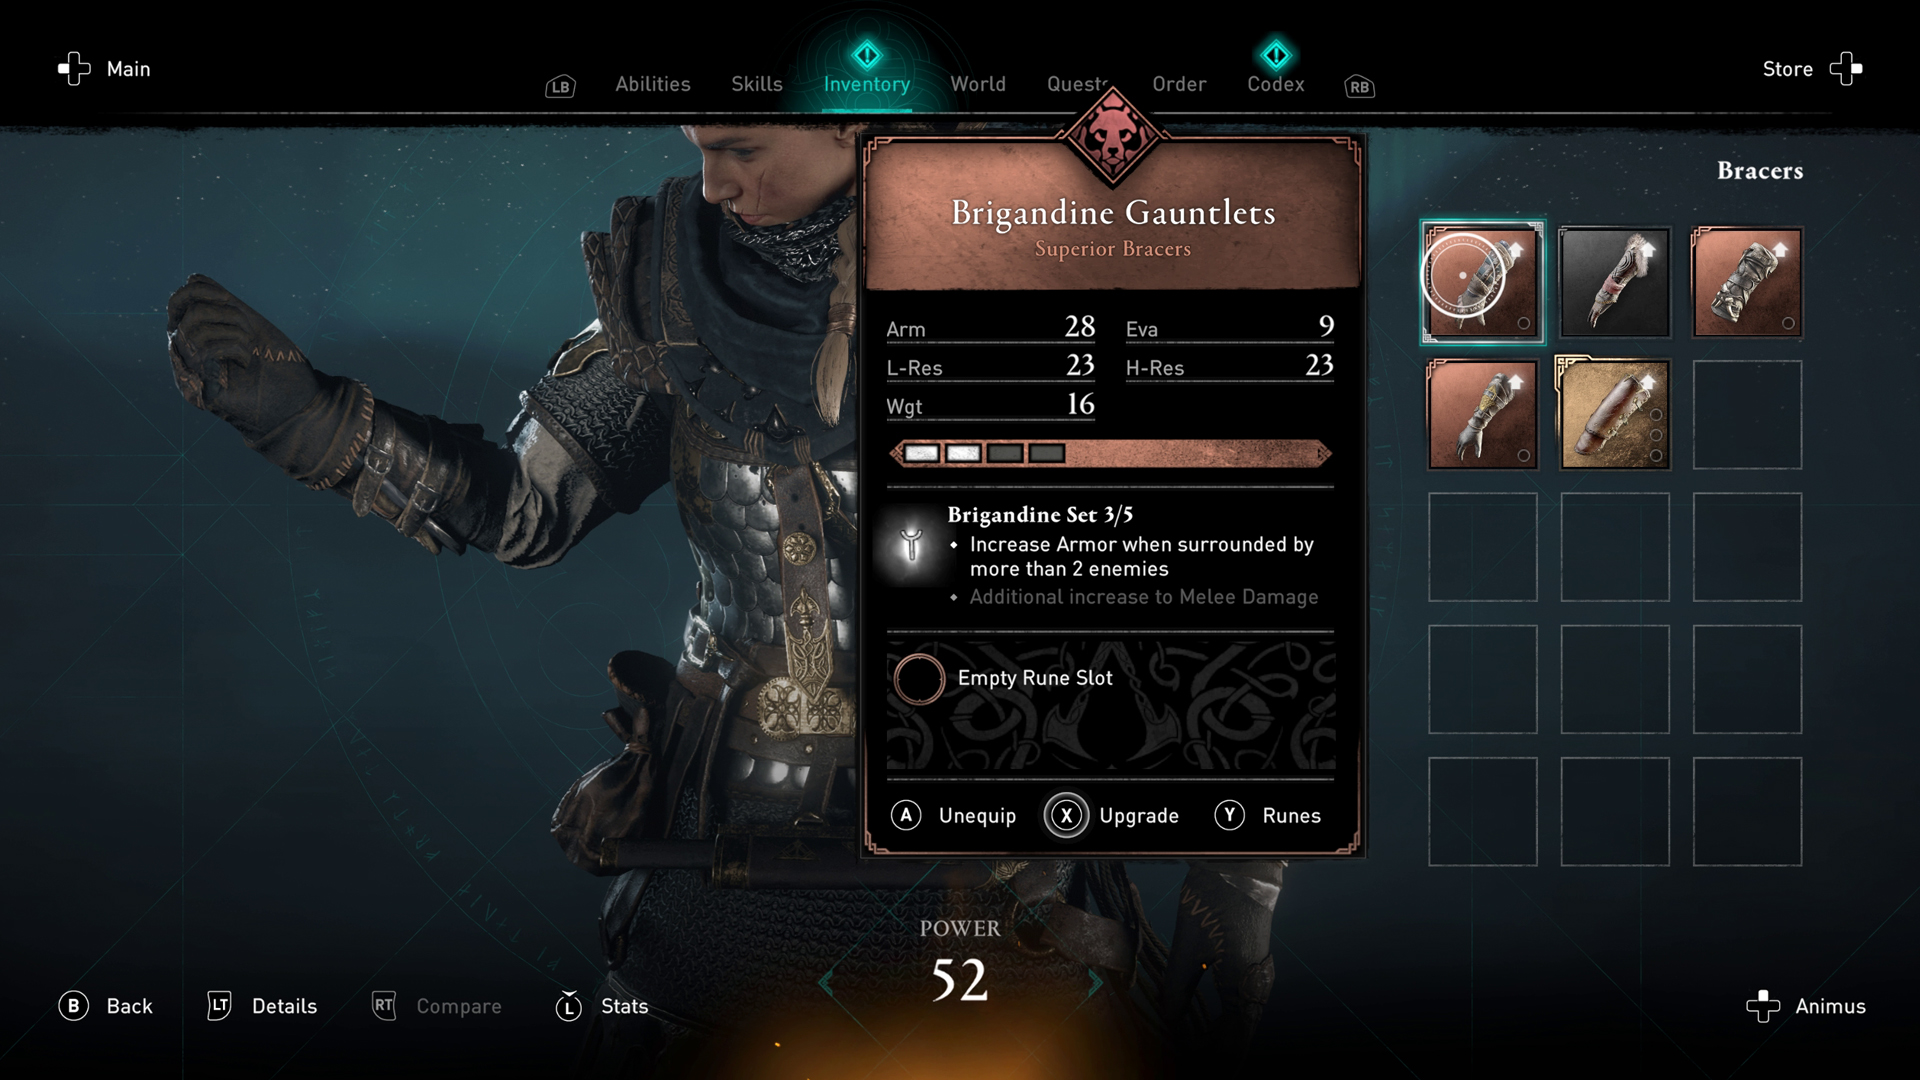
Location: Beamasfield, Cent
The Gauntlets take a little longer to find, as you need to find two keys to unlock the chest they're stashed in. Beamasfield is also crawling with hostile soldiers. You can find this town west of Canterbury, across the water.
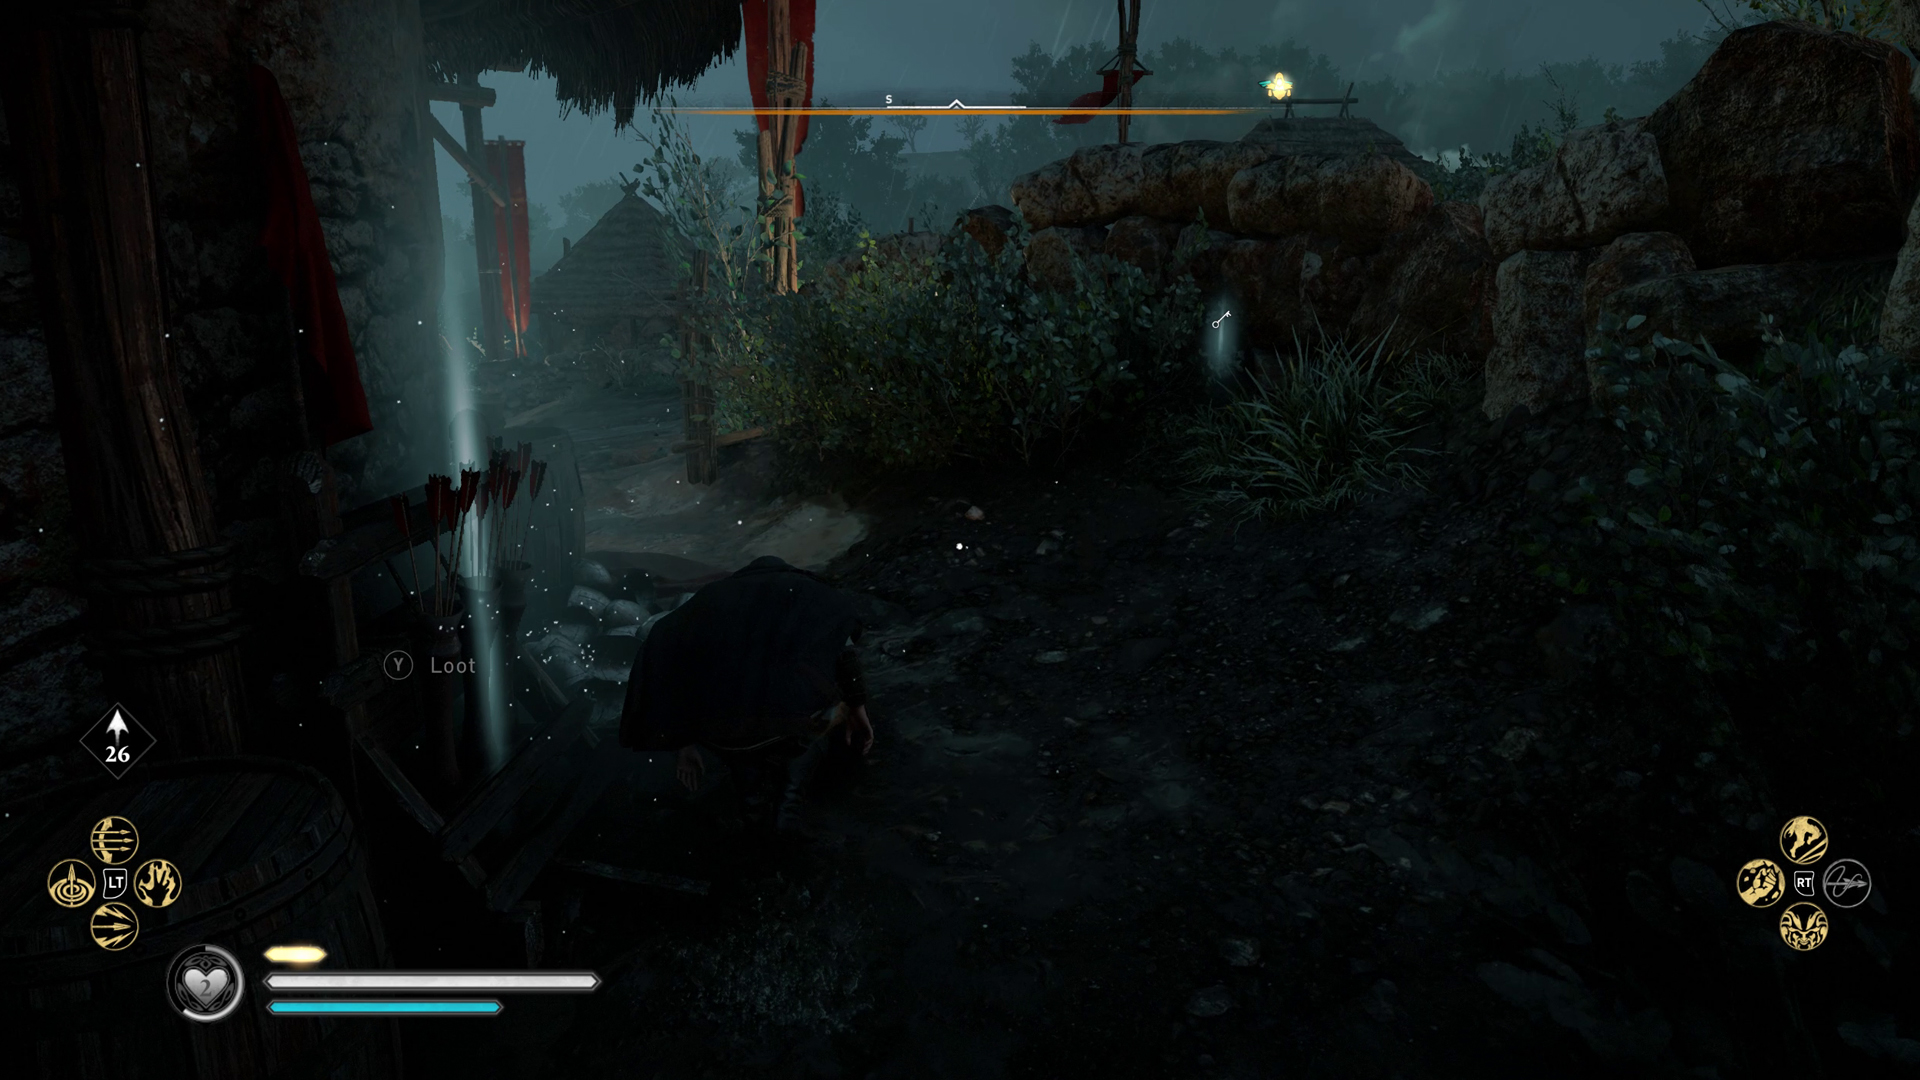
First Beamasfield Chest Key
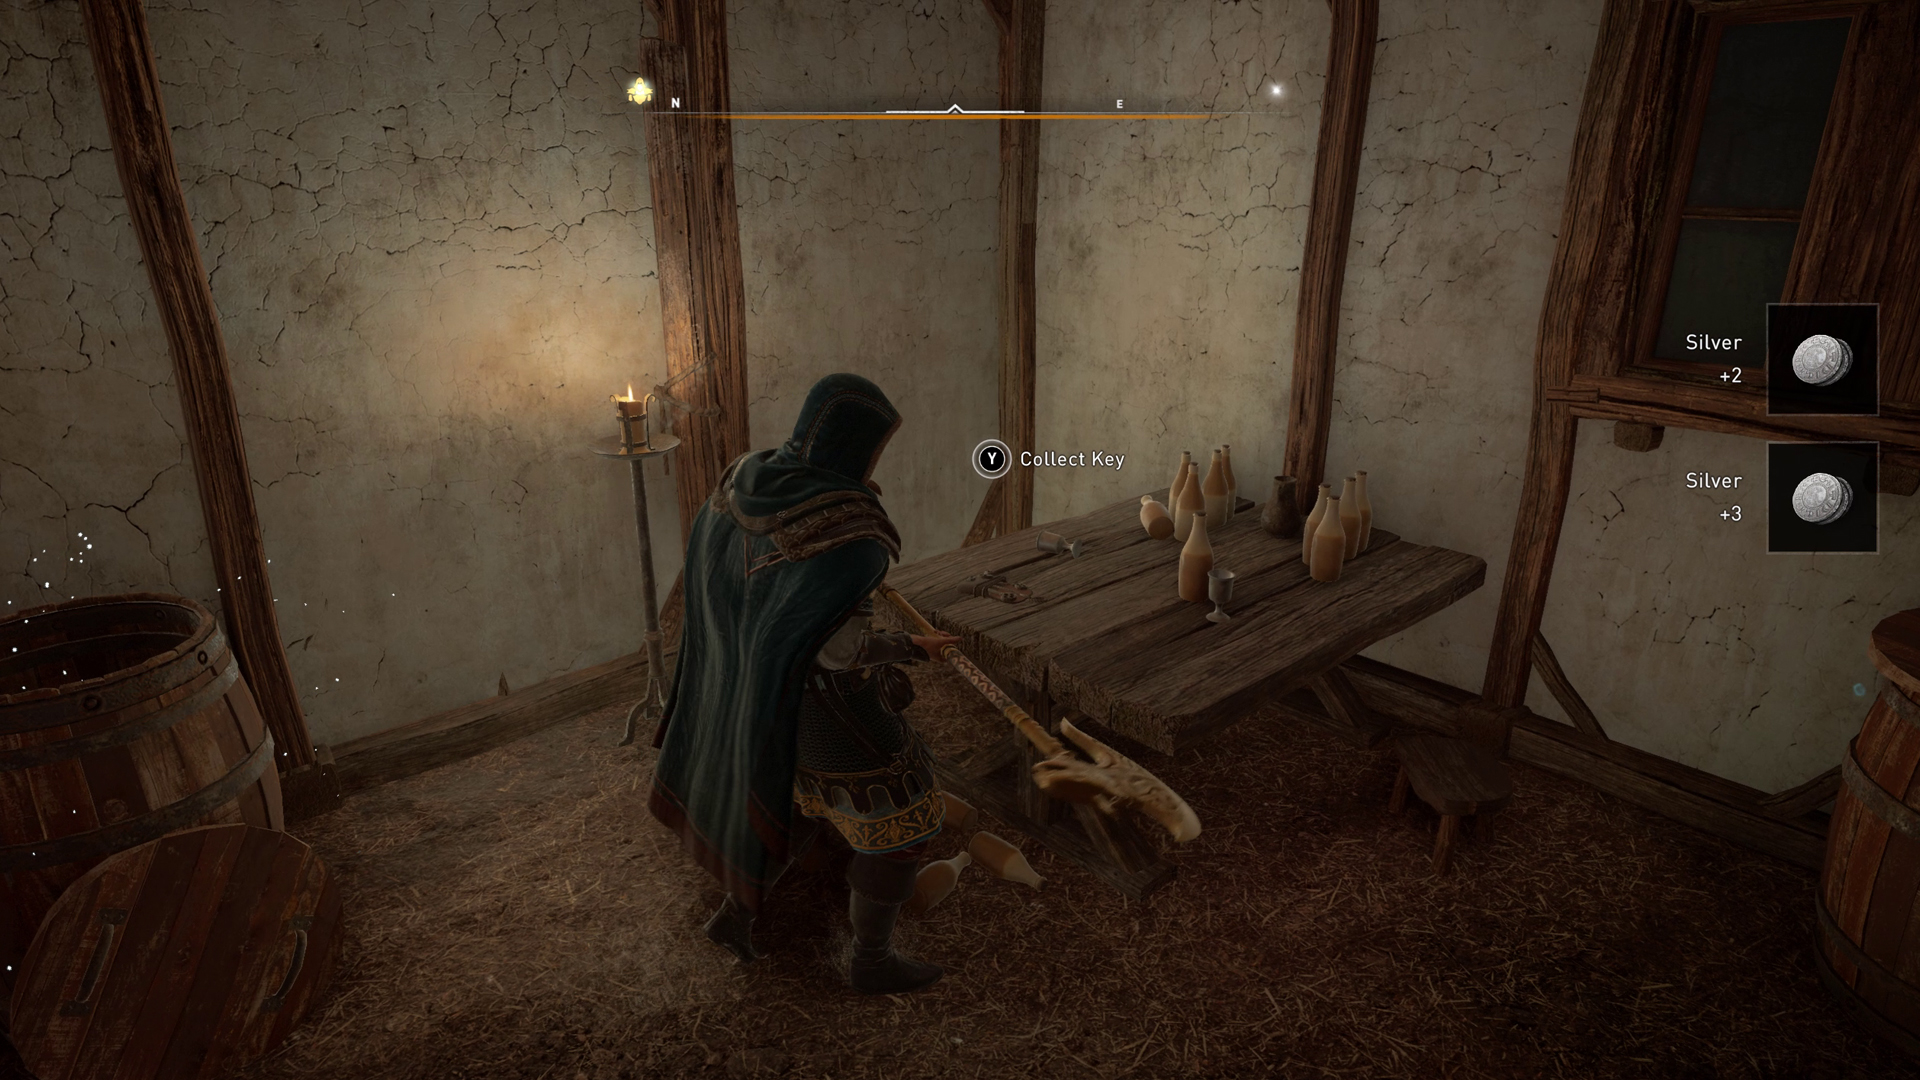
The easiest way to find the keys is to use Odin's Sight, as this displays a white key icon to help you find the item. The first key is in a small hut, guarded by a soldier. The door is blocked off, but you can climb through the window. Loot the barrels, and grab the key on the table.
Second Beamasfield Chest Key
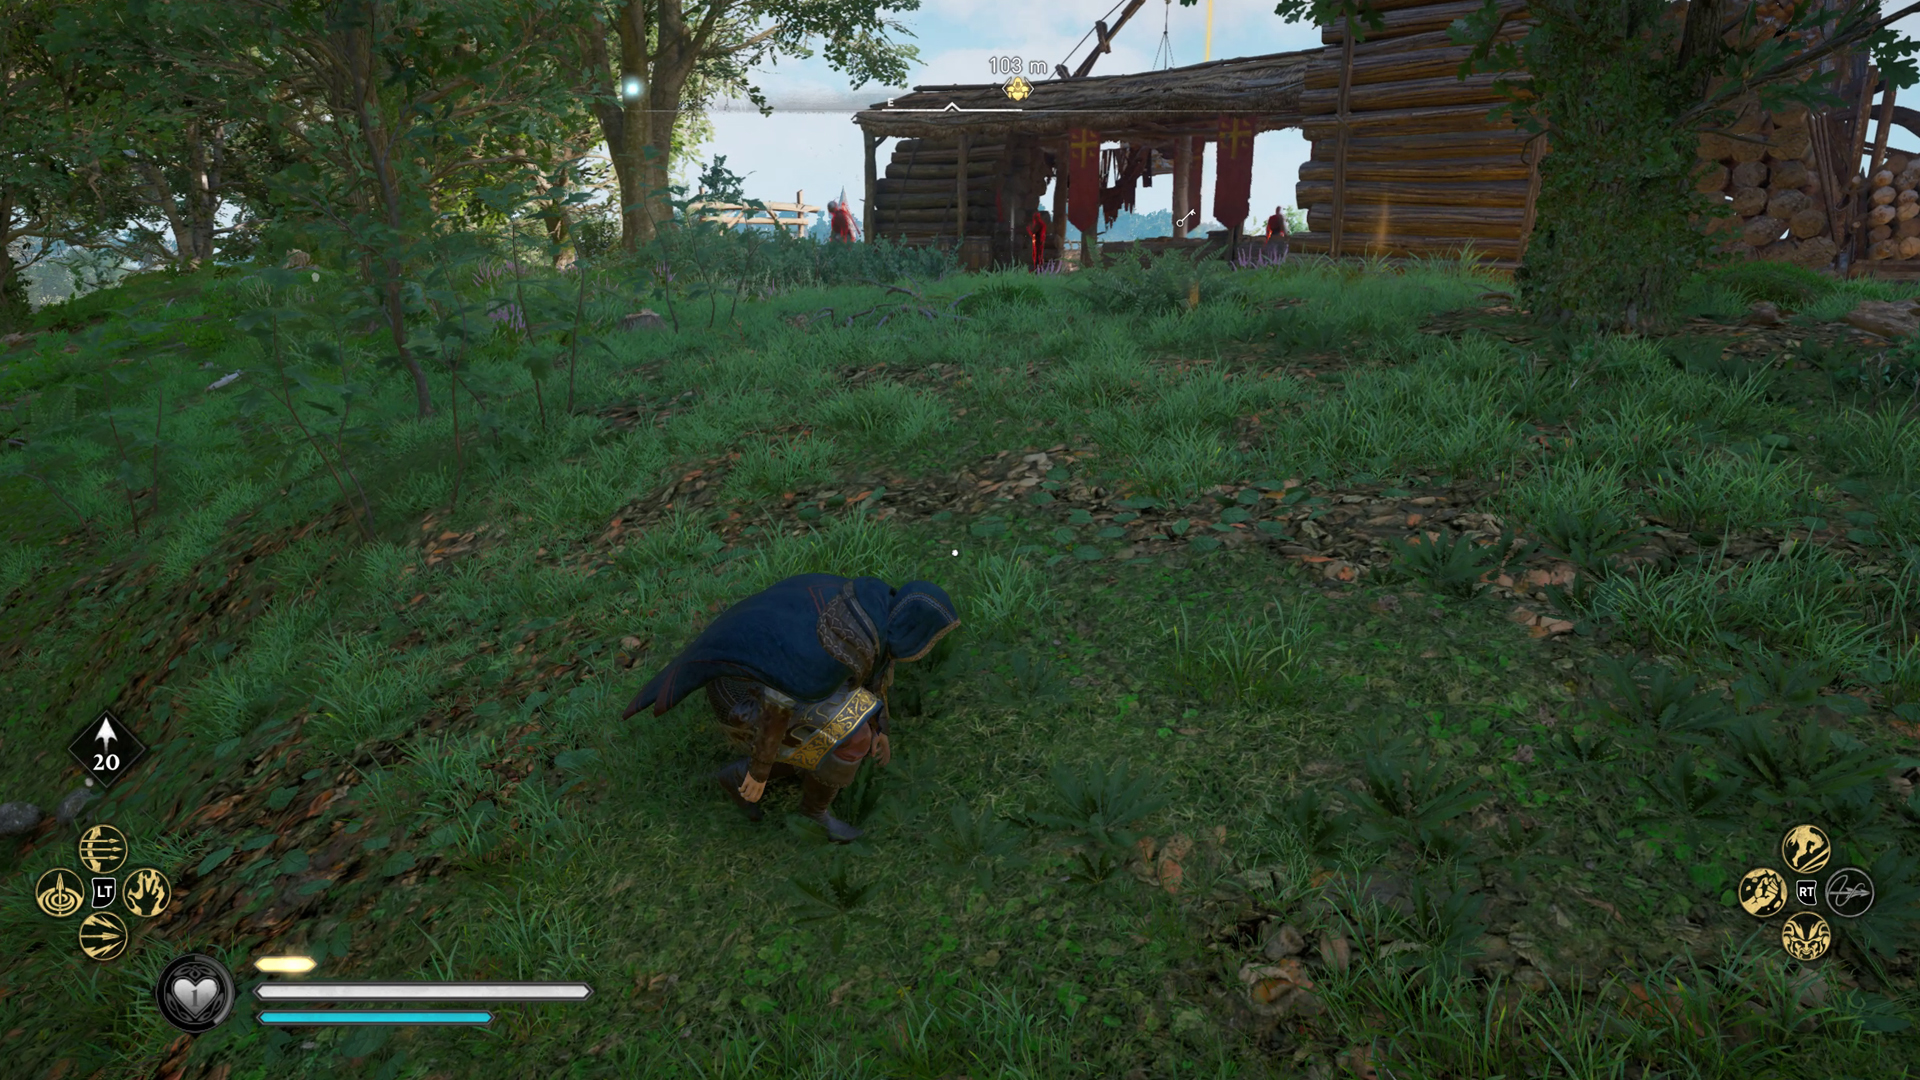
The second key is on the westside of Beamasfield, right on the edge of the town. Watch out for the guards and look for the large wooden structure with the logs piled up next to it. After a few stealthy assassinations, sneak over to the wooden planks, and the key is yours for the taking. There's also a chest containing Leather, Fabric, and an Assassin/Weapon Rune here.
After collecting both keys, head to the building marked by the armor icon on your map. To the left of the moveable block is a pile of sacks. Run over the sacks and pull yourself up to the next floor. Open the chest to claim the Brigandine Gauntlets.
Trousers
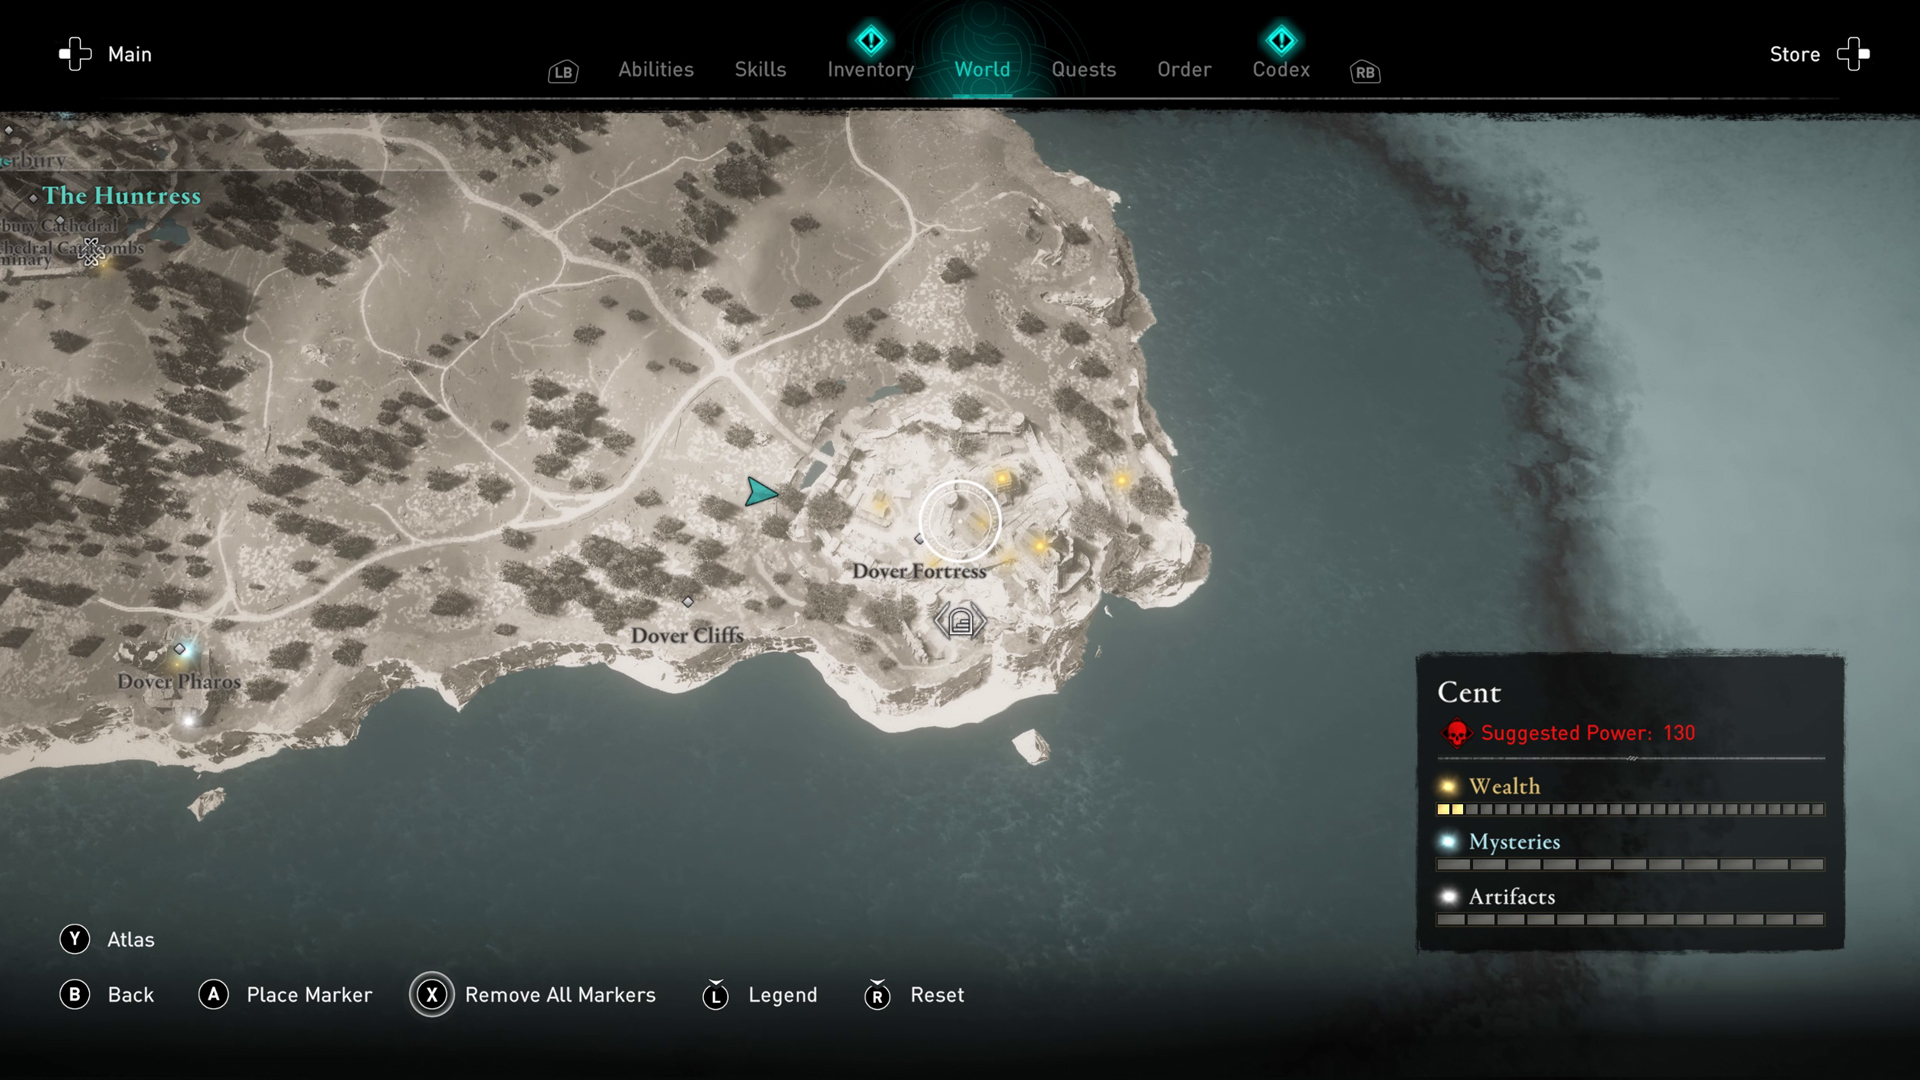
Location: Dover Fortress, Cent
Our final stop is at Dover Fortress, which is at the southeast tip of England. Once you arrive in the area, a white staircase icon will appear just south of the Dover Fortress marker. This is where we need to go to find the last item in the armor set.
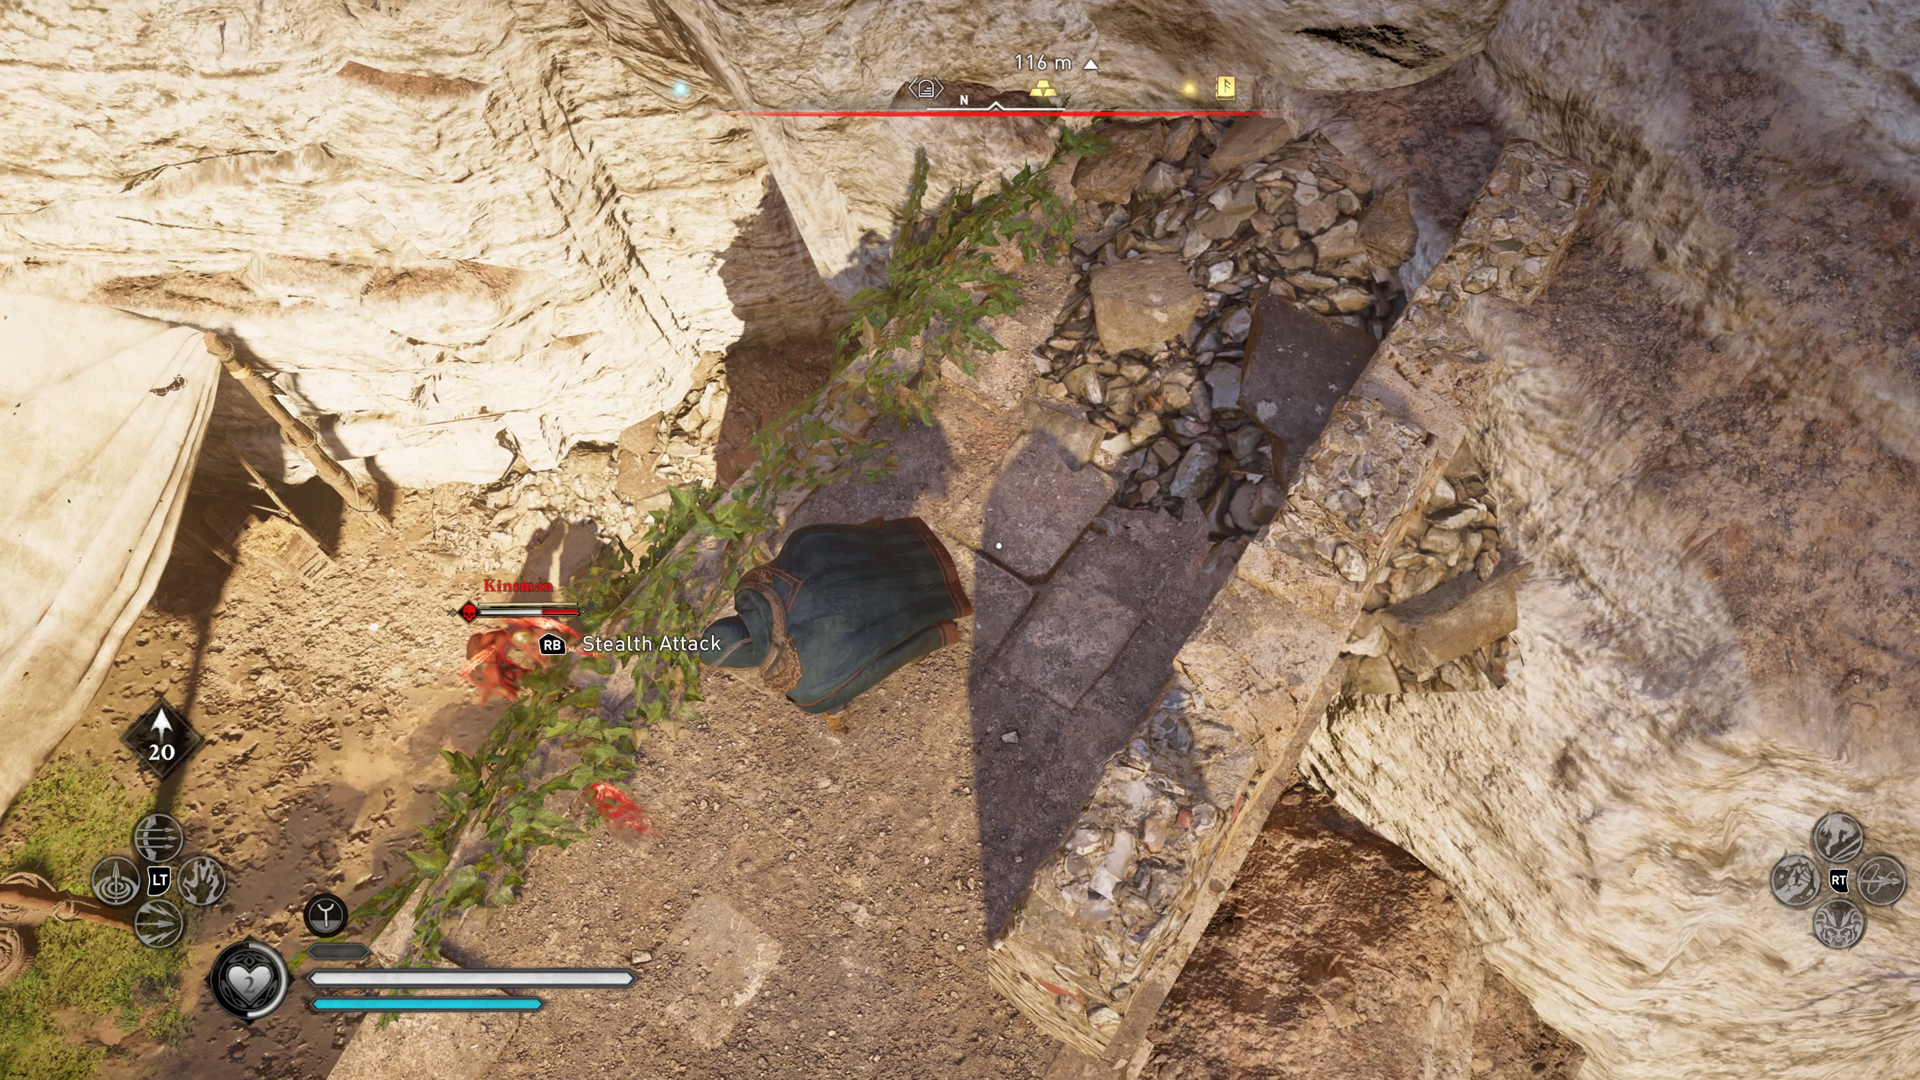
This is a restricted area and there are lots of guards milling around the entrance to the dock. To avoid the first set of soldiers, climb the white rocks on the right side of the entrance and stand on the platform just above the cluster of enemies. Hop down behind the guards to avoid alerting them, but be careful of the others that are waiting just around the corner. You will need to take out lots of enemies in this area, as it's heavily patrolled.
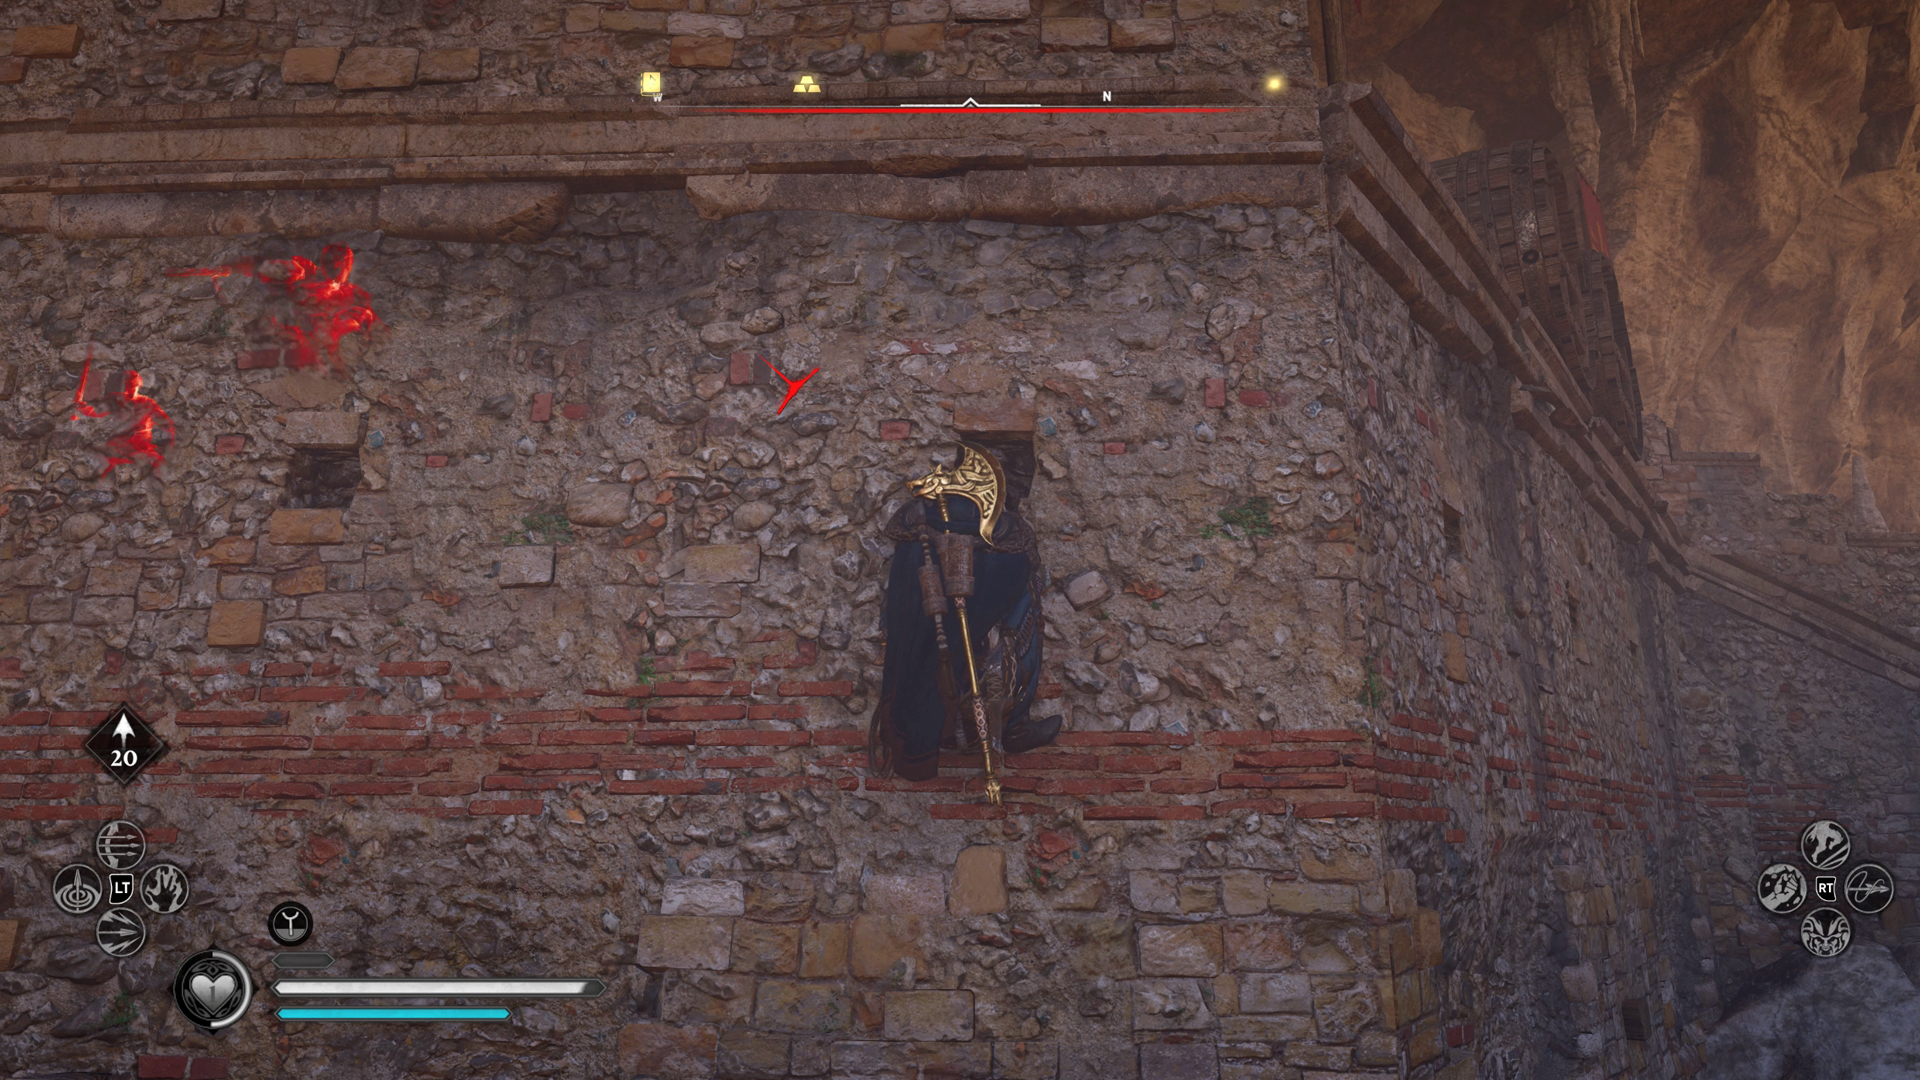
Take your time, and remember that if you feel overwhelmed, you can hang off the side of the sloped area outside. To find this safe spot (above), take the zipline, slide down the wooden ladder, and walk outside. Hop over the edge of the stone next to the two large wooden barrels, and hang on the wall. You can scale the side of the wall until the guards back off, and then sneak up behind the high-level threats.
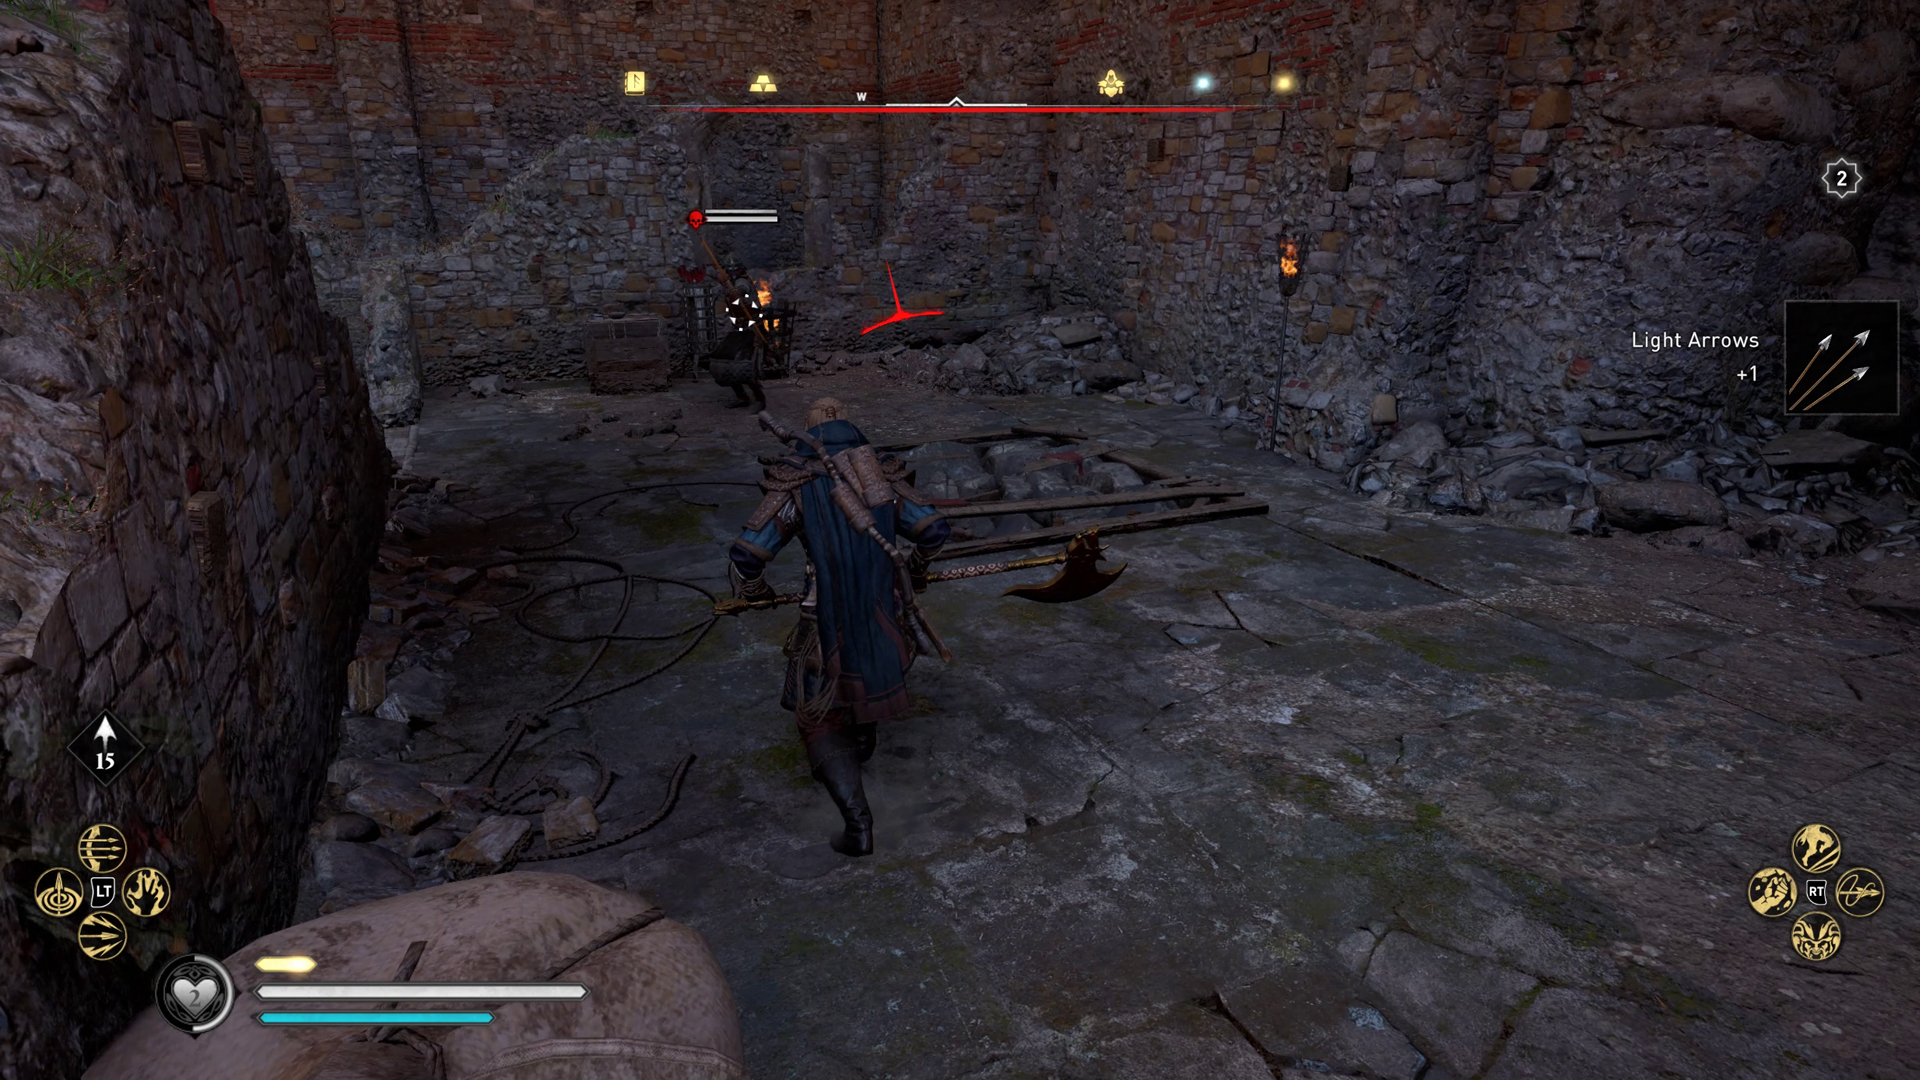
Clear the rest of the enemies in the area, and run down the slope. You'll notice an archer on a platform directly opposite. Take them out and look for the breakable debris on the floor. Turn around and head down the next slope, towards the sea to clear more guards. After eliminating the Skirmisher, loot their body to retrieve a Nickel Ingot.
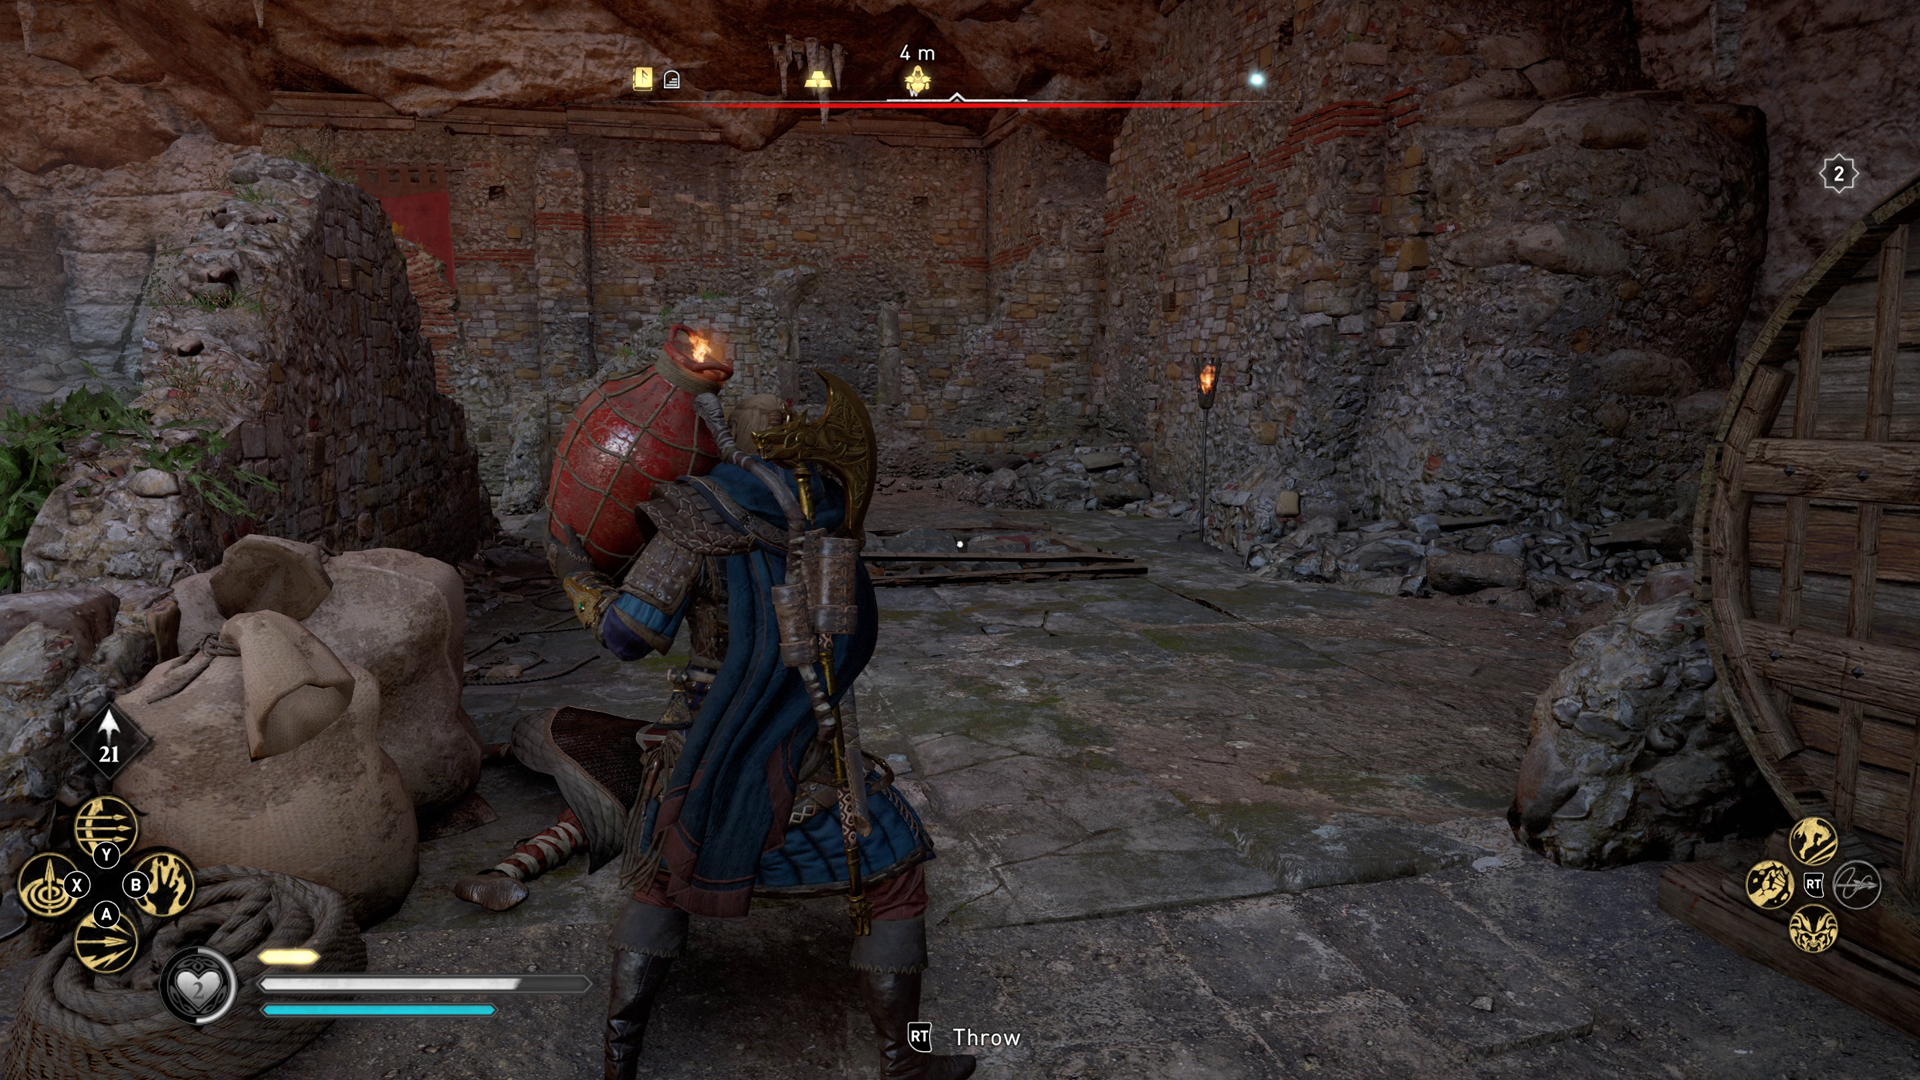
Grab the oil jar on the edge of the wooden platform and carry it over to the breakable flooring. Stand back to avoid damaging yourself, and throw it to clear the way. Wait a few moments for the flames to extinguish, then drop into the hole. Collect the Iron Ore deposits and break the wooden door by attacking it. Interact with the chest to pick up the Brigandine Trousers.
As PC Gamer's guides writer, Emma is usually juggling several games at once. She loves competitive first-person shooters like CS:GO and Call of Duty, but she always has time for a few rounds of Hearthstone. She's happiest when she's rescuing pugs in Spelunky 2.


