After seeing the science, I hereby vow to never underestimate or misuse Arc Raiders' attachments ever again
There's a science to making the best loadout.

Keep up to date with the most important stories and the best deals, as picked by the PC Gamer team.
You are now subscribed
Your newsletter sign-up was successful
Want to add more newsletters?
Join the club
Get full access to premium articles, exclusive features and a growing list of member rewards.
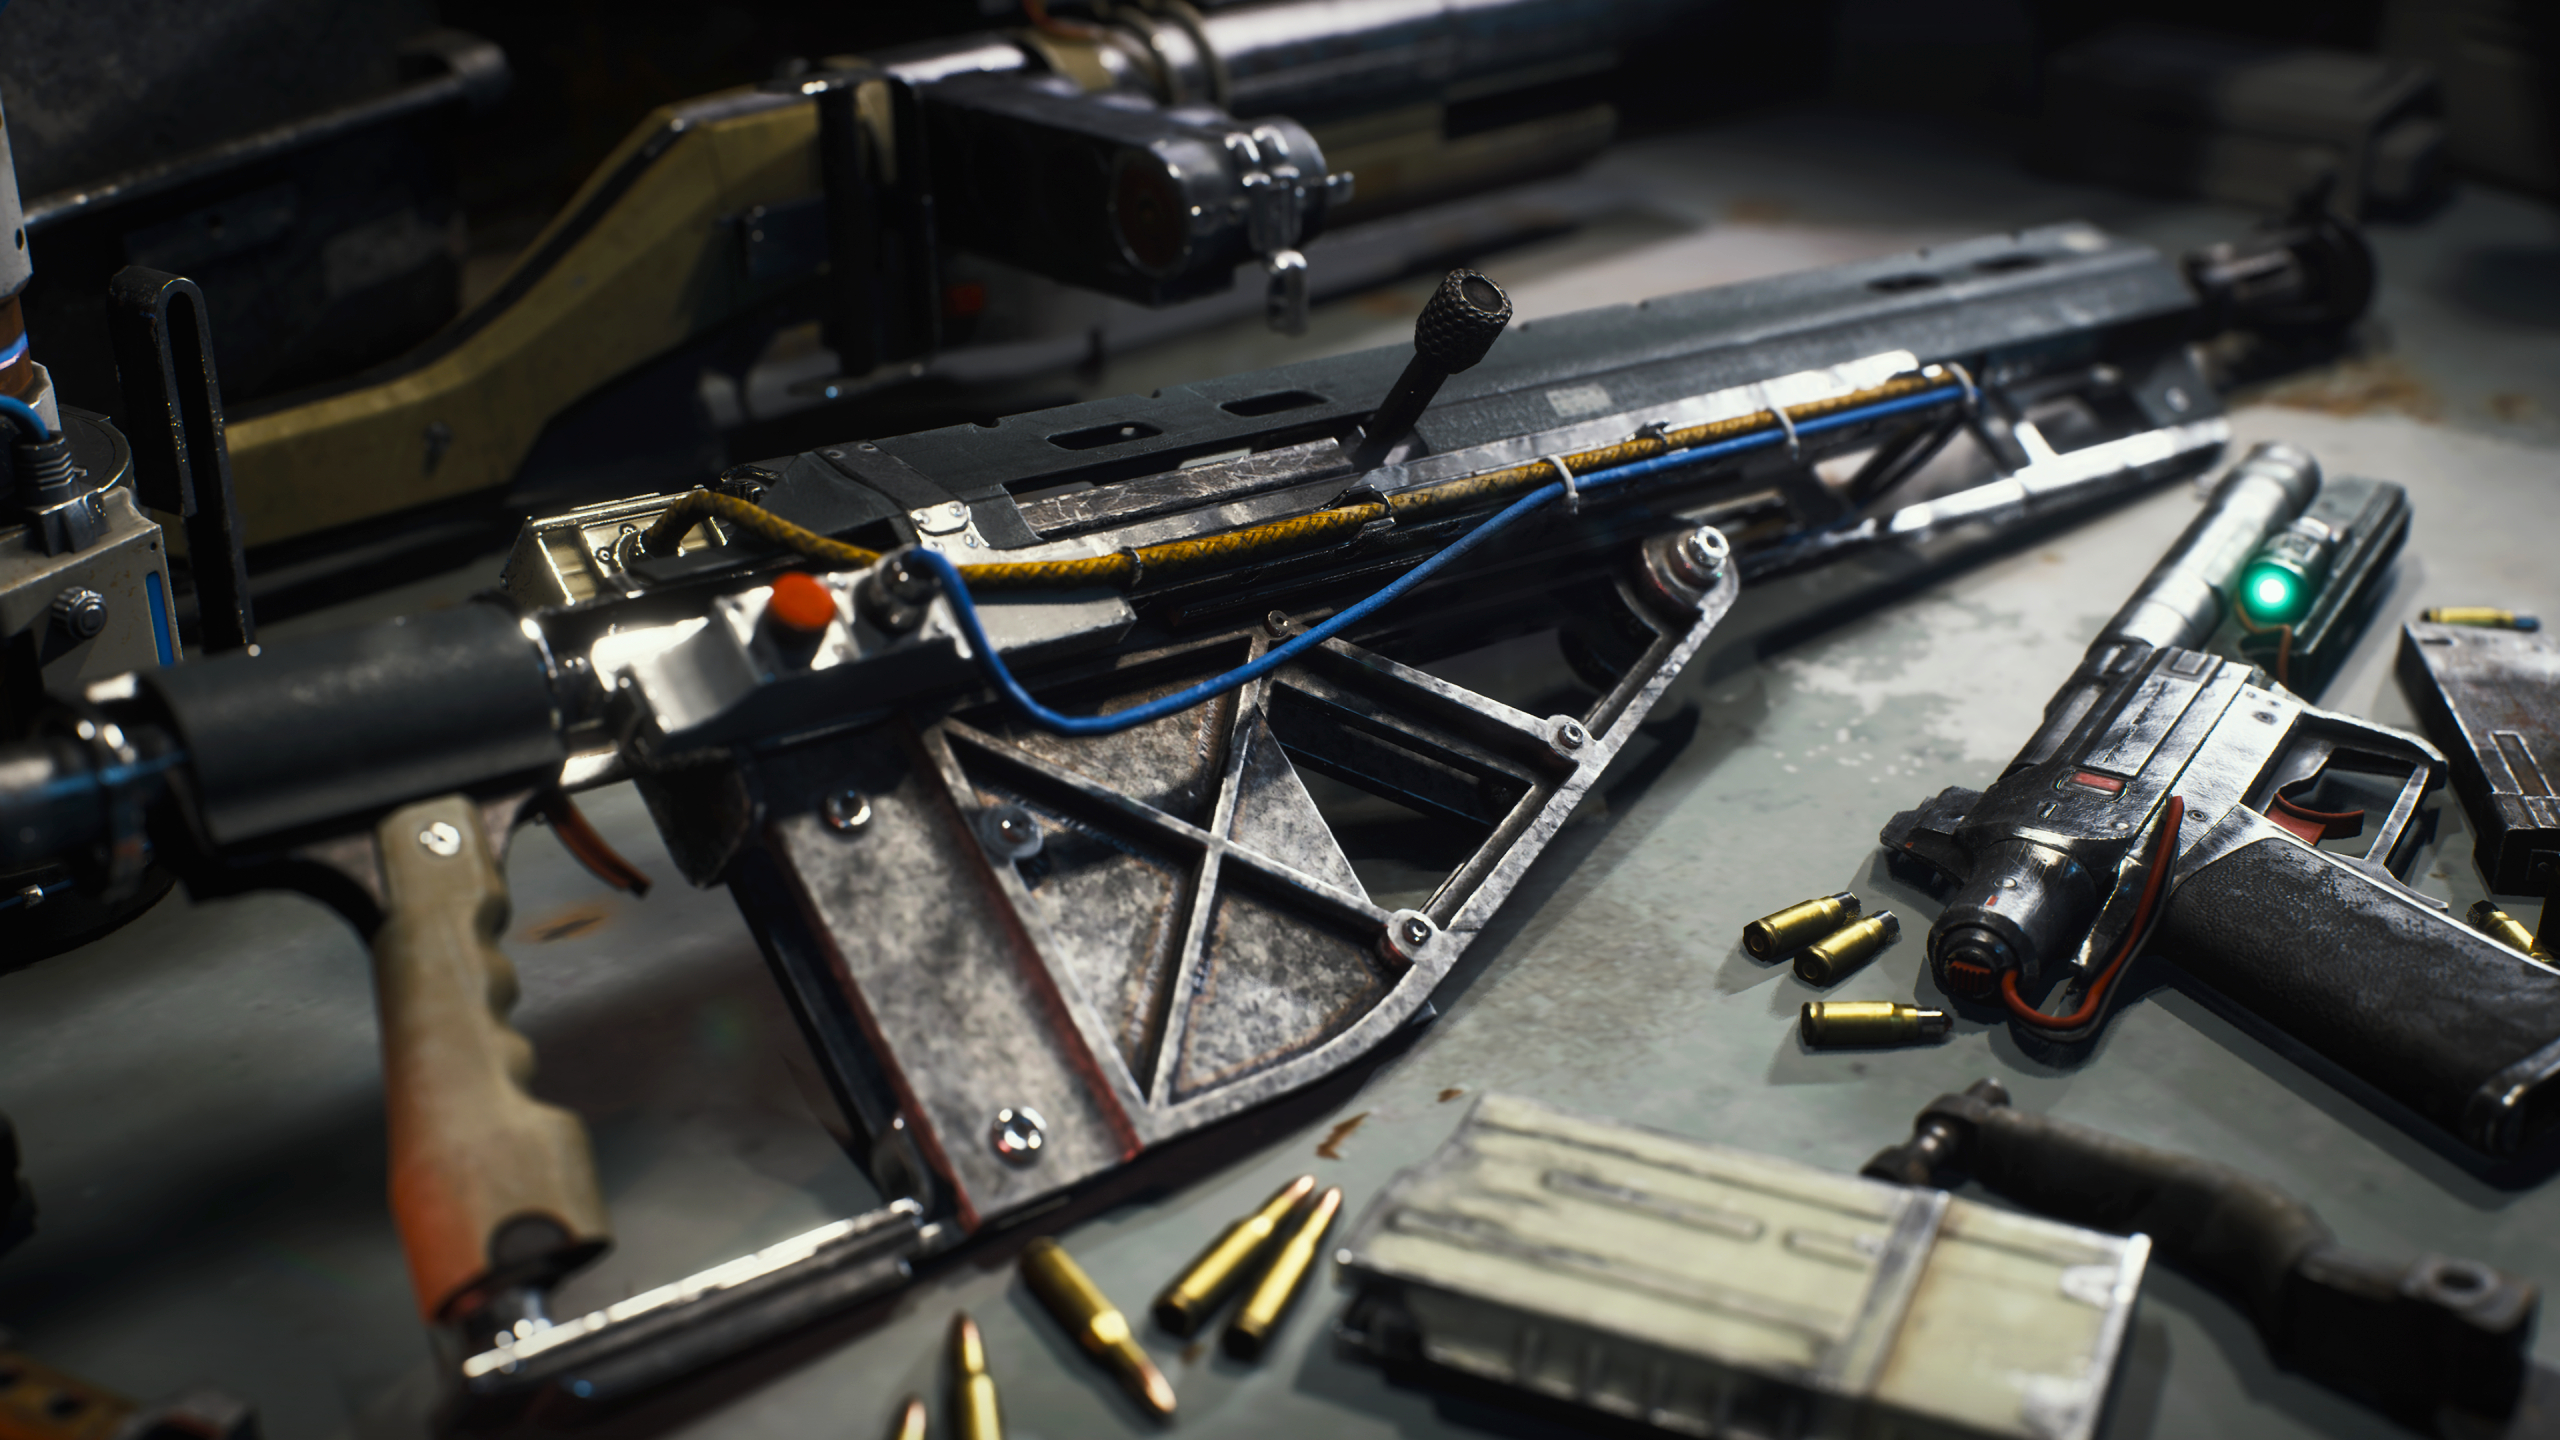
I won't lie, I haven't really paid much attention to attachments in Arc Raiders up until now. I'd never equip them until my stash was full and I needed to free up space, and even then, I'd just slap them on whatever gun would accept them, all willy-nilly. It was a means to an end, so to speak, that end being room for more junk, of course.
That's not to say I couldn't feel the difference between a naked gun and a decked-out one; I just didn't put much thought into it. Needless to say, it wasn't optimal, in part because I'd entirely underestimated attachments in favour of trying to accumulate a stockpile of the best guns.
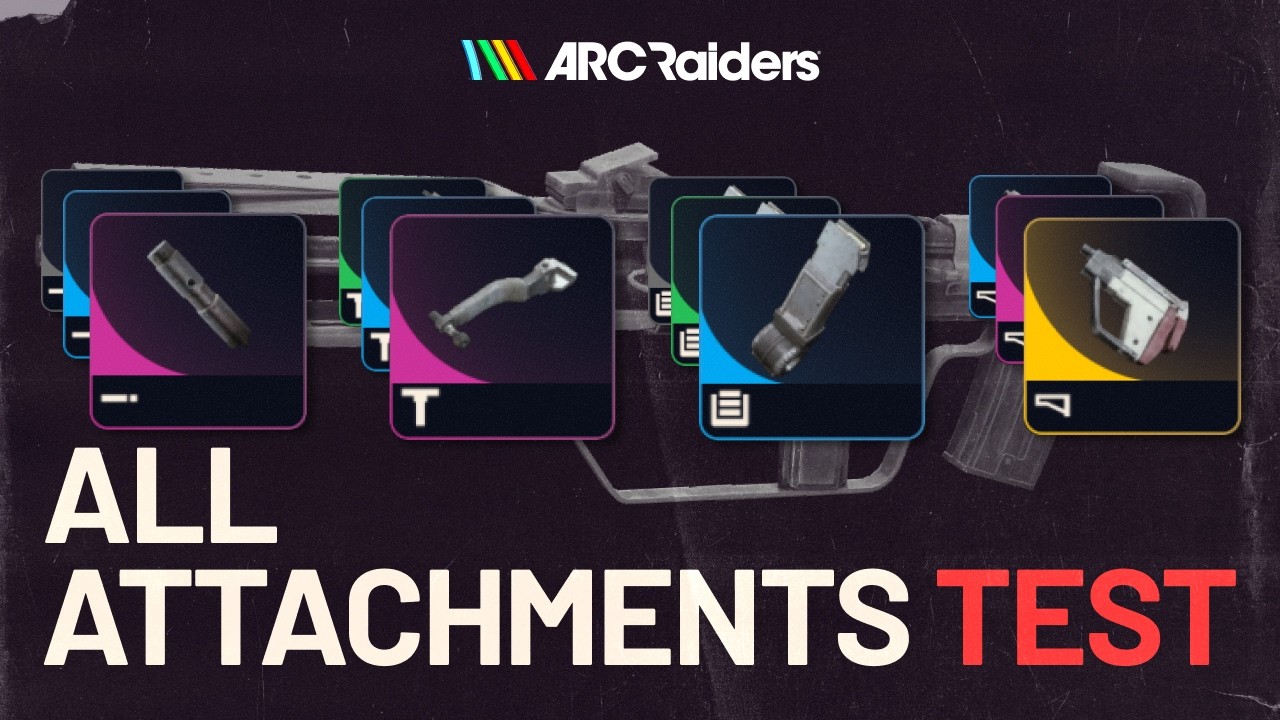
After watching ModernNik's impressively comprehensive attachment breakdown, I won't be making those same mistakes again. They tested every type of attachment, and even though some of the gains may look small—like a 0.16ms recoil recovery boost from a common stock—it all adds up.
Article continues belowBy far my biggest takeaway is that the 'quality sweet-spot', for lack of a better term, is often green, uncommon attachments. These offer the most bang for your buck, as blue, rare attachments often come with pesky drawbacks that tend to outweigh the positives, though there are a few exceptions on specific weapons that I'll go over, like the Lightweight Stock for the Ferro and the Stable Stock III for more close-range guns.
This testing starts with stocks, which greatly improve recoil and dispersion recovery, but the Stable Stock III also slows down equip and unequip speed. Since a popular tactic is to break a shield with a slow but high-damage weapon like the Ferro, then swap to something more sprightly, this stock isn't necessarily an upgrade over its green counterpart.
Most impressive was the Lightweight Stock in particular, which has the unique benefit of 200% increased aim down sight speed. On the Ferro, this means it goes from a full second to just 0.22ms to fully aim in. Now that's one hell of a quick draw—and I want it. It's important to point out that the blue-quality Vertical and Angled Grip III's reduce ADS speed, so avoid those on the Ferro, even if you're using the Lightweight Stock.
While bullet dispersion is much more annoying than recoil in Arc Raiders, I was also surprised by how effective the various grips are. Even the common Vertical Grip I or Horizontal Grip I is great for narrowing the overall spread, especially when you're letting loose with full-auto weapons.
Keep up to date with the most important stories and the best deals, as picked by the PC Gamer team.
Then there are barrel attachments. Muzzle brakes make a fairly sizable impact on both horizontal and vertical control, so they're great for full-auto guns and can be doubled up with grips.
More interesting are the compensators, which reduce per-shot dispersion and max shot dispersion, so your bullets land on target more easily. Compensators will benefit any weapon, of course, but they're really nice for fast-firing semi-automatic weapons like the Renegade, so you can spam them faster without worrying about your shots randomly flying off to the side.
What I've realised is that, in most situations, attachments actually matter more than the quality of the specific weapon. I've griped about how basic weapons like the Stitcher and Ferro overshadow higher-tier guns, and attachments do effectively the same thing. I'd bet that a decked-out, common Stitcher would beat the purple Bobcat every time.
With that in mind, I reckon I'll equip the following attachments on my favourite weapons:
- Stitcher with a Muzzle Brake II, Vertical Grip II, Extended Light Mag II, and the Stable Stock II as often as I can, as it's fairly cheap
- Ferro with the Vertical Grip II, the Lightweight Stock for 200% increased ADS speed, and a Silencer I
- Renegade with the Compensator II for rapid-fire accuracy, Extended Light Mag II, and Stable Stock III
Arc Raiders best skills: Survive the surface
Arc Raiders best weapons: Just don't lose them
Arc Raiders Trials: Three-star this week's Trials
Arc Raiders Expeditions: Retire your Raider
Arc Raiders quests: All the missions and how to beat 'em
Arc Raiders Field Depots: Where to find 'em

Rory has made the fatal error of playing way too many live service games at once, and somehow still finding time for everything in between. Sure, he’s an expert at Destiny 2, Call of Duty, and more, but at what cost? He’s even sunk 1,000 hours into The Elder Scrolls Online over the years. At least he put all those hours spent grinding challenges to good use over the years as a freelancer and guides editor. In his spare time, he’s also an avid video creator, often breaking down the environmental design of his favourite games. If you can’t track him down, he’s probably lost in a cave with a bunch of dwarves shouting “rock and stone” to no end.
You must confirm your public display name before commenting
Please logout and then login again, you will then be prompted to enter your display name.
 Join The Club


