Mewgenics isn't very forgiving on your troupe of cats. Some will be born with genetic mutations, others will get permanent injuries from in-fighting, and some will be lost in battle, and lots of it will be out of your control. However, one thing you can decide is your cats' classes, which take the form of different collars.
As you'll soon find out, each of the 13 classes brings something unique to the table, but you can only choose up to four per run. Upgrades and items in a run further set each class apart, making your class choices and party composition a pretty pivotal decision. However, all classes in Mewgenics can be absolutely busted with the right combination of skills, so don't worry if you have your own favourites.
How to get all class collars in Mewgenics

Here are all 13 classes in Mewgenics and how to get them:
Article continues belowClass | Unlock Requirements | Stats |
|---|---|---|
Fighter | Available immediately | +2 Strength, +1 Speed, -1 Intelligence |
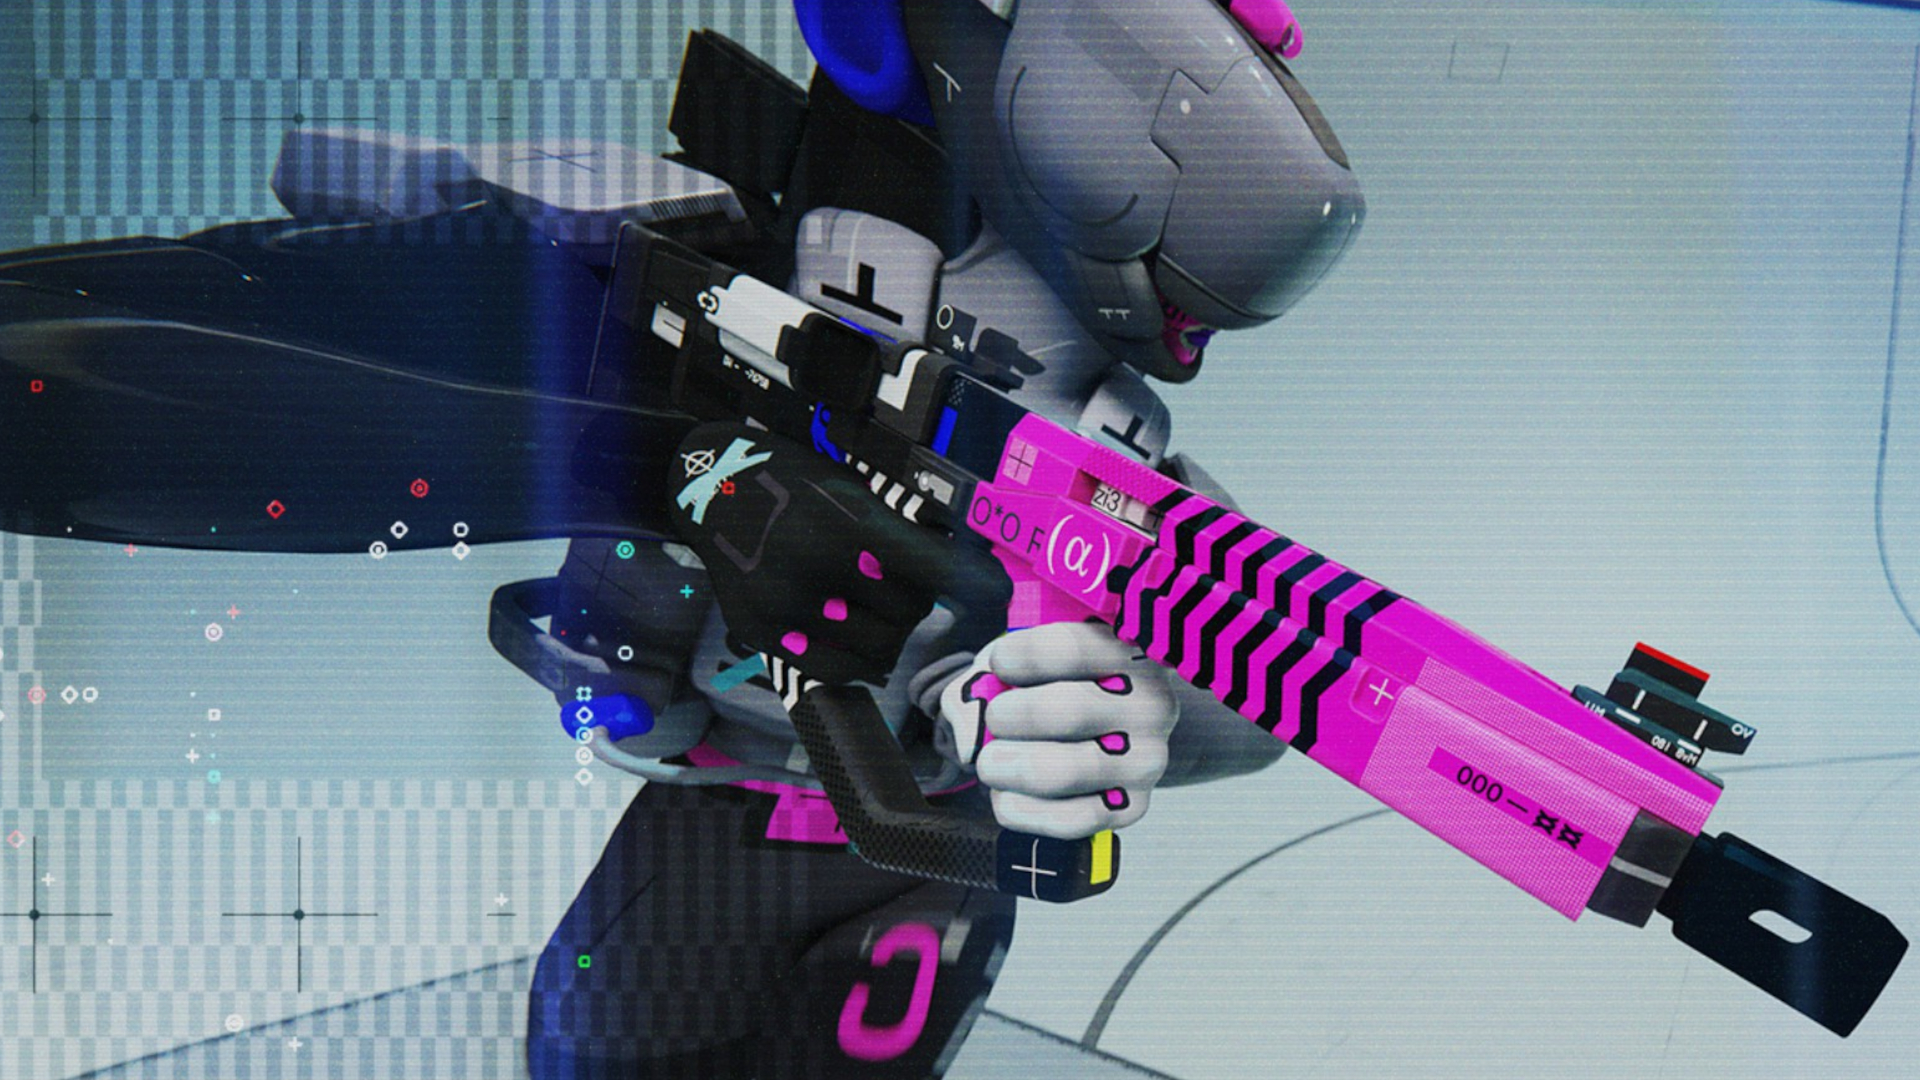
Hunter | Available immediately | +3 Dexterity, +2 Luck, -1 Constitution, -2 Speed |
Mage | Available immediately | +2 Intelligence, +2 Charisma, -1 Constitution, -1 Strength |
Tank | Available immediately | +4 Constitution, -1 Intelligence, -1 Dexterity |
Cleric | Complete the Alley and talk to Butch | +2 Charisma, +2 Constitution, -1 Speed, -1 Dexterity |
Thief | Complete the Sewer and talk to Butch | +4 Speed, +1 Luck, -1 Strength, -1 Constitution |
Necromancer | Complete the Junkyard and talk to Butch | +2 Constitution, +1 Charisma, -2 Strength |
Tinkerer | Complete the Shelter and talk to Butch | +4 Intelligence, -1 Luck, -1 Charisma |
Druid | Complete The Crater and talk to Butch | +3 Charisma, +1 Luck, -2 Constitution |
Butcher | Complete The Core and talk to Butch | +3 Constitution, +2 Strength, -2 Speed |
Psychic | Complete The Moon and talk to Butch | +1 Intelligence, +1 Charisma, +1 Speed, -1 Constitution |
Monk | Complete The Lab and talk to Butch | +2 Intelligence, +2 Charisma, -1 Strength, -1 Constitution |
Jester | Complete The Rift and talk to Butch | No stat bonuses |
Technically, there is a 14th class, Collarless, which is basically a blank cat. If a cat is Collarless, it has no stat modifiers or unique class effects other than those passed down to it from breeding. I don't recommend you use it most of the time, though it will unlock more universal skills that can be used by collared cats.
Best Mewgenics classes
Here's where I'd rank all the classes in a tier list, though keep in mind that each collar has its place, even if it's just a unique playstyle to put your skills to the test:
Tier | Class |
|---|---|
S | Cleric, Hunter, Fighter |
A | Necromancer, Monk |
B | Butcher, Thief, Tank |
C | Psychic, Mage, Druid, Tinkerer, Joker |
D | Collarless |
Cleric

Clerics are by far the most important class in Mewgenics, simply because they can heal and cleanse negative effects that quickly snowball out of control if left unchecked. Mewgenics is a battle of attrition as you progress deeper into runs and down the harder paths, so having the ability to heal your party mid-combat is a game-changer.
Likewise, Clerics have access to the Cleanse ability. Negative effects like bleed, poison, and so on are much more common in later zones, so removing these stops them from stacking up and wiping out your party. In fact, you can even use it to remove downsides of certain abilities, too, such as the Fighter's Berserk skill which self-inflicts Bruise. You can also upgrade Cleanse to give allies shields for each removed debuff.
Clerics also have access to a range of invaluable buffs. I'm a big fan of using Swift Servant to power up a Fighter or Thief so that they can run around the battlefield more freely.
Hunter

It may be a default class, but the Hunter is a top-tier damage dealer throughout the entire game. Hunter has access to incredibly strong long-range attacks to pick off targets without entering melee range and often avoiding map hazards too. They're not very tanky, of course, so you need to play around this weakness.
Hunter also has access to a bunch of trap skills, like Tactical Retreat which leaves behind a trap while you teleport to safety, or the Traps passive to create bear traps from afar, giving you bonus damage when you snag an enemy. It's great for crowd control and counters many bosses' unique modifiers, like Dybbuk's dodges. Just be careful not to mess up your own team with poorly placed traps.
Marked is a particularly powerful skill, increasing your team's damage against a single target, or an entire type of enemy when upgraded. You can combine this with other strong attacks to deal massive damage in a single turn, like Arrow Flurry. Importantly, attacks against a marked target will never miss, hugely increasing the power of certain spells with a built-in chance of missing and countering enemies that blind you, dodge, or hide in tall grass.
Fighter

The Fighter is another starting class that never gets old, dishing out heavy damage combos at close range. They're also relatively sturdy with armour-providing gear, since Fighters can have high mobility and crowd control with skills like Inhale, Gravity Slam, and passives such as Scars and Hamster Style.
One of my favourite Fighter builds used Berserk to self-buff (as mentioned, you can remove the associated debuff using Clerics' cleanses), before charging in with Fire Punch and deadly basic attacks.
Unlike some other classes, such as the Psychic or even the Tank, you don't need to worry much about accidentally damaging or debuffing your own team, either, so it's low risk, high reward.
Necromancer

As usual with turn-based combat, half the battle is actually your turn economy. By summoning undead armies, the Necromancer can spin the turn order in your favour, letting you overwhelm key enemies before they get a chance to attack you.
Plus, with high constitution and a life-stealing basic attack, the Necromancer can be a surprisingly hardy class while bringing much more damage compared to a traditional frontliner like the Tank, especially in long boss fights where their leech effect can keep stacking every turn. Just keep in mind that zombie cats eat corpses, which can include your own allies.
Monk

The Monk is very much a jack of all trades, able to swap between ranged and melee stances and attack twice per turn. They won't do as much as other classes early on in a run, but with the right skills, the Monk can be an absolute menace, using their extra attacks to double the effectiveness of many buffs and effects.
Since the usefulness of each class is often so dependent on the stage (for example, melee classes struggle in the Crater and Sewers), Monks benefit from their versatility, adapting to almost any situation. And depending on how they level up, they can move easily between different roles, from defensive frontline fighter to magic damage DPS.
Best Mewgenics team compositions

Your four little kitties need to combine to make a strong team, making up for weaknesses in their kits and doubling down on strengths. Early on, when you don't have many classes or items, the best team composition you'll have available is:
- Tank
- Fighter
- Hunter
- Cleric
This team comp is a very aggressive and tanky melee-focused team, able to dish out heavy damage each turn. The Hunter provides much-needed ranged damage, and is a more reliable pick than the Mage, the other starting range class. It's safe, and that's all you need right now.
However, as you progress through the later zones, have a more stable selection of items, and unlock more classes, you won't have as much of a need for a dedicated tank, not least because Fighter and Cleric can be great frontliners on their own. In that case, I'd recommend a party more like this:
- Fighter
- Hunter
- Cleric
- Necromancer/Monk
Keep in mind that your party composition is heavily influenced by the stage you're looking to complete. For example, the Sewers and Crater are particularly hard for melee classes thanks to their hazards, so classes with ranged options like the Monk or Mage, or even the Psychic and Tinkerer with the right skills, are more reliable choices.

You must confirm your public display name before commenting
Please logout and then login again, you will then be prompted to enter your display name.