Immortals Fenyx Rising: How to solve every constellation myth in Valley of Eternal Spring
Earn a hefty pile of Charon Coins by solving these Immortals Valley of the Eternal Spring constellation myths.
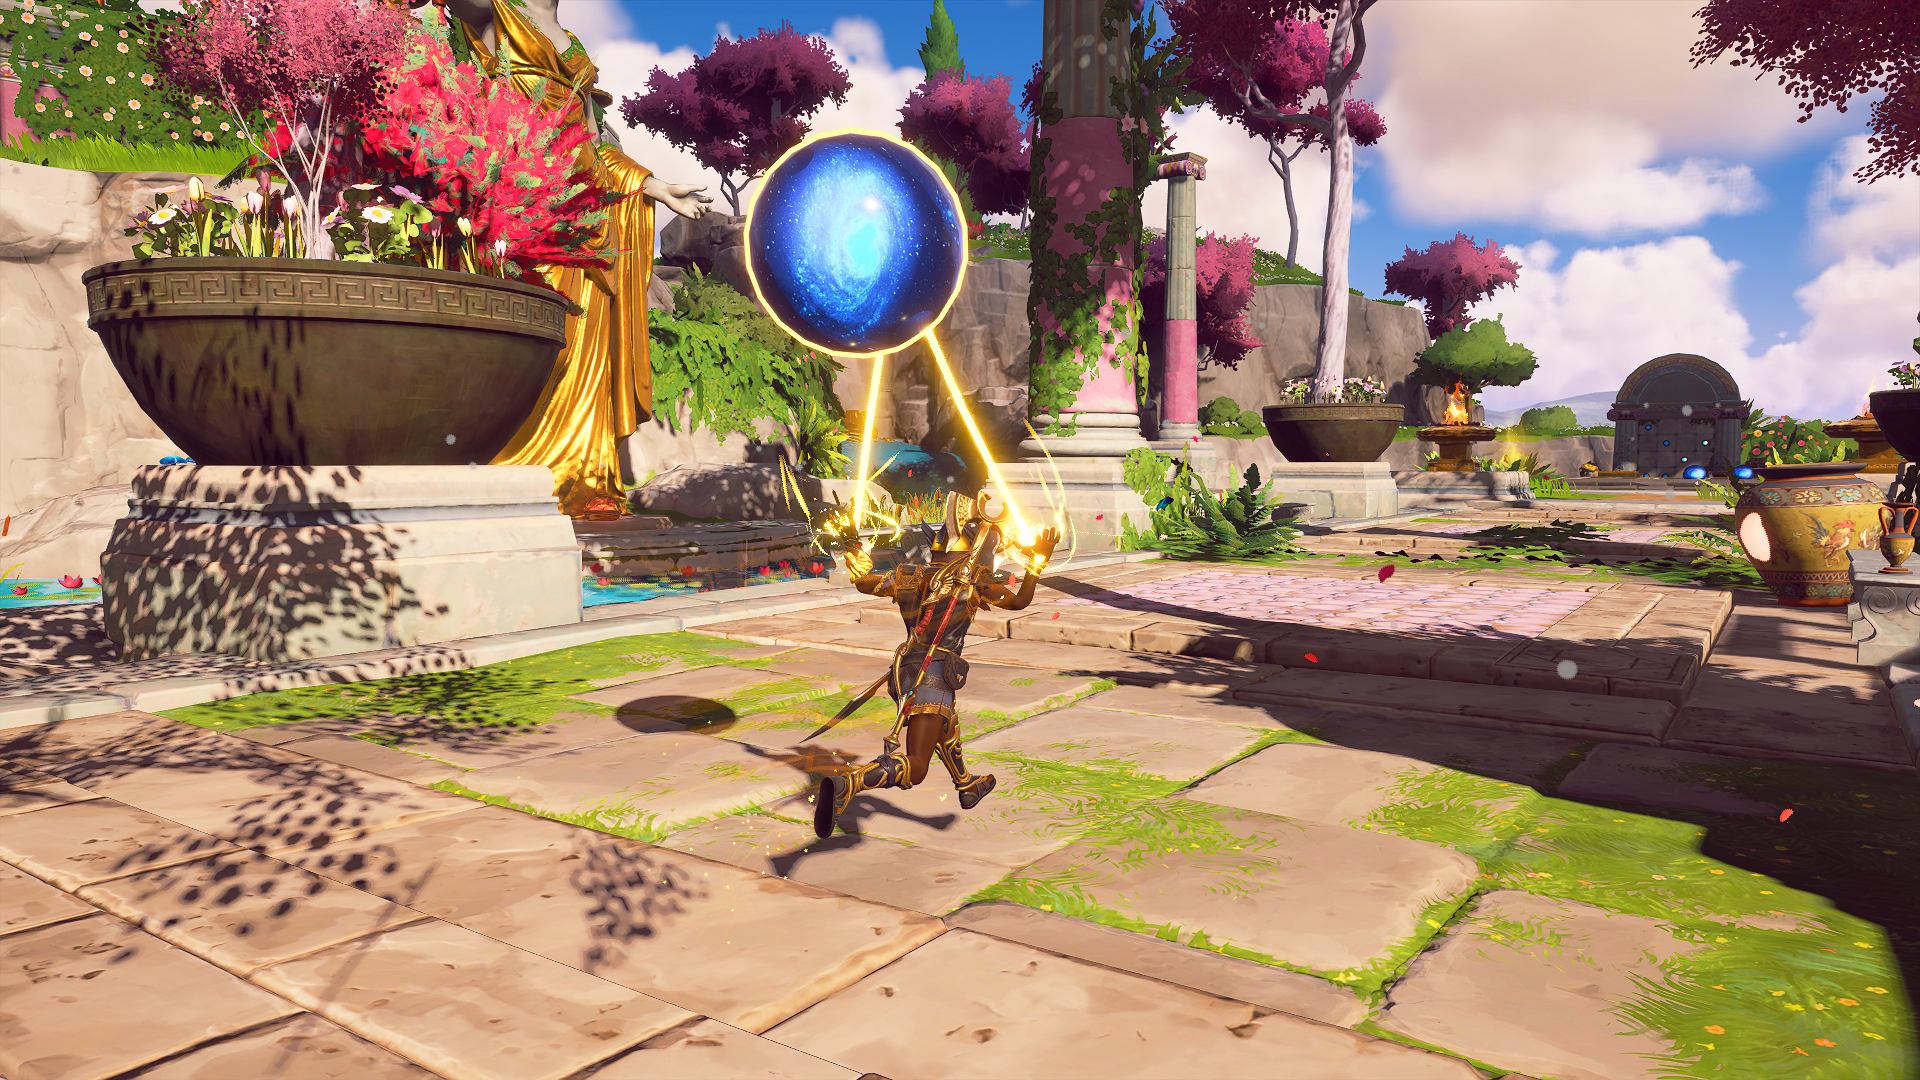
Stuck on the challenges in the Immortals Valley of the Eternal Spring area? Of every side activity in Immortals Fenyx Rising, constellation myths are the most involved puzzles you’ll find, without diving into a Vault of Tartaros. They’re also a bit rarer than your average guarded chest or navigation challenge, but they do reward a lot more Coins of Charon. There are two constellation myths in the Valley of Eternal Spring, the game’s first major area: one in Eros’s Haven and the other at Aphrodite’s Palace.
Both are a lot trickier than the Immortals Clashing Rocks constellation myth that mostly served as a tutorial. Neither are tied to a main quest, so you’ll have to find them yourself. I’ve marked them on the map below for your convenience. Also, keep an eye on the compass at the top of your screen. You’ll need it to follow a few directions throughout the guide.
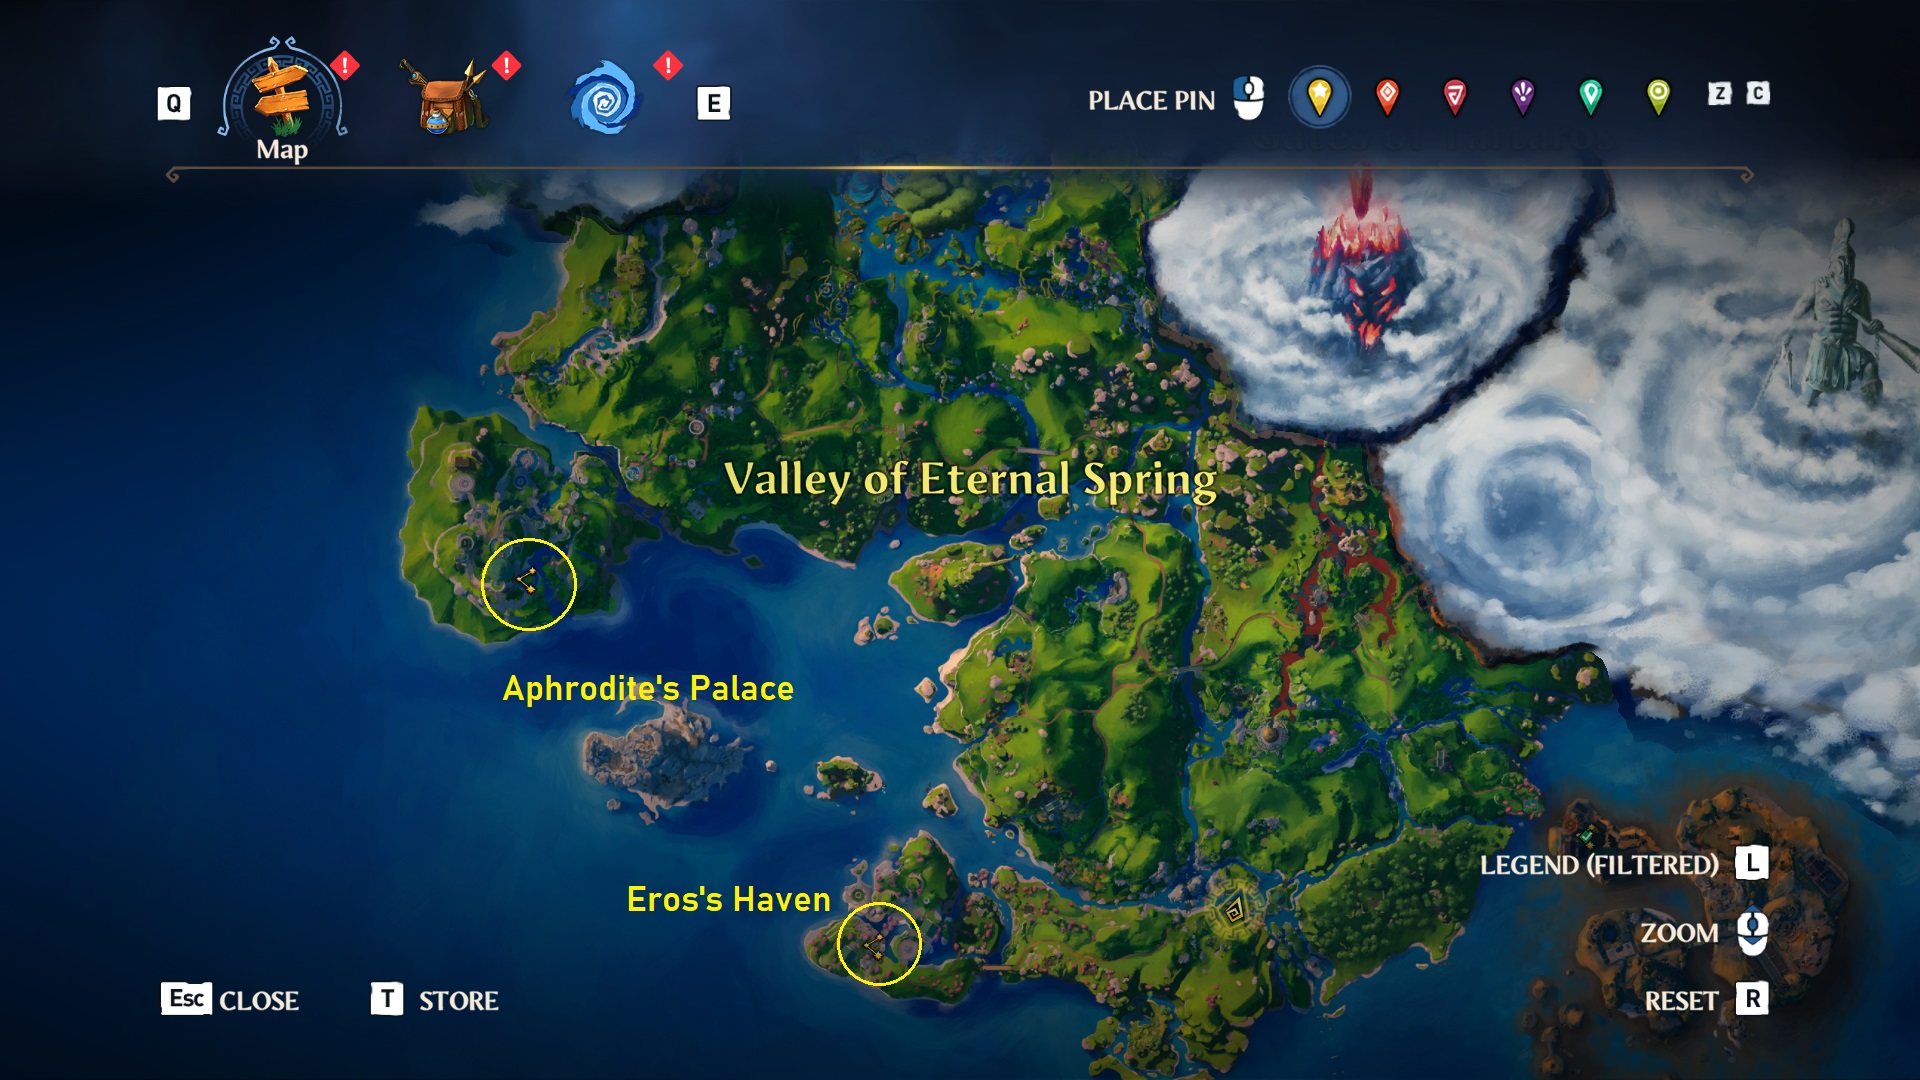
Immortals Valley of the Eternal Spring constellation myth locations
Eros’ Haven
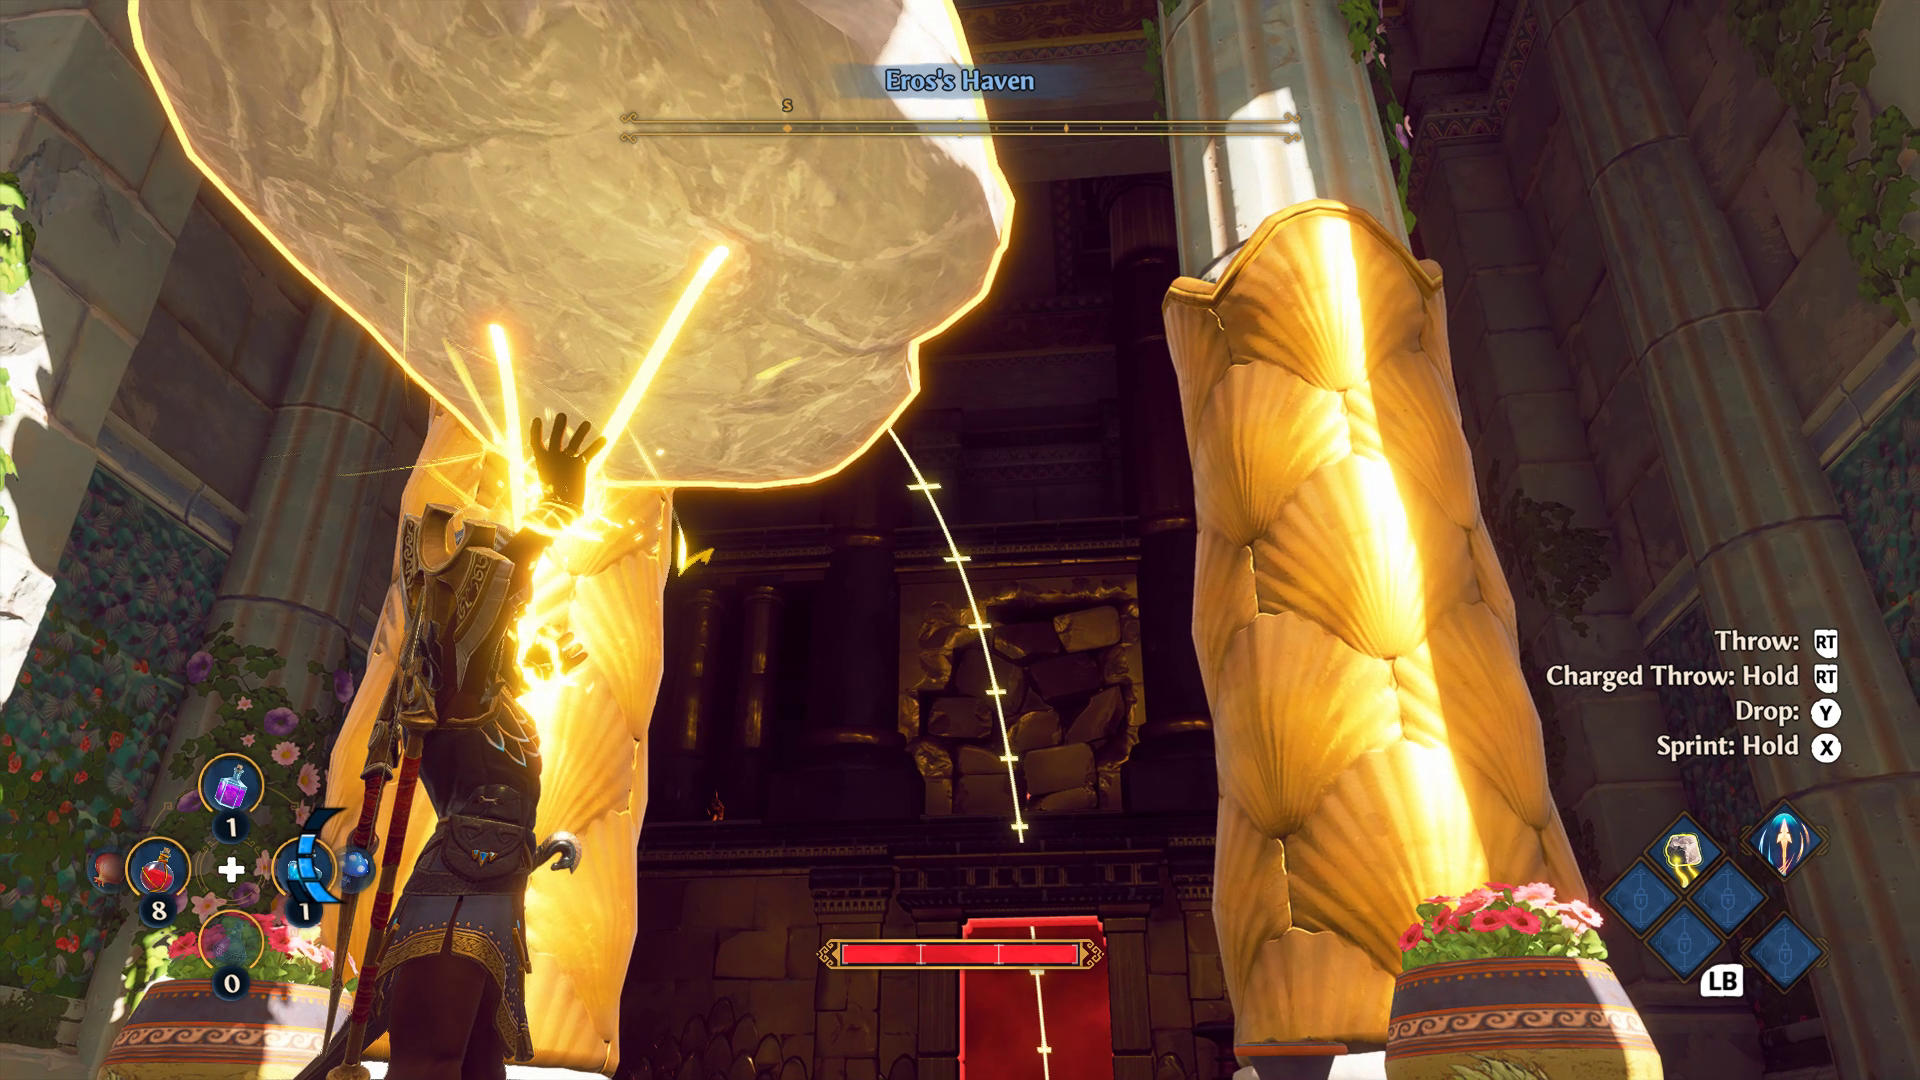
Puzzle 1: Rock throw
Head west of the puzzle board and glide down to the lower buildings. Kill the nearby enemies and you’ll notice a marble to the south blocked by a red barrier. Grab a nearby rock to break the loose bricks above it and reveal a locked torch. Stand on the nearby pressure pad and steer an Apollo arrow through a brazier and into the torch. First marble down.
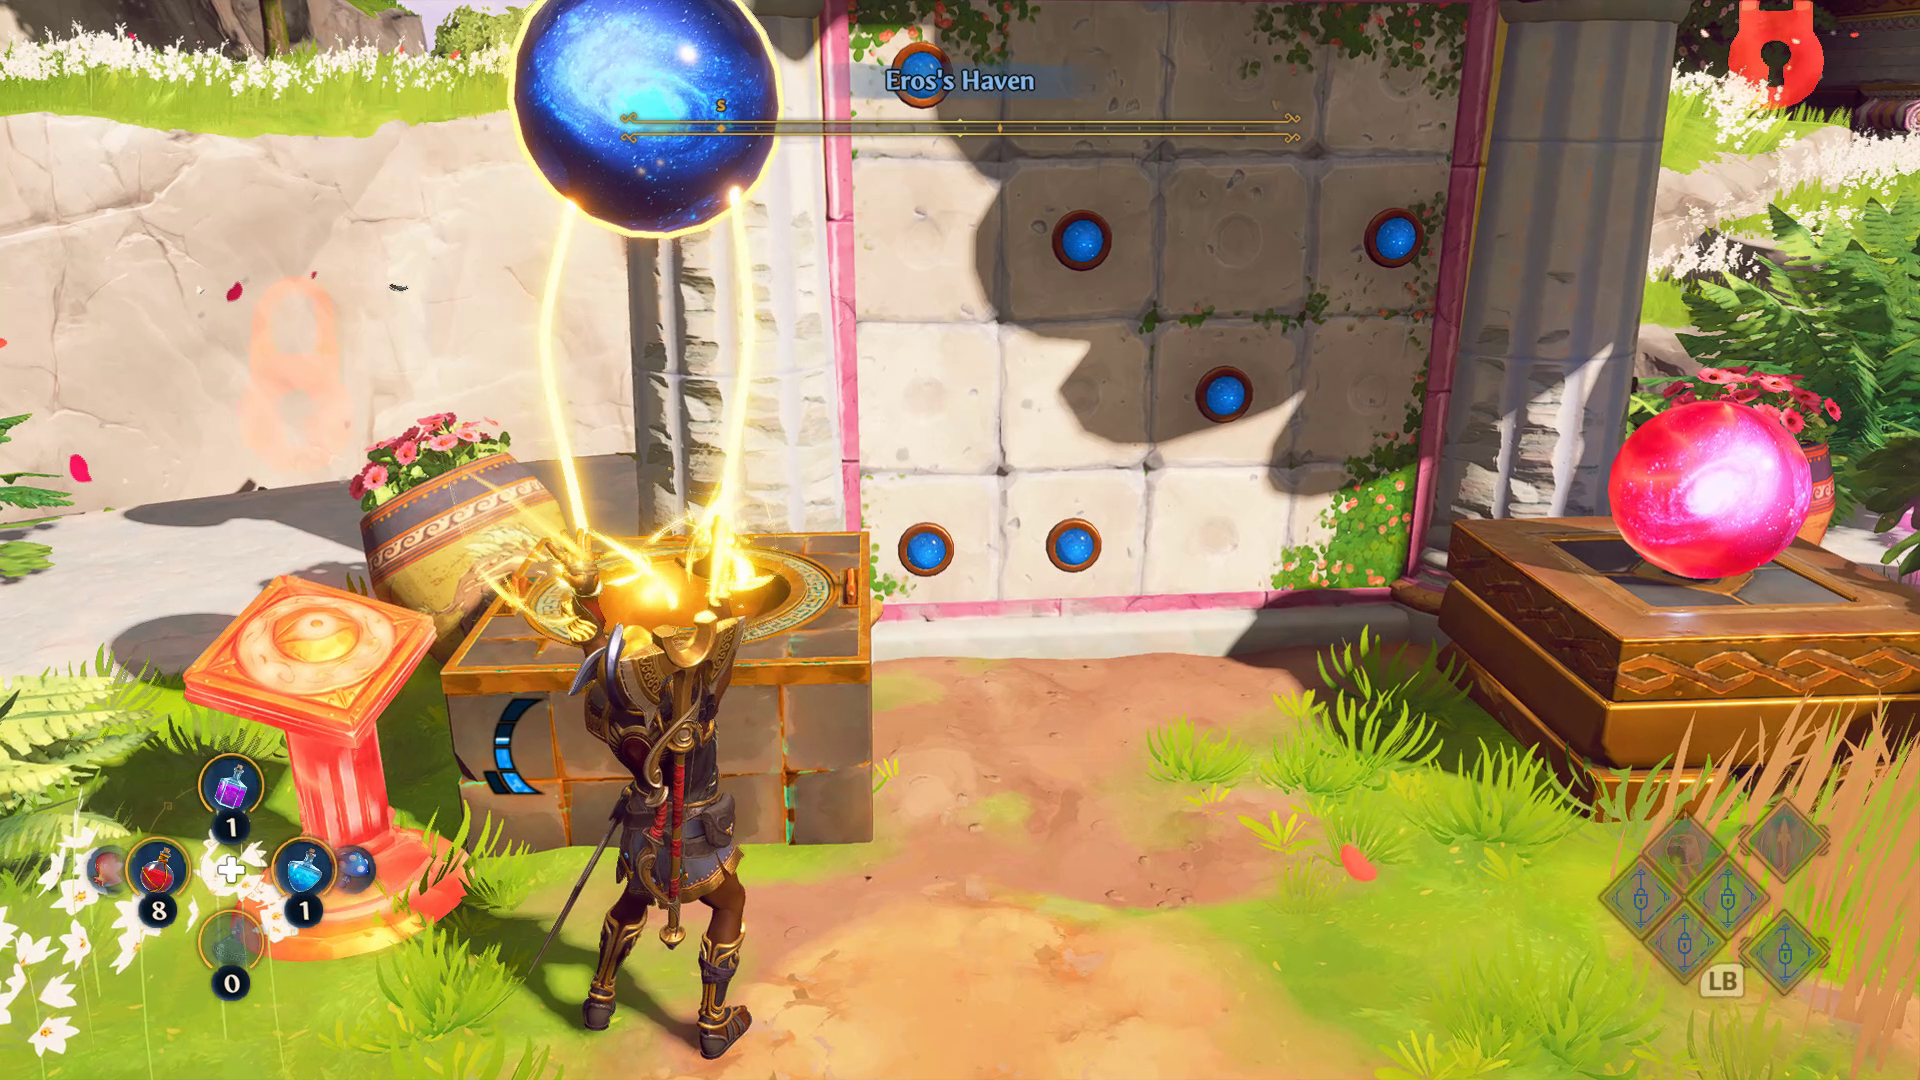
Puzzle 2: Freebie
Once you get your first marble, you can use it to easily unlock the locked marble next to the puzzle board. Slot it into the left switch, press the button, and it’s yours.
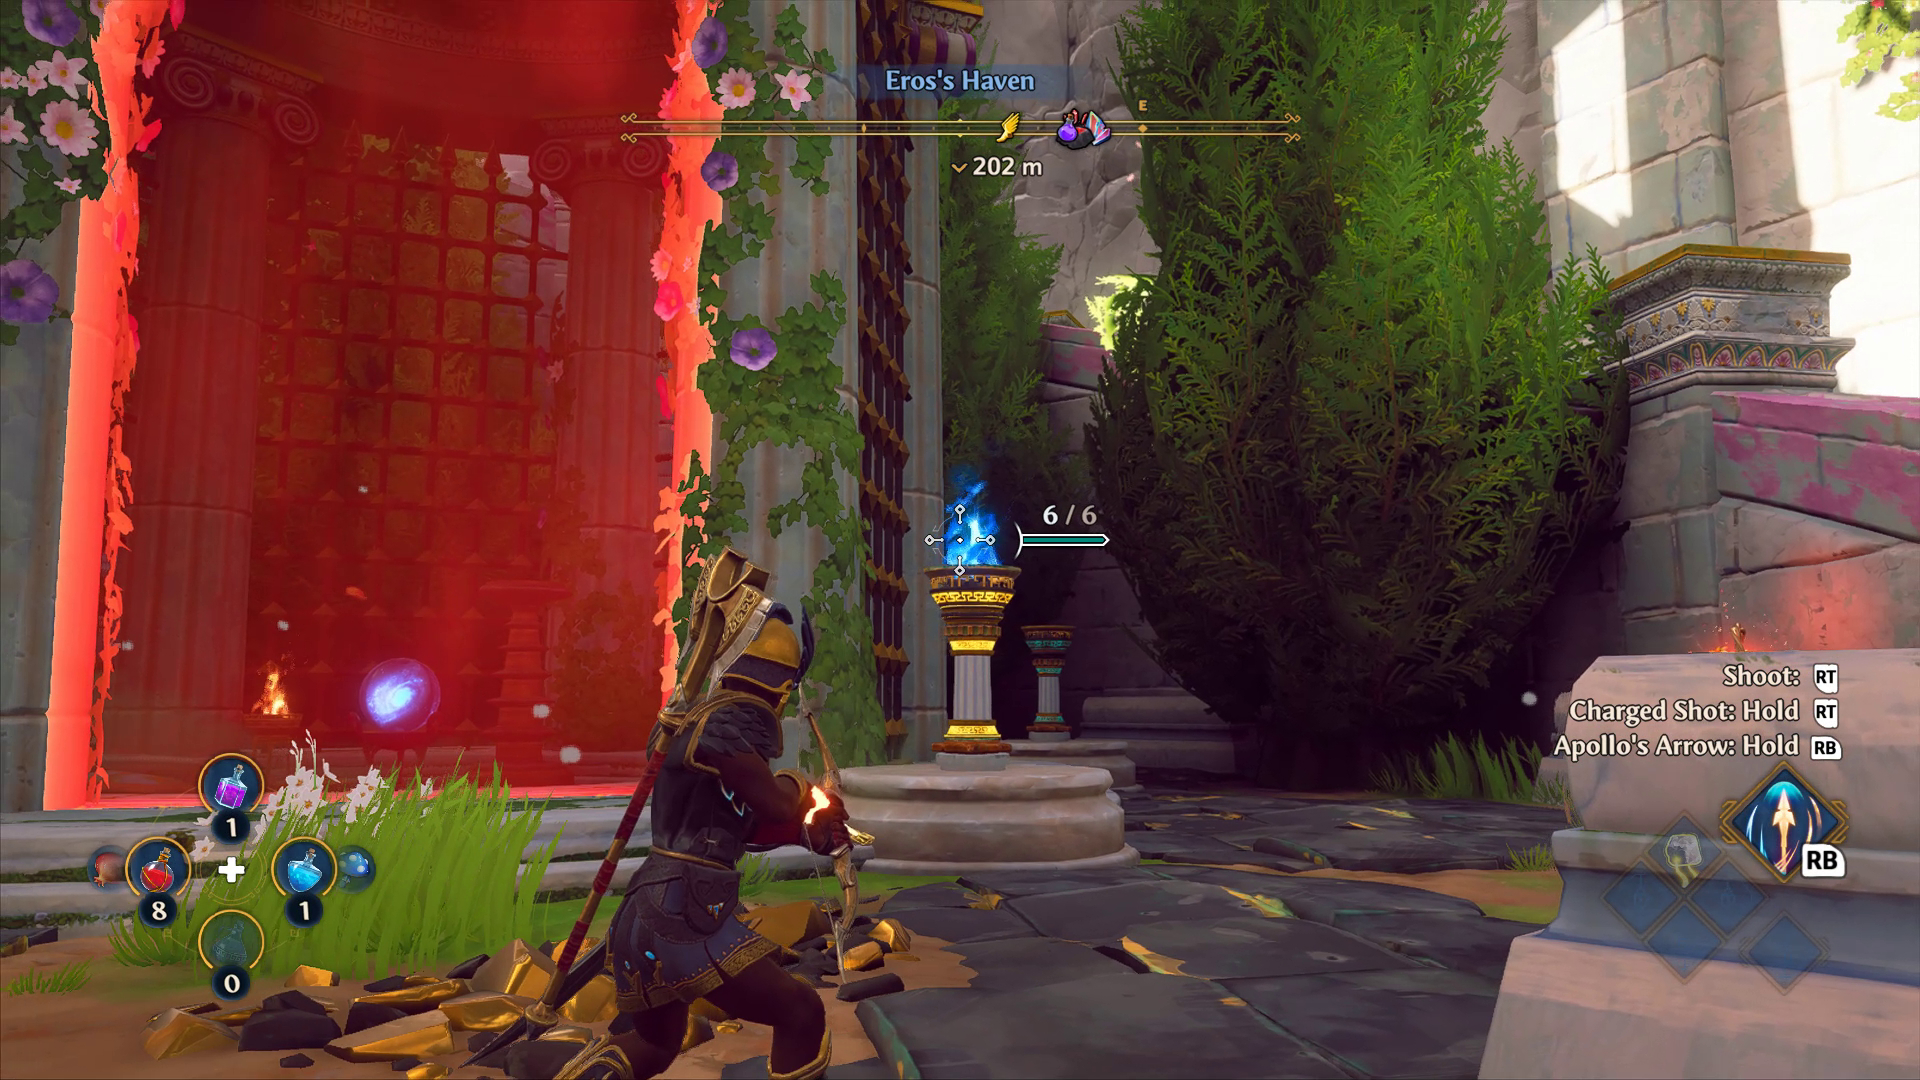
Puzzle 3: Torch light
If you’re facing the puzzle board, turn around to find a marble in a gazebo blocked by a barrier. Using Apollo’s Arrow and any of the surrounding lit torches, ignite the far right torch and drop the barrier (no pressure pad required this time). That’s three.
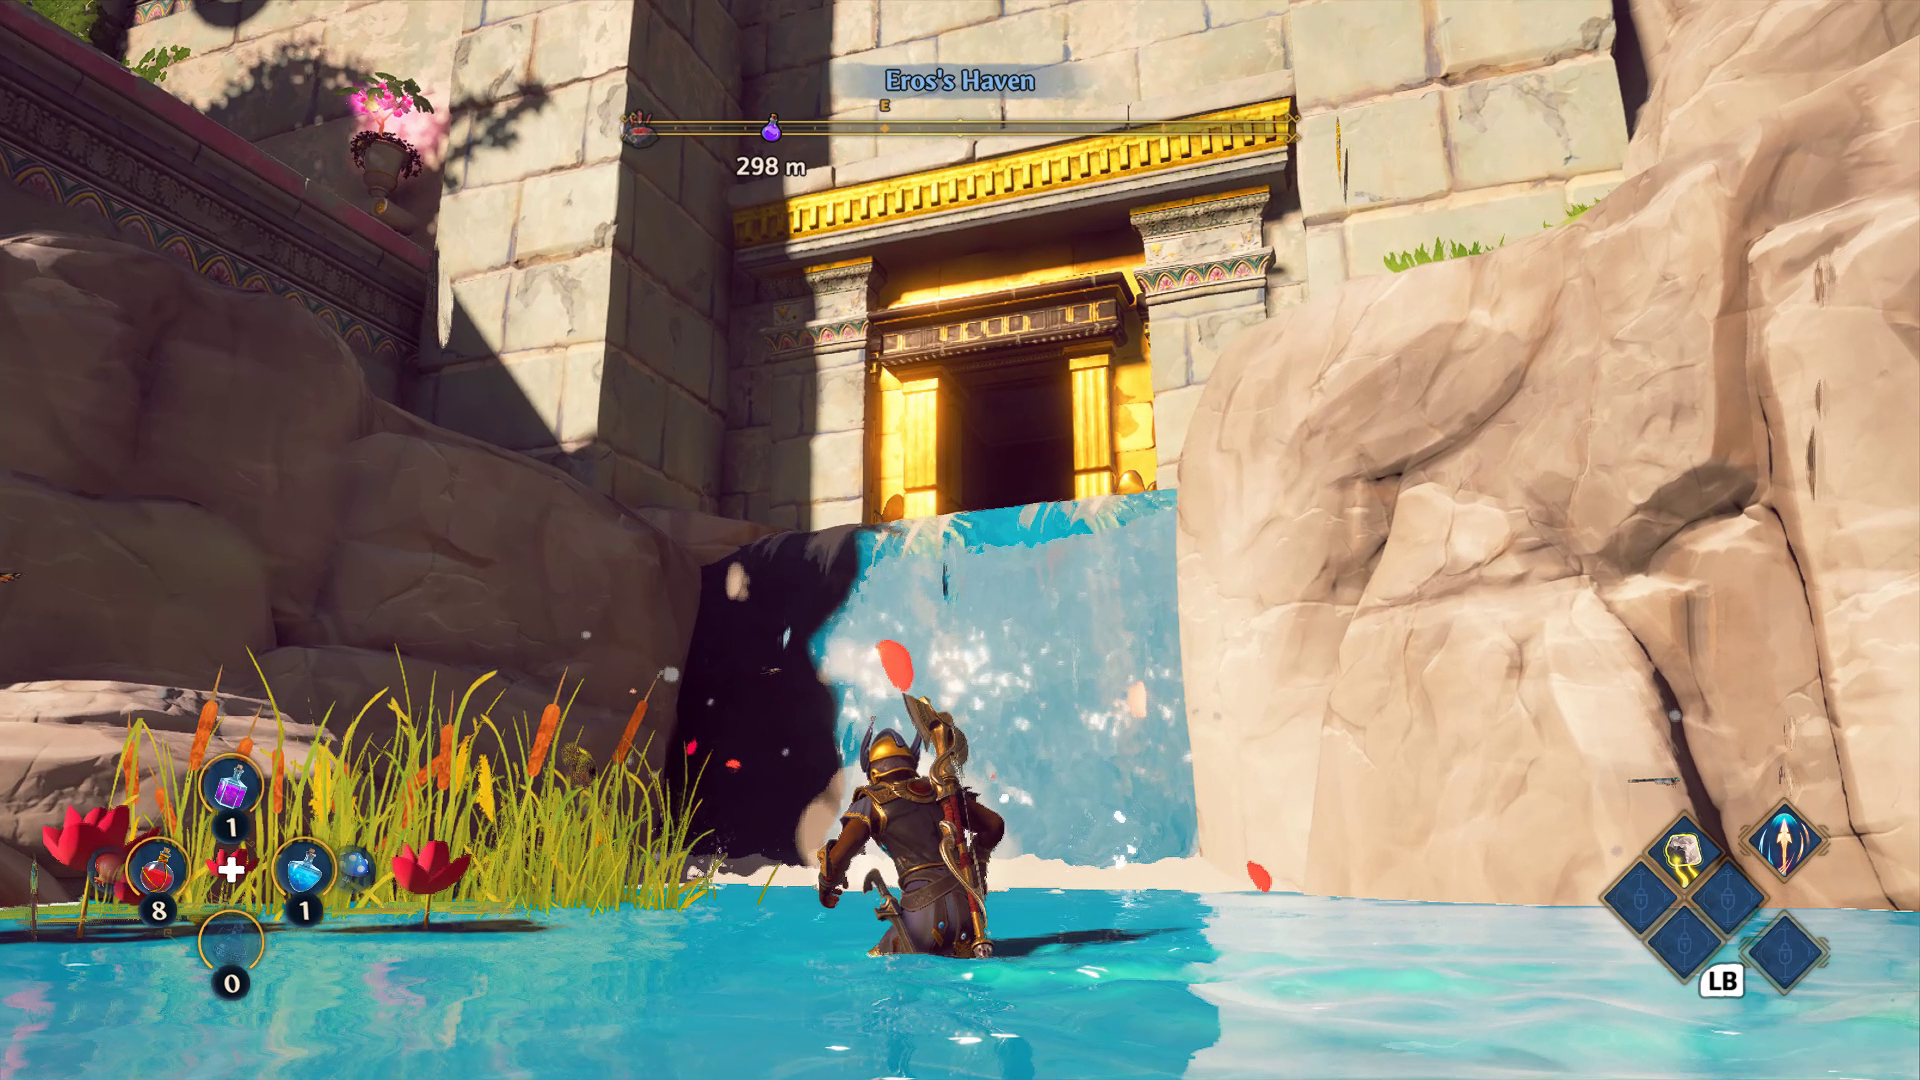
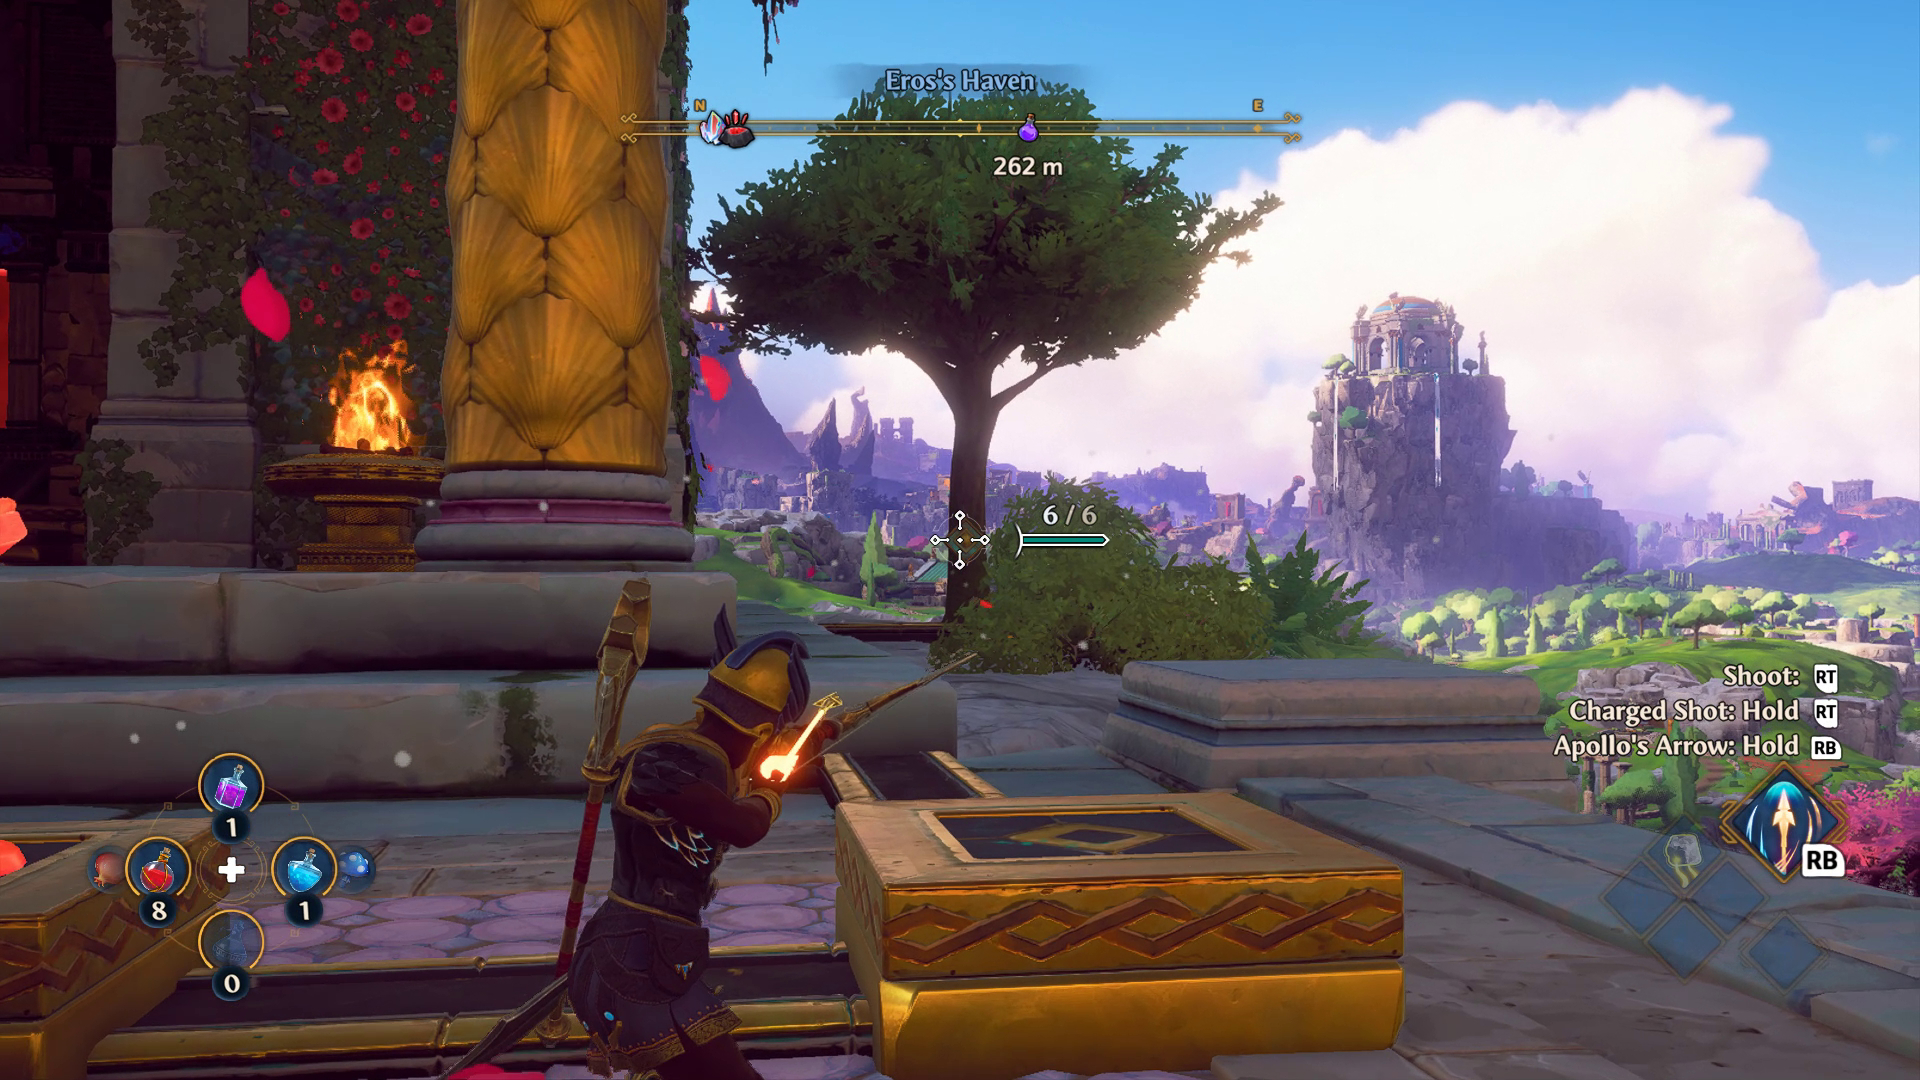
Second switch
Puzzle 4: Two arrow switches
Follow the water to the left of the puzzle board (east) and you’ll find a small waterfall originating from a tunnel with a gold entrance. Head in and trigger the nearby arrow switch. That will unlock the button directly across from it, the first of two buttons needed to unlock the marble above. Leave the tunnel and climb up east to the area above the puzzle board. To the north you’ll find a marble behind a red barrier. To the right of that building is an arrow switch near a tree. Shoot it and unlock the nearby button. Press it, and the marble is yours.
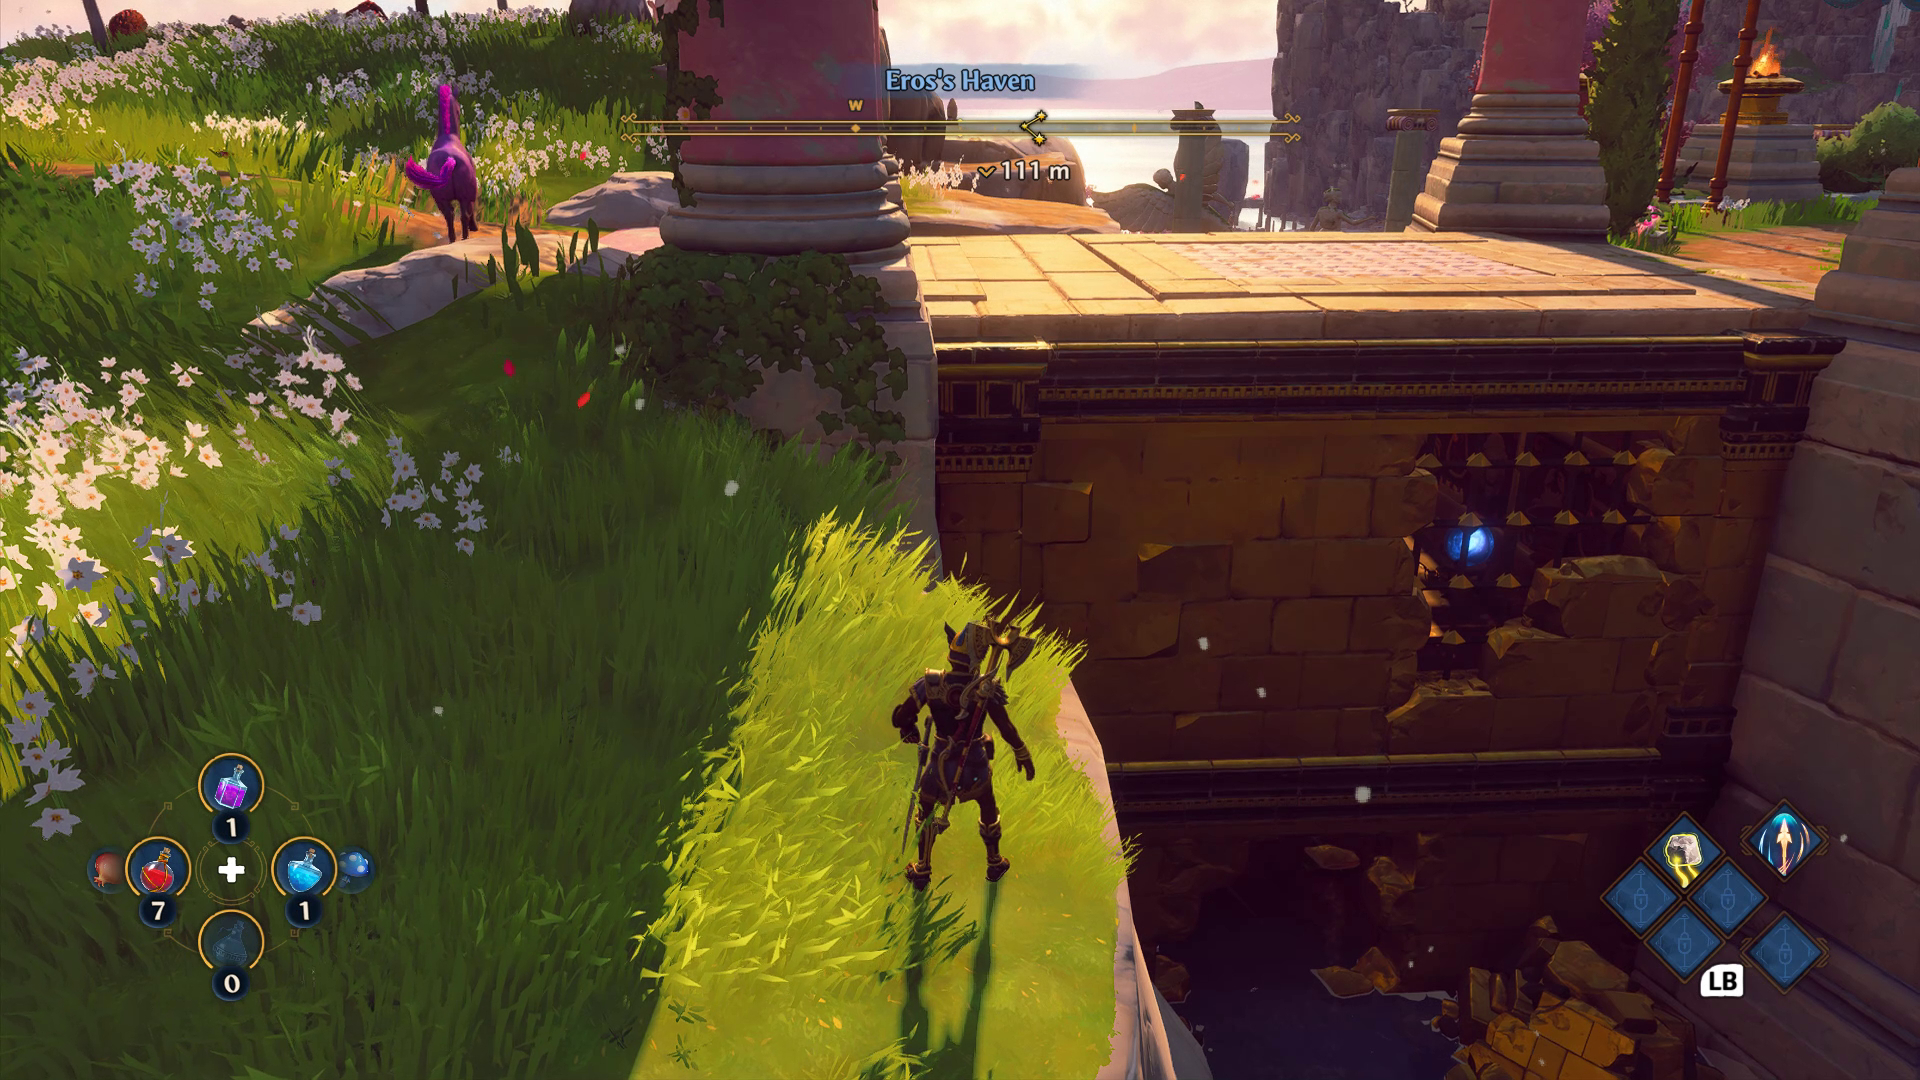
Puzzle 5: Hidden entrance
Climb back up to that eastern platform. Near the circular arena where the cyclops hangs out, find a tiny bridge crossing a small creek. The marble can be seen inside the bridge through grating. Jump into the creek and find a hidden entrance to this weird bridge-tunnel on a rock face slightly west of the bridge. It’s blocked by a few bushes, so chop those down. A few enemies are guarding the marble. Defeat them, smash the loose brick wall, and it’s yours.
Keep up to date with the most important stories and the best deals, as picked by the PC Gamer team.
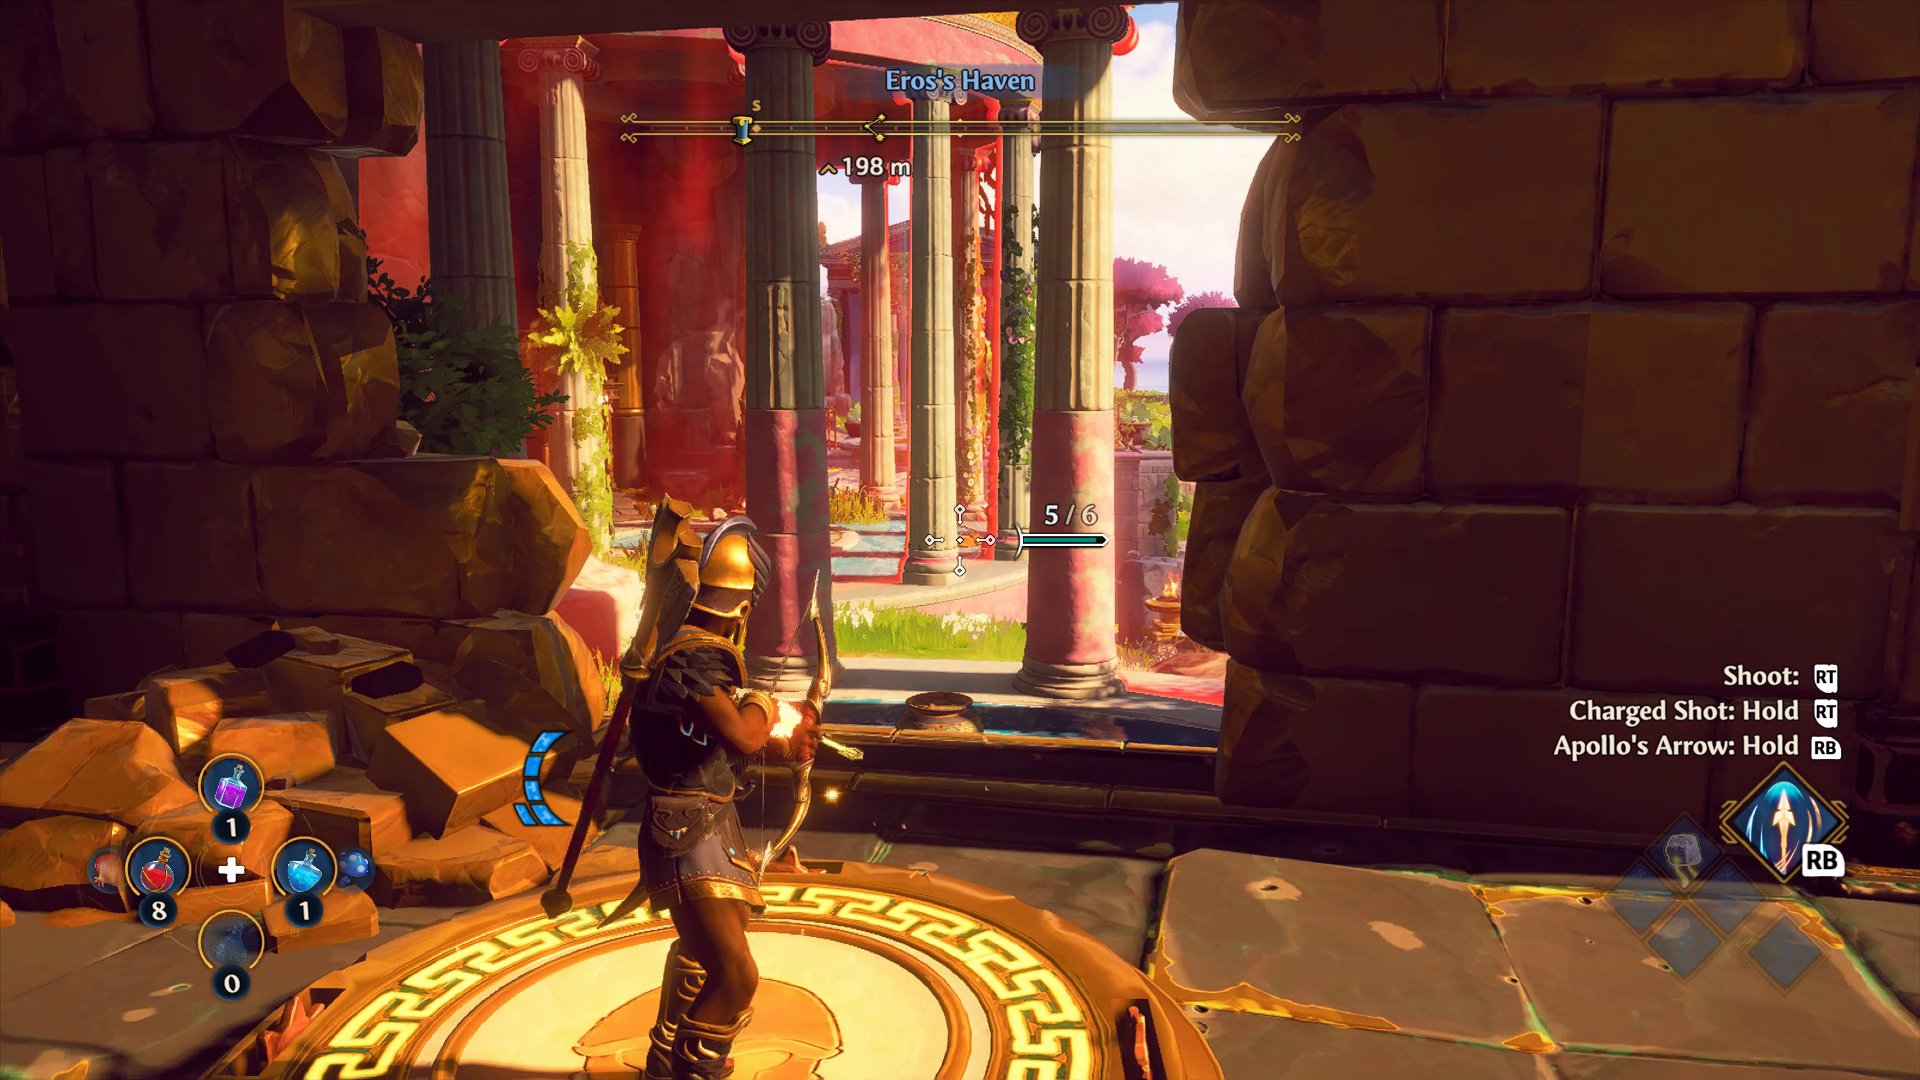
Puzzle 6: Arrow obstacle
Head west of the puzzle board until you see two airlifts. Use the right airlift to glide to the northwest platform. Nearby, you’ll find the next caged marble. Break the loose bricks to the left of the marble to reveal an arrow switch. Keep going north to find a raised platform guarded by enemies. Once clear, stand on the pressure plate on the platform. Steer an Apollo arrow to the right and then left, weaving through the new red barriers and toward the arrow switch near the marble. Hit it, and the marble is freed.
Aphrodite’s Palace
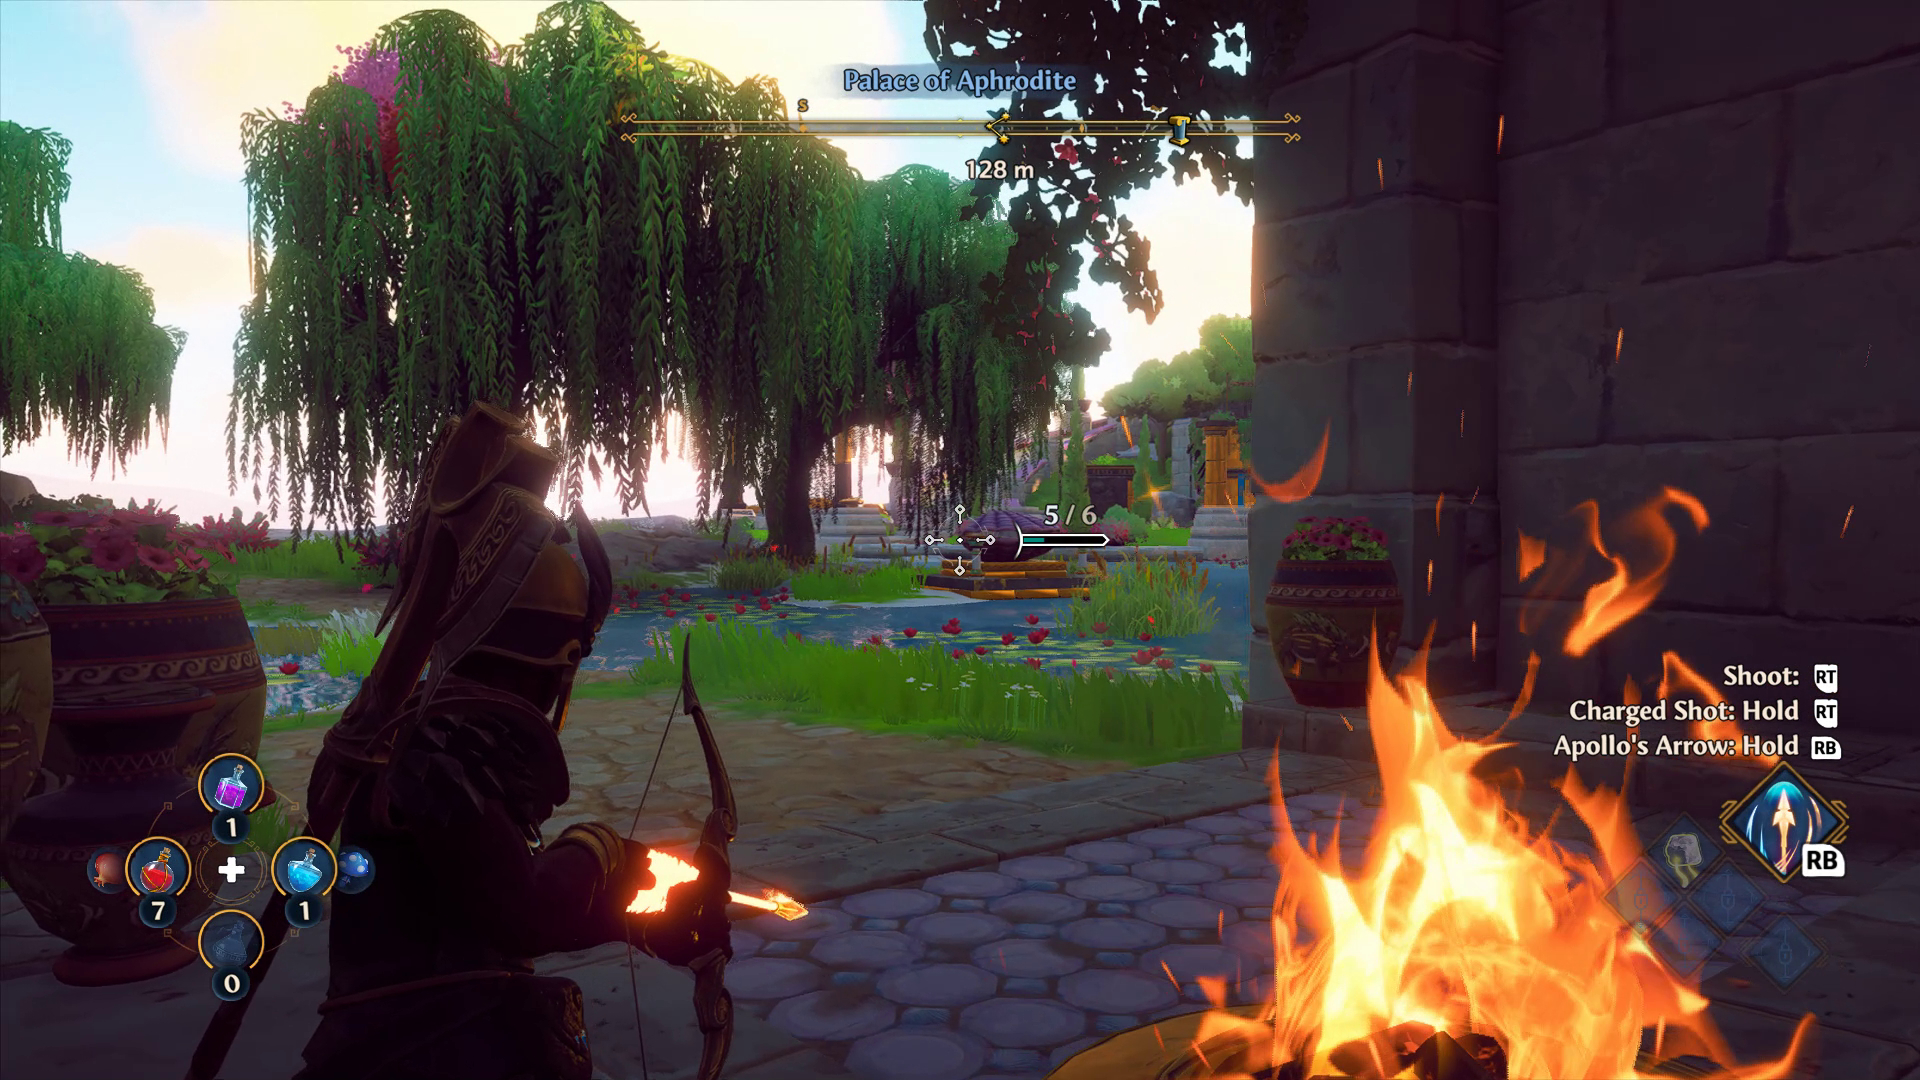
Puzzle 1: Two torches
Since the whole palace is ocean-themed, each of the five marbles are hiding inside giant clams. Just northwest of the puzzle board is the first clam. Position yourself around a nearby brazier and shoot two fire arrows into the torches right next to the clam. Take the marble within.
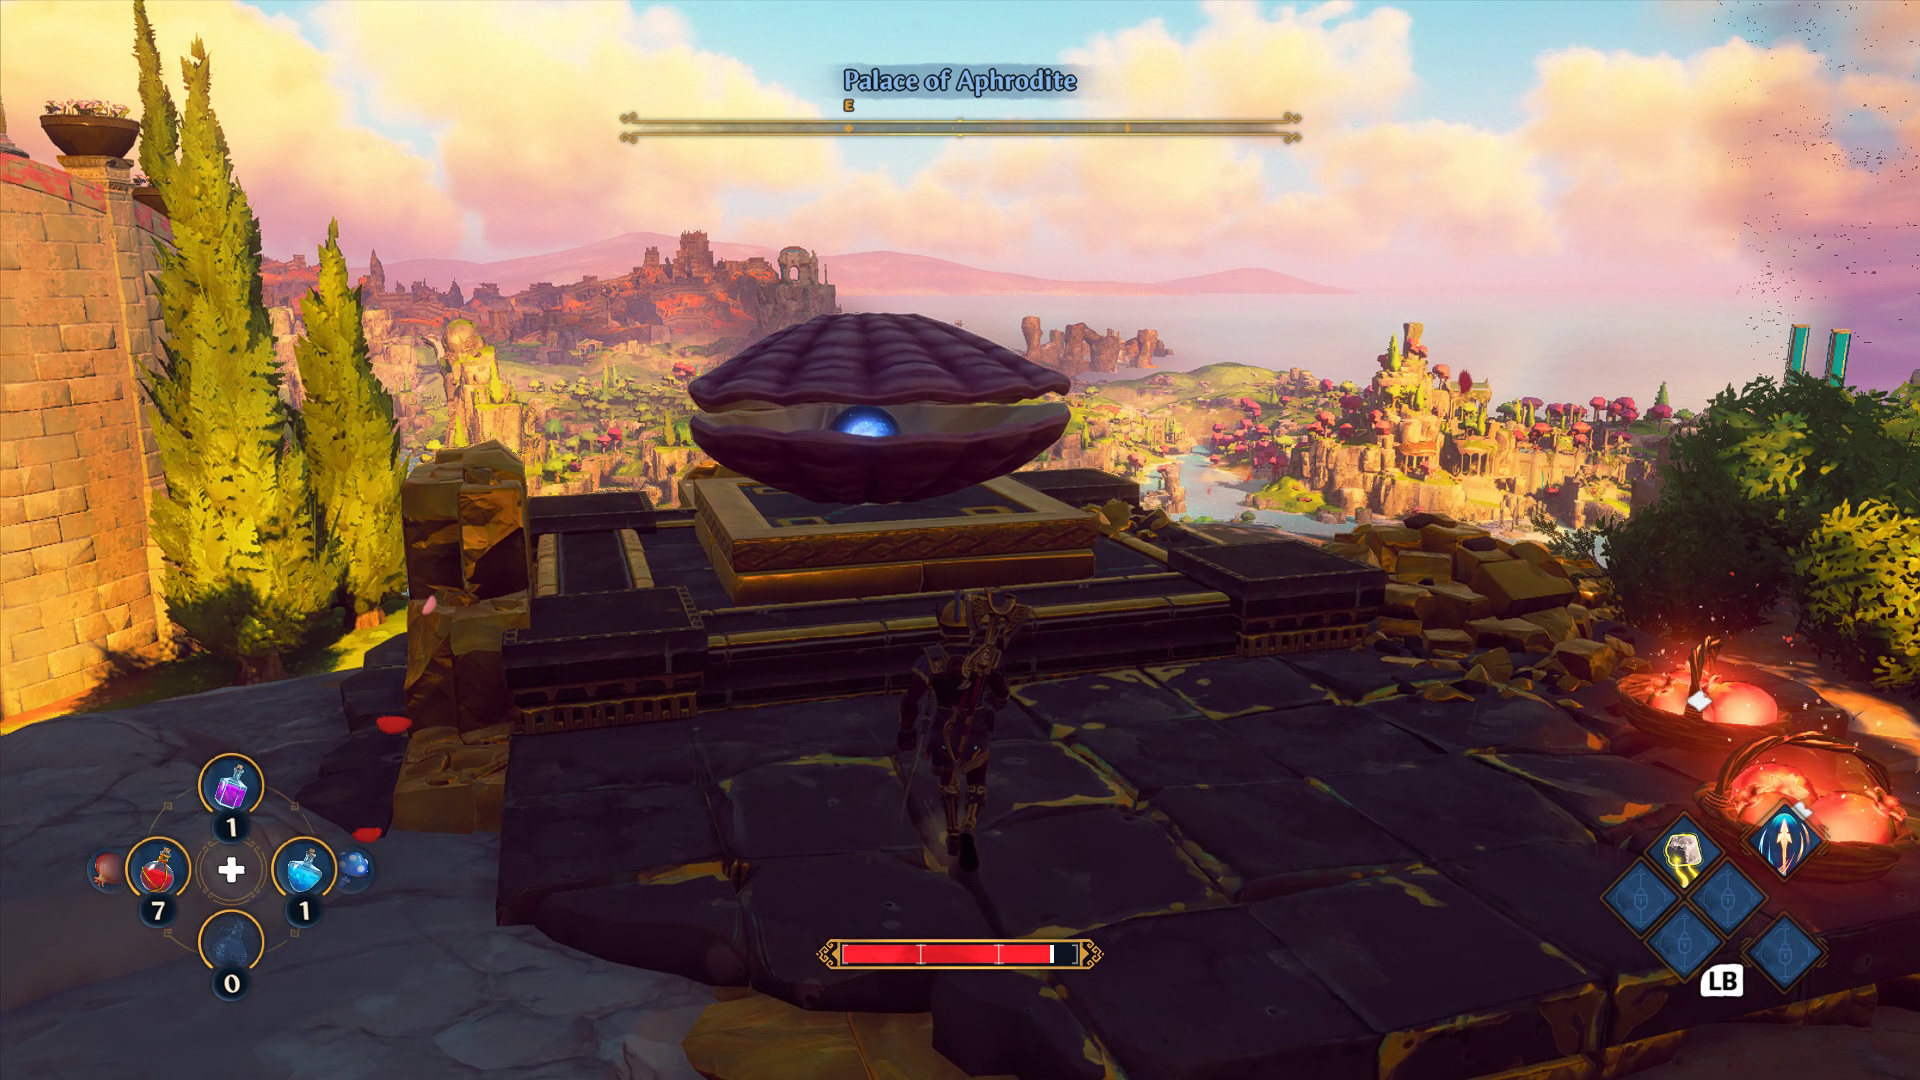
Puzzle 2: Cliffside trees
The second clam is just southeast of the puzzle board. Scan the cliffside and you’ll spot the clam near the waterfall. Climb down and chop down the trees next to it. That will reveal an arrow switch behind a grating. Shoot it to open the clam and claim the marble.
Puzzle 3: Cabbage rescue
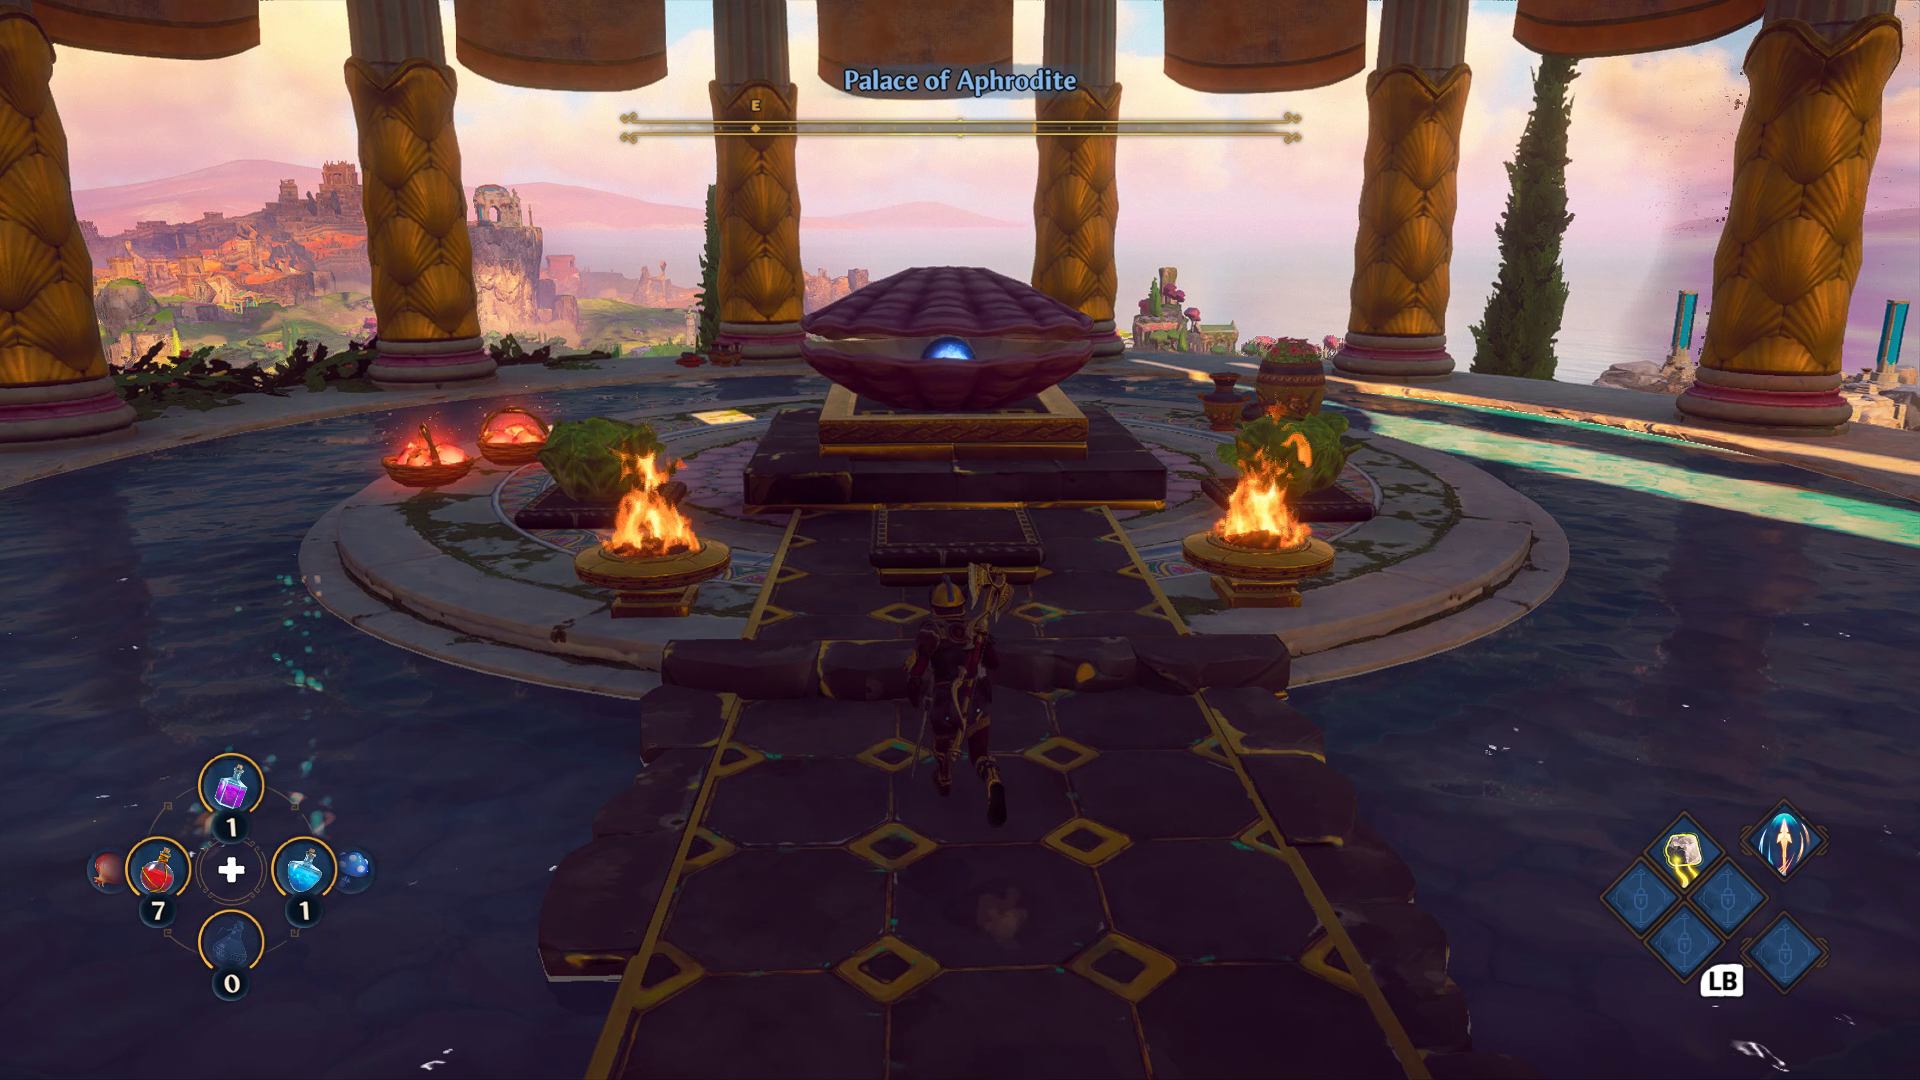
Directly east of the puzzle board is a fancy gazebo with a clam at its center. You’re looking for the missing cabbage to place on a nearby podium. Run down the ramp that encircles the gazebo to find the imprisoned cabbage (it’s just below the gazebo to the north). Break the loose bricks behind the cage to free it. Replace the cabbage, open the clam, and claim the marble.
Puzzle 4: Pot smash
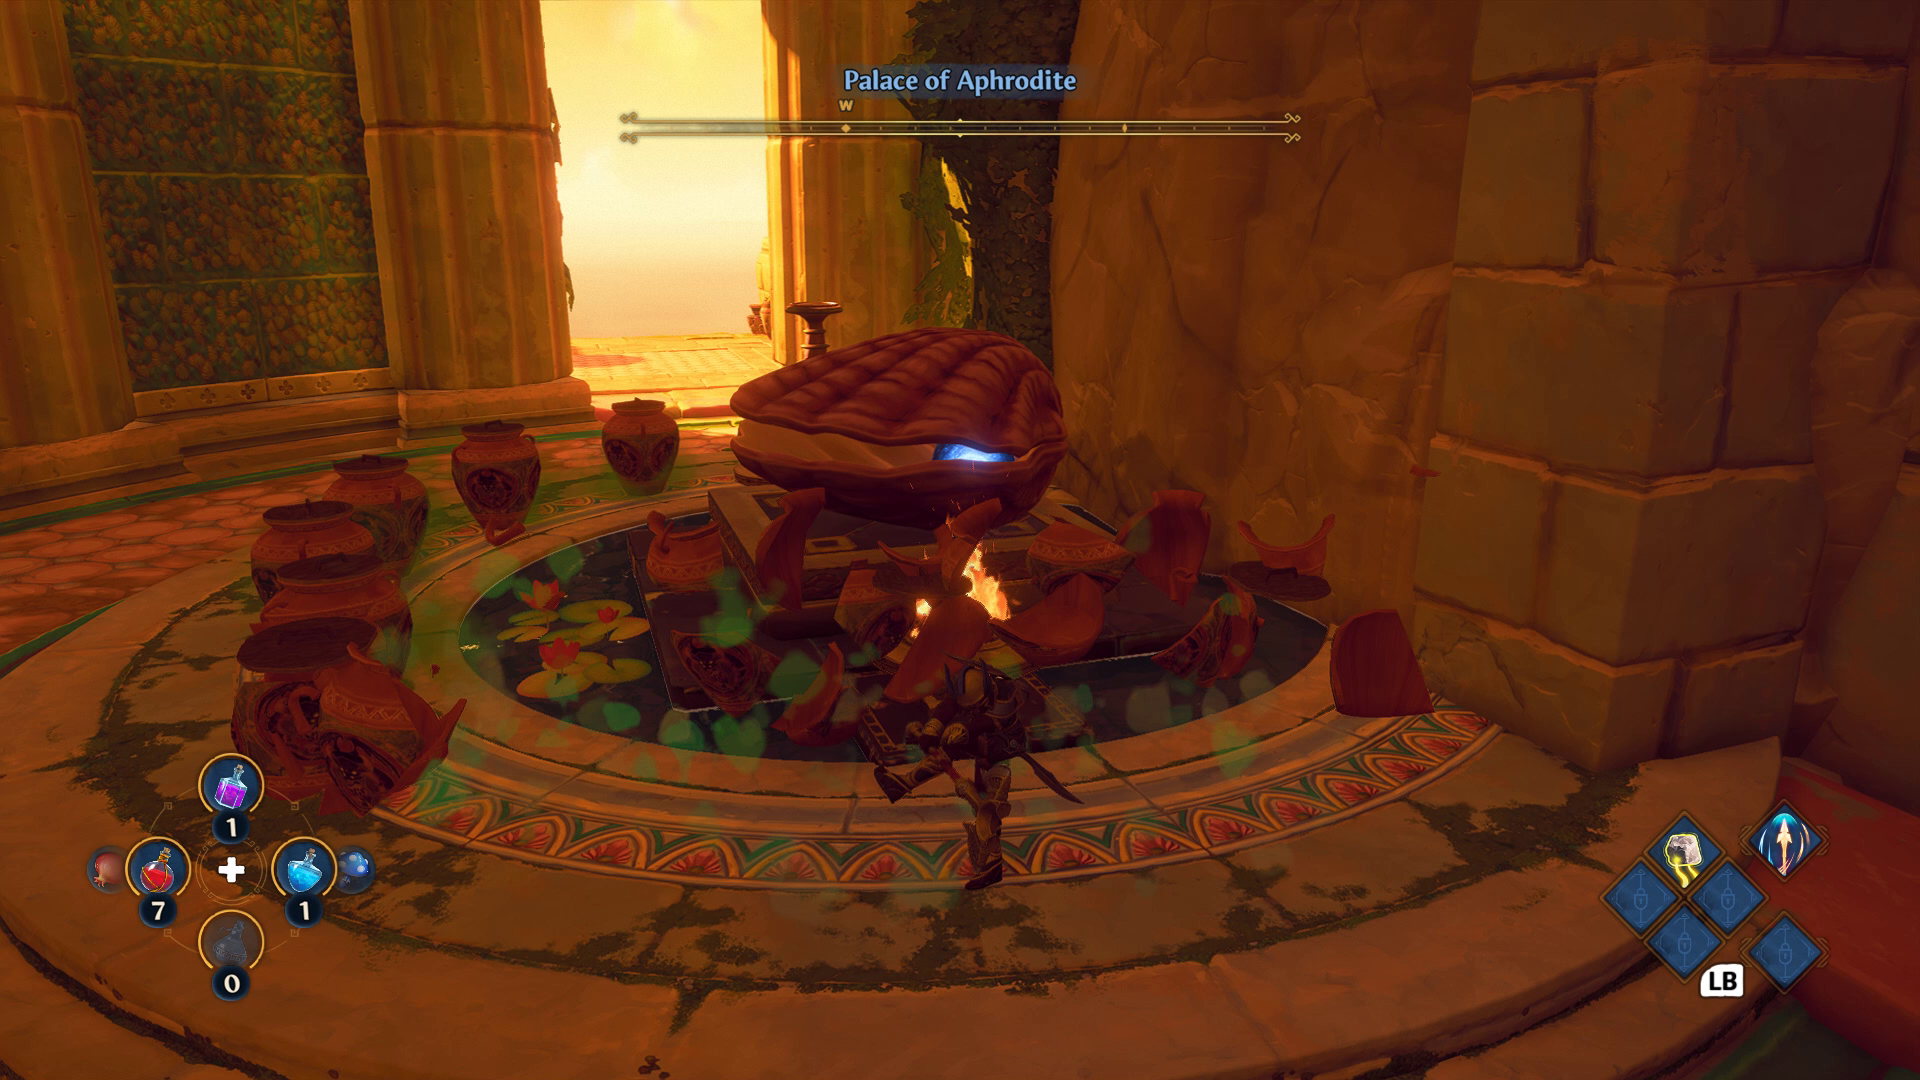
Directly left of the puzzle board is a spiraling ramp that goes up. Run to the top to find a clam surrounded by many gassy pots. Just smash them! The marble is yours (and you can save some time by rolling it down the ramp).
Puzzle 5: Quick reflexes
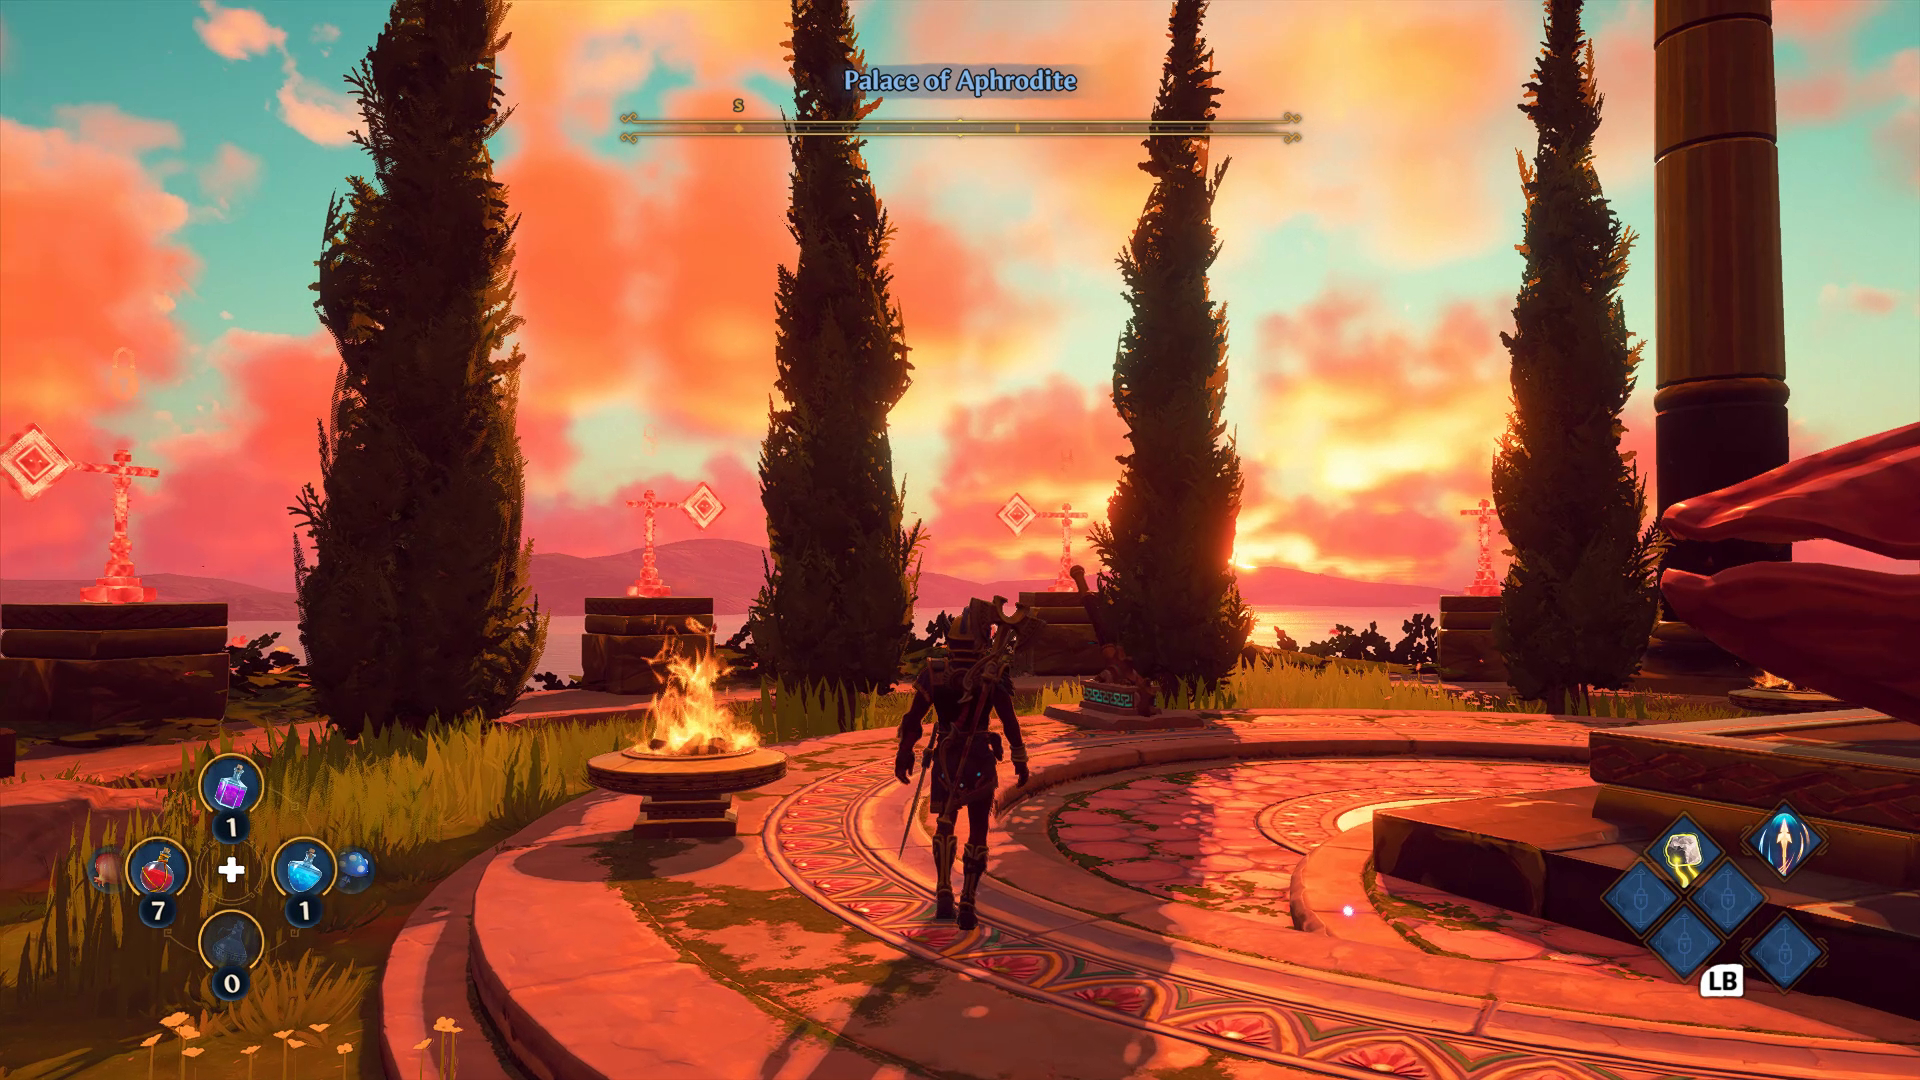
Near where you just smashed those pots you’ll find an airlift. Ride it up to find another clam. This one is surrounded by arrow switches and a lever. Pull the lever to start the time trial. Quickly shoot the switches starting from left to right as they unlock. Succeed, and the last marble is yours.

Morgan has been writing for PC Gamer since 2018, first as a freelancer and currently as a staff writer. He has also appeared on Polygon, Kotaku, Fanbyte, and PCGamesN. Before freelancing, he spent most of high school and all of college writing at small gaming sites that didn't pay him. He's very happy to have a real job now. Morgan is a beat writer following the latest and greatest shooters and the communities that play them. He also writes general news, reviews, features, the occasional guide, and bad jokes in Slack. Twist his arm, and he'll even write about a boring strategy game. Please don't, though.

