Keep up to date with the most important stories and the best deals, as picked by the PC Gamer team.
You are now subscribed
Your newsletter sign-up was successful
Want to add more newsletters?
Hogwarts Legacy Daedalian Keys are one of the game's trickiest challenges to complete, as it involves collecting 16 flying keys that can be found all over Hogwarts School of Witchcraft and Wizardry.
Hogwarts Legacy spells: Every spell you can learn
Hogwarts Legacy Merlin trials: How to solve the trials
Hogwarts Legacy Room of Requirement: How to get in
Hogwarts Legacy Demiguise statues: Unlocking Alohomora
Hogwarts Legacy eye chests: How to crack them open
Hogwarts Legacy broom: How to take flight
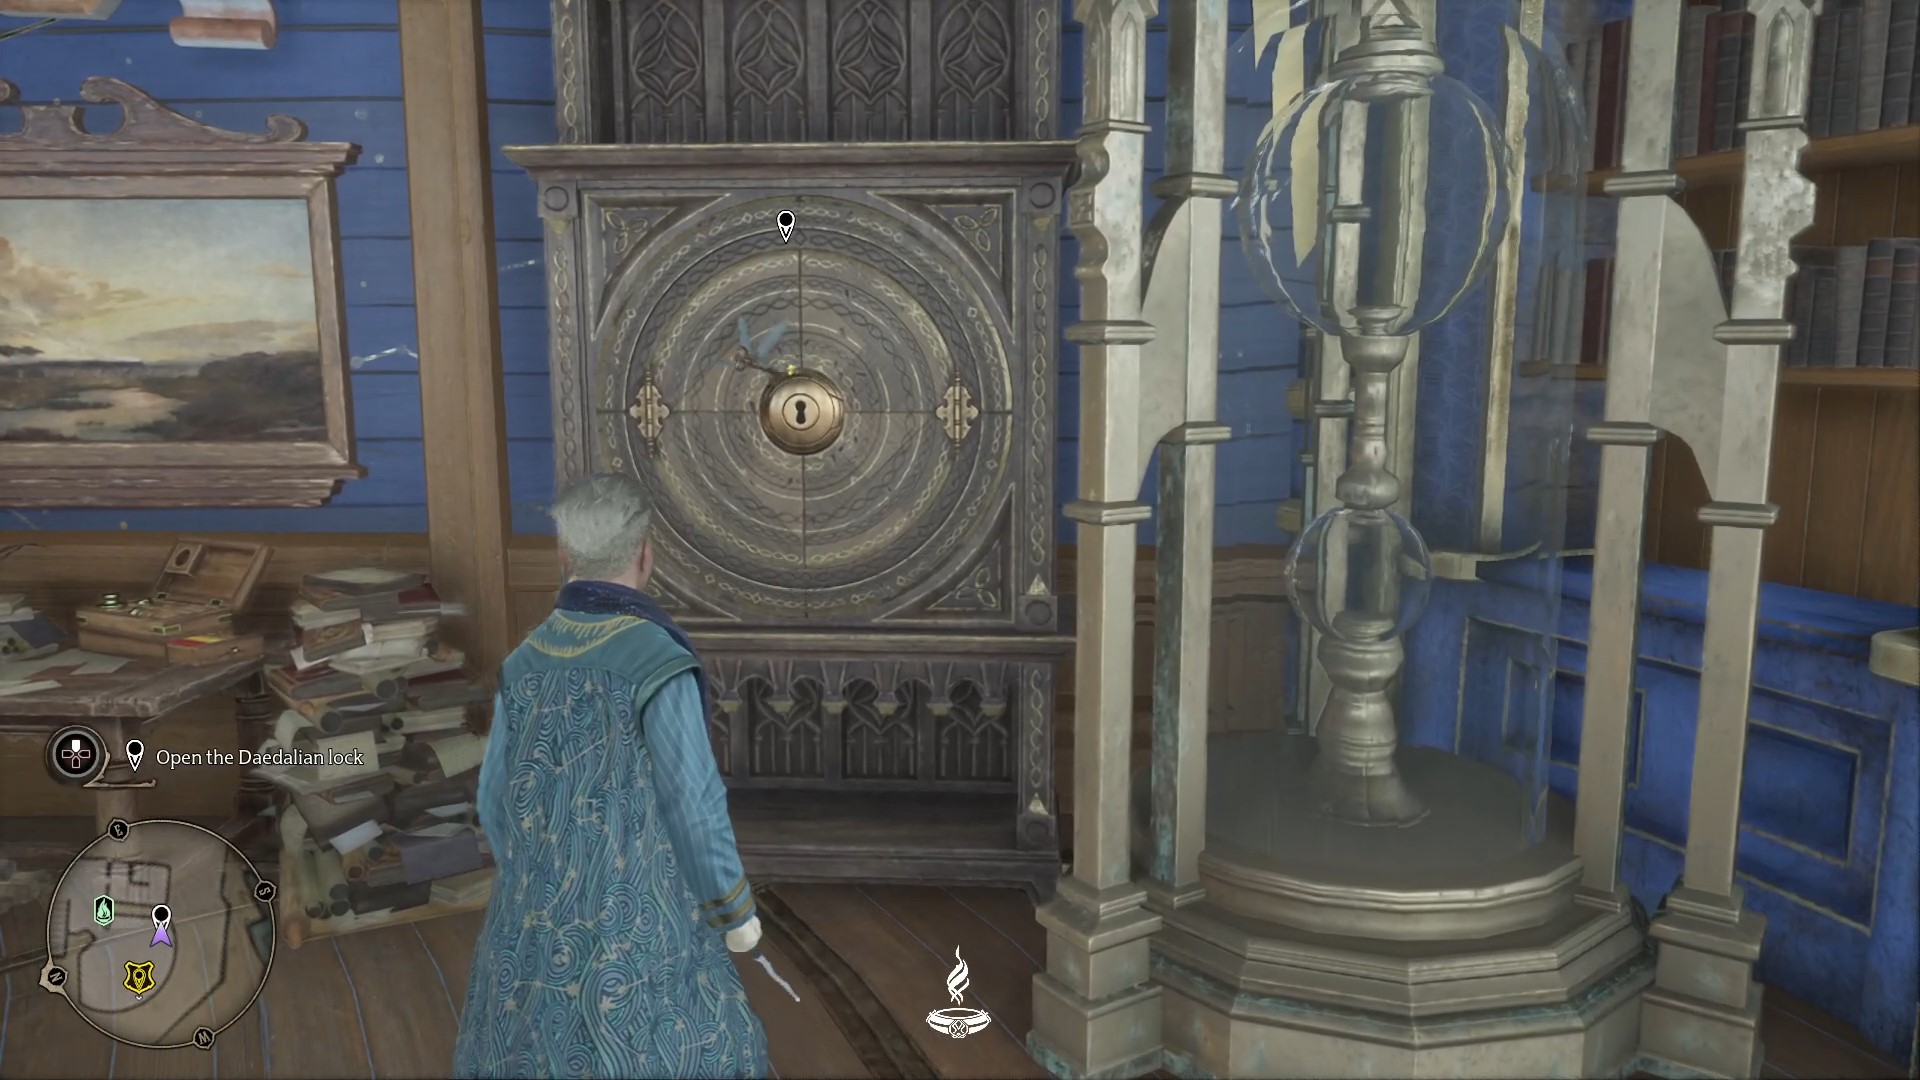
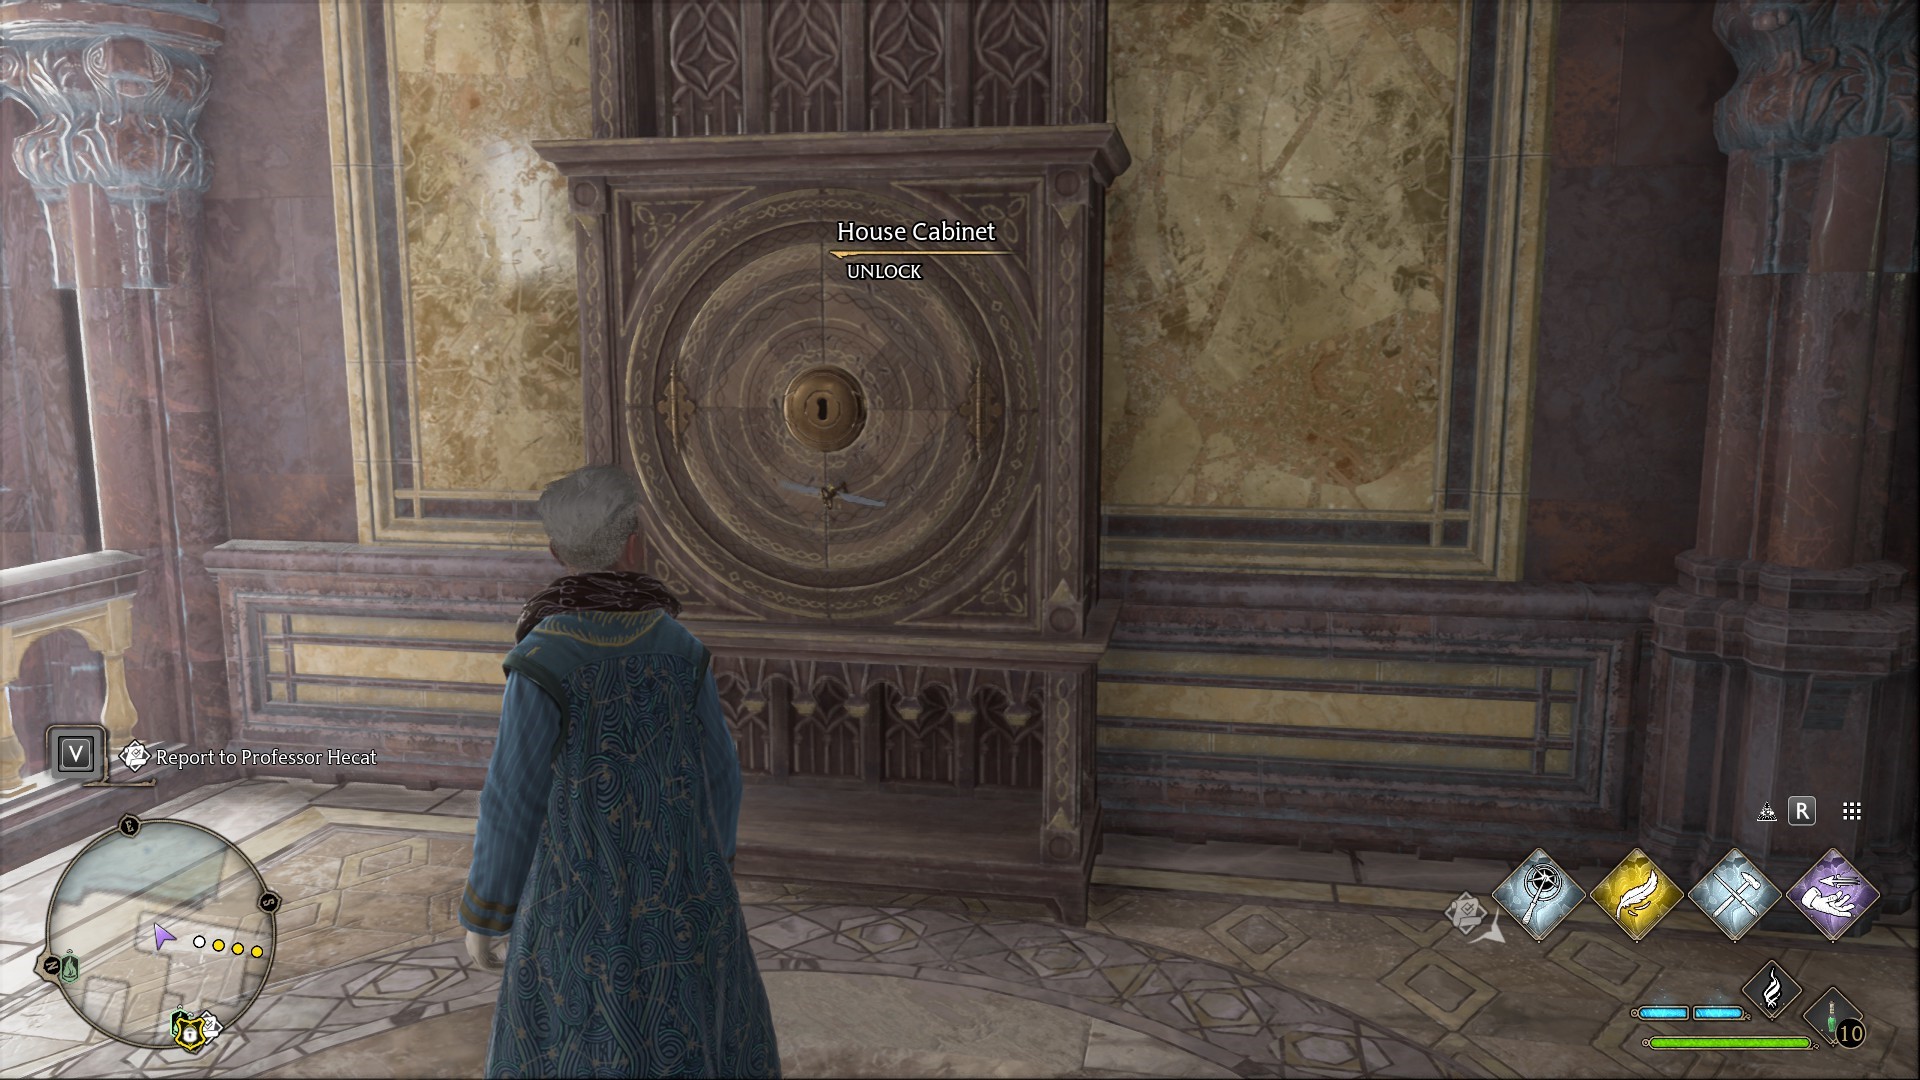
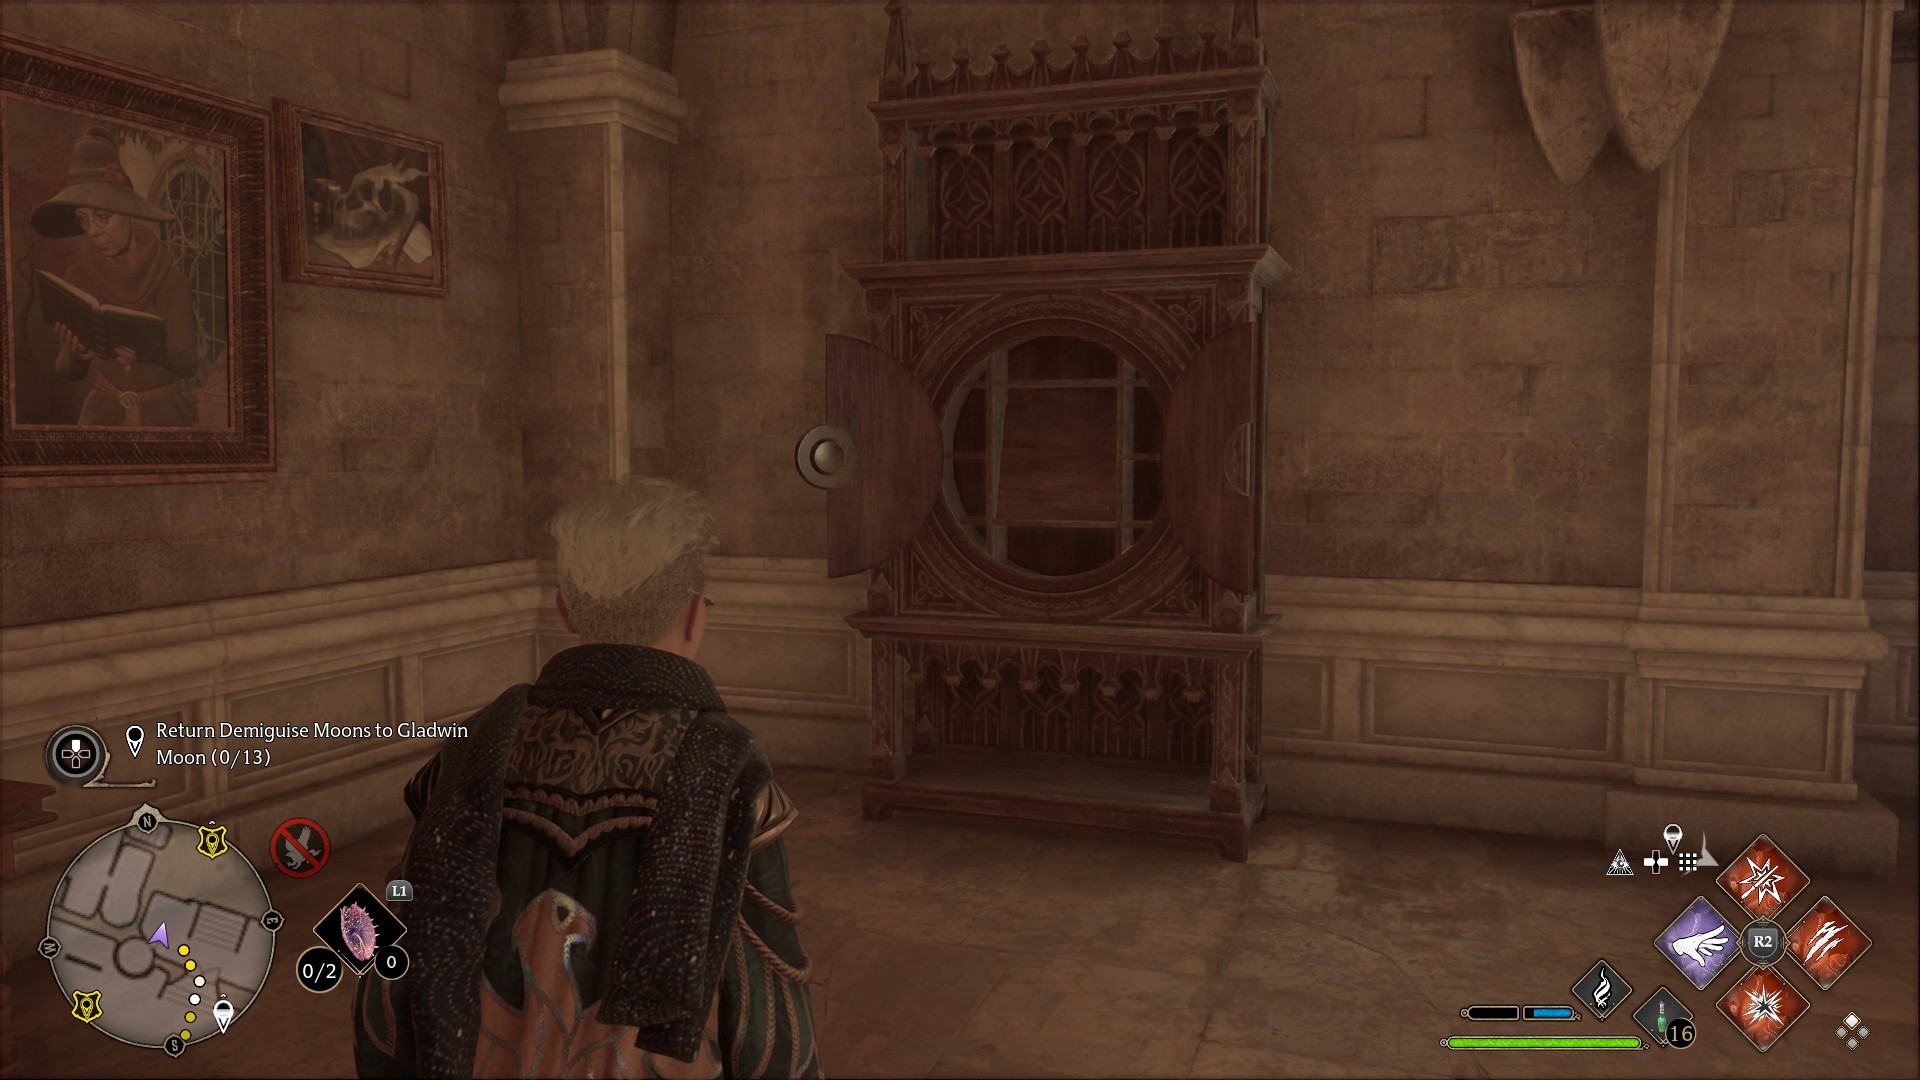
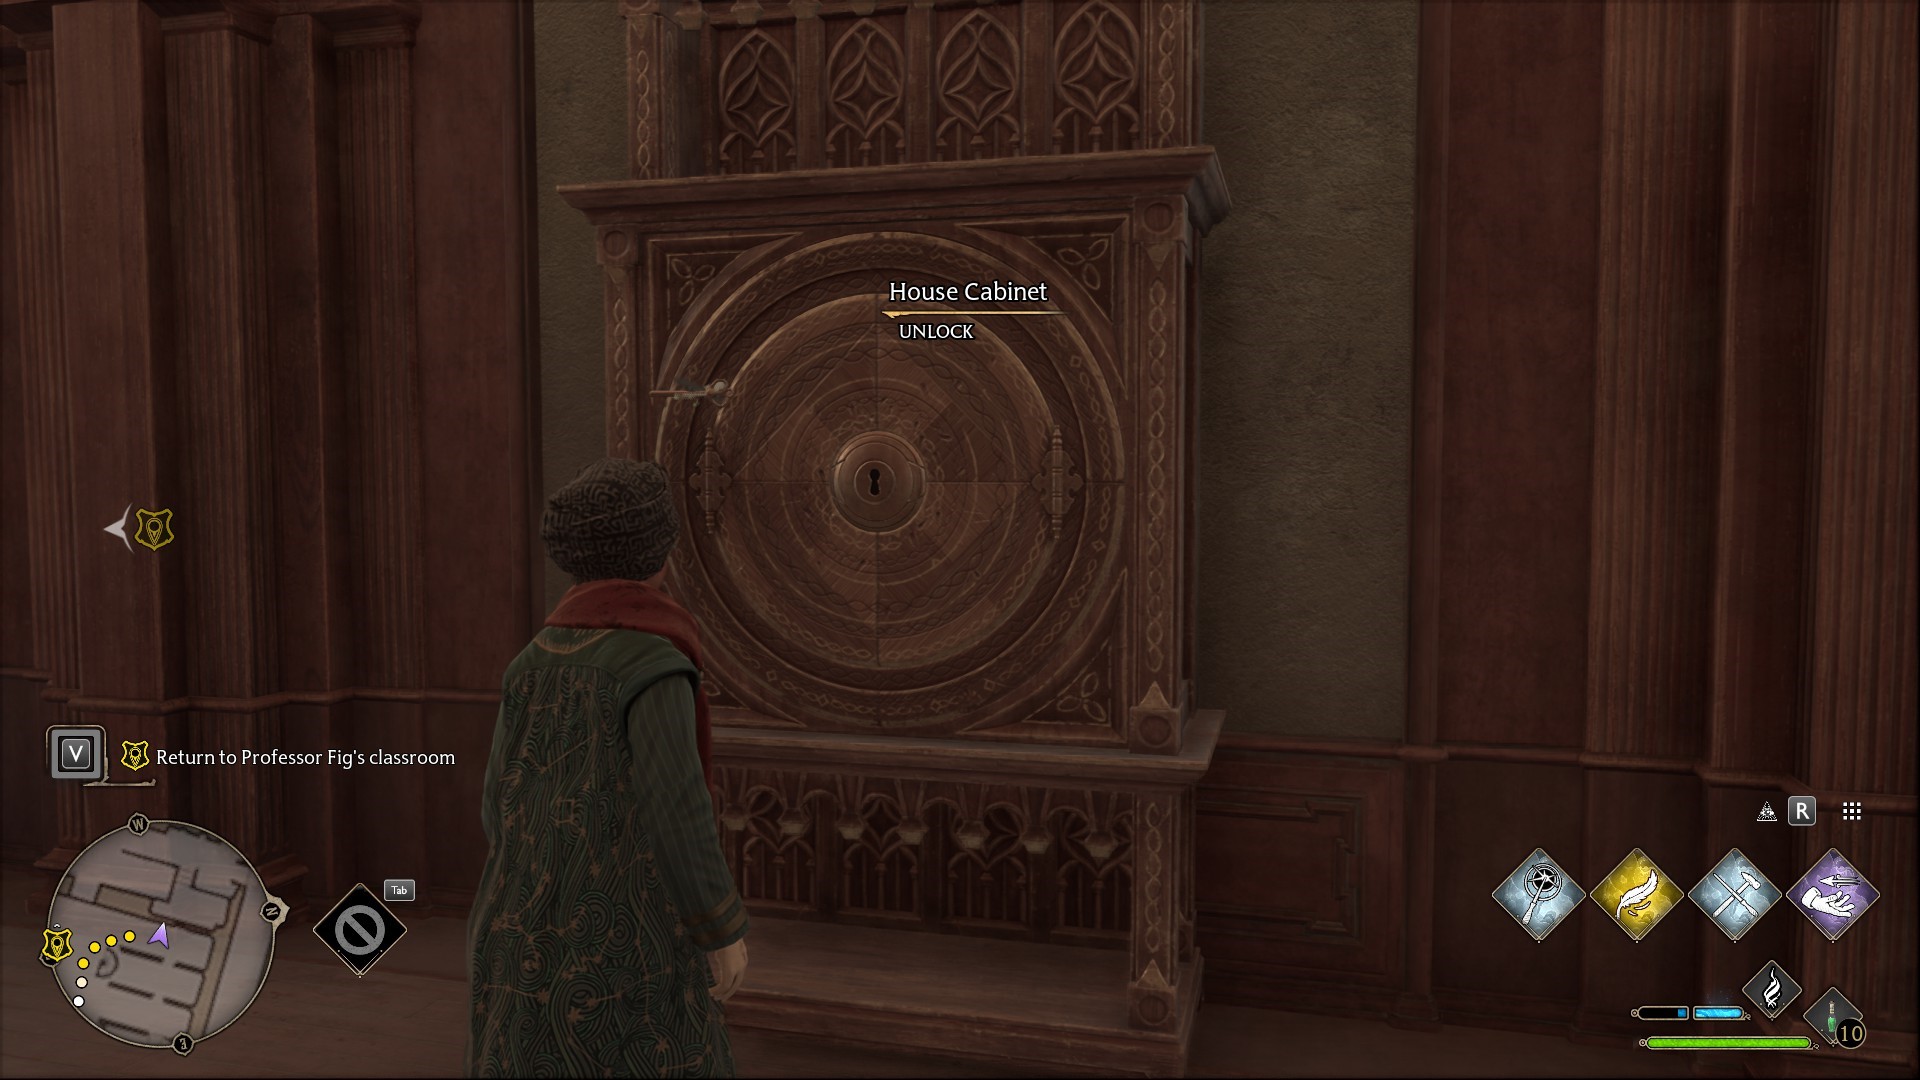
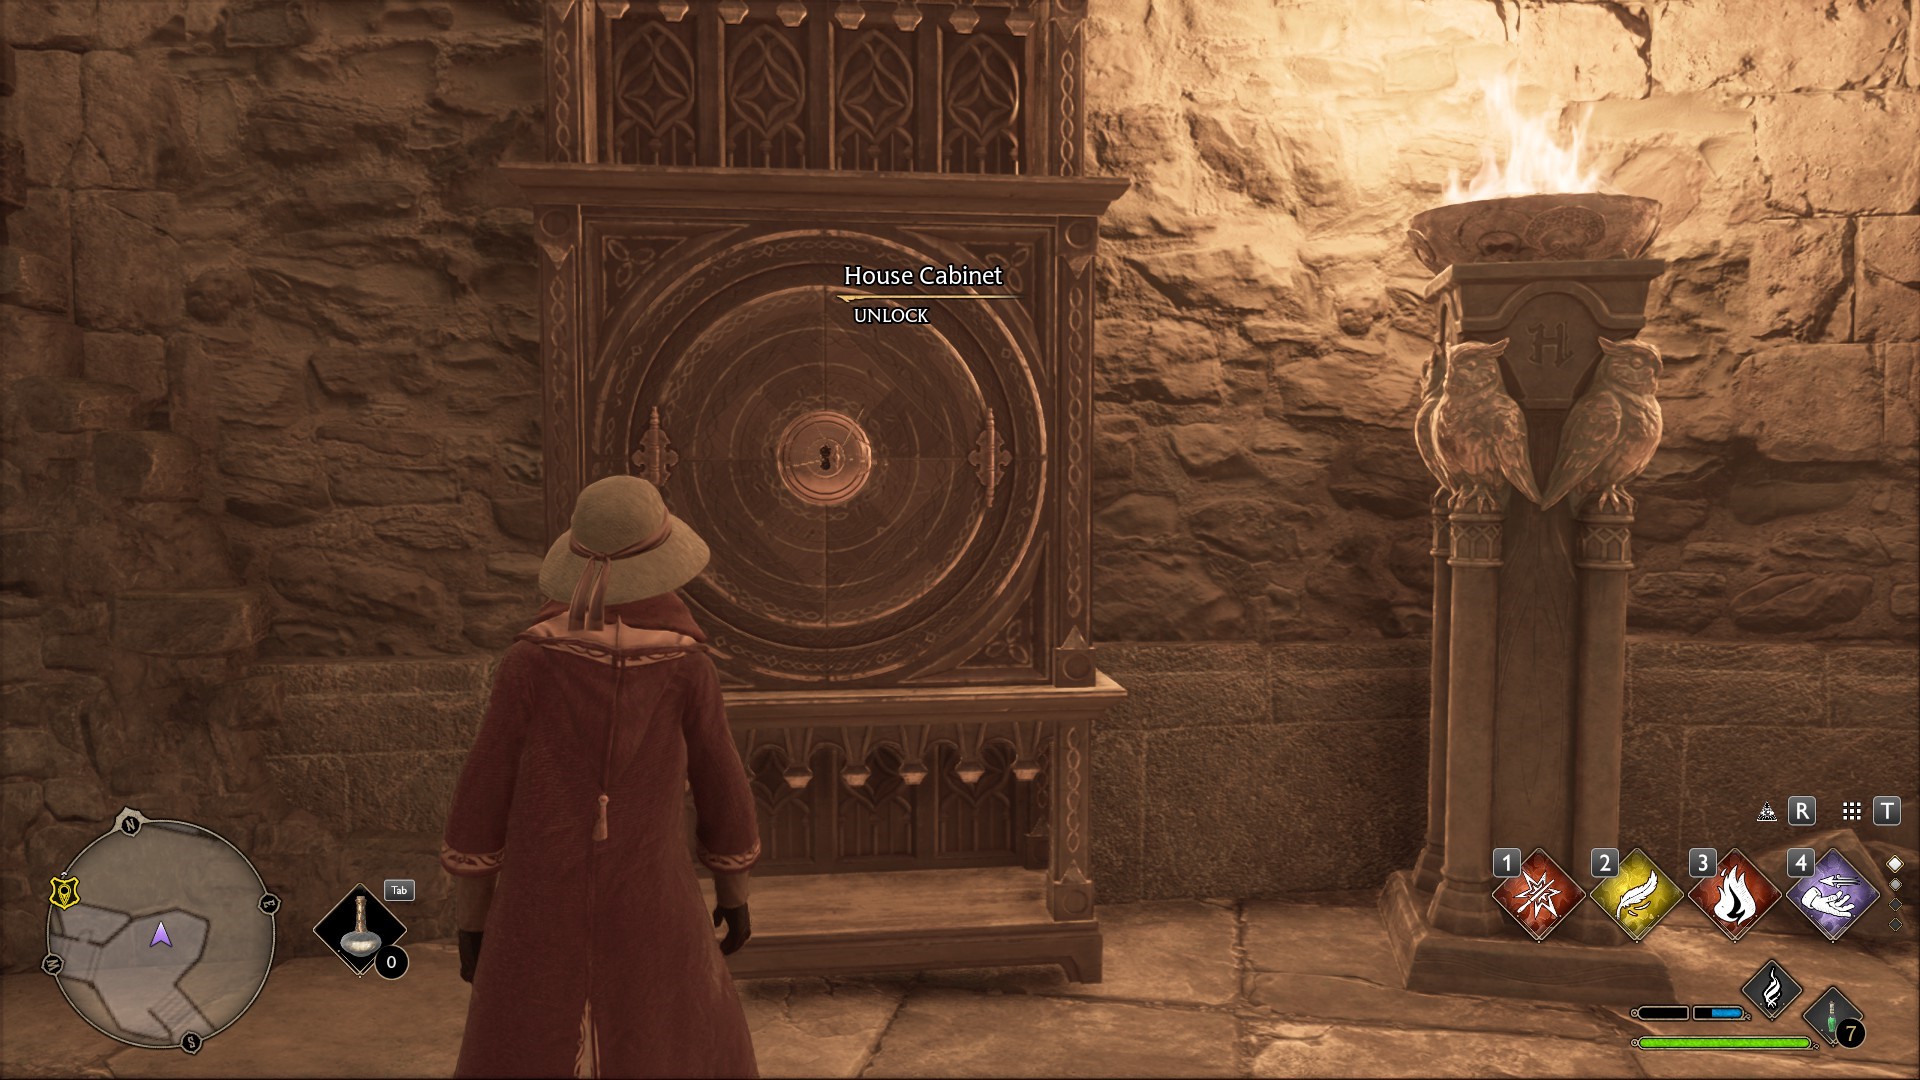
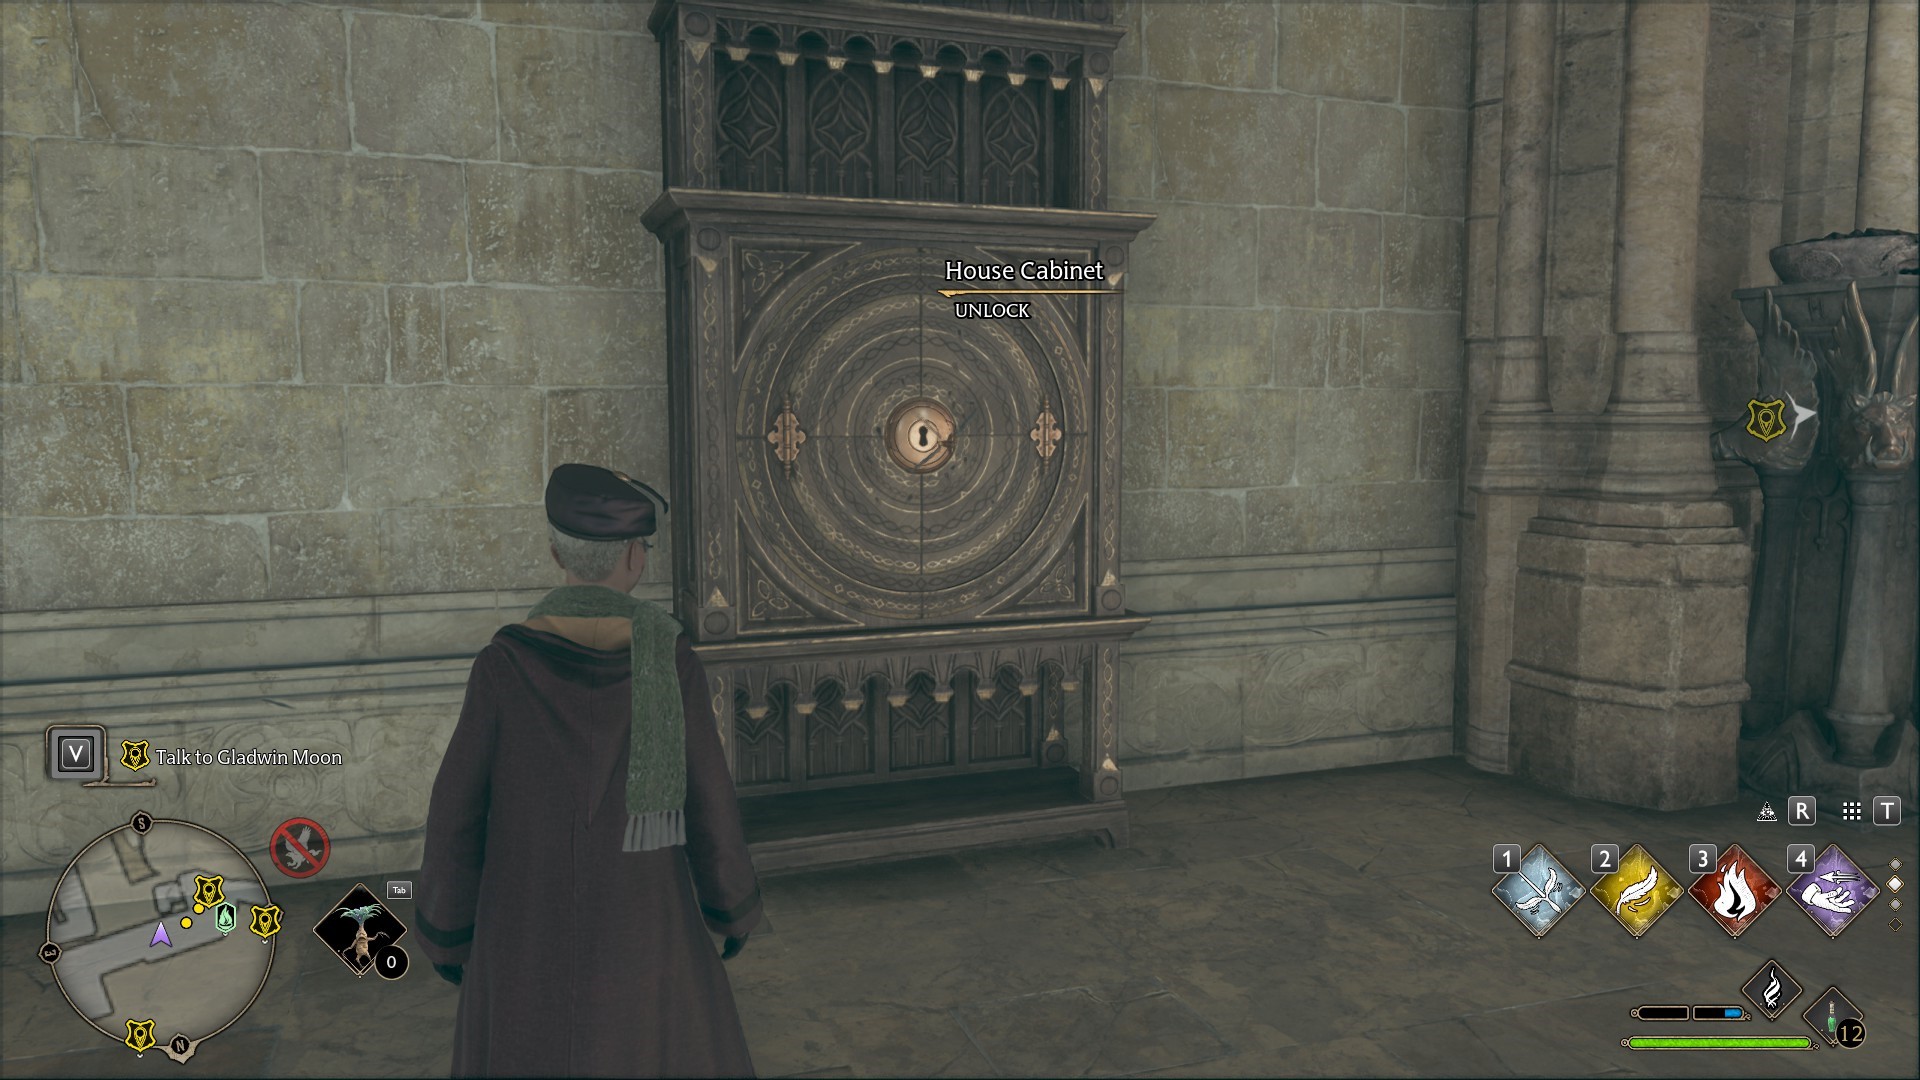
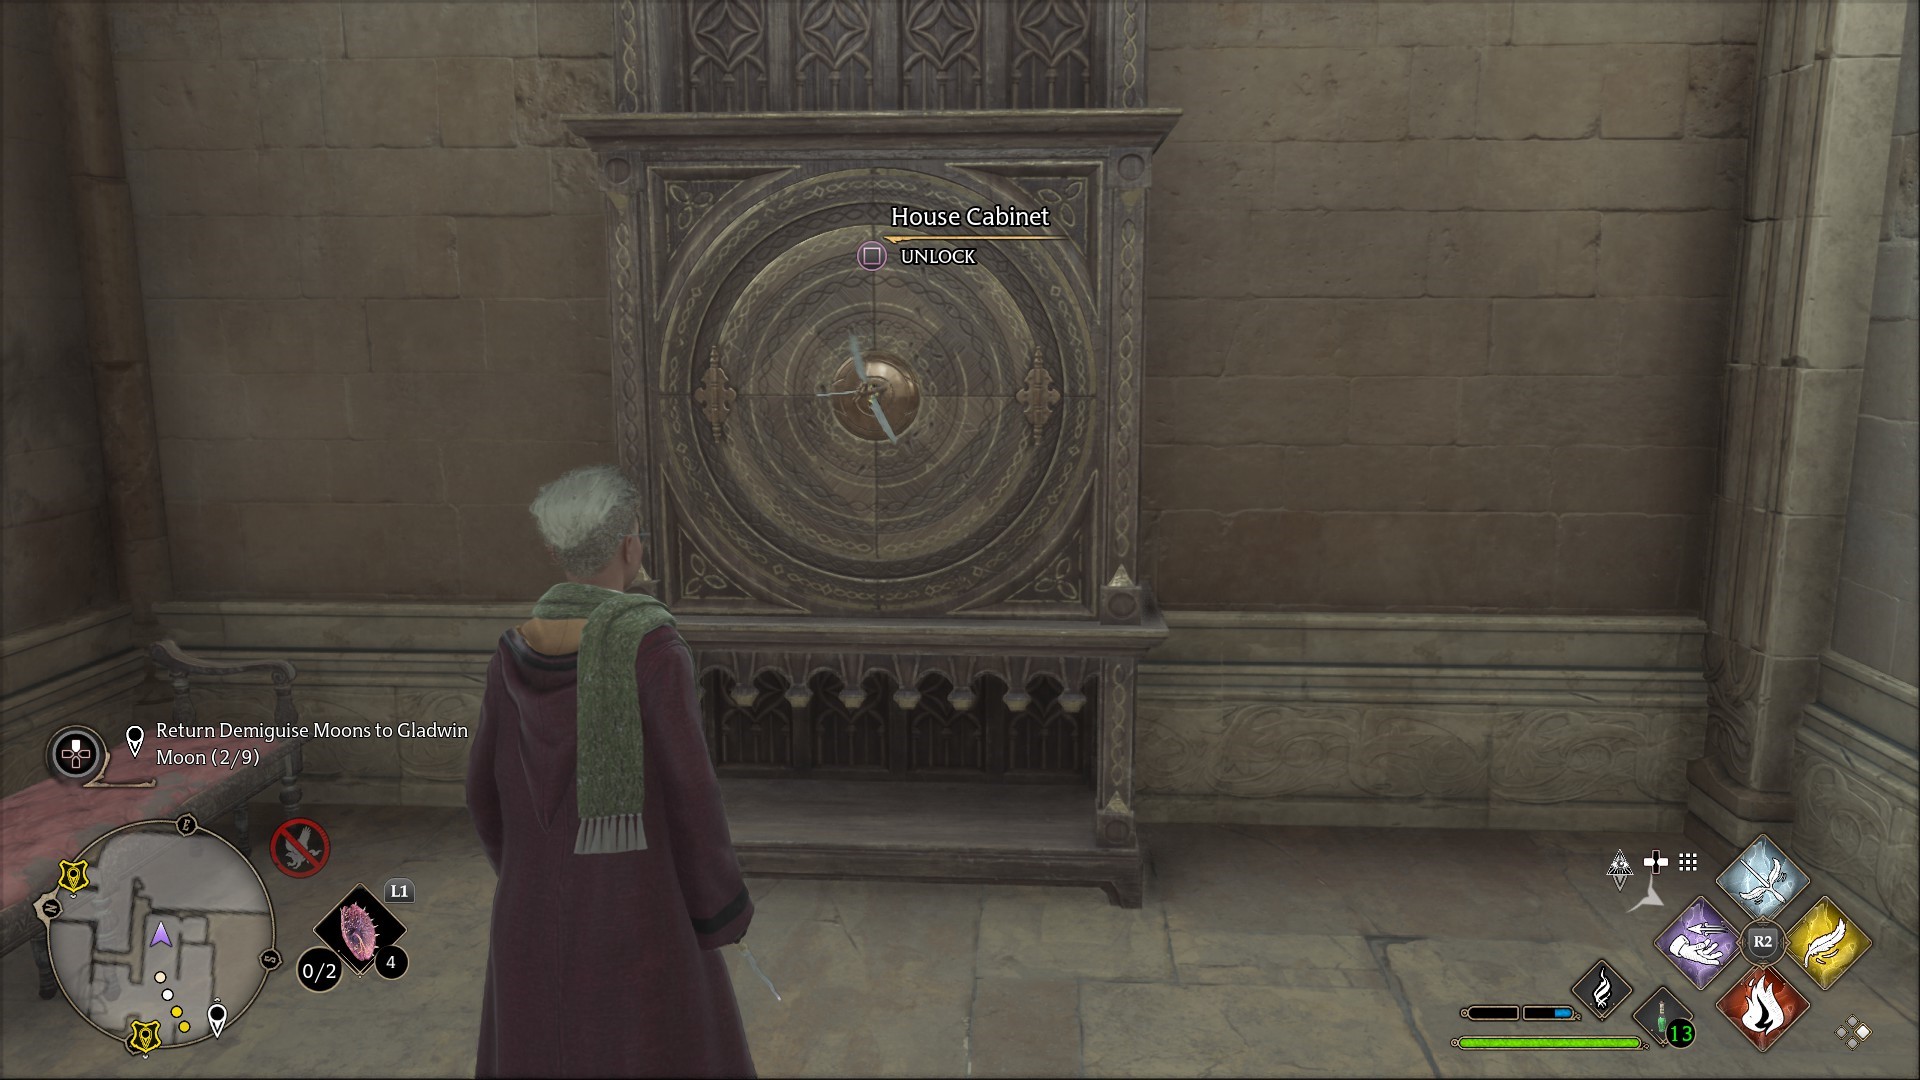
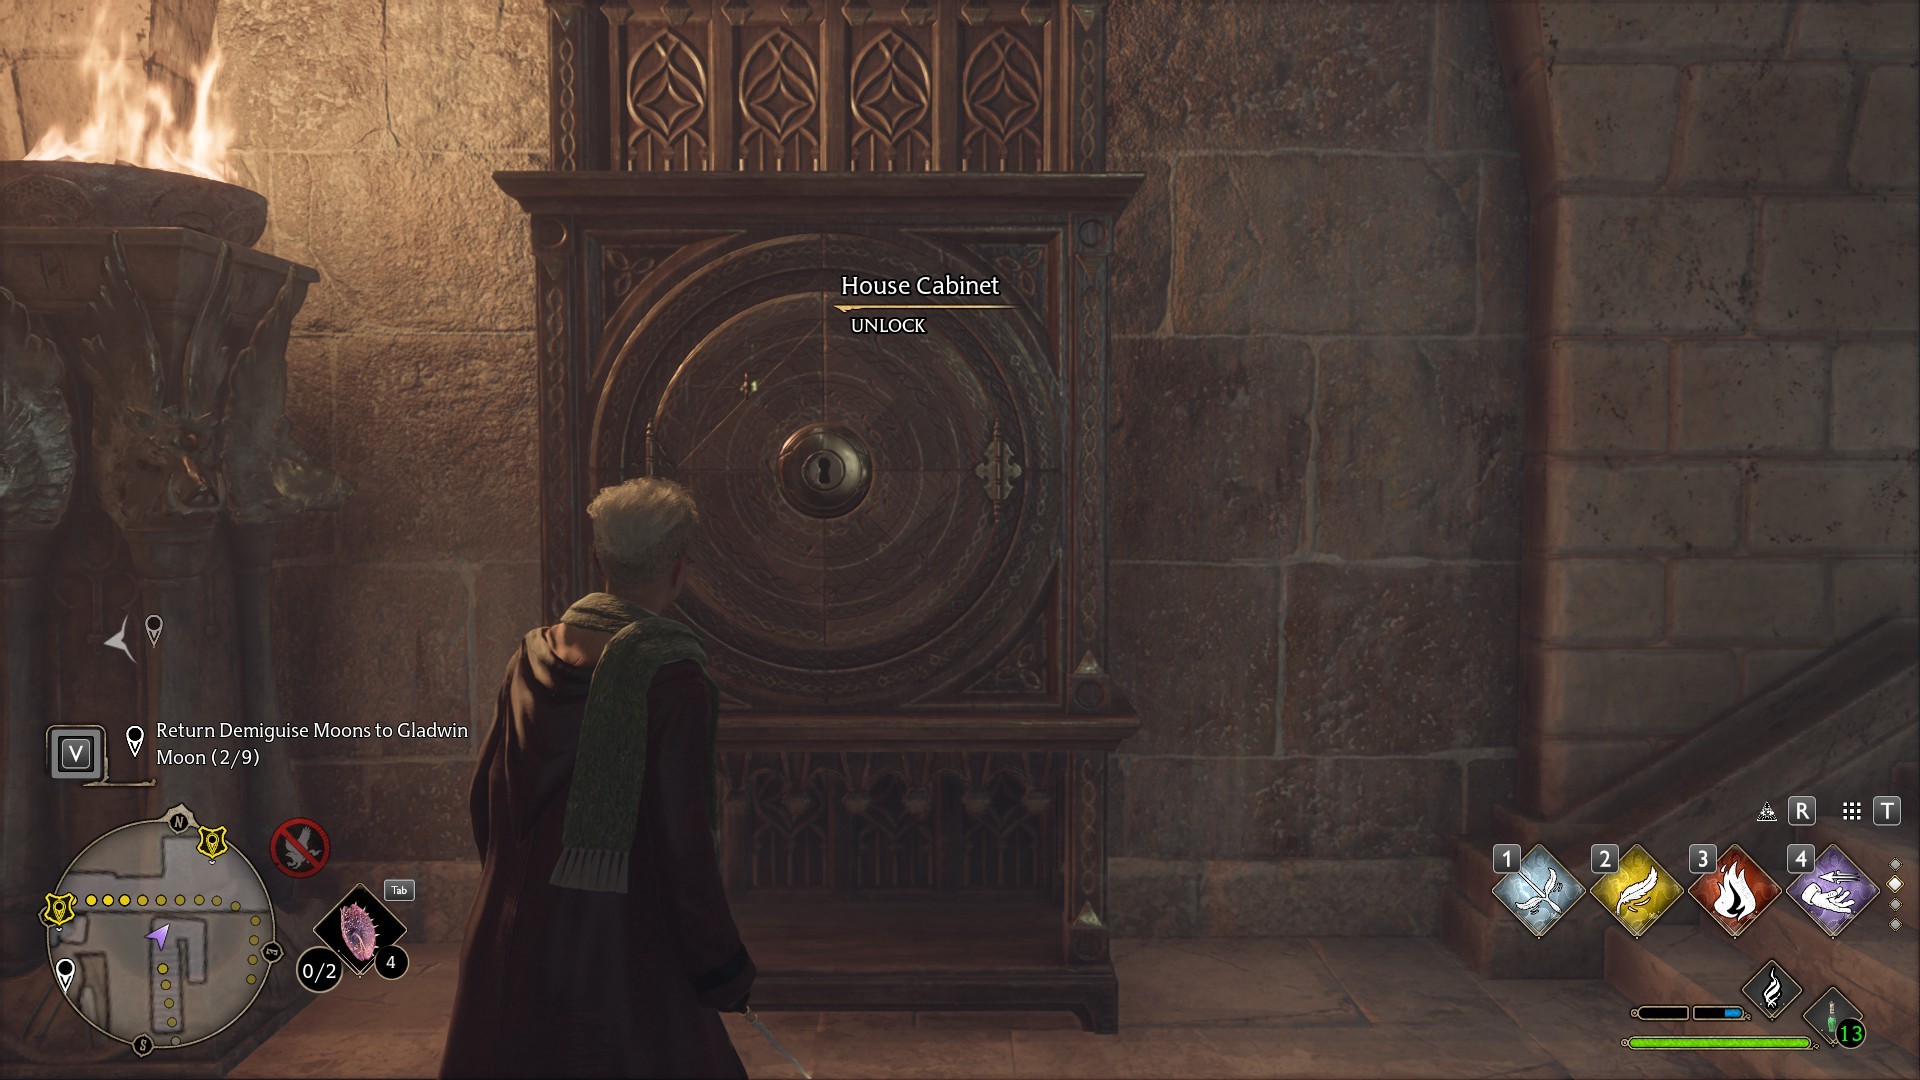
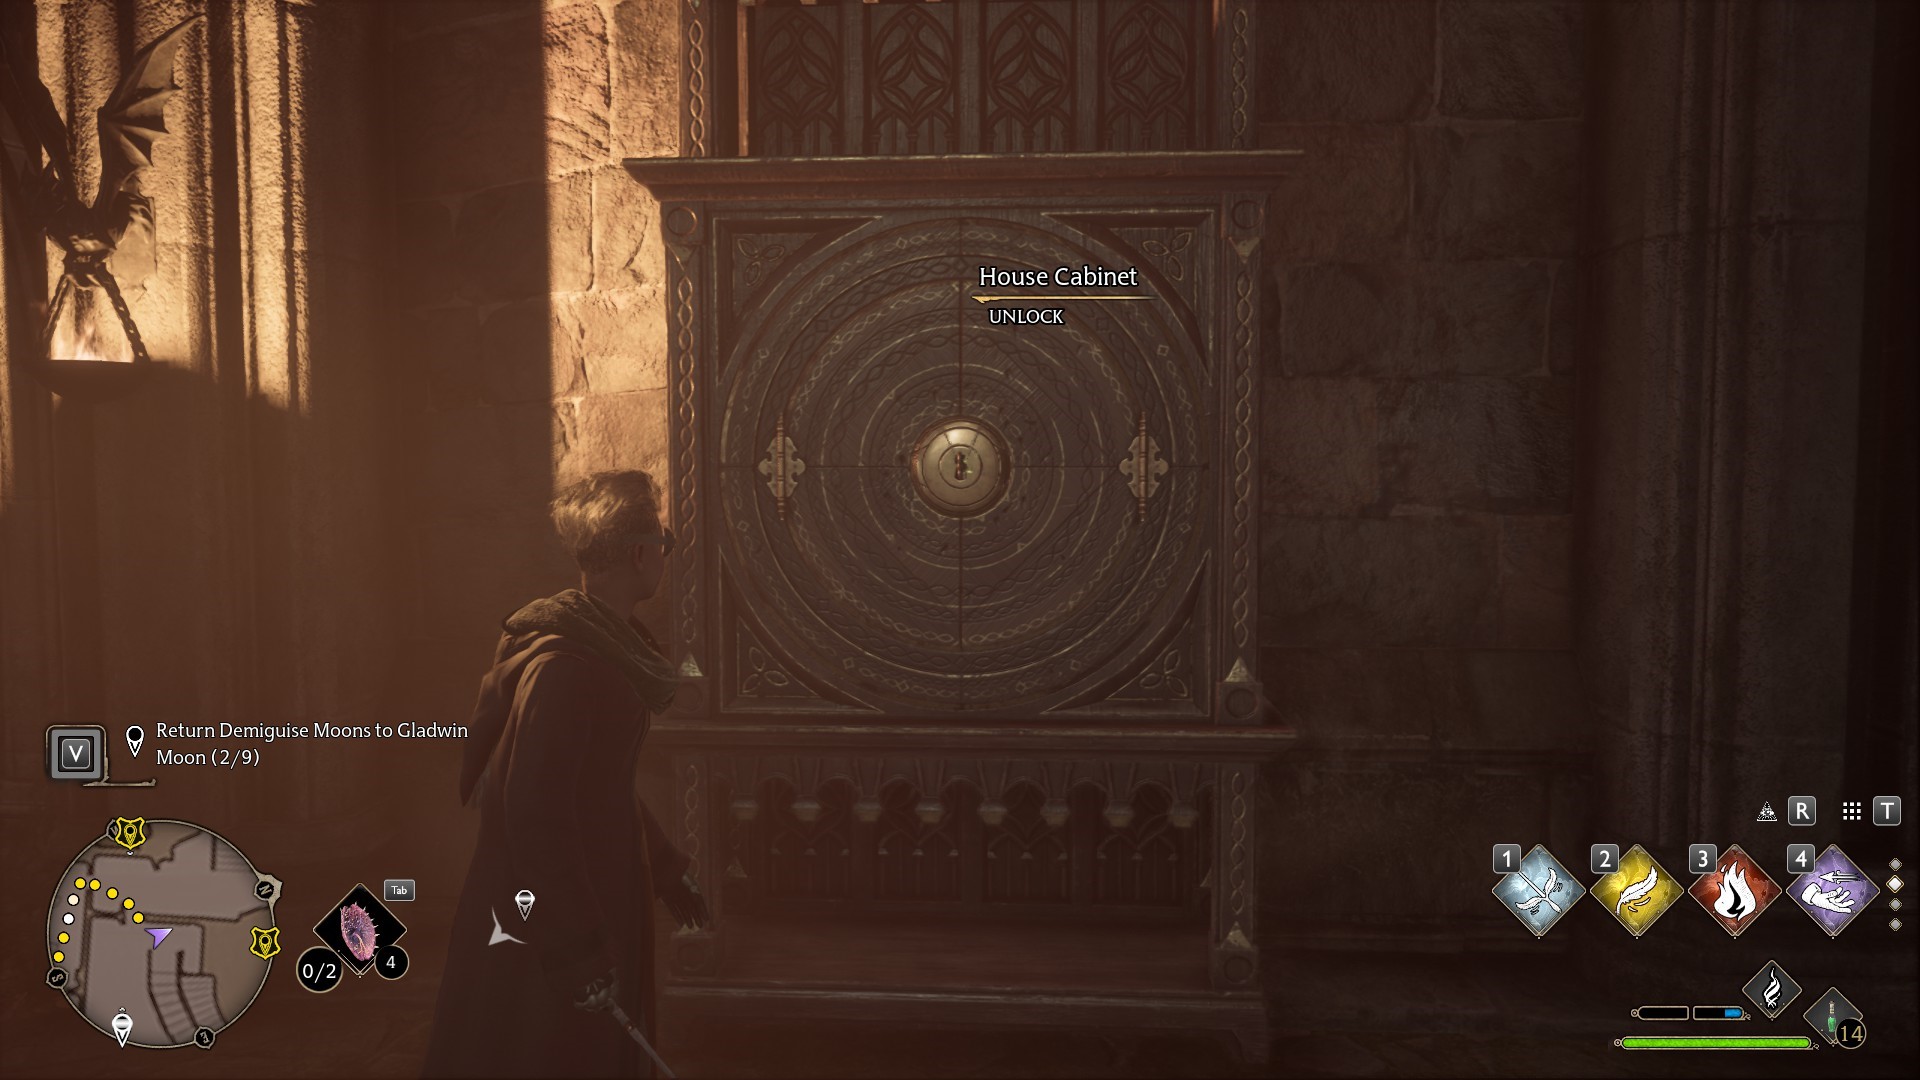
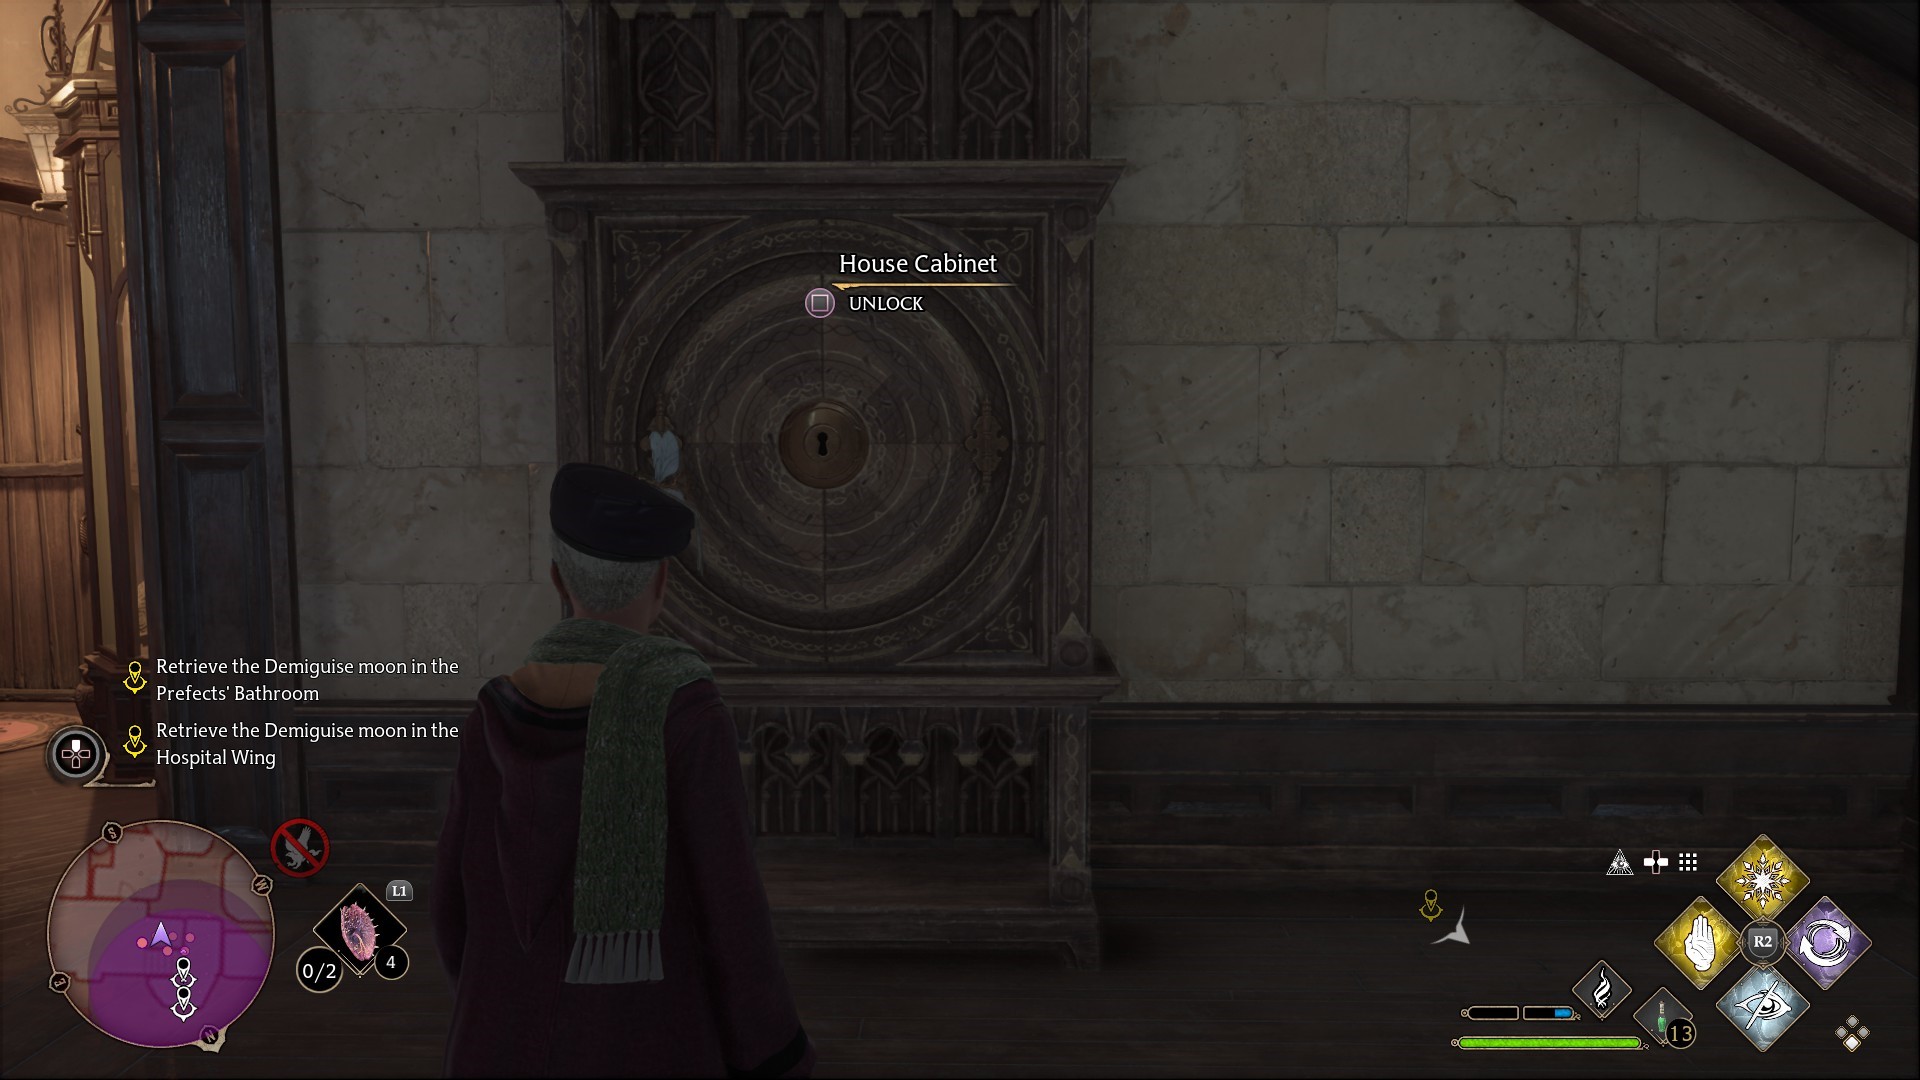
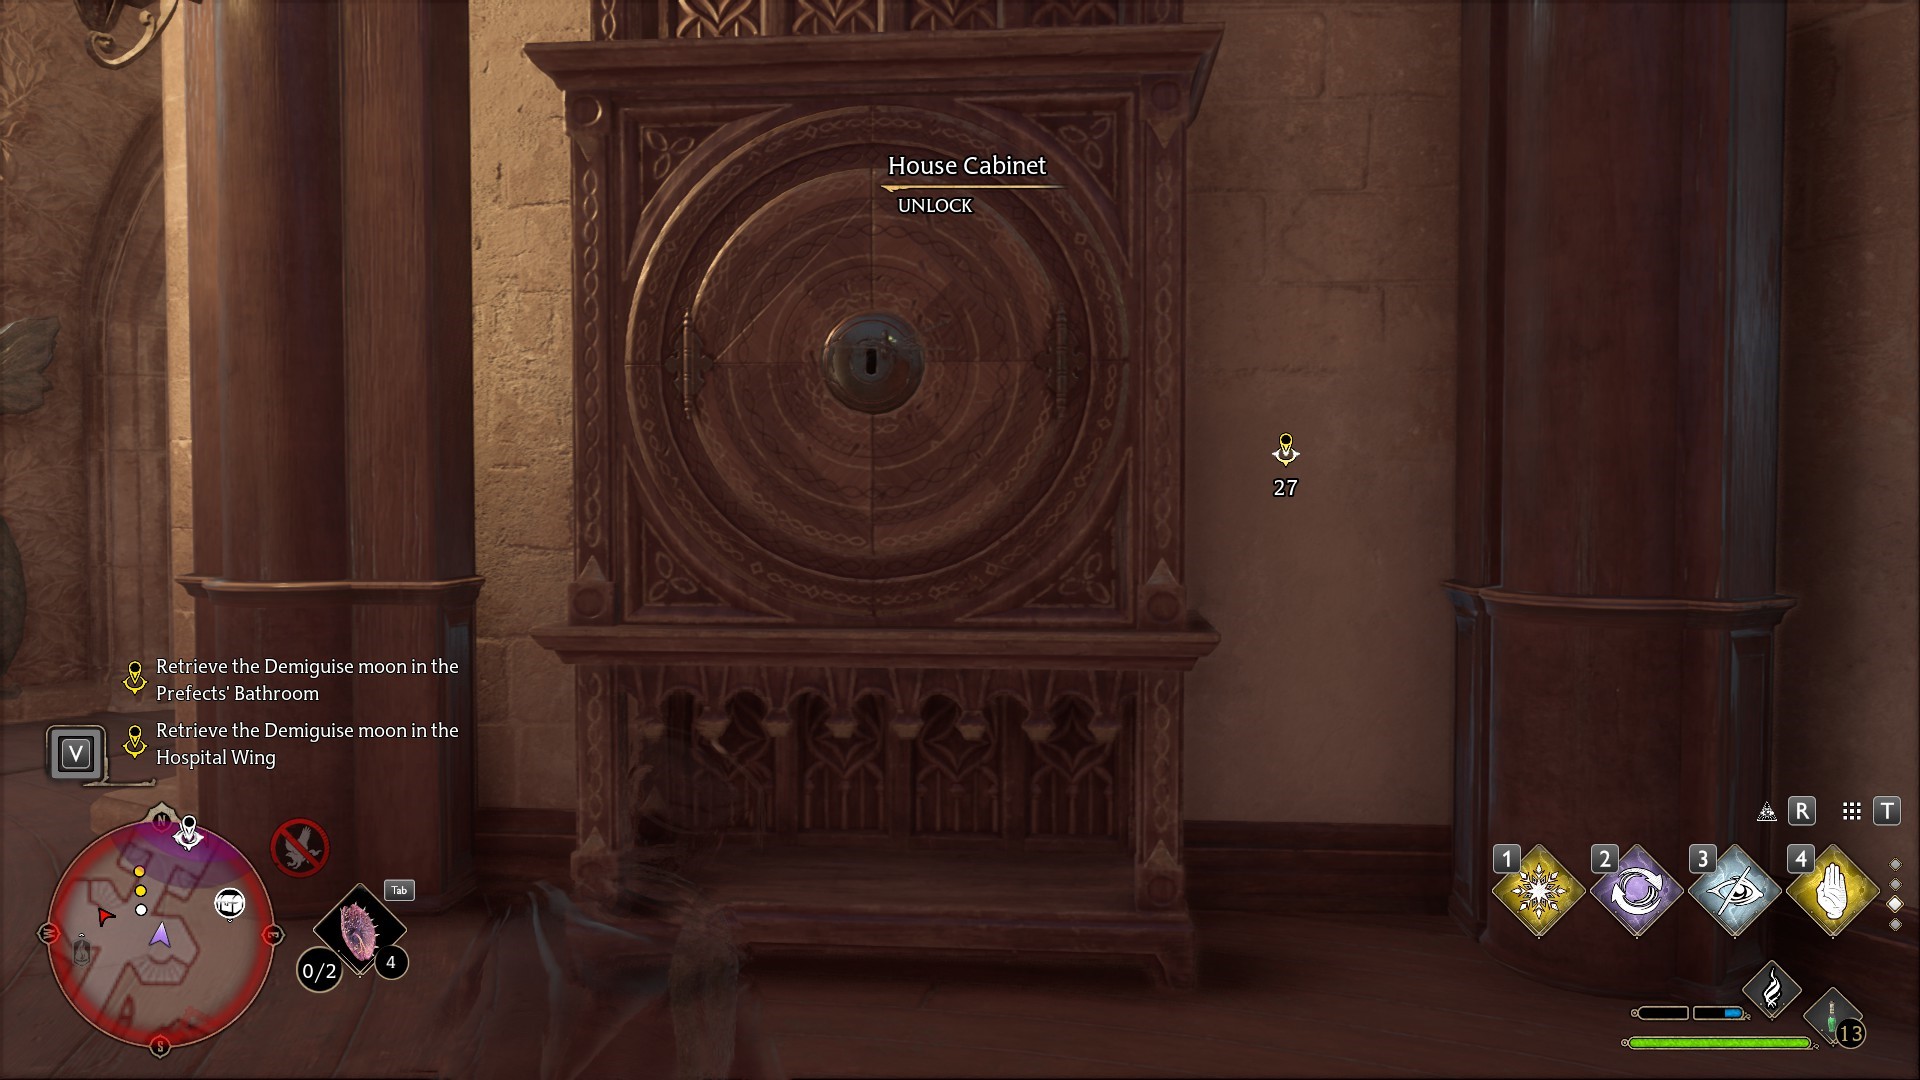
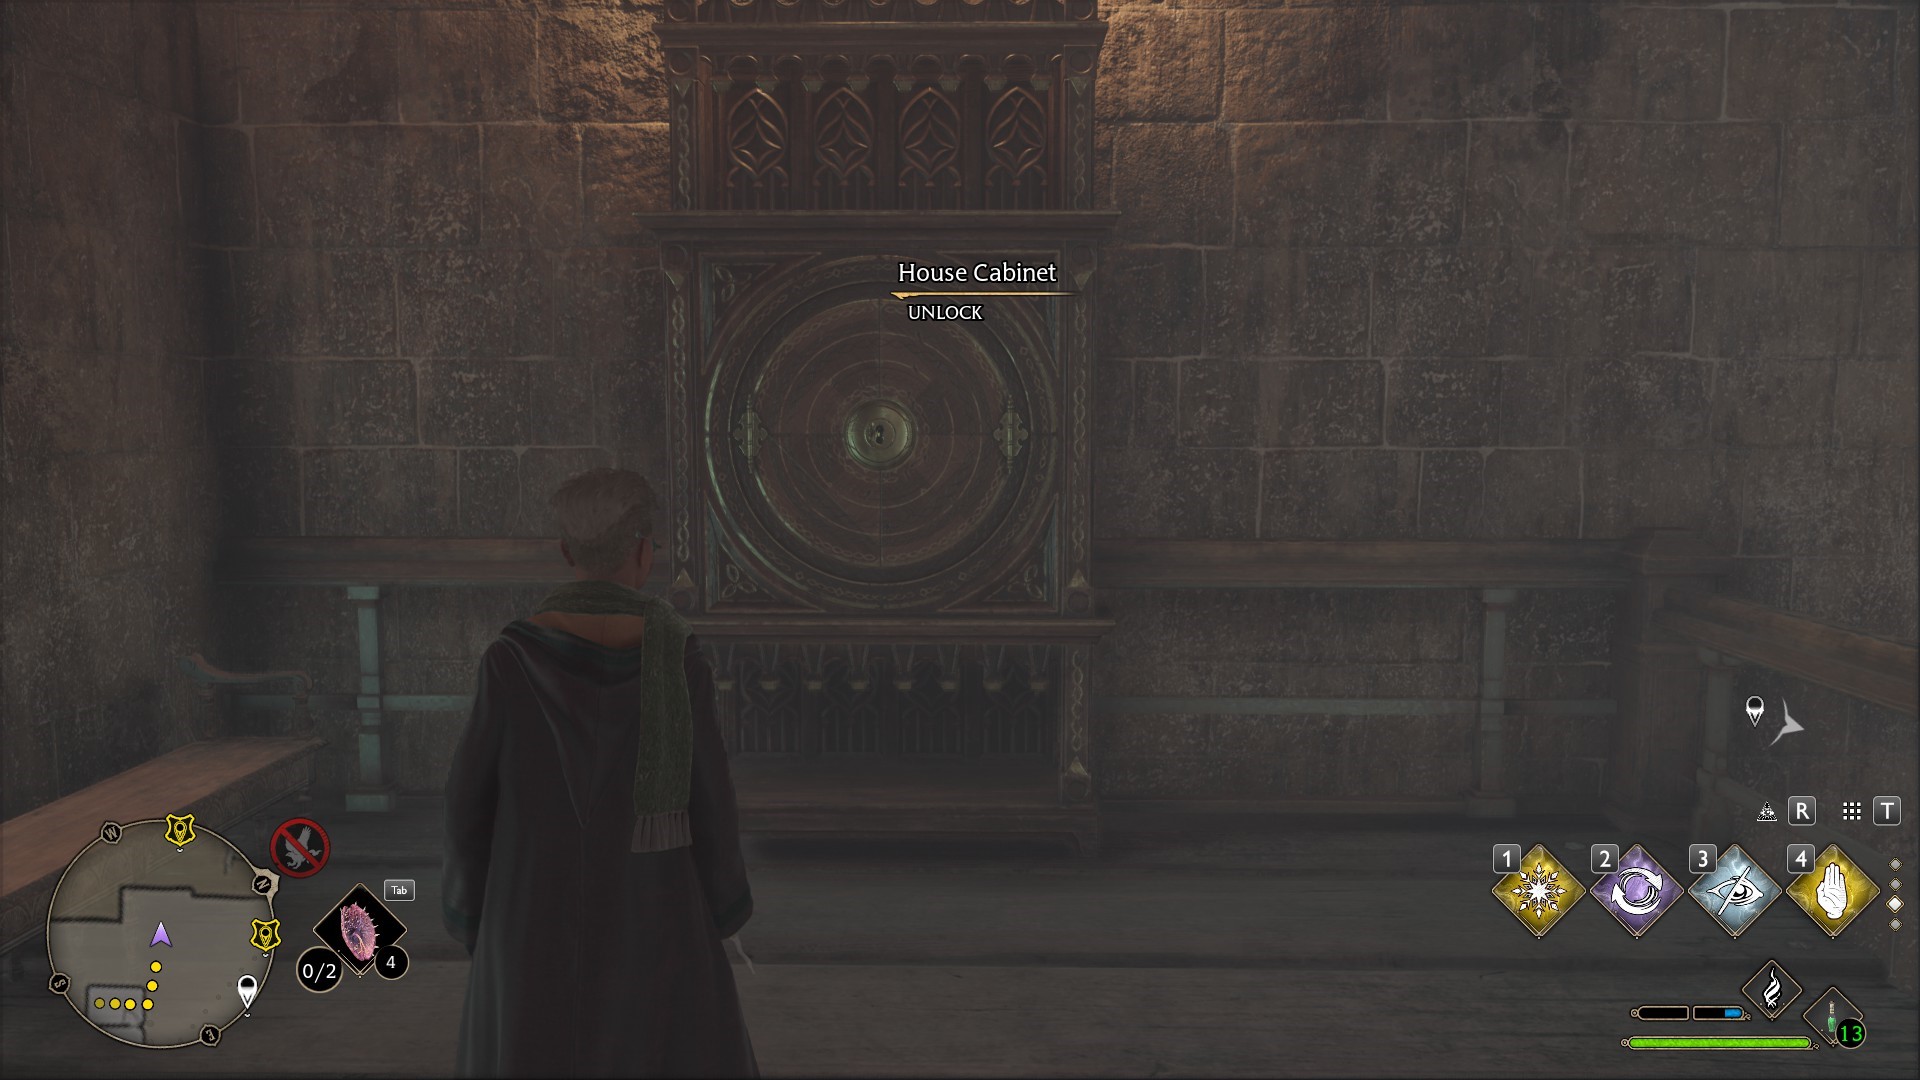
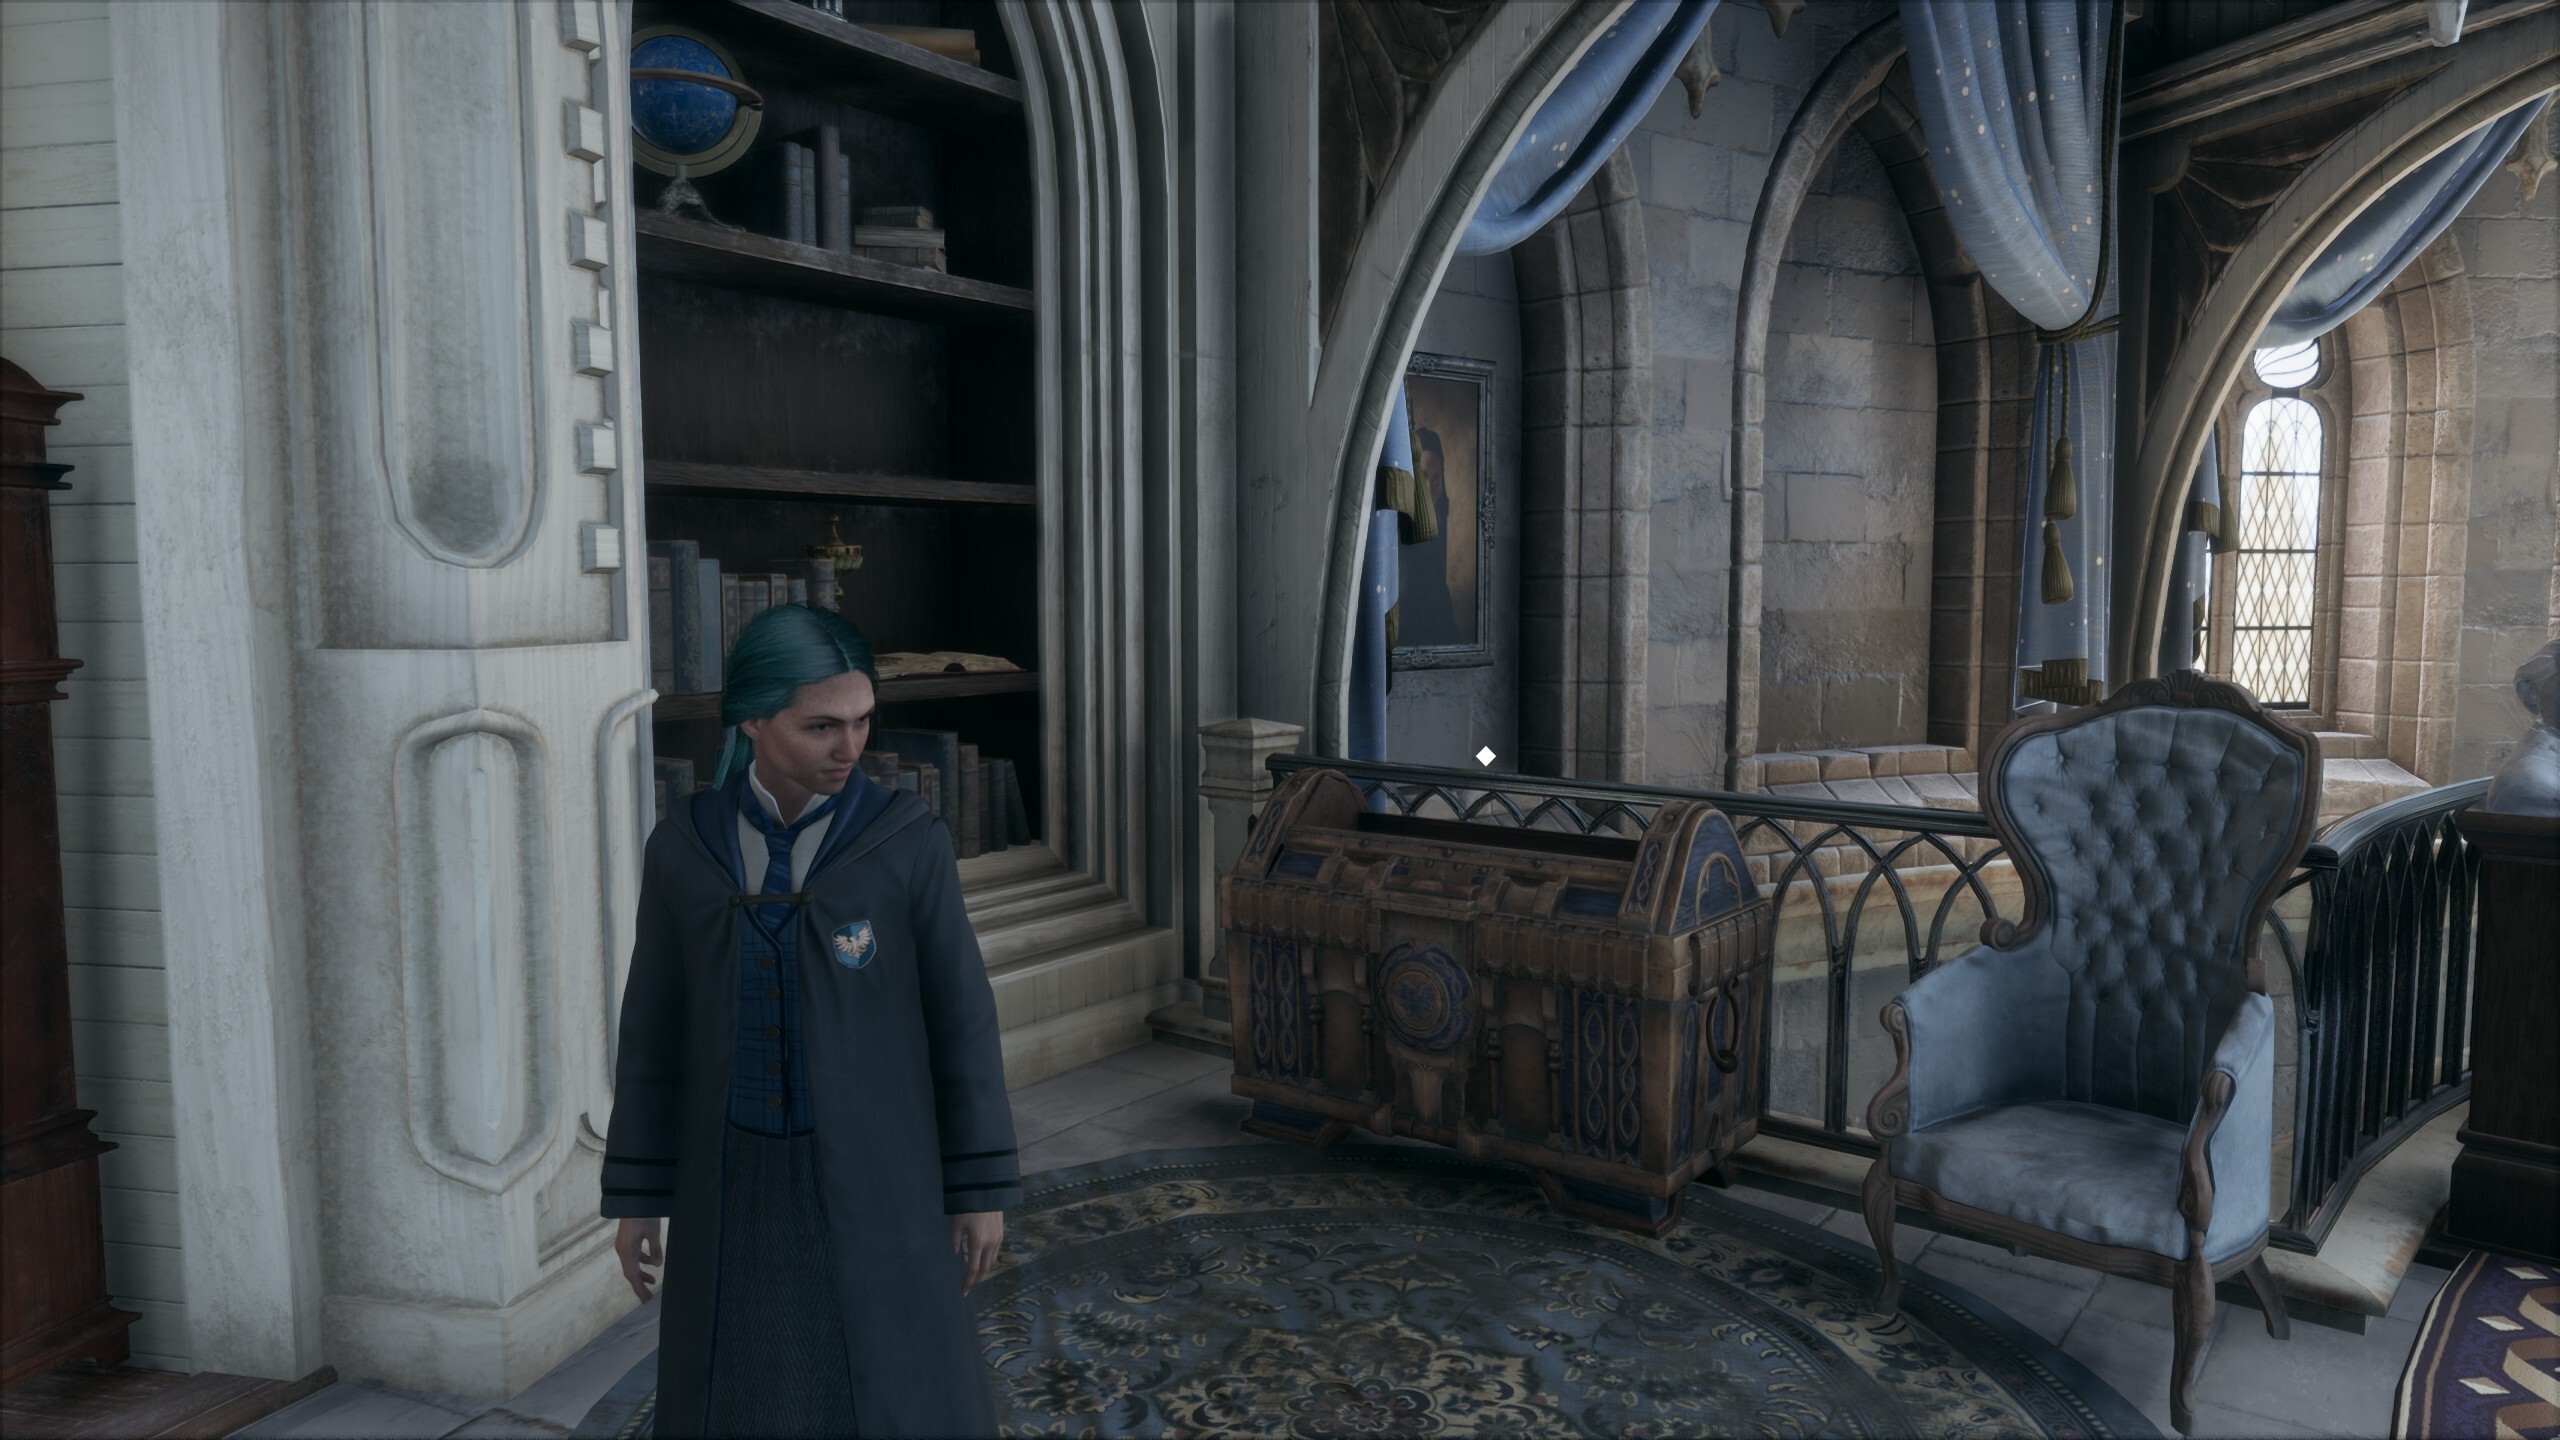
Once spotted, you'll have to chase them back to their cabinets and slap them into the keyholes to earn a house token. Once you've collected all 16 of the tokens, you can head back to your common room to open the house chest for a very special reward.
You can start the quest to find these flying keys by talking to Nellie Oggspire in the Transfiguration Courtyard. The quest unlocks quite early on, so keep an eye out for the marker. Sadly, you can't get all of the Daedalian Keys until at least Autumn, when you unlock Alohomorathrough The Caretaker's Lunar Lament quest, since this gives you access to some blocked-off areas like the Faculty Tower and upper Clock Tower. That said, here's where to find every Hogwarts Legacy Daedalian Key, and what you'll get from the house chest as your reward.
Article continues belowDaedalian Key one: Astronomy Tower
In the Astronomy Wing area. You're guided to this one as part of the quest. Fast travel to the Astronomy Tower Floo Flame, and find the key by heading further up the tower. The cabinet is in the circular room next to that Floo Flame.
Daedalian Key two: Rhinoceros Skeleton
Also in the Astronomy Wing. Fast travel to the Transfiguration Courtyard Floo Flame, head through the doors behind you, then up the stairs and to the left to the Rhinoceros Skeleton to find the key floating nearby. It leads to the right up the stairs to a cabinet on the floor directly above.
Daedalian Key three: Central Hall
In the Library Annex area. Fast travel to the Central Hall Floo Flame, go down the stairs, and then right at the fountain to find the key by the entrance to the Greenhouses. It leads over to the opposite stairs near the door to the Transfiguration Courtyard, but to the right you'll find the cabinet.
Daedalian Key four: Library
Also in the Library Annex area. Fast travel to the Library Floo Flame to find the key by the bookcases on the side closest to you. The key leads to a cabinet on the opposite side of the library in the back corner.
Keep up to date with the most important stories and the best deals, as picked by the PC Gamer team.
Daedalian Key five: Upper Central Hall
Once again, it's back to the Library Annex area. Fast travel to the Central Hall Floo Flame and then head up the stairs all the way to the big doors to the viaduct. Before going through, head over to the right side of the room and look behind the staircase to find the key floating there. It goes to a cabinet on the right side, back down the stairs you came up.
Daedalian Key six: Potions Classroom
Also in the Library Annex area. Fast travel to the Potions Classroom Floo Flame, run through the doors ahead, and turn left to see the key at the top of the staircase. Follow it down to a cabinet at the bottom of the stairs.
Daedalian Key seven: North Hall
In the Astronomy Wing area. Fast travel to the Transfiguration Classroom Floo Flame then turn around and go left through the doors into North Hall. You should spot the key straight ahead outside the entrance to the History of Magic classroom. It'll take you up a few flights of stairs to a cabinet on the top floor.
Daedalian Key eight: Sleeping Dragon
Also in the Astronomy Wing area. Head to the Transfiguration Classroom Floo Flame then turn around and go left through the double doors. Head straight on, and then right down the staircase as far as you can go. Keep descending, noting the cabinet on your left as you pass by, to find the key by a sleeping dragon statue. Follow it back up to the cabinet.
Daedalian Key nine: Near the Map Chamber
Another one in the Astronomy Wing area. Take the same route as the previous key, but keep going past the sleeping dragon statue, and the locked doors until you enter the room with all of the wooden casks. Head up the stairs, turn right, and go even further down till you find the key near the stone-pillared chamber with the eye chest. It'll lead back to the cabinet in the cask room.
Daedalian Key ten: Grand Staircase
In the Grand Staircase area. Fast travel to the Grand Staircase Floo Flame, then head up the grand staircase itself. Keep going up until you find the key on the level below the puzzle door with the symbols set into the outer wall of the staircase. The key leads back down to the cabinet close to the same Floo Flame near where the other puzzle door is.
Daedalian Key eleven: Entrance Hall
In The Great Hall area. Fast travel to the Viaduct Courtyard Floo Flame, go up the stairs to the courtyard itself, and right through the big doors into the entrance hall. You'll spot the cabinet immediately on your left and find the key on the level above the big Hogwarts symbol.
Daedalian Key twelve: The Great Hall
Also in The Great Hall area. Fast travel to The Great Hall Floo Flame then and look to your left to spot the key. It leads to a cabinet down the opposite side of the entrance to where the puzzle door is.
Daedalian Key thirteen: Quad Courtyard
Another in The Great Hall area. Fast travel to The Great Hall Floo Flame, then go right through the double doors, down the stairs past the statue, and through the big archway to see the key. Follow it down the stairs to a cabinet in the far bottom corner of the Quad Courtyard.
Daedalian Key fourteen: Faculty Tower
In the South Wing area. You'll need to undertake "The Caretaker's Lunar Lament" quest to gain access to the Faculty Tower, since it gives you the ability to unlock doors with Alohomora. Fast travel to the Faculty Tower Floo Flame, go right into the tower itself, then up the stairs to find the key on the next floor. The key will lead you back down to a cabinet near where you entered.
Daedalian Key fifteen: Also Faculty Tower
Same as before, you need "The Caretaker's Lunar Lament" quest to get this one. On the highest floors of the Faculty Tower in the South Wing area, you'll find a corridor of portraits that links it to the Clock Tower. The key is in here, and goes to a cabinet beside the entrance to the Prefect's Bathroom with the statues.
Daedalian Key sixteen: Clock Tower
Also in the South Wing area. As with the two previous keys, you'll need Alohomora to get this one. Fast travel to the Clock Tower Courtyard Floo Flame, then go through the leftmost locked door and up the stairs. Where the stairs come out, the key is on the leftmost section of the walkway. It'll lead you up another floor to the cabinet above.
How to open house cabinets in Hogwarts Legacy
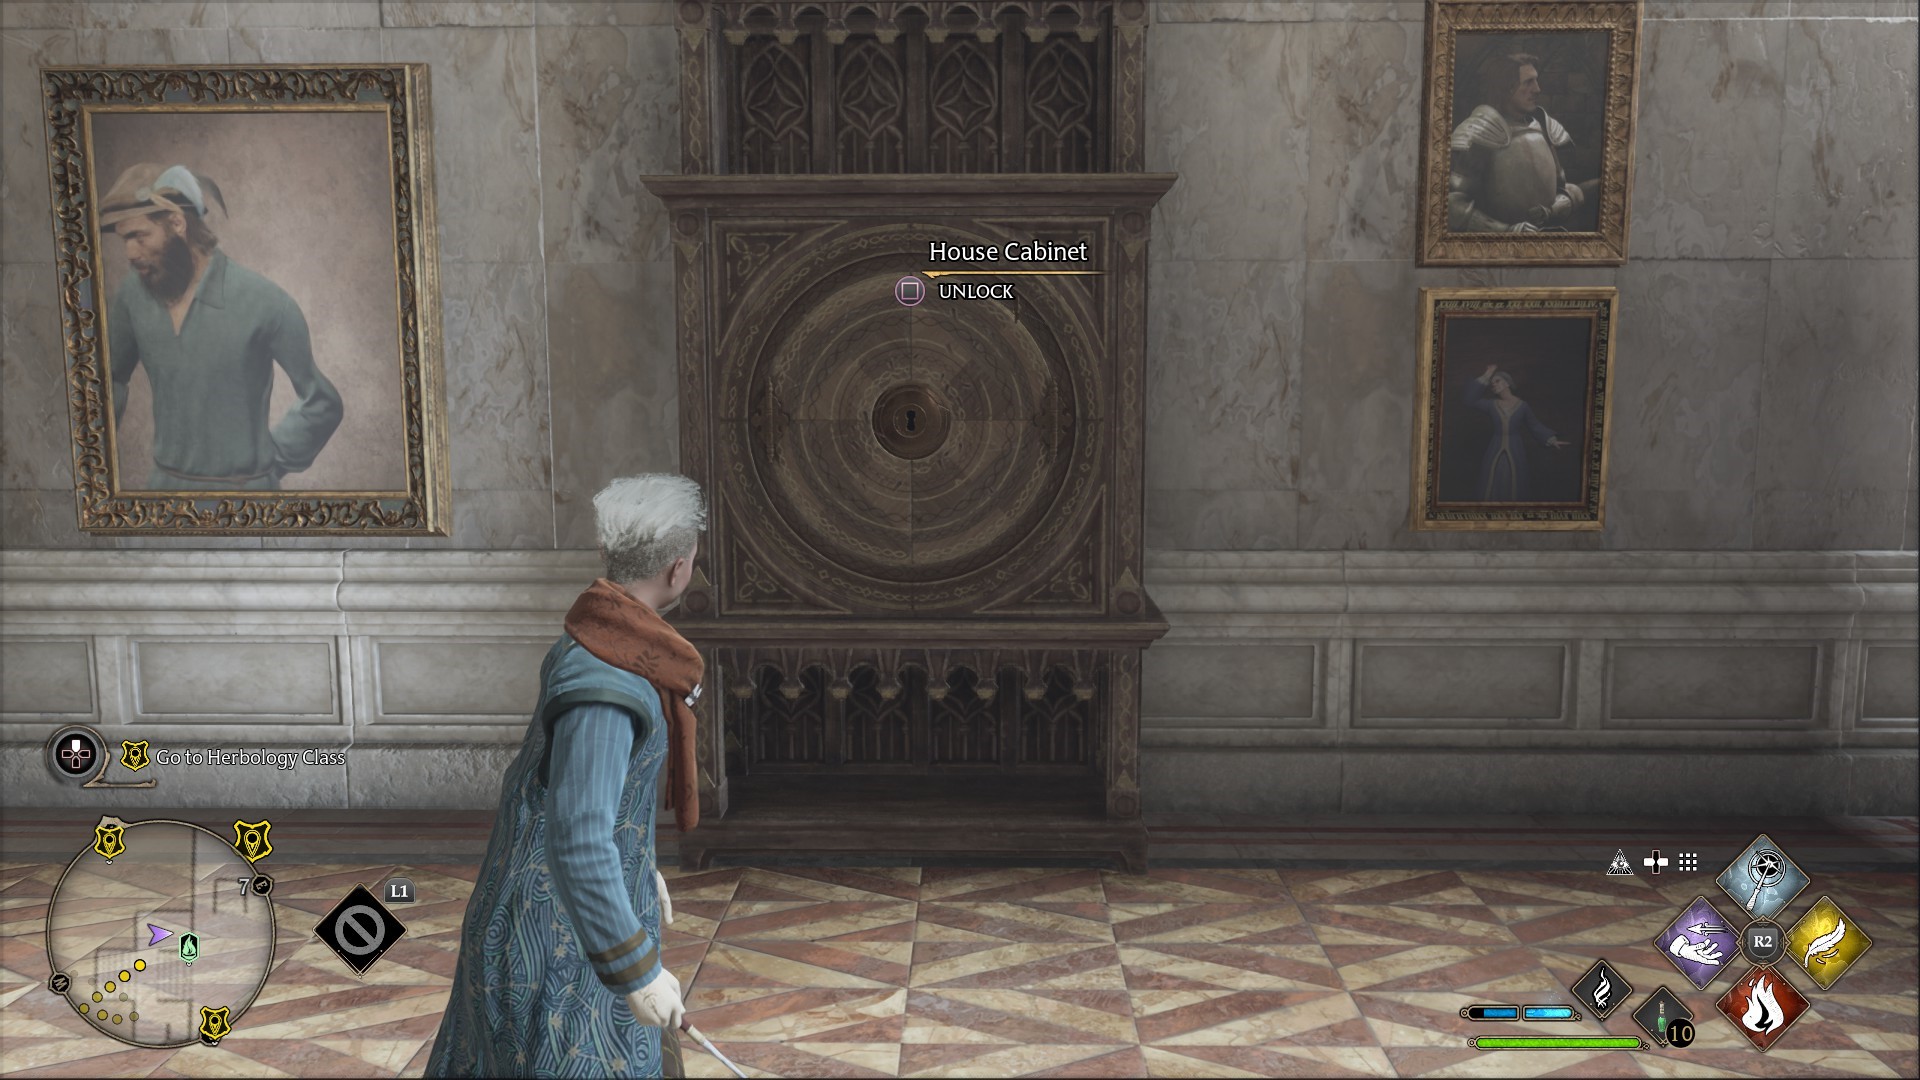
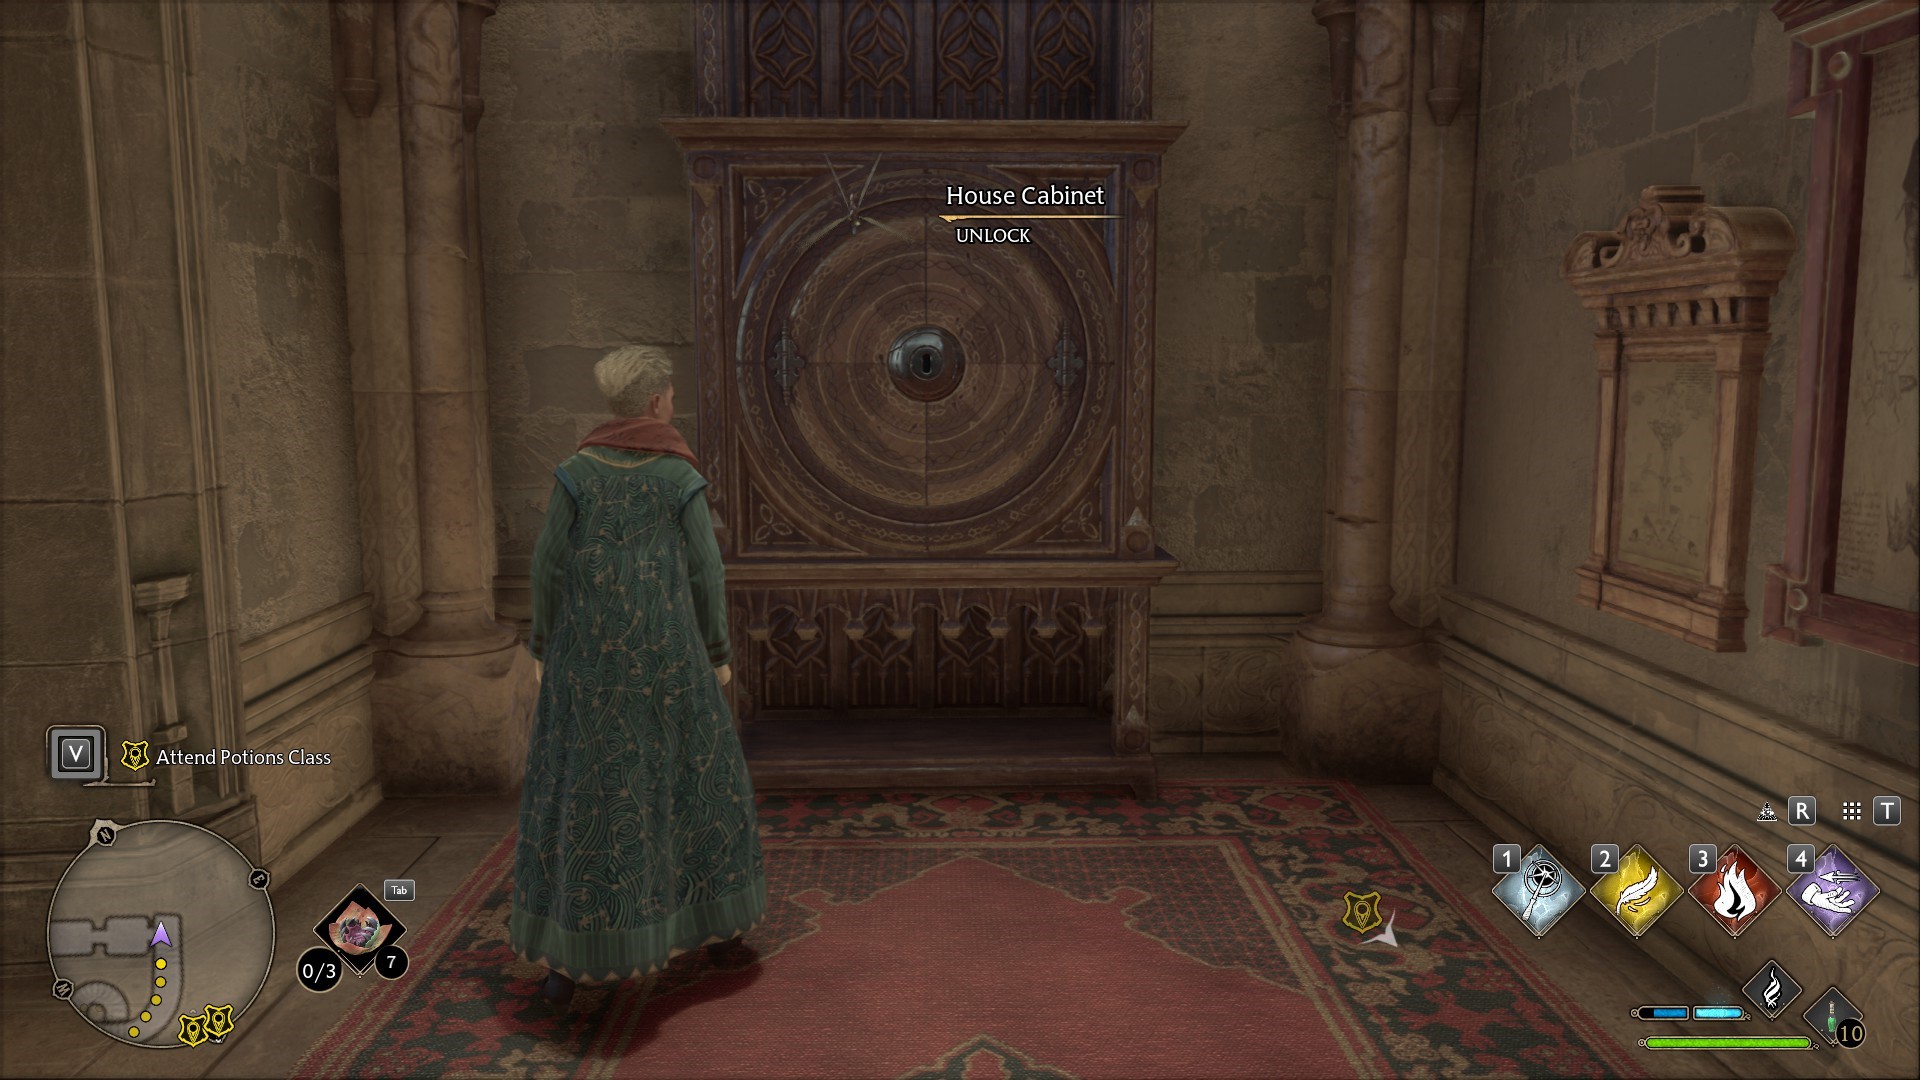
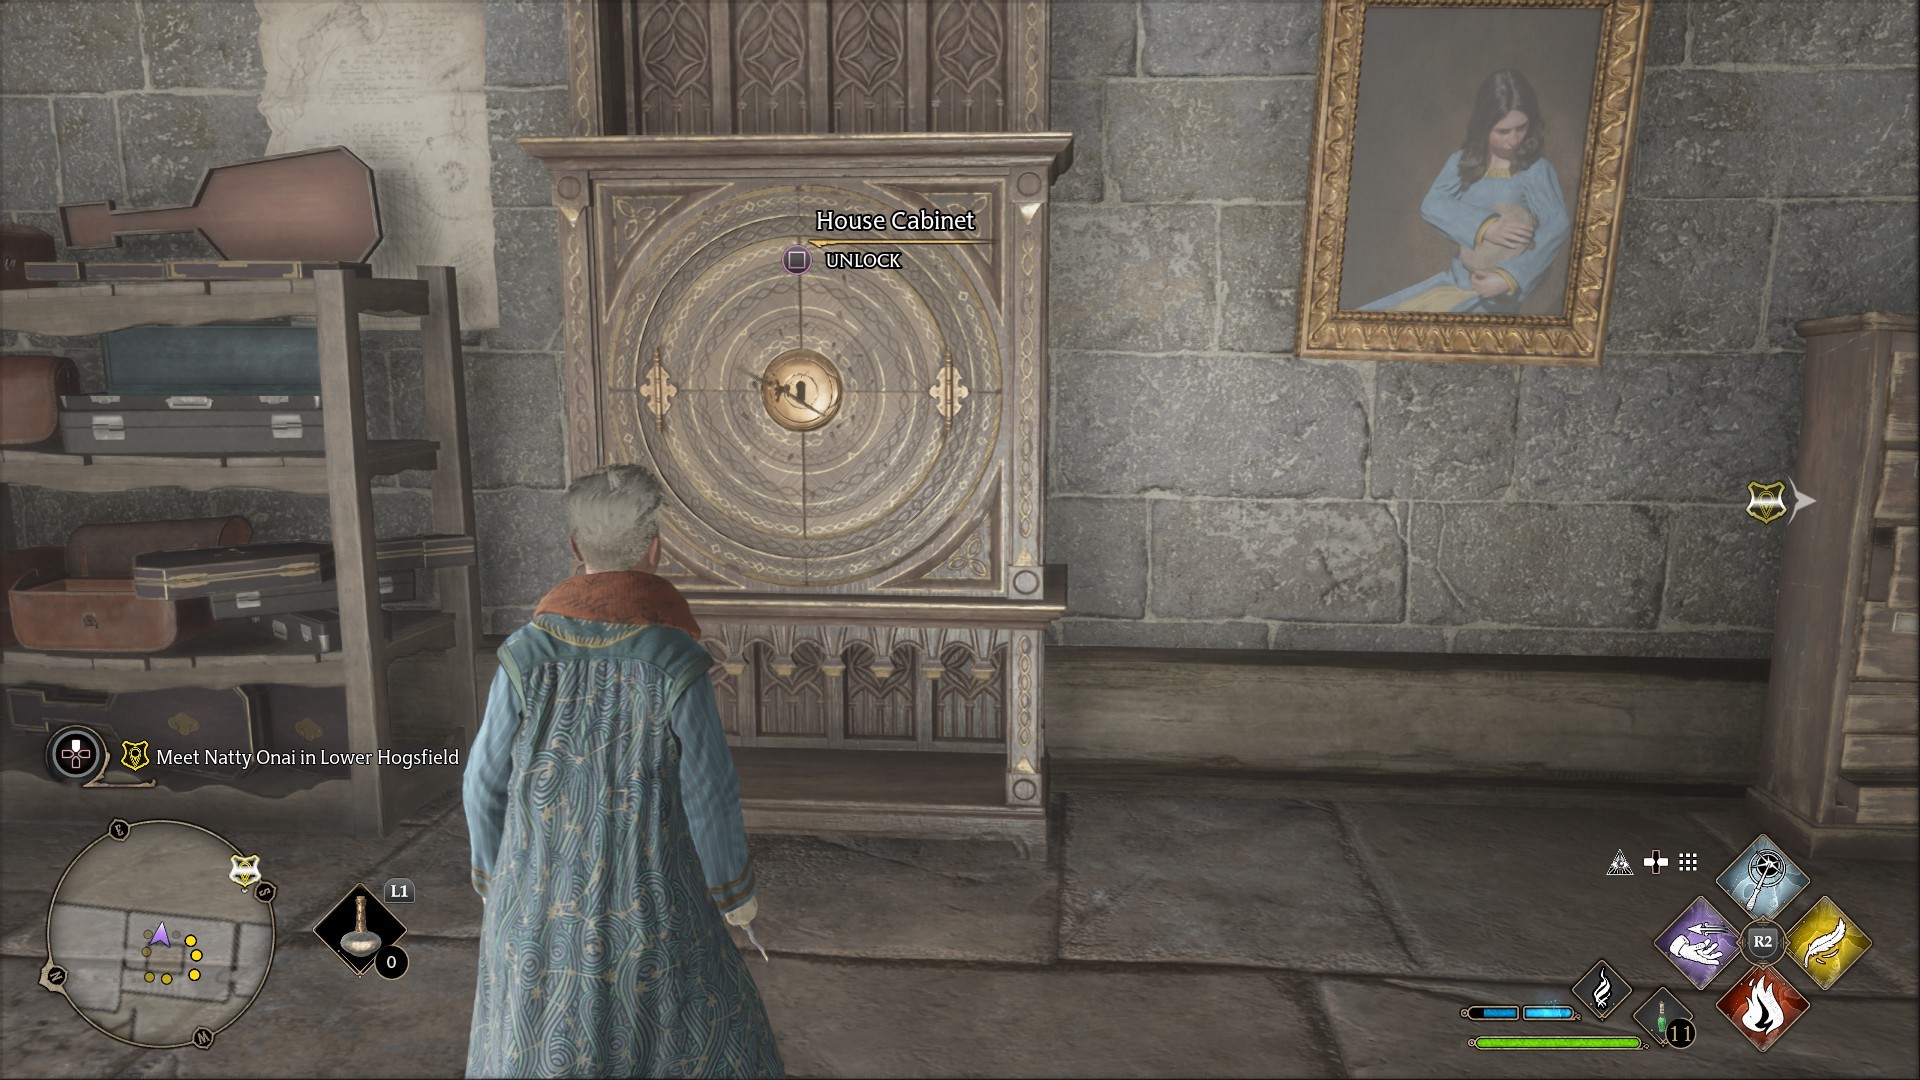
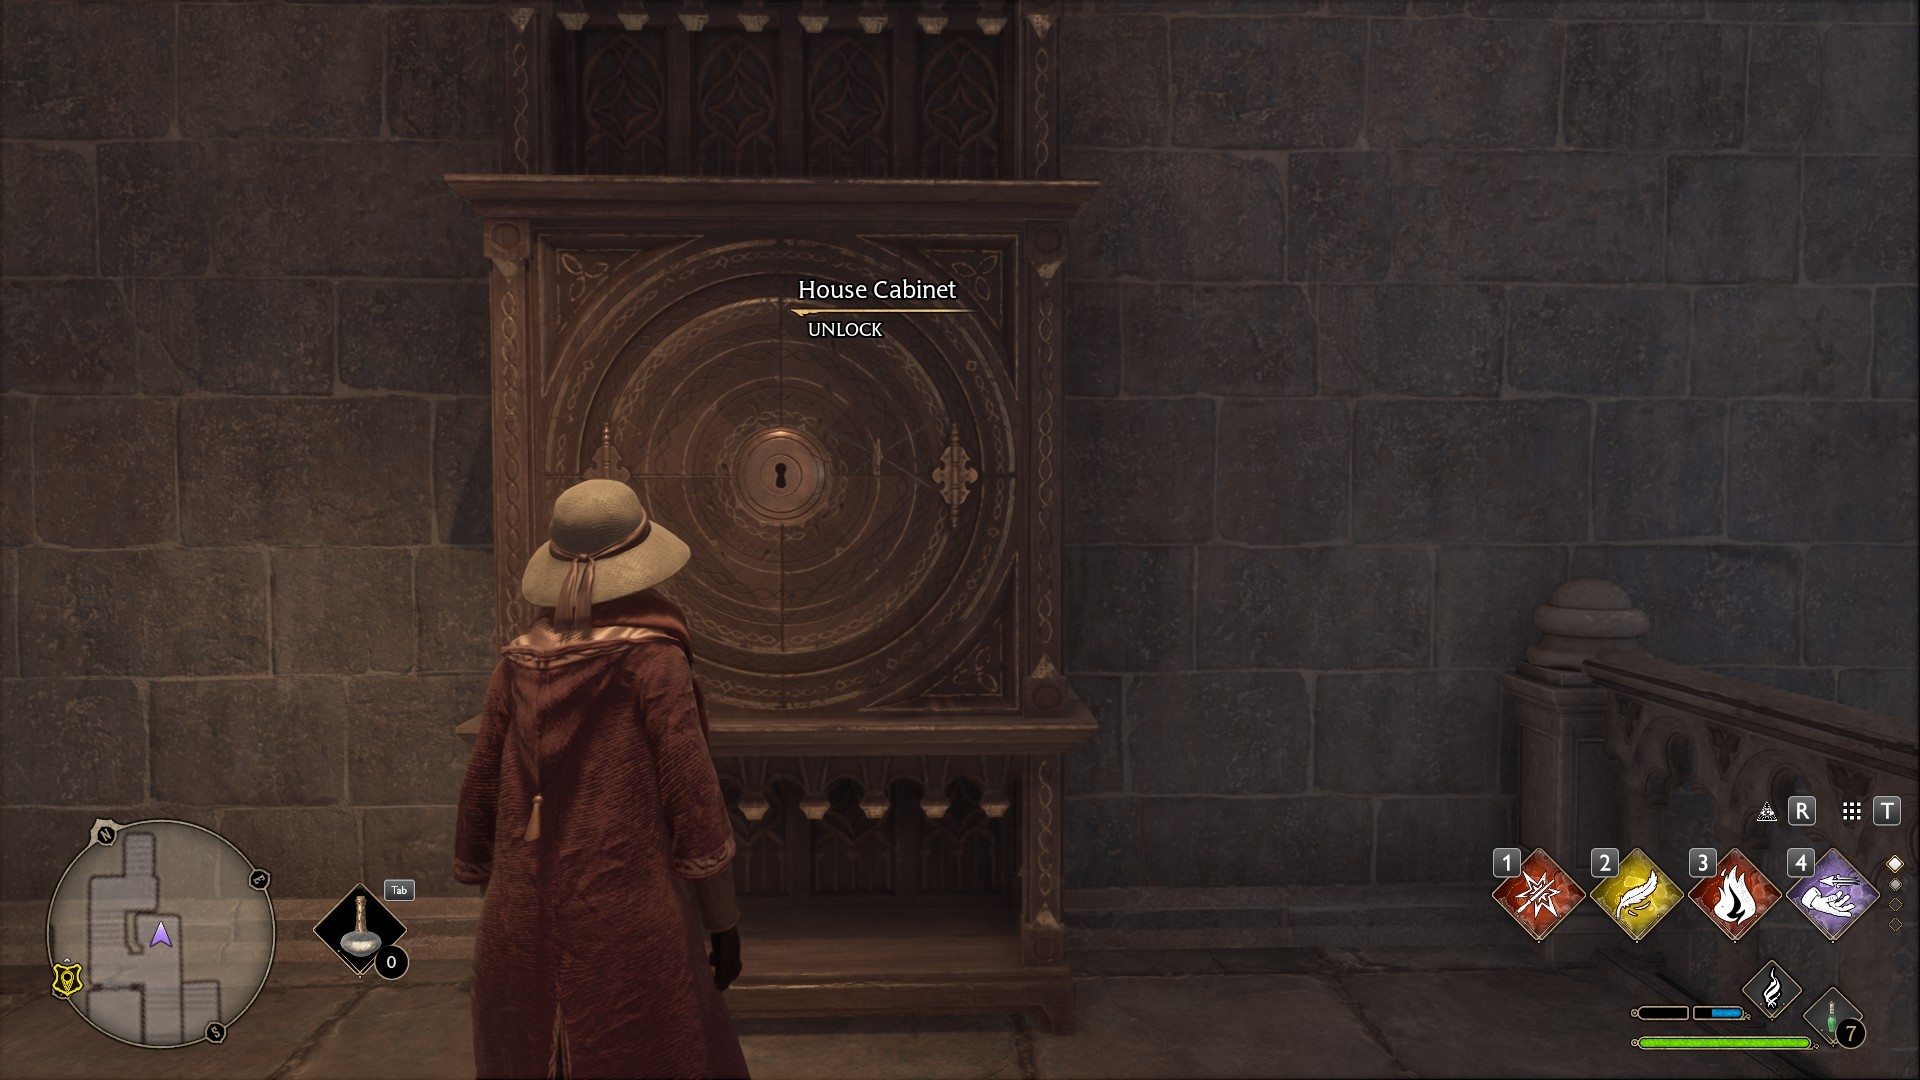
Once you locate a flying key you have to follow it back to its cabinet, where it hovers over the keyhole. The cabinets are very large and difficult to miss and you can interact with them to start a little key-slapping minigame. While you can slap the key wherever it goes, your objective is to smack it into the keyhole as it passes over. It's a reaction-based minigame so there's no real trick to it other than hitting the key at the right point, or watching its pattern to work out when it's going to fly over the hole. Once slapped into the lock, you'll get a house token you can take back to the house chest.
What's inside the House Chest?
The reward for taking all of those House Tokens back to the House Chest is the Relic House Uniform. This has a unique design depending on your house, and it glows when you cast spells. Since it's in your collections and isn't a piece of gear, you'll have to change the appearance of your gear in order to wear it. Head back to Nellie Oggspire afterward to report your findings and complete the quest.
The collective PC Gamer editorial team worked together to write this article. PC Gamer is the global authority on PC games—starting in 1993 with the magazine, and then in 2010 with this website you're currently reading. We have writers across the US, UK and Australia, who you can read about here.
