The best builds for Sayu in Genshin Impact
Genshin Impact Sayu build guide: make the most from this sleepy Shinobi
Keep up to date with the most important stories and the best deals, as picked by the PC Gamer team.
You are now subscribed
Your newsletter sign-up was successful
Want to add more newsletters?
How to get to Inazuma: Cross stormy seas
Genshin Impact Electroculus: Upgrade statues of the seven
Genshin Impact Sakura Bloom: Find Ayaka's ascension material
Genshin Impact Memento Lens: Cleanse the Sakura roots
Baal Boss guide: Fight the Raiden Shogun
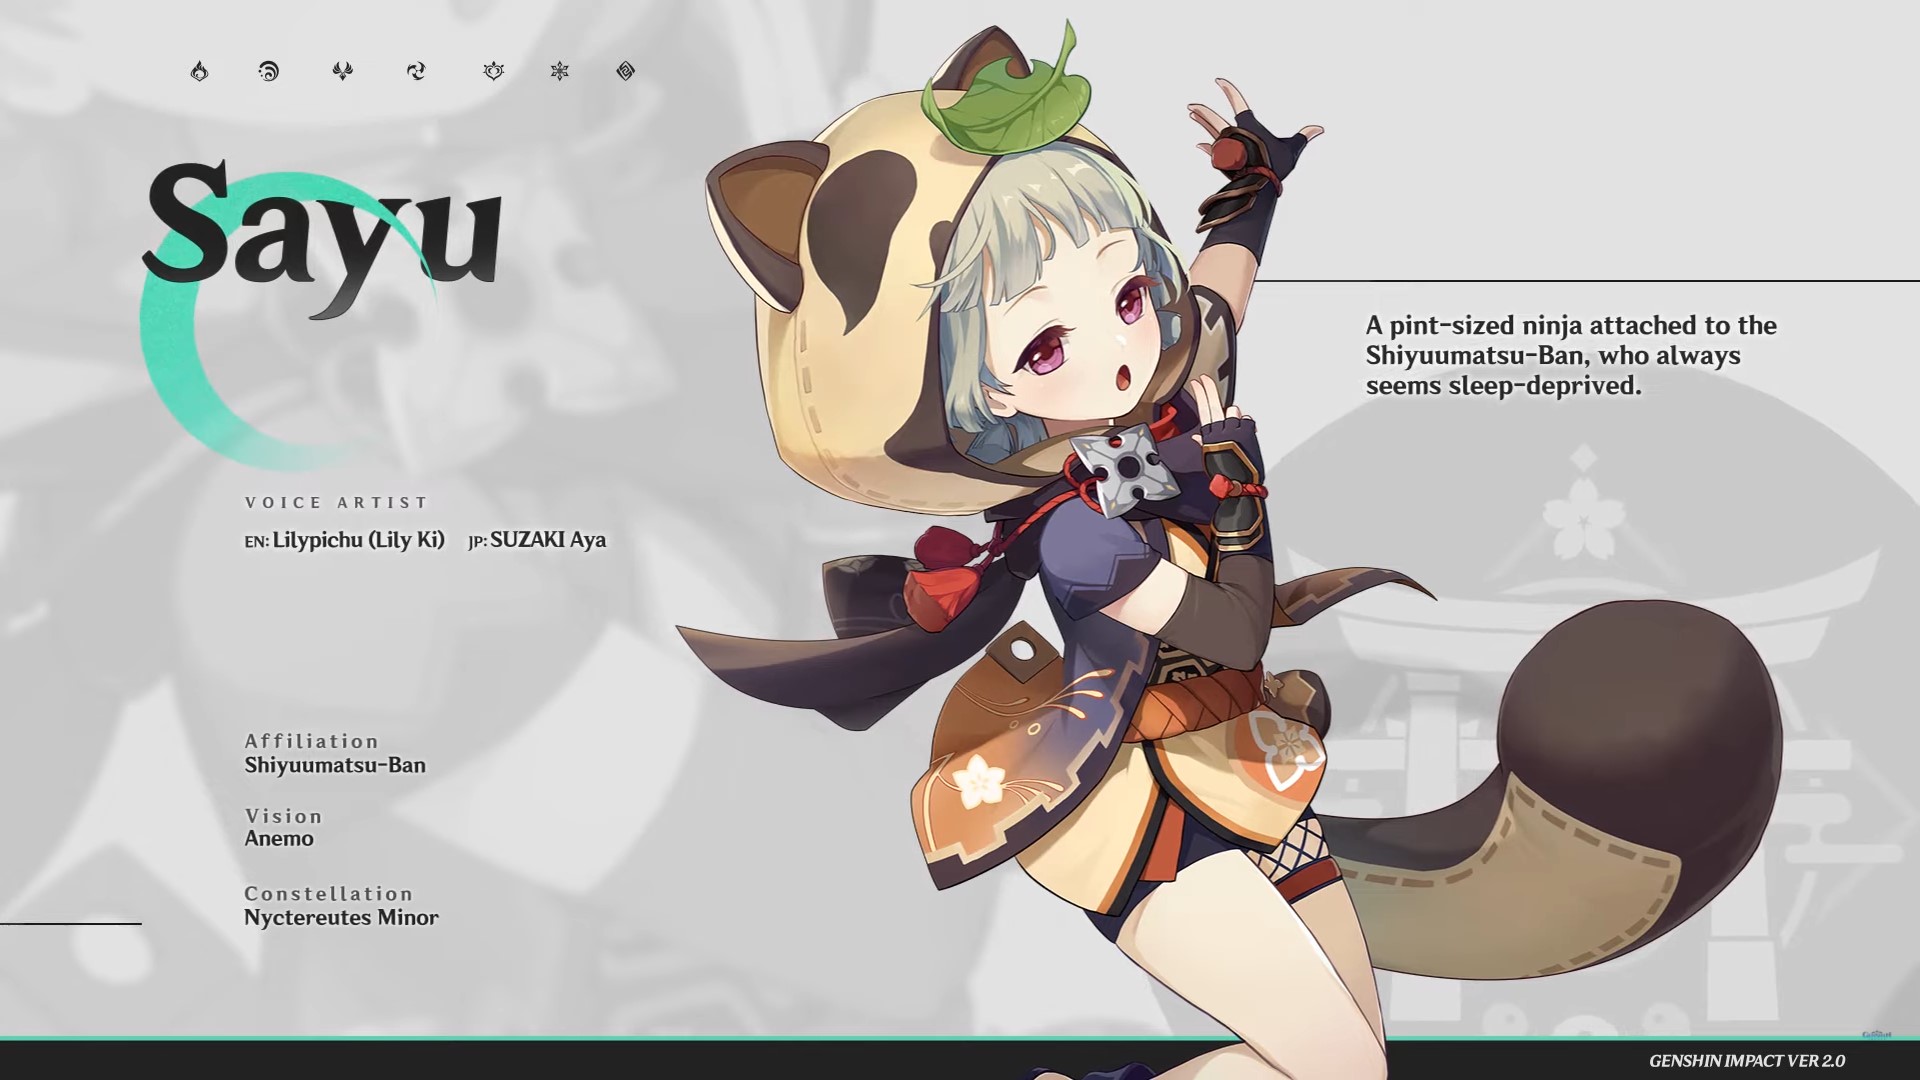
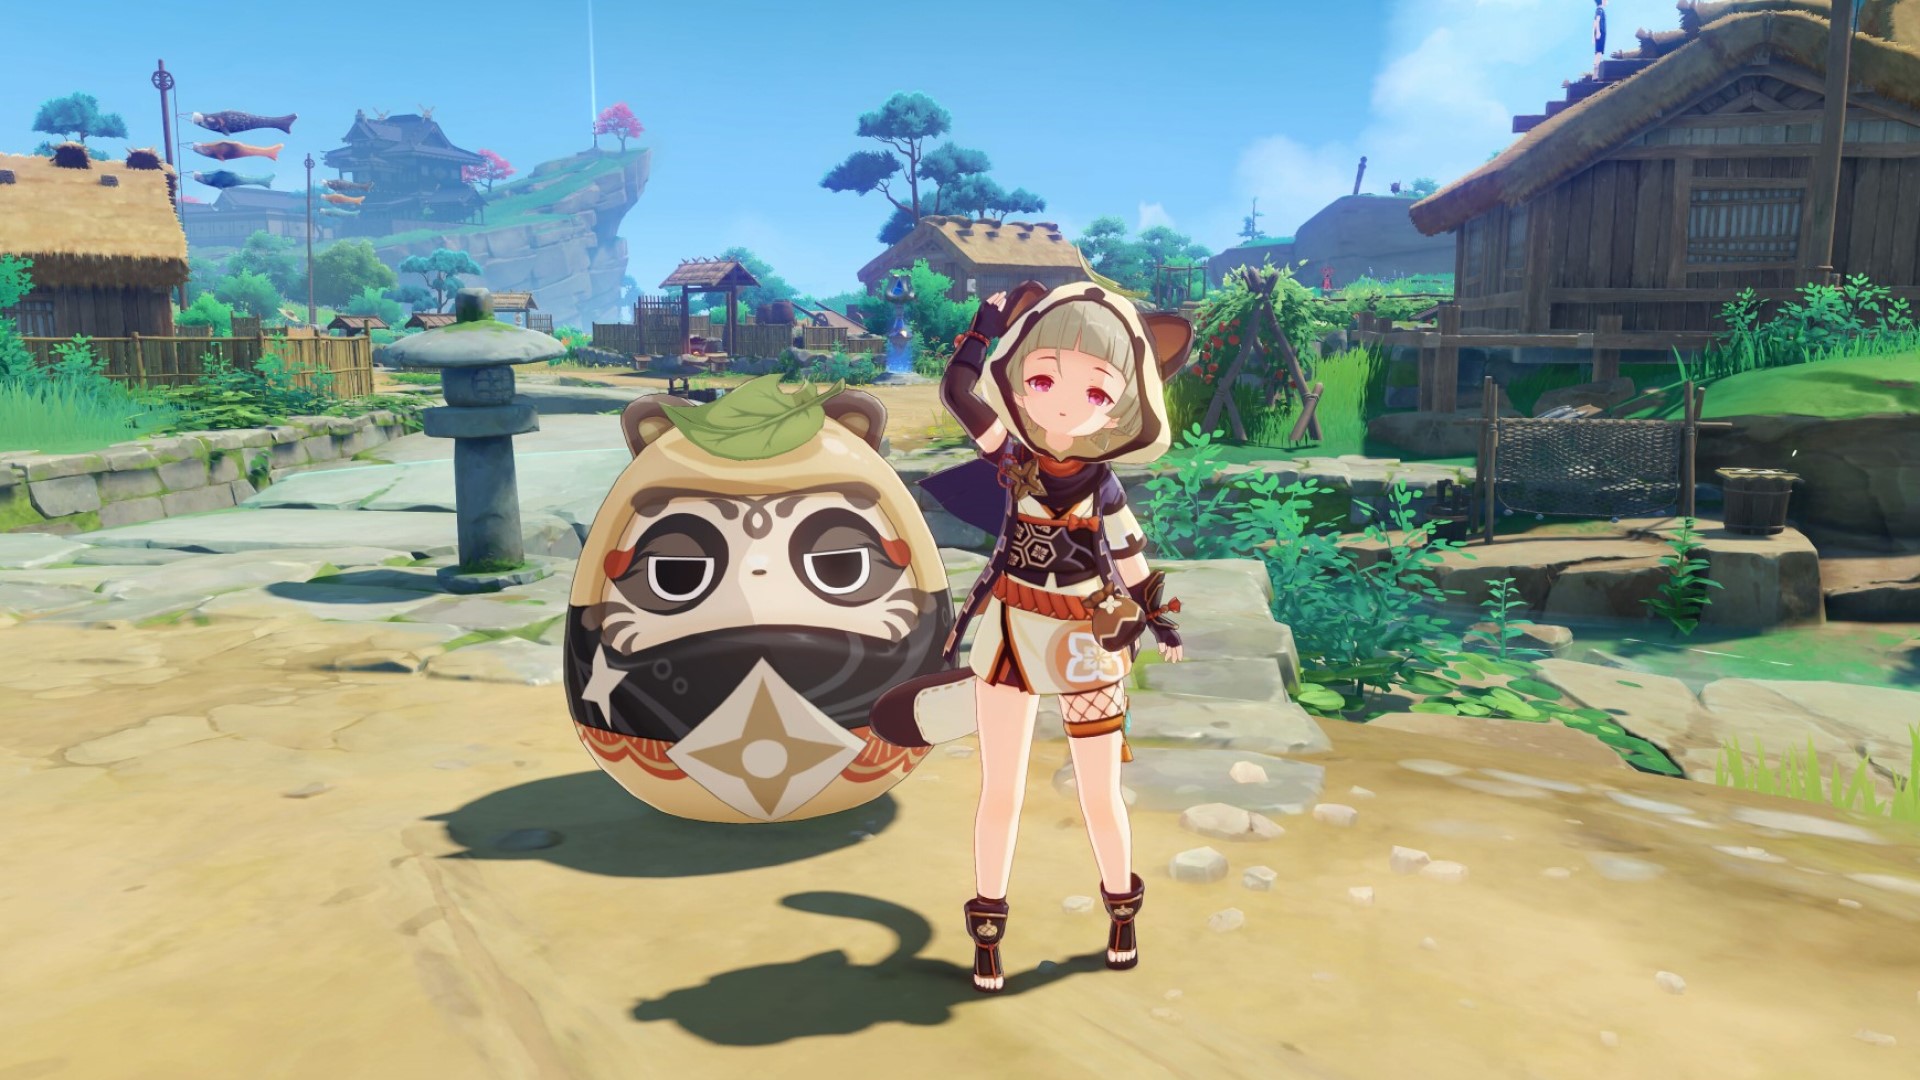
Looking for the best Genshin Impact Sayu build? This napping ninja drops alongside Yoimiya's Banner of Golden Flames, and she looks like a lot of fun in a fight. She's not just Genshin's first pint-sized claymore user, but she can also turn into a ball and roll around the battlefield, running down poor enemies.
Sayu may have been somewhat overshadowed by Ayaka and Yoimiya, but some of her abilities are still pretty powerful. Mujina Flurry, for example, offers Bennett-esque healing, but when it hits that 70% cap, it starts to cause Anemo damage to nearby opponents instead, which is pretty useful.
With less than a month left until Genshin Impact 2.1 and a whole crop of strong new characters including Aloy, and possibly Baal, it could be easy to lose excitement for a four-star like Sayu. But personally, I'm just happy crushing enemies under a ball of Anemo death.
Article continues belowHere's our best Genshin Impact Sayu build, along with details on how to get her, and what Ascension materials you're going to need.
Build
The best Genshin Impact Sayu build
The best Sayu build takes advantage of her amazing support abilities, increasing Anemo damage, while also boosting energy recharge so she can use them more.
Support build
- Weapon: Katsuragikiri Nagamasa
The new craftable four-star claymore, Katsuragikiri Nagamasa, is a very good fit for Sayu. It boosts energy recharge by 10%, as well as elemental skill damage by 6%. Every time an elemental skill hits and opponent, your character loses three energy, but regenerates three every two seconds for the next six seconds. This can happen once every ten seconds.
Keep up to date with the most important stories and the best deals, as picked by the PC Gamer team.
It sounds complex, but considering Sayu's Muji-Muji Daruma can continously attack opponents, it offers a damage boost, as well as some great energy regeneration, so she can use her burst more often. You can get the diagram for this claymore by completing the Tartara Tales quests on Tatarasuna, and entering The Arsenal.
- Artifact: Viridescent Venerer
This artifact set is made for Anemo characters, with a two-piece set granting an Anemo damage bonus of 15%. Four pieces also increases Swirl damage by 60%, while decreasing enemies' elemental resistance to the element infused in the Swirl by 40% for ten seconds.
This set really boosts the strength of Sayu's Swirl reaction, and allows her to better support any character on her team, by decreasing enemy resistance to their particular element.
How to unlock
How to get Sayu in Genshin Impact
Sayu arrived in Genshin Impact as part of the Banner of Golden Flames on August 10. She'll be featured alongside boosted rates for new five-star character, Yoimiya, but also Cryo archer Diona, and Pyro claymore-user Xinyan.
Abilities
Sayu's abilities
Here are Sayu's abilities, passives, and constellations:
| Normal | Performs up to four consecutive strikes. |
| Charged | Drains stamina to perform spinning attacks against all nearby opponents. The sequence ends with a powerful slash. |
| Plunging | Plunges to the ground below damaging opponents along the way, and dealing AoE damage on impact. |
| Yoohoo Art - Fuuin Dash | If you press, Sayu curls up into a Fuufuu Windwheel and drives a short distance into opponents, dealing AoE Anemo damage. When the duration ends she unleashes a Fuufuu Whirlwind Kick that also deals AoE Anemo damage. If you hold, Sayu rolls continuously and can be directed, gaining resistance to interruption, and triggering elemental absorption for any elements she comes into contact with. Pressing the skill again ends this state, and Sayu deals a more powerful version of the Fuufuu Whirlwind Kick. The skill has a maximum duration of ten seconds, and its cooldown increases based on how long Sayu is in Windwheel form. |
| Yoohoo Art - Mujina Flurry | Sayu summons a pair of helping hands that deal Anemo damage to nearby opponents and heal nearby party members. The amount healed scales on Sayu's attack. The skill then summons a Muji-Muji Daruma that takes actions at specific intervals depending on the situation. If the HP of nearby characters is above 70% it attacks nearby opponents dealing Anemo damage. If active characters have 70% HP or less, it heals the character with the lowest percent HP. If there are no enemies present, it heals active characters even if they have 70% HP or more. |
| Yoohoo Art | Silencer's Secret: When Sayu is in the party, your characters will not startle Crystalflies and certain other animals. |
| Someone More Capable | When Sayu triggers a Swirl reaction while active, she heals all your characters for 300 HP. She also heals an additional 1.2 HP for every point of Elemental Mastery she has. This can be triggered once every two seconds. |
| No Work Today | The Muji-Muji Daruma created by Mujina Flurry gains increased AoE for attacking opponents, and when healing a character, also heals any other nearby character for 20% of the amount. |
| Multi-Task no Jutsu | The Muji-Muji Daruma created by Mujina Flurry ignores HP limits and can both attack and heal at the same time. |
| Egress Prep | Damage from Fuuin Dash's Fuufuu Whirlwind Kick is increased by 3.3% when pressed. Every 0.5 seconds spent in the Fuufuu Windwheel state increases the damage of Fuufuu Whirlwind Kick by 3.3%. The maximum damage increase possible is 66%. |
| Eh, the Bunshin Can Handle It | Increases the level of Munjina Flurry by three. Maximum upgrade level is 15. |
| Skiving | New and Improved: Sayu recovers 1.2 energy when she triggers a Swirl reaction. This effect occurs once every two seconds. |
| Speed Comes First | Increases the level of Fuuin Dash by three. Maximum upgrade level is 15. |
| Sleep O'Clock | For every point of elemental mastery that Sayu has, the Muji-Muji Daruma created by Mujina Flurry gains 0.2% attack, with a possible max increase of 400%. Every elemental mastery point also increases the amount healed by 3, with a max increase of 6,000 additional HP. |
Ascension materials
Sayu Ascension materials
Character
Sayu's character ascension materials are the usual Vayuda Turquoise from the Anemo Hypostasis, and Maguu Kishin from the Maguu Kenki boss. You'll also need two world materials:
- Crystal Marrow
- Whopperflower Nectar
As Crystal Marrow is literally the bone marrow of the Tatarigami serpent you can find it attached to the giant snake skeleton scattered across Yashiori island. Whopperflower-series items are dropped by Whopperflowers of different world levels. They appear all over, but I find the best way to locate one is to go into the enemies section of my Adventurer's Handbook and select navigate.
Genshin Impact Ayaka build: Frostflake Heron
Genshin Impact Ganyu build: Secretary of Yuehai Pavillion
Genshin Impact Hu Tao build: Wangsheng's Funeral Director
Genshin Impact Childe build: 11th Harbinger
Genshin Impact Zhongli build: The Geo Archon
Talent
Here are Sayu's talent ascension materials:
- Whopperflower Nectar
- Teachings of Light
- Gilded Scale
- Crown of Insight
As mentioned, Whopperflower Nectar and its other types are dropped by Whopperflowers of different world levels. Teachings of Light are a reward from the Violet Court domain on Wednesdays, Saturdays, and Sundays.
The Gilded Scale is earned through the level 70+ Azhdaha boss challenge in the trounce domain, and Crowns of Insight come from seasonal events, and upgrading either the Frostbearing Tree of Dragonspine, or the Sacred Sakura of Inazuma.

Sean's first PC games were Full Throttle and Total Annihilation and his taste has stayed much the same since. When not scouring games for secrets or bashing his head against puzzles, you'll find him revisiting old Total War campaigns, agonizing over his Destiny 2 fit, or still trying to finish the Horus Heresy. Sean has also written for EDGE, Eurogamer, PCGamesN, Wireframe, EGMNOW, and Inverse.
