The best Palworld settings to tweak for catching Pals, exploration, and speedy progress
Try changing these Palworld custom settings for a more streamlined experience.


Best Pals: What to catch early
Palworld incubator: How to hatch eggs
Palworld mounts: How to unlock them
Ancient Civilization parts: Improve your crafting
Paldium Fragments: Get farming fast
Tweaking your Palworld settings is one of the best ways to smooth out the experience of playing the game. It is still in early access, after all, and there are a lot of niggles and balance tweaks that definitely need to happen *cough cough* egg incubation. But honestly, why wait for those changes to be made?
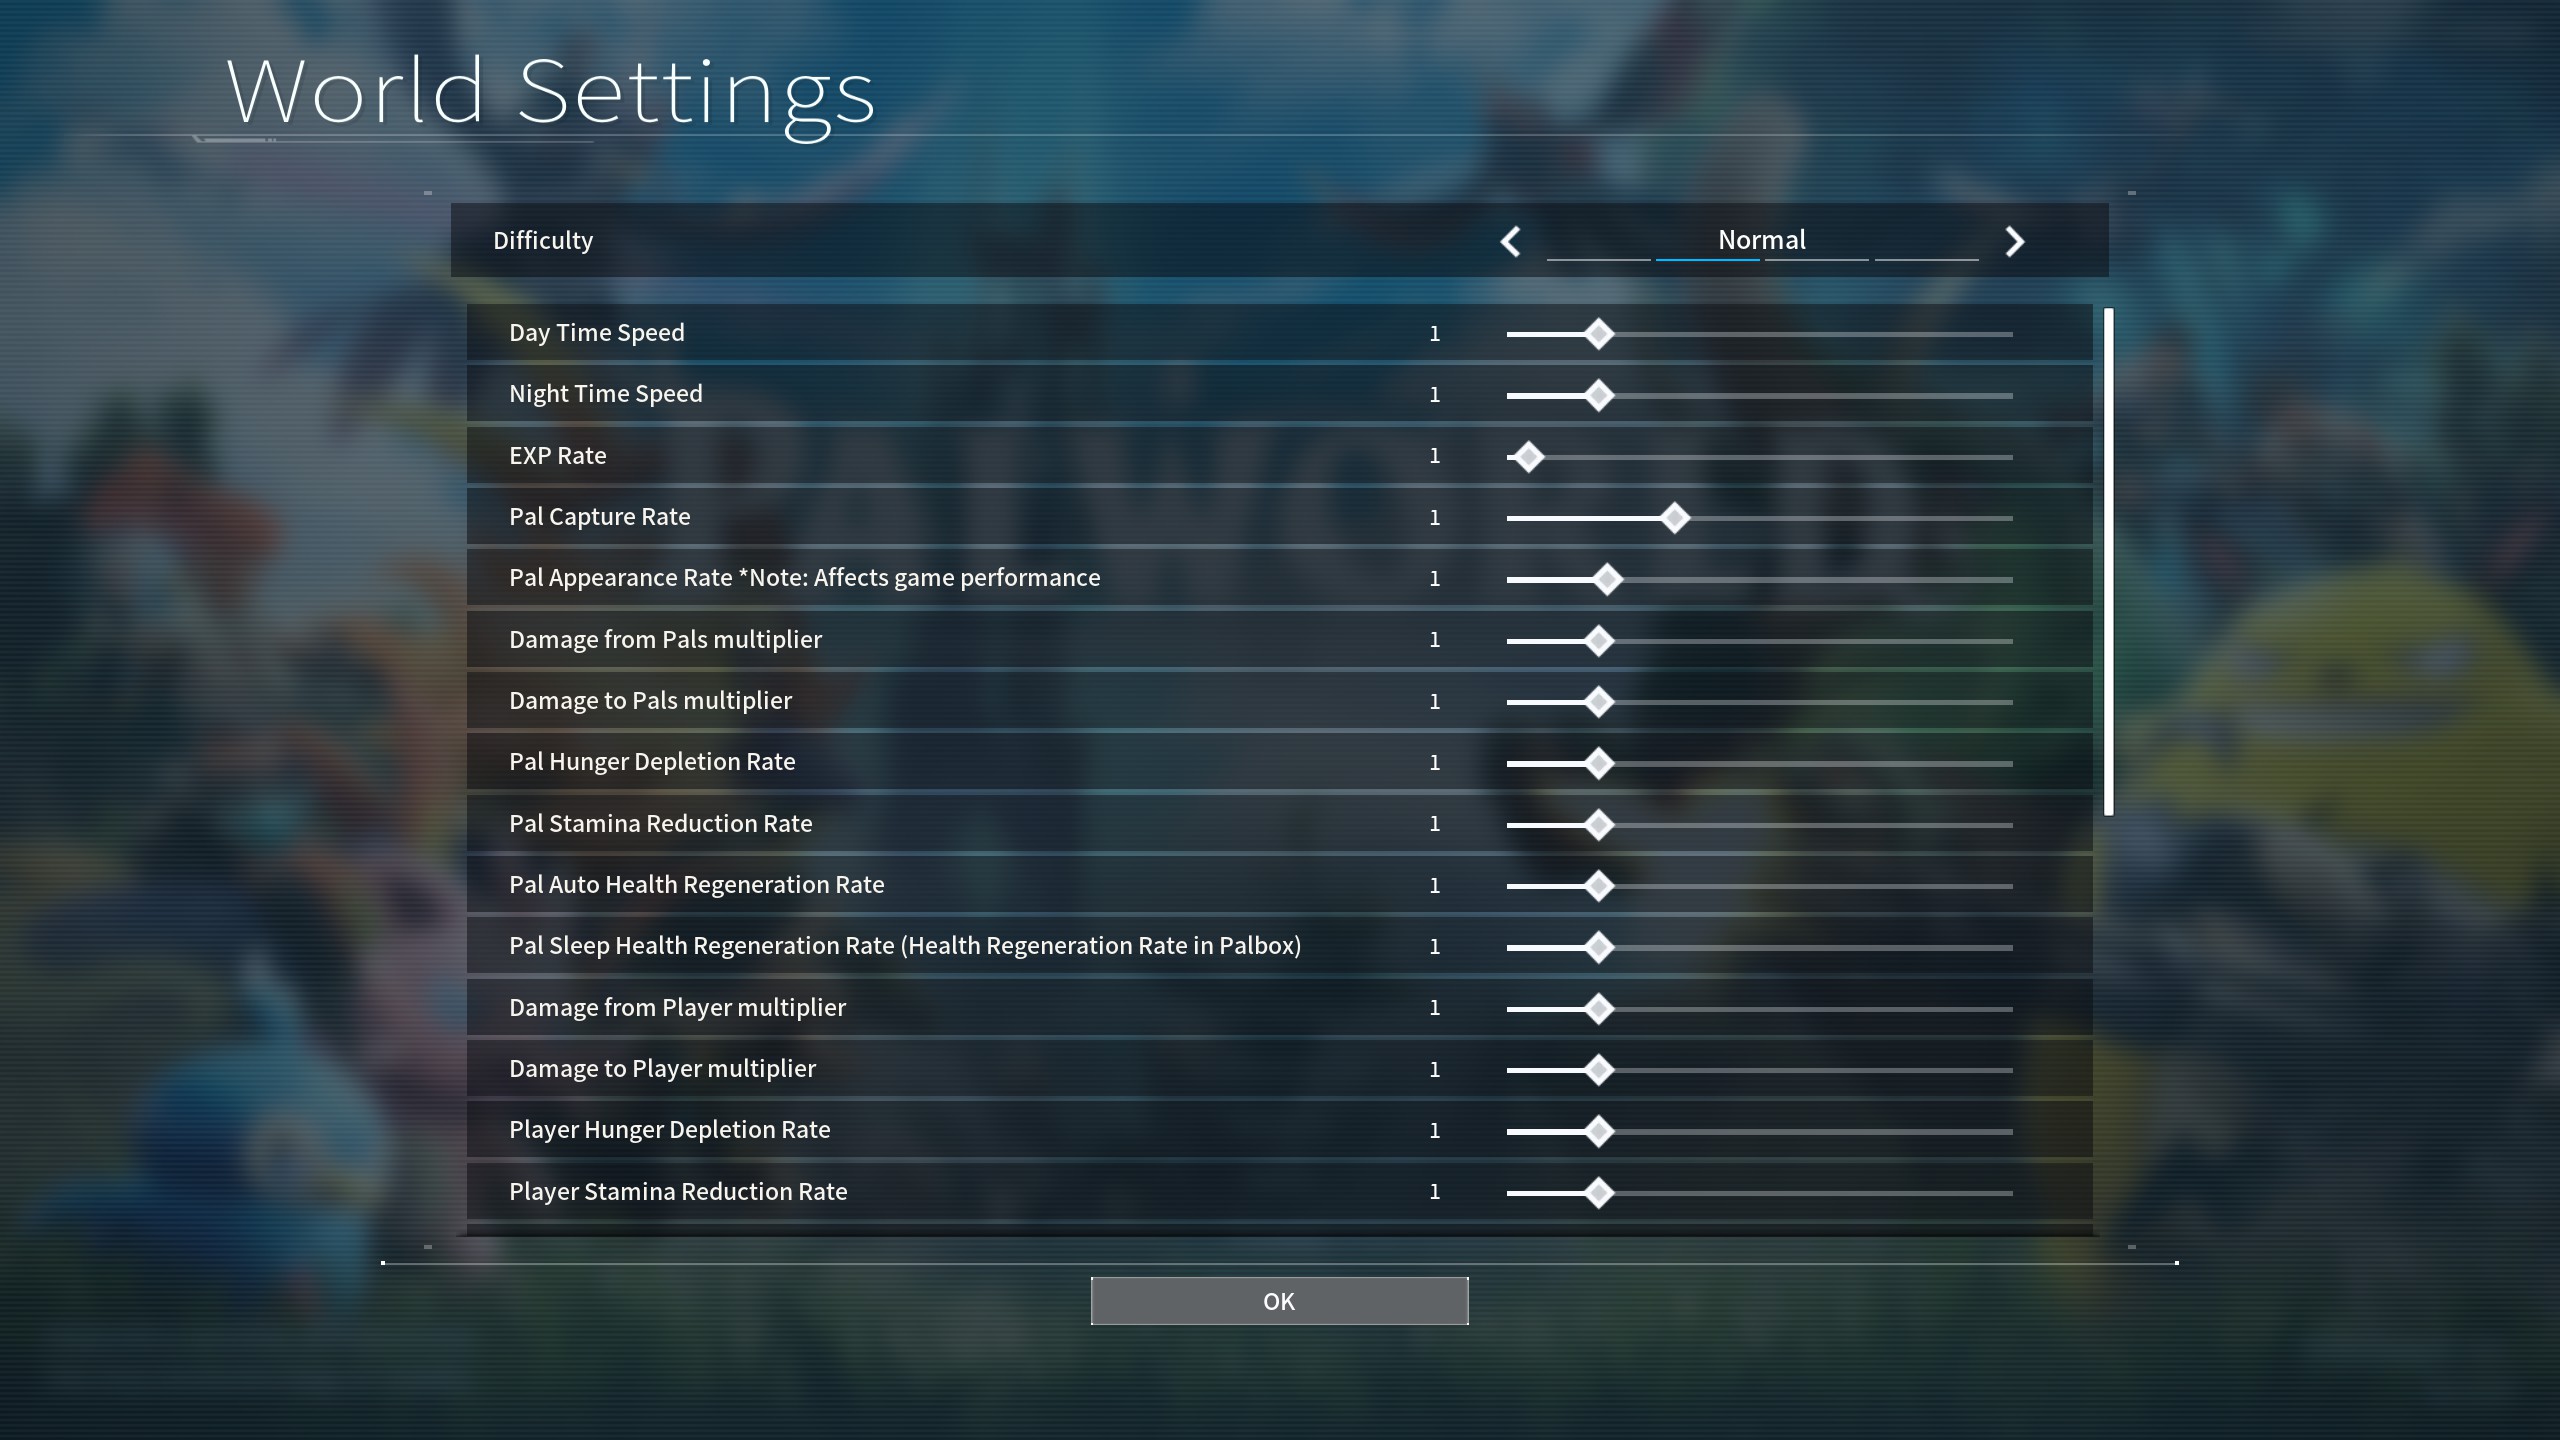
When you create your own world, you can tweak a variety of settings, transforming the game from a chill sandbox into a steely survival game, or vice versa. While changing some of these settings is pretty pointless, there are some that will make things easier, and remove some of the more tiresome game elements—depending on your preferences. So, here are the best Palworld settings to change for a smoother ride.
Player Stamina Reduction Rate
As any Genshin Impact player will tell you, open world games with stamina-based gathering, climbing, and gliding can be annoying as hell. You might smack away at a rock with a pickaxe, only to have to wait for your stamina to regen before you can keep gathering. You'll likely fall off cliffs, drown, and run out of stamina while gliding mid-air—all stuff that doesn't really add anything to the game. Set the Player Stamina Reduction Rate to 0.1 and bid your gathering woes farewell.
Pal Capture Rate
Though less obvious early on in the game when you're only dealing with common Pals, your Pal Capture Rate really nosedives once you start exploring the wider world, especially if you experienced the whole Lifmunk Effigy capture bug. There's honestly nothing worse than trying and failing to catch an Alpha Pal or a Lucky Pal and then accidentally killing them in combat so you can only stare longingly at their corpse. Crank up Pal Capture Rate and this whole process gets a lot easier—it'll also put less pressure on your need to produce higher rarity Pal Spheres.
EXP Rate
There are plenty of speedy ways to gain EXP in Palworld, from fighting battles, to capturing a certain number of each Pal. Even then, though, the levelling process can drag on a bit, especially if you just want to get to all those high tier crafting recipes and production stations. Just bump up that EXP Rate and you'll level much faster.
Dropped Items Multiplier
There are certain items in Palworld that you can't produce on your base, unless you take a butchering knife and start harvesting your own Pals for materials. Items like Leather and Pal Fluids are always a little annoying to get, and though you can farm gold up to buy these, it's better to just boost the number that each Pal drops by turning up the Dropped Items Multiplier setting. Pal Fluids in particular will prove a pain early on as you murder countless Teafants and Pengullets all to build your first hot spring.

Gatherable Items Multiplier and Gatherable Objects Respawn Interval
Now that you've got mega stamina, you just need some resource nodes to harvest. If you enjoy the slog of chopping down trees or mining ore, this change may not be for you, but these two tweaks will speed up the process a lot. Gatherable Items Multiplier literally just increases the amount you gather when mining or woodcutting, while Gatherable Objects Respawn Interval makes the resource nodes reappear faster after they're depleted. Cranking up the first and reducing the second, respectively, will give you plenty of resources so you don't have to worry about building your base on some ore mountain.
Keep up to date with the most important stories and the best deals, as picked by the PC Gamer team.
Time (h) to incubate Massive Egg
If you only tweak one setting, tweak this. Egg Incubation in Palworld is honestly absurd from a time perspective, especially when you find so many while out exploring the world. If you turn this setting all the way down it will speed up your Palworld breeding by 1000%.
Damage from Player multiplier and Damage to Player multiplier
For those who want to make combat a breeze, increasing the Damage from Player multiplier and dropping the Damage to Player multiplier will help you punch well above your weight. This increases your damage but also reduces the damage dealt to you. While you can also go the other route and alter damage to and from Pals, this setting applies to every Pal in the game, which would make yours just as useless as any others you nerfed.
Death penalty
While I don't think this setting is strictly necessary if you've tweaked everything else, you might find dying in survival games to be annoying—you do have to trek back across the map to retrieve your equipment from your corpse after all. If you alter this setting, you can make it so that you lose absolutely nothing when you die, letting you get straight back to business.

Sean's first PC games were Full Throttle and Total Annihilation and his taste has stayed much the same since. When not scouring games for secrets or bashing his head against puzzles, you'll find him revisiting old Total War campaigns, agonizing over his Destiny 2 fit, or still trying to finish the Horus Heresy. Sean has also written for EDGE, Eurogamer, PCGamesN, Wireframe, EGMNOW, and Inverse.

