Keep up to date with the most important stories and the best deals, as picked by the PC Gamer team.
You are now subscribed
Your newsletter sign-up was successful
Want to add more newsletters?
Join the club
Get full access to premium articles, exclusive features and a growing list of member rewards.
Looking for a Ghostrunner collectibles guide? Perhaps you've already beaten Ghostrunner (likely after an embarrassing number of deaths), but have you found all the swords in this ferociously hard rhythmic hack 'n' slash? Excluding the default weapon, there are 14 to be found.
They're only skins, though—functionality does not change at all—but they'll funk your kills right up. Whether you've missed them all or you're trying to find the final few, I've got you covered. Step this way, please. Mind all the bullets.
Ghostrunner collectibles: Where to find all swords
Sword 1
Level: The Climb
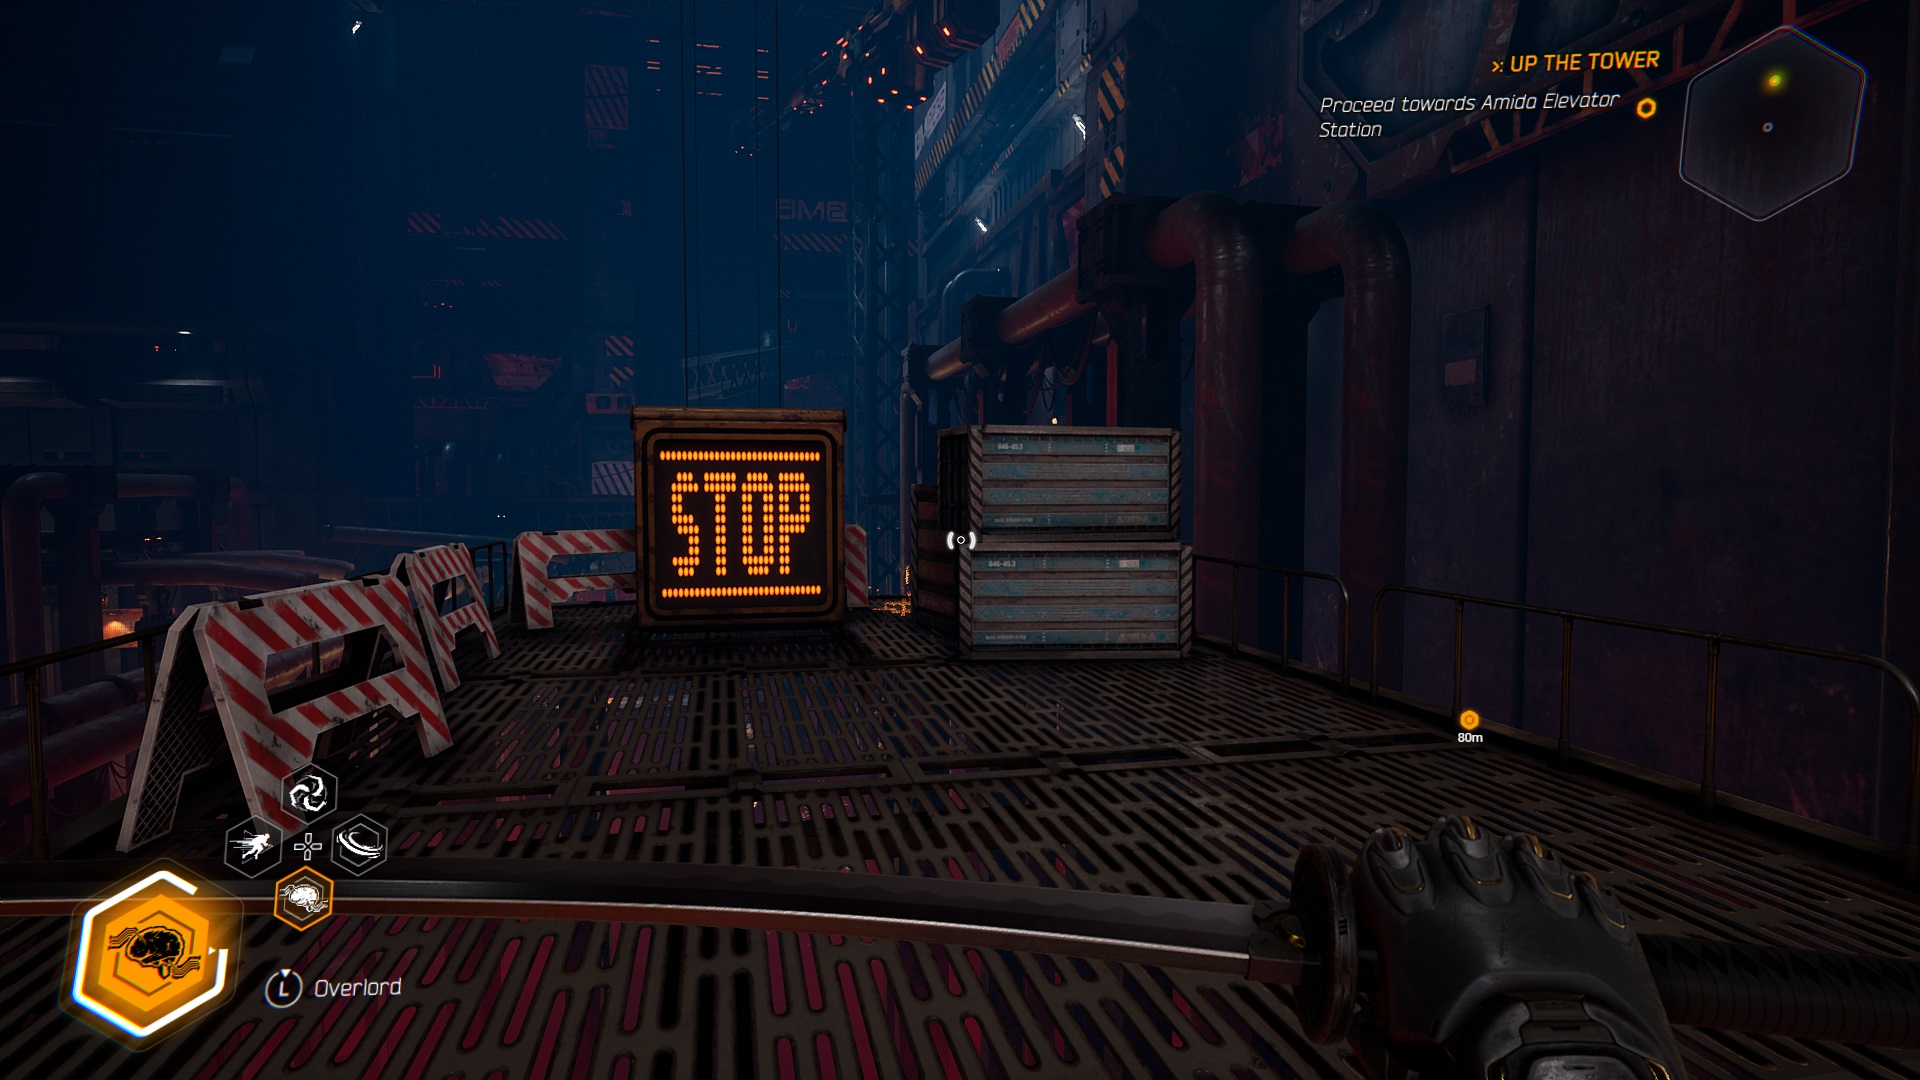
Article continues belowYou'll need to go right to the end of the level for this one. After sliding down to the exit door marked with the green light, don't go through. Instead, walk in the opposite direction. At the other end of the walkway, you'll find a few crates and a STOP sign. The pickup is hiding behind there.
Sword 2
Level: Jacked Up
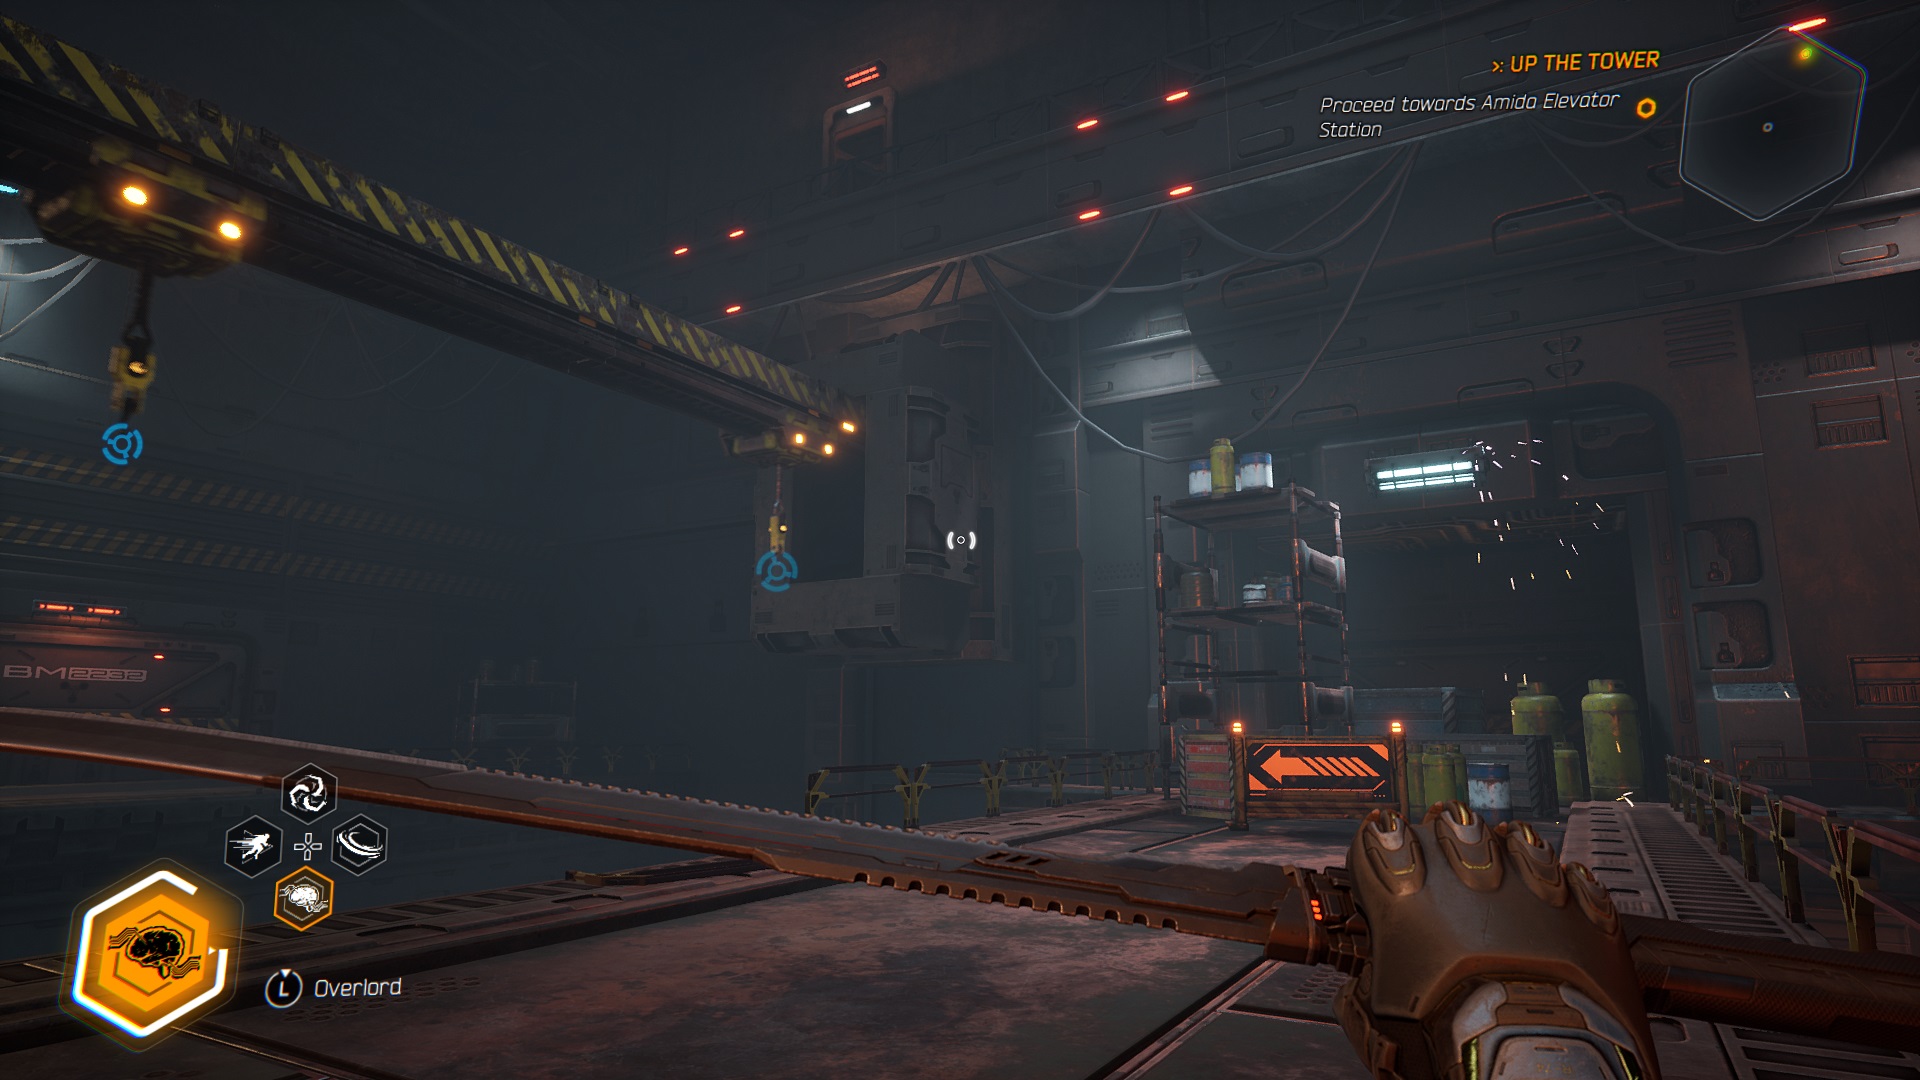
Shortly after beginning the level, you'll see a row of hooks moving to the right above you. Instead of swinging your way across, walk all the way to the right until you see the sword behind the gas canisters.
Sword 3
Level: Breathe In
Keep up to date with the most important stories and the best deals, as picked by the PC Gamer team.
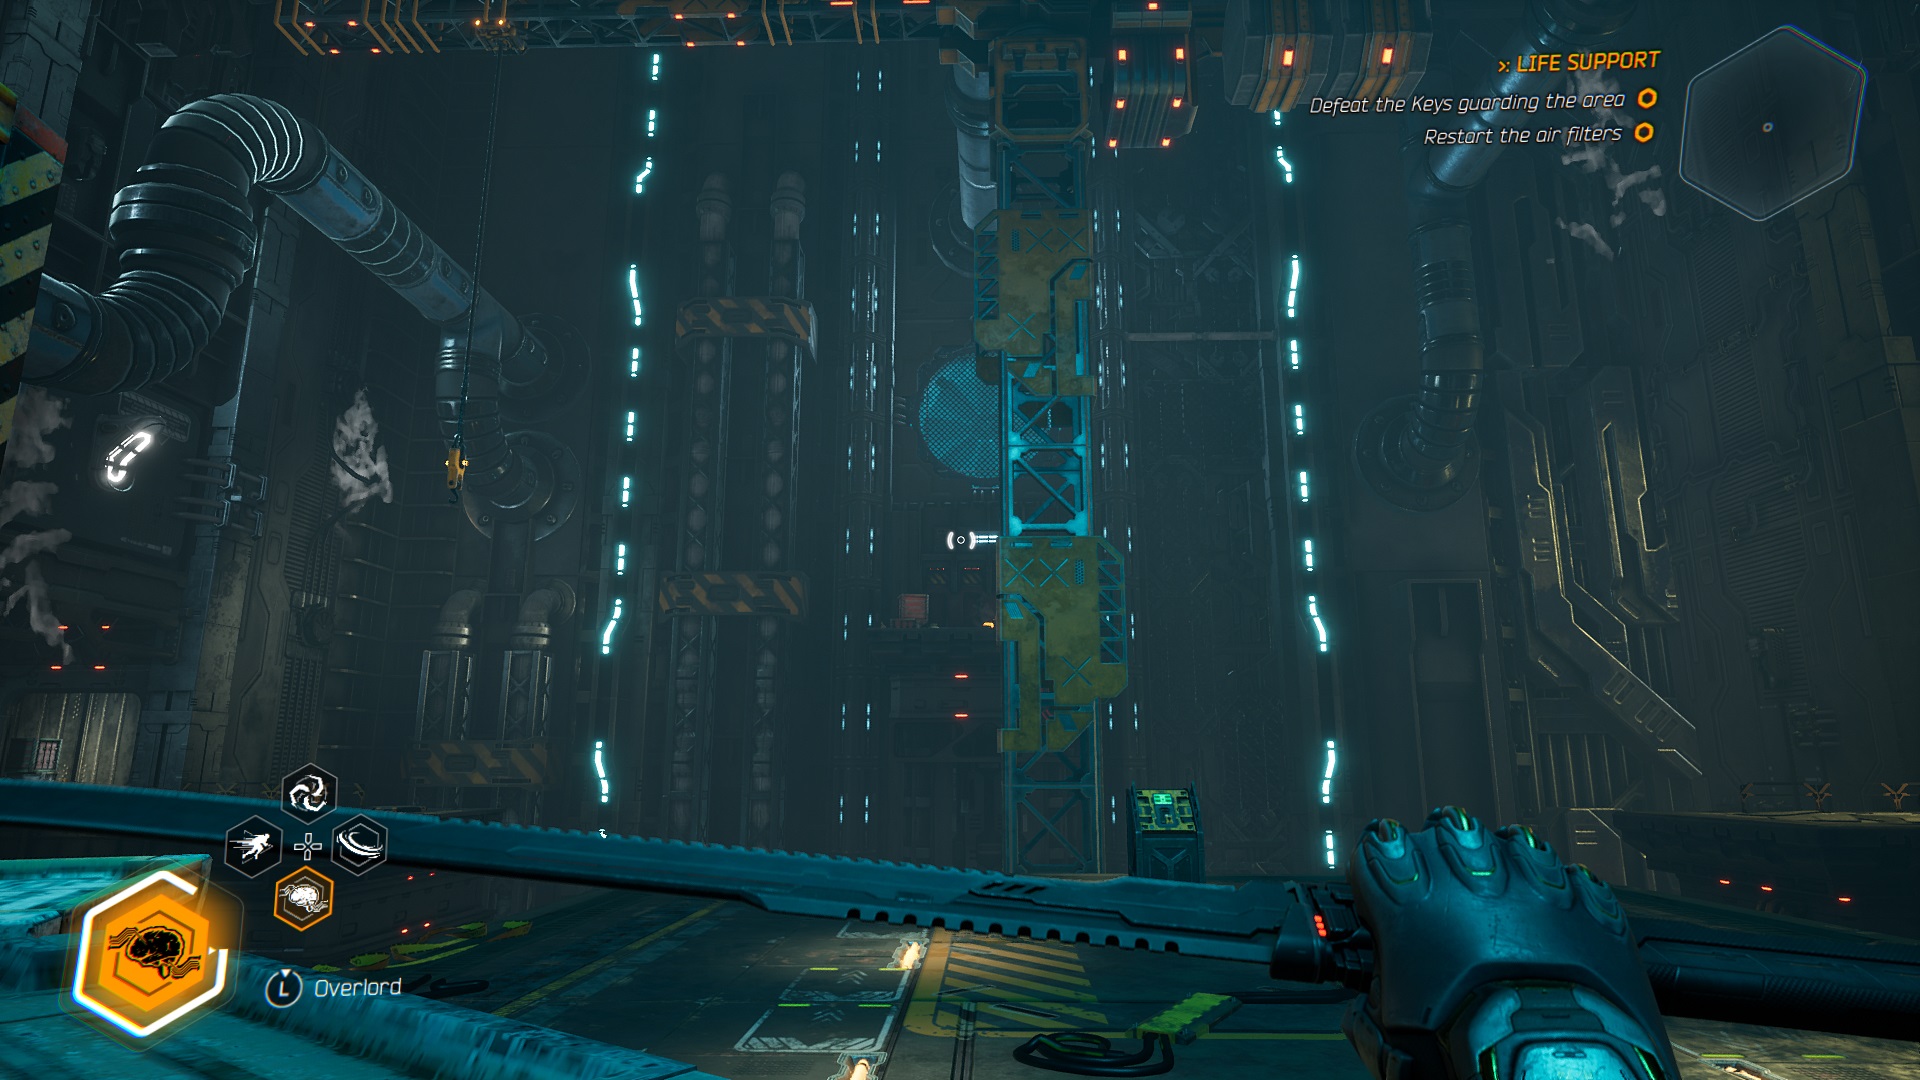
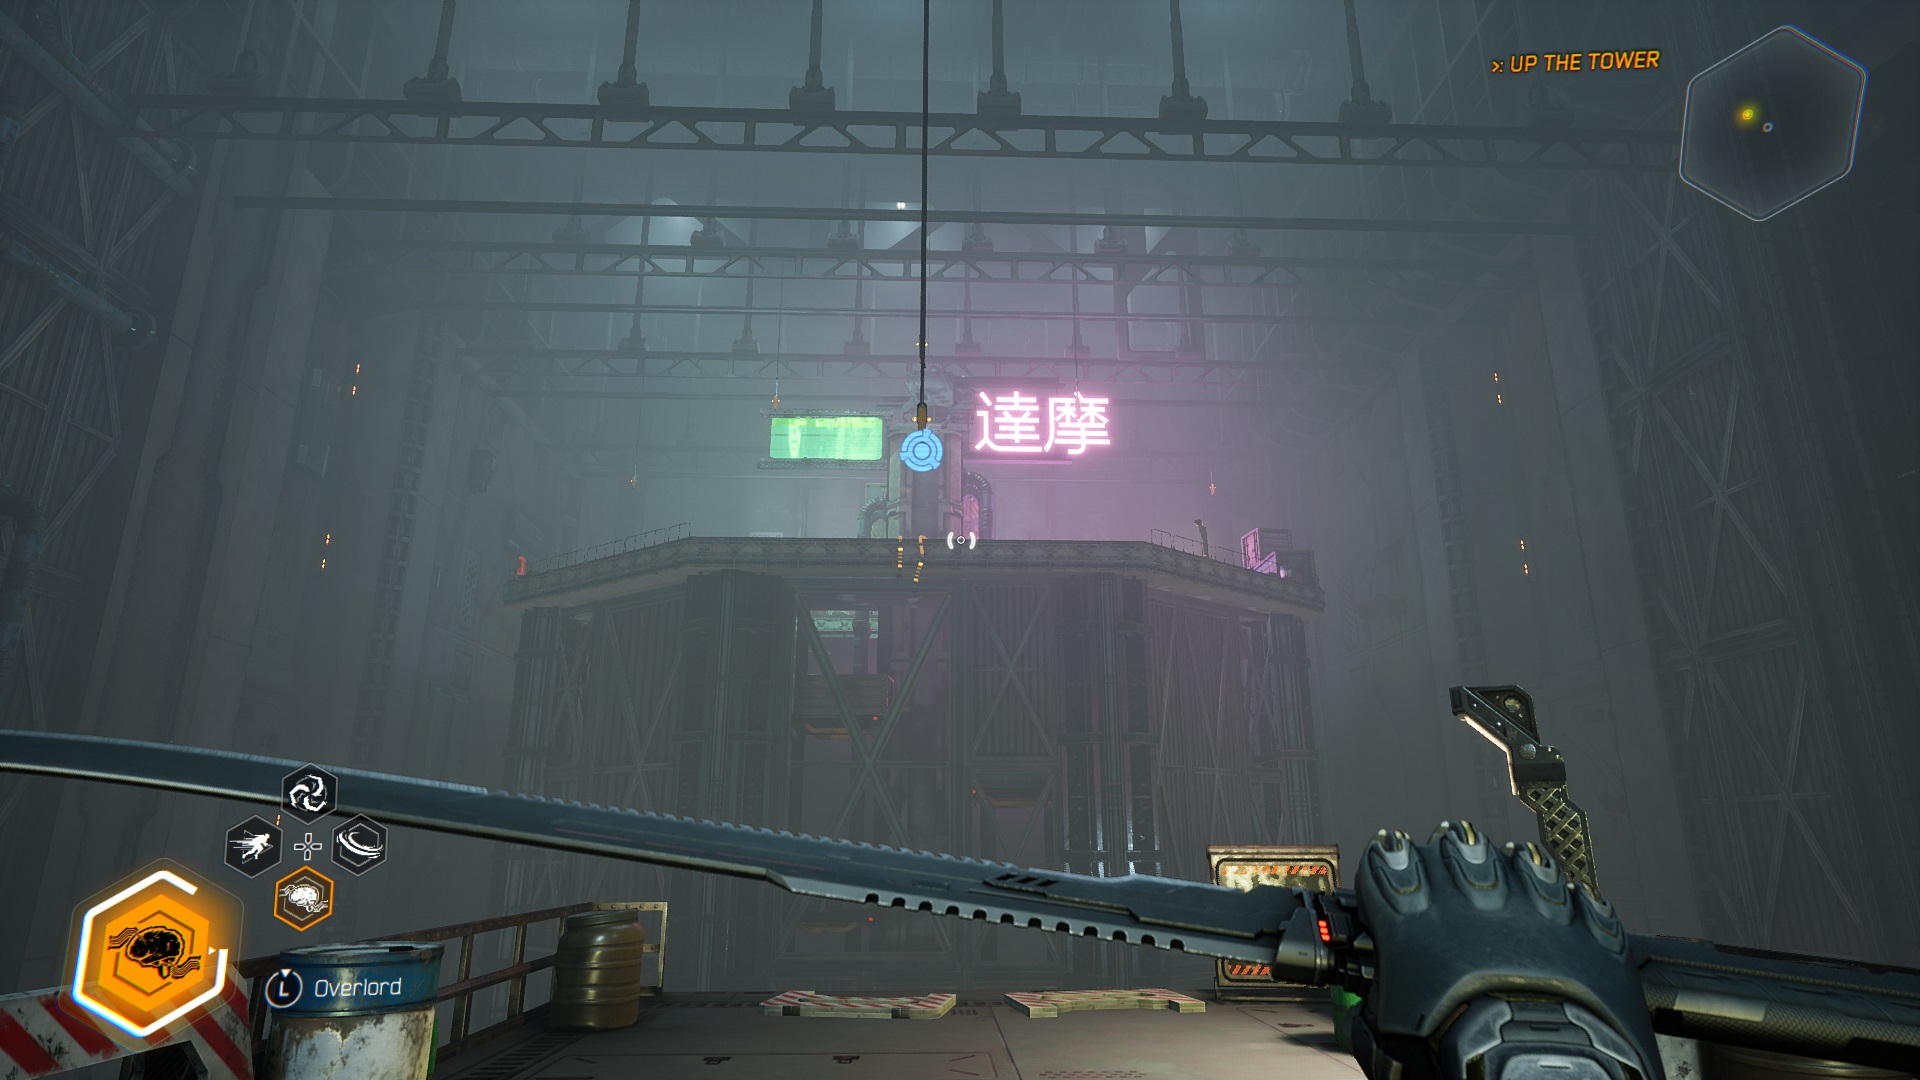
Make your way through until you reach the room past the first door marked with a green light (the same kind of door you didn't go through when nabbing the first sword). There will be a giant crane which can be move with a switch. Activate the crane. When the grapple point attached to the crane is in the centre, swing across to the platform directly ahead of you on the other side of the room. Your pointy prize awaits.
Sword 4
Level: Breathe In
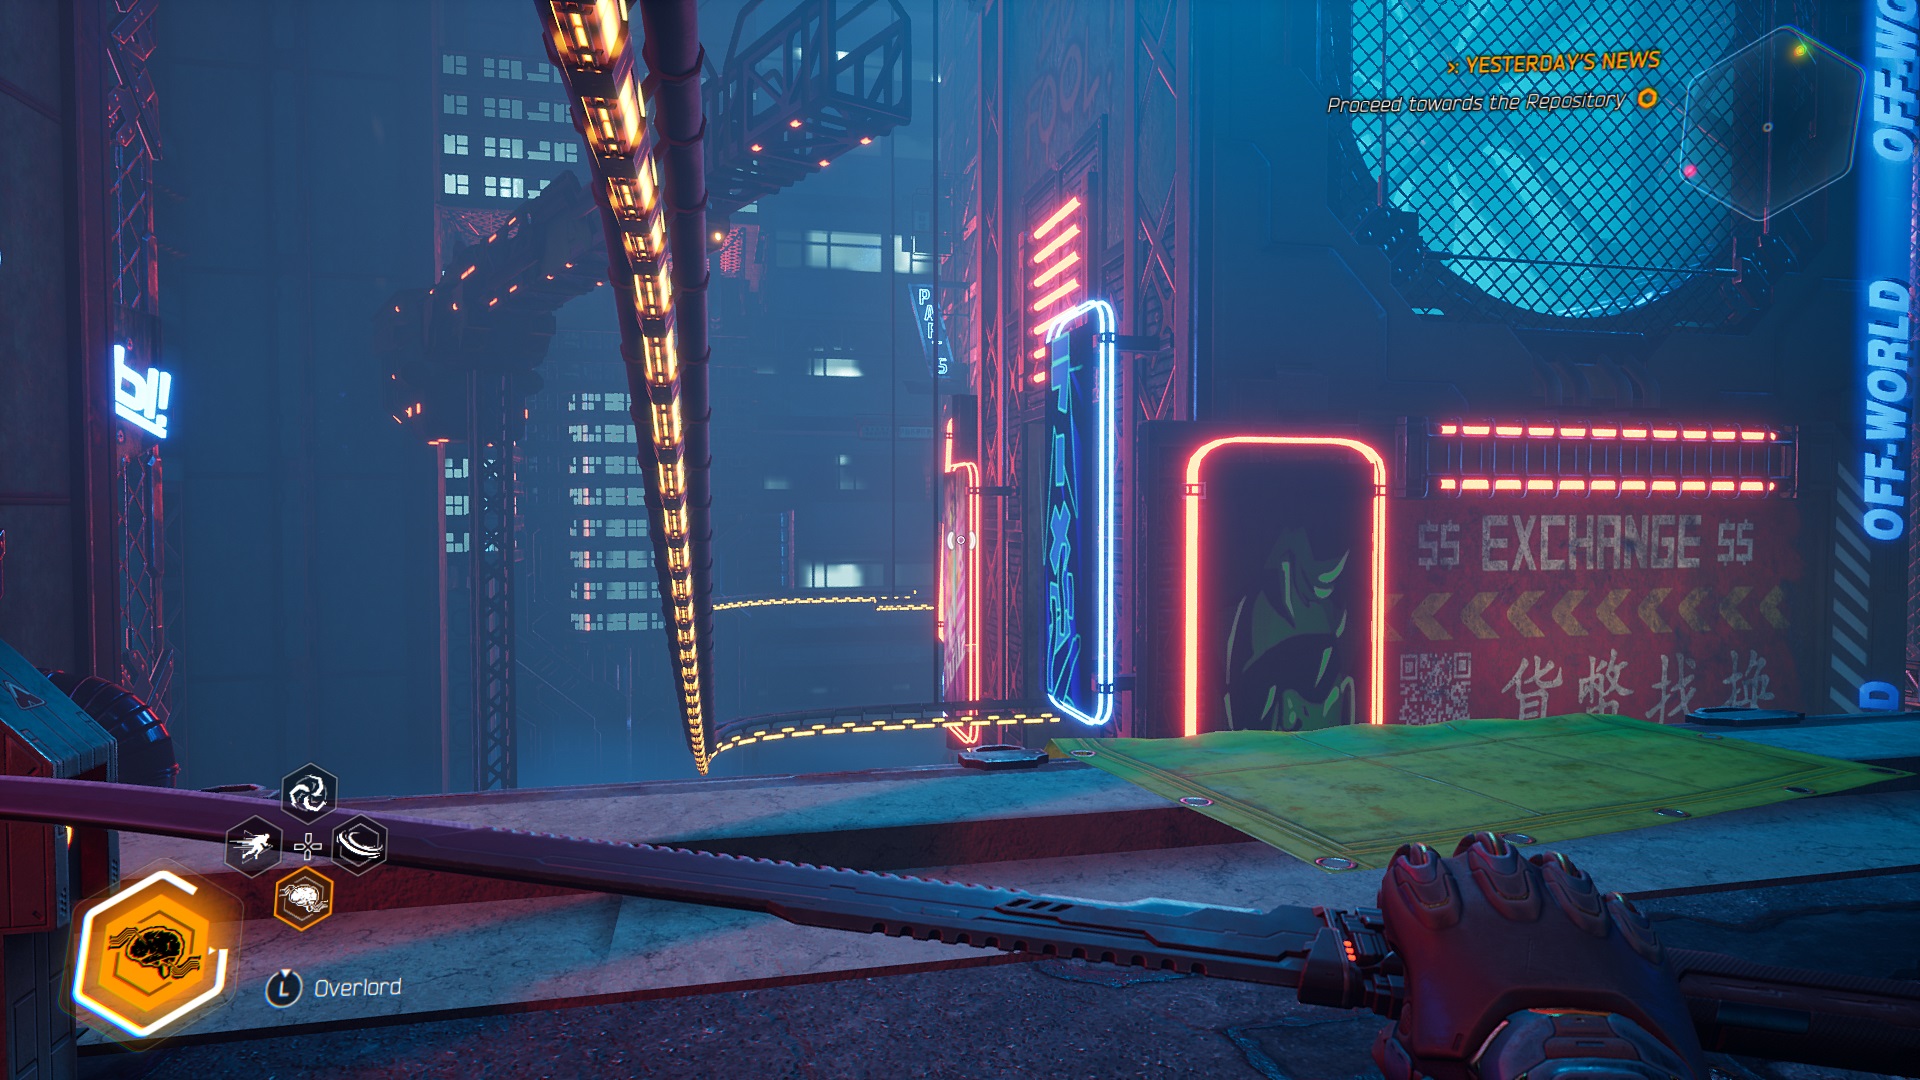
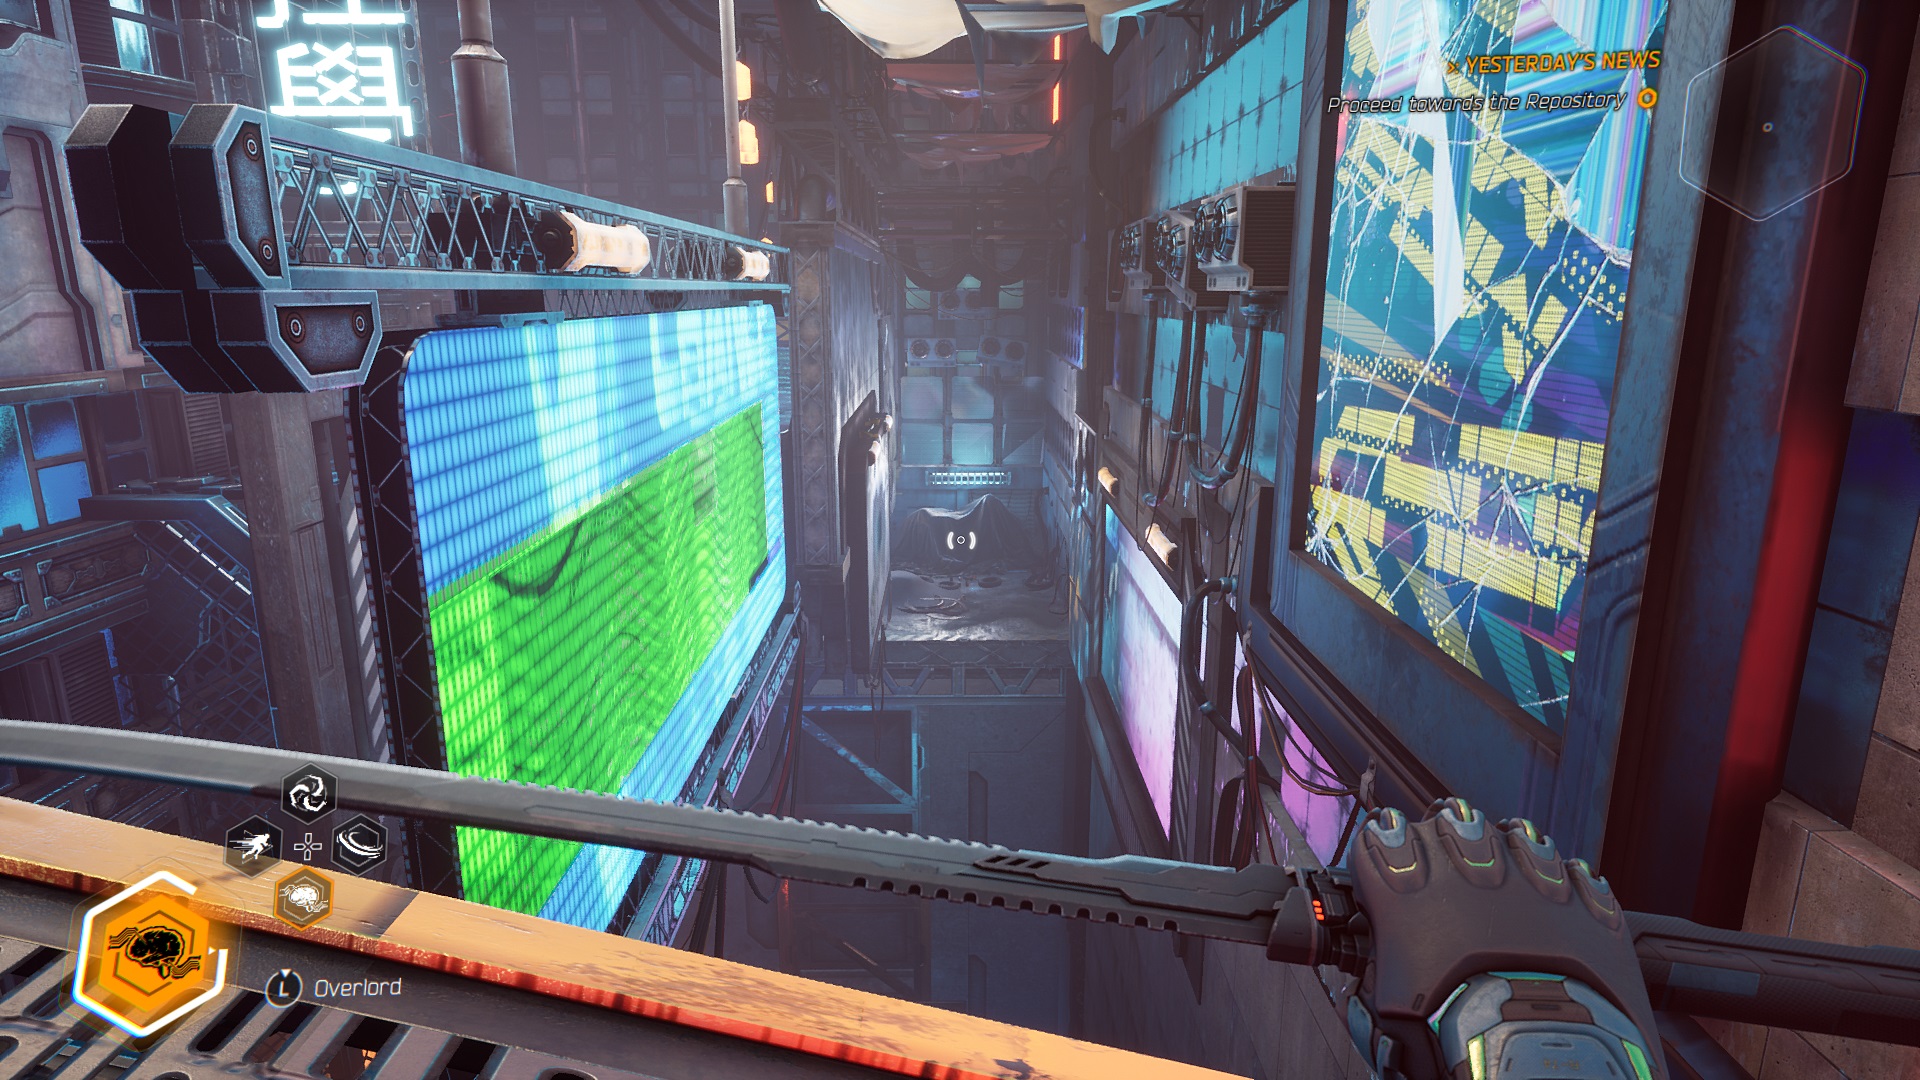
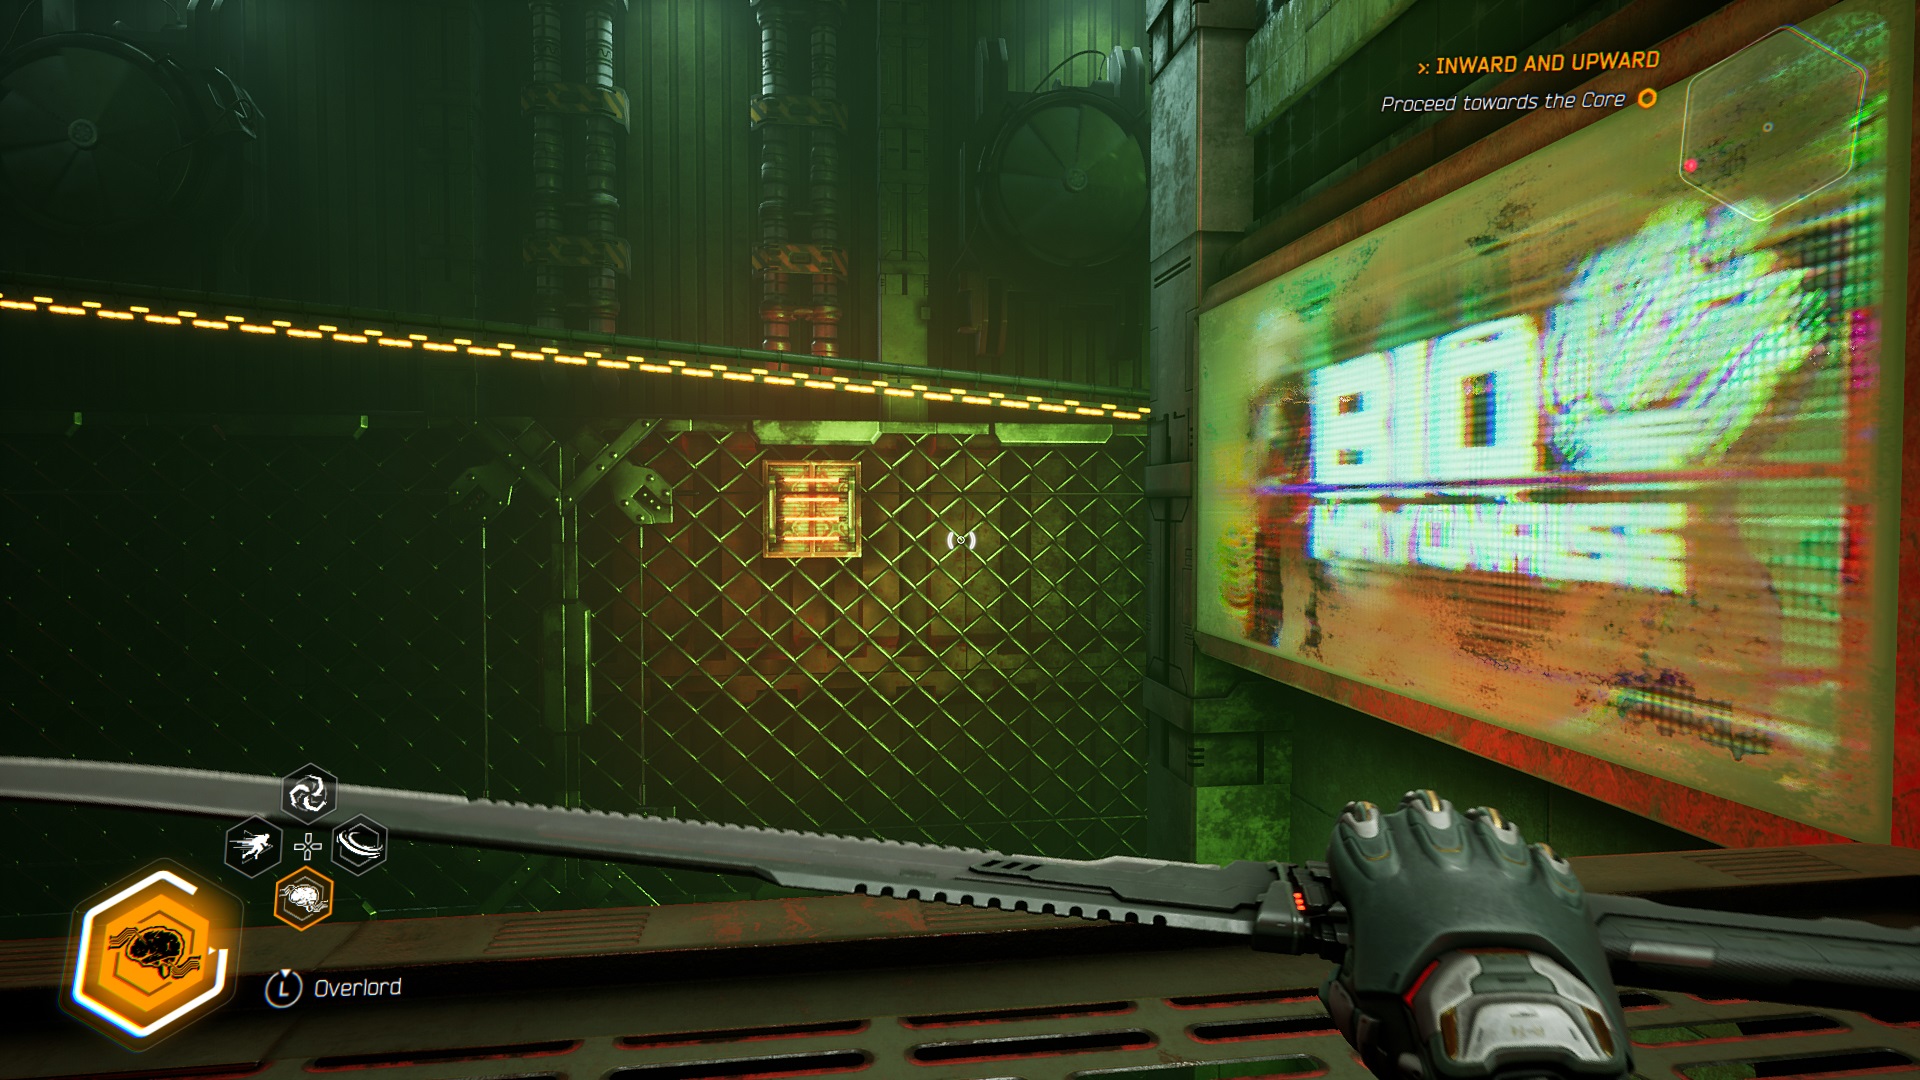
You'll have to work a little harder for this sword. After the second door marked with a green light, you'll enter a room where you'll find a billboard and an easily missed time-slowing pickup above eye level. Wallrun across the billboard and jump over to the powerup. You'll probably have to start by jumping on the crates below the billboard to gain height, then you can use your sensory boost to aim your jumps more carefully.
Once time has started to slow, you'll need to quickly jump down, turn right, then immediately up and left to find the fan you'll need to get through. Make it in time and another sword is yours.
Sword 5
Level: Road to Amida
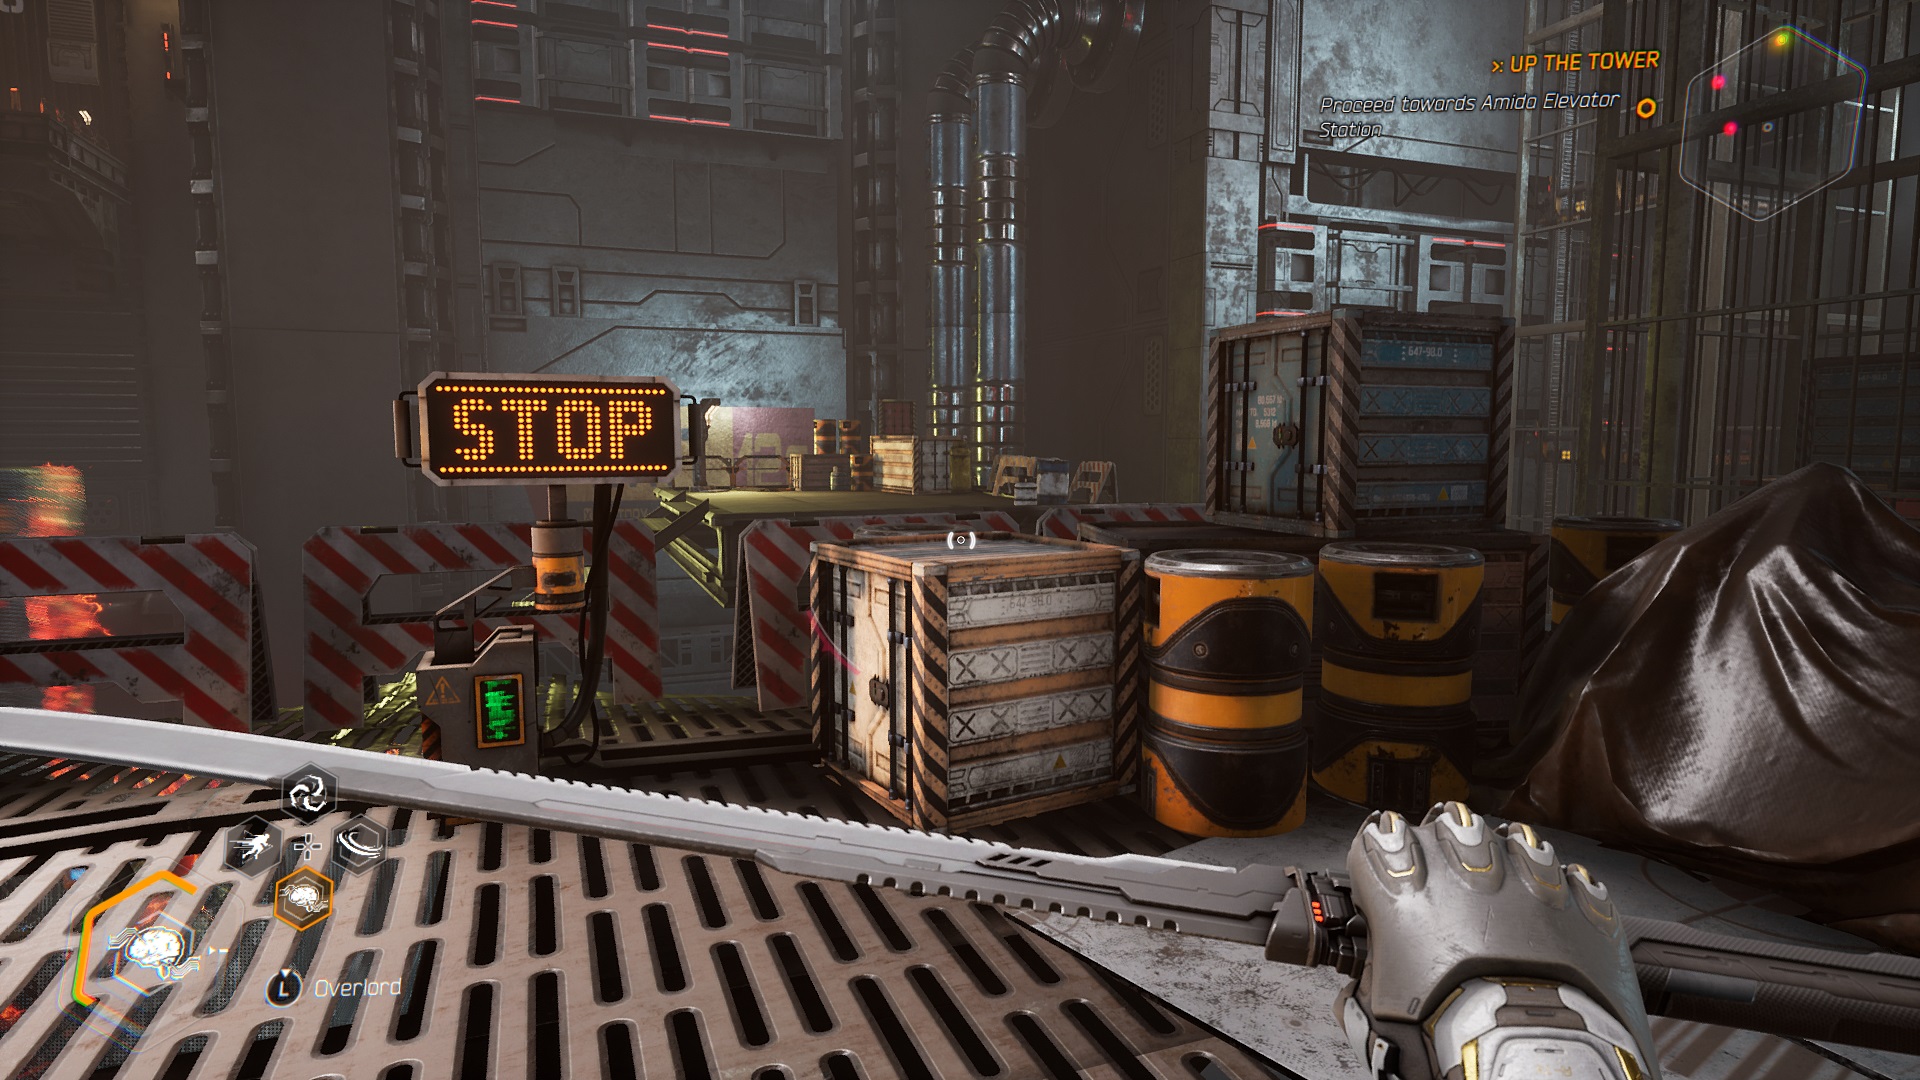
Keep going until you reach a room with two rotating, hackable platforms close to one another, opposite an enemy with a front-facing shield. Above this enemy is a platform with a STOP sign. With the sign in front of you, you'll see another platform nearby with some barrels and crates. Jump over to it to find the sword hidden from view.
Sword 6
Level: Run Up
After facing your second set of mech enemies, you'll find a grapple point begging to be used to take you to a higher platform. Resist the temptation to use it. Instead, turn left, where you'll see that several barriers seem to have been knocked down (how curious). Drop through the gap onto the hidden platform below, where another sword awaits your collection.
Sword 7
Level: Dharma City
After killing the first drone, there will be a series of rails to ride. When you jump off the final rail, turn around and jump back on. You'll find that it turns into a building where you'll find the sword pickup.
Sword 8
Level: Echoes
After you've sliced up your second ninja, you'll come to a ramp beneath a warning sign. Instead of sliding down it, turn to your left, where you can wallrun across to a little nook. You'll find the sword here.
Sword 9
Level: Echoes
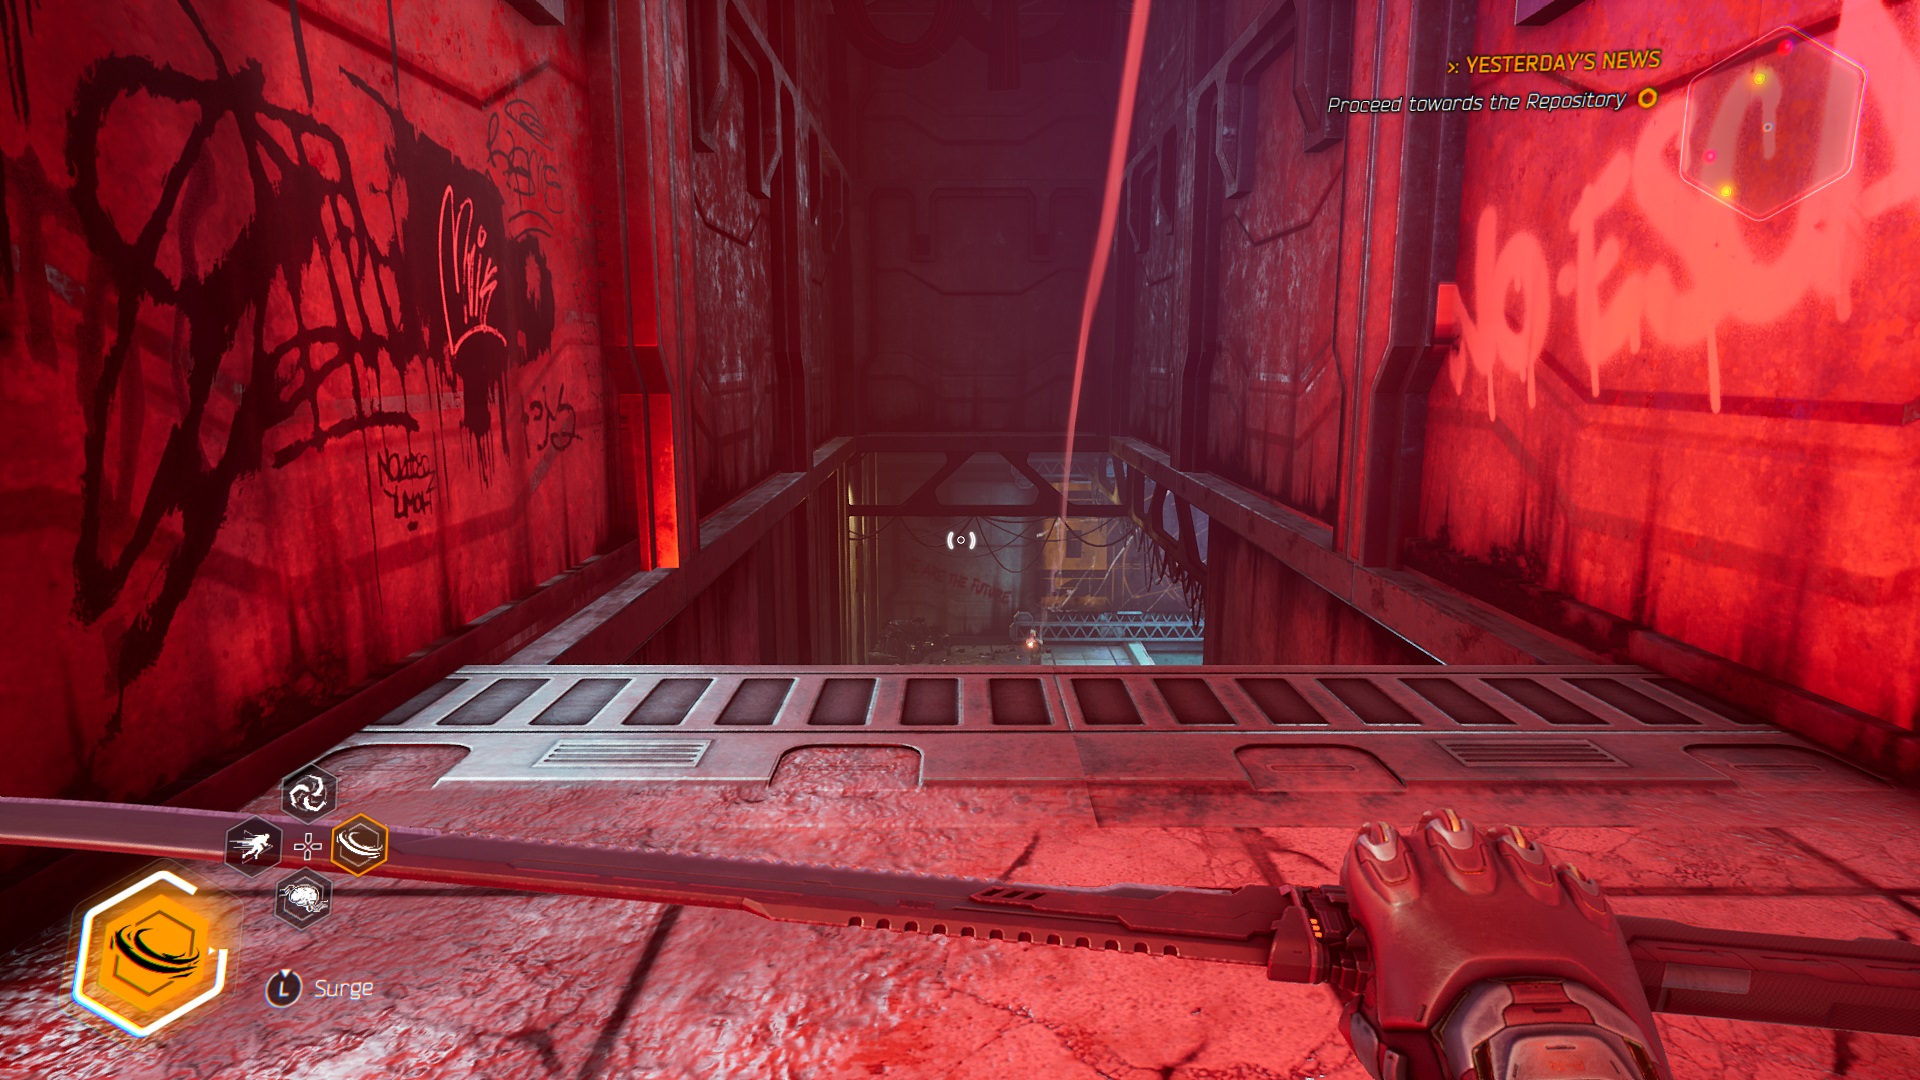
Later in the level, you'll enter a combat encounter that starts off with a ramp surrounded by graffiti and red light. In this area, you can wallrun up to a small area visible behind a grubby neon sign to its right. Get in there and turn right, where your sword is ready for the taking. I strongly recommend clearing the area of enemies first, though.
Sword 10
Level: In Her Own Image
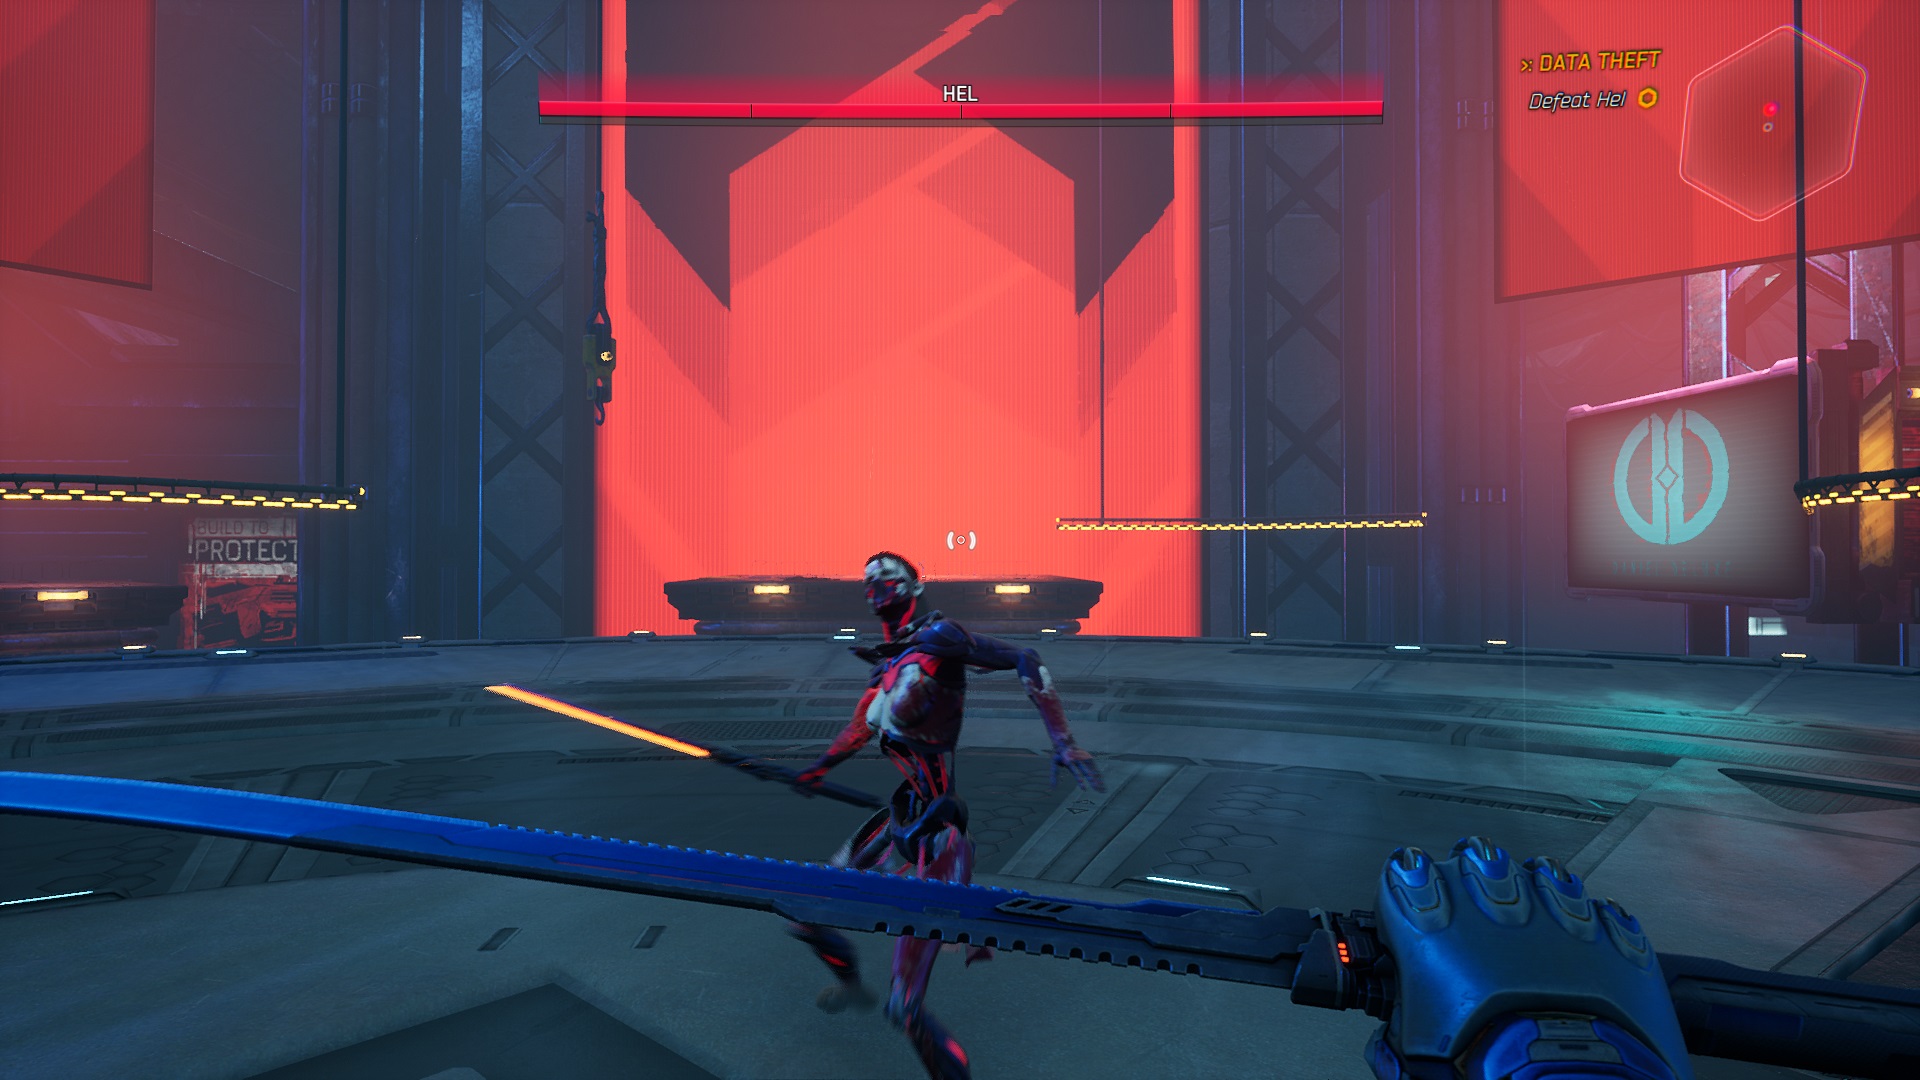
The only unmissable sword in the game. Complete the boss fight and it's yours. Of course, that's harder than I've made it sound. Remember to stay calm and parry according to her attack pattern, and you'll have a new blade as well as a dead foe.
Sword 11
Level: The Forbidden Zone
Chop your way through enemies until you reach the combat area containing the first mechs of the level. Near a map and the super-jump powerup, you'll find a partly raised shutter. Slide under here and shove that sword into your increasingly bulky pockets (seriously, where does he put them all?).
Sword 12
Level: Reign in Hell
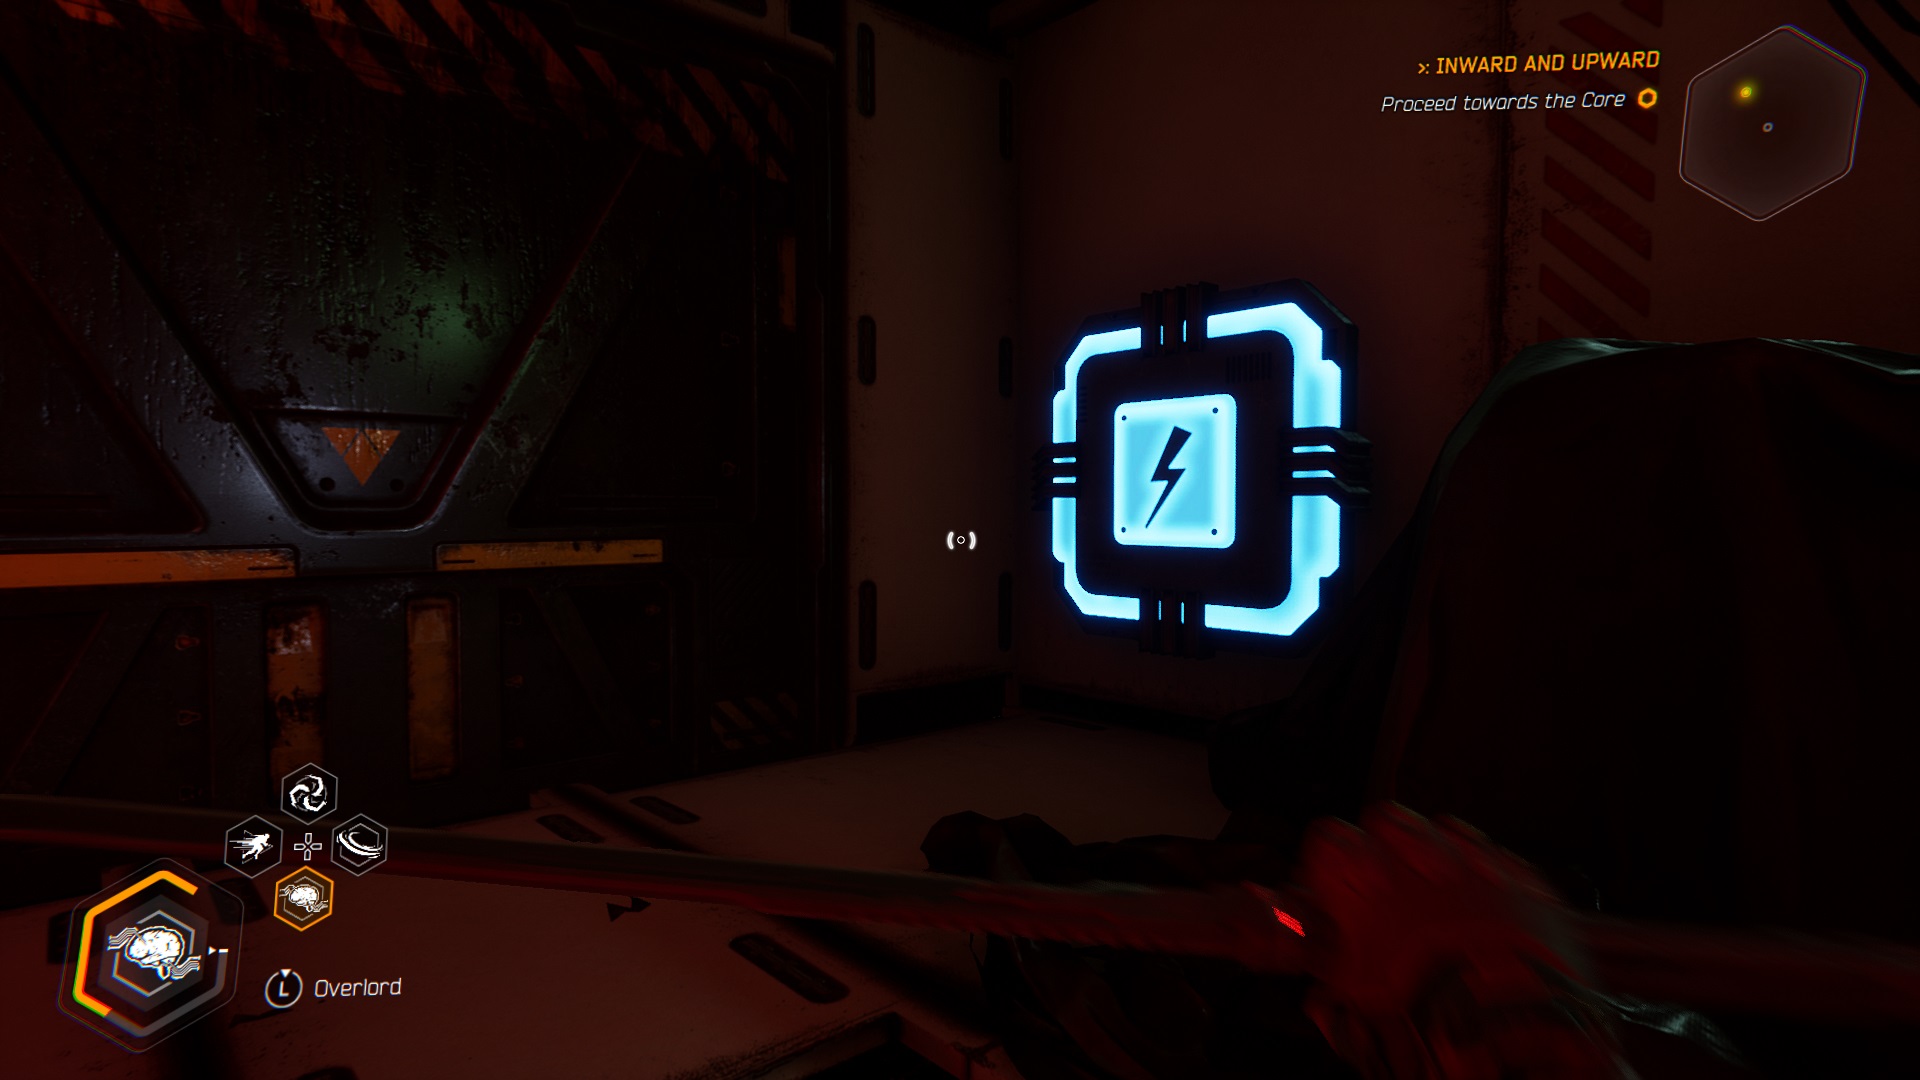
This one's easy. At the beginning, walk straight ahead until you can't go any further, then turn right. You'll find an amusingly large power box on the wall. Whack it with your sword and the door next to you will open, revealing the sword.
Sword 13
Level: Reign in Hell
After your second encounter with some horrible exploding enemies, return to where they came from, turning right rather than left, and you'll find a rail. Hop on and you can ride your way to the next sword.
Sword 14
Level: Things You Wouldn't Believe
In the room containing a huge number of rails, ride them until you jump off onto a platform at the top of the room. Instead of continuing to ride the last few rails, look around until you can see a nearby platform with a large device displaying red digital readouts. Leap across (you'll need your sensory boost to make it) and the final sword is sequestered just behind.
 Join The Club


