Every boss in Terraria and how to beat them
Eclipse the Moon Lord with this handy Terraria bosses guide.
Terraria mods: The best fan-created tweaks
Terraria beginner's guide: Get started right
Terraria builds: The best for each class
Terraria creations: Ten incredible constructions
Terraria whips: Where to find the Summoner weapons
There are a lot of Terraria bosses. Like, a lot. Each of them comes with their challenges and rewards, but they all hold the loot you need to get stronger and progress. All bosses can be tackled in a variety of ways, so this guide offers tips for each.
Before you tackle any of them, you should prepare accordingly. It's worth hunting down Life Crystals and crafting some Mana Crystals to get your health and mana as high as possible. This will make initial fights much easier, but it's also essential when you hit endgame. So, let's dig down into each of the fights against the various Terraria bosses.
All Terraria bosses, and how to vanquish them
Beyond maxing out your health and mana, try to get the best possible armour for whatever stage you’re at. Also, constructing a boss arena can make the fight easier. You do this by placing wooden platforms in the sky within a comfortable jumping range or up a piece of rope. Then, litter the area with Campfires, Heart Lanterns, and Stars in Bottles to boost your health and mana regeneration.
Also, always ensure you’ve got health potions and have decent lighting around your arena. Finally, bosses on Expert mode deal more damage, have more health and tend to be faster too, so remember that if you’re up for the challenge.
Pre-Hardmode
Yes, Pre-Hardmode is a silly way to refer to a part of a game, but that’s how Terraria rolls. Pre-Hardmode encompasses everything up to and including defeating the Wall of Flesh. When the Wall of Flesh is torn down, you’ll activate Hardmode, flinging you back to the bottom of the food chain once more.
One last point. You don't have to fight the bosses in the below order, but it's a good guideline.
King Slime
This one is barely counts as a boss. You can find King Slime by defeating 150 slimes during a Slime Rain event. Defeating it will net you some money, but little else of use. Your best bet is to use terrain to your advantage and a longer-range weapon if possible. Either way, this shouldn’t present too much of a challenge.
Keep up to date with the most important stories and the best deals, as picked by the PC Gamer team.
Eye of Cthulhu
Eye of Cthulhu has a chance of spawning at the beginning of each night once you have 200 HP or more, have three or more NPCs living in houses, and have over ten defence. It is a flying enemy that can travel through blocks. You’ll need a weapon with good speed and range to take it out, and it’s worth building a sky bridge to make fighting it easier. The sky bridge will come in handy against later bosses too, further reason to get building.
Eater of Worlds
The Eater of Worlds only appears in worlds with the Corruption. You can spawn it by destroying three Shadow Orbs with a Hammer, Bomb, or Dynamite. This boss is uniquely tricky as it comprises multiple bodies with individual health bars. The Eater of Worlds can also split when a section of it is destroyed, meaning you'll likely face many smaller bosses as the fight progresses. As a result, it’s easy to become overwhelmed. Piercing weapons work well against this boss as they can hit multiple sections at once.
Brain of Cthulhu
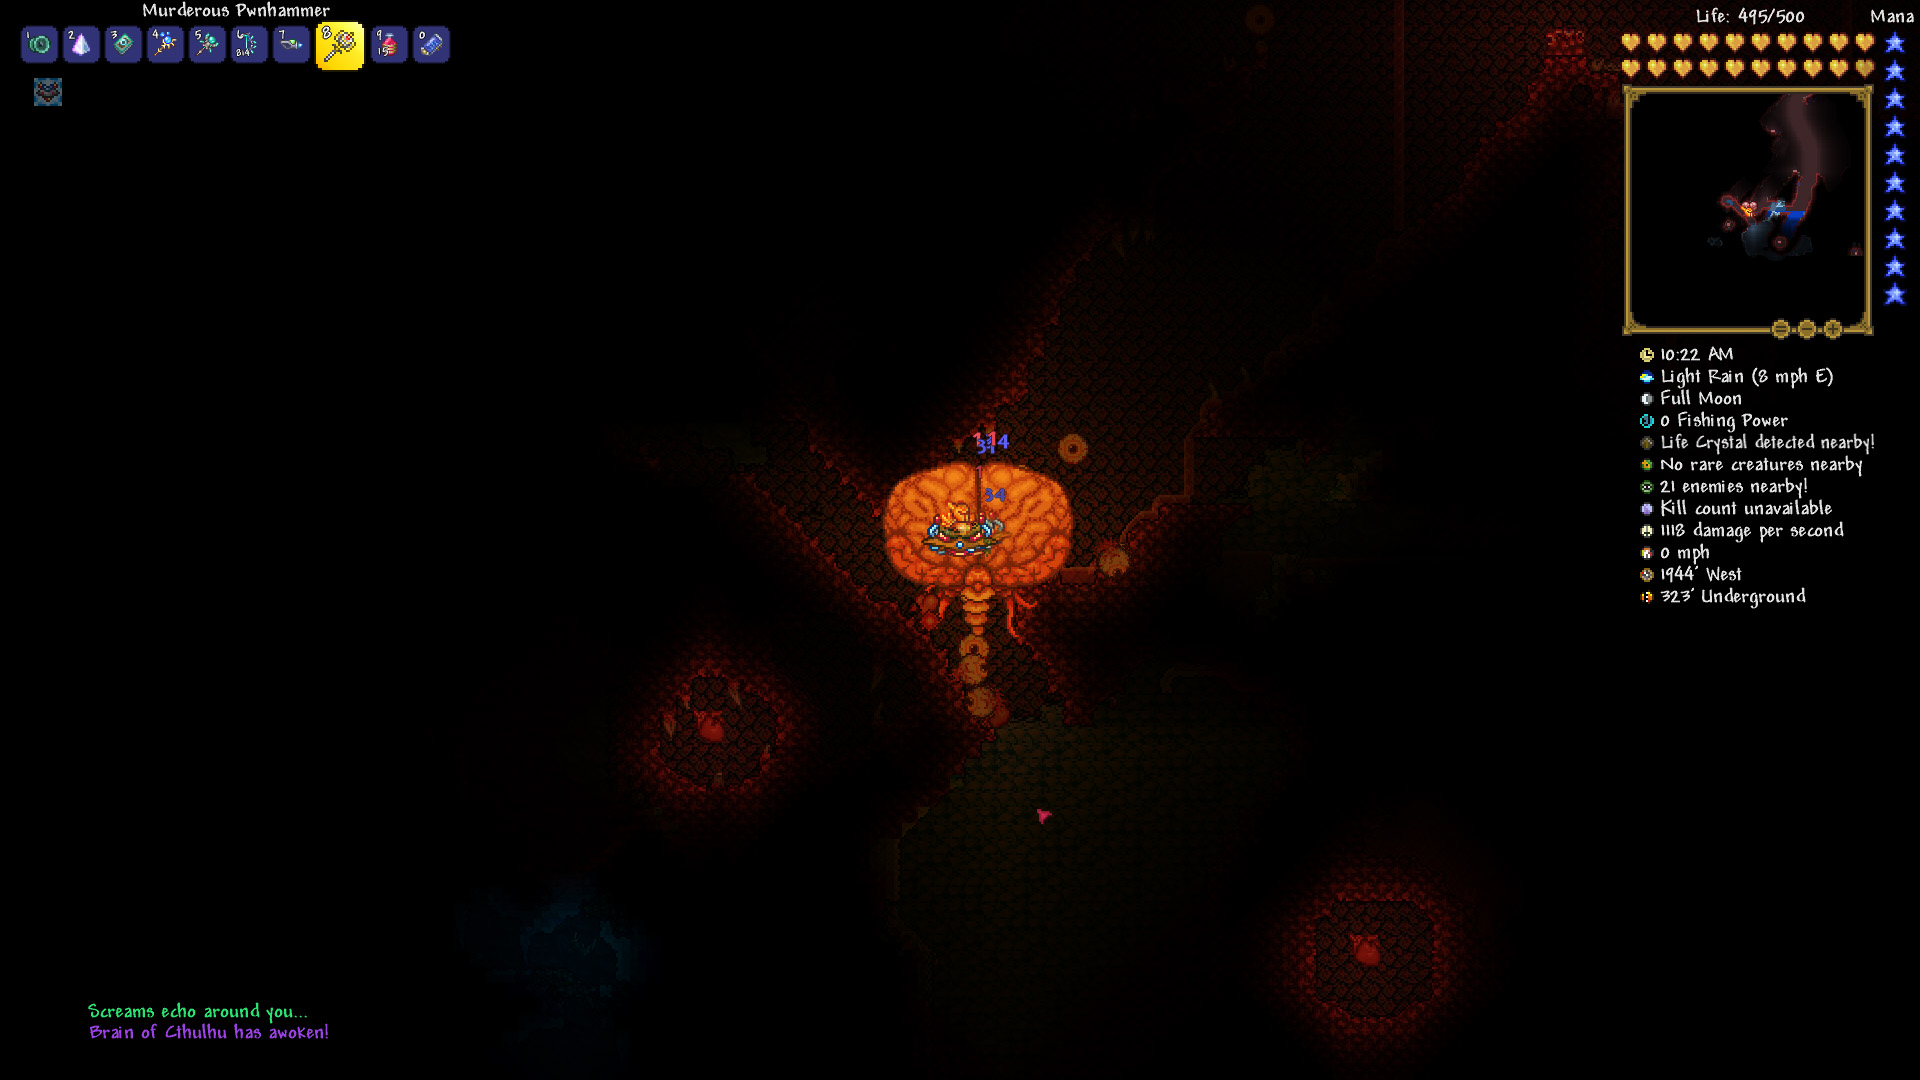
This is the Crimson equivalent of the Eater of Worlds and is summoned by destroying three Crimson Hearts. It’s generally a much easier fight than the Eater of Worlds, however, and has rather low health as well.
It’s best to use ranged strategies against this boss, as it likes to teleports around, making it troublesome to fight otherwise. The Brain is immune to damage in the first phase, and you’ll need to kill off the Creepers that surround it. Once you’ve killed them all, you’ll be able to hurt the Brain itself and take it down.
Skeletron
Either far to the east or far to the west of your spawn point will be a dungeon guarded by a strange old man. Talk to him once night has settled and you’ll be able to spawn Skeletron. It is comprised of a head and two arms, all of which have separate health bars. It’s generally best to destroy the arms first, then lay into the head.
Longer-range weapons are useful here (such as a yo-yo if you’re a melee build) while a sky bridge can also help greatly once the arms are dead. When the head uses its spinning attack that follows you, you can run backwards and attack it at the same time. Once it’s dead, you can explore the dungeon fully to get some excellent new loot.
Queen Bee
The Queen Bee is found in the underground jungle inside beehives. Destroying its larvae will make her appear. It’s worth preparing a boss arena for this fight. Its primary attacks are a horizontal charging attack which can be dodged by jumping up or down, and an attack that fires bees at you. These bees will need to be killed separately, so having a weapon with a wide arc can help.
The Queen Bee can also swoop at you while firing poisonous stingers, but this tends to be less frequent. It’s worth farming this boss for the bee-related weaponry, as they are fun and quite useful, too.
Wall of Flesh
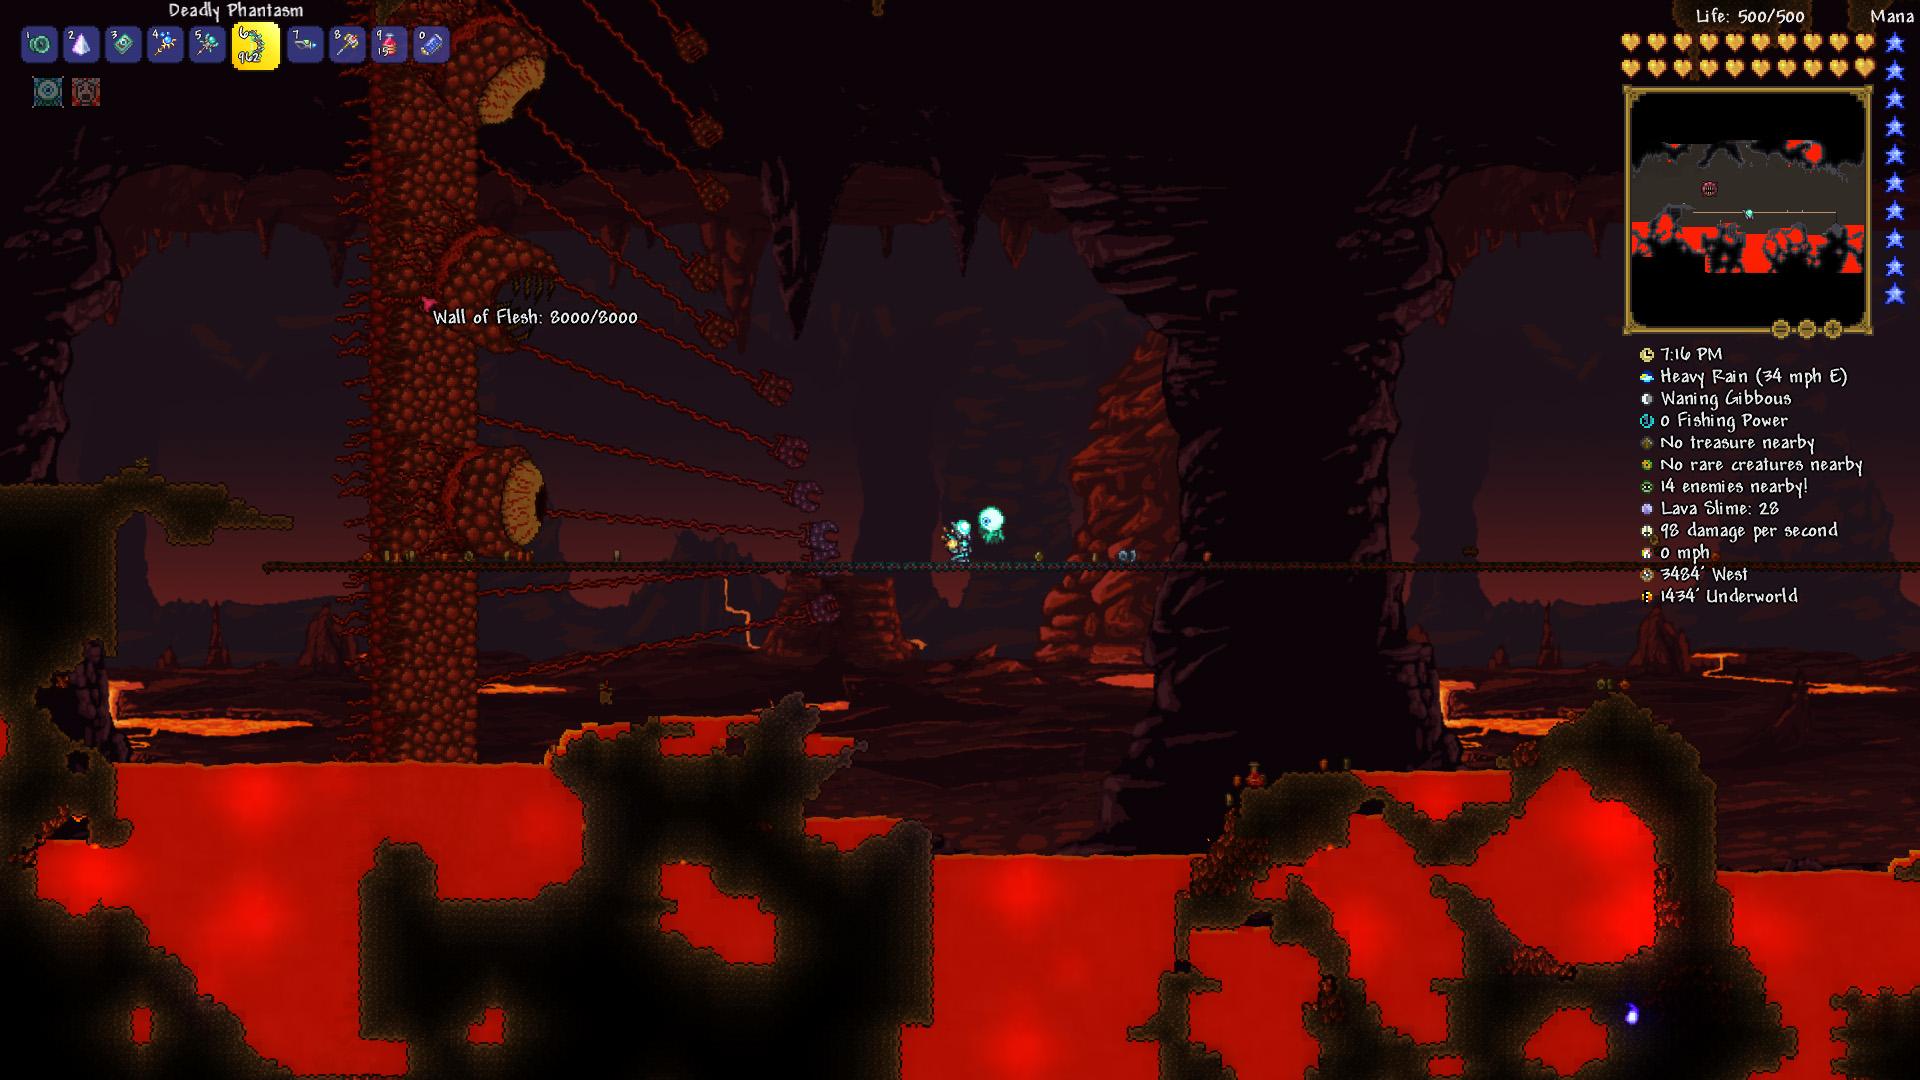
The final boss in Pre-Hardmode can be summoned by dropping a Guide Voodoo Doll into the lava in the underworld. Dig down to the bottom of the world, then build a long underground bridge from one end to another. You can acquire a Guide Voodoo Doll from some of the flying demons. Drop one in a pool of lava at one of the ends of your bridge to summon this boss.
The Wall of Flesh will spawn and follow you from one side of the world to the other (it always spawns to the closer edge, which is why the bridge is helpful). The eyes will fire lasers, and the mouth spawns Leeches that will follow you. Along with this are The Hungry, which will try and chase you down as well. Kill off The Hungry first, then focus on attacking the Wall's eyes, as they have no defence but share the same health pool as the mouth. Focus your attacks and jump up and down as you run backwards. You should be able to defeat the Wall of Flesh as long as you have decent weapons.
Hardmode
Hardmode is where the game kicks up a notch, featuring new bosses, upgraded bosses, and adding several new ores. Before you fight any of the bosses, it’s worth locating the new ores and creating new weapons and armour from them. The first three in this section are known as the Mechanical Bosses and have a 10 percent chance of spawning on any given night, so long as you haven’t already beaten them.
In Hardmode, you can upgrade your health to 500 by finding Life Fruits in the underground jungle, worth doing if you’re struggling with a boss. Many of these fights will also be easier if you have access to the UFO Mount. The Cosmic Car Key that summons the mount drops from Martian Saucers during the Martian Madness event. It allows you to fly freely through the air and frees up many accessory slots for more defensive or offensive items.
The Twins
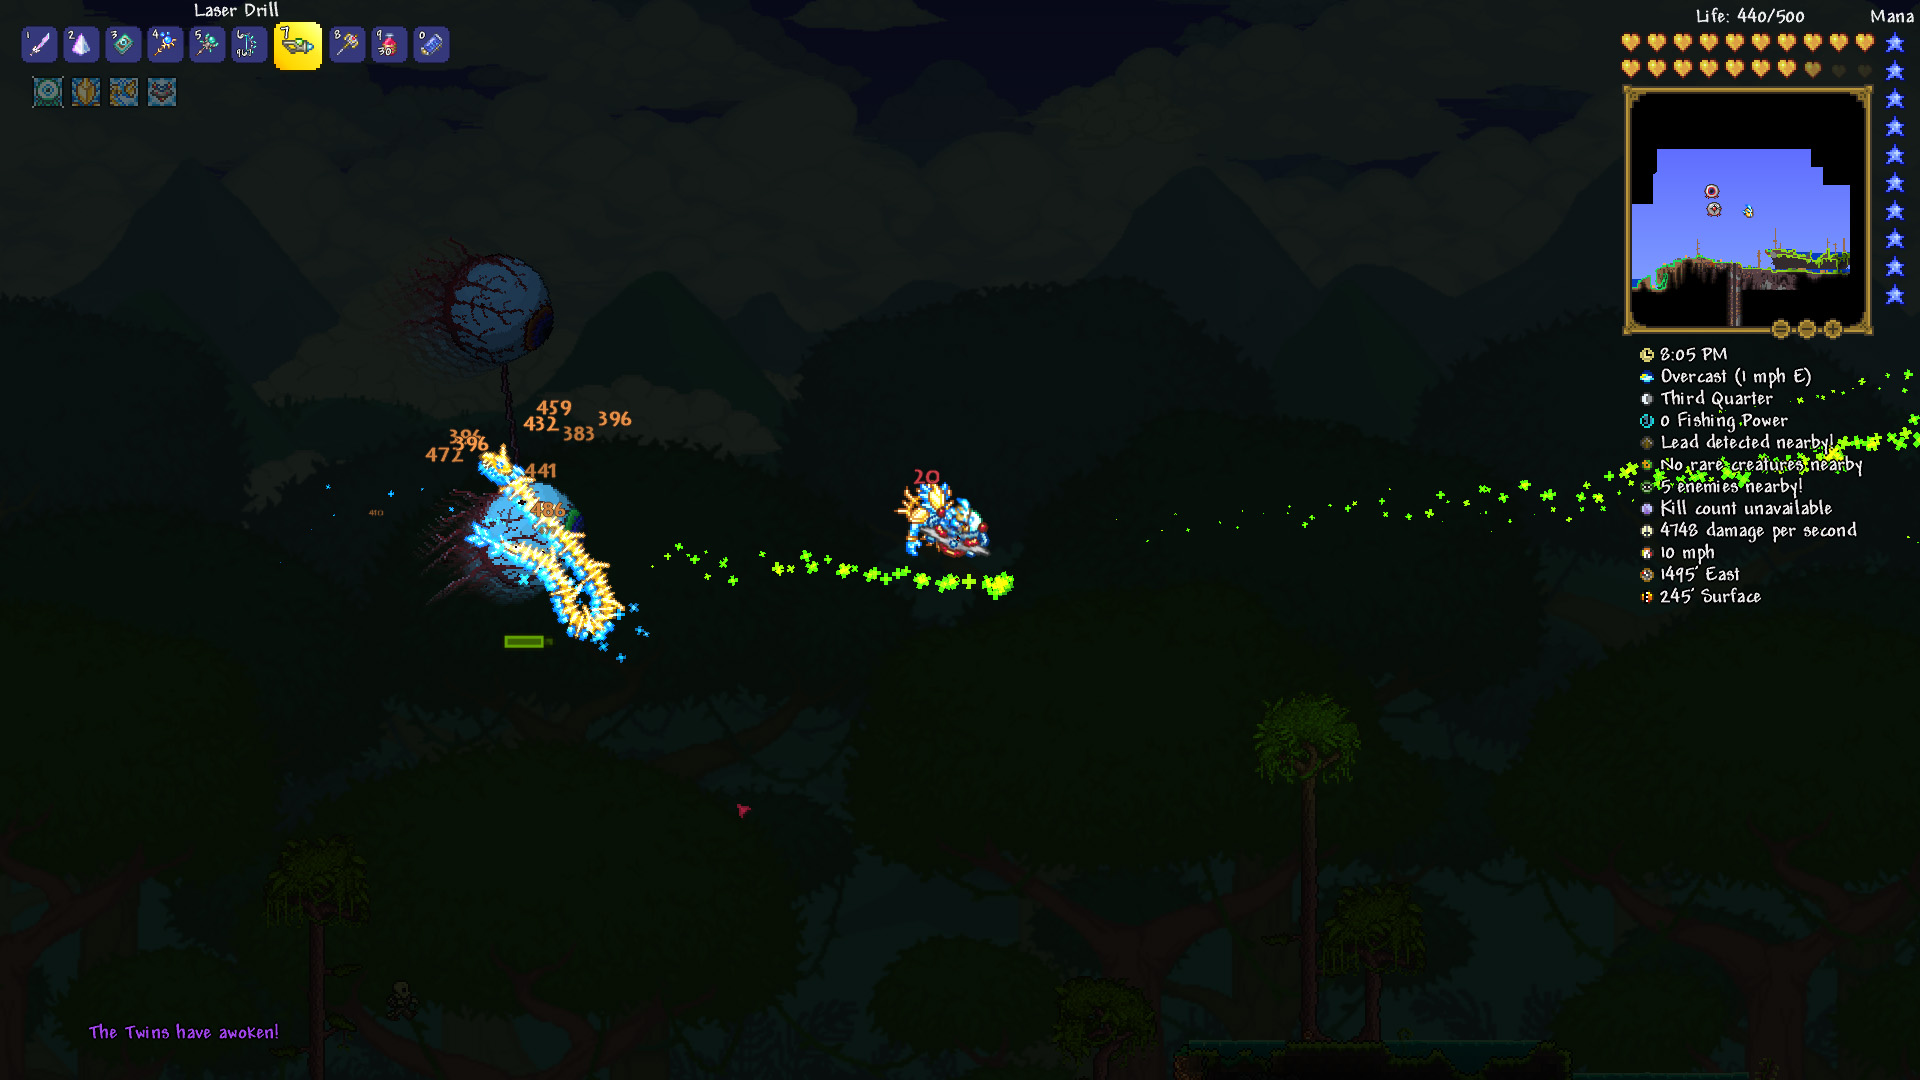
This fight is effectively two Eye of Cthulhus. Retinazer shoots lasers at you while Spazmatism either charges at you or fires off a cursed flame attack. The attacks change slightly once they reach their second forms, but you can offset this by focussing your fire on one at a time. You’re generally better off focusing on Spazmatism first, as the cursed flame attacks can cause significant damage and it is harder to dodge than Retinazer’s lasers.
The Destroyer
The Destroyer is the upgraded form of the Eater of Worlds, yet ironically, this is by and large an easier fight. See, while The Destroyer has a larger health pool, it's all contained in a single health bar, and you can damage it multiple times in one go by using piercing weapons with a large area of effect. Just be aware of the Probes that spawn as you damage it, it’s worth killing them off as fast as you can to access the hearts they drop, allowing you to focus on the boss itself.
Skeletron Prime
As the Hardmode version of Skeletron, you’d be right to fear Skeletron Prime. While you only have to destroy the head to beat it, It now has four arms instead of two, and is faster than the OG version. As before, building a good arena will be the difference between life and death. It’s also worth taking out the arms first to make things easier. The two most dangerous arms are the Prime Laser and Prime Vice, so it’s worth targeting those first where possible.
Plantera
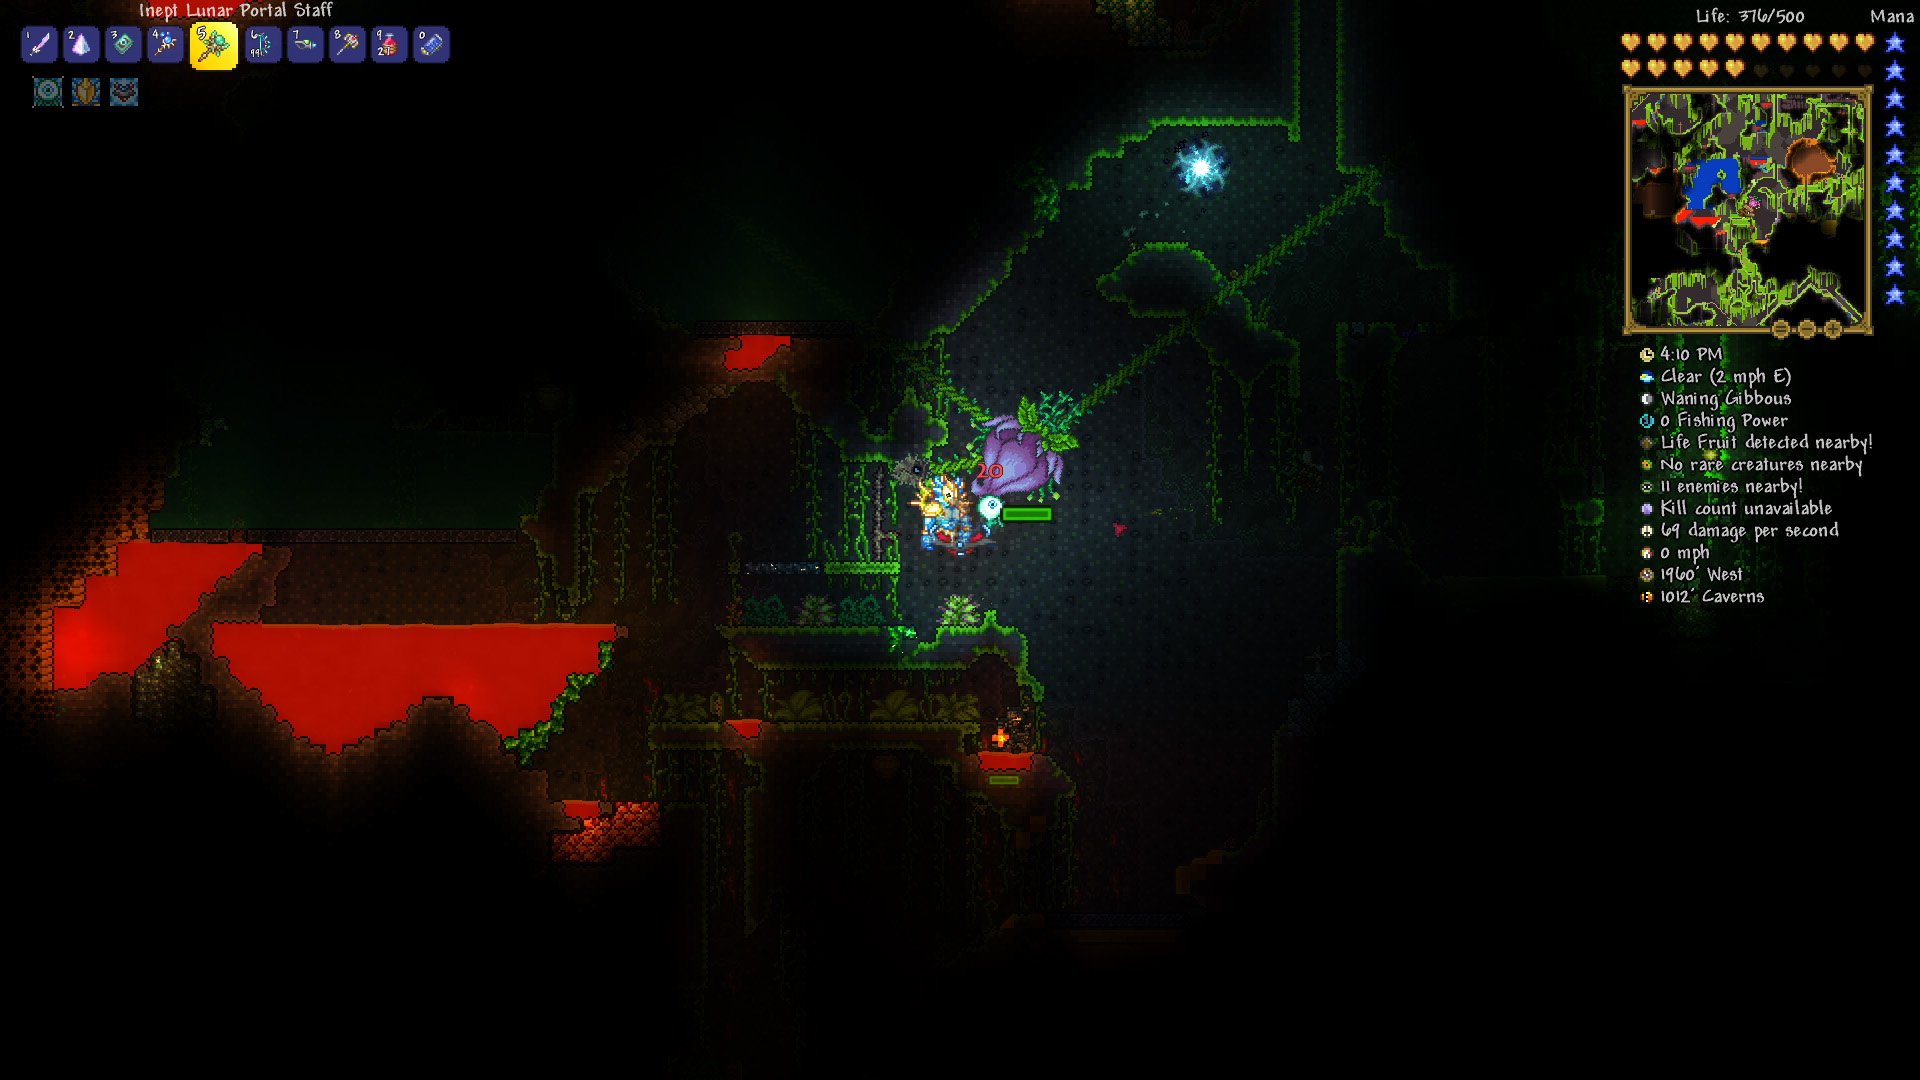
After defeating the three mechanical bosses, an object called Plantera’s Bulb will appear in the underground jungle. Destroying these pink bulbs will cause Plantera to spawn. Set up a nice big arena underground before doing so to give yourself the best chance of success.
The fight is split into two phases. The first phase will end once you hit 50 percent health, at which point Plantera will gain increased damage, defence, and speed. This fight is far easier for ranged fighters, so it’s worth keeping that in mind if you’re a melee user. Just move away from the boss in a circular motion to avoid most of the attacks, and it should fall if you’ve got good equipment.
Golem
Once you’ve defeated Plantera, you’ll gain access to the Jungle Temple. Inside this is an altar you can use a Lihzahrd Power Cell on, doing which will summon the Golem. In the first phase, it will spit fireballs and attack you with its arms. Destroy the arms before attacking the head it will make phase two easier. Once you reach phase two, you’ll need to focus your attacks on the Golem’s Body, as killing it will end the fight.
Duke Fishron
This boss isn’t mandatory to win the game, but it does drop some great weapons. Duke Fishron can be summoned by fishing in the ocean while using a Truffle Worm as bait. You'll find the Truffle Worm in the underground mushroom biome and must catch it using a bug net. Once you’ve reeled in Duke Fishron, the battle will start.
Duke Fishron will charge you before either firing explosive bubbles or sharknadoes at you. The second phase will begin once it drops below half health, whereupon it will transform, deploying a powered-up version of the first phase attacks. An arena is vital in this fight, so set it up first. Then simply dodge the attacks where possible and heal often to whittle down the beast’s health.
Lunatic Cultist
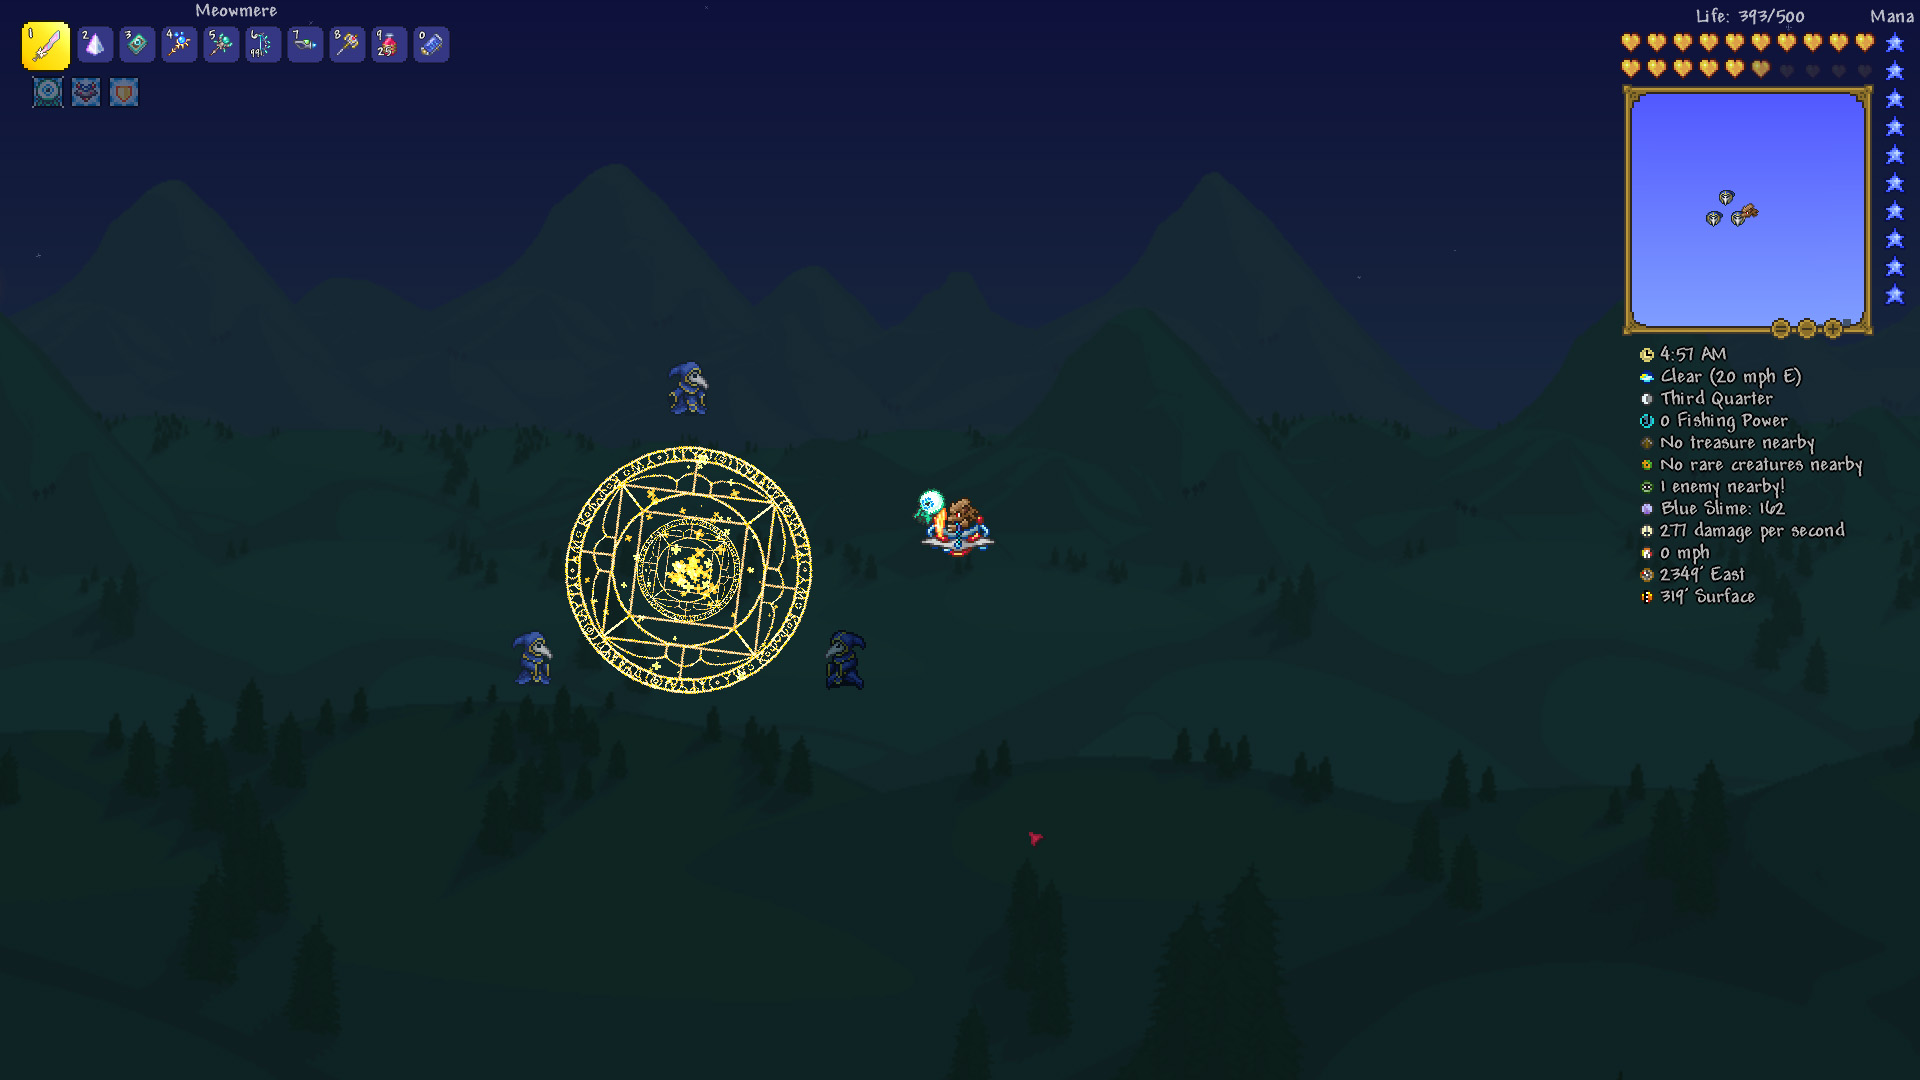
The Lunatic Cultist will spawn once you’ve killed off the Cultists who are in front of the dungeon entrance. This boss flies and teleports around using a variety of magic to attack the player. It will occasionally summon duplicates that should be ignored in favour of killing the cultist itself. Ensure you’ve got the best gear available to you equipped, because as soon as it has fallen the Lunar Events will begin.
The Pillars
While not bosses as such, they are the next phase of your journey to defeat the final boss. Four pillars will spawn across the map. To damage them you’ll need to defeat enemies around them until they lose their shields, at which point you can destroy the pillars themselves. They drop fragments which can be used to craft new weapons. I strongly recommend you do so before facing the Moon Lord.
The Moon Lord
The Moon Lord will spawn shortly after defeating all four pillars. A good boss arena is important for facing this boss, as it does serious damage and has a lot of health. You can avoid many of its attacks by building a small room to hide inside. Surrounding it with all the health regen items you would normally scatter across an arena will also help you stay alive. It won't guarantee your survival, however.
You can attack the eyes on he Moon Lord's hands and head, each of which has a separate health pool. The fight will be easier if you can dispatch all three in quick succession, as the Moon Lord gets stronger every time one is destroyed. Once you’ve taken these down, you must kill the core while the True Eyes of Cthulhu attack you. It’s worth crafting a Stardust Dragon staff even if you aren’t a summoner, as it will help boost your damage. Other than that, it’s a matter of healing regularly and staying vigilant.

