Here's every Treasure Hoard map location in Assassin's Creed Valhalla
AC Valhalla Treasure Hoard map guide: Find every treasure in England and Norway.
- Grantebridgescire
- Ledecestrescire
- East Anglia
- Oxenefordscire
- Lunden
- Sciropescire
- Cent
- Essexe
- Lincolnscire
- Suthsexe (Crawelie)
- Suthsexe (Monk's Lair)
- Suthsexe (Witch's House)
- Glowecestrescire
- Wincestre (Seminary)
- Wincestre (Bishopric)
- Hamtunscire
- Jorvik
- Eurvicscire
- Snotinghamscire
- Rygjafylke (Norway)
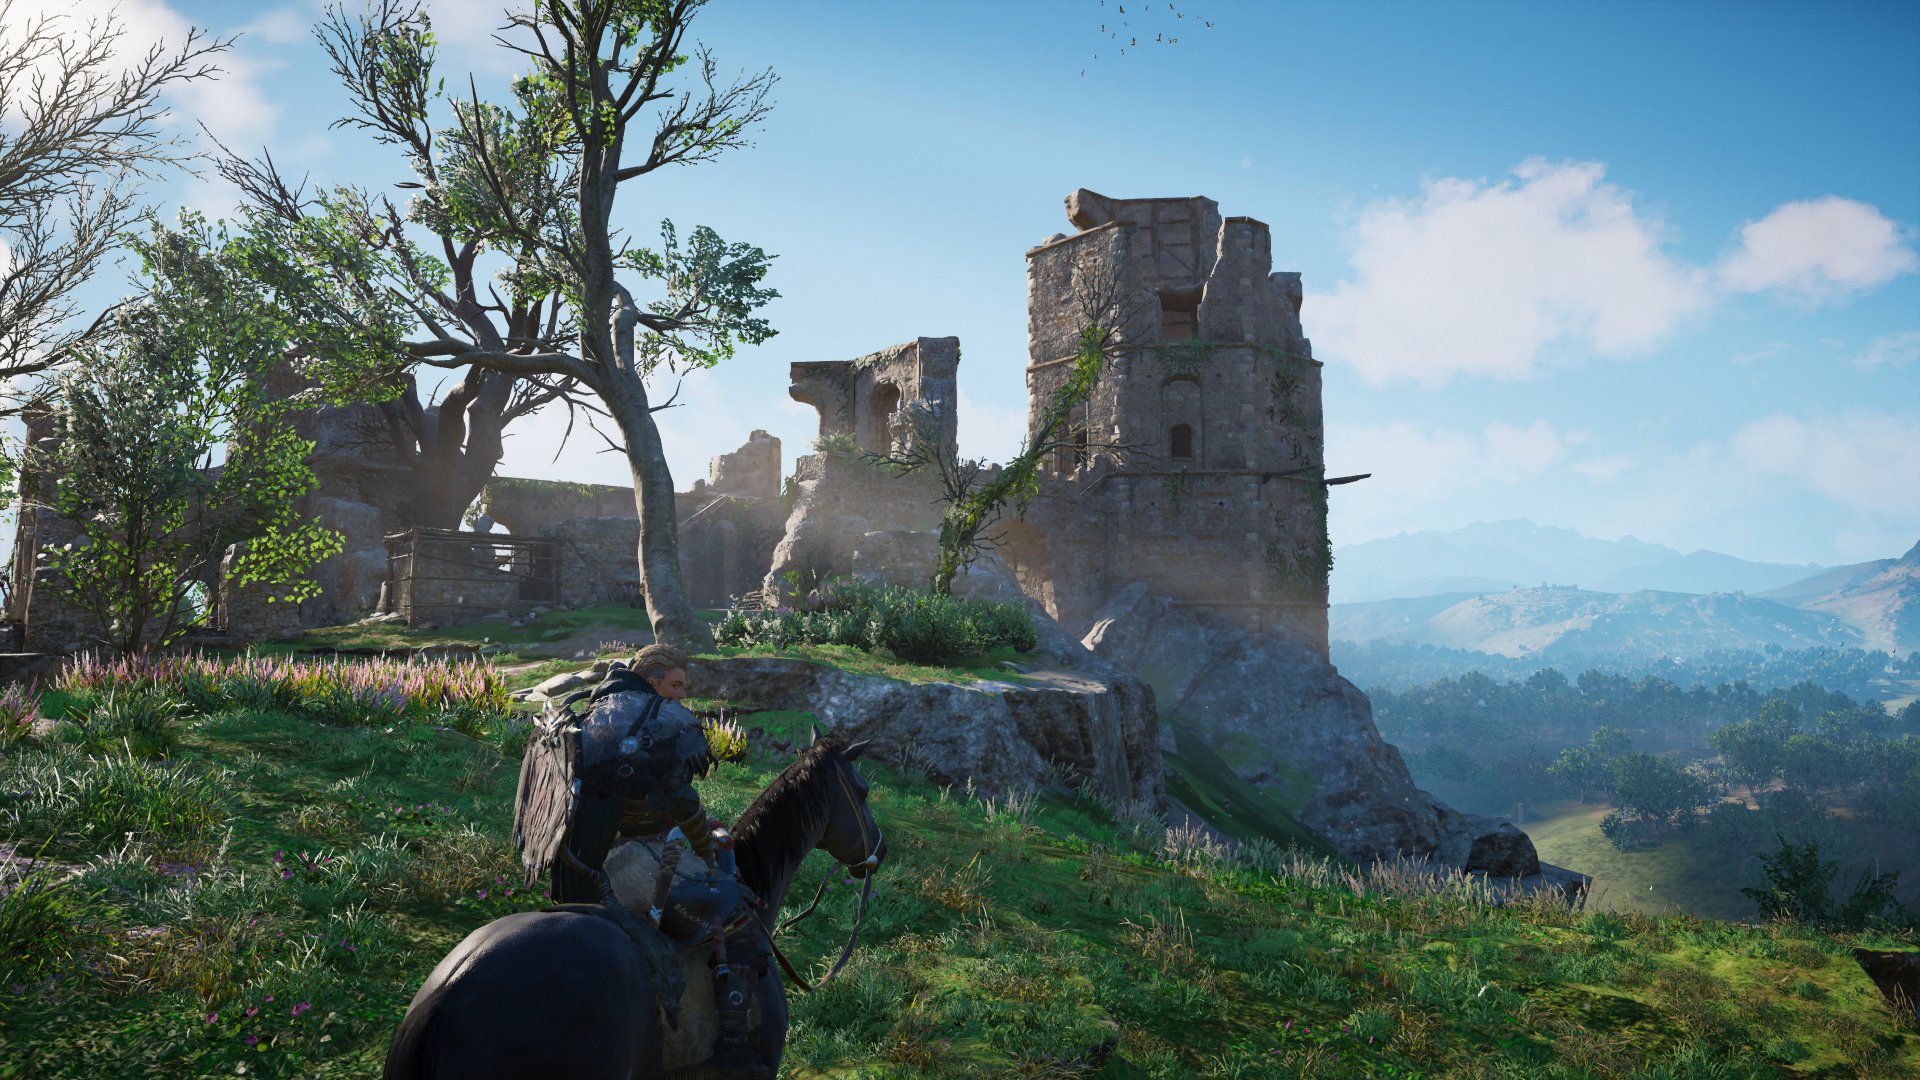
Wondering where to find the Treasure Hoard map locations in AC Valhalla? You'll find these dotted around both England and Norway, and finding them will reward you with cosmetic rewards such as tattoos or longship customisations. Perfect if you want to sail in style—or if you're a completist that just likes to collect everything.
There are two objectives if you want to find all of these treasures. First, you'll need to locate the clue, then work out where exactly the treasure is hiding. Once you've found the clue, you will need to check your inventory to see what it contains. This is usually a note or crudely-drawn map. This will remain in your inventory until you locate the treasure.
There are 20 to be found in total, so if you're ready, read on to discover where to find each AC Valhalla Treasure Hoard map location, and where they lead.
AC Valhalla Treasure Hoard Map locations and solutions
Grantebridgescire
Clue
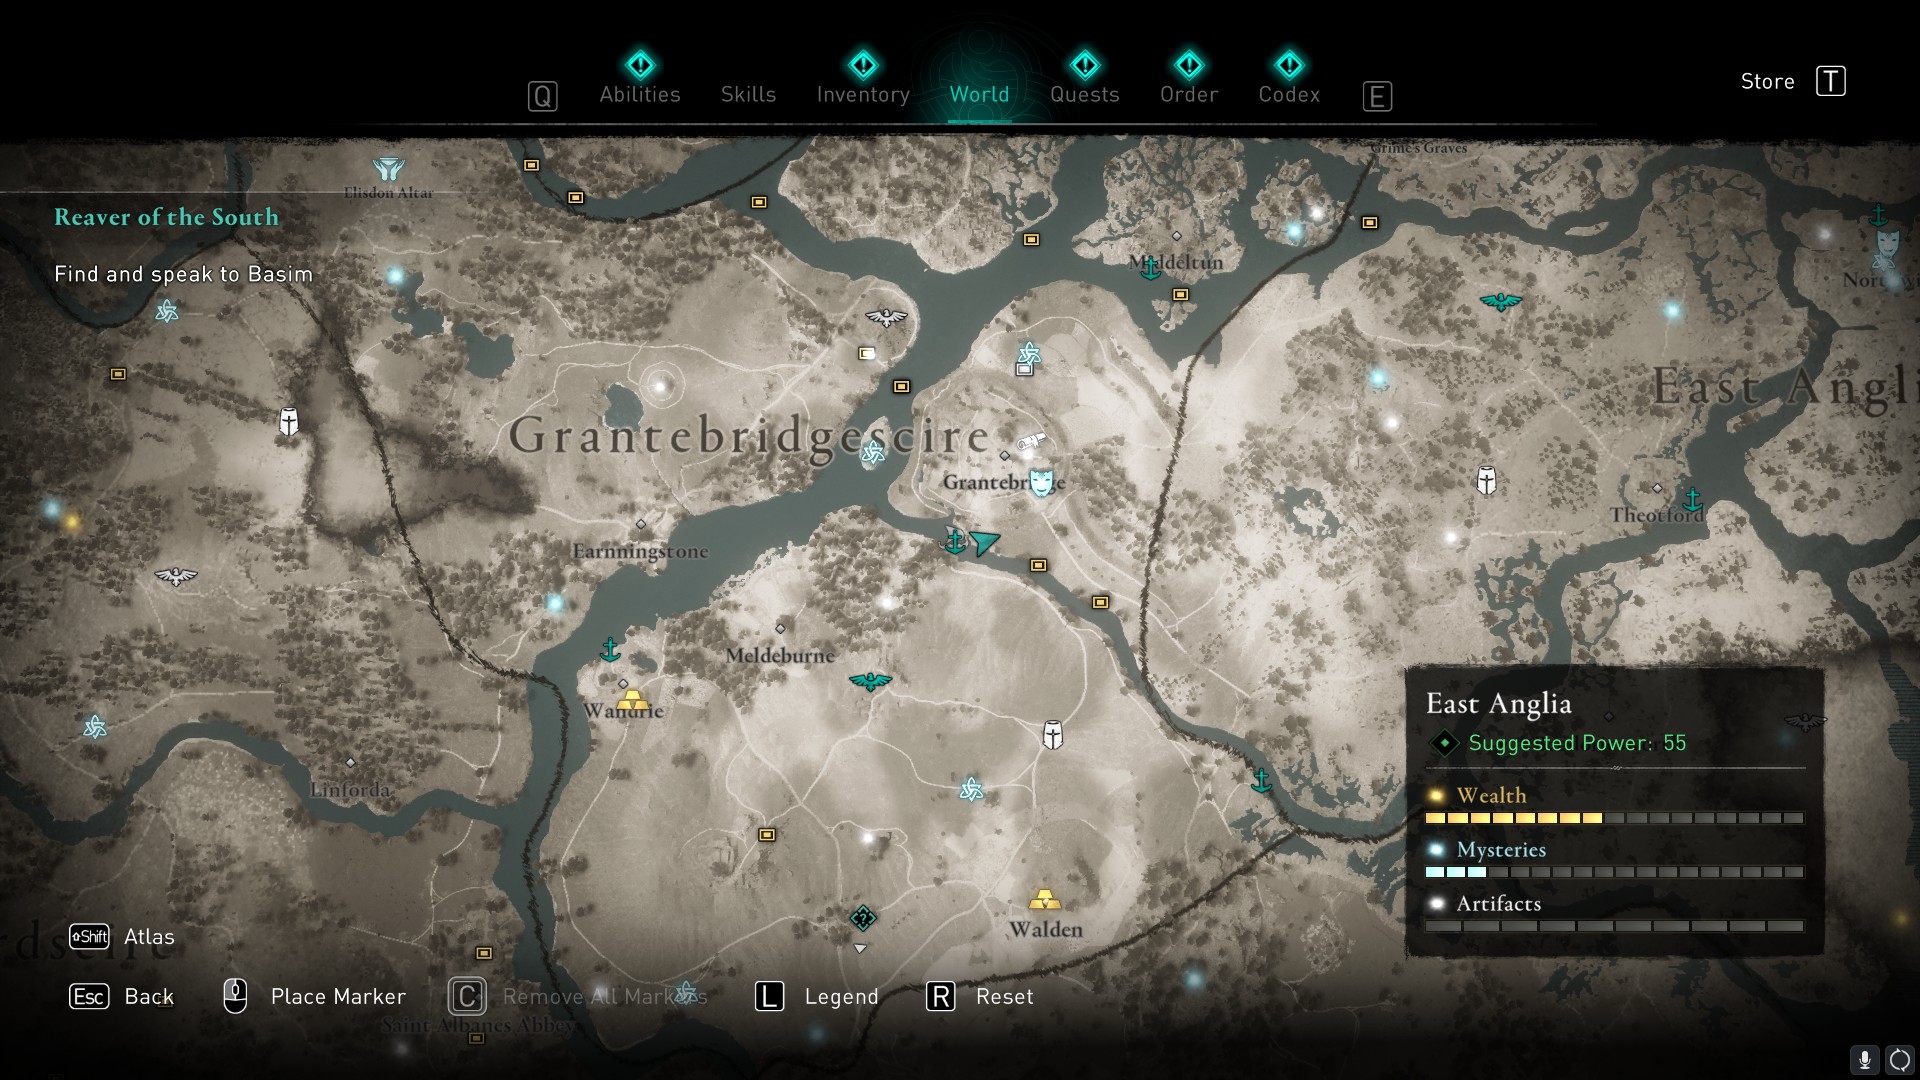
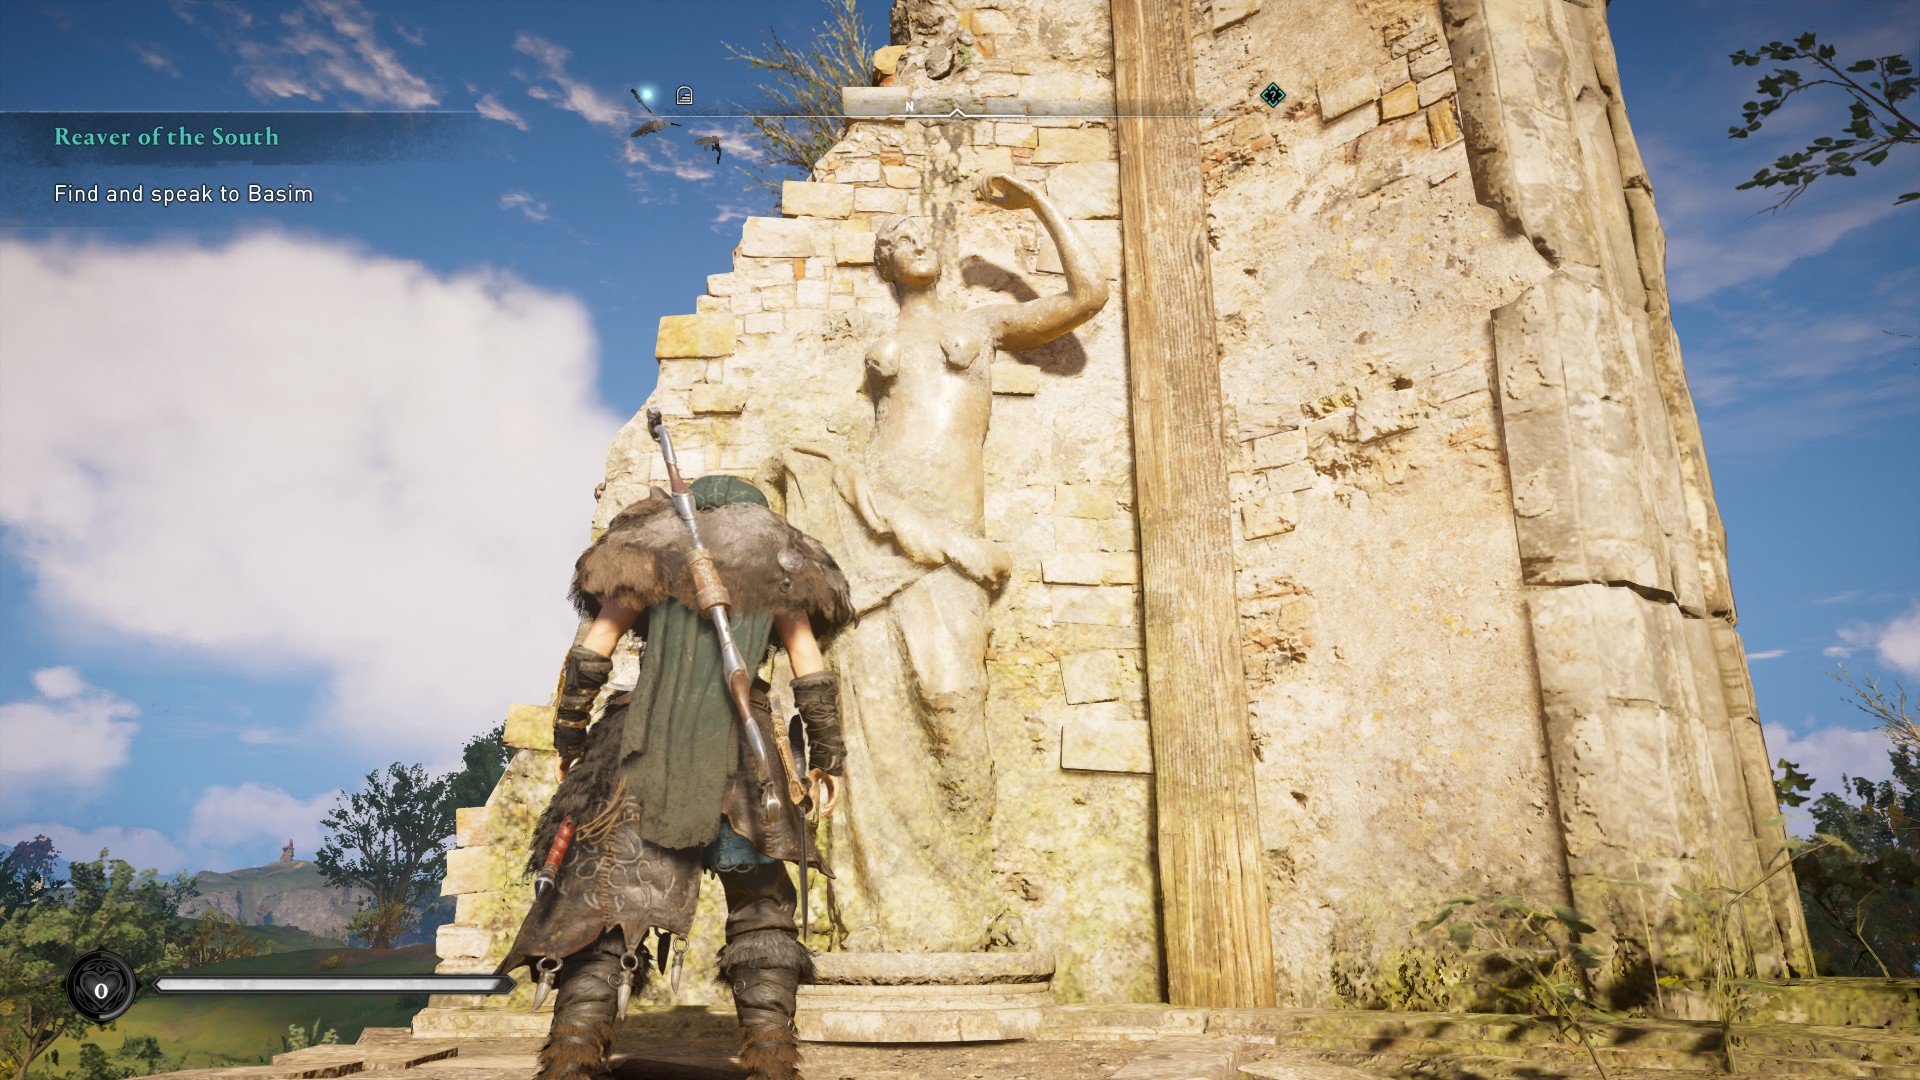
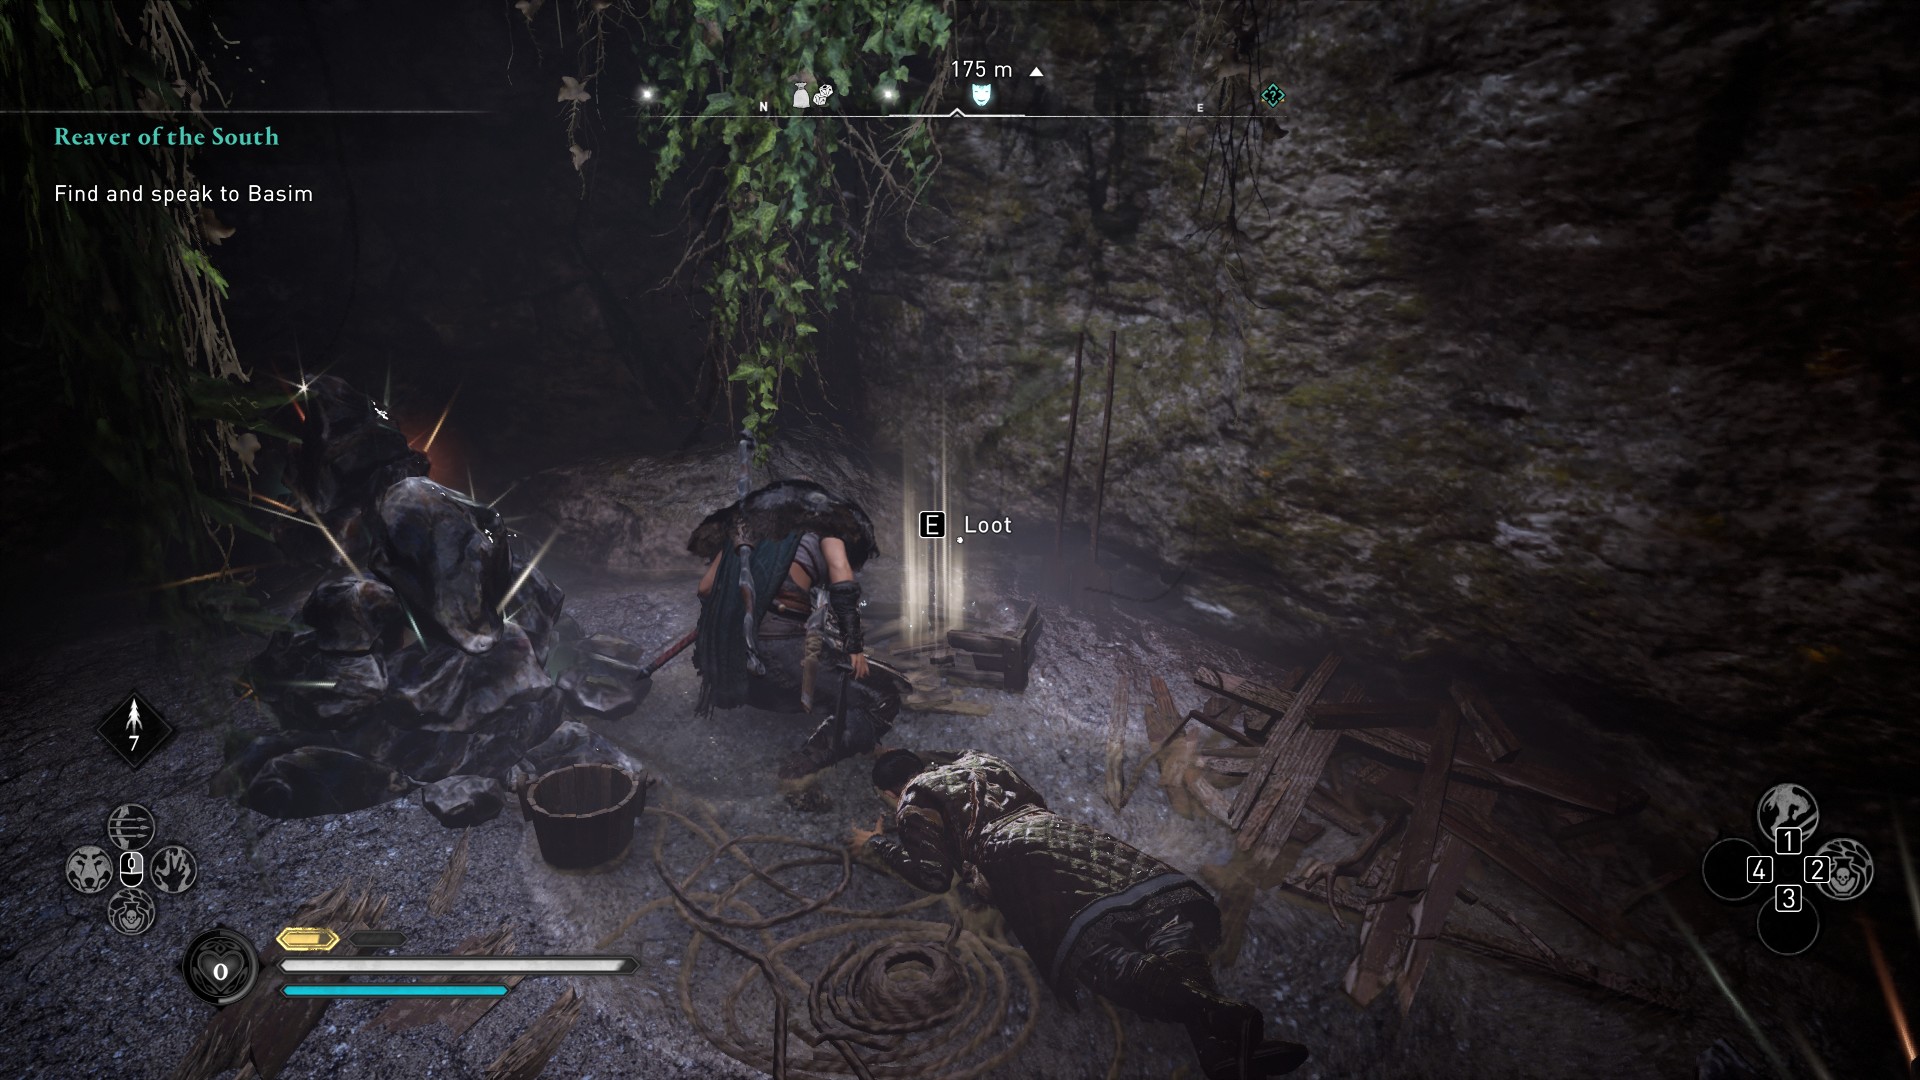
You'll find the clue at the top of the ruins of Besuncen Tower, south of Ravensthorpe. Climb to the top of the tower and locate the statue there. The clue to this Treasure Hoard is on top of the statue.
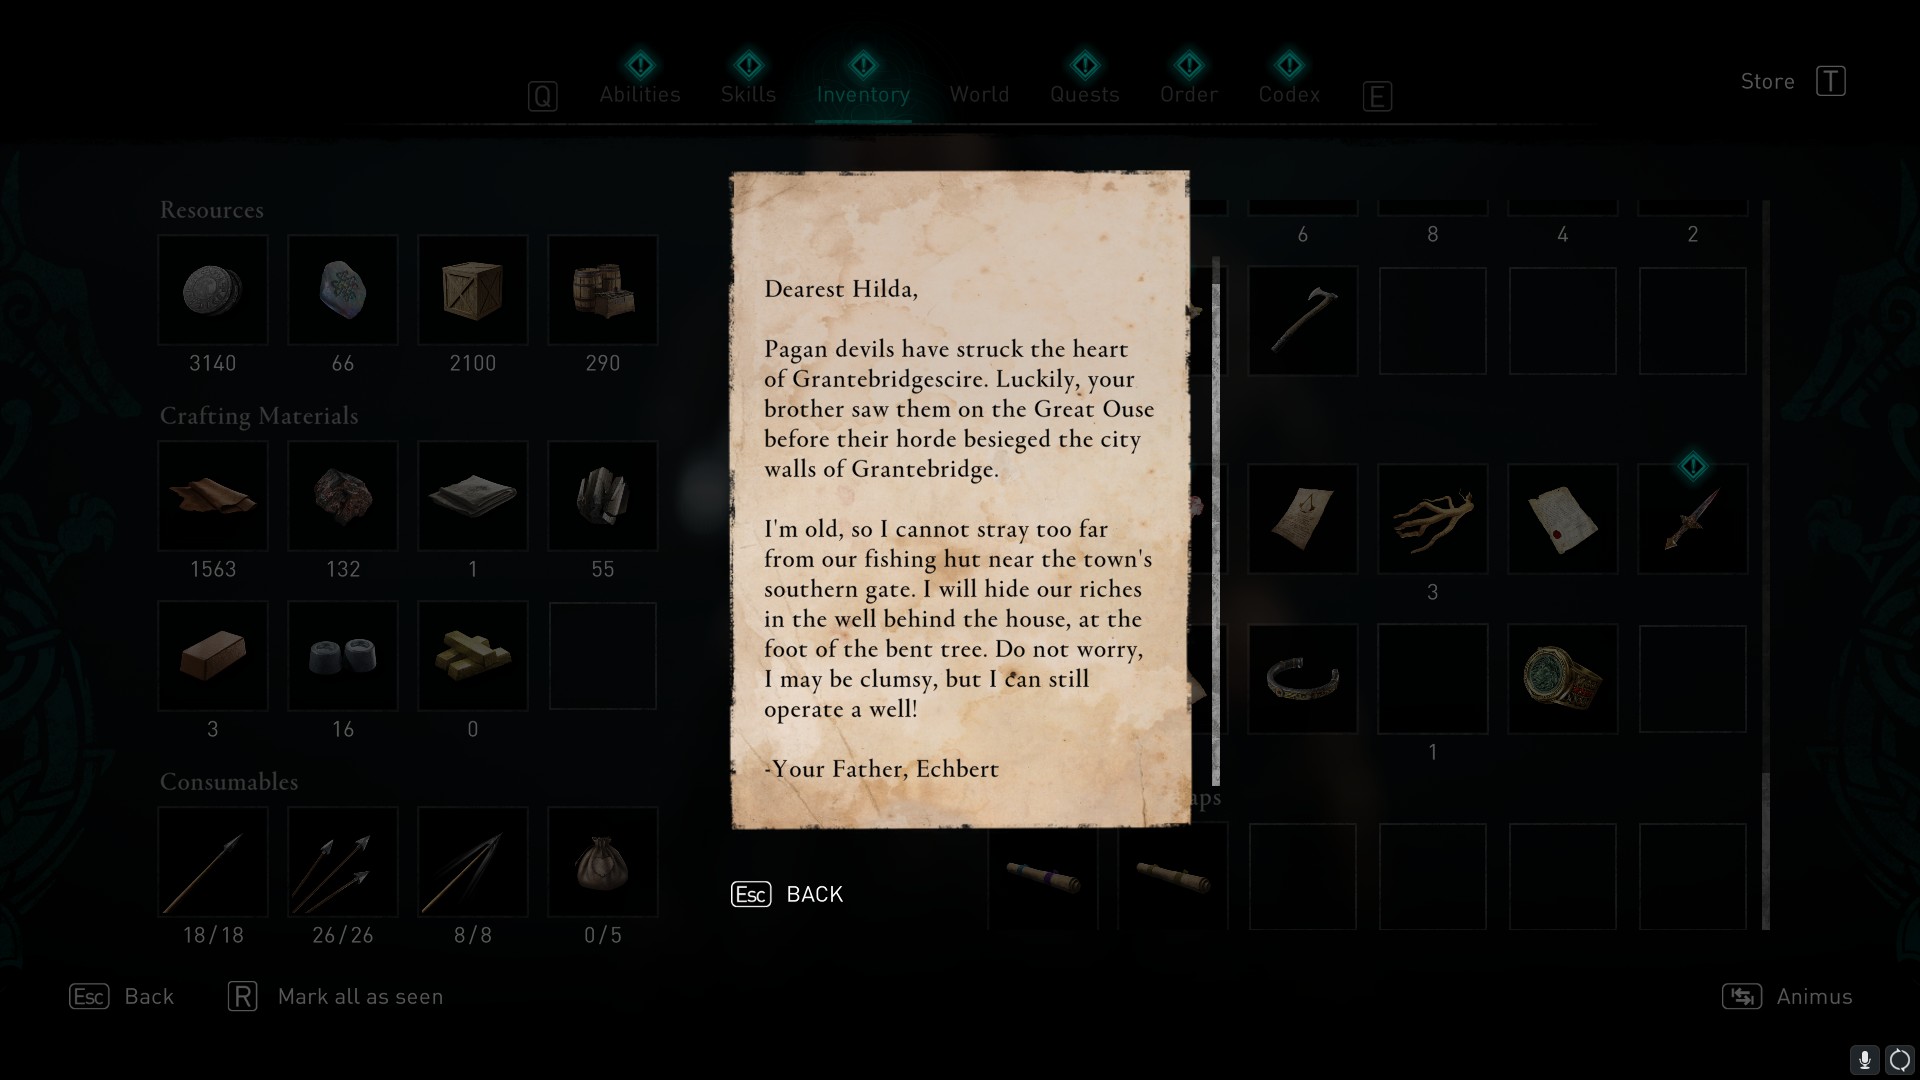
Now check your inventory to find the note that reads:
Dearest Hilda,
Keep up to date with the most important stories and the best deals, as picked by the PC Gamer team.
Pagan devils have struck the heart of Grantebridgescire. Luckily, your brother saw them on the Great Ouse before their horde besieged the city walls of Grantebridge.
I'm old, so I cannot stray too far from our fishing hut near the town's southern gate. I will hide our riches in the well behind the house, at the foot of the bent tree. Do not worry, I may be clumsy, but I can still operate a well!
-Your Father, Echbert
Solution
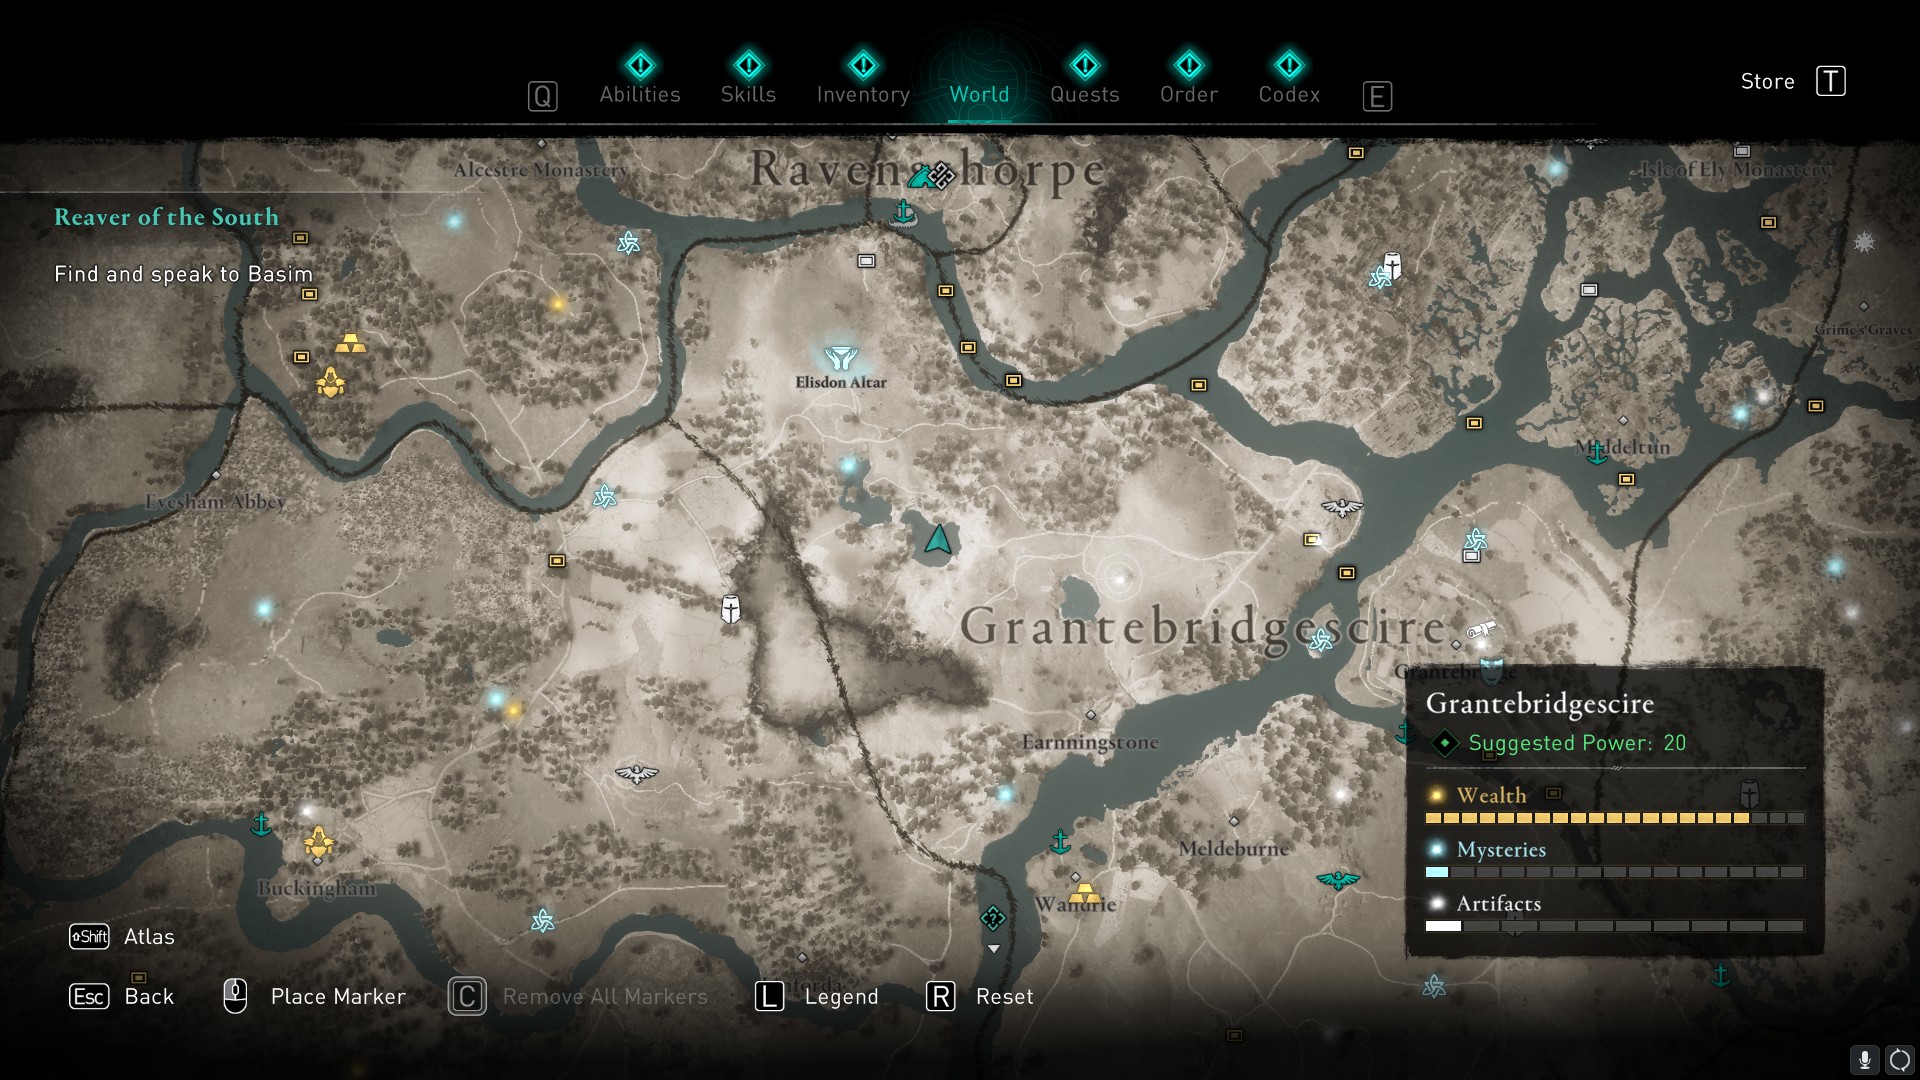
According to Echbert's note, the treasure is located somewhere near the southern gate of Grantebridge, so fast travel there. Next, look to your right and you'll see a hut outside of the town's gate, and a bent tree is clearly visible just to the right of that.
Head to the base of the tree to find a covered well next to it. Break the wooden blanks and drop down to receive the Snakebite Scheme (Hull) for your longship.
Ledecestrescire
Clue
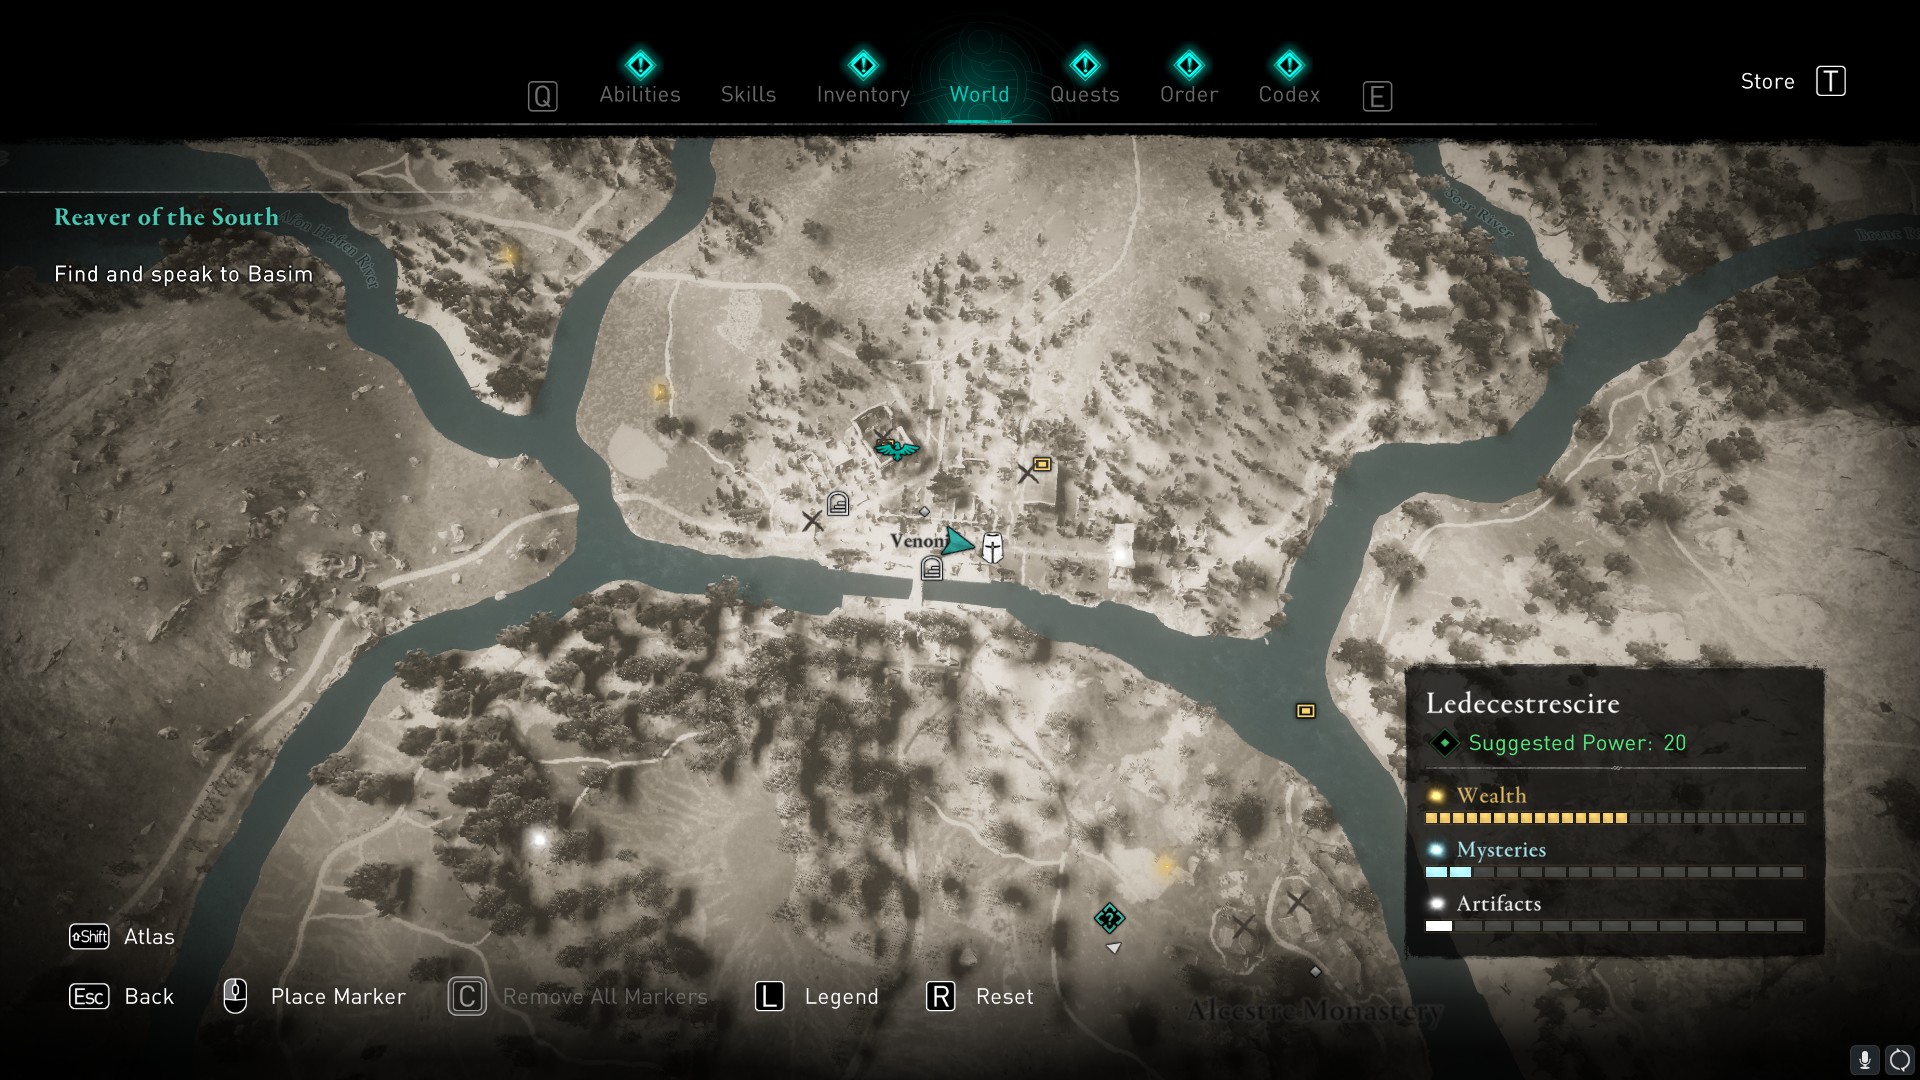
You can find this located in a cave at Venonis, west of Ravensthorpe. There's a synchronisation point here so use that to cut down on travel time. Head to the river and locate the stone walkway, close to the water's edge. You're looking for a tunnel entrance.
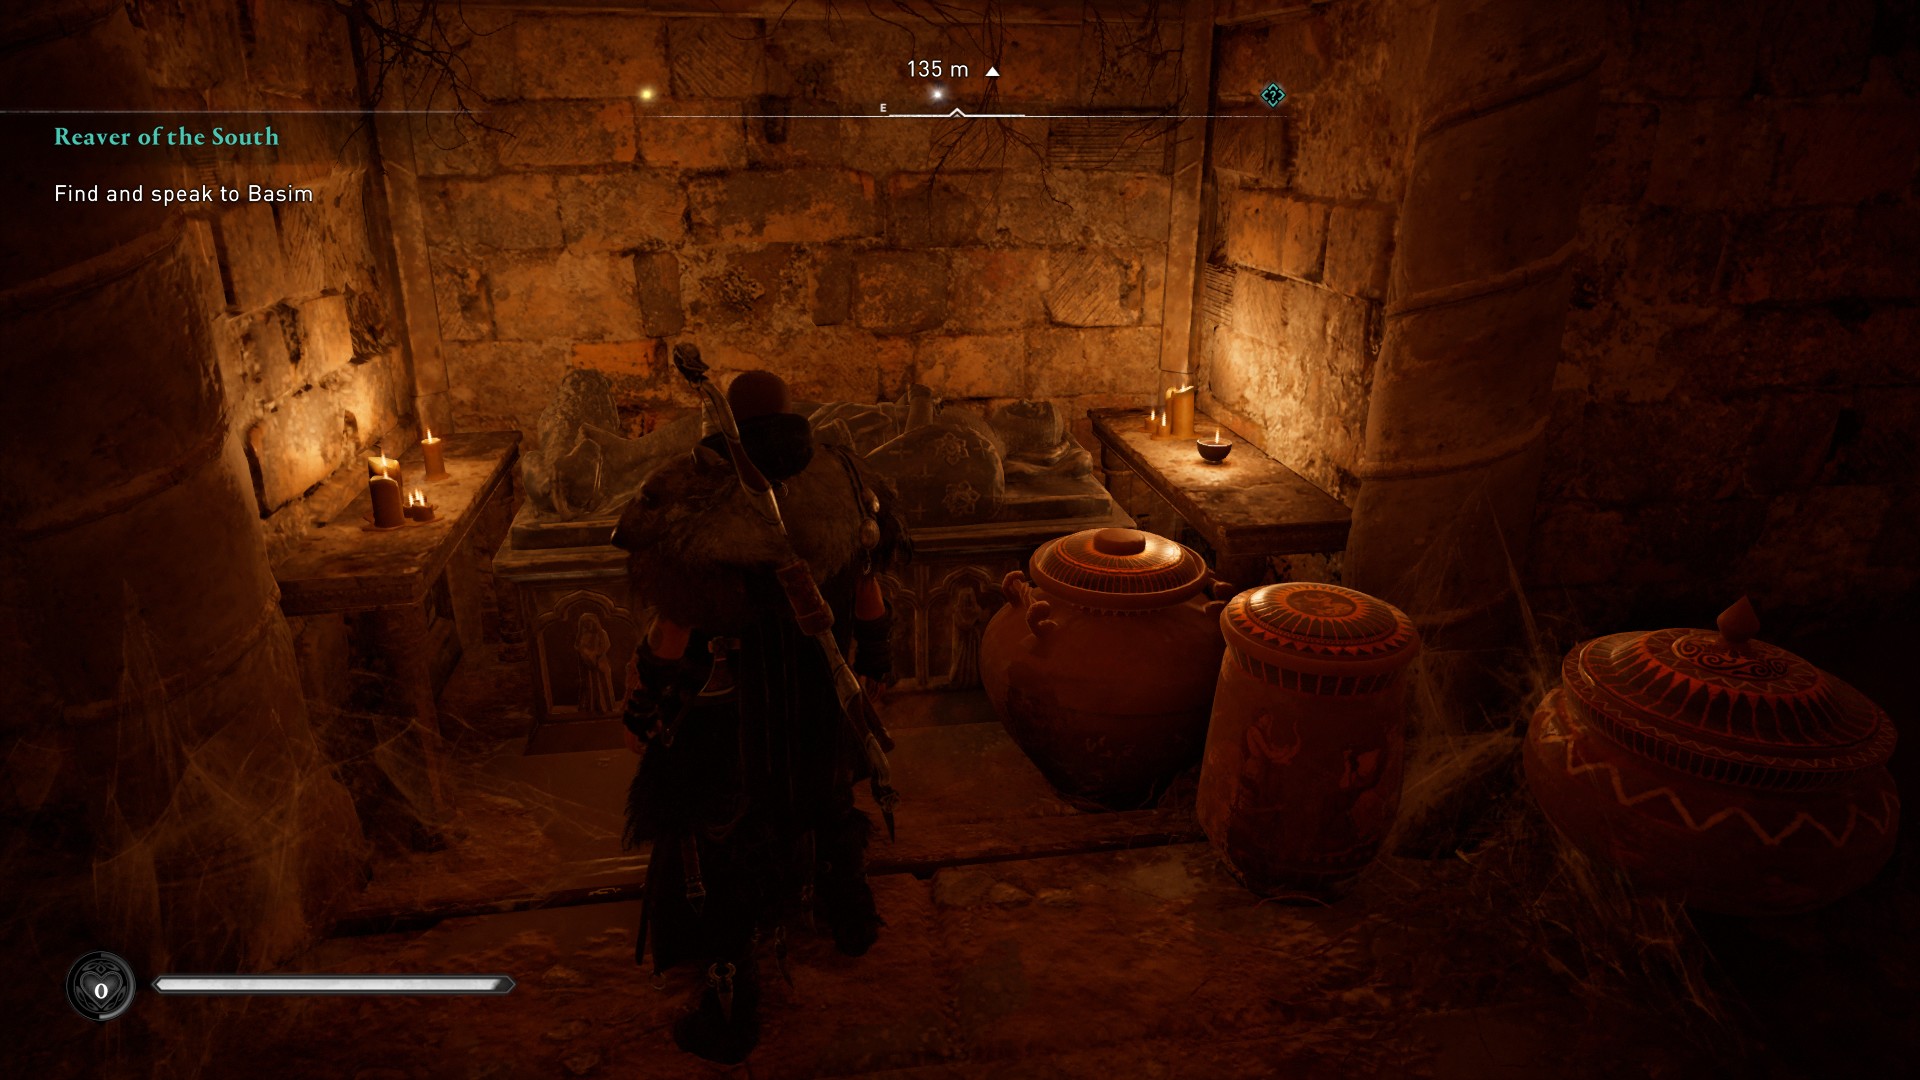
Once located, head down the tunnel and turn right, then break some boxes to reveal a crawl space. Slide through and you'll find the clue to this Treasure Hoard on top of a tomb.
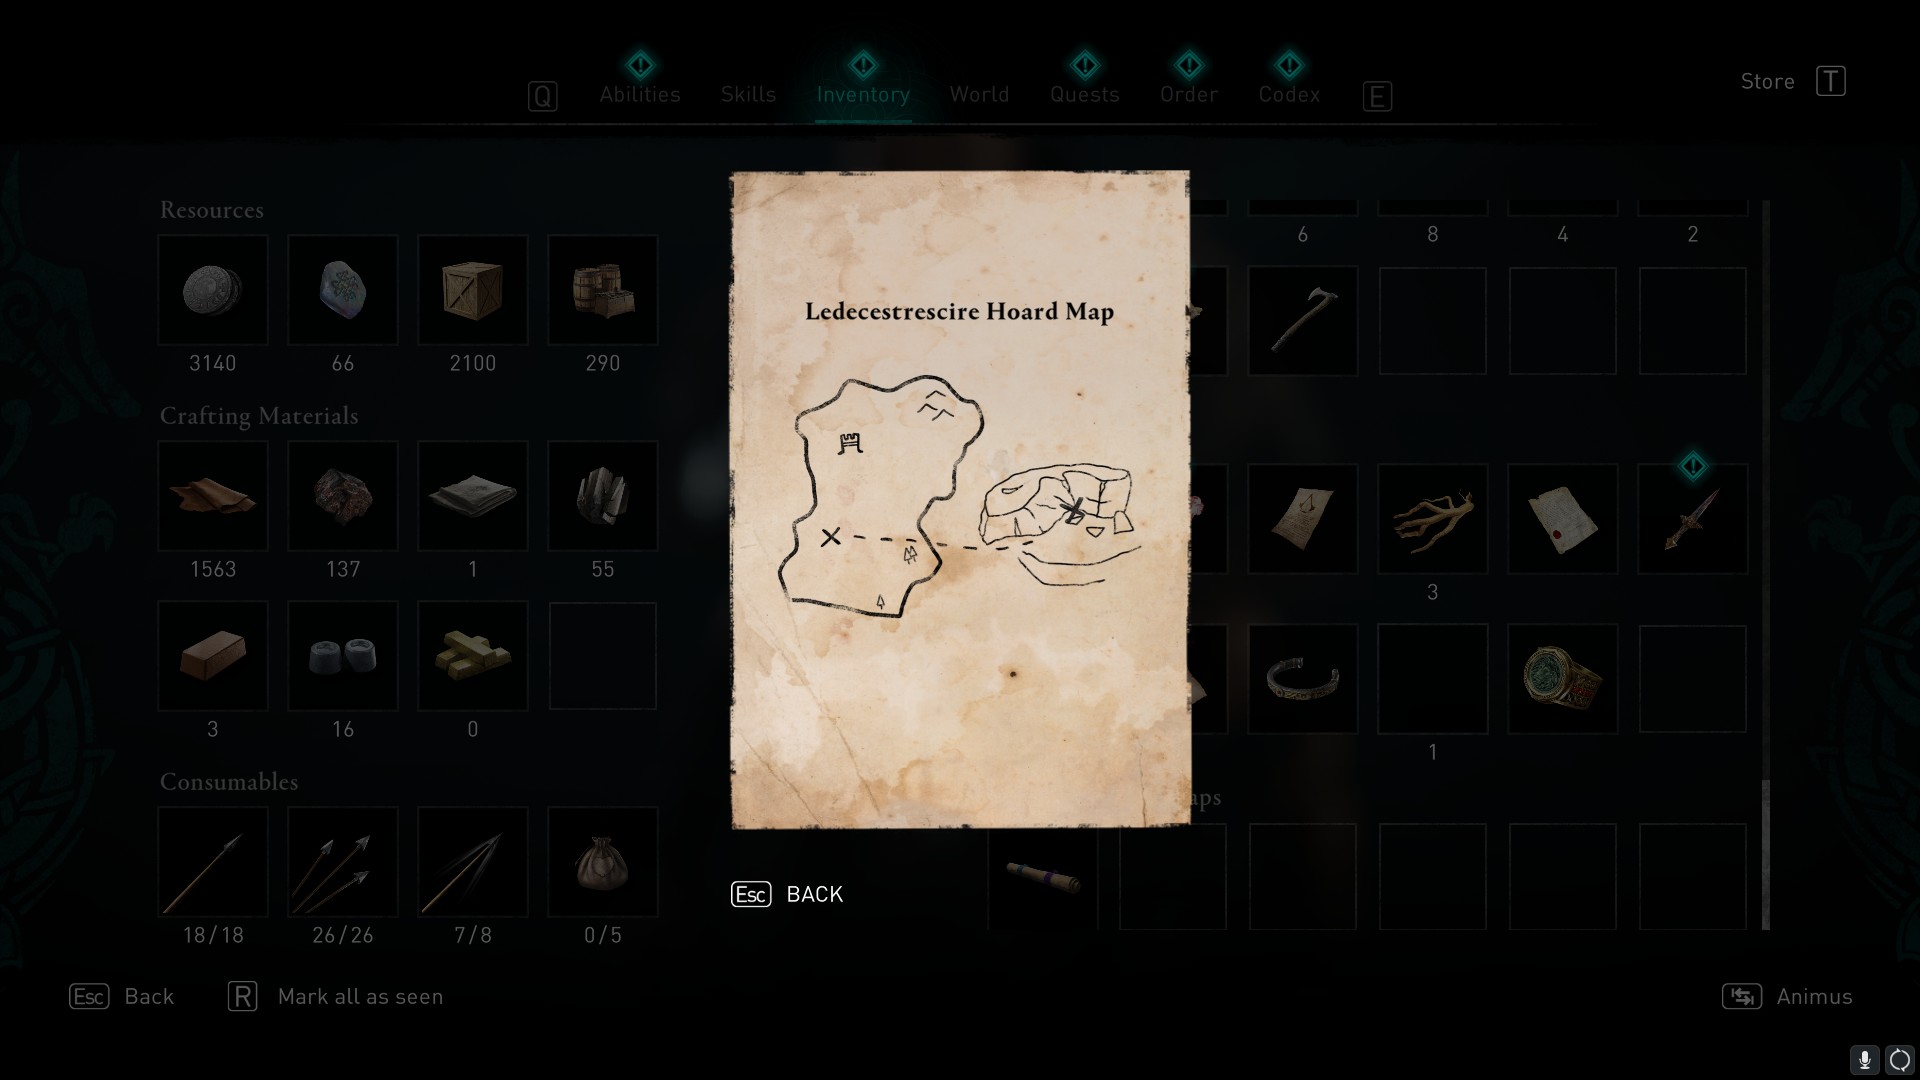
Check your inventory to find the map you just picked up, pictured below:
Solution
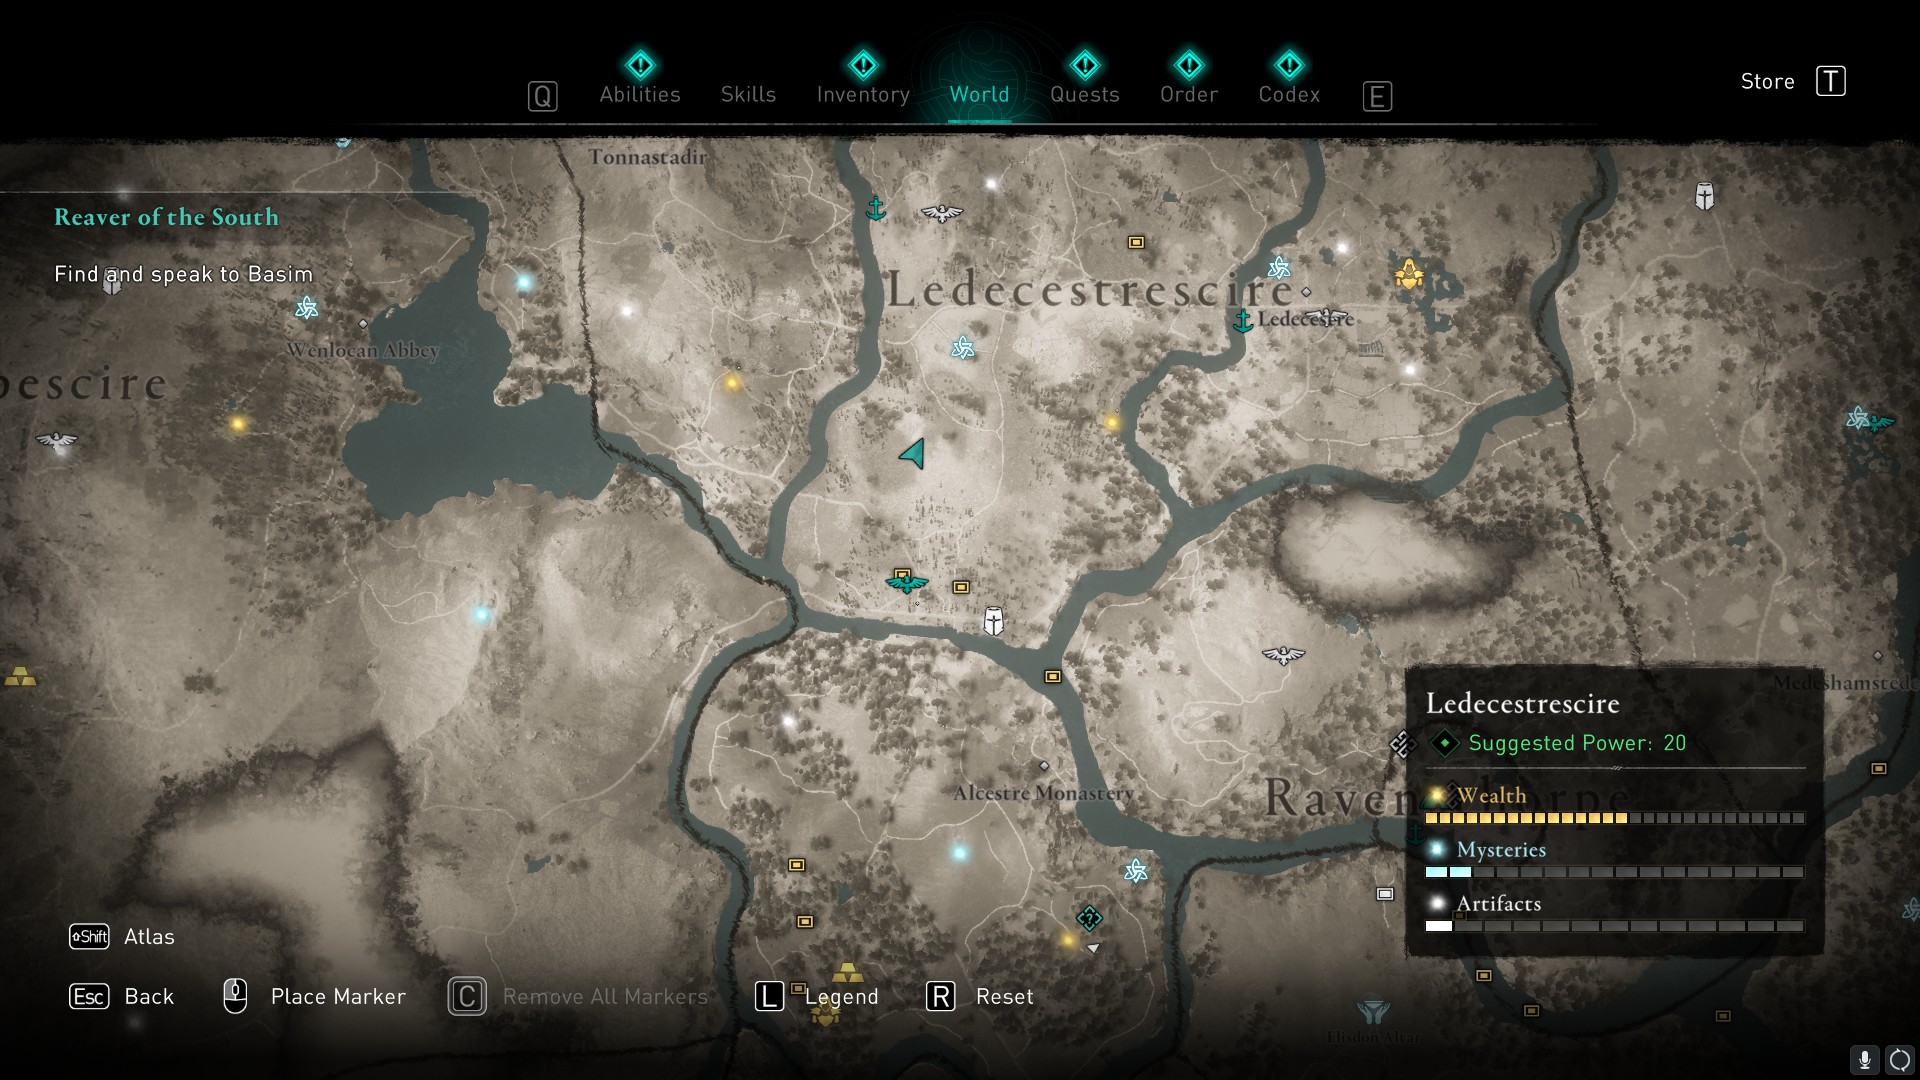
If you look at the map closely and compare it to the map of Ledecestrescire, you'll notice that the shape on the right is the same as the land enclosed by the river, with Venonis to the south. The map also indicates that the treasure is located just north of Venonis so head there now.
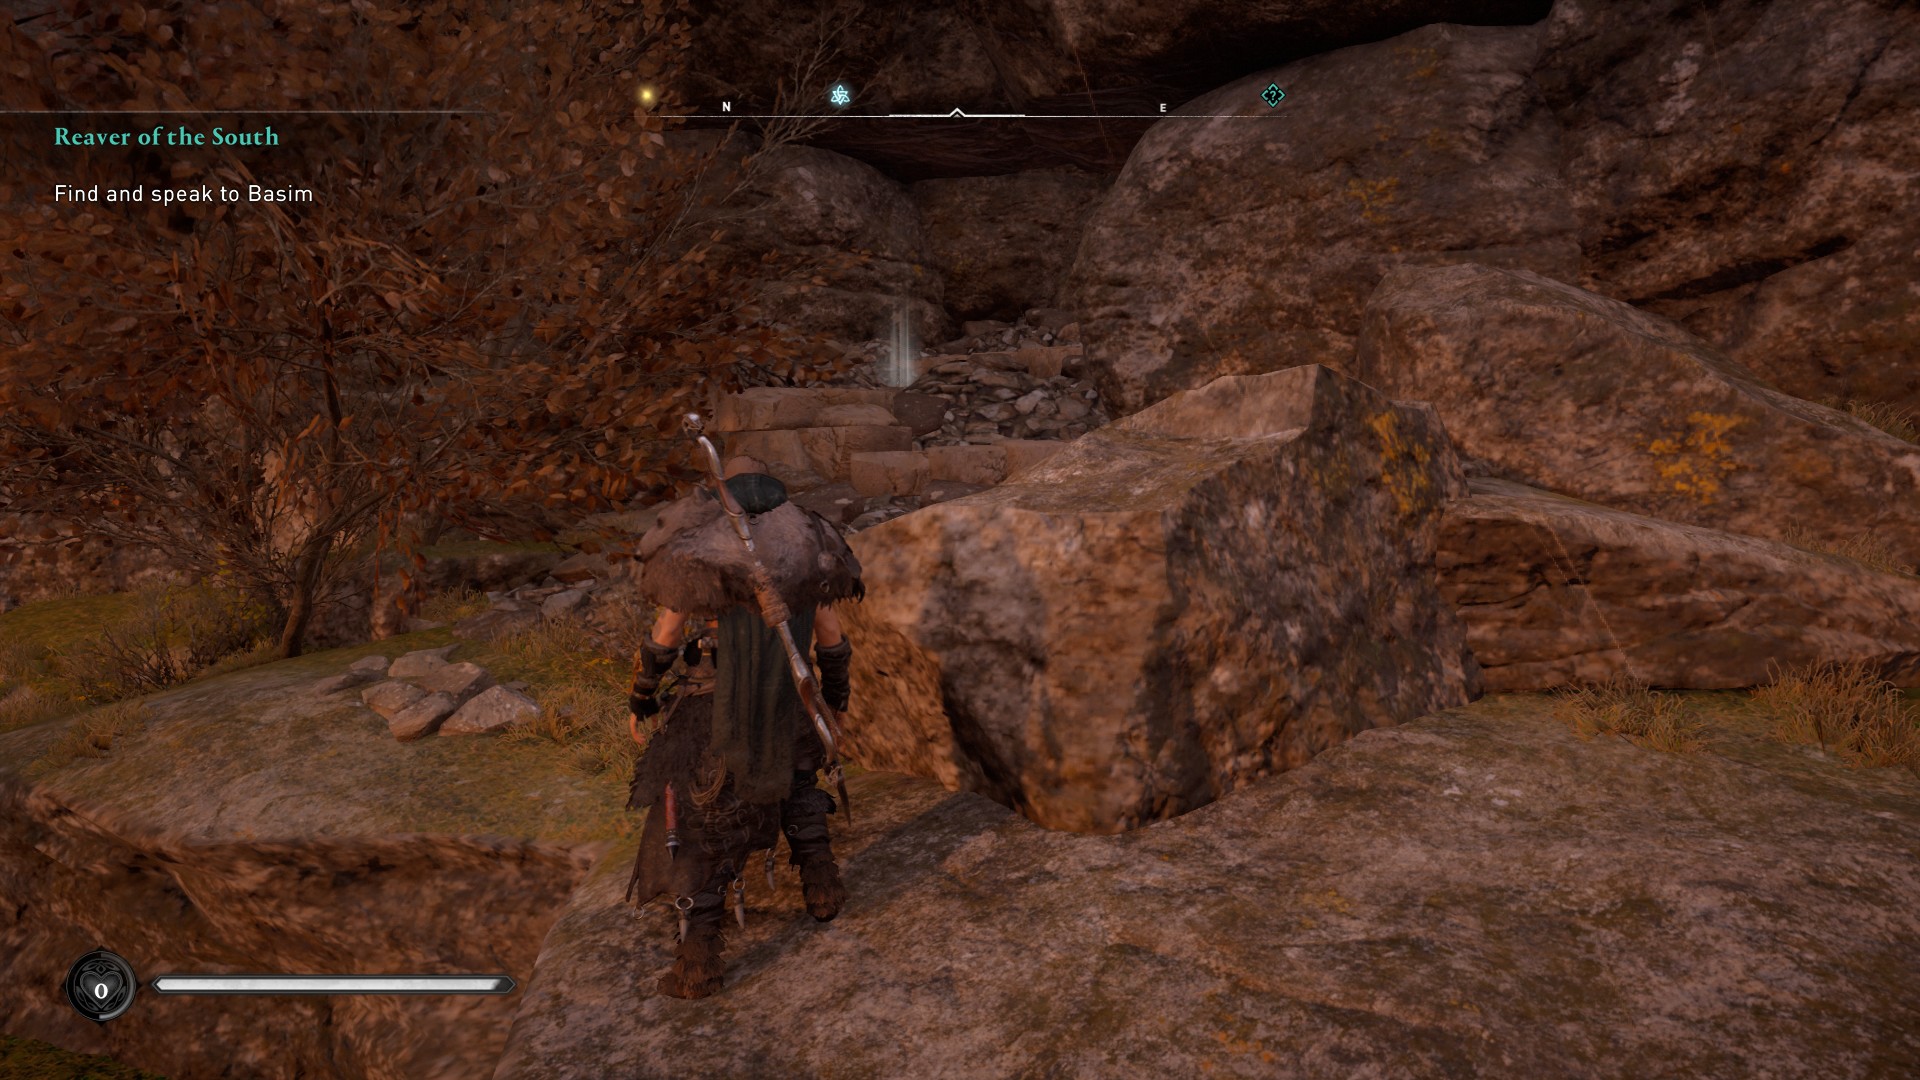
You'll soon spot the huge rock formation here, and you can find the treasure on the eastern side of it, close to a small tree. Loot the treasure to receive the Snakebite Scheme (Shields), also for your longship.
East Anglia
Clue
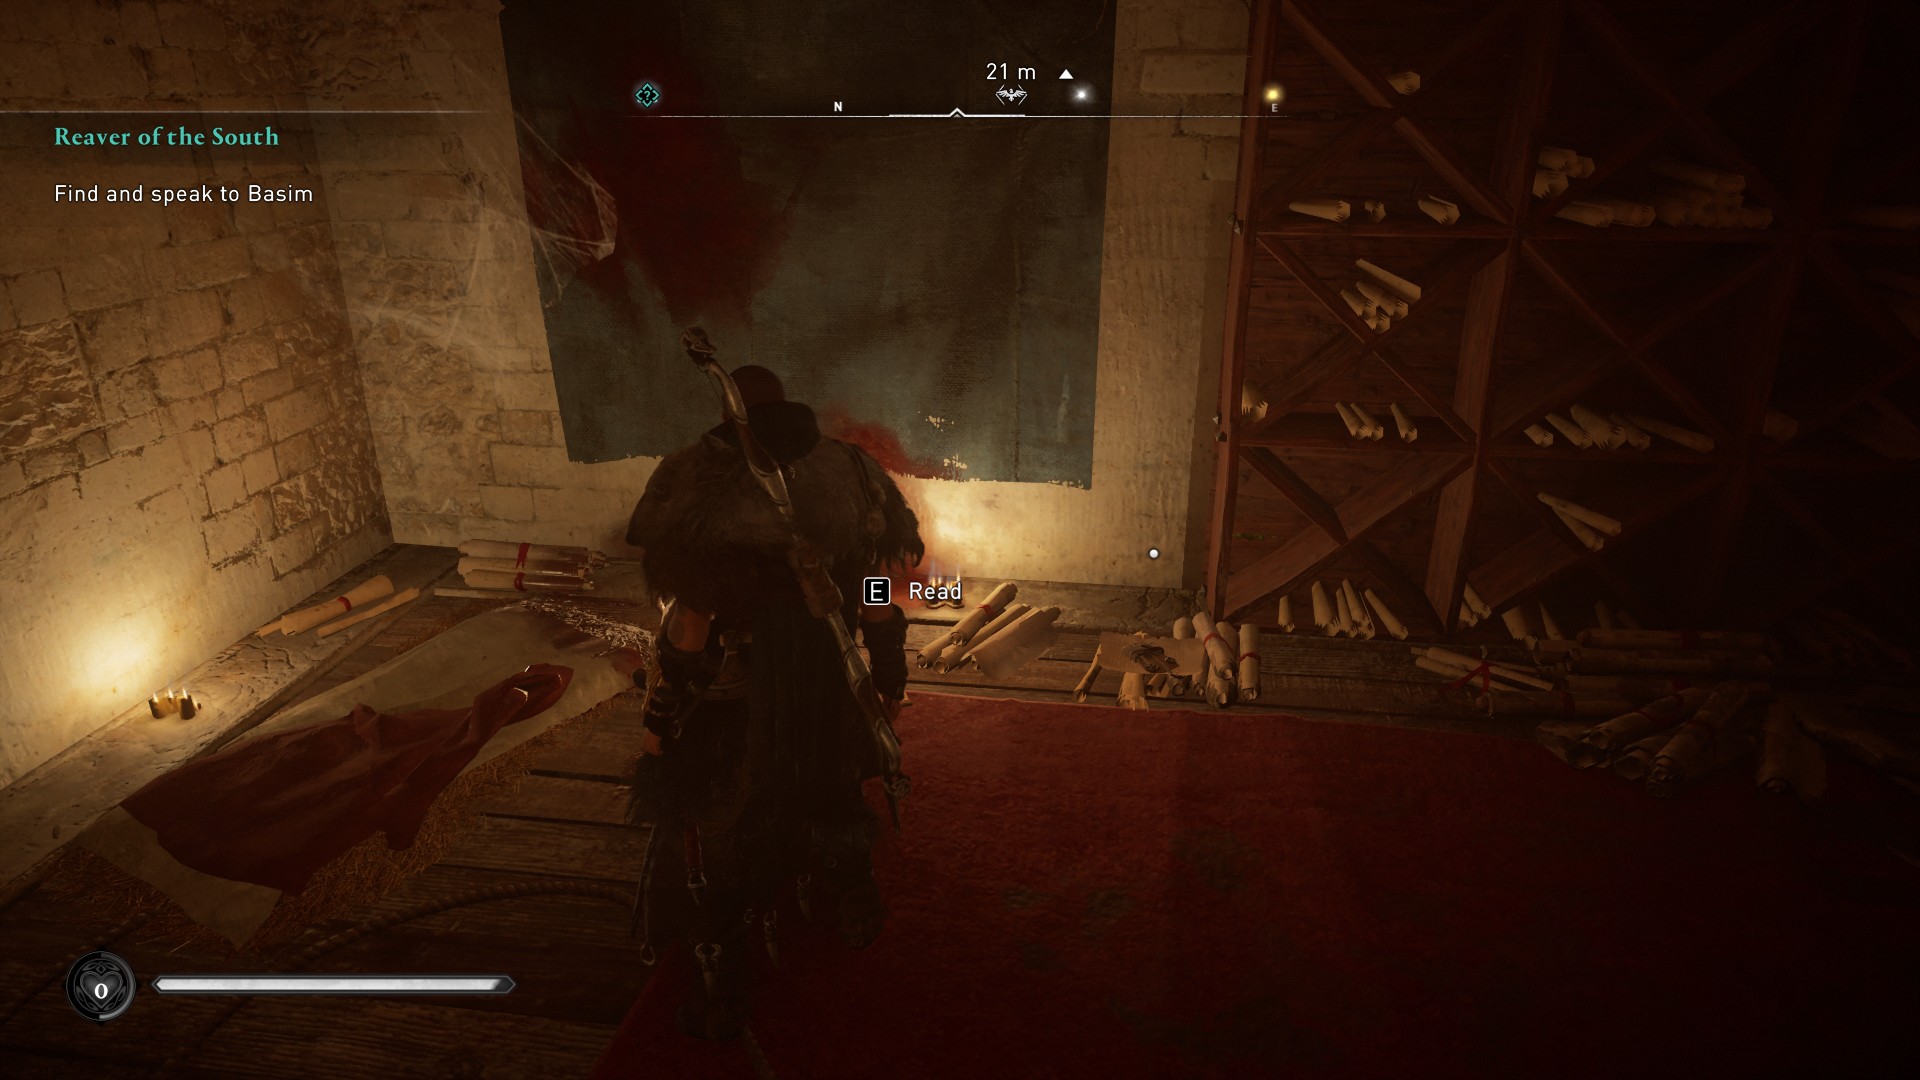
You'll find this clue located at Edmund's Hope, just east of Beodoricsworth. There's a synchronisation point here for easy access. Head inside the tower at ground level and look up to see a ladder. Shoot it down with an arrow and climb up to the next floor.
Find a note, and a key near a body here. Loot the key and read the note:
I made a Saxon beg for the sweet gift of death for this knowledge. There is a great treasure hidden near the church. The way is shut, but I have the key. Tell the jarl I will return with the greatest spoils.
Head back outside of the tower and you should notice a small building in front of you. Use the key to unlock it and collect the Treasure Hoard clue from the table inside.
Solution
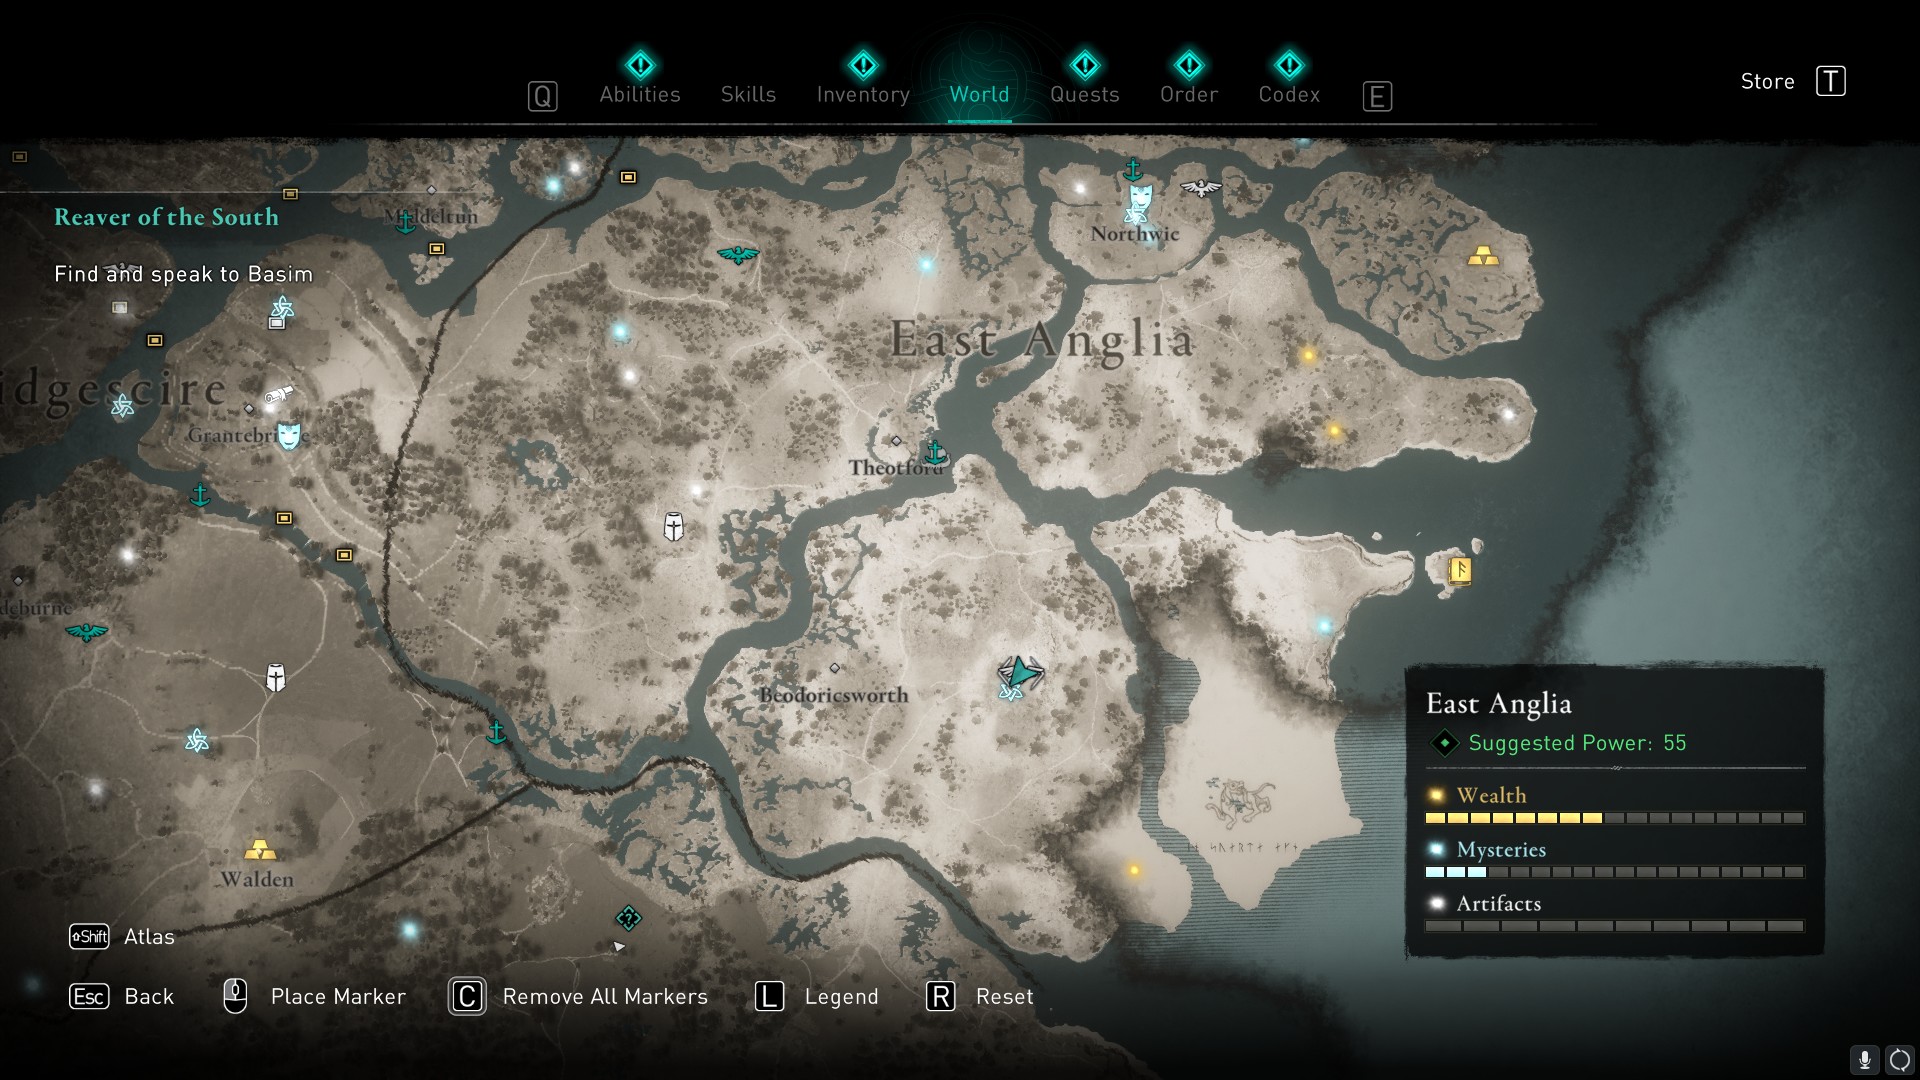
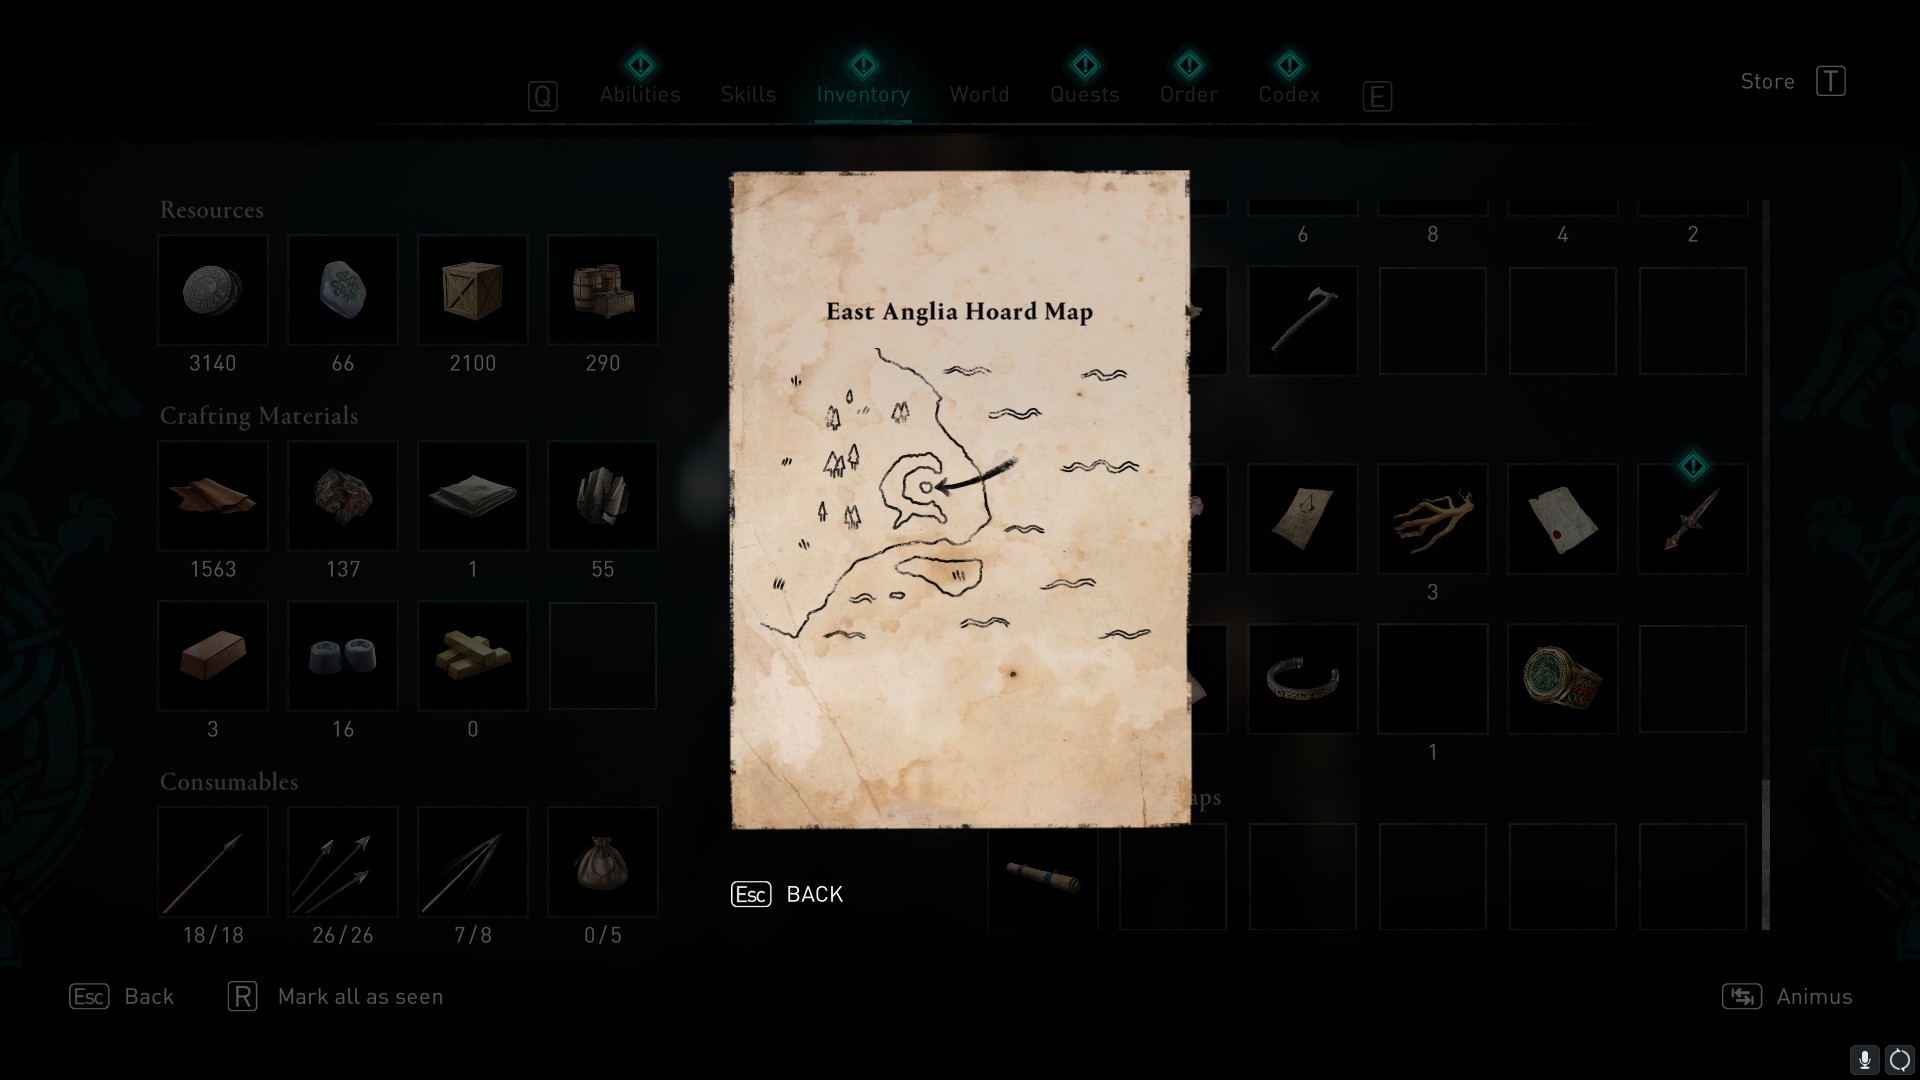
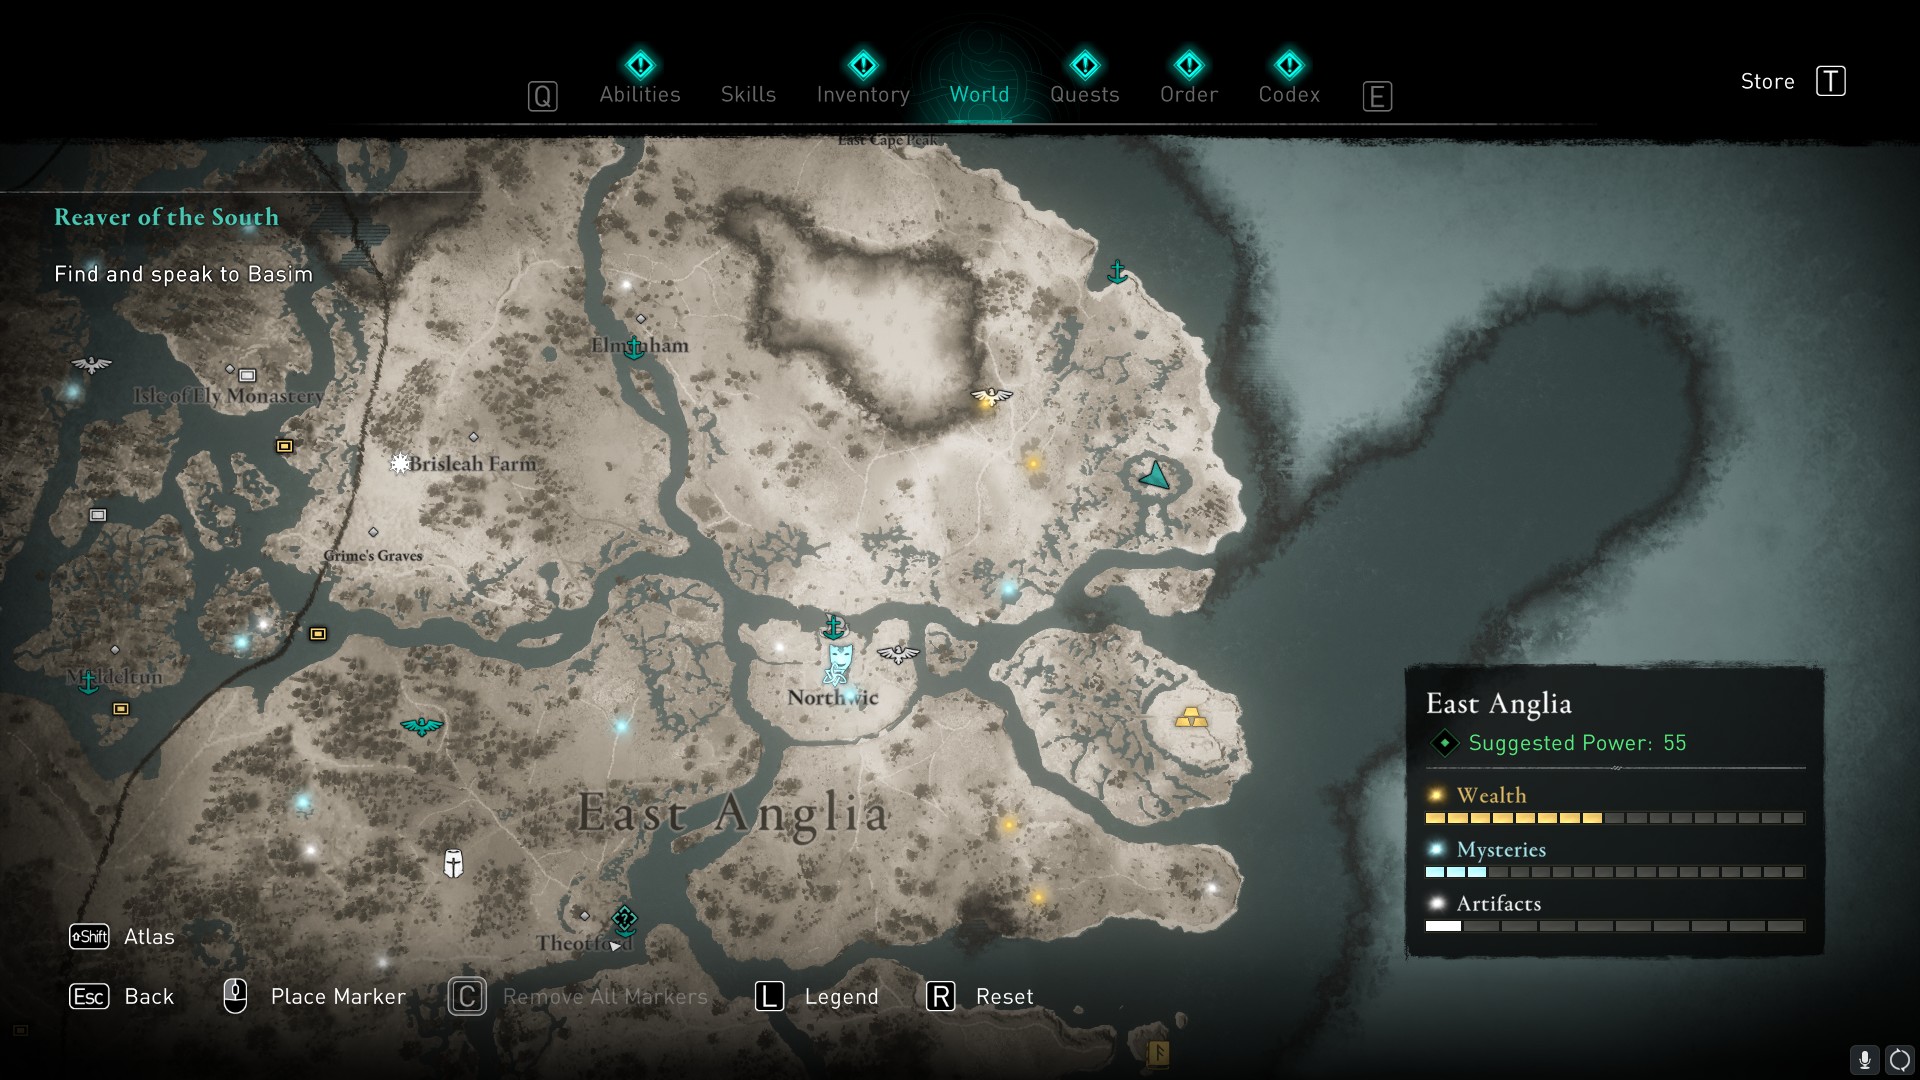
Take a look at the map in your inventory and look for similarities on the East Anglia map. The location is east of Northwic towards the coast, so head there now. You'll find some roman ruins and a few wild boars when you get there.
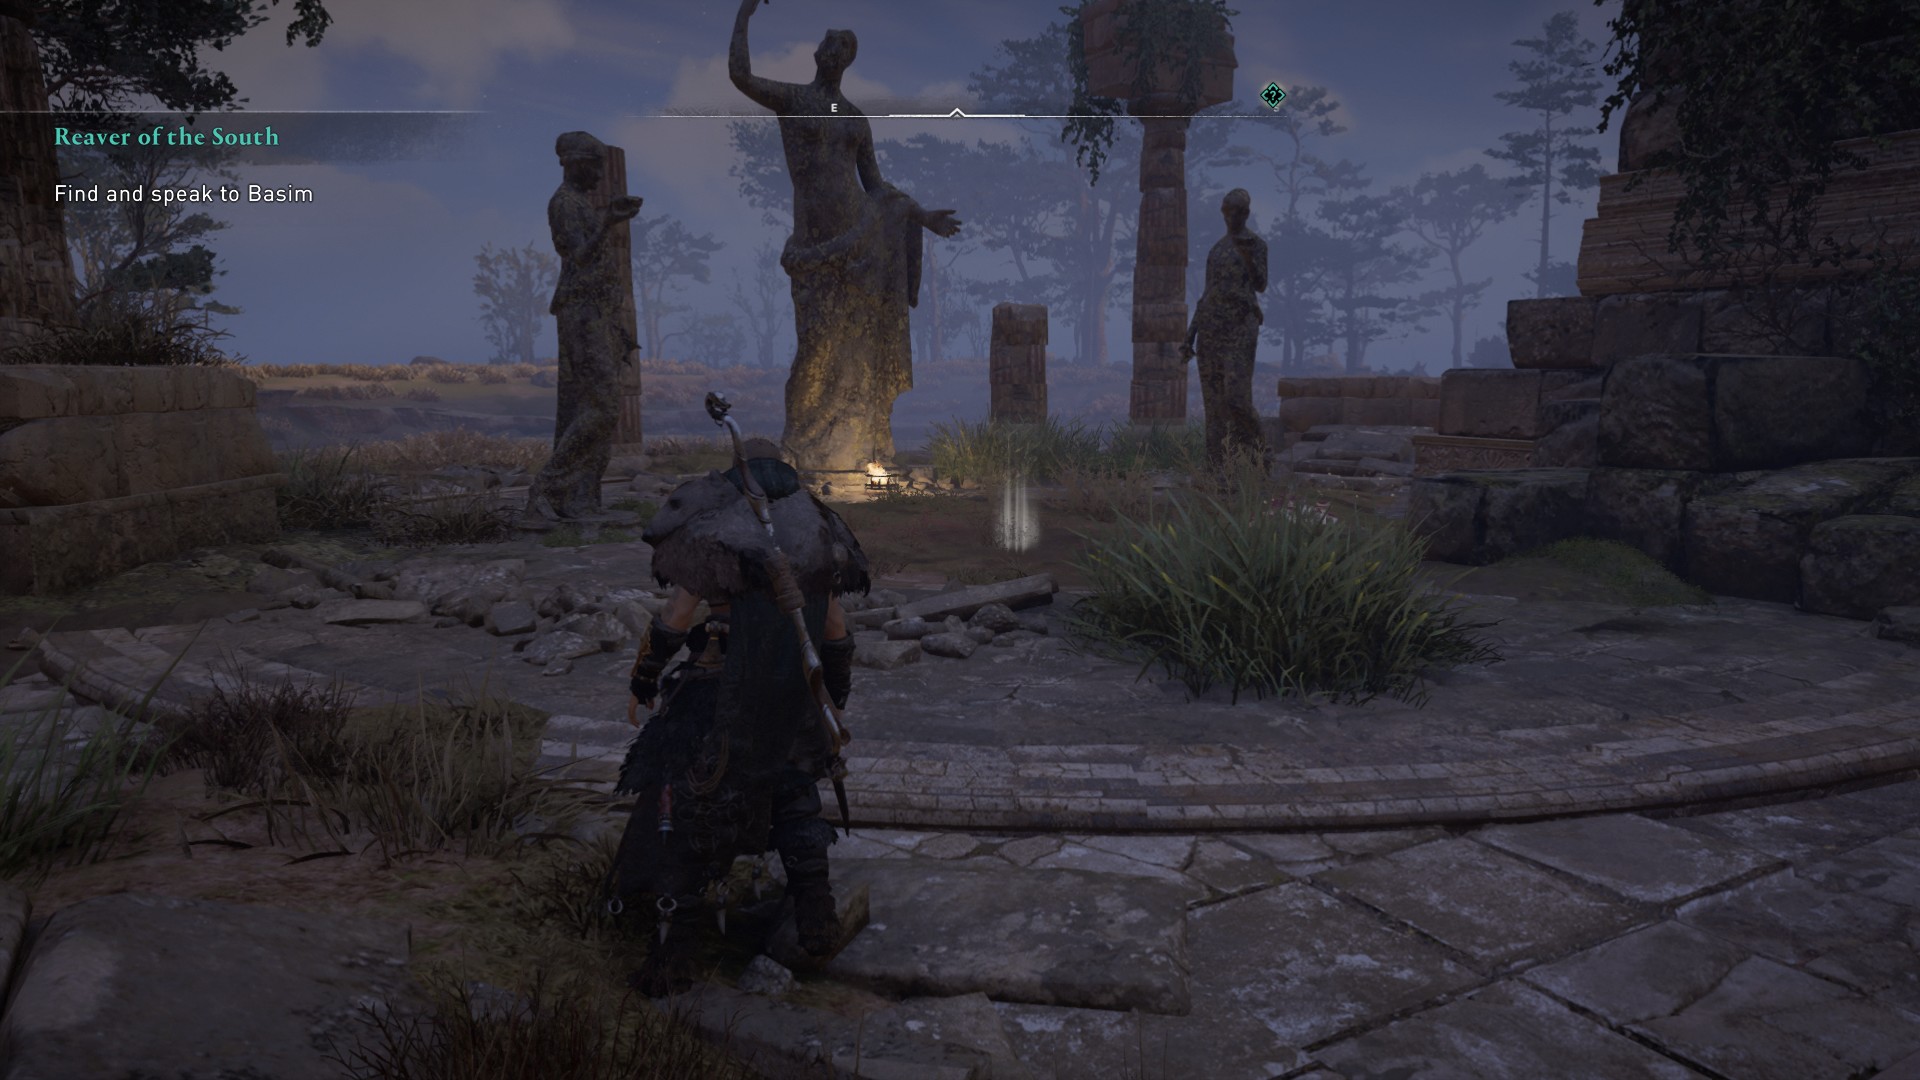
The treasure is located in the circular area, in front of the three statues. Loot it to receive the Snakebite Scheme (Tailpiece) for your longship.
Oxenefordscire
Clue
This clue is located inside a cave at Eaton Barn, southwest of Buckingham. You'll need to use the explosive jars nearby to break down the blockage to the entrance. Head through the tunnel until you reach a large cavern containing a statue.
Look to the left of the statue to find a moveable rock: Shift this so you can access the room beyond. The clue is waiting for you on the table inside. Check your inventory to find that the note reads:
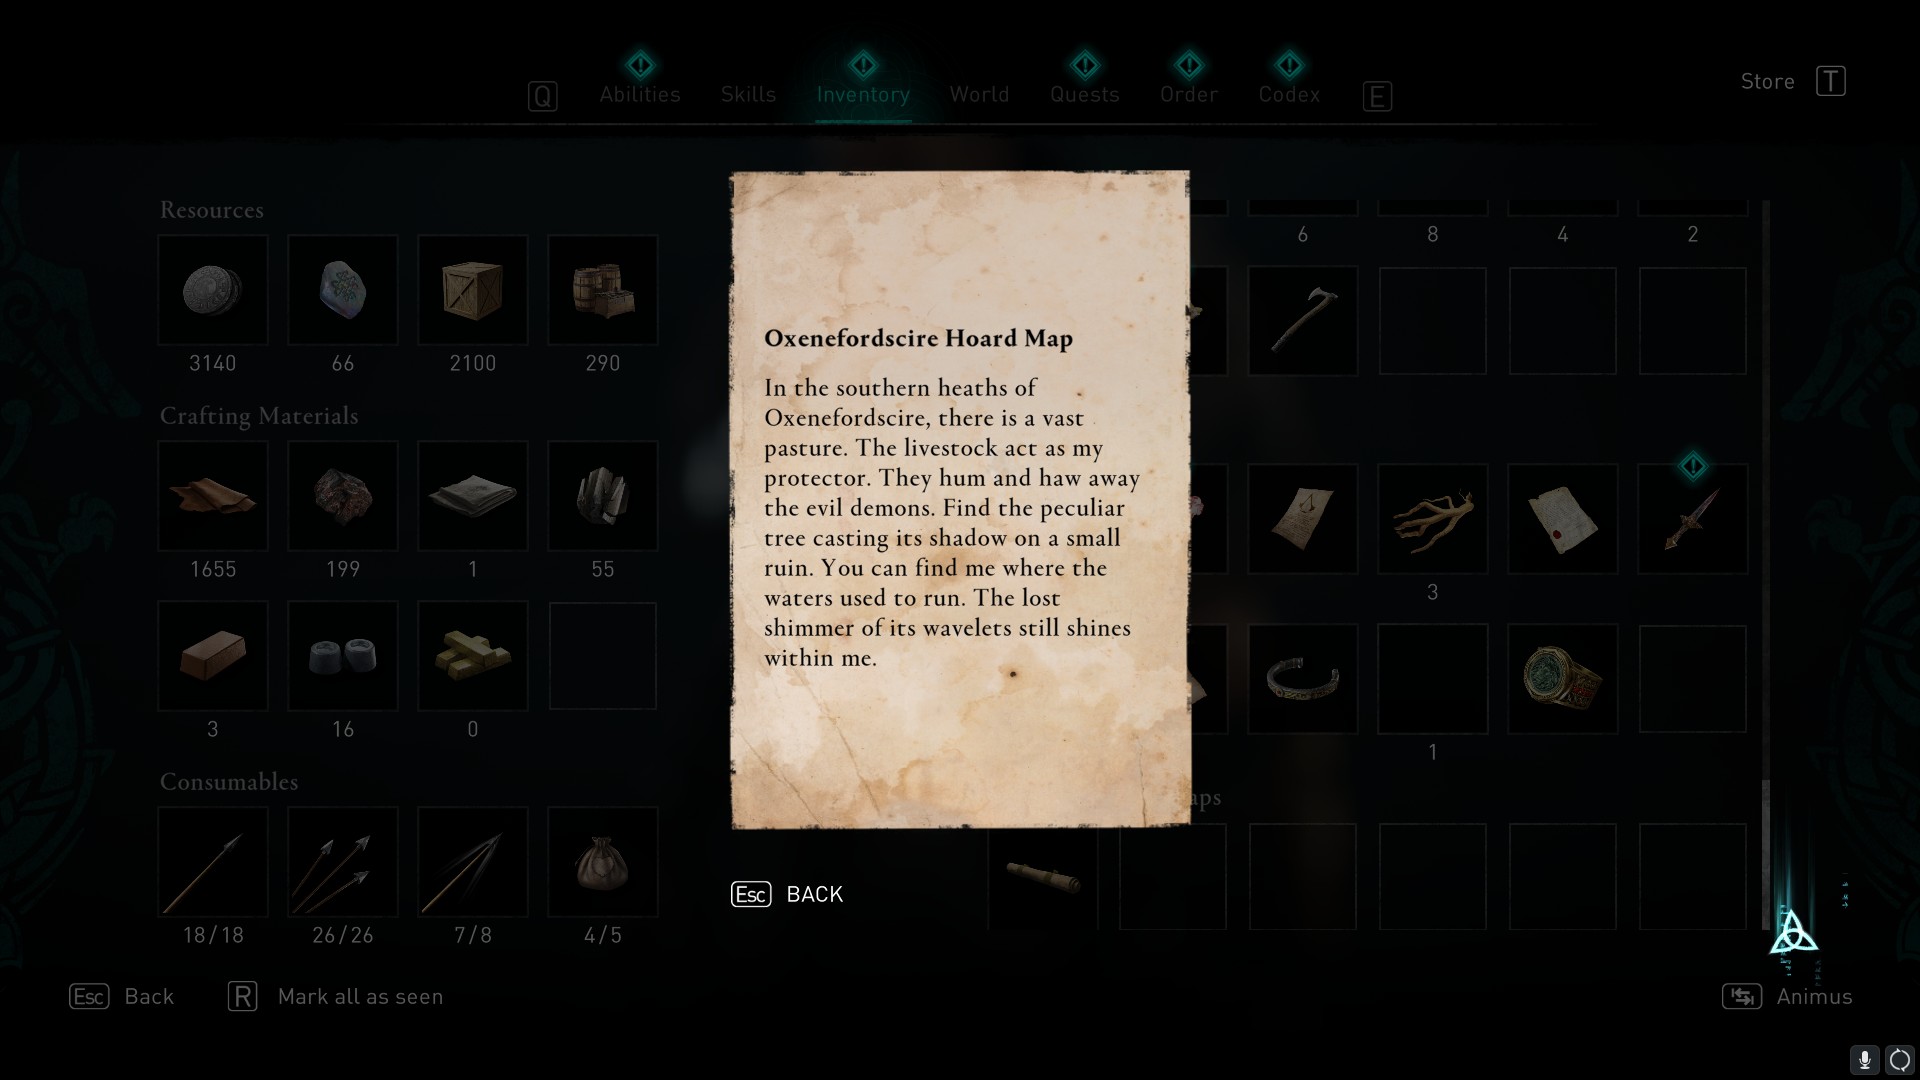
In the southern heaths of Oxenefordscire, there is a vast pasture. The livestock act as my protector. They hum and haw away the evil demons. Find the peculiar tree casting its shadow on the small ruin. You can find me where the waters used to run. The lost shimmer of its wavelets still shines within me.
Solution
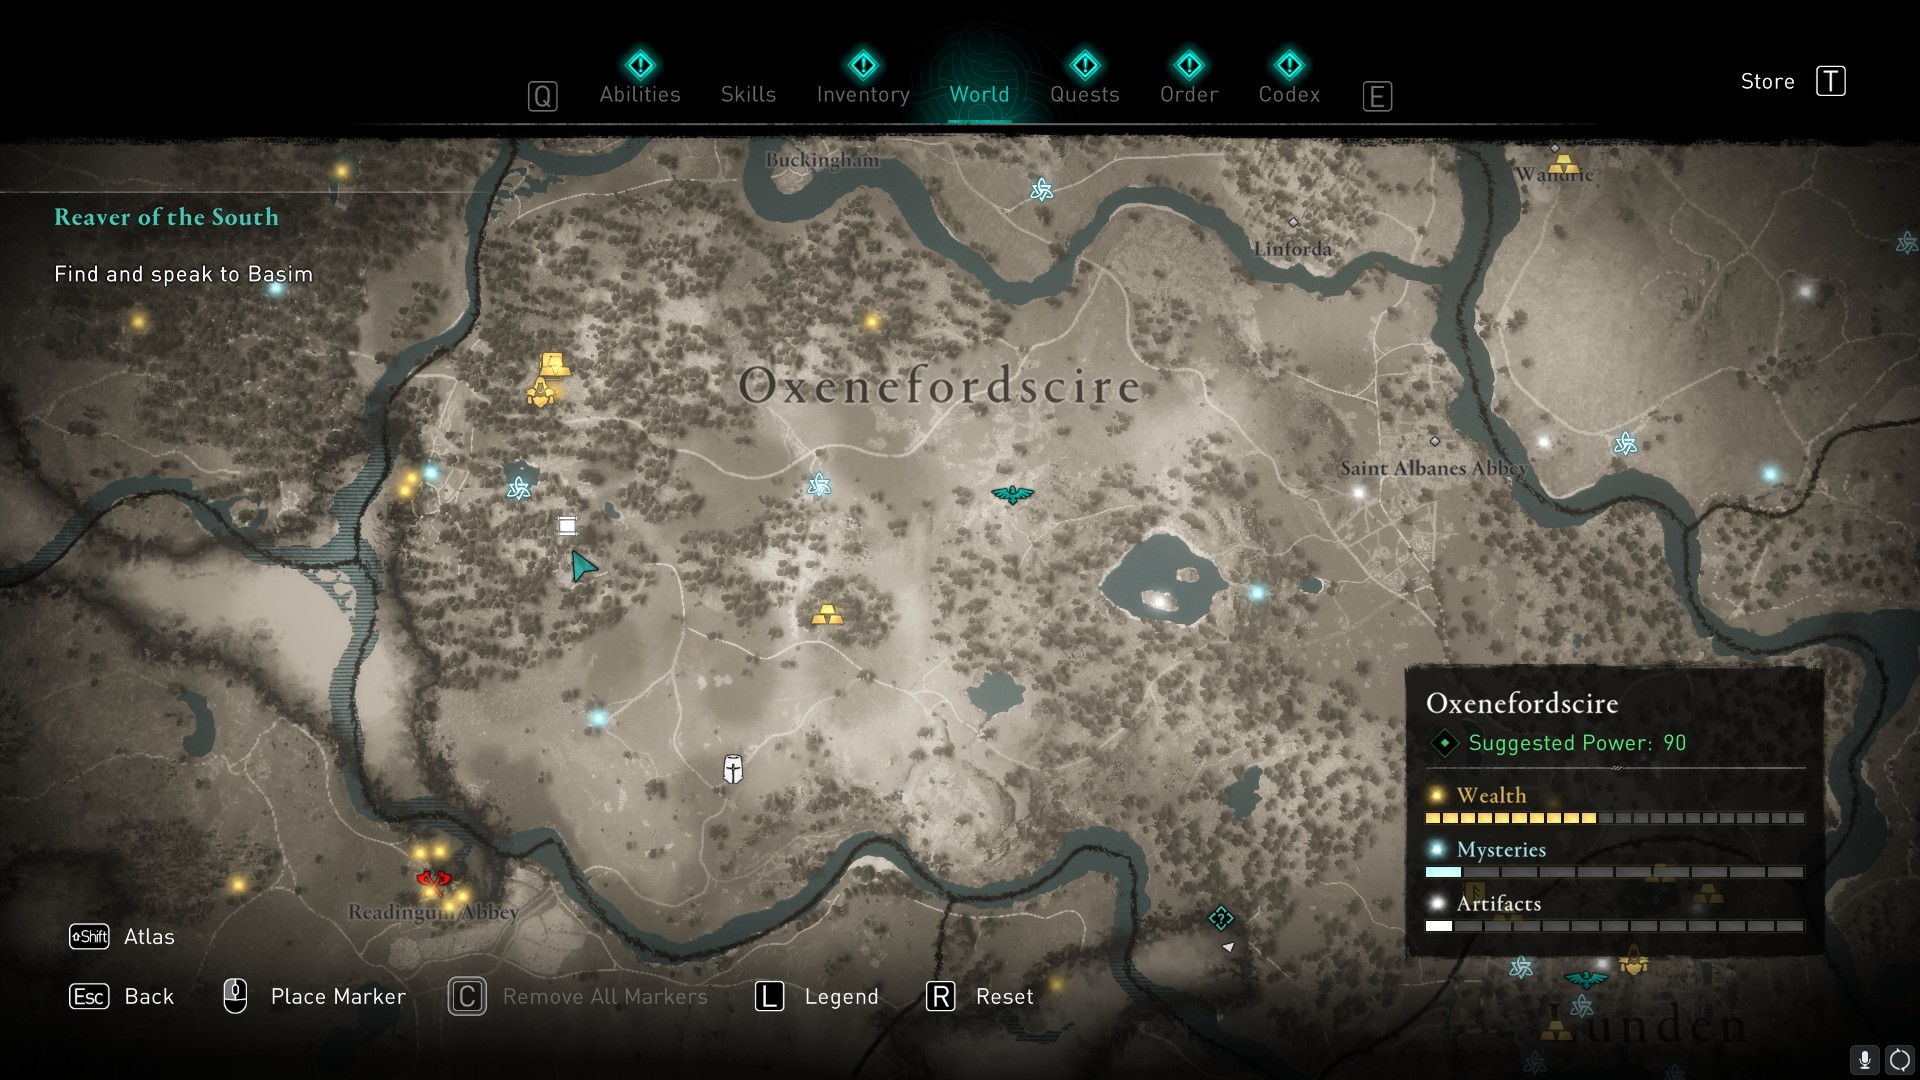
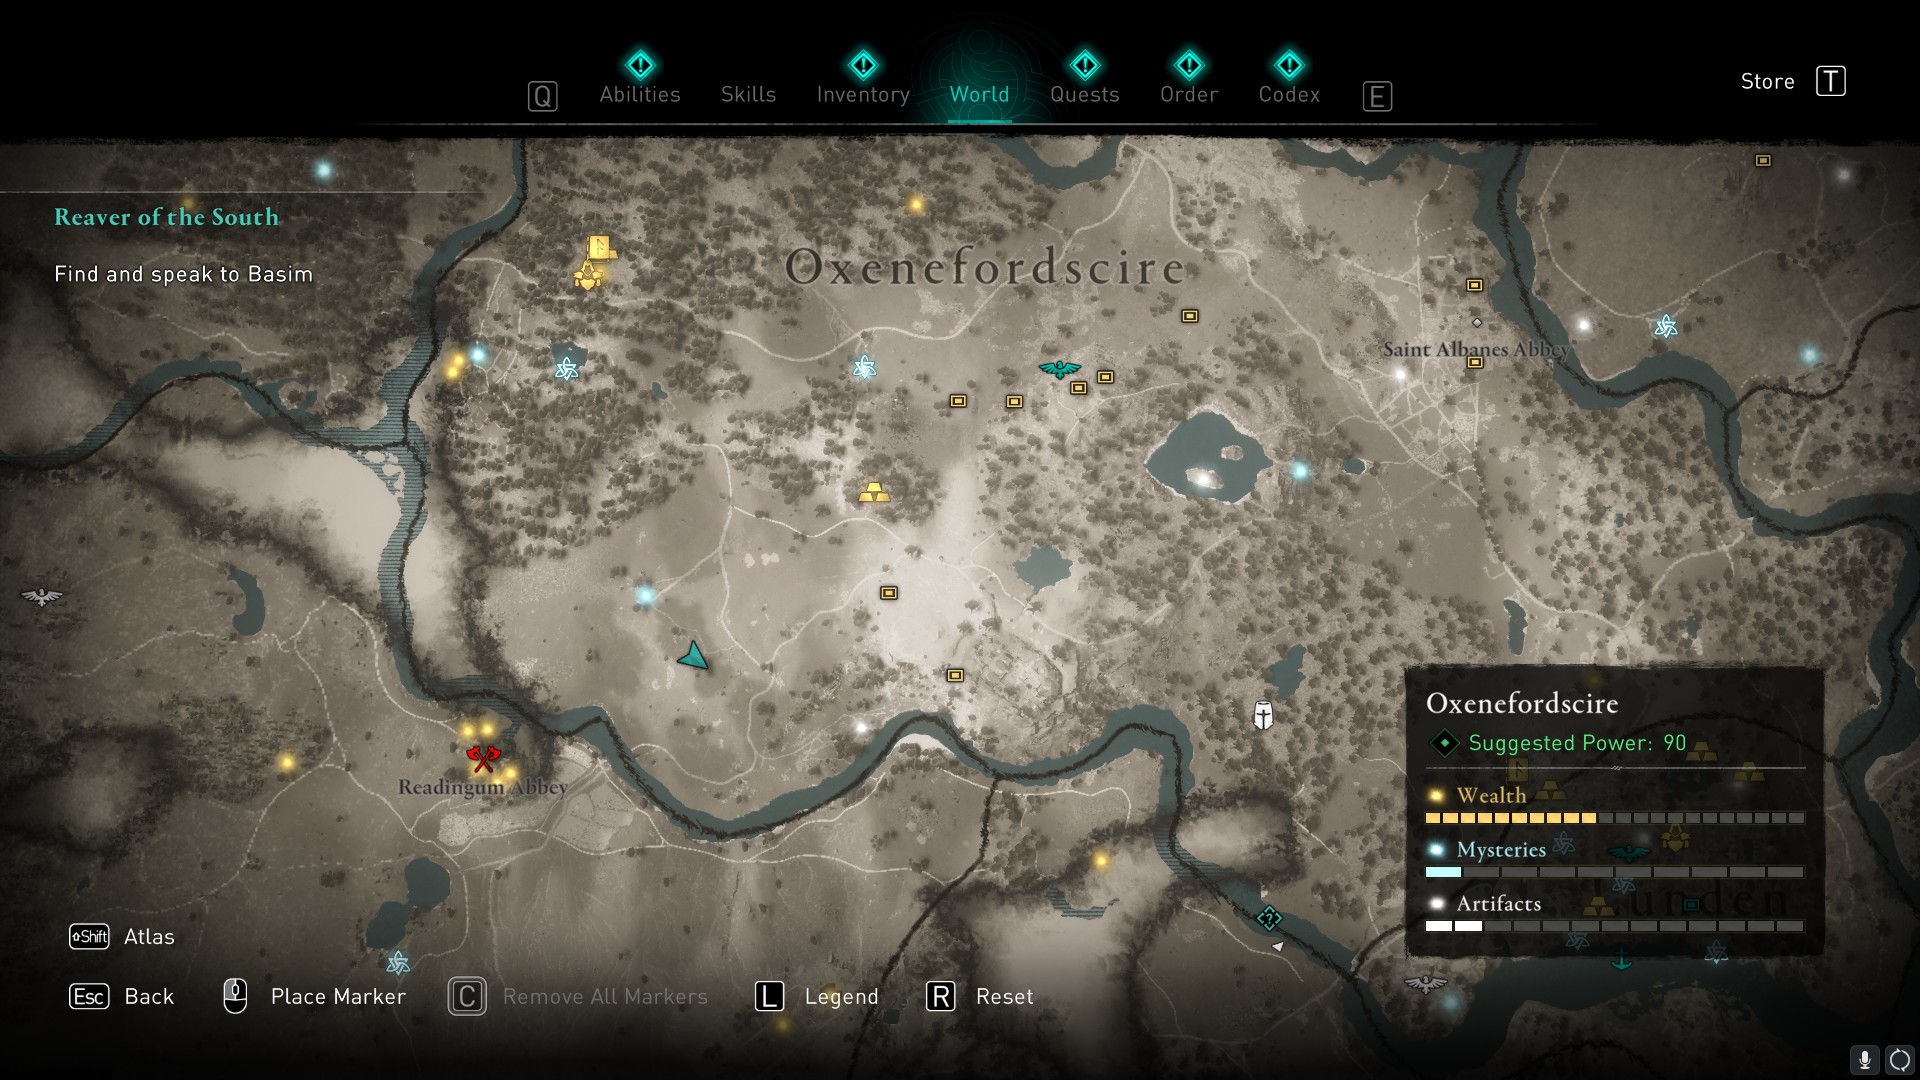
If you open your map and look to the south of Oxenefordscire, you'll see a large open area. The easiest way to find the correct location is to head for the middle of that space, and look out for the biggest tree you can find. There should be plenty of sheep and cows around, too.
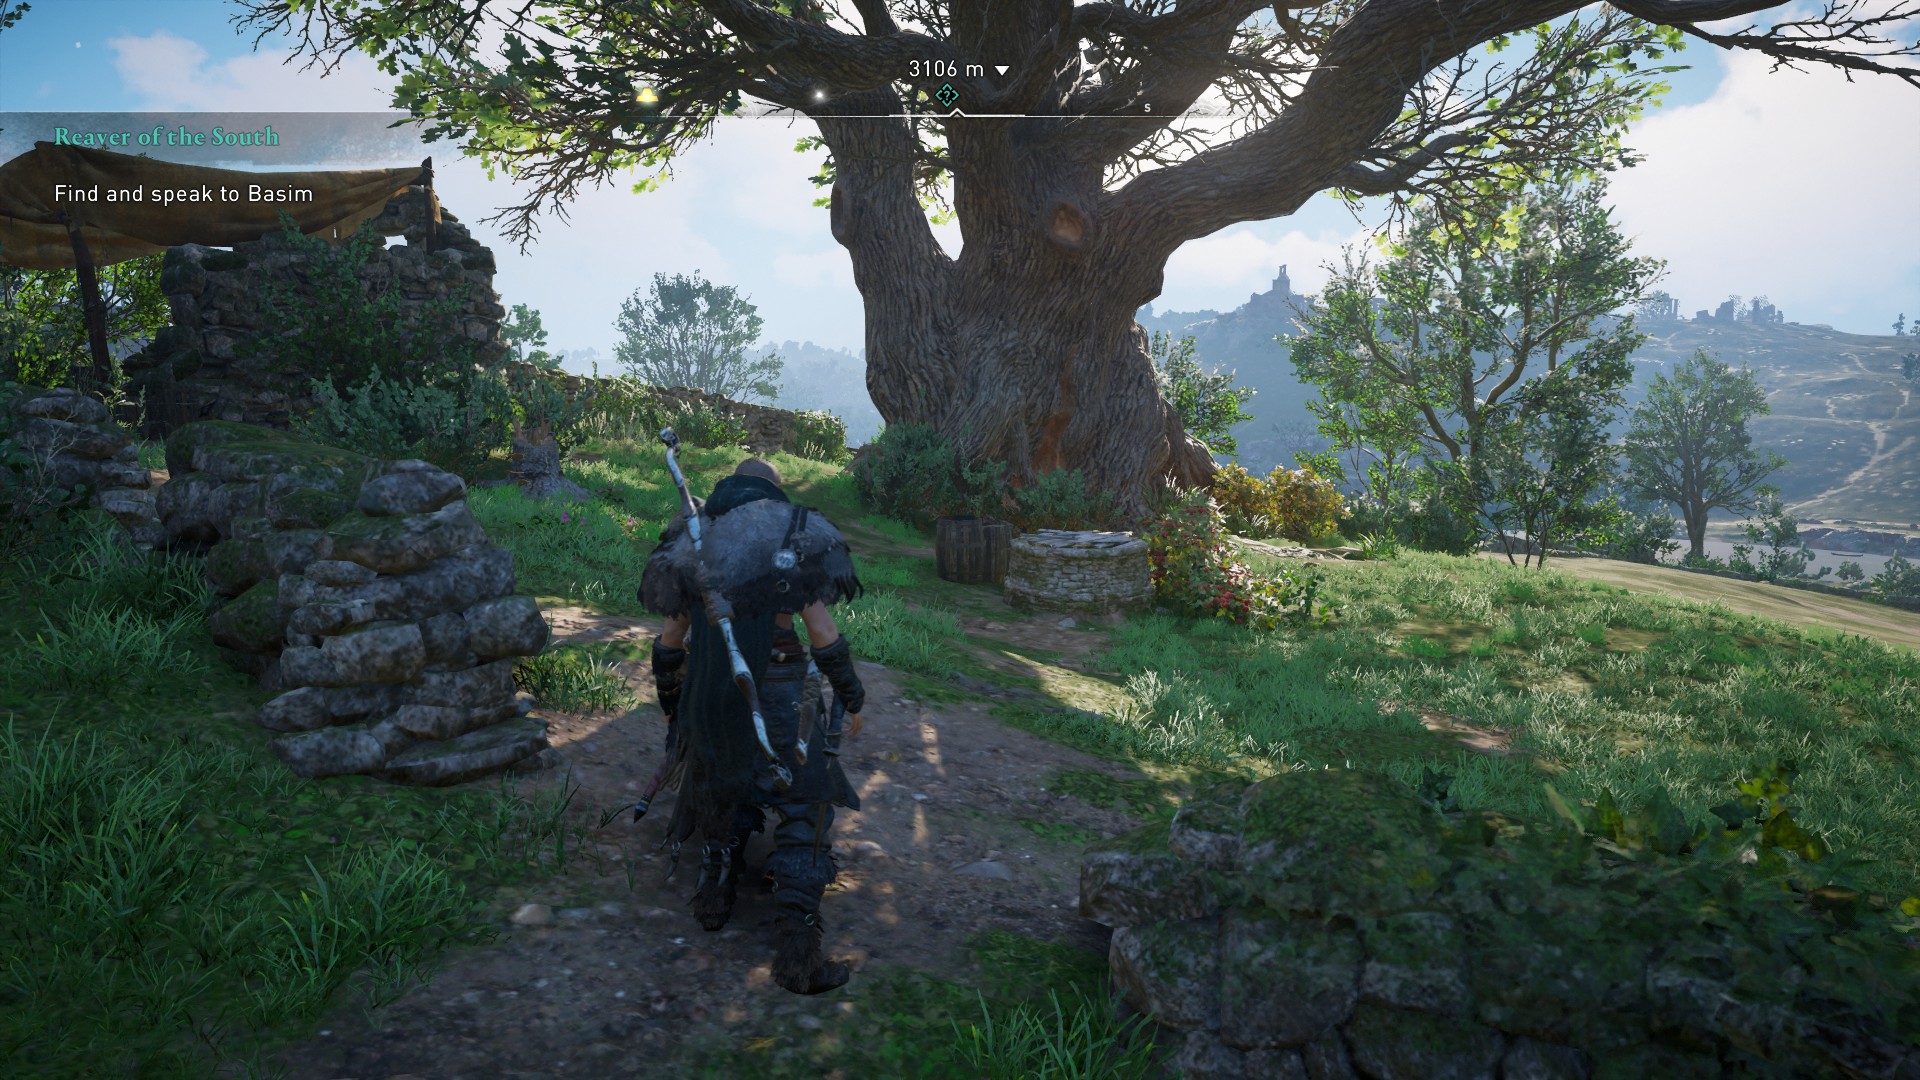
You'll find the ruins of an old cottage next to the correct tree, along with a covered well. Use an arrow to break the wood covering the well, and drop down to receive the Snakebite Scheme (Figurehead) for your longship.
Lunden
Clue
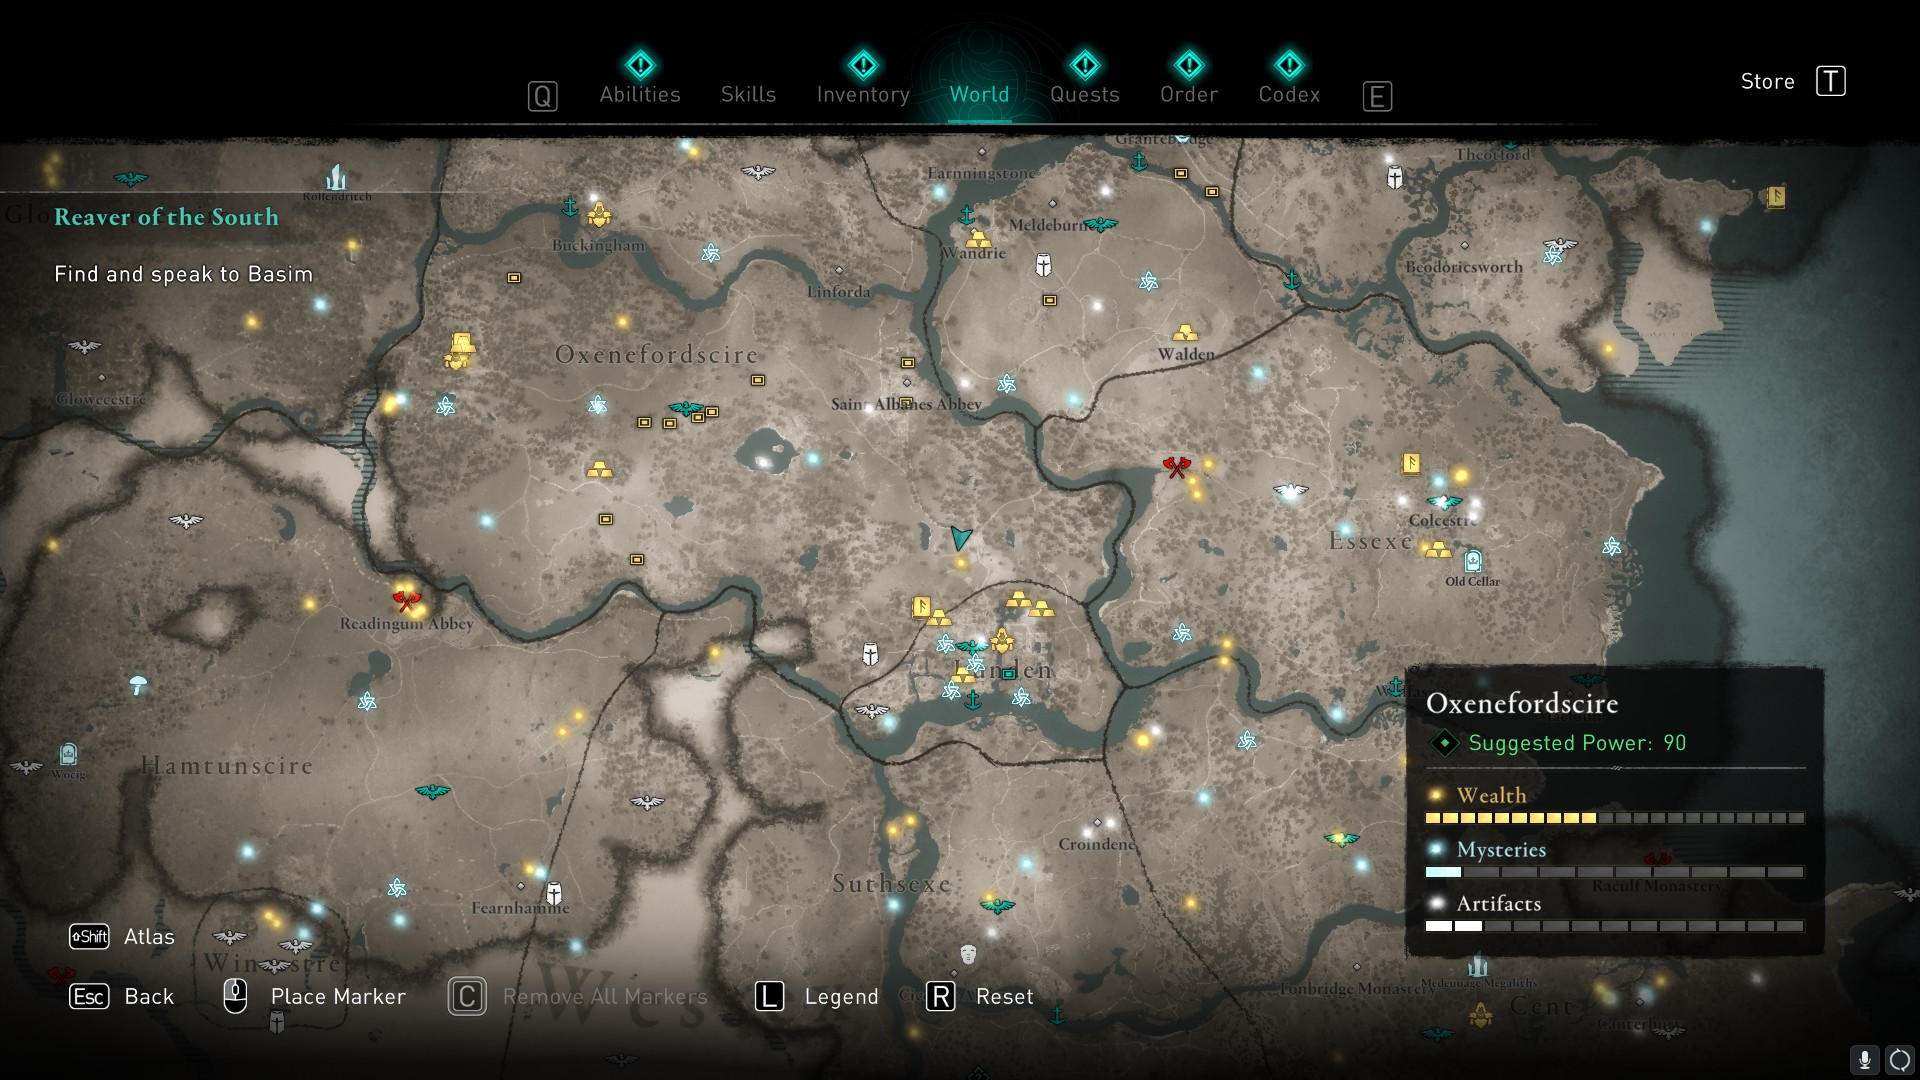
This map is located in the southern part of Oxenefordscire, rather than the town of Lunden itself. Look to the northern edge of the village of Hammeham to find a well that has been boarded over. Break the cover and drop down to retrieve the Lunden Hoard map here.
Solution
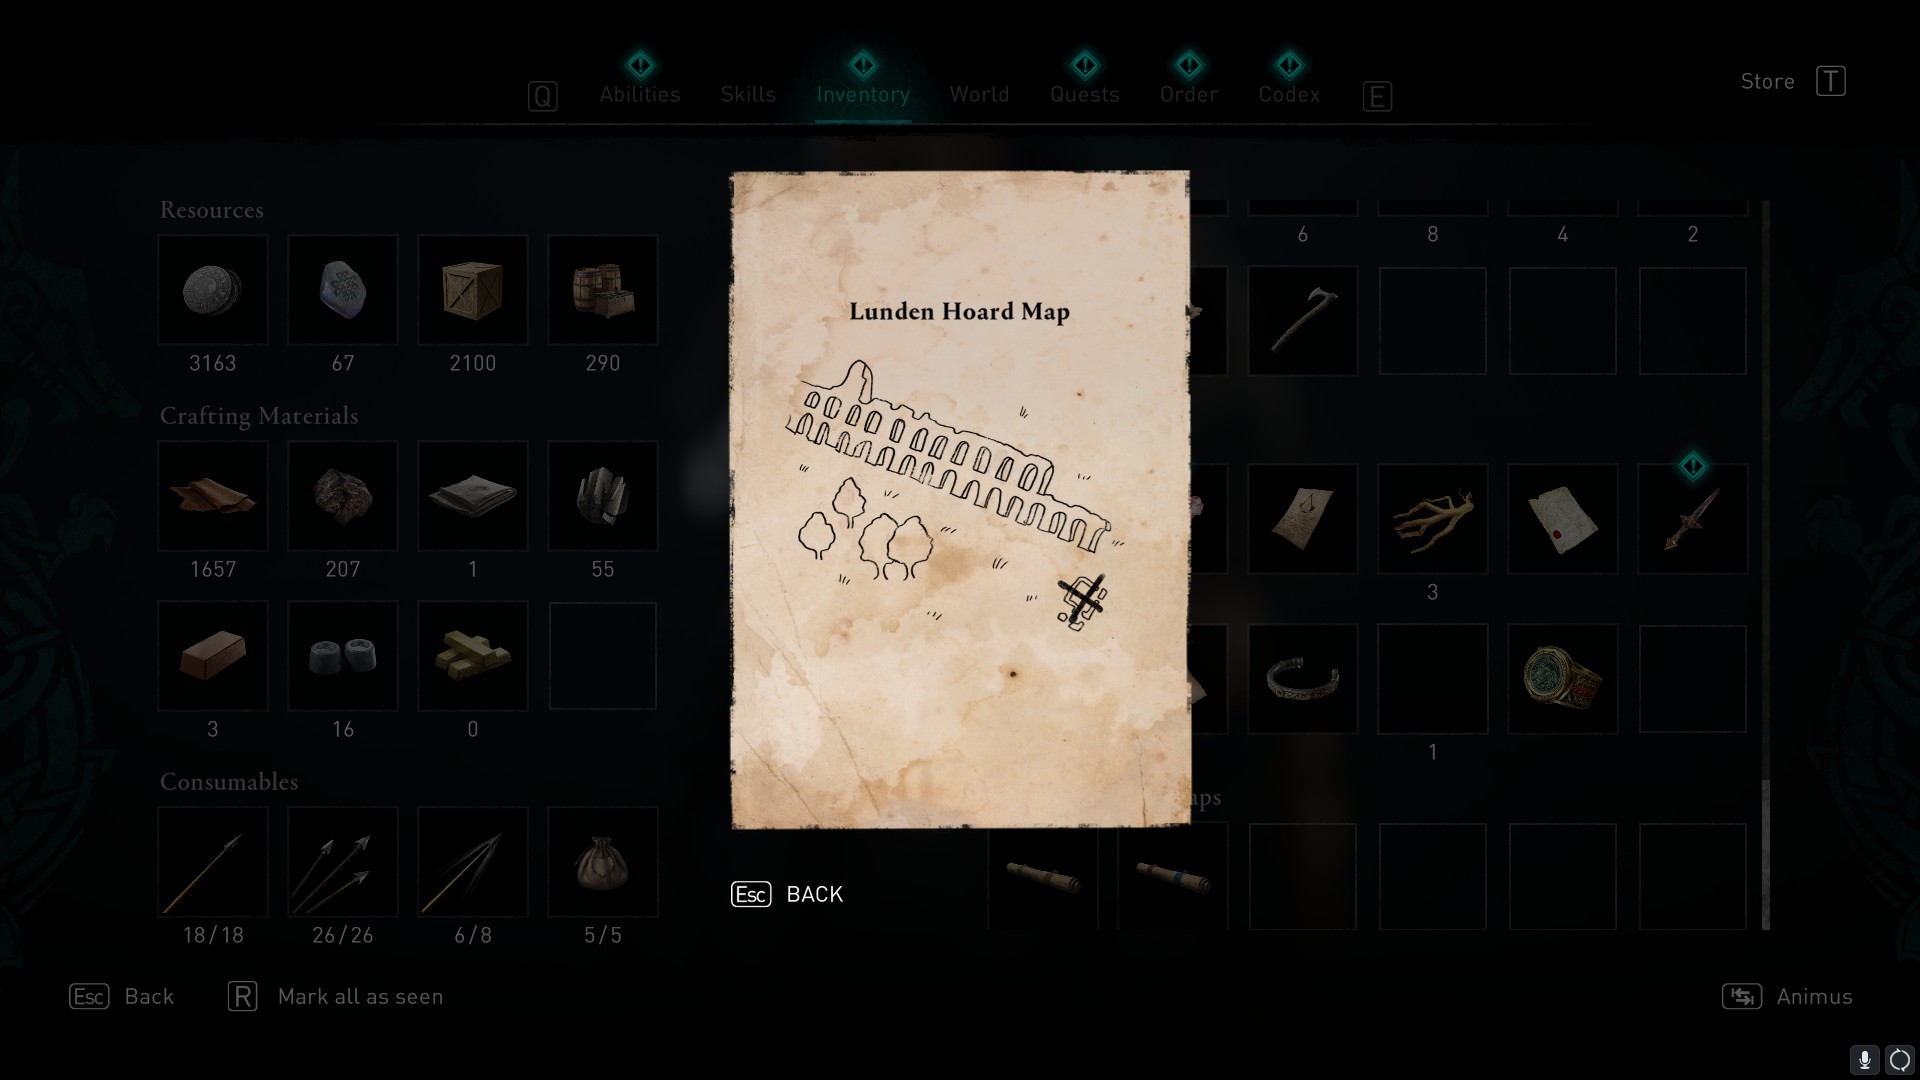
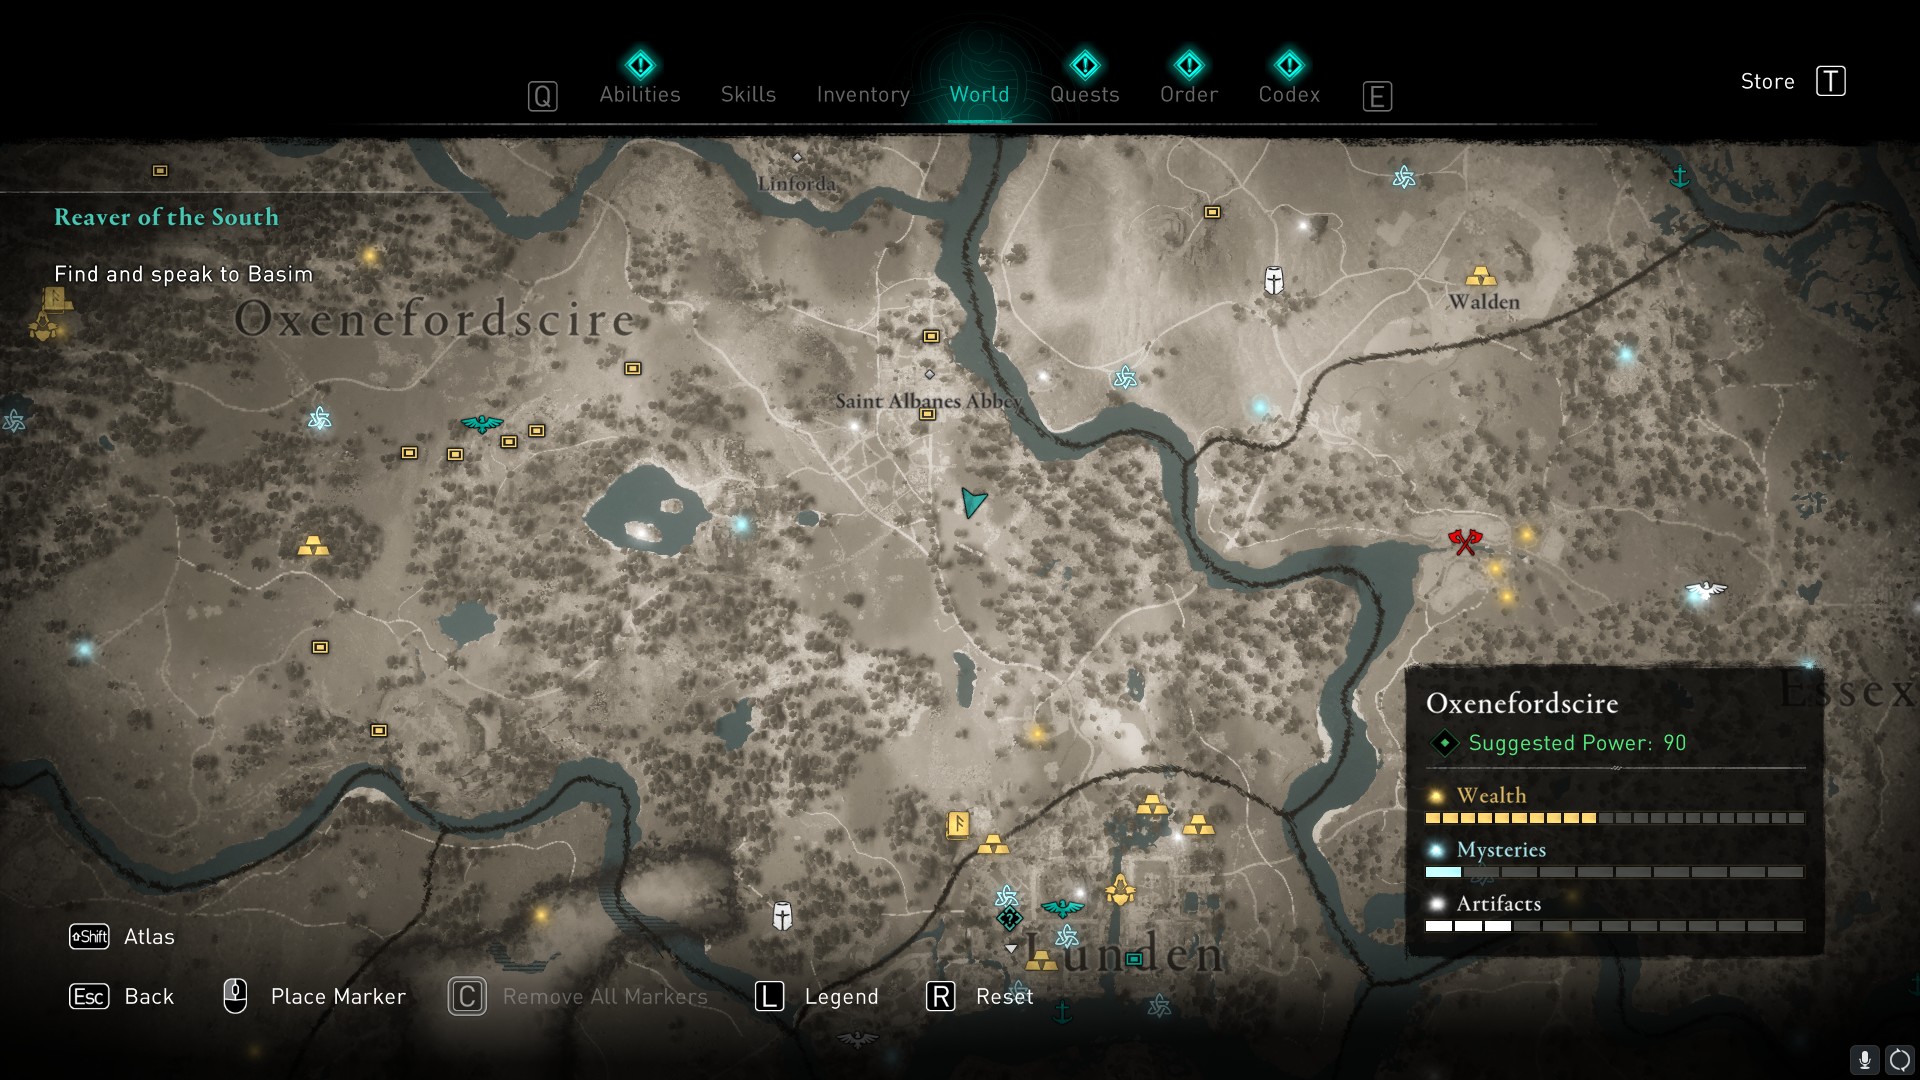
The map shows a series of arches, and there are plenty of roman ruins that fit that image in the immediate area. The name of the map is misleading—instead of heading south towards Lunden, turn and head for the arches you can just make out to the northeast. Follow it north until you reach the end.
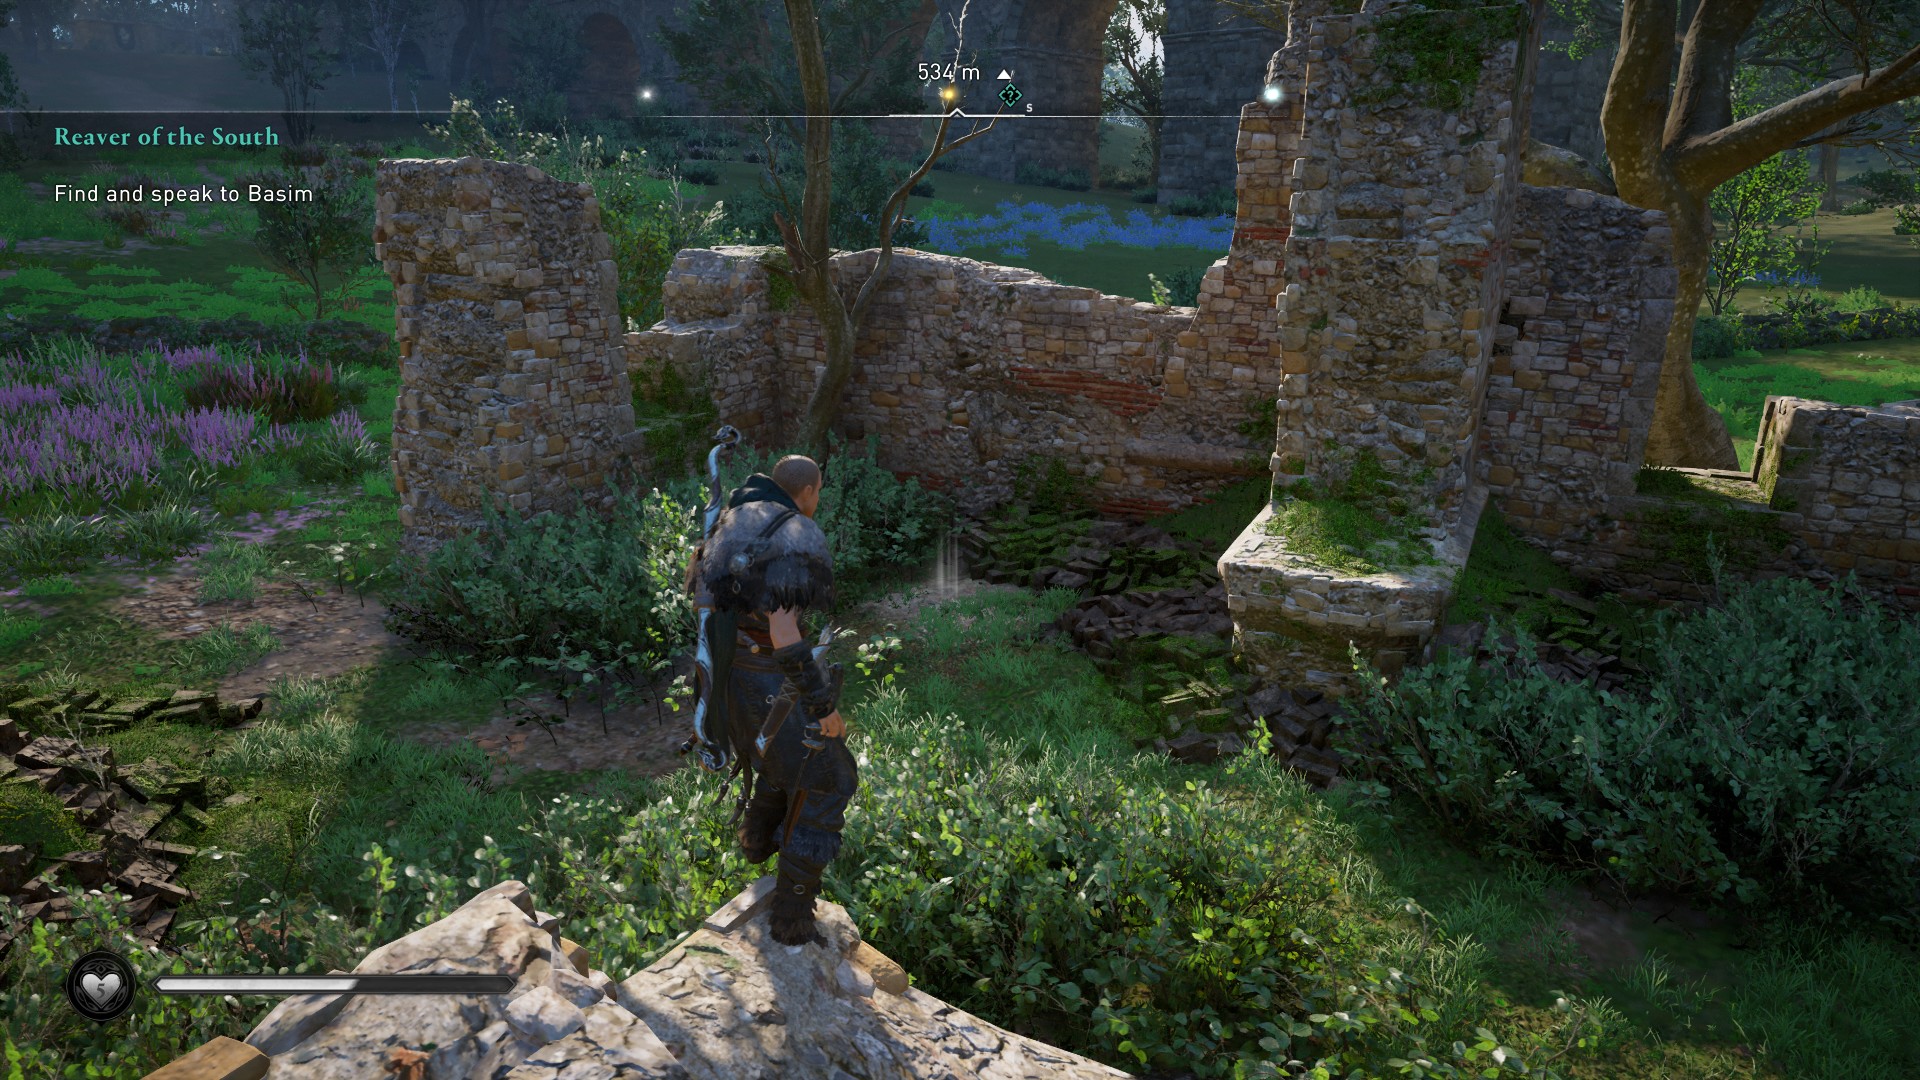
Once there, look for the ruins of a small building, again, just to the north. Zooming in on your map might help as the position of the wall of arches becomes obvious. Loot the treasure on the grass inside of the ruins to receive the Speki Symbol Scheme (Head) tattoo.
Sciropescire
Clue
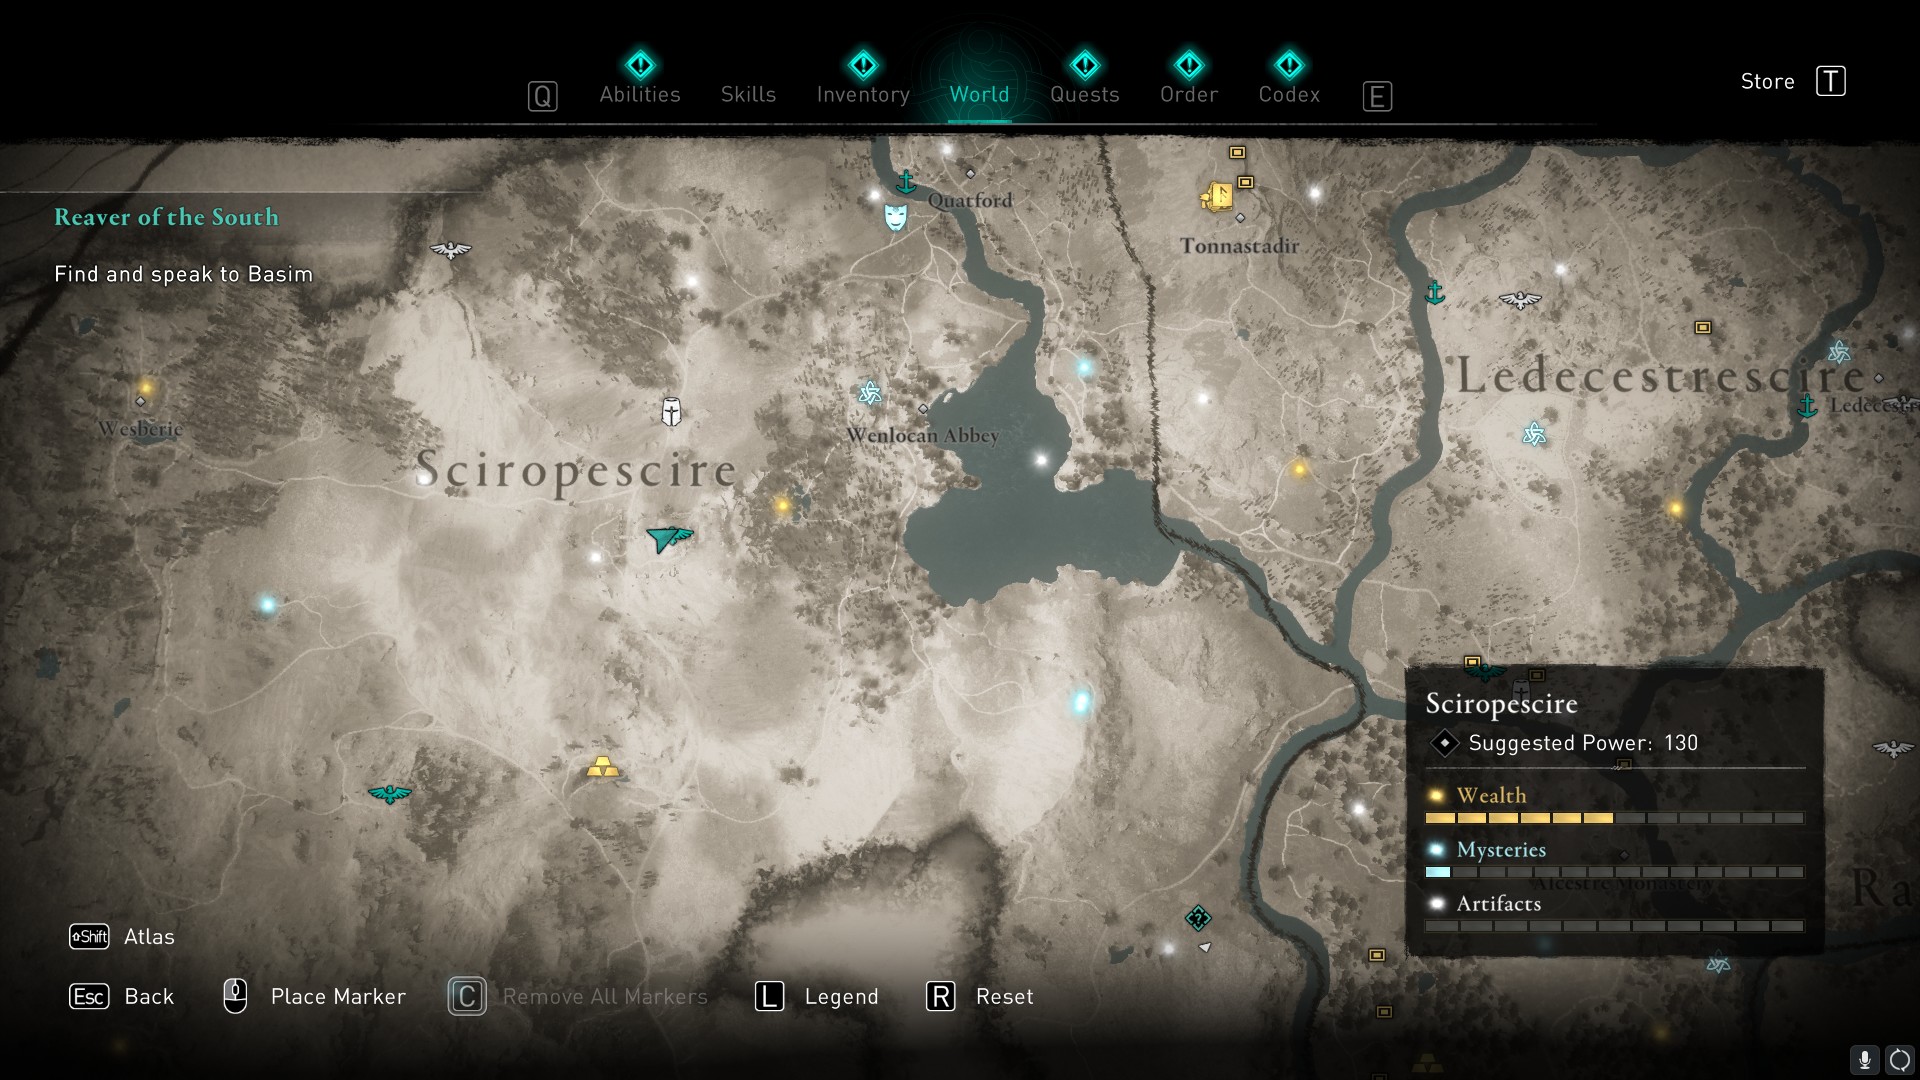
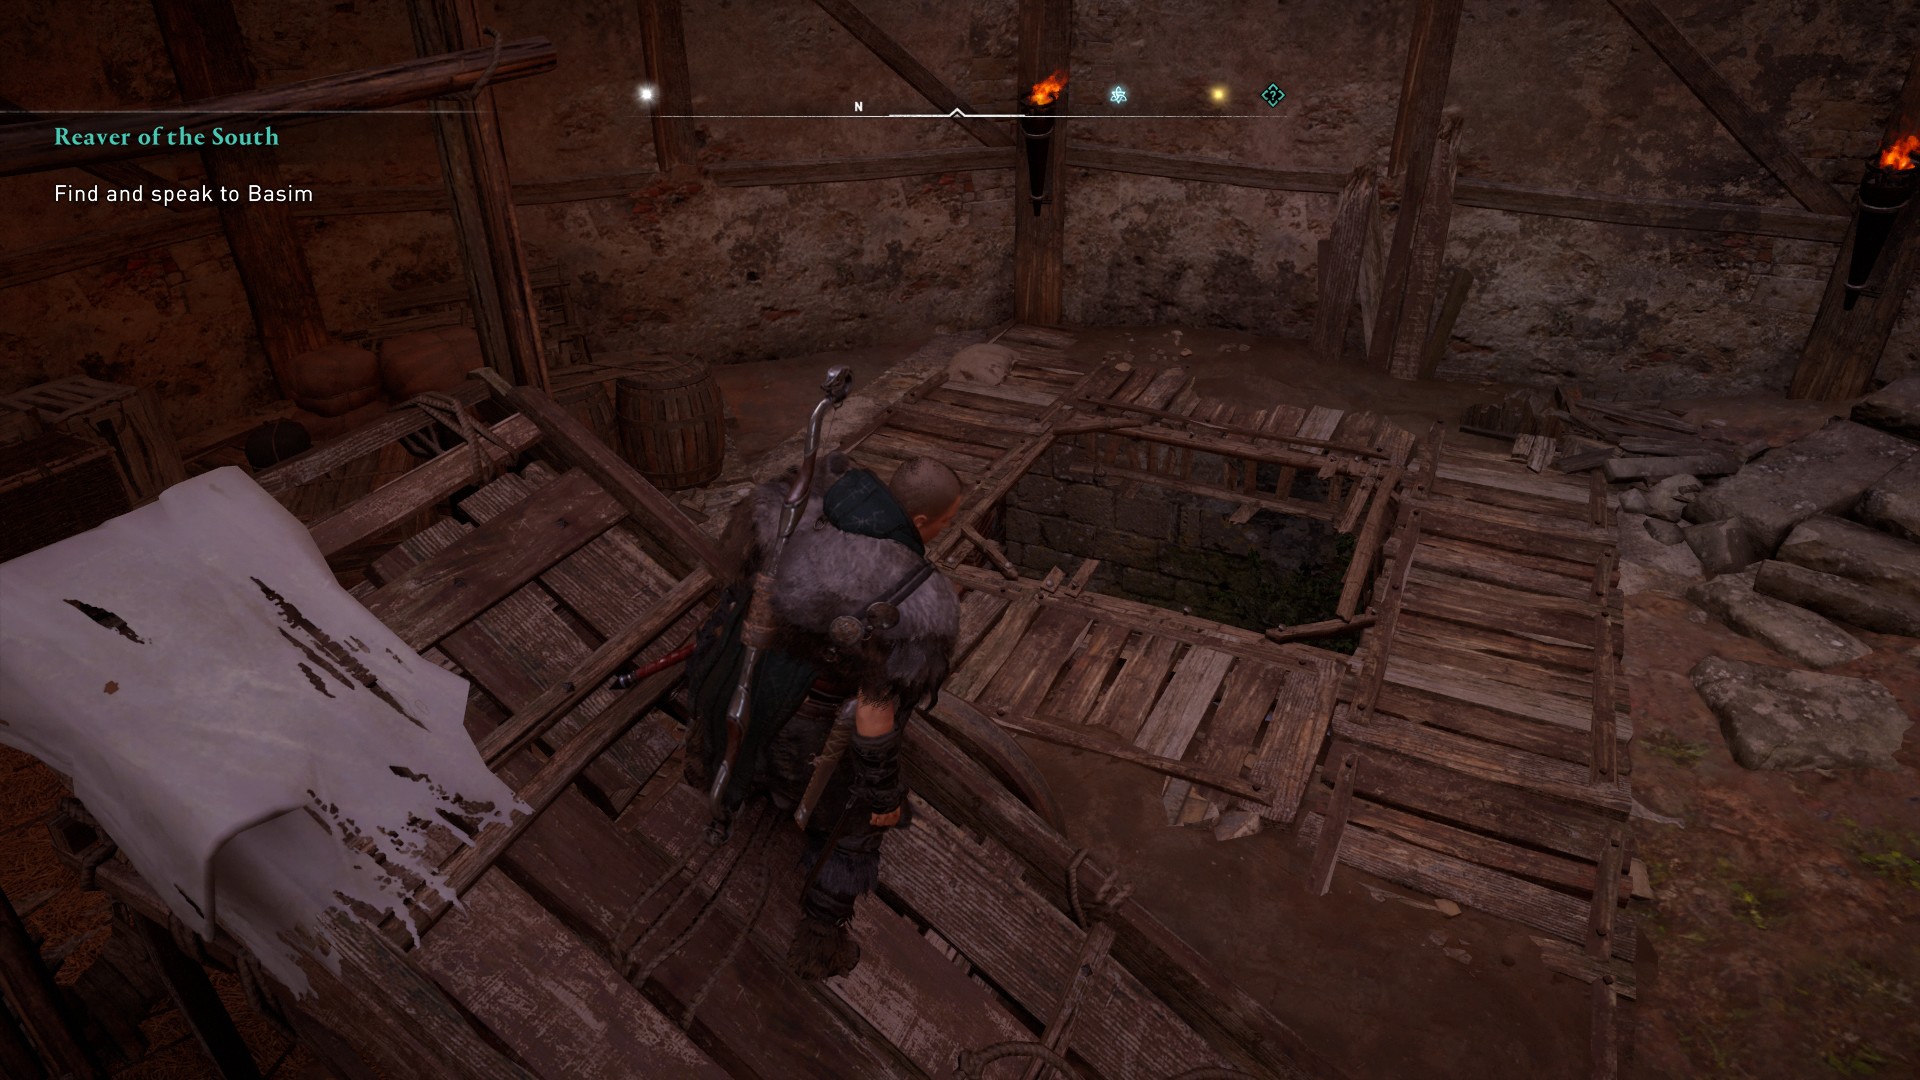
This map is located at the synchronisation point at Hill Gate Remnants, just southwest of Wenlocan Abbey. Fast travel here, and do a leap of faith to reach ground level. Make your way inside the tower and look for the net of rubble suspended beneath a platform inside. Use an arrow to drop it.
Now head down into the hole made by the rubble, and use the crawl space at the bottom to find a dark and dusty library. You'll find the map on a table directly ahead of where you entered.
Solution
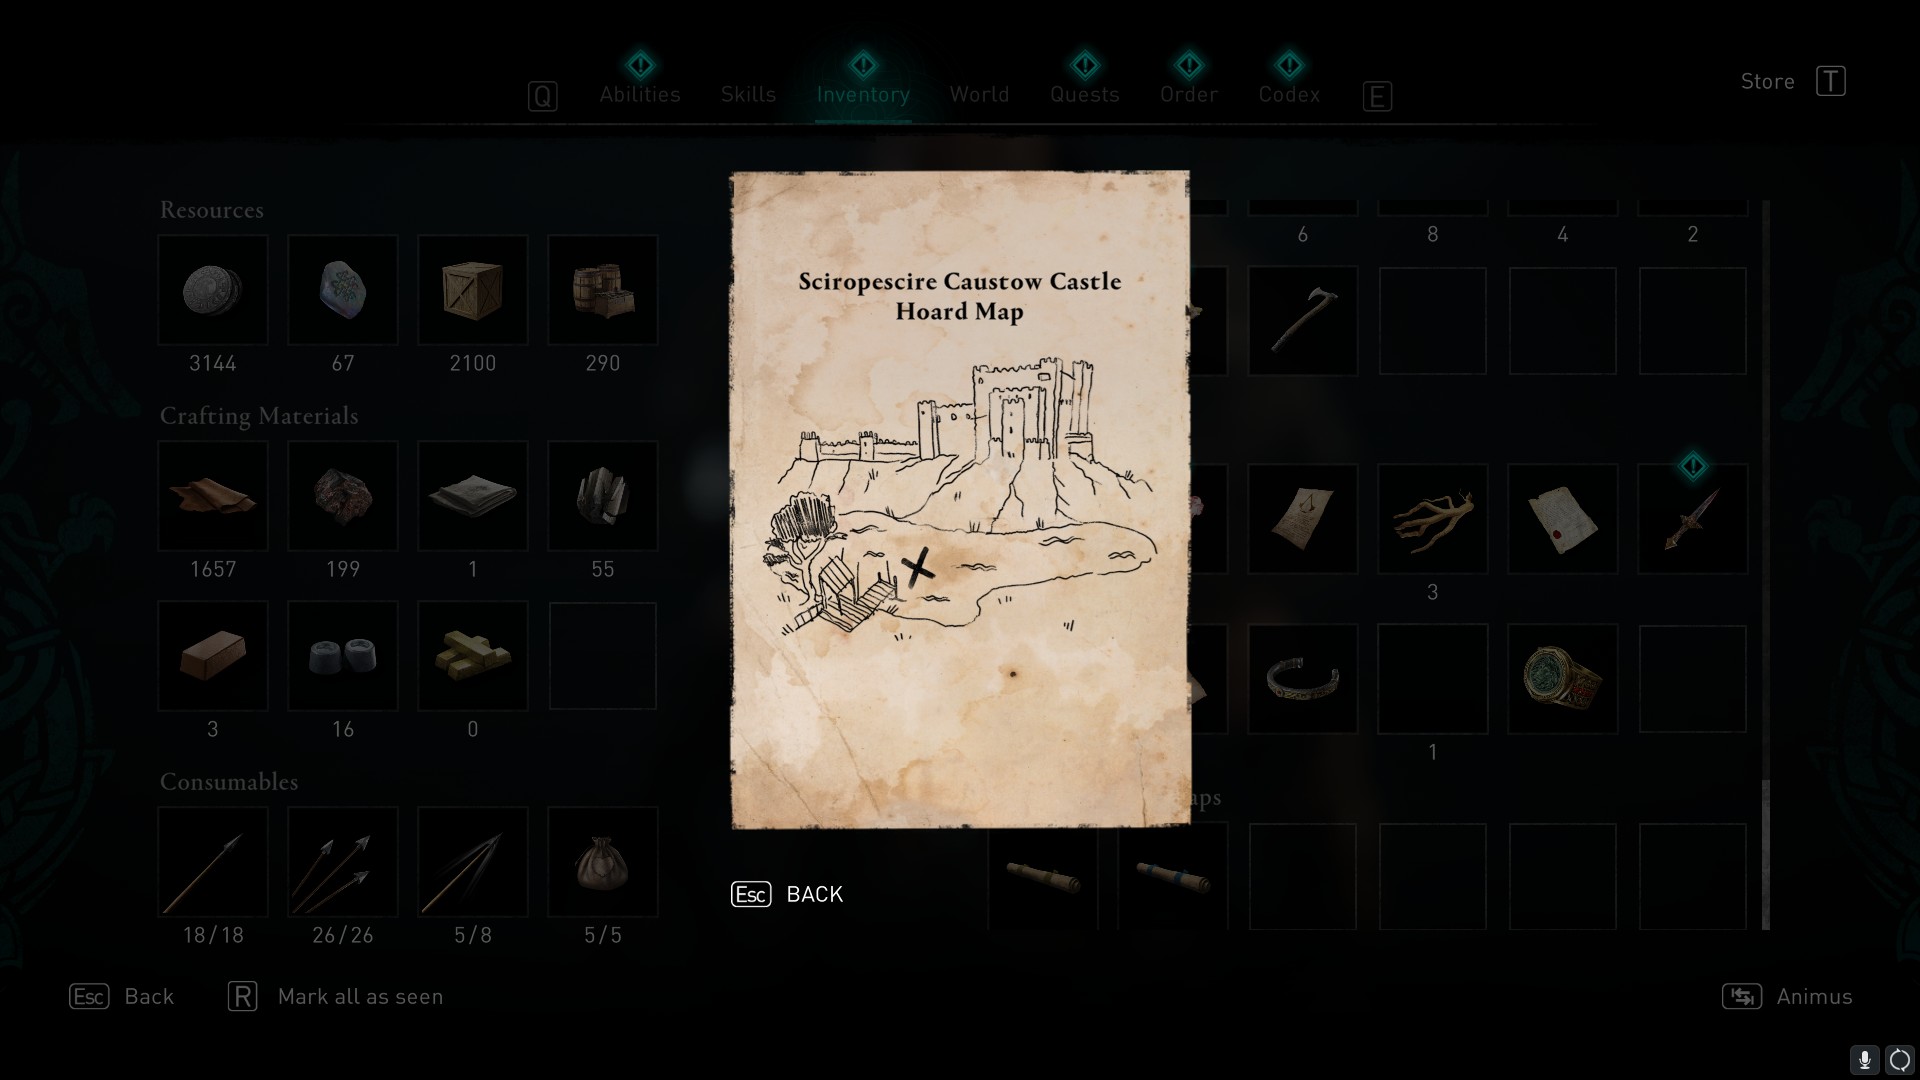
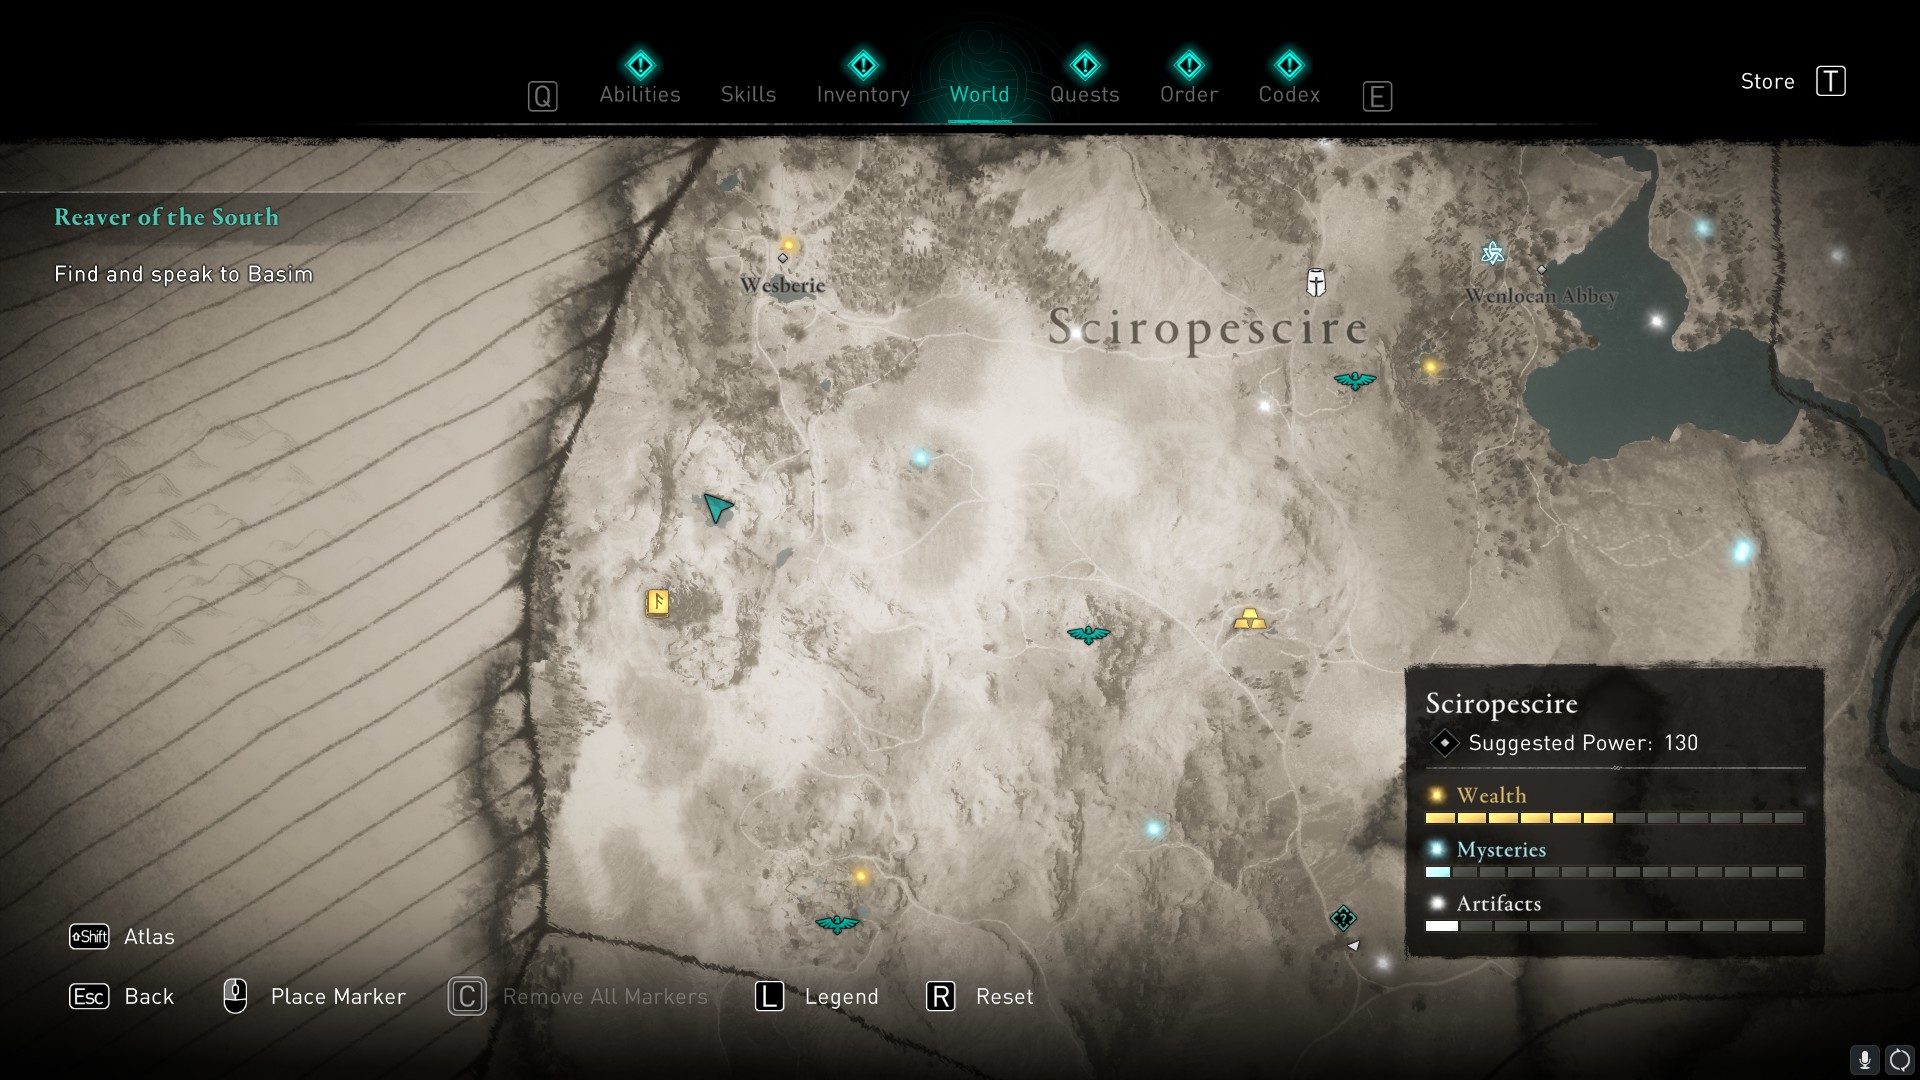
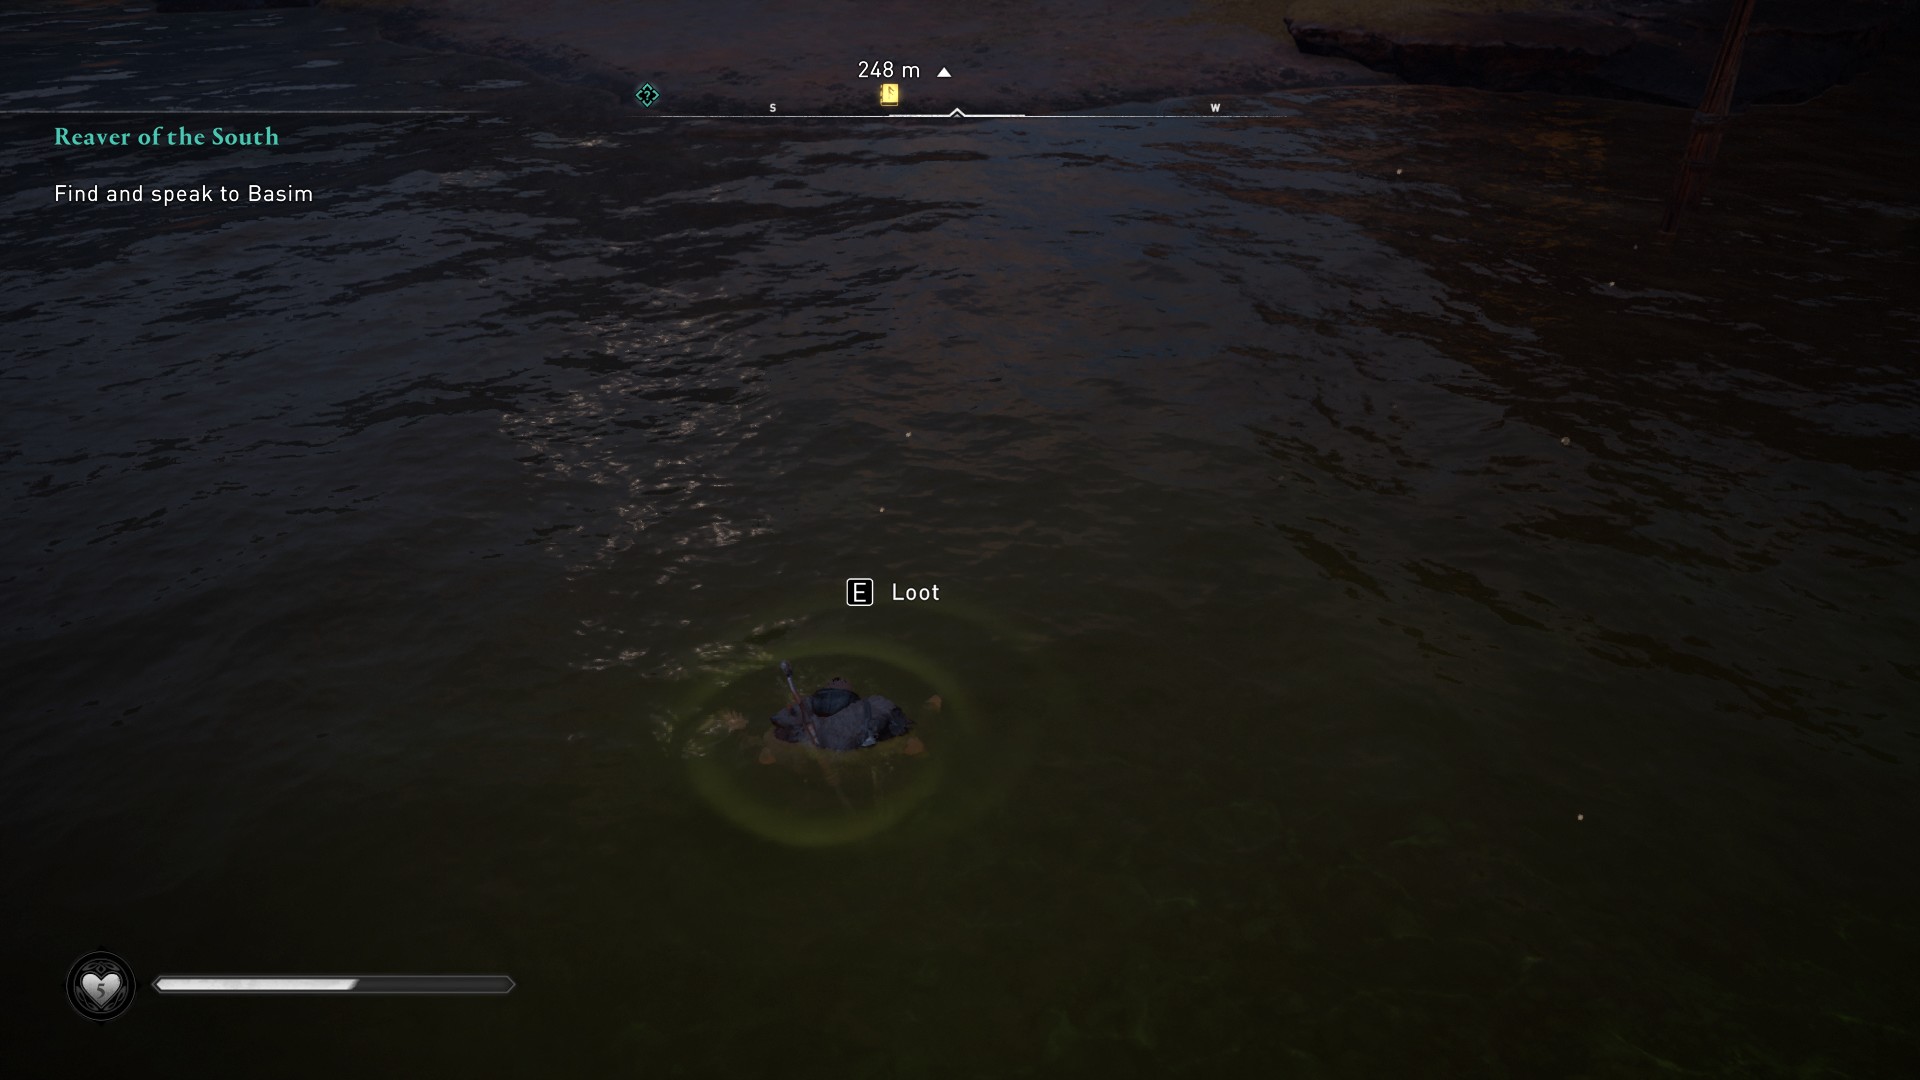
The map points towards Caustow Castle, located in the southwest corner of Sciropescire. And more specifically, to the lake nearby. Head to the larger of the two lakes, and the one that resembles the shape in the image of the map the most.
Once here, dive into the lake and look around for the telltale white glow. Loot the treasure to receive the Vidarr Scheme (Head) tattoo.
Cent
Clue
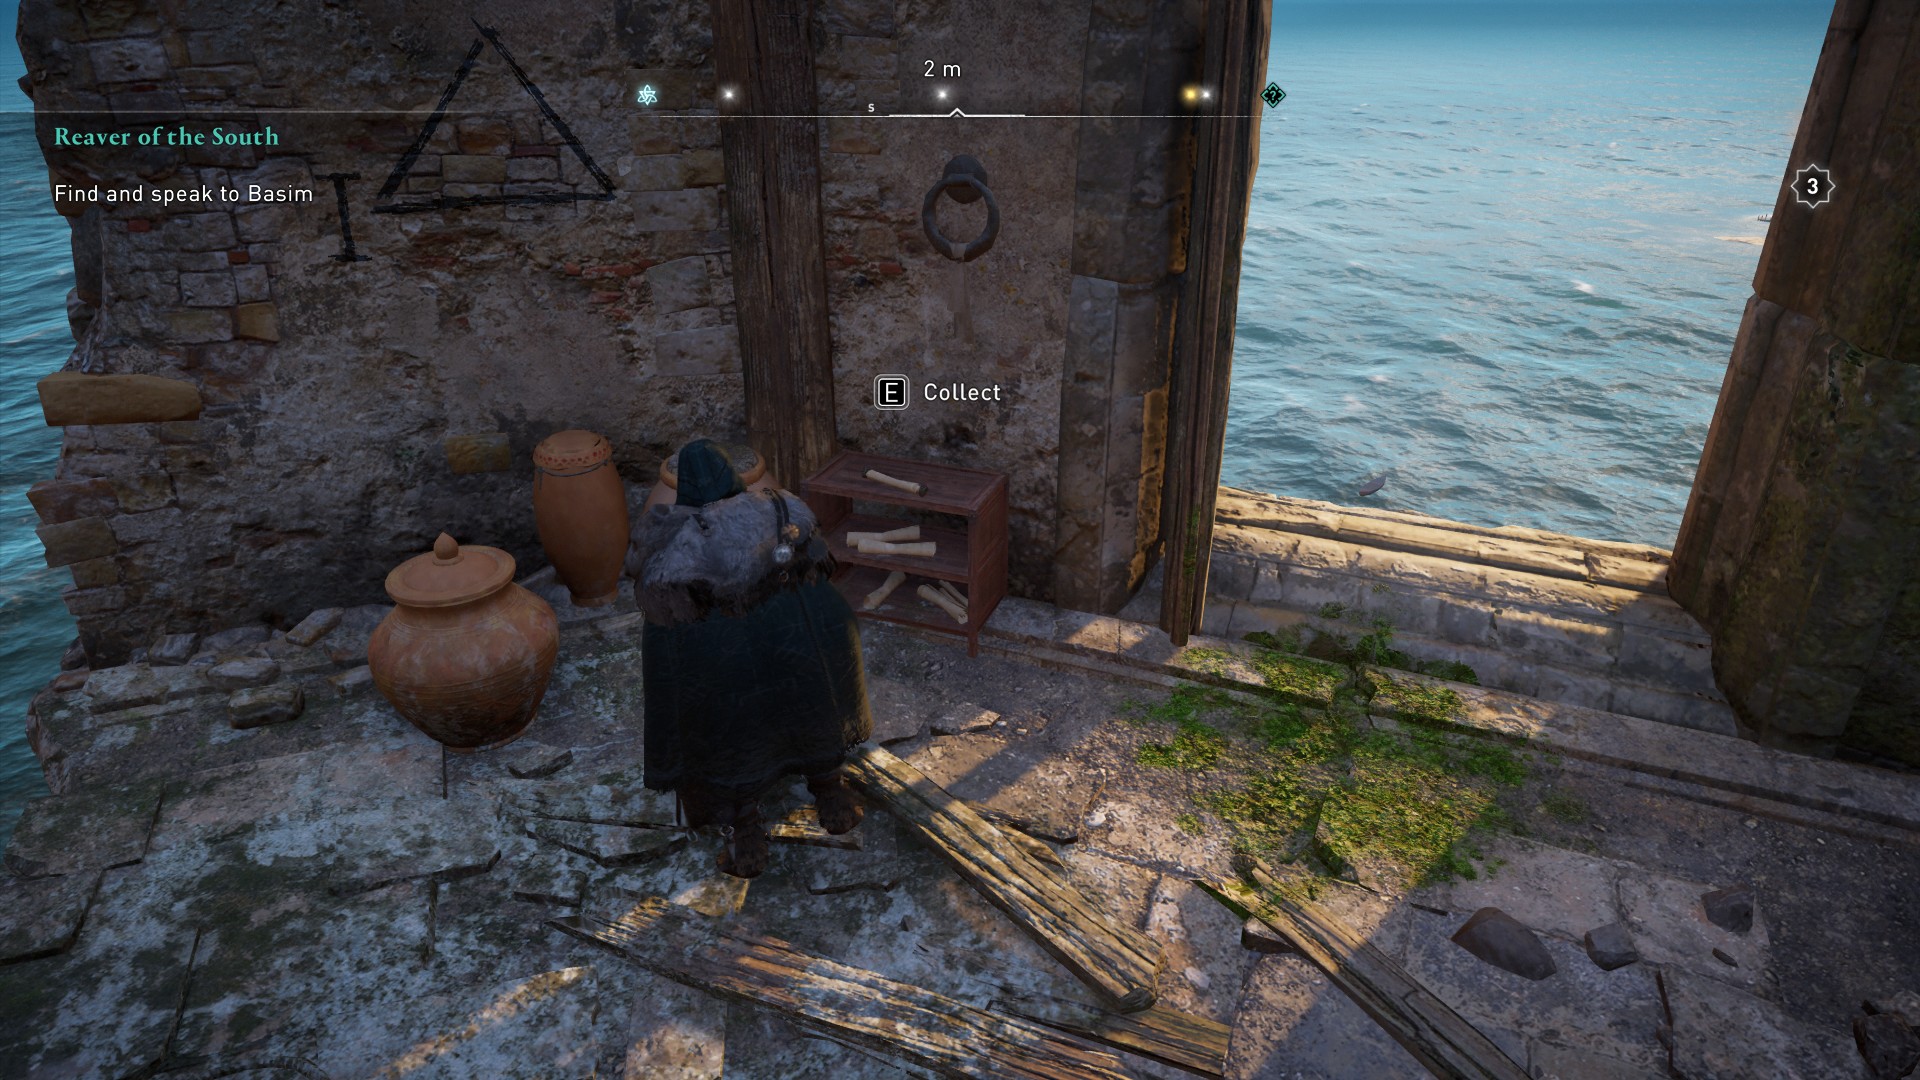
This map is located at the Dover Pharoahs. It's on the south coast, just east of Folcanstan. Once you're there, climb the tower to reach the highest point, and the map can be found perched on top of a small wooden shelf.

Solution
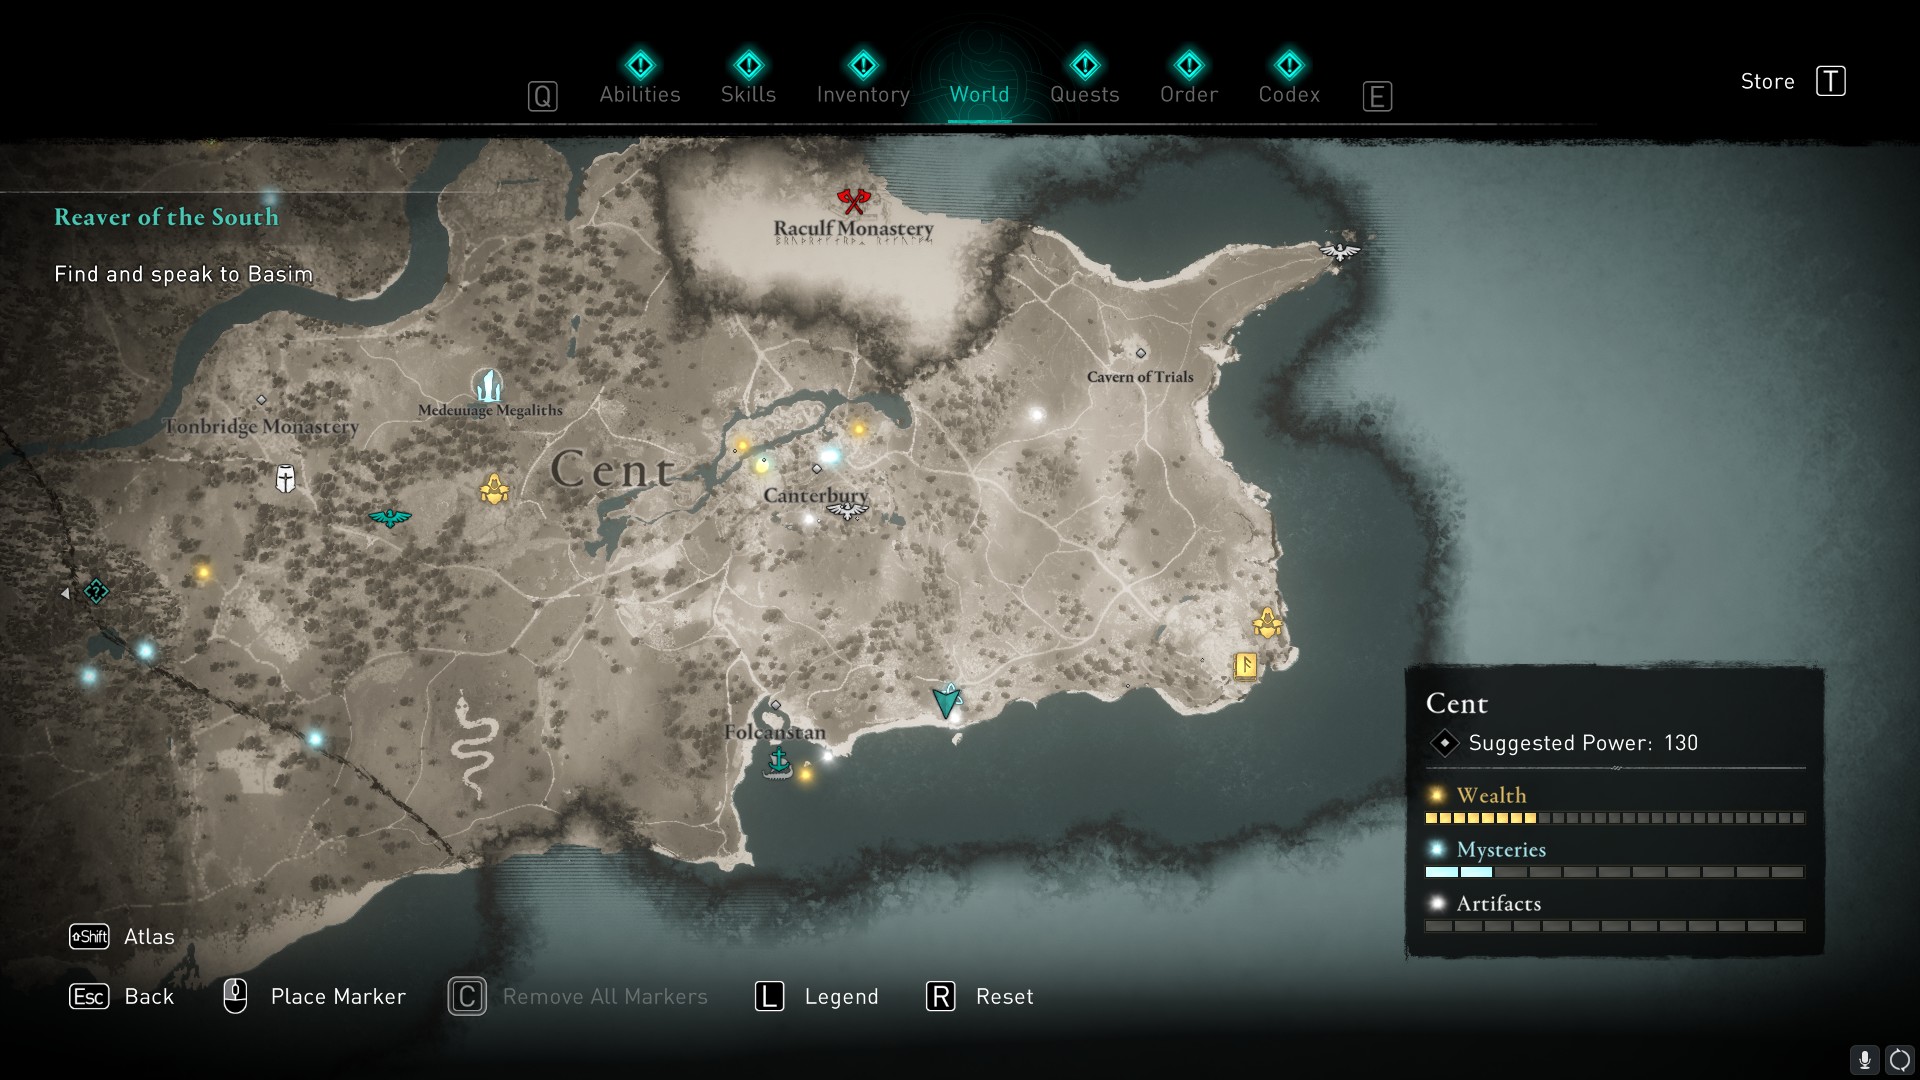
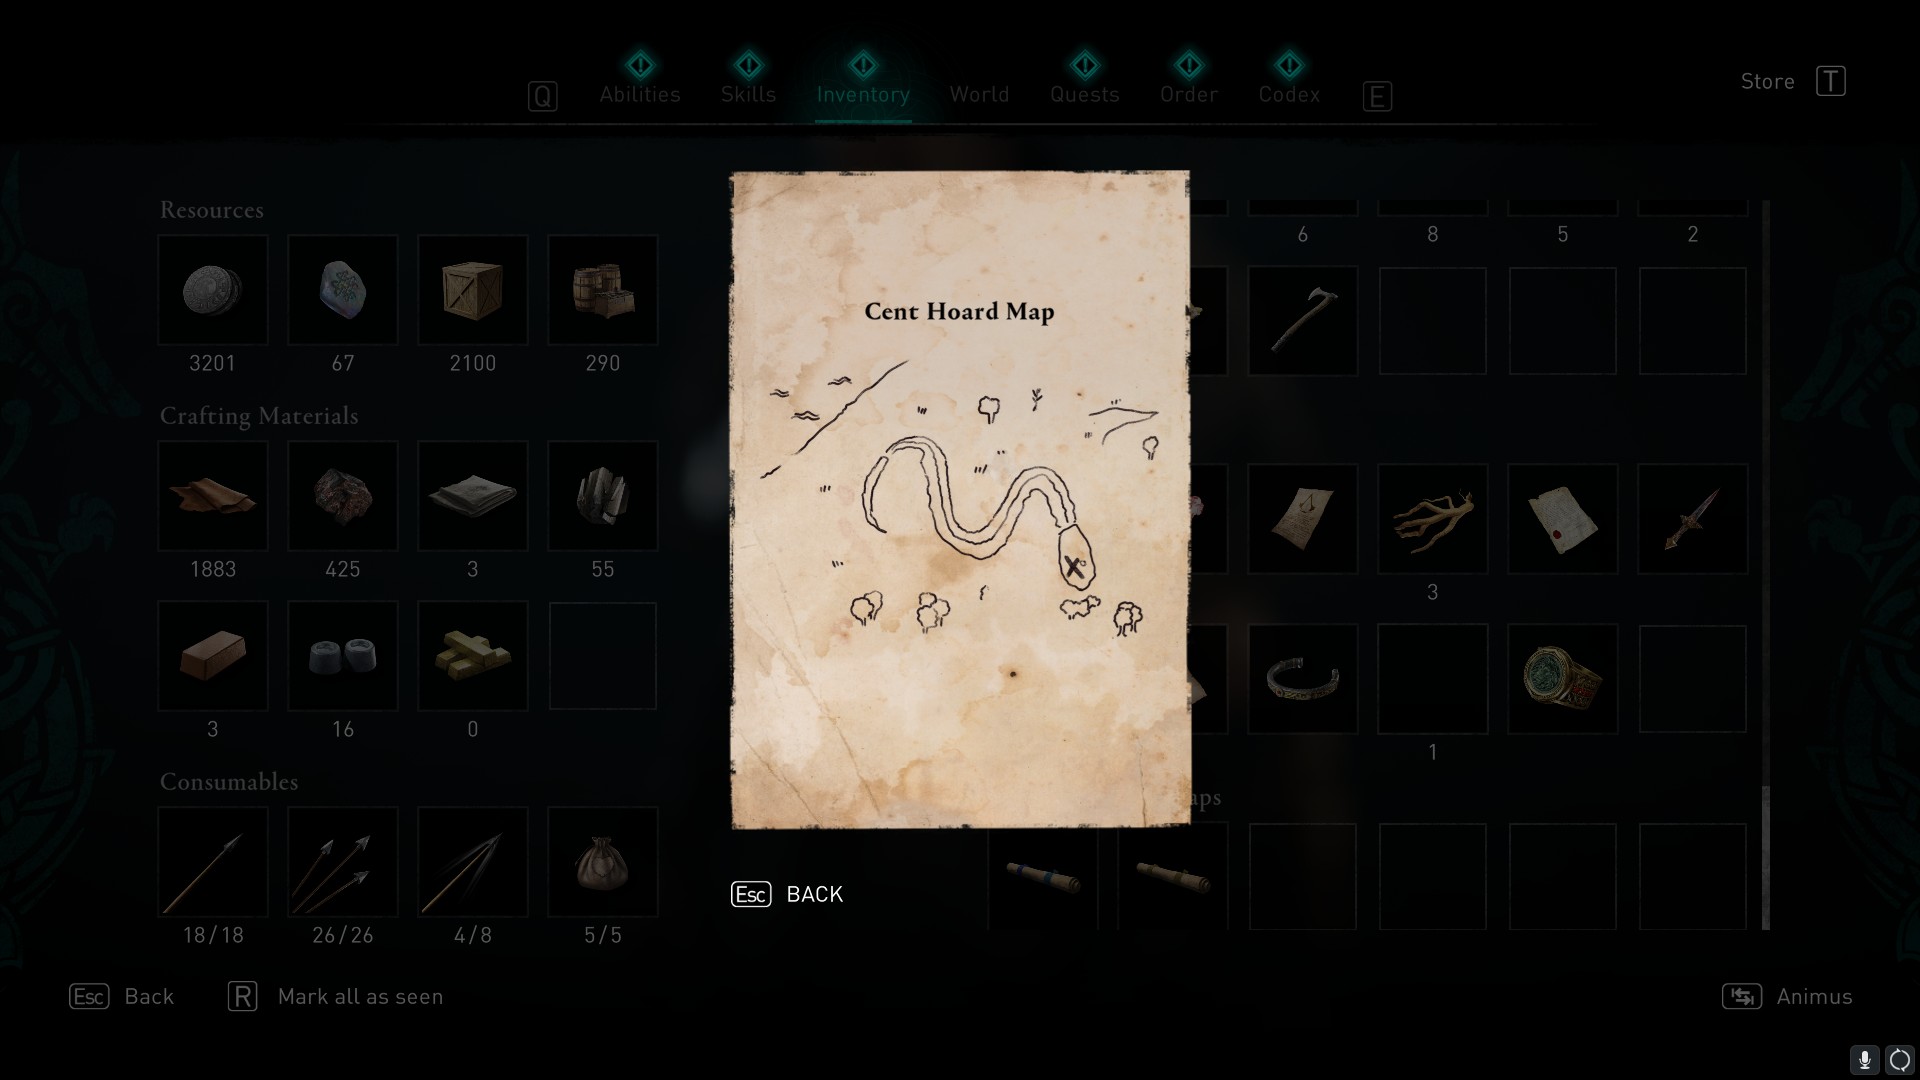
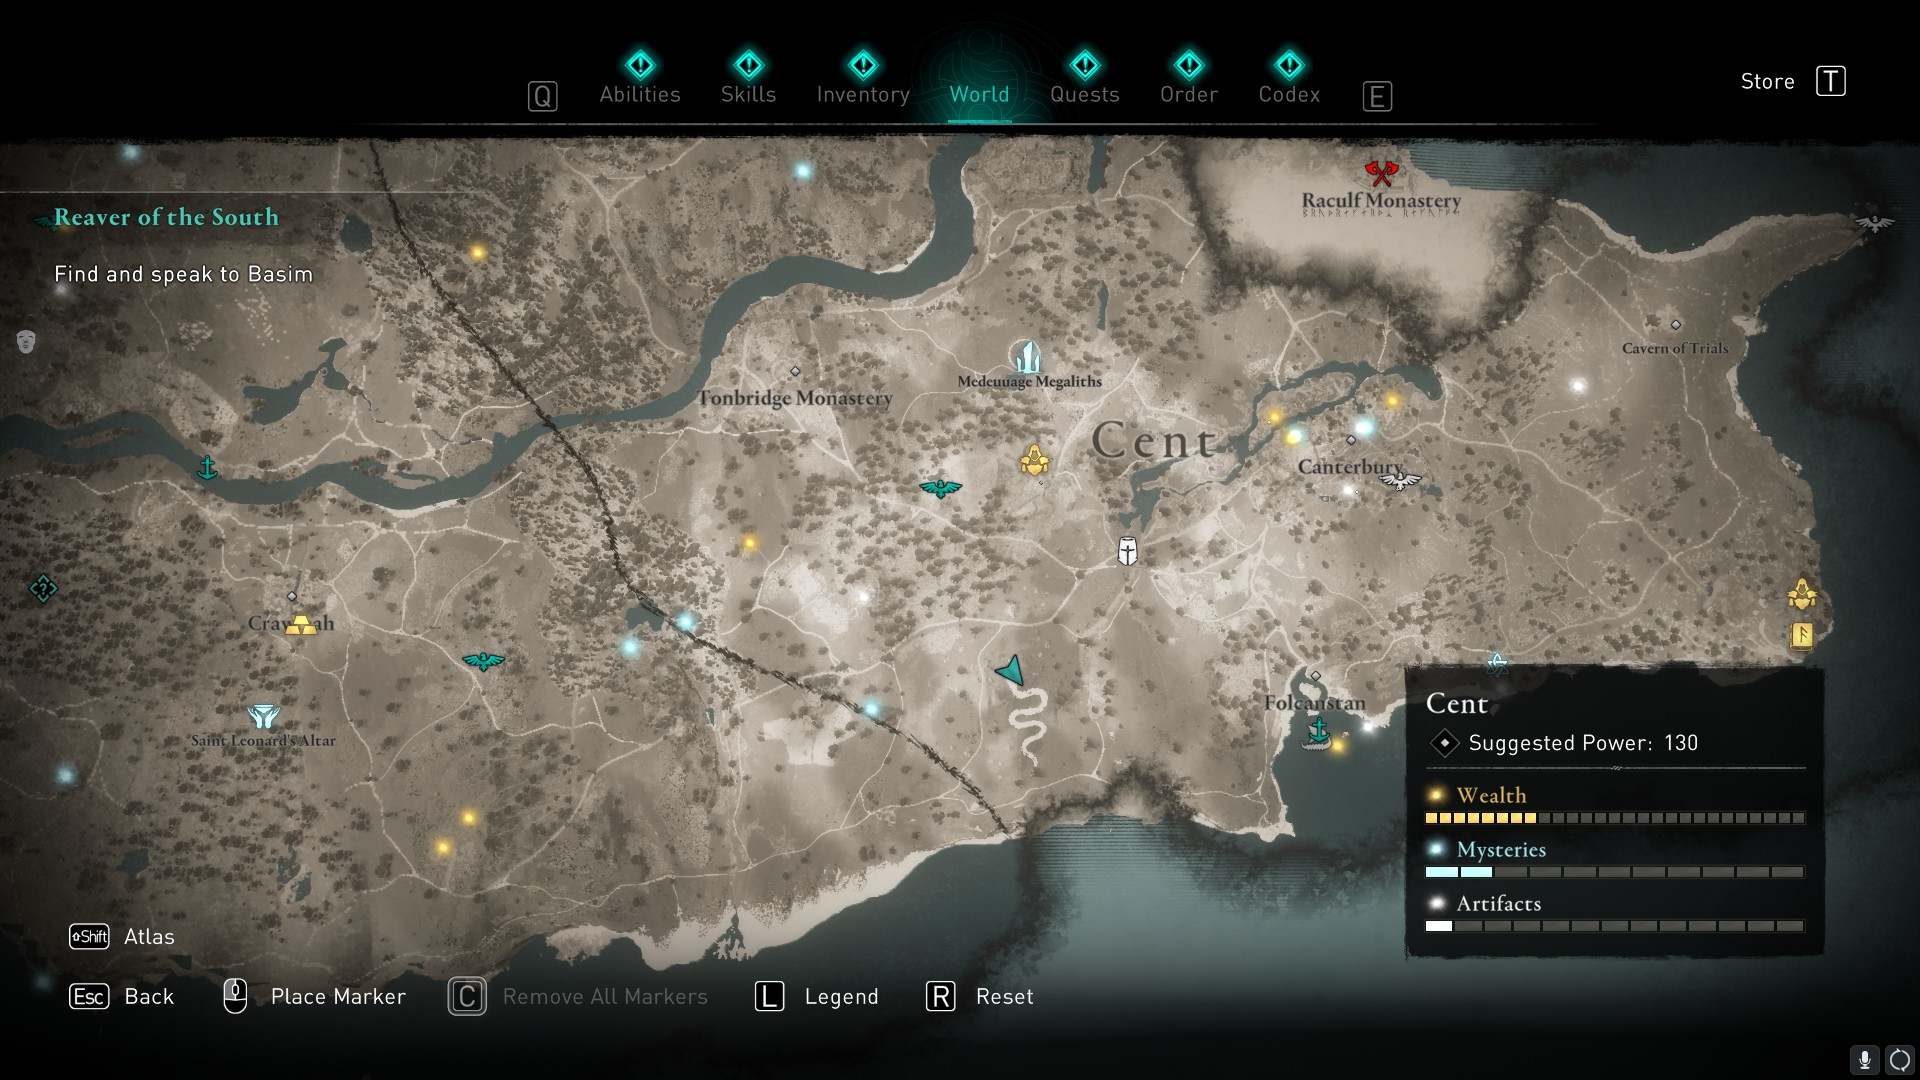
The map shows a drawing of a snake. If you open your own map and zoom in on Cent, you'll notice the shape of a serpent to the west of Folcanstan. The clue points to the head of the snake, so head to the most northerly part.
The treasure might be a little difficult to spot at first because of all the chalk. It's actually located next to a pile of small rocks on the snake's right eye. Be careful as real snakes dotted around here too. Loot the treasure to receive the Speki Symbol Scheme (Back) tattoo.
Essexe
Clue
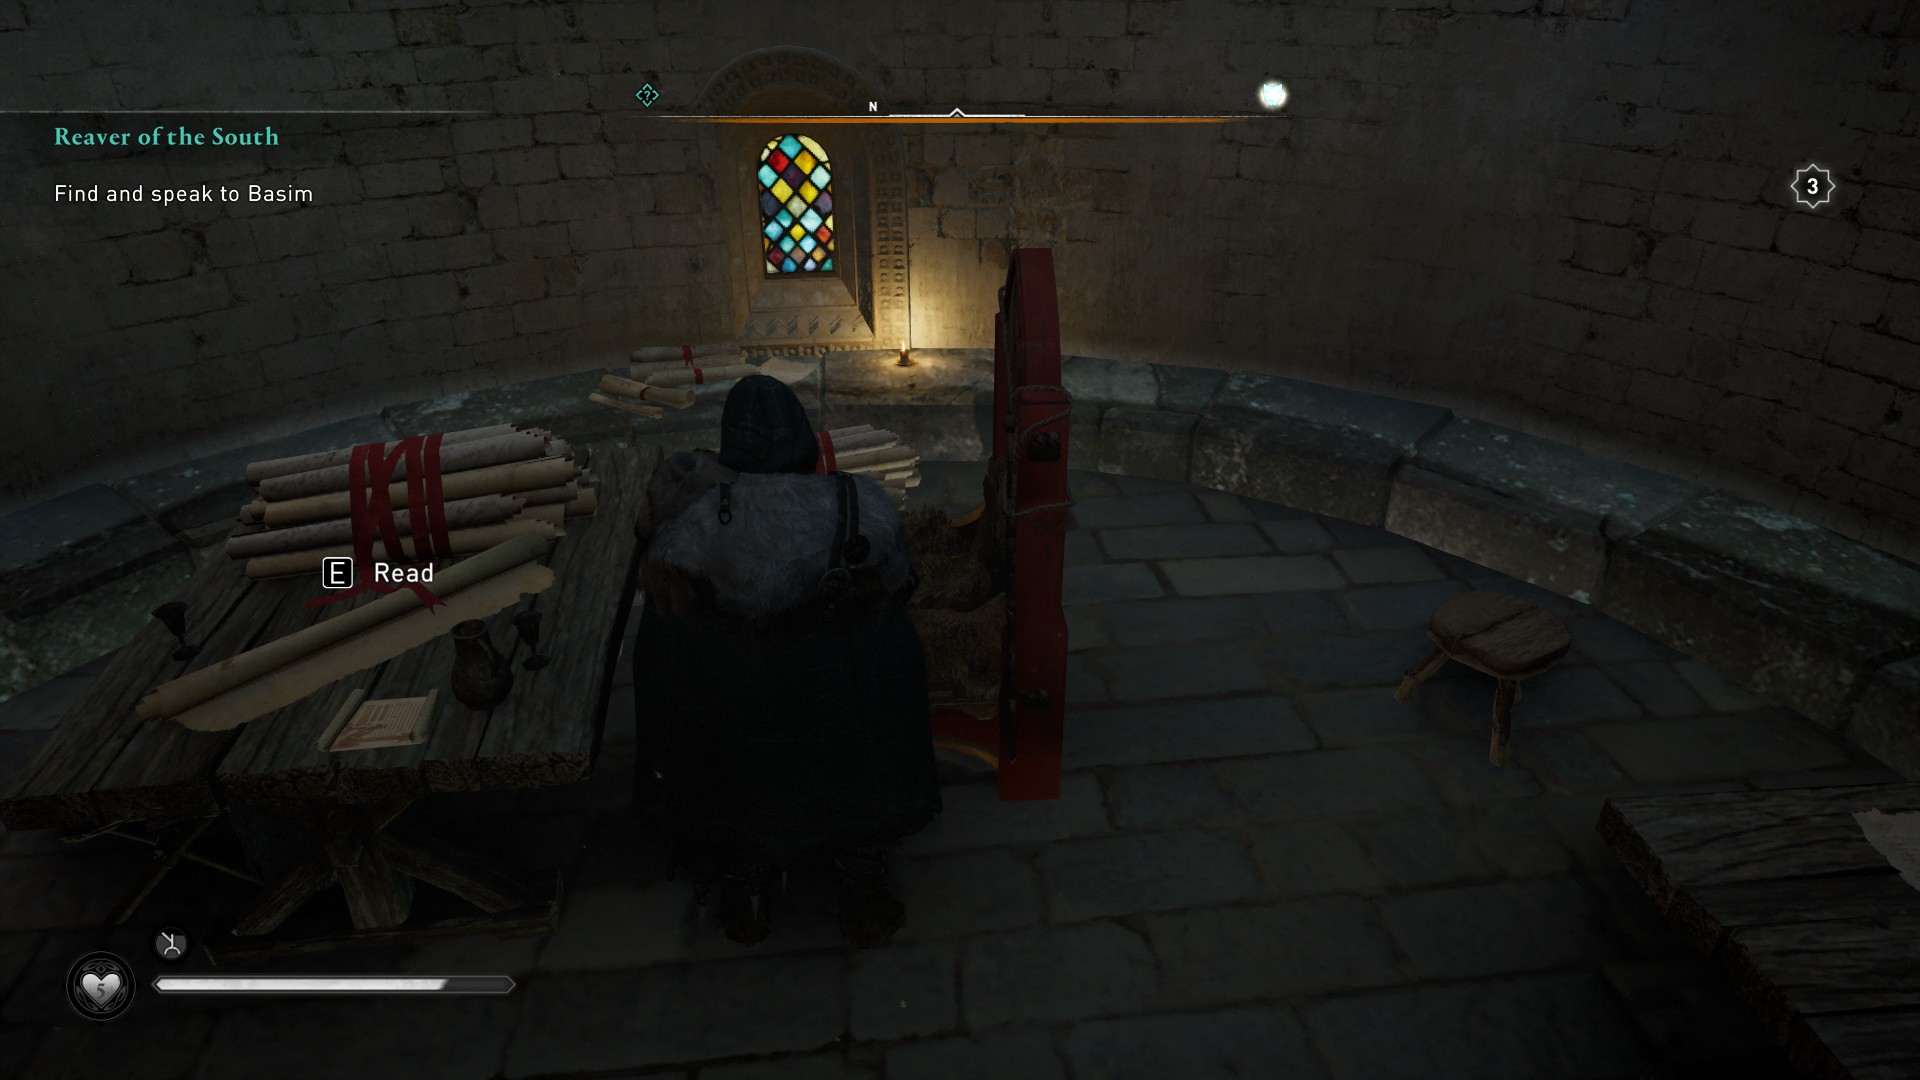
This clue is located inside Sancta Helena's Church in the northwest corner of Colcestre. Getting to this one can be a little tricky, depending on your gear level. Use your Odin's Sight to locate the key inside the church and look for a moveable bookshelf close by—handily located next to some blue flowers in which you can hide.
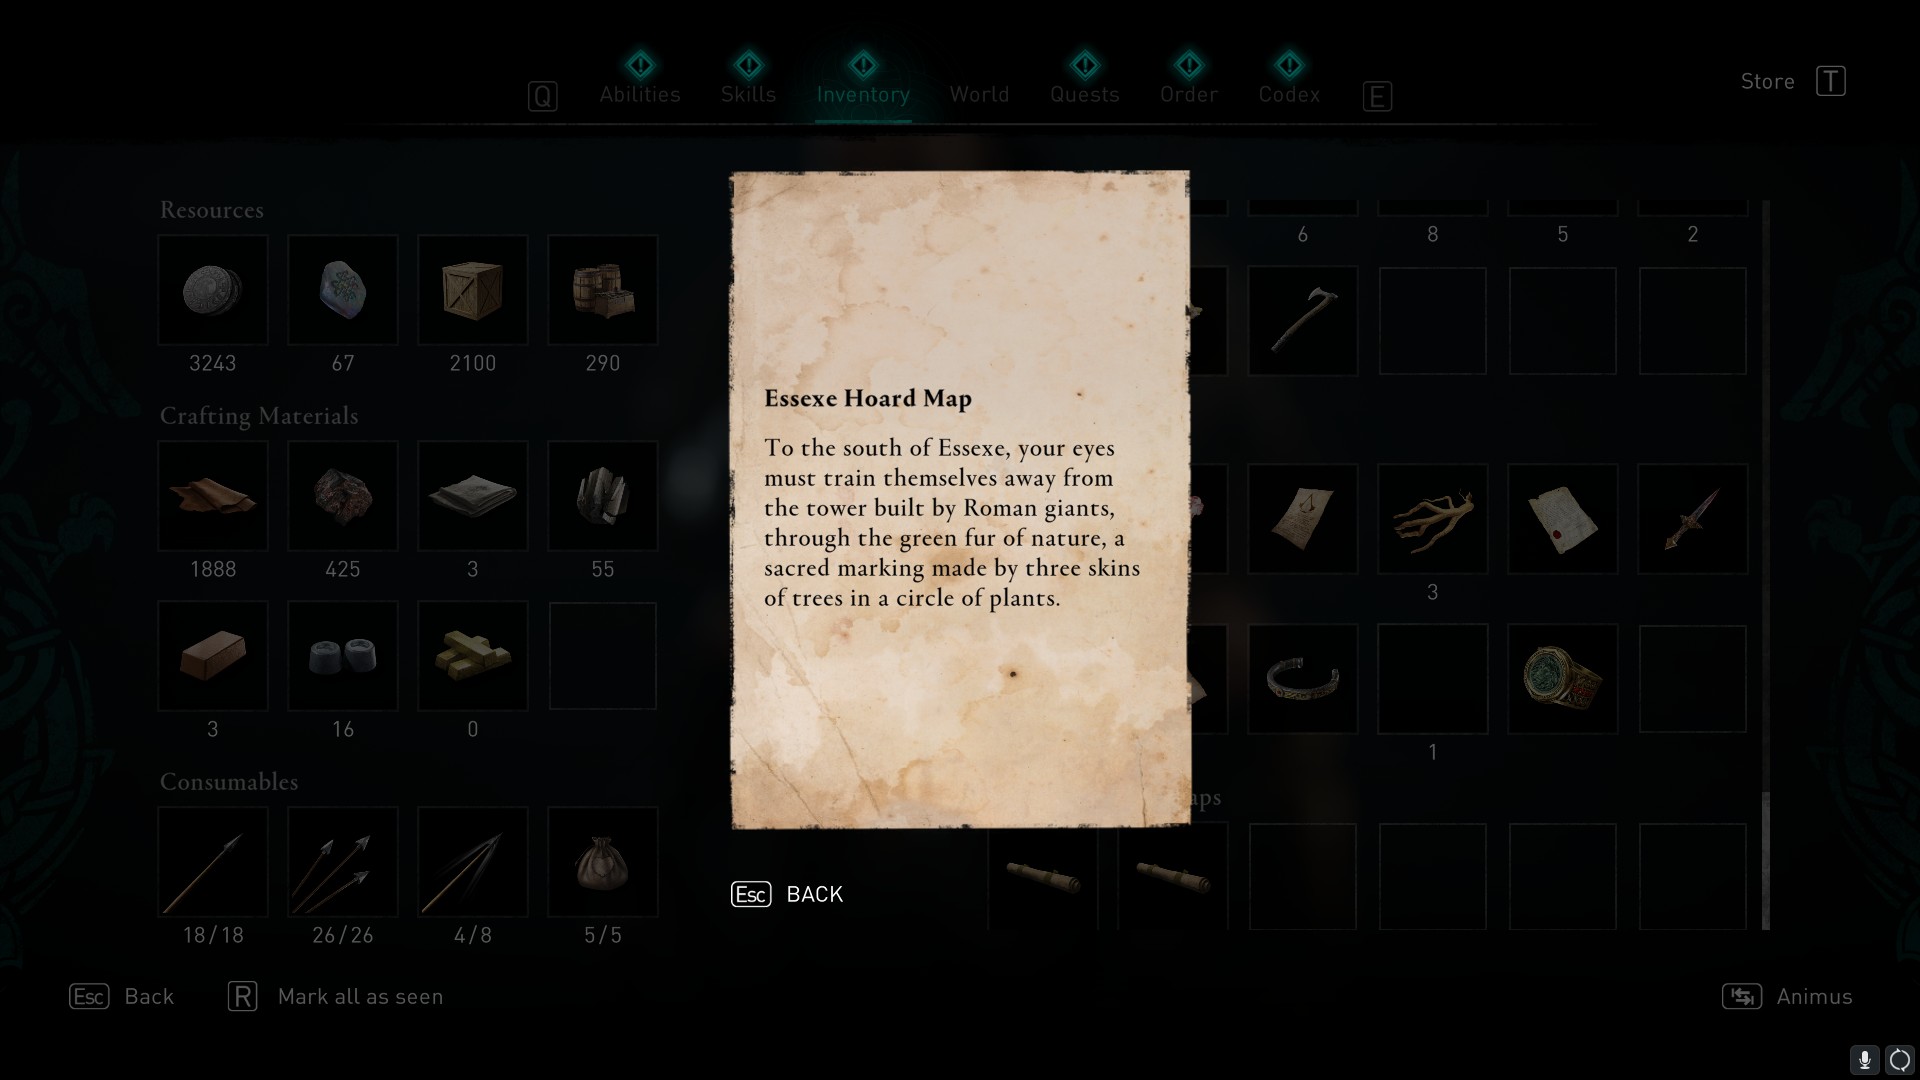
Move the shelf and shoot out the stained glass window behind it, then collect the key from the table inside. Next, make your way inside the church and unlock the door to the tower. Use the moveable shelves here to reach the ladder above, and shoot down the next ladder to continue climbing. You'll find the clue at the very top, beneath a small window. It reads:
To the south of Essexe, your eyes must train themselves away from the tower built by Roman giants, through the green fur of nature, a sacred marking made by three skins of trees in a circle of plants.
Solution
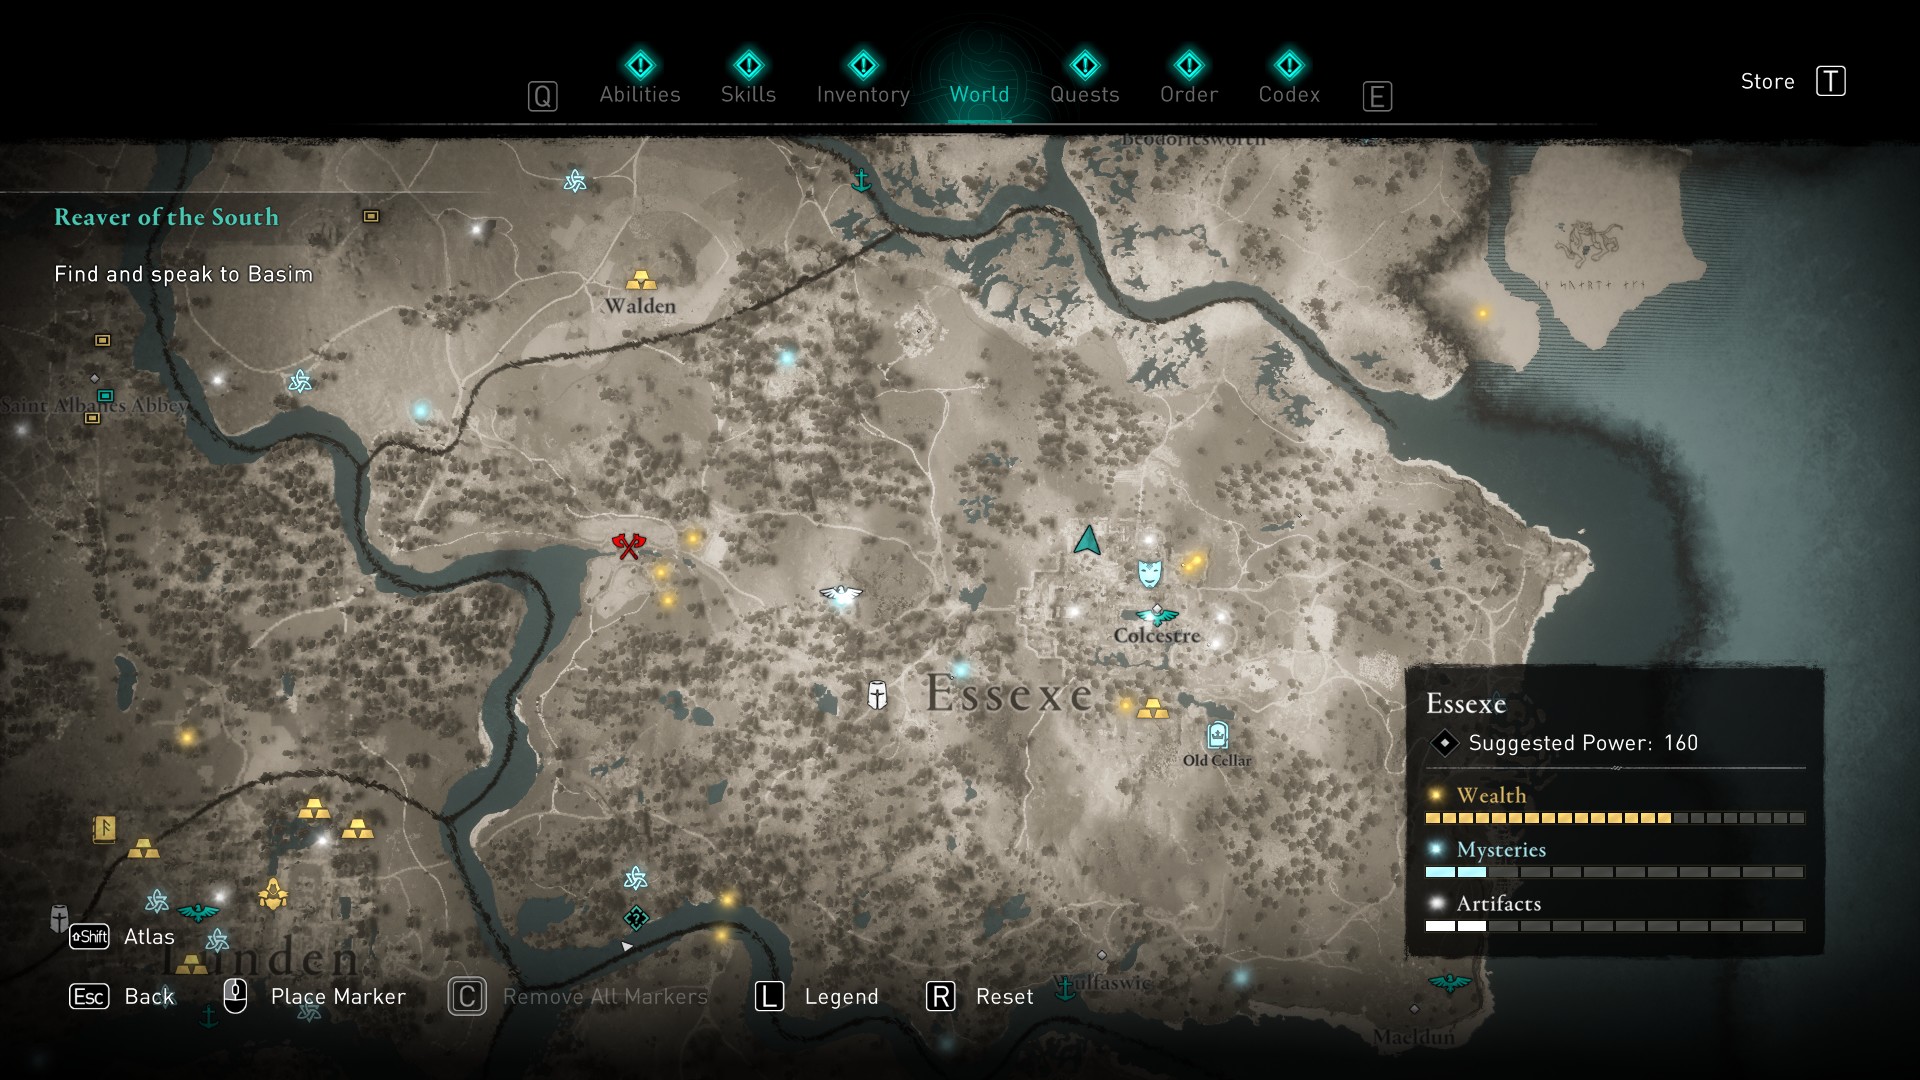
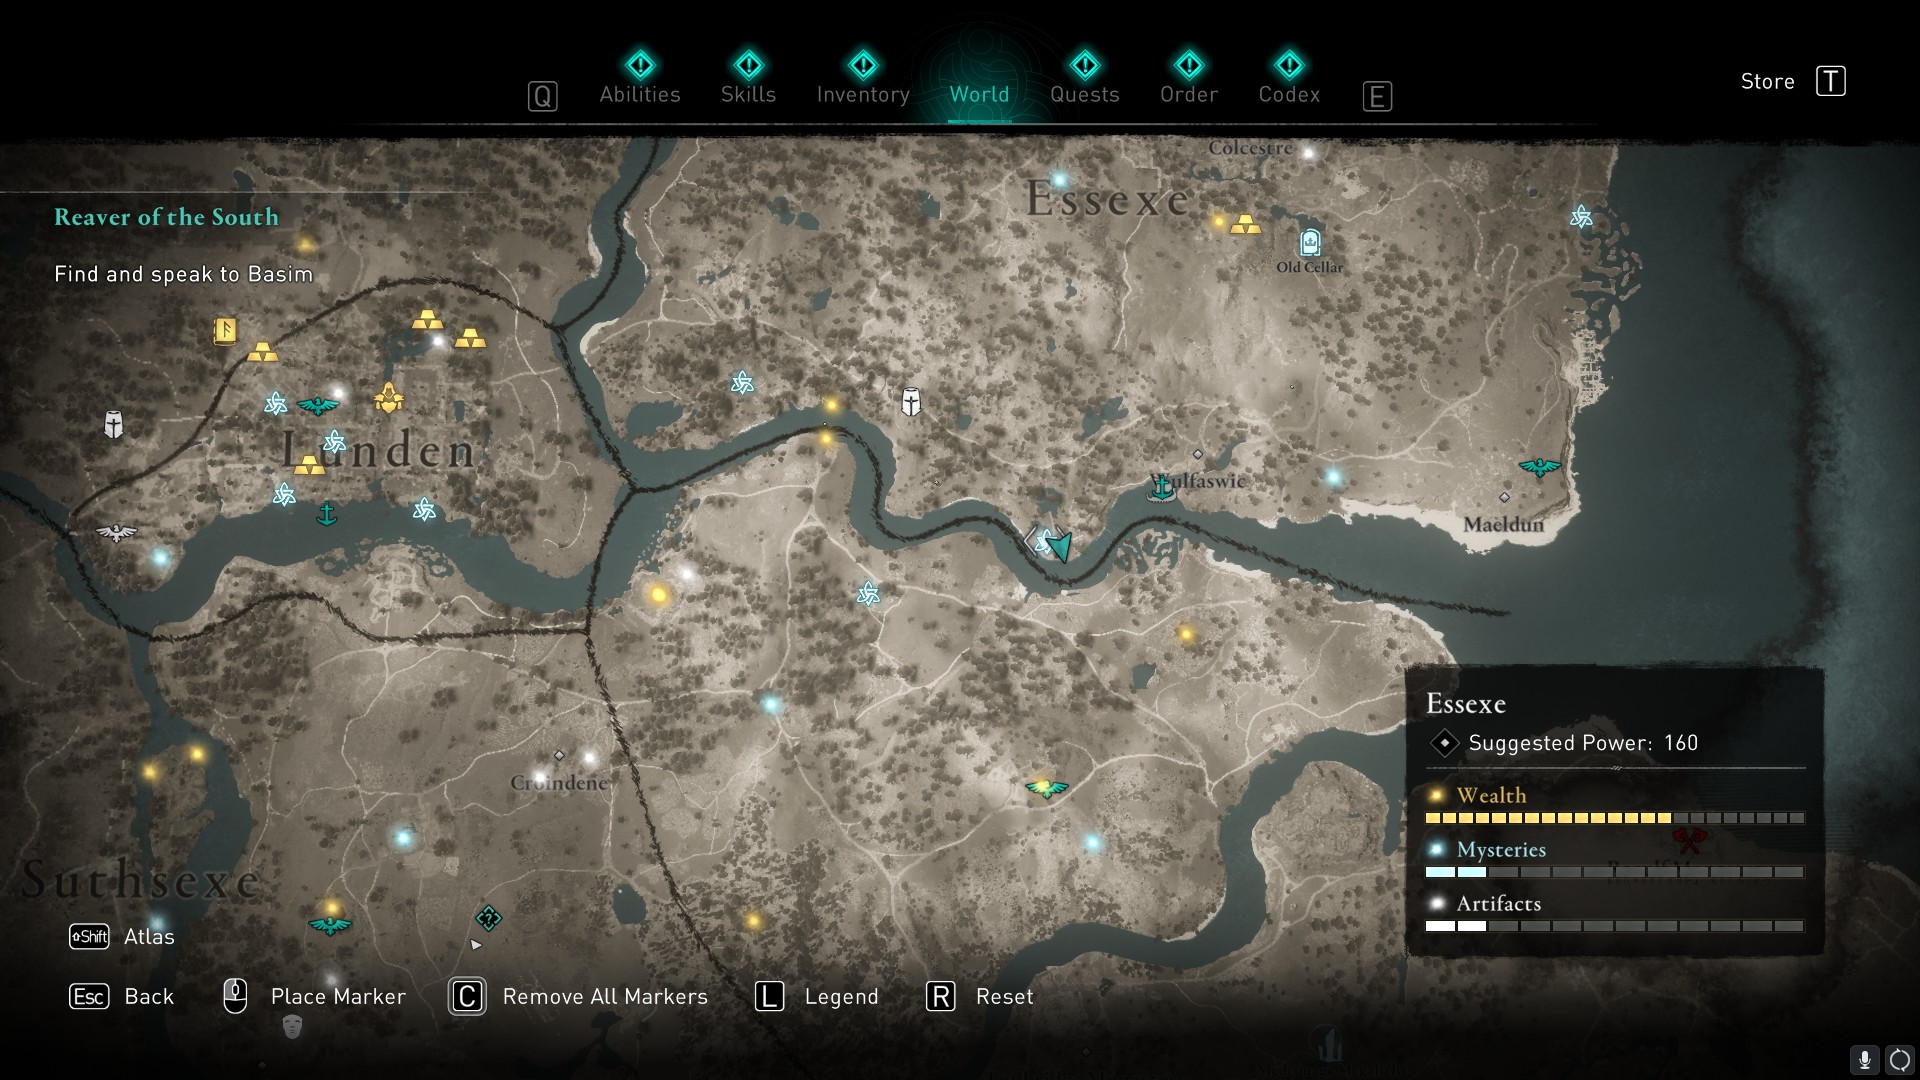
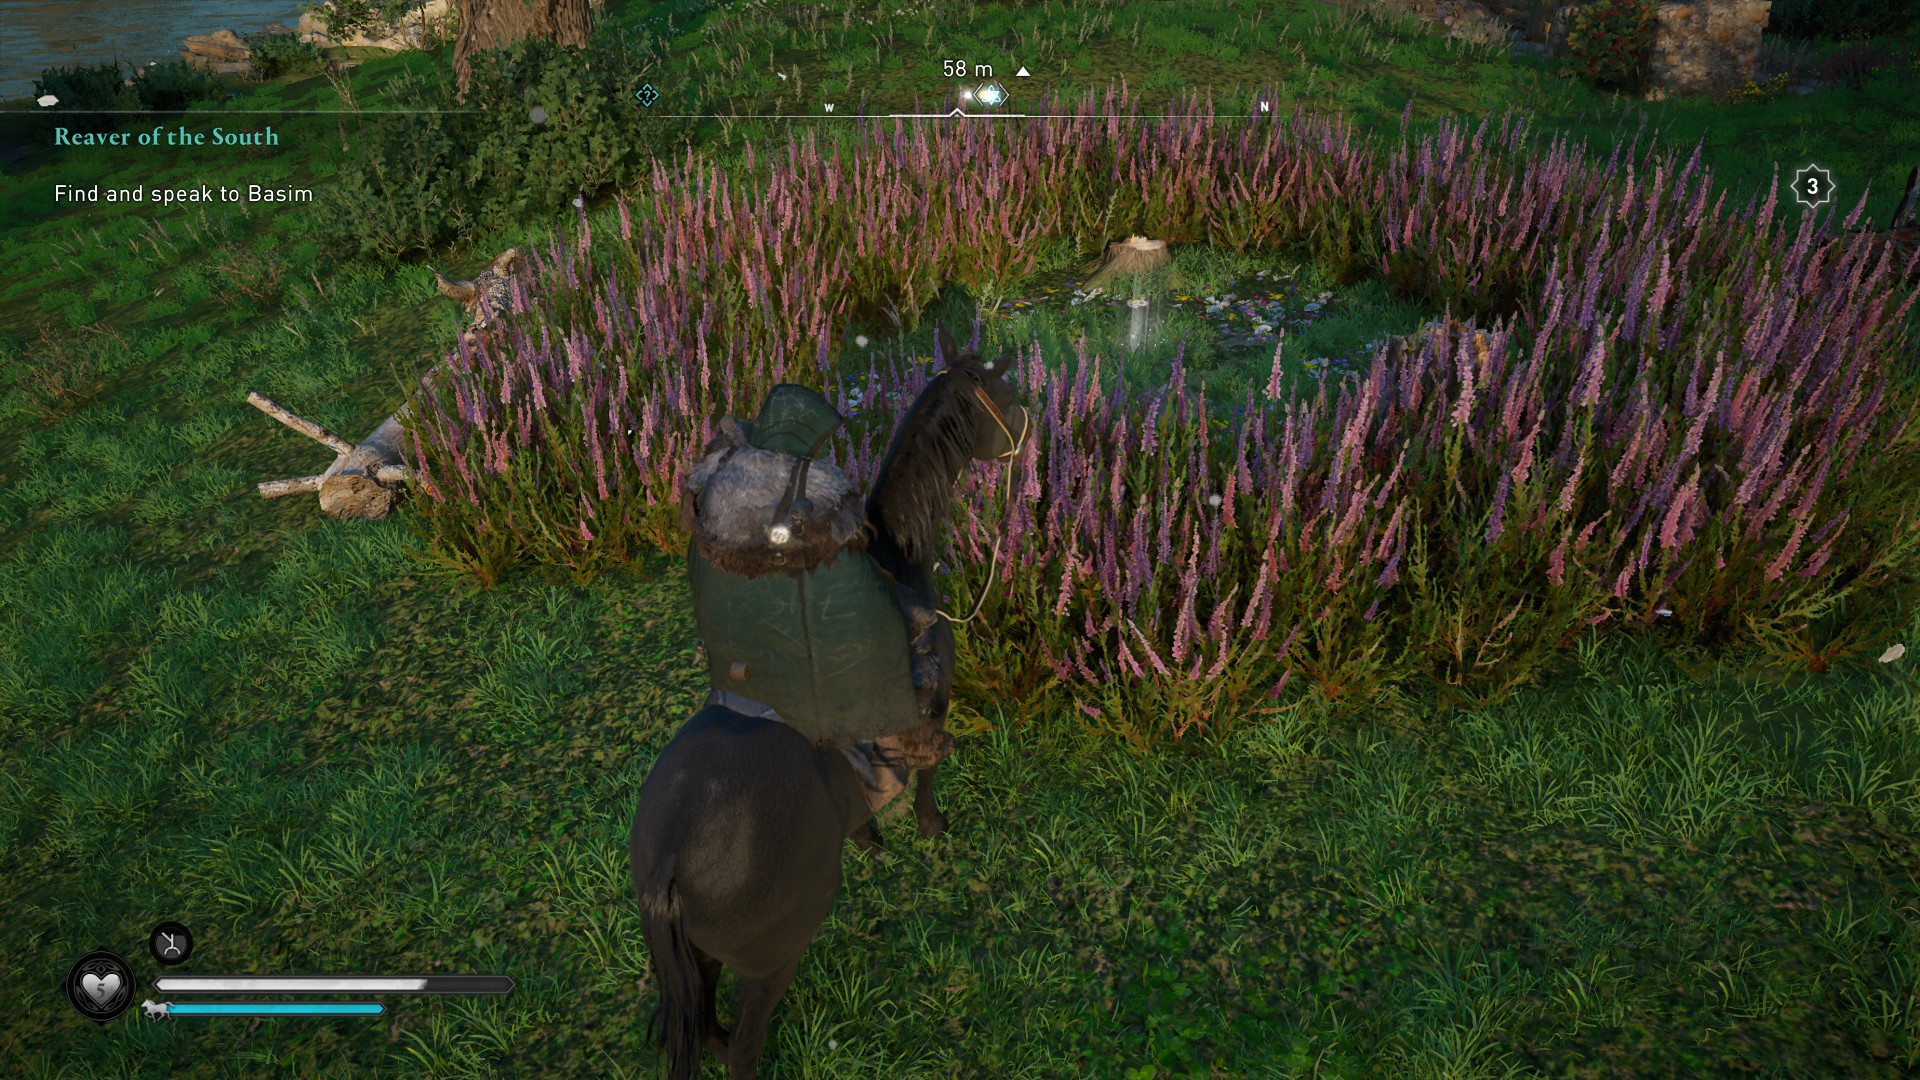
Head to the river located on the southern border of Essexe, west of Wulfaswic. This one is fairly hard to spot, but look out for a sizable ruin close to the river.
You should see three trees just to the right of it, and the treasure is located in the middle of a circle of pink flowers. Loot the item to receive the Huginn Call Scheme (Hull) for your longship.
Lincolnscire
Clue
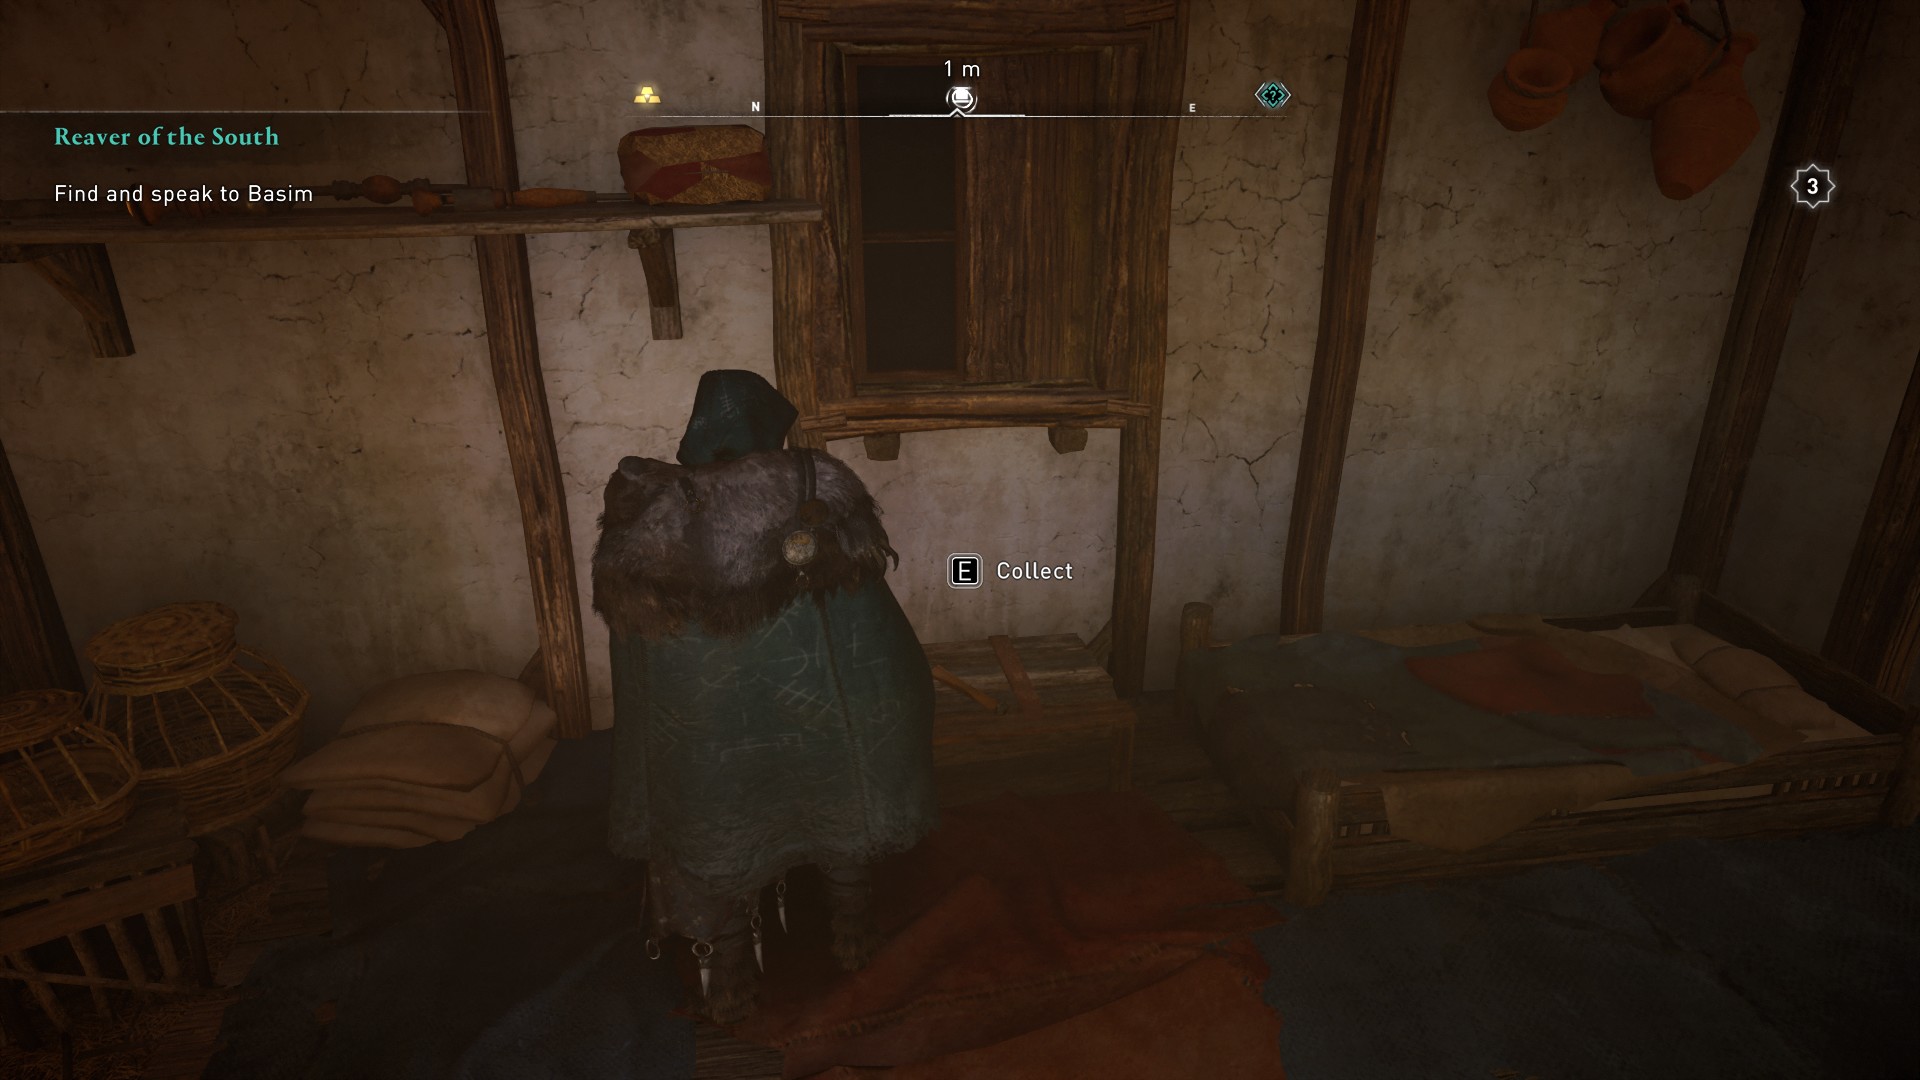
This map is found in the ruined village of Whisby, located on the east side of the small lake to the south east of the synchronisation point. You'll need to find the key at the edge of the water—use your Odin's Sight to pinpoint it—but watch out for guards nearby.
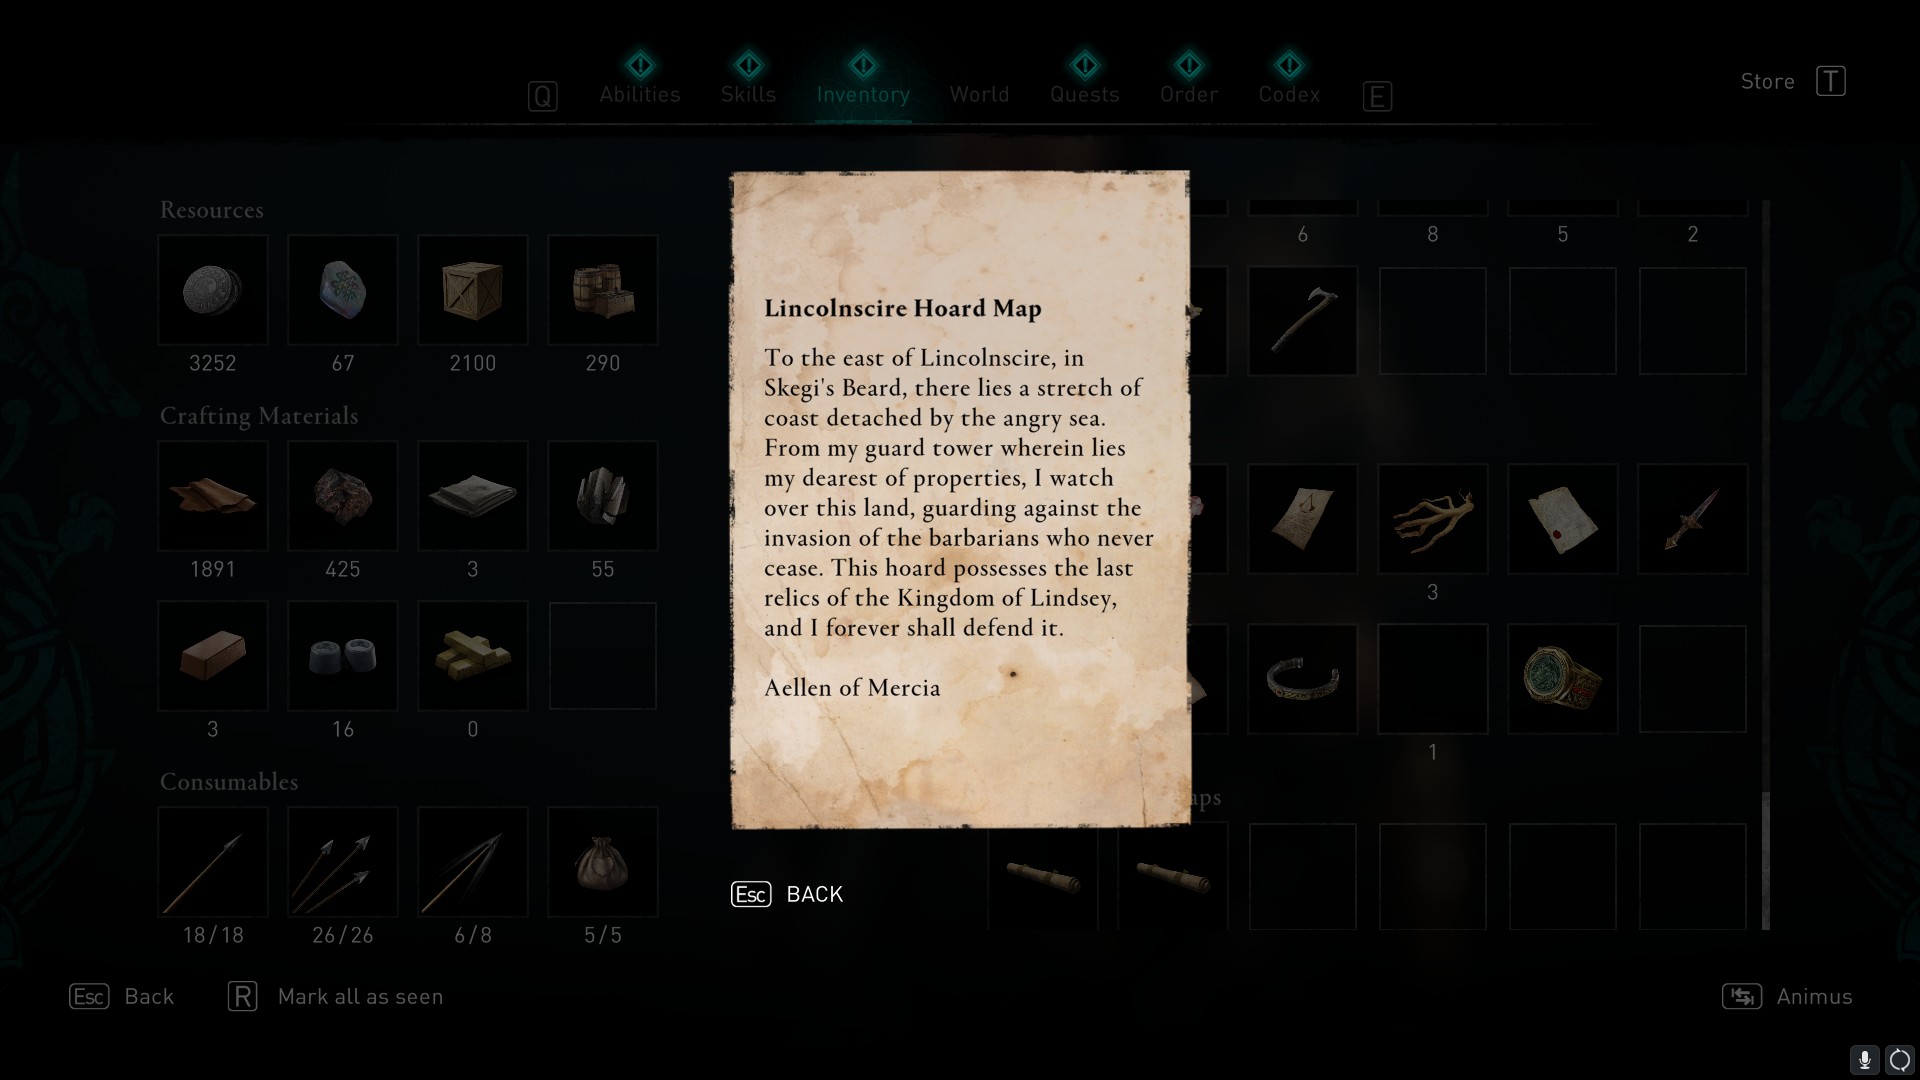
The clue is located in the building closest to the lake. Unlock the door and find the clue on a small table inside. It reads:
To the east of Lincolnscire, in Skegi's Beard, there lies a stretch of coast detached by the angry sea. From my guard tower wherein lies my dearest properties, I watch over this land, guarding against the invasion of the barbarians who never cease. This hoard possesses the last relics of the Kingdom of Lindsey, and I forever shall defend it.
Solution
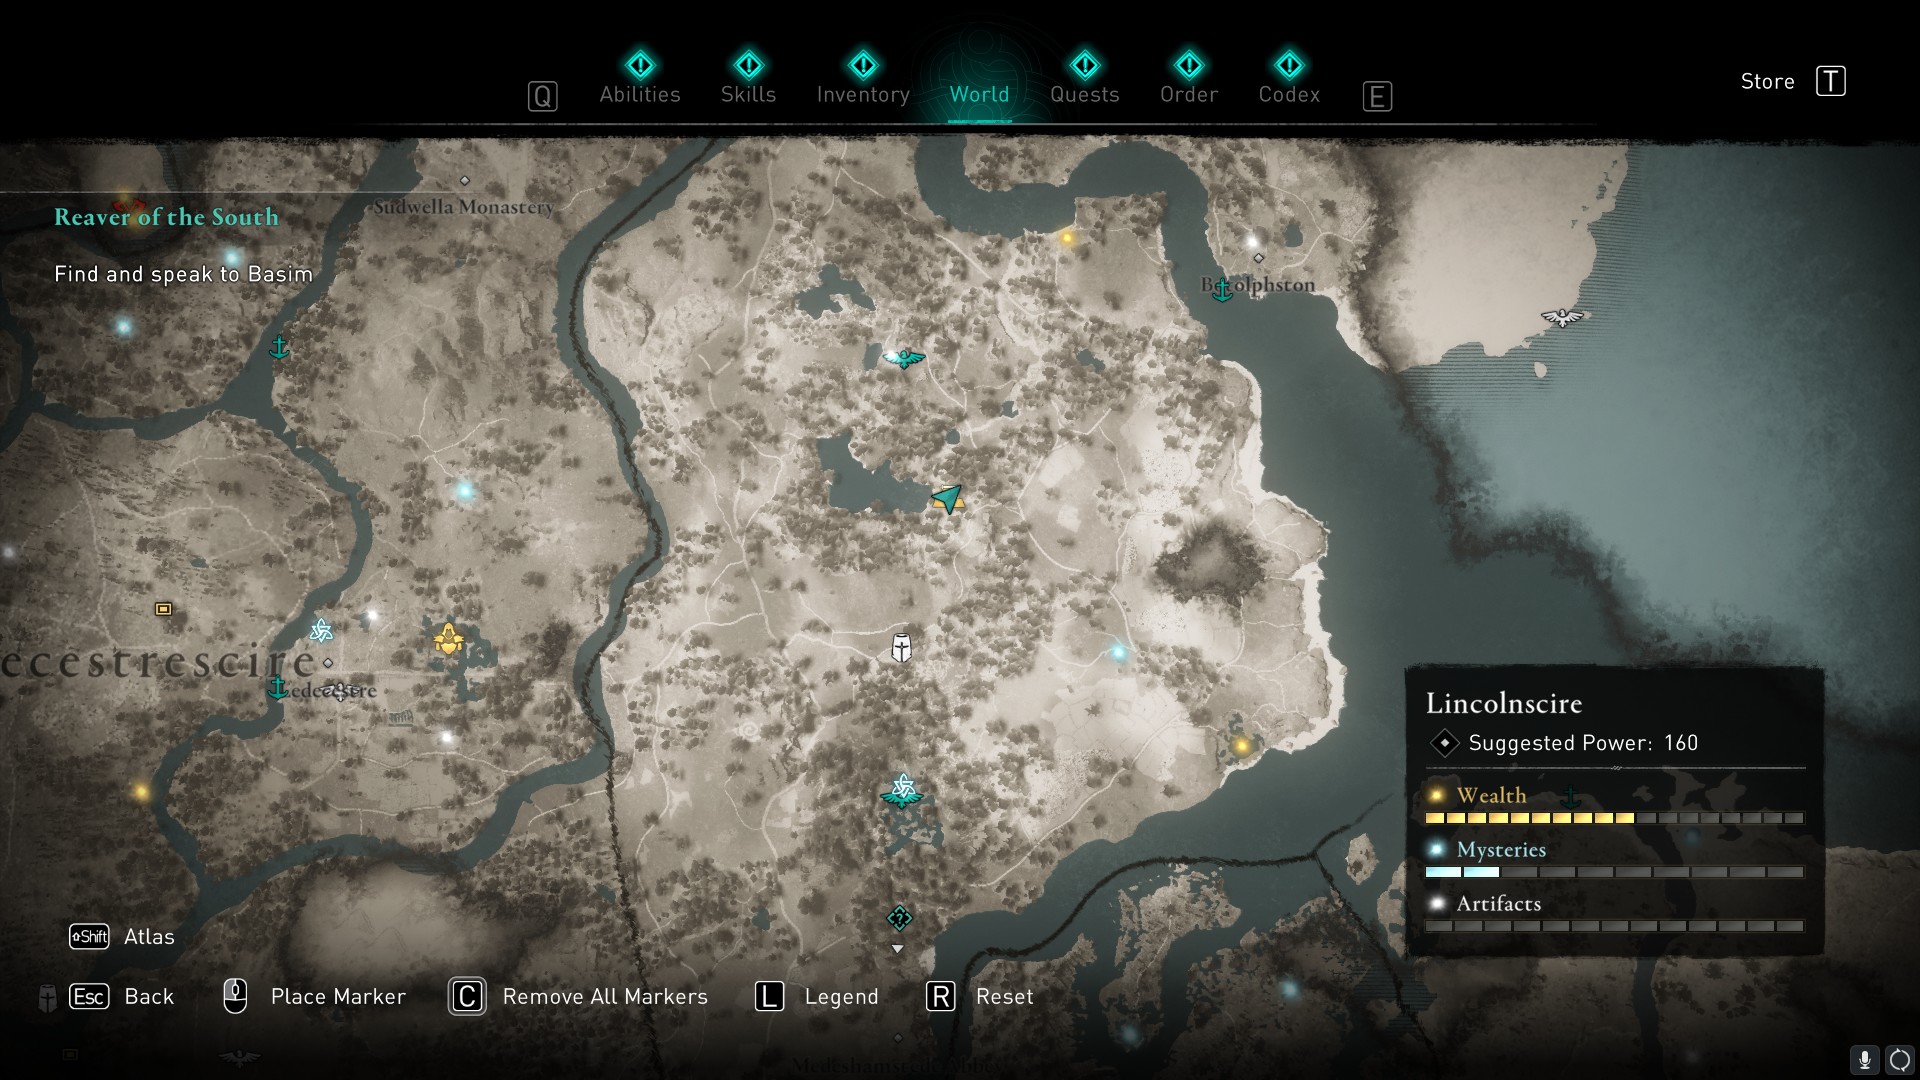
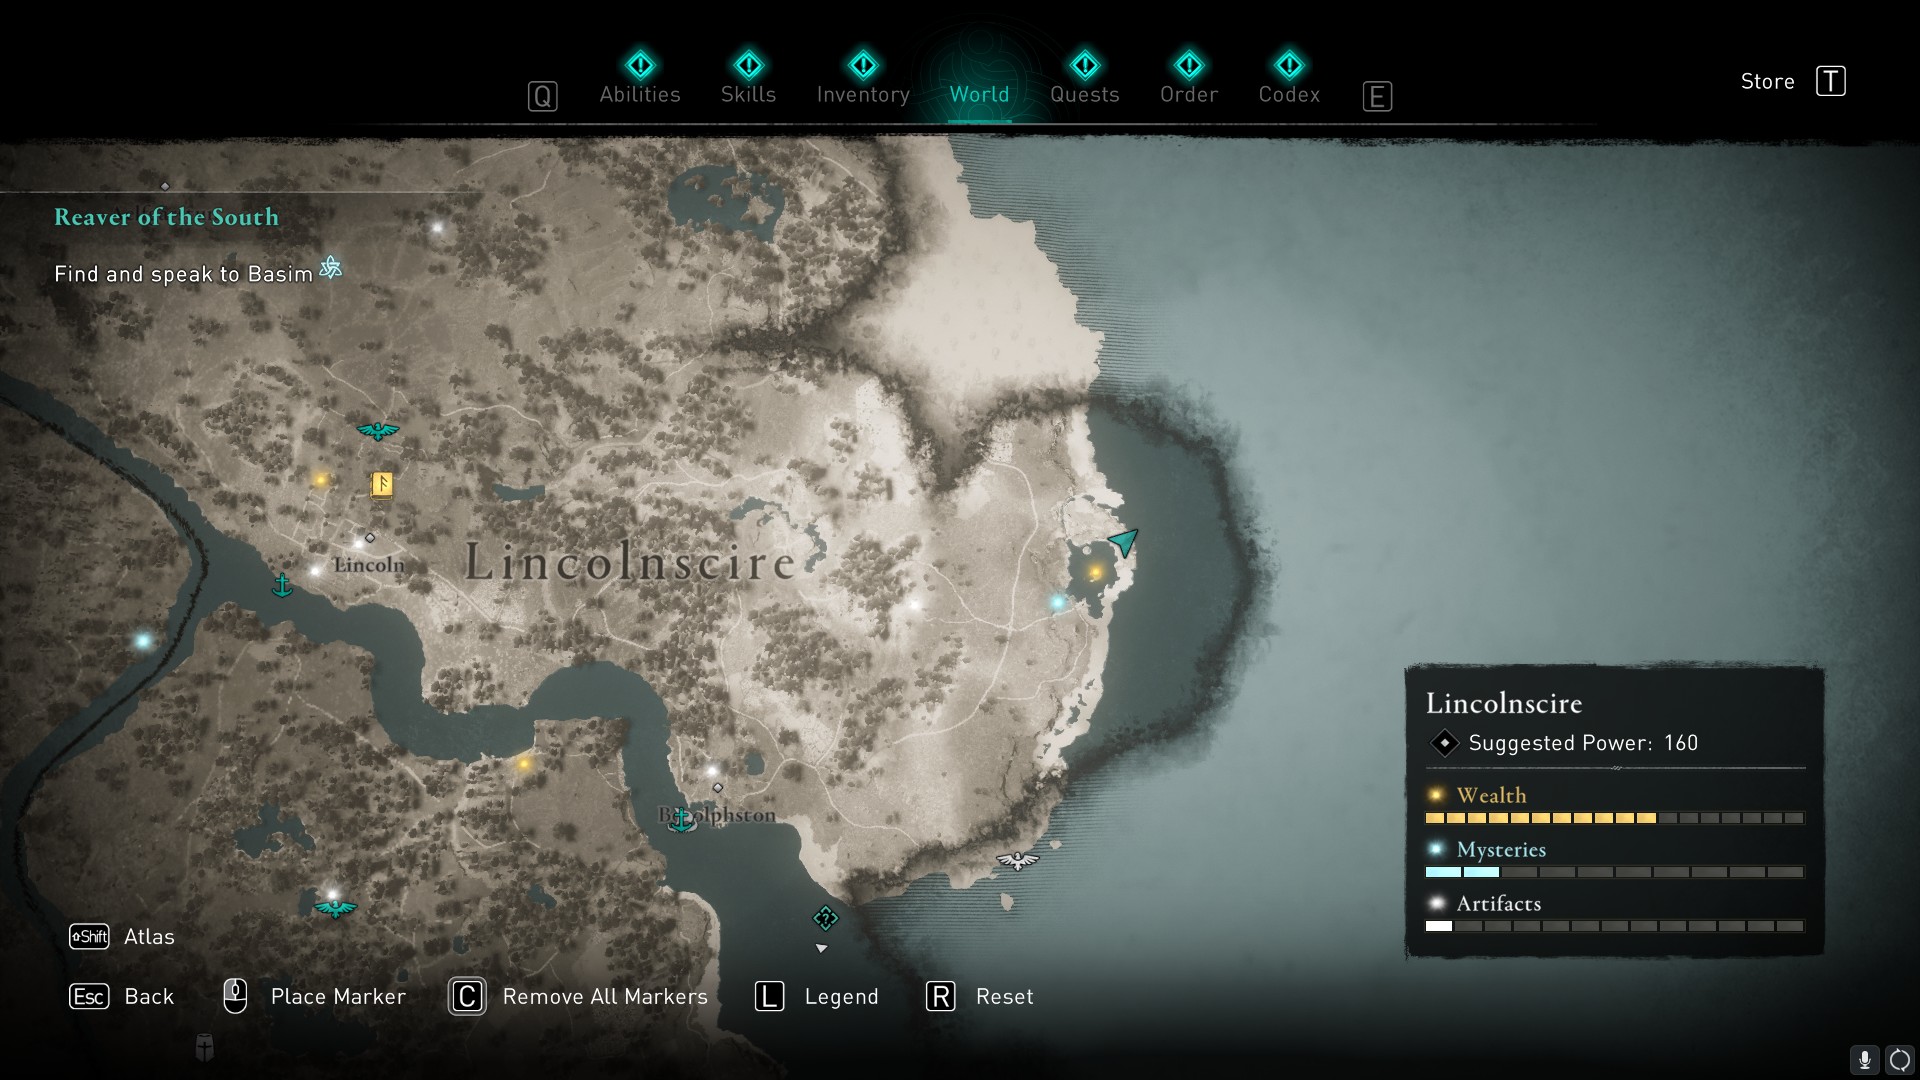
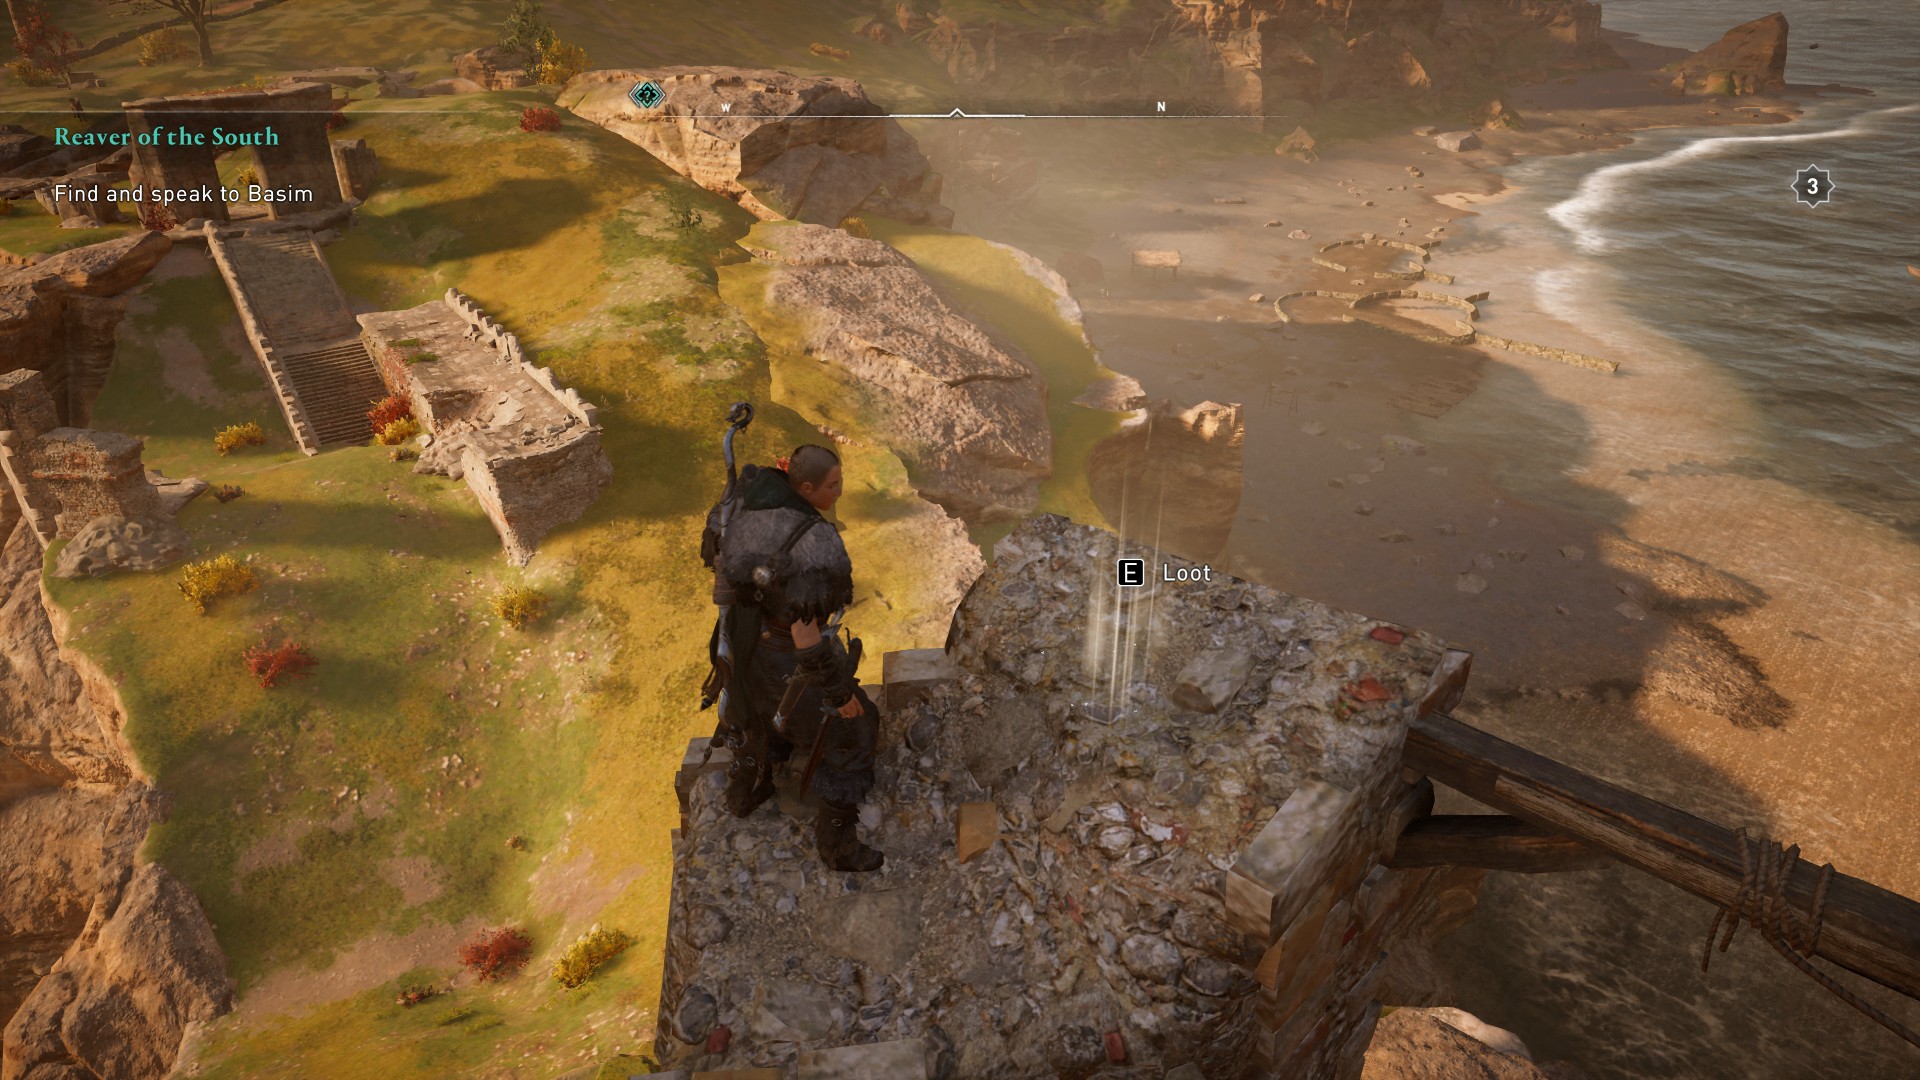
Look for a large lake on the eastern coast of Lincolnscire. Skegi's Beard is the name of the large encampment here and it is hostile, but if you look towards the northern edge, you'll see a ruined tower.
You don't need to enter the encampment to reach it, so skirt around to get there. The treasure is located at the top of the tower. Loot it to receive the Speki Symbol Scheme (Front) tattoo.
Suthsexe (Crawelie)
Clue
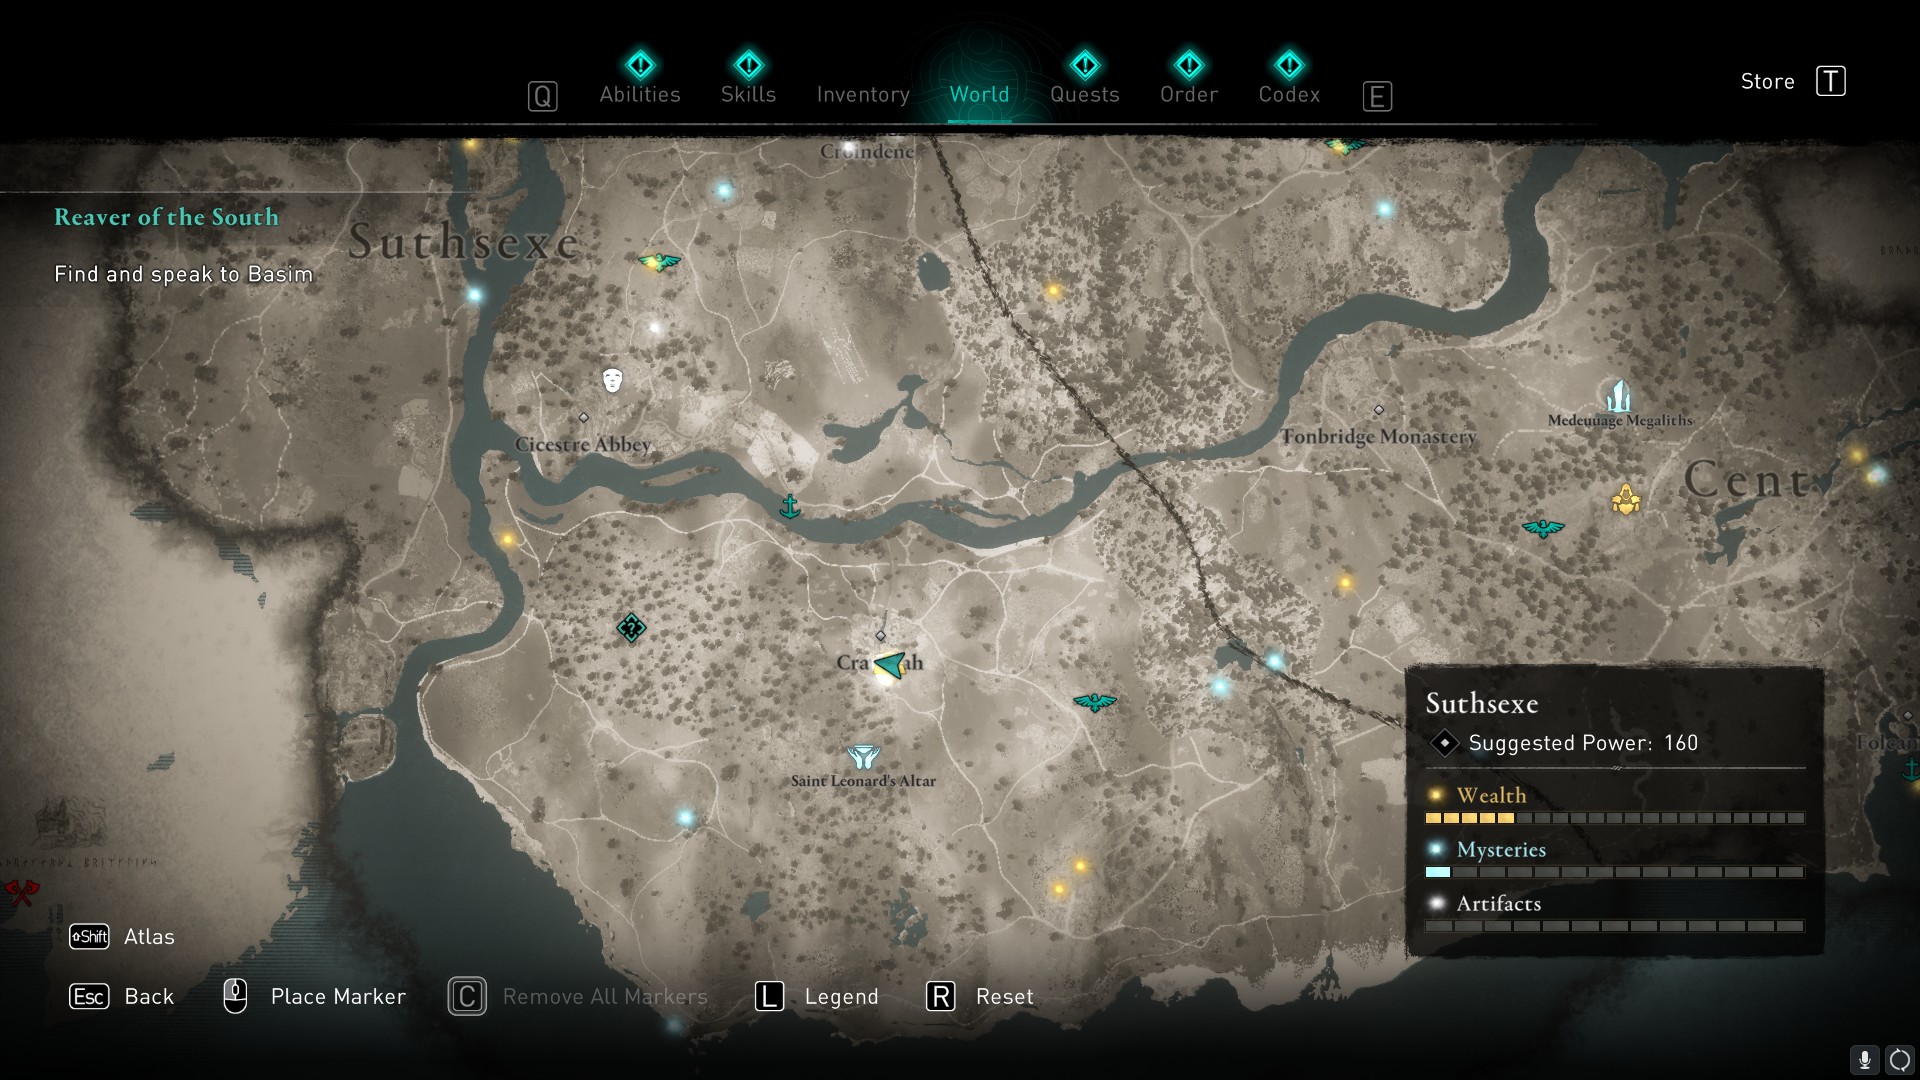
This map is located in a house on the southern edge of Crawleah. The town is a distrust area and the door at the back of the house is barred. You shouldn't have any problem walking through the front door, however, as long as you keep an eye out for the big guard that likes to patrol.
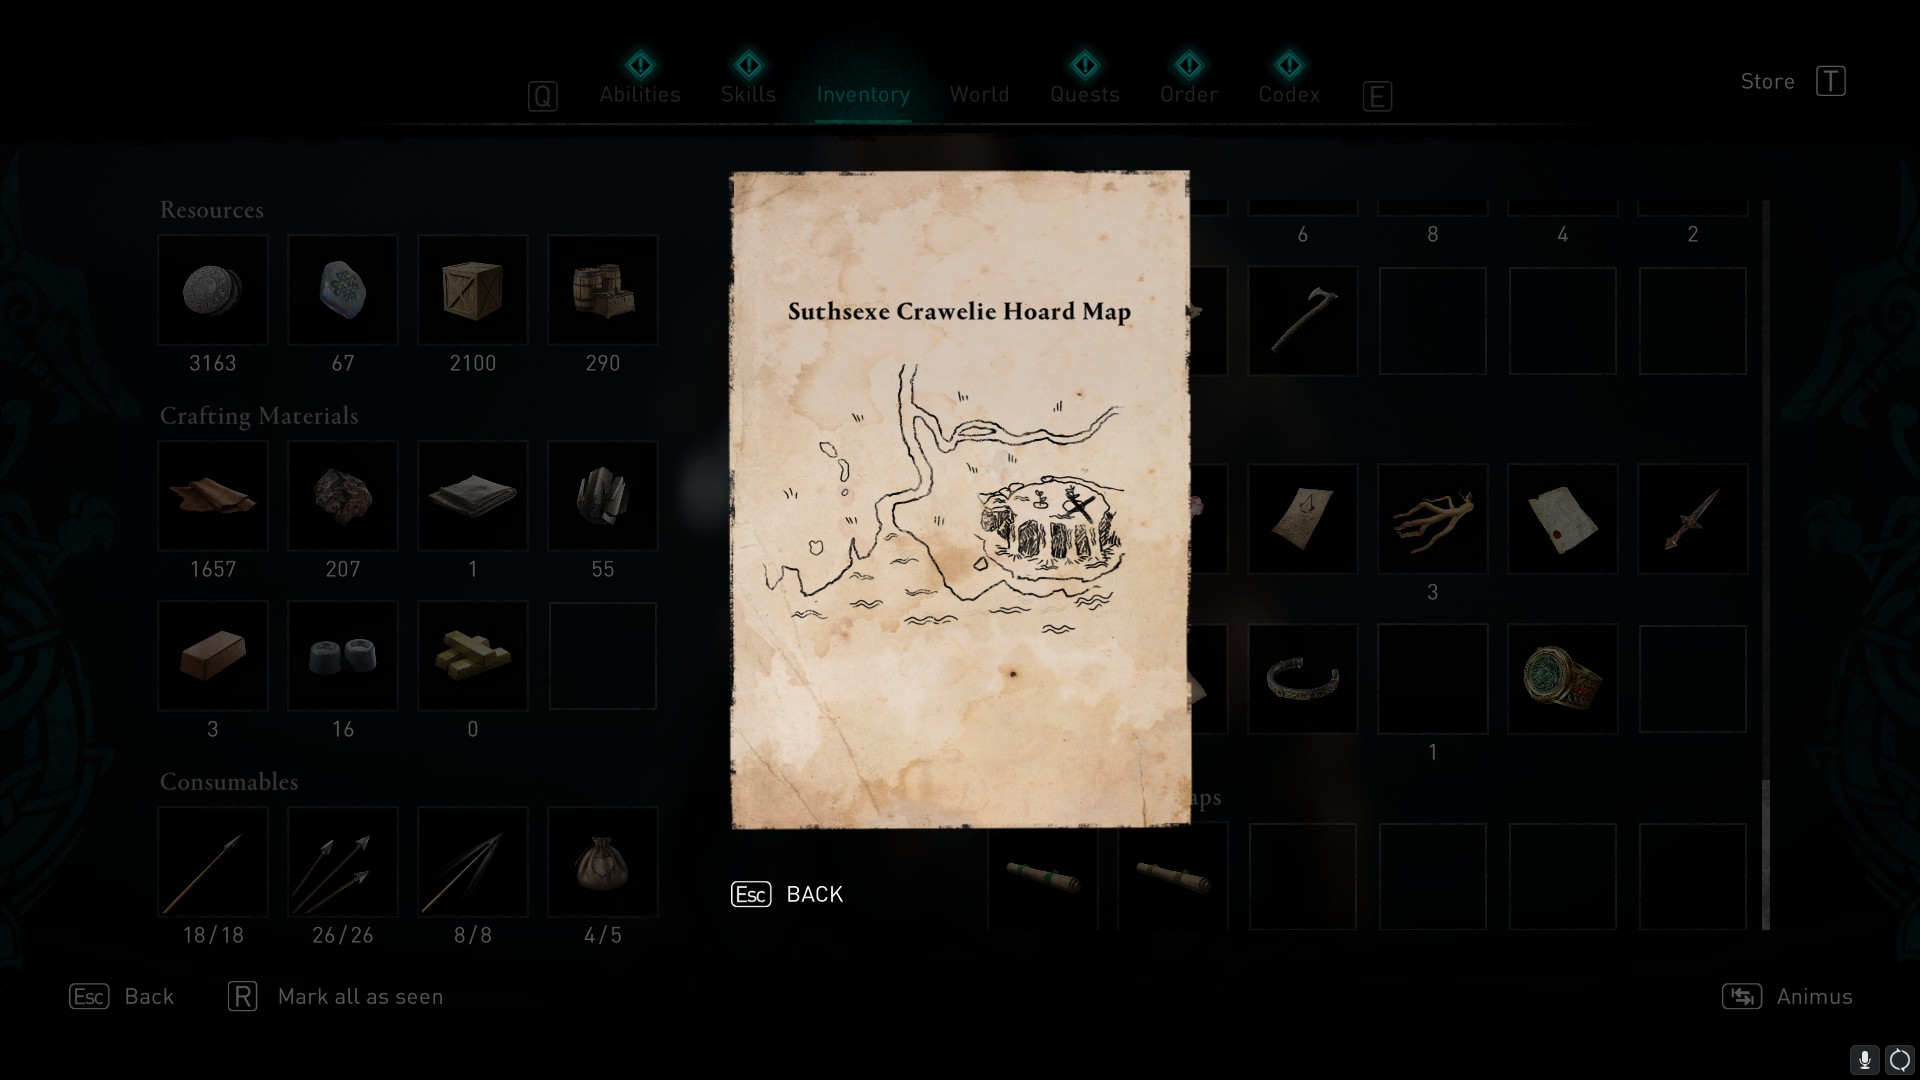
Once inside, you can find the map on a table.
Solution
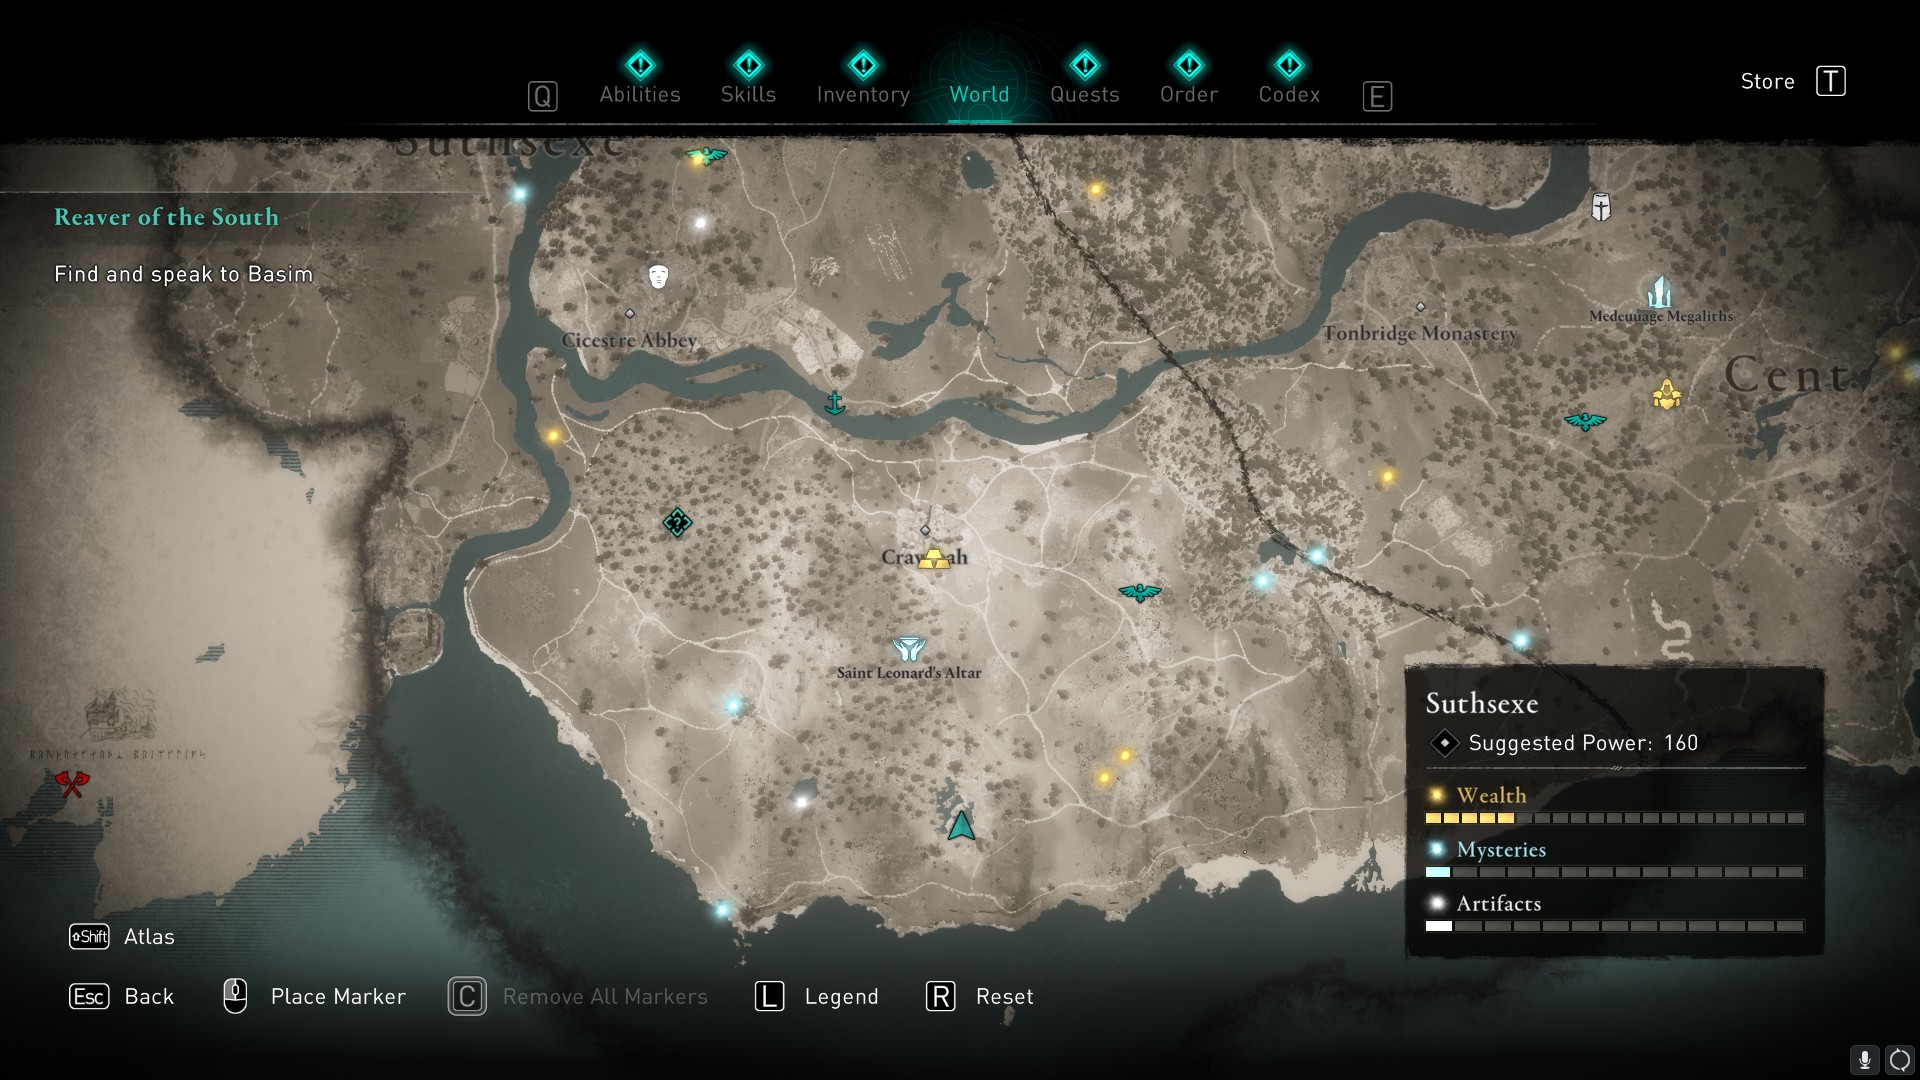
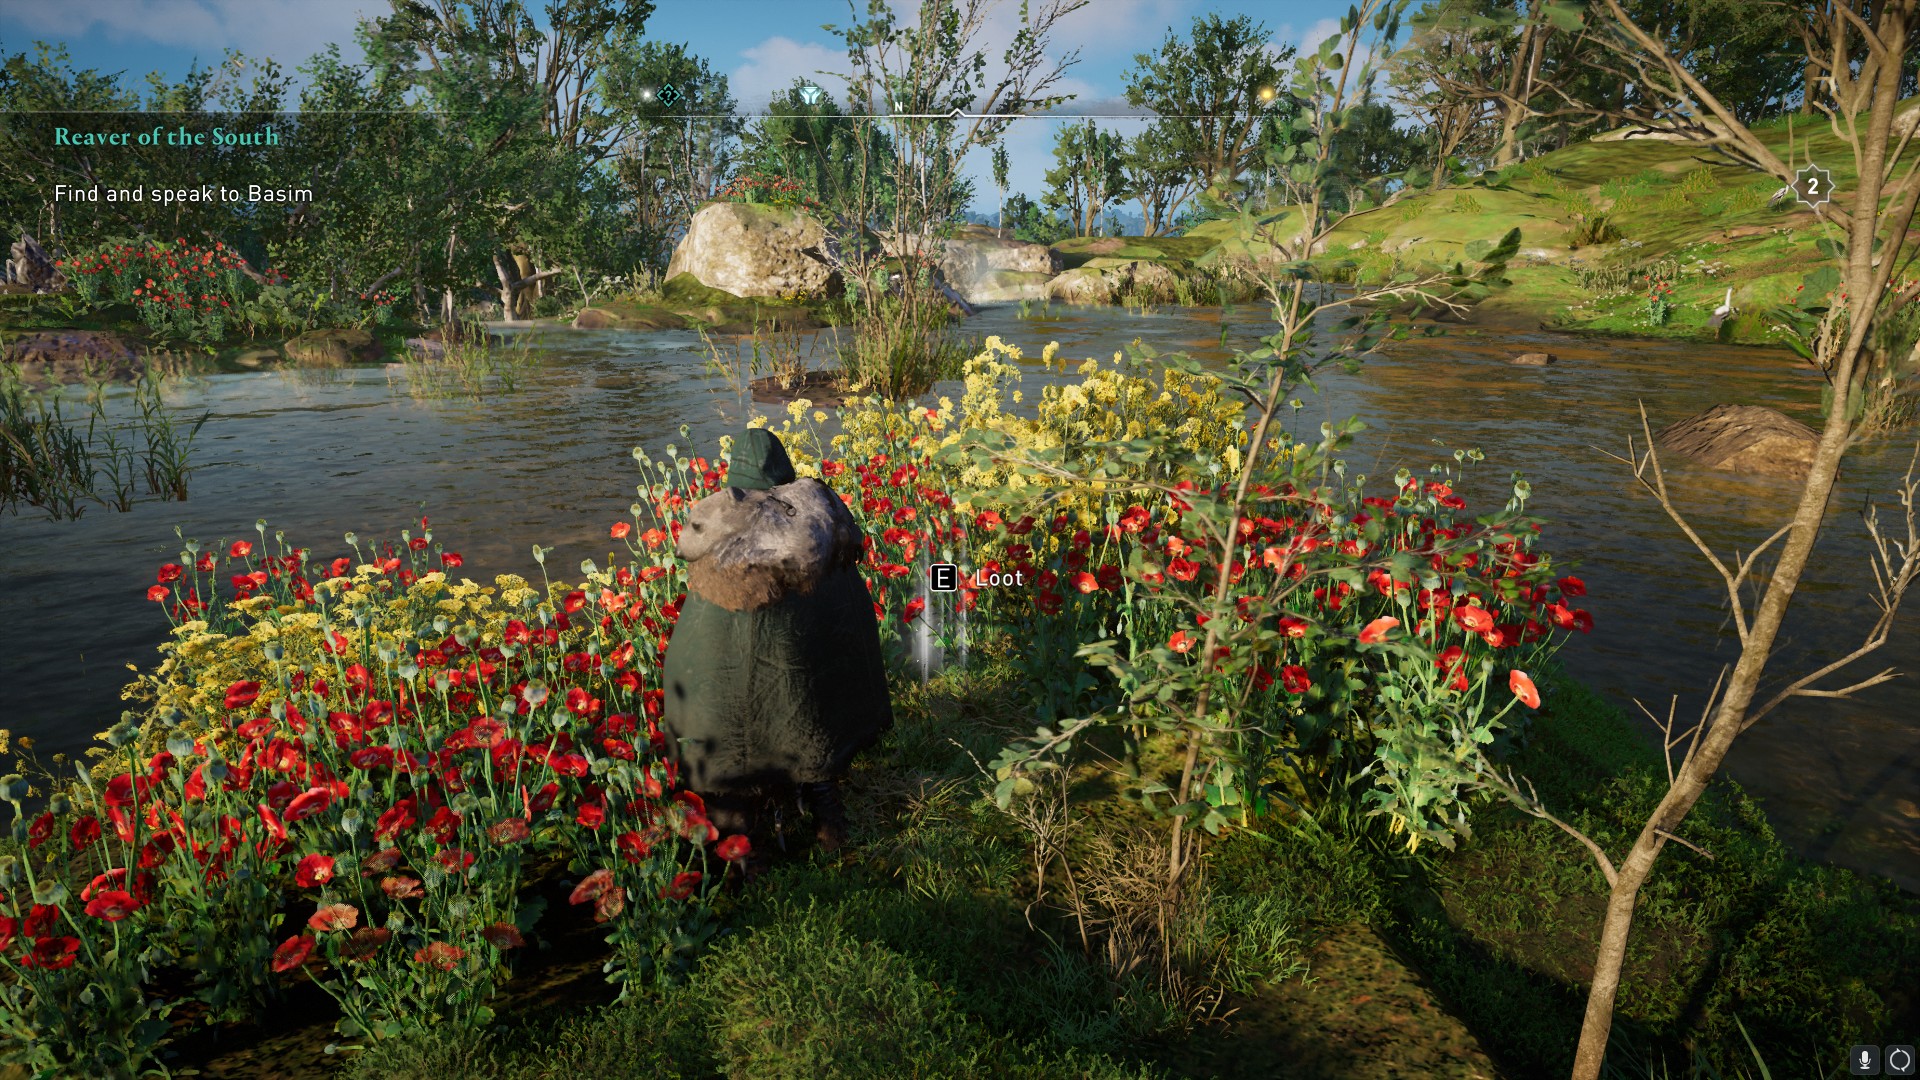
It's really not obvious from the sketch, but it depicts a waterfall and a lake. If you head south from Crawleah, you'll find a series of shallow lakes and a small waterfall. The map shows the treasure is at the top of this, so climb onto the rocks here to locate the glowing treasure.
It can be pretty difficult to spot because of all the flowers. Look at the small island of flowers set back from the top of the waterfall. Loot the treasure to receive the Huginn Call Scheme (Back) tattoo.
Suthsexe (Monk's Lair)
Clue
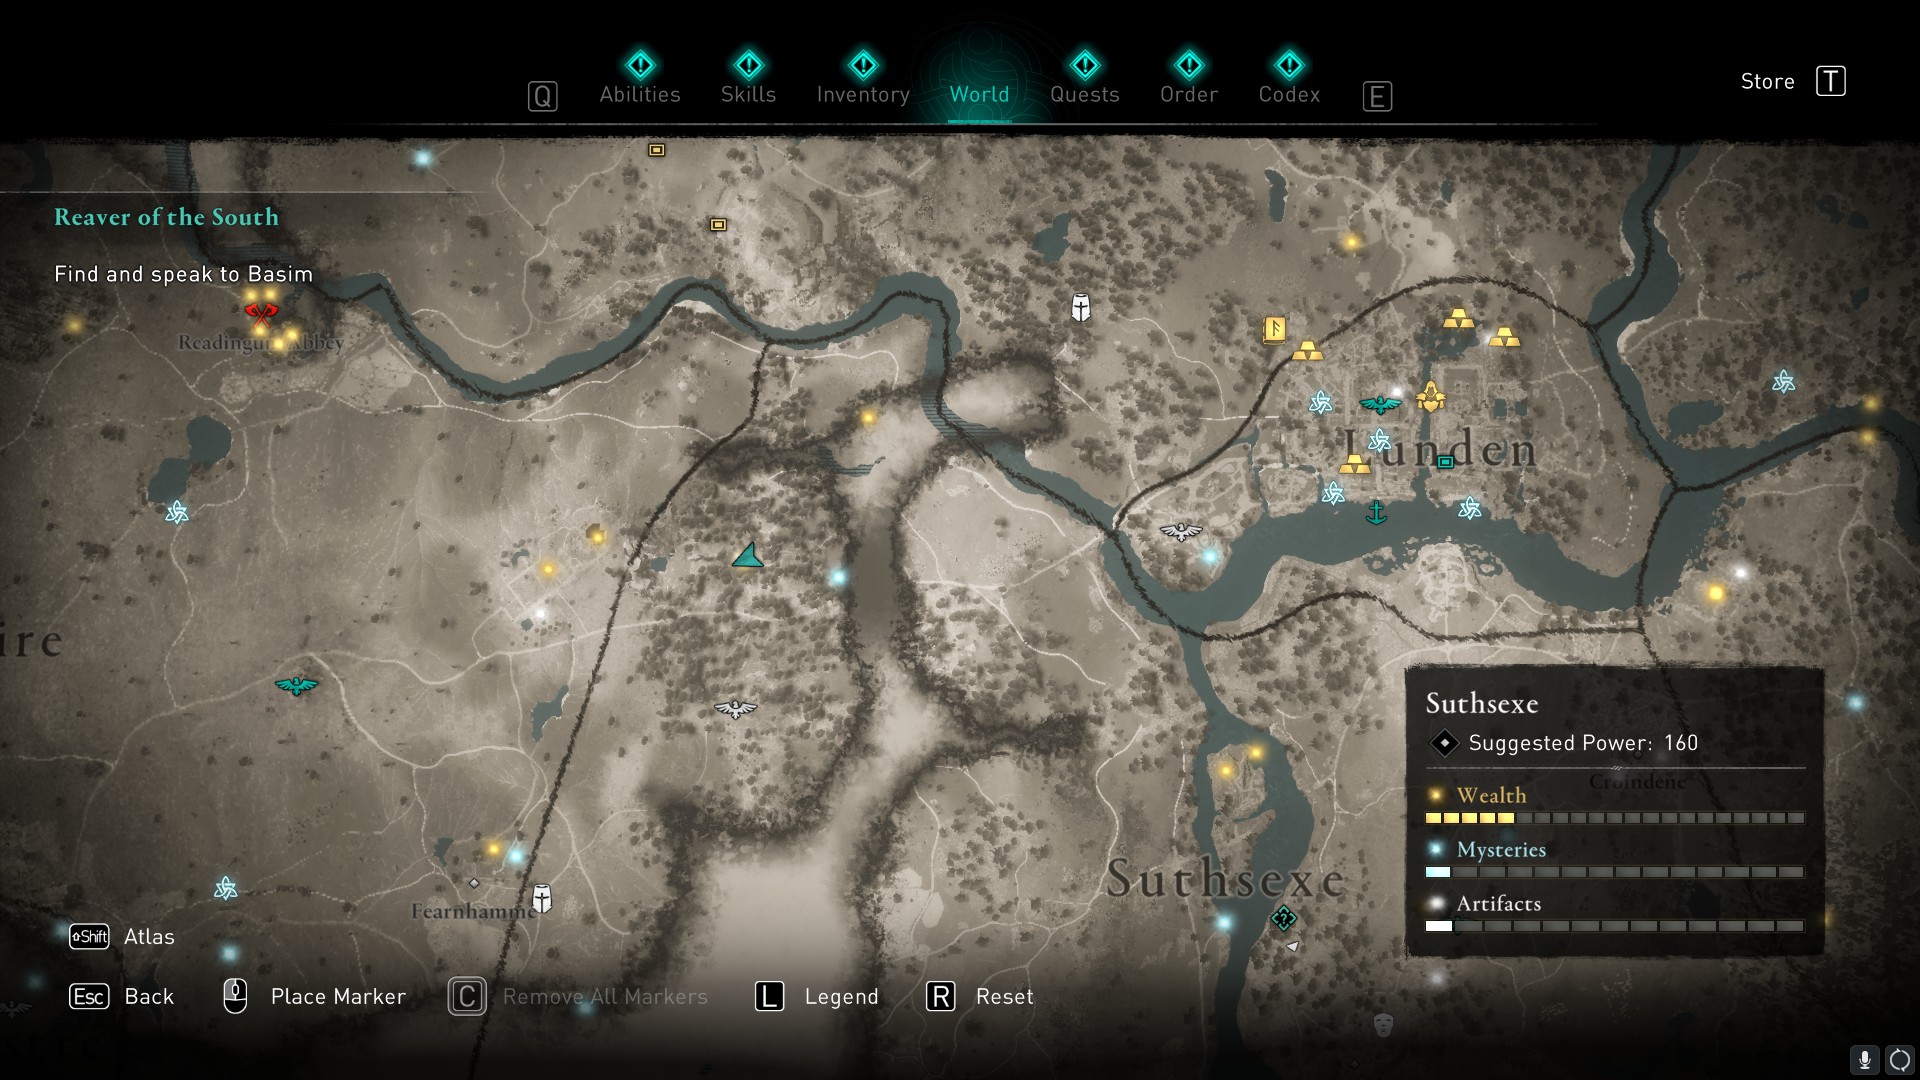
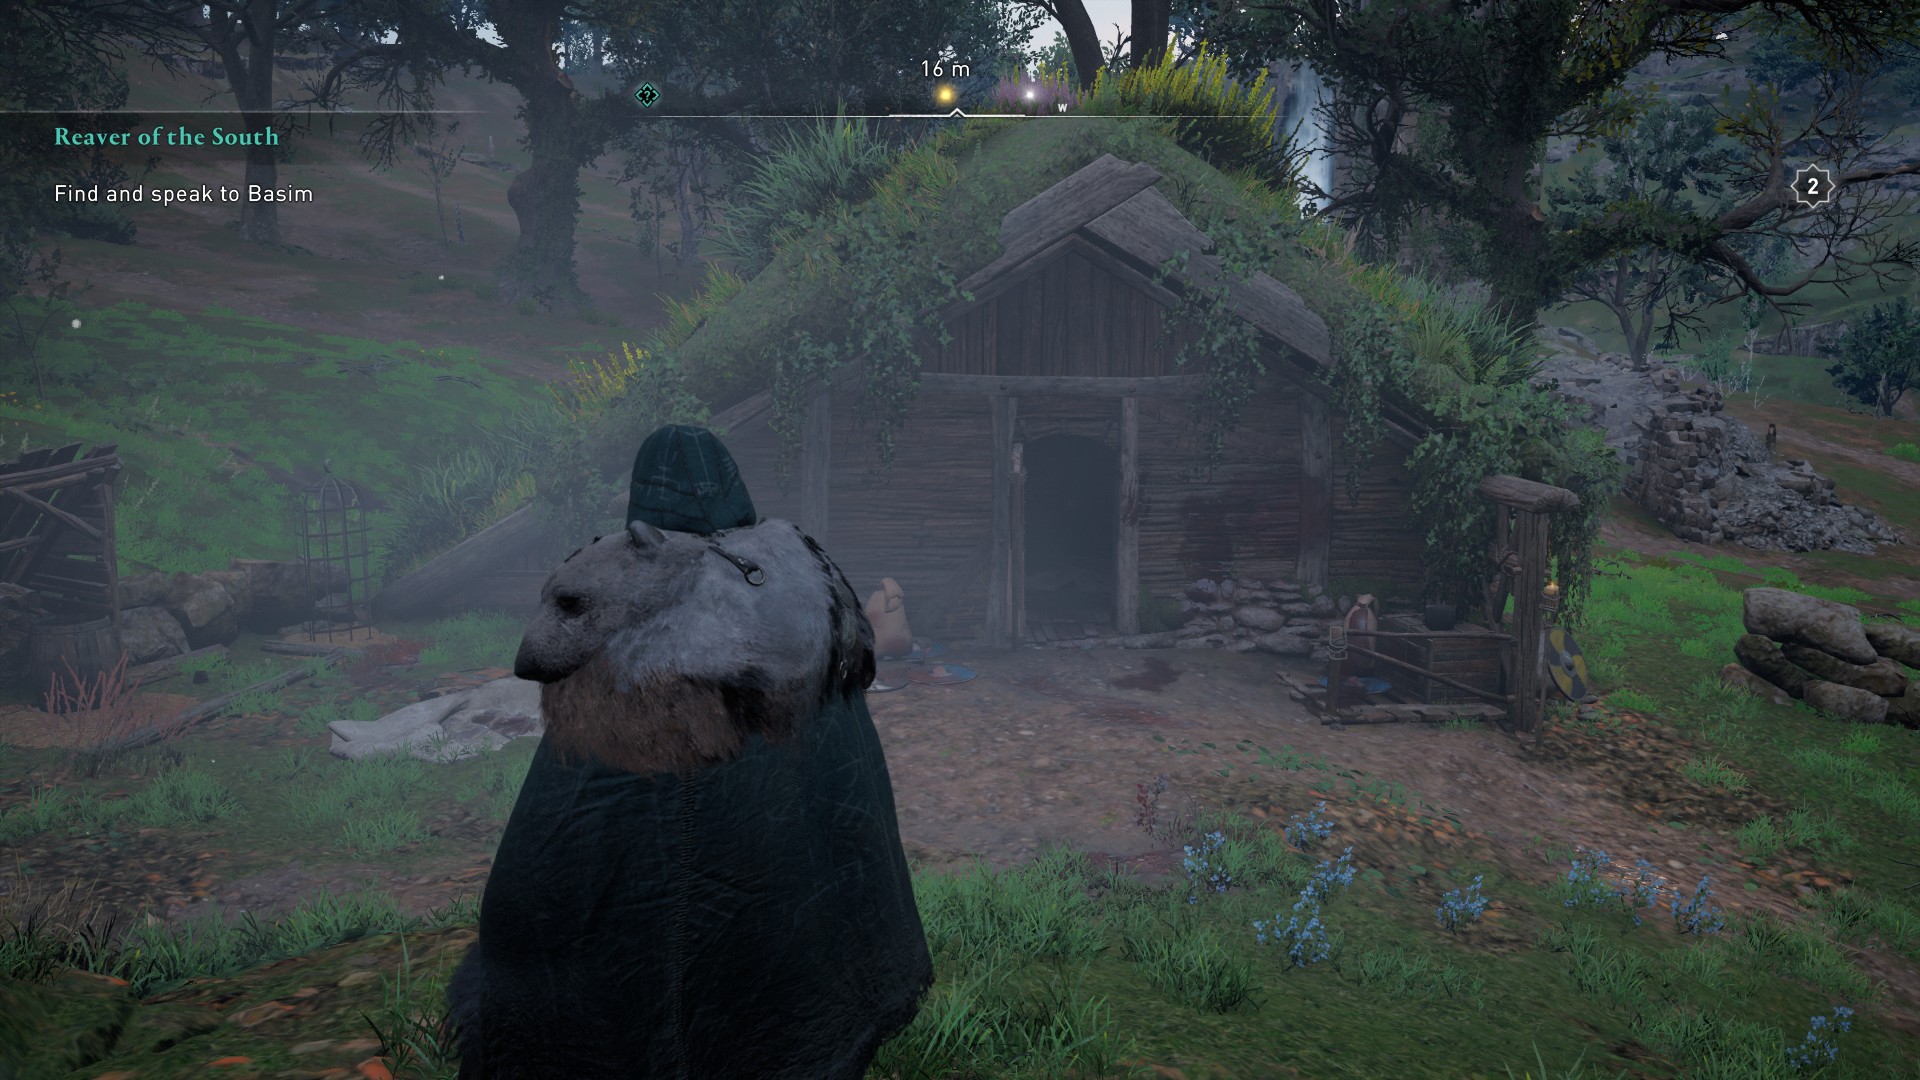
This clue is located close to the western border of Suthsexe, almost directly west of Lunden. You're looking for a small house just off the main road here. The clue is found inside, on a low table in the corner.
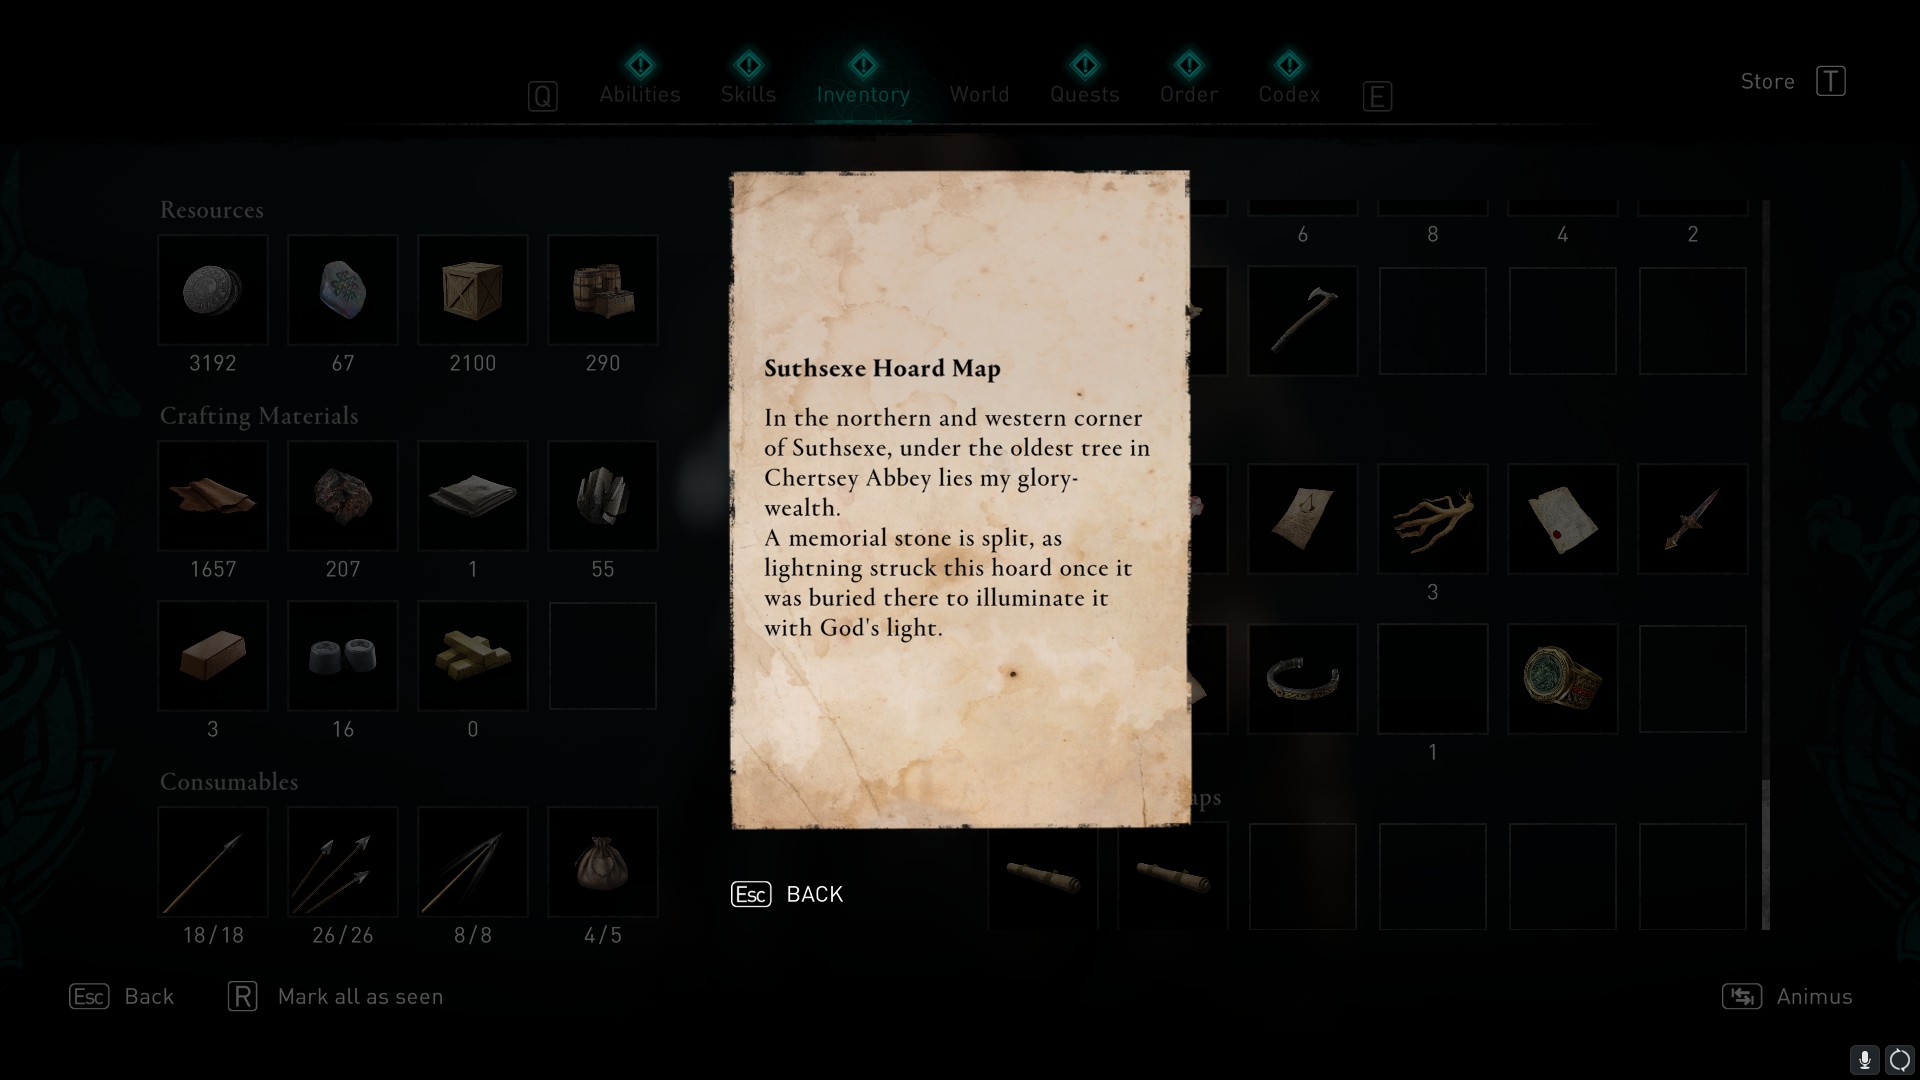
The clue reads:
In the northern and western corner of Suthsexe, under the oldest tree in Chertsey Abbey lies my glory-wealth.
A memorial stone is split, as lightning struck this hoard once it was buried there to illuminate it with God's light.
Solution
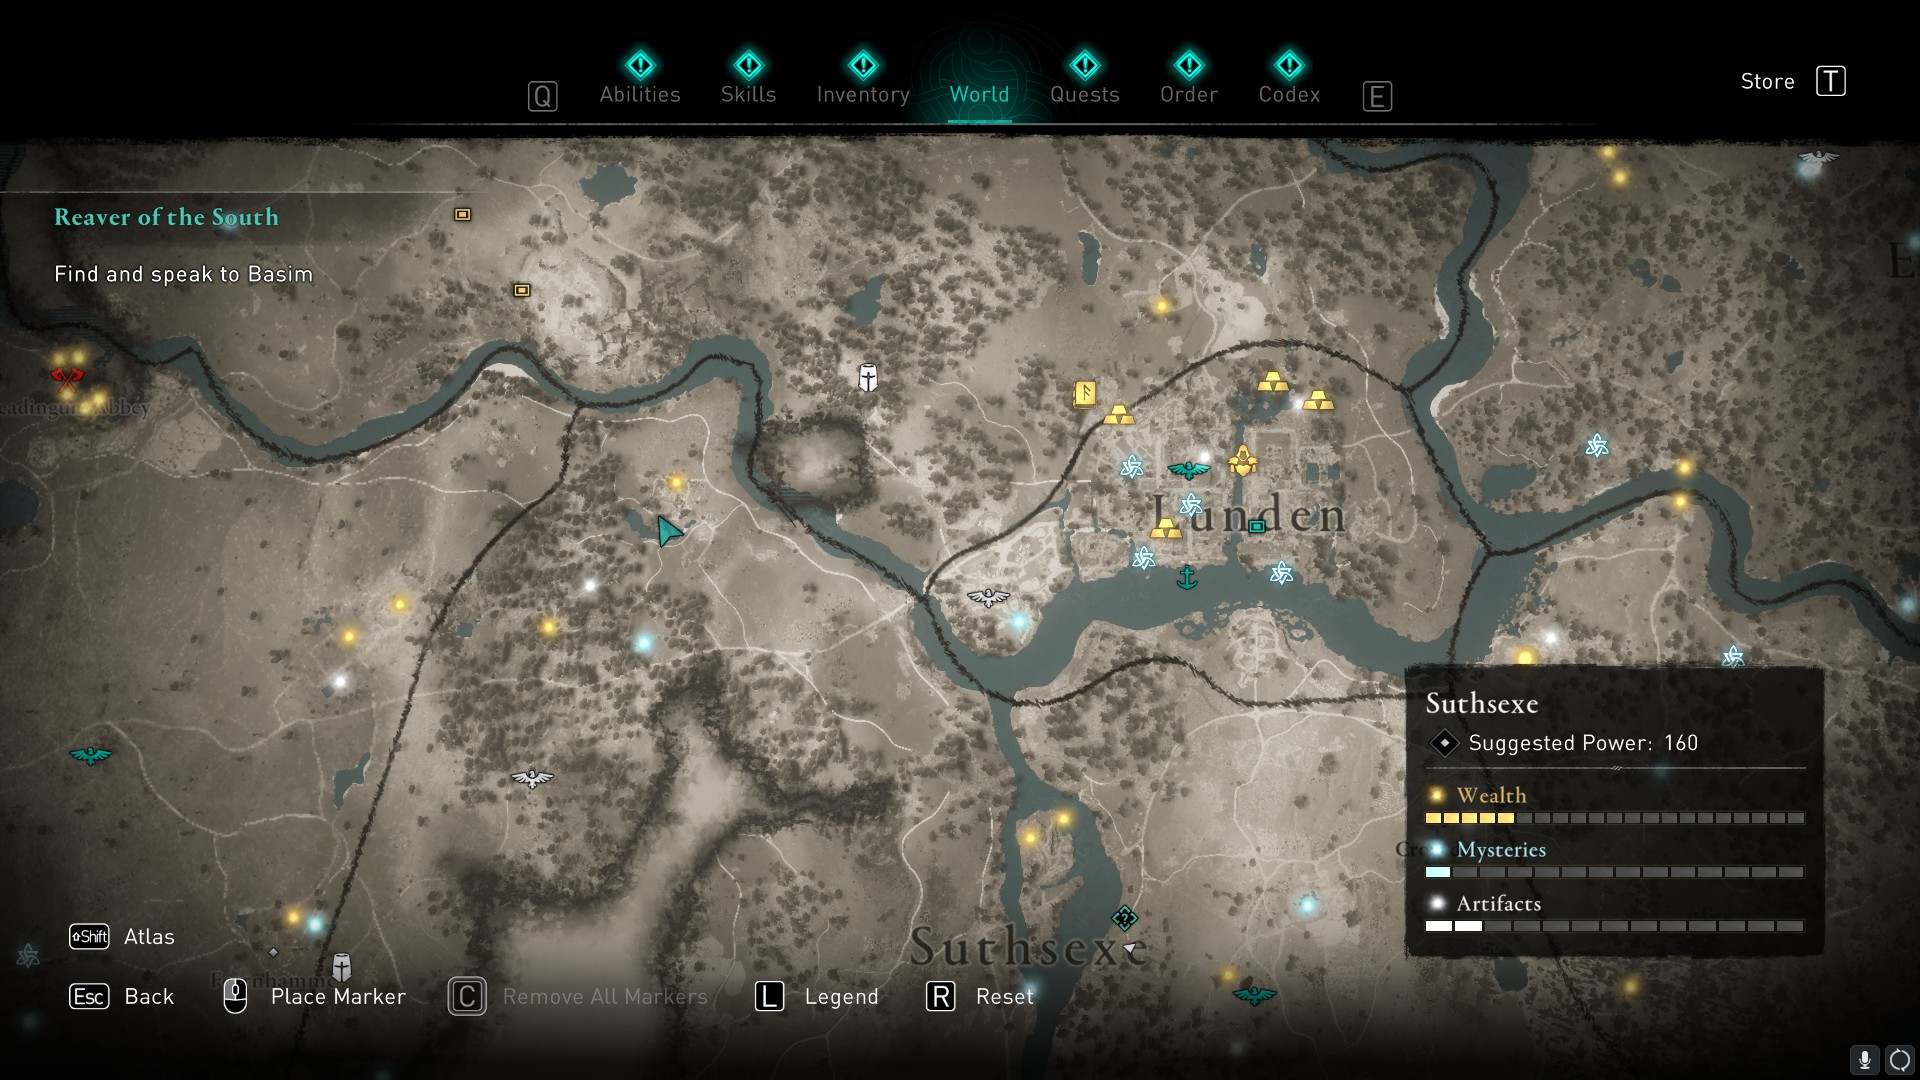
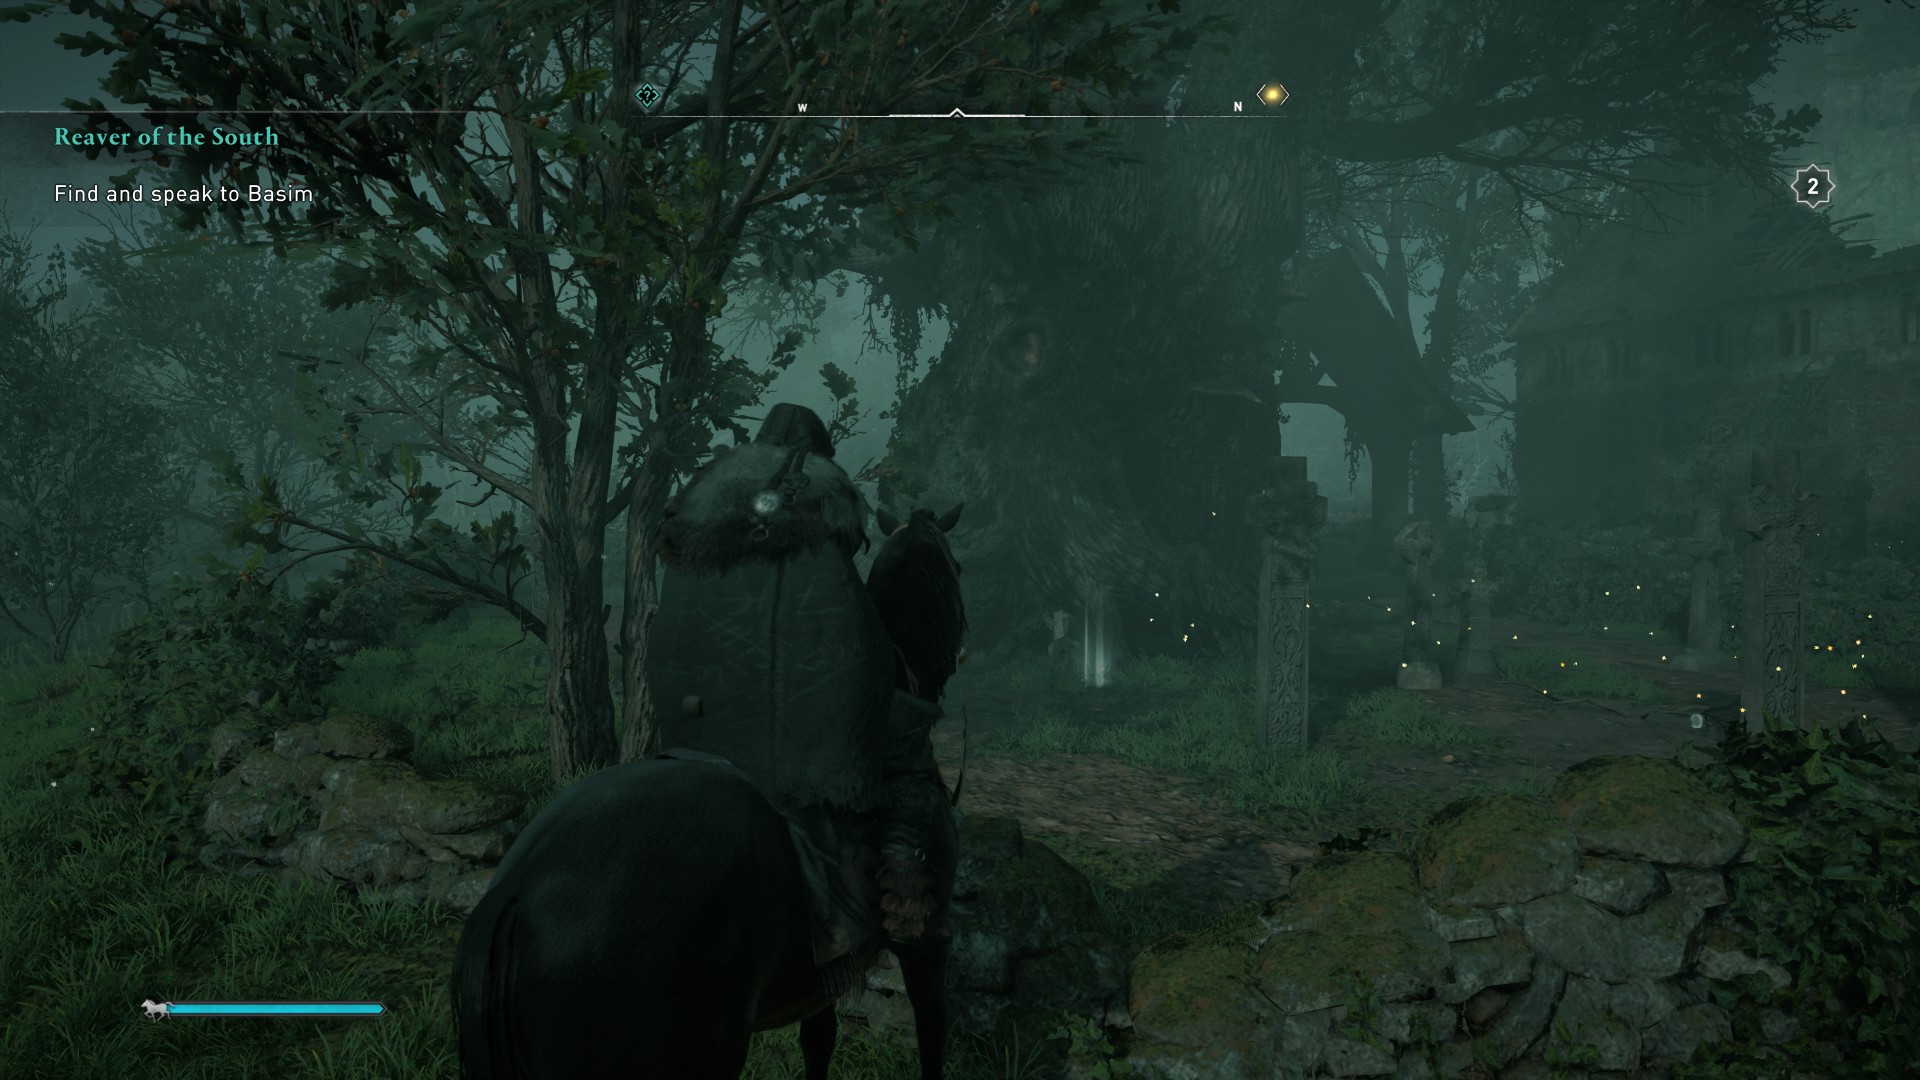
Following the note, Chertsey Abbey is located just to the north—the northwestern corner of Suthsexe—so head there and look for an old tree. It's easy to spot as it's the largest tree in the area. The 'split' gravestone is tiny though, so just look for the white loot glow in the grass around the trunk of the tree.
Pick this up to receive the Cross Face Scheme (Head) tattoo.
Suthsexe (Witch's House)
Clue
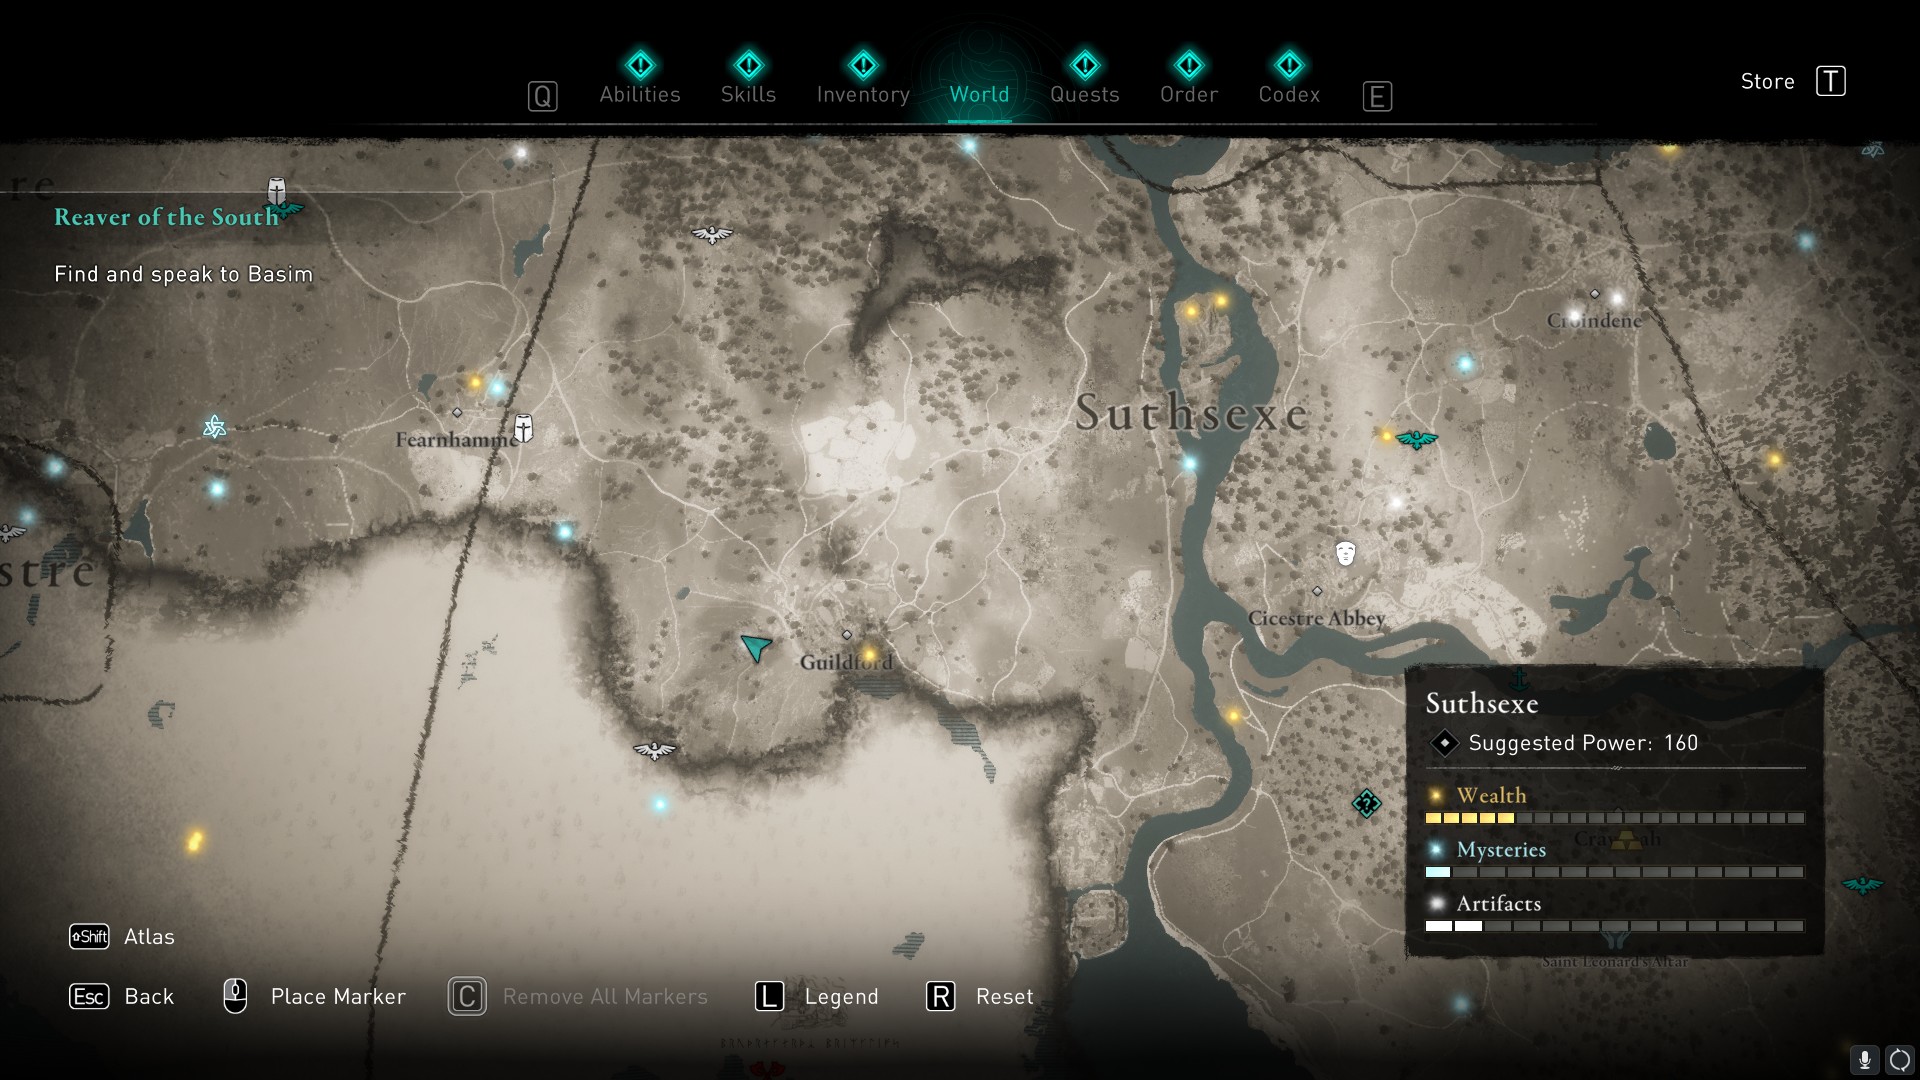
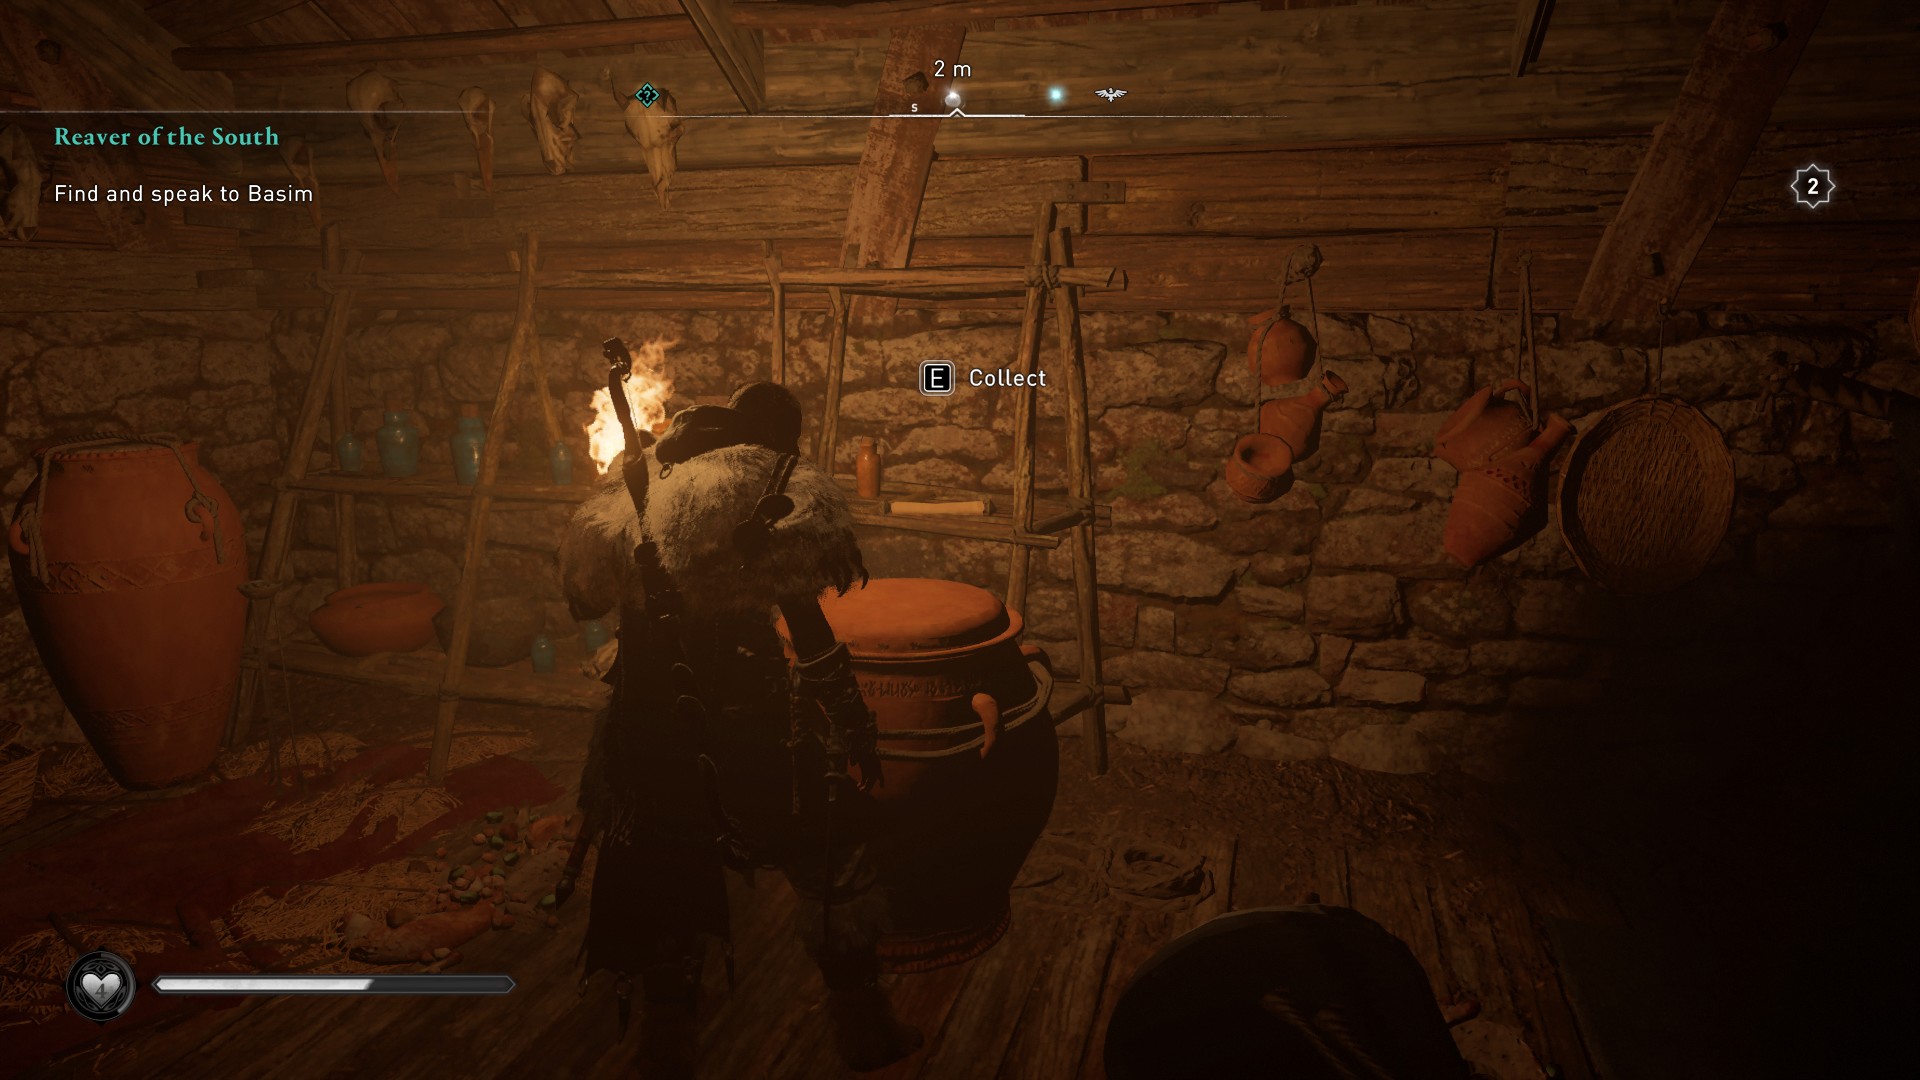
This map is located in another house, this time, further south. The Witch's House can be found just west of Guildford. The map is on a shelf inside, but you'll need to shoot a boarded up crawlspace to enter—it's on the opposite side of the house to the door.
Be careful when you go in to retrieve it as the house is full of poison. Equipping your torch once you're inside should dispel it.
Solution
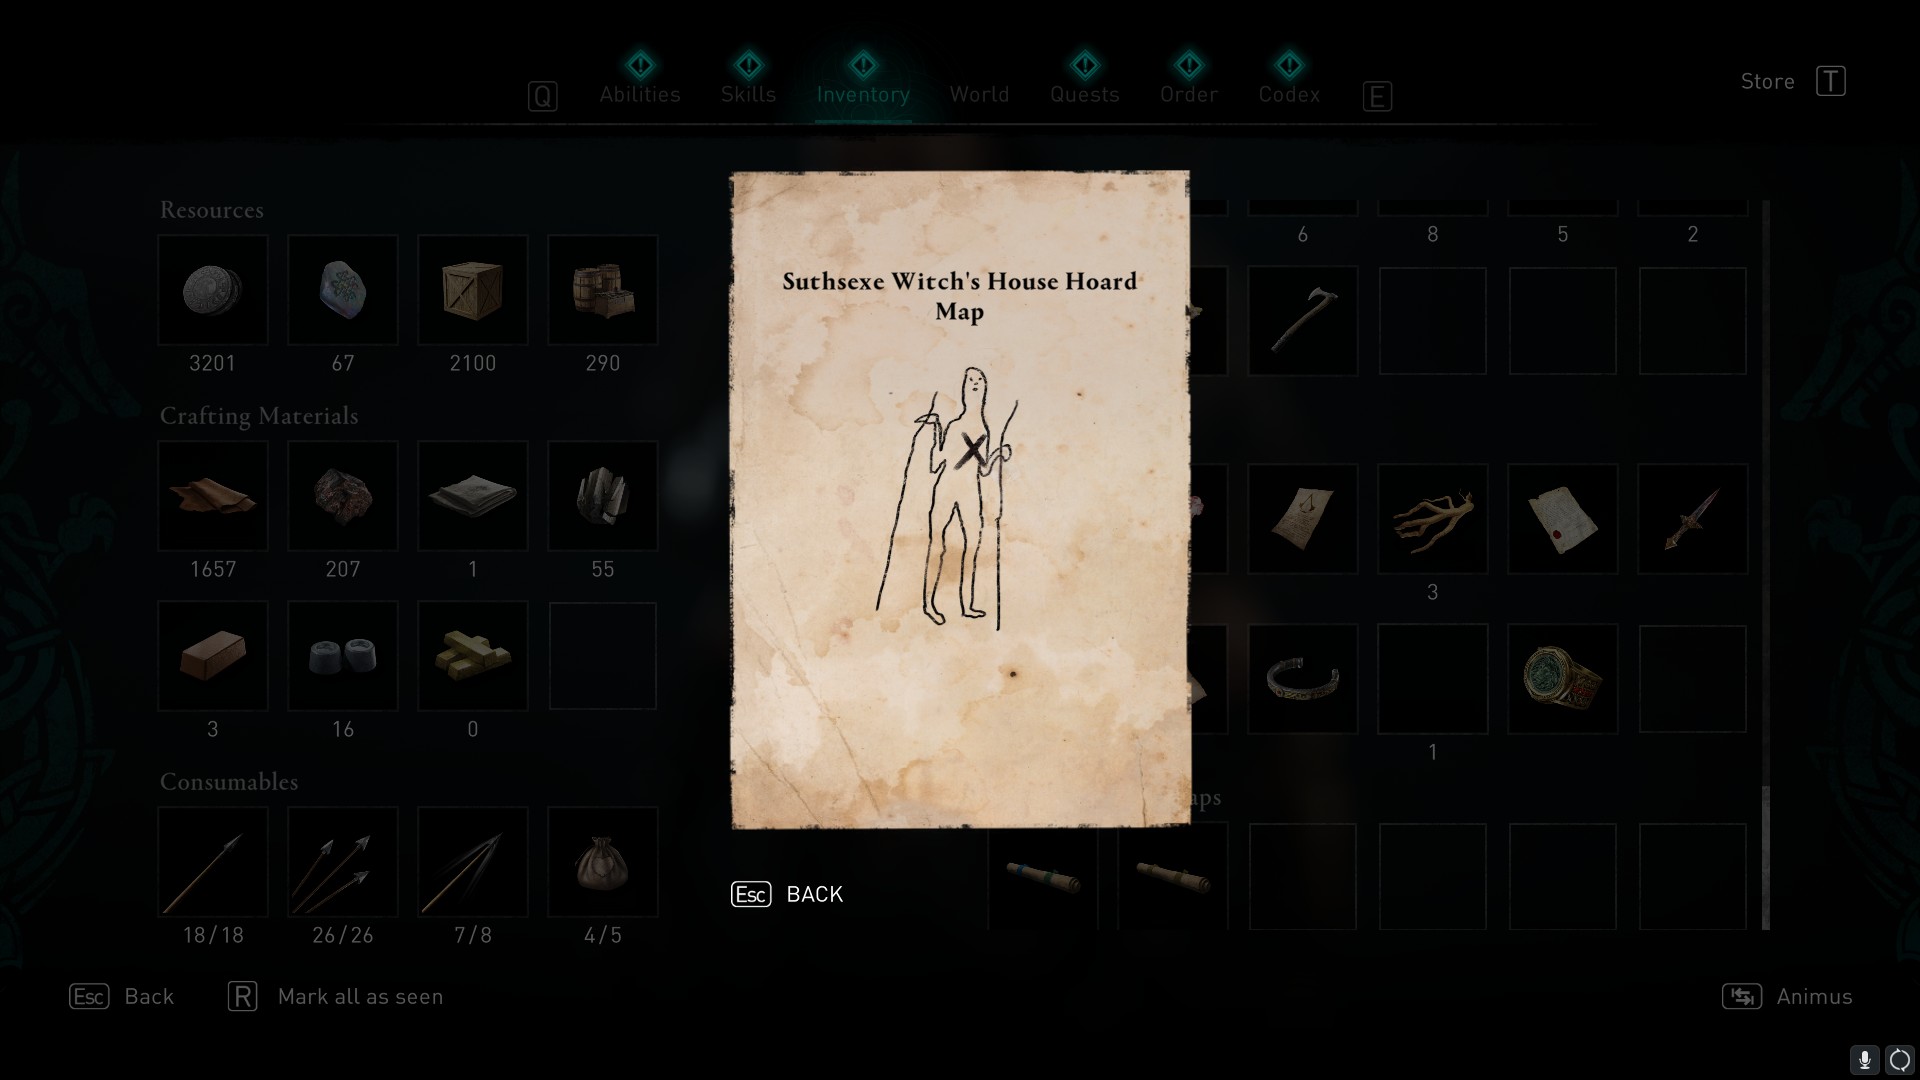
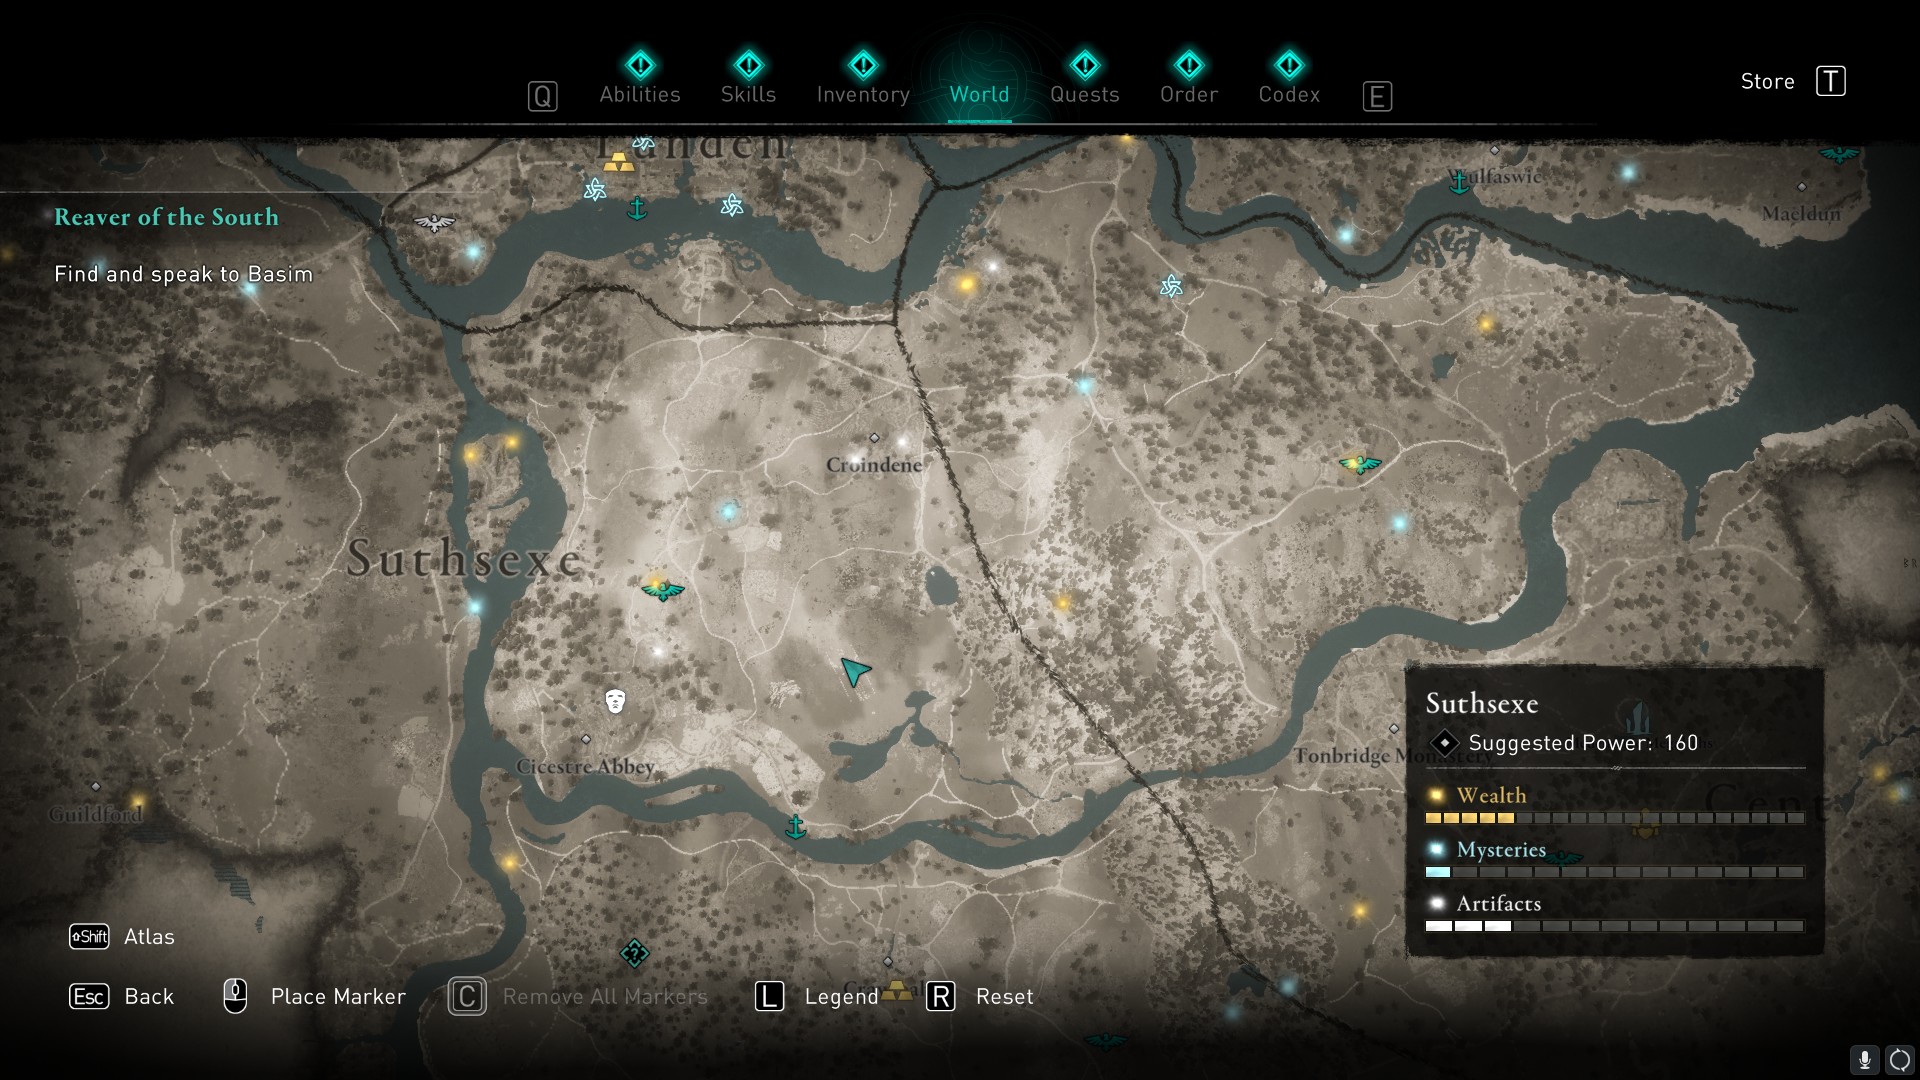
The map shows a picture of a man, and if you've done any exploring in Suthsexe, you'll may have noticed the chalk figure over on the eastern side of the region. It's south of Croindene and you can just make it out if you zoom in on the map.
The treasure is located under the chalk figure's right arm. Loot it to receive the Huginn Call Scheme (Front) tattoo.
Glowecestrescire
Clue
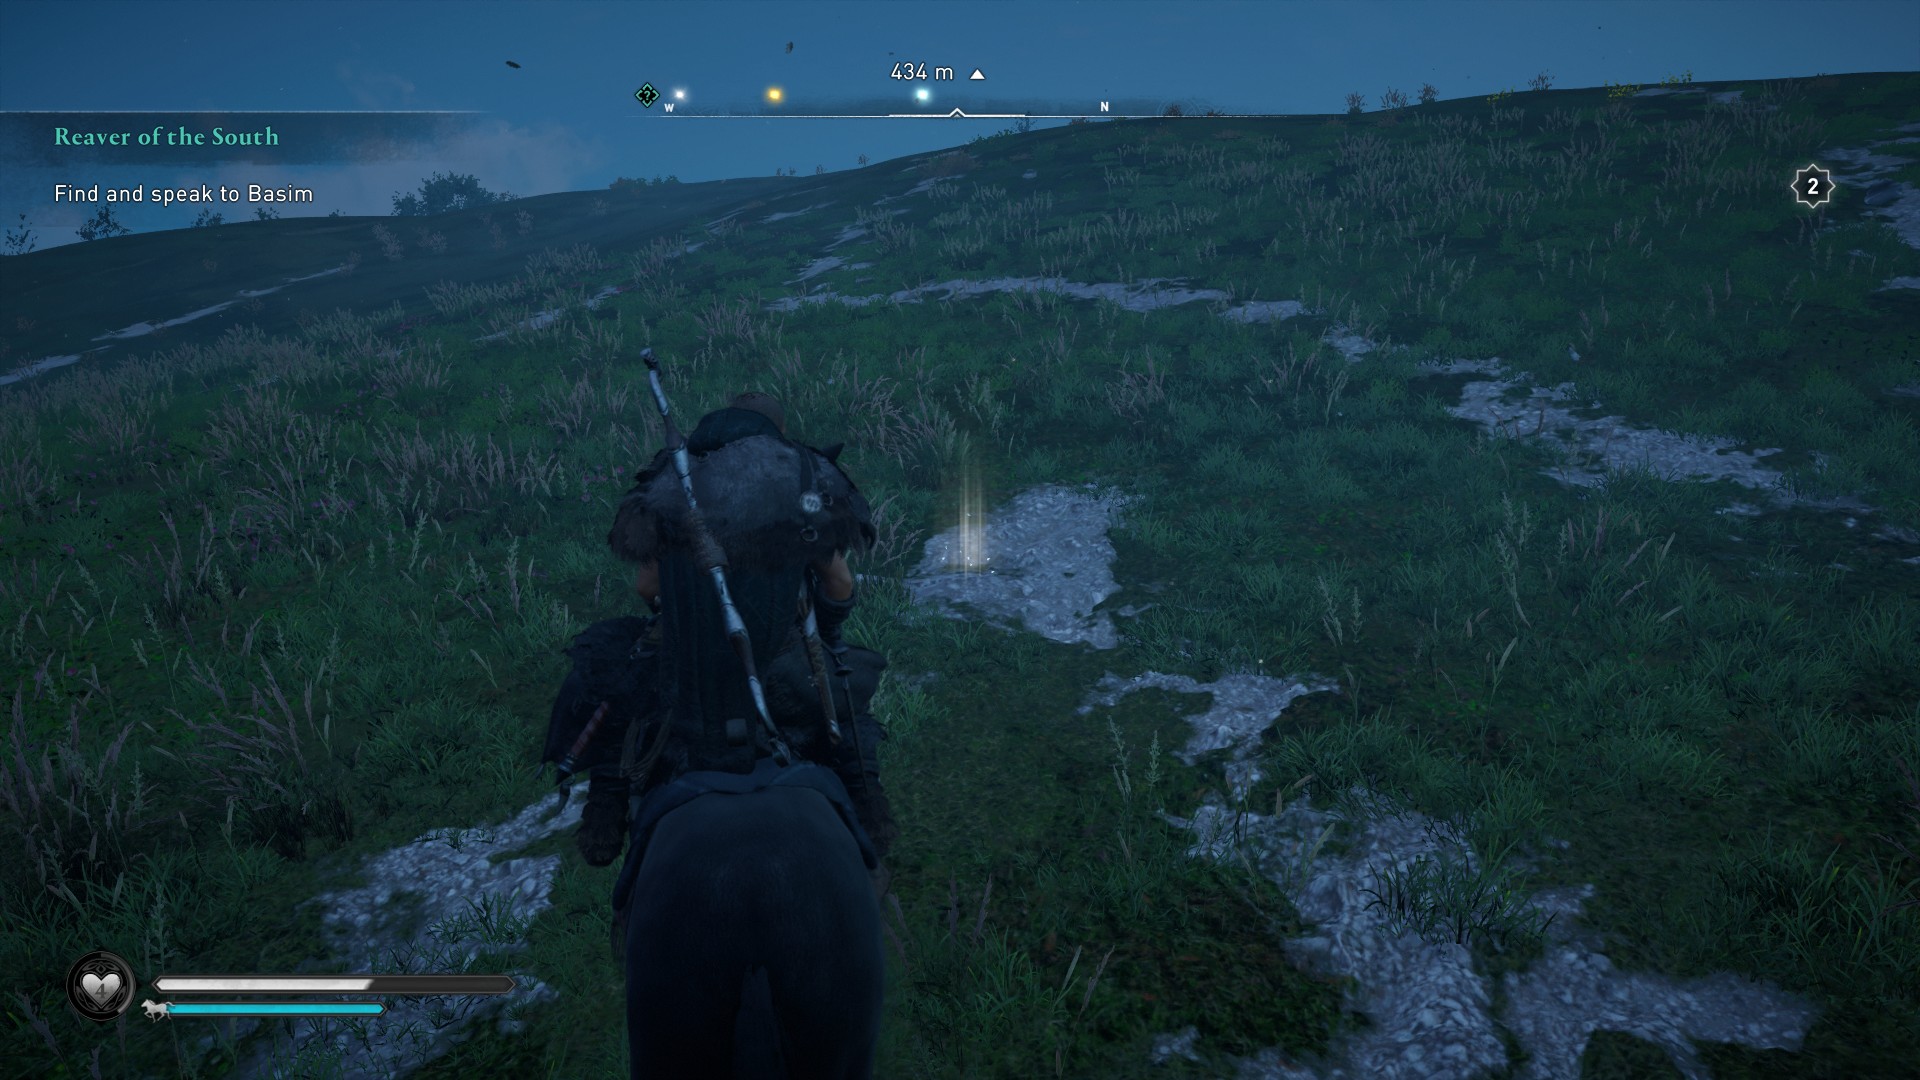
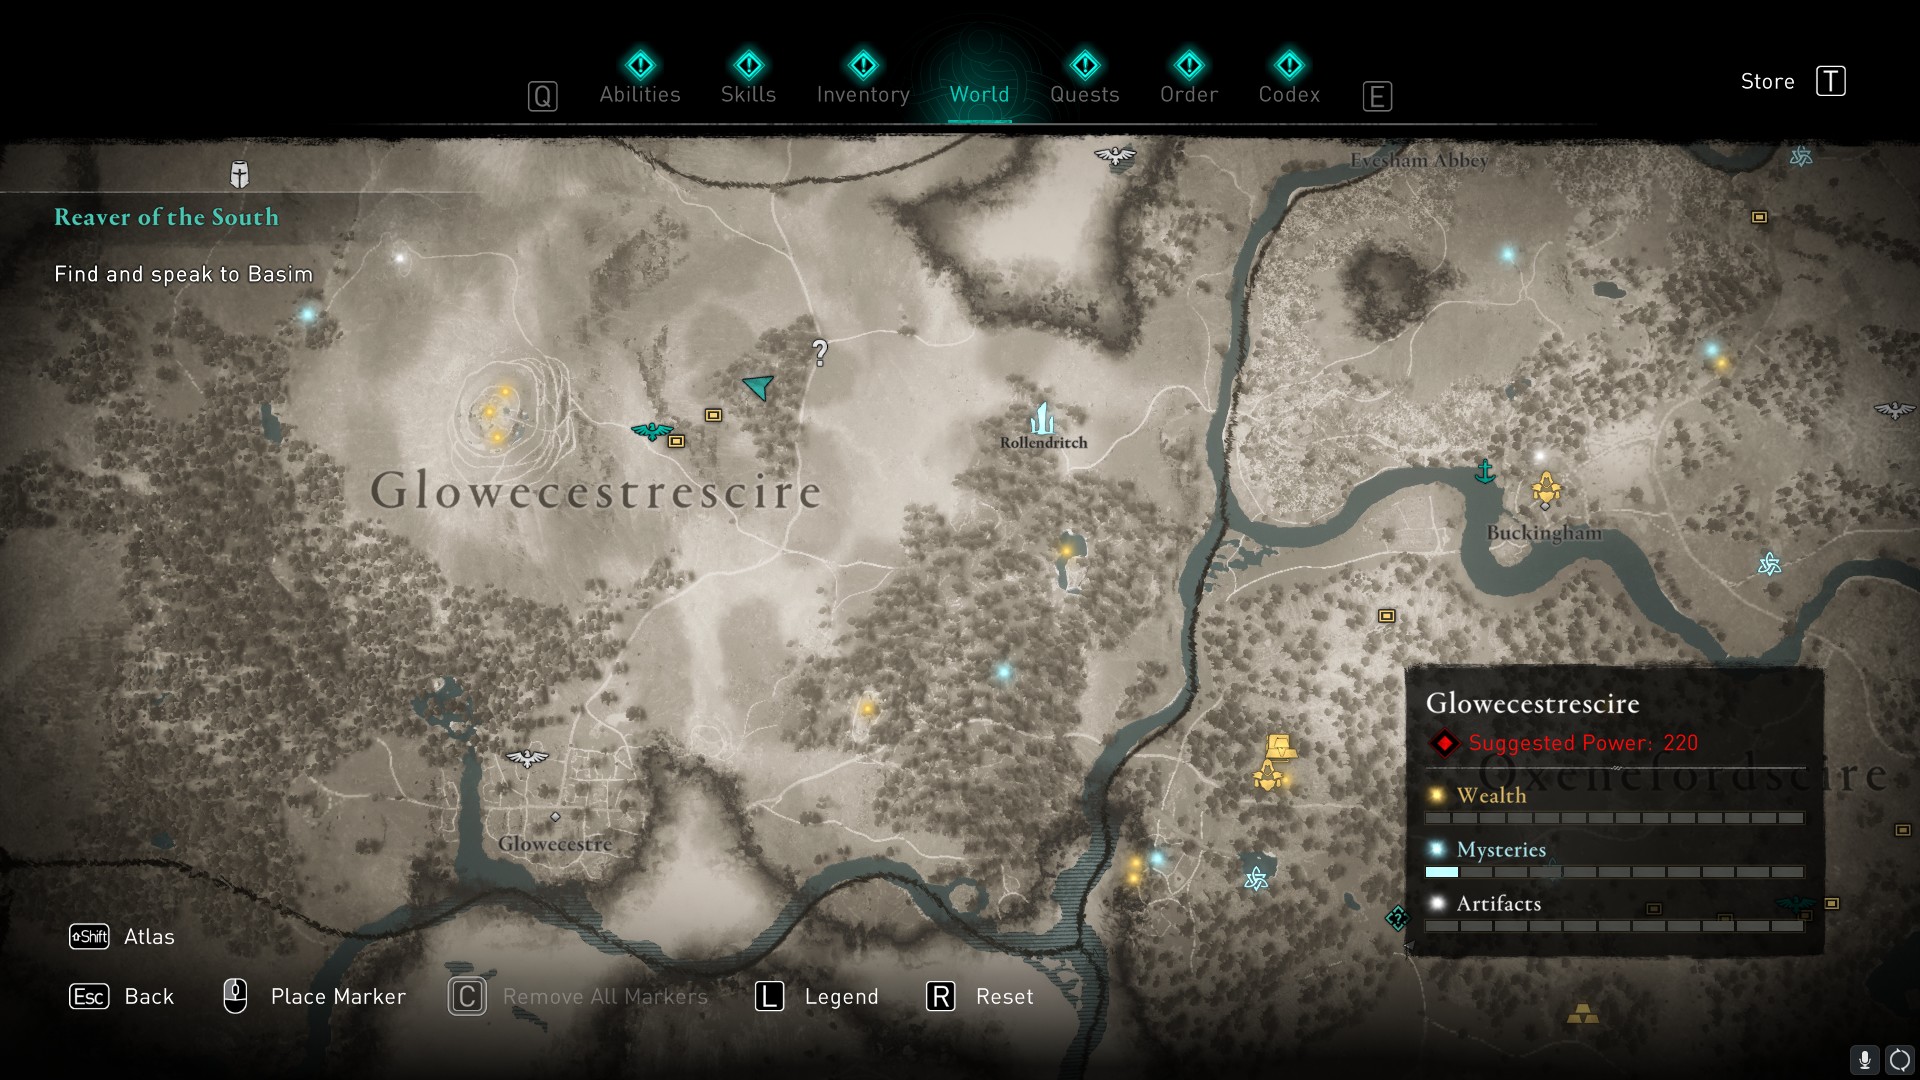
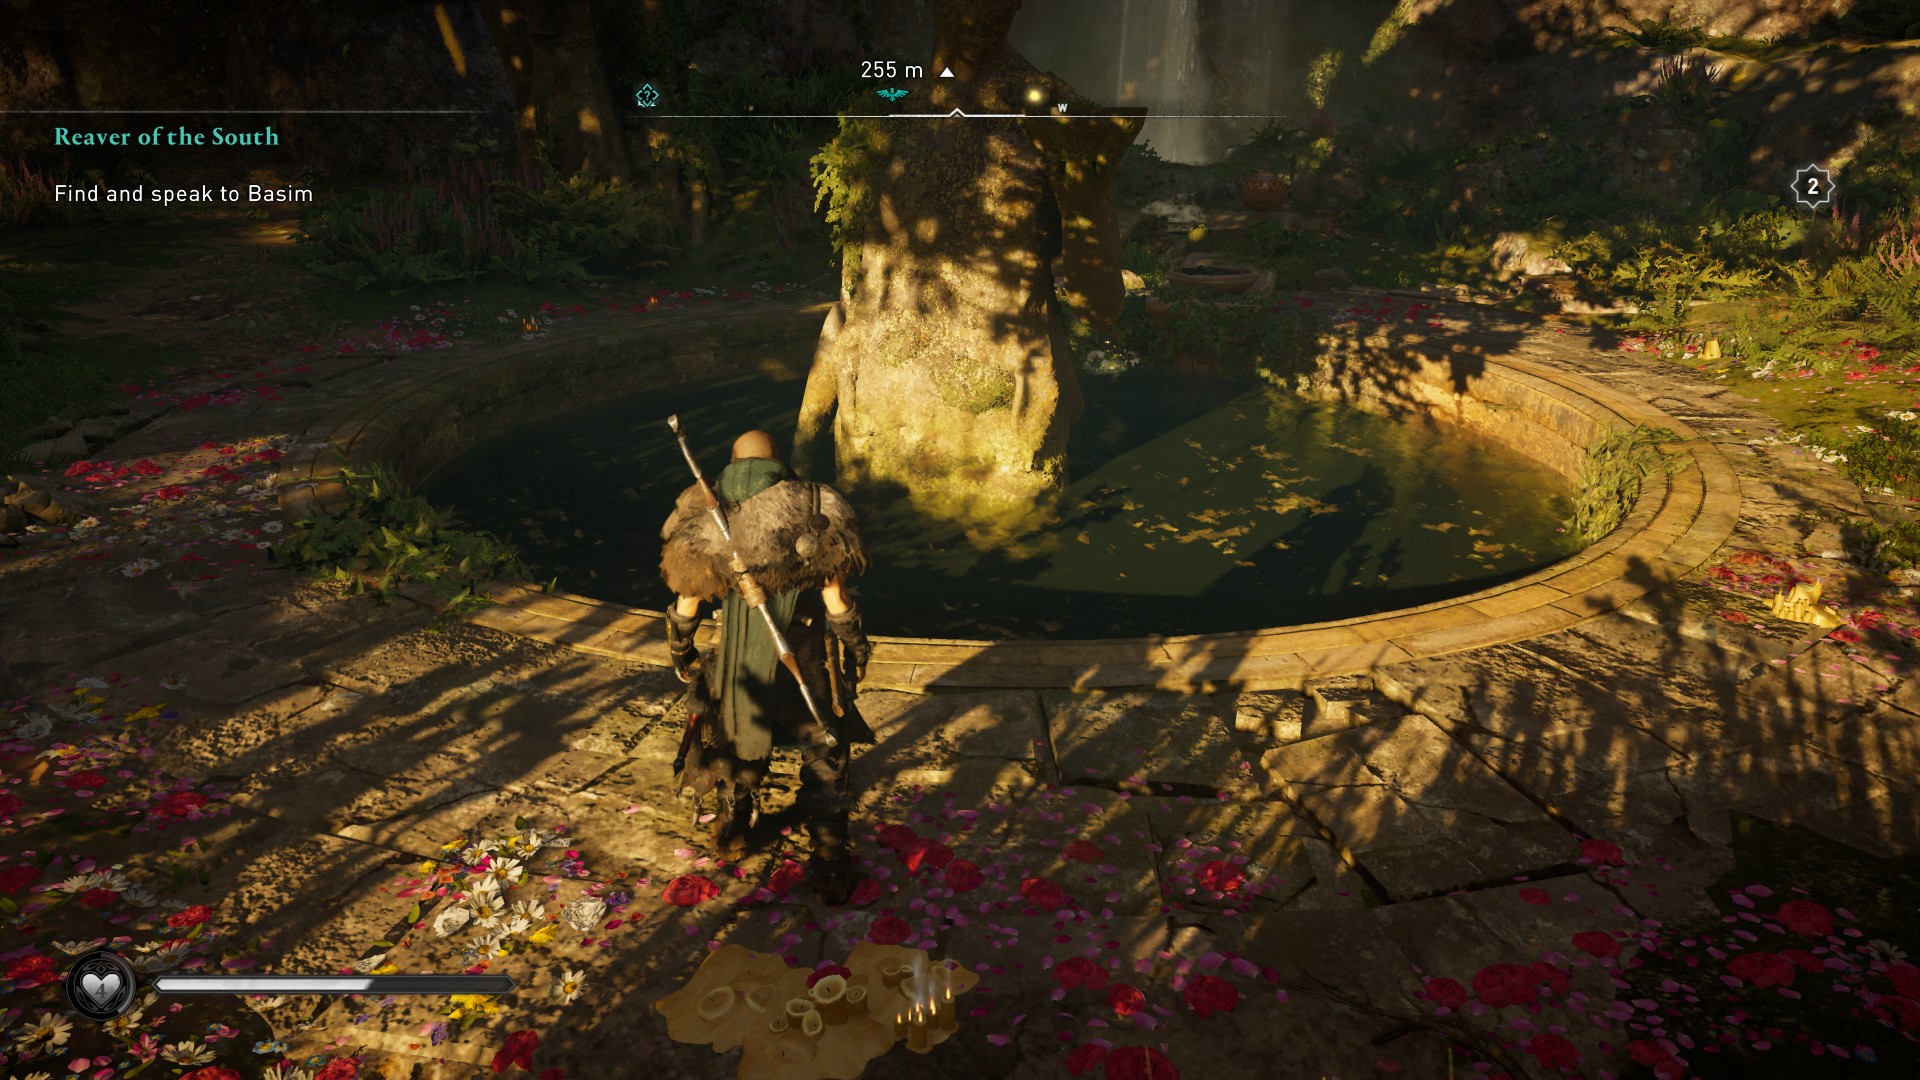
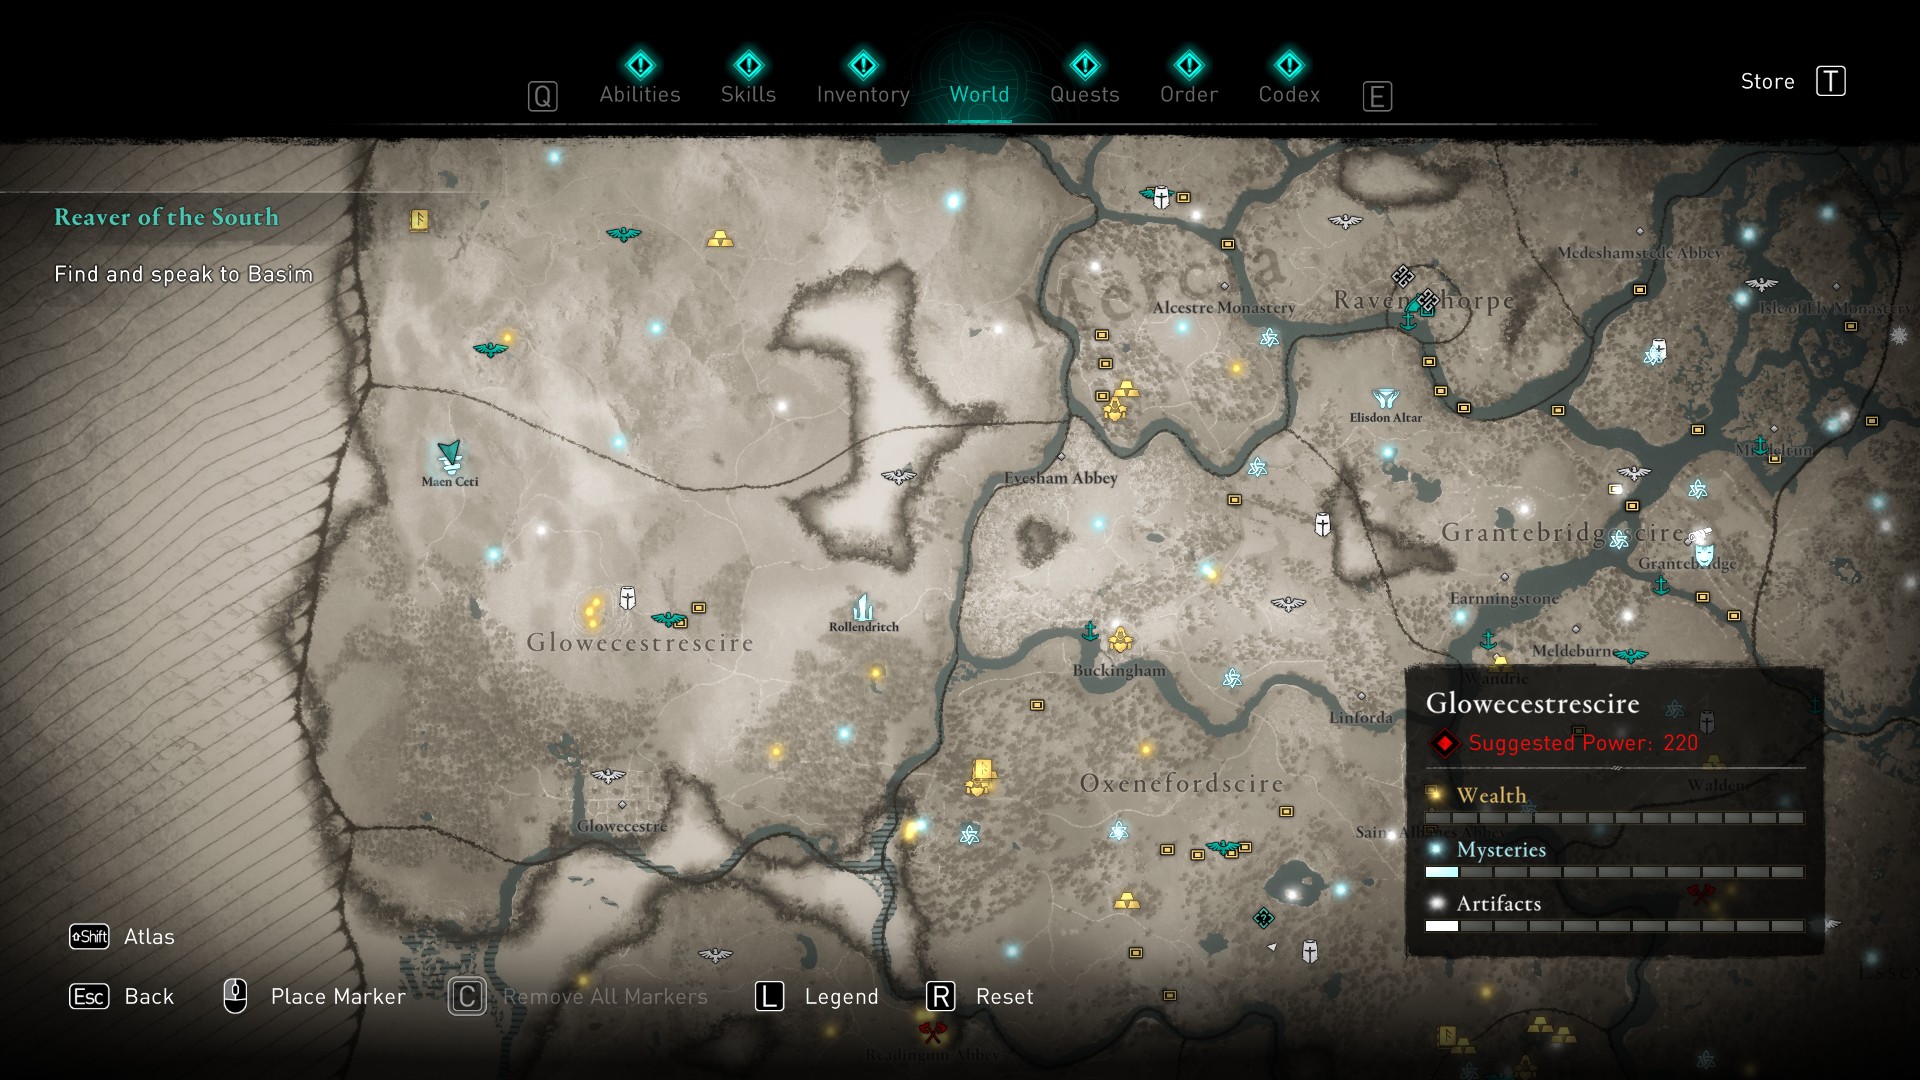
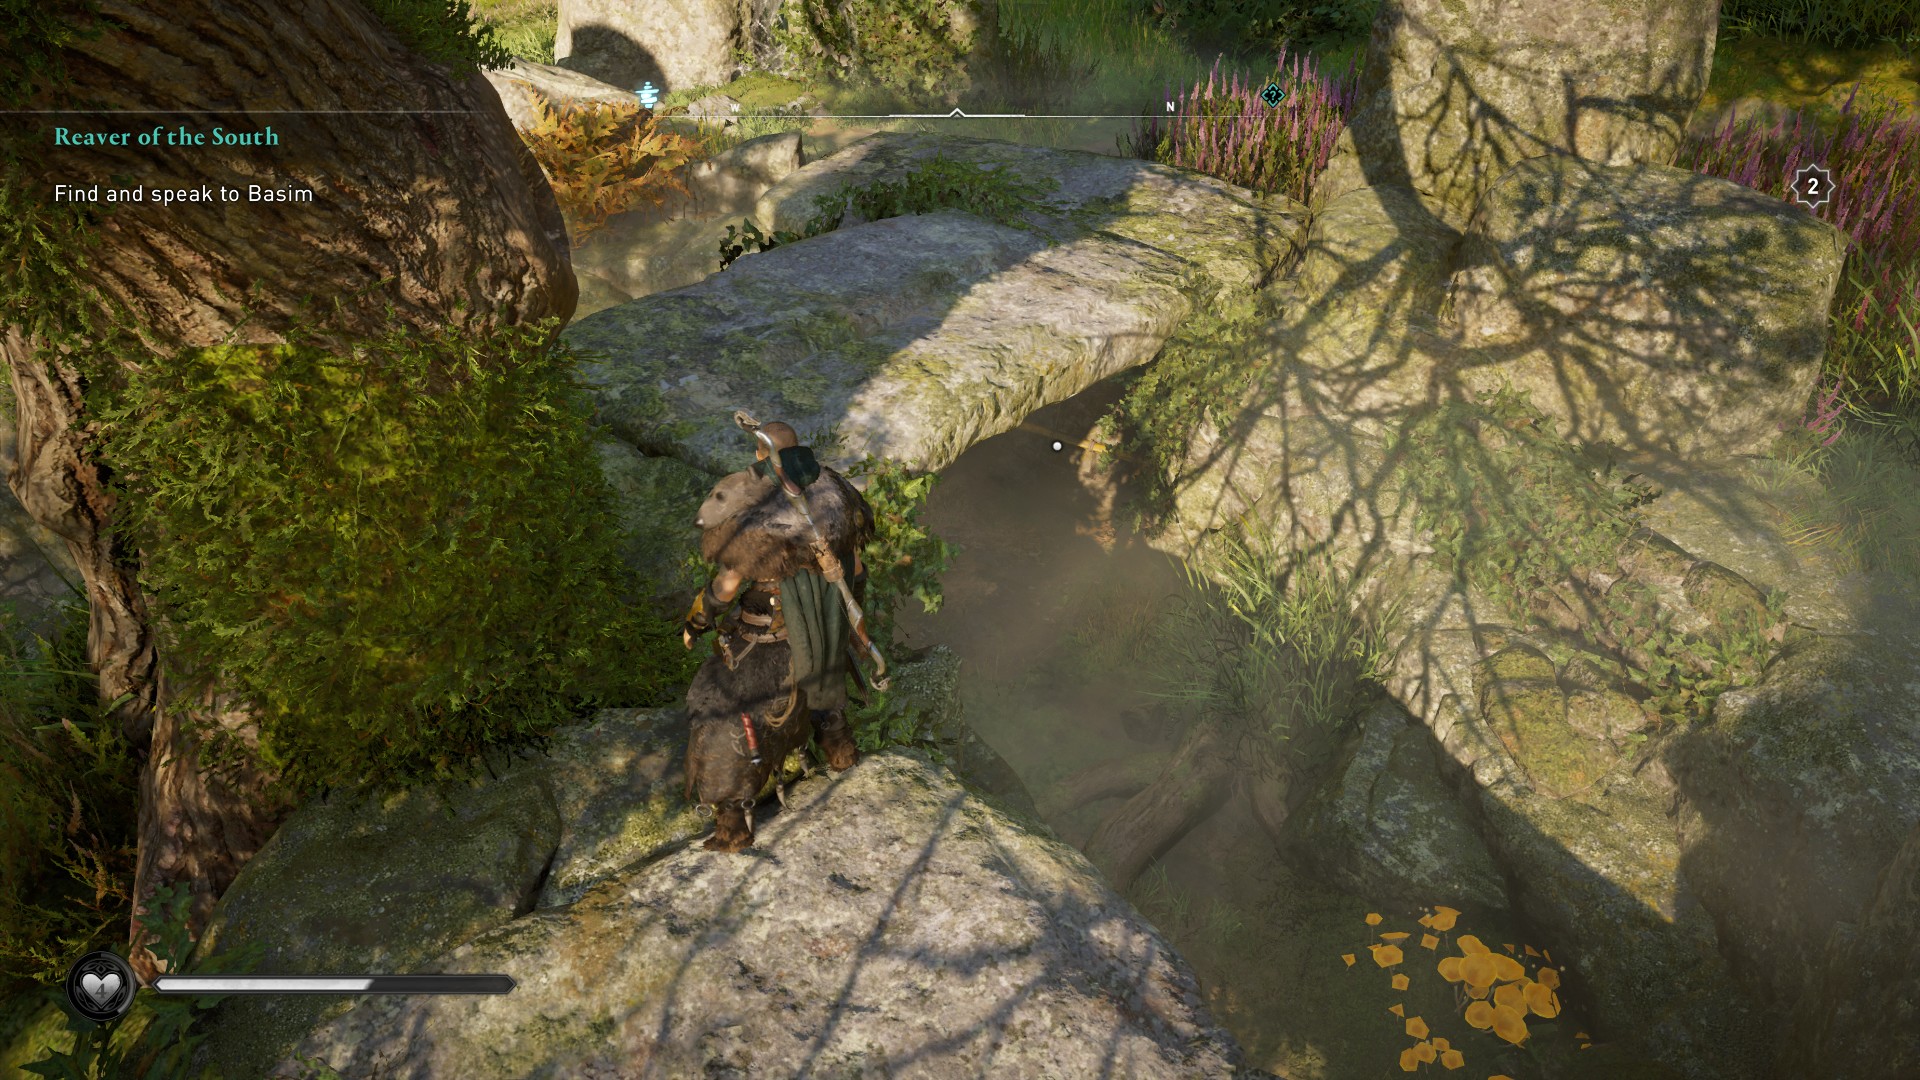
This map can be found just northeast of the synchronisation point, in the centre of Glowcestrescire. It's in a small wood and you'll find a statue in the middle of a circular pond. Climb onto the statue's hand to retrieve the map.
Solution
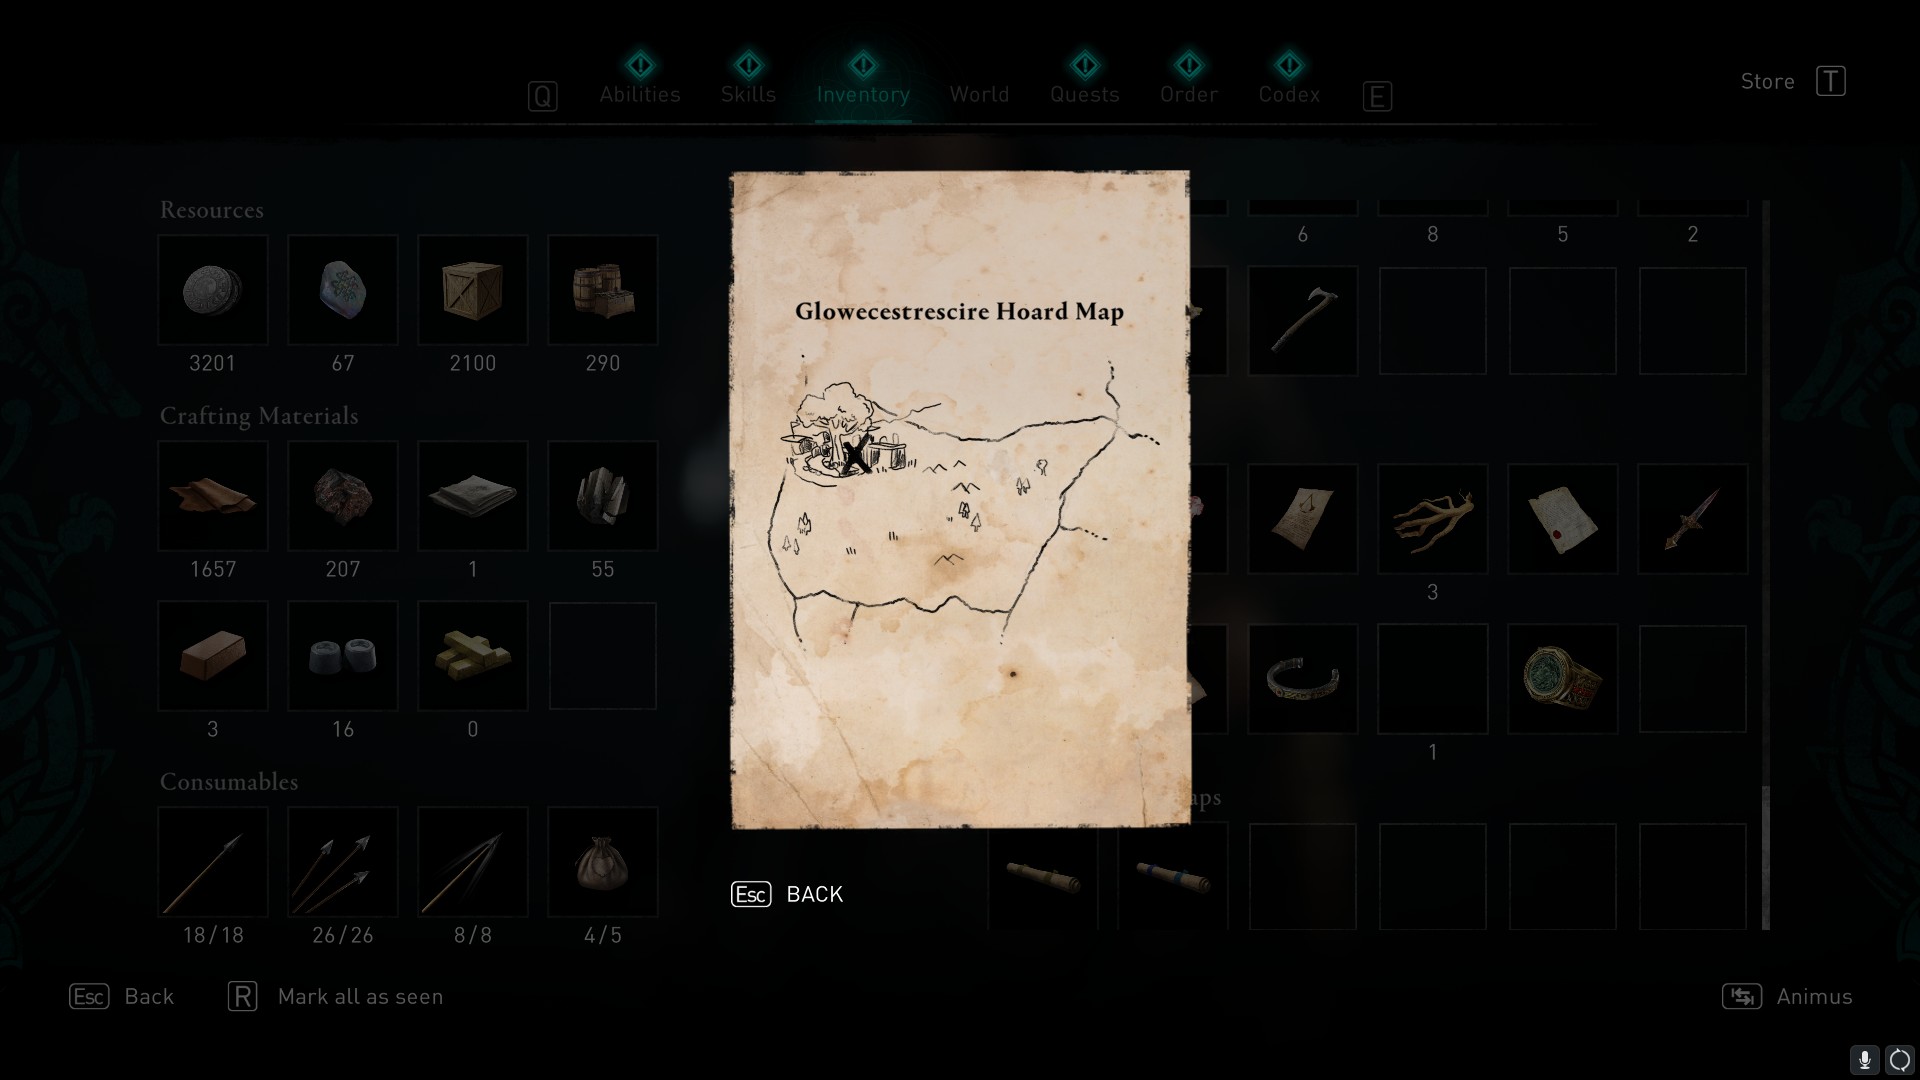
The map matches the shape of the region of Glowcestrescire, so head to the northwestern corner. You'll find several stone circles here called Maen Ceti.
Look for the tree in the centre of the lower stone circle and drop beneath the stone slab that crosses over to it. You should find a moveable block here. Pull it towards you and you'll find this treasure located inside the alcove. Pick it up to receive the Seer Scheme (Hull) for your longship.
Wincestre (Seminary)
Clue
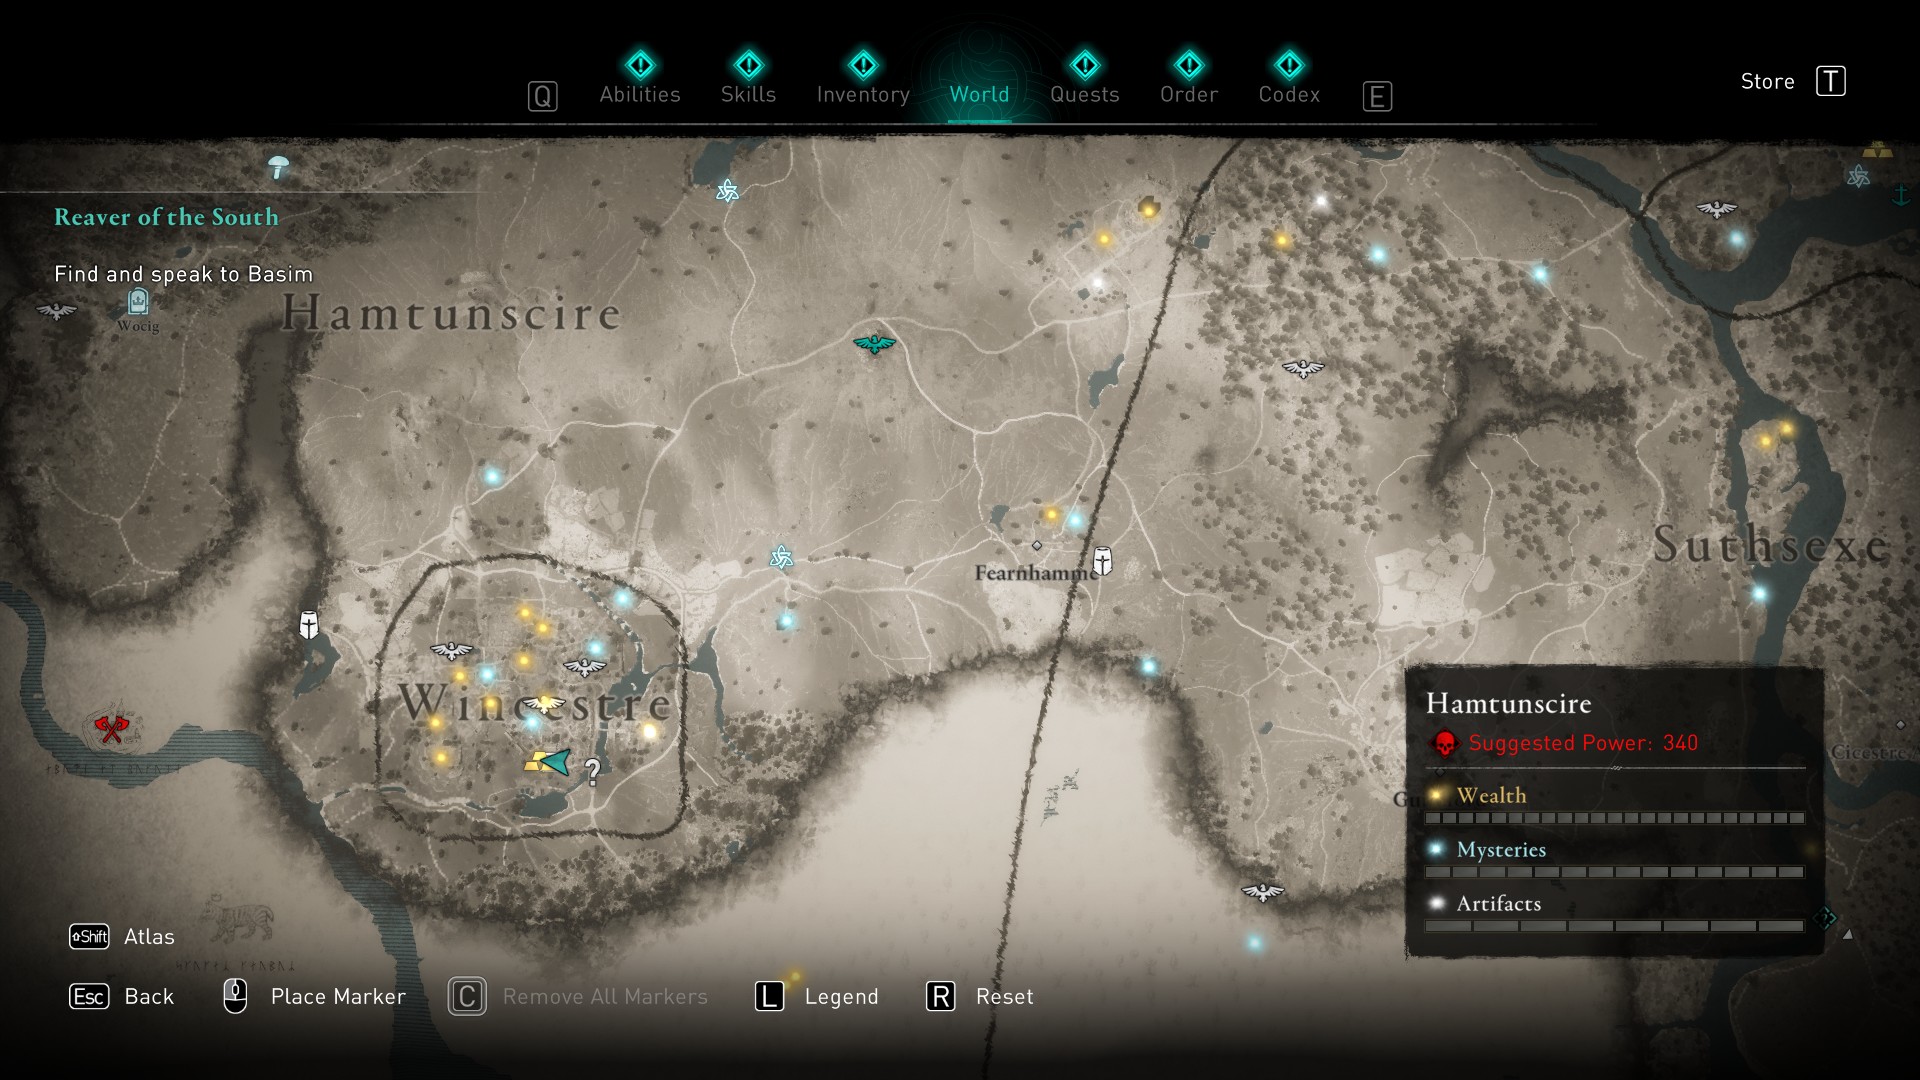
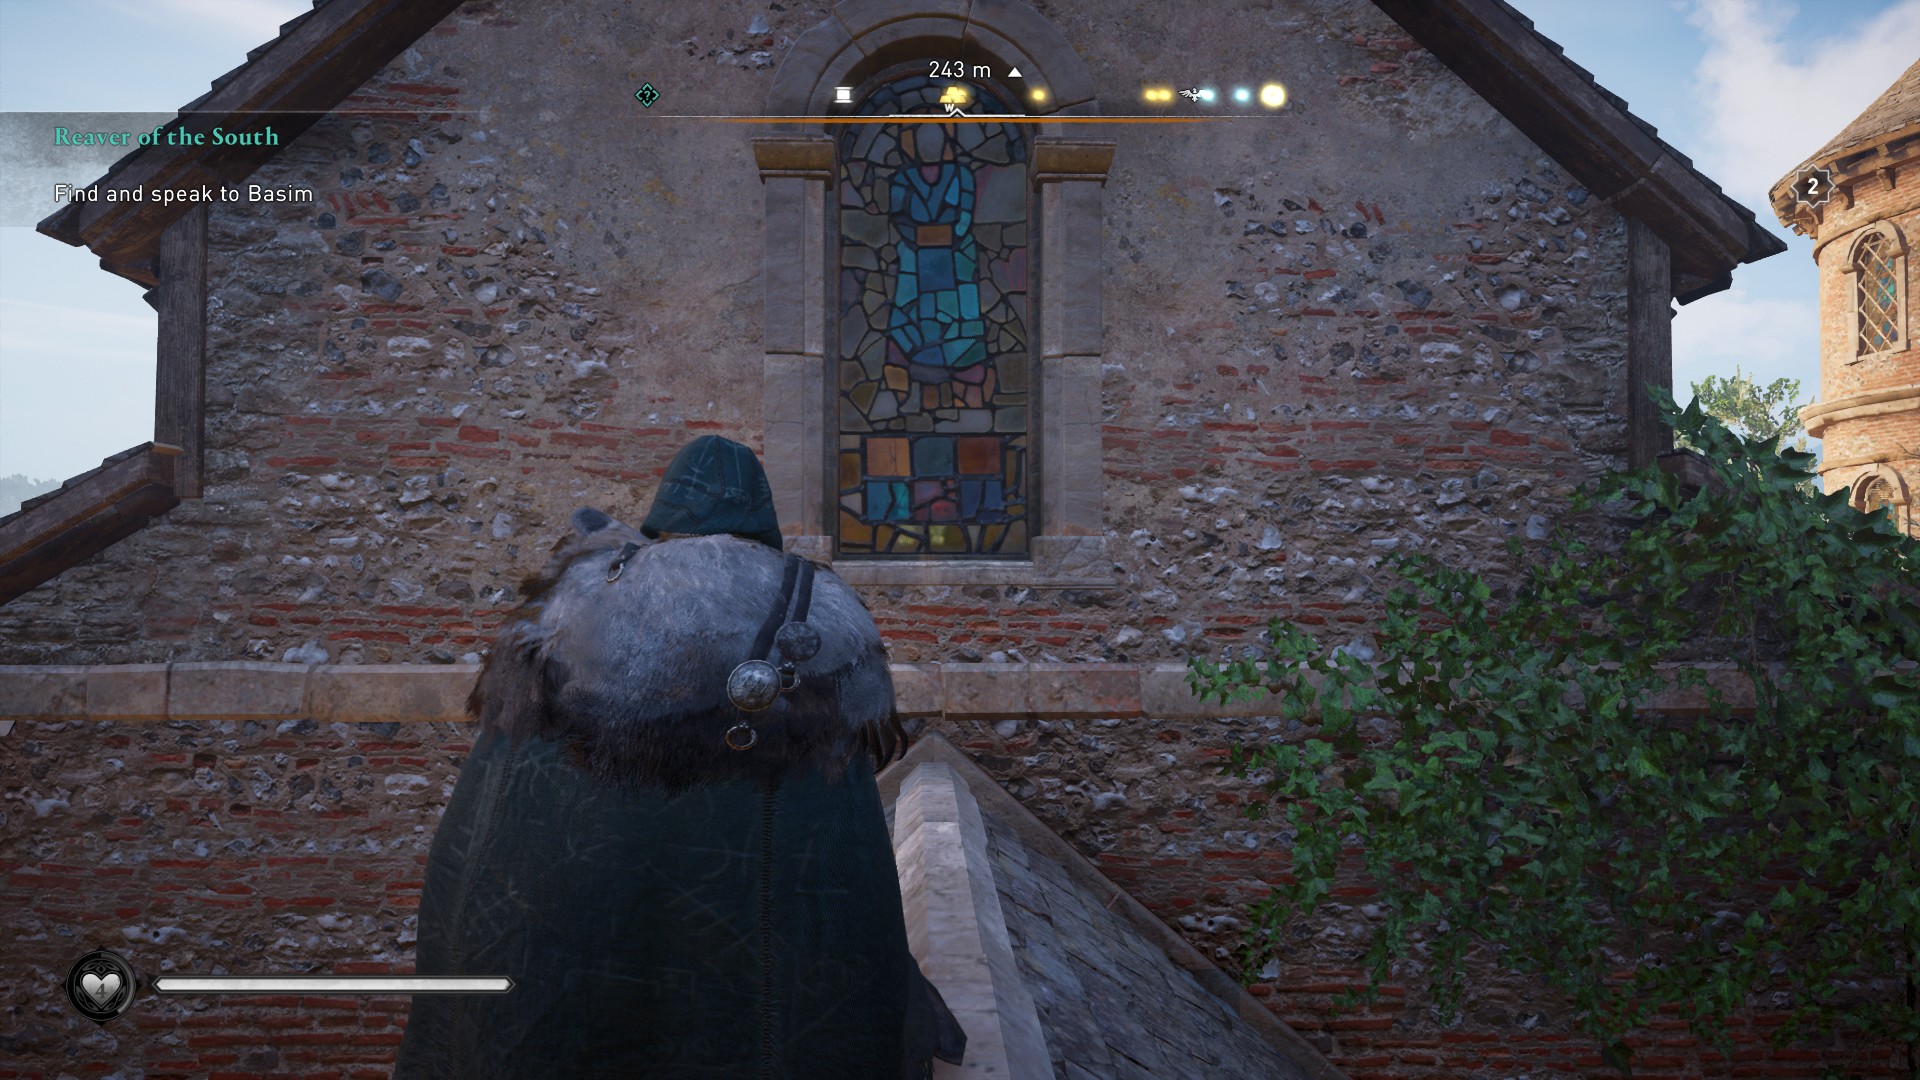
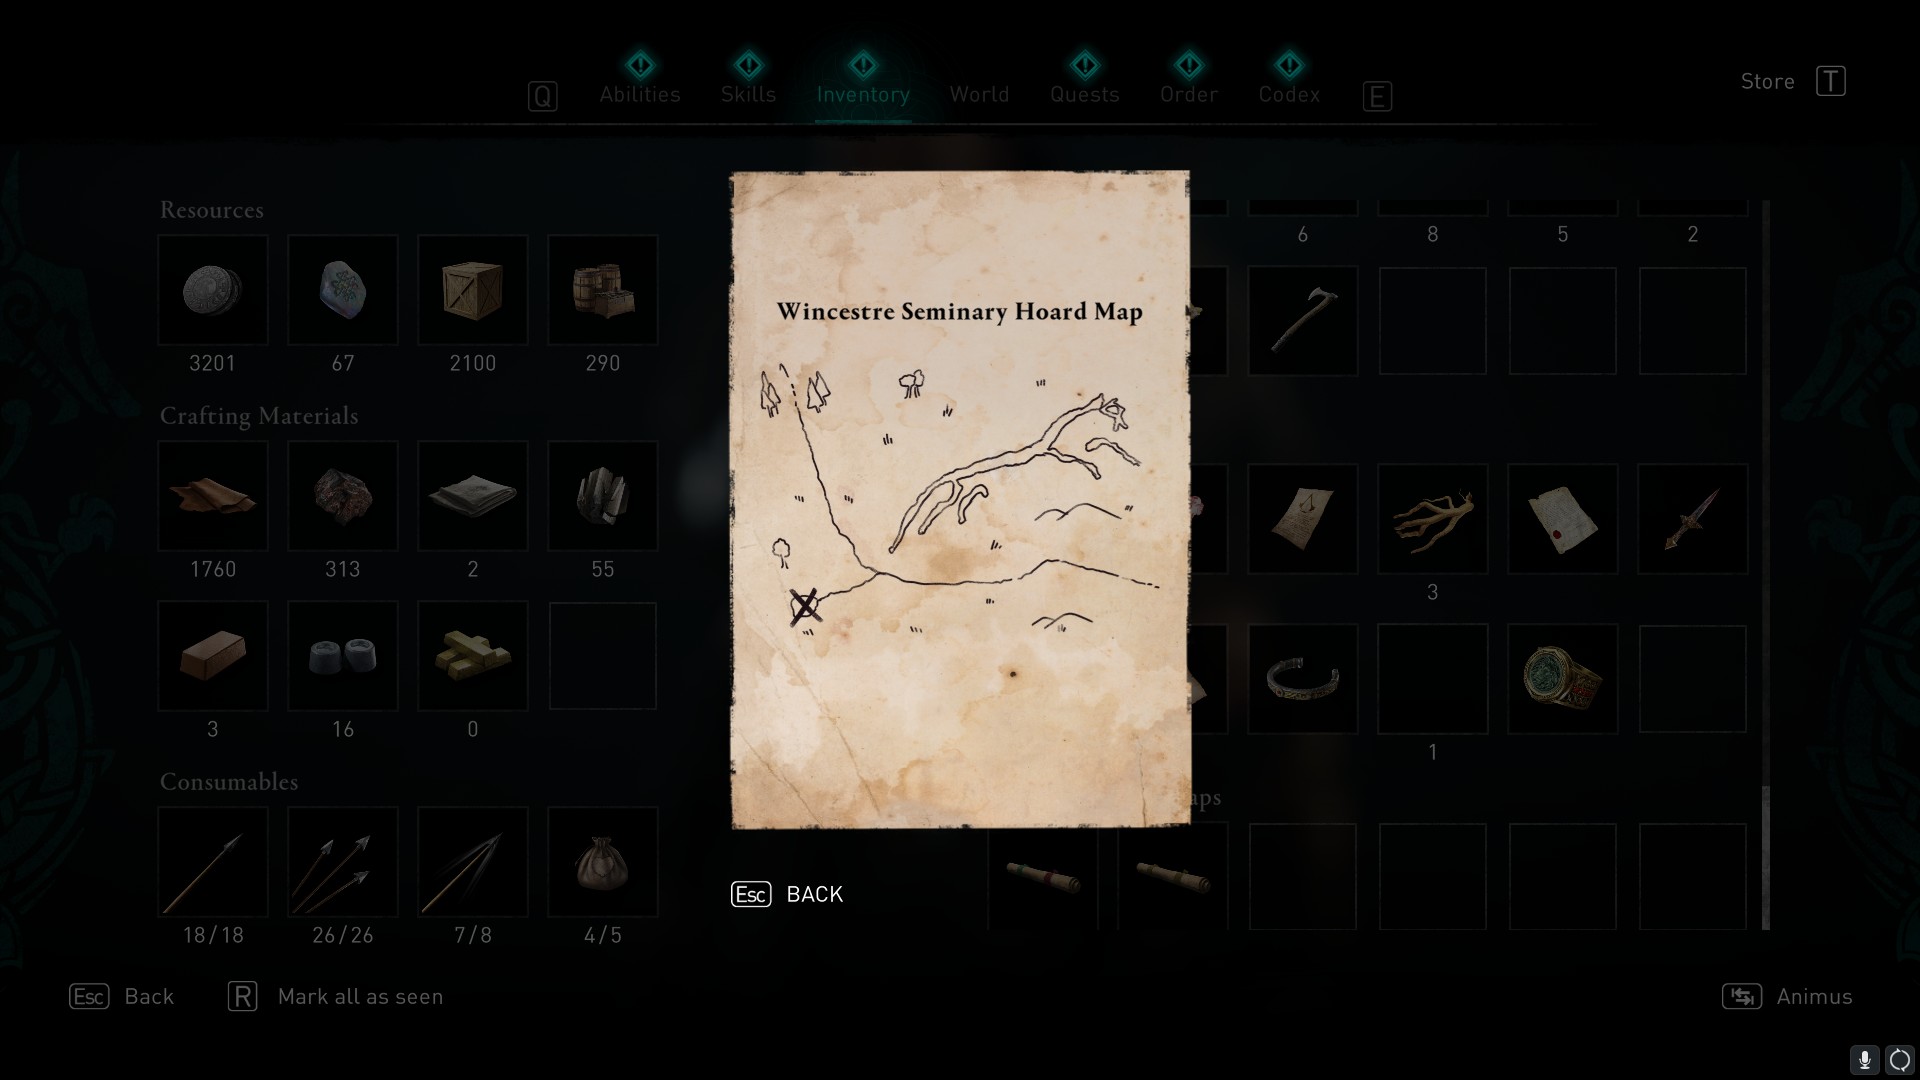
As the name might suggest, this map can be found inside the Wincestre Seminary building in the south of the town. Climb on to the roof and look for a stained glass window you can shoot out. Drop through and retrieve the map from a table below.
Wincestre Seminary Treasure Hoard solution
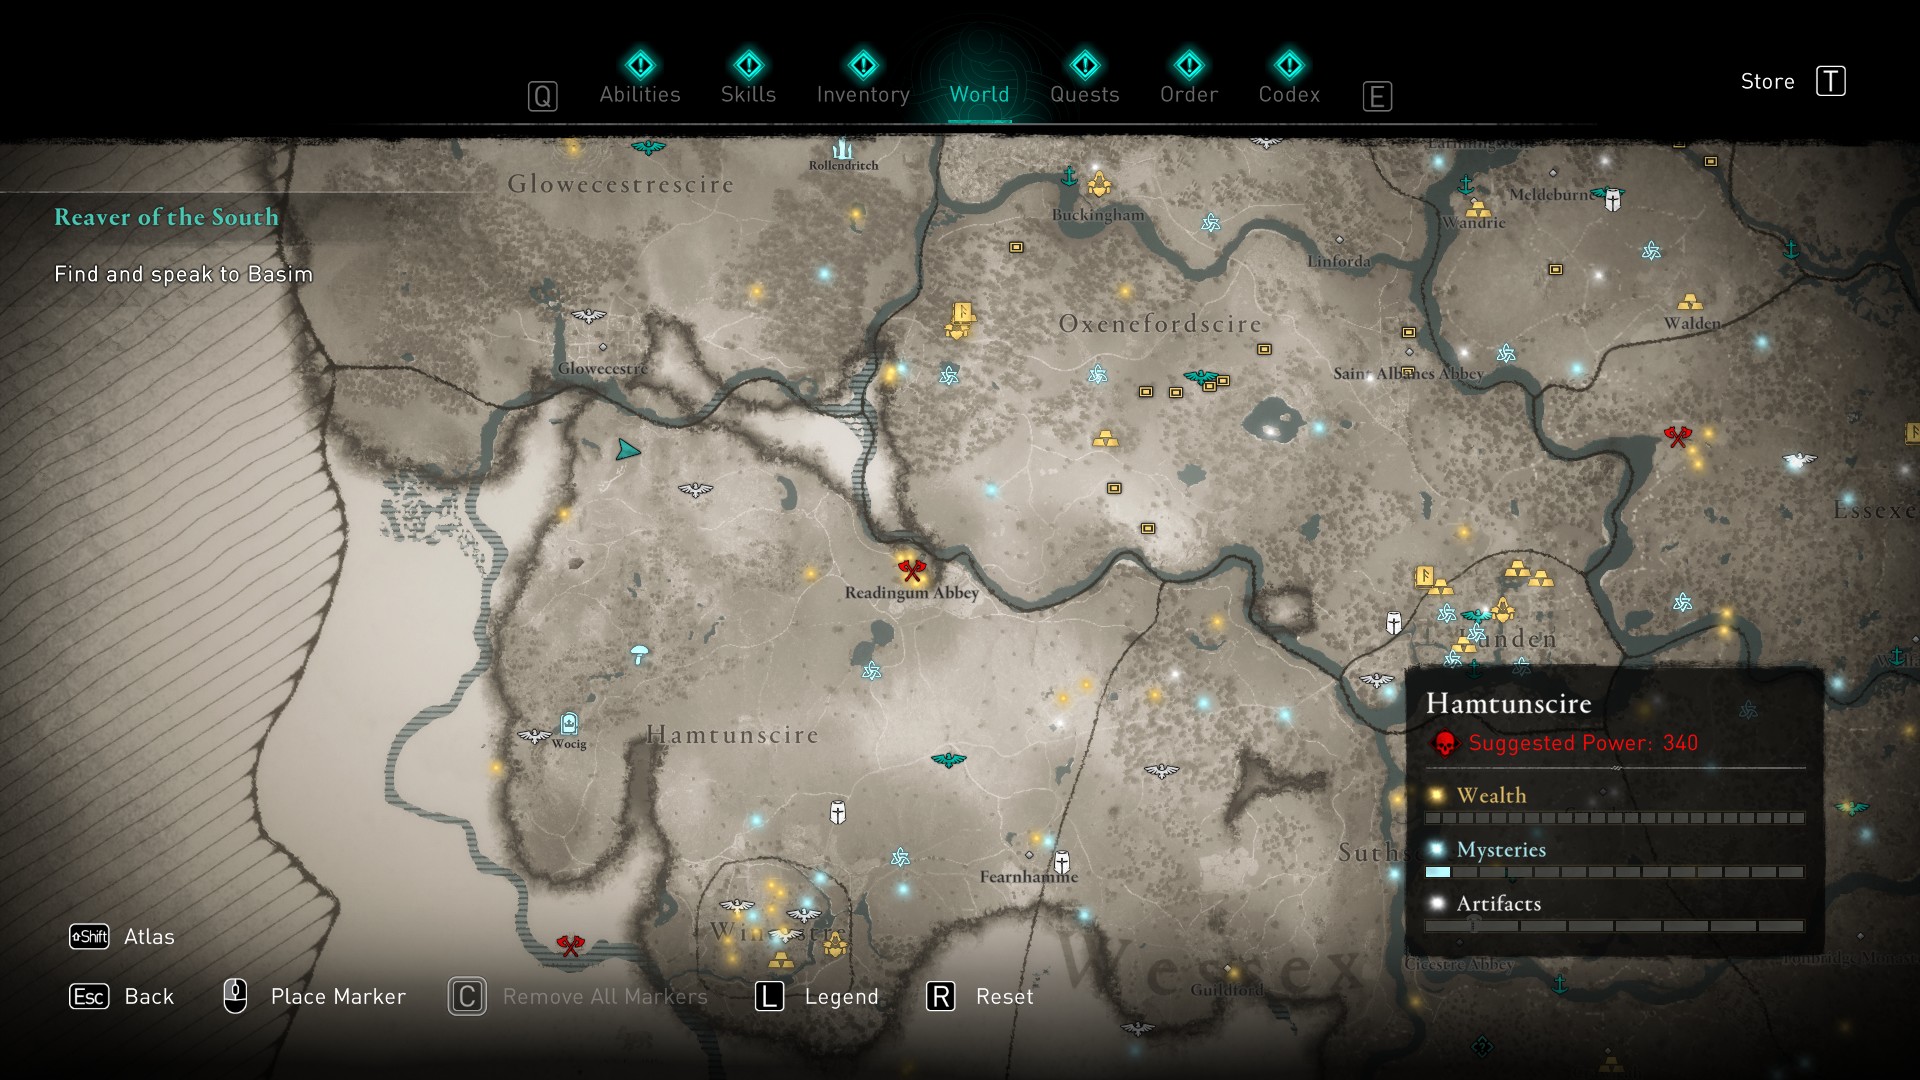
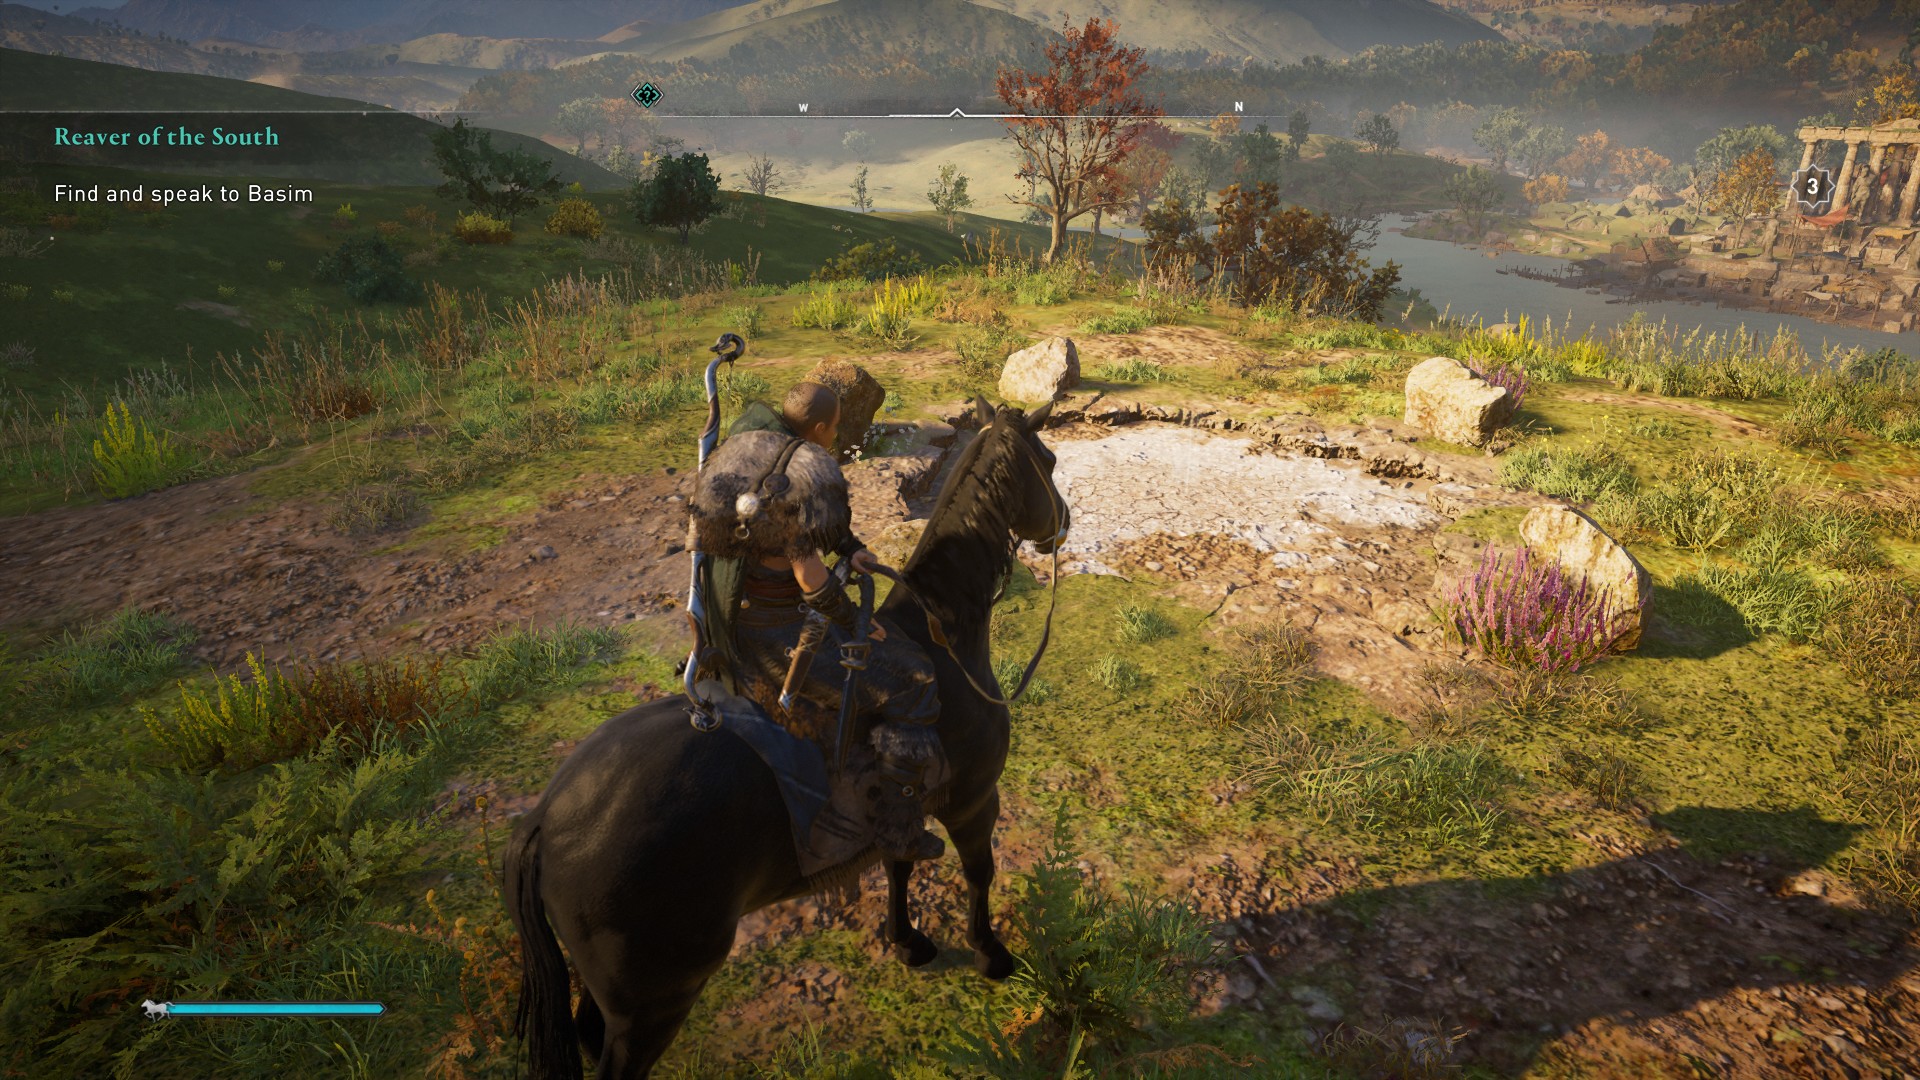
The map shows a fairly awful drawing of a horse but this represents the white horse located in north Hamtunscire, just south of Glowecestre.
Once you've found it, look in the direction that the horse's tail is pointing, and you'll see an oddly-shaped hill. The treasure is sat inside a small stone circle there. Loot it to receive the Seer Scheme (Figurehead) for your longship.
Wincestre (Bishopric)
Clue
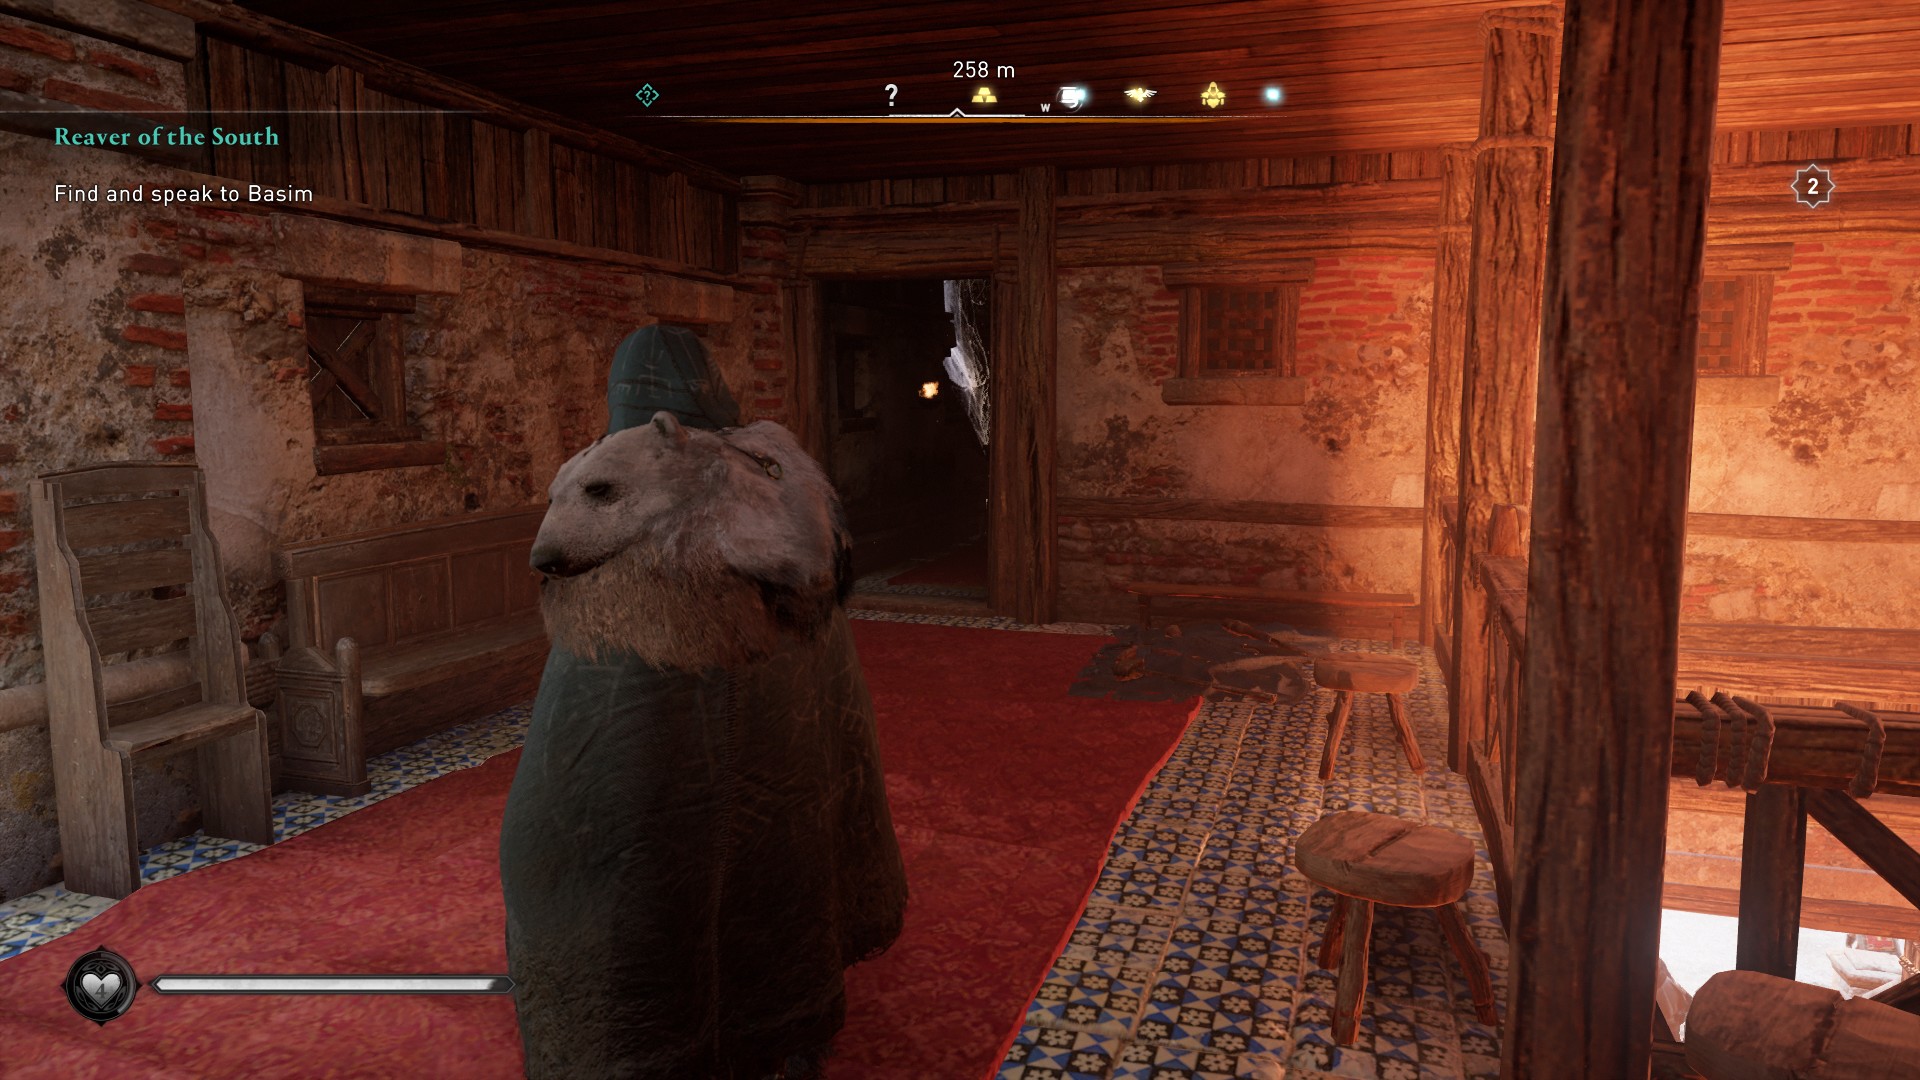
This map is located on the east side of the town and is in a heavily guarded building. Your best bet is to climb the town wall, watching out for guards that are patrolling here. The building you're looking for has one guard posted at the door nearest the wall. Take him out then enter the building and climb onto the second floor.
Look for a door covered with planks and break through this to find the map. You can leave by the door on this floor, which takes you out onto the roof near the wall.
Solution
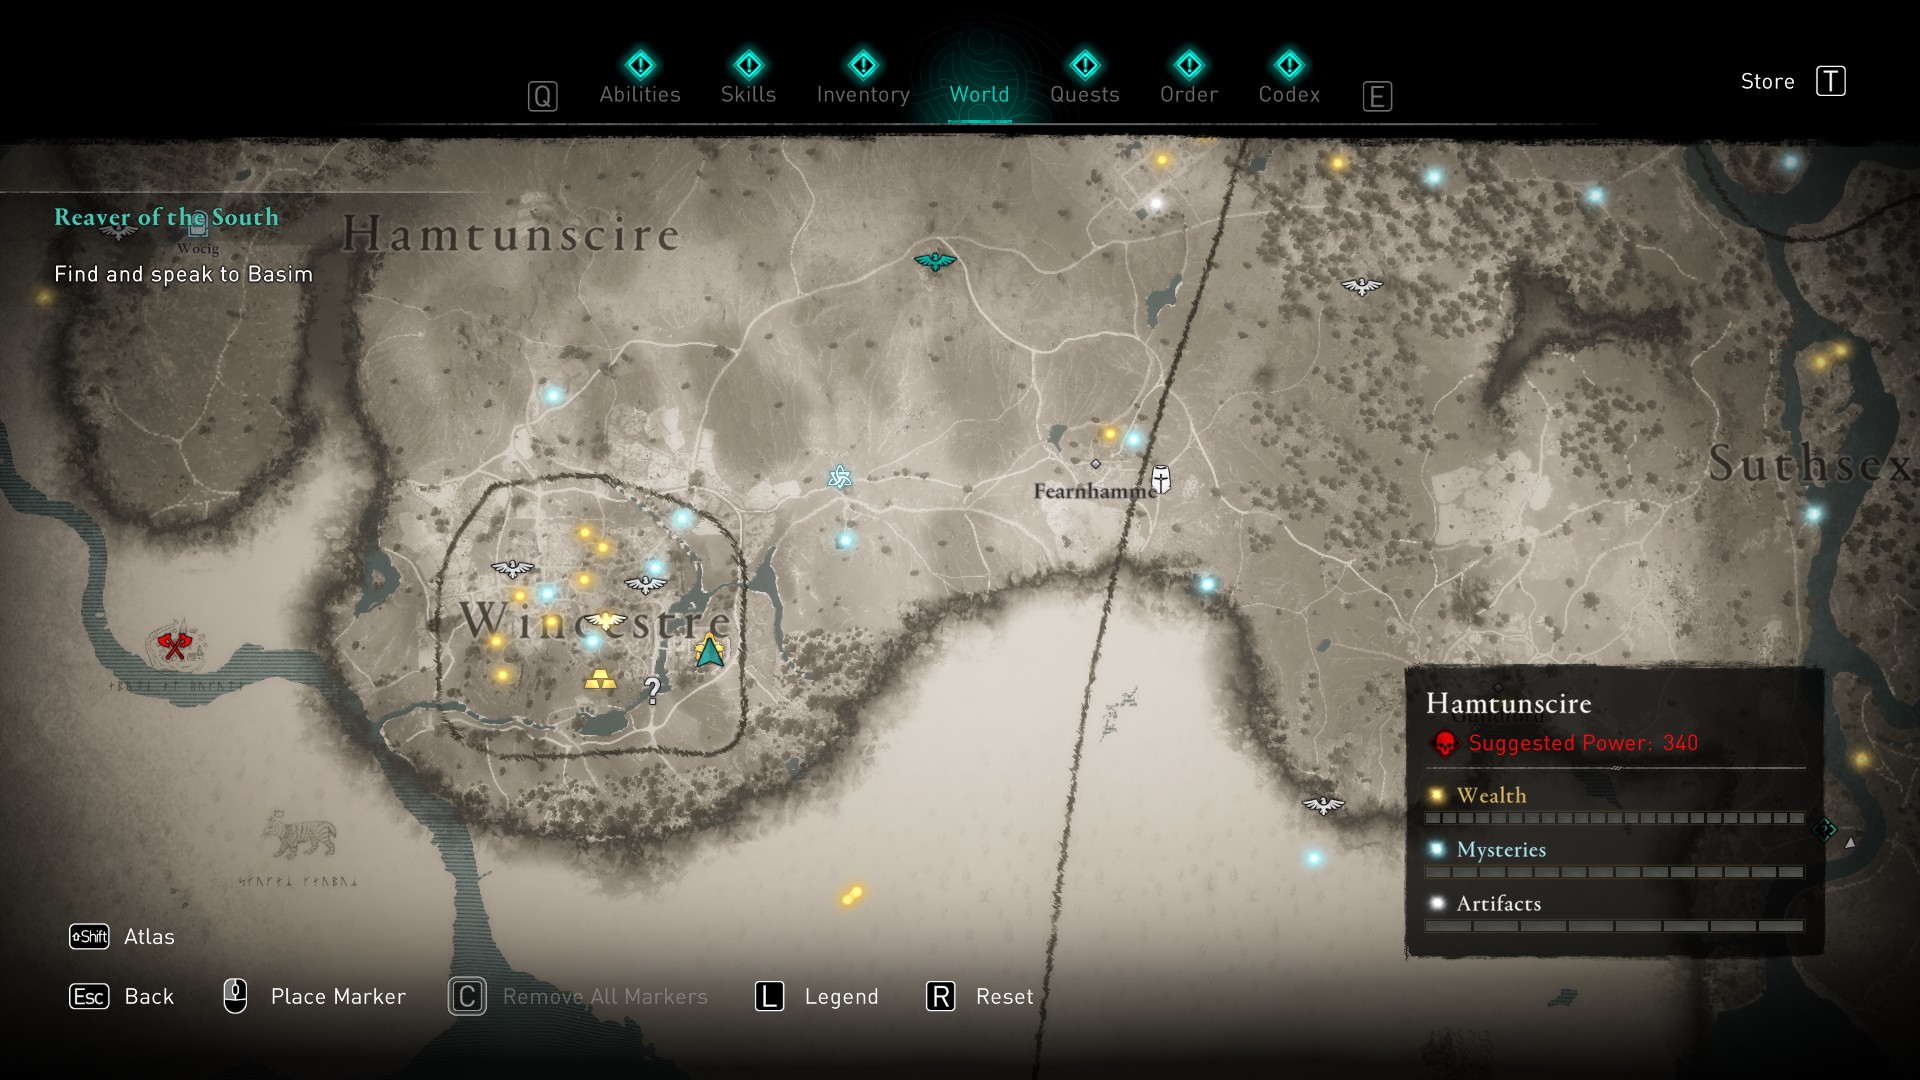
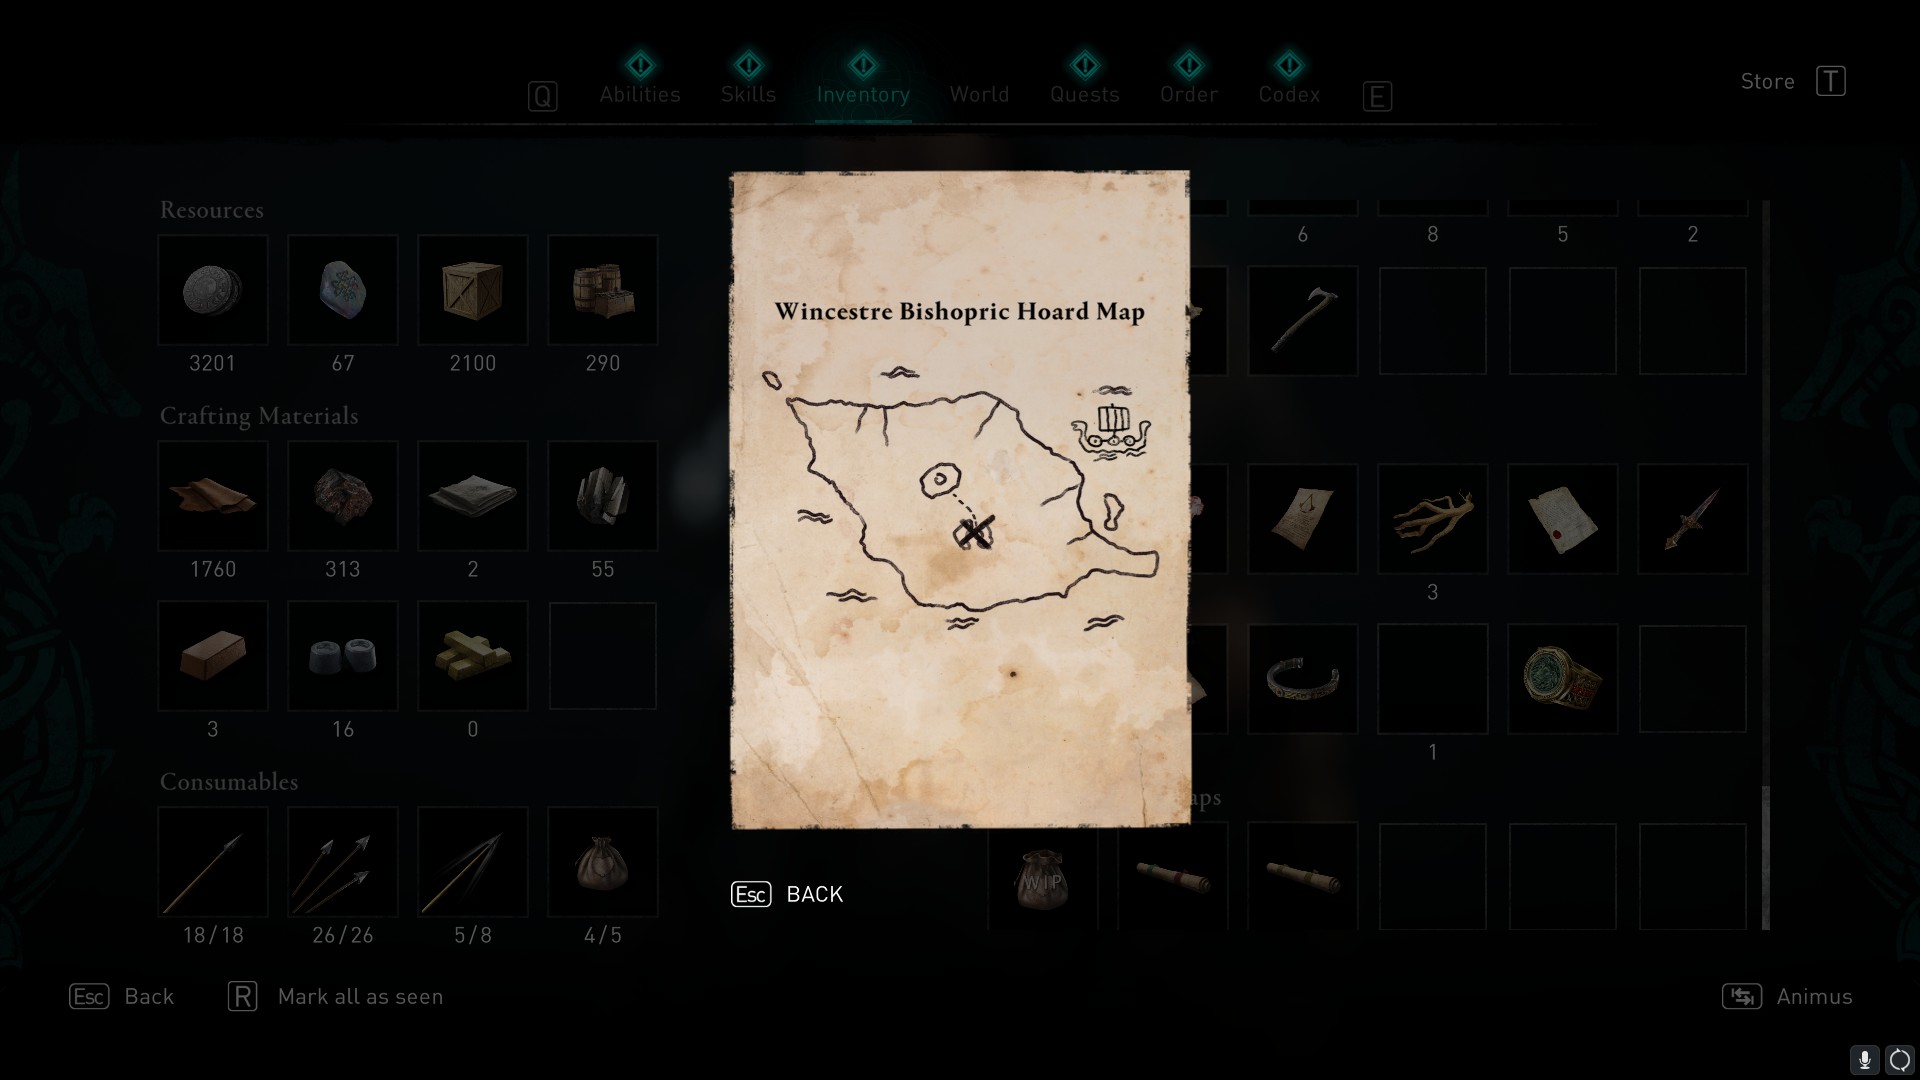
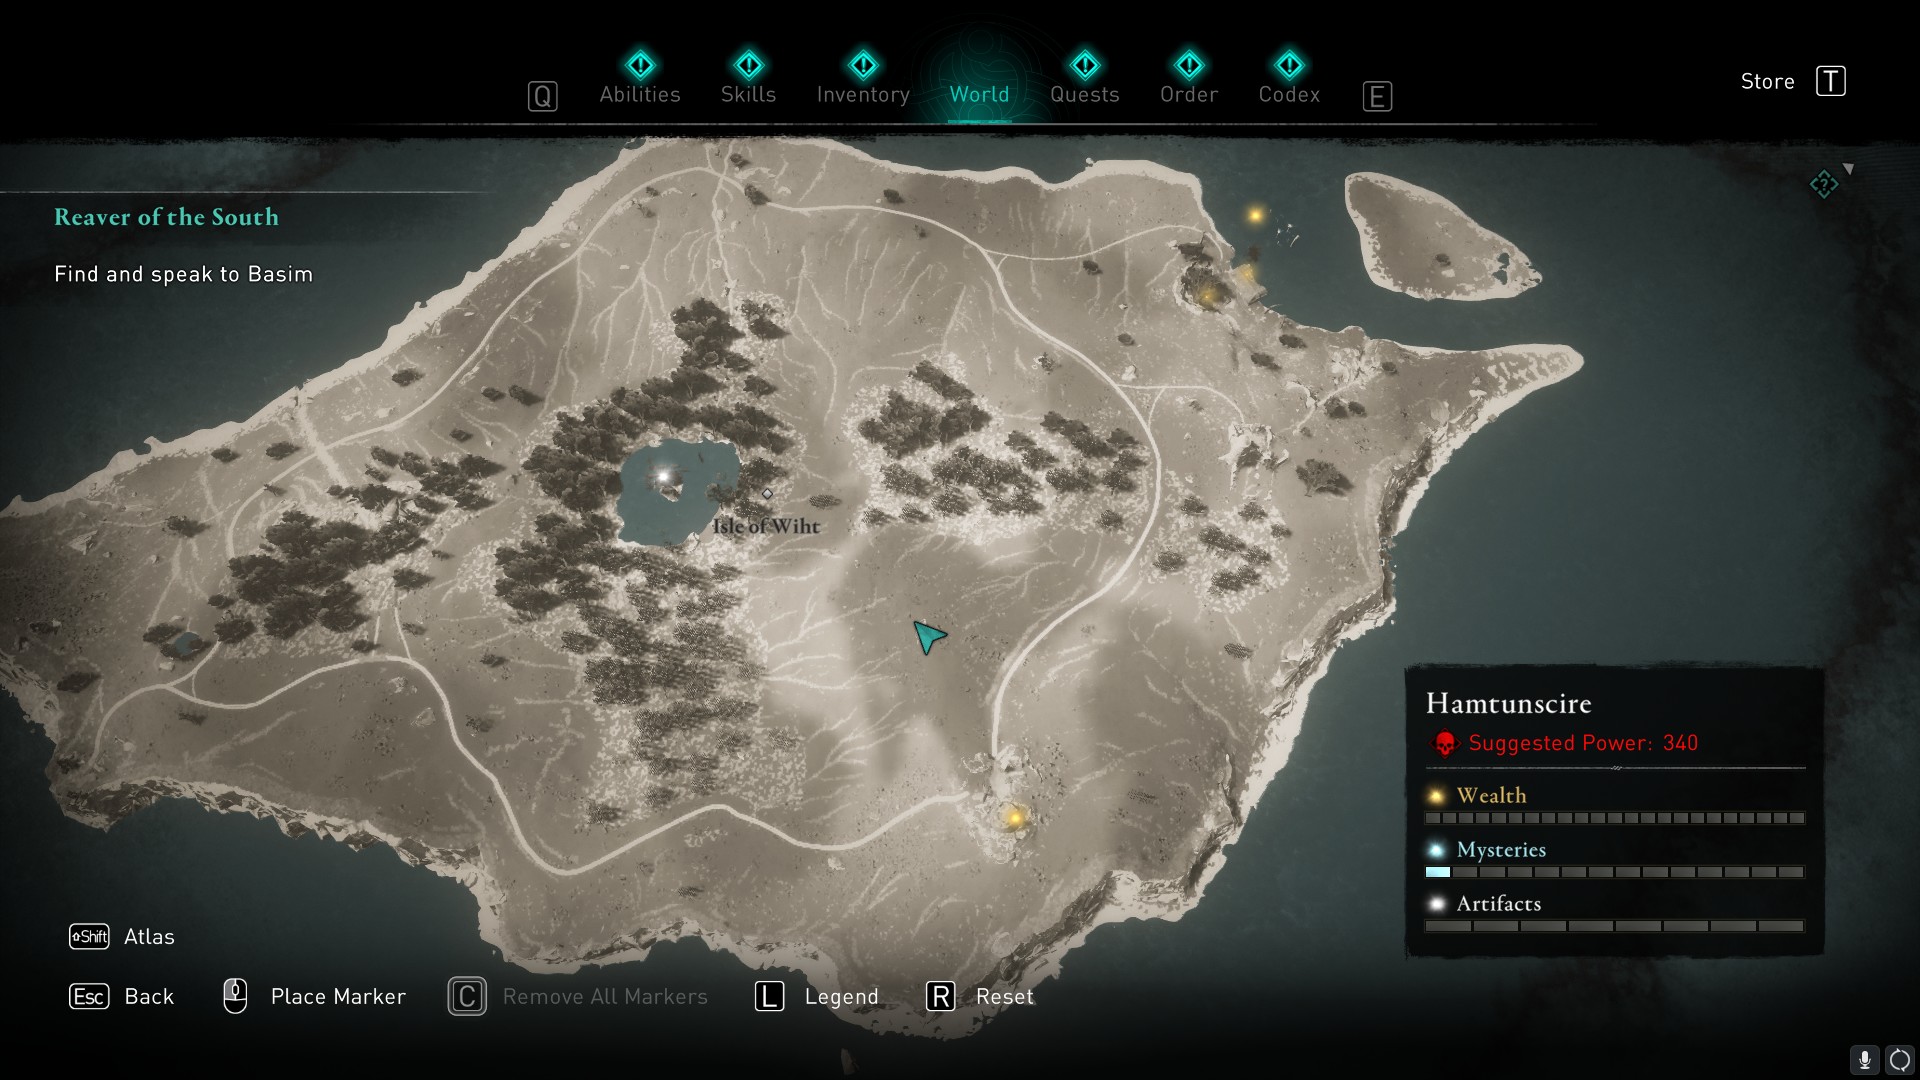
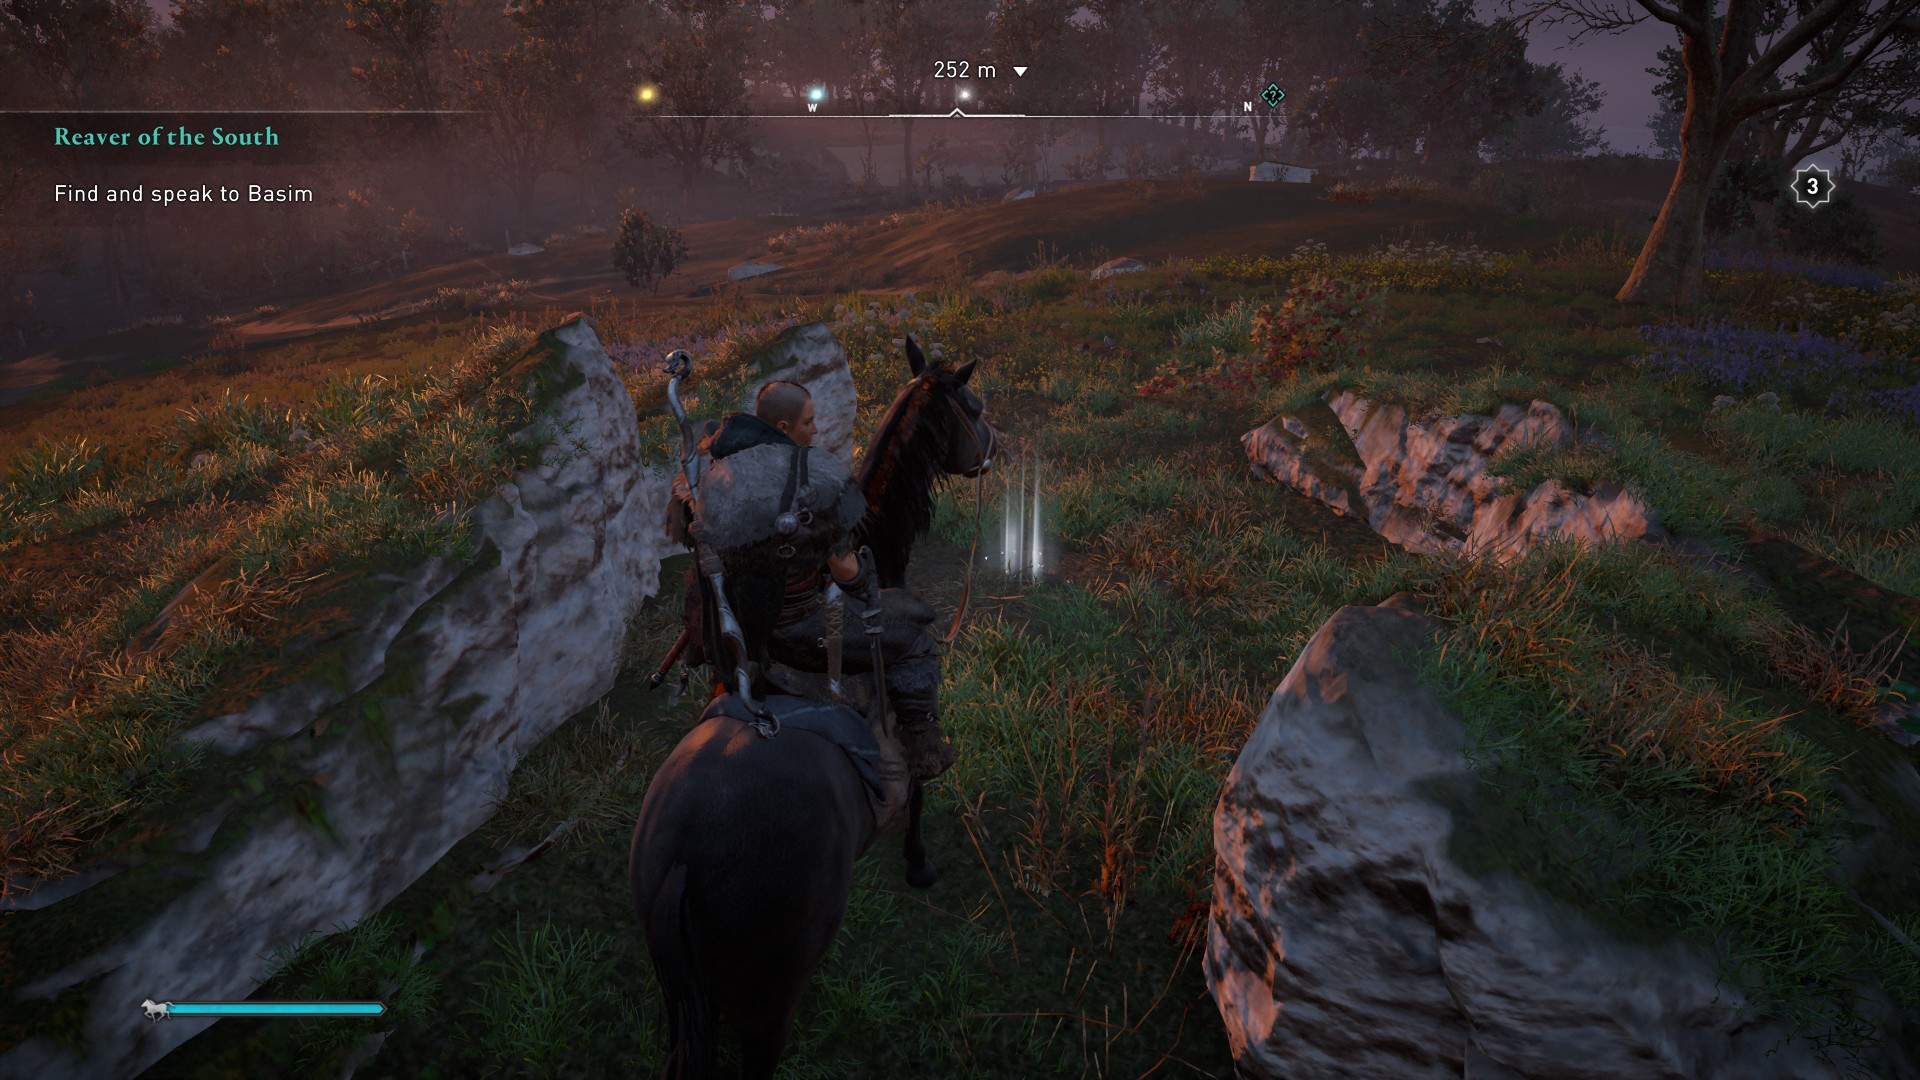
The map shows the Isle of Wiht, the island to the south of Wincestre. Head the location shown on the map to find a collection of large stones. The treasure you're looking for is on the grass between them. Retrieve it to pick up the Seer Scheme (Shields) for your longship.
Hamtunscire
Clue
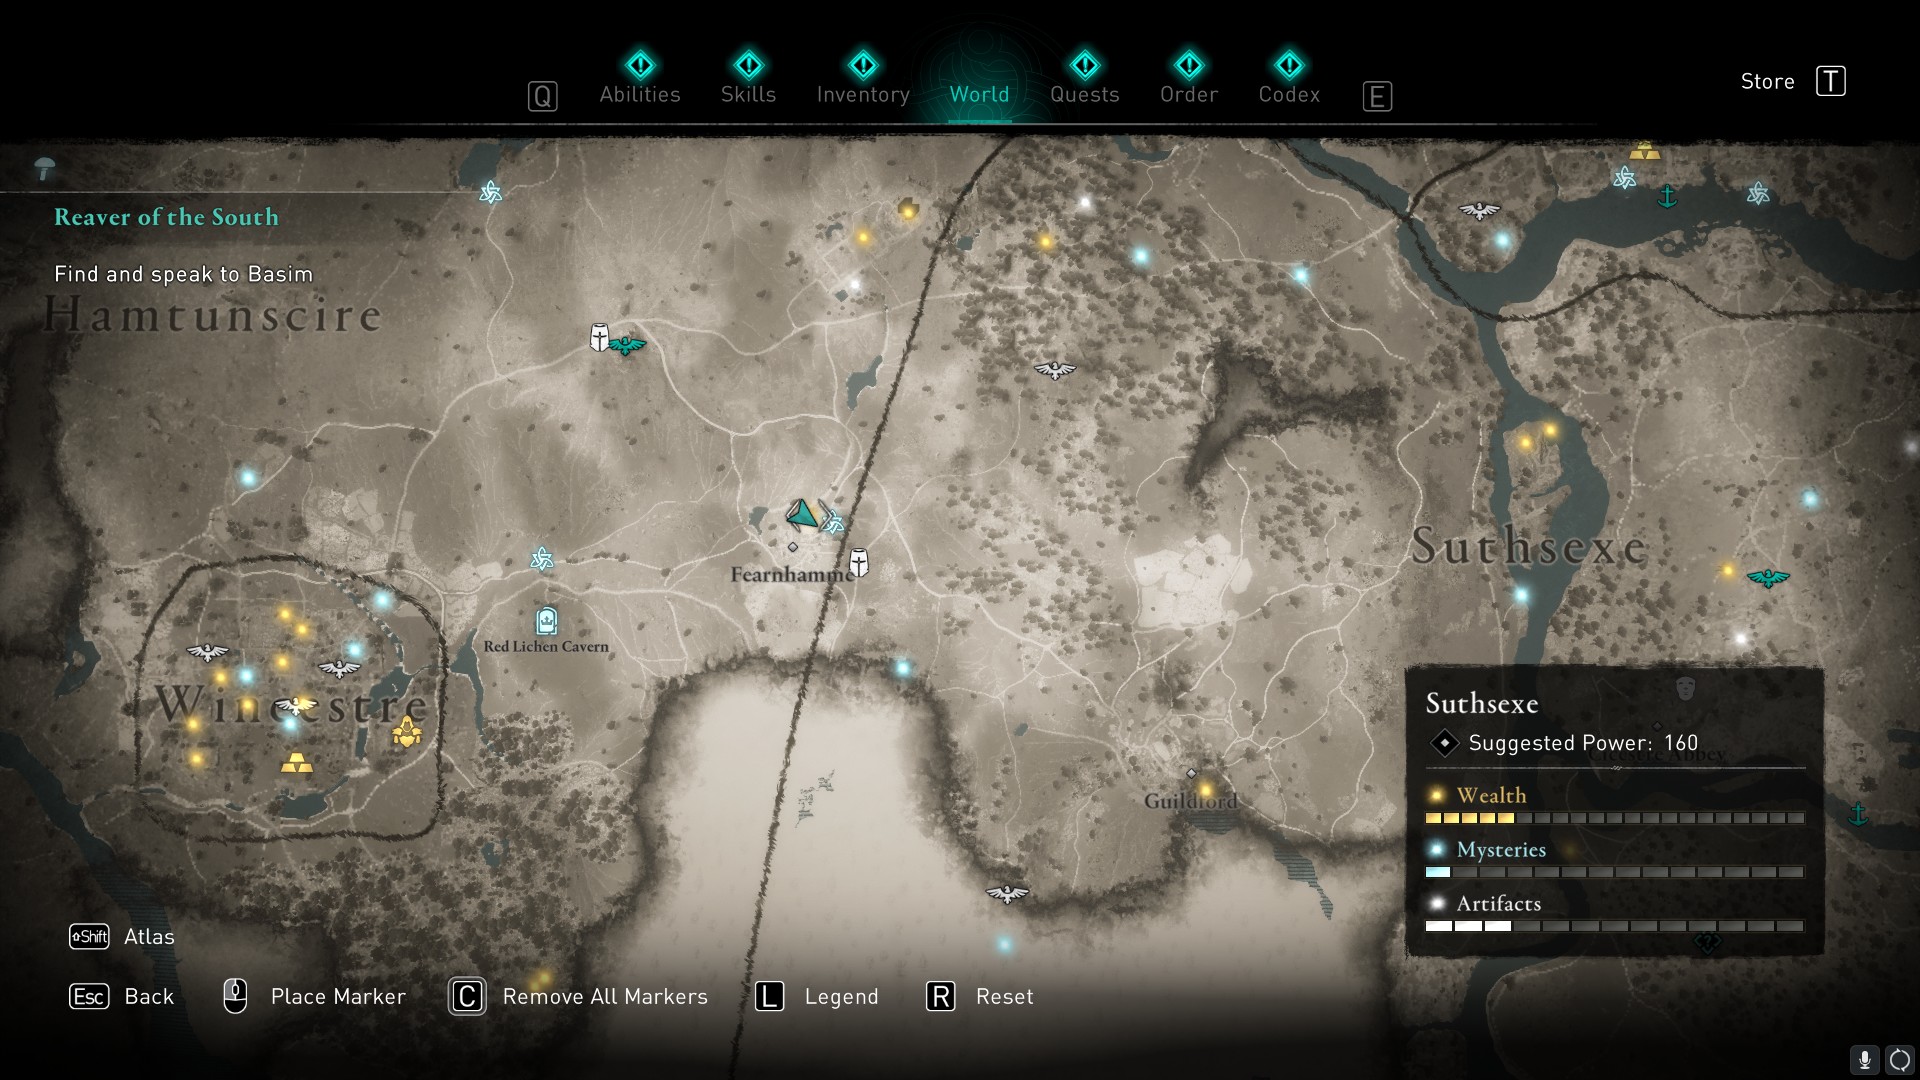
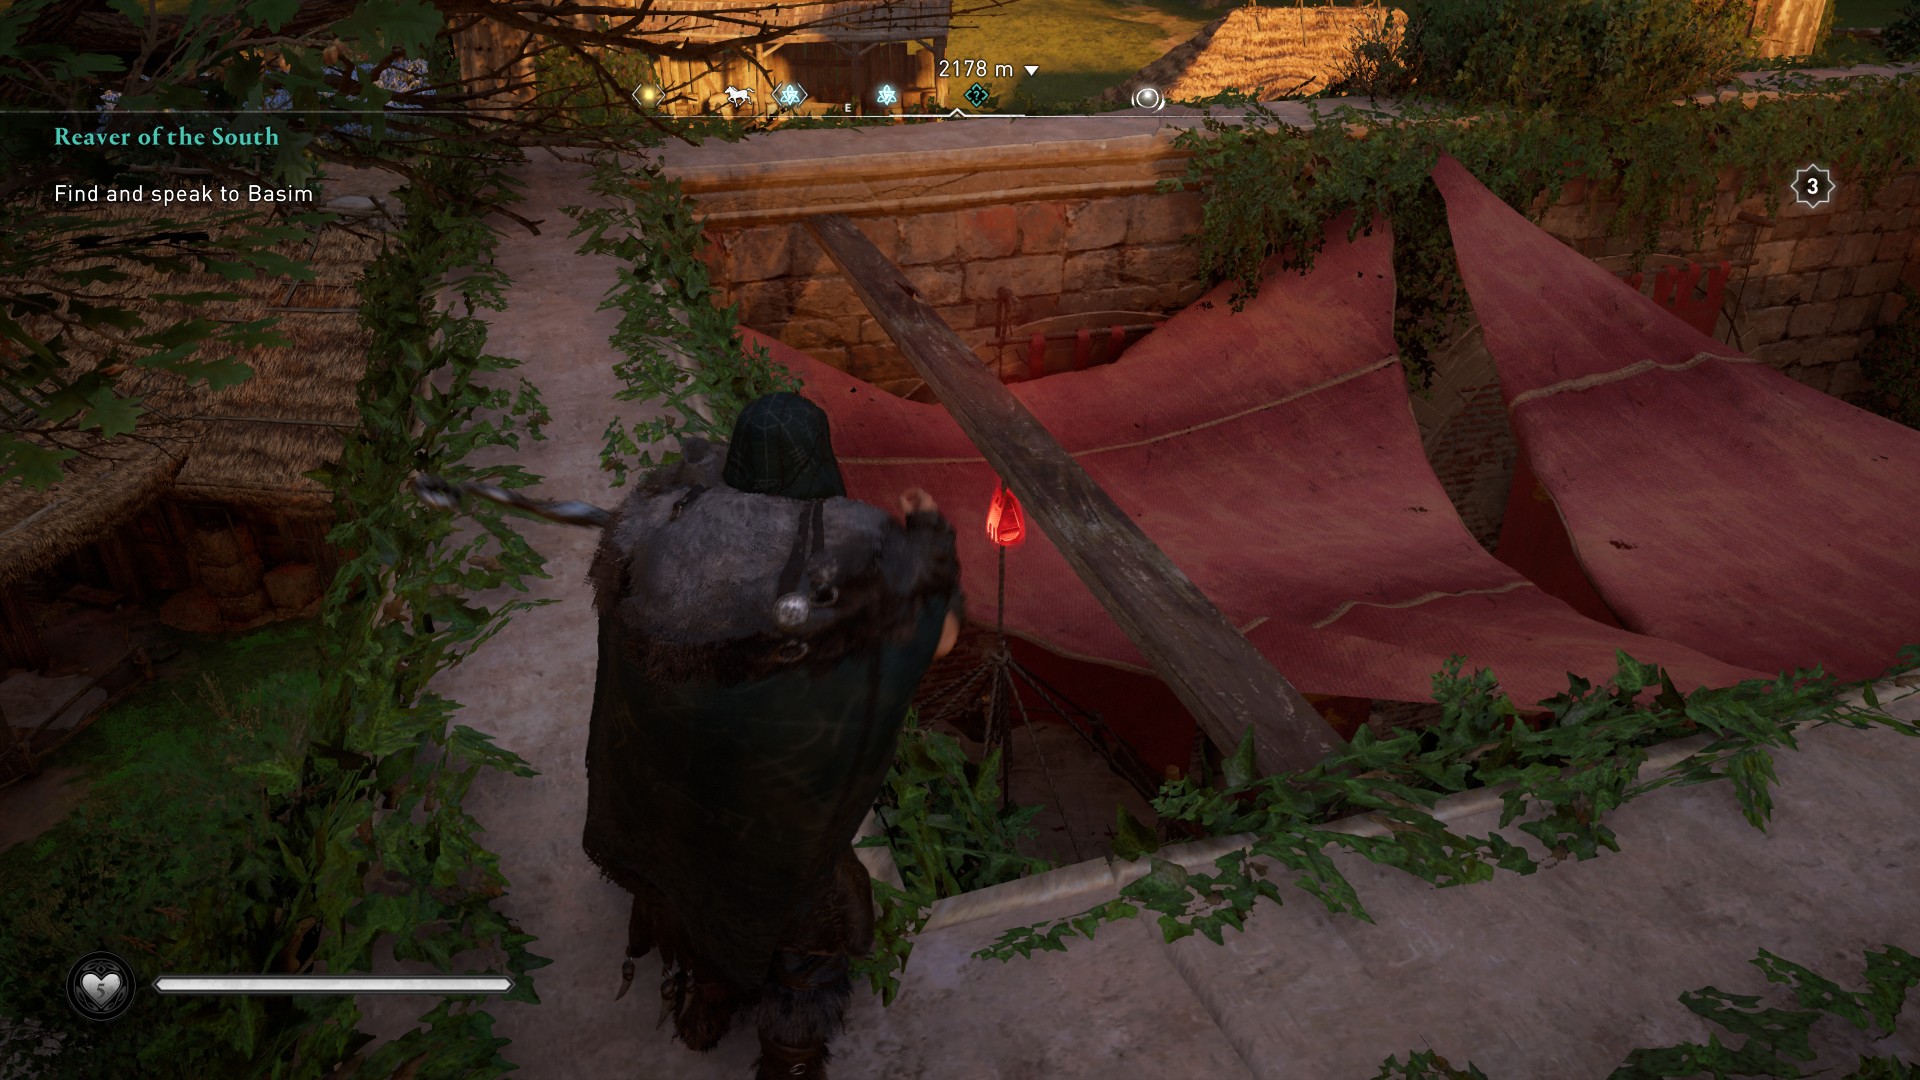
This map can be found in the village of Fearnhamme, close to the eastern border of Hamtunscire. Look for the largest building here—it's hard to miss as it's the massive stone building with no thatching on the roof. It's also a restricted area, so be careful.
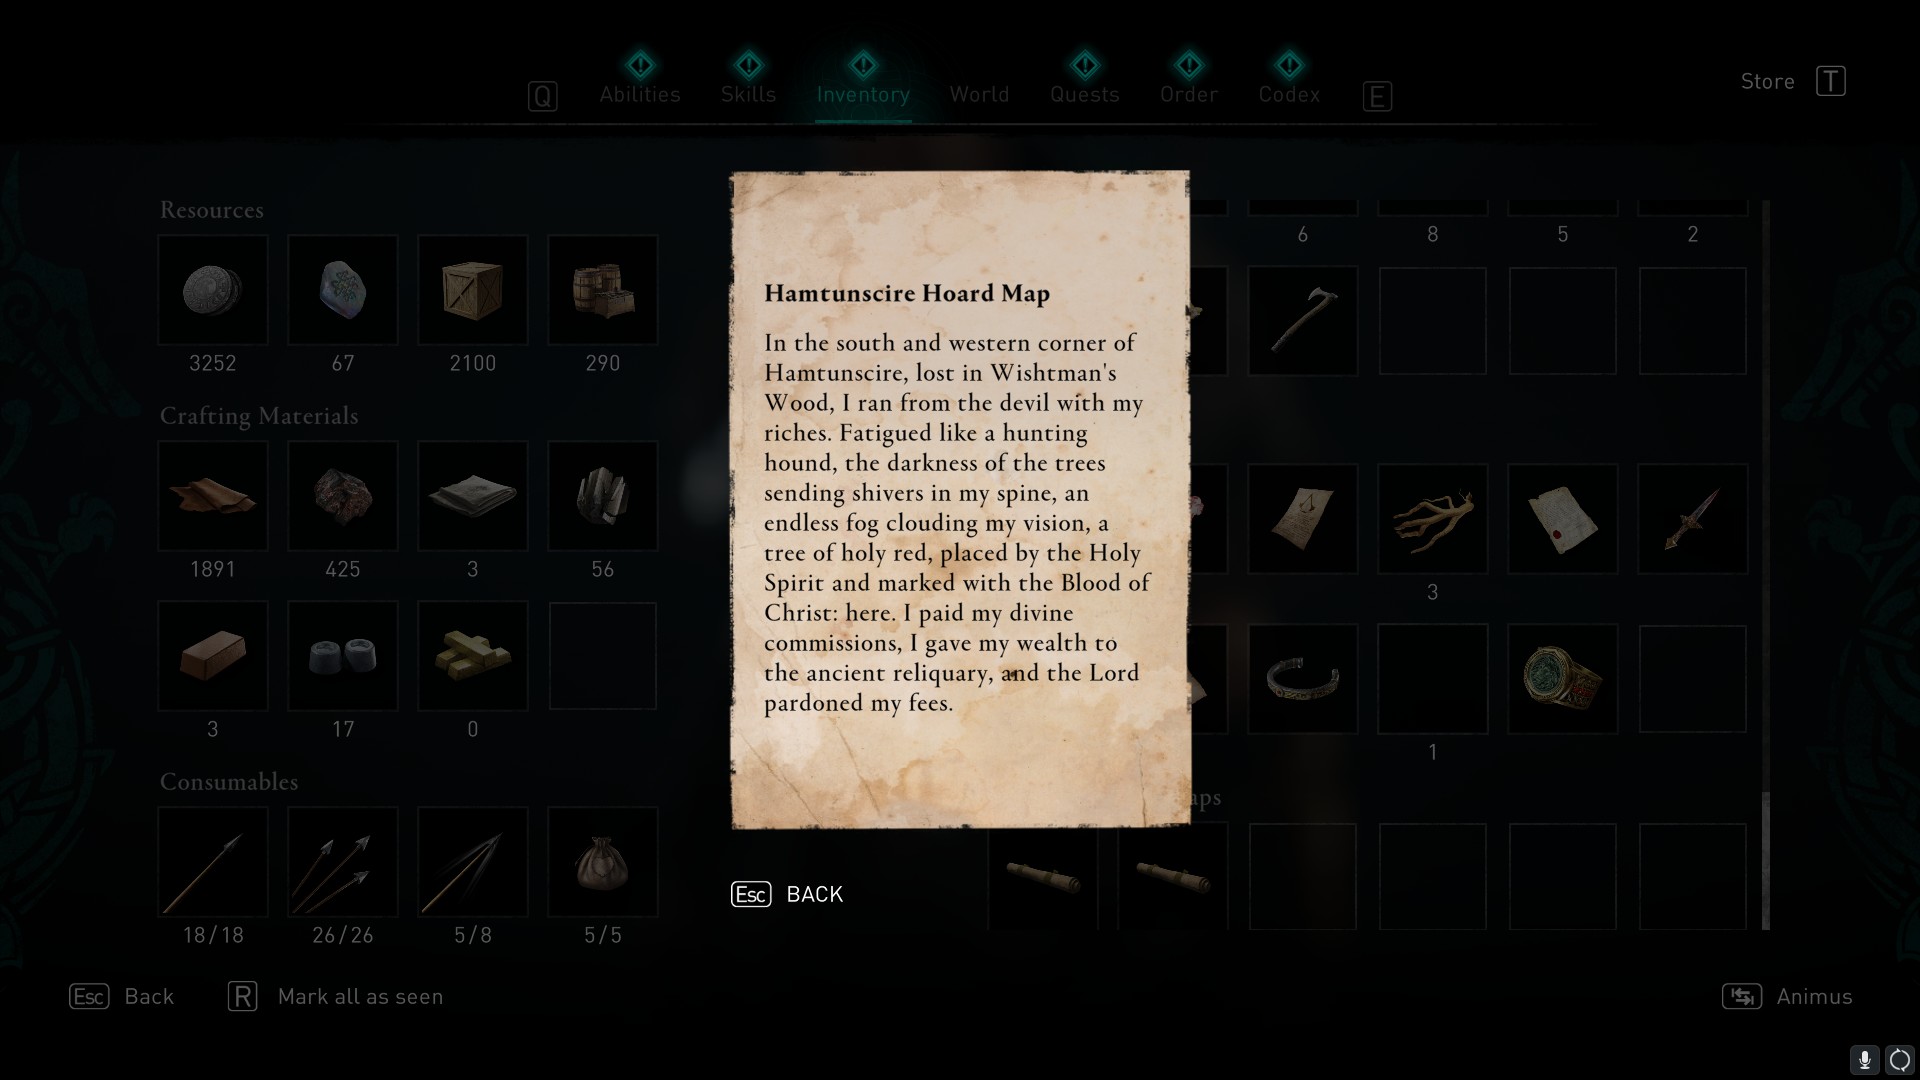
You best bet is to climb up the side and look for a sack of rubble you can shoot down to break the boards below. It's at the end where the trees hang over, so use your Odin's Sight if you're having difficulty locating it. Once that's taken care of drop down and enter the hole you've just created. The map is on a shelf here. It reads:
In the south and western corner of Hamtunscire, lost in Wishtman's Wood, I ran from the devil with my riches. Fatigued like a hunting hound, the darkness of the trees sending shivers in my spine, an endless fog clouding my vision, a tree of holy red, placed by the Holy Spirit and marked with the Blood of Christ: here. I paid my divine commissions, I gave my wealth to the ancient reliquary, and the Lord pardoned my fees.
Solution
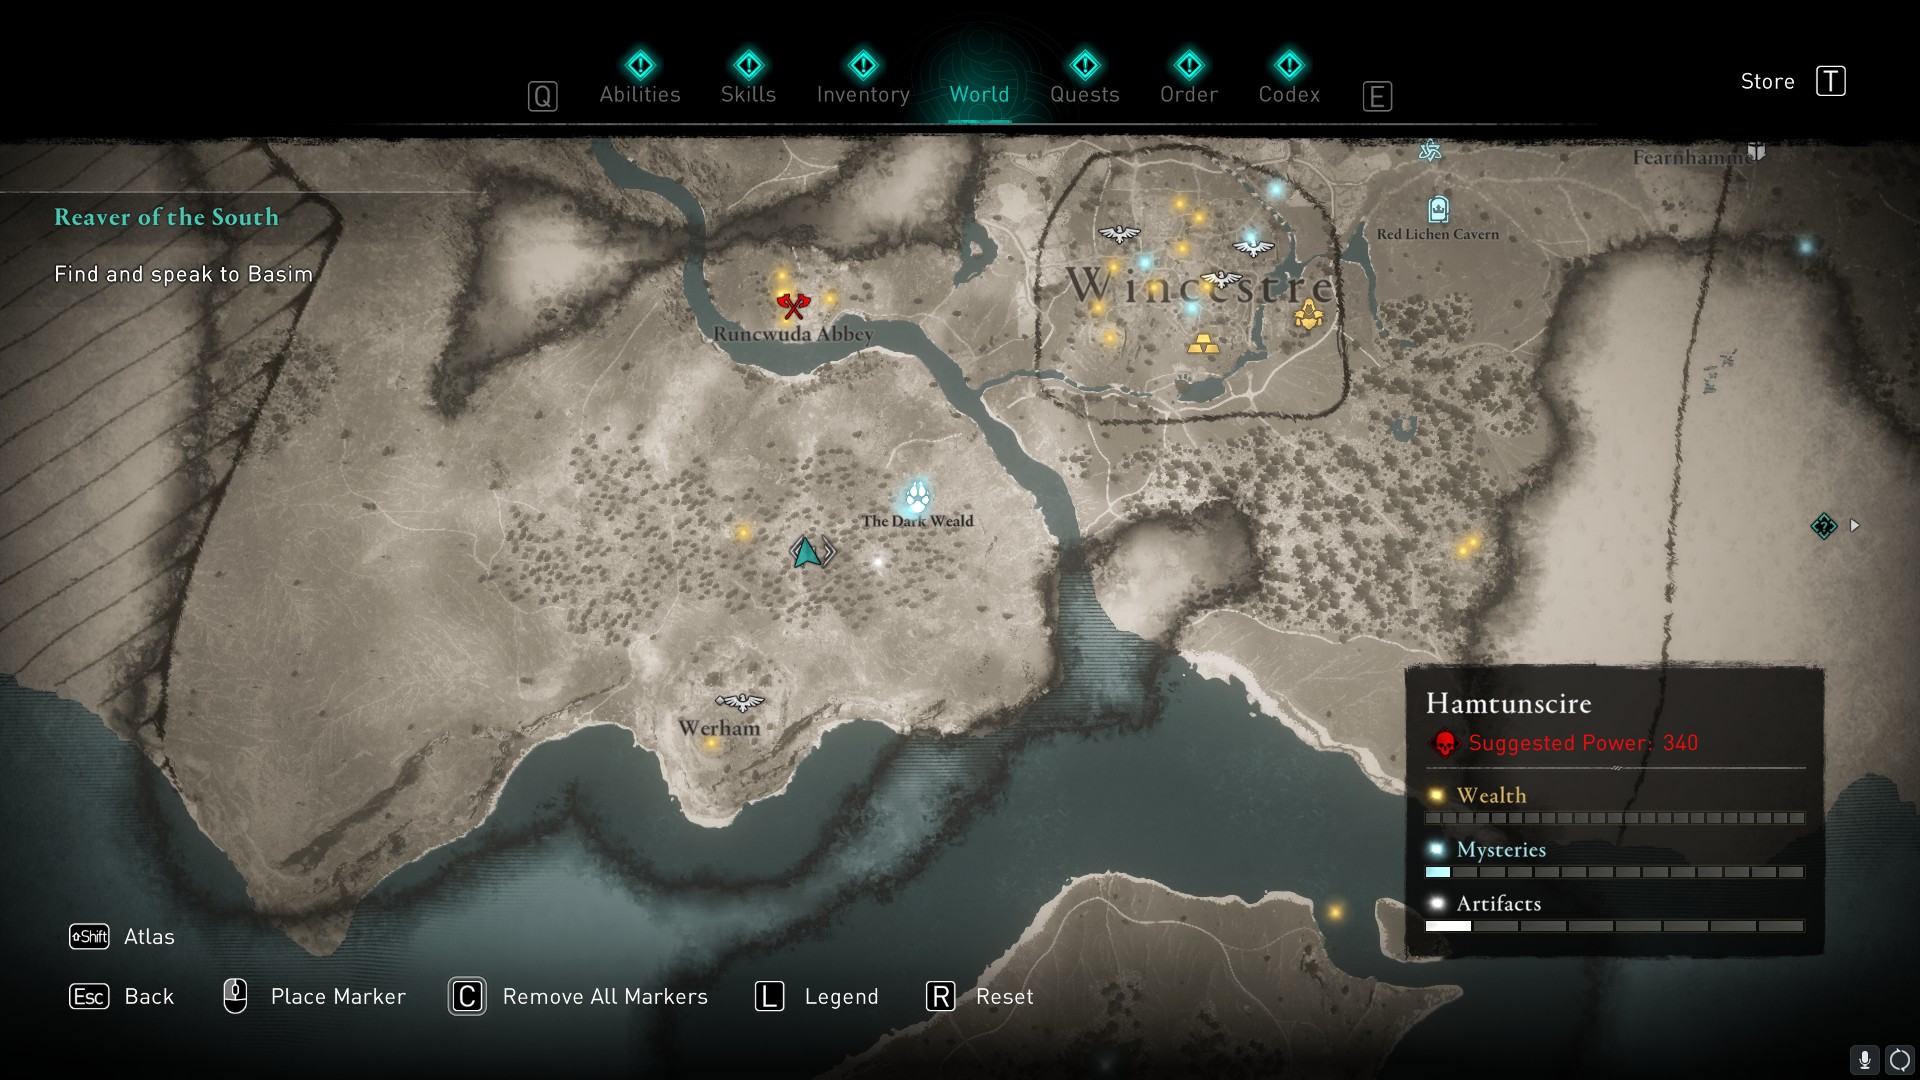
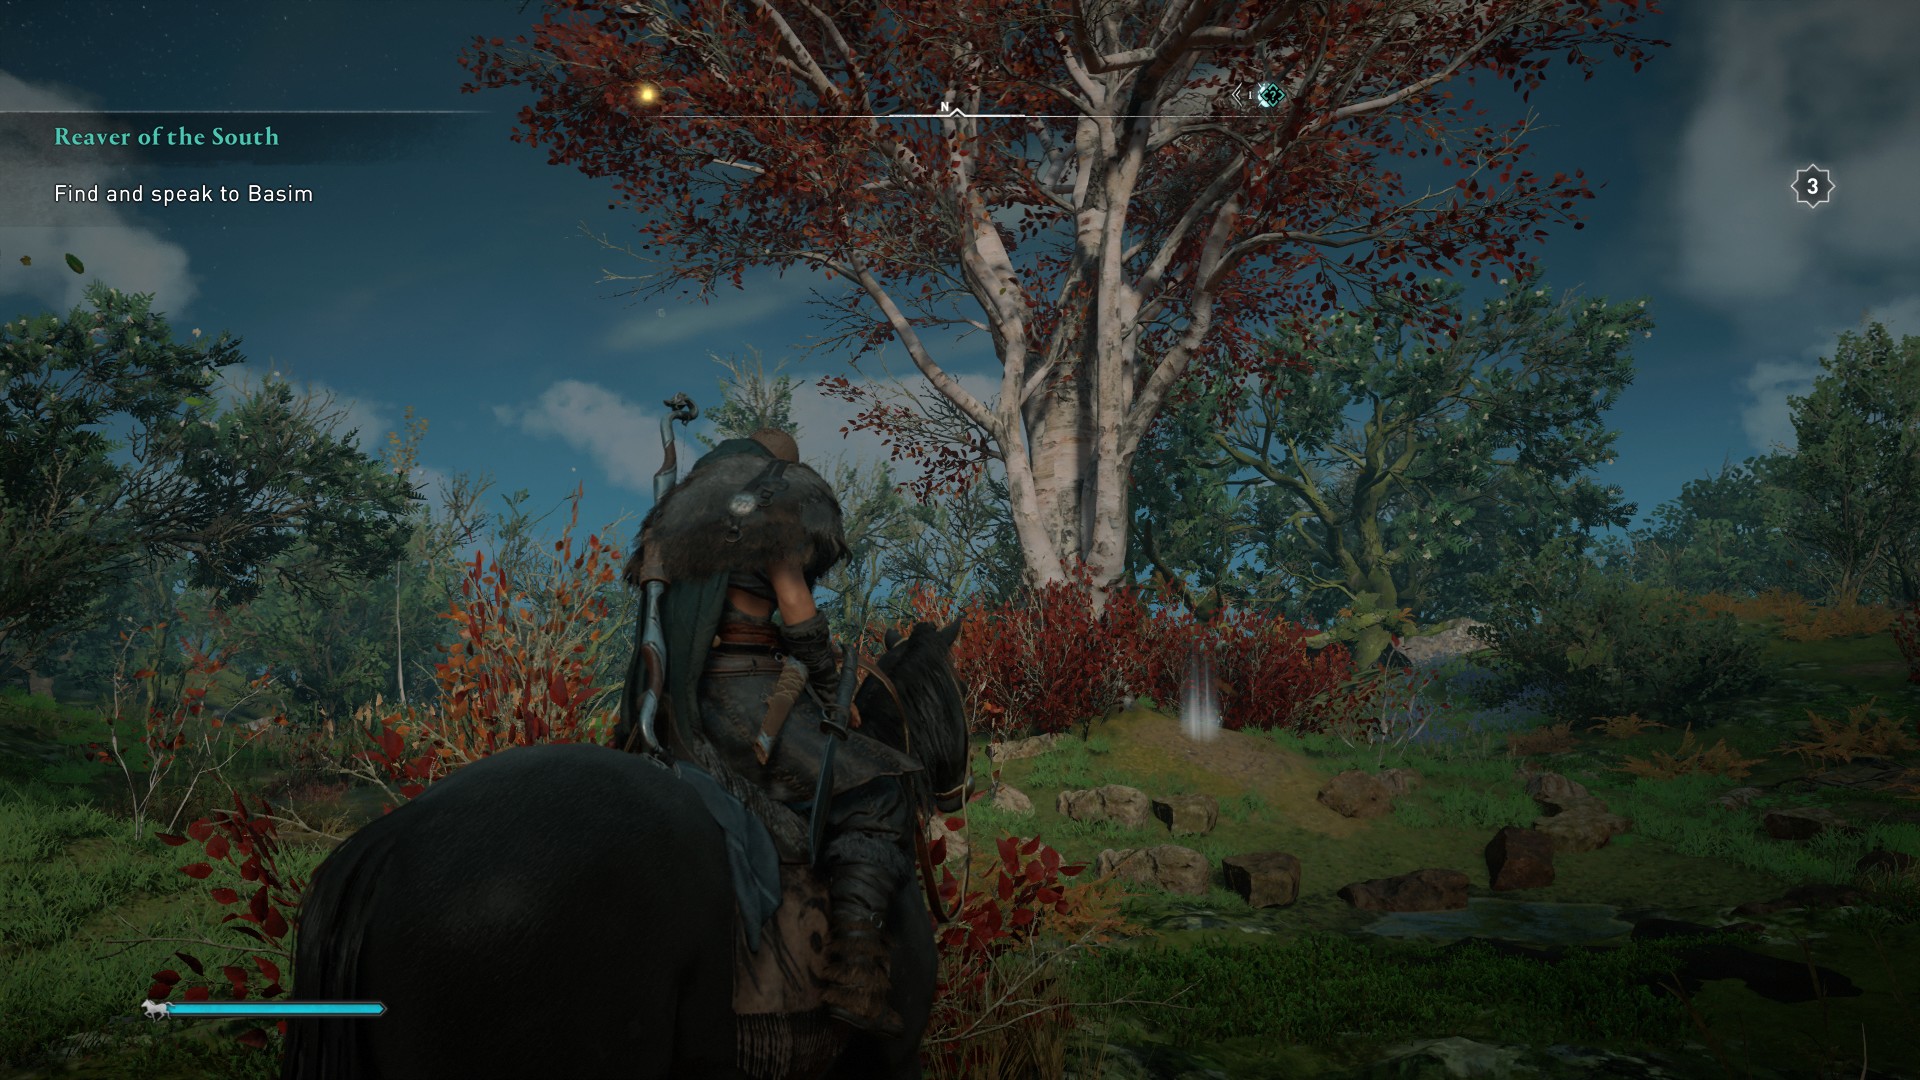
The treasure is in the woods, southwest of Wincestre and north of Werham. You're looking for a small pond and a tree with red leaves stood next to it. The treasure can be found in the grass next to the tree. Loot it to receive the Warrior Tears Scheme (Head) tattoo.
Jorvik
Clue
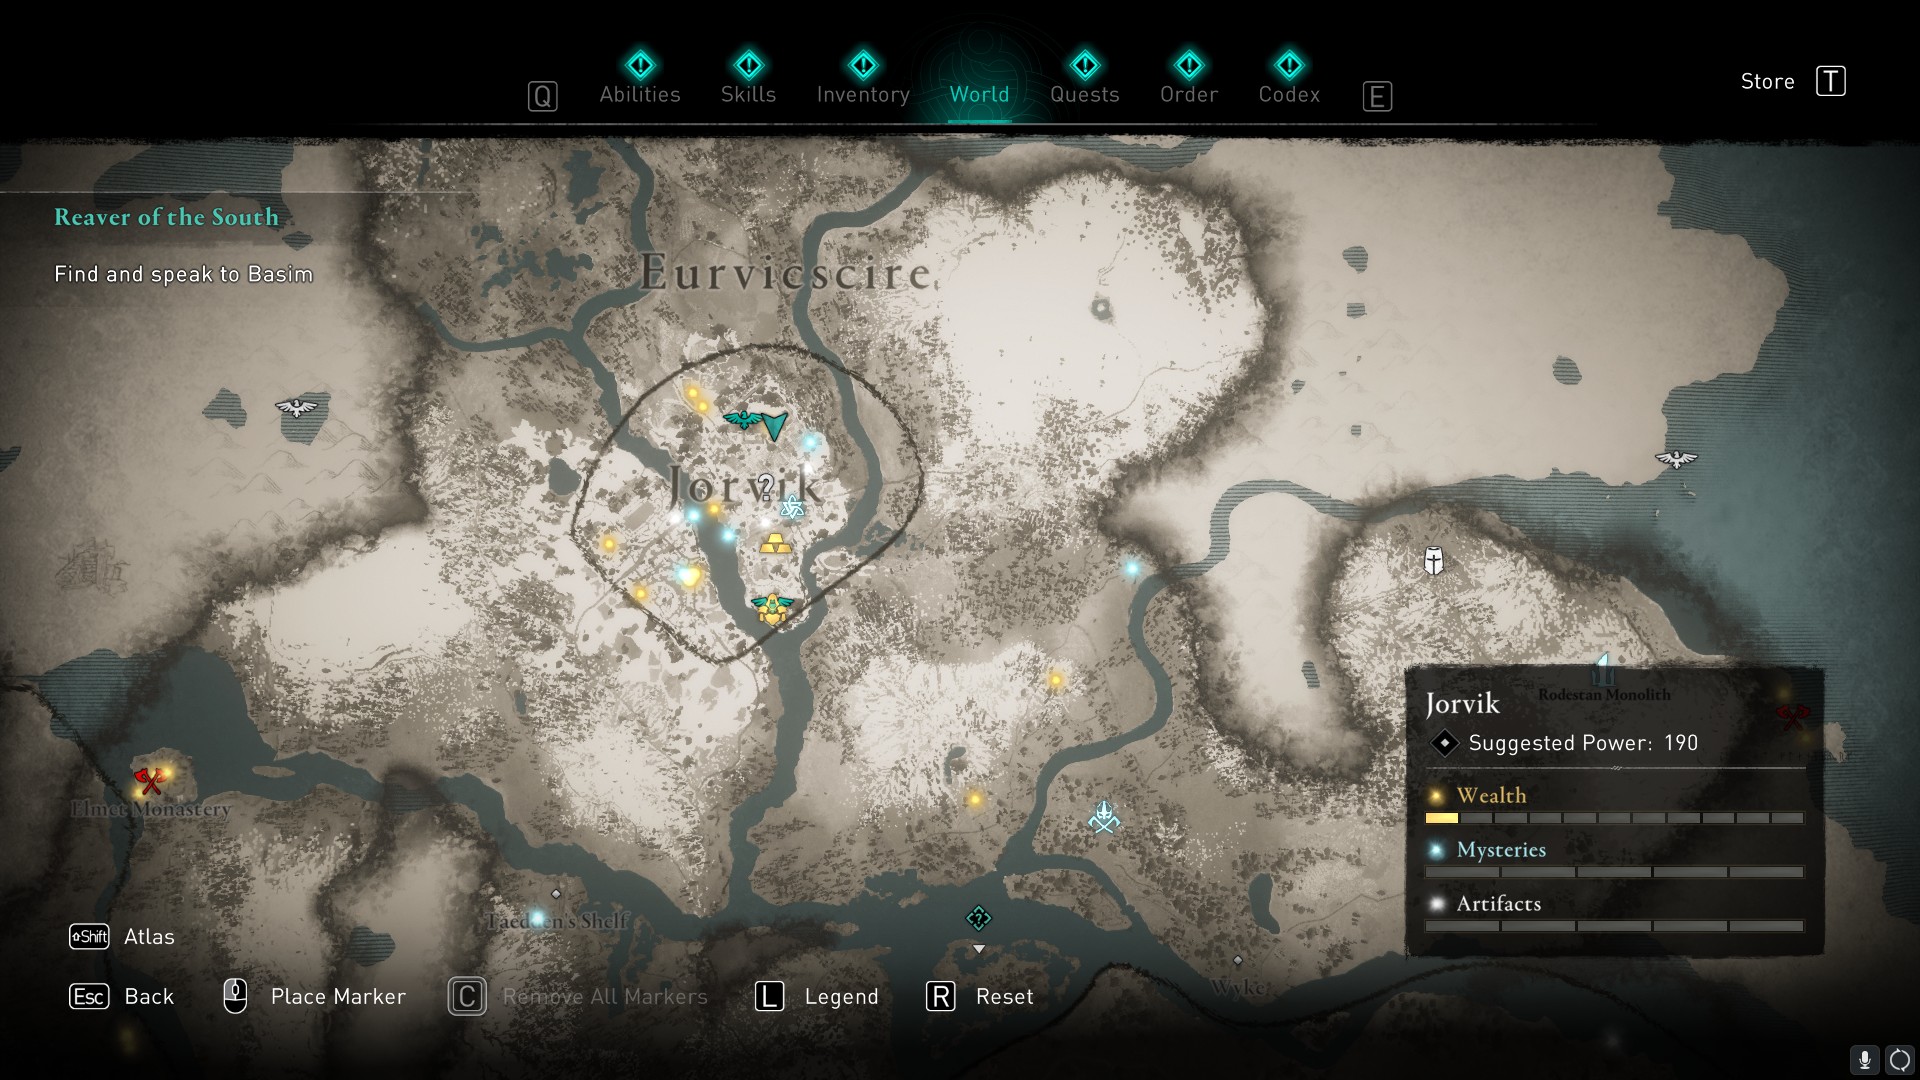
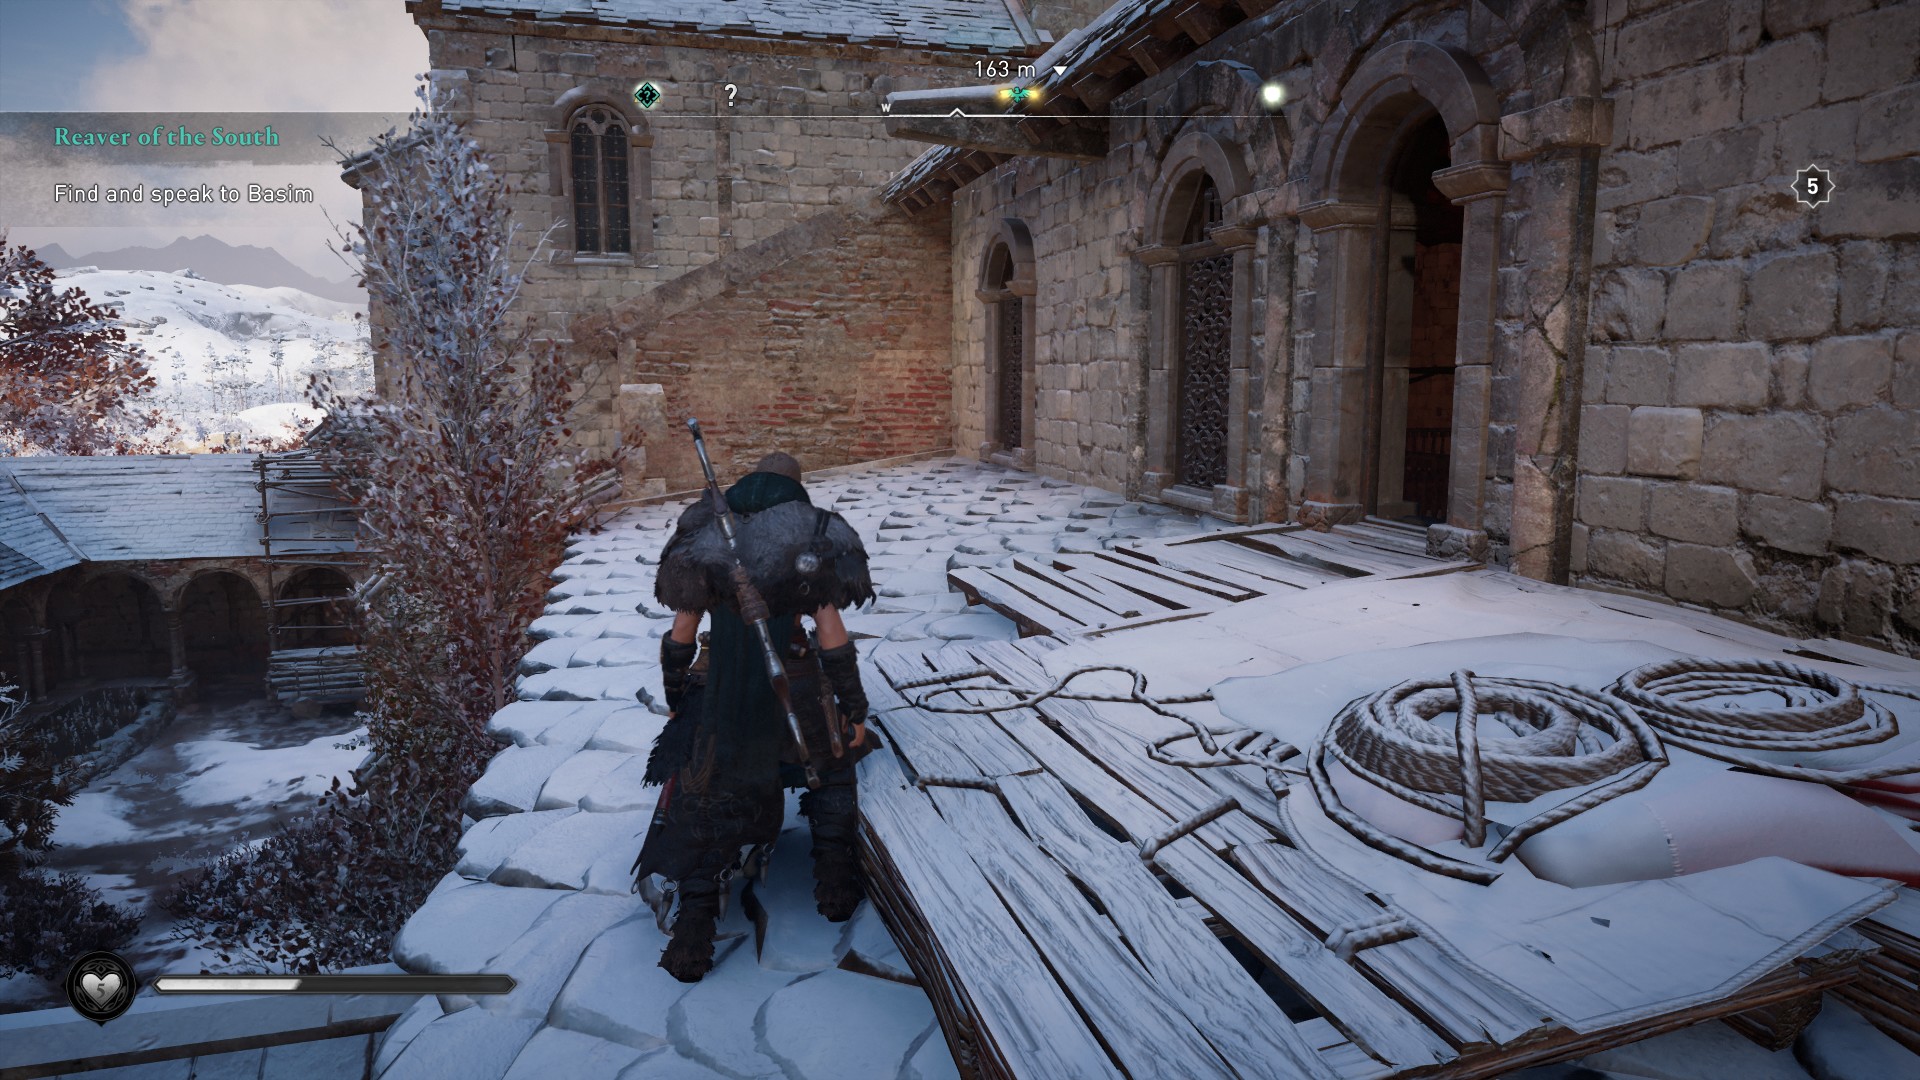
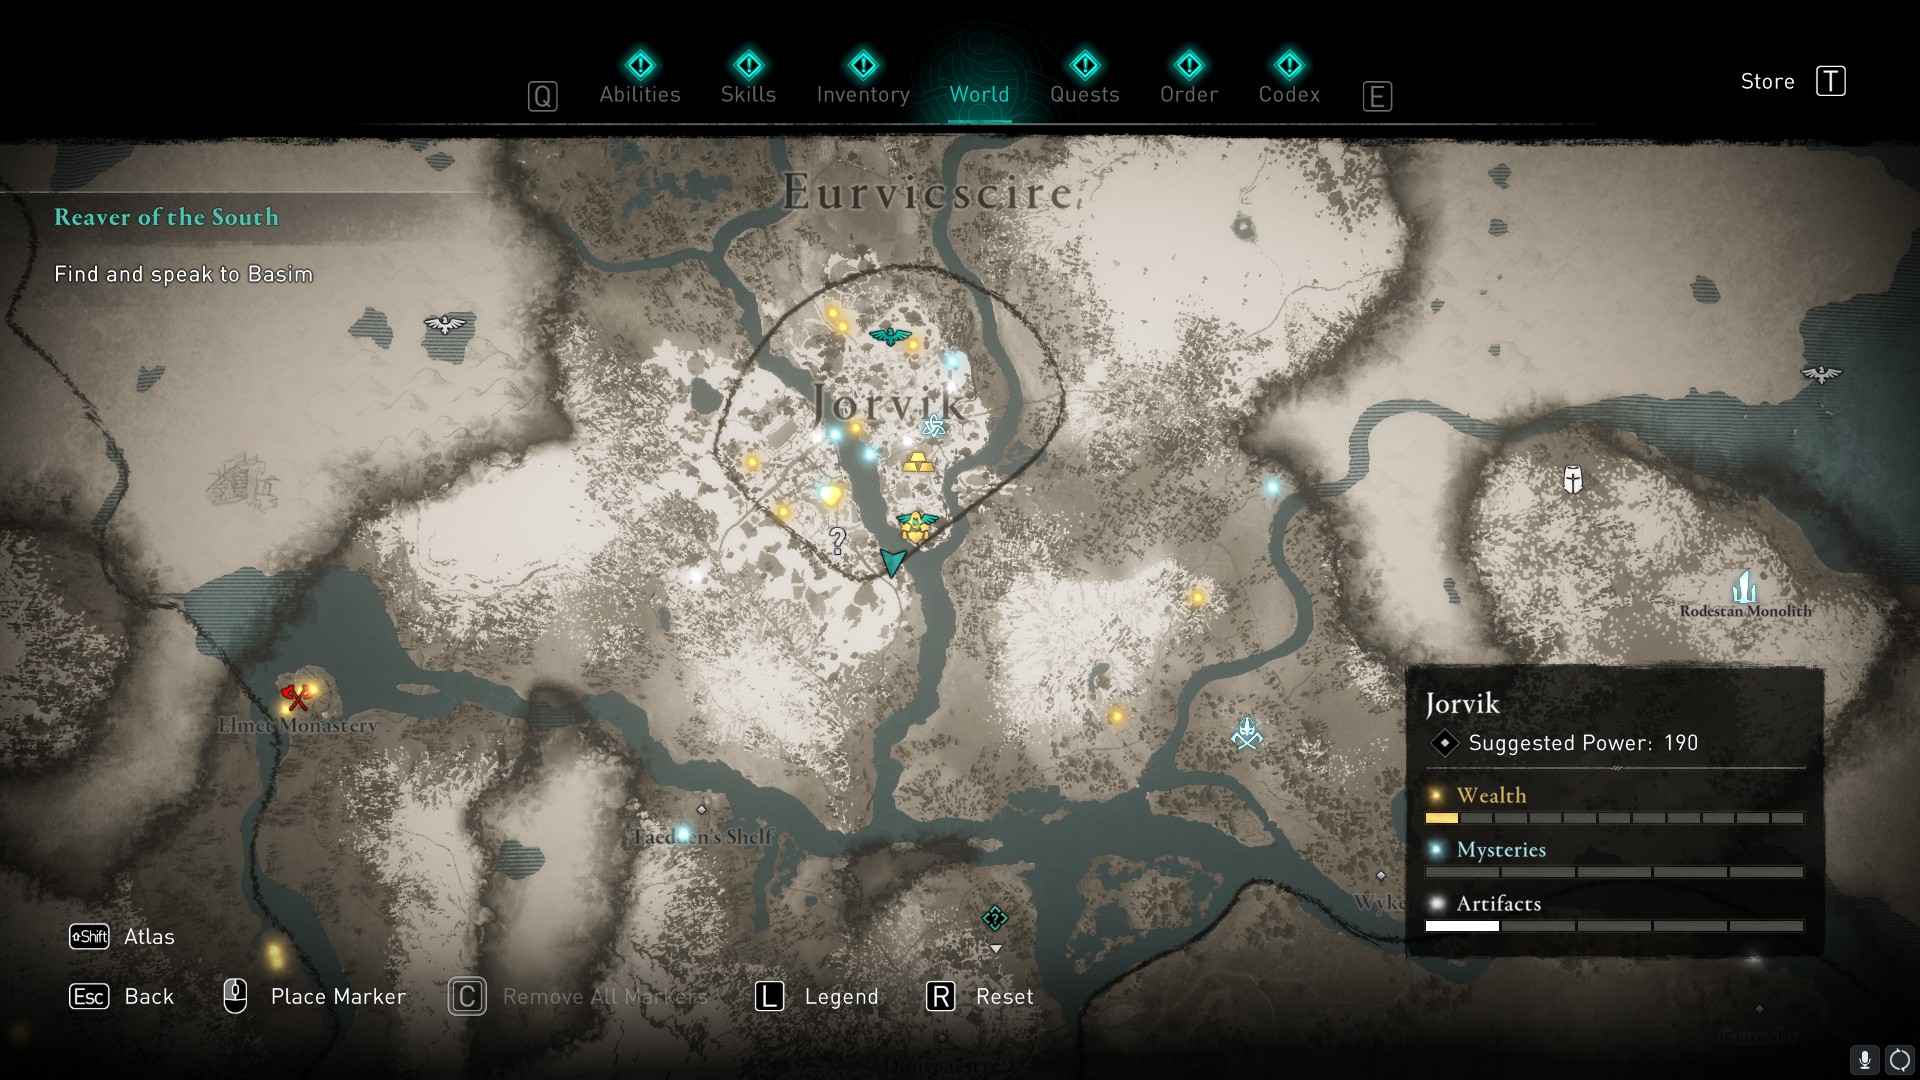
You can find this clue located close to the northern synchronisation point in Jorvik. The location is The Minster and you'll need to enter through an open window. From the tower, drop down the series of roofs until you reach the one next to the square courtyard. If you're facing the tower, the open window is on your right.
From the window, turn right and follow the passage down the stairs to the ground floor. At the bottom, turn right, then right again to find a moveable set of shelves. Pull them out of the way and follow the passage to find this clue on a table at the end. It reads:
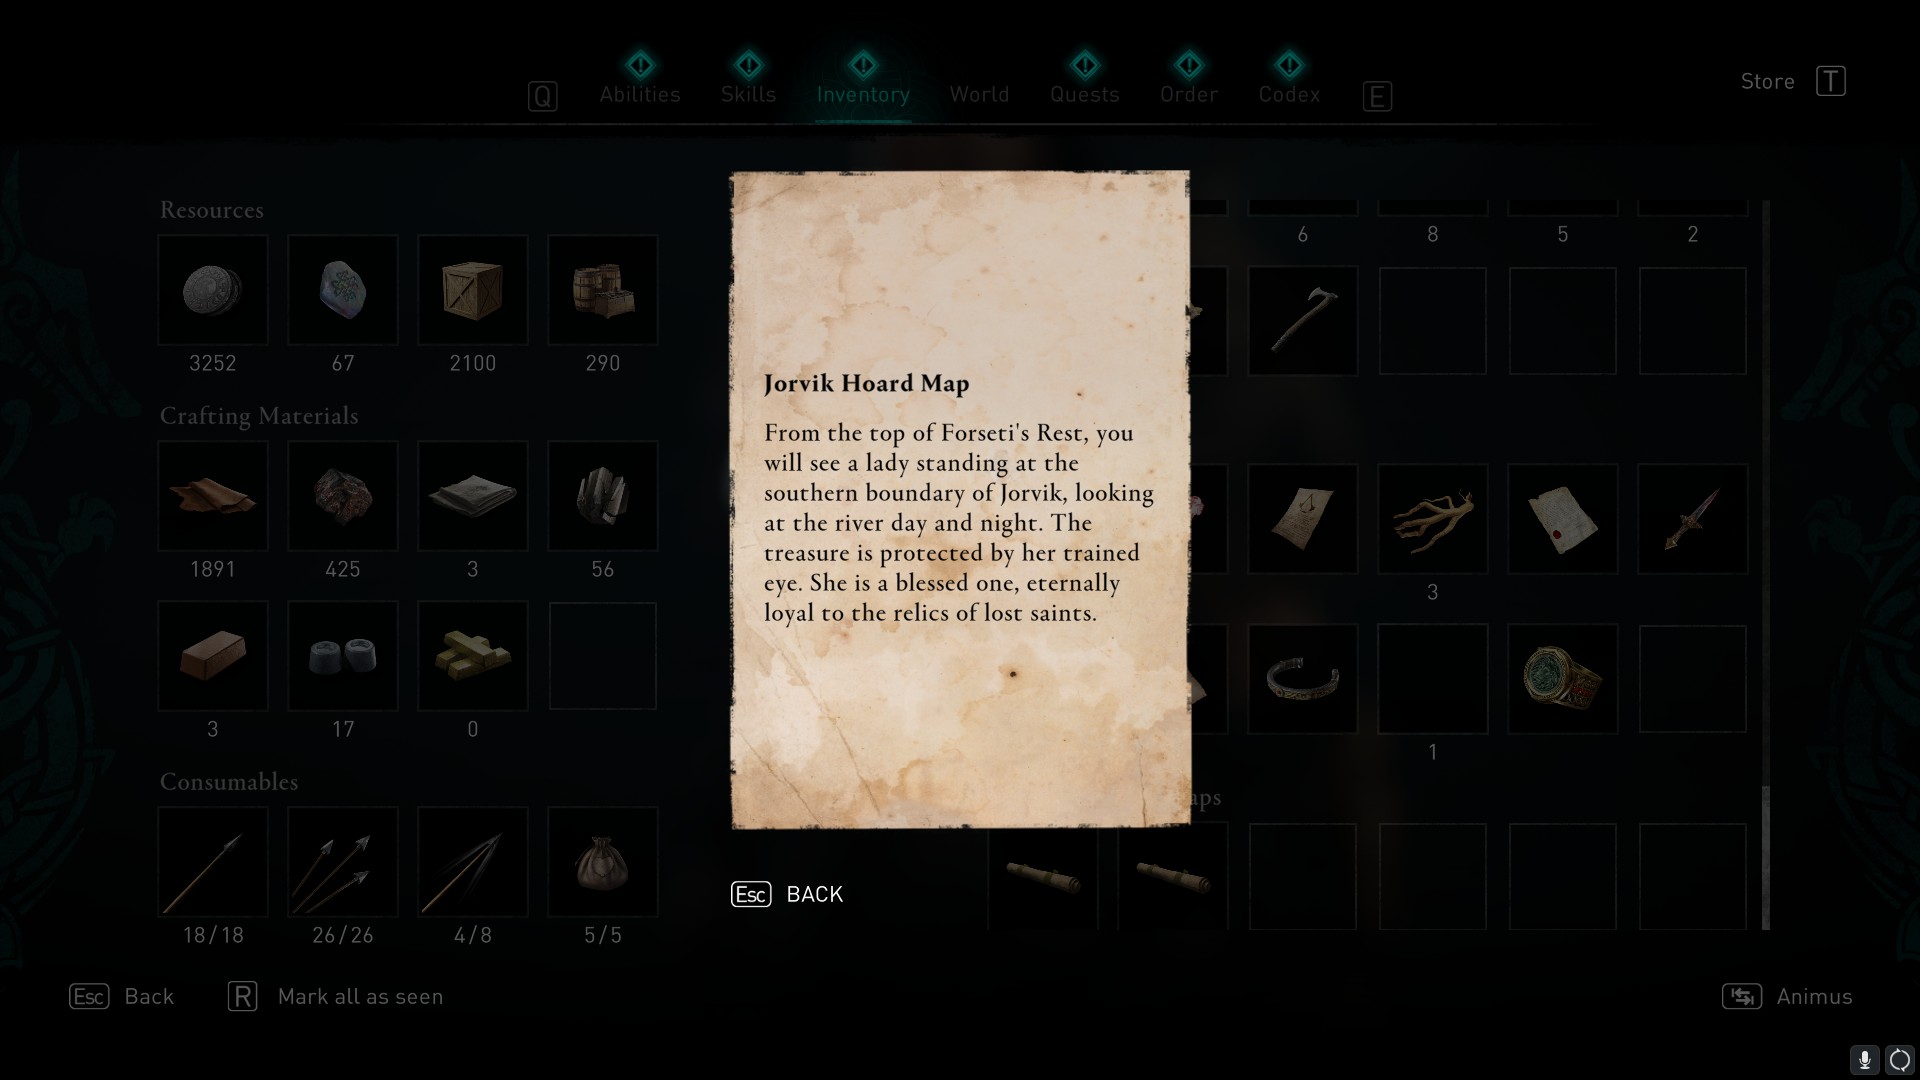
From the top of Forsetit's Rest, you will see a lady standing at the southern boundary of Jorvik, looking at the river day and night. The treasure is protected by her trained eye. She is a blessed one, eternally loyal to the relics of lost saints.
Solution
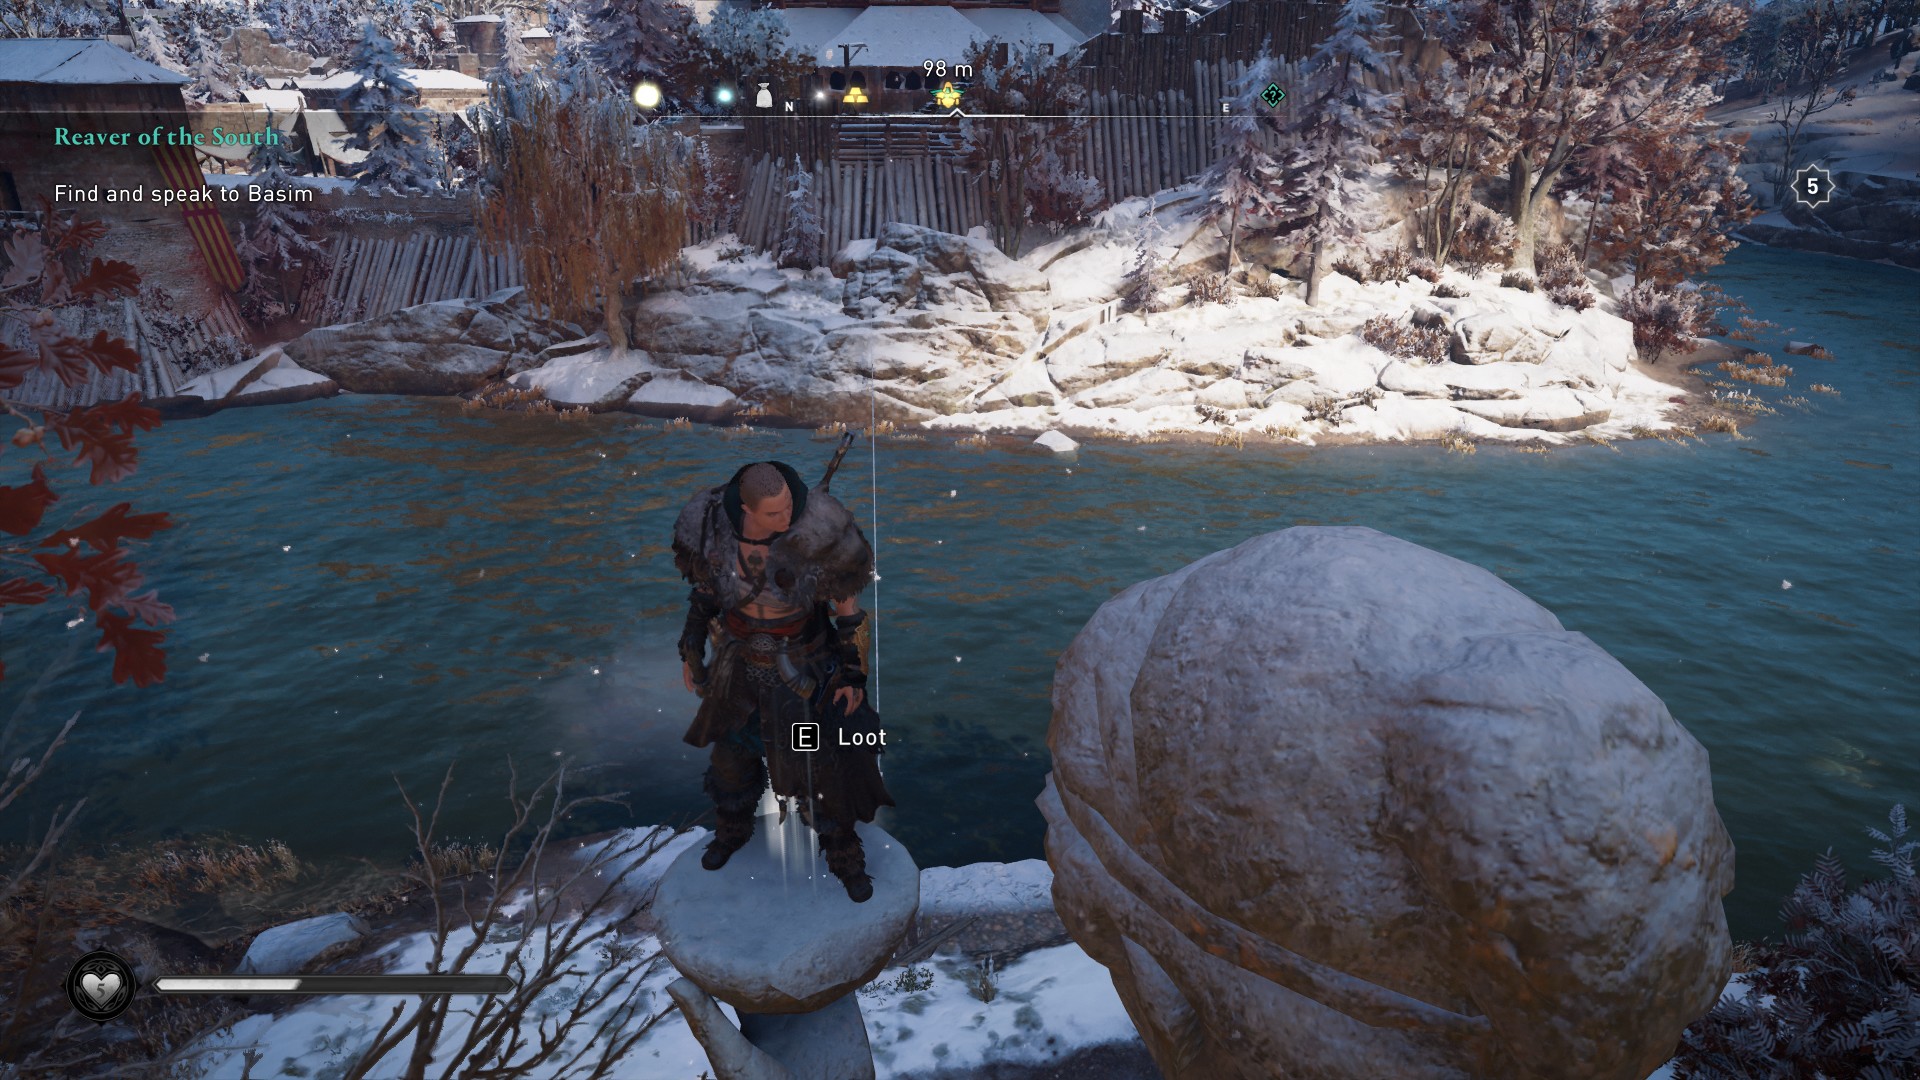
Head to the southern edge of Jorvik and locate the statue facing the river there. If you use the synchronisation point to the south, jump down into the haystack and walk forward onto the wooden platform. You'll see the statue across the river ahead of you.
You can use the rope here to reach it. Climb up the statue and retrieve the treasure from the bowl she's holding. You'll receive the Huginn Call Scheme (Head) tattoo.
Eurvicscire
Clue
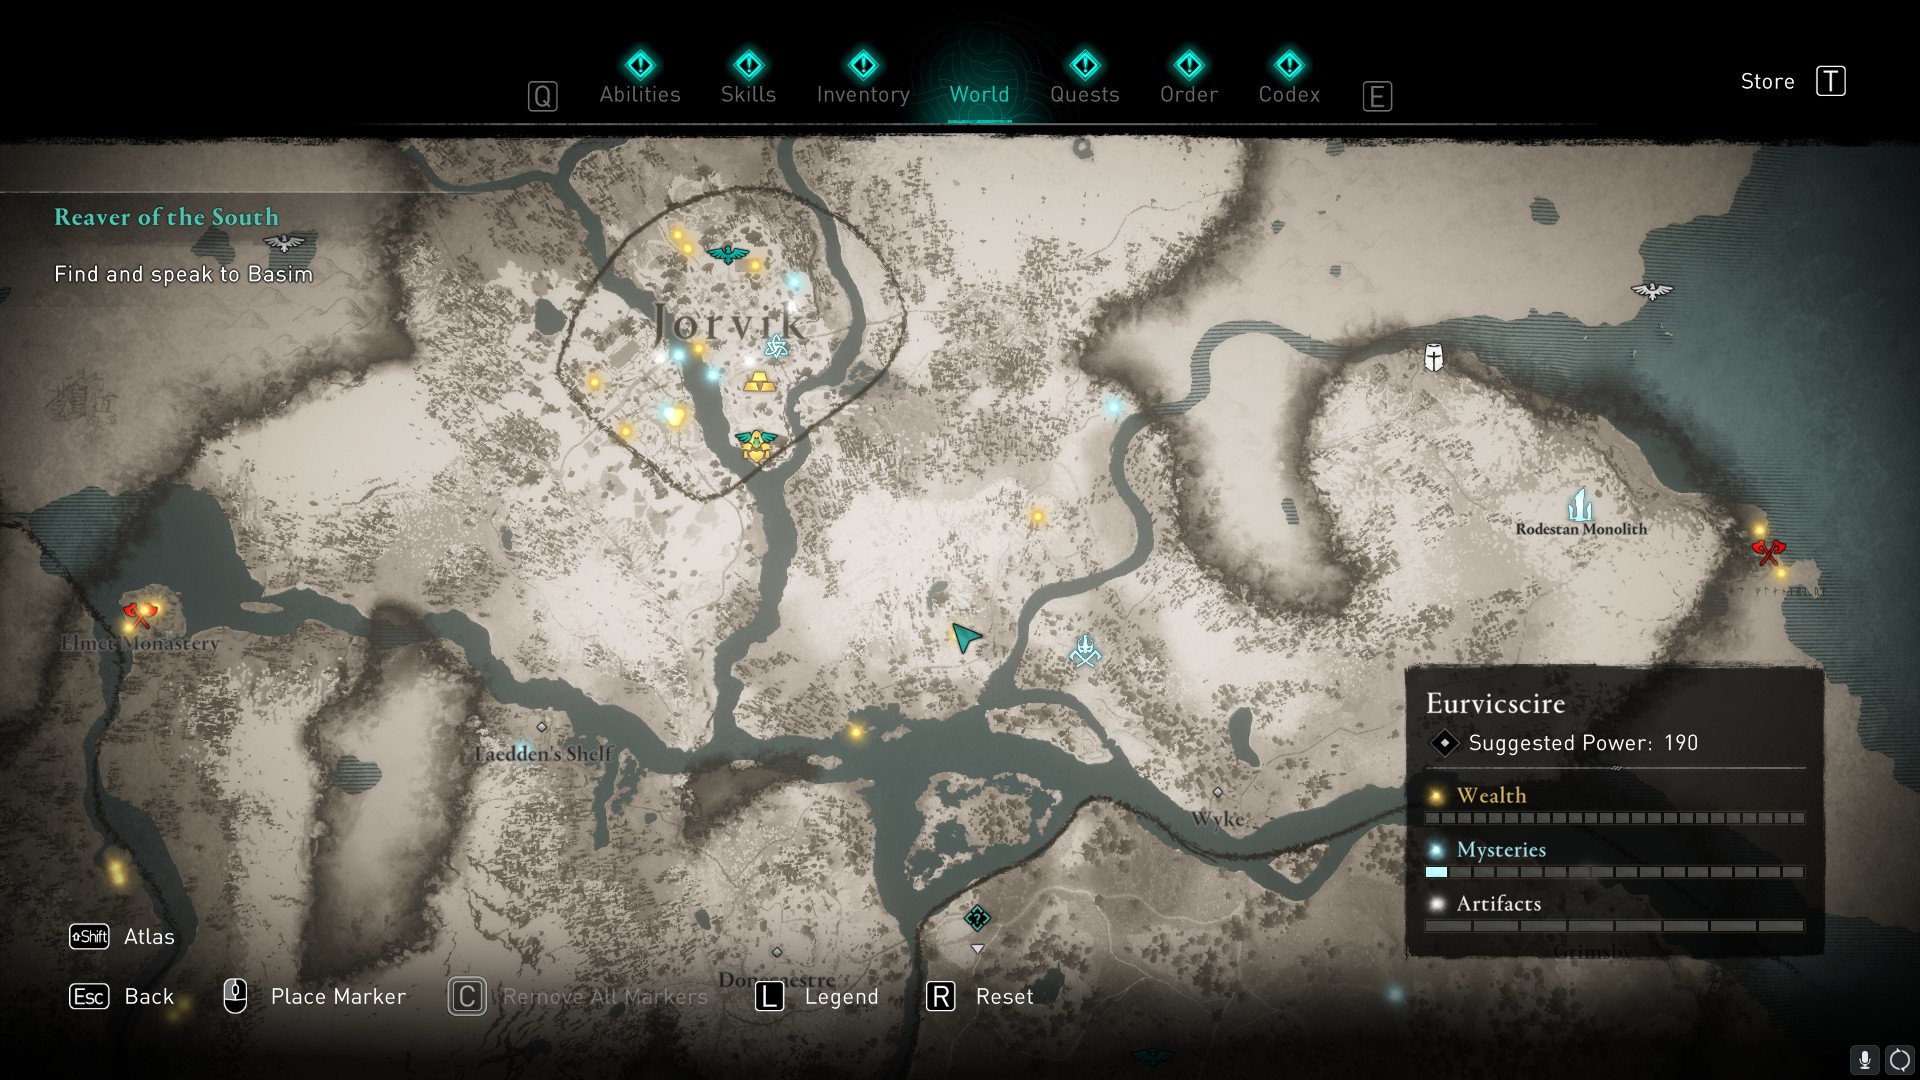
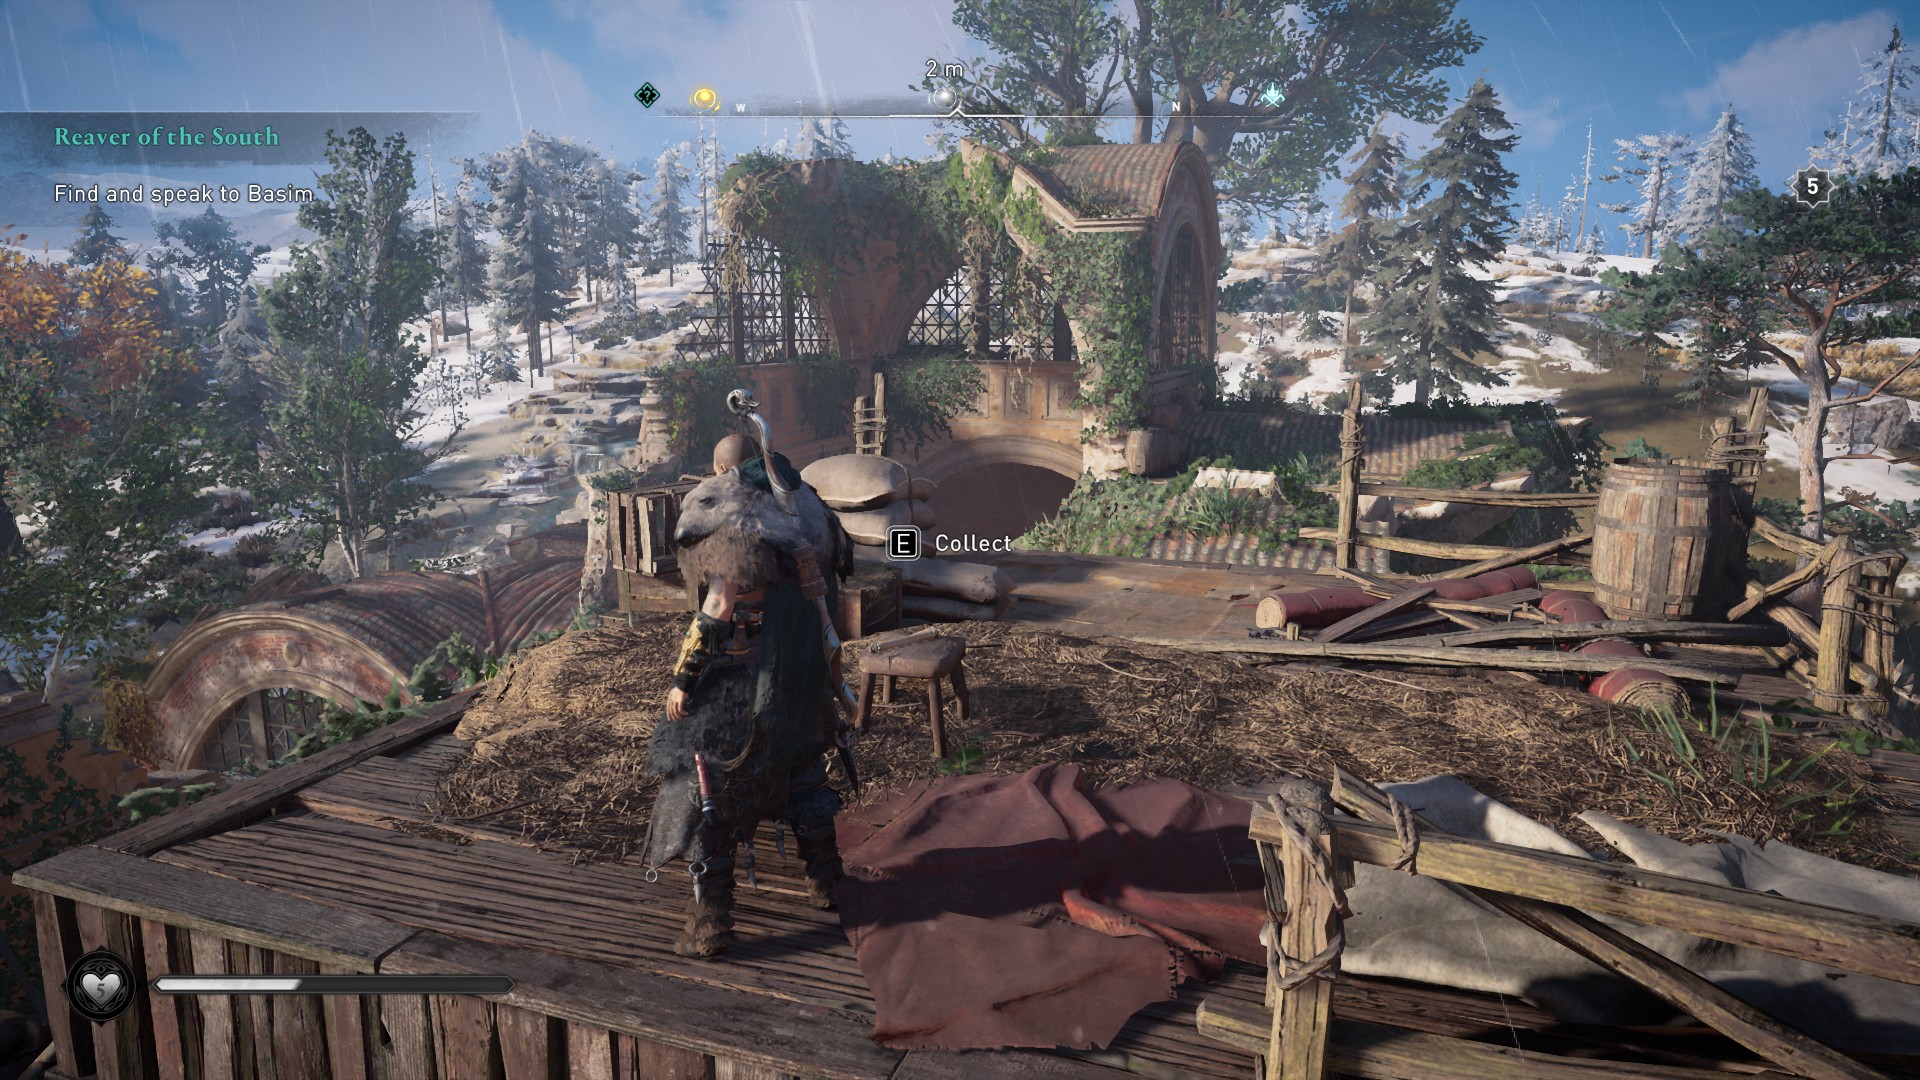
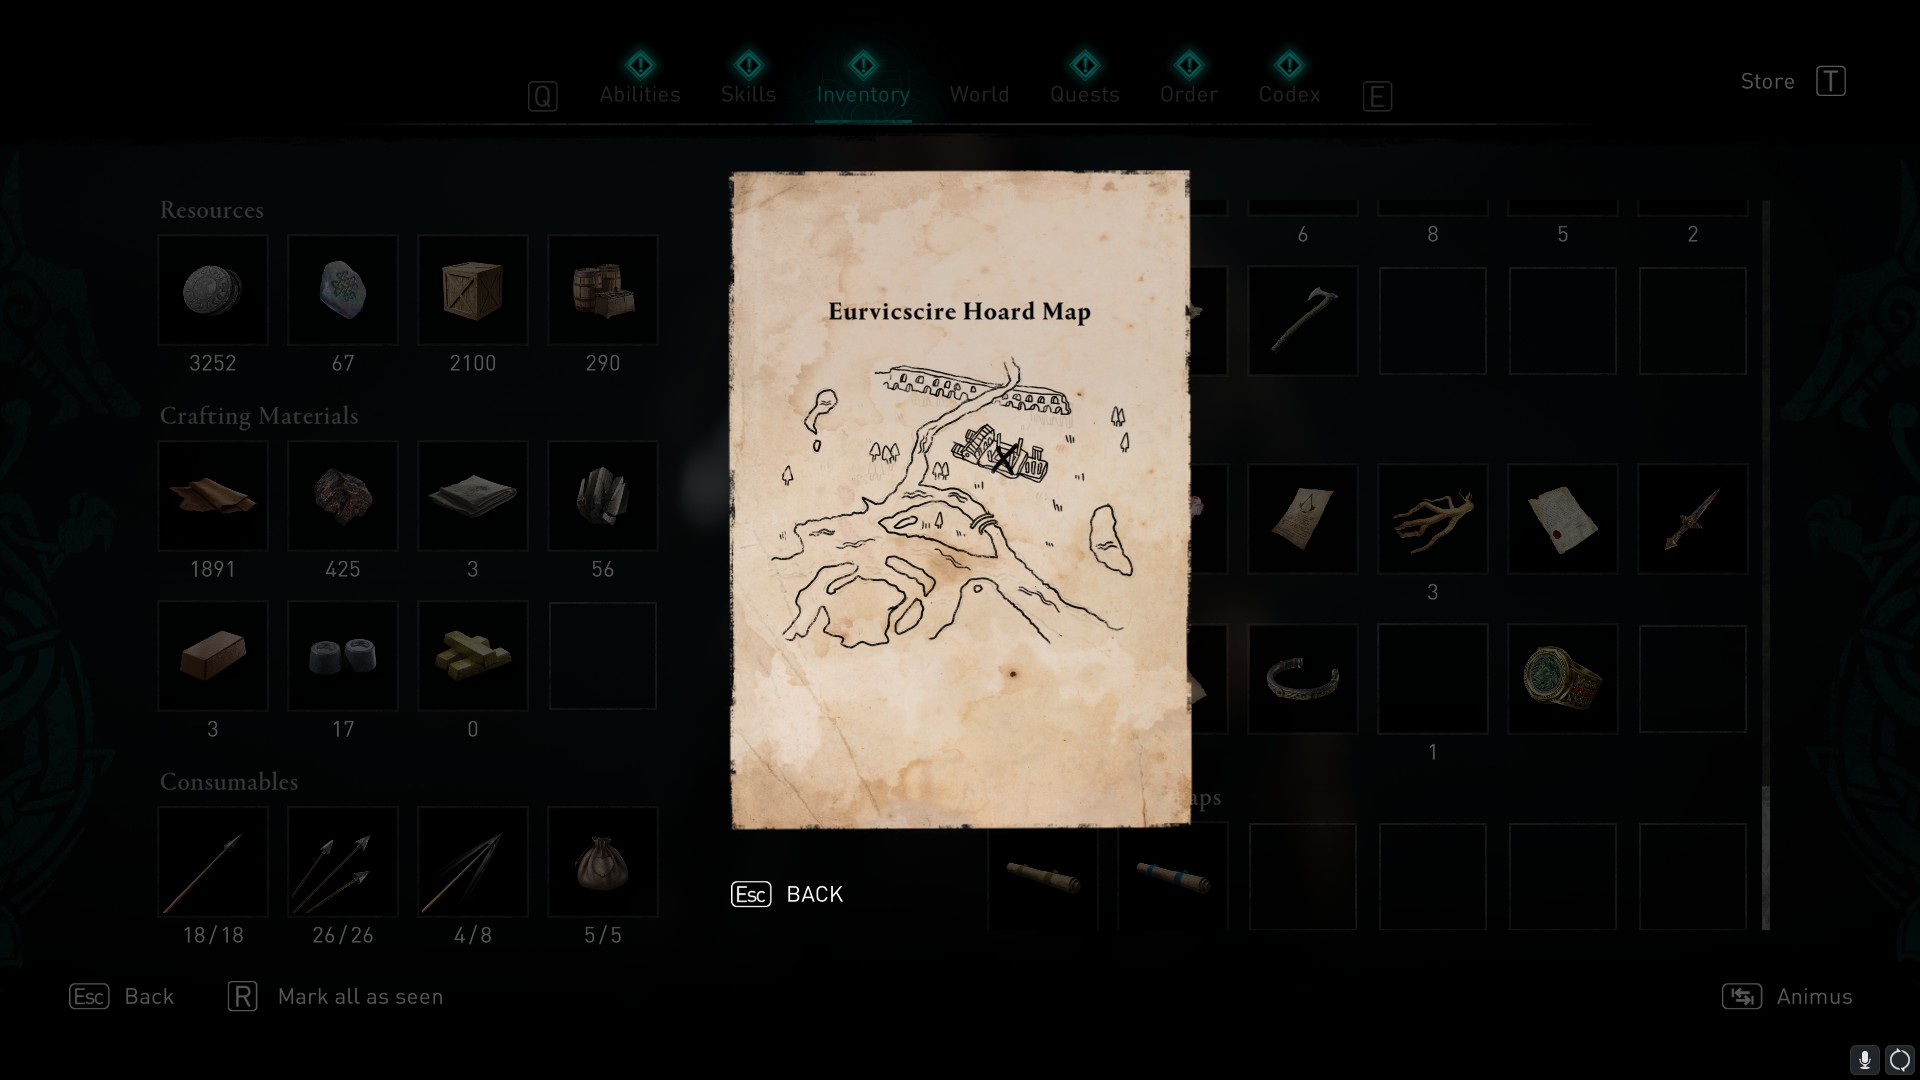
You'll find this map in the Petuaria Ruins, southwest of Jorvik. The ruins are huge so it's hard to miss. This clue is found on top of the building, sitting on a wooden stool.
Solution
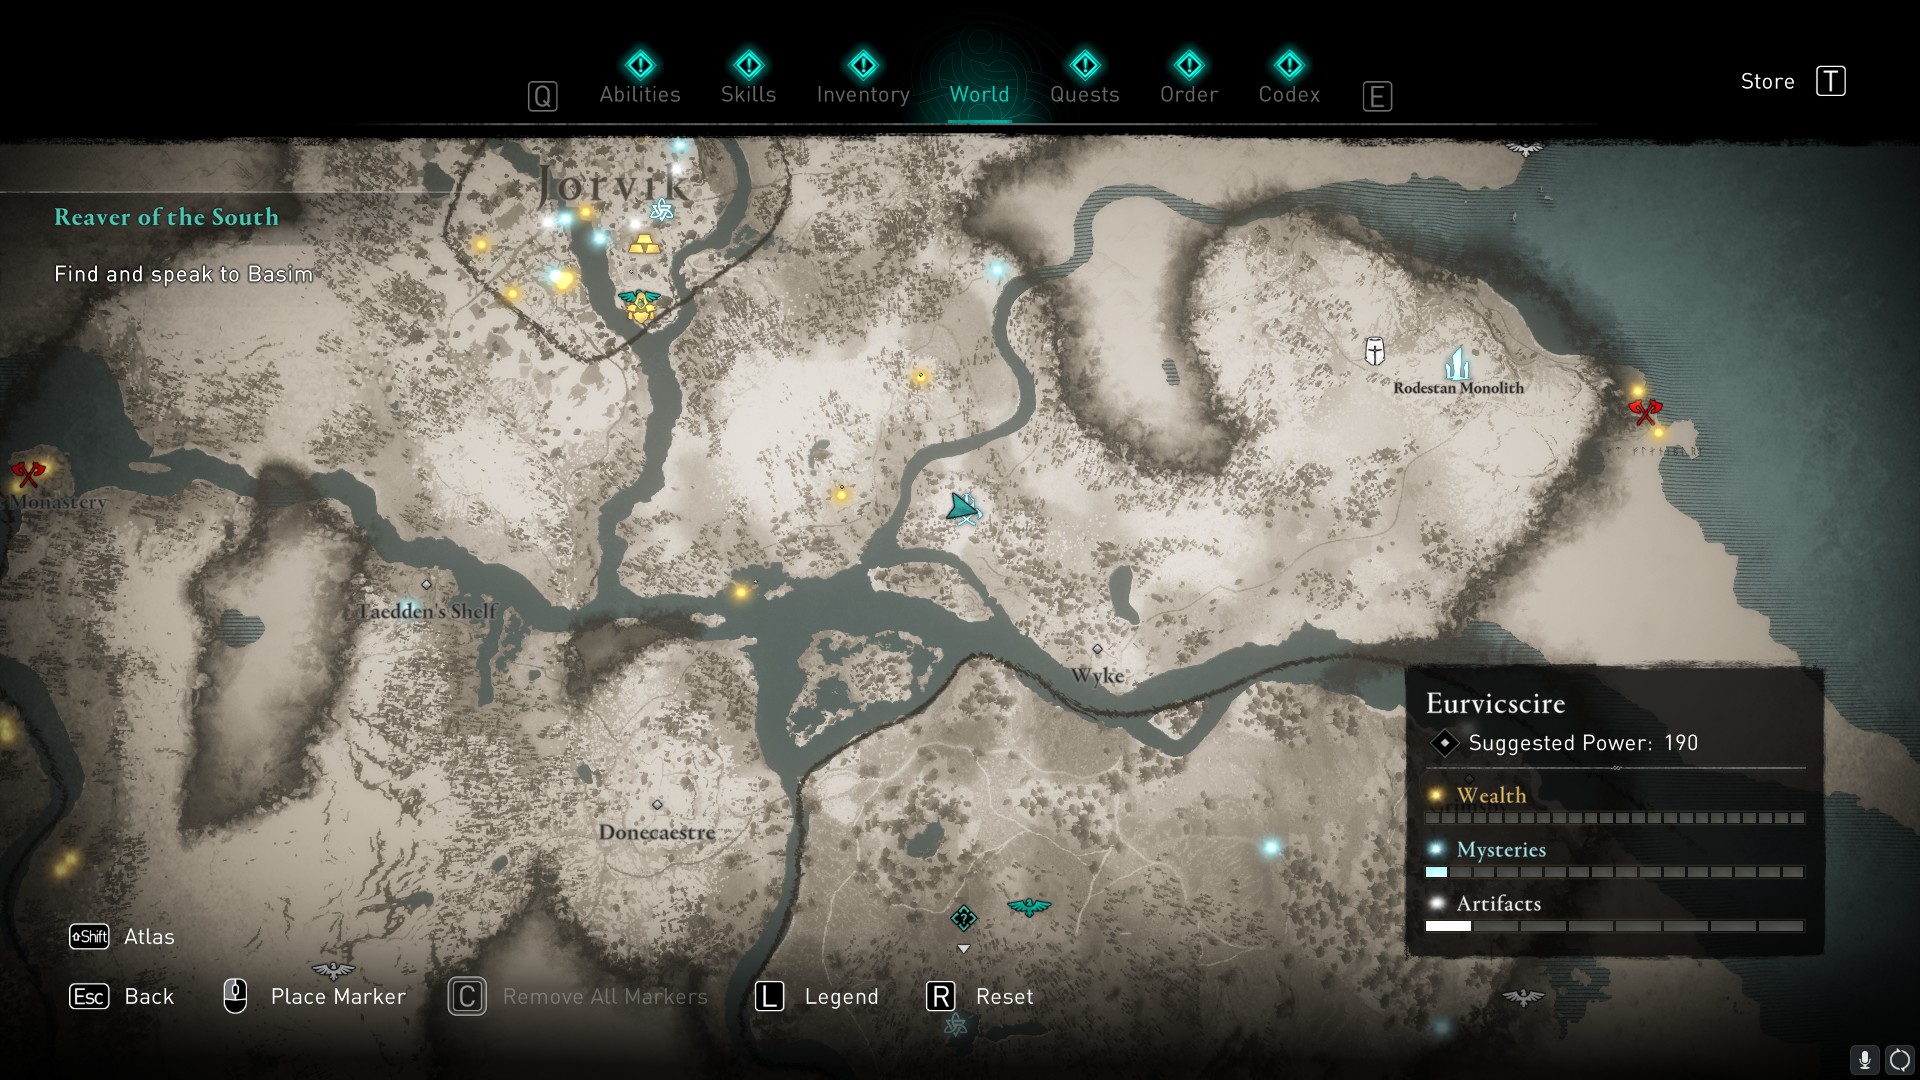
If you open your map, you'll see that the drawing depicts the body of water just south of you. The treasure is located just east and across the river of where your current location.
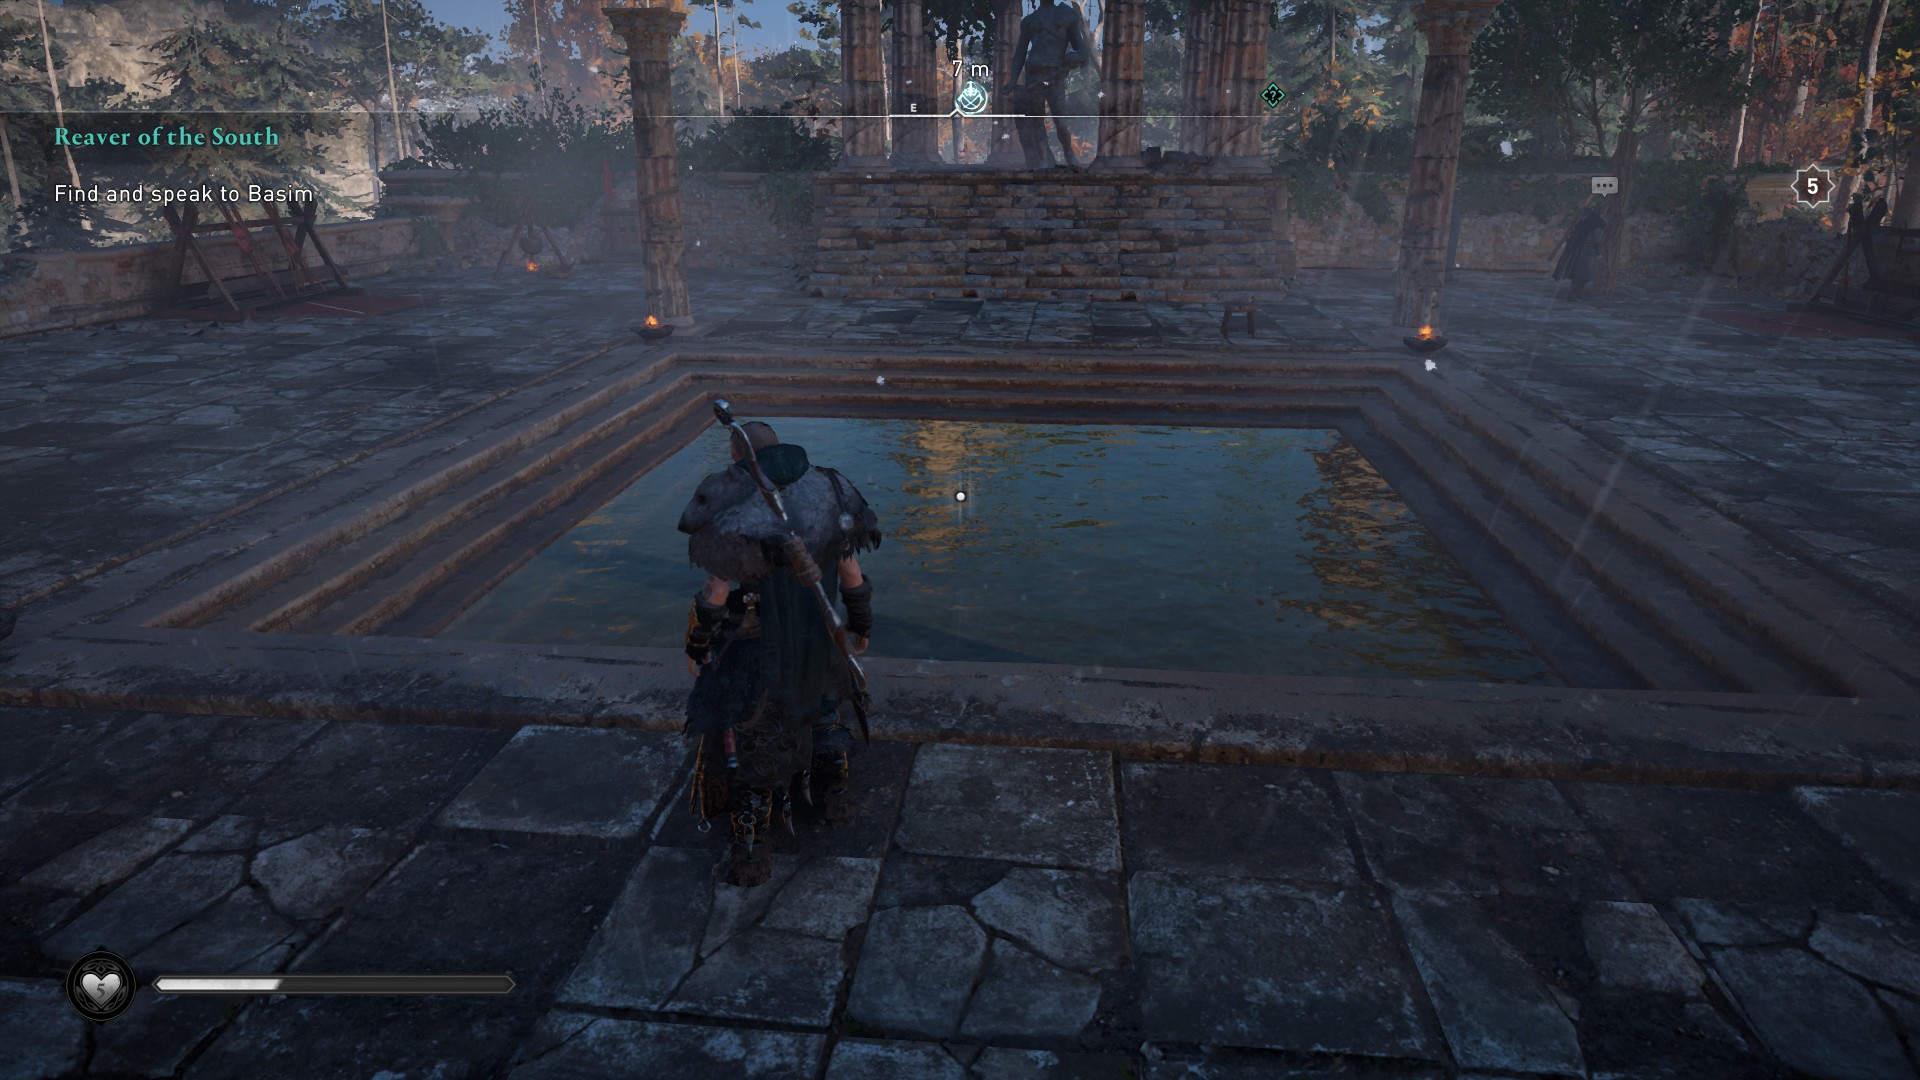
You'll find a fairly intact building here so go in the front door and pass through into the courtyard behind. Look for the square pond in front of you and you'll find the treasure in the middle. Loot this to receive the Seer Scheme (Sail) for your longship.
Snotinghamscire
Clue
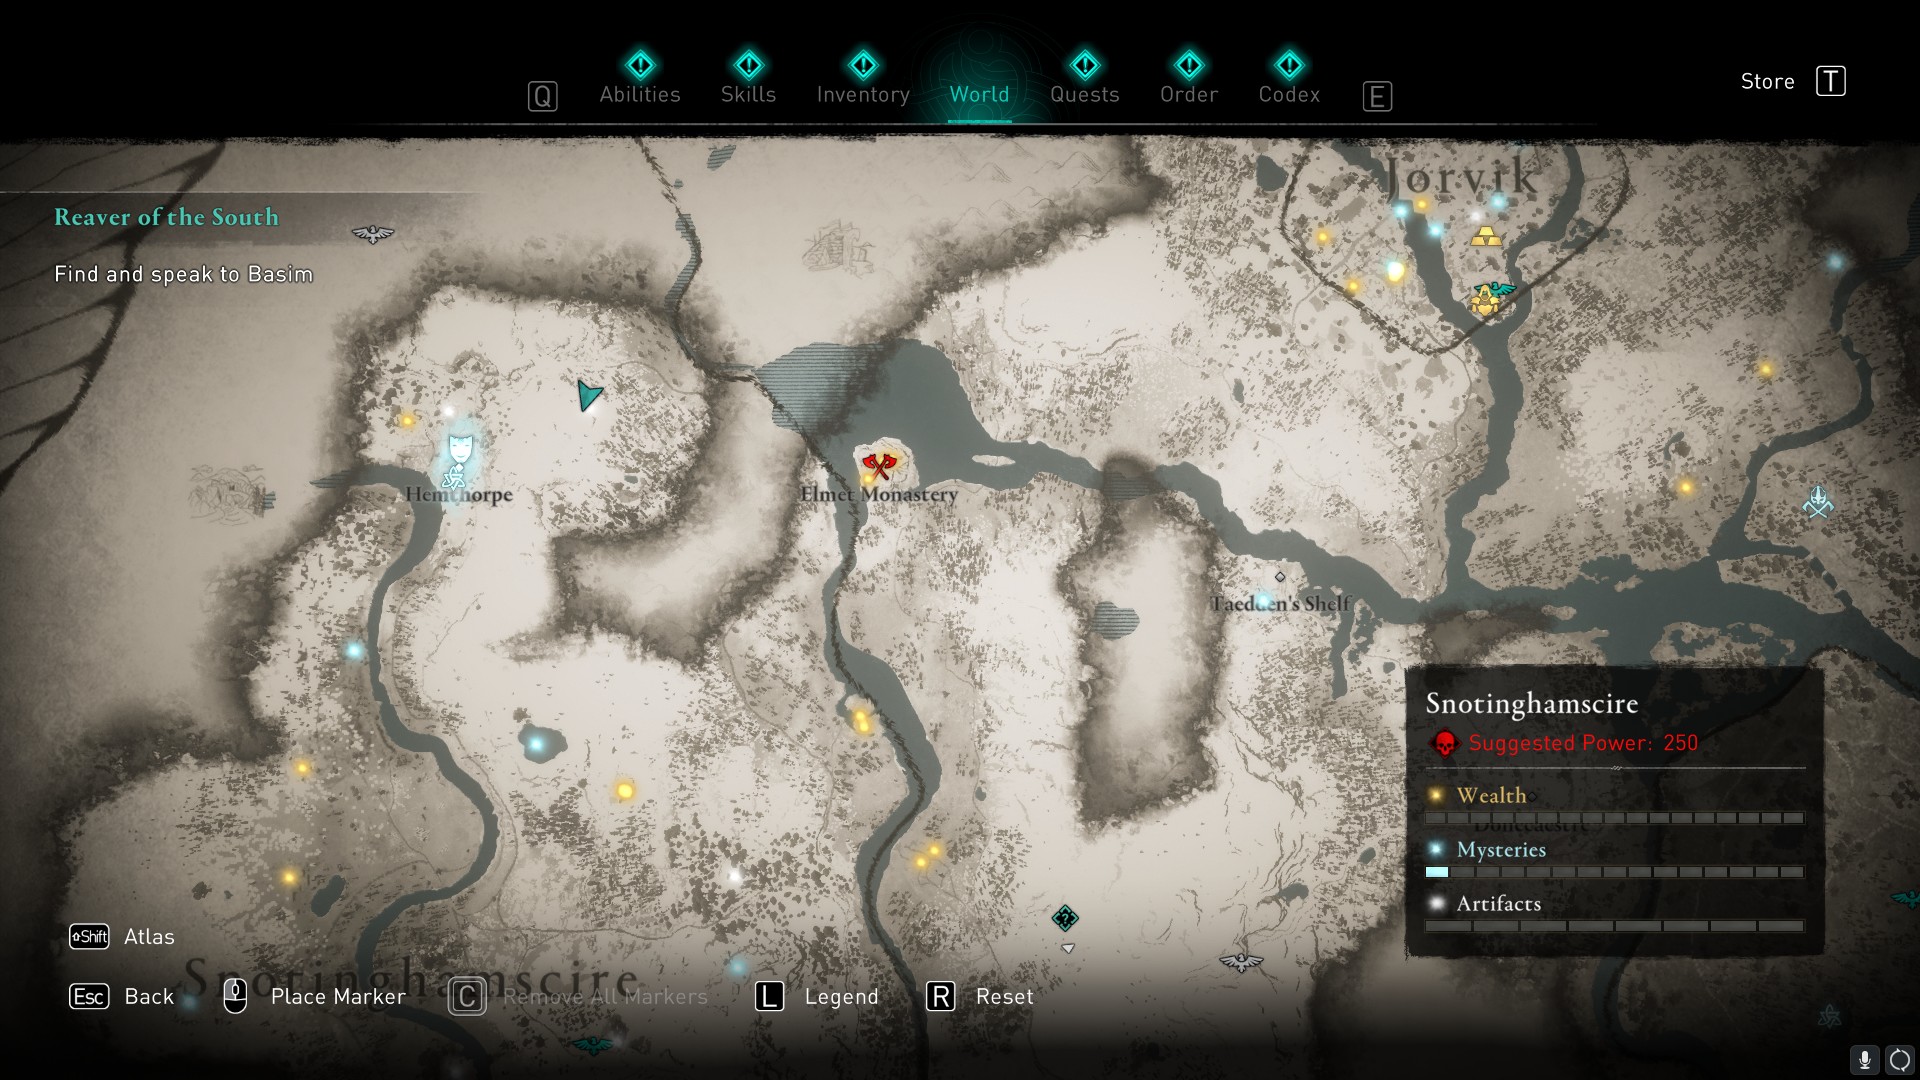
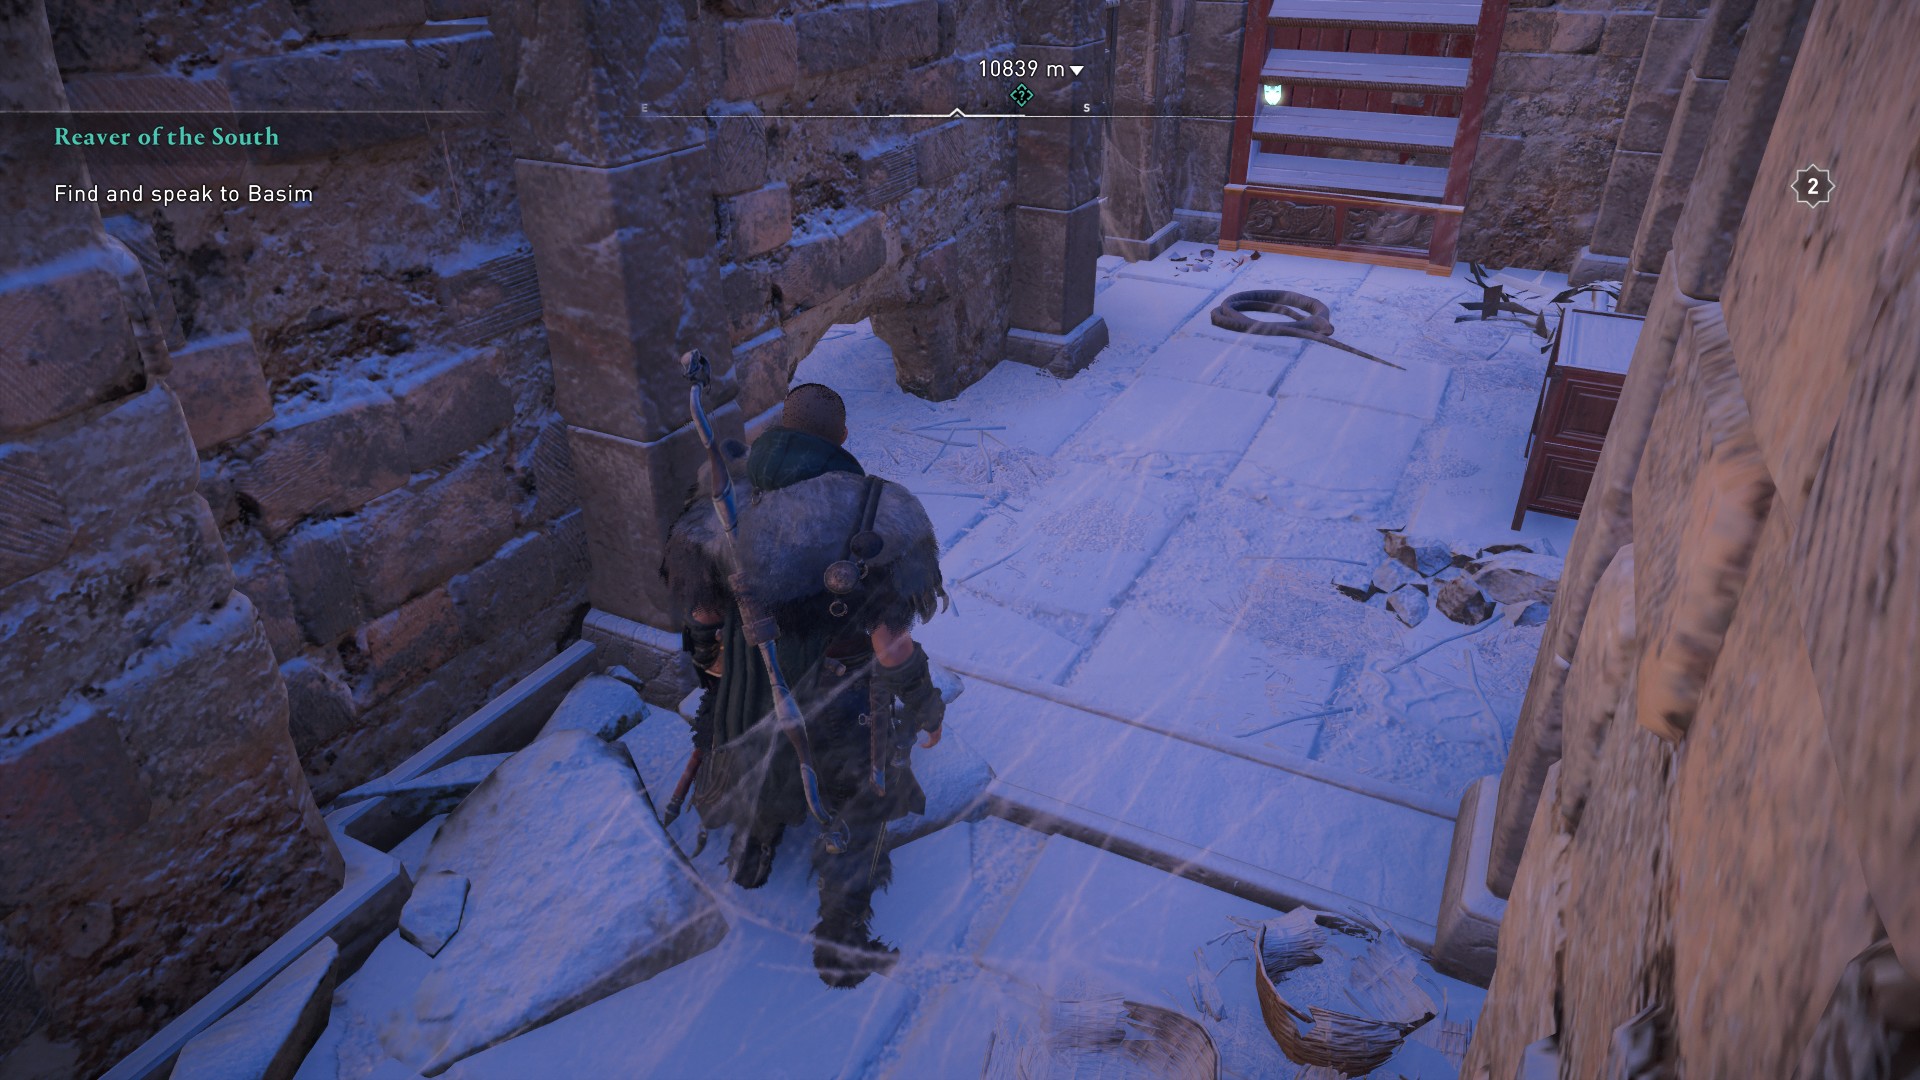
This clue can be found just northeast of Hemthorpe, in the northern region of Snotinghamscire. The roman ruins here are called The Abandoned Library and you should find a breakable wooden covering on the floor. Use an arrow to get rid of them and head down the tunnel.
Watch out for snakes here and break the pots to the left to reveal a crawlspace. Slide through and find the clue on a table. It reads:
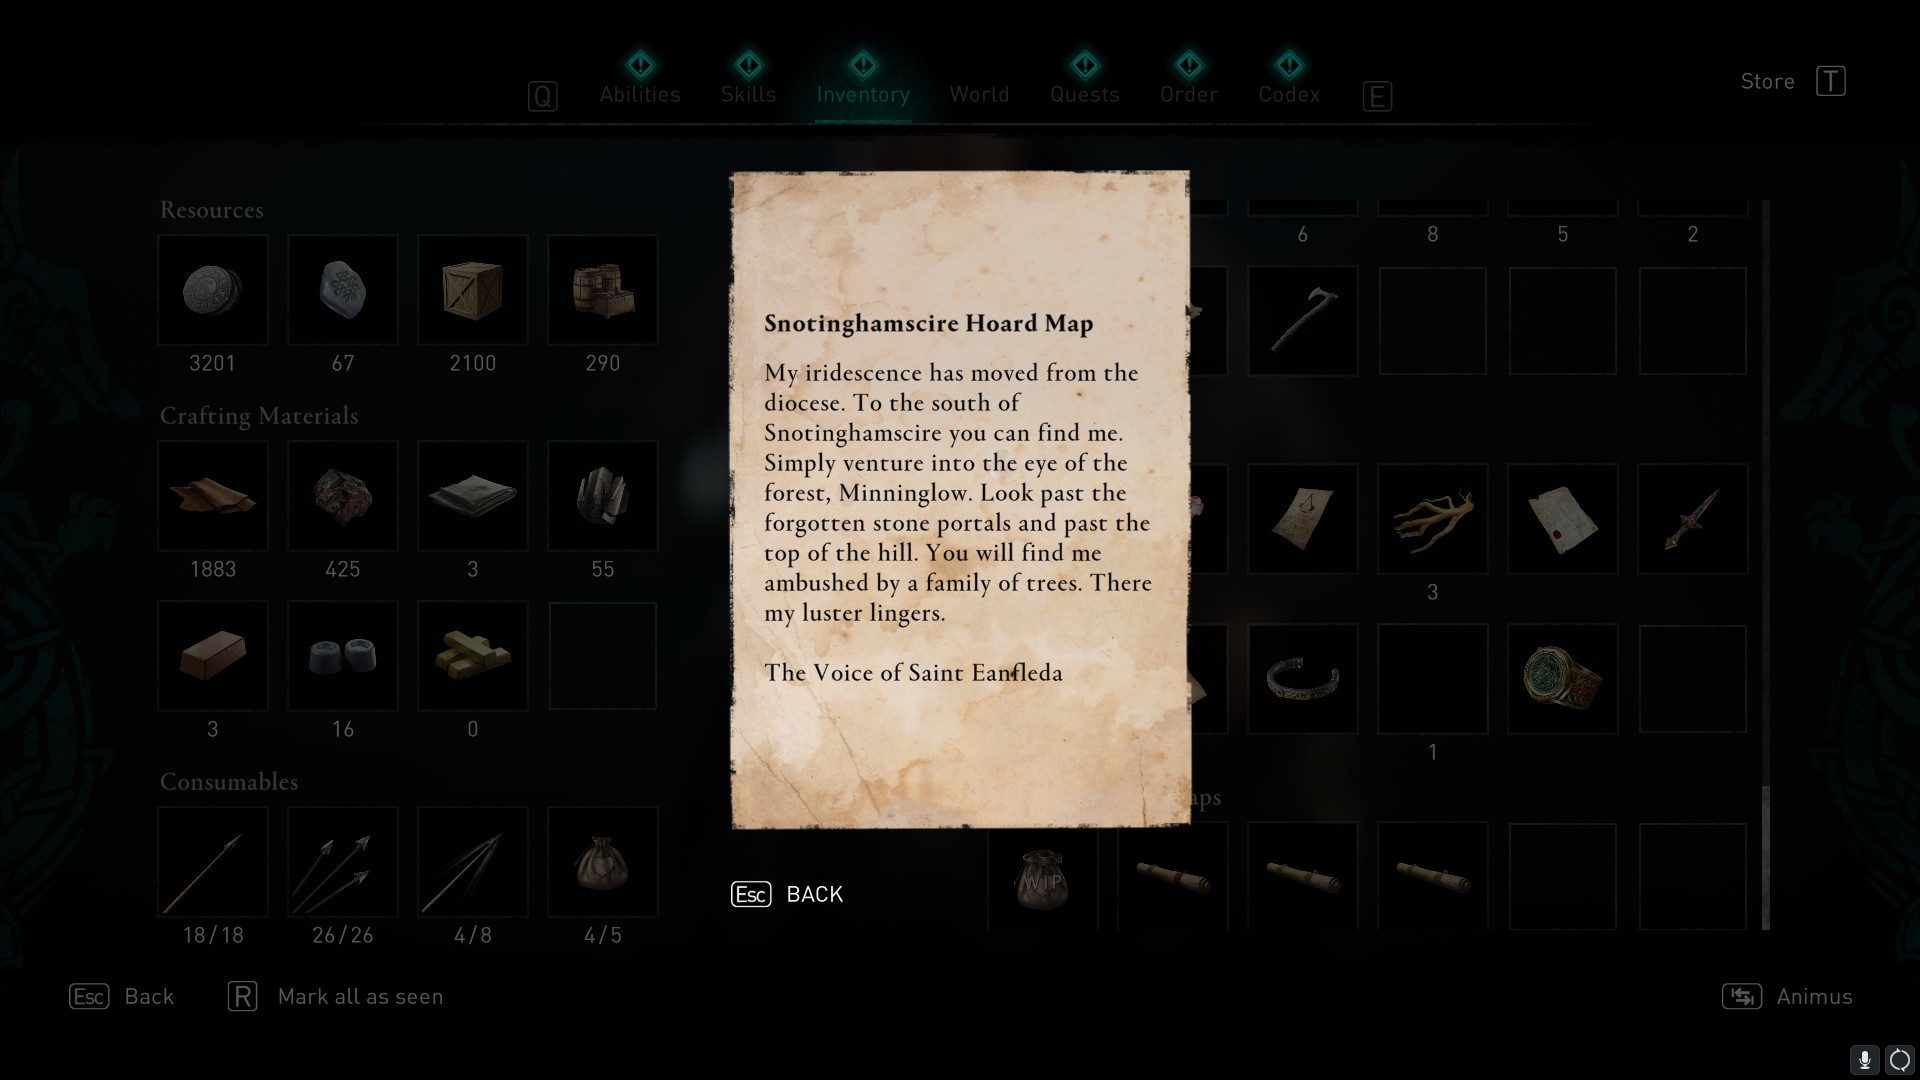
My iridescence has moved from the diocese. To the south of Snotinghamscire you can find me. Simply venture into the eye of the forest, Minninglow. Look past the top of the hill. You will find me ambushed by a family of trees. There my luster lingers.
The Voice of Saint Eanfleda
Solution
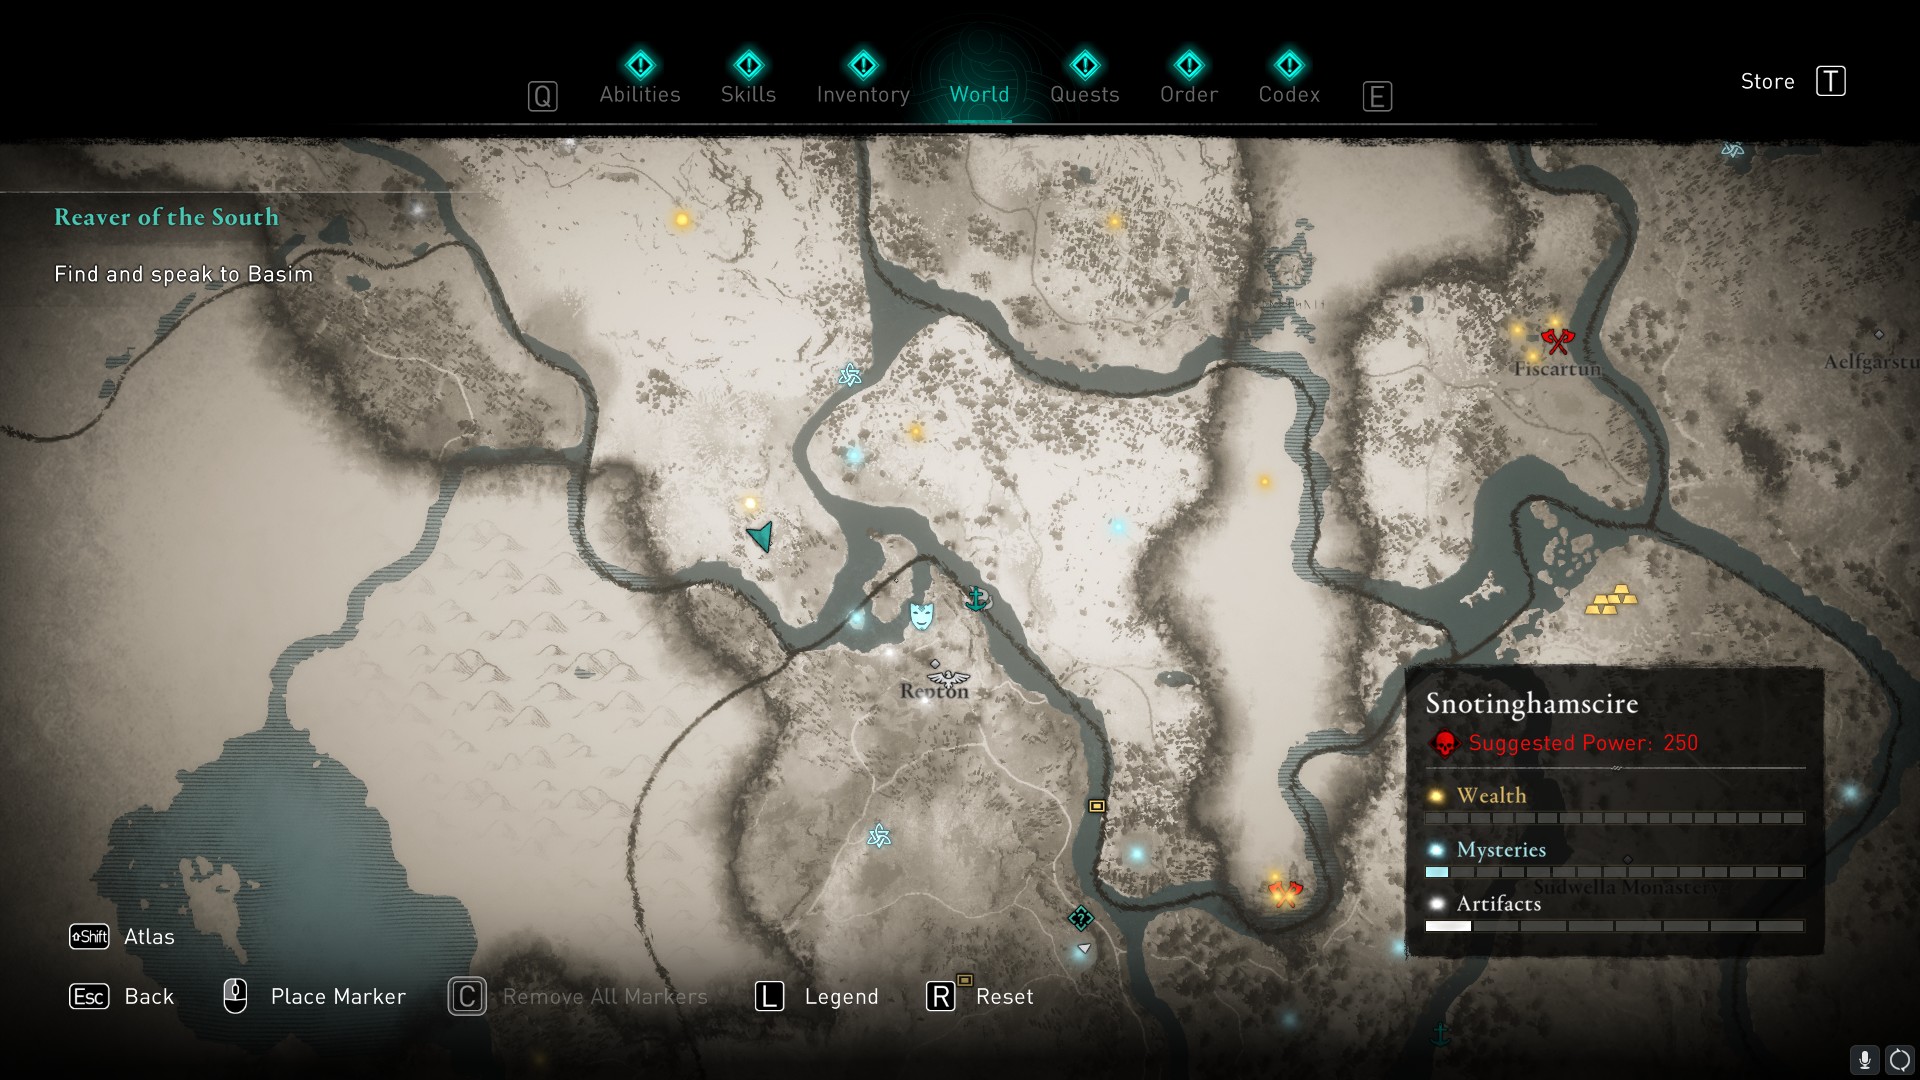
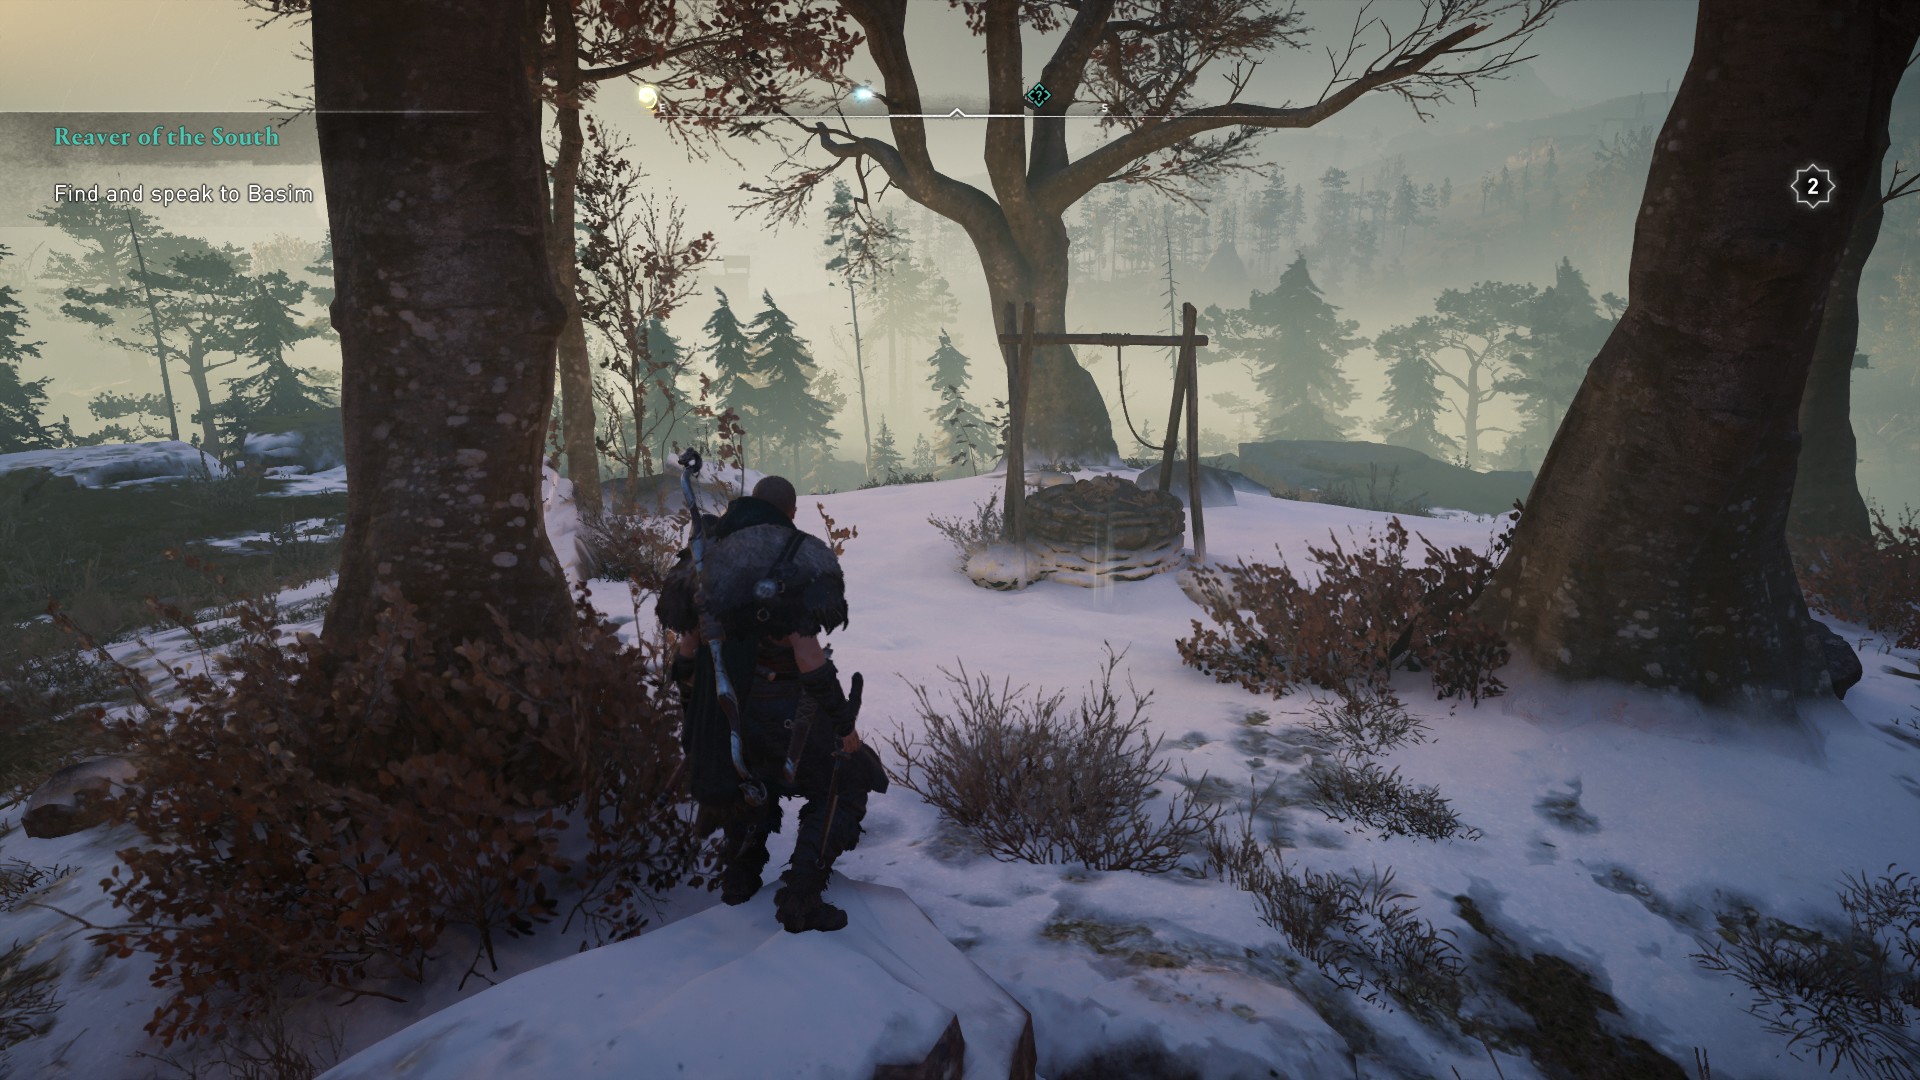
The south of Snotinghamscire is pretty vague, but if you search just west of Repton, you'll find the location of Minninglow. There is a circle of trees here and you'll find the treasure located on the ground, next to a well. Loot it to receive the Seer Scheme (Tailpiece) for your longship.
Rygjafylke (Norway)
Clue
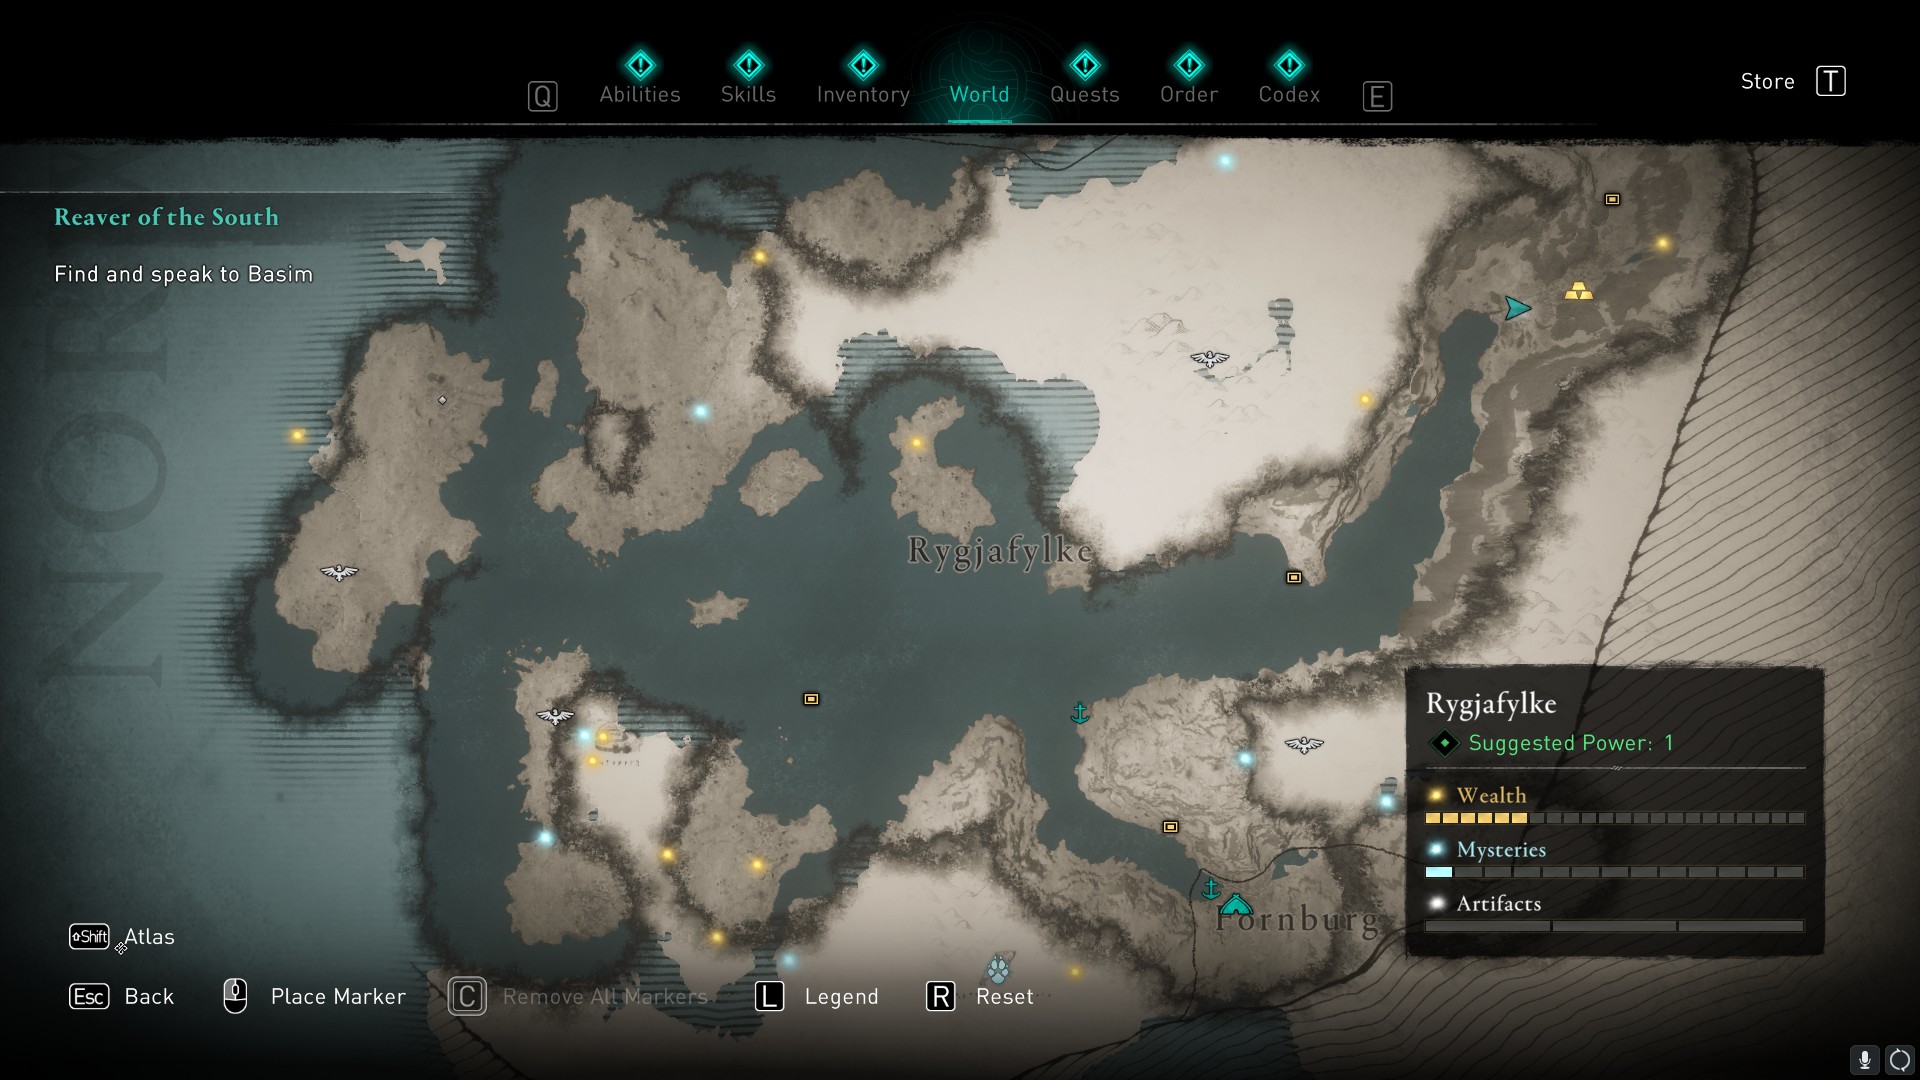
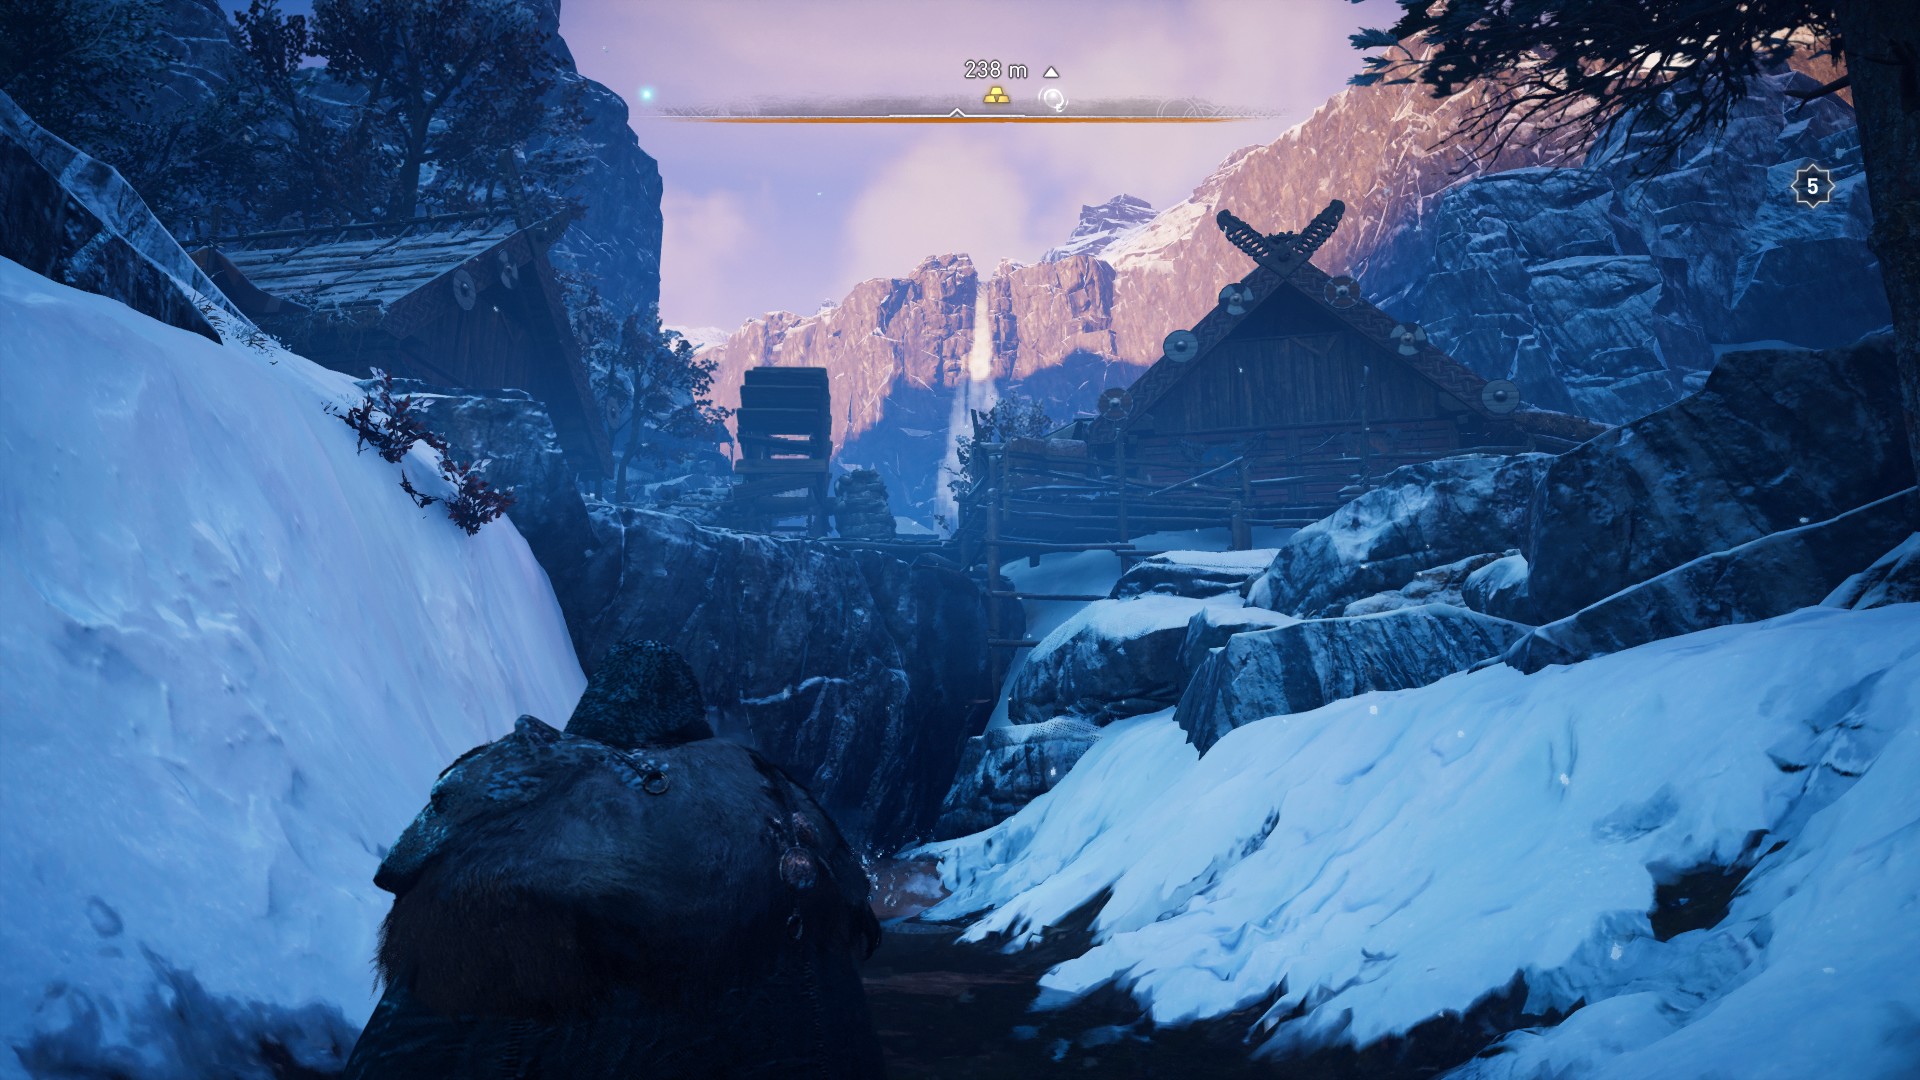
This clue is located in Kjotve's Fortress in Norway. It's located northeast of the main Fornburg settlement and at the end of an inlet. It's a distrust area and the clue is inside one of the houses here.
The easiest way to get it is to head up the the small stream to the left of the main docks. You should see a watermill ahead, above a small waterfall. Climb up here and walk around the building to your right until you find an open door. Once inside, you'll find this clue on a table. It reads:
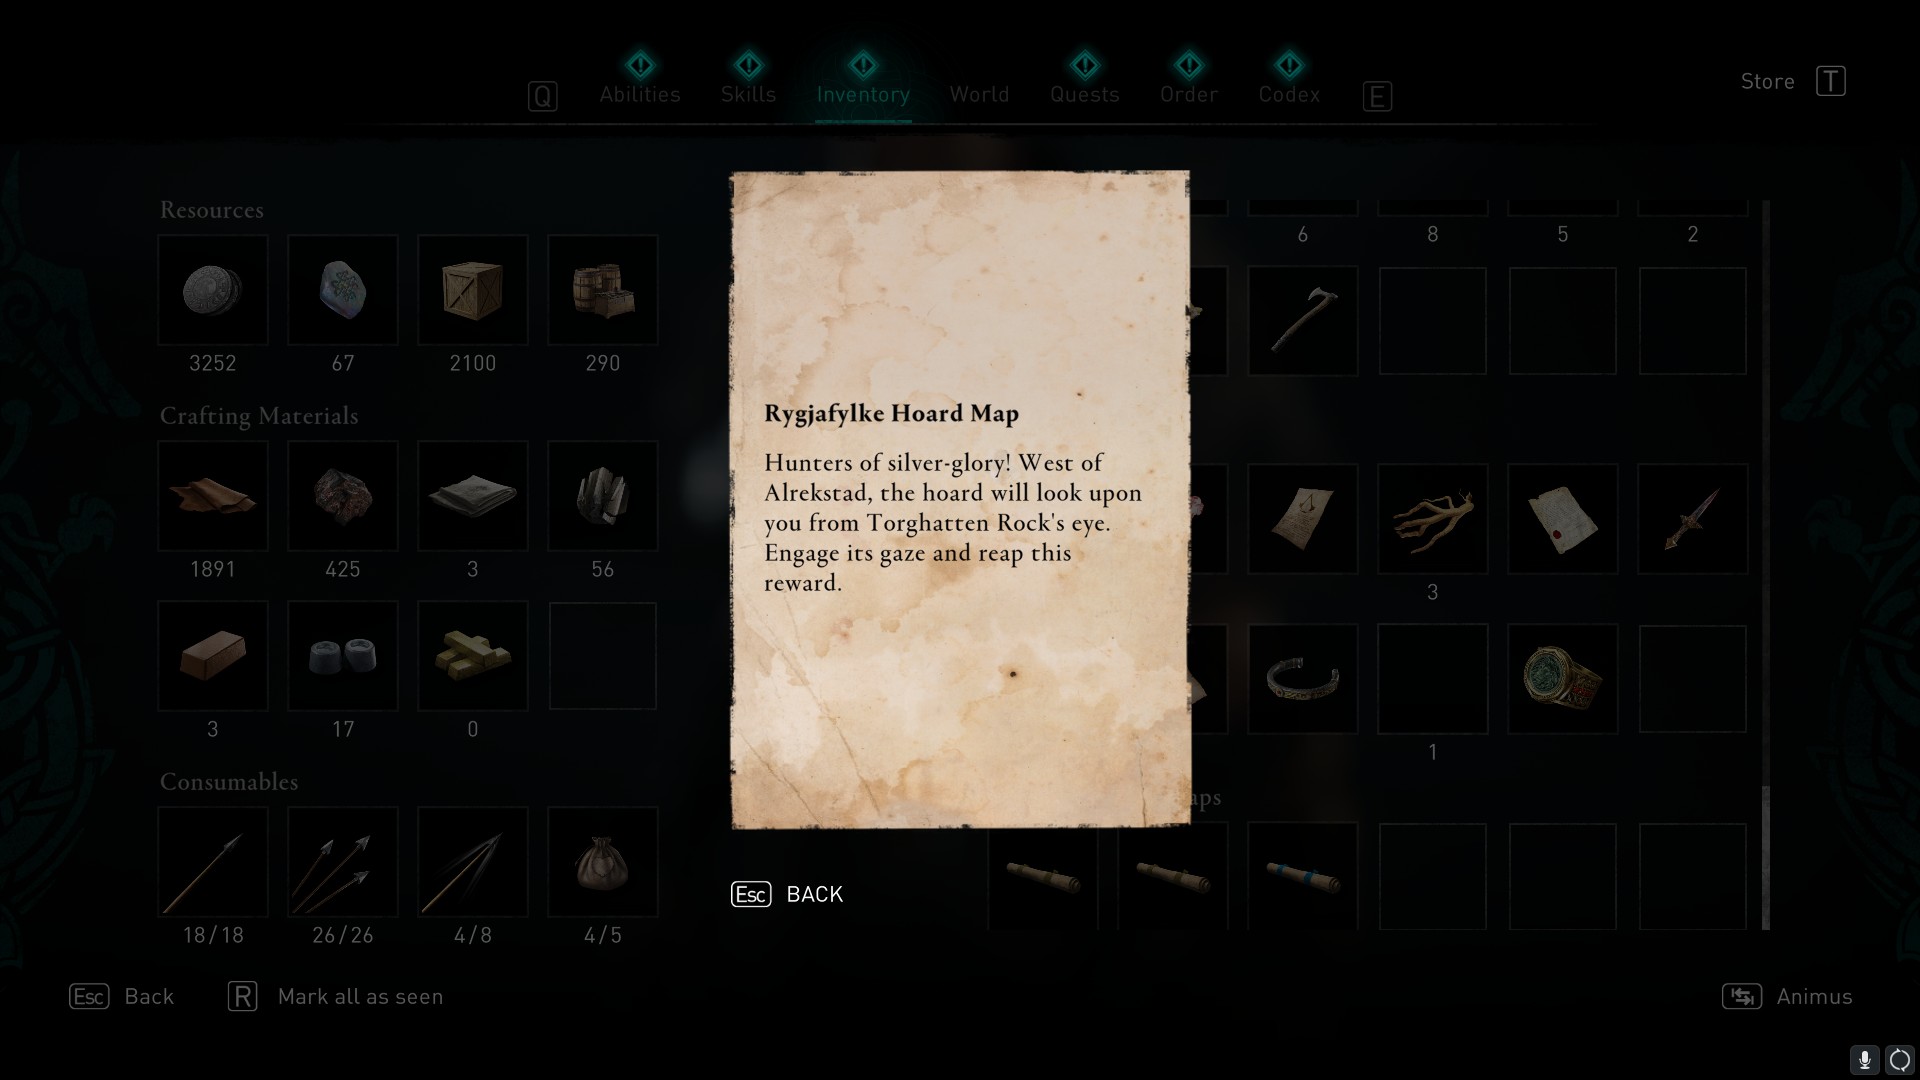
Hunters of silver-glory! West of Alrekstad, the hoard will look upon you from Torghatten Rock's eye. Engage its gaze and reap this reward.
Solution
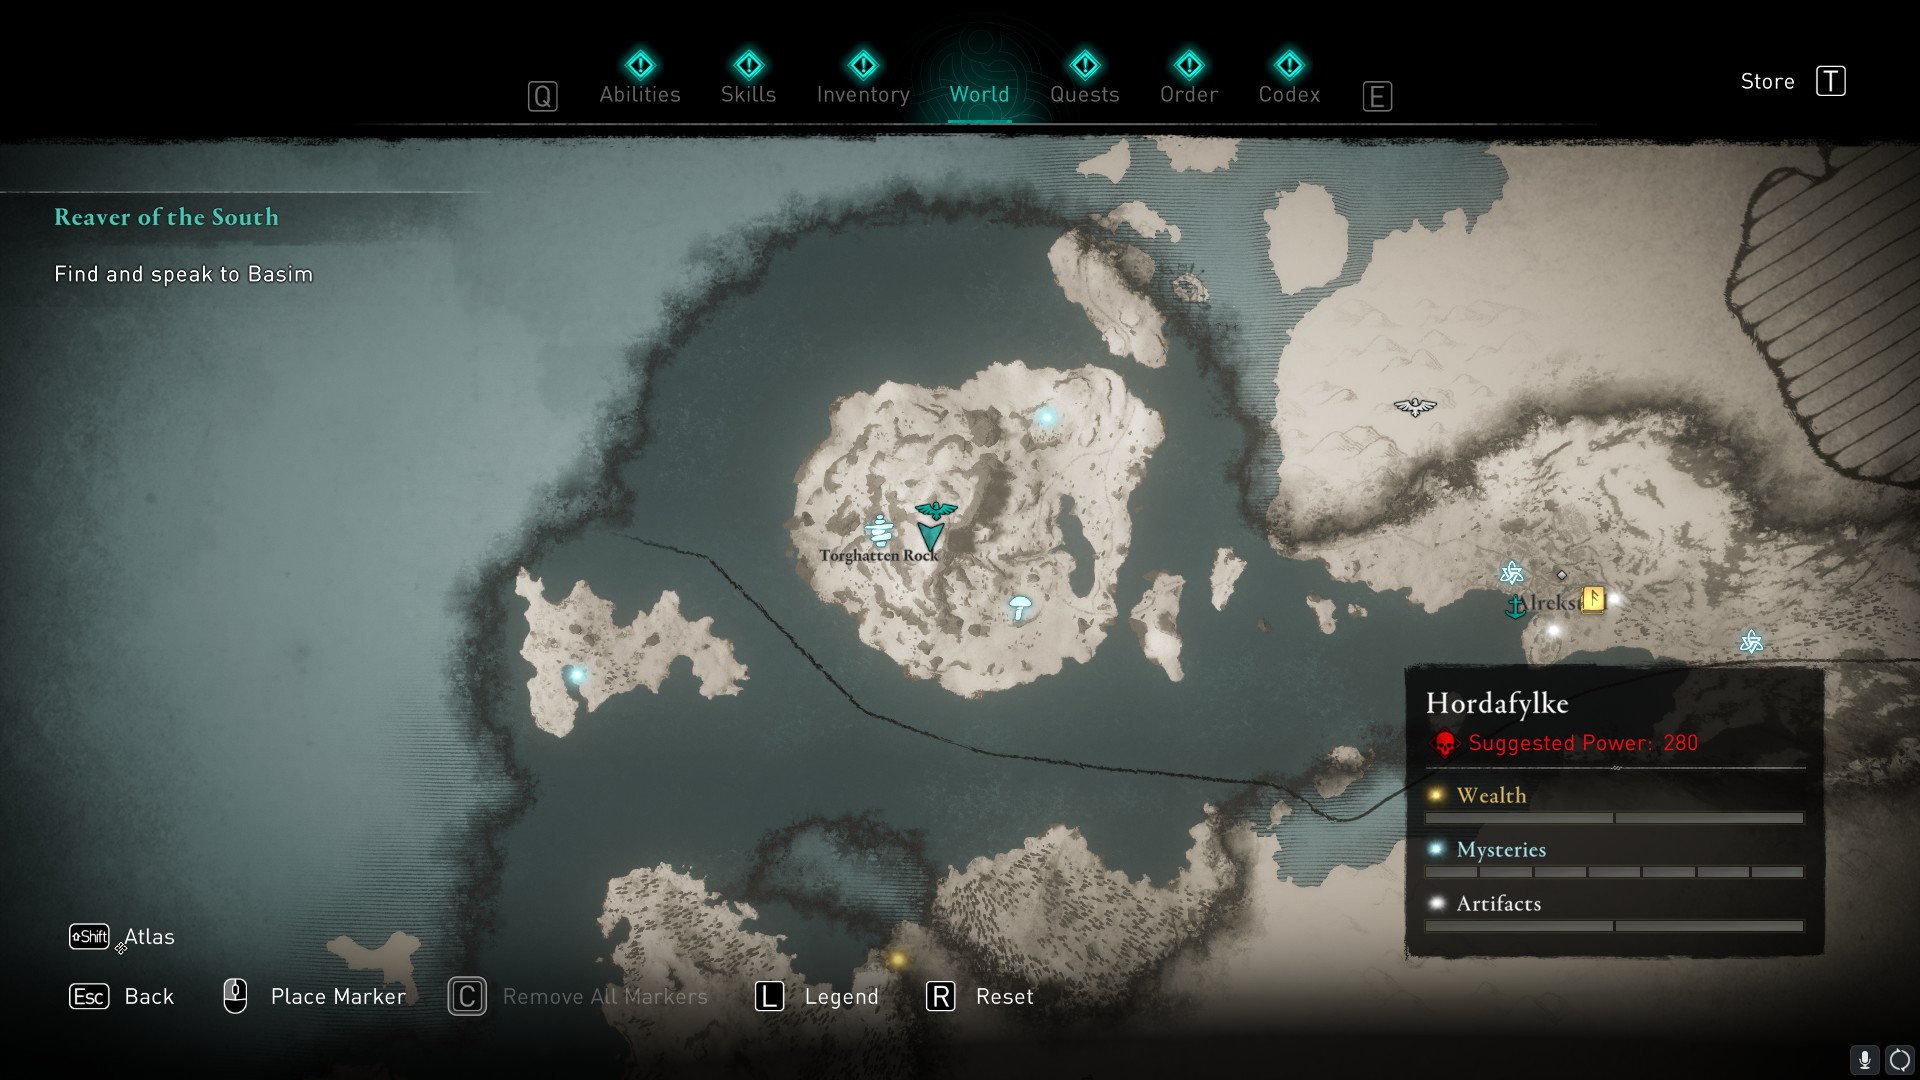
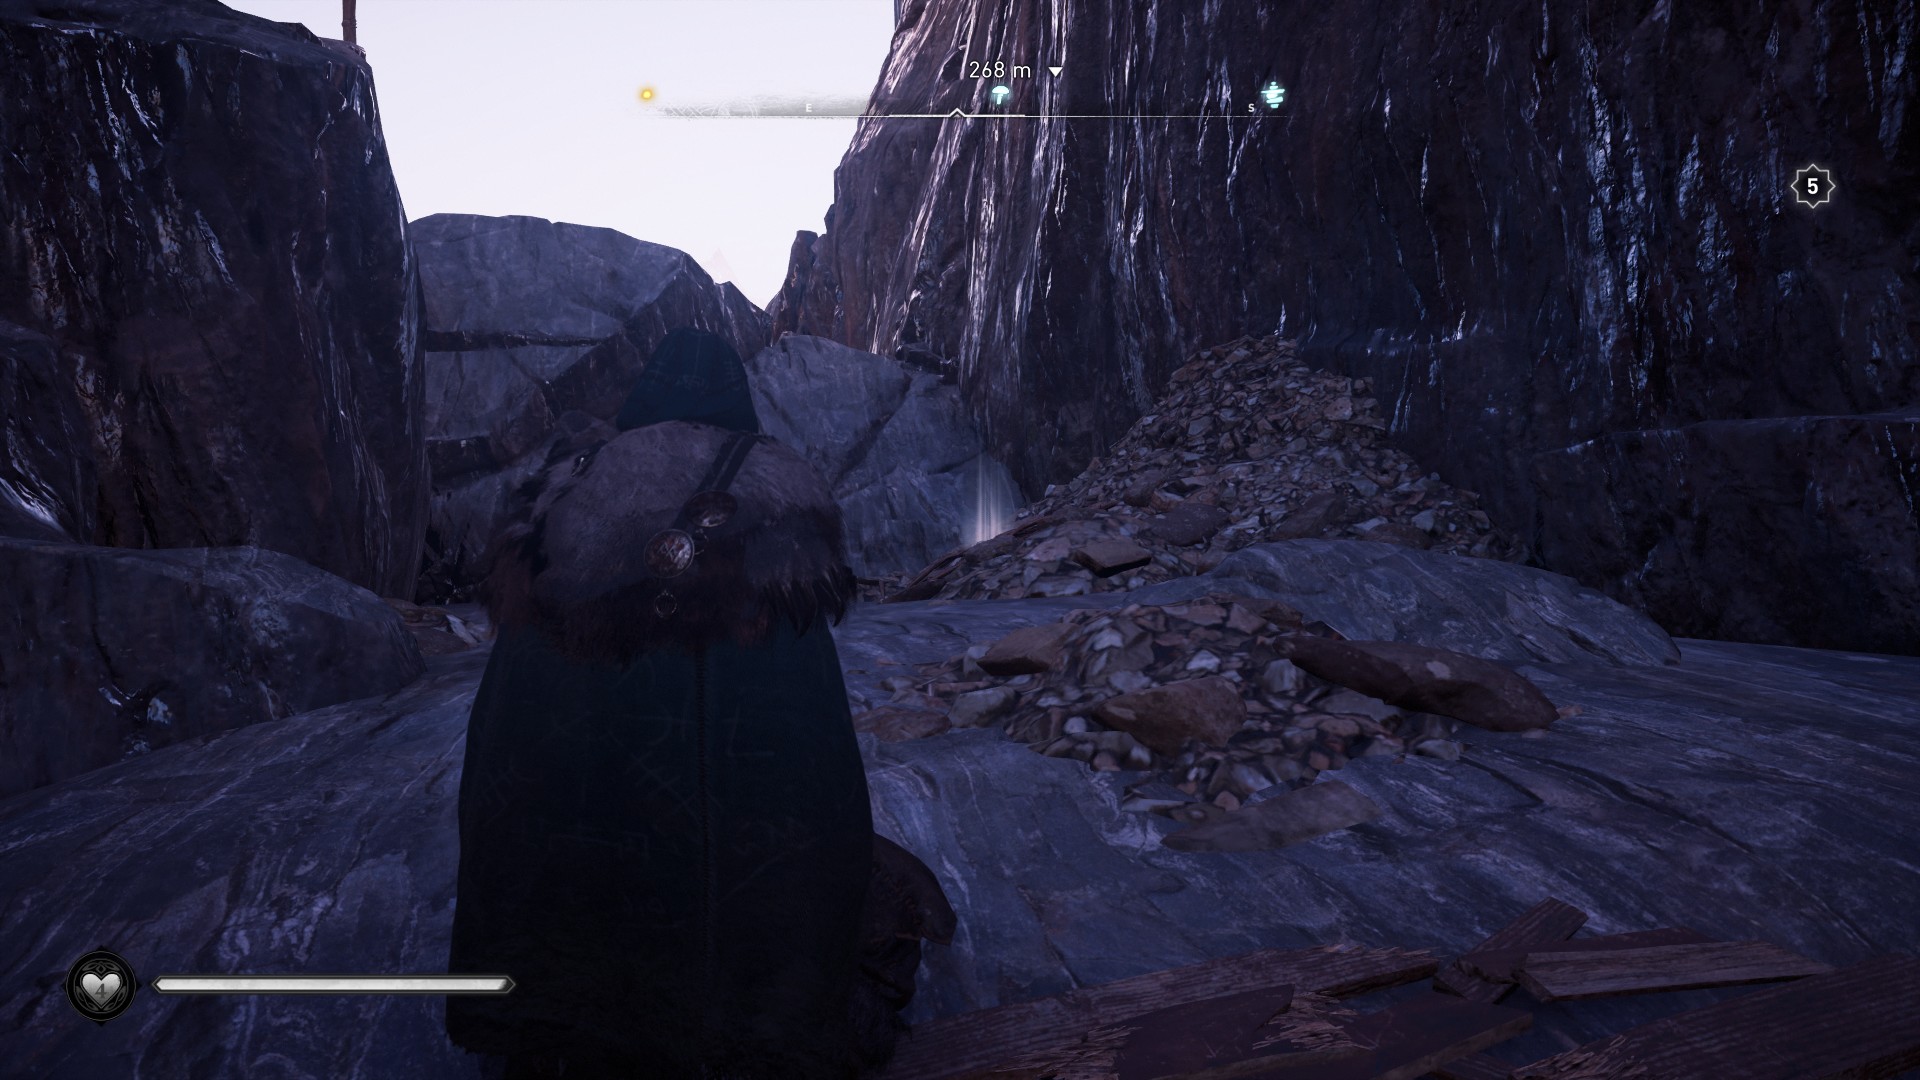
This clue is misleading in a number of ways. Firstly, the treasure is located in Hordafylke to the north, and it's not east of the village of Alrekstad, it's actually on the large island to the west.
The treasure can be found just southwest of the synchronisation point there. Make your way down the very steep cliff face to reach the bottom. You'll see a huge tunnel behind you, so head to the end to find the treasure. Loot it to receive the Snakebite Scheme (Sail) for your longship.
- AC Valhalla wealth: Get rich quick
- AC Valhalla map: All the key destinations
- AC Valhalla armor: The best you can find

Sarah started as a freelance writer in 2018, writing for PCGamesN, TechRadar, GamingBible, Red Bull Gaming and more. In 2021, she was offered a full-time position on the PC Gamer team where she takes every possible opportunity to talk about World of Warcraft and Elden Ring. When not writing guides, most of her spare time is spent in Azeroth—though she's quite partial to JRPGs too. One of her fondest hopes is to one day play through the ending of Final Fantasy X without breaking down into a sobbing heap. She probably has more wolves in Valheim than you.

