How to win space battles in Starfield
Become a space ace and strike fear into the Crimson Fleet.
Keep up to date with the most important stories and the best deals, as picked by the PC Gamer team.
You are now subscribed
Your newsletter sign-up was successful
Want to add more newsletters?
Join the club
Get full access to premium articles, exclusive features and a growing list of member rewards.
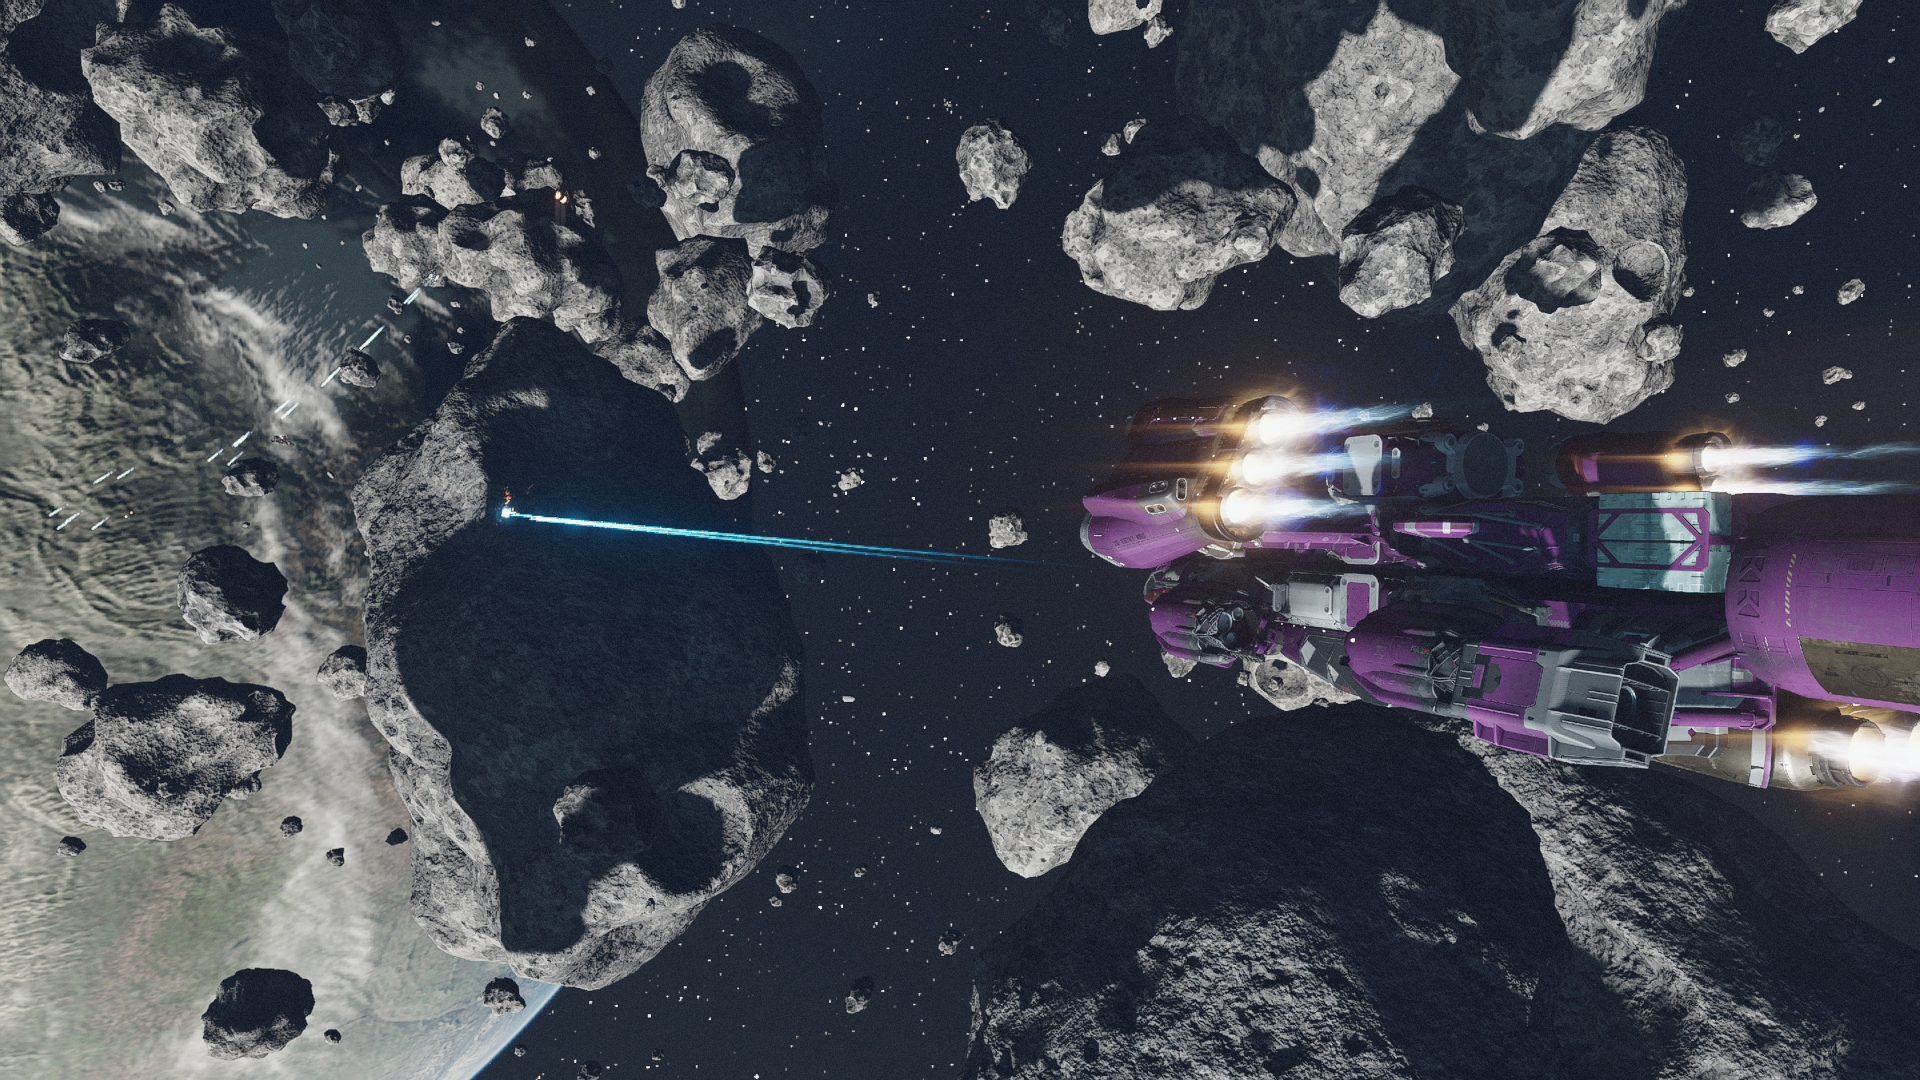
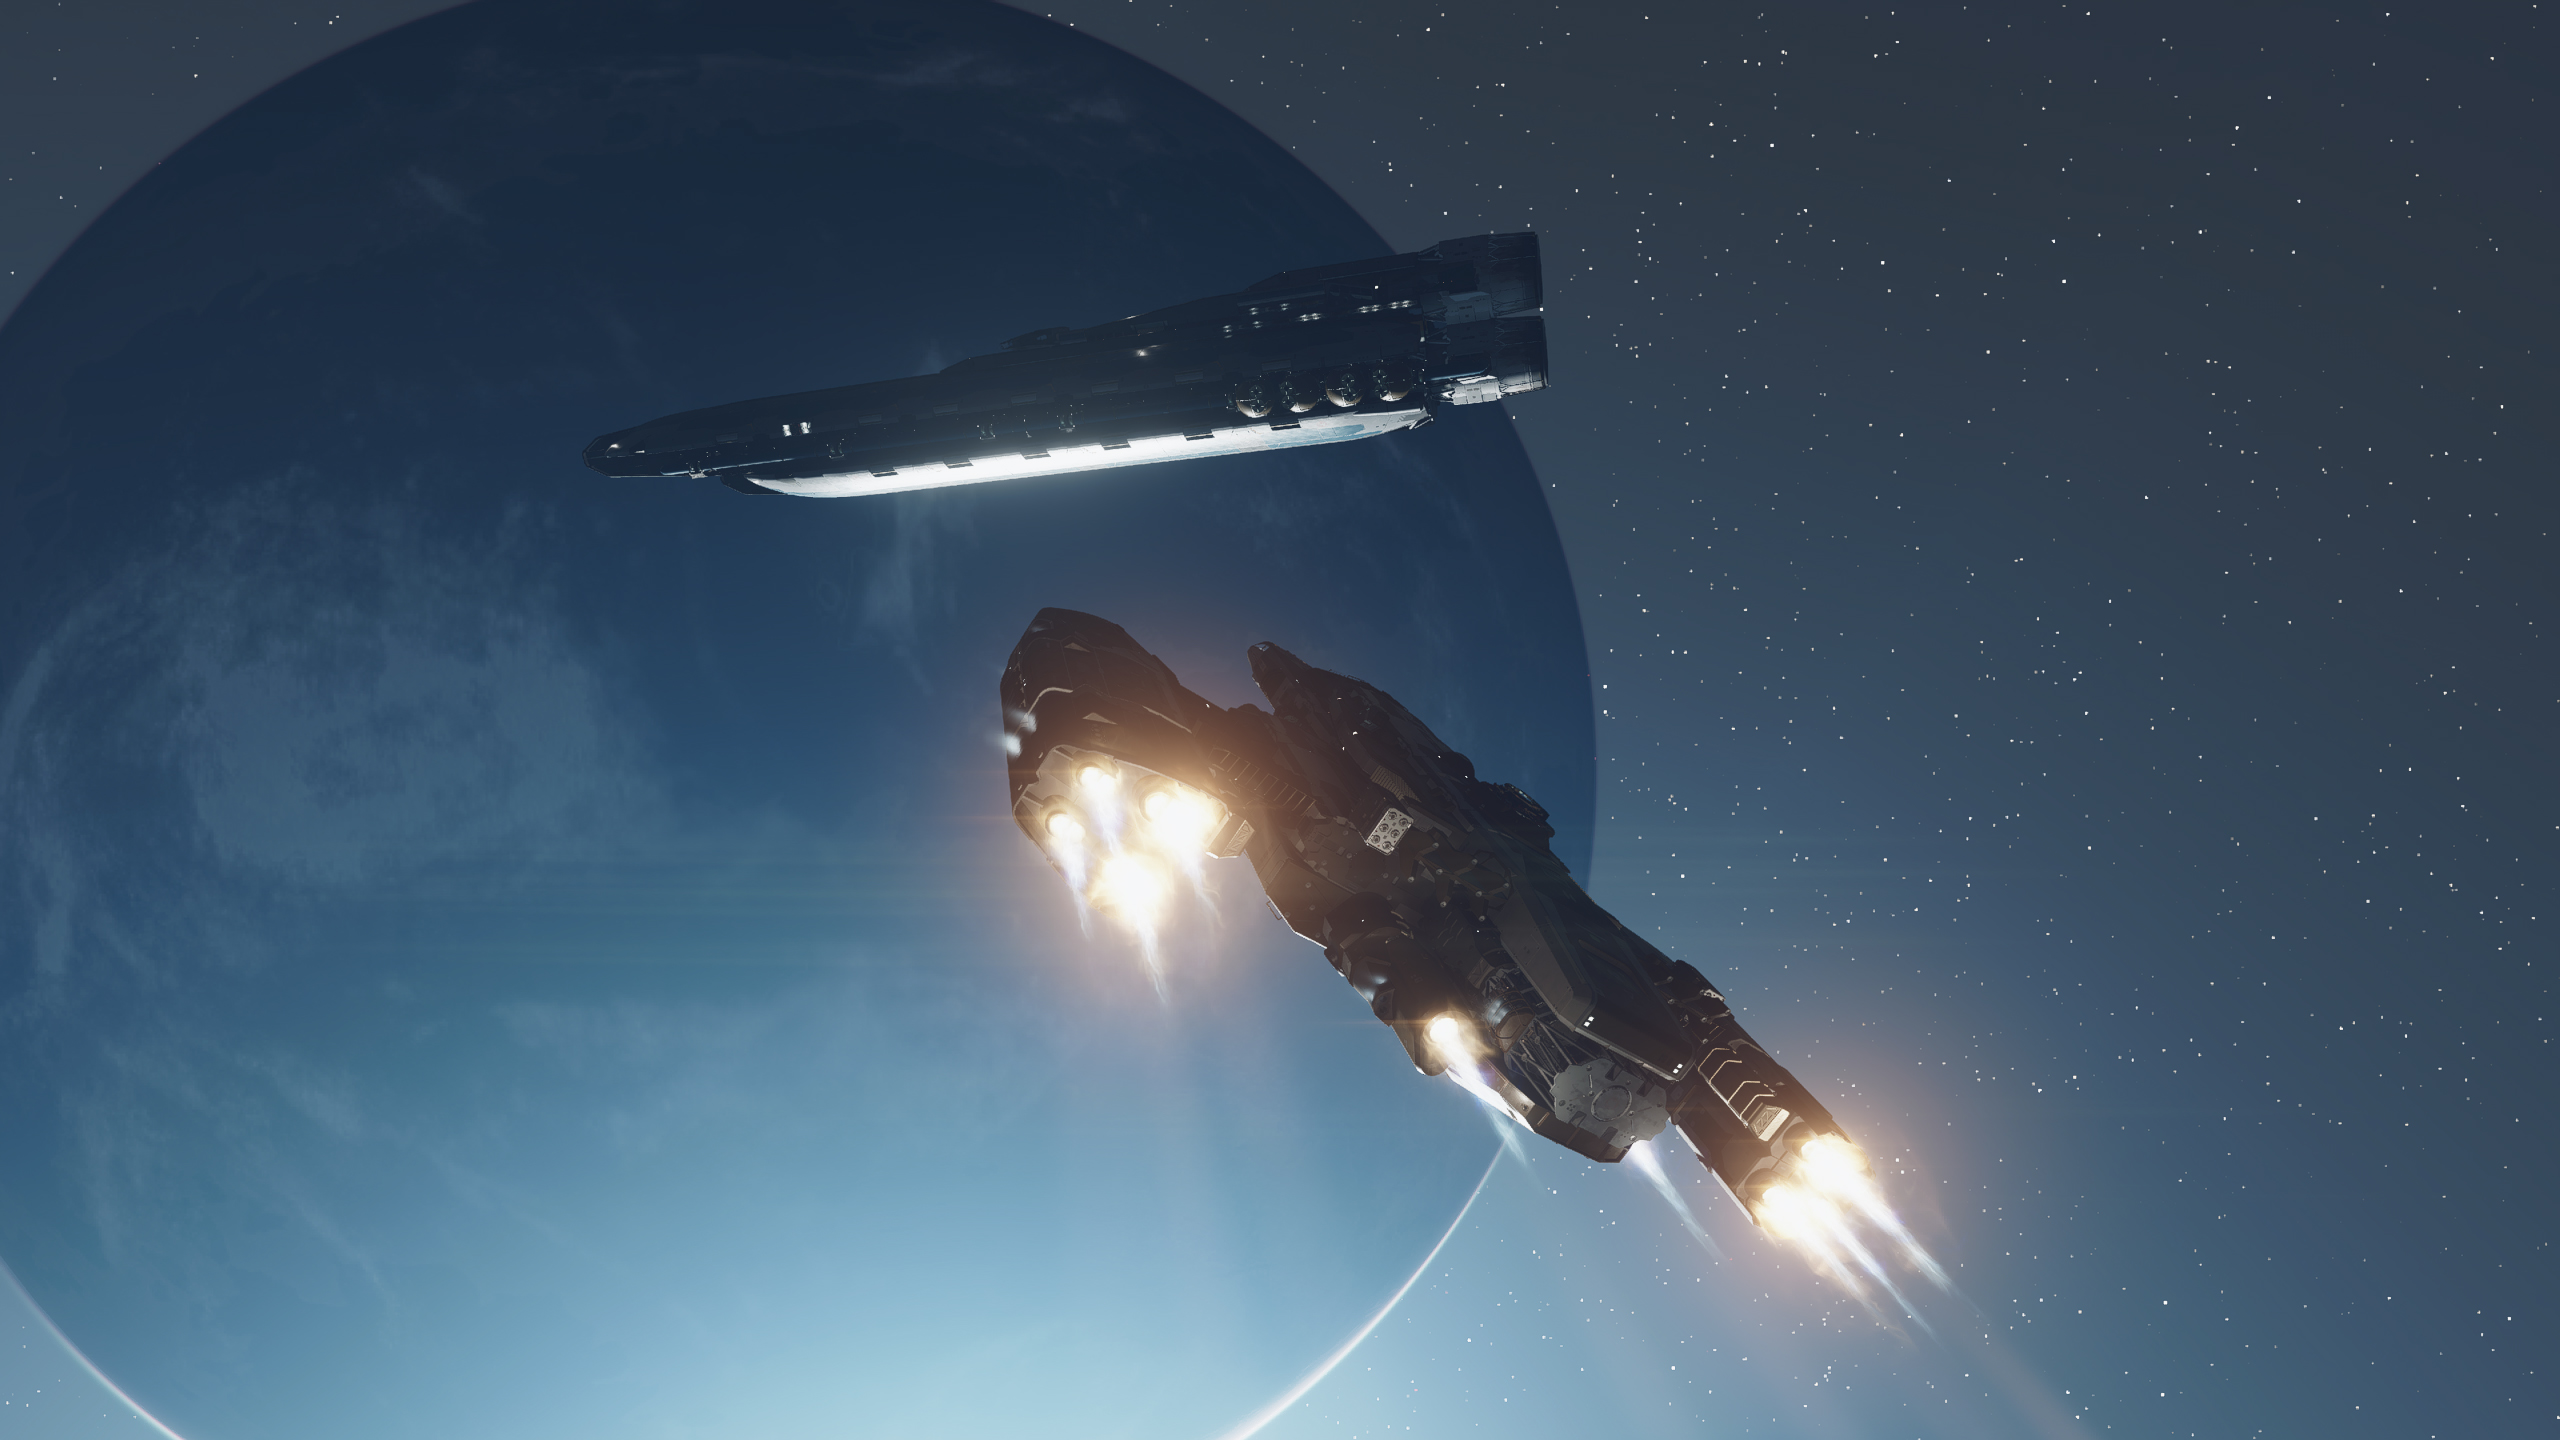
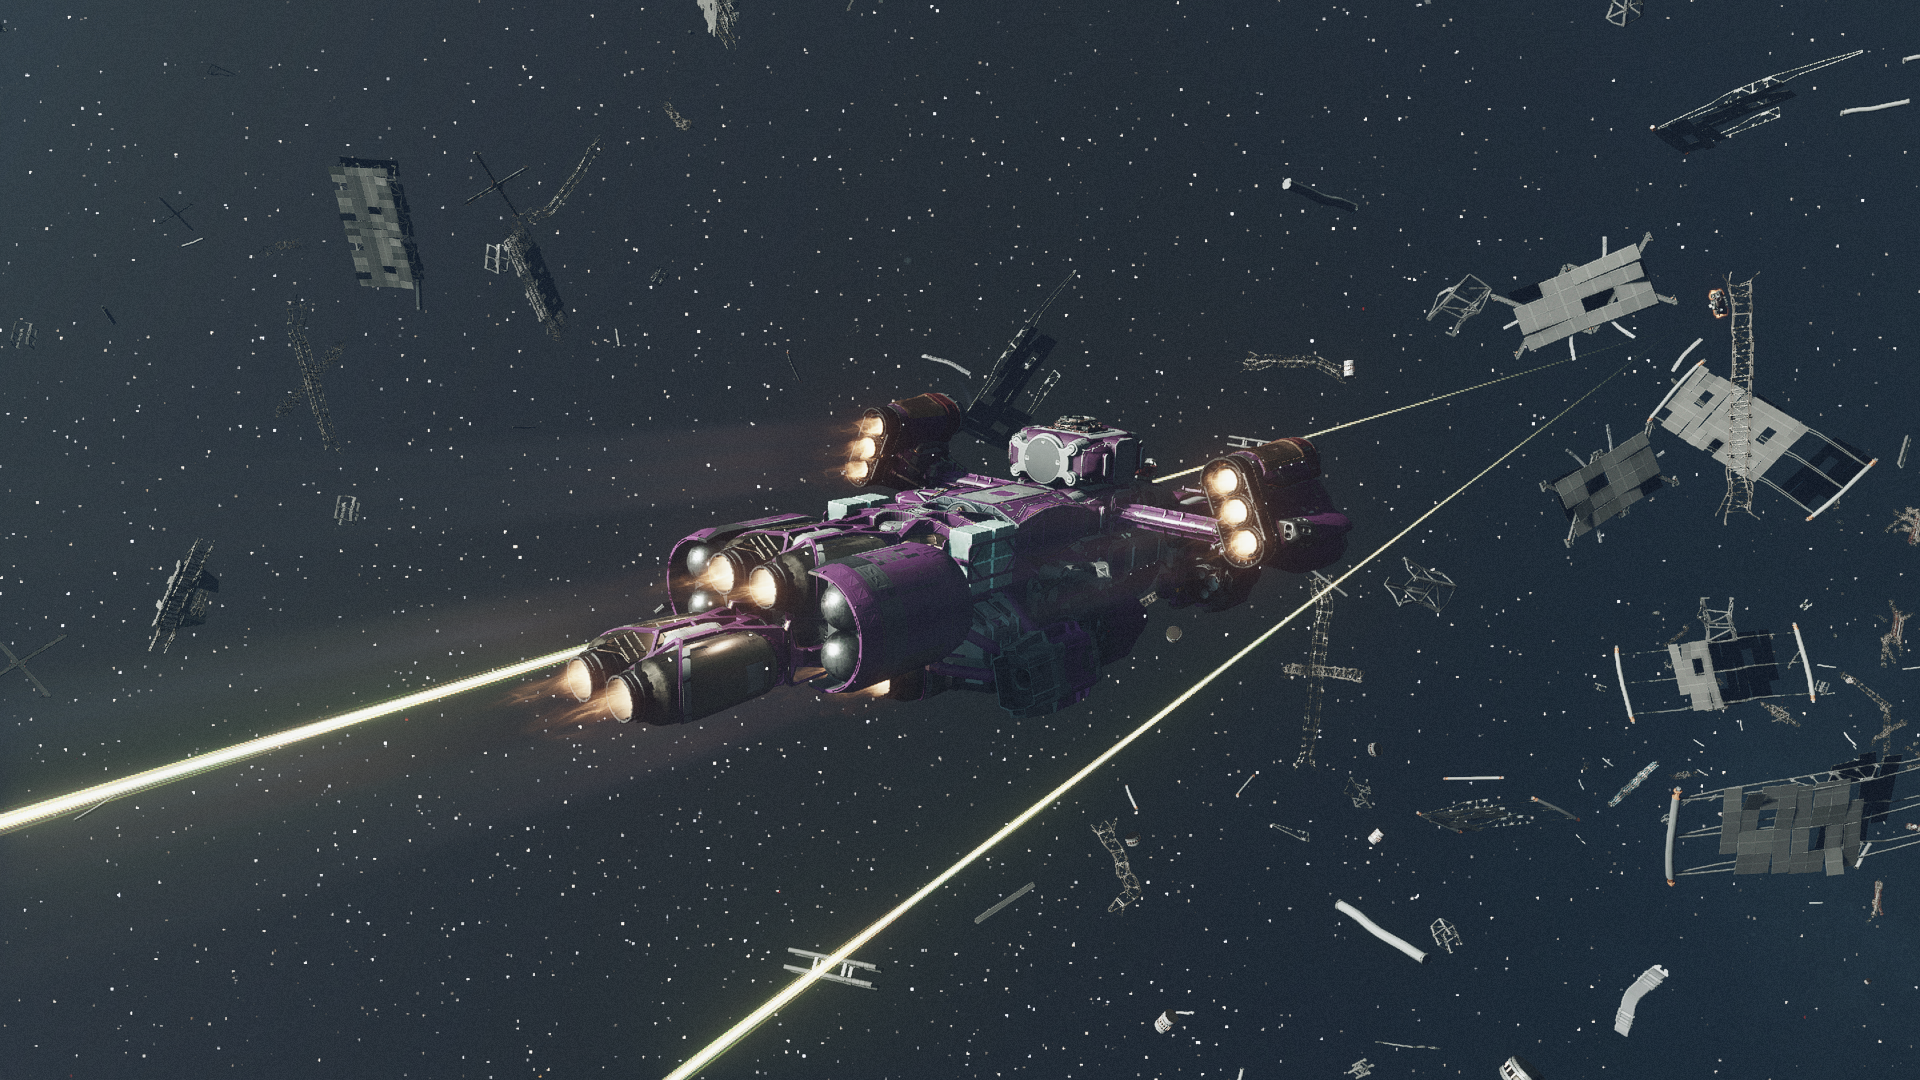
Exploring the galaxy isn't a peaceful pursuit, as it turns out. As you grav jump from system to system, you're always at risk of getting embroiled in a space battle—so it pays to know how ship combat works in Starfield. Let's get you up to speed on the key techniques.
Space combat guide
Starfield's space battles are fairly simple, but it's not always great at explaining the best way to play. Follow these straightforward tips, and you'll be a lot better prepared for that next pirate attack.
Maneuvering
Spaceships are fast, and when something's moving fast, it can't turn easily. If an enemy ship isn't in your field of view, and you need to make a sharp turn to get it back in your sights, the best thing to do is to crank your speed right down, make the turn, then crank it up again. You'll find your turning arc is much quicker, and you can outmaneuver your enemies.
However, you'll want to spend as little time slowed down as possible, because you need speed to outrun enemy missiles and prevent ships from getting a clear bead on you. In a pinch, remember to boost for an extra burst of speed—especially when the computer warns you missiles are incoming.
Repair
Once your shield is taken down, damage starts being applied directly to your hull—and that's bad news. You can use ship parts to repair in battle—they're basically like medpacks for spaceships—so make sure to keep a good supply on hand. If you run out, make a dash towards an enemy ship you've already defeated and loot it. Many of them have ship parts, and grabbing them mid-fight can be a lifesaver.
Between combats, the most efficient way to repair your damage is to head to a port (such as New Atlantis) and pay 1000 credits for a full heal. Ship parts are precious, so you'll want to save those for when you need to heal mid-fight.
Targeting

Starfield guide: Our hub of advice
Starfield console commands: Every cheat you need
Starfield mods: Space is your sandbox
Starfield traits: The full list, with our top picks
Starfield companions: All your recruitable crew
Starfield romance options: Space dating
For the most part, targeting enemy ships in Starfield is as simple as getting them in your sights and firing. The trick is keeping them in view. There is a little nuance to it, however.
Keep up to date with the most important stories and the best deals, as picked by the PC Gamer team.
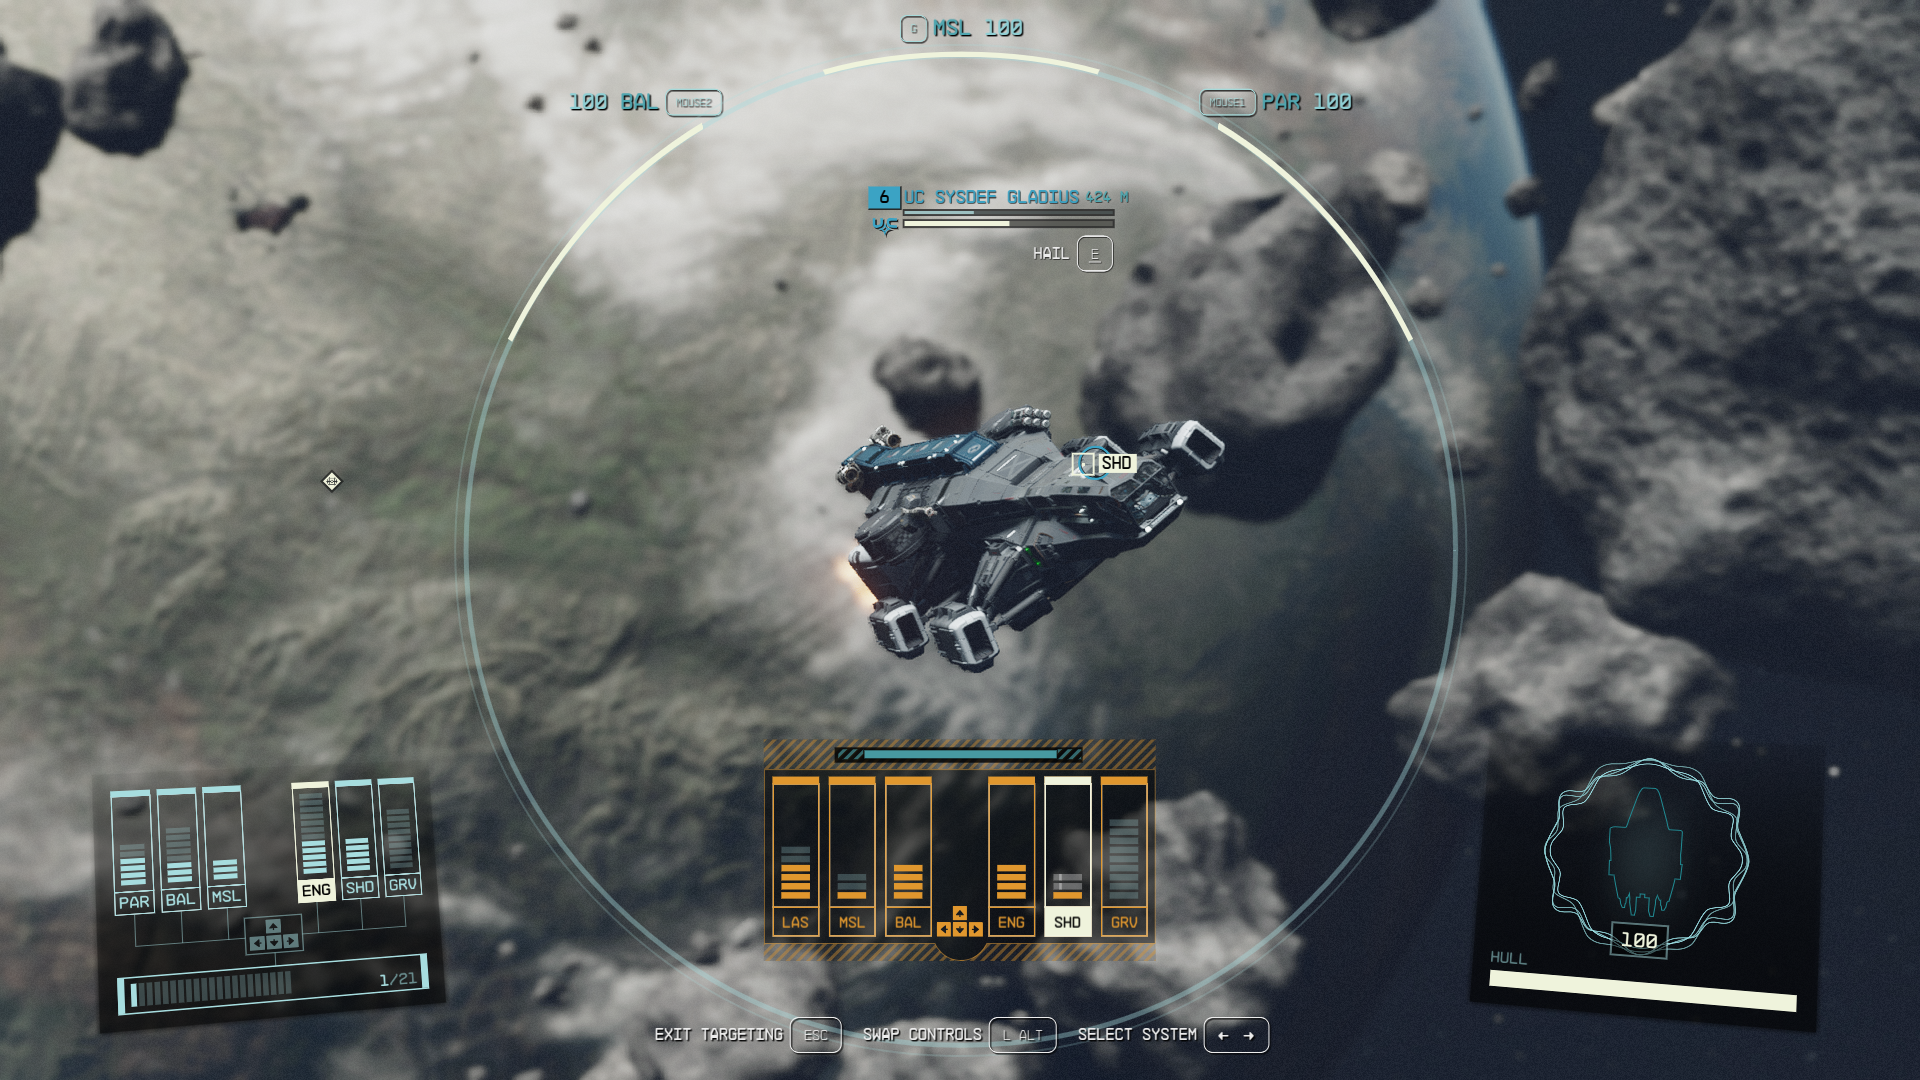
Sometimes when ships are further away, you'll see a big circle next to them. That indicates that you're far enough away that you need to lead your shots—by shooting at the circle instead of the ship itself, you'll account for the travel time of your projectiles and hit it by firing at where it's going instead of where it is.
For missiles, you'll want to keep the enemy ship in view and stay close until the red square symbol appears over them. Once that's fixed on them, fire missiles like crazy, as they may flit out of targeting range at any minute.
If you have the Targeting Control Systems skill, you can also go into Target Lock mode once you've got an enemy locked on. This allows you to zoom in and target individual systems, which is particularly useful for boarding—see the section below.
Power management
In Starfield space battles, you can shift power between different systems on your ship to affect your performance. You'll never have enough power to keep every system fully topped up, so hard choices have to be made.
More power in the engines makes you faster; more power in shields makes you tougher; and more power in your weapons helps them reload faster.
I generally find it's best to max out shields, keep engines at around four pips (as you'll usually be slowing down and speeding up a lot, having a high max speed isn't as important), and then split whatever you've got left evenly between weapons. In a fight, you don't need any power in your grav drive at all, unless you're trying to escape, so feel free to drain that completely.
In theory, agile players will get the best results by constantly switching power—siphoning it from ballistics to energy to take down the enemy's shield, then back to ballistics to take down their hull, or shifting energy in and out of the engines based on whether they're turning or trying to fly out of reach of missiles. In practice, that can be really fiddly and quite distracting, and for most players it will make most sense to find a comfortable combat loadout for your power, and stick to it for the whole fight, concentrating on the battle rather than the bottom left corner of the screen.
Escaping combat
If you do get yourself into a pickle out there—or just can't be bothered to fight—it's actually pretty easy to escape space combat in Starfield. Just shunt all your weapon power into the grav drive instead, head to the galaxy map (where time is paused) to pick a spot to jump to, and you'll warp away. Sending that power to the grav drive is key—the more energy it has, the faster it'll charge and get you out of there.
Picking your battles
Ultimately Starfield is still more an RPG than it is a space combat sim, and there's not much you can do if your enemy is simply much higher level than you. Before you jump to a system, you can see what its recommended level is—pay attention to that, and don't accidentally jump to a level 40 system when you're only level 5. Equally, if you're high level but want to go out and bully some novice pirates, seek out low level systems.
How to board enemy spaceships
You actually don't have to blow enemy ships up to win space battles in Starfield. If you want to, you can board them instead, killing their crew and, if you like, taking their ship for yourself. It's a fun change of pace if you're finding all the long-range blasting a drag, but it can be a little tricky to figure out.
In order to board an enemy vessel, you first need to knock out its engines so that it can't move. Target Lock will help with this (unlocked through the Targeting Control Systems skill), as it lets you shoot directly at the engines. It'll also be very handy to have an EM weapon. These guns deal very little damage, but directly disable systems, making this style of play much easier. If boarding is your focus, you probably want an energy weapon (for taking down shields) and a missile launcher (also for shields, and a good back-up if things get dicey) to go with your EM weapon.
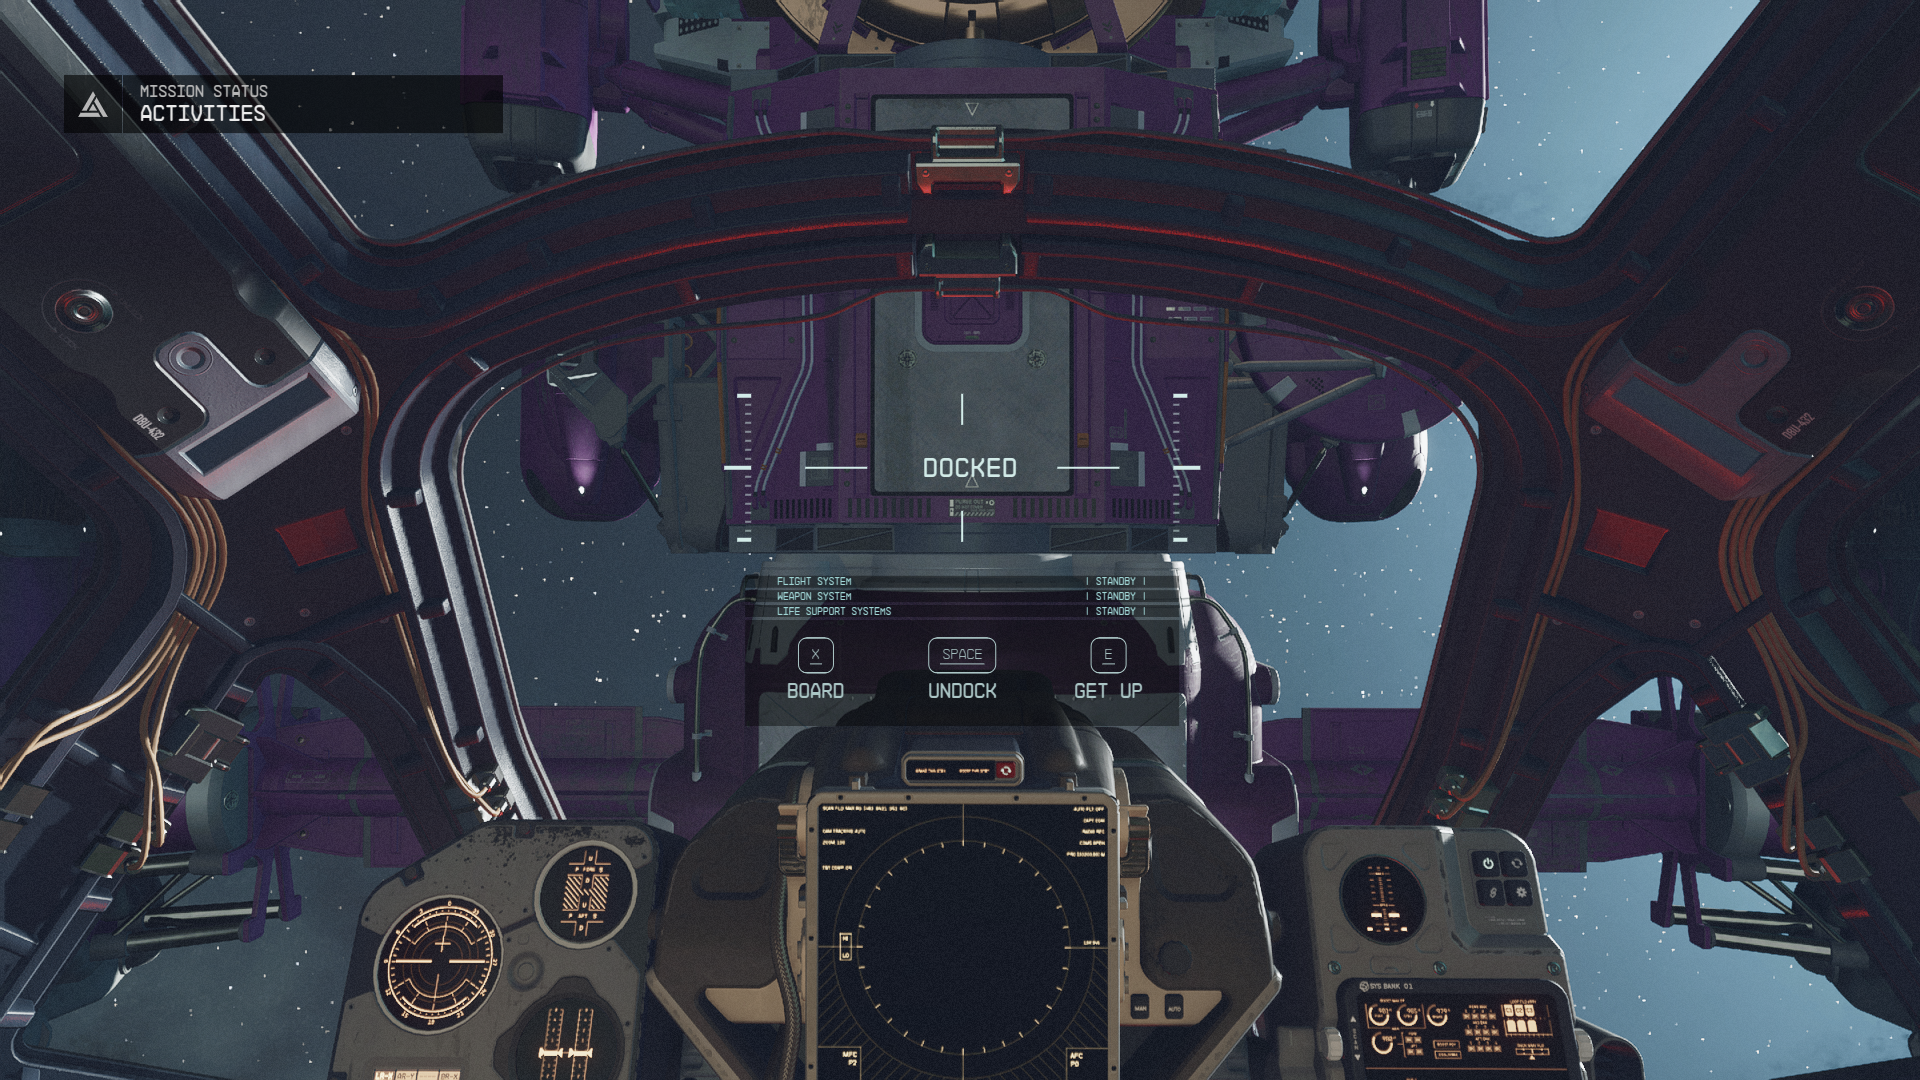
Once a ship's engines are disabled, fly up to within 500m of it, go into Target Lock, and you'll get a prompt to dock with it. This will automatically connect you to the enemy ship and give you the option to board.
Then, just go room-by-room shooting the enemy crew—they don't tend to be too wily so they won't offer too much resistance. Once they're all dead, you can sit down in the cockpit and take control, or leave it a floating derelict and return to your own ship.
Making the best spaceship
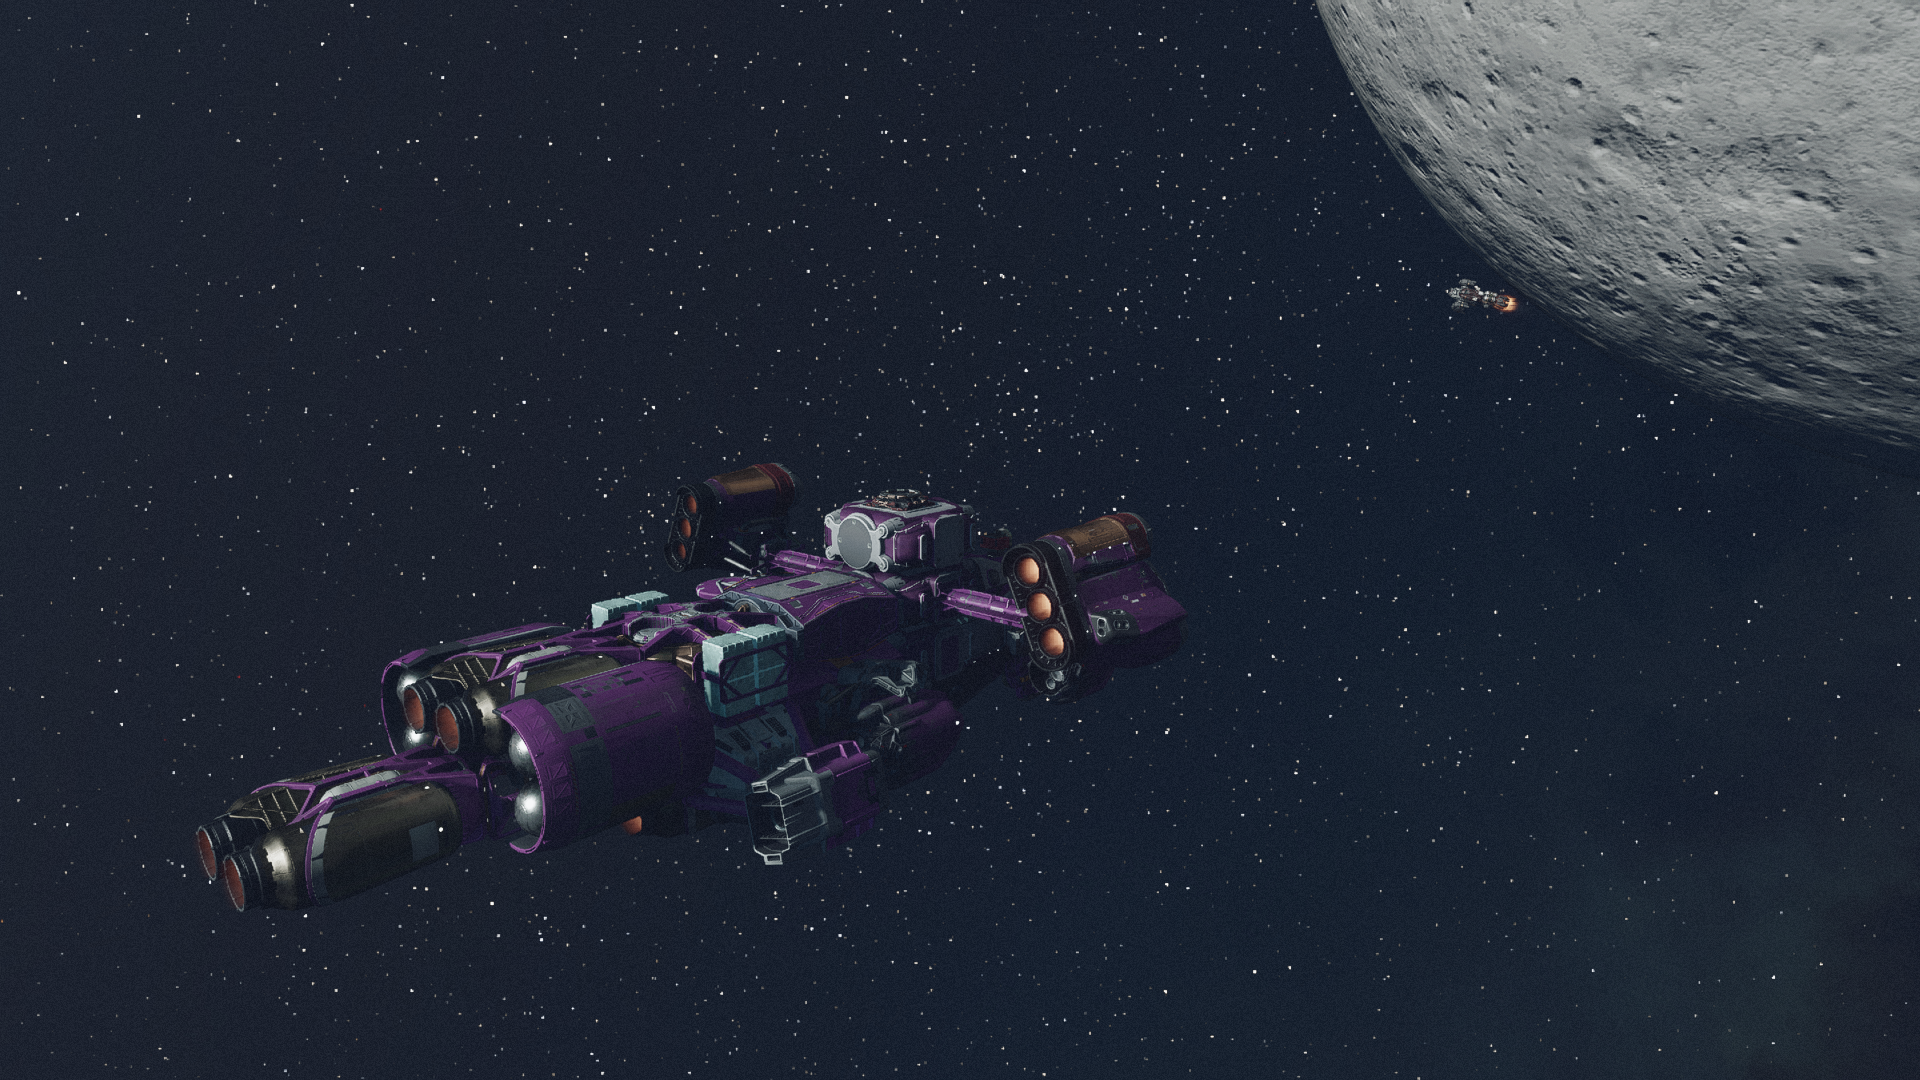
A pilot's only as good as the hardware he's working with, and if you don't keep your ship well-equipped, you'll always be at a disadvantage in battle. I pour most of my credits back into upgrading my ship with new parts, and it makes a huge difference.
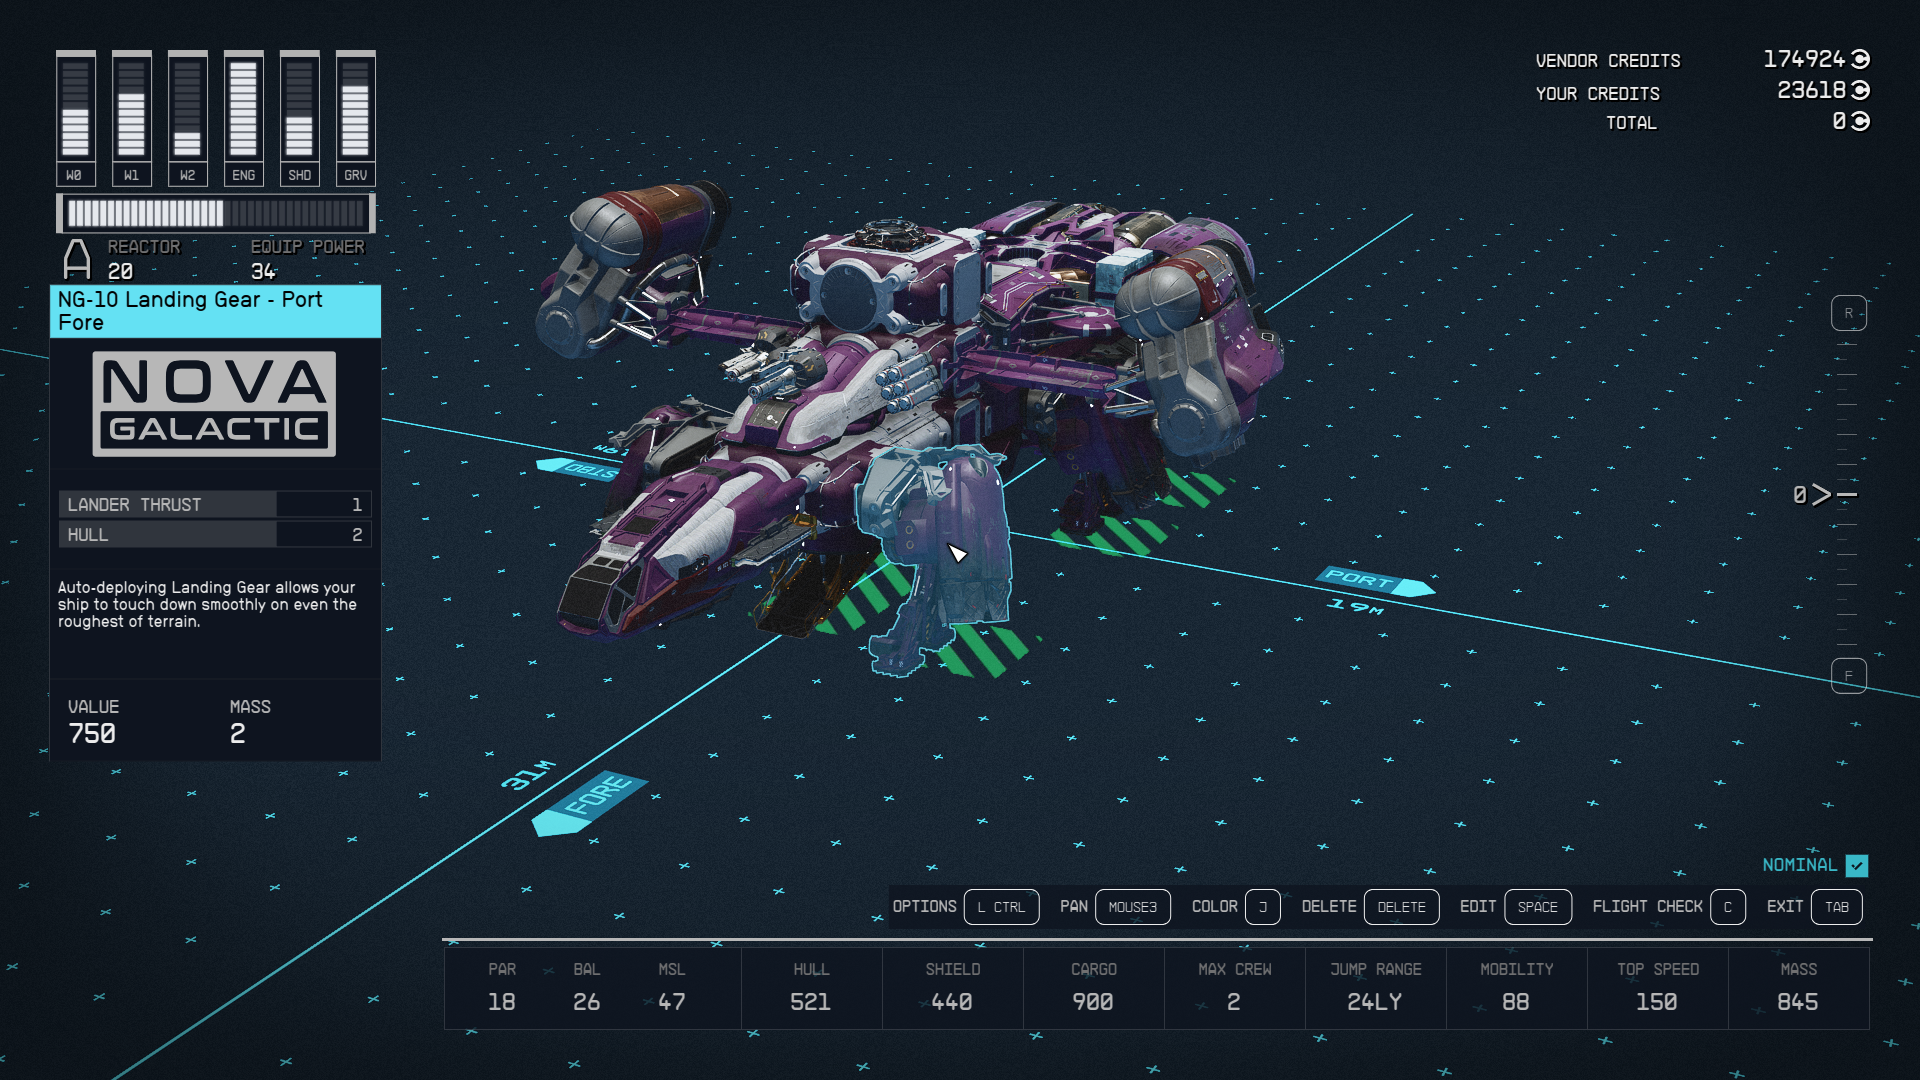
Head to any space port—New Atlantis is a convenient one—and talk to the technician to start modifying your ship. You can go into the upgrade interface to simply swap parts in and out, but for the best results you should use the Ship Builder, which gives you far more ability to customise your vessel. Our guide on Starfield ship customization goes over the basics but here we'll focus on the best ways to build for battle.
Weaponry
Obviously you can't win a space battle without guns, and your choice of weapons is really important. You can only take three different types of weapon, so it's important to consider what your strategy is going to be when you're using them.
Ballistic weapons are most powerful against hulls, energy weapons are best against shields, EM weapons are low damage but disable ship systems, and missiles… well, they basically destroy anything, but take time to lock on and only work quite close up.
Different weapons fire differently—so one ballistic gun might be a rapid-fire machine gun, while another might be a slow-firing cannon, and some energy weapons fire as sweeping beams. Pay close attention to each weapon's stats to get a sense of how it's going to work before you get out of the Ship Builder.
A solid go-to build is to take one energy gun, one ballistic gun, and one missile launcher. You should concentrate on firing the energy gun first until the enemy's shield is down, then hitting them with the ballistic gun to batter their exposed hull, all the while taking missile shots whenever you get the opportunity.
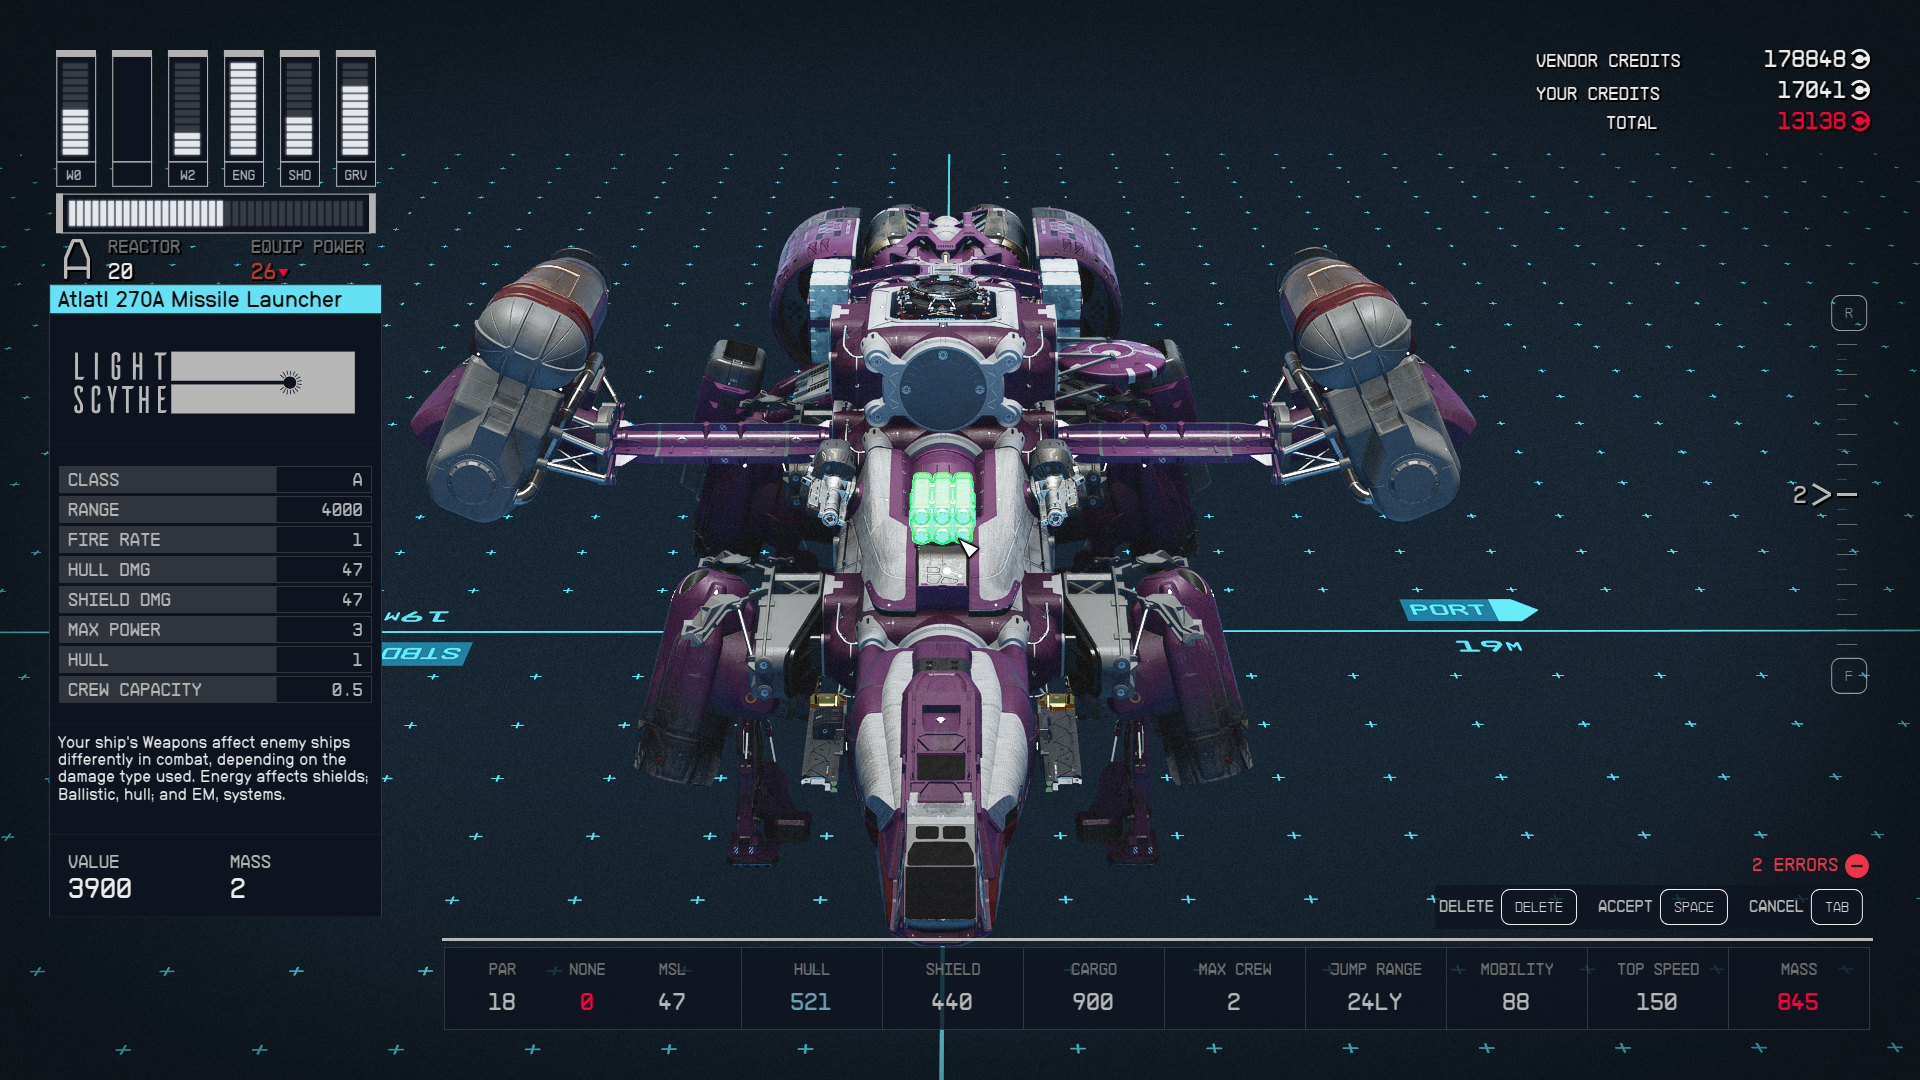
Taking multiple different weapons of the same category is generally a mistake, because it makes you too much of a one trick pony. However, what you can do is take multiples of the same gun, and they'll all just count as one weapon slot. For example, if one of your weapons is an Atlatl 270A Missile Launcher, you can have three of those all firing at once alongside your other weapons, as long as you've got the credits and the space on your ship.
If you're keen to defeat enemy ships by boarding them, you'll want an EM weapon—find more on that in the boarding section below.
Ship building
It pays to keep the rest of your ship in good shape too—a better shield will make you more durable, more engines will make you faster, and a better reactor will give you more power to distribute among your systems.
Managing components like these is a bit of an awkward balancing act in Starfield. The more things you bolt on, the slower and less maneuverable your ship will be, unless you can slap on more engines, which then demand a better reactor, which then makes your ship too heavy to grav jump…
You kind of just have to experiment to find configurations that work—and have a lot of credits ready to invest. But key things to keep in mind are:
- Use structures to extend your ship and give you new spots to attach components, but be as efficient as possible, because every new structure slows you down.
- Your docking port always has to be the highest, unobstructed point on your ship—and it has to be connected to your crew sections. This means it's usually better to build out rather than up.
- You can't stick anything in front of an engine port (presumably because it'd get fried as soon as you took off) so it's generally best to stick them either underneath your ship or extended out to the sides.
- Your ship doesn't need to look sensible or symmetrical to fly well—as long as your mobility score is high, it'll fly and fight just fine.

Formerly the editor of PC Gamer magazine (and the dearly departed GamesMaster), Robin combines years of experience in games journalism with a lifelong love of PC gaming. First hypnotised by the light of the monitor as he muddled through Simon the Sorcerer on his uncle’s machine, he’s been a devotee ever since, devouring any RPG, strategy game, or roguelike to stumble into his path. Now he's channelling that devotion into filling this lovely website with features, news, reviews, and all of his hottest takes.
 Join The Club


