How to overclock your 60Hz monitor and gain a gaming edge
Enjoy a smoother gaming experience with the tiniest bit of tweaking.
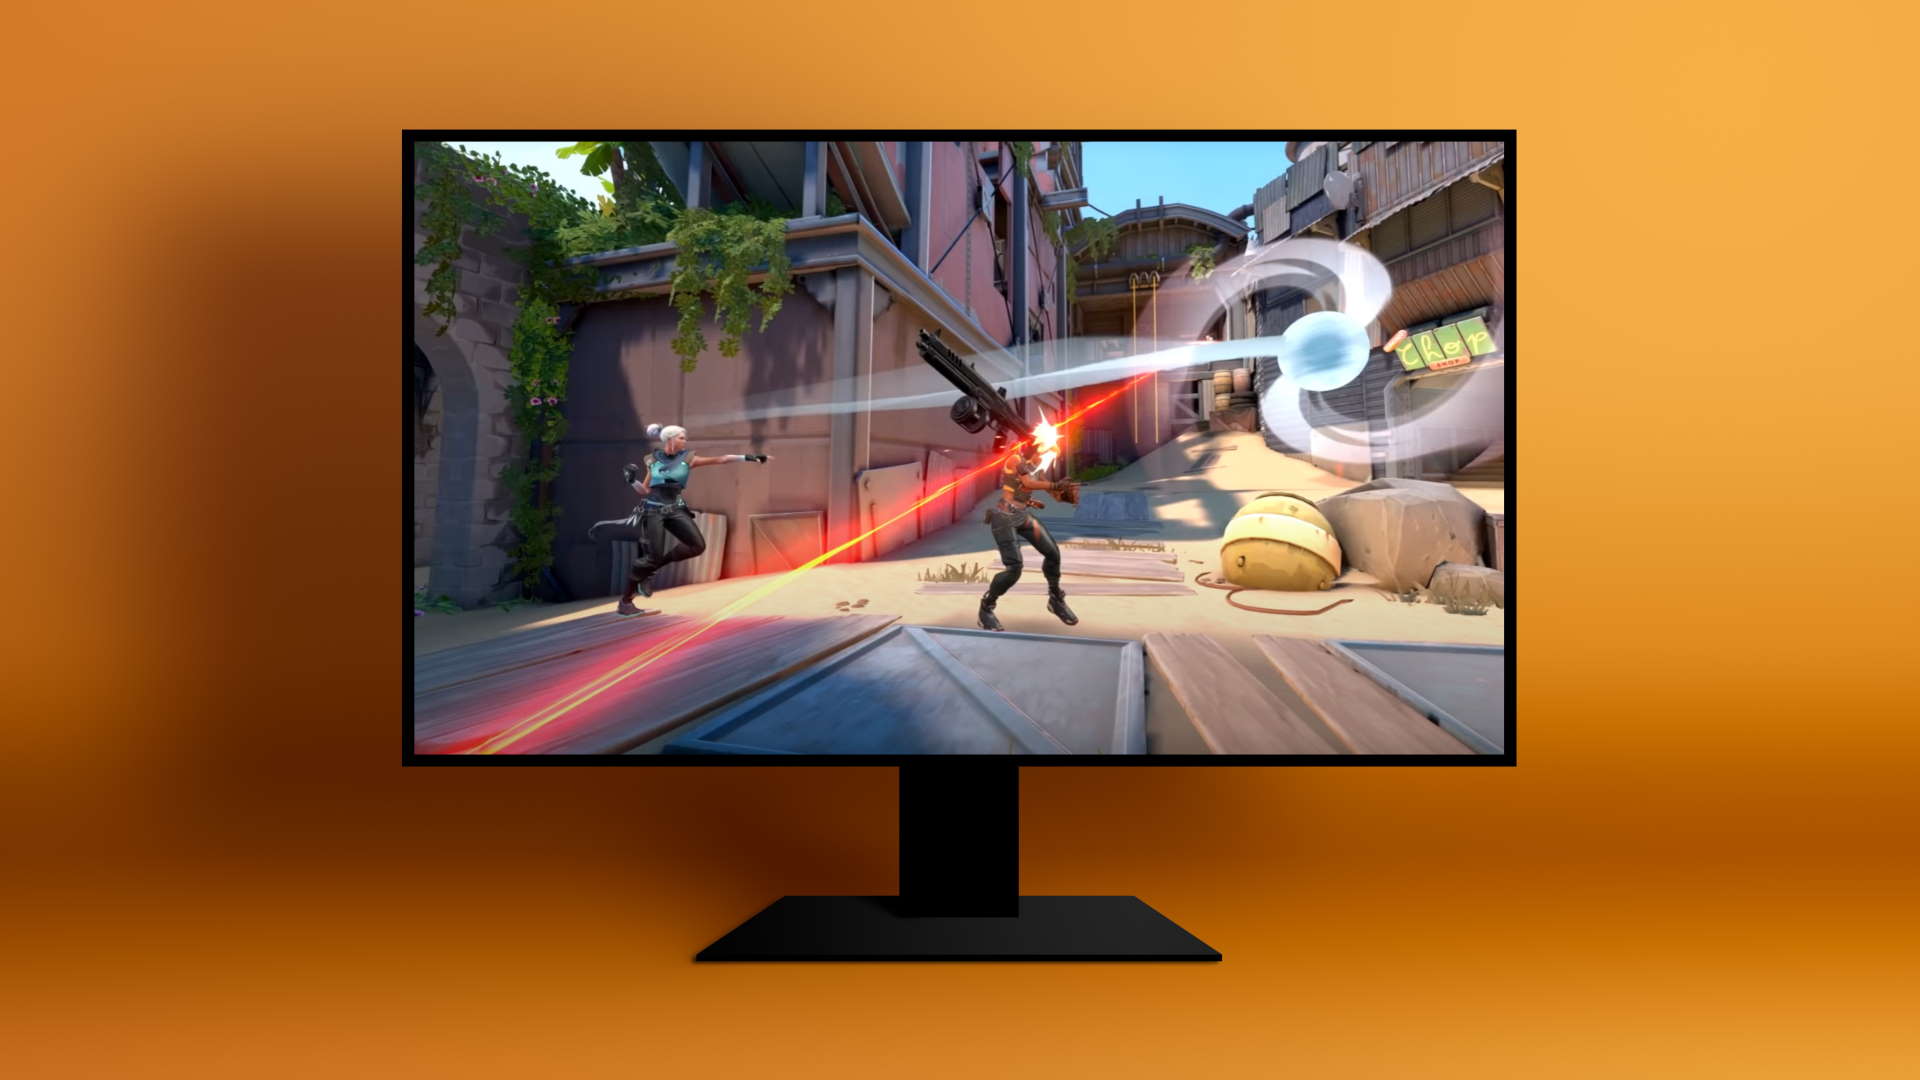
High refresh rate gaming is awesome. It's smoother, more responsive, and basically better in pretty much every way compared to what you'll see on a standard refresh screen. 'But high refresh rate monitors are more expensive!' I hear you cry. Well, while that can be the case, the good news is there's a good chance you can hit higher refreshes on your current monitor with a little overclocking magic.
That's right, you can overclock your monitor.
Plenty of 1080p monitors that ship at 60Hz can be pushed to 75Hz without much of a problem. You generally won't be able to go much higher than that, not significantly anyway, but even that 25% improvement will genuinely make your games feel different—smoother and more responsive.
Best gaming monitor: pixel-perfect panels for your PC
Best high refresh rate monitor: screaming quick screens
Best 4K monitor for gaming: when only high-res will do
Best 4K TV for gaming: big-screen 4K PC gaming
Pretty much all games benefit from showing you more frames per second, but it's the world of competitive shooters that benefits the most. Pulling a last-second shotgun blast on an advancing zombie in Resident Evil Village may feel great and all, but it pales next to getting a headshot against a real-life opponent in Valorant before they can do the same to you.
The type of panel used does play a part in this. TN panels tend to overclock higher than their IPS and VA counterparts, although, as ever, it does come down to your individual screen. Also, your screen's native resolution is also a factor—1080p is the most likely to allow a little overclocking, with 4K panels being the least likely to play ball.
Even if you have a higher resolution screen, you should find that dropping the resolution down a couple of notches, to 1080p say, unlocks support for higher refresh rates. And while we wouldn't recommend running a 4K screen at 1080p all the time for work, or more detailed games, when it comes to the likes of Valorant, CS: GO, and Apex Legends, then refresh rate is king, and that's where you want to be. Experiment in the name of smoothness.
Nvidia GPUs: How to select a higher refresh rate
There are two main ways to set your monitor's refresh rate: either using the Nvidia Control Panel or via the Custom Resolution Utility (CRU), which is a small app specifically designed for the job at hand. Obviously enough, only those with an Nvidia graphics card can use the first way, although everyone can use the CRU tool to achieve a similar end result.
Keep up to date with the most important stories and the best deals, as picked by the PC Gamer team.
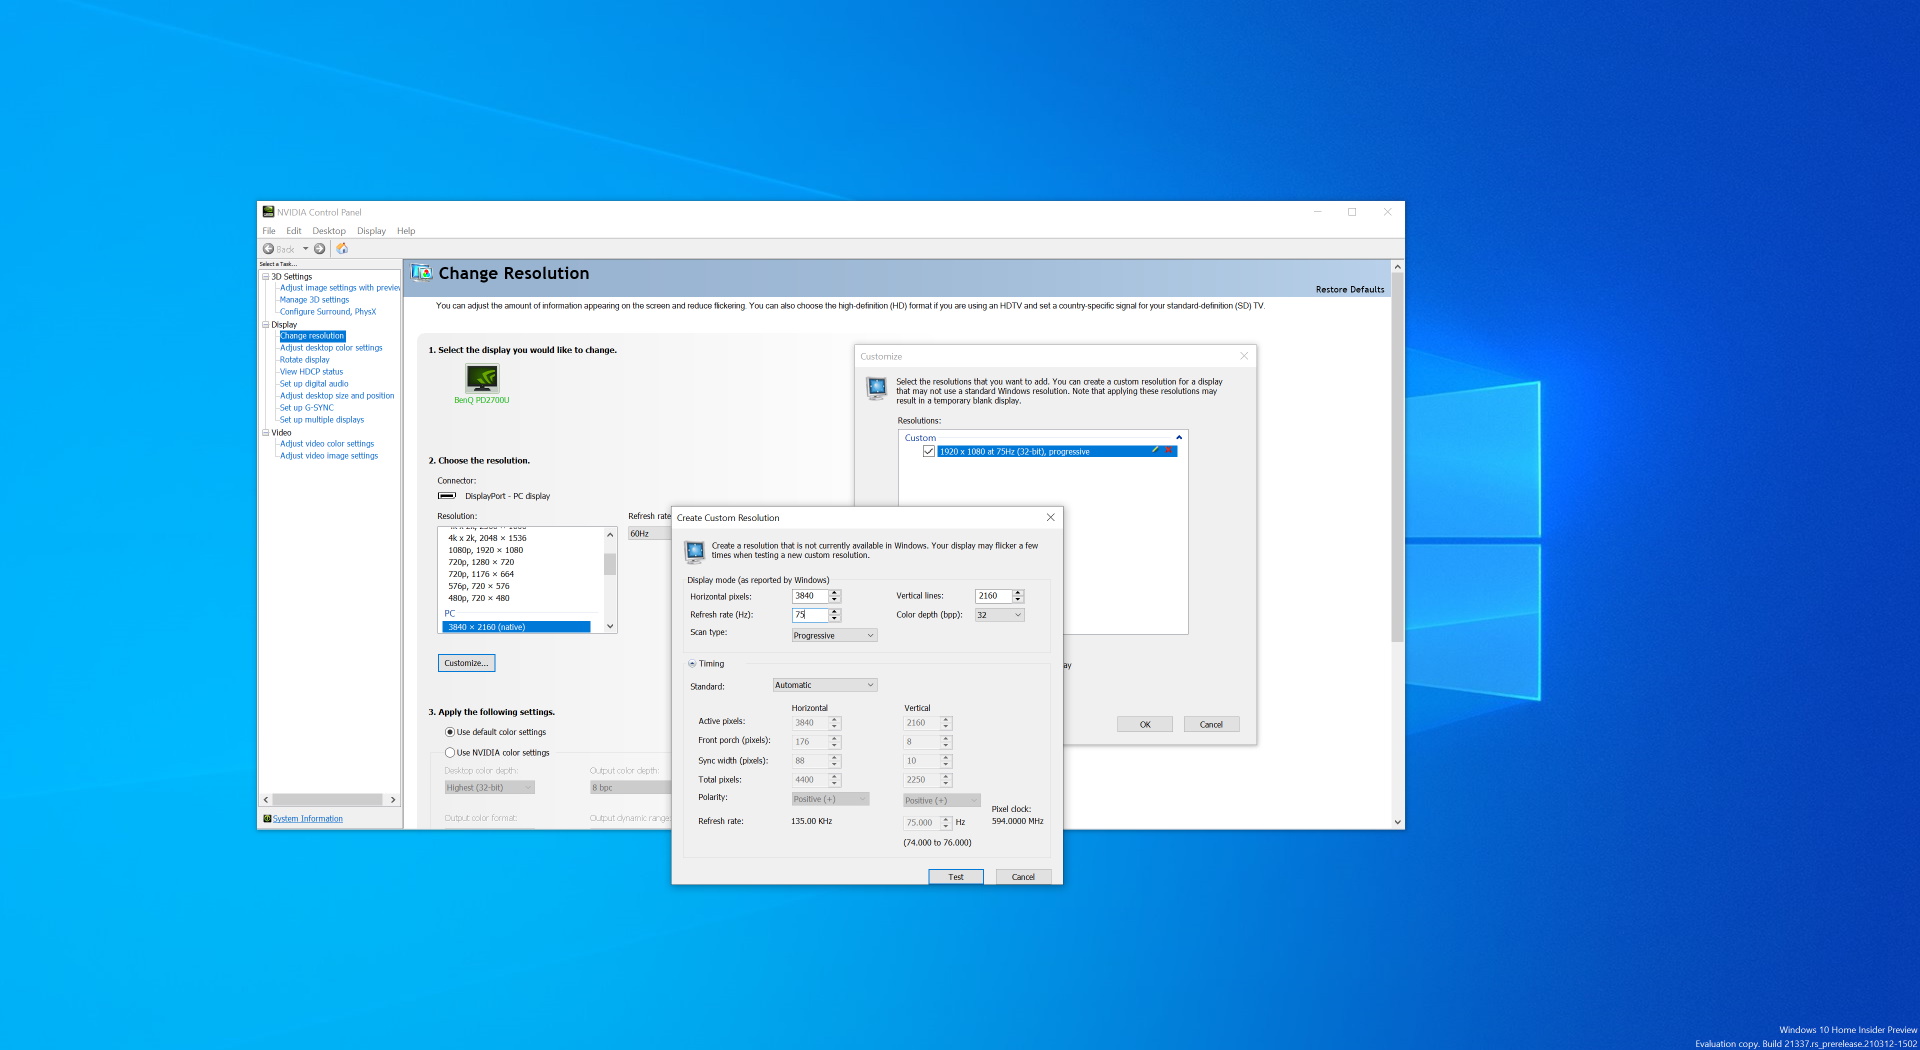
If you do have a GeForce graphics card, then simply right-click the Windows desktop and select Nvidia Control Panel from the drop-down list. Click on the 'Change resolution' option under Display, hit the 'Customize' button, and then the 'Create Custom Resolution' button to get started.
You can ignore the vast majority of this screen, just focus on the Refresh rate (Hz) entry in the top section instead. By default, it's probably set to 60. Simply change it 75 and then hit the 'Test' button at the bottom of the screen to see if it works. If your screen goes black and stays that way, don't worry, your normal picture will resume after 15 seconds.
Don't touch anything, just wait it out. It'll be fine.
If it doesn't stick, try dropping the refresh rate down a bit or, alternatively, if you're on a 1440p or 4K screen, drop the resolution down to 1920x1080 and set the refresh rate to 75 and try that instead.
If successful, you'll be able to 'OK' the changes and a new resolution and refresh rate option will appear under the custom section on the main screen. Simply select it and hit 'Apply' to start using it.
AMD and Intel GPUs: How to select higher refresh rates
If you're not packing an Nvidia GPU, then don't give up hope, as you can achieve a similar result with a little help from a tiny set of utilities called Custom Resolution Utility (CRU). This is a suite of four tools that work together to achieve a similar result, and it isn't much harder than using the Nvidia Control Panel either, well maybe a bit, but not by much.
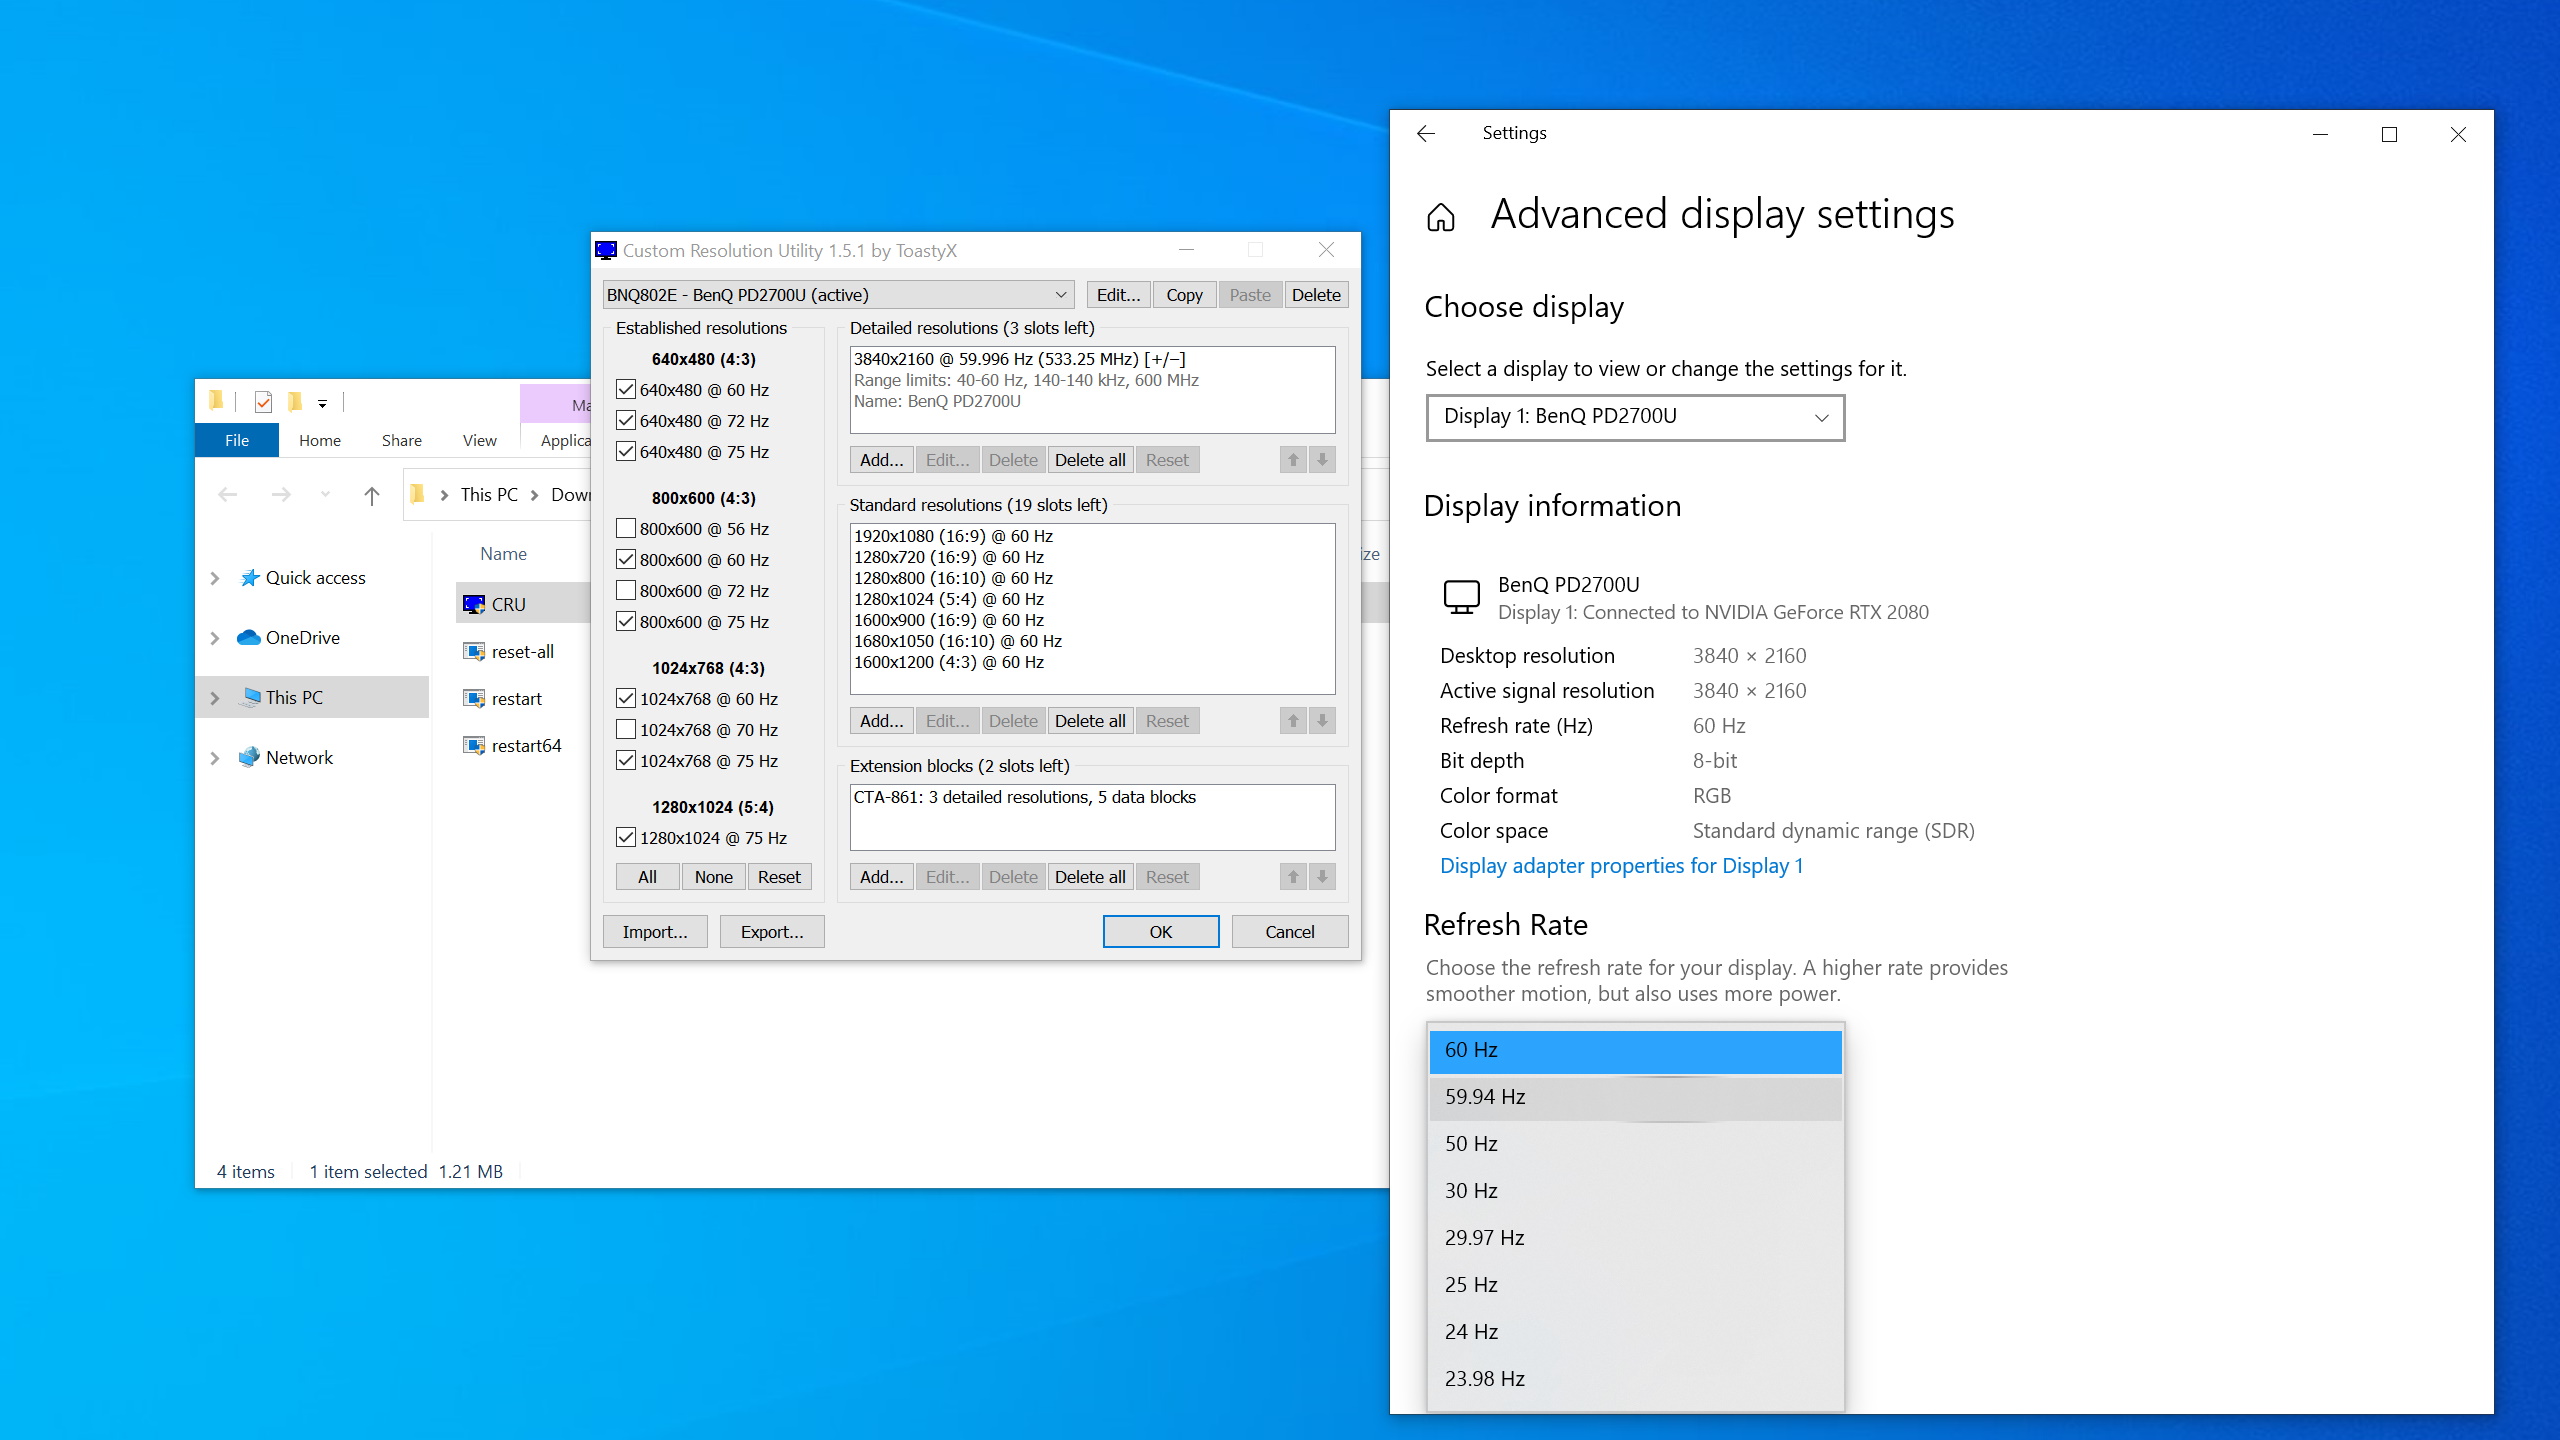
Download and extract CRU somewhere handy and then run the first utility, the one called CRU. You'll find the officially supported resolutions and refresh rates of your screen listed down the left-hand side.
Adding your own entry is as simple as hitting the 'Add…' button under the top section, and entering your preferred Refresh rate under Frequency. Again, if you have a high-resolution screen, then dropping down to 1920x1080 at 75Hz is a good option. 'OK' your changes.
Go back to where you extracted the CRU files and run the Restart64.exe tool to actually try the changes—you'll need to run this as Administrator by the way, so right-click and select 'Run as Administrator' to launch. All being well, you should see a few screen blanks before everything settles down to normal.
If it goes black and stays that way, then you've pushed it a bit far. Wait for about 15 seconds, and Windows will return to normal. Try easing back on the refresh rate, and see how it goes.
All being well though, you can now set your refresh rate yourself. Right-click the desktop, select Display Settings, scroll down and select Advanced Display Settings. Hit the Monitor tab, and you should find your custom refresh rate listed under the Screen refresh rate drop-down menu. Select your 75 Hertz entry, hit OK, and you're done. Time to enjoy some silky smooth gaming.
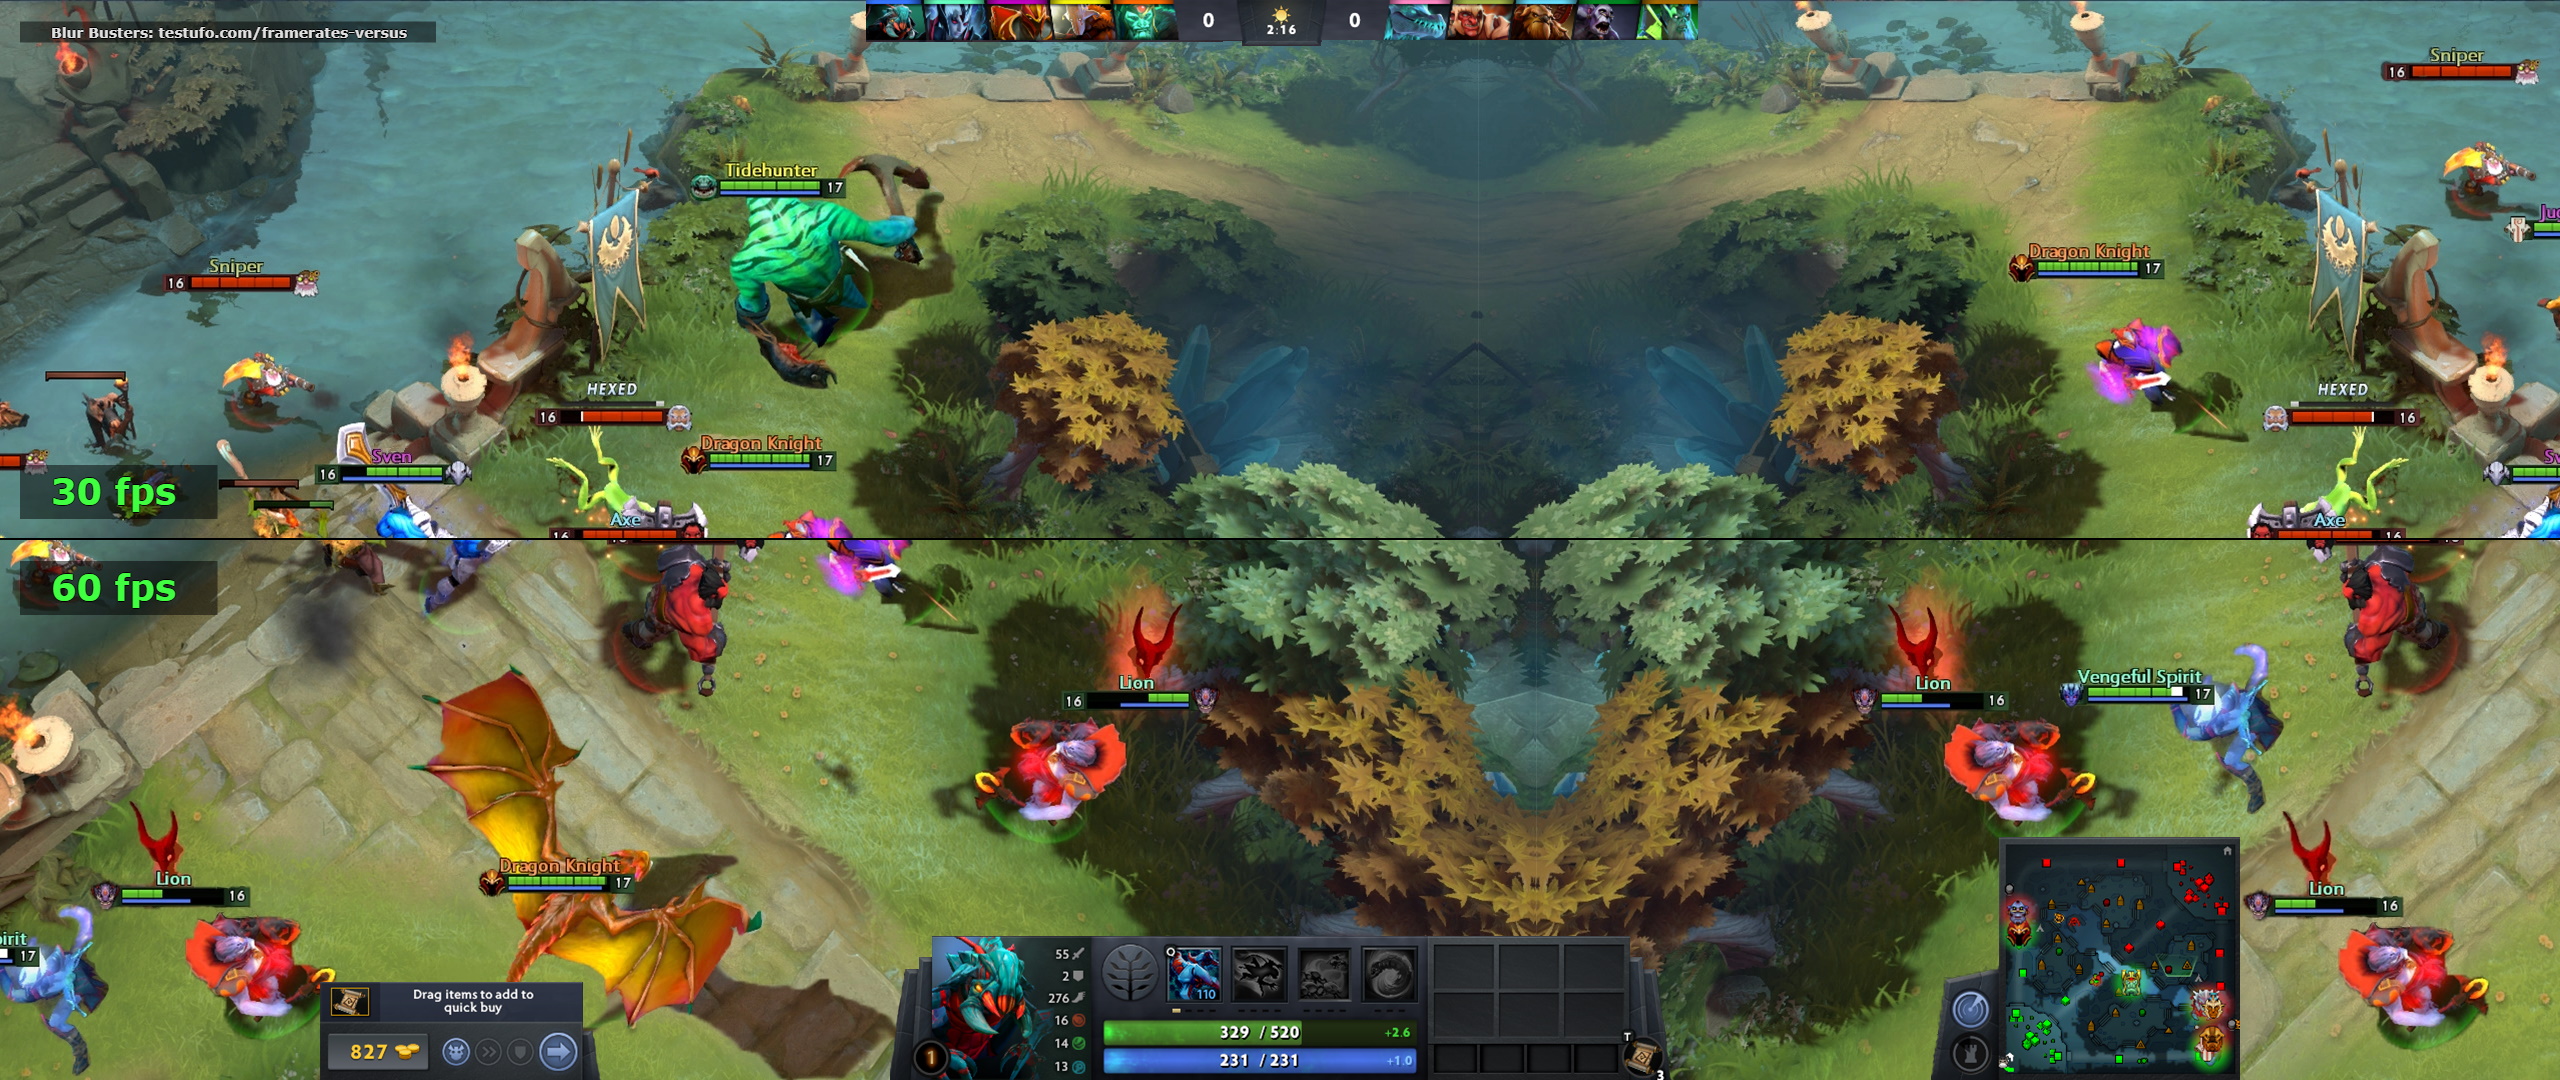
If you want to see if it's working, then a really good website to use is testufo.com. There are plenty of tests on there that will scrutinize your refresh rate and your monitor's general abilities to see what's really going down. The video game panning test is a particularly good way of checking that all is well.
So good luck, and let us know how you get on with your monitor in the comments below.
Alan has been writing about PC tech since before 3D graphics cards existed, and still vividly recalls having to fight with MS-DOS just to get games to load. He fondly remembers the killer combo of a Matrox Millenium and 3dfx Voodoo, and seeing Lara Croft in 3D for the first time. He's very glad hardware has advanced as much as it has though, and is particularly happy when putting the latest M.2 NVMe SSDs, AMD processors, and laptops through their paces. He has a long-lasting Magic: The Gathering obsession but limits this to MTG Arena these days.
