Our top 10 Dragon's Dogma 2 tips for getting started
Even the Arisen needs a helping hand.

Dragon's Dogma 2 is a dense, complex game. And it's absolutely massive. While tutorial messages provide a lot of important information, and can be read whenever you want from the History section found in the main menu, it can still be tough to keep track of everything you're meant to know. And there's a lot more than you're never really told.
To make the early moments a bit less baffling, we've put together a series of tips that should help get you started—things we wished we knew when we were novice Arisen. And you'll be able to find plenty more guides from us across the coming days.
Recruit new pawns frequently
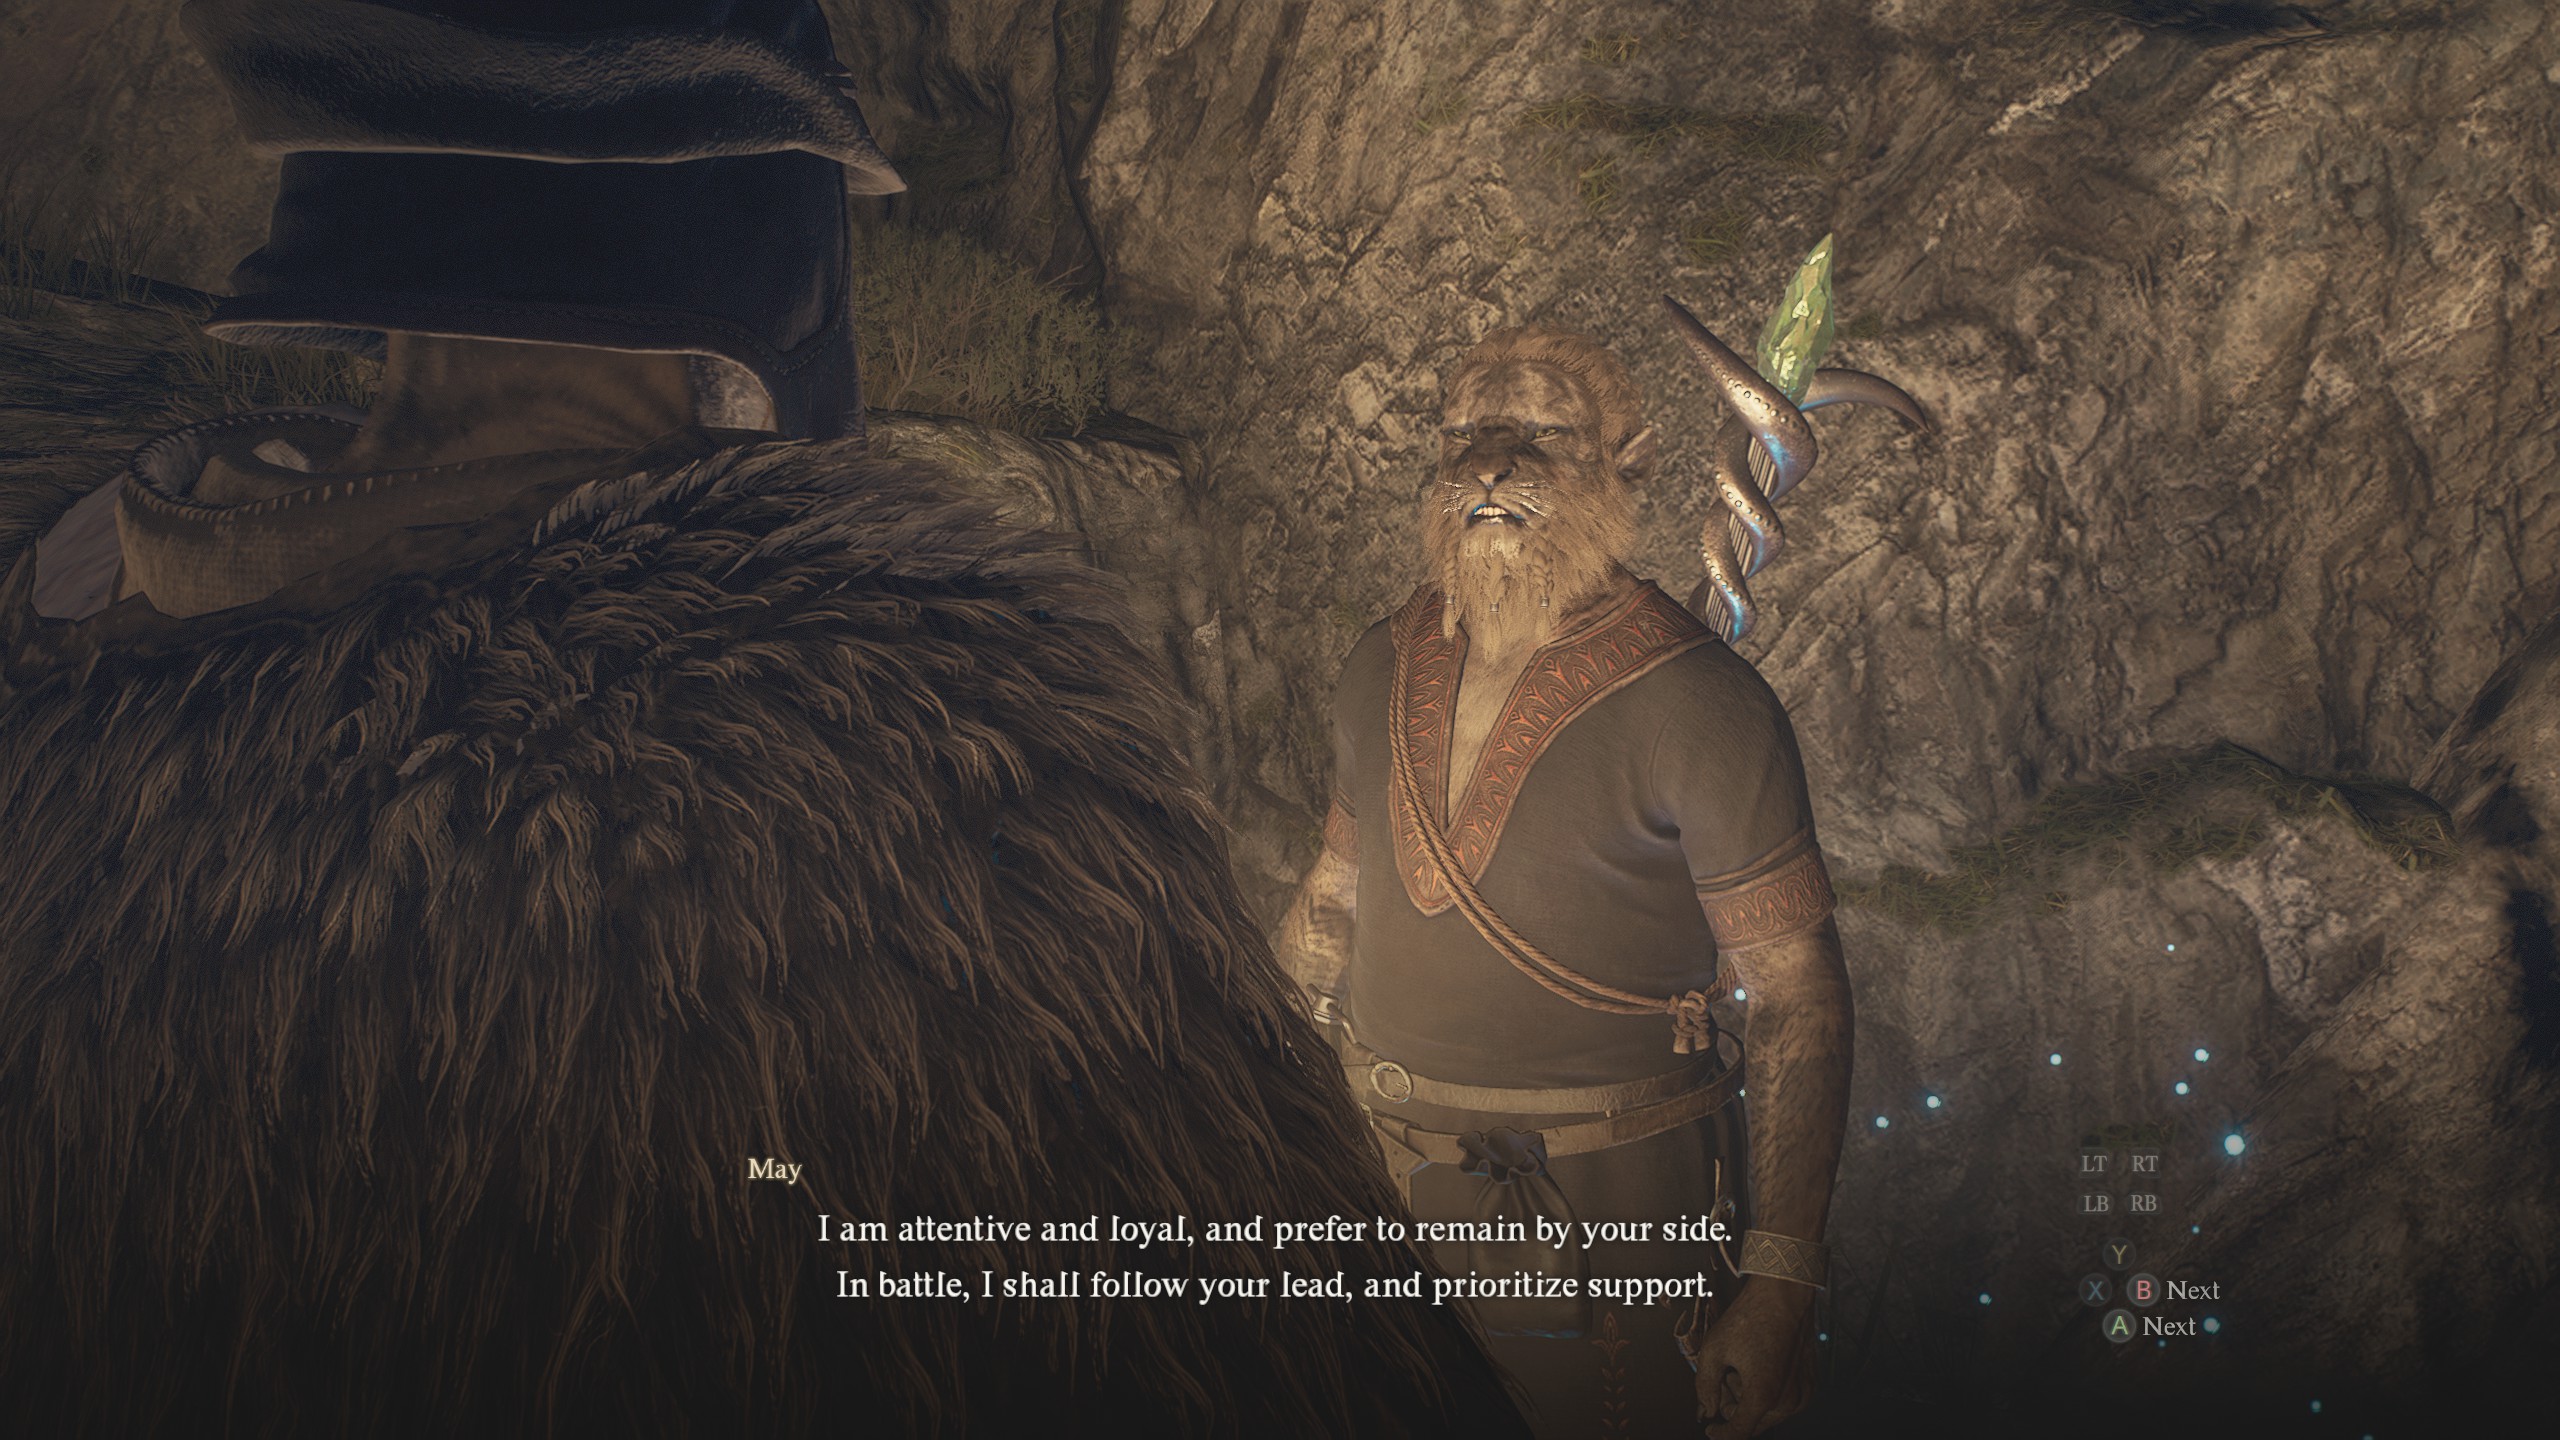
Sean Martin, Guides Writer: It's sad having to say goodbye to a pawn who's been following you around for the last five hours, but since regular pawns don't level up like your main pawn, they eventually have to be put out to pasture in favour of newer high level recruits. If you don't like having to recruit new pawns often, one way to mitigate that is to recruit higher level companions so it takes longer to out-level them.
Article continues belowThis will cost you extra RC if you do it through a Riftstone, but if you locate one of the Forgotten Riftstones that grants you a higher level unique pawn, you'll get a free recruit.
The good news is that you're never really saying goodbye to a pawn, either, since when they're back in their world they'll be levelling up, meaning you might be able to summon them again in the future.
Fraser Brown, Online Editor: Don't forget to favourite any pawns you really dig. And if you've had a lovely time with a pawn, it's good manners to send them away with a nice gift to thank their owner for raising such a wonderful companion. I personally like golden trove beetles. I always need more carrying capacity!
Look out for golden trove beetles
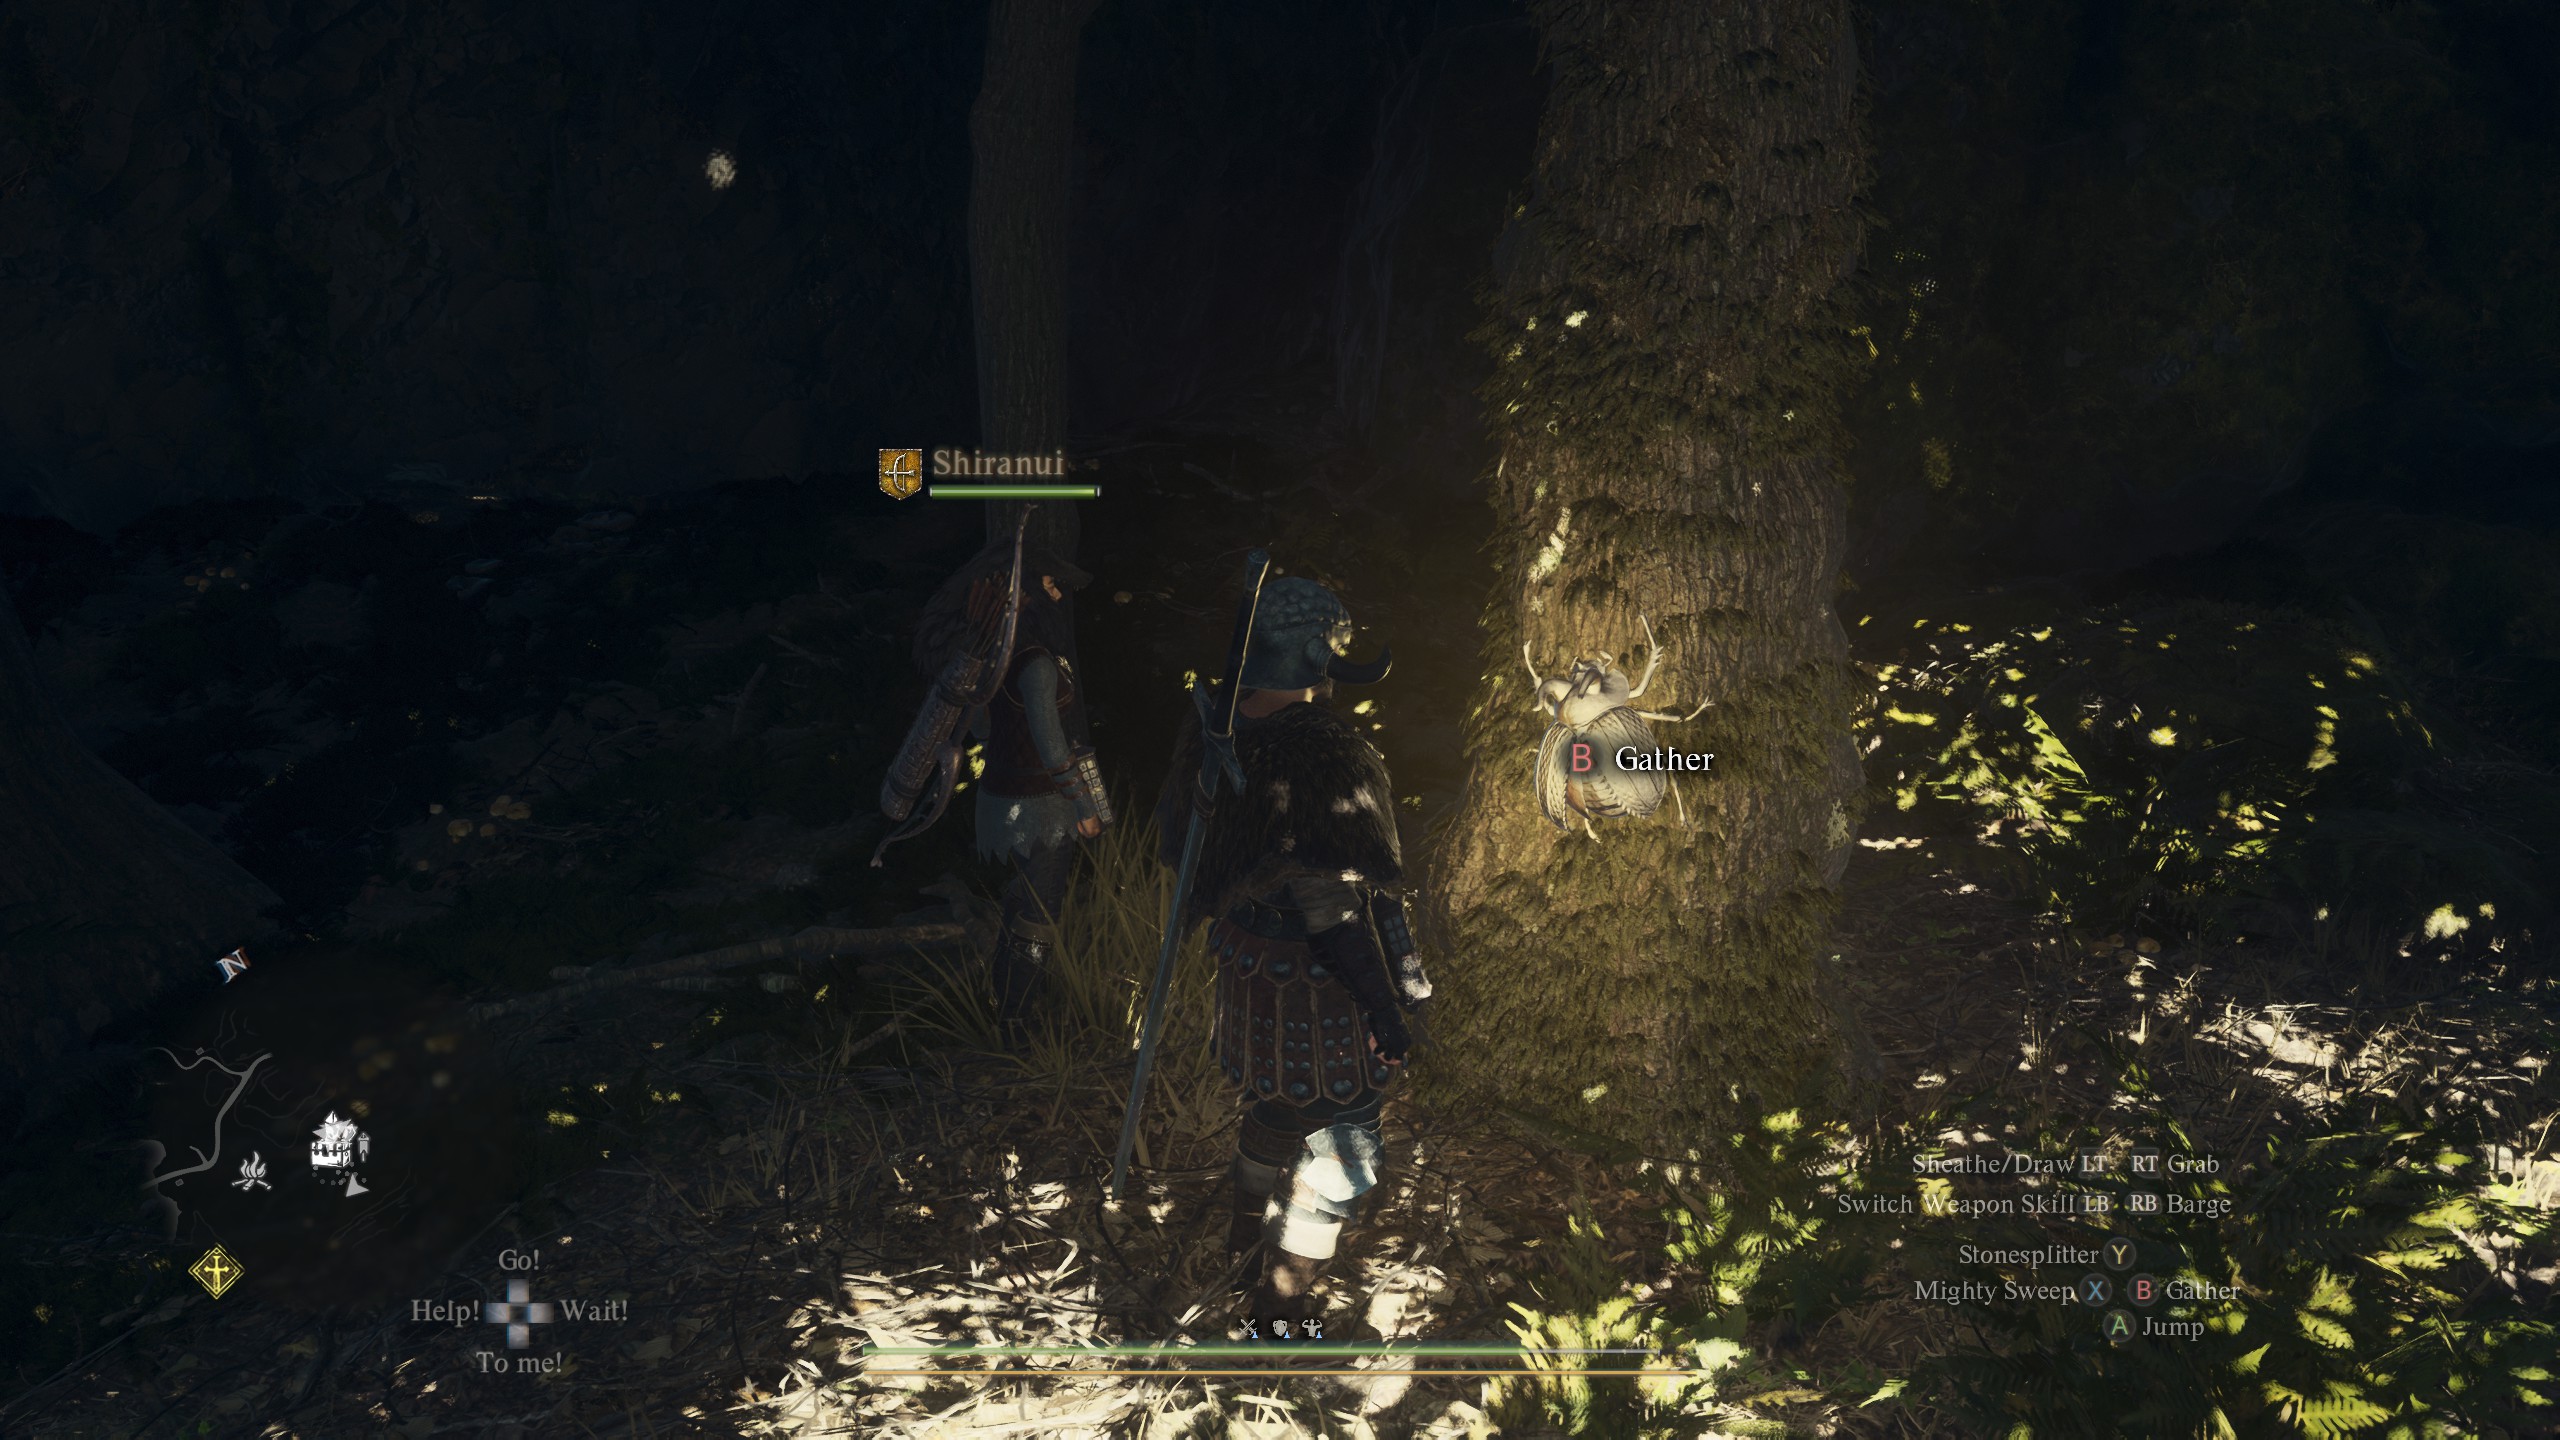
Fraser: You will absolutely feel compelled to pick up everything you find between stabbing monsters in the face, and that's a good instinct! Keep doing it! Unfortunately, this does mean you'll often be weighed down by all your sweet loot. You can distribute your load between your pawns, and send stuff into storage when you visit inns, but it's also possible to increase your carrying capacity by collecting some large bugs.
Keep up to date with the most important stories and the best deals, as picked by the PC Gamer team.
Golden trove beetles can be found all over the place, mostly clinging to trees, but also climbing up rocks or just chilling on the ground. They're easy to spot since they are huge (for beetles) and gold—every adventurer's favourite colour. Using one beetle will only increase your carrying capacity by 0.15 kg, but you'll constantly be finding them, so it adds up quickly. Using a trove beetle will also increase your pawn's carrying capacity at the same time, despite the item description suggesting you have to pick between your Arisen or pawn.
Use the "Go!" command to turn pawns into guides
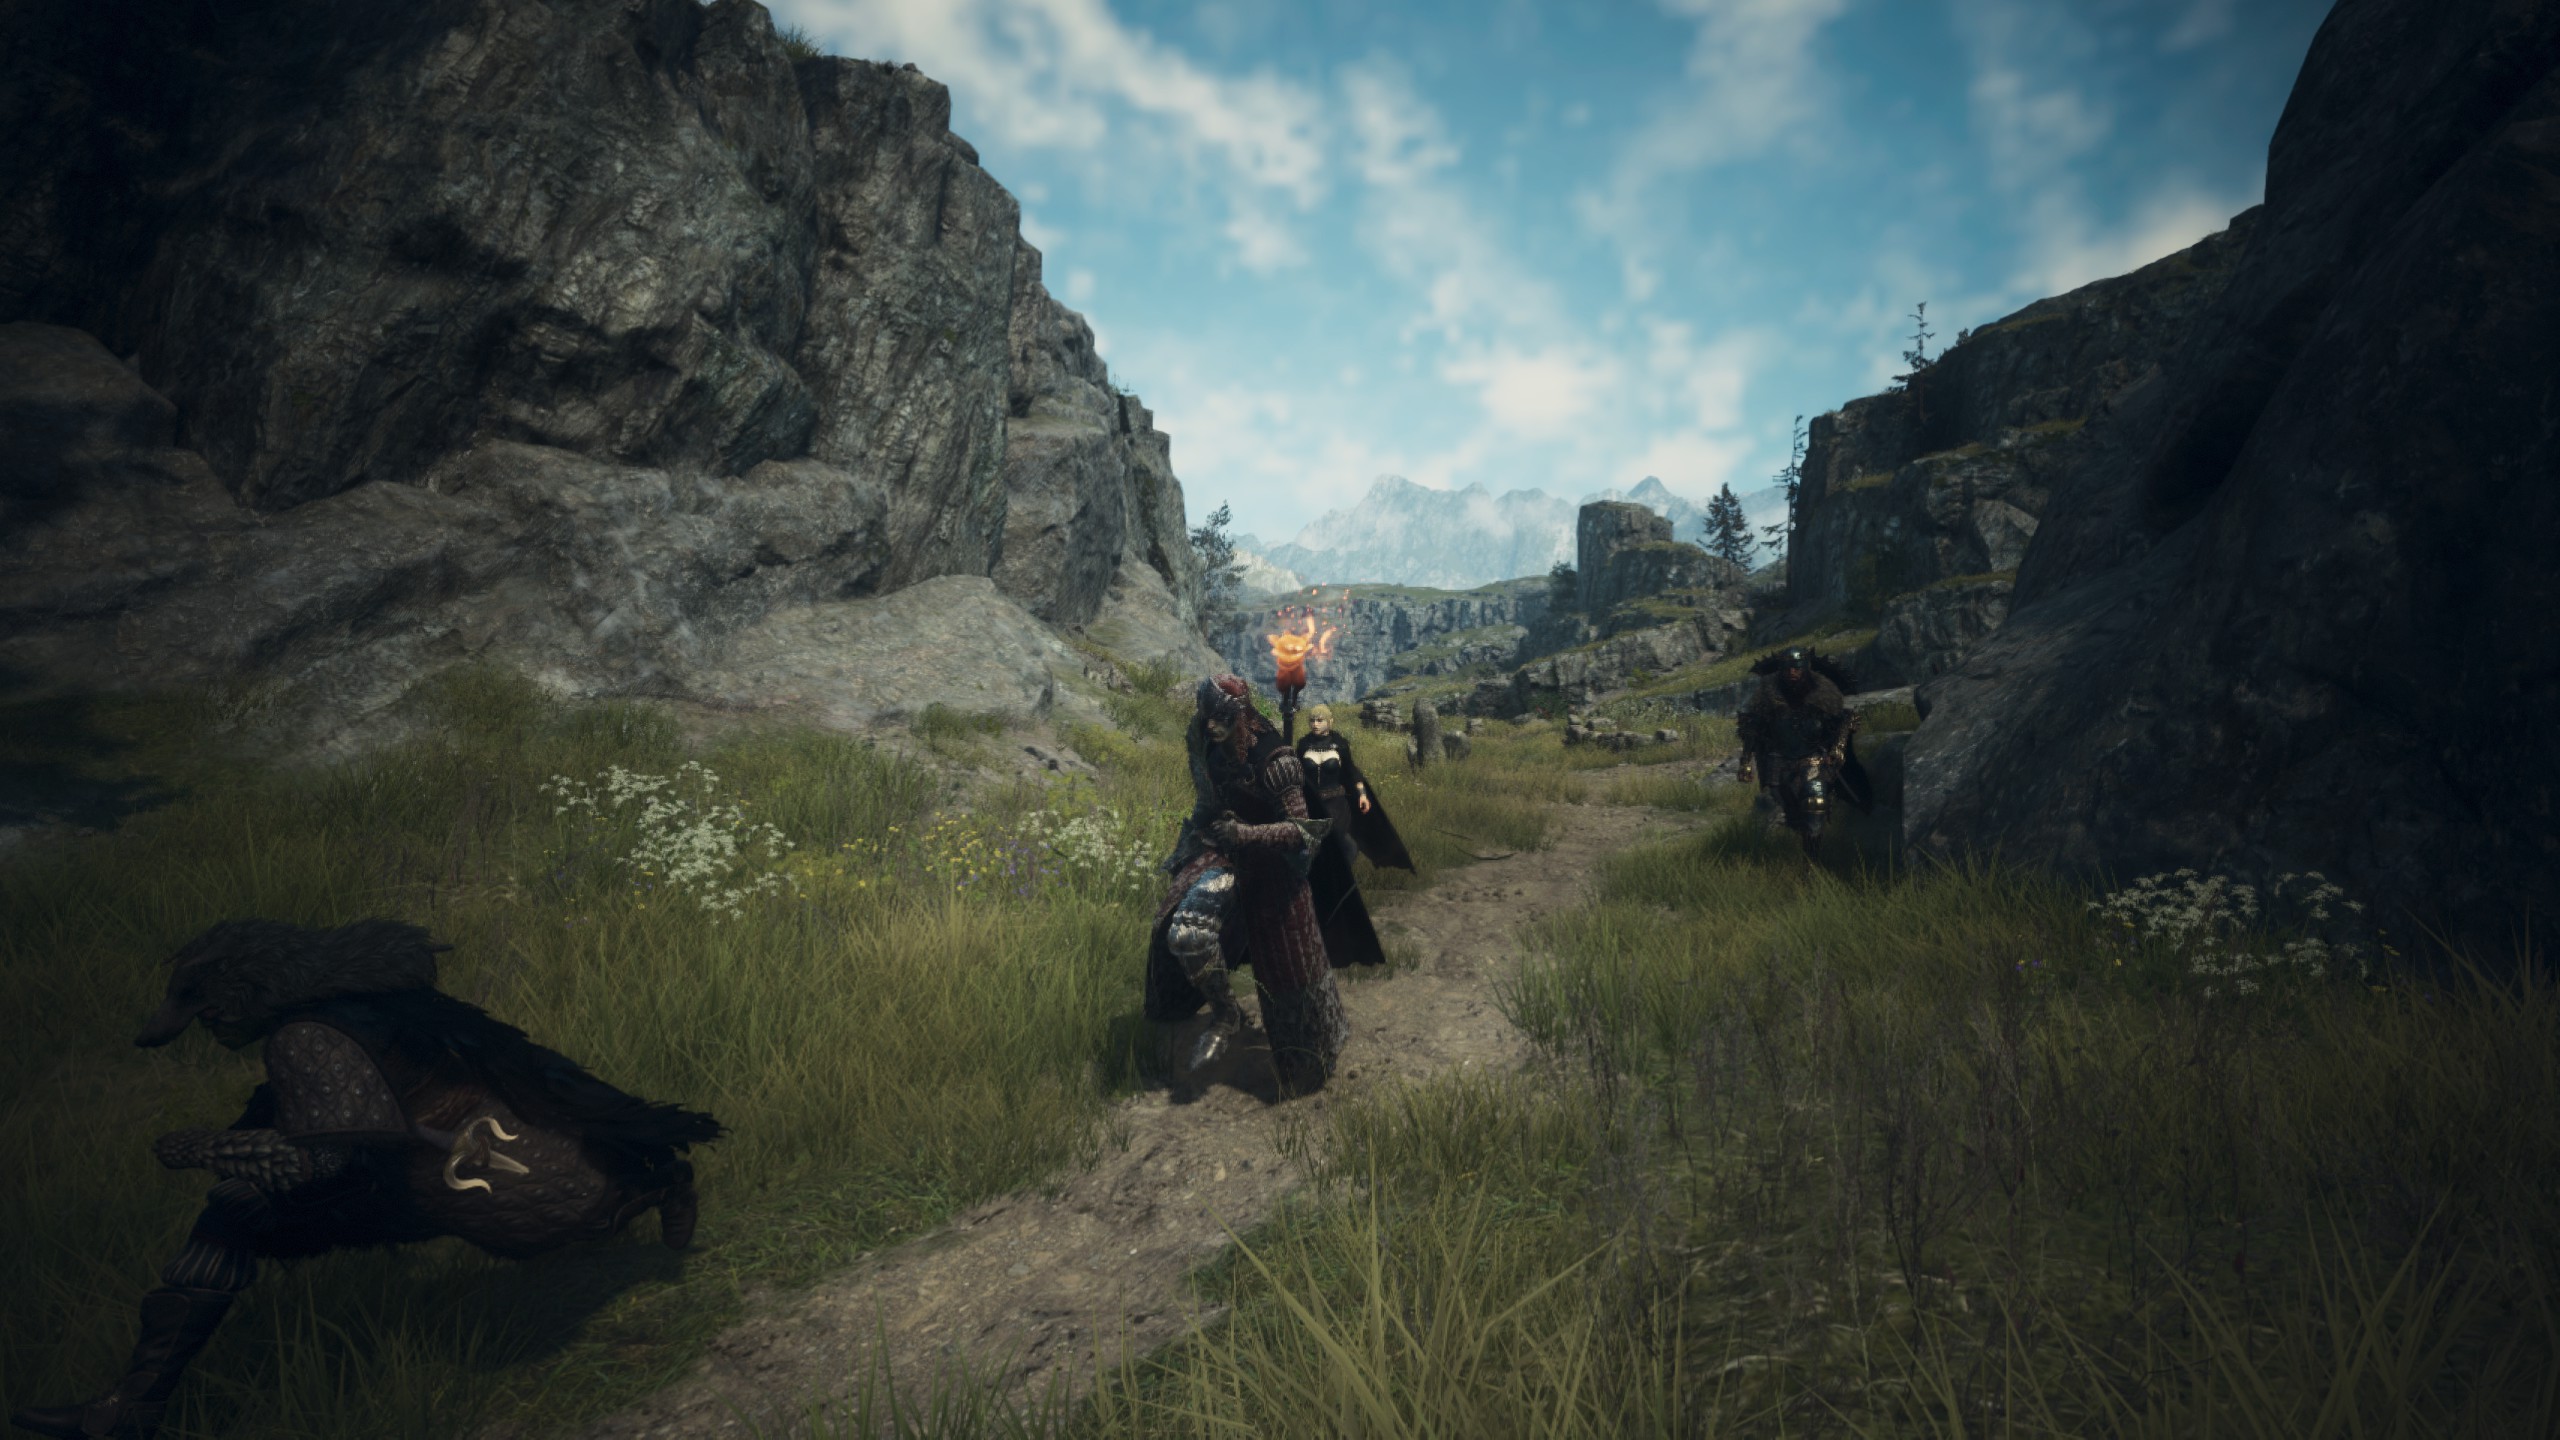
Fraser: Pawns will often tell you about cave entrances, riftstones and treasure in the vicinity, because they love to help. They'll both mark these points of interest on your map and point you in the general direction, but you can also make them take you directly to these locations using pawn commands.
Telling a pawn to "Go!" after they've just informed you about something worth checking out will make them jog off in that direction—don't worry, they'll wait for you if you get too far behind. And also get a bit snooty if you decide to stop following them.
If you're stumped by a quest, grab a pawn who's done it already
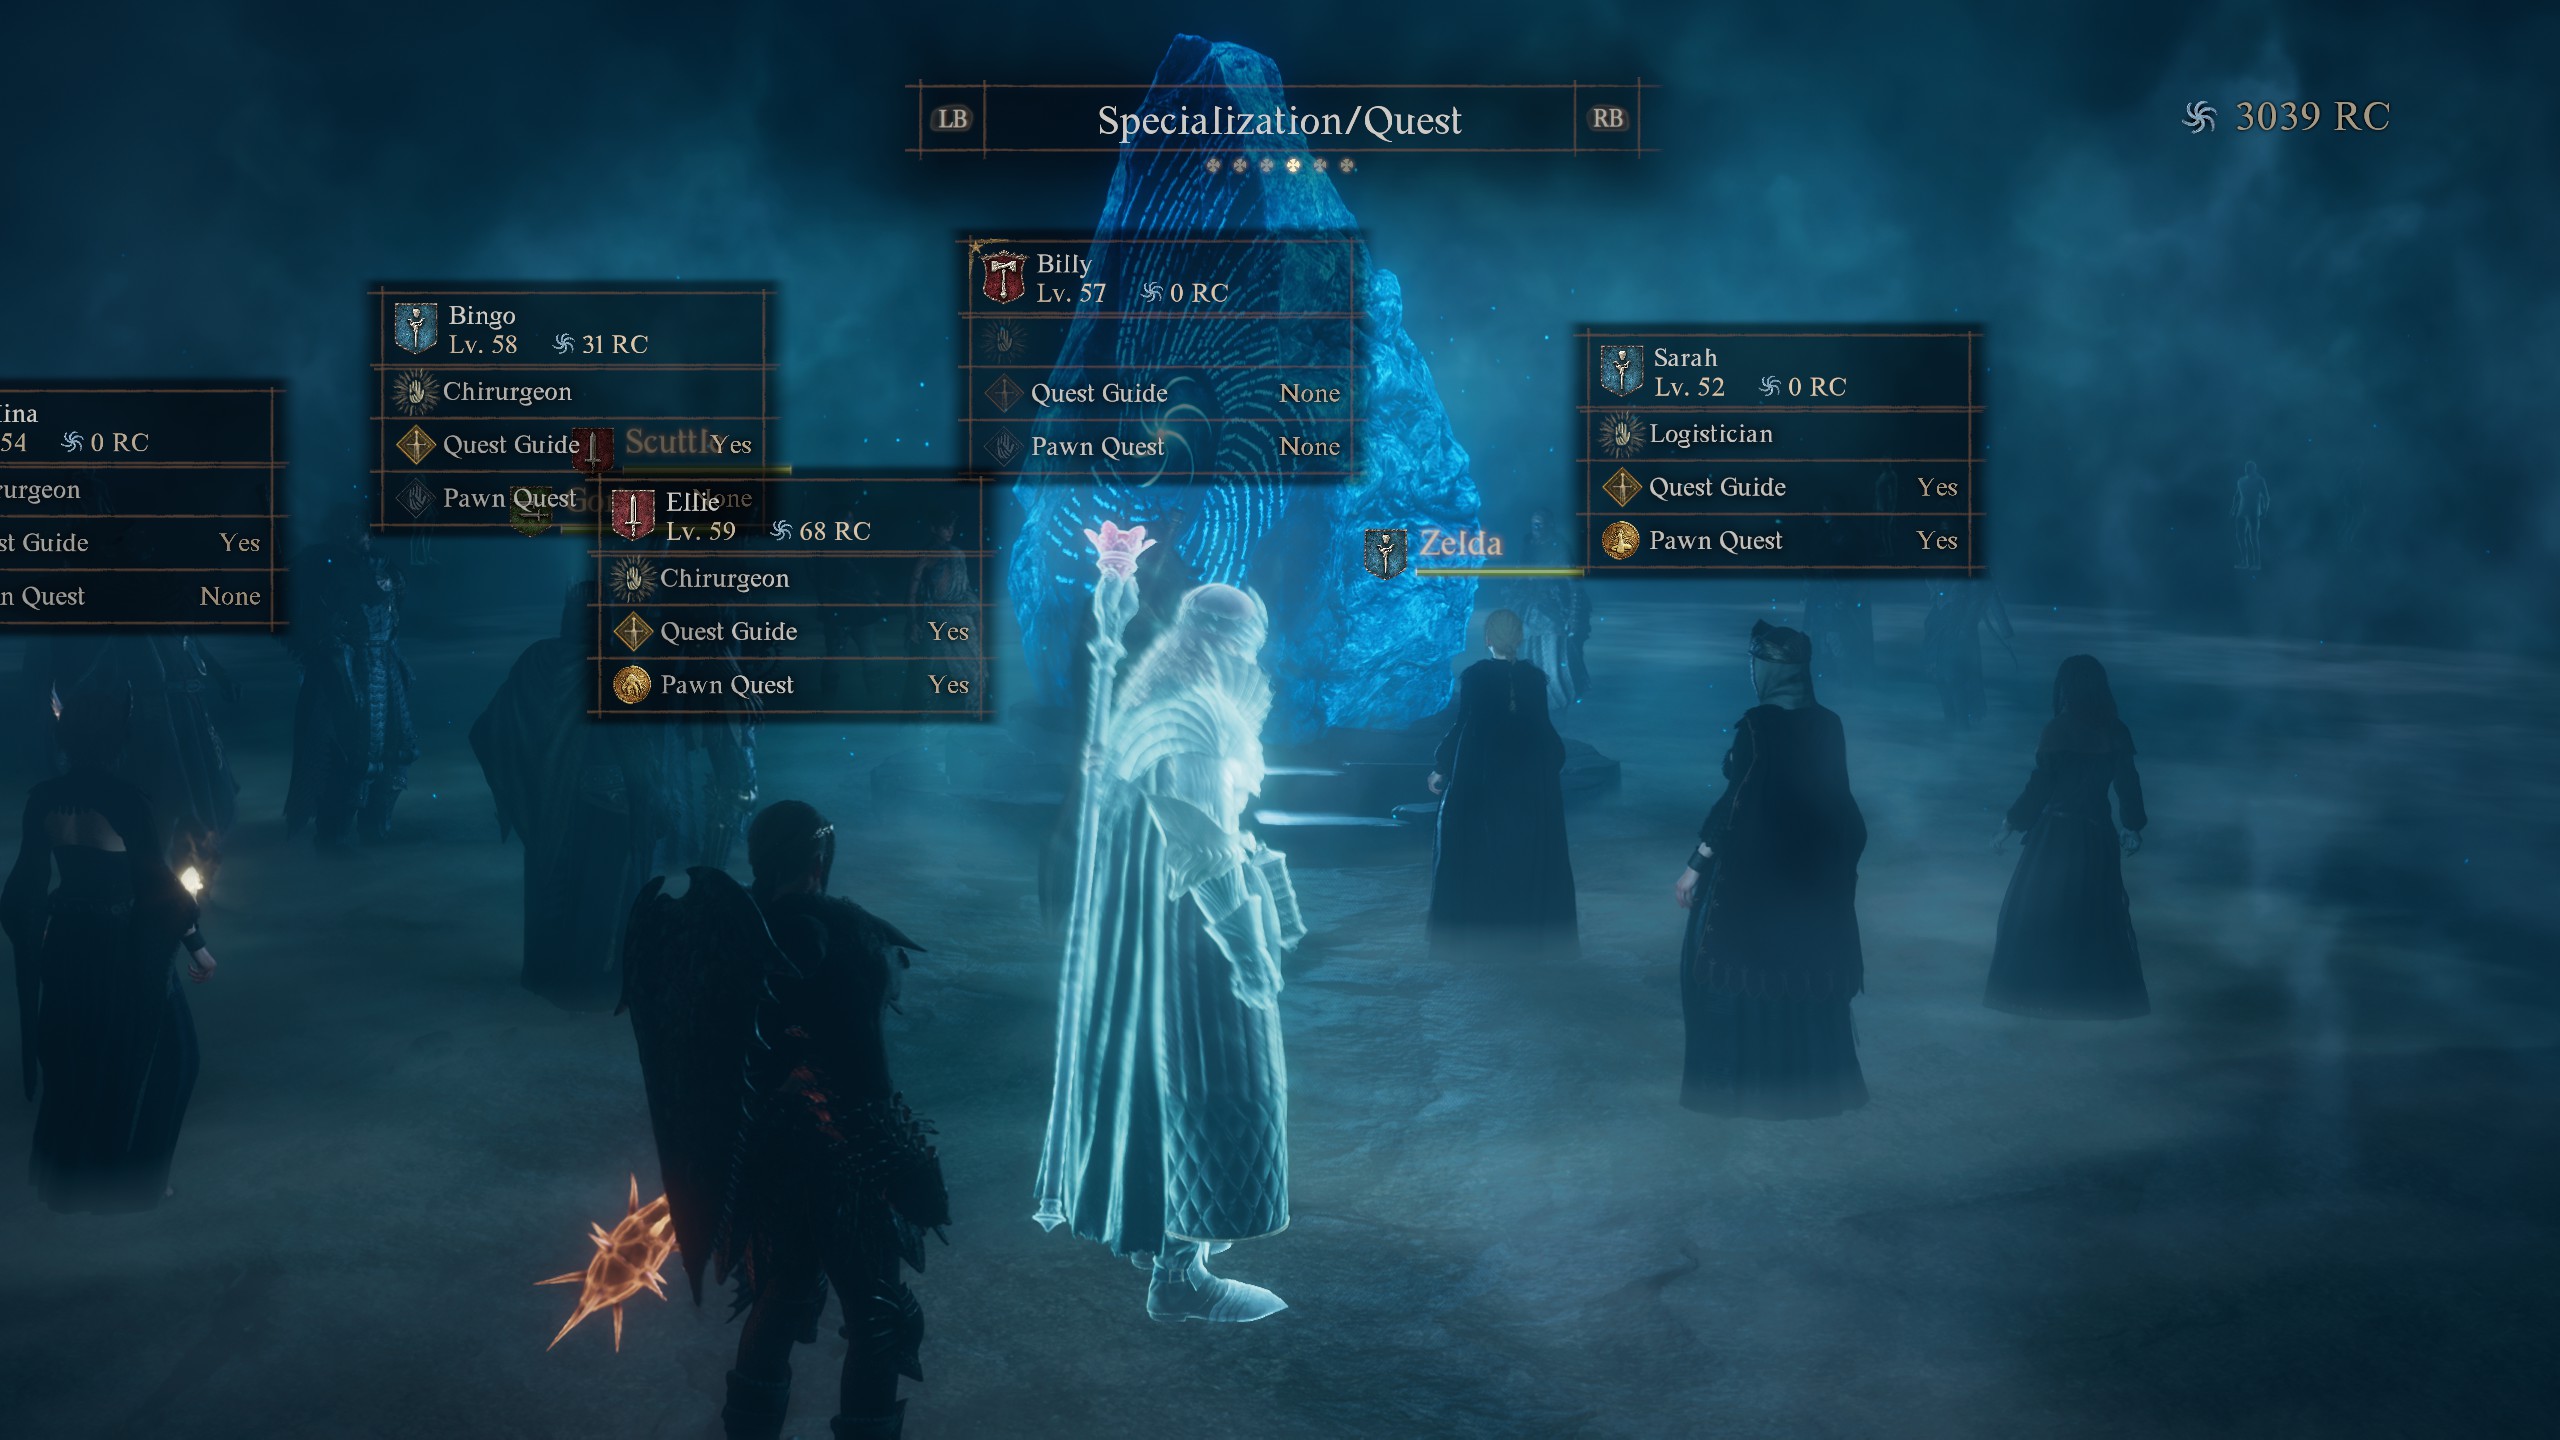
Morgan Park, Staff Writer: When shopping for pawns in the rift, keep an eye on the box called "Quest Guide". This'll tell you if the pawn is capable of guiding you to the destination of your current priority quest. Early in the story, this'll probably be most of the pawns you meet. Issuing a "Go" command outside of combat gives the guiding pawn the green light to take the lead. Having an experienced Warrior in my party came in handy when I had to find Ulrika.
Fraser: When you start a quest, pawns already in your party will also chime in with quest advice if they know what to do. Or they'll have some thoughts on who to recruit. When I was looking for grimoires, one of my pawns advised me to recruit a Mage to help out, and that worked out nicely.
Try throwing your pawns where you can't go
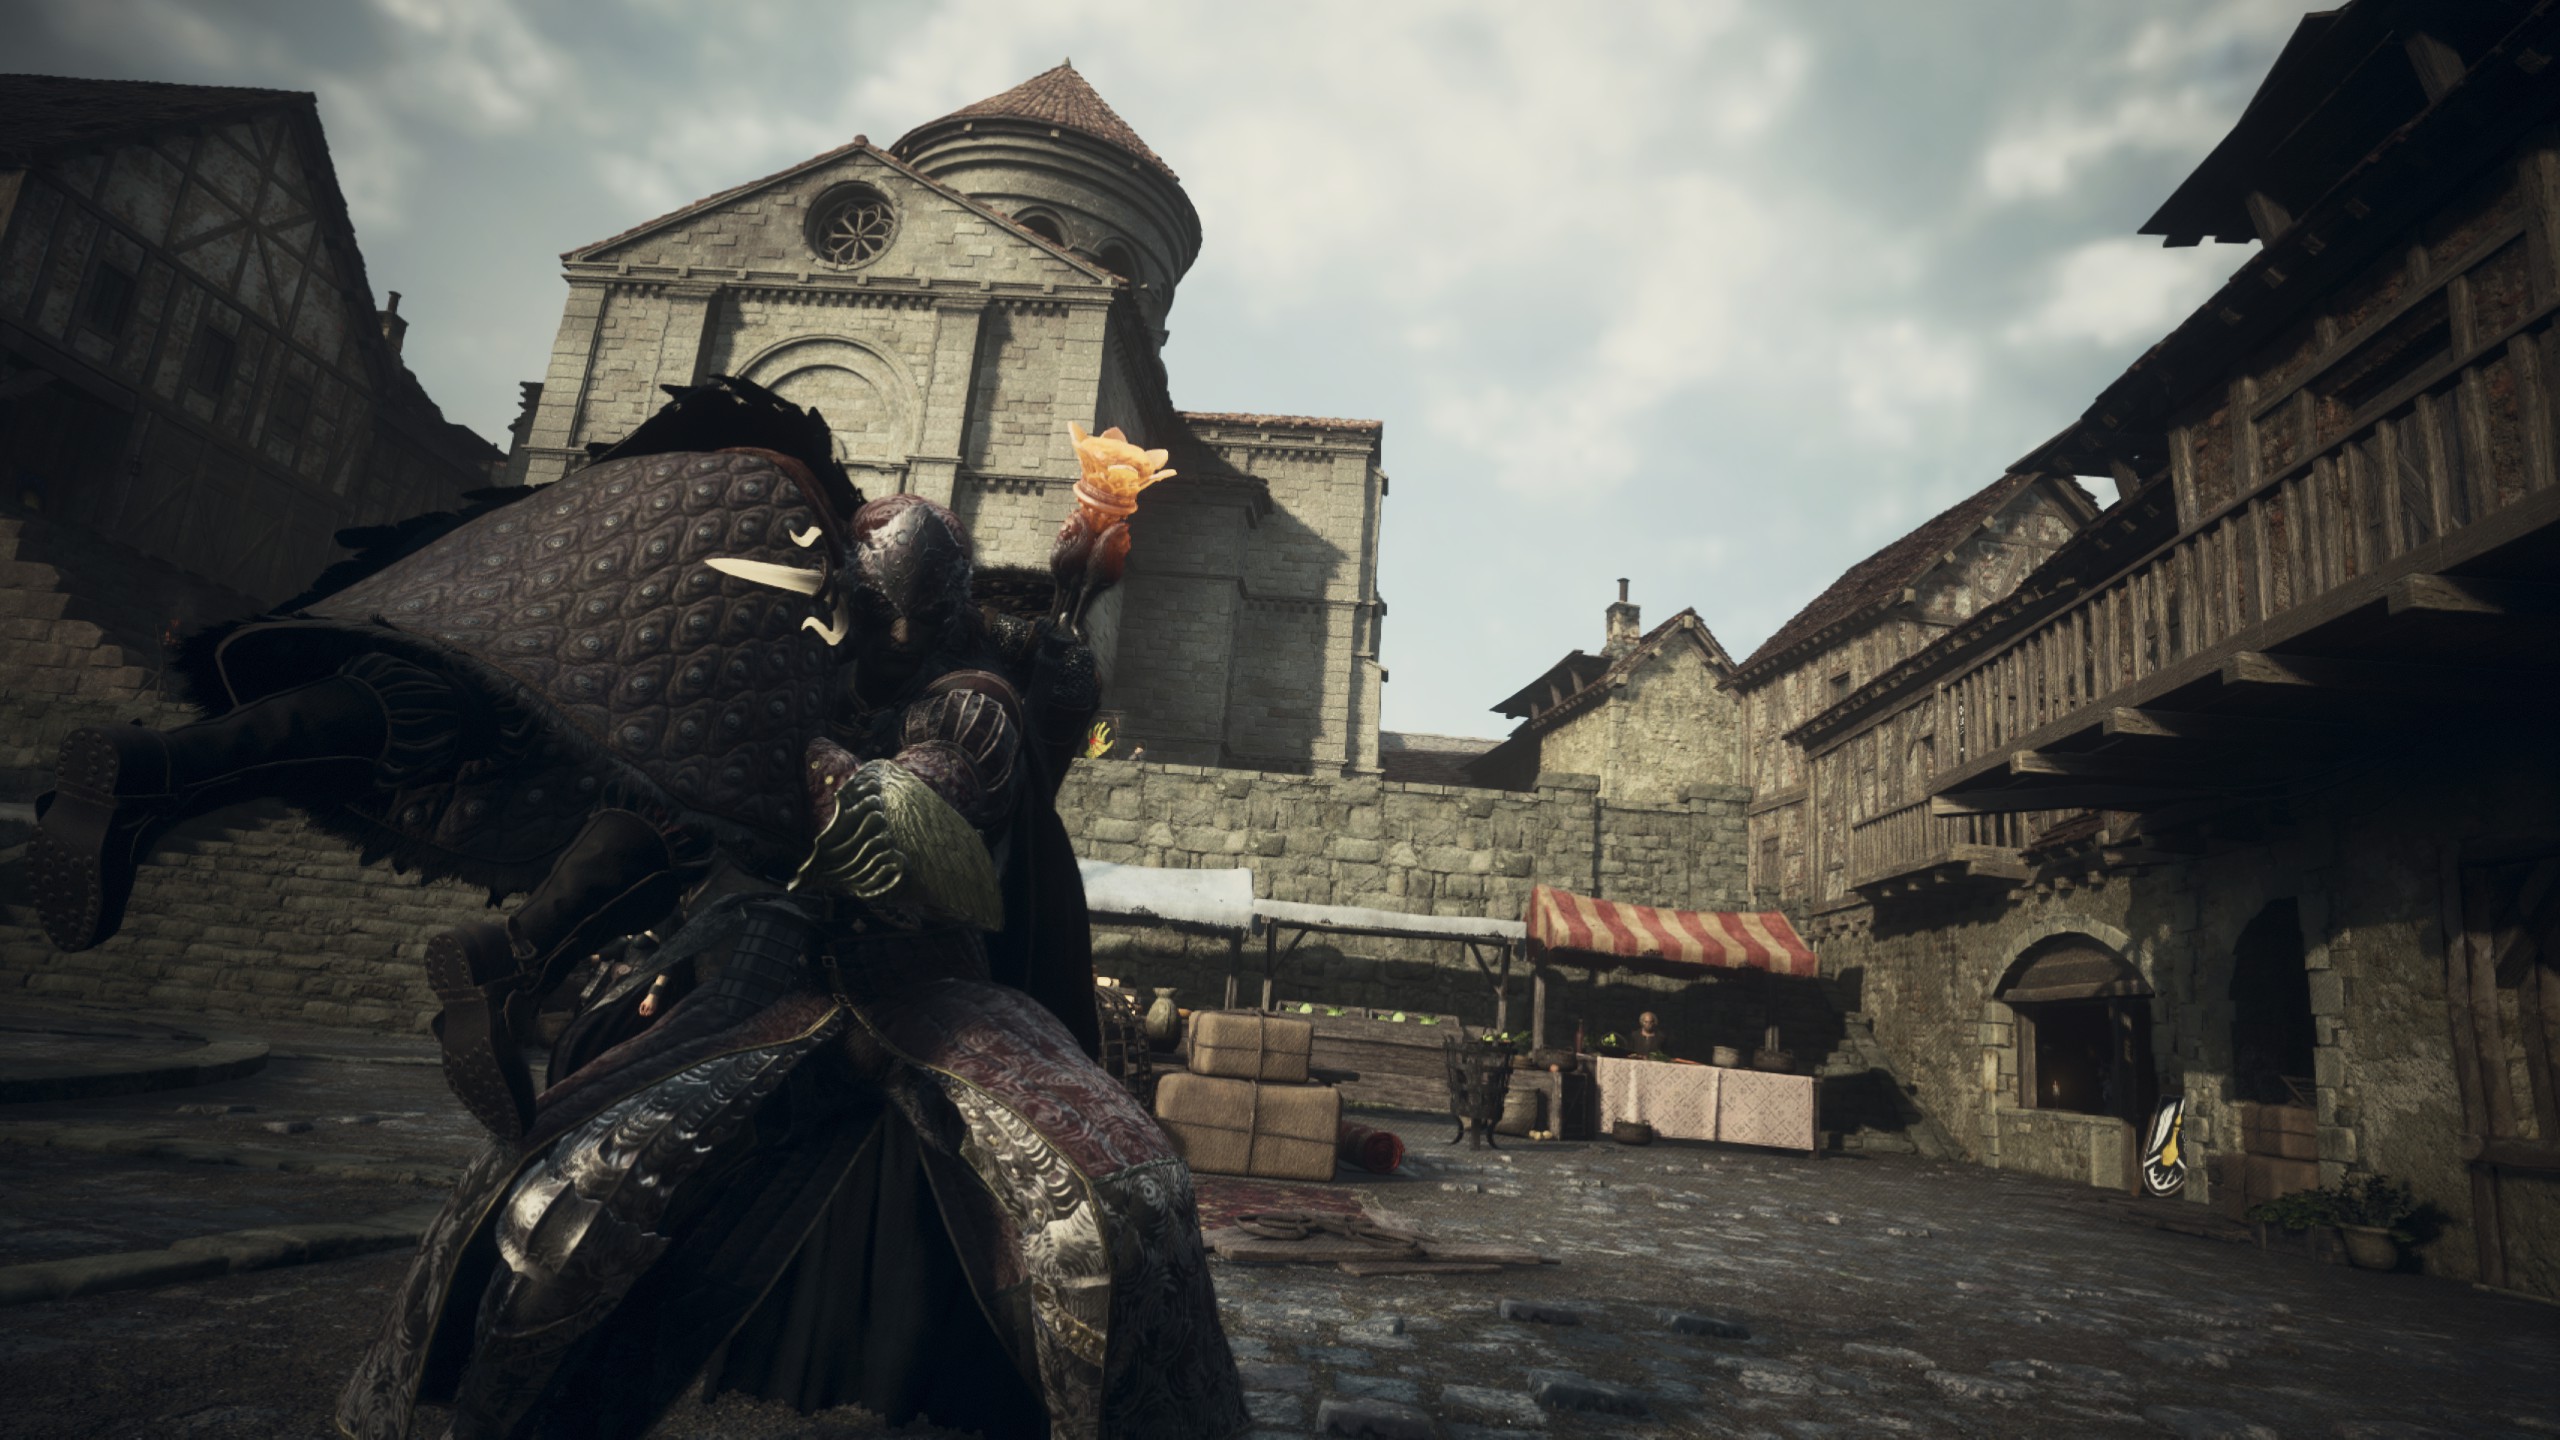
Morgan: Travelling the road, you'll occasionally find treasure chests and would-up ladders at the top of cliffs you can't reach. You can't reach them, but one of your pawns might be able with the proper motivation. Grab your most throwable companion, get as high up as possible, take aim, and see if you can arc the throw up the ledge. Edges are often good enough—pawns can hoist themselves up if necessary. Alternatively, there's a Fighter ability, Launchboard, that sends pawns higher and farther.
Fraser: Launchboard is handy, especially when you can't quite reach a ledge with a pawn toss, but sometimes it can be hard to get your aim just right. Tossing a pawn has a bigger arc, but Launchboard is more vertical. Another option is using the Mage and Sorcerer core skill, Levitate. Obviously this doesn't help non-spellcasters, but changing your vocation is a doddle.
Don't be afraid to switch up your vocation
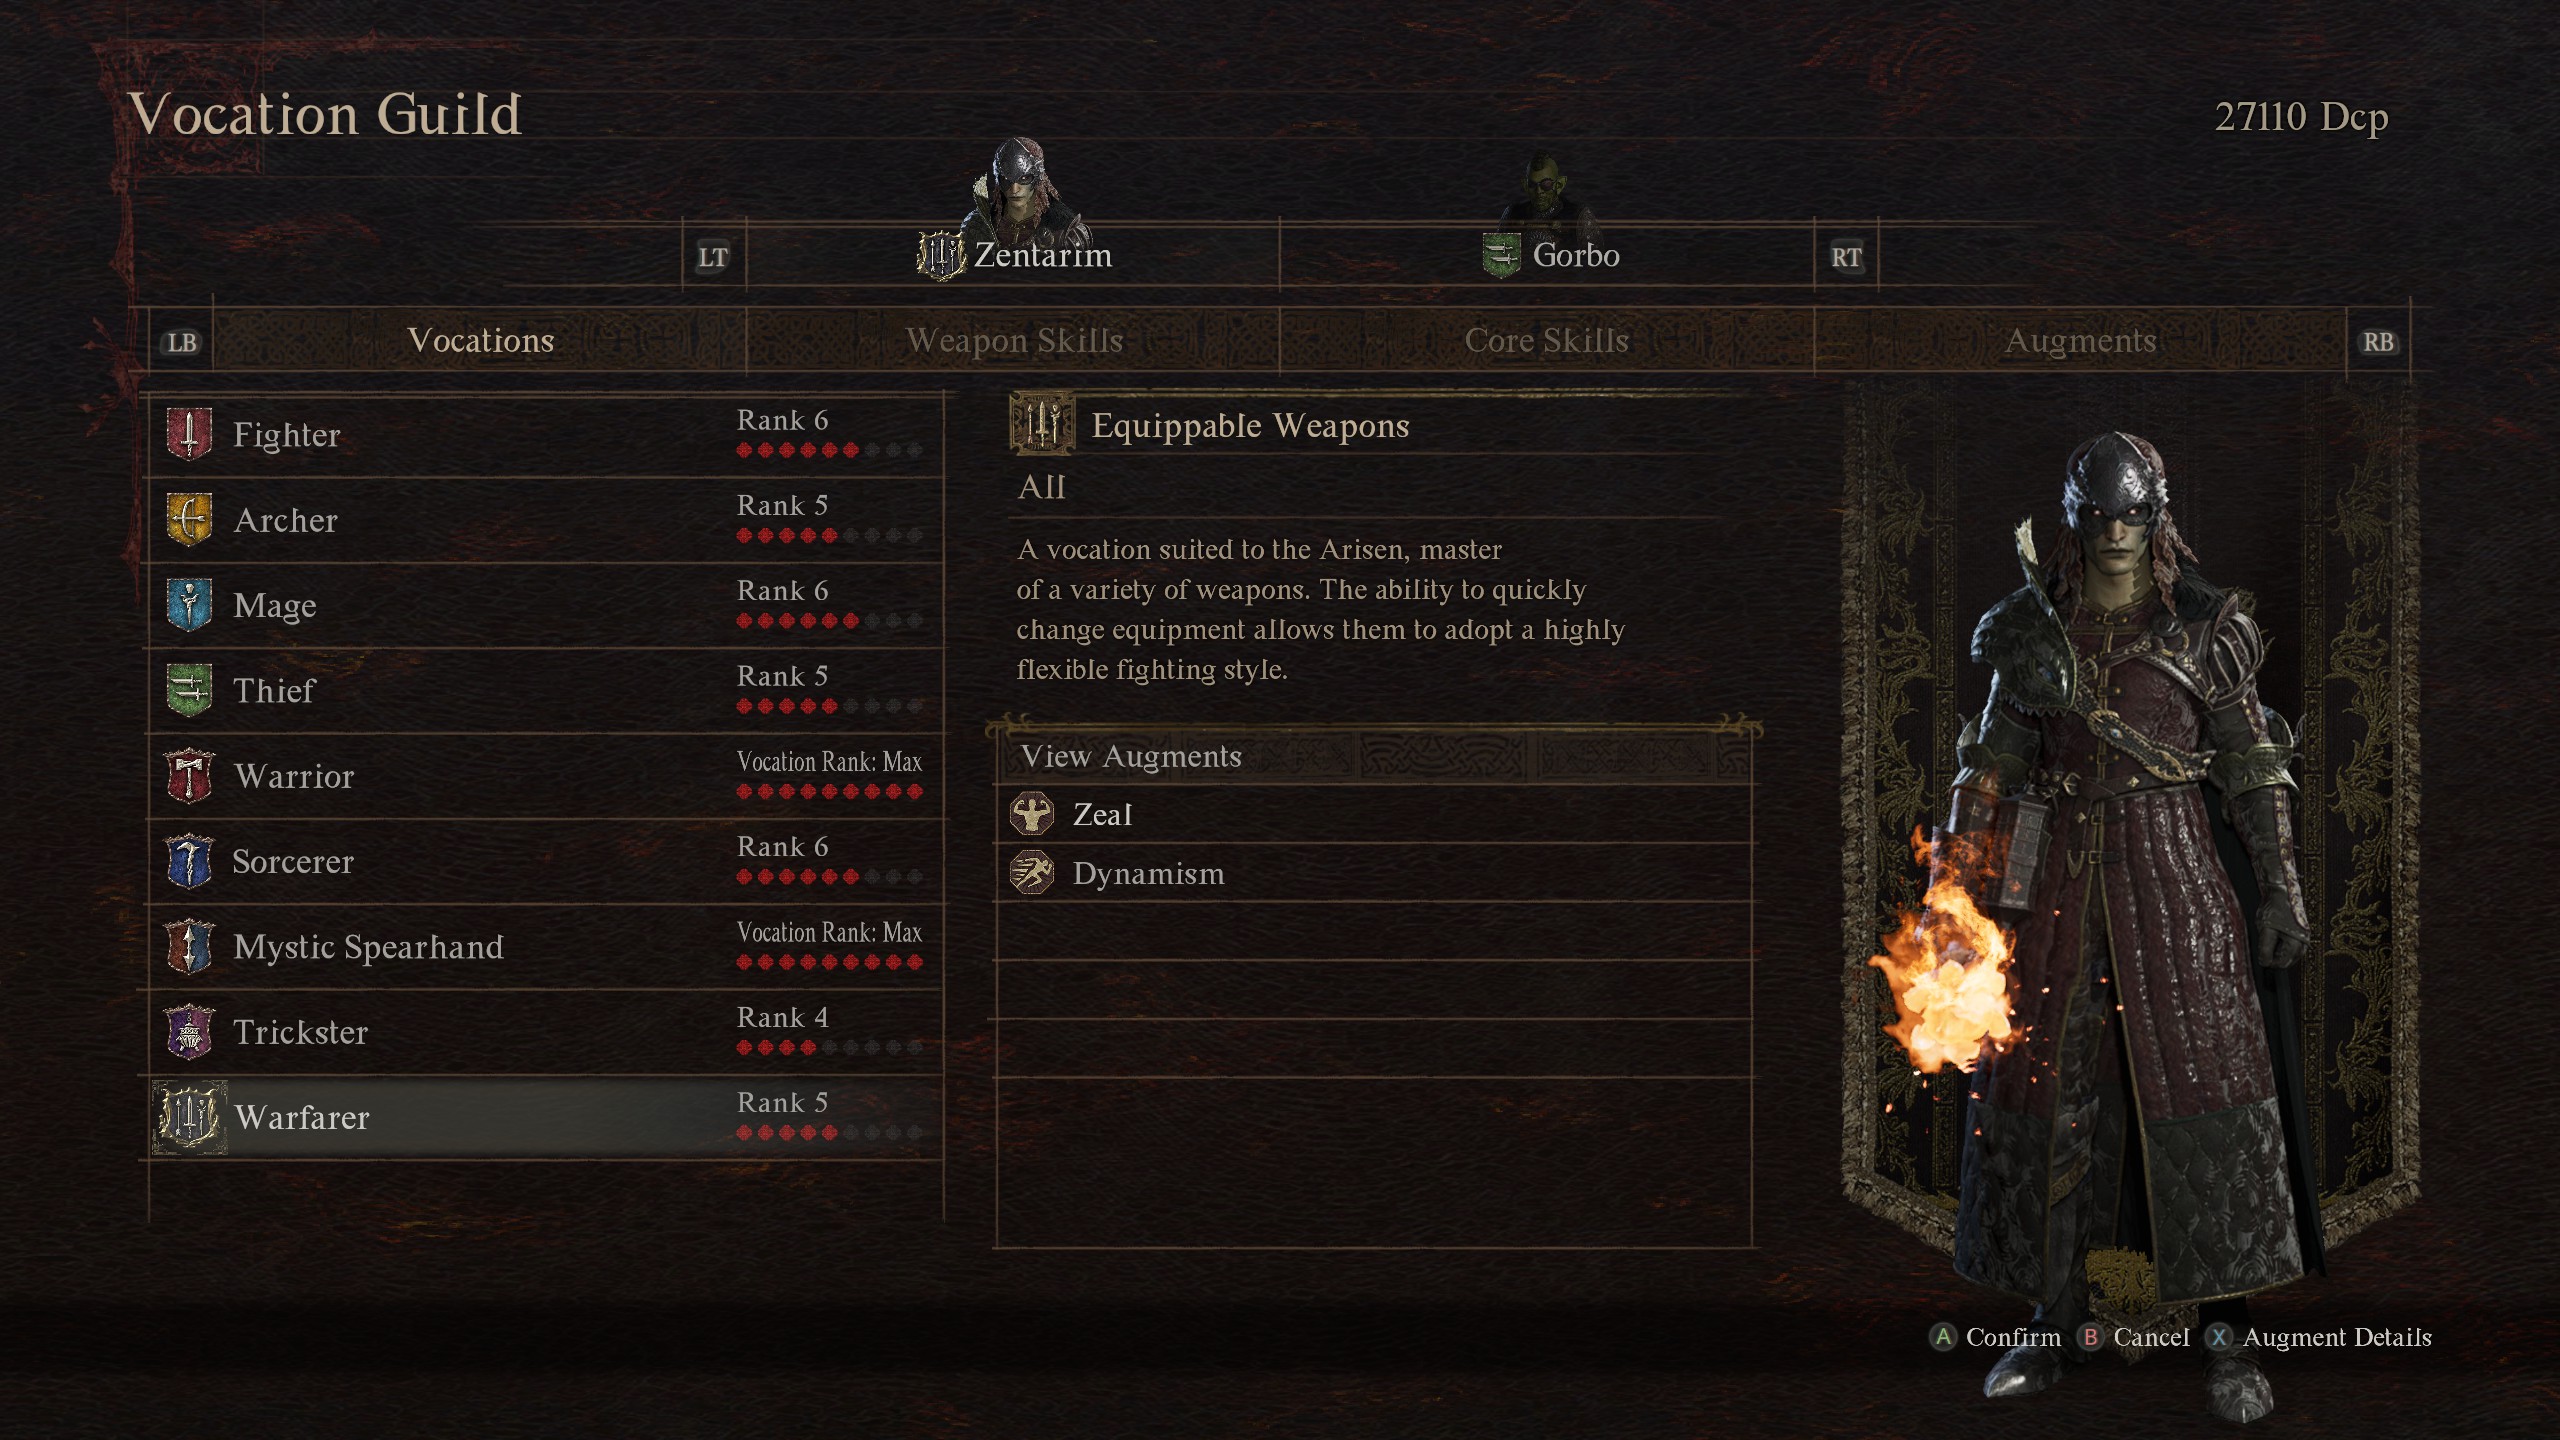
Robin Valentine, Senior Editor: Unlike most RPGs, Dragon's Dogma 2 doesn't expect you to stick with the class you picked at character creation. You can change your vocation at the Vocation Guild whenever you like—you just have to pay a handful of Discipline Points (earned by fighting) to unlock new ones, and that even gets you a set of equipment for each of them.
Switching vocations is a great way to try out different playstyles and better understand what each one brings to a fight. There's a more direct benefit, too: gaining ranks in a vocation unlocks new augments, which are passive buffs you can equip no matter what vocation you're currently using. That means that your Fighter build can, for example, benefit from a strength boost augment gained from playing as a Thief.
And remember you can do the same with your main pawn too—it's just as easy and beneficial to let them try different vocations, and you can always recruit new pawns at a riftstone to keep your party's mix of classes balanced.
Fraser: If you decide to go for the Warfarer vocation, which you probably won't unlock until you're pretty far into the game, having experience in lots of different vocations is key. This Arisen-specific class effectively combines all of them, letting you equip every weapon and piece of gear, as well as giving you access to every weapon skill and core skill that you've unlocked.
Get a Dragon's Gaze ASAP
Fraser: Wakestones are among Dragon's Dogma 2's most precious items. You're going to die a bunch, but these little rocks ensure that you'll be back up and fighting fit in a split second. When you resurrect, you come back with a full health bar and all of your stamina, and you'll have lost any negative effects you had previously.
You'll usually find fragments of these stones, and once you have three you can combine them and finally take advantage of their restorative powers. They can be hidden anywhere, though. In dungeons, hidden under beds, in chests. A device that points you to their location would be handy, right? Good news: such a device exists.
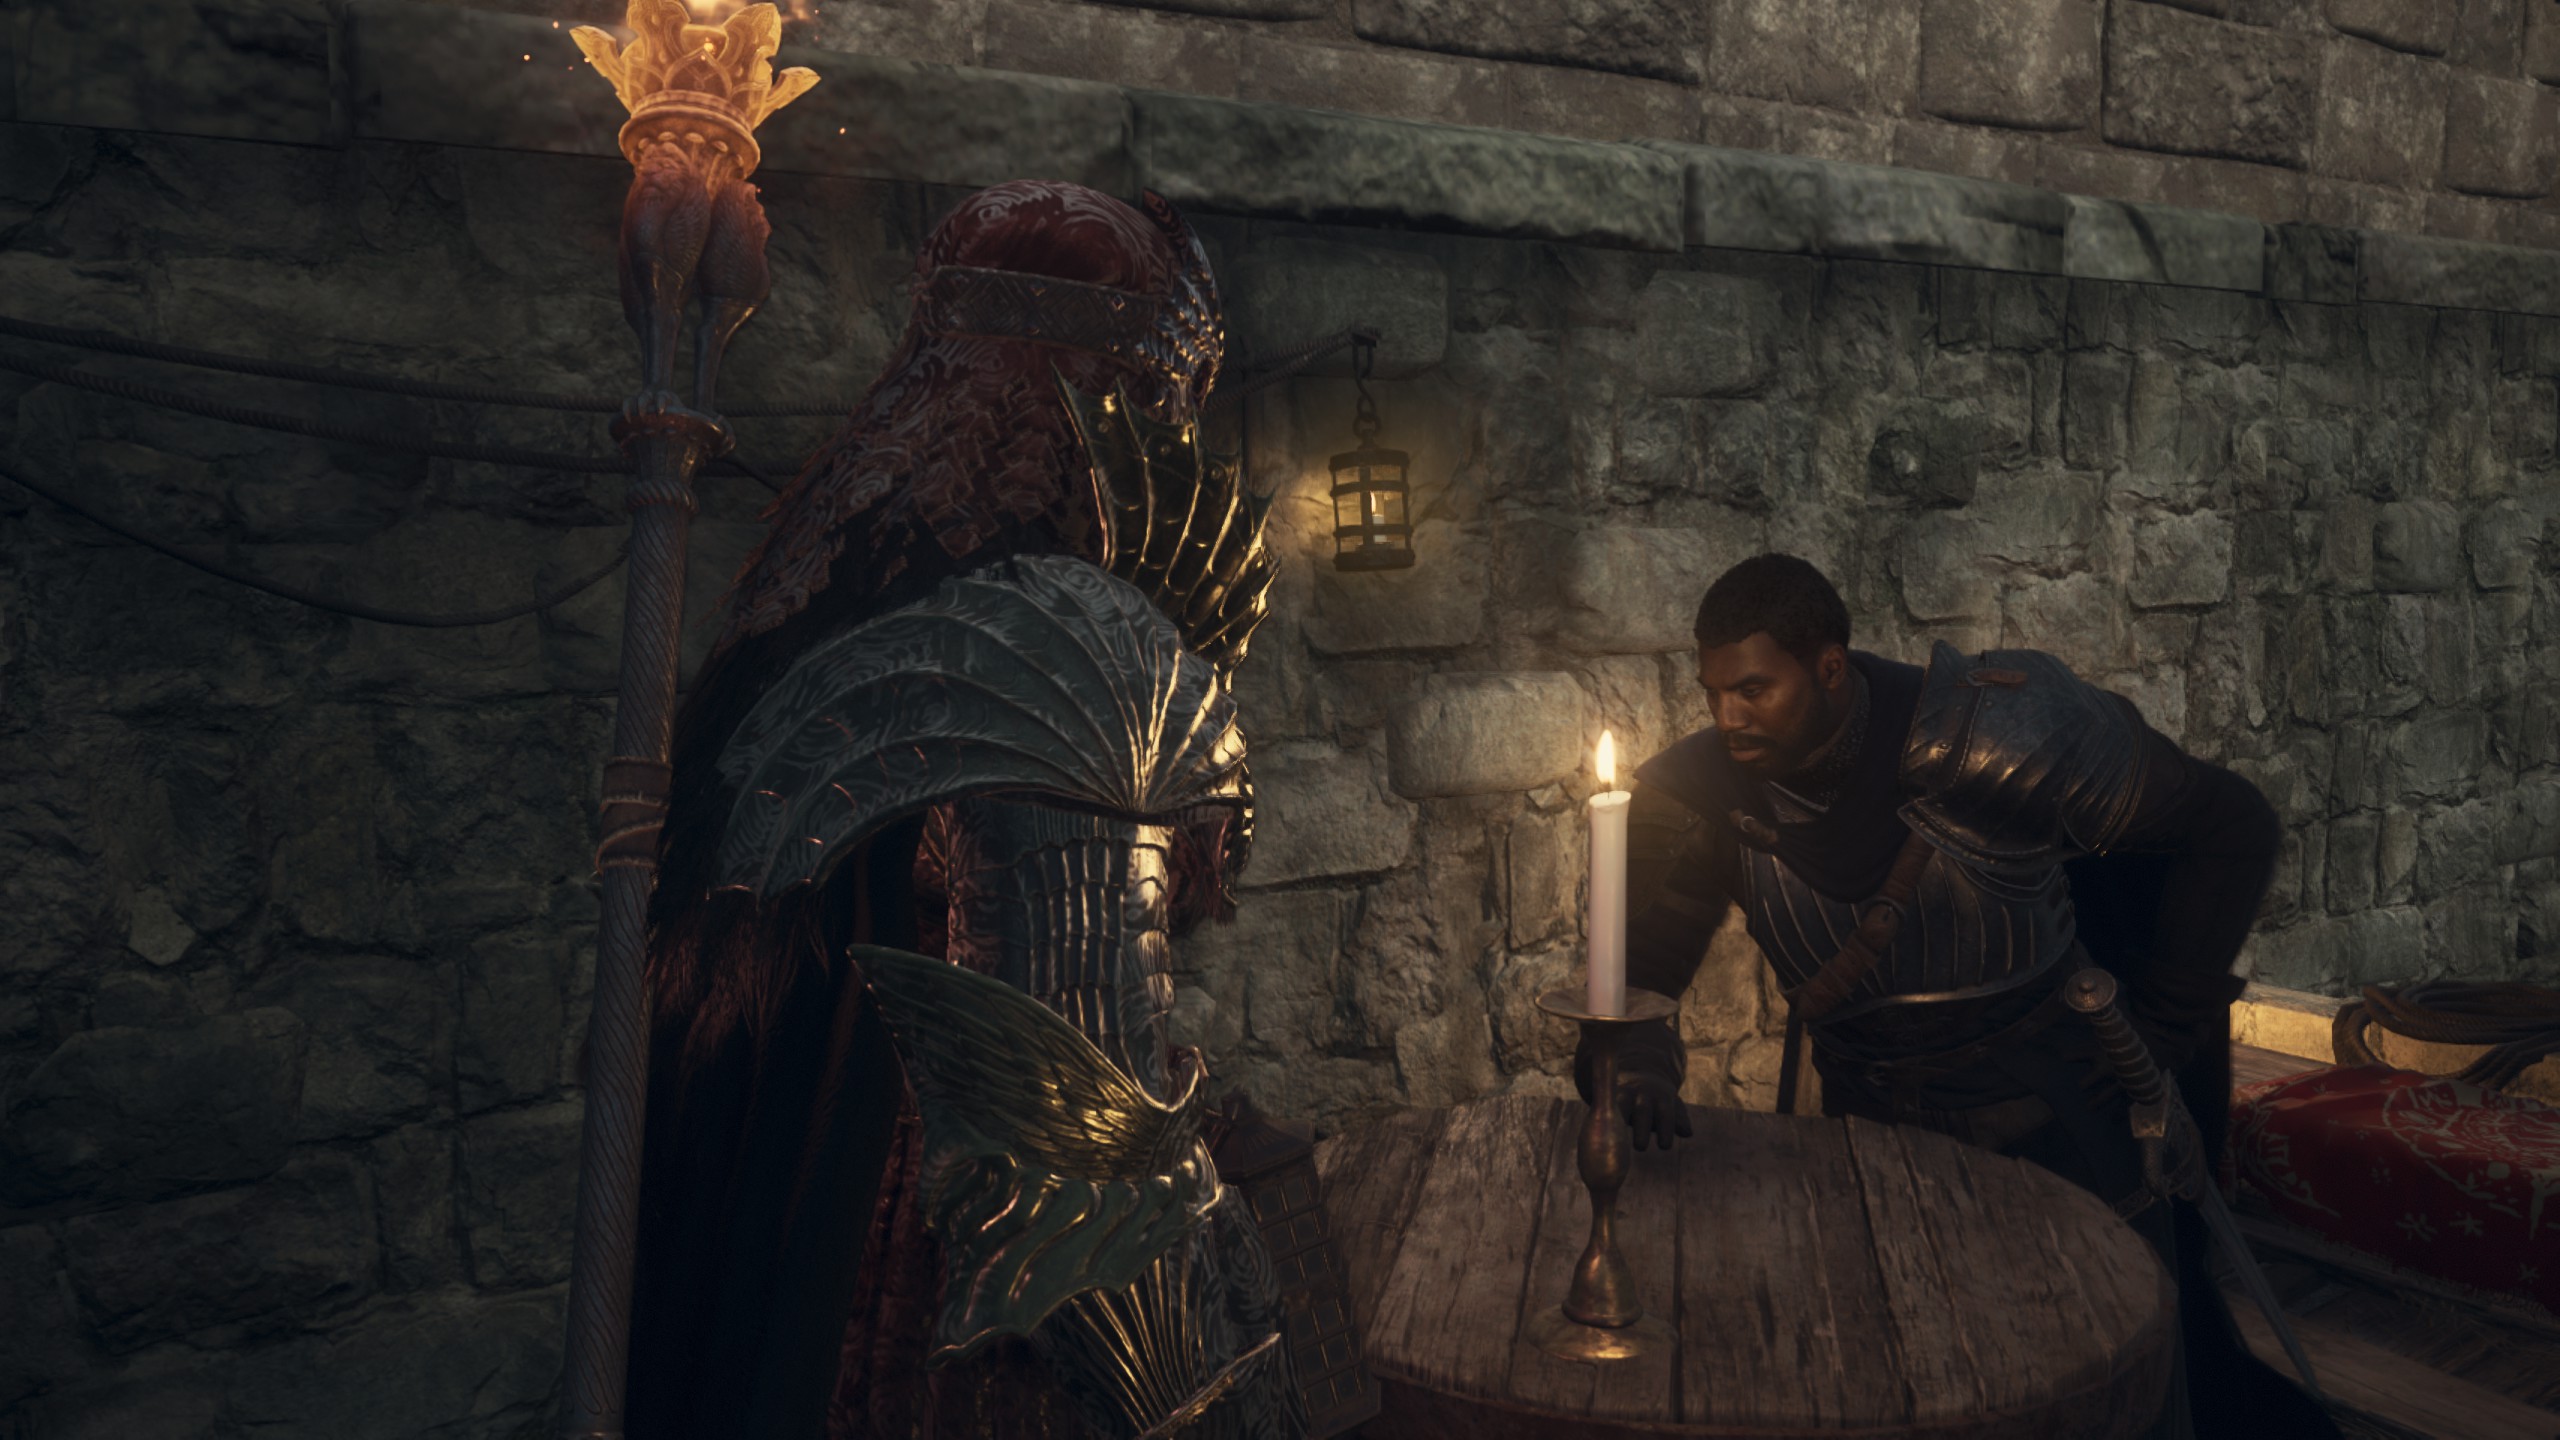
There are various ways to get a Dragon's Gaze, which can be used to reveal fragments on the map, but the simplest way is to do quests for Captain Brant, who you meet the moment you arrive in Vernworth. This is one of the handiest rewards in the game, and getting it early on makes your life so much easier.
Rest often
Tyler Colp, Associate Editor: The early hours of Dragon's Dogma 2 can be painful if you aren't prepared. Trips outside the capital city can go from calm to perilous in seconds, and the penalty for dying is the long trek back to where you were. Prioritize looting anything you find—even if it means having to go back and stuff items into your storage—so that you have enough gold to rest at inns regularly.
Your maximum health will drop as you take severe damage, and it can't be healed back without resting. Make sure you rest before chasing down your next quest objective or you might find yourself fighting a cyclops with only half of your total health available. Inns are also where you can manage your storage.
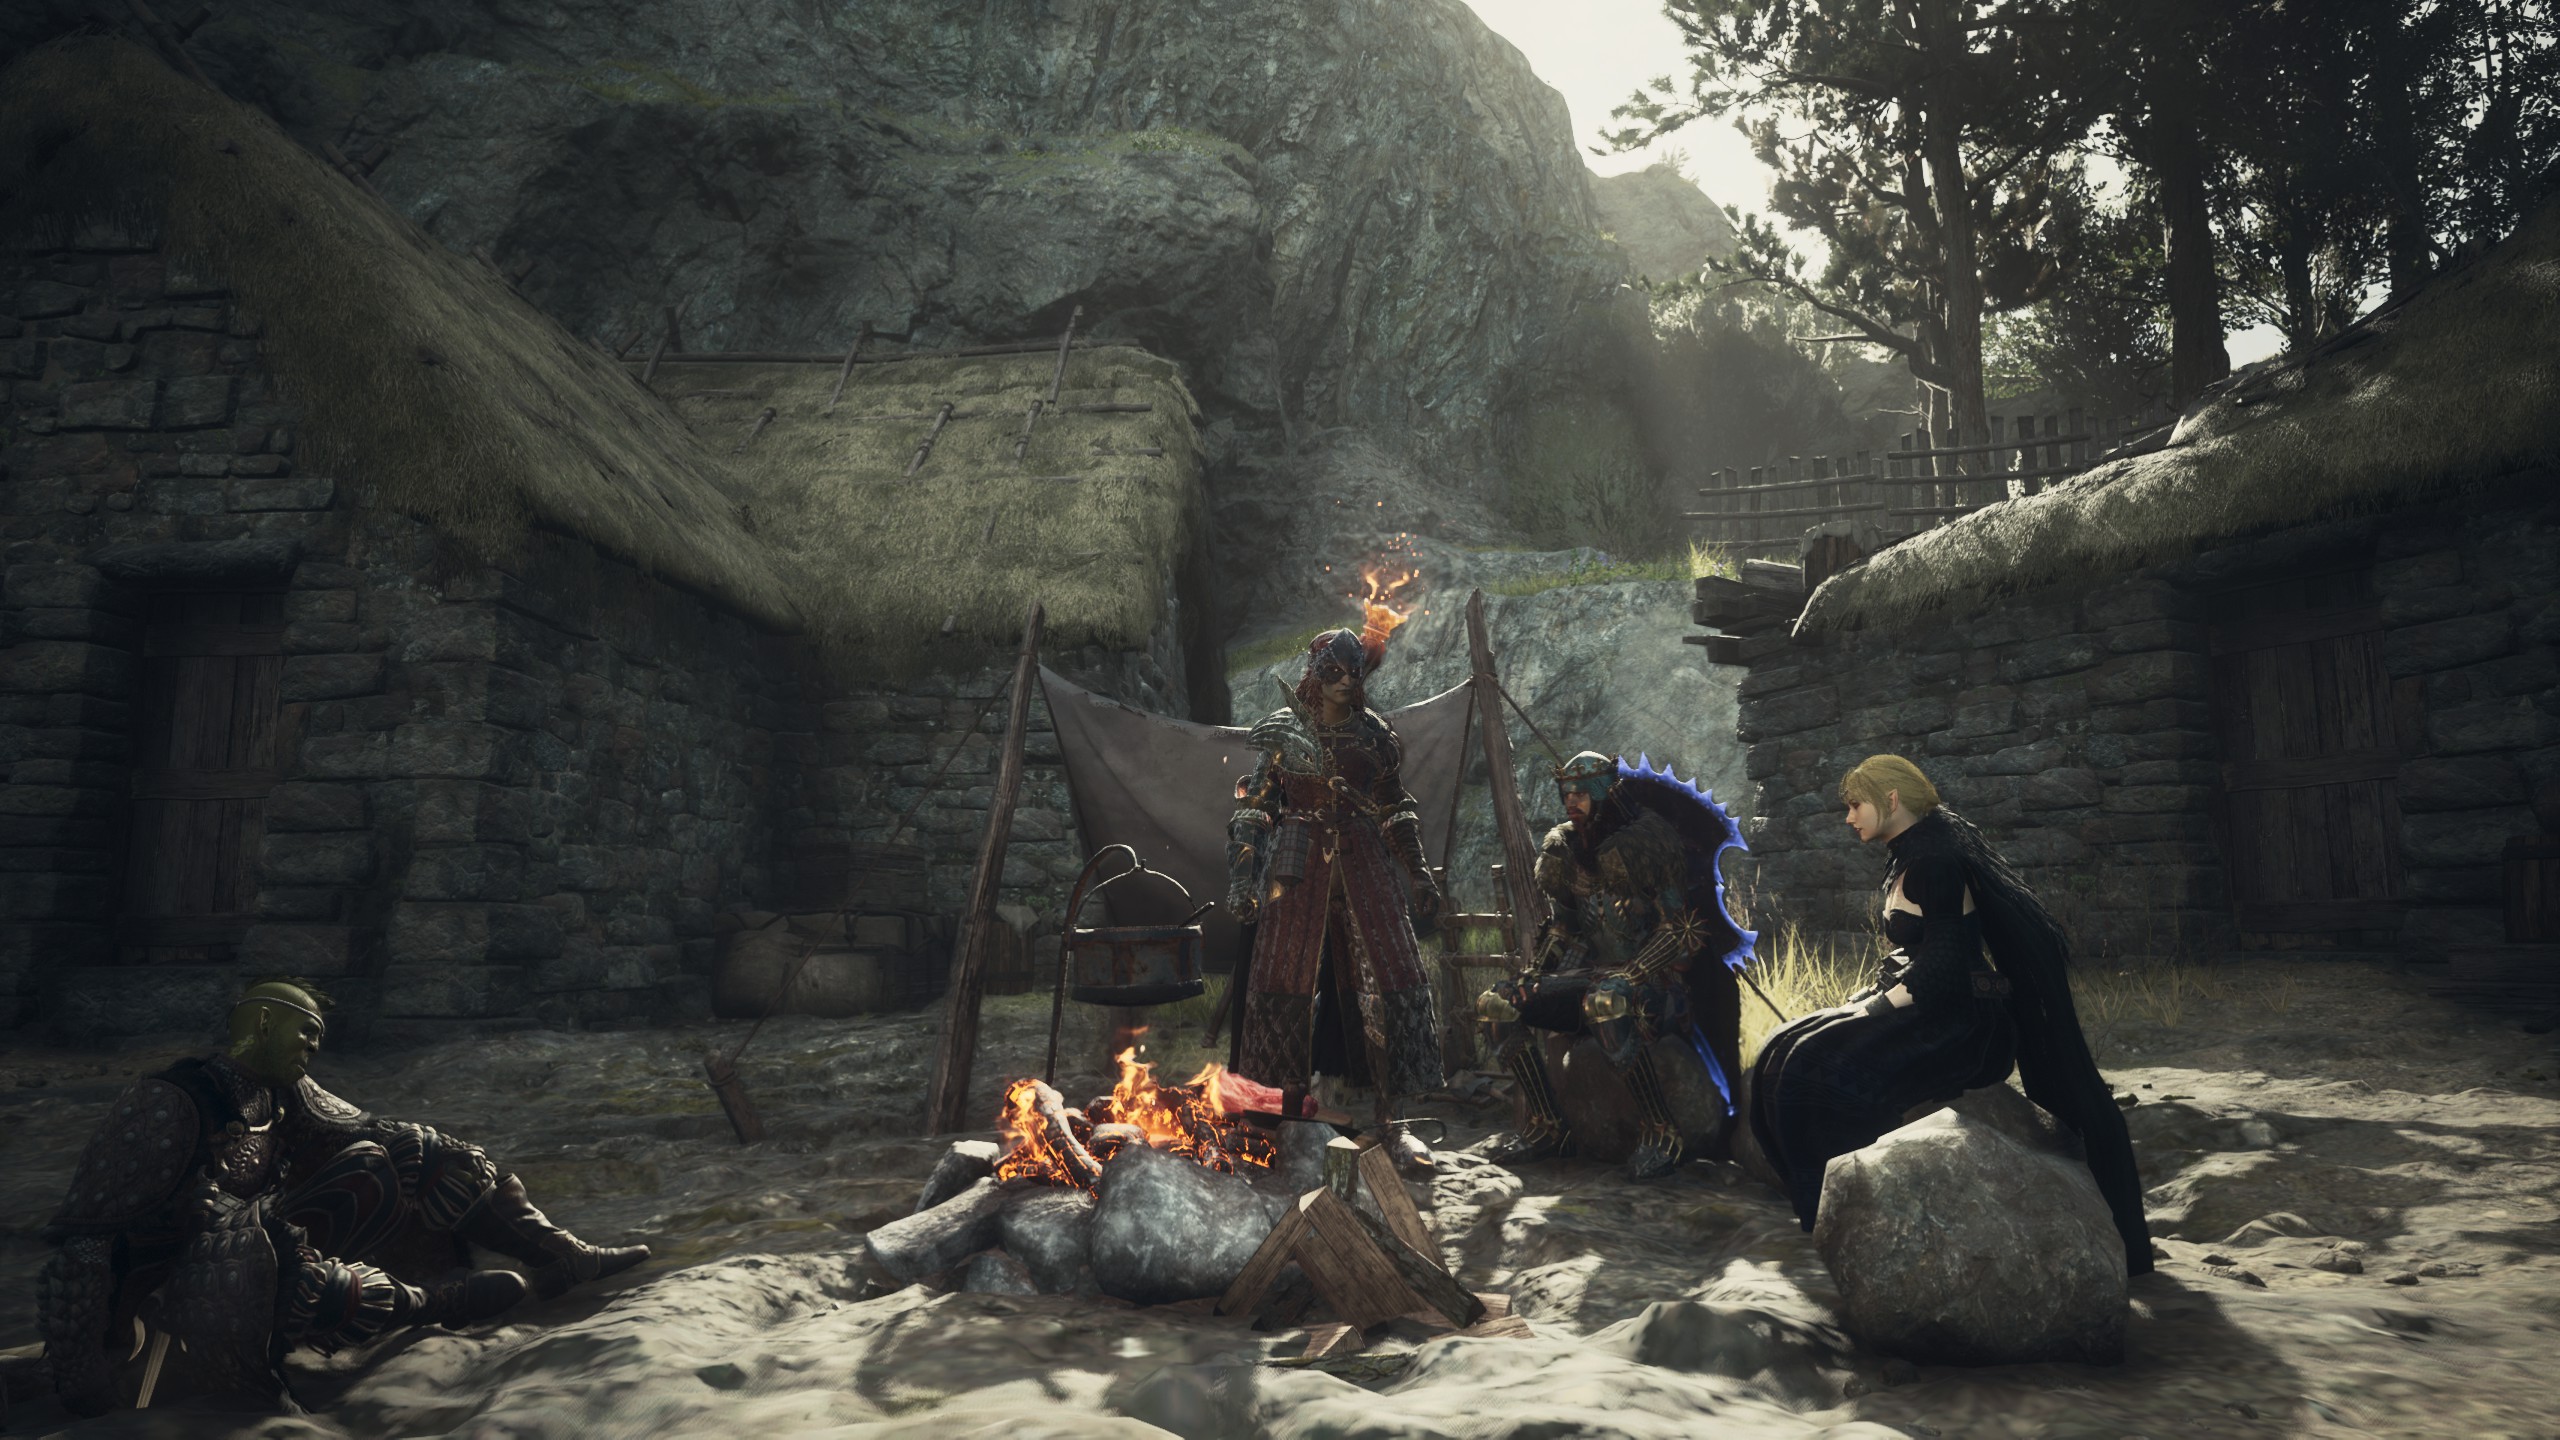
Fraser: Resting frequently is essential, but I actually avoided inns most of the time. The cost of using them is high, especially when you're just starting out, and aside from being able to access your storage they don't have many benefits over camping out in the wilderness. You can also change your skills at a camp, which you can't do in most inns, unless the inn doubles as a Vocation Guild.
Inns are definitely handy when you want to create a save that won't be automatically overwritten, however. Manual saves will be overwritten by autosaves, which makes it tough if you've screwed up and want to go back to an old save. Before you do anything you might regret, definitely hit up an inn. Otherwise, use a campsite or, if you're rich, buy a house.
You can still use magic even if you're not a Mage or Sorcerer
Fraser: There's nothing more fun than jumping onto a monster and repeatedly stabbing it, but Mages and Sorcerers are the vocations with truly godlike powers. If you want a taste of magical shenanigans, but aren't quite ready to change your vocations, there's a solution.
Grimoires can be found all over the place that let you cast magic (though only once) even if you're not using the correct vocation. They're great for getting out of a pickle or taking advantage of an enemy's weakness if you don't have a spellcaster in your party.
Some of these grimoires are connected to a couple of quests relating to extra-powerful Sorcerer and Mage spells, but you'll know which ones these are because they'll show up in the Valuables tab of your inventory, while the rest can be found in the Implements section.
Dry your food before it rots
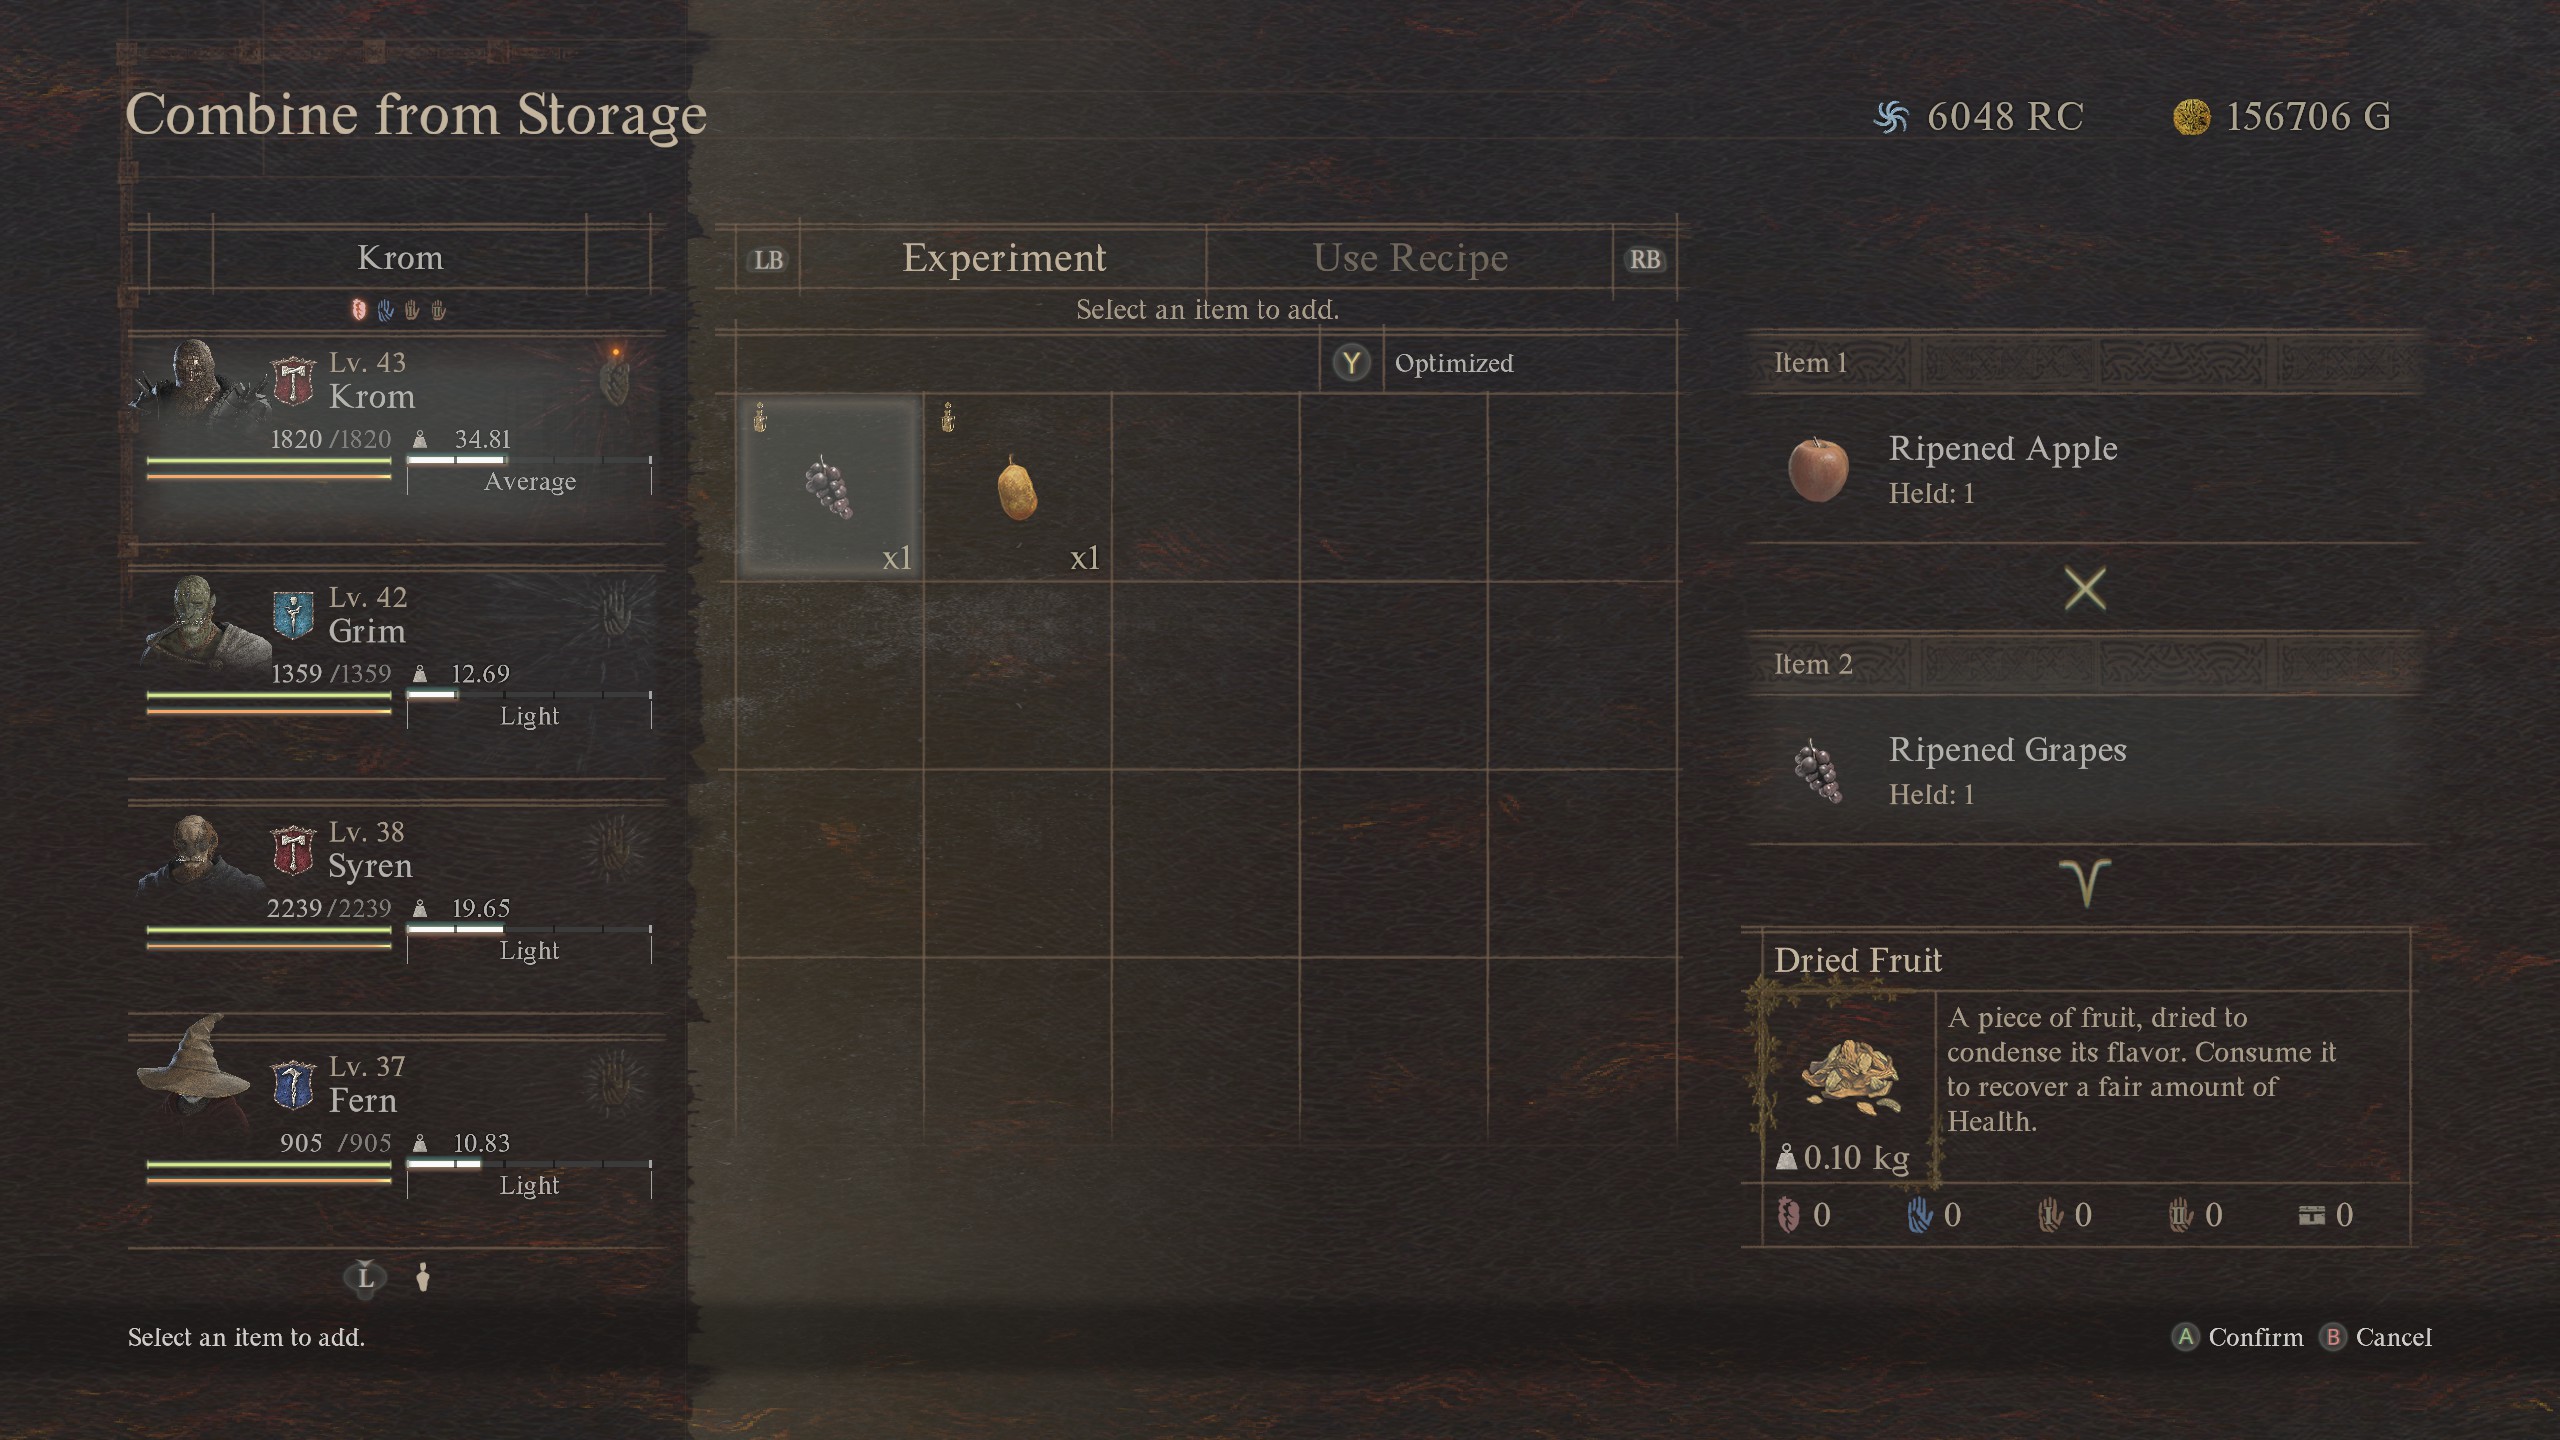
Sean: That fancy beast steak you just picked up is going to rot before long—unless you turn it into a tasty meal for your camp pawns. Combining fruit, meat, and fish in your inventory lets you create dried versions of those items that won't degrade. When you combine those with herbs you can also craft many of the powerful roborant healing items you sometimes need to rely on when you're getting kicked about. Even if your meat and vegetables do rot, you can always combine them to create spare lantern oil.

Fraser is the UK online editor and has actually met The Internet in person. With over a decade of experience, he's been around the block a few times, serving as a freelancer, news editor and prolific reviewer. Strategy games have been a 30-year-long obsession, from tiny RTSs to sprawling political sims, and he never turns down the chance to rave about Total War or Crusader Kings. He's also been known to set up shop in the latest MMO and likes to wind down with an endlessly deep, systemic RPG. These days, when he's not editing, he can usually be found writing features that are 1,000 words too long or talking about his dog.
- Robin ValentineSenior Editor
- Tyler Colp
- Morgan ParkStaff Writer
- Sean MartinSenior Guides Writer

 Join The Club


