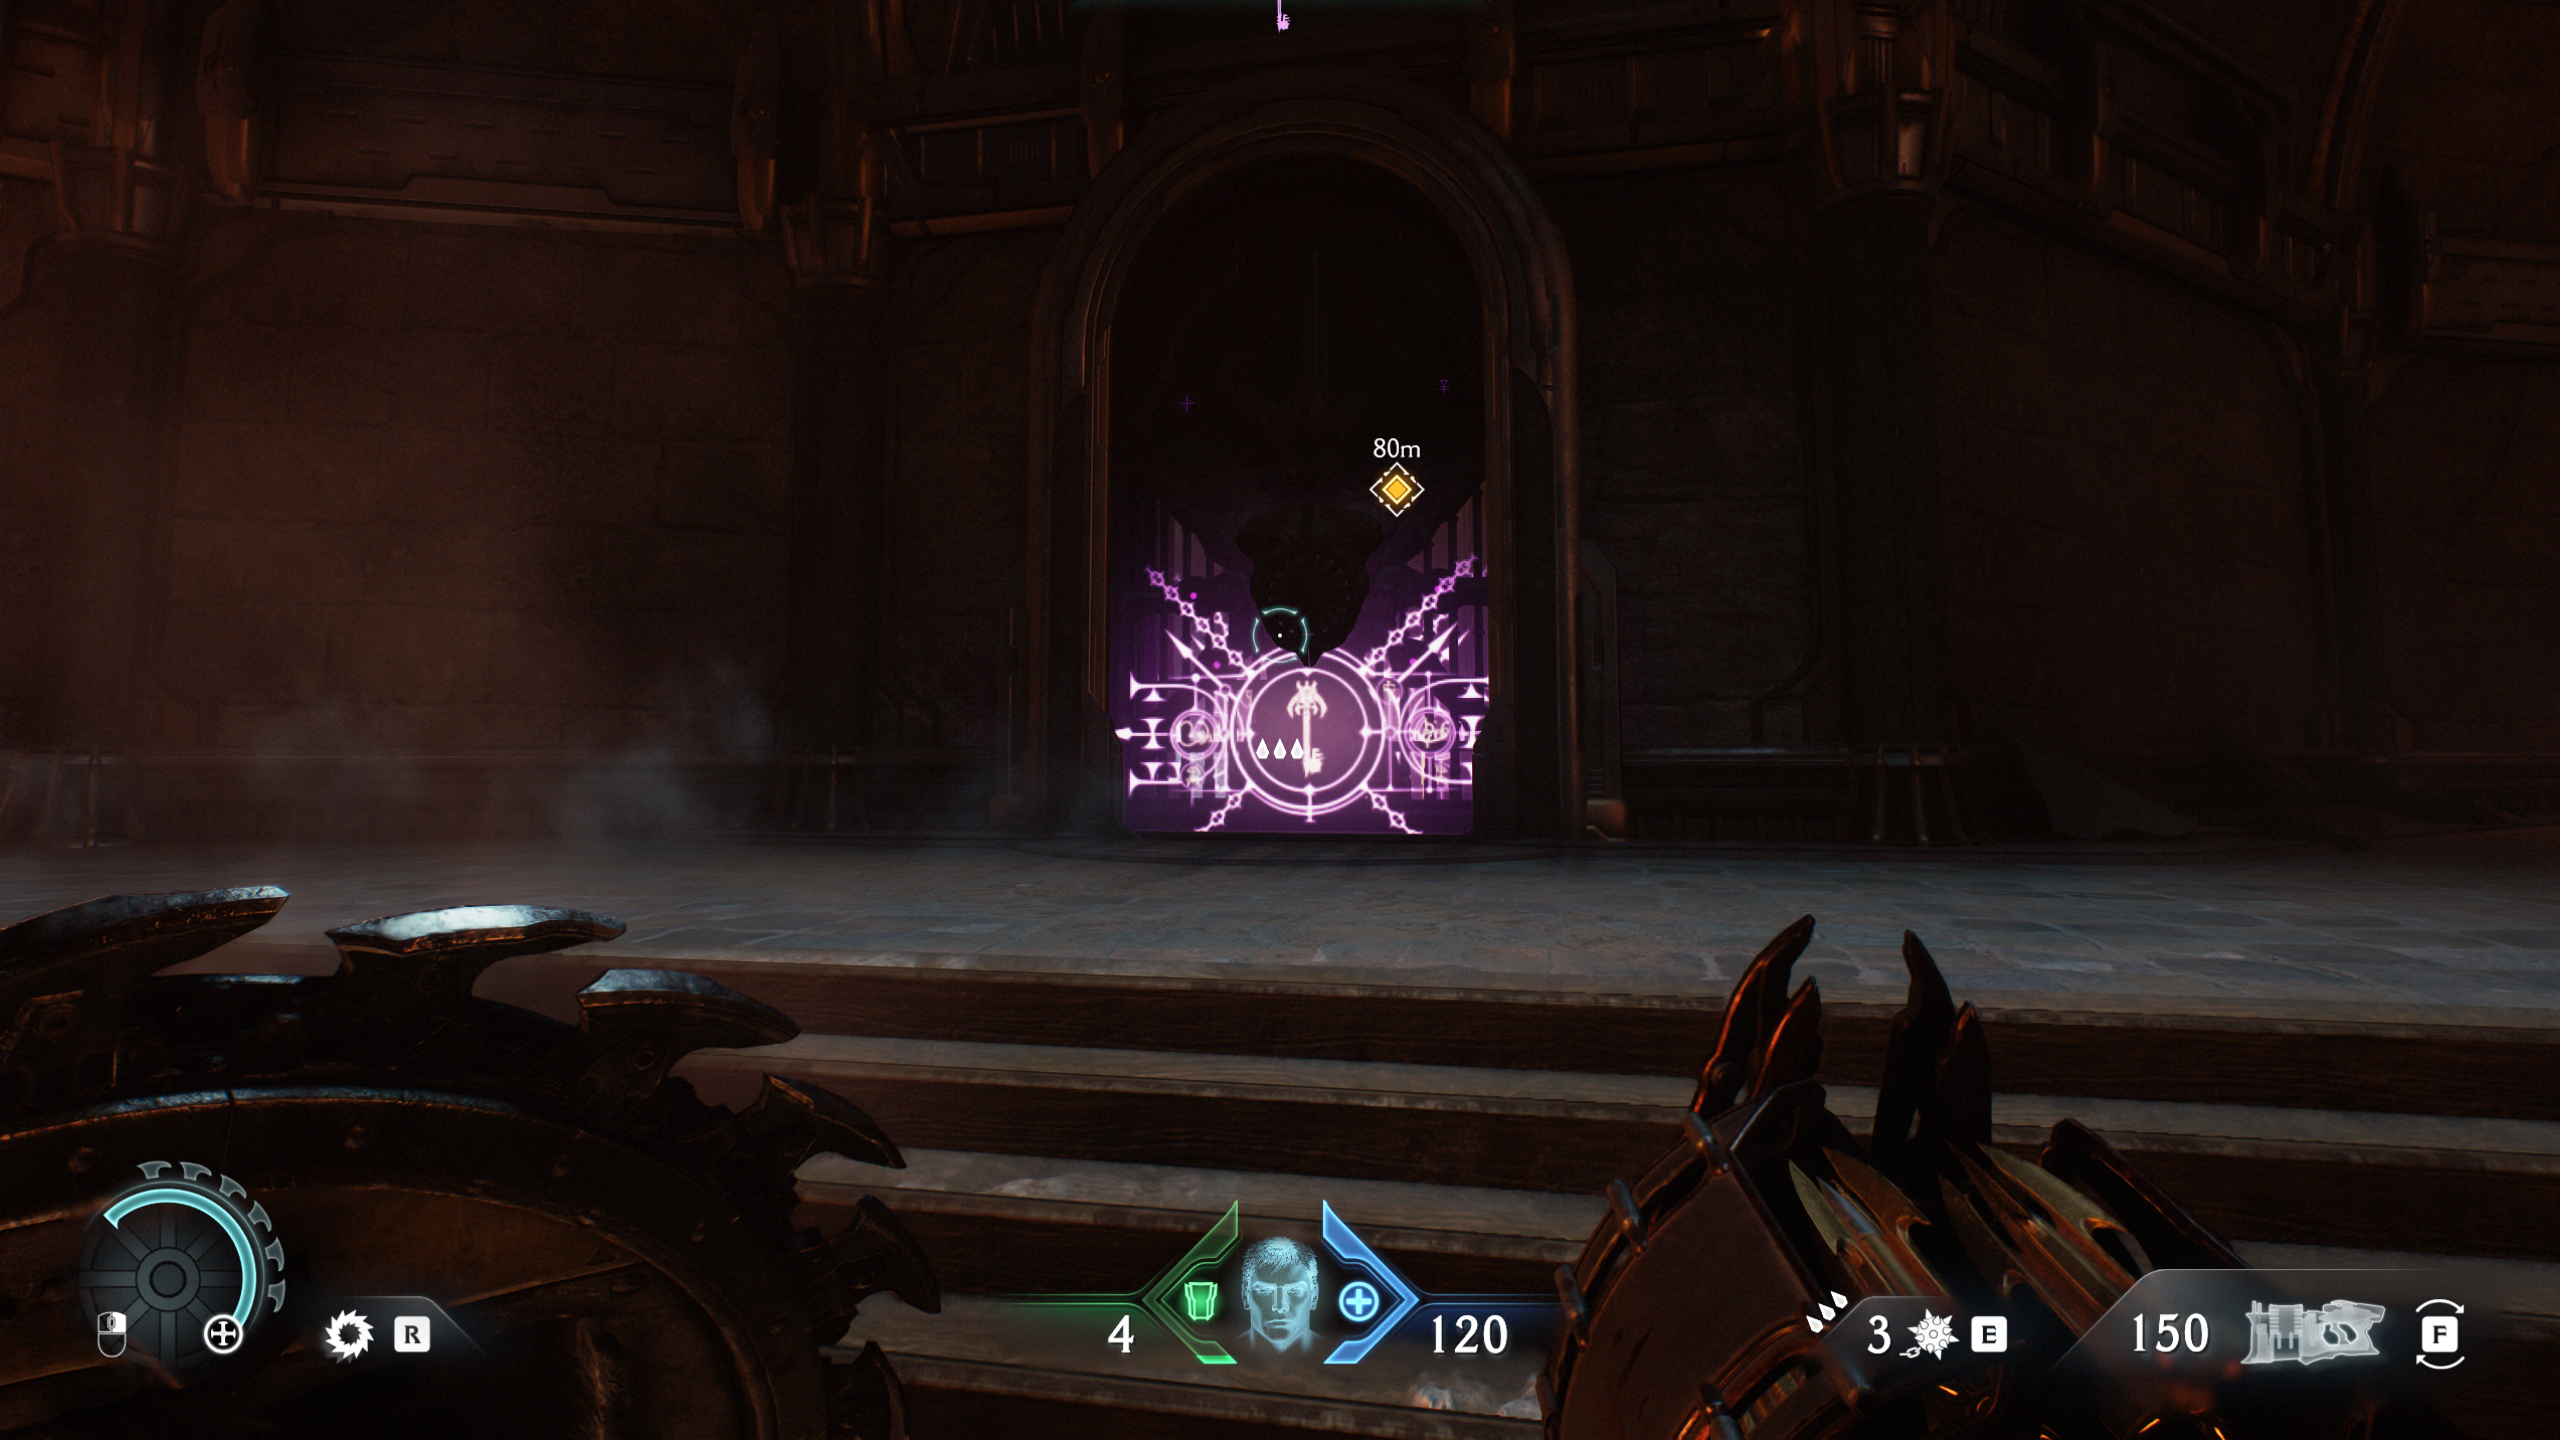
Doom: The Dark Ages Siege Part 2 secrets and collectibles (Chapter 7)
Retreating into the city in chapter 7 is surprisingly lucrative.

Keep up to date with the most important stories and the best deals, as picked by the PC Gamer team.
You are now subscribed
Your newsletter sign-up was successful
Want to add more newsletters?

Every Friday
GamesRadar+
Your weekly update on everything you could ever want to know about the games you already love, games we know you're going to love in the near future, and tales from the communities that surround them.

Every Thursday
GTA 6 O'clock
Our special GTA 6 newsletter, with breaking news, insider info, and rumor analysis from the award-winning GTA 6 O'clock experts.

Every Friday
Knowledge
From the creators of Edge: A weekly videogame industry newsletter with analysis from expert writers, guidance from professionals, and insight into what's on the horizon.

Every Thursday
The Setup
Hardware nerds unite, sign up to our free tech newsletter for a weekly digest of the hottest new tech, the latest gadgets on the test bench, and much more.

Every Wednesday
Switch 2 Spotlight
Sign up to our new Switch 2 newsletter, where we bring you the latest talking points on Nintendo's new console each week, bring you up to date on the news, and recommend what games to play.

Every Saturday
The Watchlist
Subscribe for a weekly digest of the movie and TV news that matters, direct to your inbox. From first-look trailers, interviews, reviews and explainers, we've got you covered.

Once a month
SFX
Get sneak previews, exclusive competitions and details of special events each month!
What's bad for the war effort turns out to be pretty good for your treasure stockpile in Doom: The Dark Ages' seventh chapter, as you fall back into the city. While it's much more linear than the previous level, the Siege Part 2 secrets are still easy enough to miss.
Below you'll find all the Doom: The Dark Ages secrets and collectibles in Siege Part 2 laid out in chronological order, so you won't need to replay the level like I did on my first attempt.
Doom: The Dark Ages Siege Part 2 secrets and collectibles
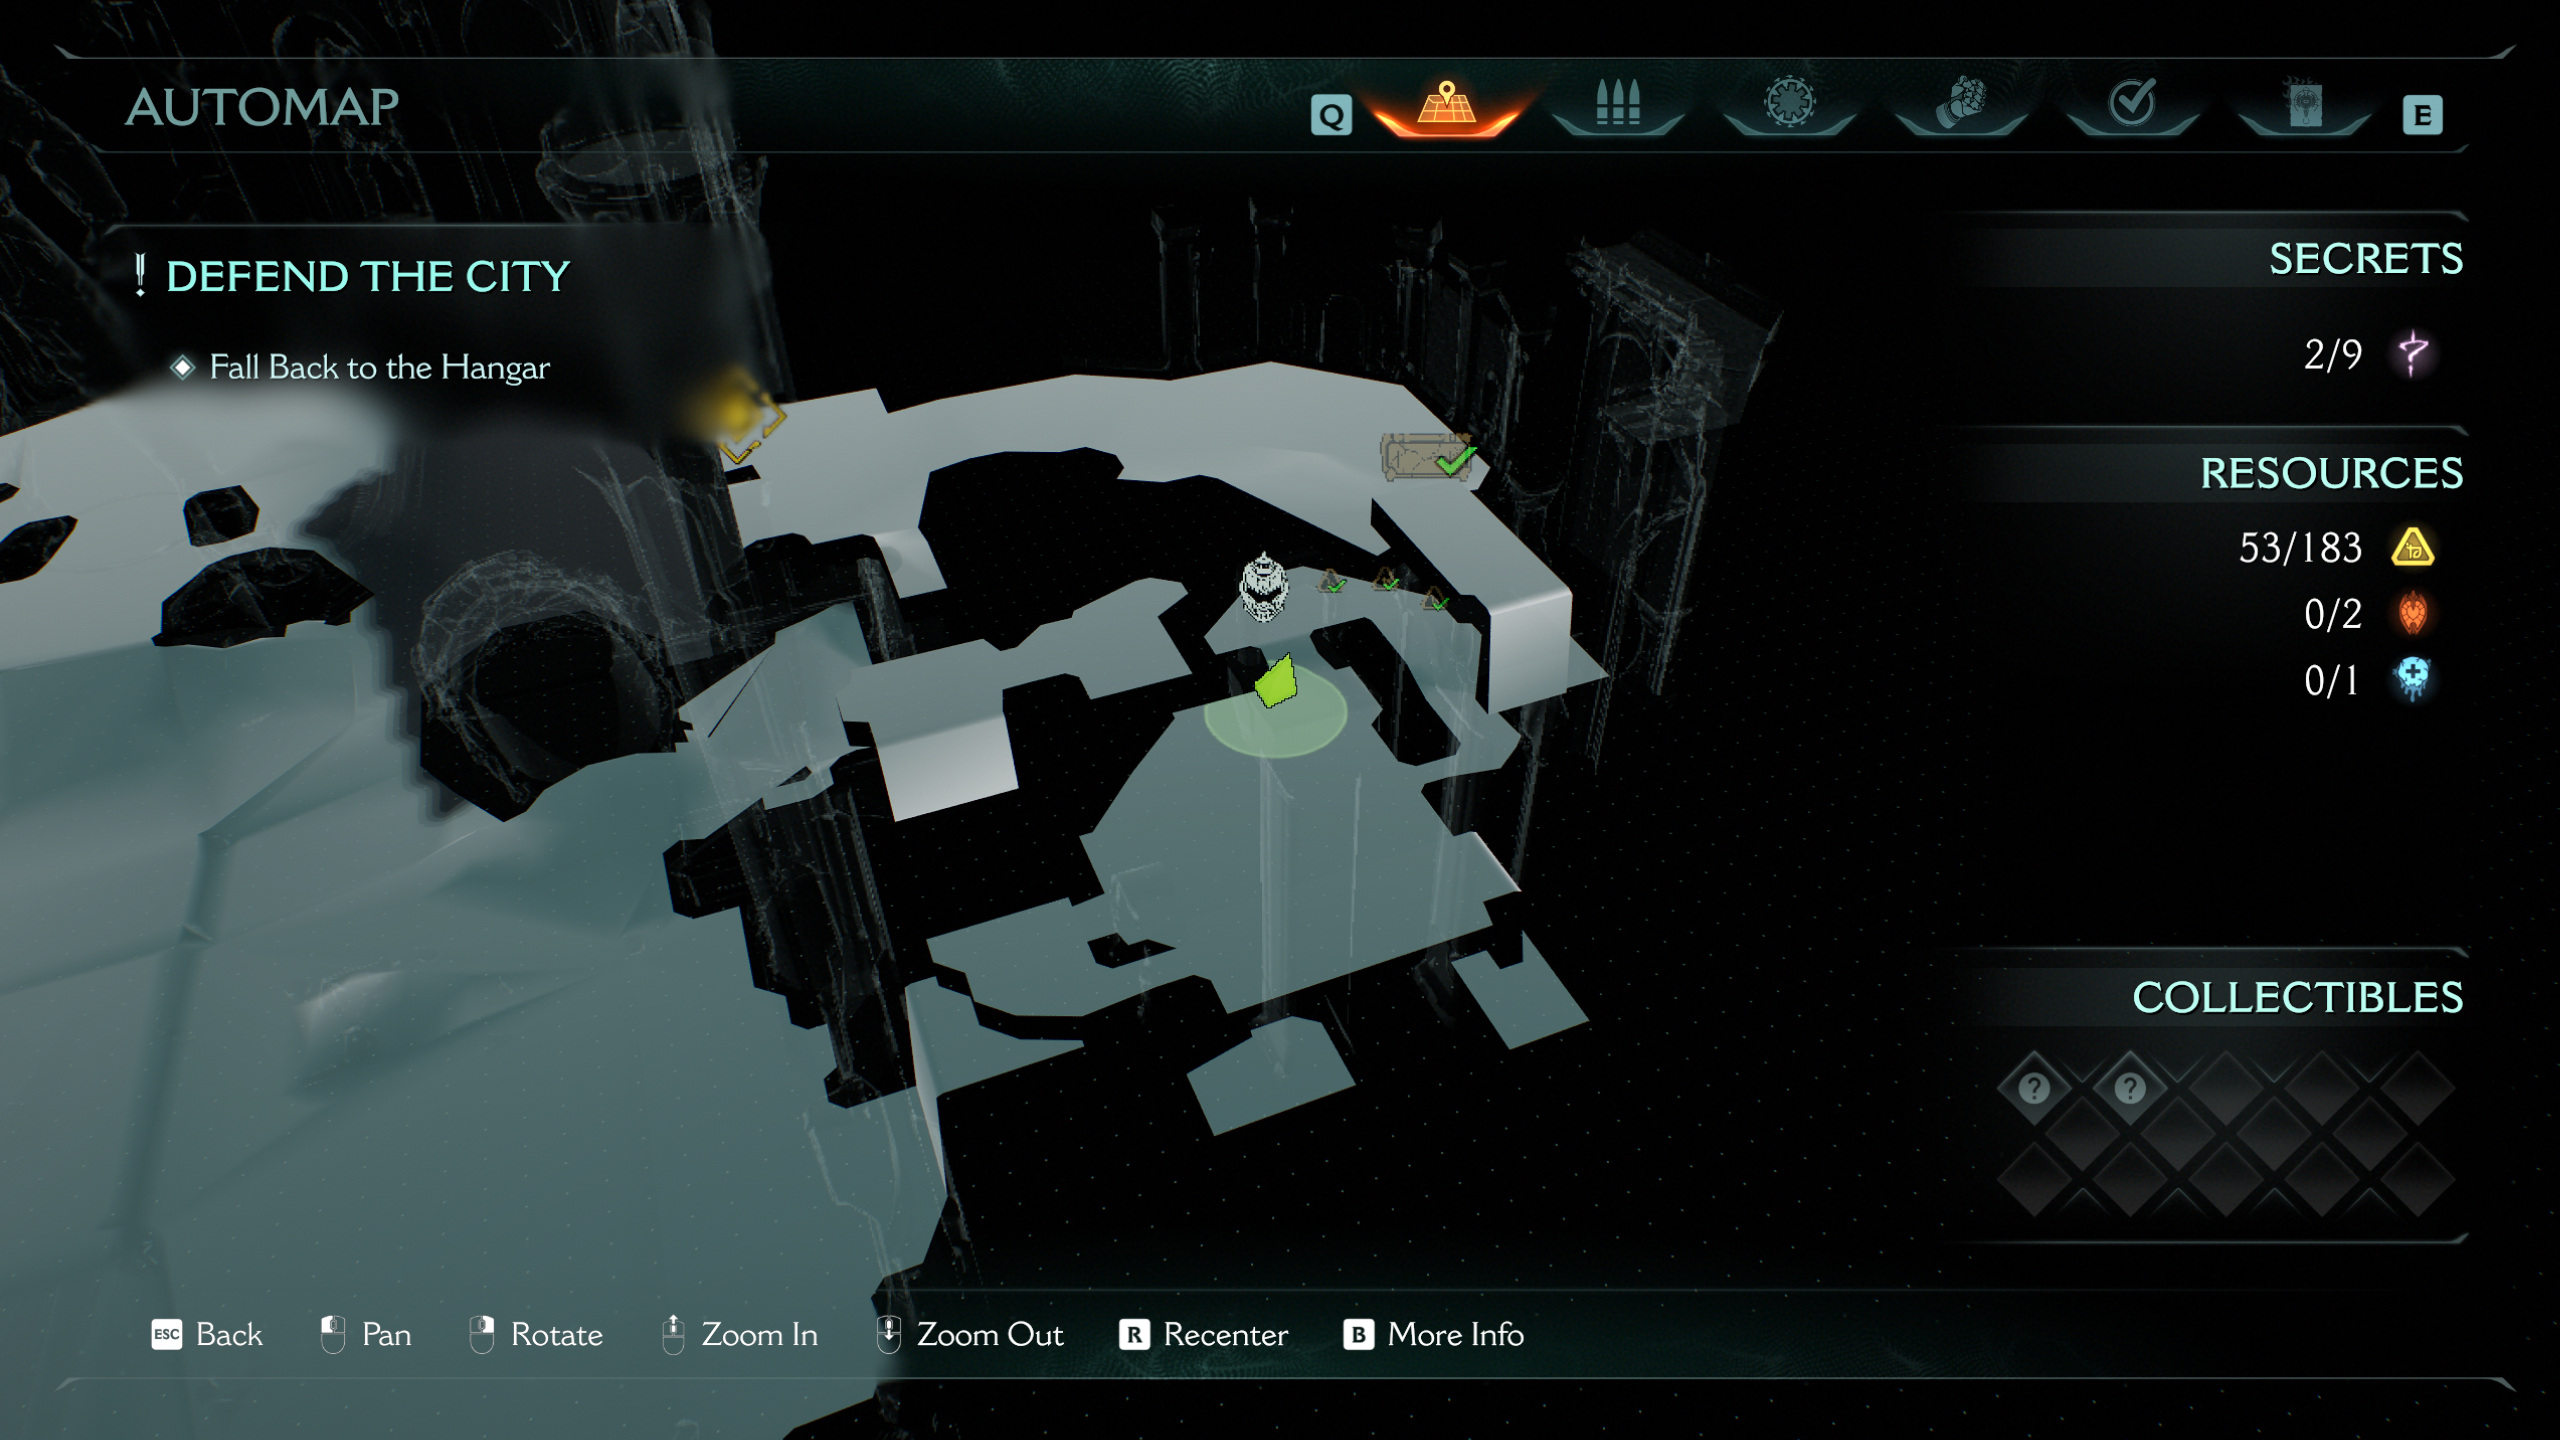
The second part of the Siege mission is much more linear, giving you quite a bit less to dig up. In total, there are nine secrets and two collectibles, with one health Demonic Essence up for grabs from the final boss.
If you're paying attention to the challenges, then you'll notice that there's also a unique Reverent weapon skin for the Shredder if you beat the Exterminator task. This requires you to kill three or more fodder demons with a single shield throw five times, so it's nice and easy. This isn't considered a secret or collectible, but it is required for 100% completion.
1 - Life sigil
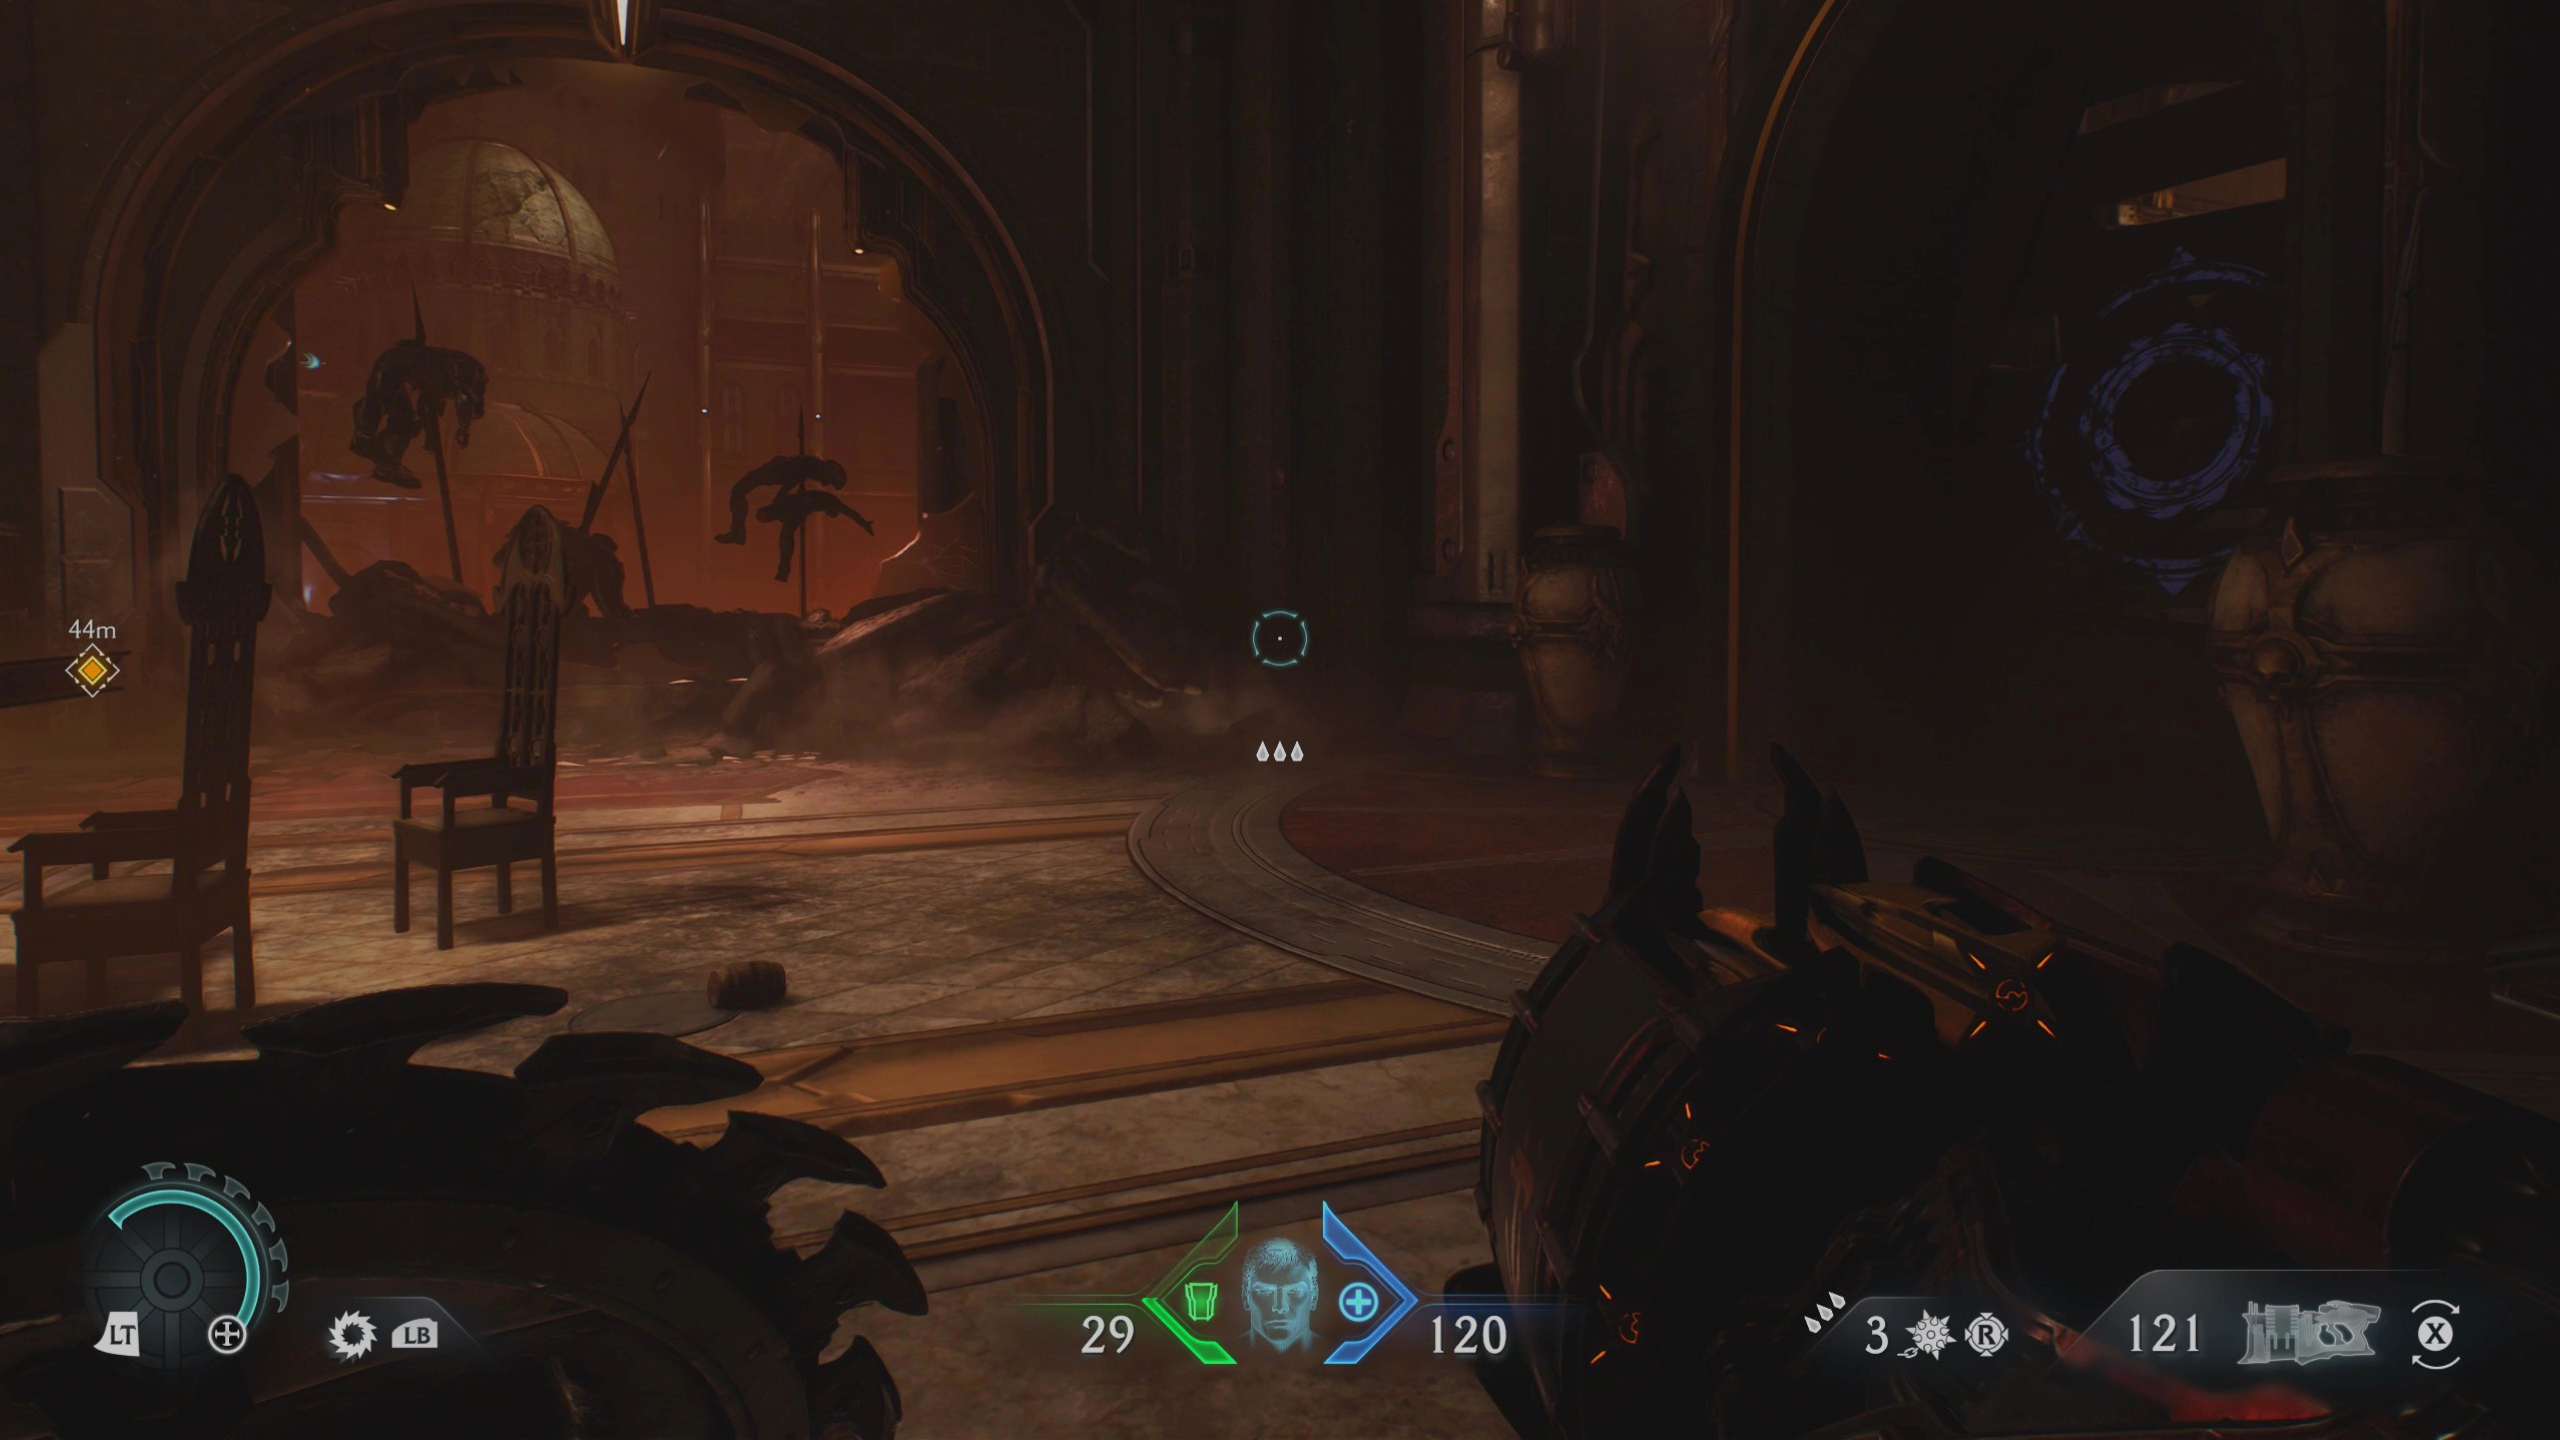
The first secret you'll encounter is a boring ol' life sigil. After taking down the titan demon and climbing up the castle wall, immediately bash the box ahead of you (which you need to do to progress anyhow) to reveal a "hidden" room. Bash the barricade and you'll find the sigil.
2 - Gold chest
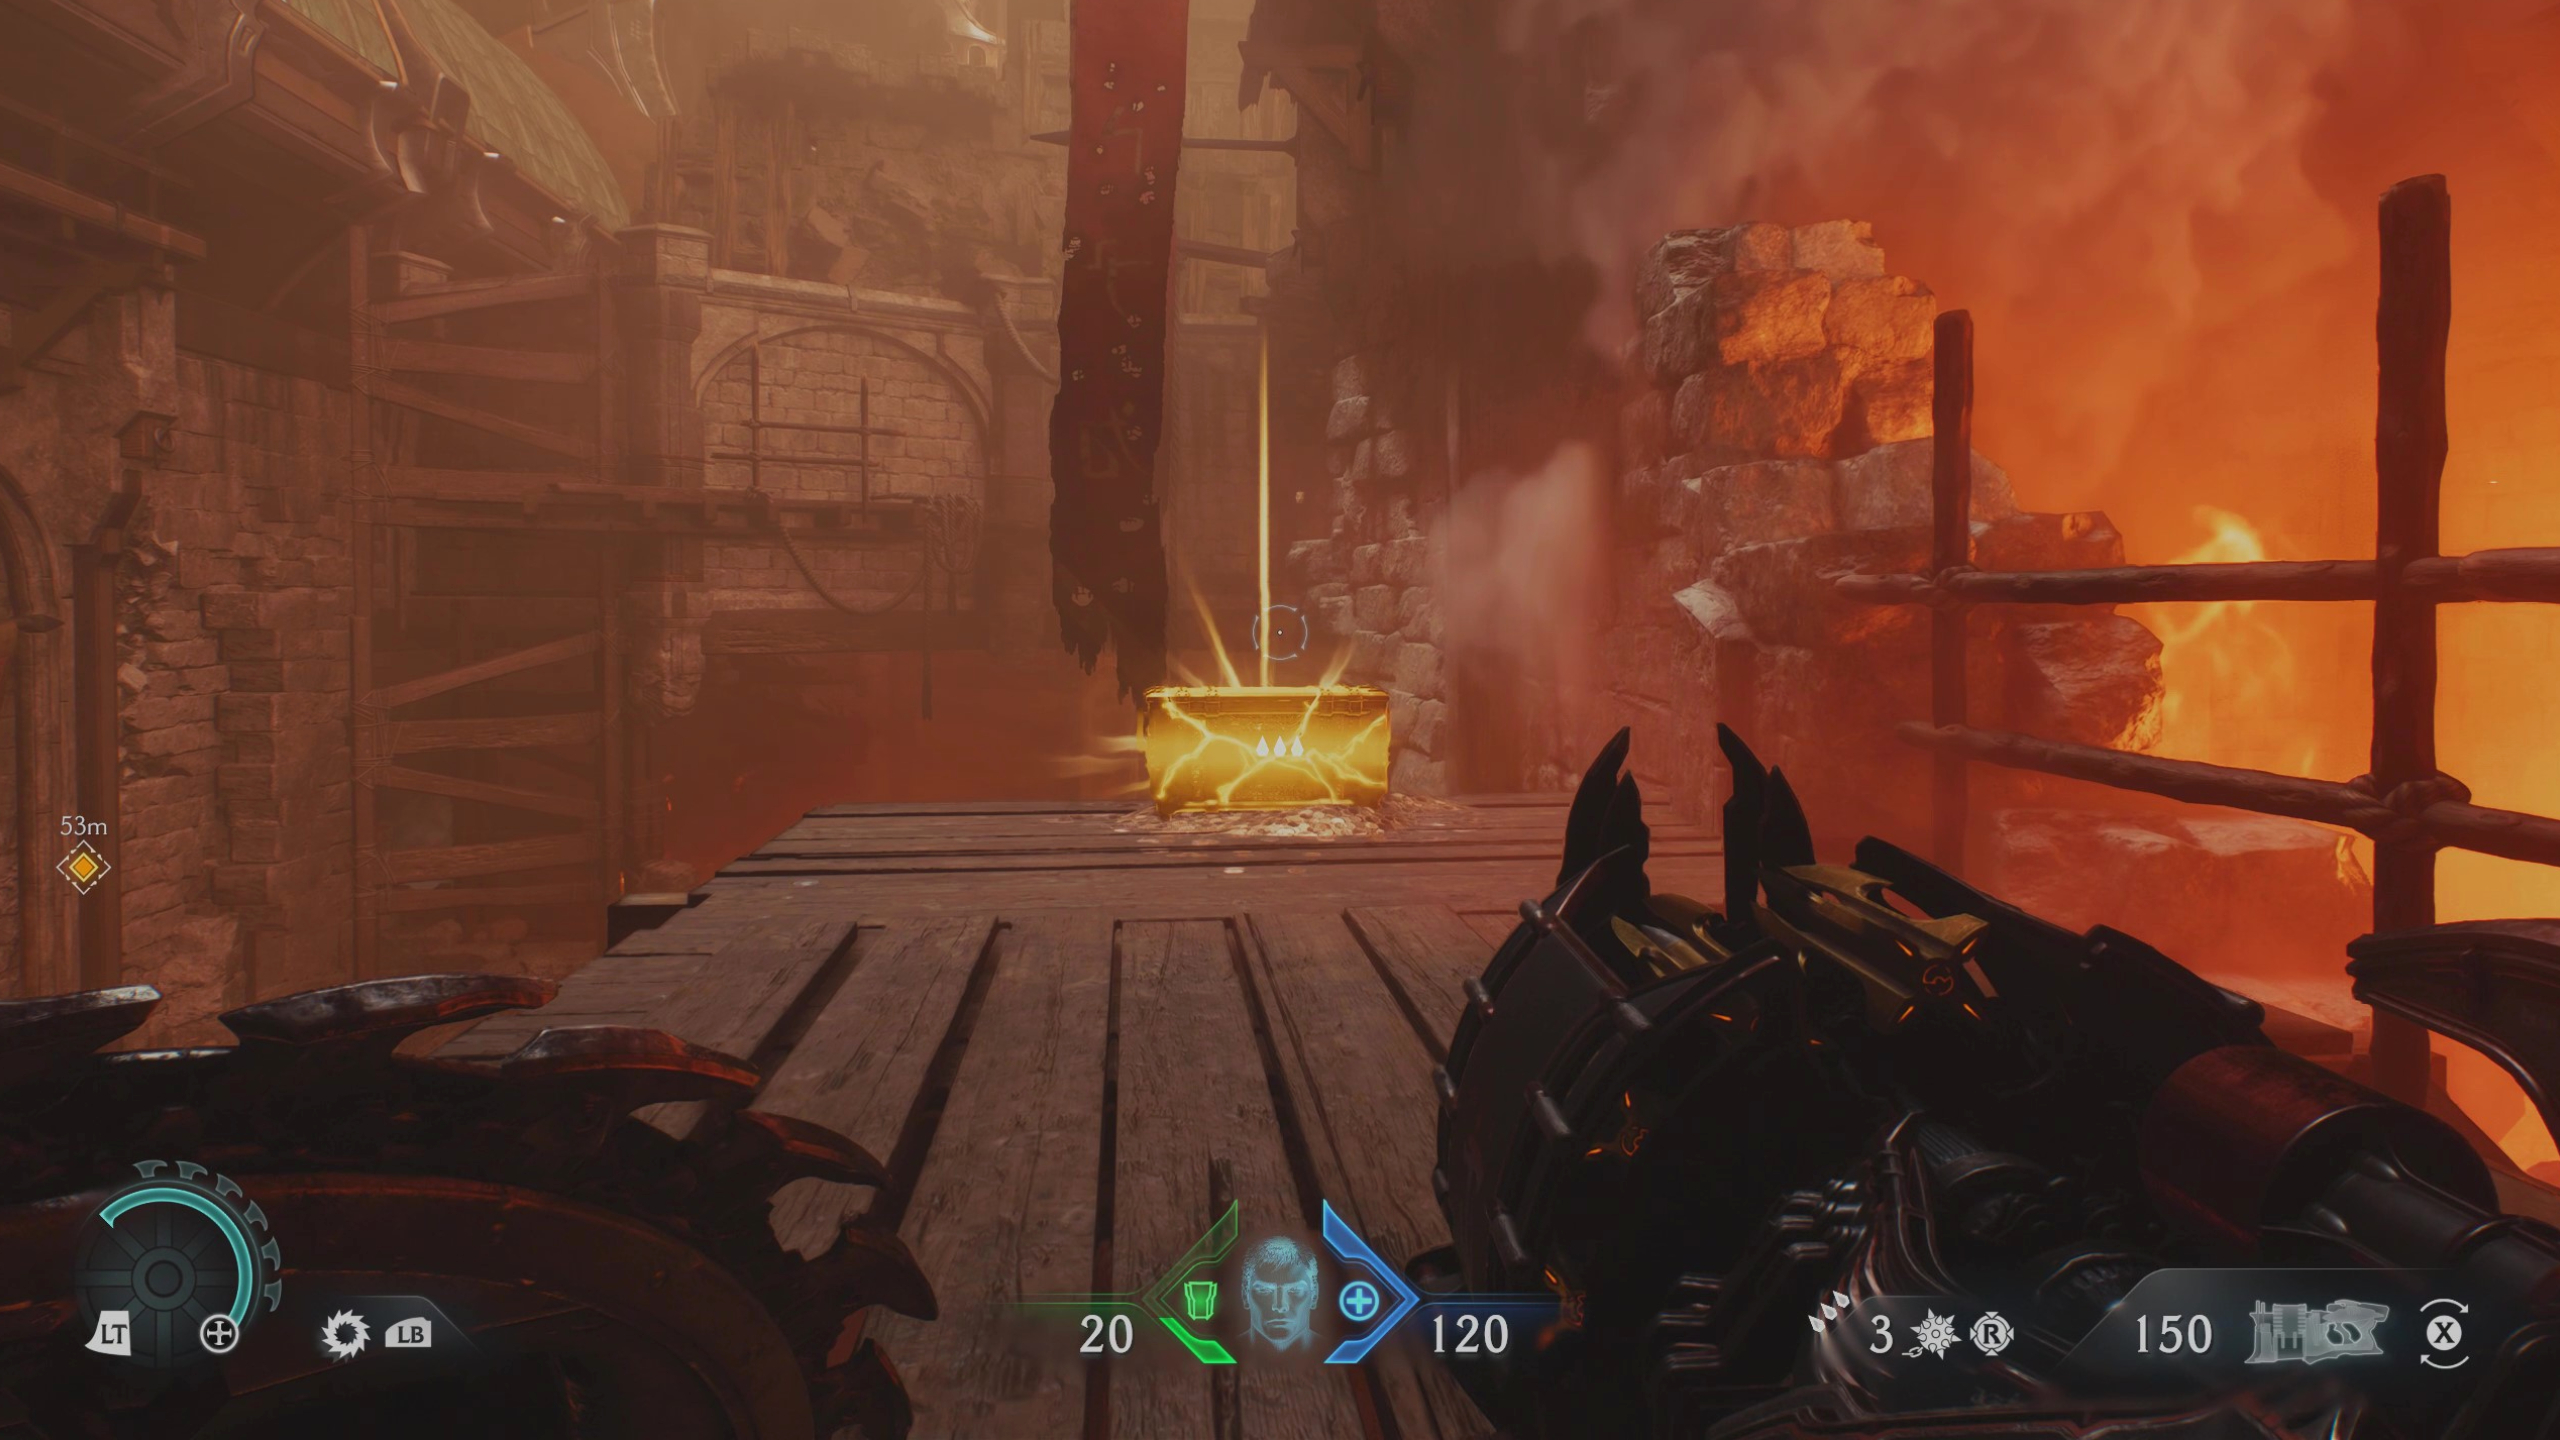
Directly after the first secret, climb up the box and the first wall and then turn around, where you'll find a hidden wall you can jump to and climb up. This leads to the gold chest on a wooden platform overlooking the first secret.
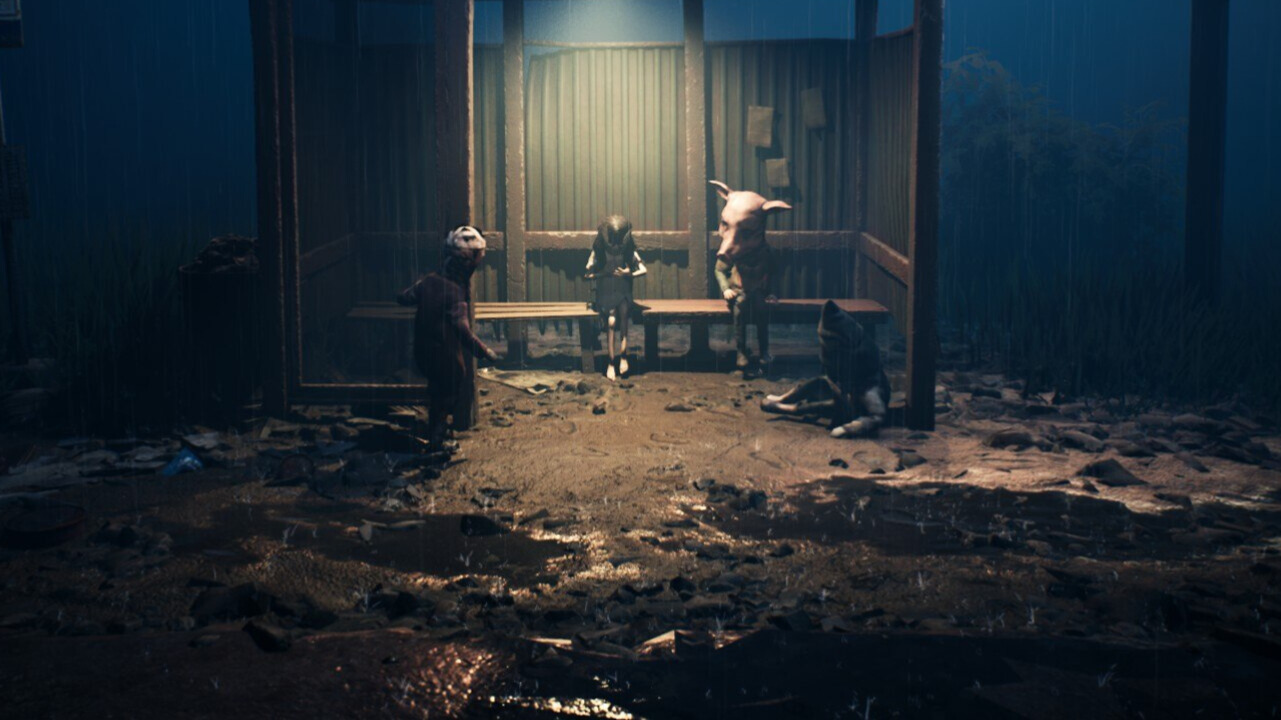
3 - Pinky Rider toy (collectible)
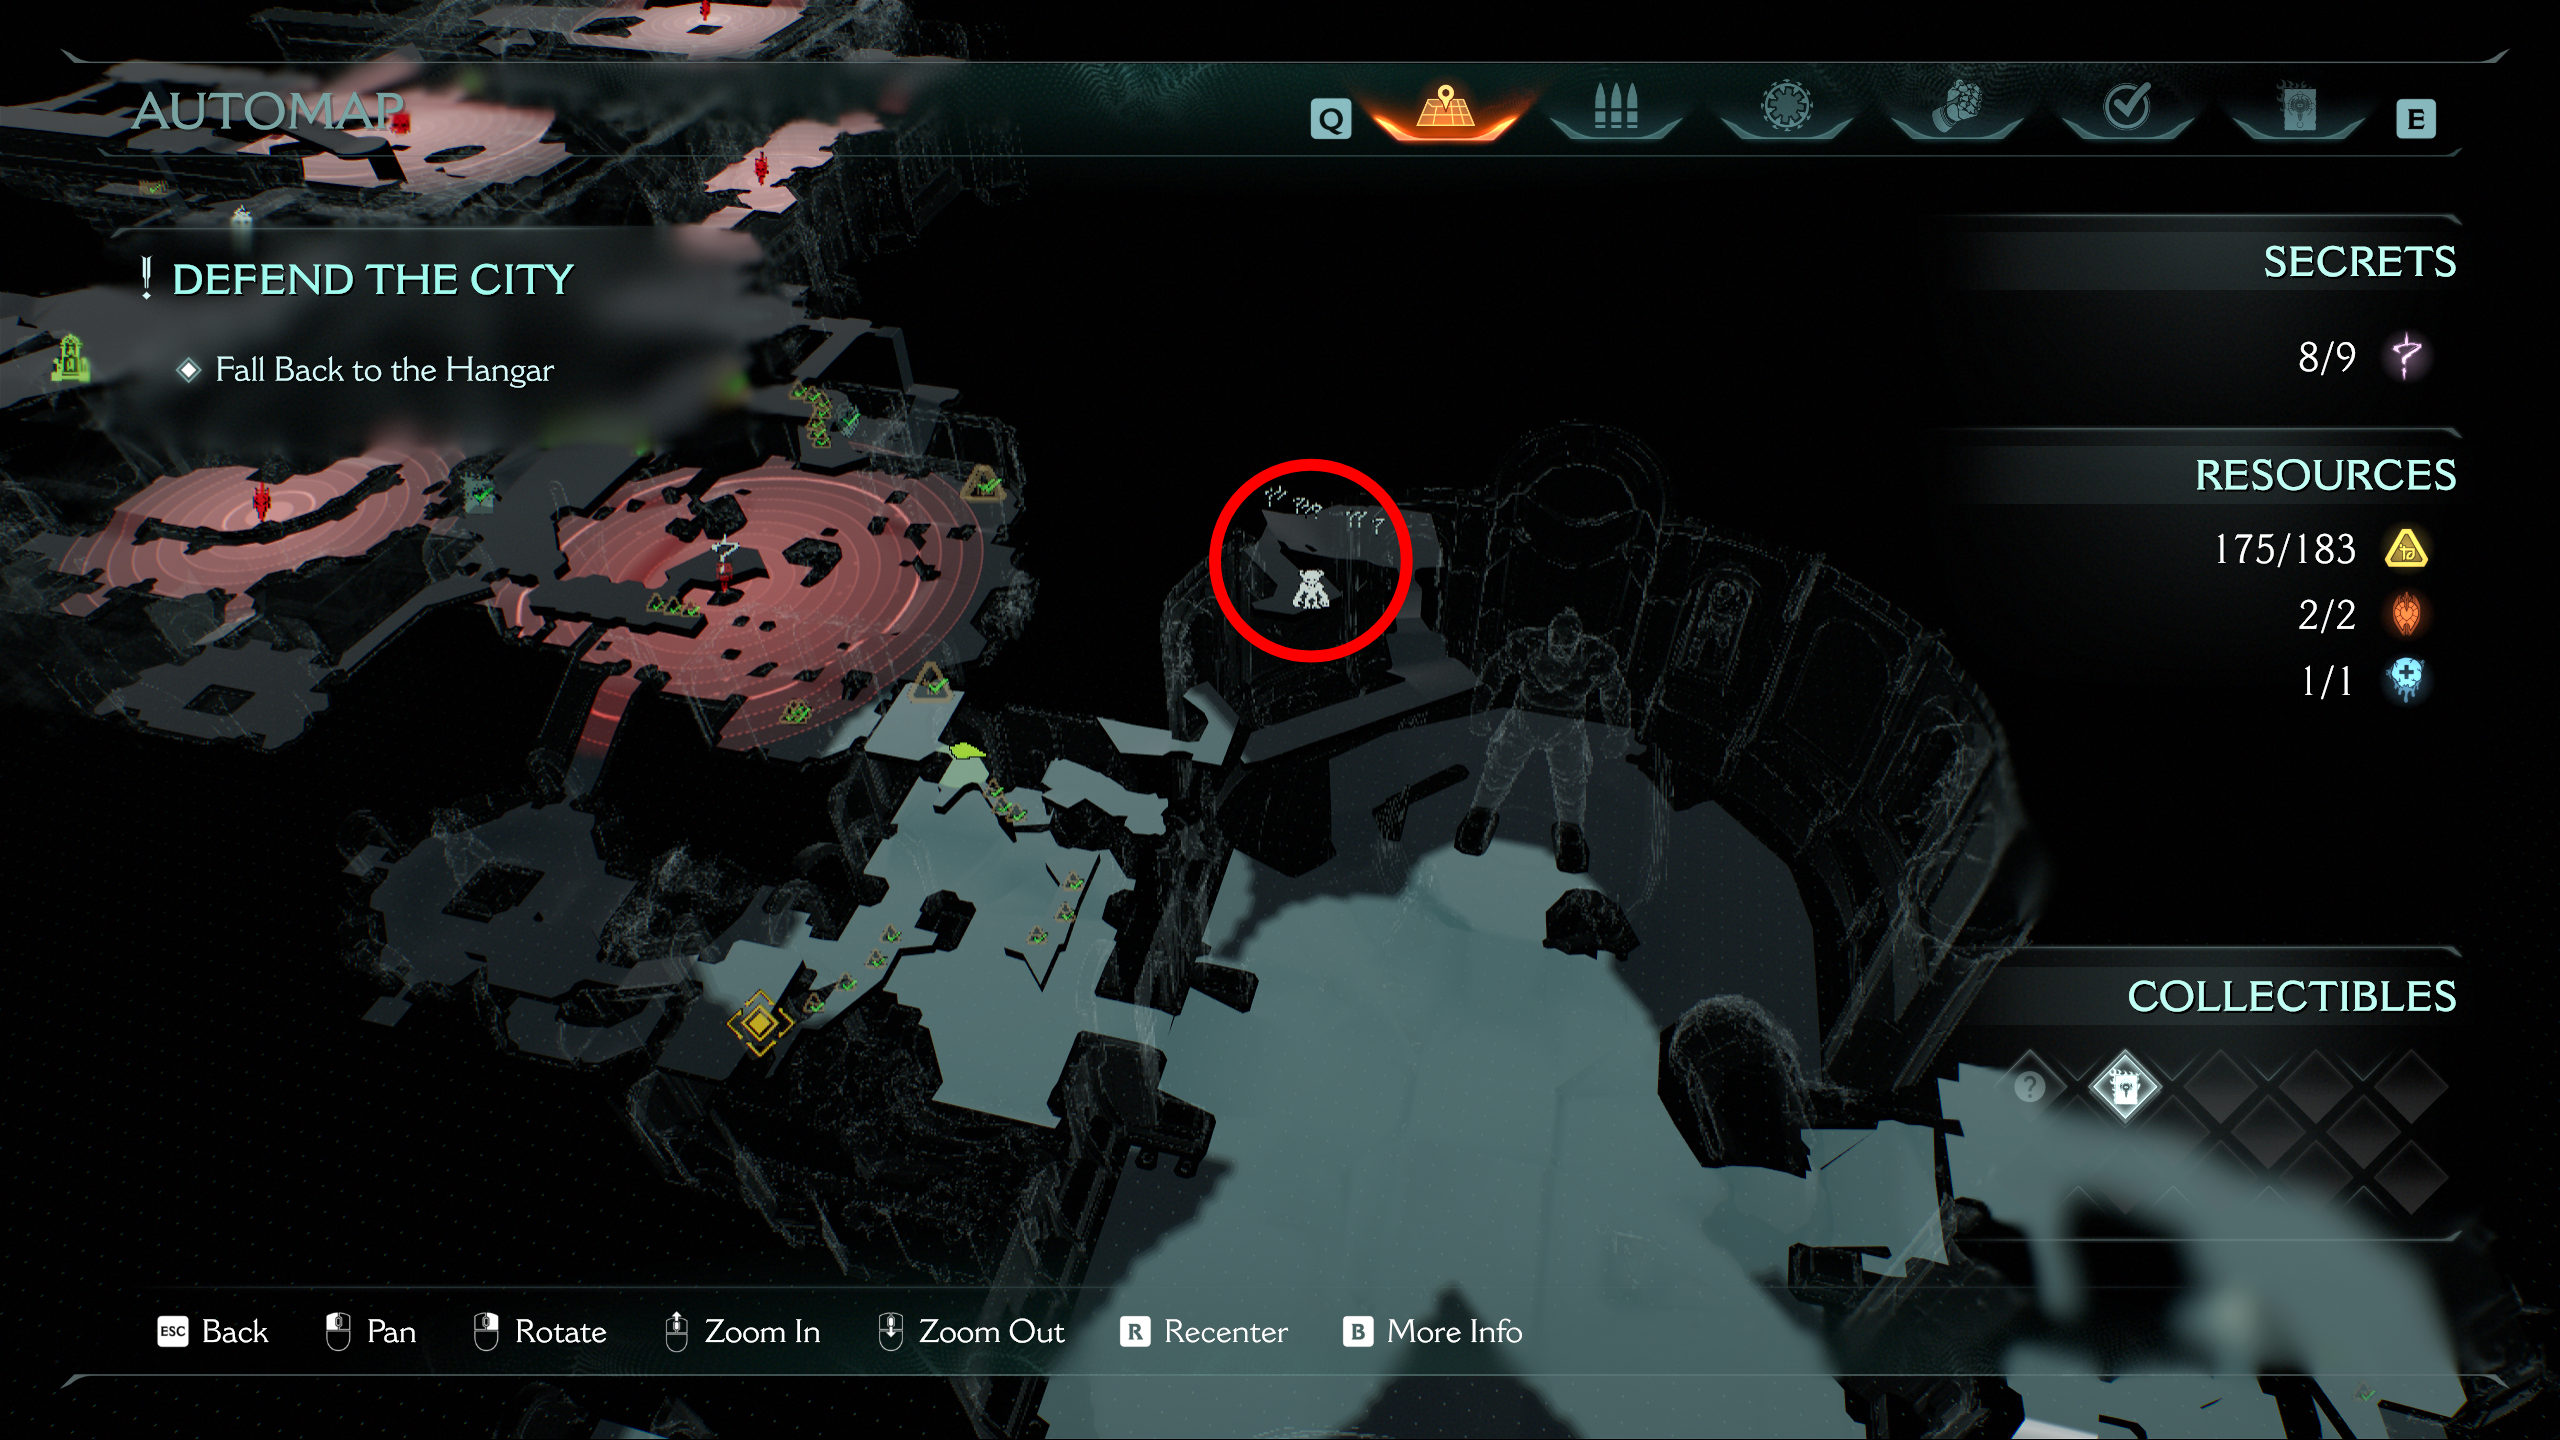

The first of the two collectibles is surprisingly easy to miss, considering you walk right by it on your way to the objective. Once you've pulled the lever to open the gate on the other side of the courtyard, go in and clear it out.
Keep up to date with the most important stories and the best deals, as picked by the PC Gamer team.
Go up the ramp on the right and break the chain to climb up to the higher walkway like you're supposed to, but instead of progressing, immediately look behind you to find a wooden barricade in the back wall. Bash it with your shield to reveal a walkway leading back into the courtyard, where you can find the Pinky Rider toy (along with a few bars of gold).
4 - Life sigil
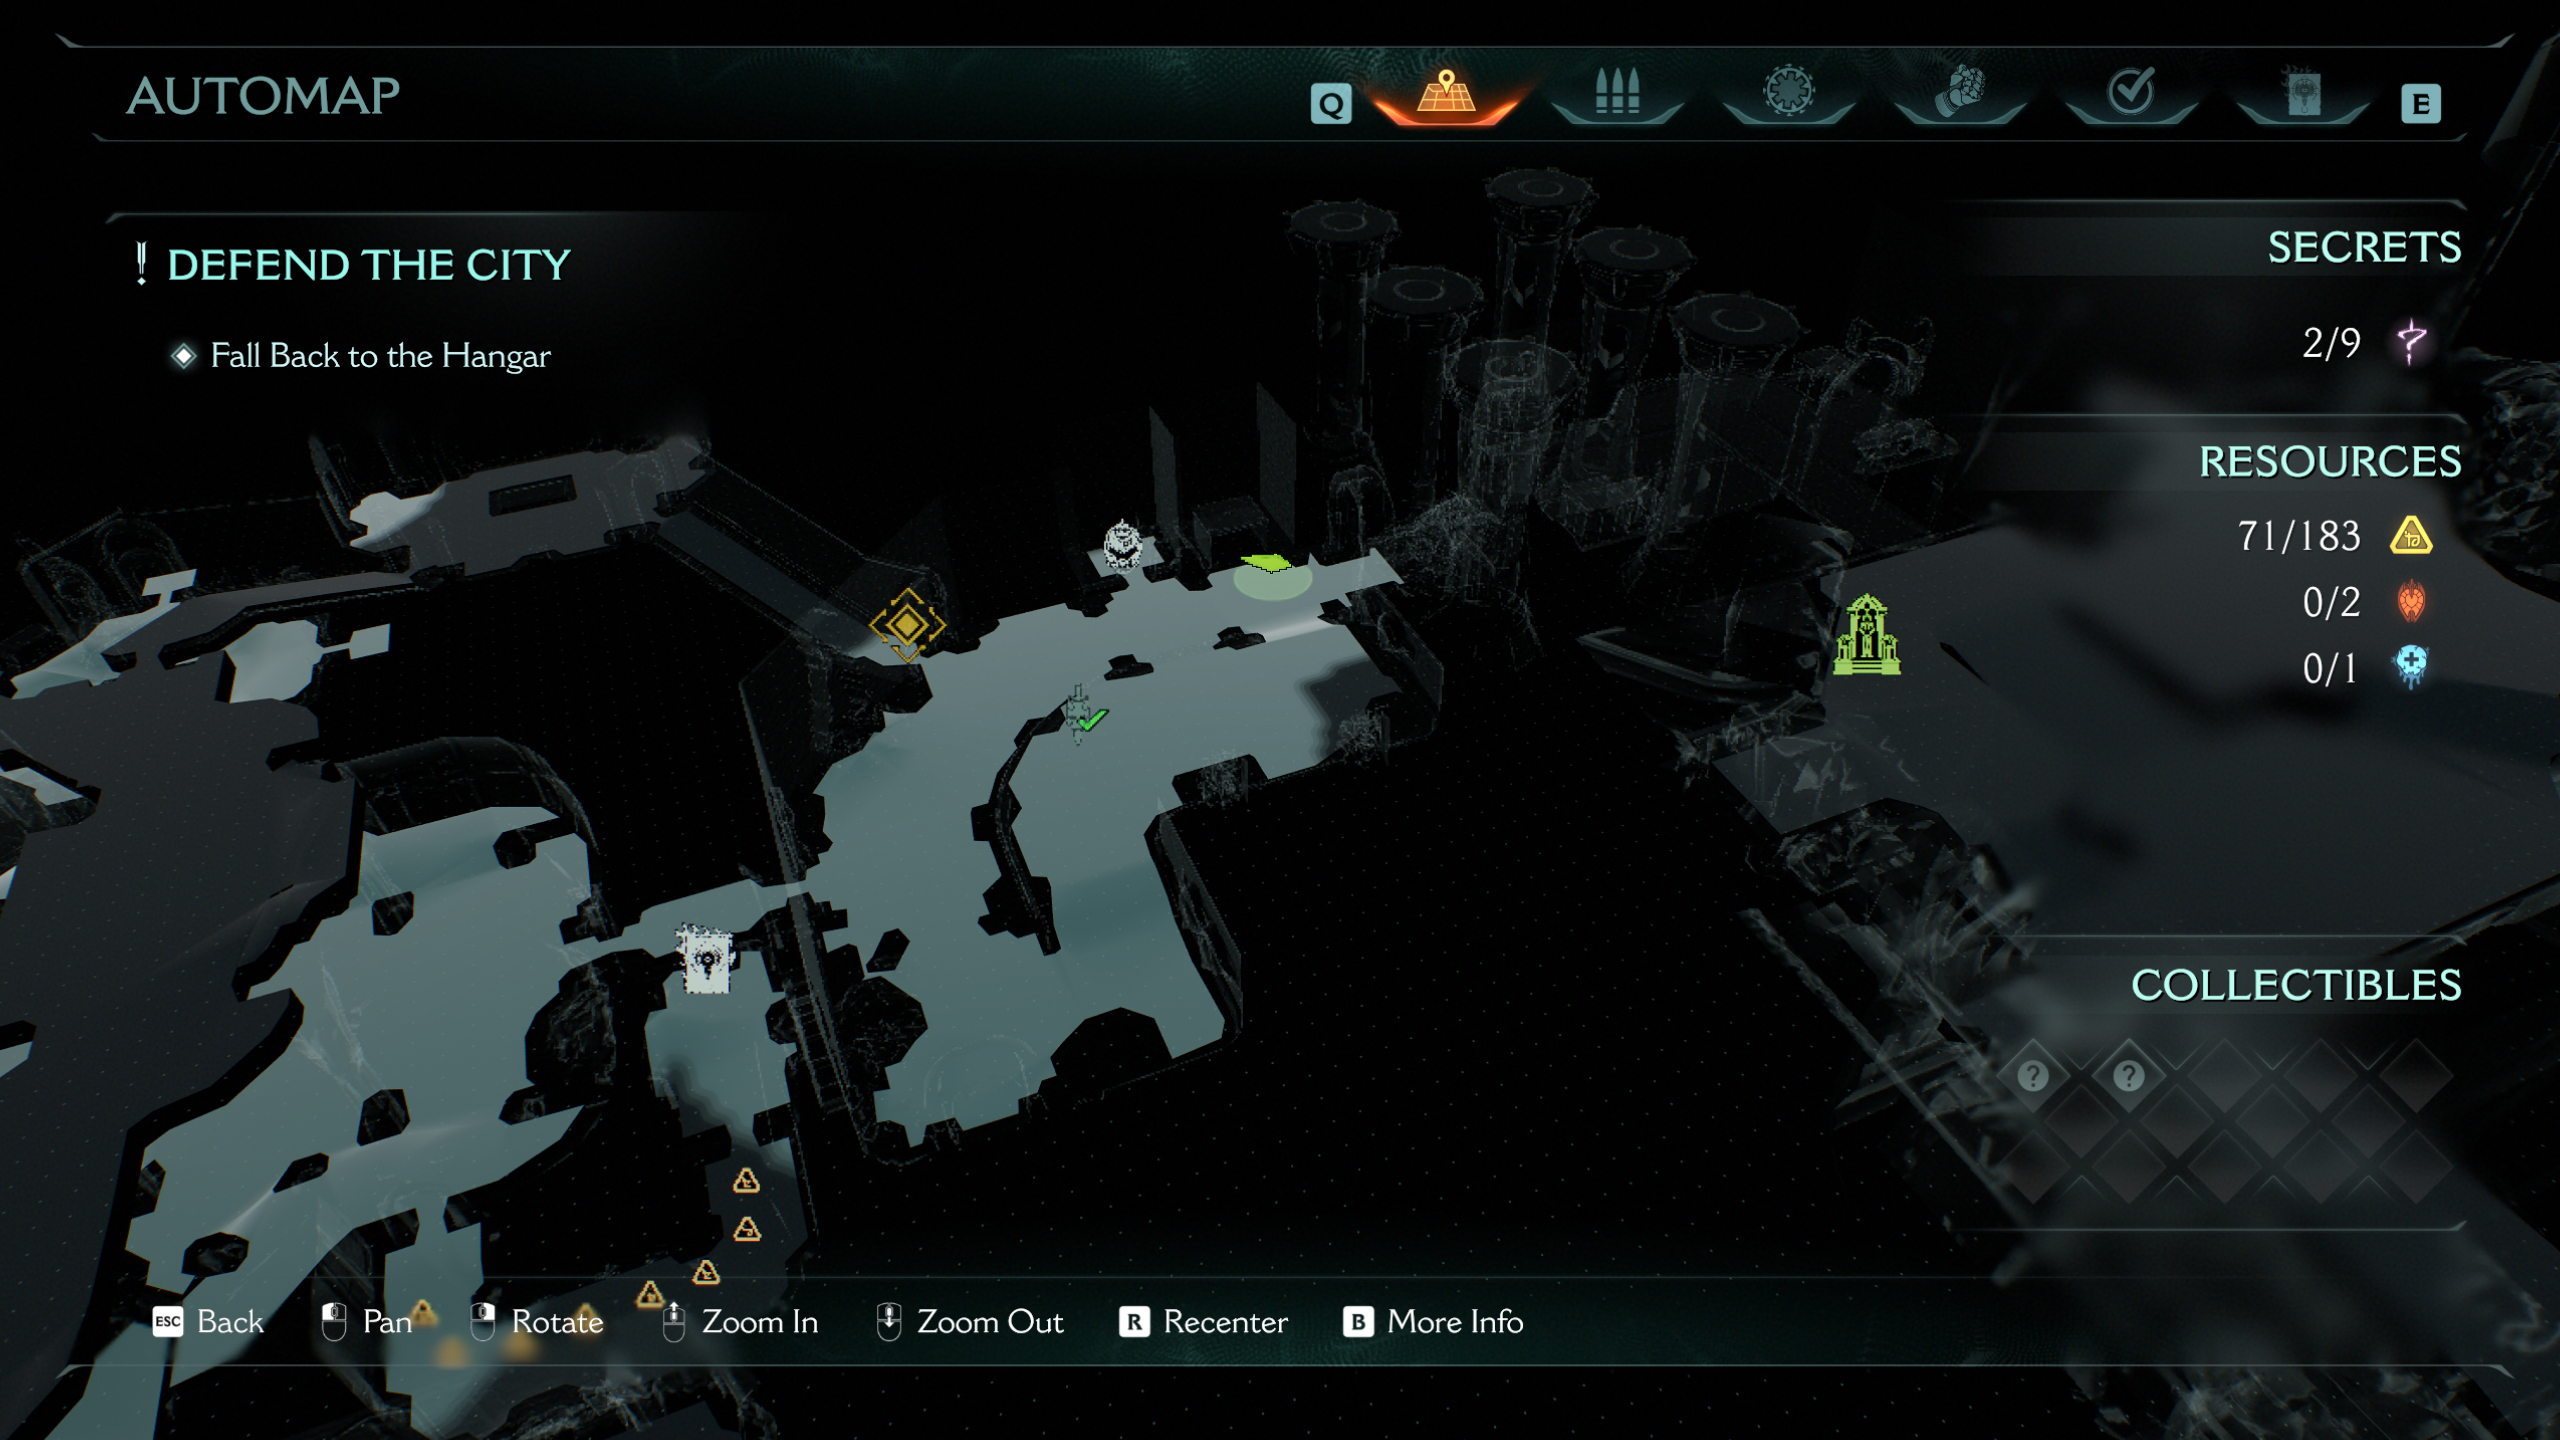
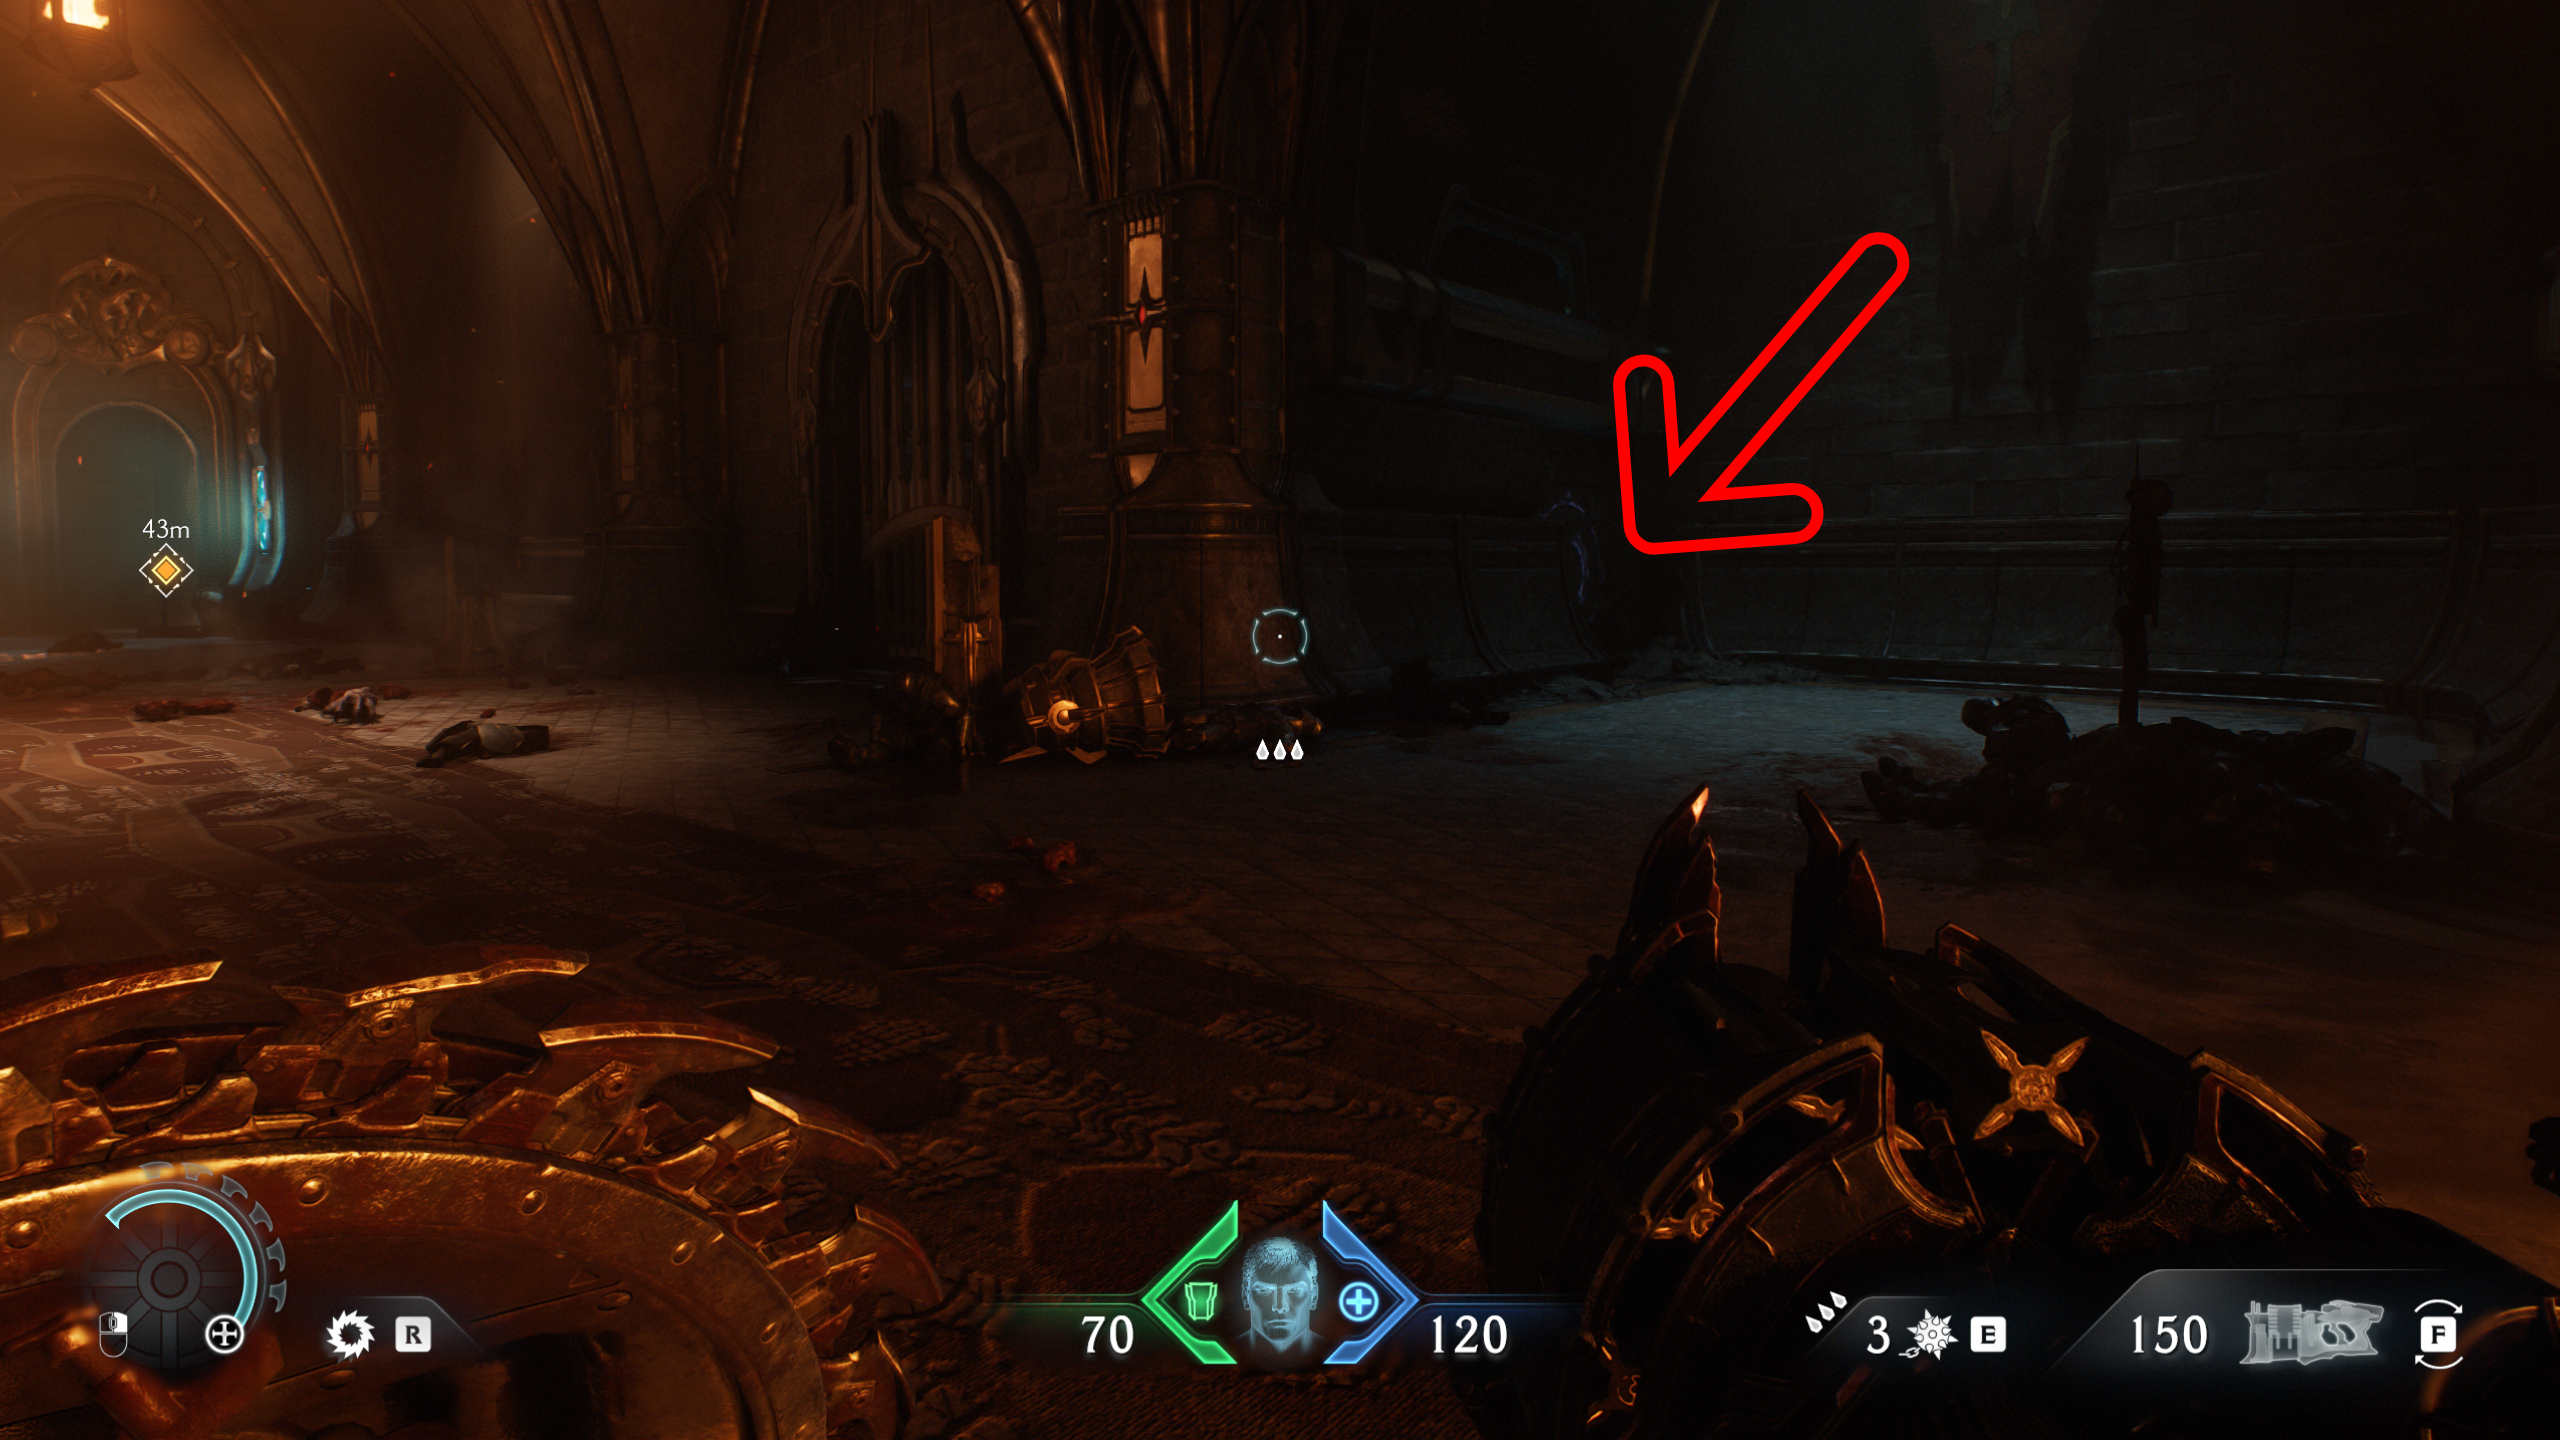
The next secret is a bit further into the mission, when you enter the plaza with two purple key doors and lots of burning trees. Follow the objective into the next room but before continuing up the stairs, look to your right, where you'll see the life sigil in a boarded-up room. Go around the corner to the right and bash the barricade to break it.
5 - Purple secret key
The fifth secret you'll come across is actually the purple key you use to access more secret areas in the mission. After heading up the stairs from the hidden life sigil, towards the objective, you'll enter a balcony area overlooking the plaza—you can see the secret key from here.
To nab it, continue down the hall into the next room and break the barricade on your right, revealing a jump pad that'll blast you over the gap, directly into the purple key.
Make sure to go left and drop back down into the plaza when you leave, since you can then use the key for the next two secrets before continuing with the mission.
6 - Ruby
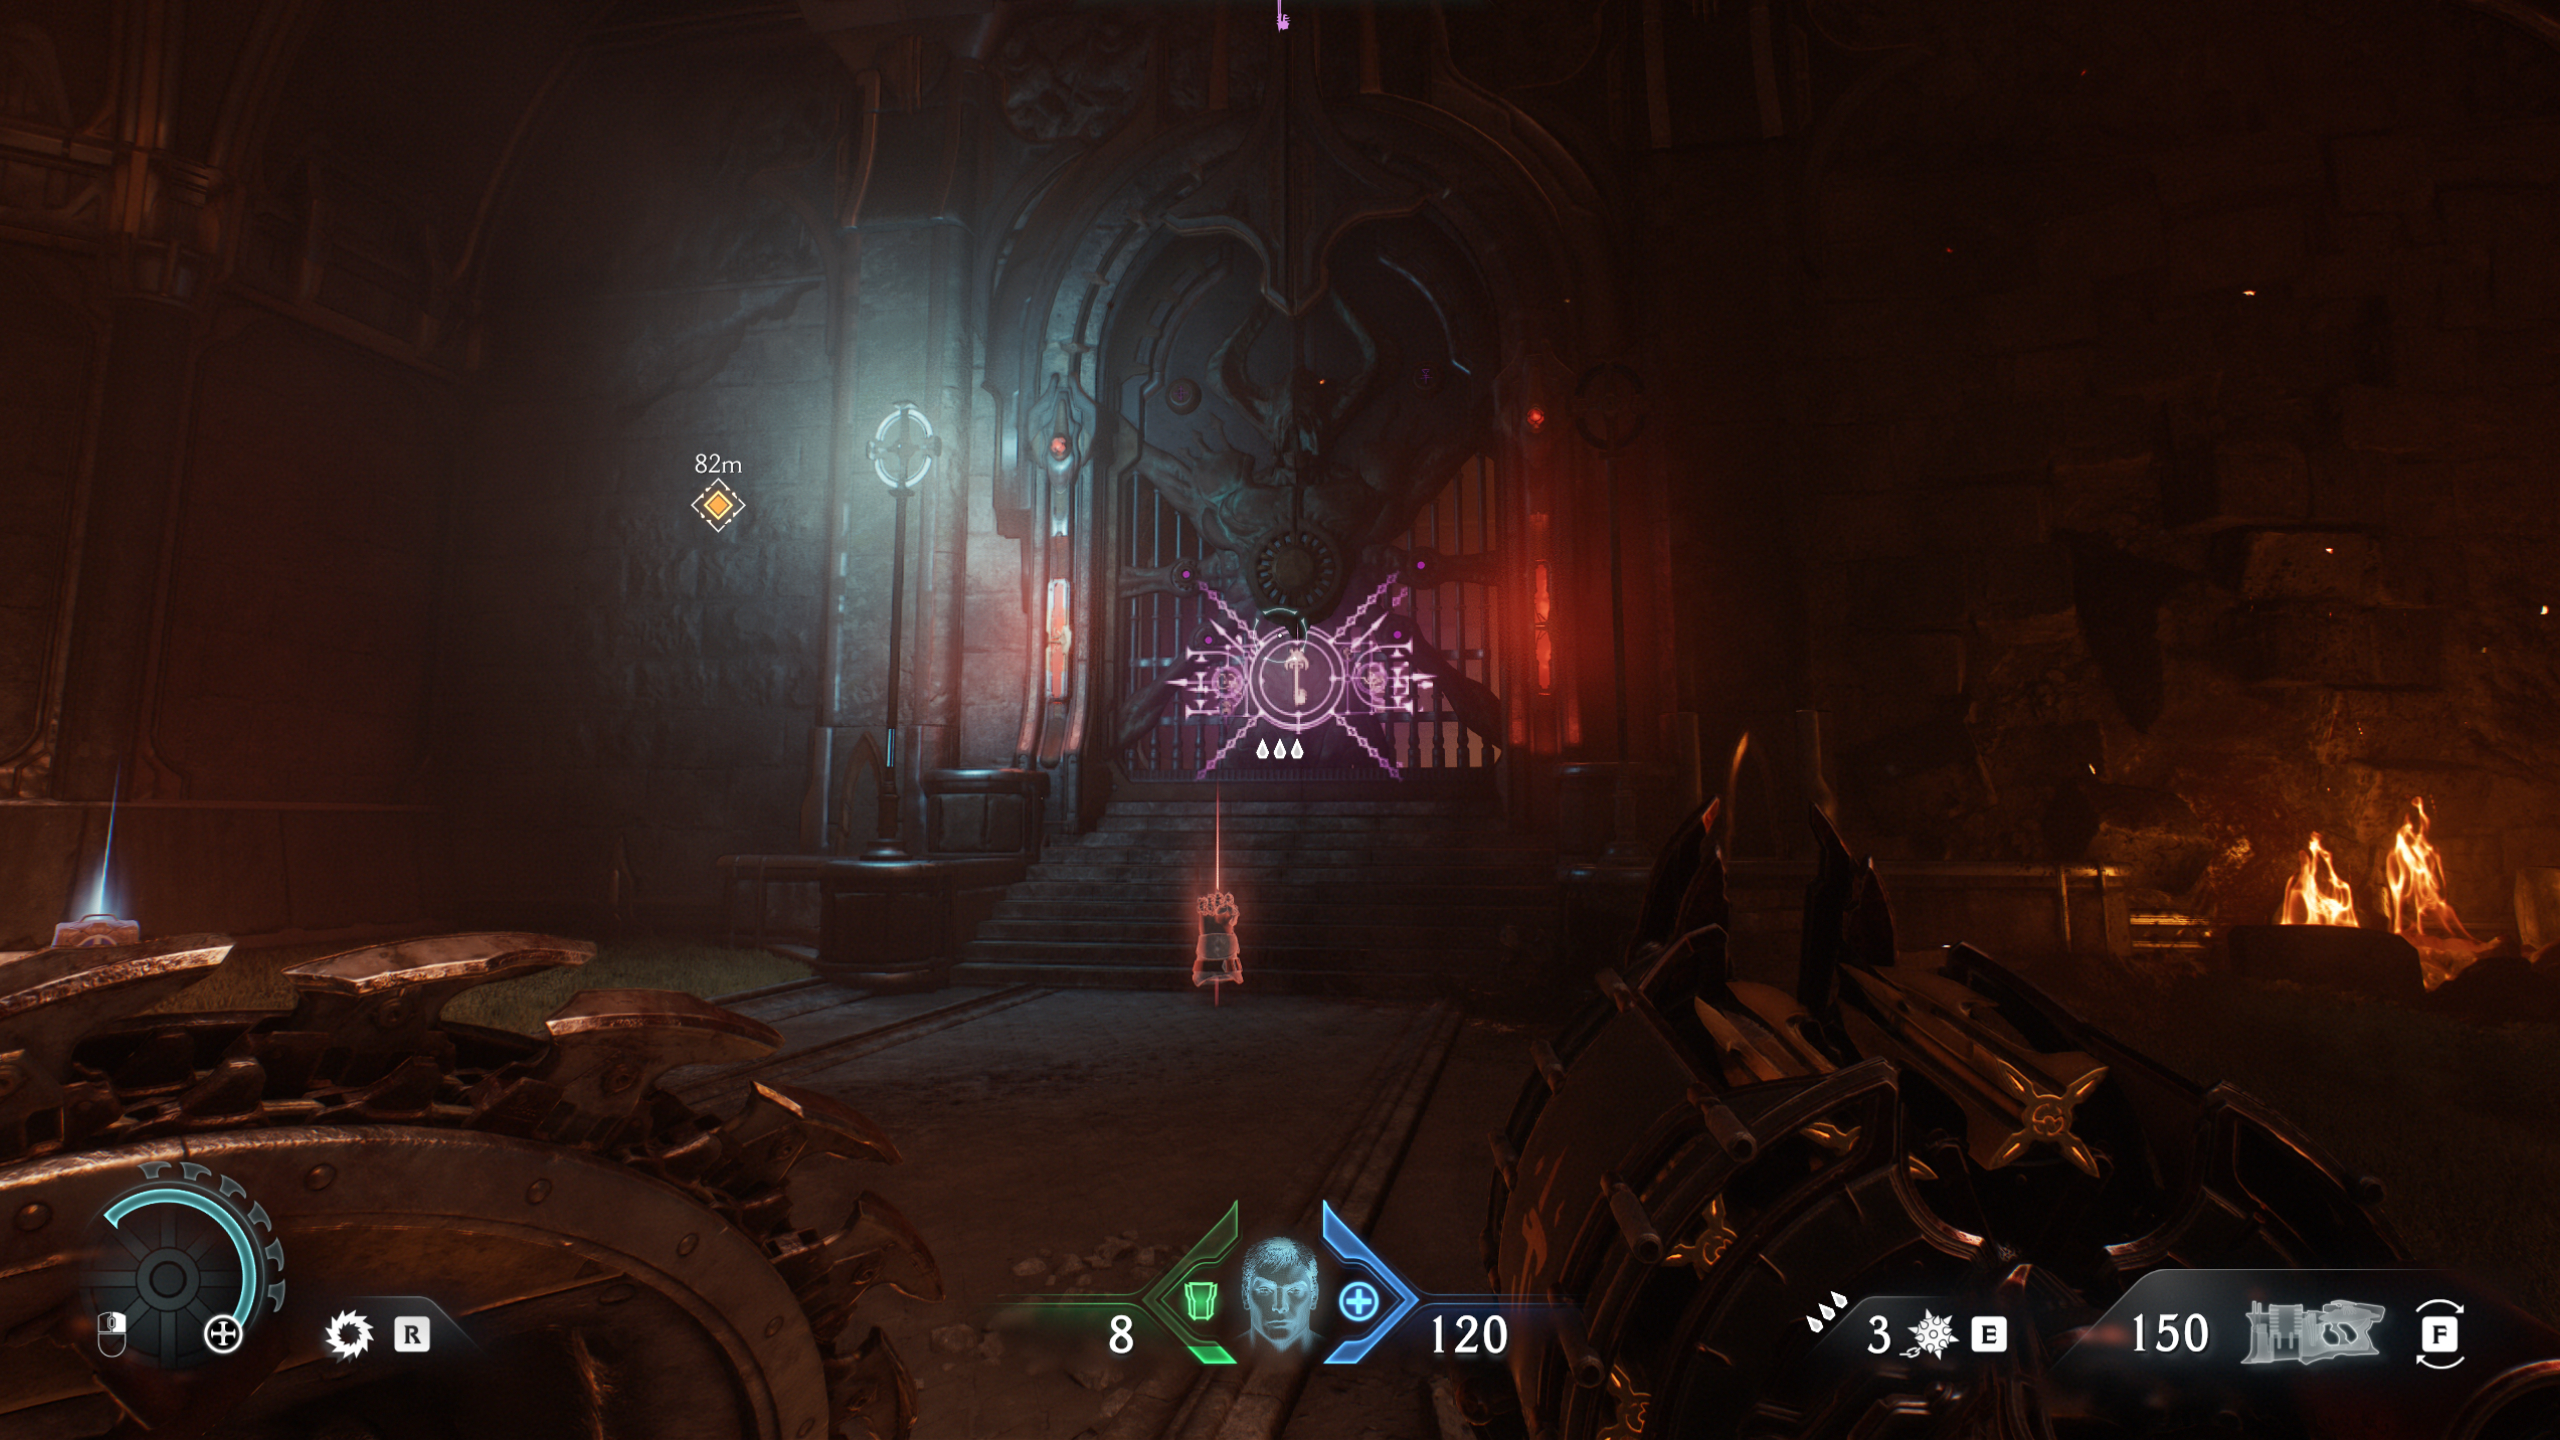
Now you have the key, head back to the plaza as mentioned above, whether through the shortcut by the secret key or by backtracking a bit. Simply walk up to the largest of the two purple key doors, and you'll be treated to a ruby.
7 - Siege Part 2 codex entry (collectible)
Right next to the previous secret, there's a smaller door with a purple lock. Walk up to this one to get the codex entry for this mission. With these two secrets in hand, you're safe to continue with the mission until you reach the hangar.
8 - Ruby
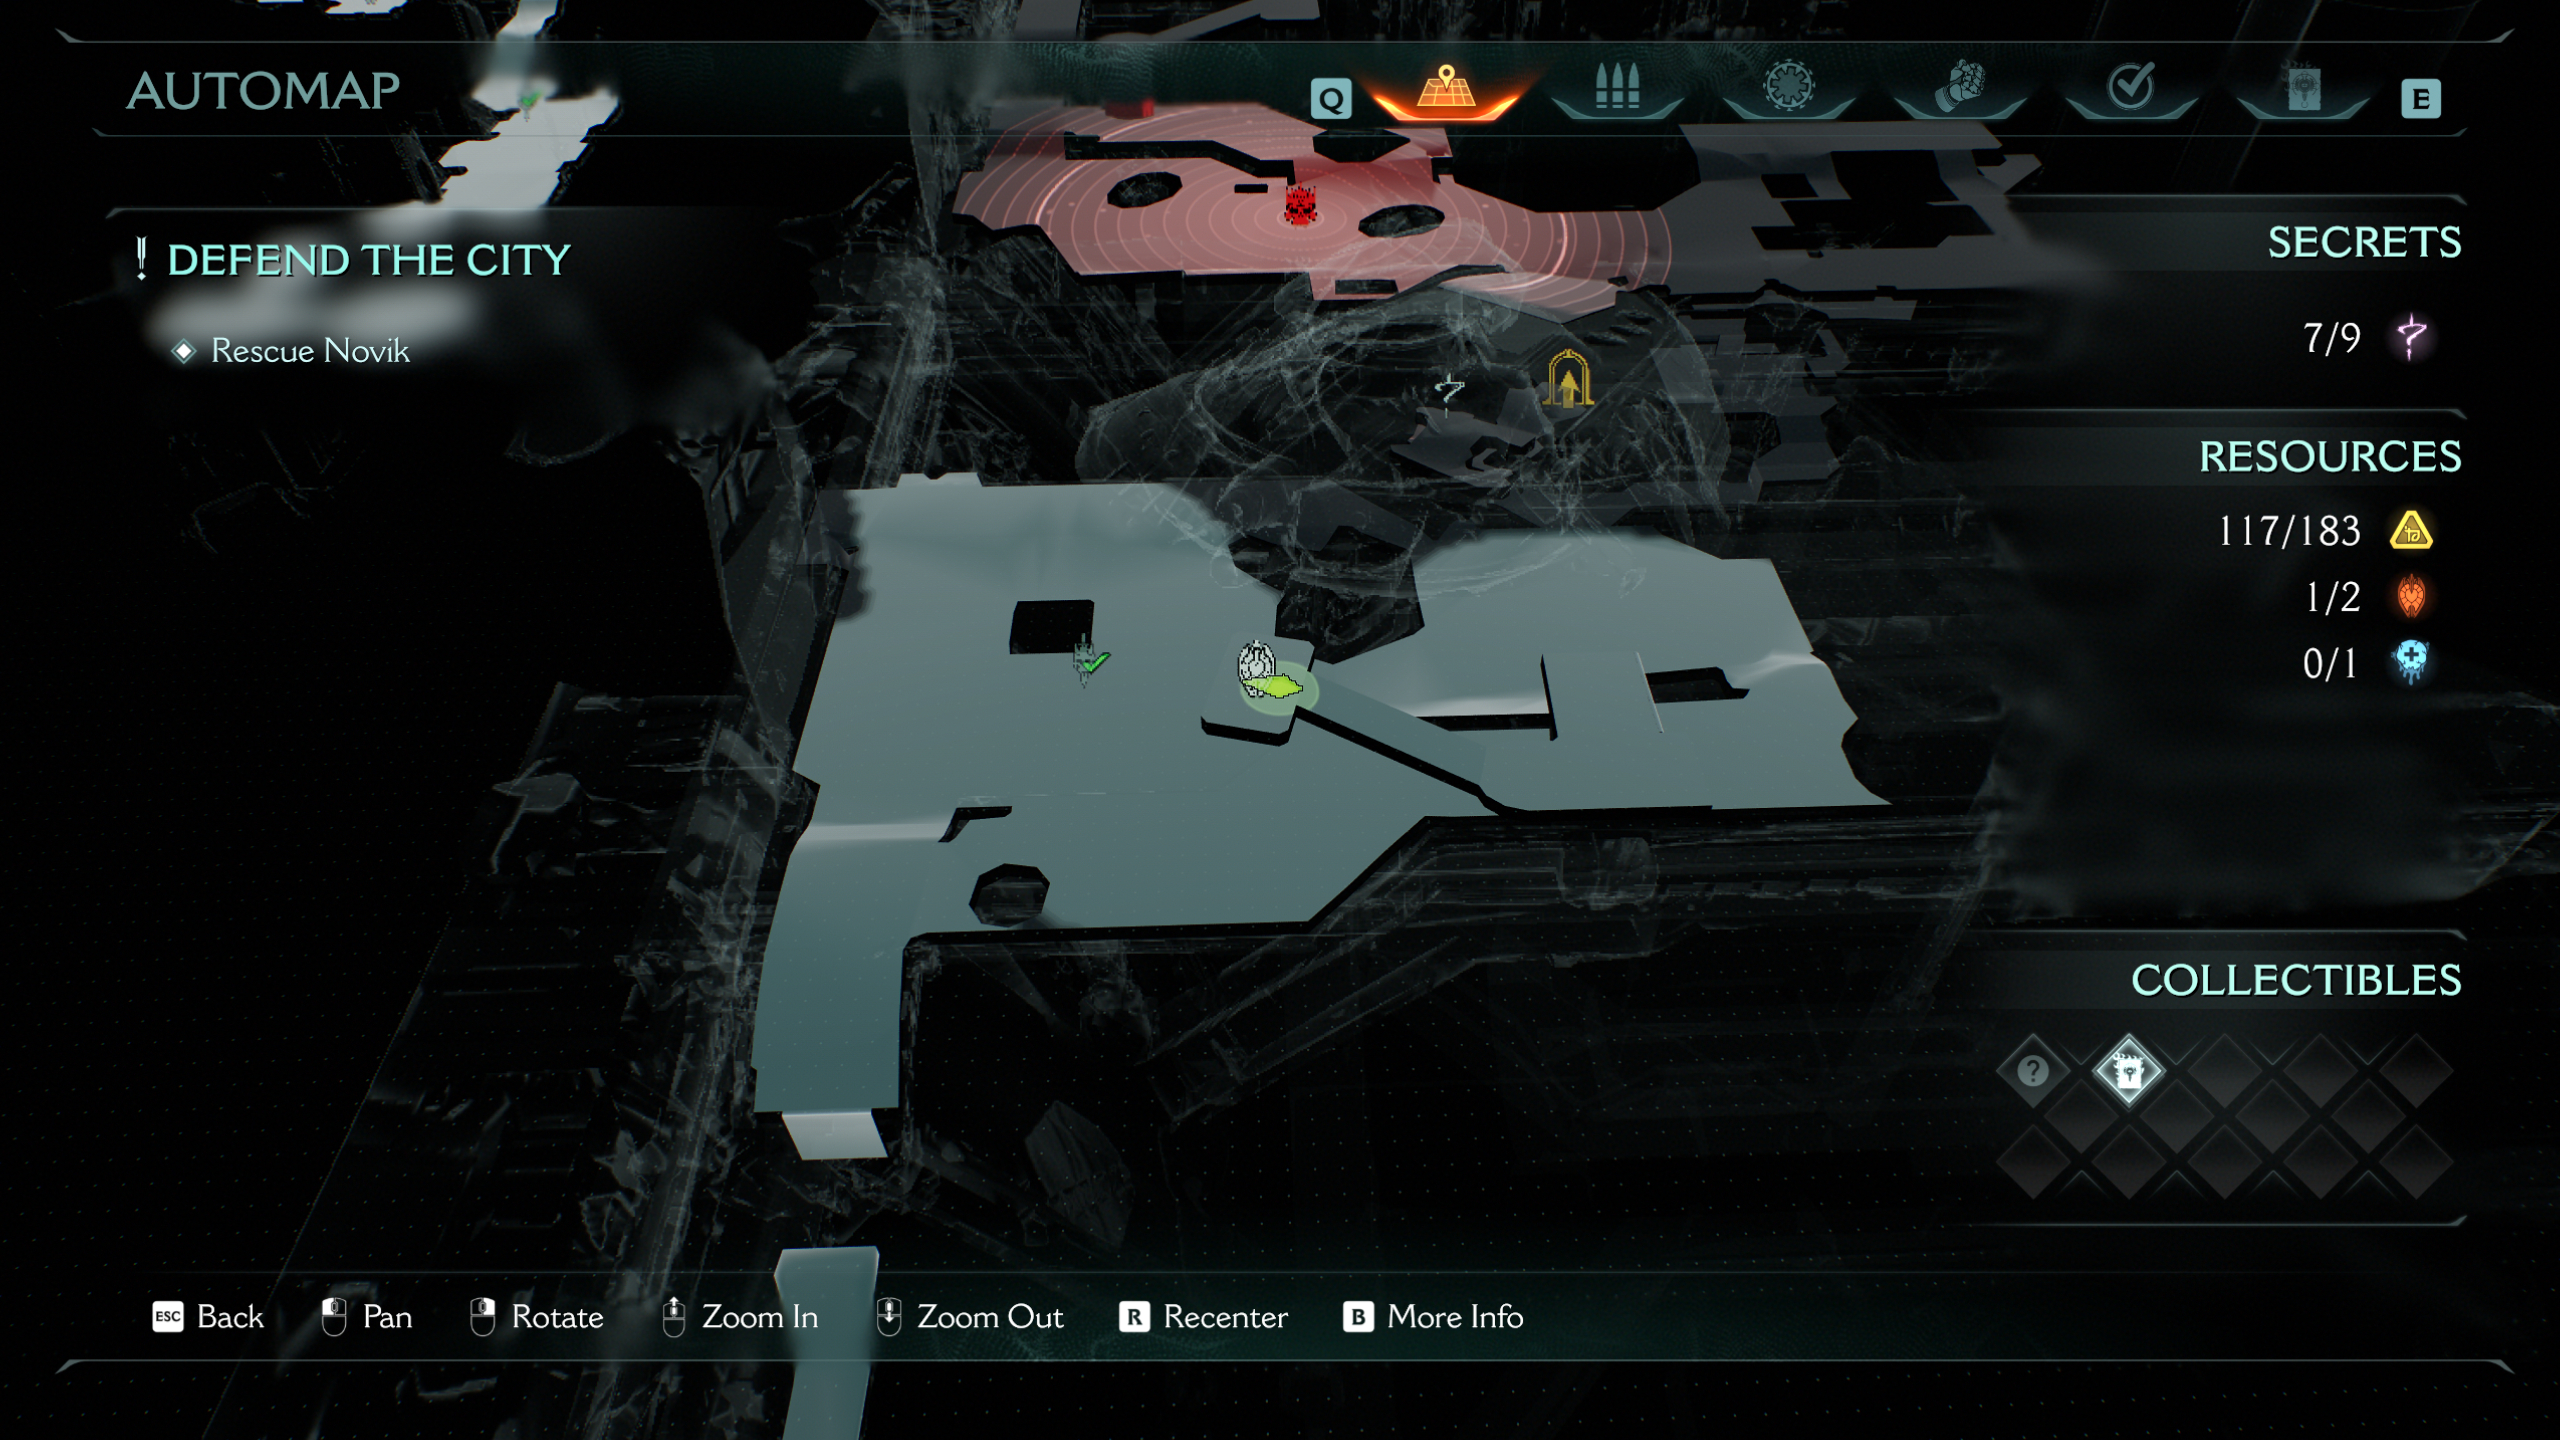
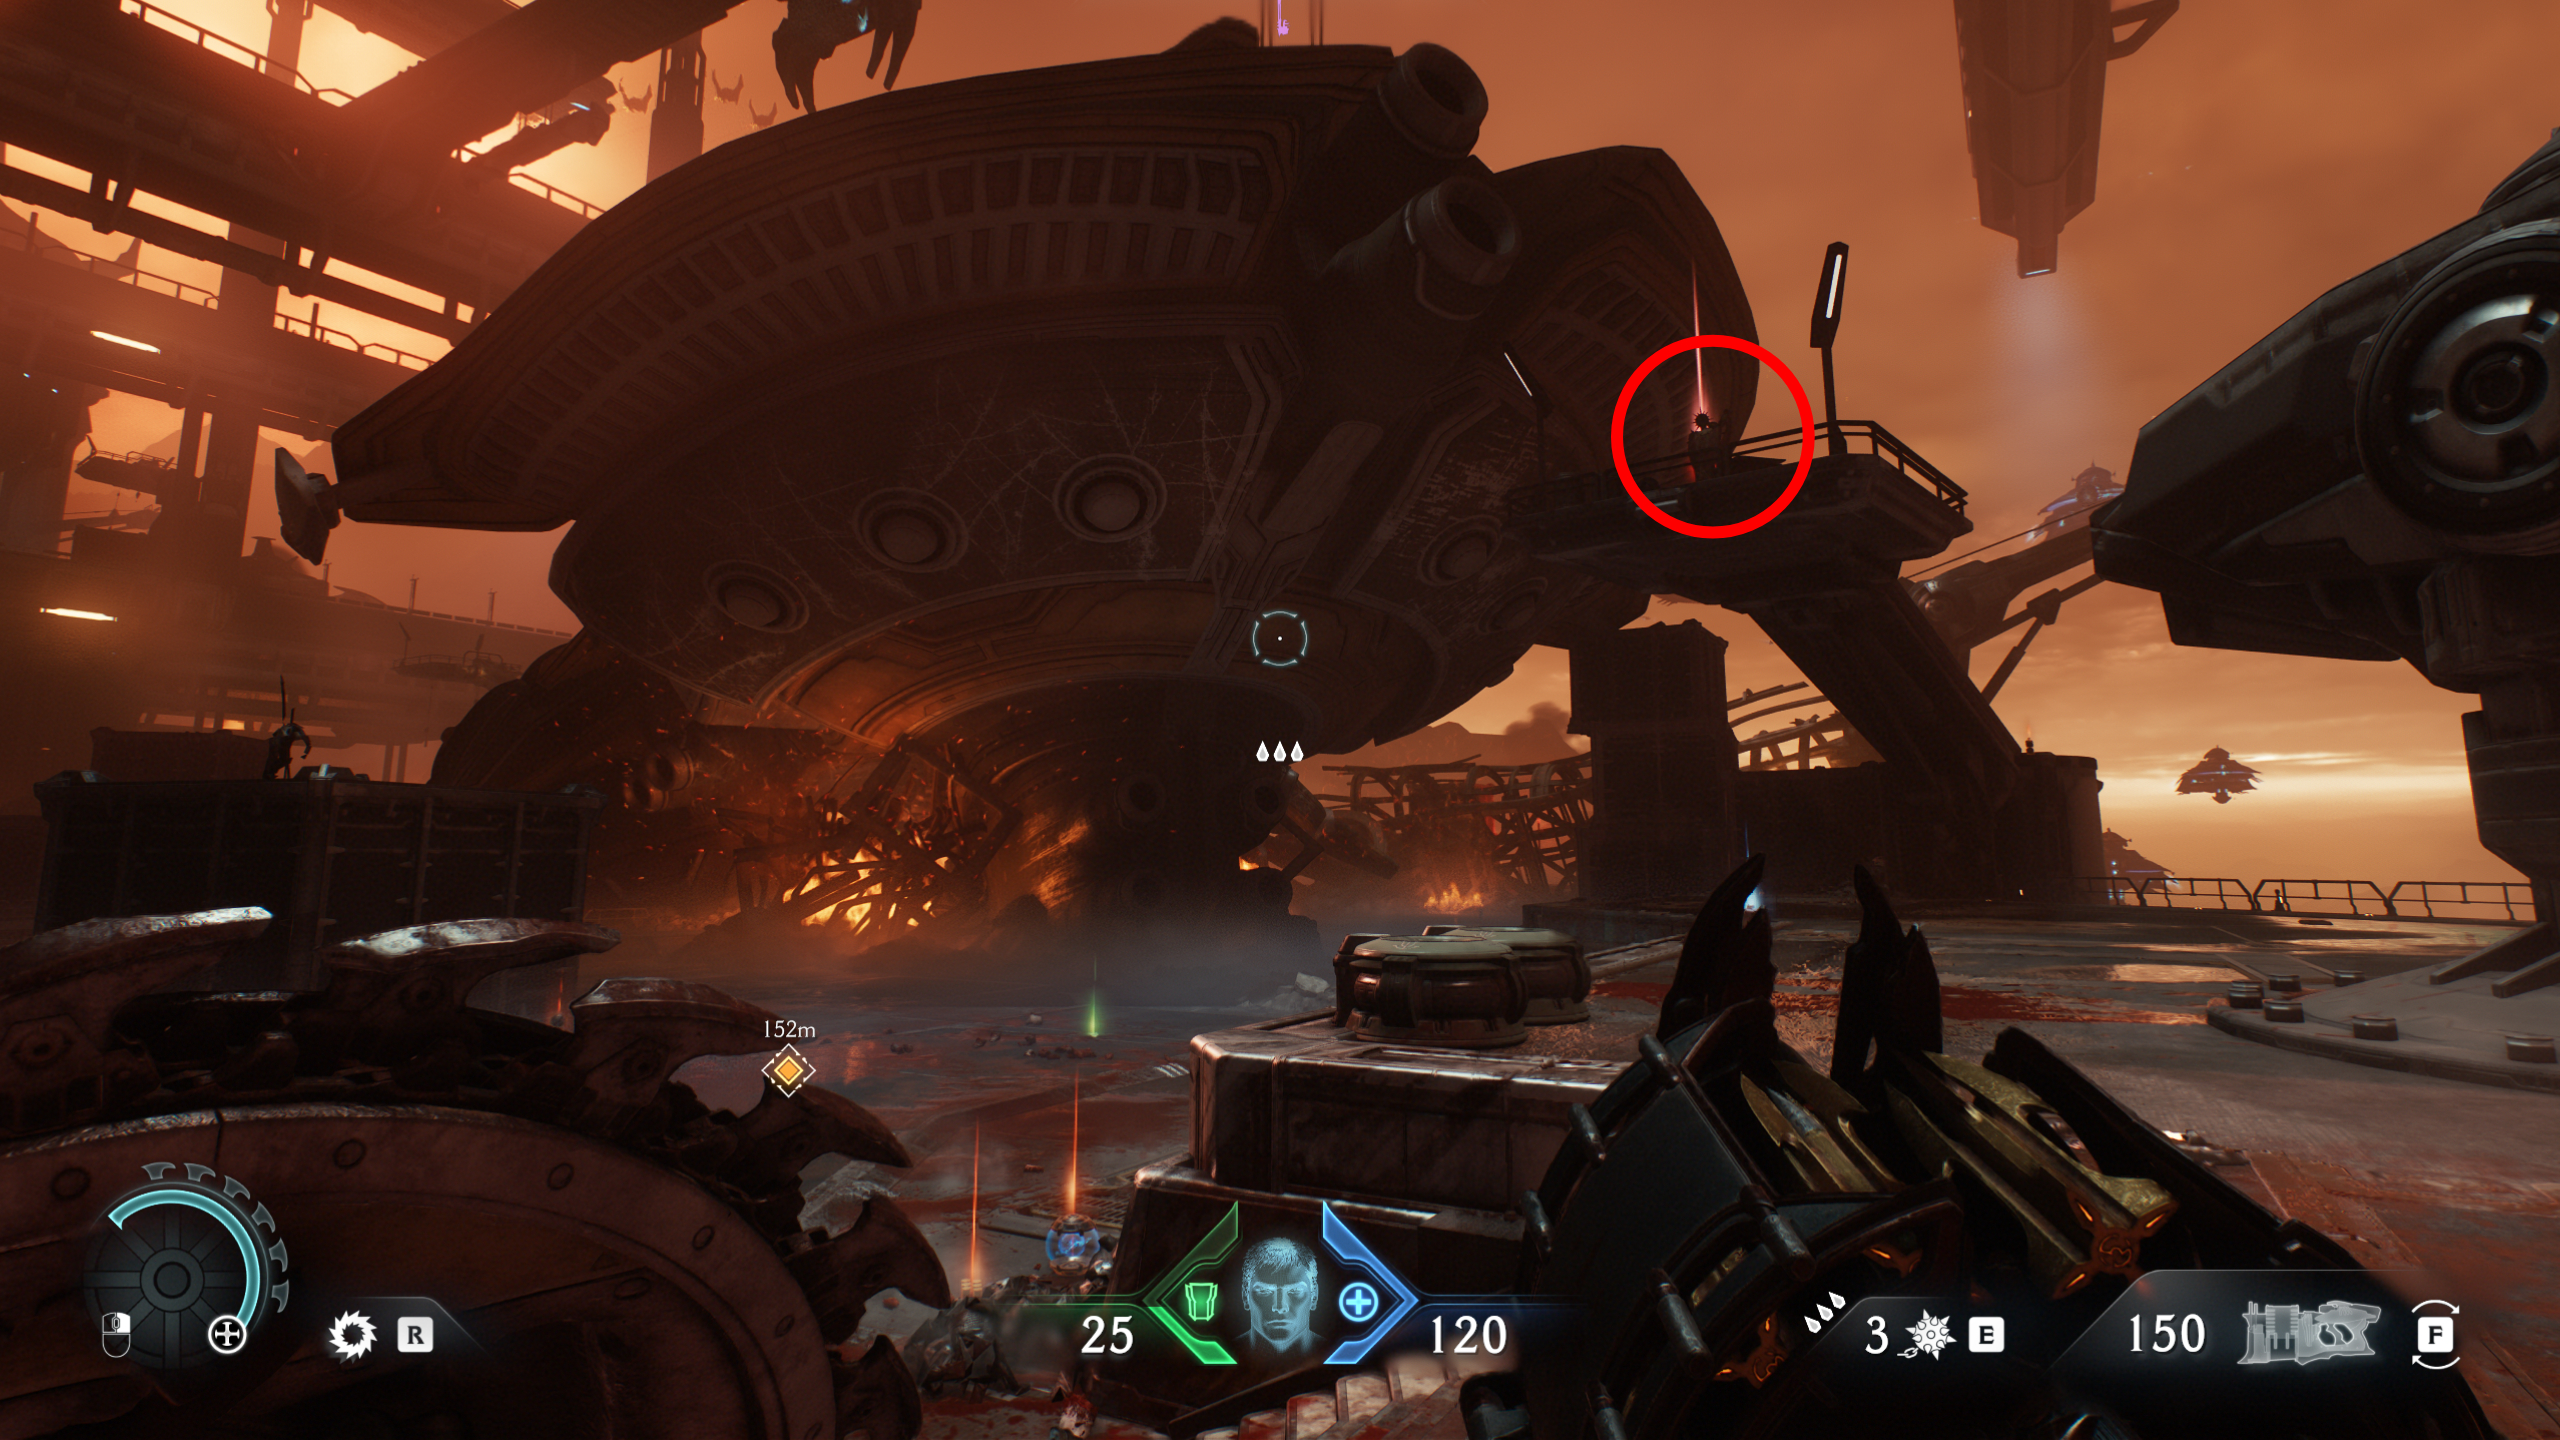
After the point of no return to enter the hangar, just before going through the destroyed ship, take a right and climb up the boxes to find the ruby statue at the end of the crane.
9 - Life sigil
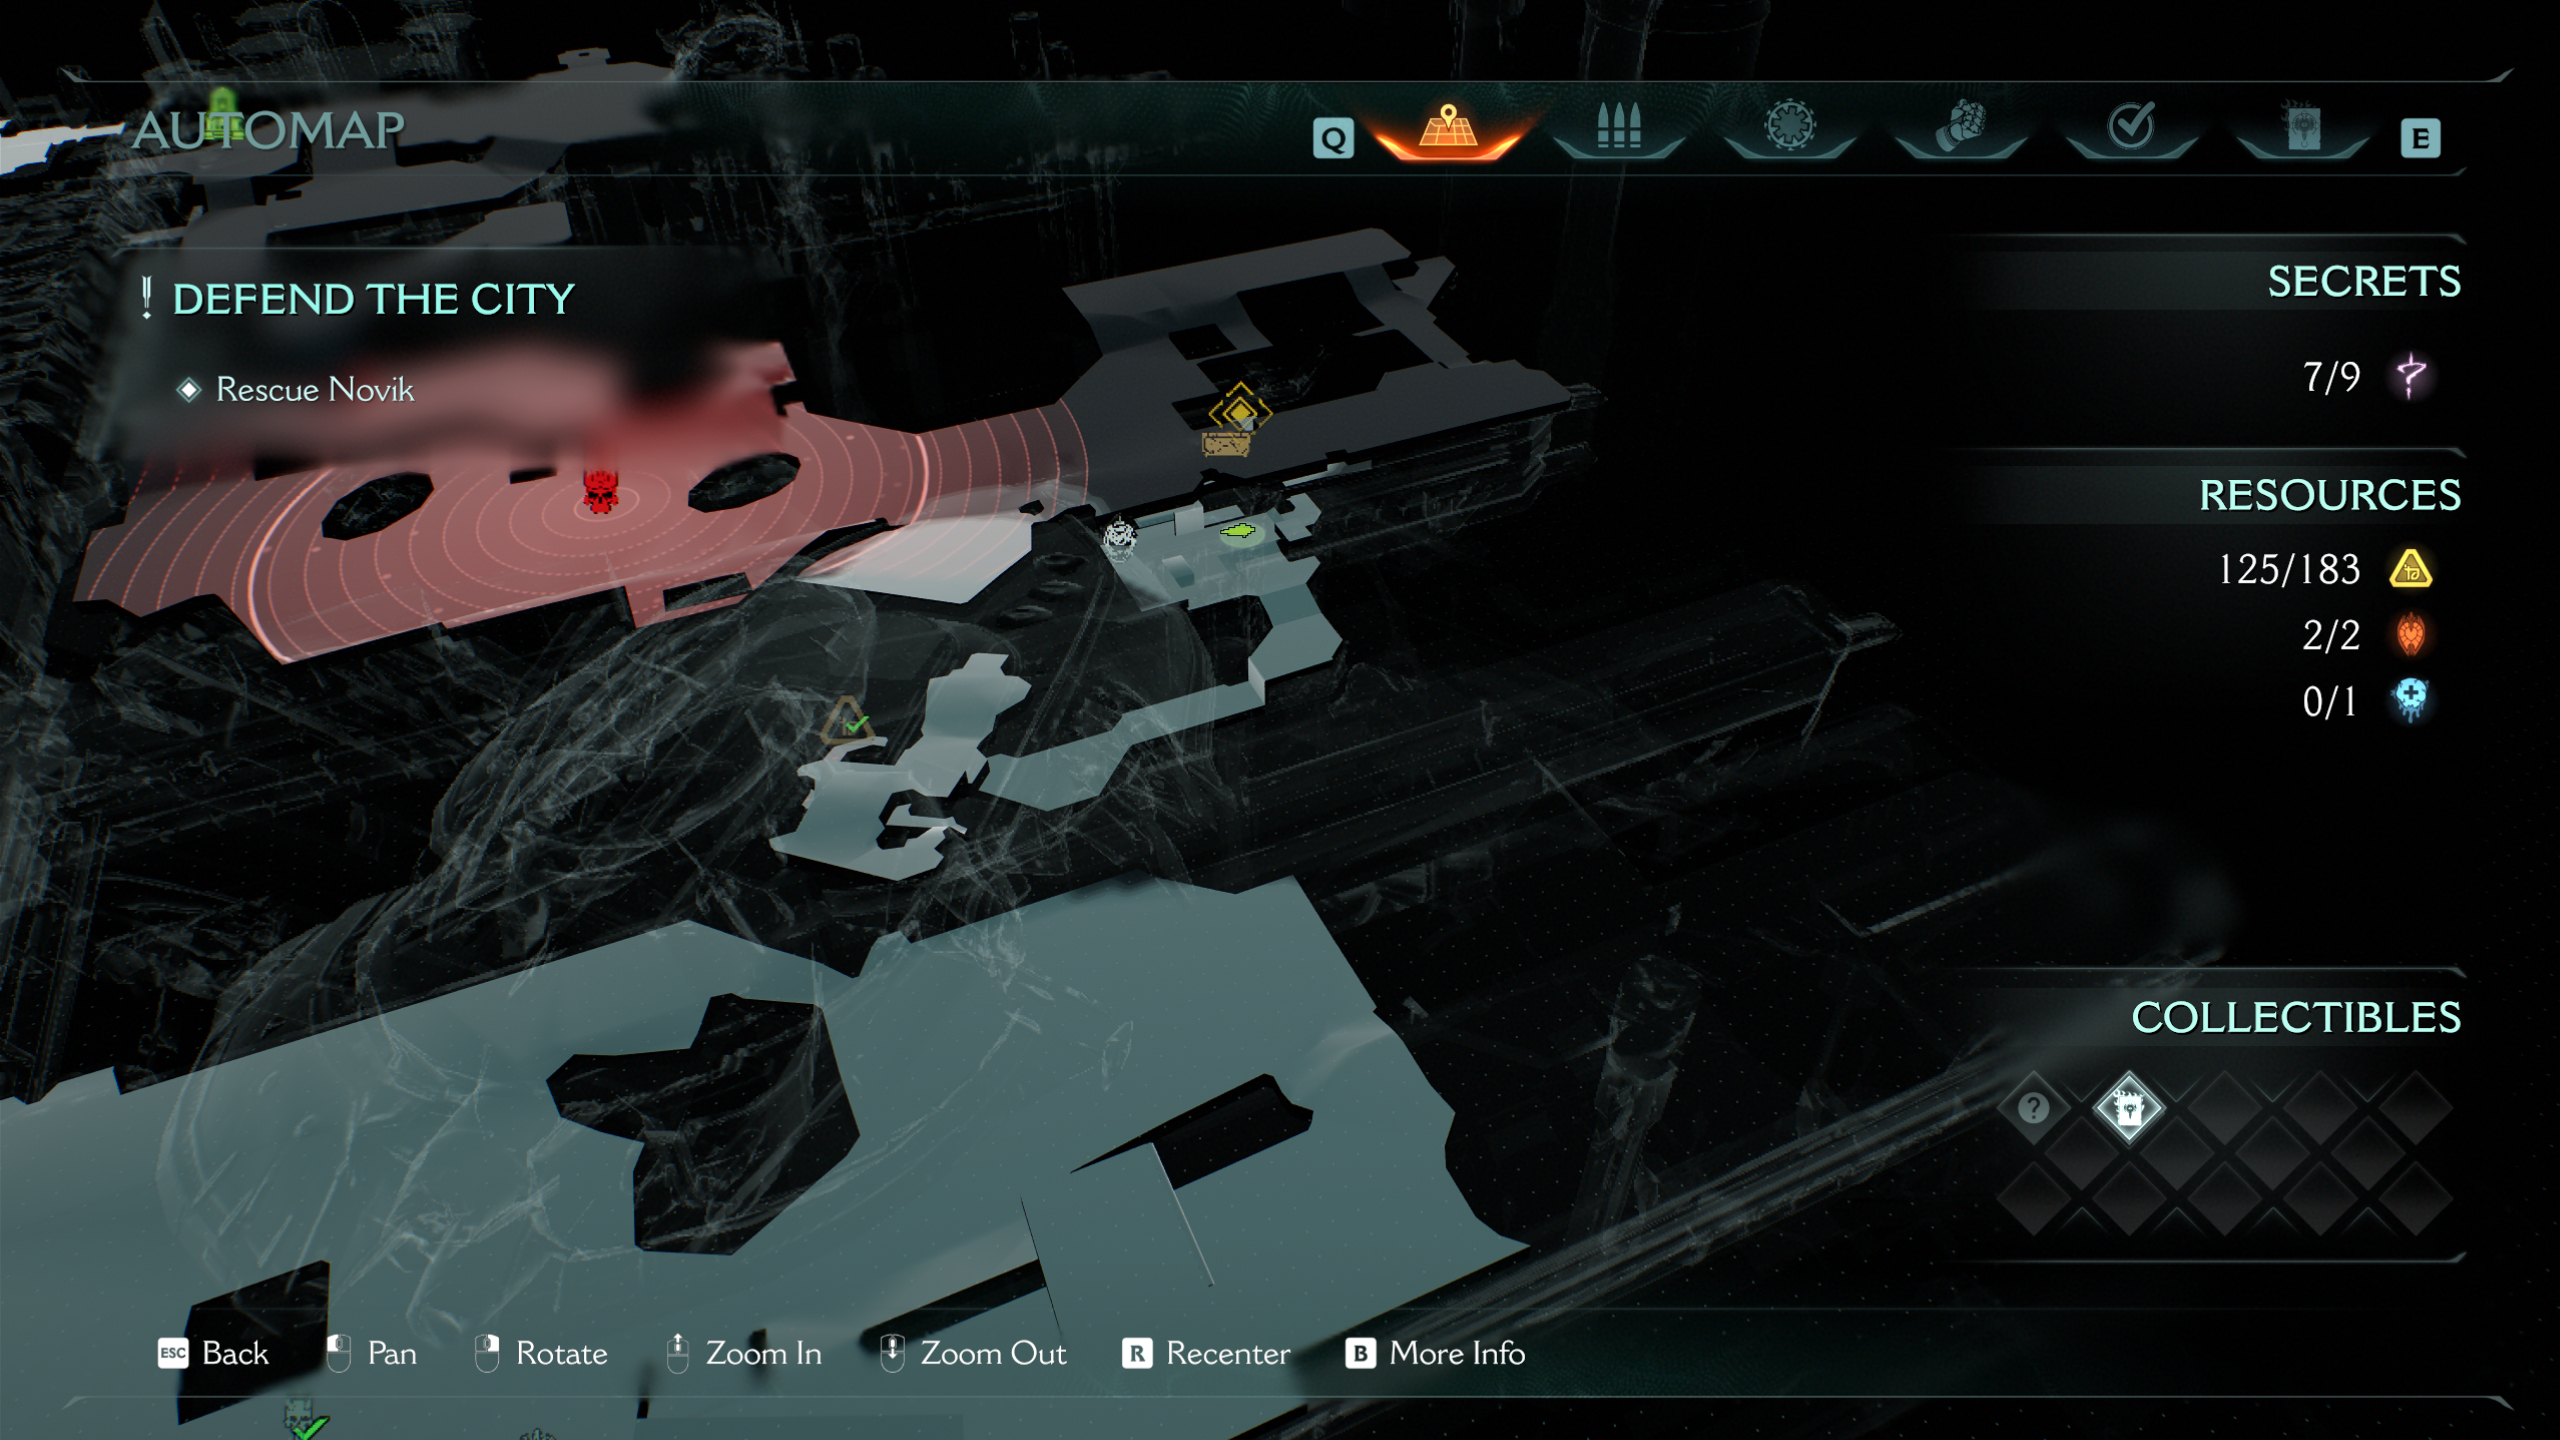
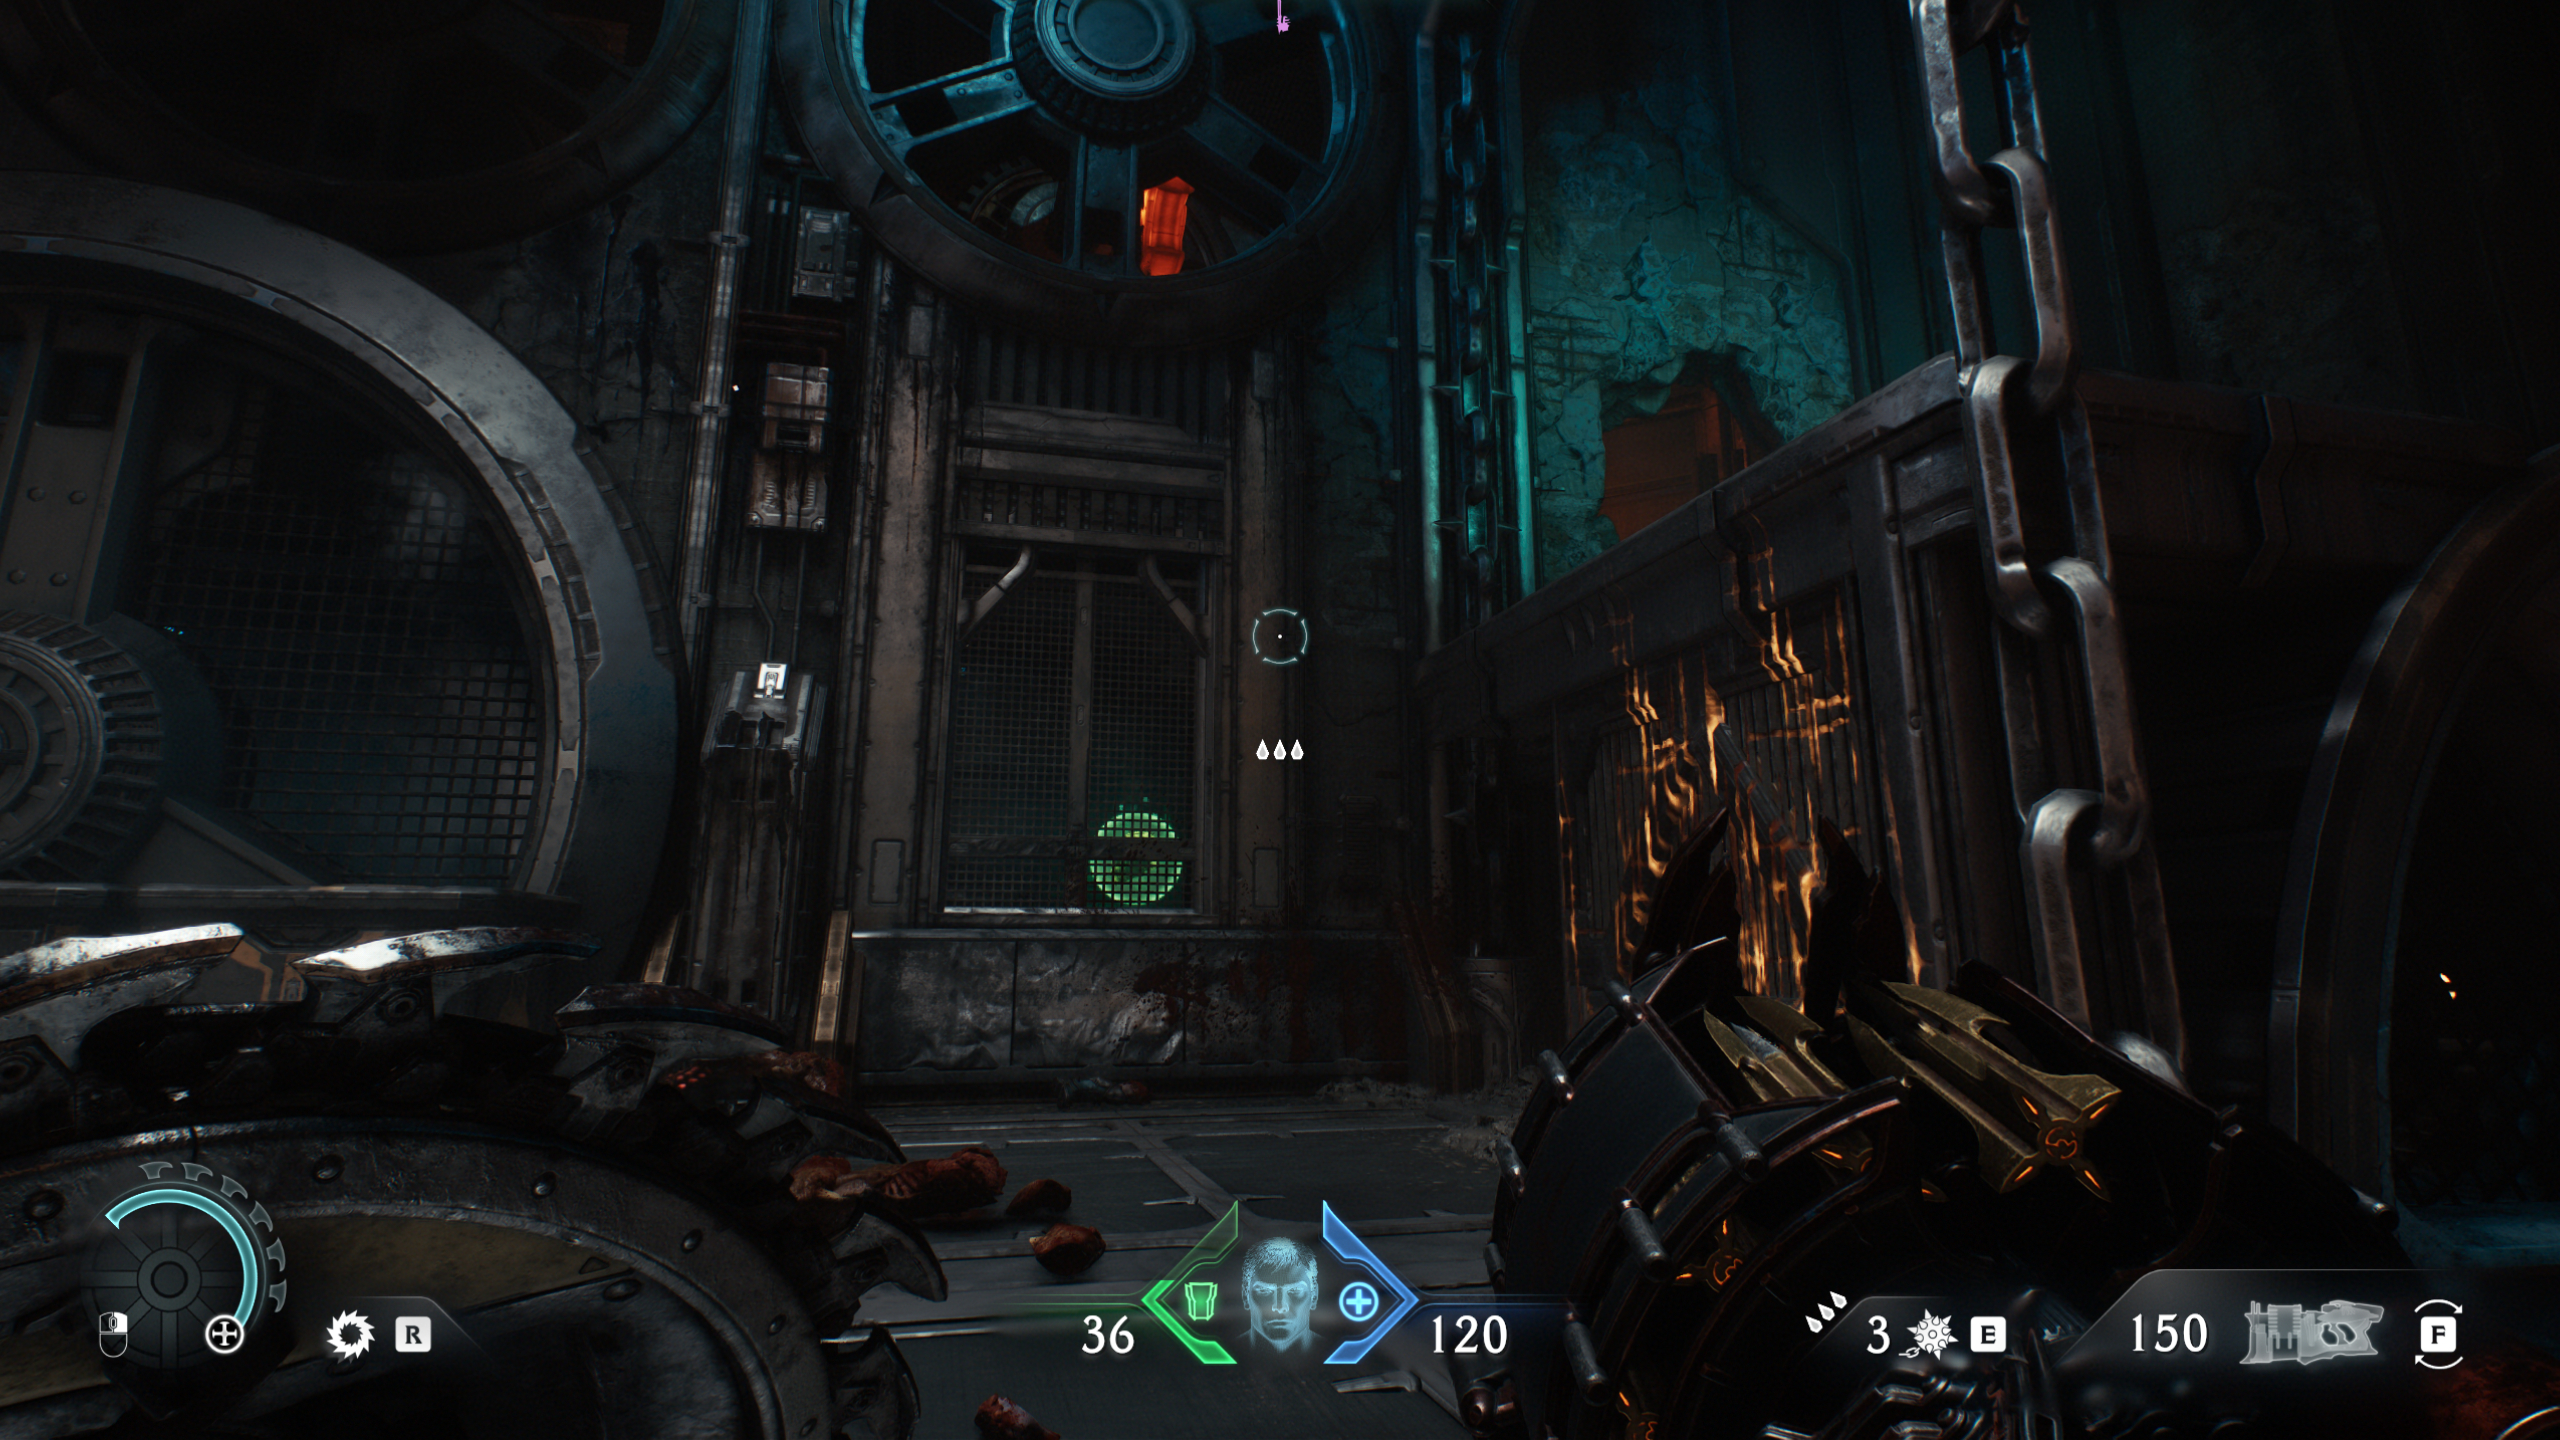
Head through the destroyed ship in the hangar and you'll drop onto a walkway where you can see a life sigil behind a fence, with a wheel blocking your path. Climb up the ledge on the right to get a good view of the chain holding the wheel in place, then throw your shield at it. The wheel will then stop turning, so you can climb through the small opening.
While you're here, you might as well also grab the gold chest under the ledge you need to climb to progress the mission.
Doom The Dark Ages missions list: All chapters
Best Doom The Dark Ages weapons: Superior firepower
Best Doom The Dark Ages Sentinel Shrine upgrades: Gear up
Doom The Dark Ages Twitch Drops: Free skin

Rory has made the fatal error of playing way too many live service games at once, and somehow still finding time for everything in between. Sure, he’s an expert at Destiny 2, Call of Duty, and more, but at what cost? He’s even sunk 1,000 hours into The Elder Scrolls Online over the years. At least he put all those hours spent grinding challenges to good use over the years as a freelancer and guides editor. In his spare time, he’s also an avid video creator, often breaking down the environmental design of his favourite games. If you can’t track him down, he’s probably lost in a cave with a bunch of dwarves shouting “rock and stone” to no end.
You must confirm your public display name before commenting
Please logout and then login again, you will then be prompted to enter your display name.
