Doom: The Dark Ages Hebeth secrets and collectibles (Chapter 2)
Explore every inch of the weapons facility in chapter 2.

Keep up to date with the most important stories and the best deals, as picked by the PC Gamer team.
You are now subscribed
Your newsletter sign-up was successful
Want to add more newsletters?
Sending you into a sprawling weapons facility, the second mission of Doom: The Dark Ages has heaps more to discover. There are nine Hebeth secrets and three collectibles, but you're also introduced to gold bars and Demonic Essence, both of which are valuable upgrade currencies.
I've trawled through the entire map to find all the Doom: The Dark Ages secrets in chapter 2, Hebeth, so you don't have to. Below you'll find all the secrets and collectibles laid out in chronological order, so you don't have to replay the mission from the very beginning to find everything.
Doom: The Dark Ages Hebeth secrets and collectibles
There are nine secrets and three collectibles in Doom: The Dark Ages' second chapter, Hebeth, alongside 210 gold you can use to grab gear upgrades, and your first Demonic Essence, which drops from the final boss.
Article continues below1 - Life sigil
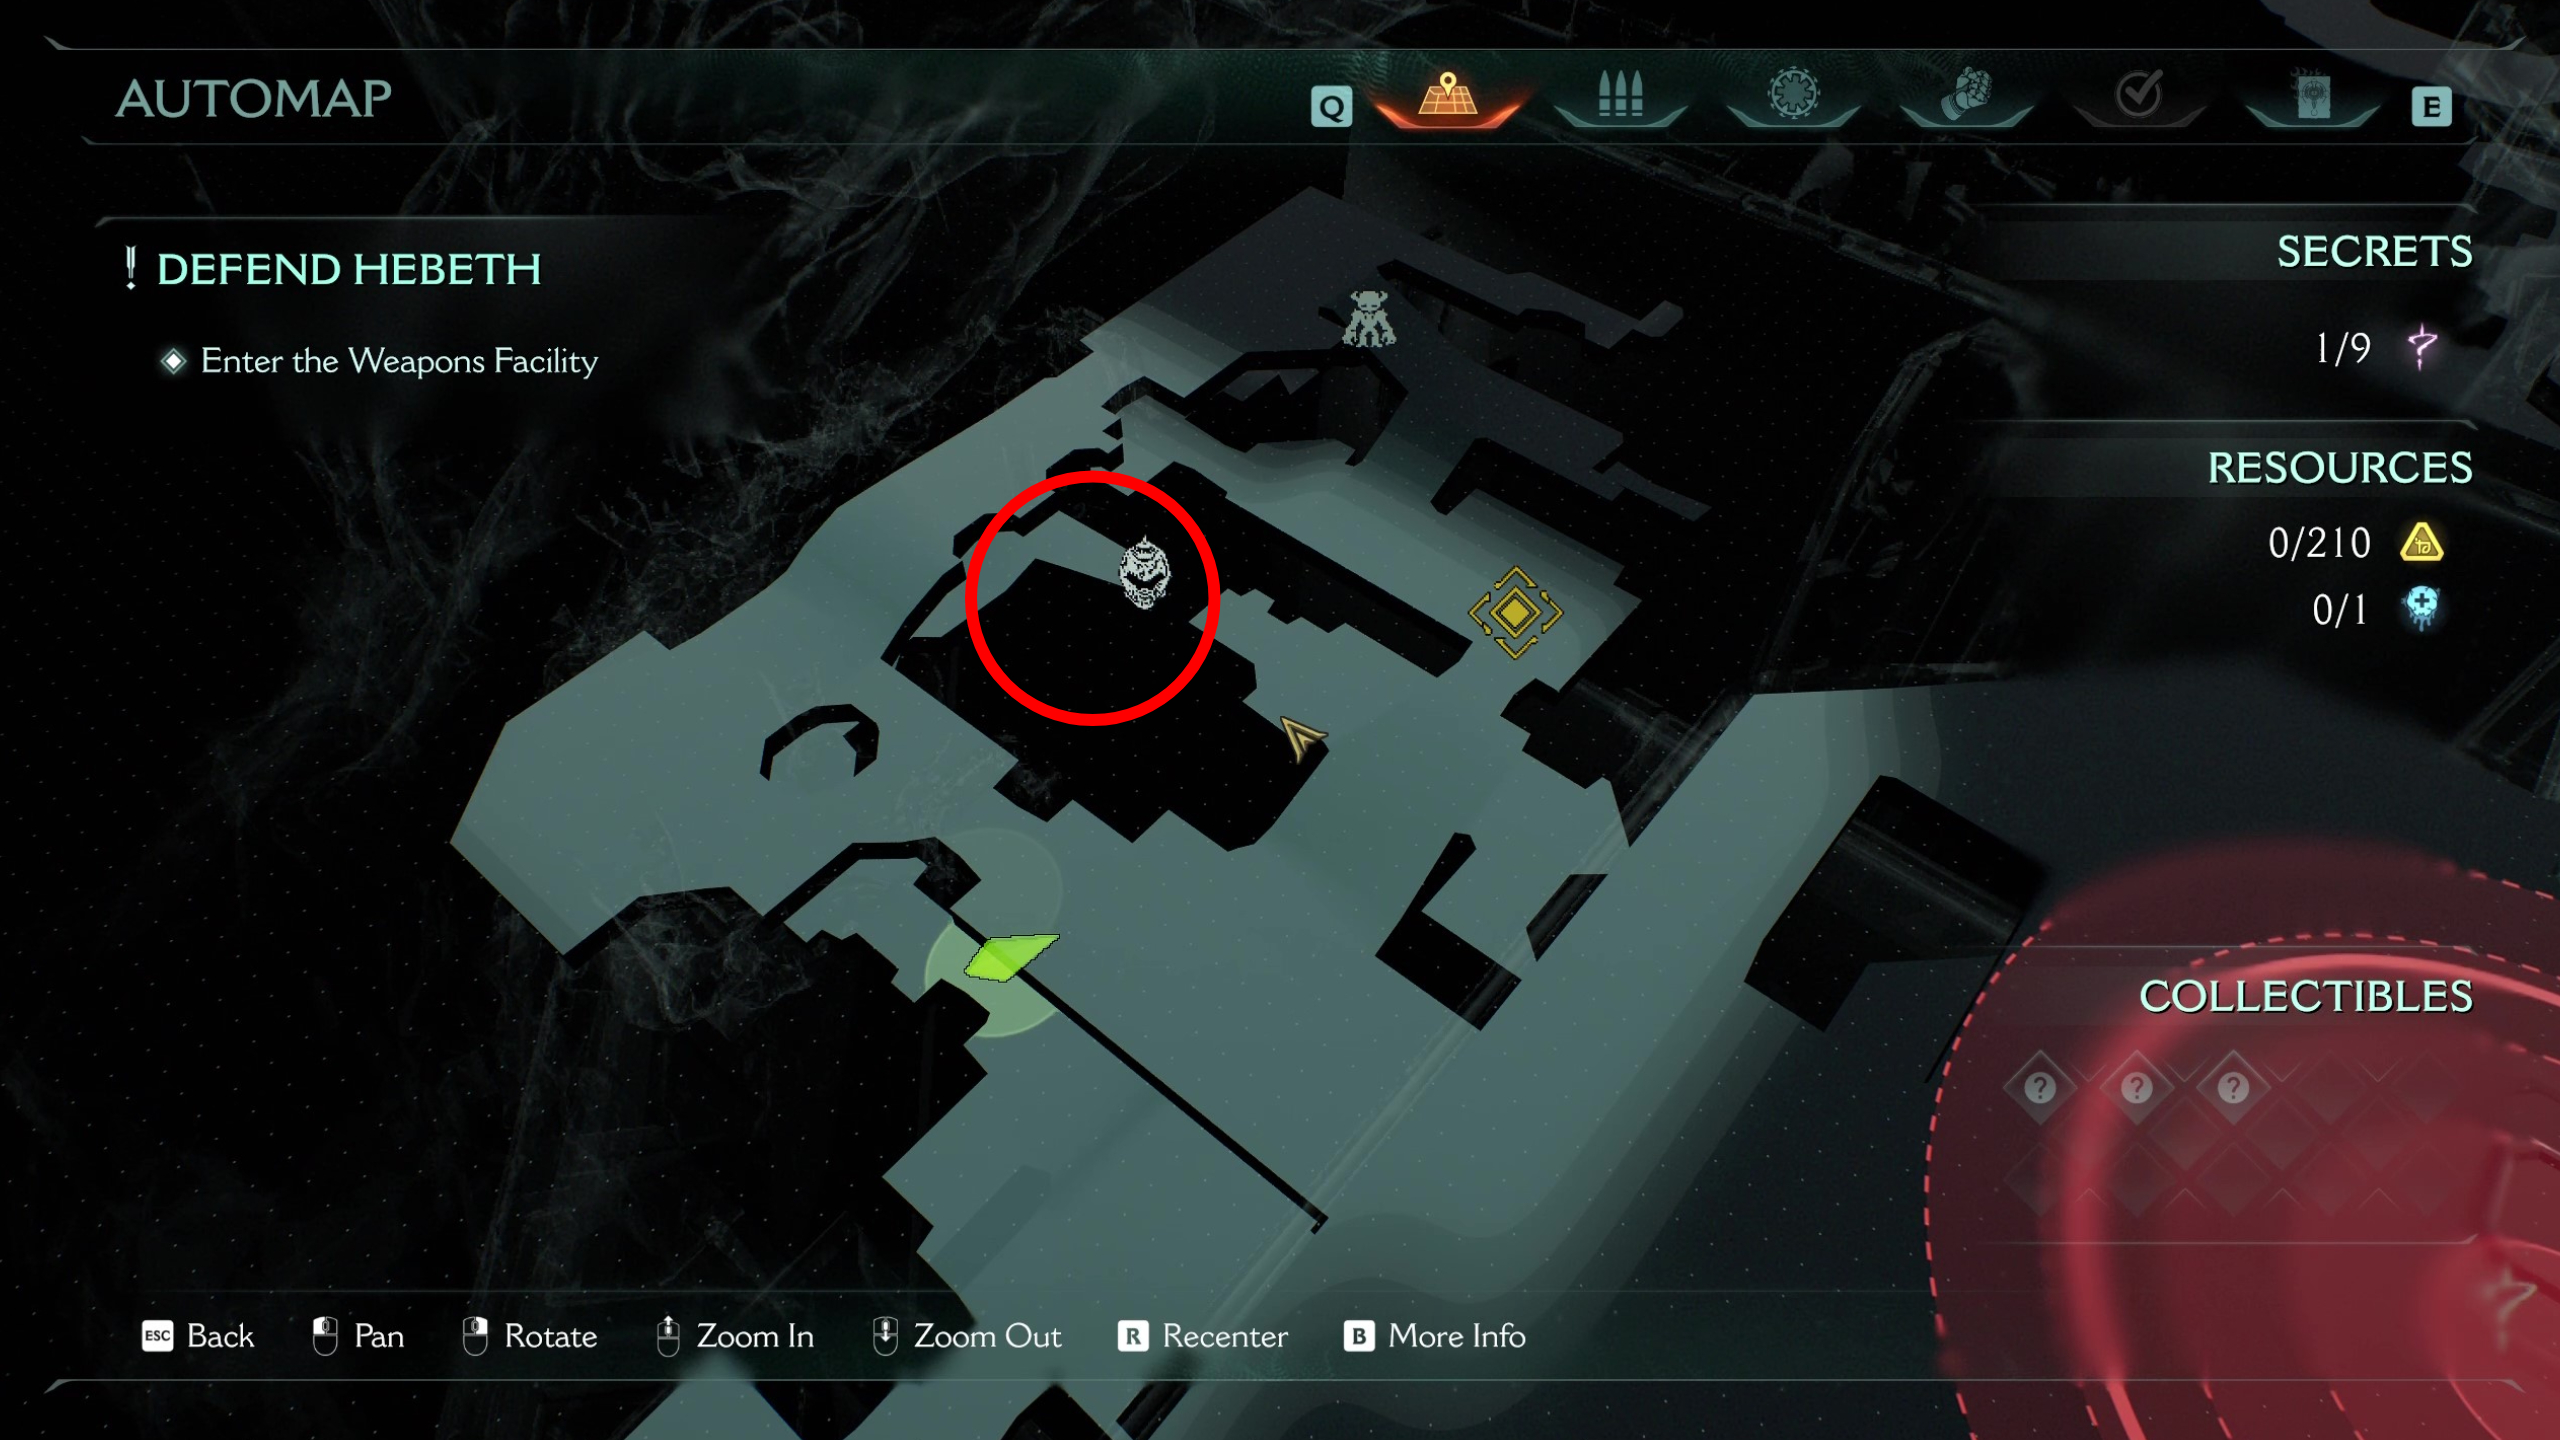
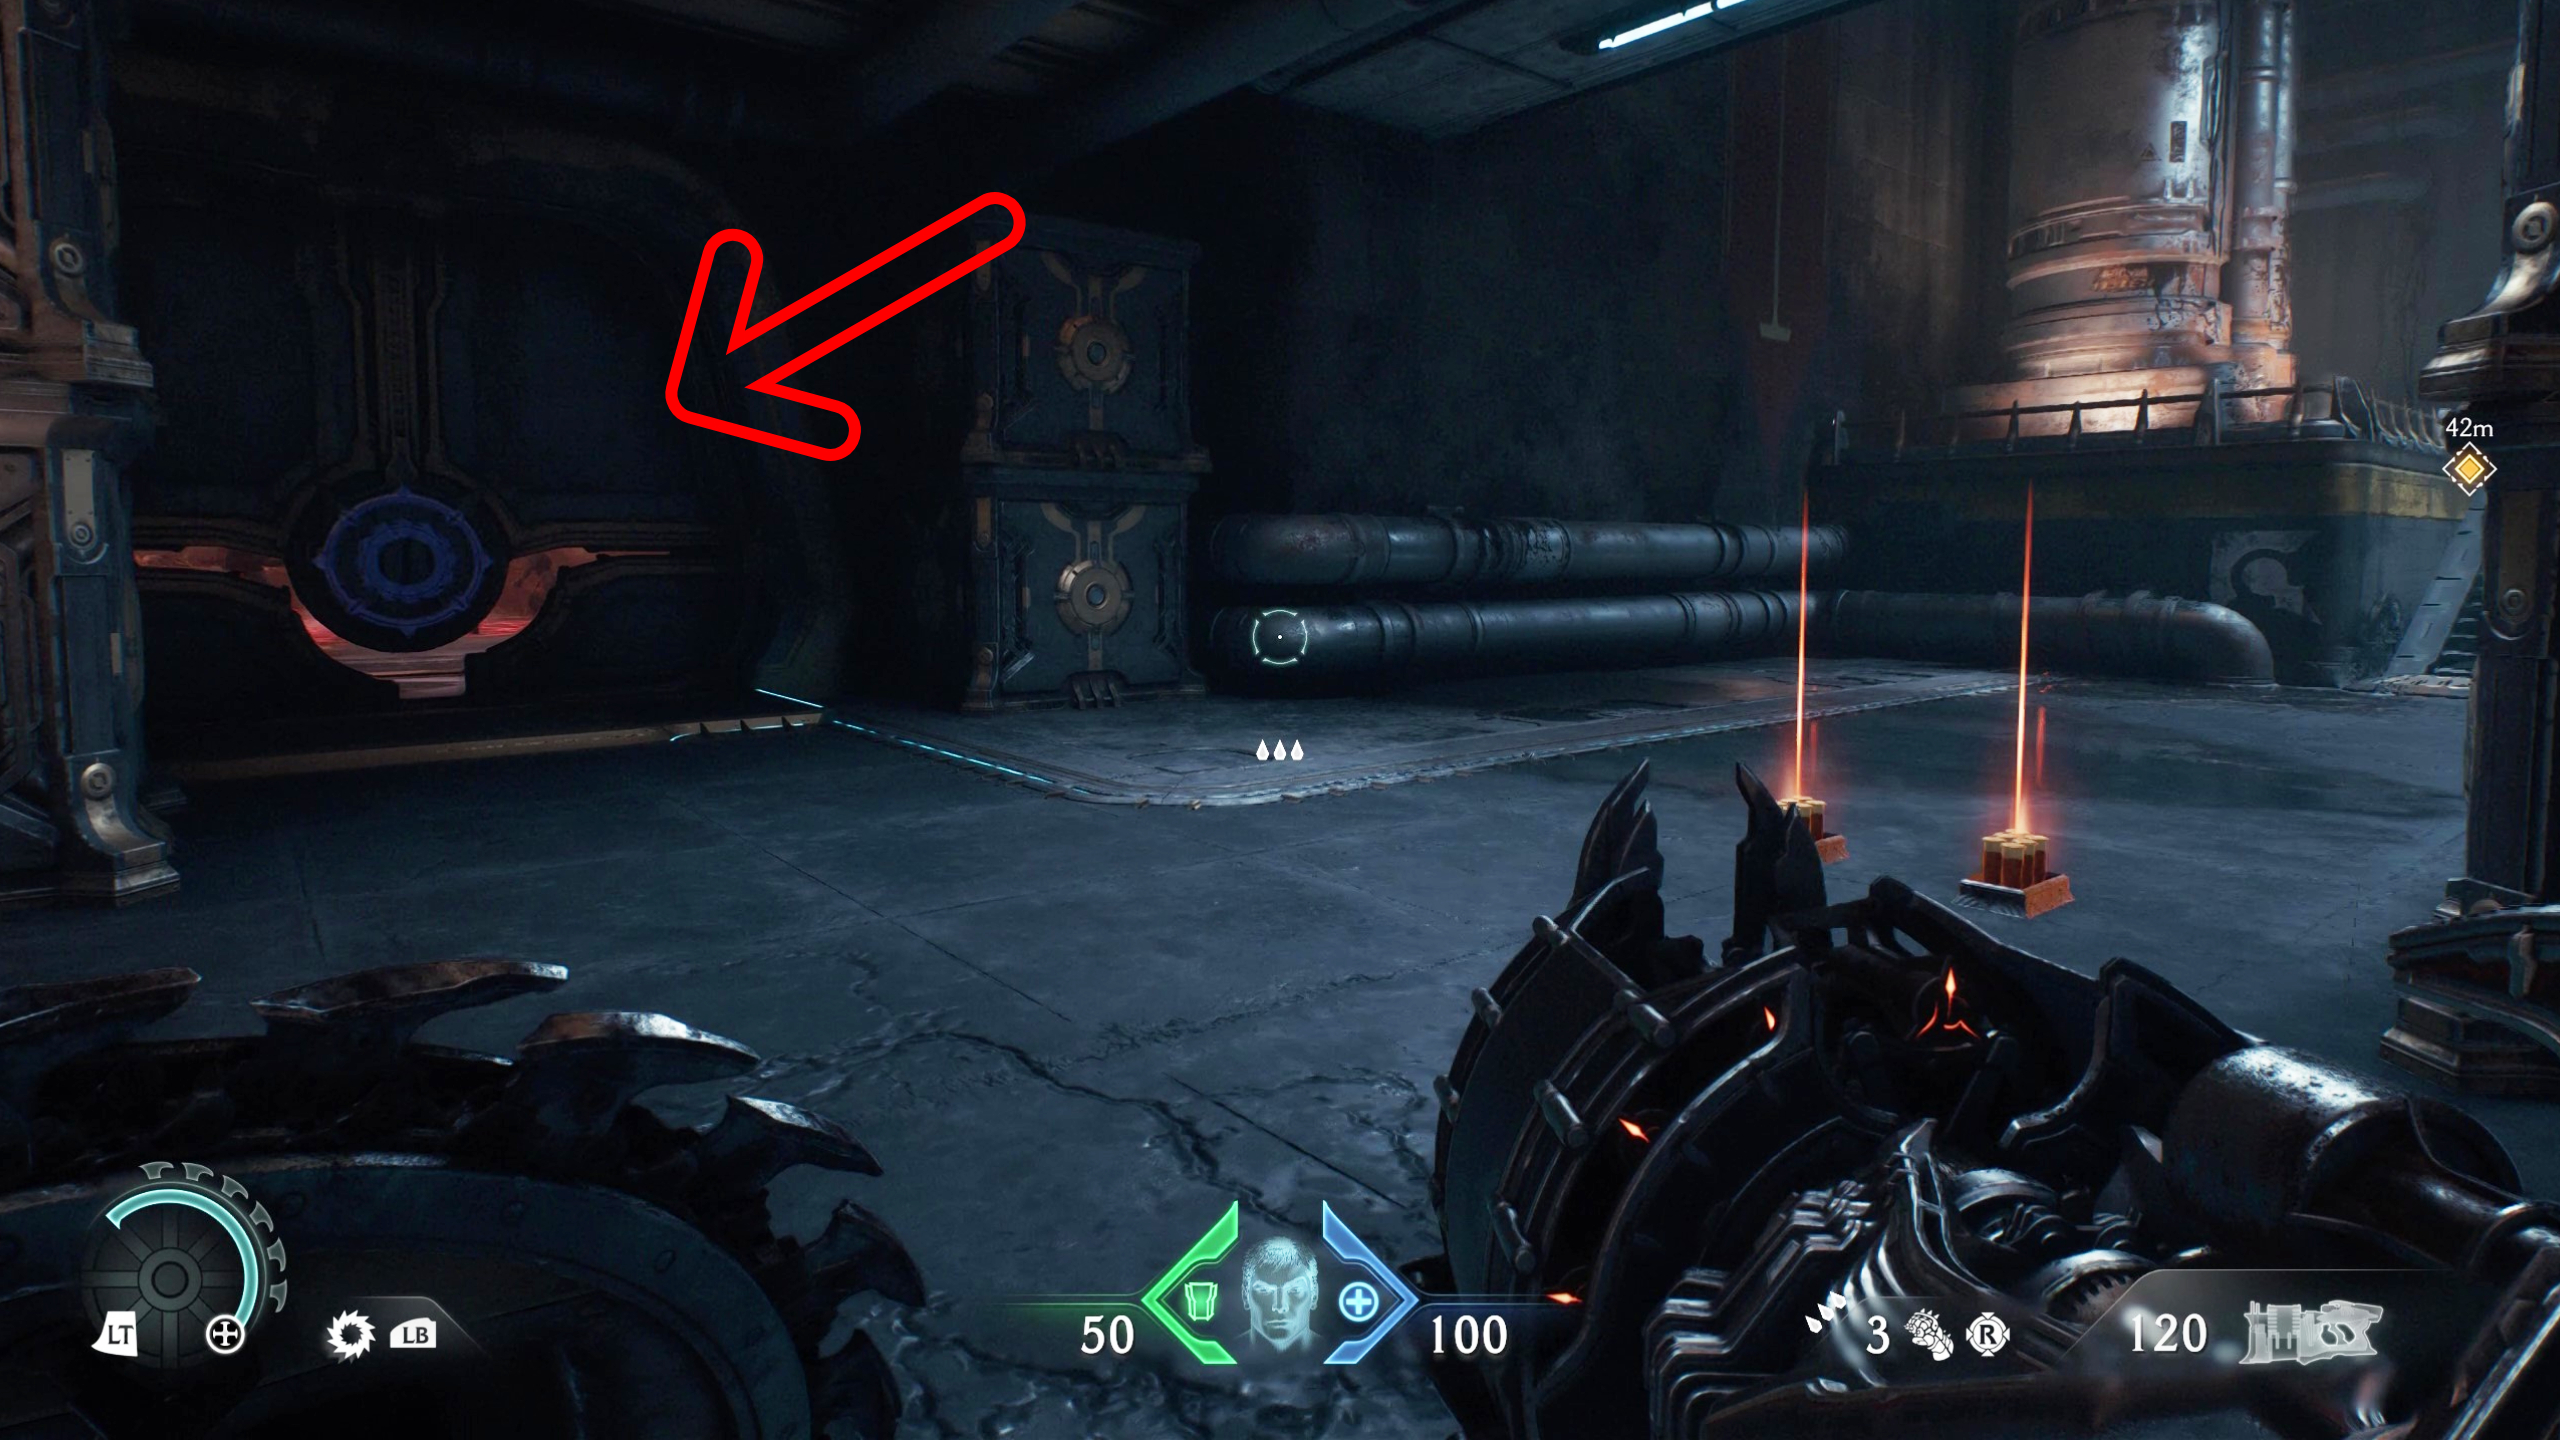
The first secret you'll run into is a short way into the mission. Collect the shield saw attachment and continue along the wall until you reach the first building. Clear the room of enemies and you're bound to see the life sigil behind the glass. To reach it, all you need to do is shield bash the door to the left as you enter the room, where you'll find a group of cultists and the treasure.
2 - Imp Stalker toy (collectible)
The second secret, the Imp Stalker toy, comes right after the first. Head back into the main room and continue through the door and up the stairs. Turn around and you'll see a small vent in the wall that you can climb into, which drops you down on the other side of a locked gate. Use your shield throw to break the seal and collect the item inside.
3 - Hebeth codex entry (collectible)
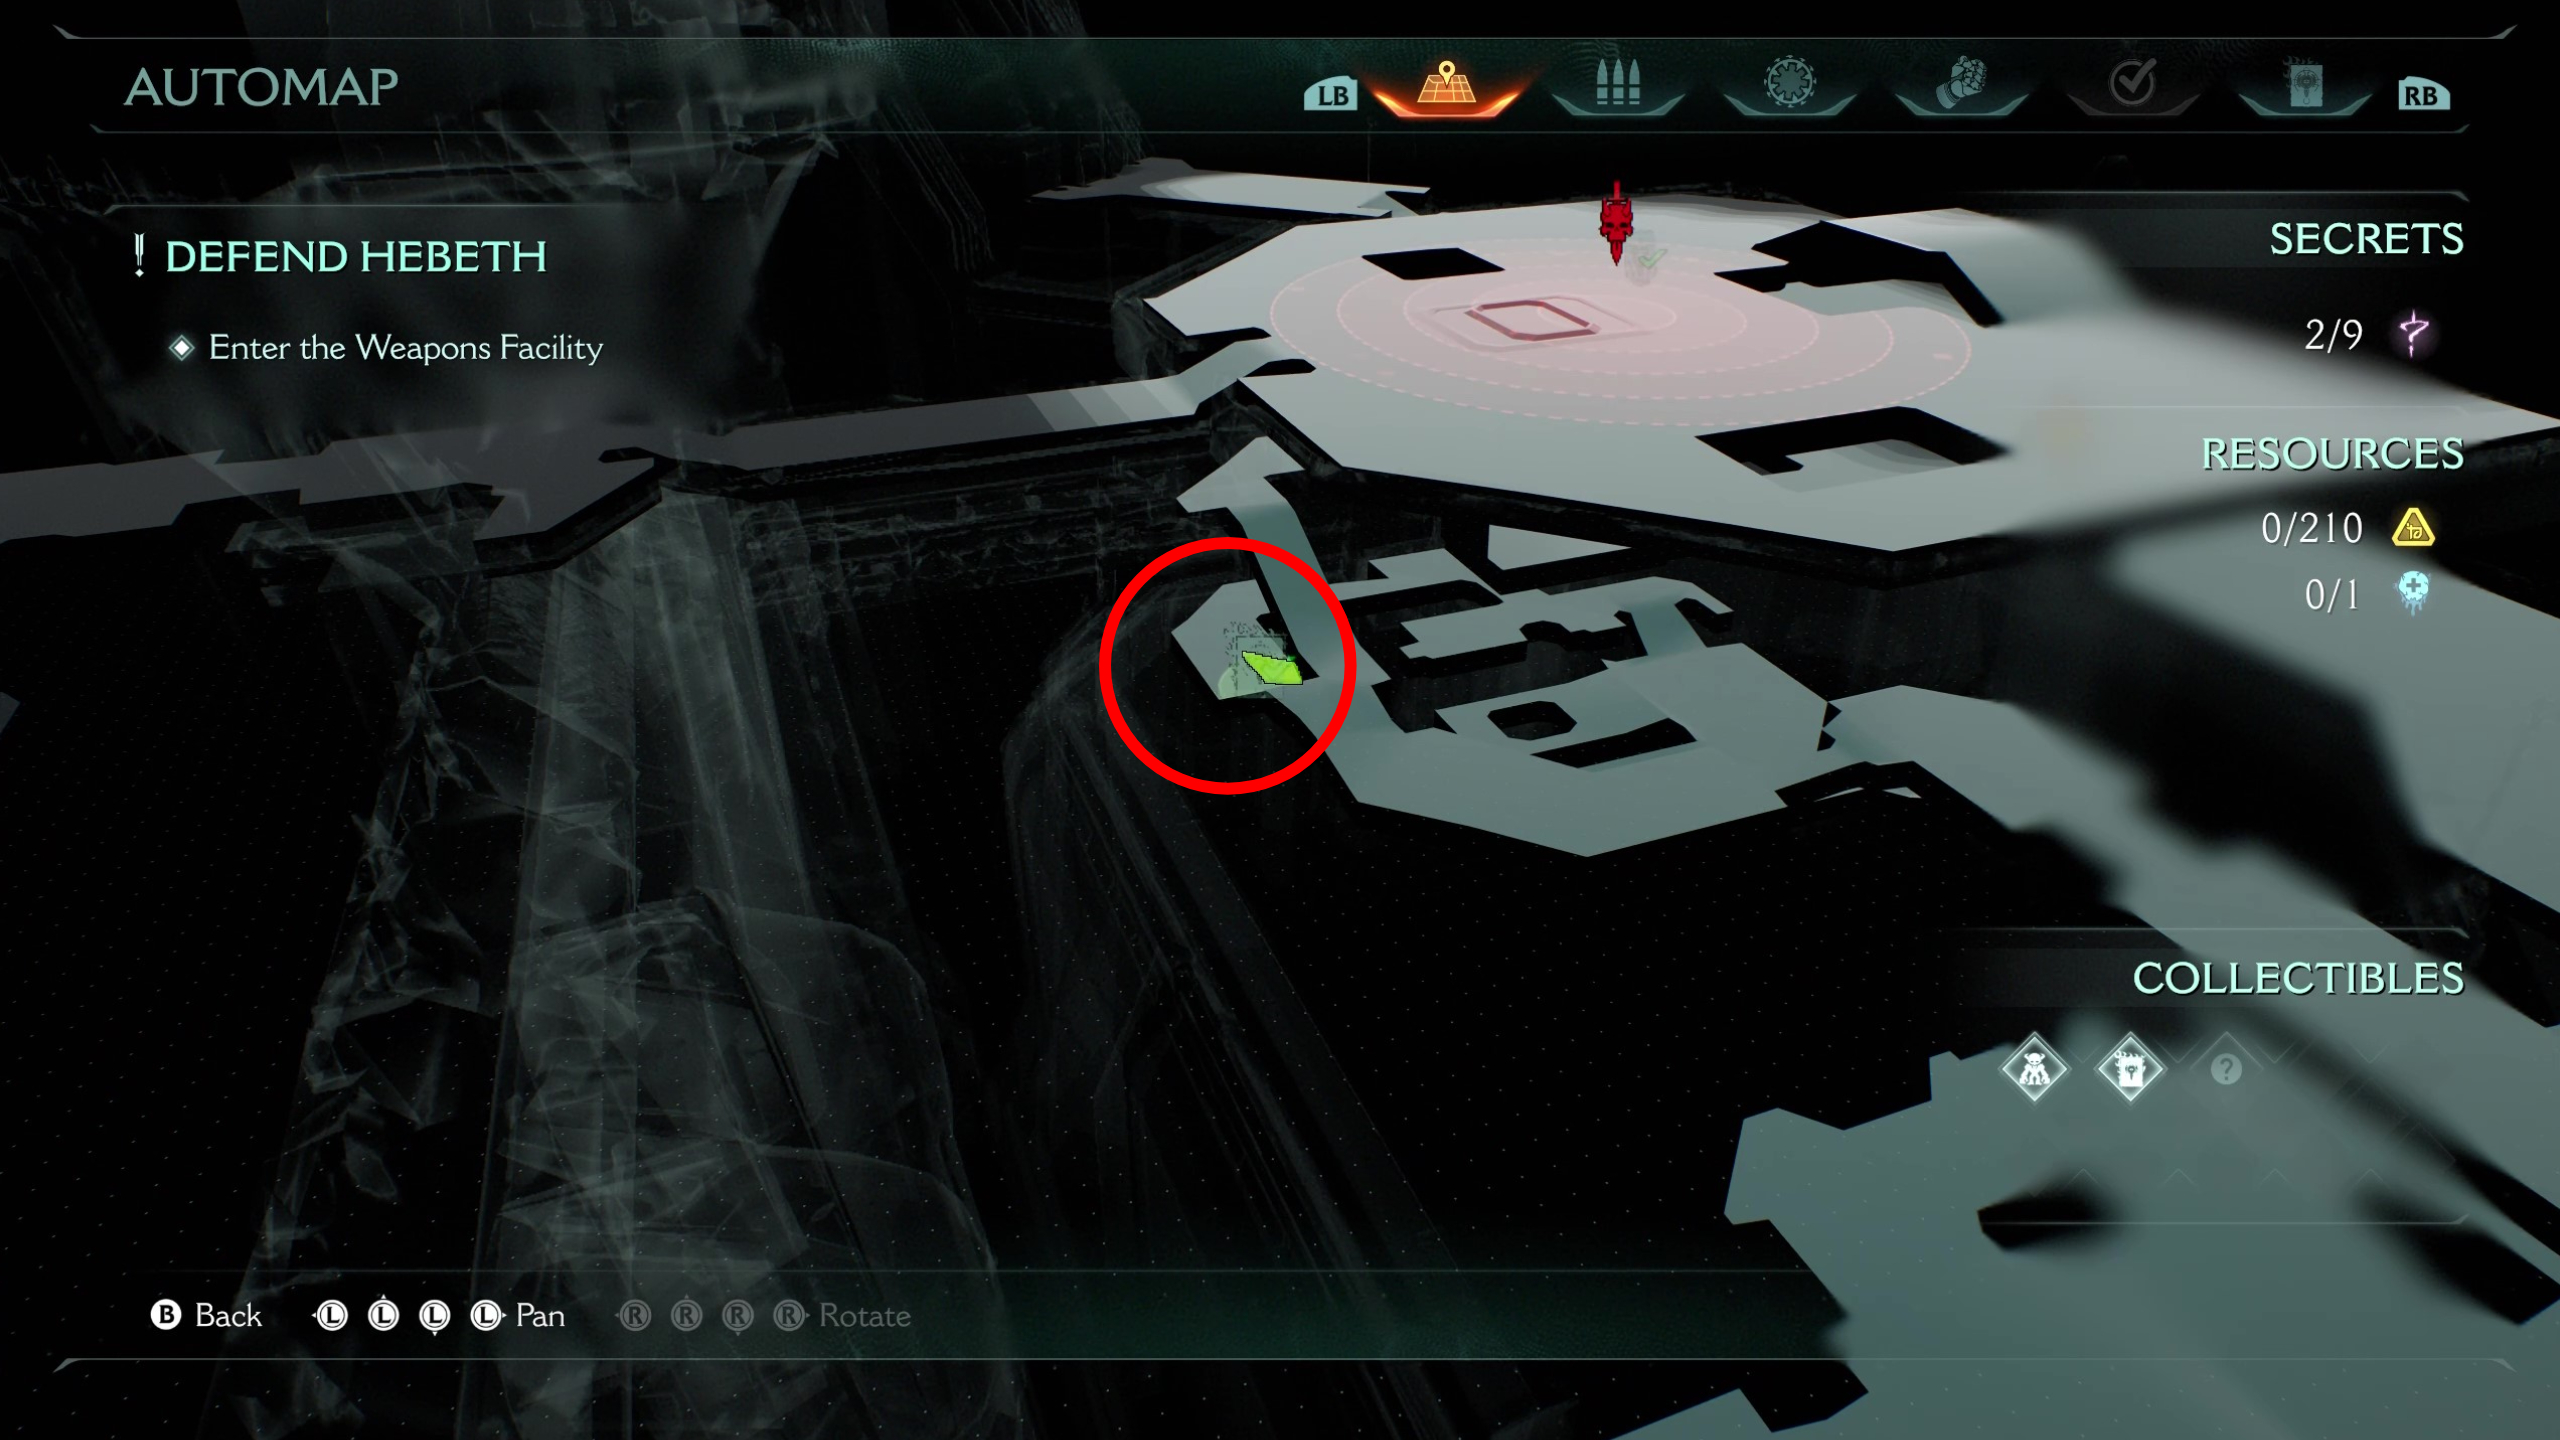
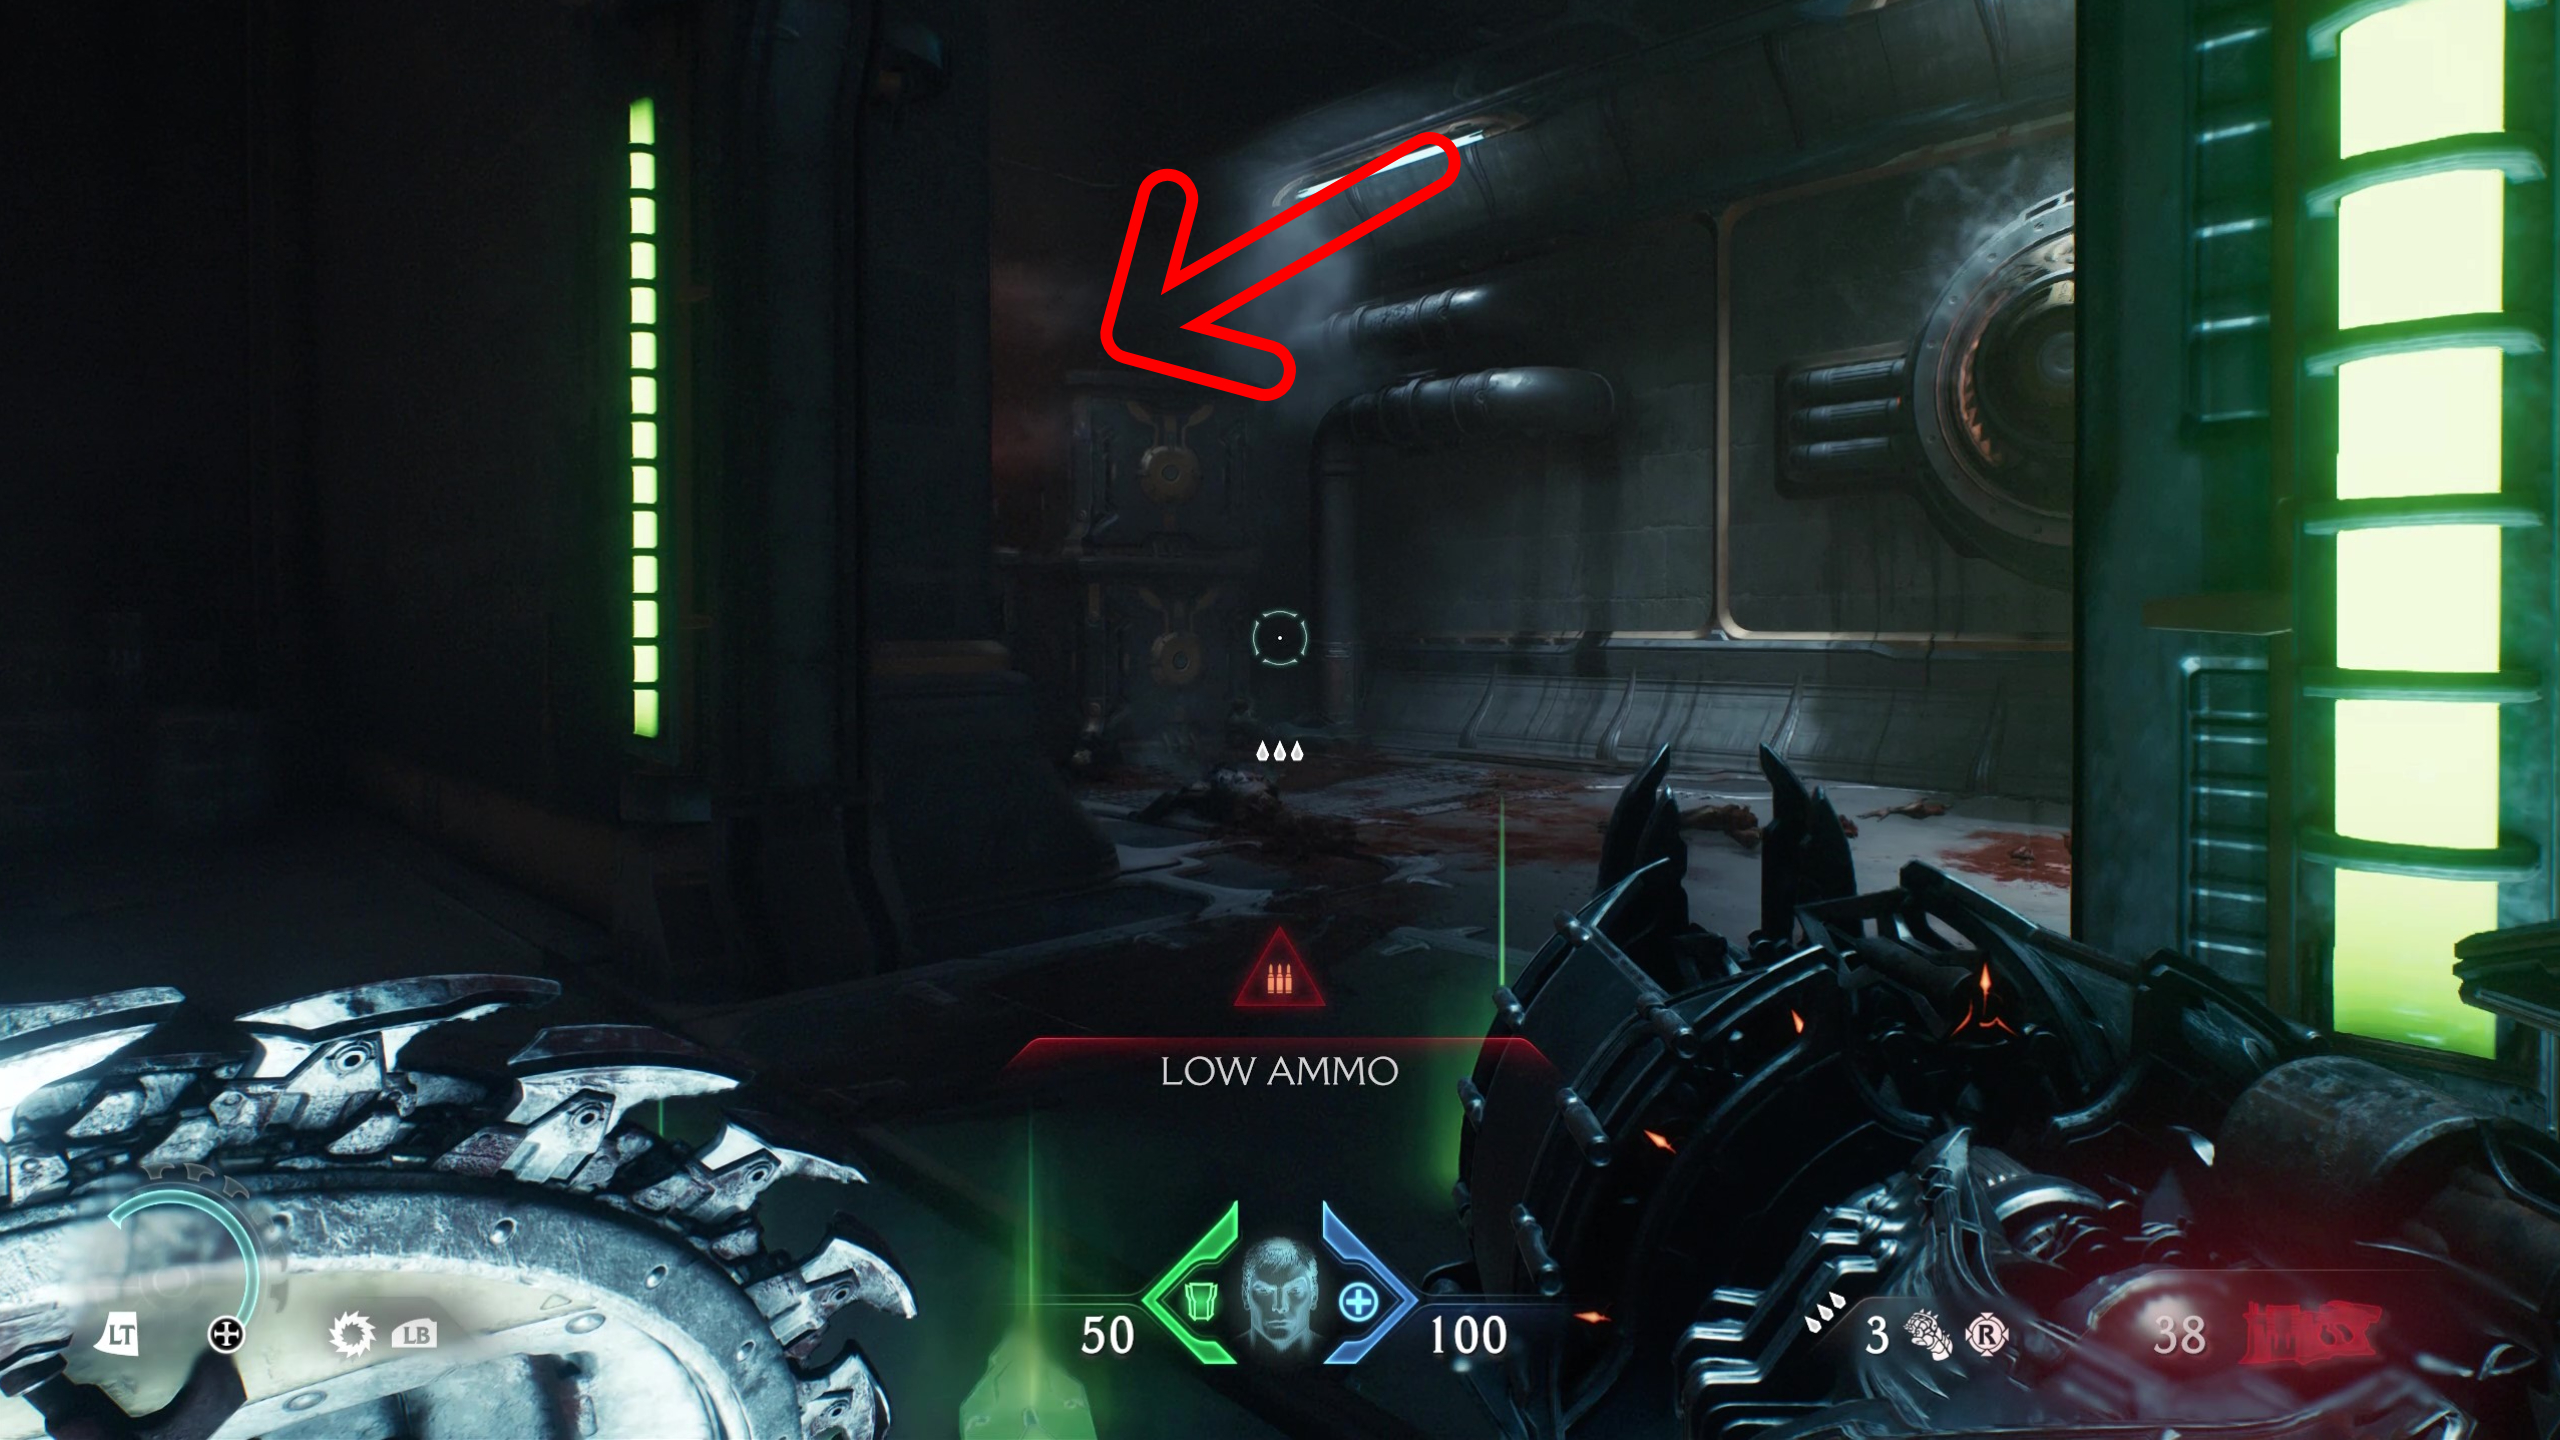
After you've got the Imp Stalker toy, continue with the mission and walk up the stairs, pull the switch, and cross the little bridge where you'll be ambushed. Drop down into the pit, and as you take the hallway to head back up, turn to your left and sneak through a gap between some large boxes. Here you'll find the codex entry surrounded by cowering NPCs.
4 - Gold bars
The next secret comes once you've unlocked the Sentinel Shrine. Head out of the door to the left of the Shrine, then immediately take a right where you'll find a red barrier blocking a doorway. Run and jump to climb up the wall next to this barrier, and you'll find five gold bars.
Keep up to date with the most important stories and the best deals, as picked by the PC Gamer team.
5 - Gold bars
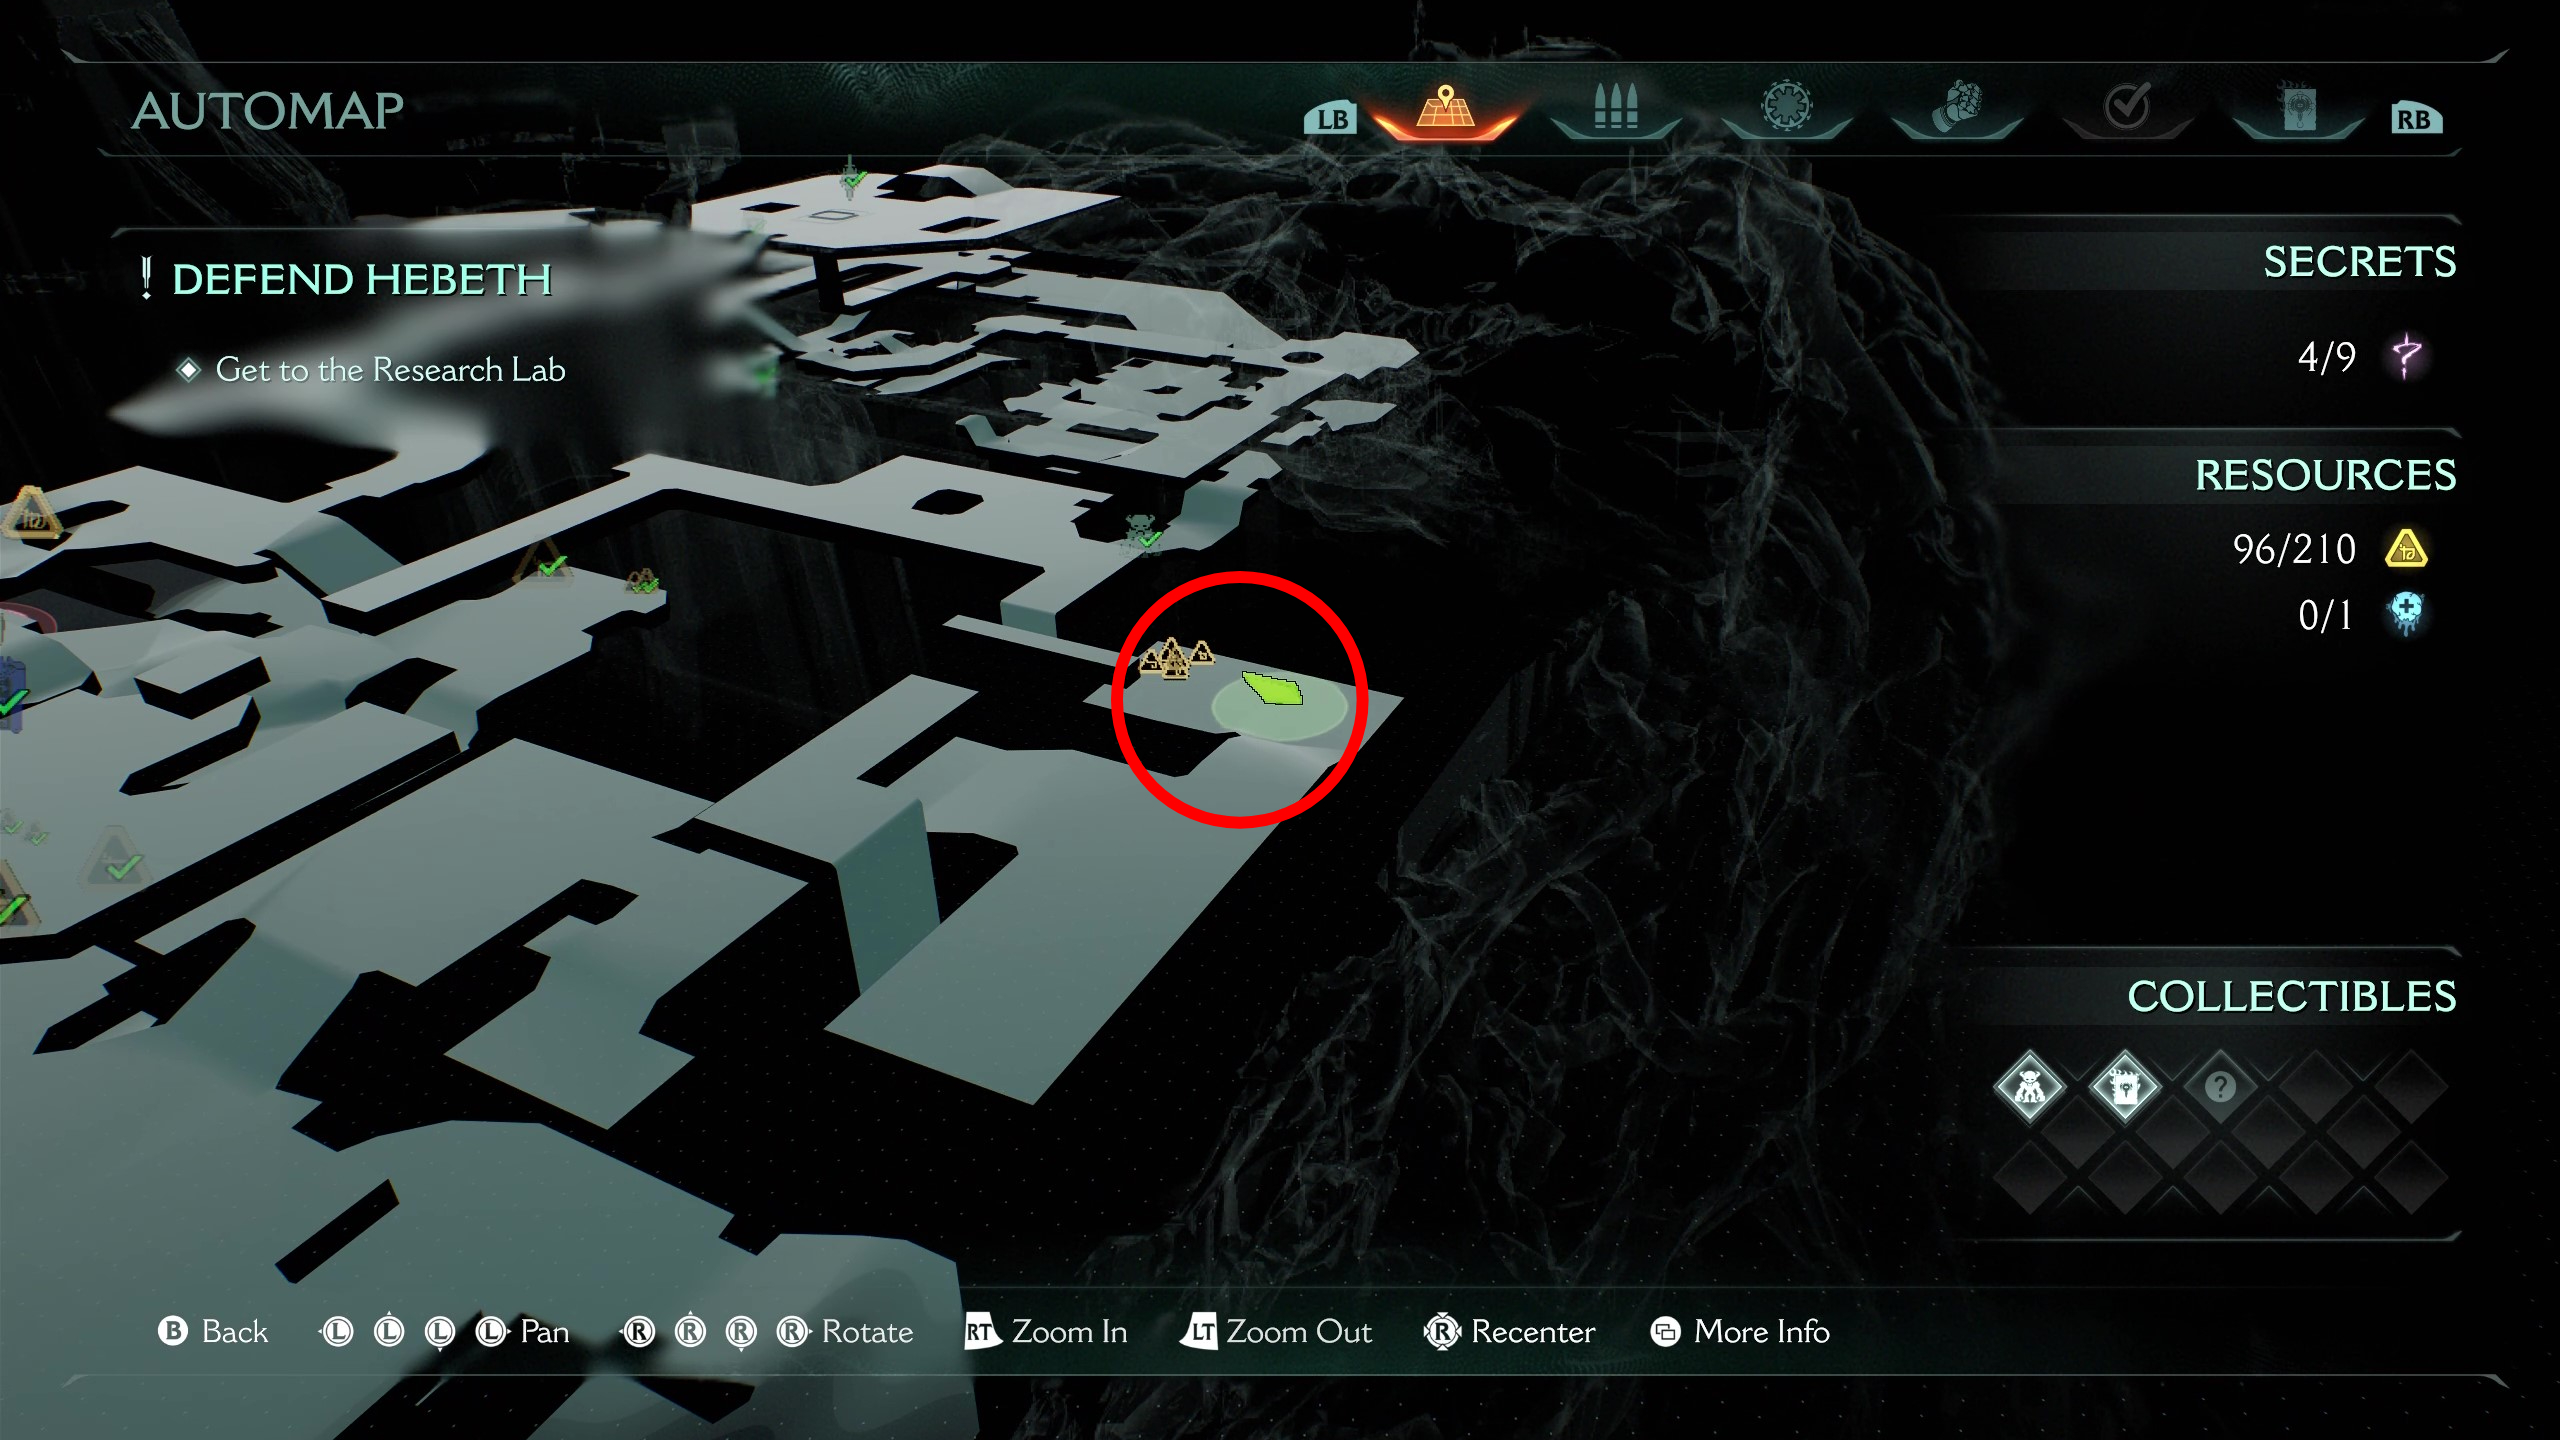
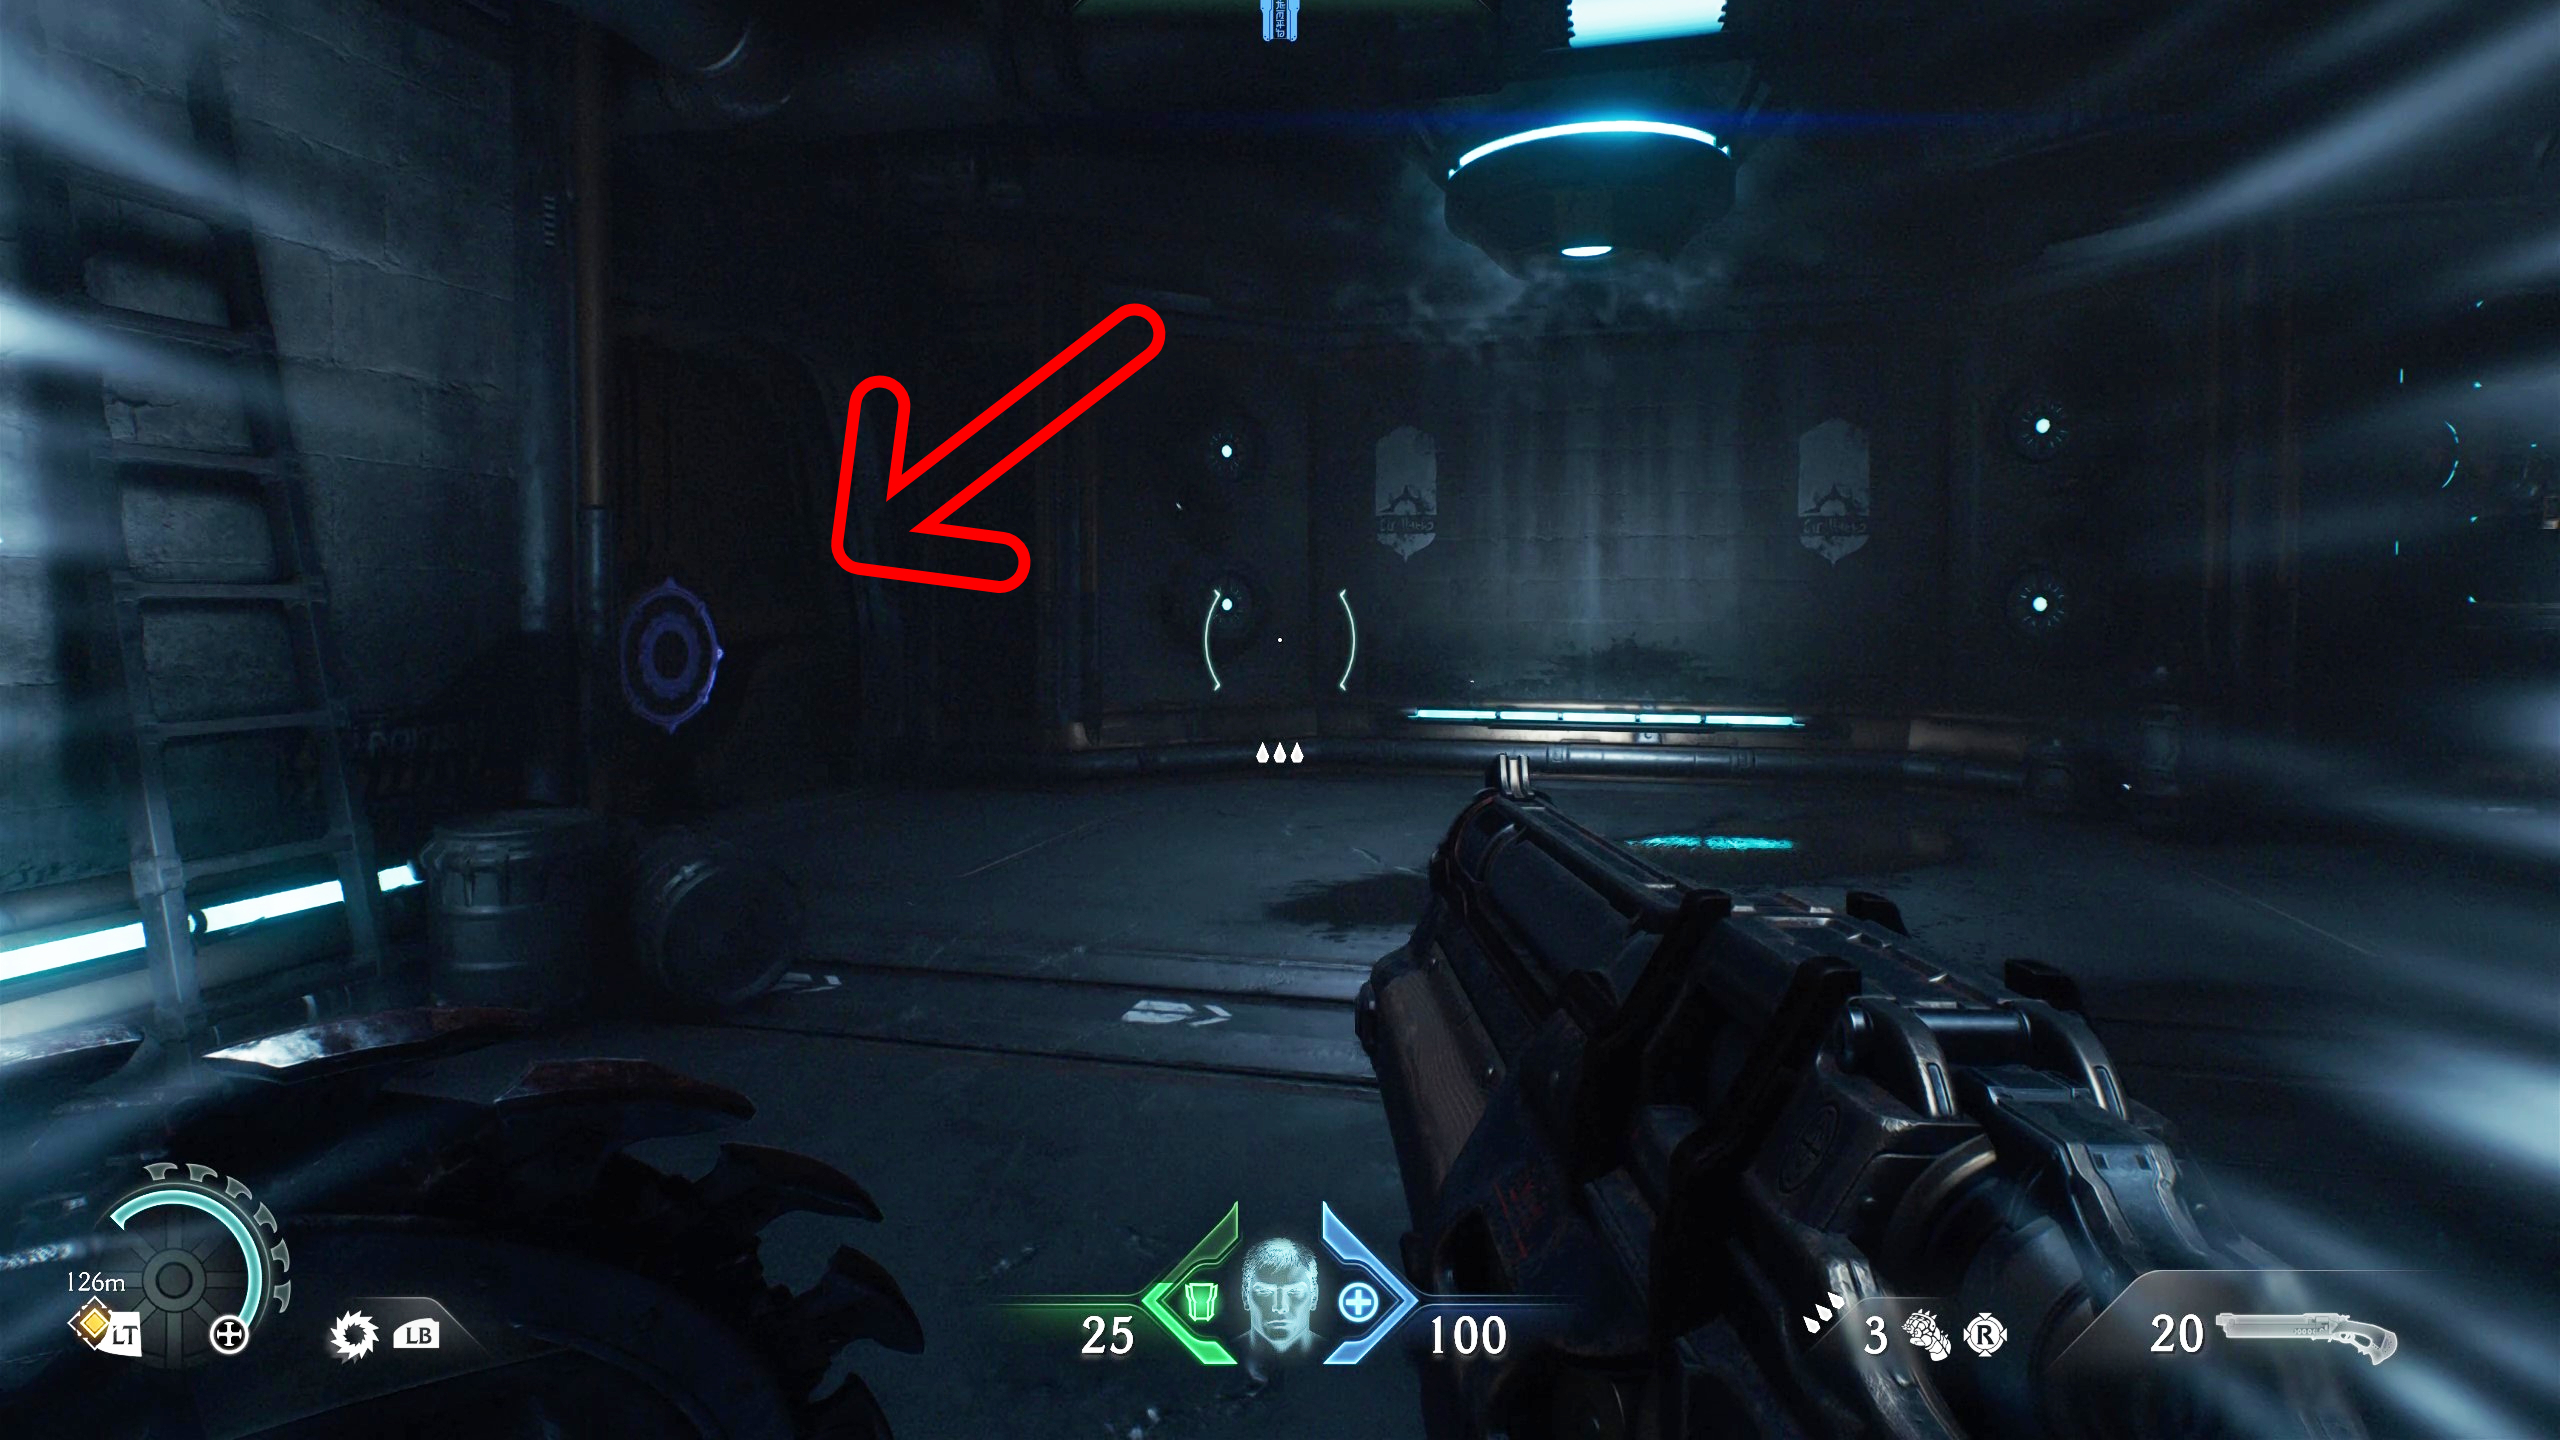
On your way to grab the blue keycard to open the main path, when you head into the tunnels behind the cracked wall, shield bash the barricade on your left before climbing up into the vents. Here you'll find a room with five more gold bars. It's hard to miss, so it's not really much of a "secret".
6 - Life sigil
Carry on with the mission until you unlock the Plasma Accelerator weapon and clear out the enemies that spawn afterwards. When the coast is clear, return to the Accelerator station and head into the room on your left, where you'll find a vent on your left that requires you to shield bash it open. Head into the vent to find a life sigil and five gold bars.
7 - Life sigil
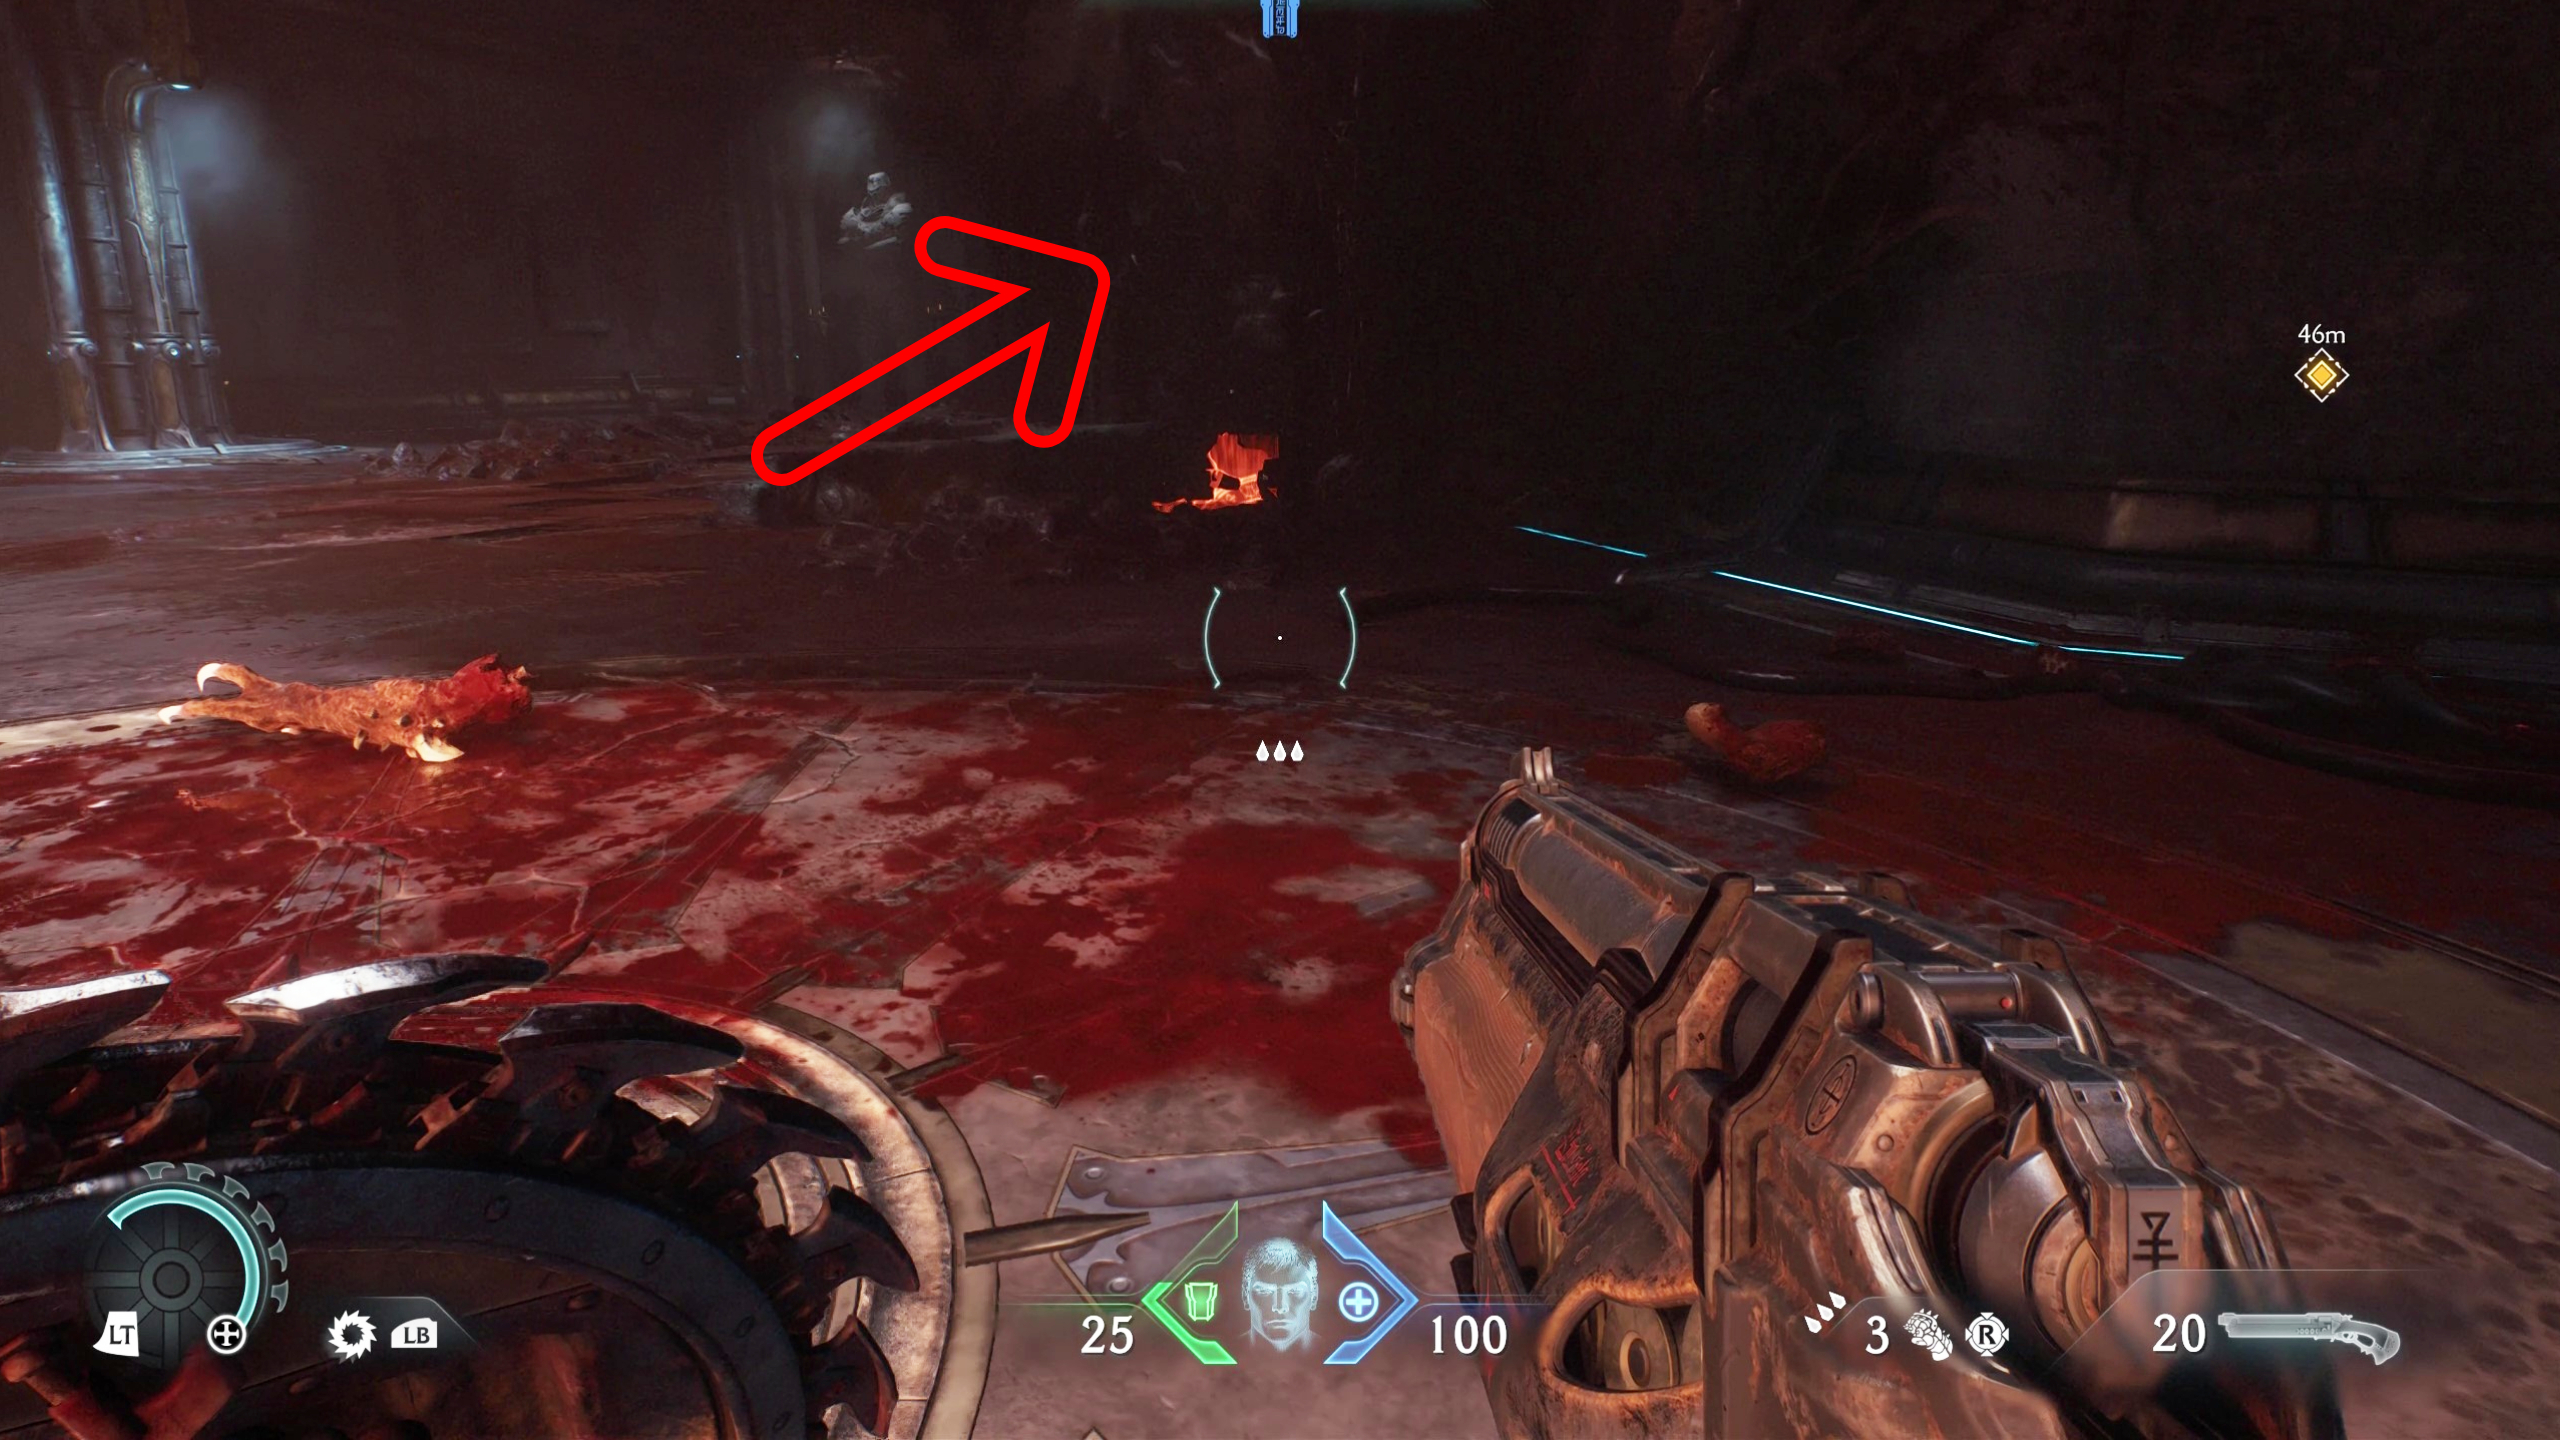
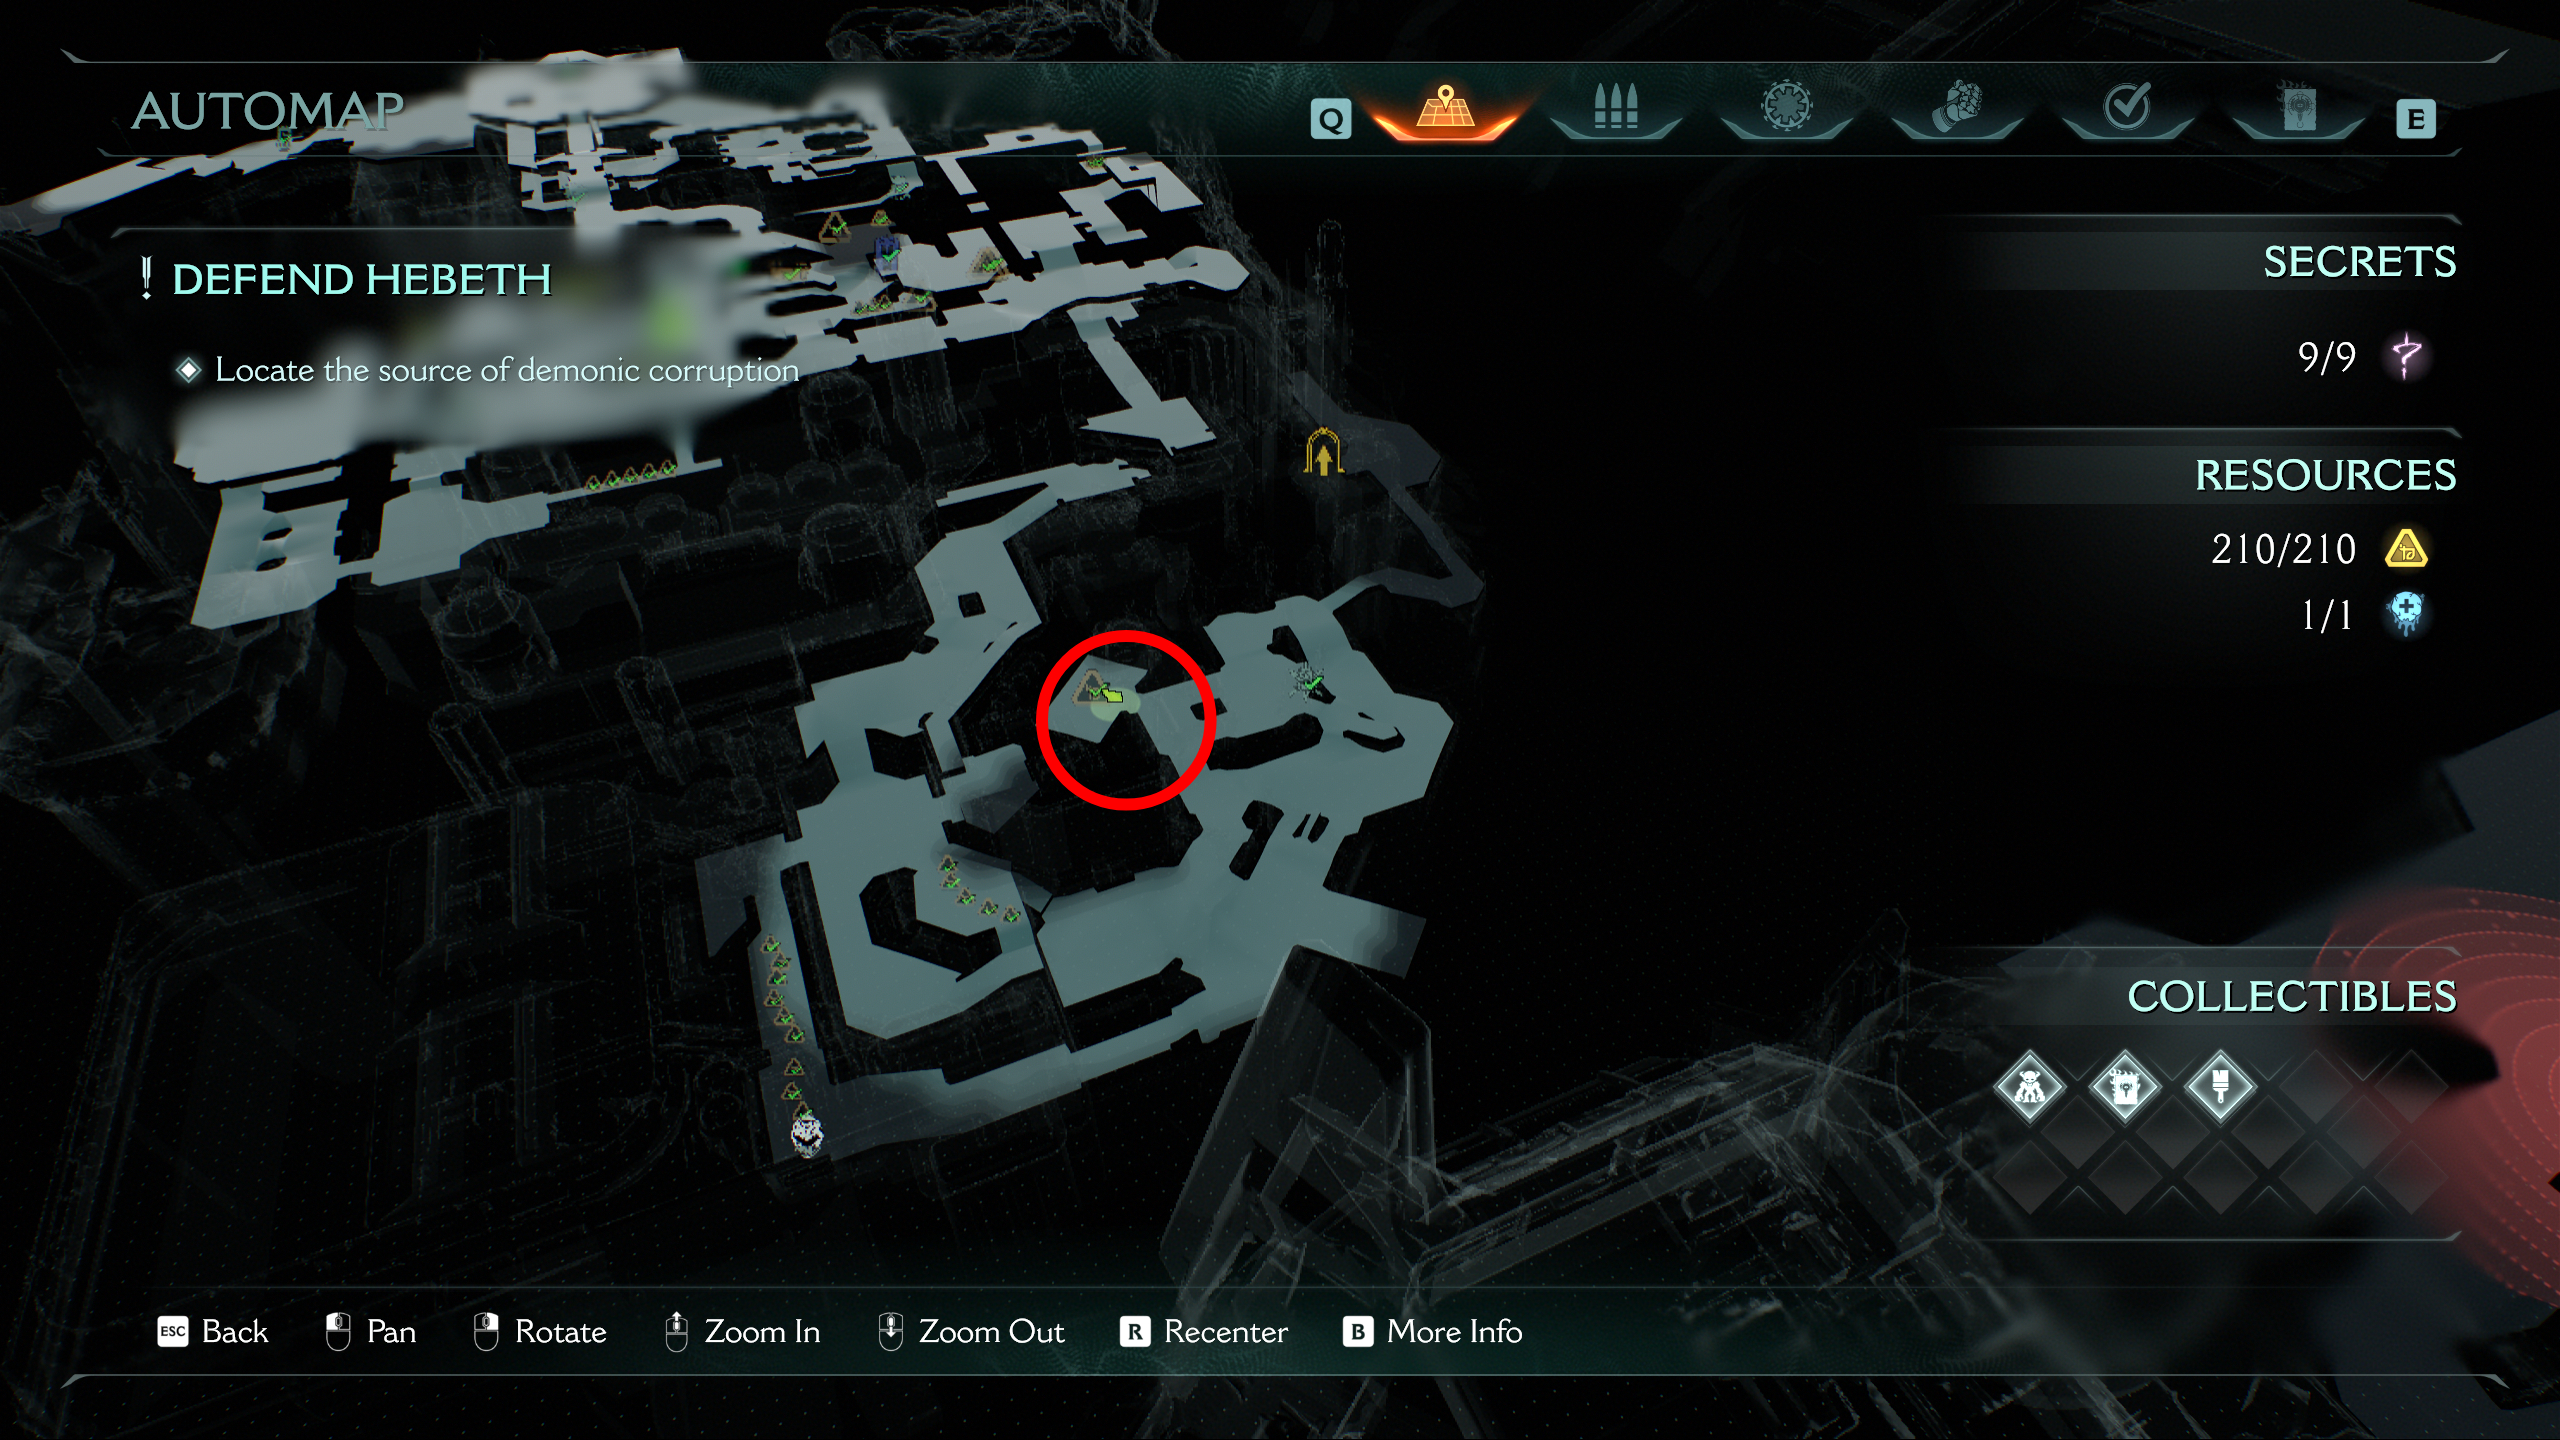
Shortly after leaving the second facility, you'll fight your way through some concrete arenas, one of which has a door blocked by fire near two titans brawling in the background. To turn off the fire and open the door:
- Walk past the door towards the titans fighting and climb up the wall on the central concrete island
- Throw your shield at the nearby barricade and jump into the room
- Activate the valve near the exit to turn off the fire
- Enter the secret area and kill the enemy that spawns
Once it's clear, you'll find the life sigil and a handful of gold for your trouble.
8 - Gold bars
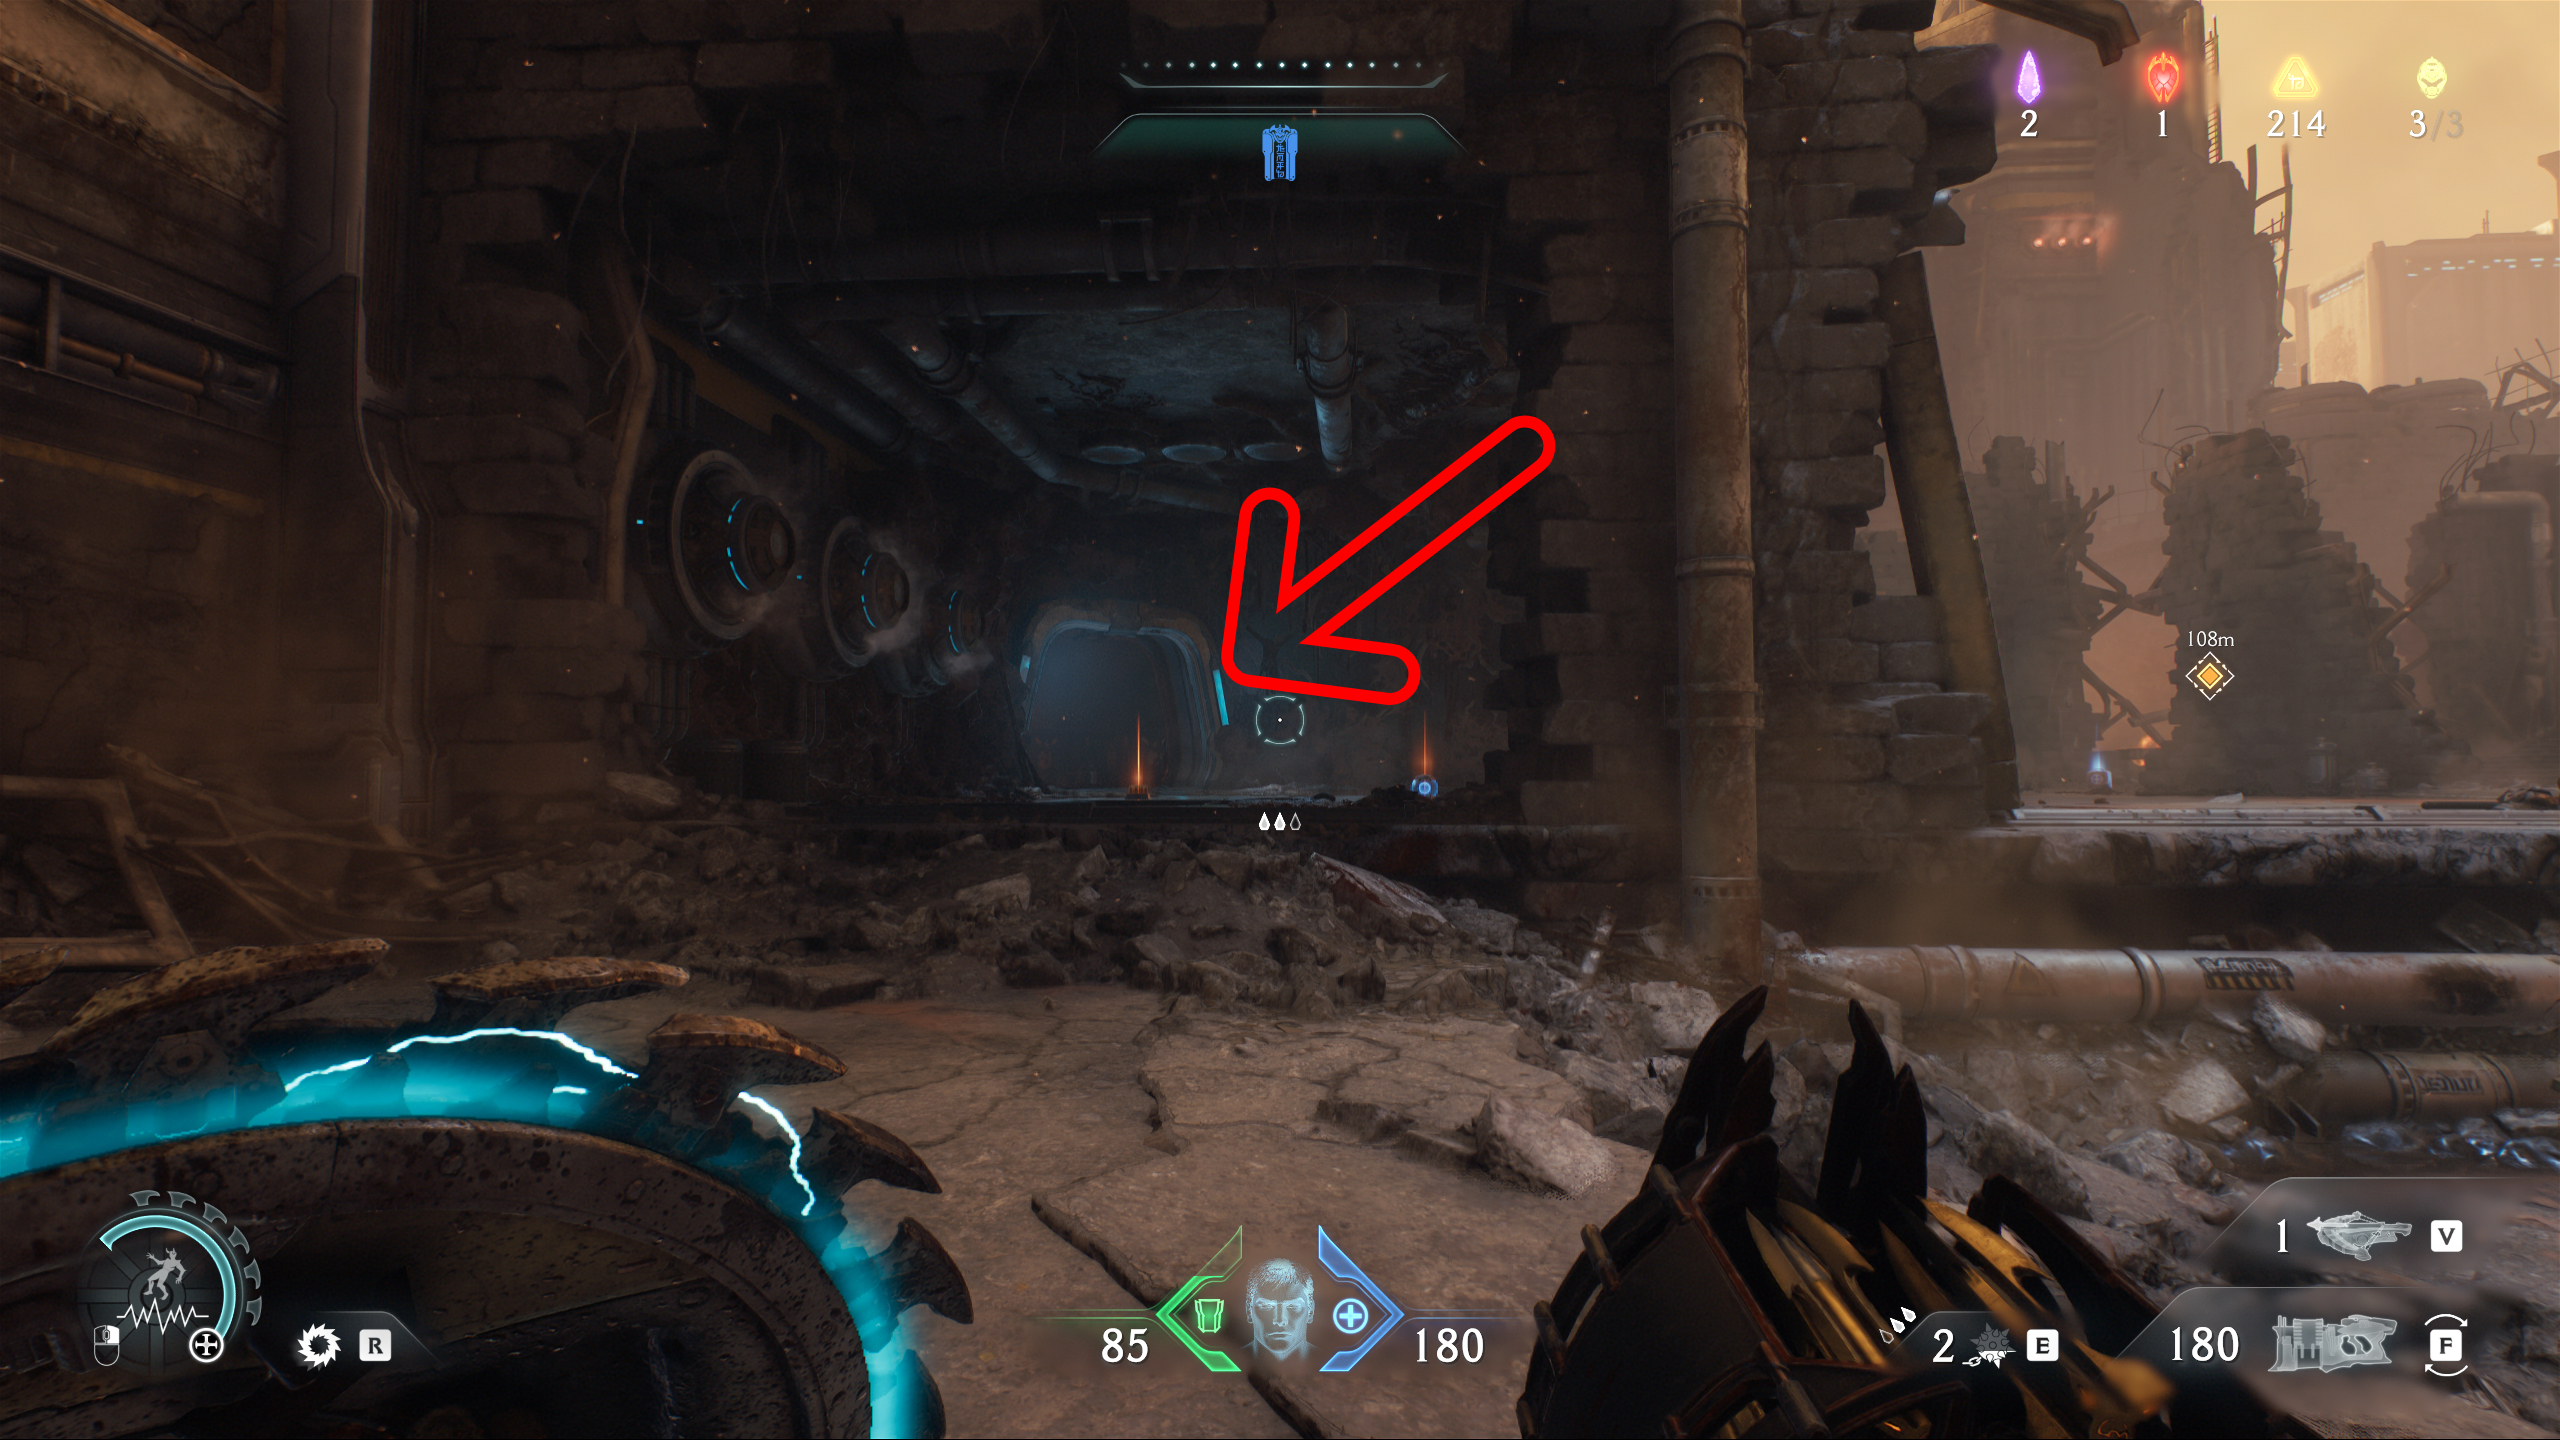
Right after opening the fire-blocked door, continue into the next combat encounter. It's not much of a secret, but you'll find a large stack of gold in a room to your left; no extra legwork required.
9 - Gold chest
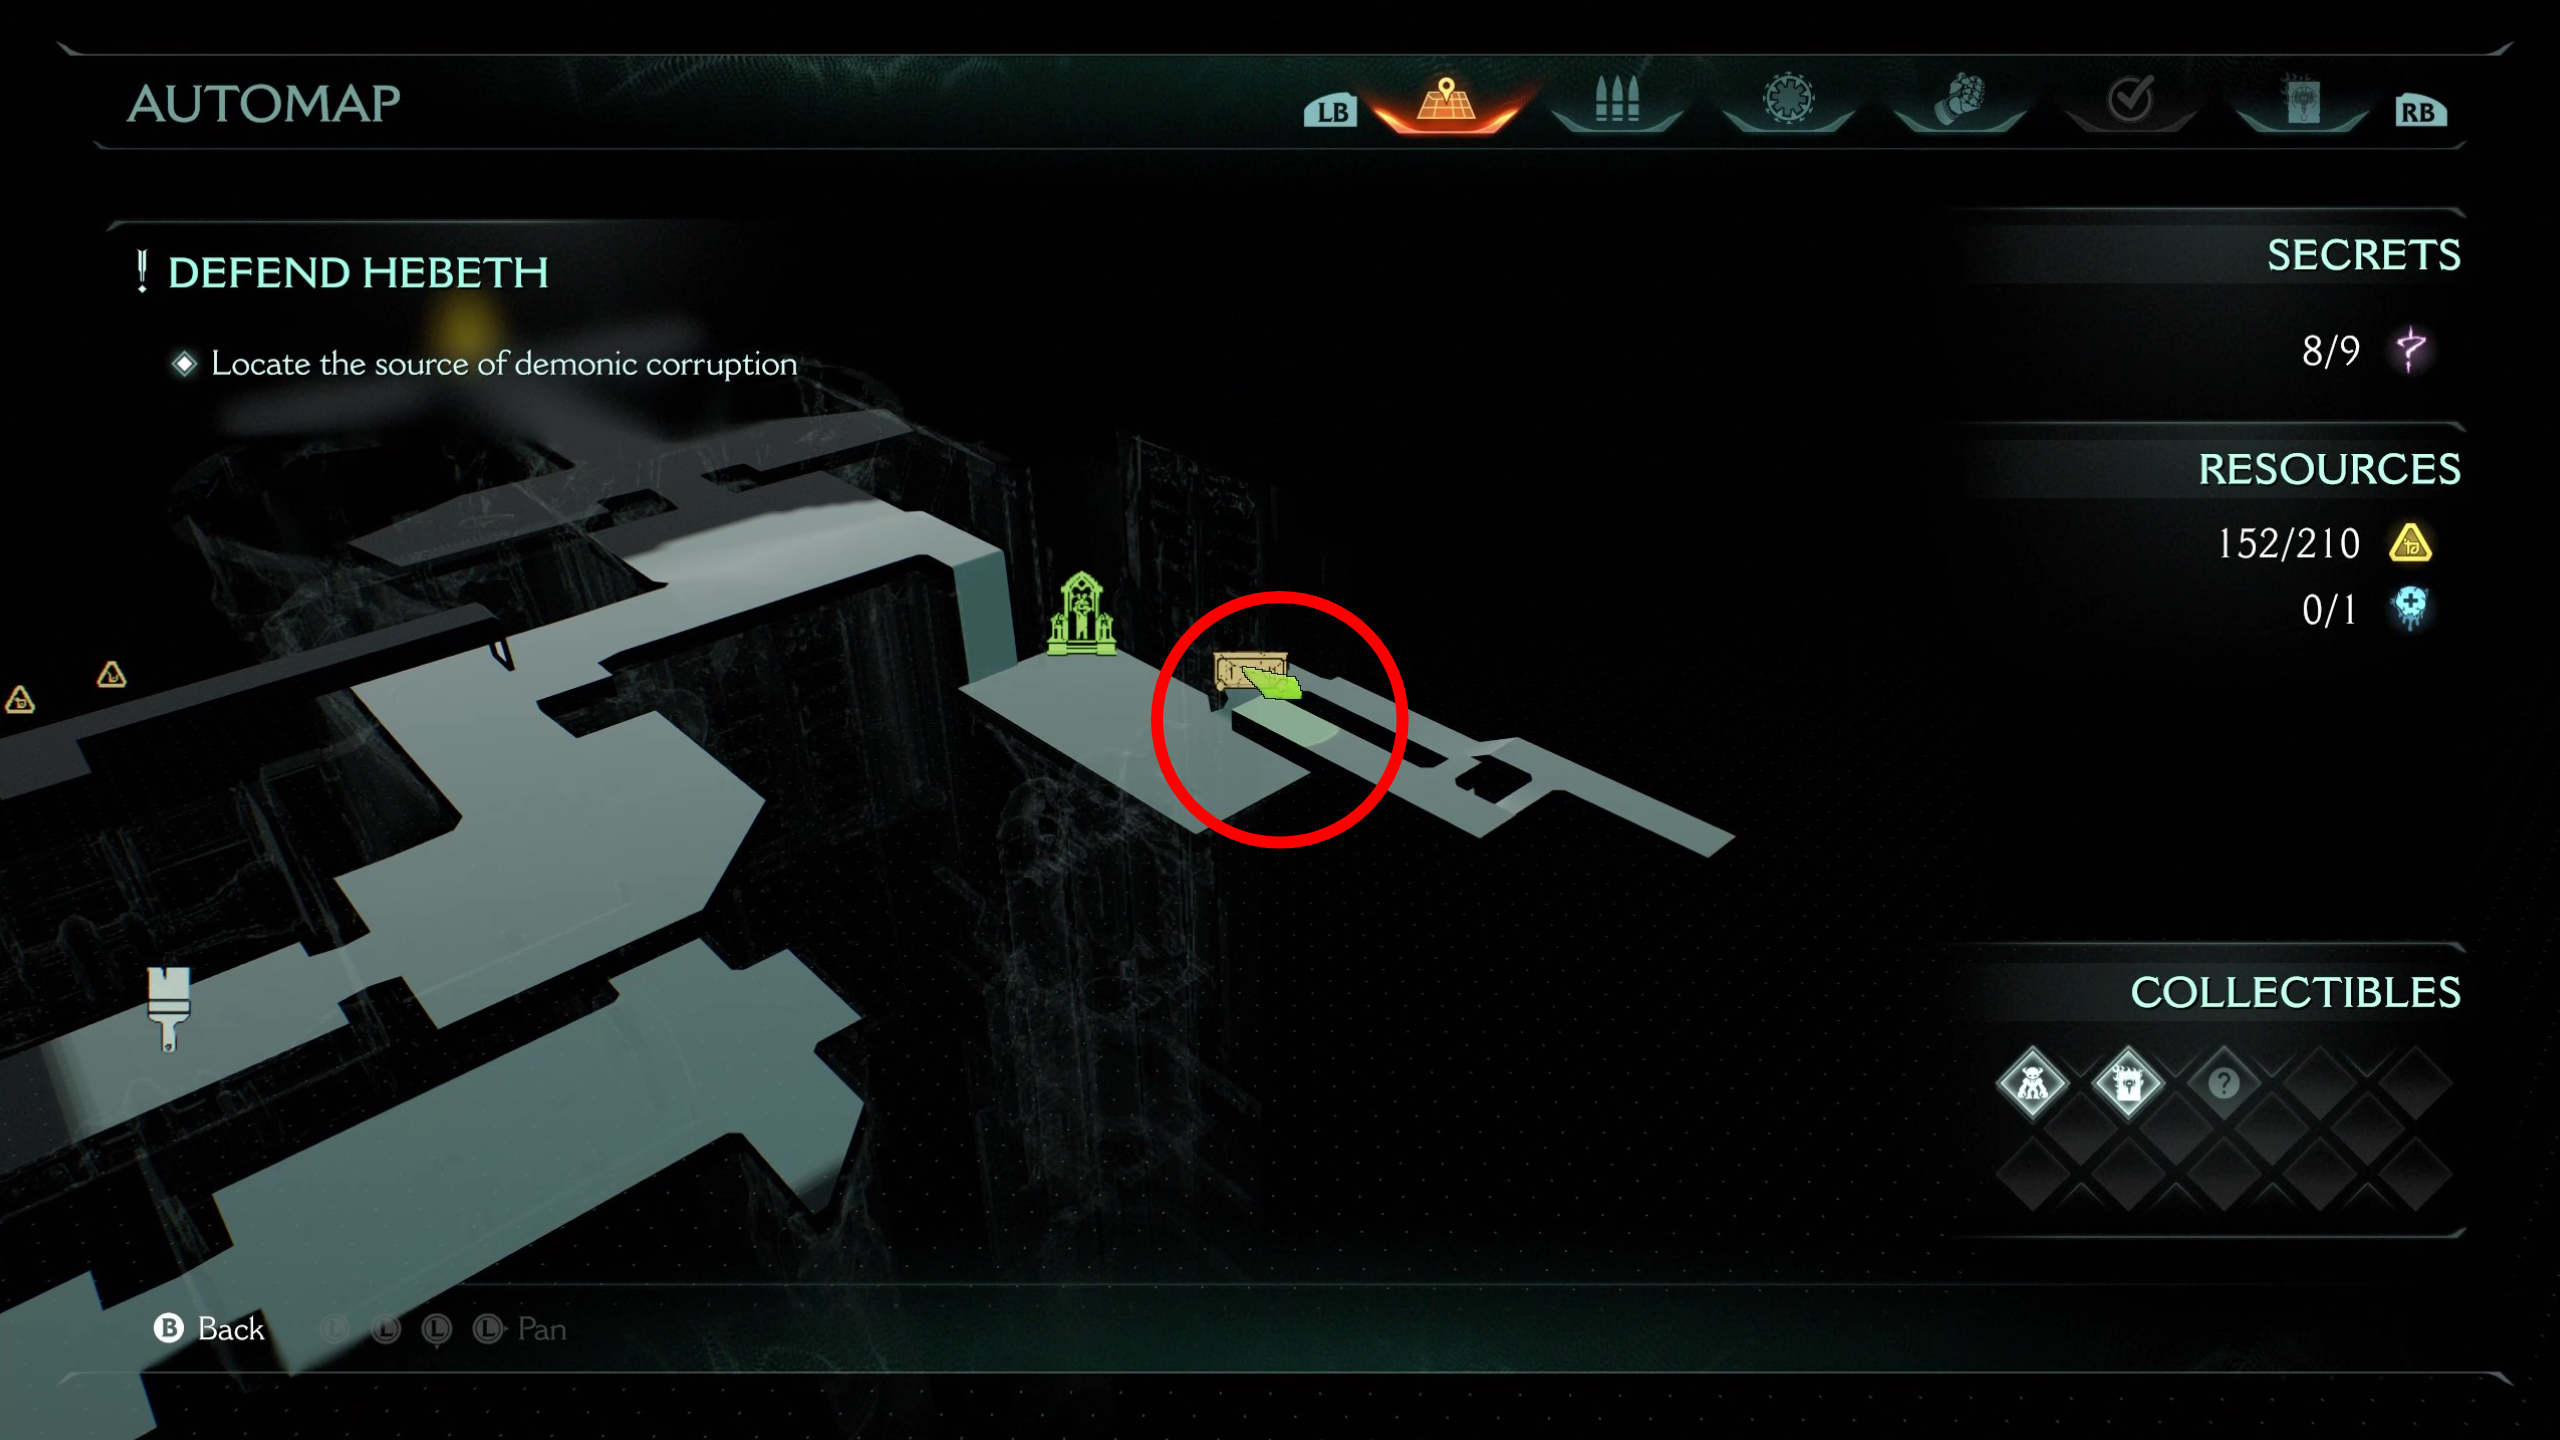
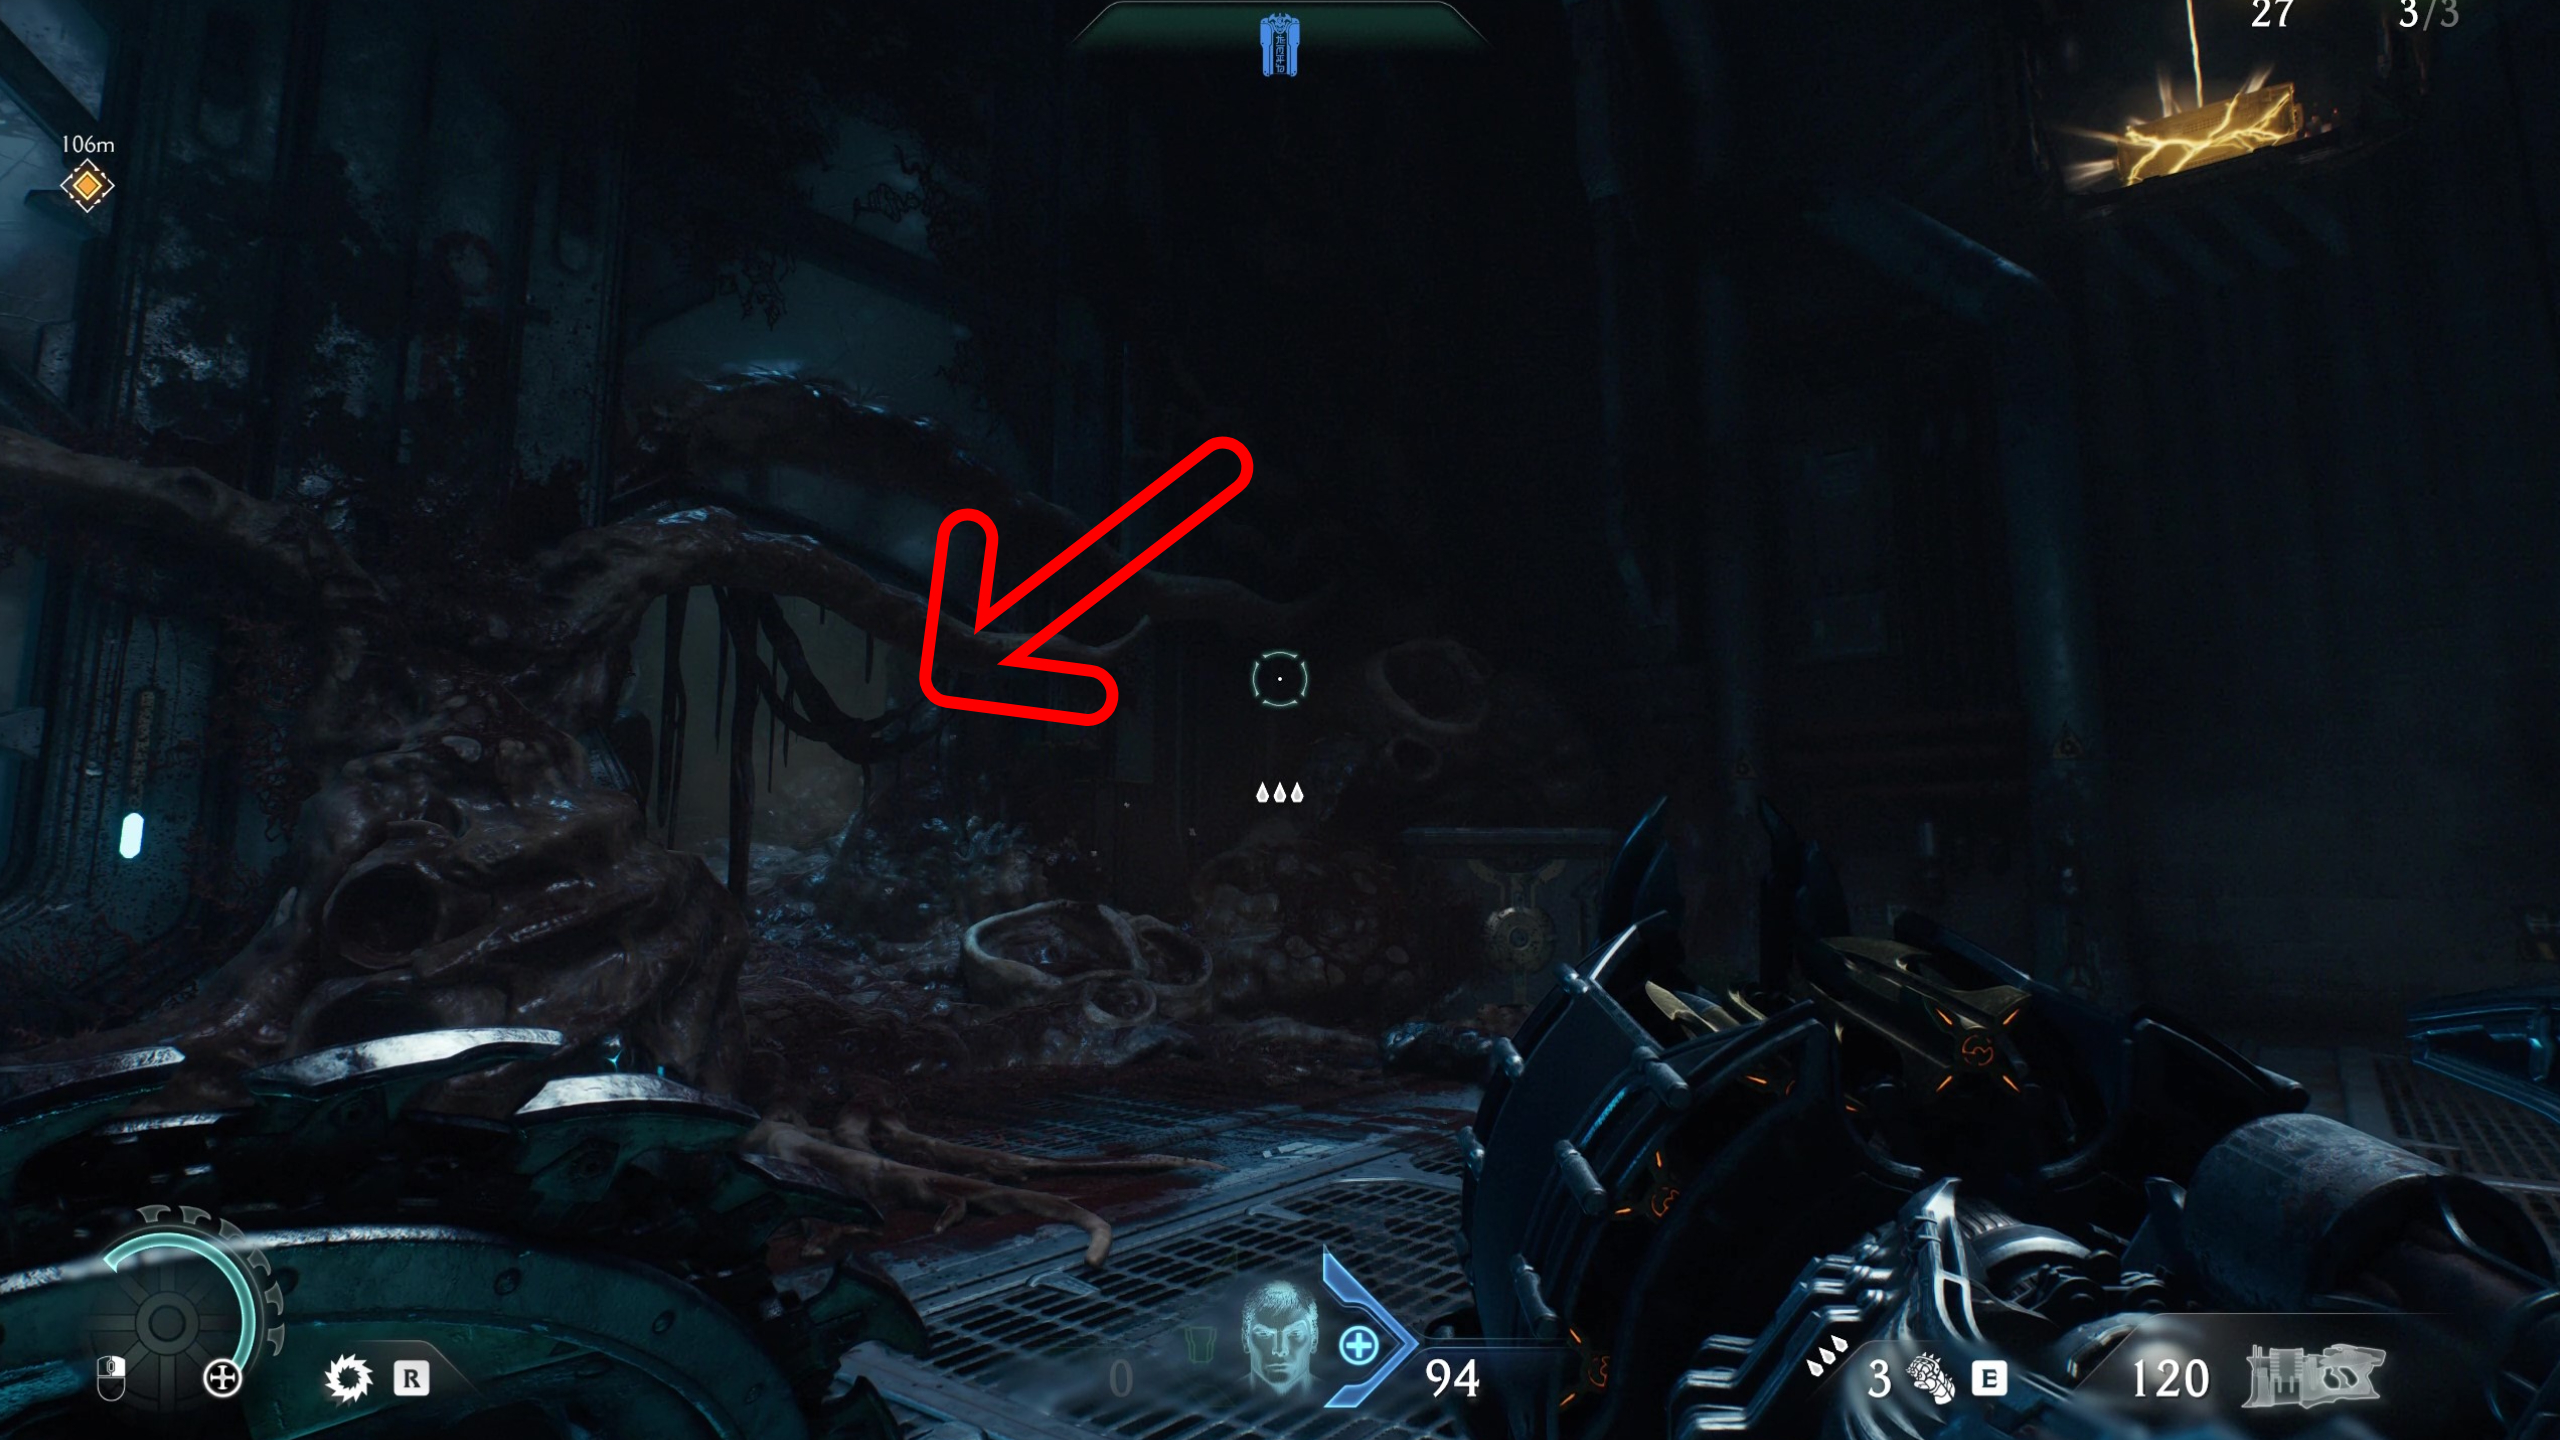
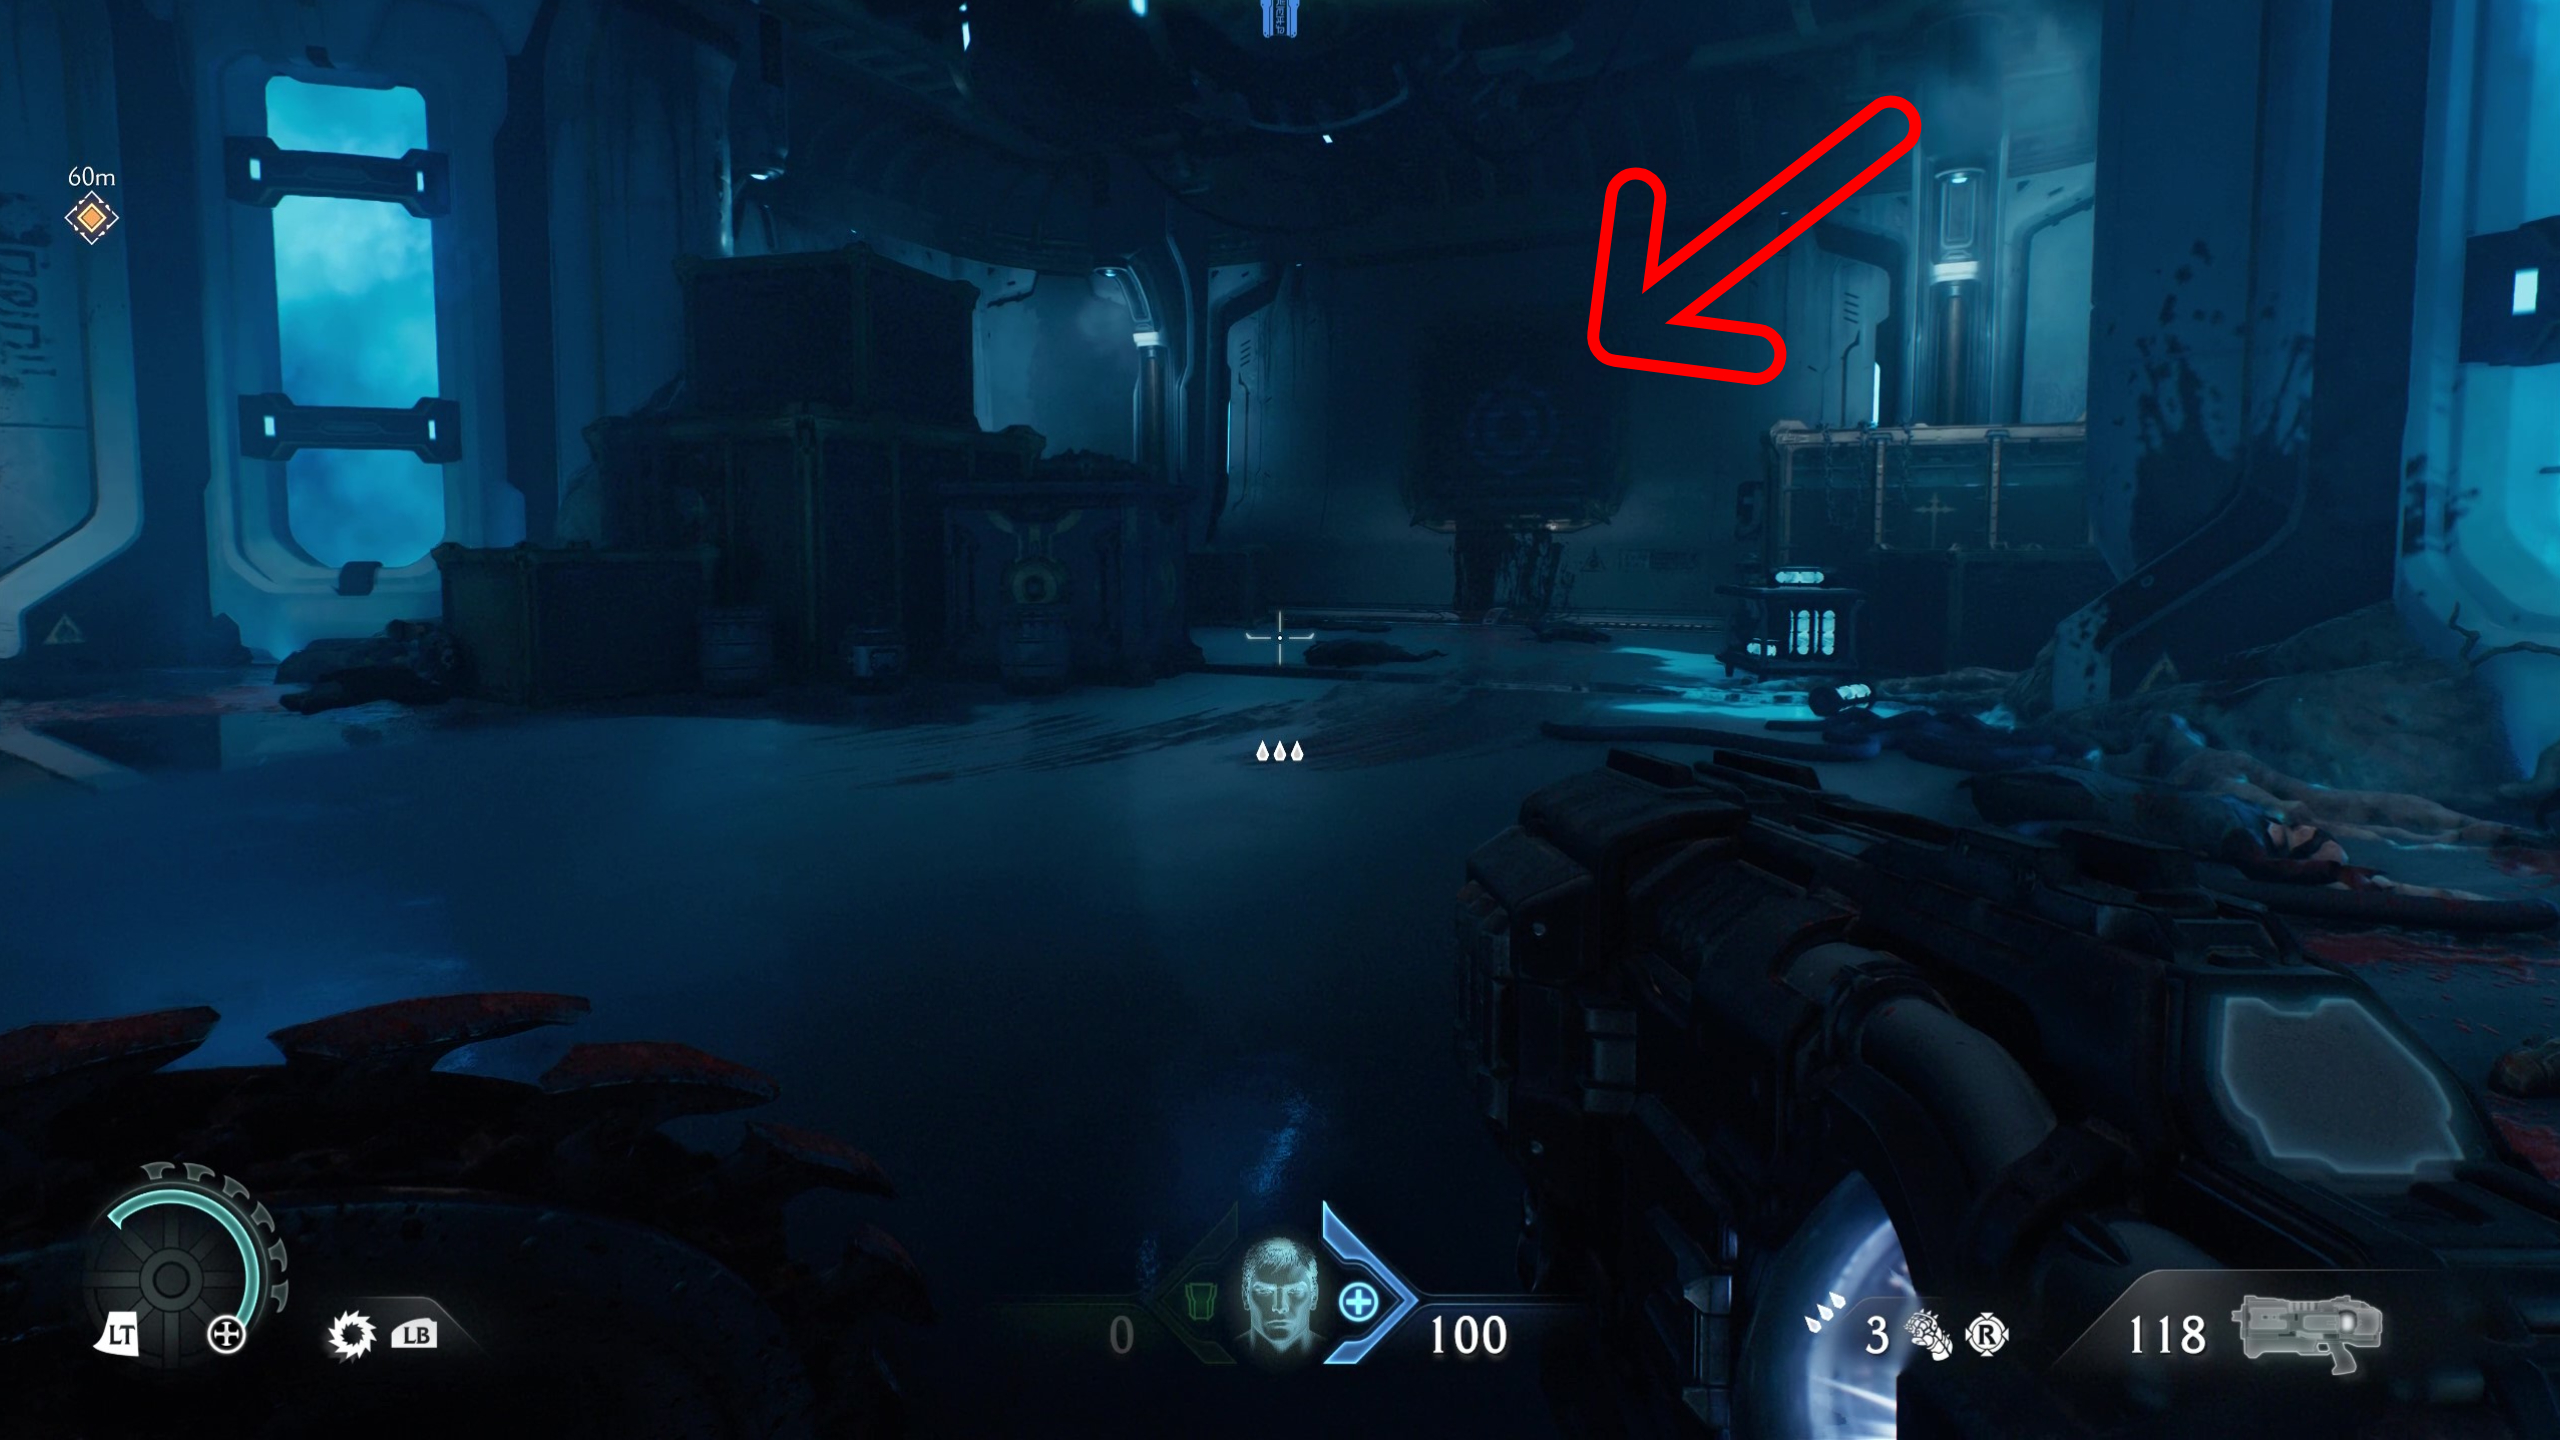
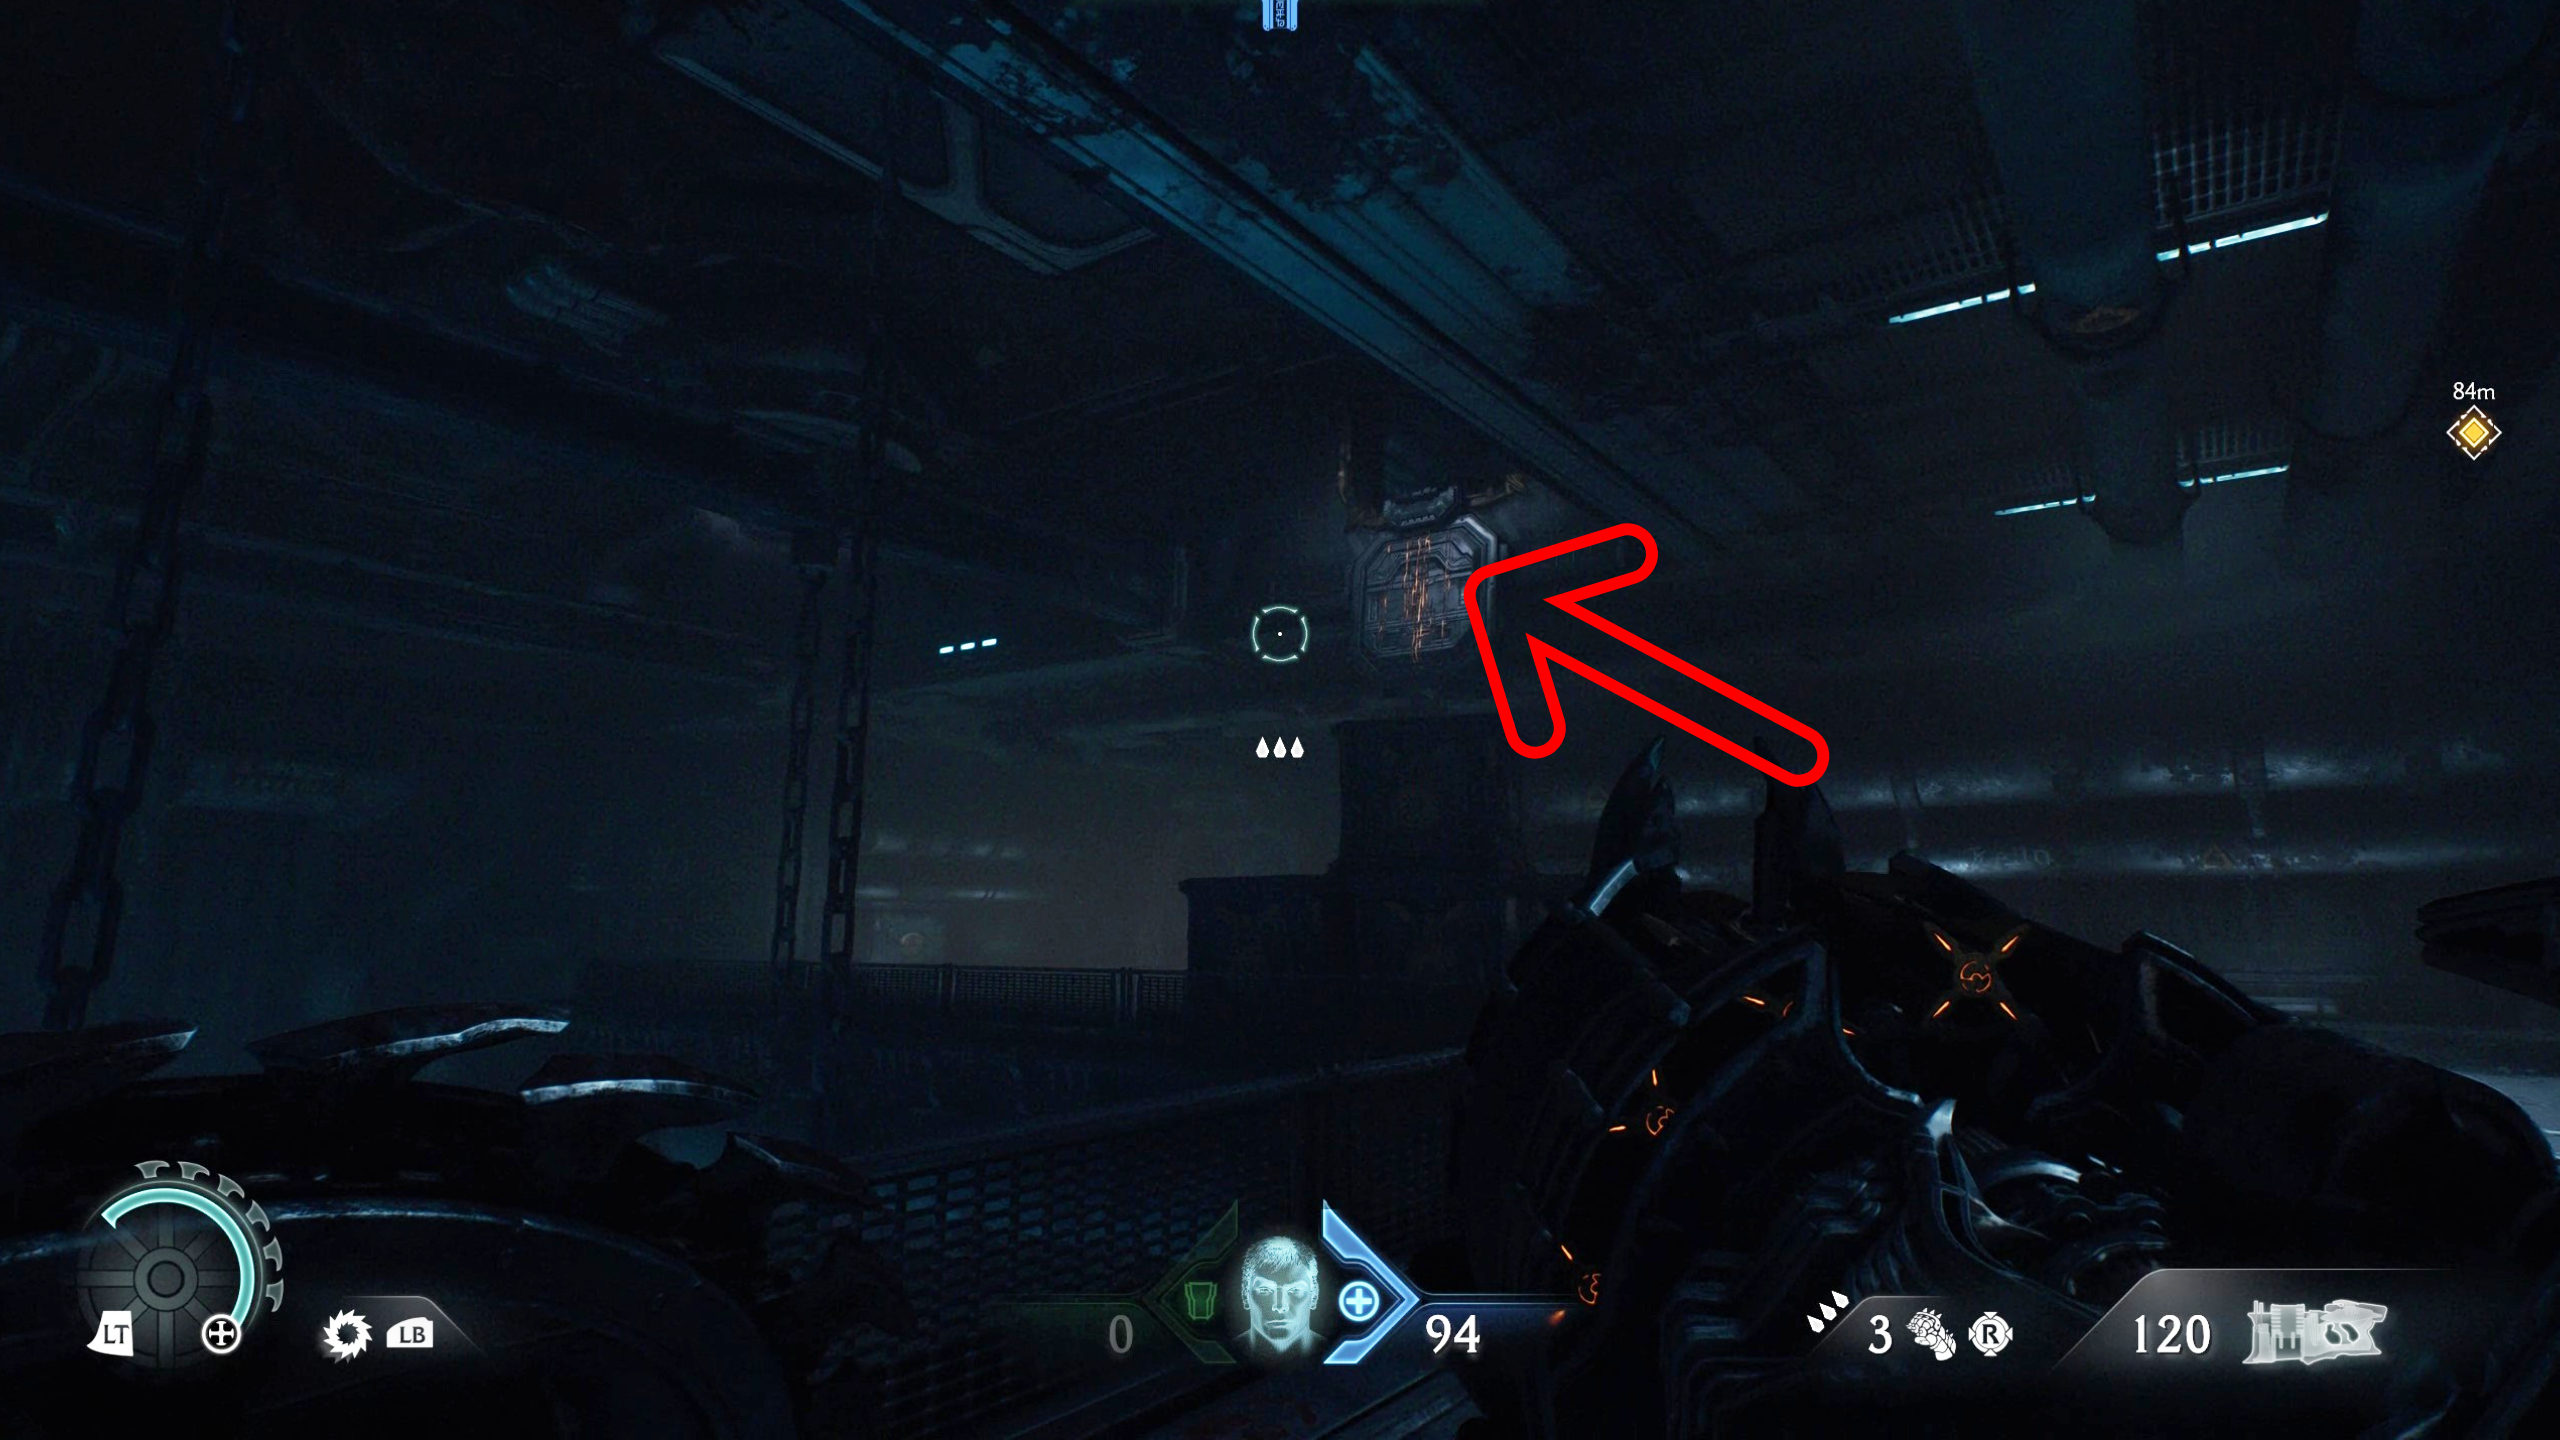
When you reach the second Sentinel Shrine, you'll likely notice the gold chest glimmering on the ledge above you. It took me longer to reach than I care to admit, but all you need to do is walk up the fleshy tunnel directly right of the Shrine. Given it's dark, it's surprisingly easy to miss this tunnel right in front of you.
10 - Nightmare Shredder weapon skin (collectible)
The final secret and collectible in this mission is the Nightmare weapon skin for the Shredder. From the second Sentinel Shrine, head up the stairs and turn left, where you'll see a pile of boxes stacked under a vent. Climb into the vent and drop down on the other side to find the skin. Be warned, though: a bunch of enemies will spawn.
Doom The Dark Ages missions list: All chapters
Best Doom The Dark Ages weapons: Superior firepower
Best Doom The Dark Ages Sentinel Shrine upgrades: Gear up
Doom The Dark Ages Twitch Drops: Free skin
Read moreRead less▼

Rory has made the fatal error of playing way too many live service games at once, and somehow still finding time for everything in between. Sure, he’s an expert at Destiny 2, Call of Duty, and more, but at what cost? He’s even sunk 1,000 hours into The Elder Scrolls Online over the years. At least he put all those hours spent grinding challenges to good use over the years as a freelancer and guides editor. In his spare time, he’s also an avid video creator, often breaking down the environmental design of his favourite games. If you can’t track him down, he’s probably lost in a cave with a bunch of dwarves shouting “rock and stone” to no end.
You must confirm your public display name before commenting
Please logout and then login again, you will then be prompted to enter your display name.
