Finding some of the hidden items and locations in Doom: The Dark Ages is already hard enough, but the chapter 8 Abyssal Forest secrets take the cake. Set in a dark and foggy wood, it's not easy to pick out the finer details.
Below you'll find all the Doom: The Dark Ages secrets and collectibles in Abyssal Forest, sorted into chronological order, so you know what to do from start to finish.
Doom: The Dark Ages Abyssal Forest secrets and collectibles
There are 11 secrets and two collectibles in the Abyssal Forest, giving you quite a bit to search for. While the secrets start appearing almost immediately, most of them are actually squeezed into the same location about halfway into the mission.
Article continues below1 - Life sigil

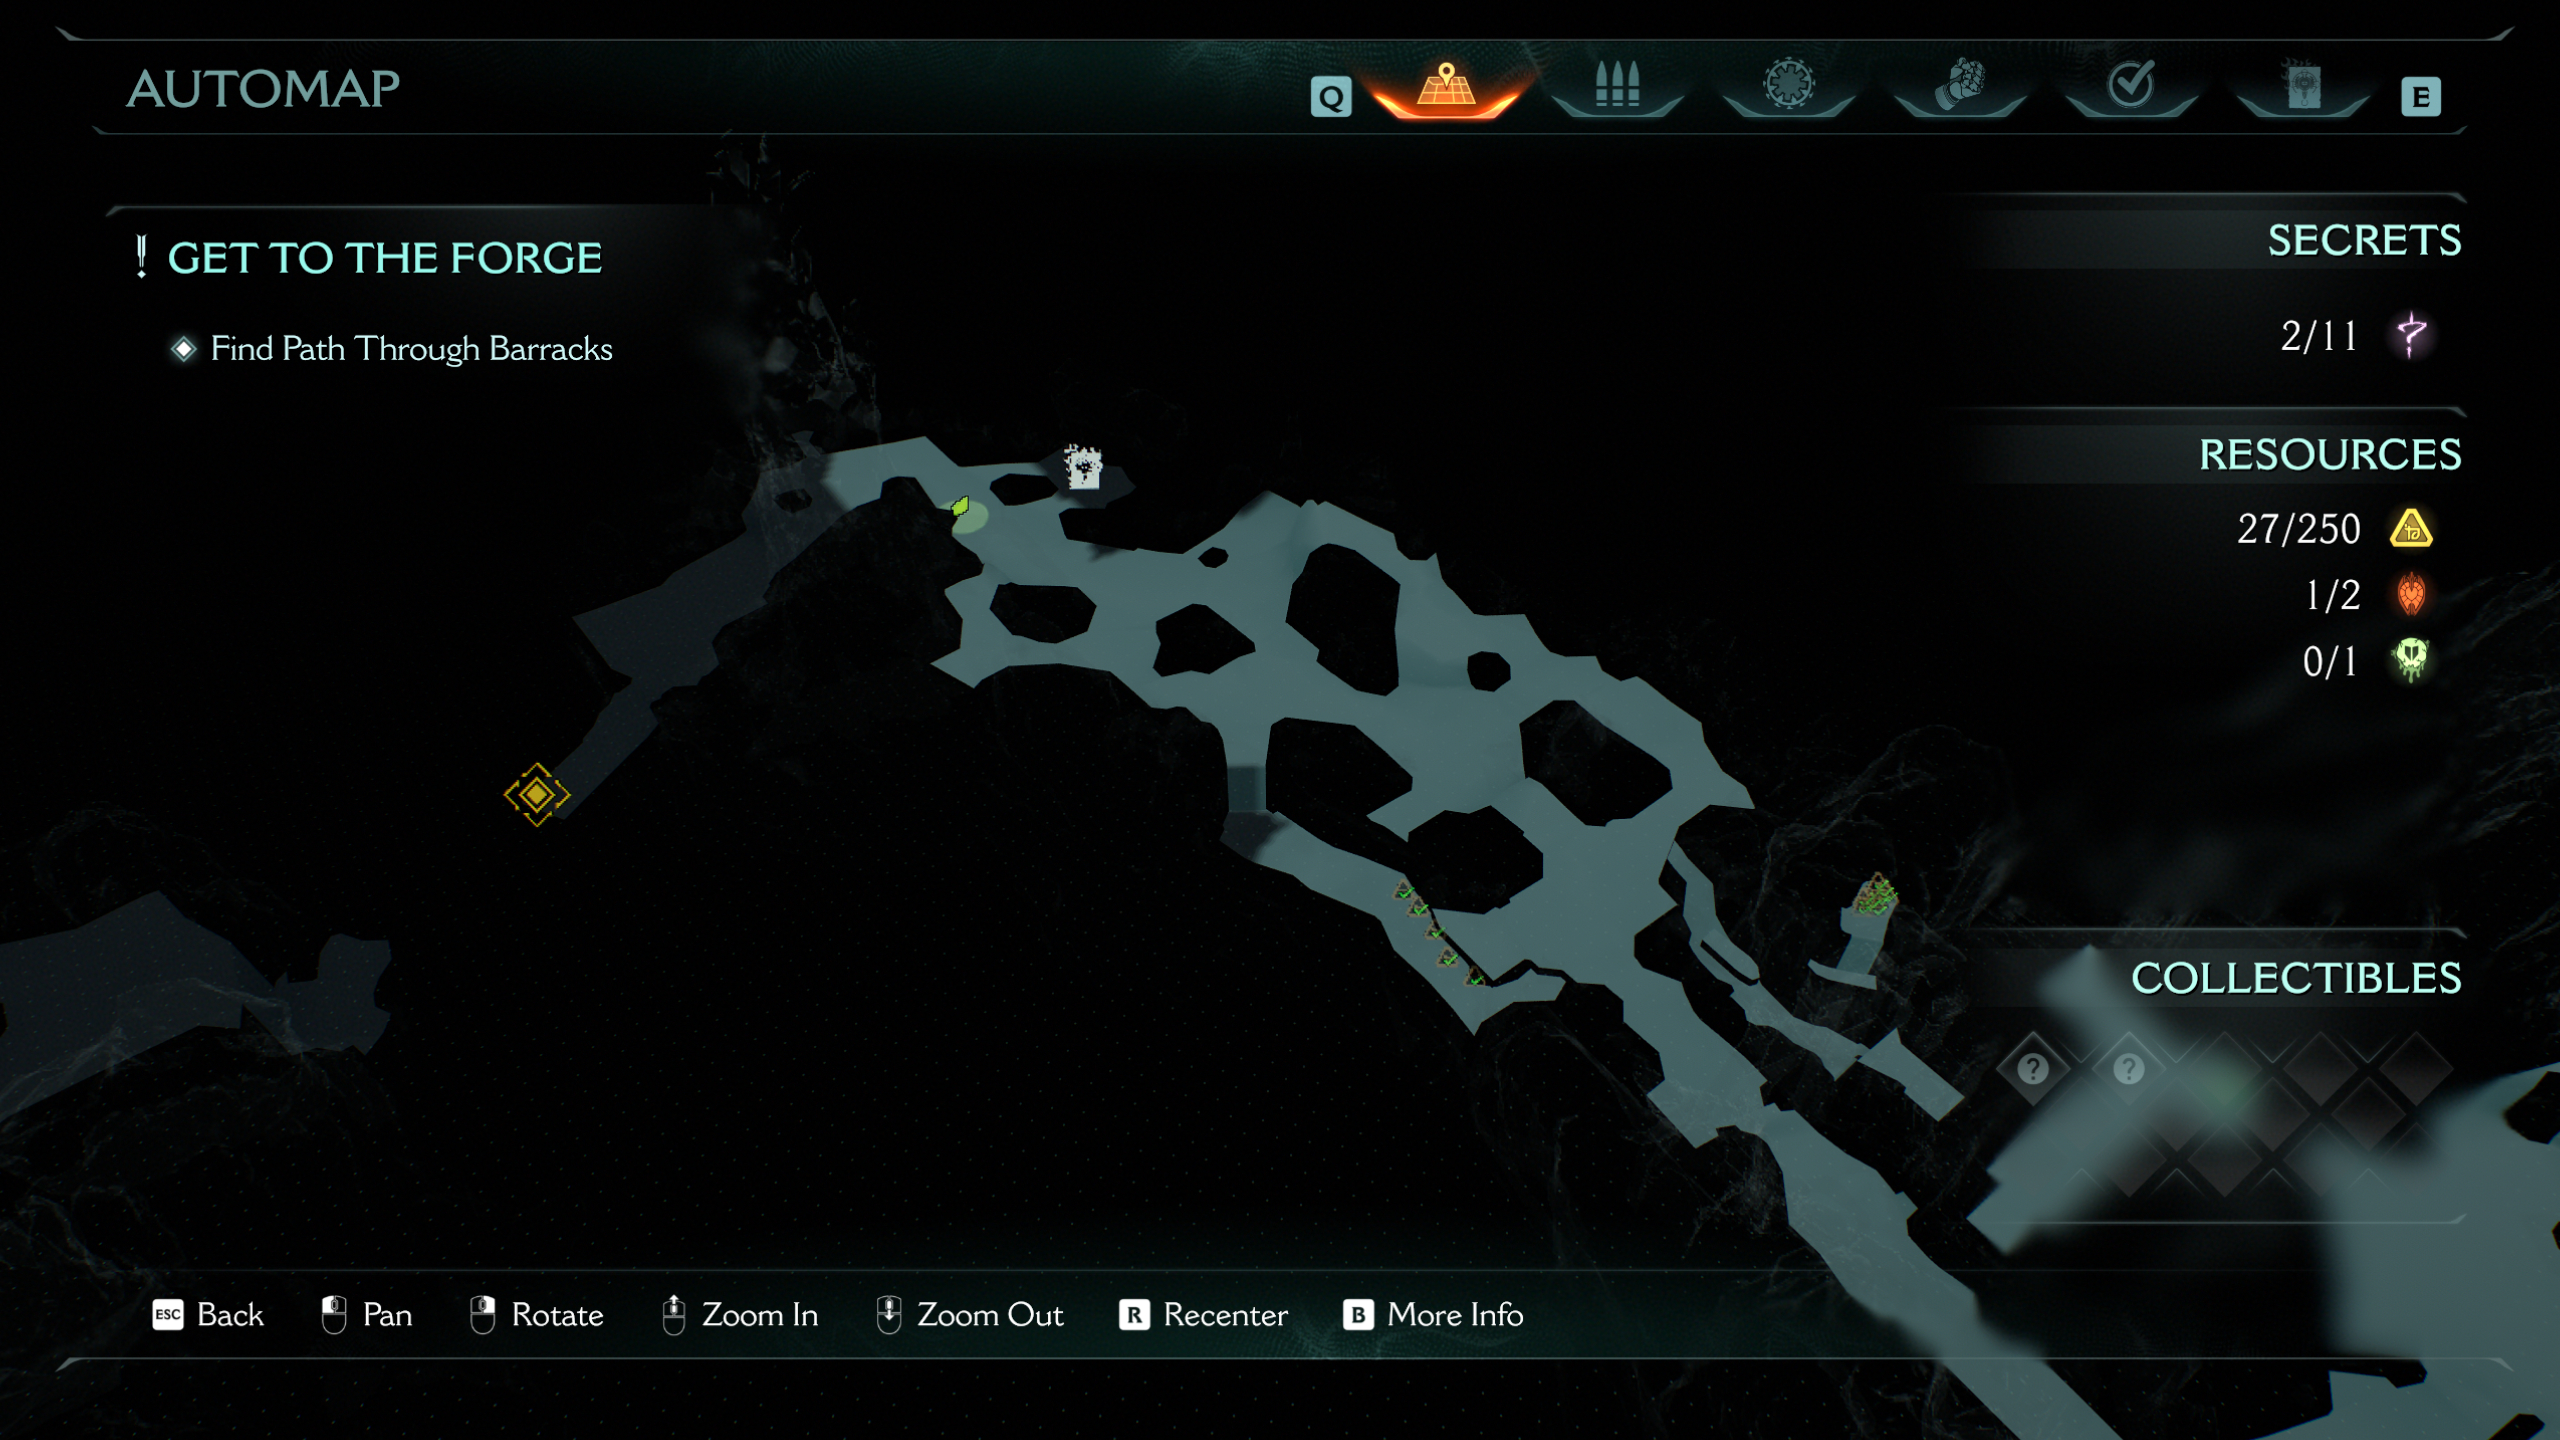
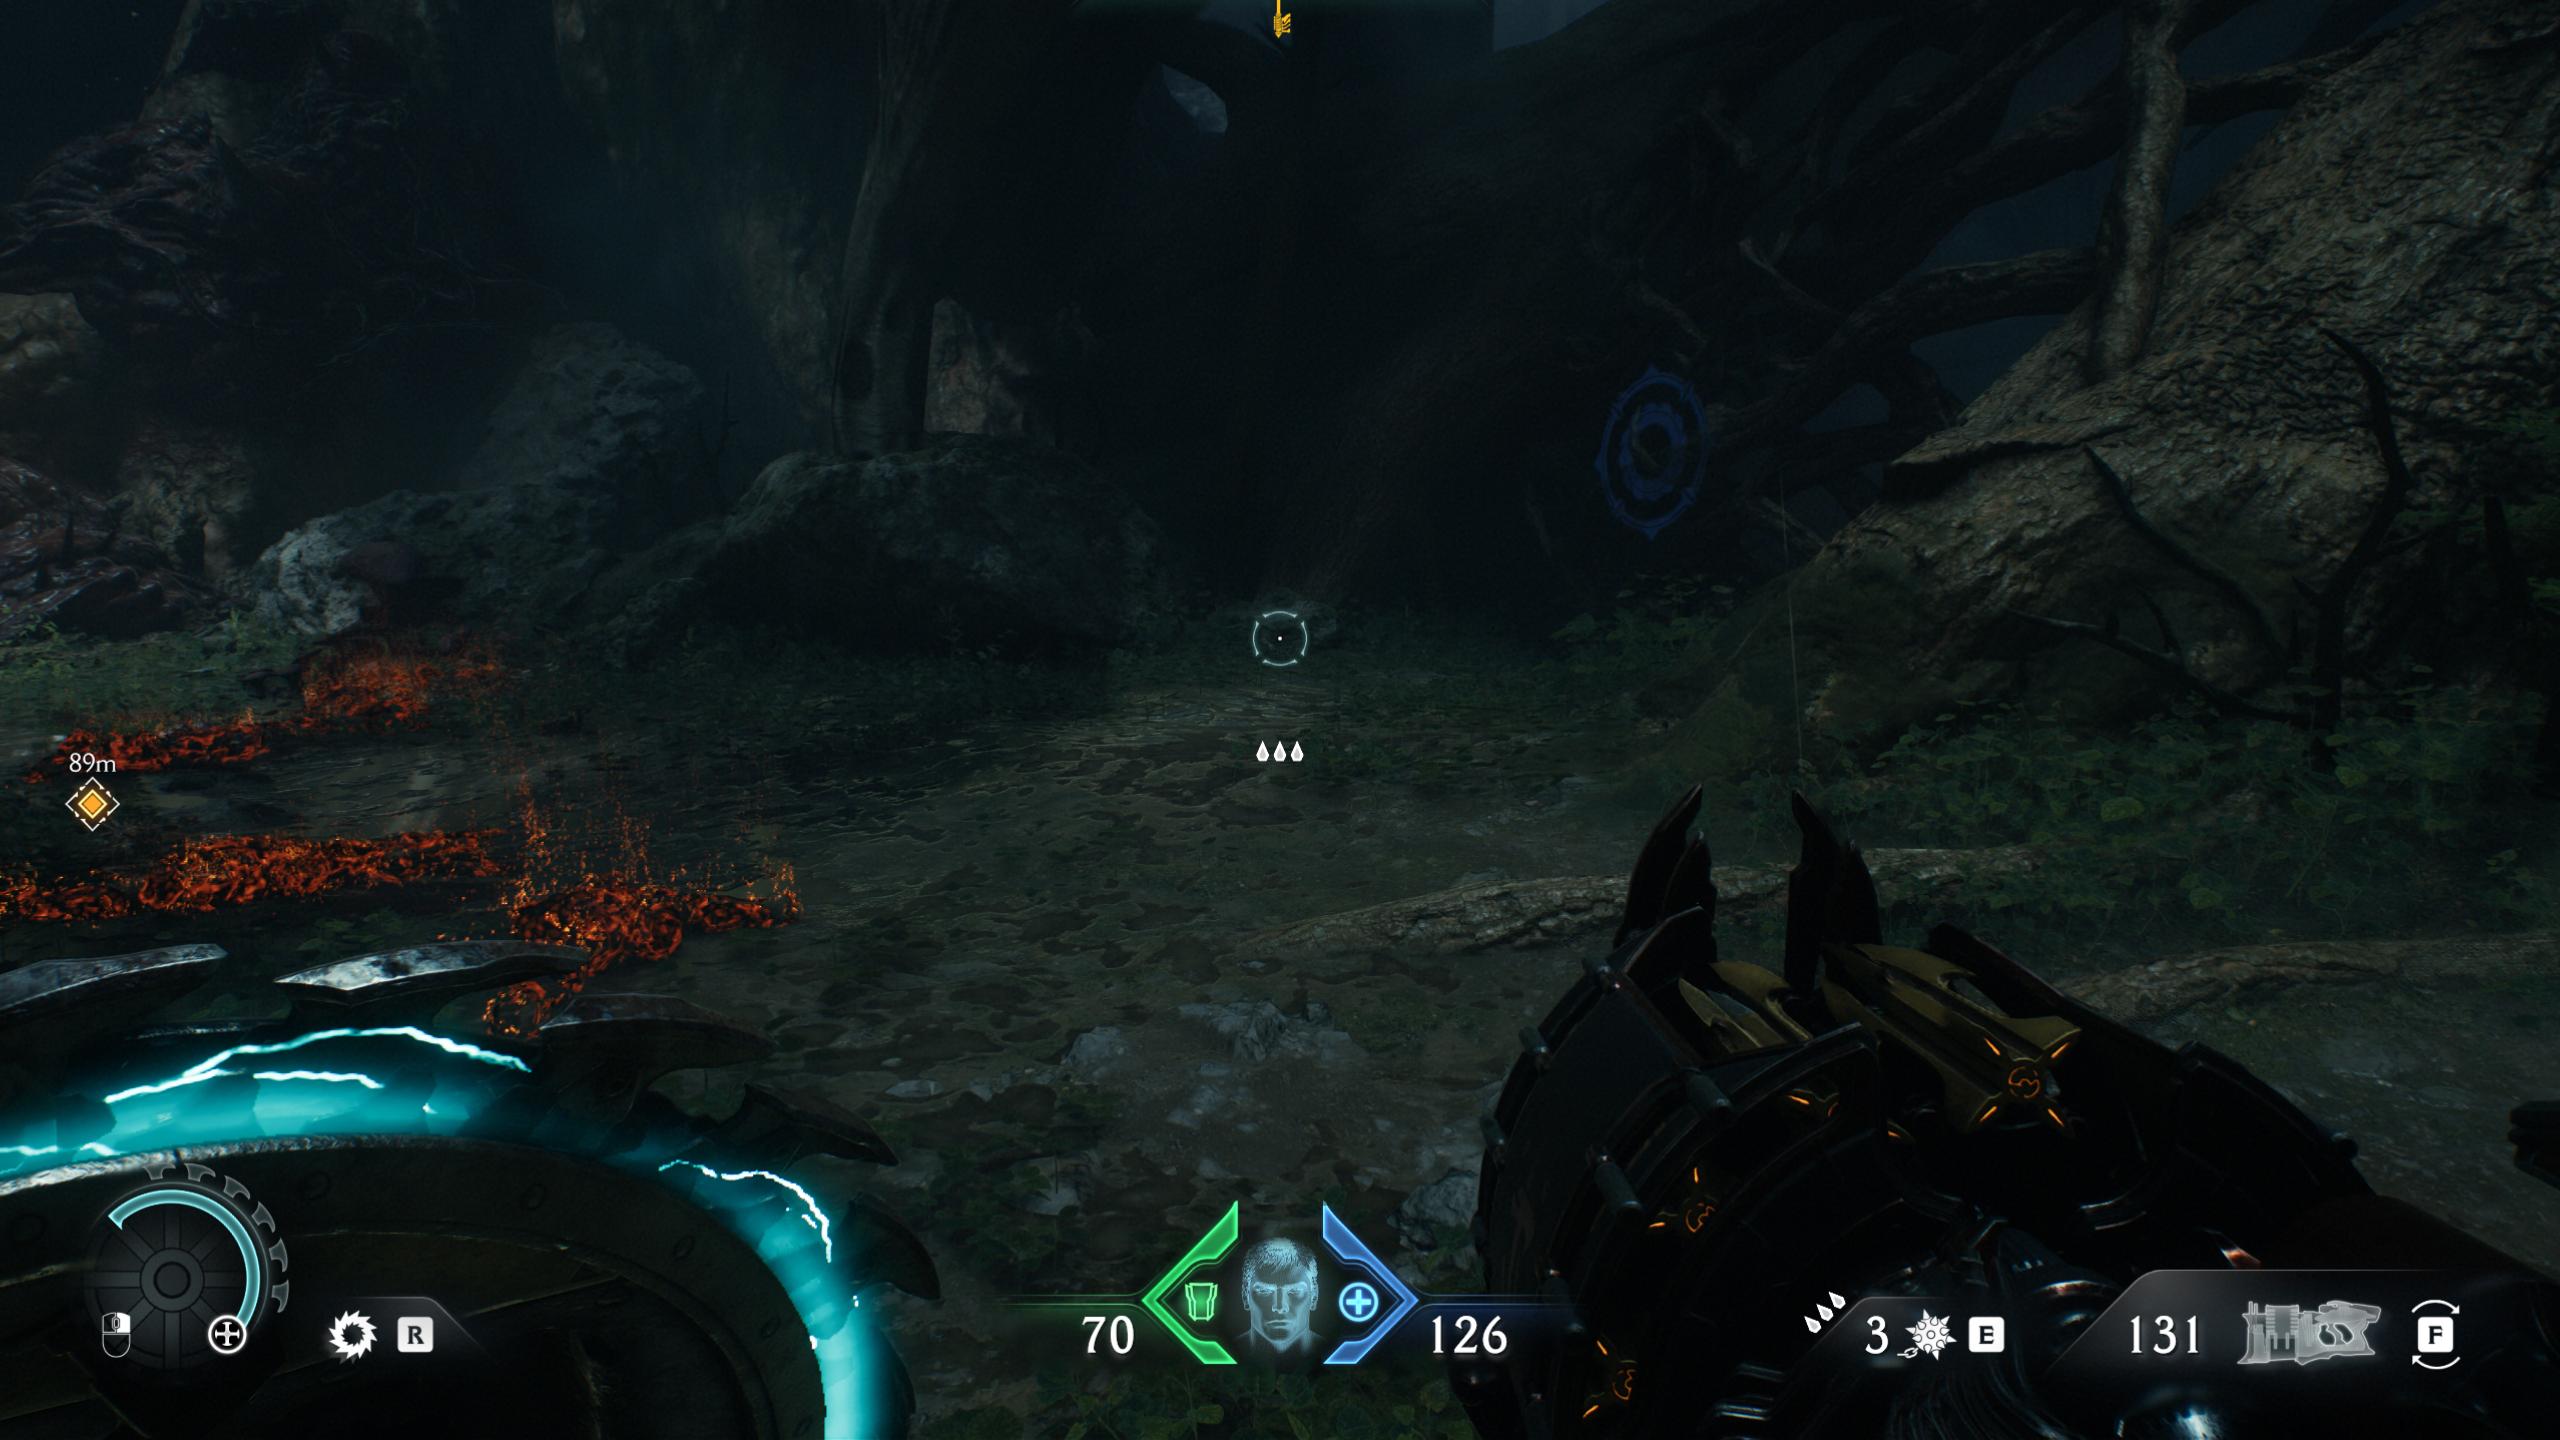
The first secret comes early on in the mission, after breaking the wooden barricade. Turn right and head up the hill before jumping across the broken bridge. On the other side, you'll find the life sigil overlooking the next main area.
2 - Ruby and gold
You'll encounter the second secret once you've used the yellow key to enter the next main area. If you're not sure where the key is, it's accessed by a path at the back left of the first combat encounter.
After using the key, continue to the next area and kill all the enemies. To find the secret, you'll want to walk over to the left ledge and drop off onto a hidden lower level. Head into the cave and swim to the other side to use the jump pad, which will launch you up to the small tower with the ruby.
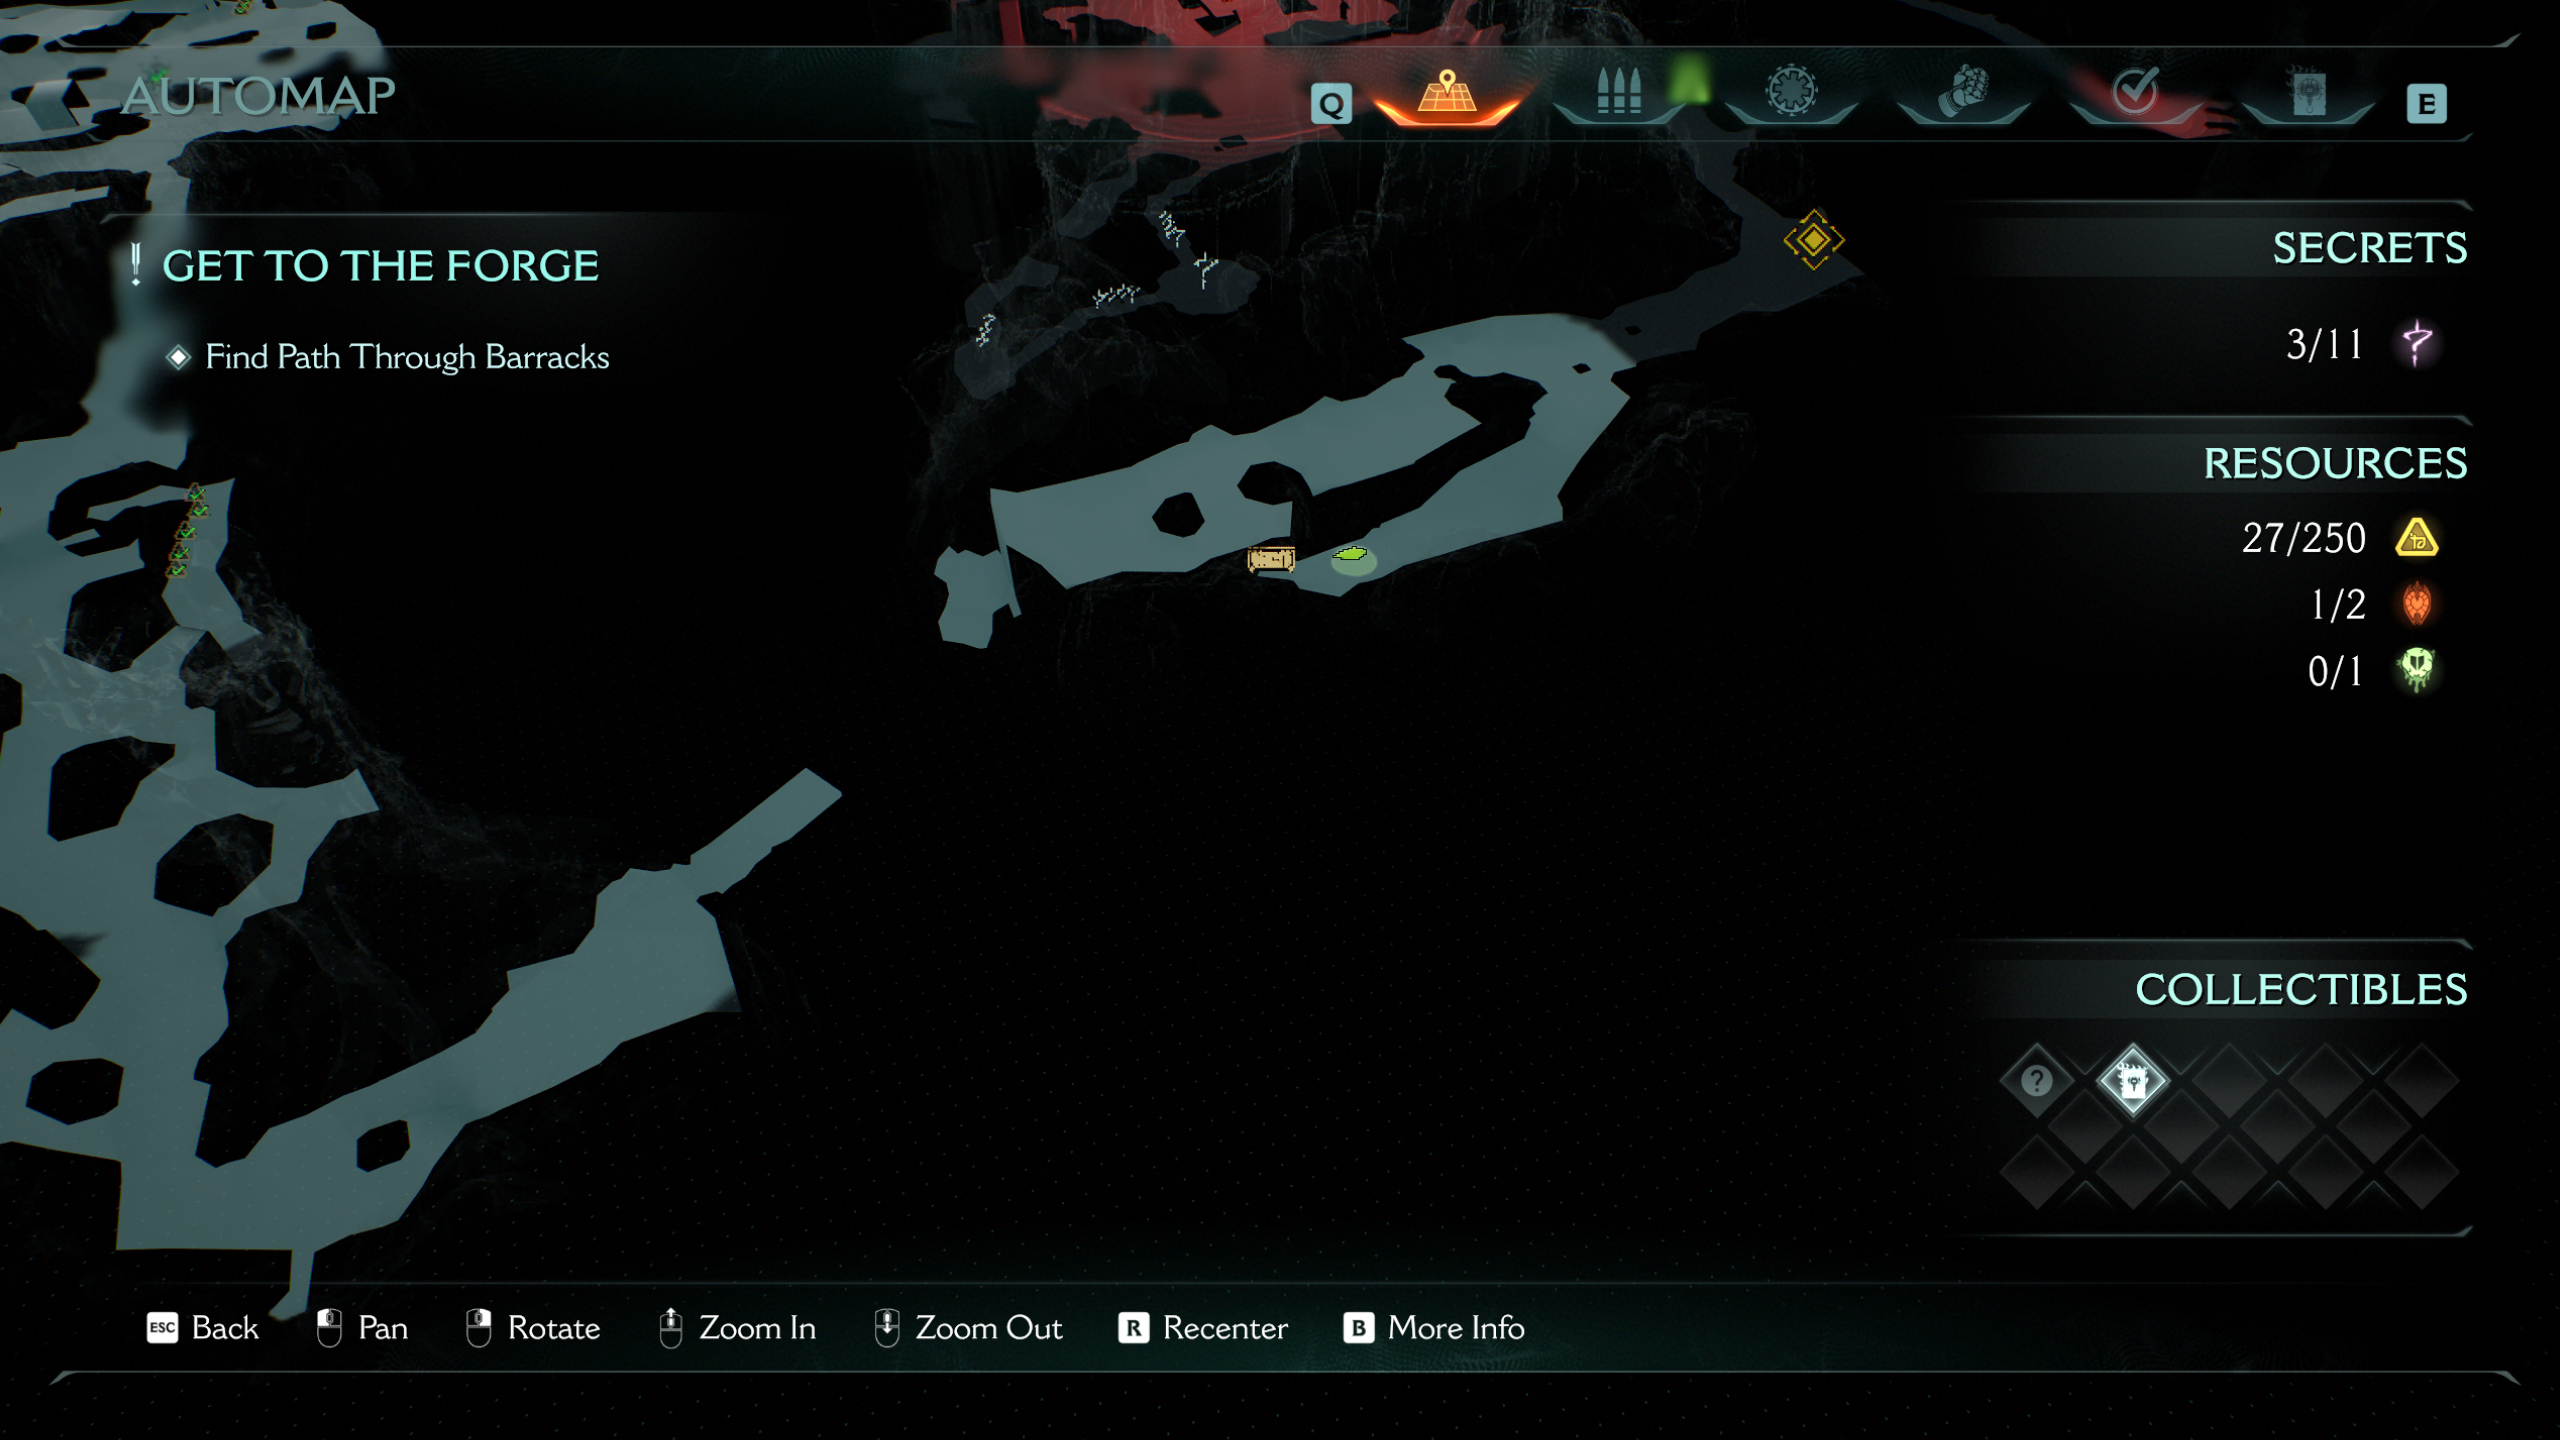
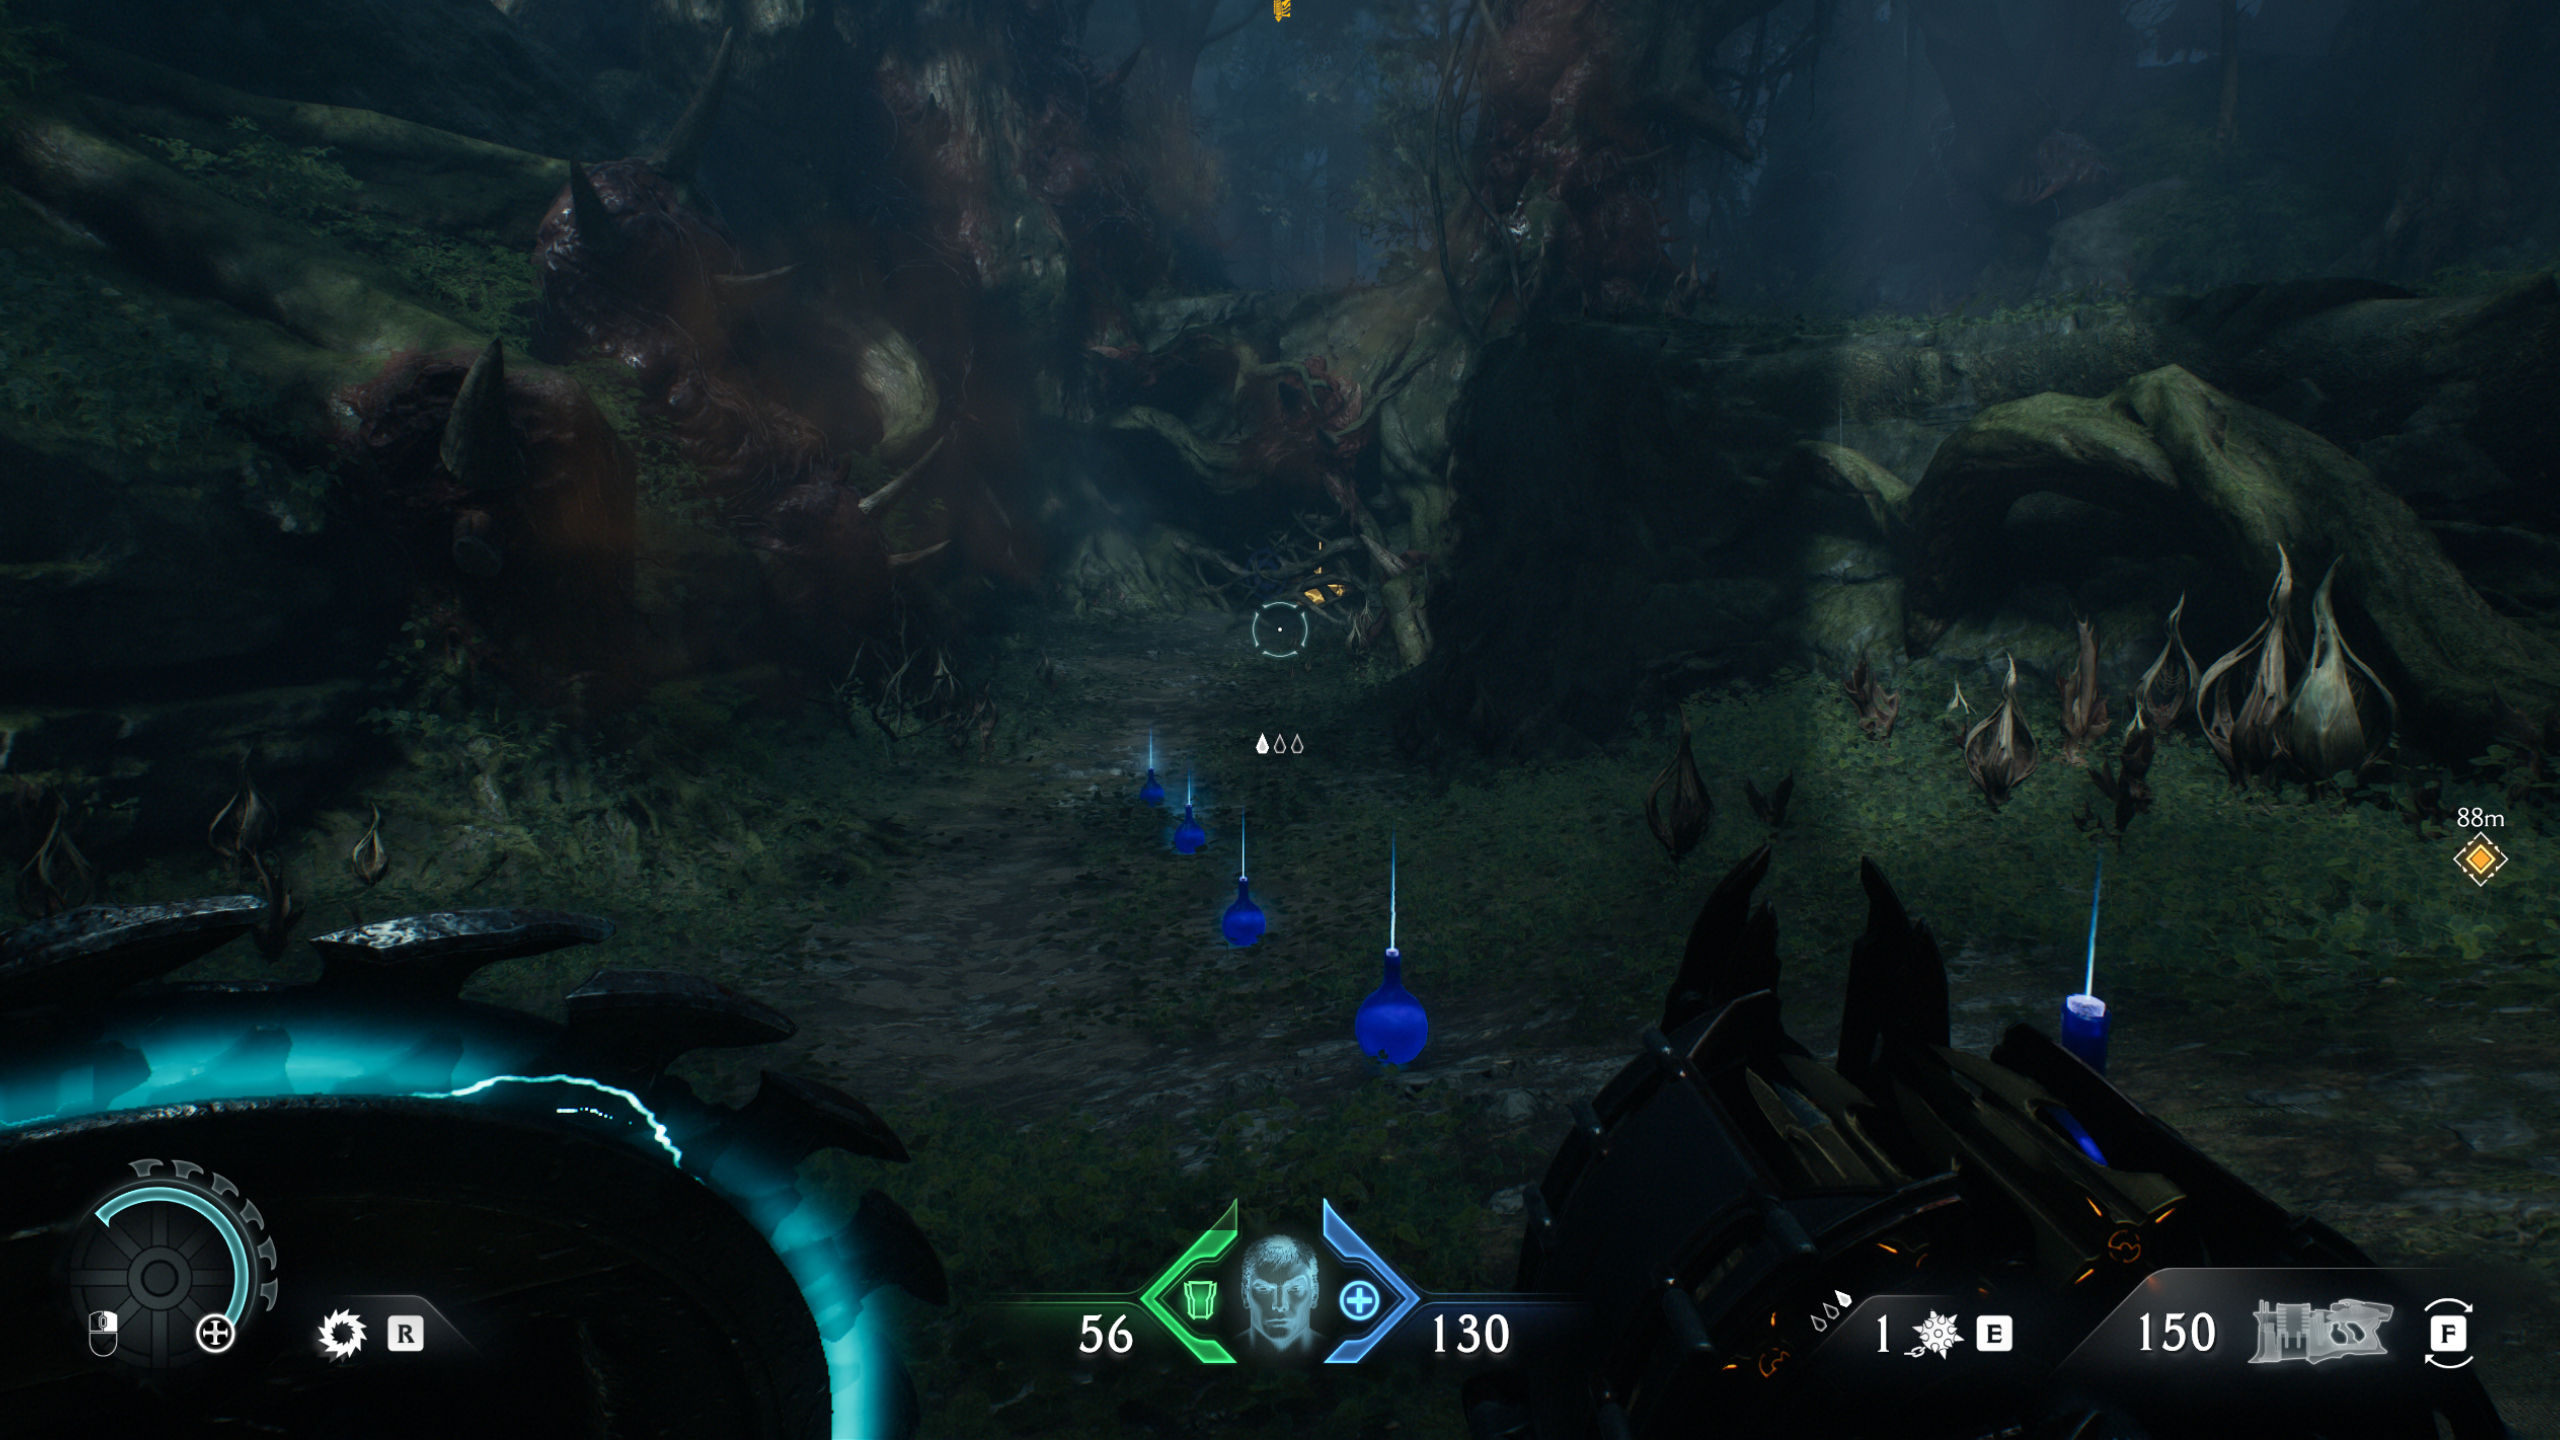
3 - Abyssal Forest codex entry (collectible)
To find the Abyssal Forest codex, continue through the area towards the objective and you'll encounter a line of shield demons. Directly to your right, before heading into the next zone, break the wooden barricade blocking the codex.
4 - Gold chest
After shield jumping across the gap on your way to the main objective in the barracks, head down the hill and turn right to loop back around on the lower level. Bash the wooden barricade at the end of the path to reveal the sparkly gold chest.
Continue with the mission until you reach the Sentinel Shrine and beat the boss to get a maximum armour Demonic Essence, where the next few secrets and collectibles are hidden.
5 - Gold chest

From where you enter the arena near the Sentinel Shrine, climb the small hill to the right, lit with armour packs. Once you get to the top, throw your shield at the chain to drop a statue through the floor. Jump down into the pit and kill the enemies in the tunnel, leading to the gold chest at the end.
6 - Life sigil
Returning to the entrance to the arena, next to the Sentinel Shrine, head left near the edge of the area and climb up the boxes and walls near the tower. Jump across the gap and shield jump to the highest wooden platform where the life sigil overlooks the whole arena.
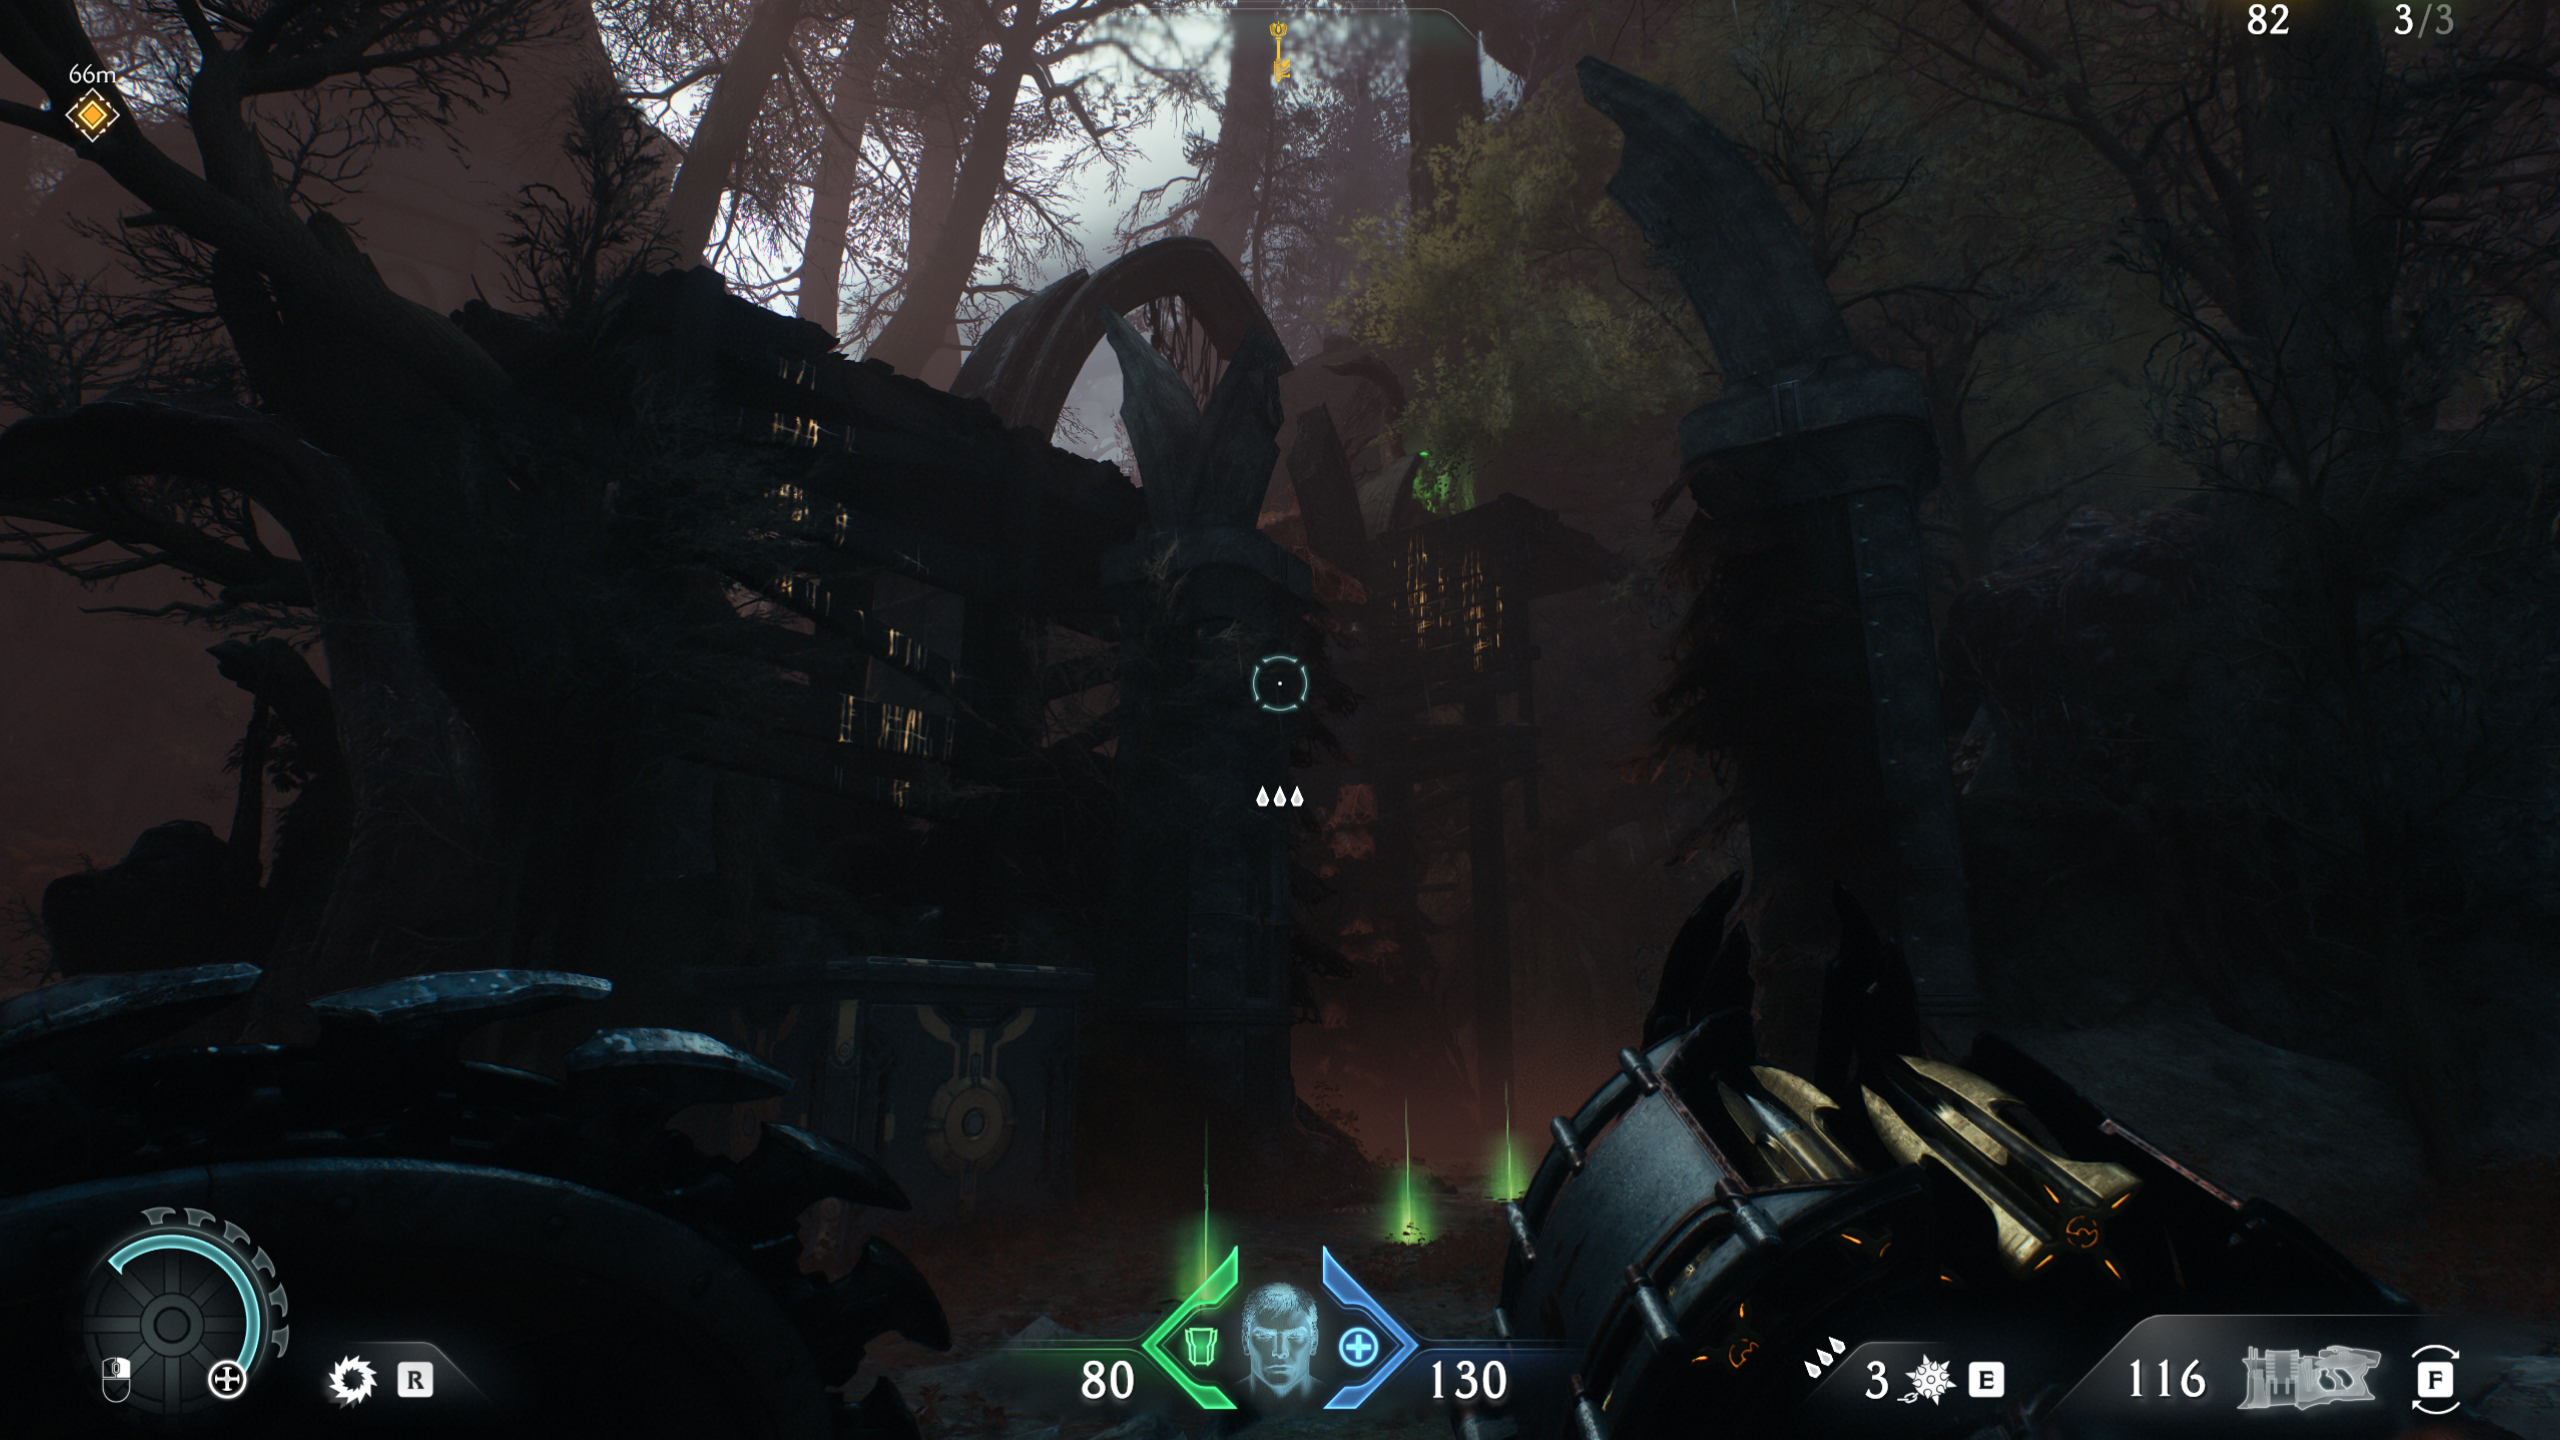
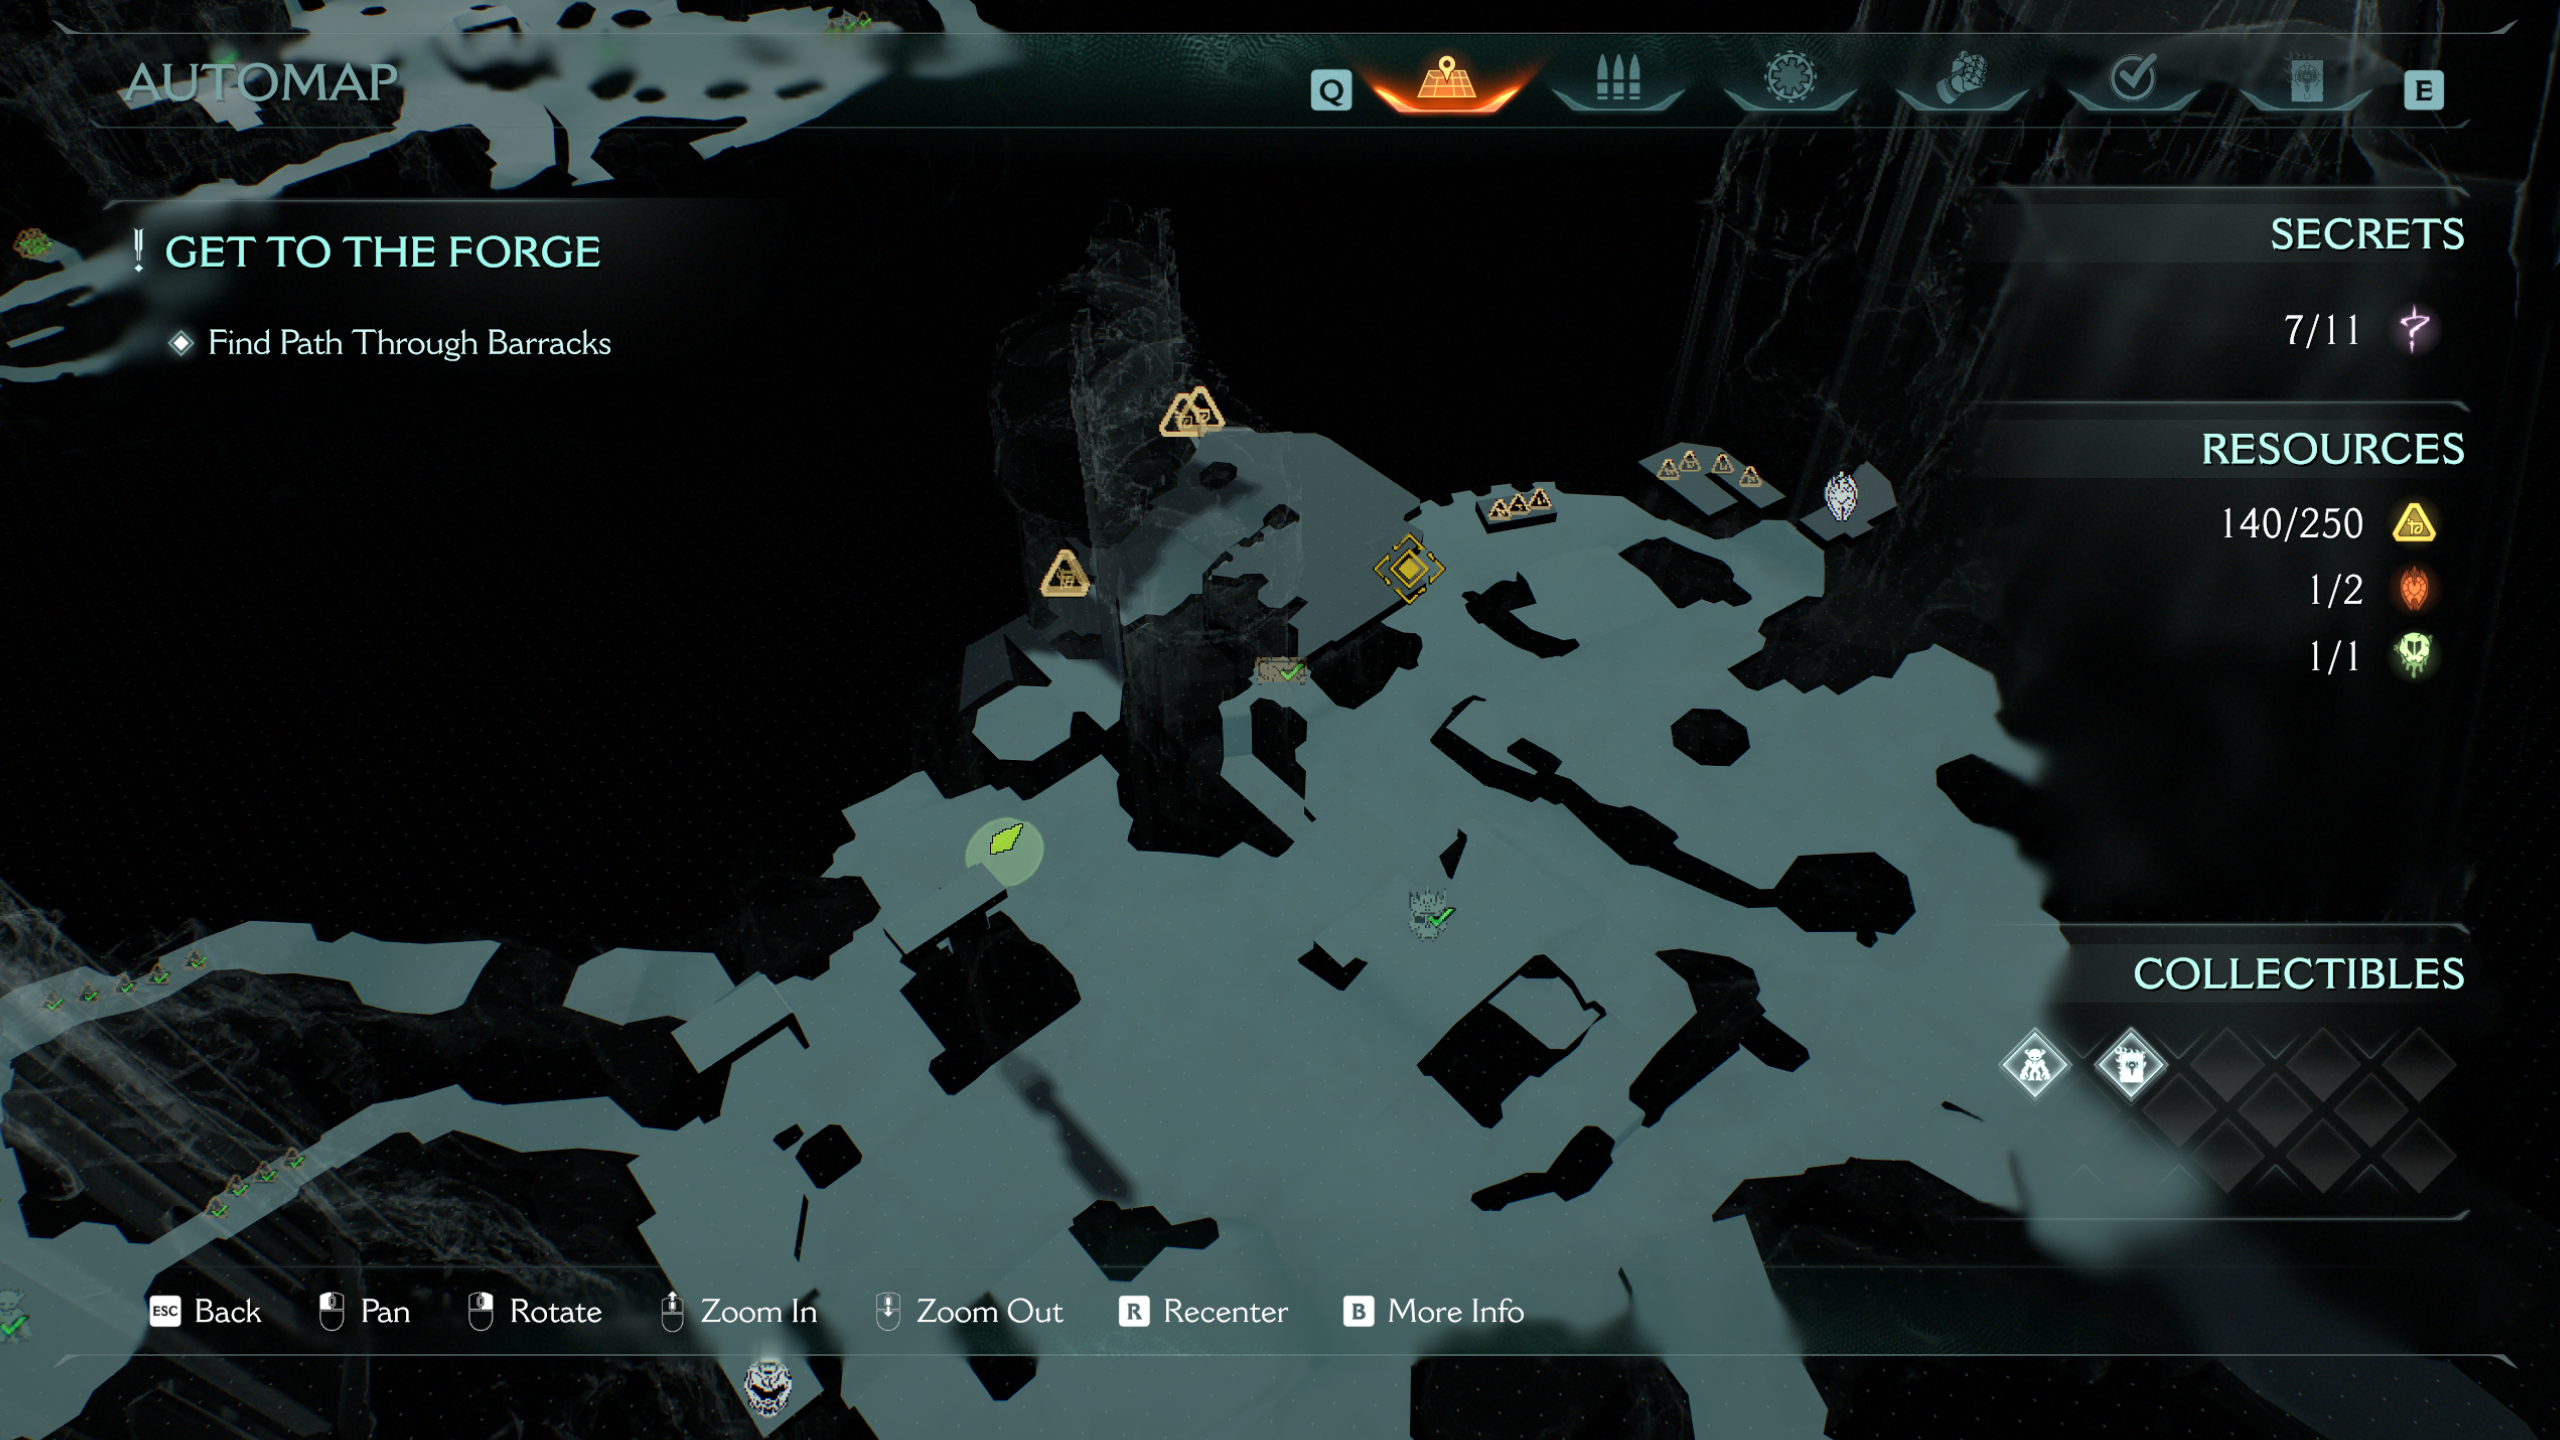
7 - Witch toy (collectible)
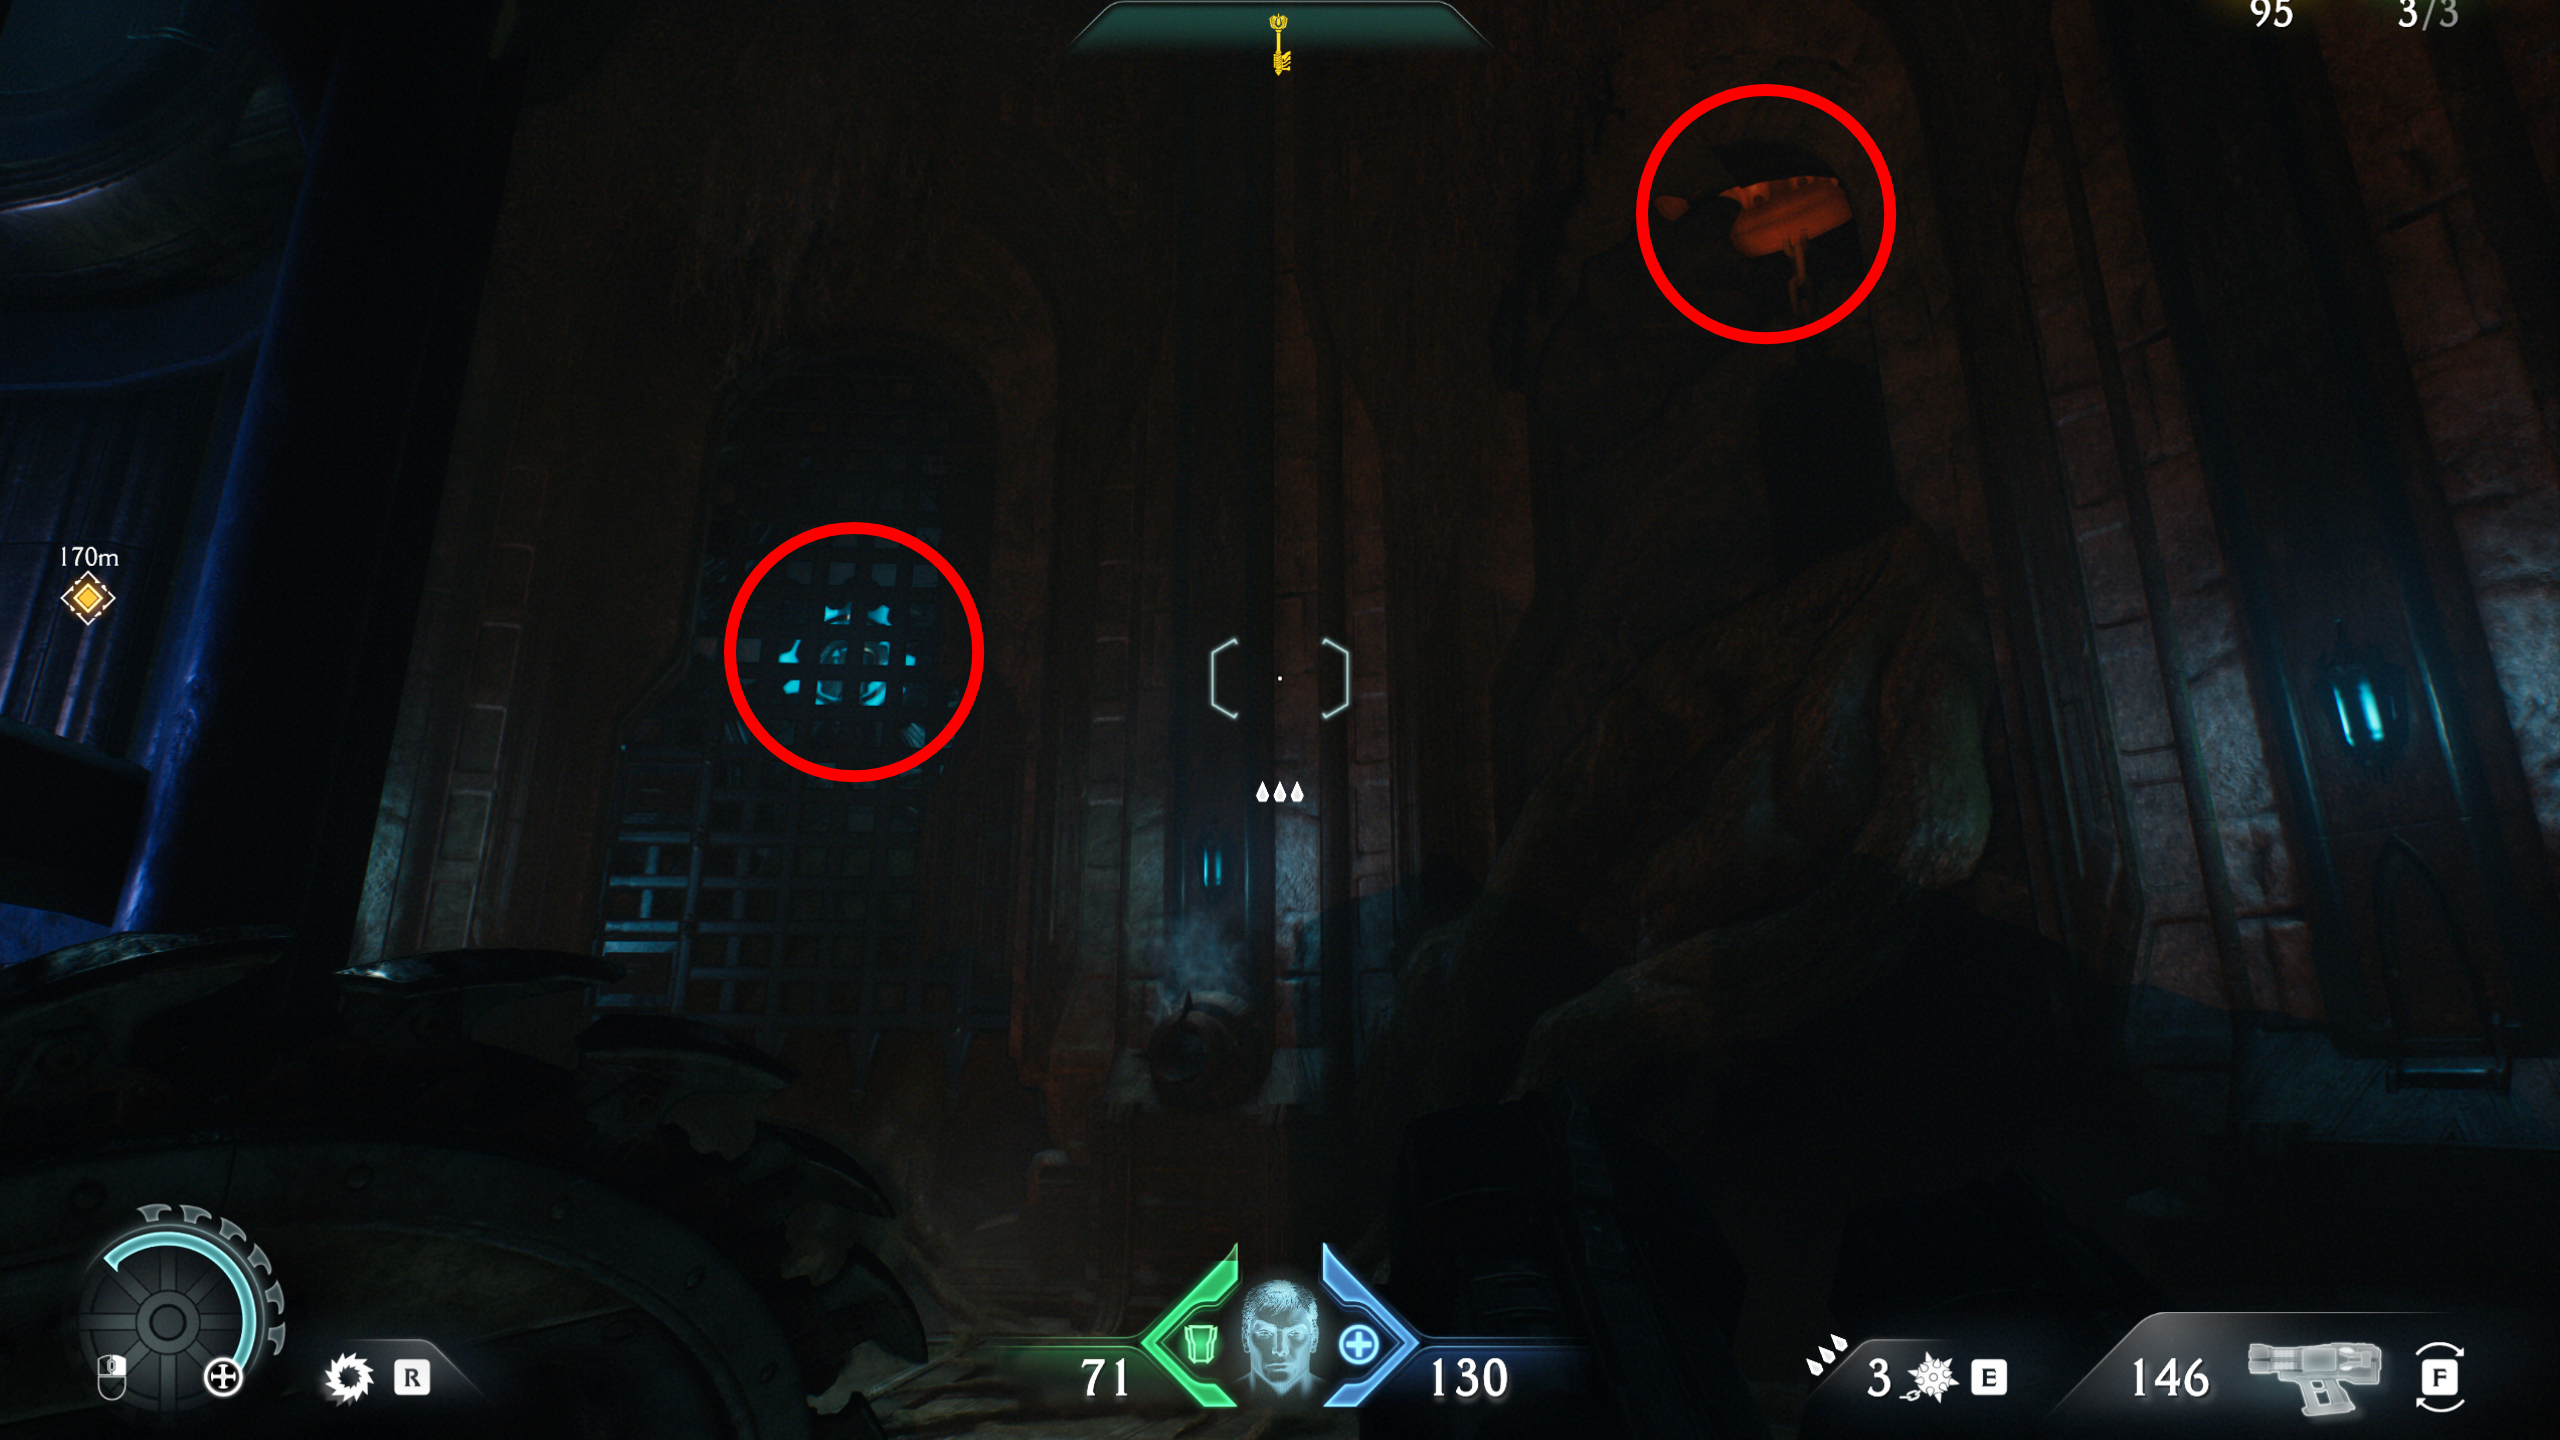
From the Sentinel Shrine at the entrance to the arena, head directly left and drop down onto the ledge at the edge of the map. Follow the path, which leads to a circular room with enemies and fire cannons protecting the toy, which is locked in a cage.
To open the cage, throw your shield at the red padlock hidden in an alcove partially covered by a tree trunk. This will lower a gate to your left, letting you throw your shield into the blue switch to remove the cage covering the collectible.
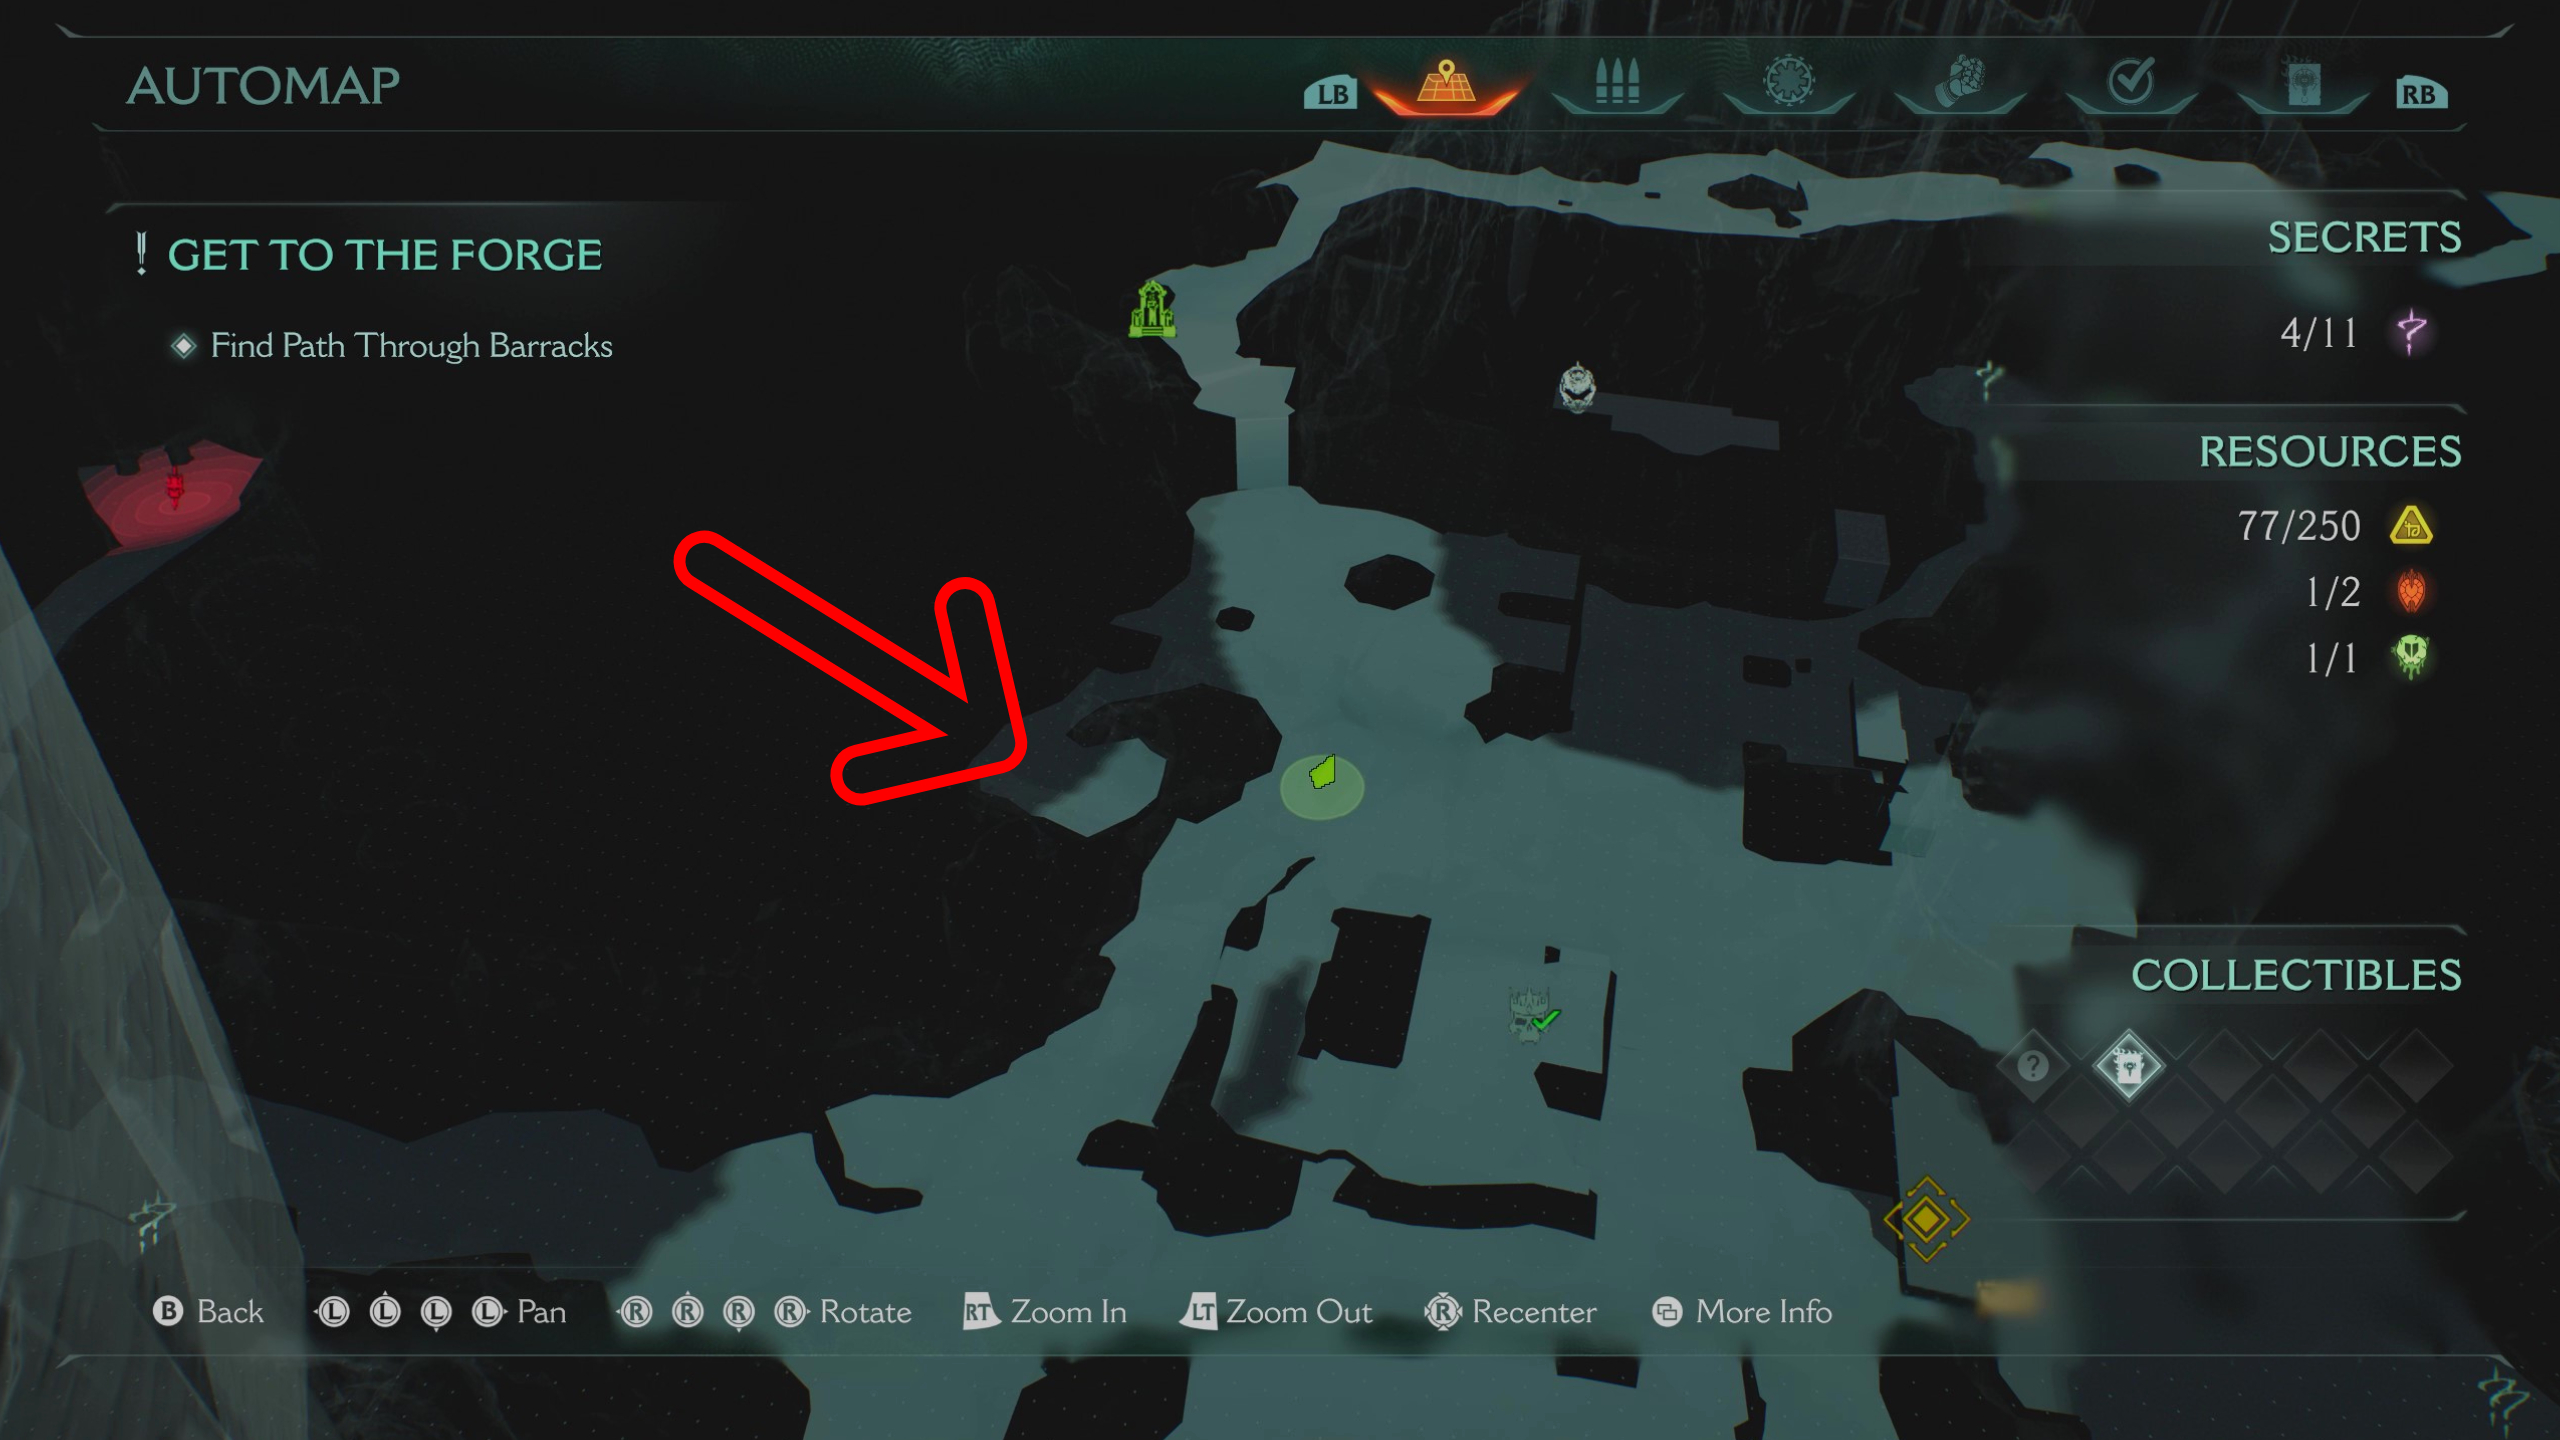
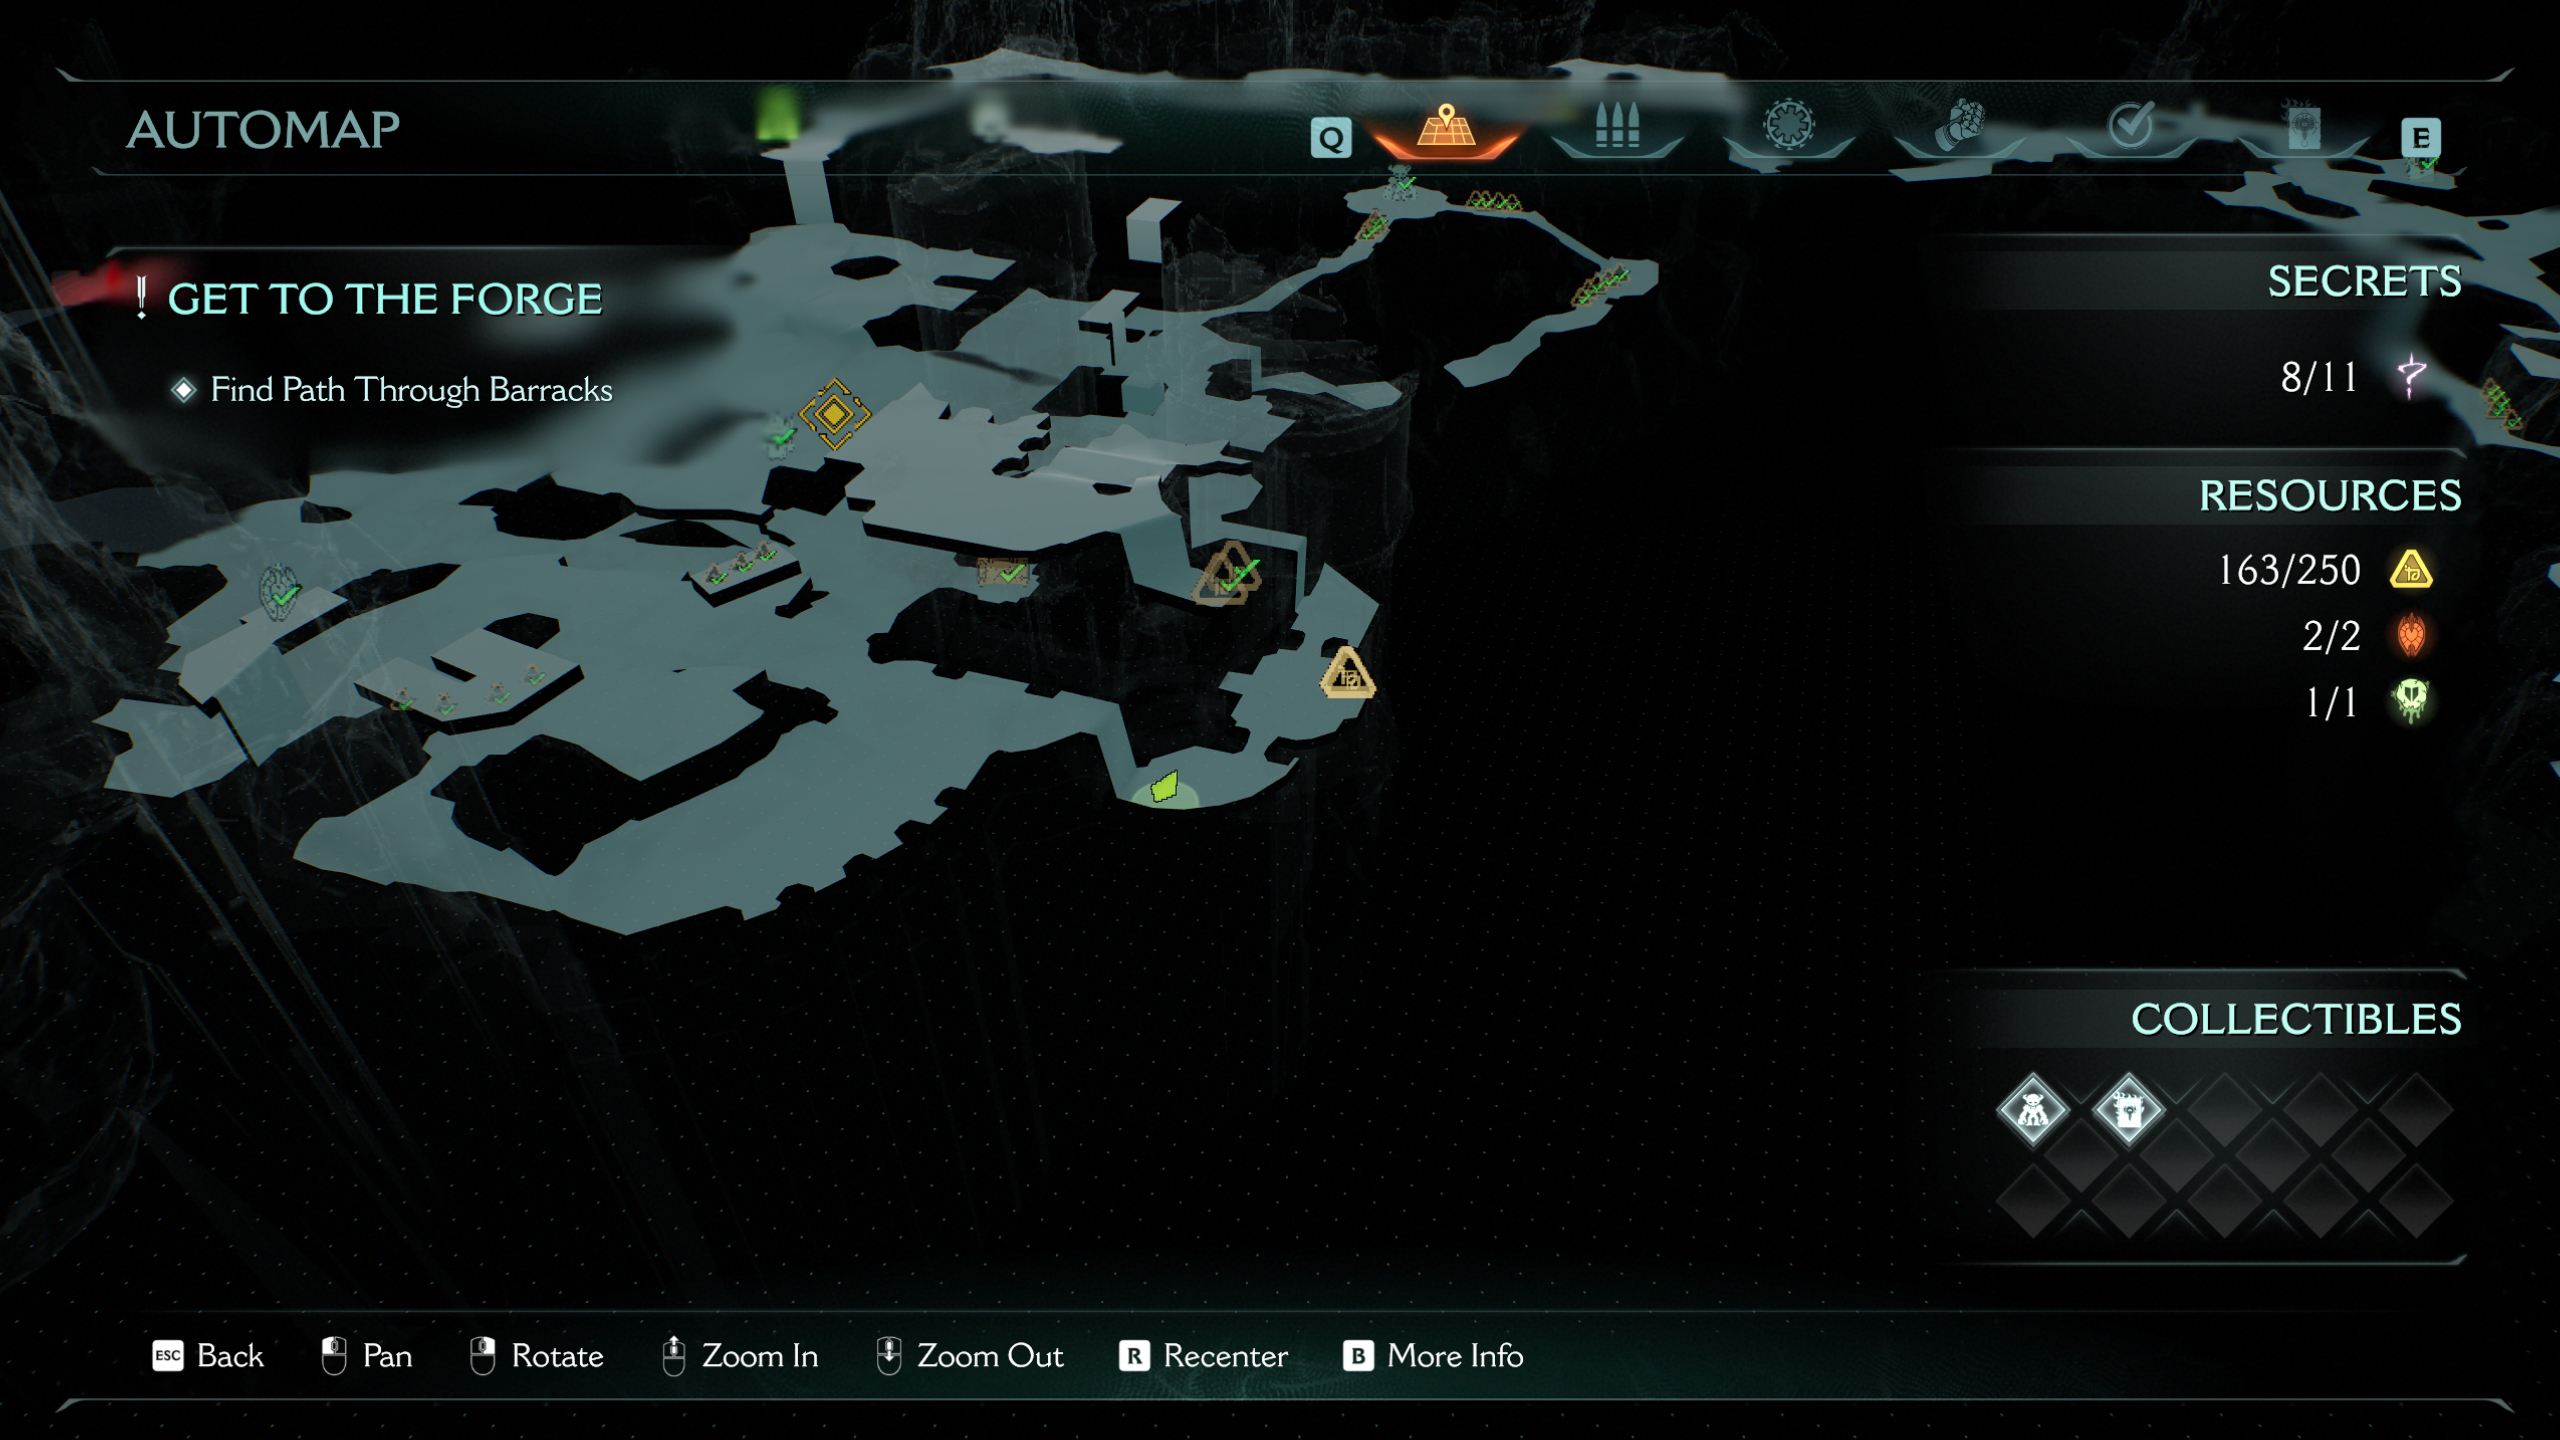
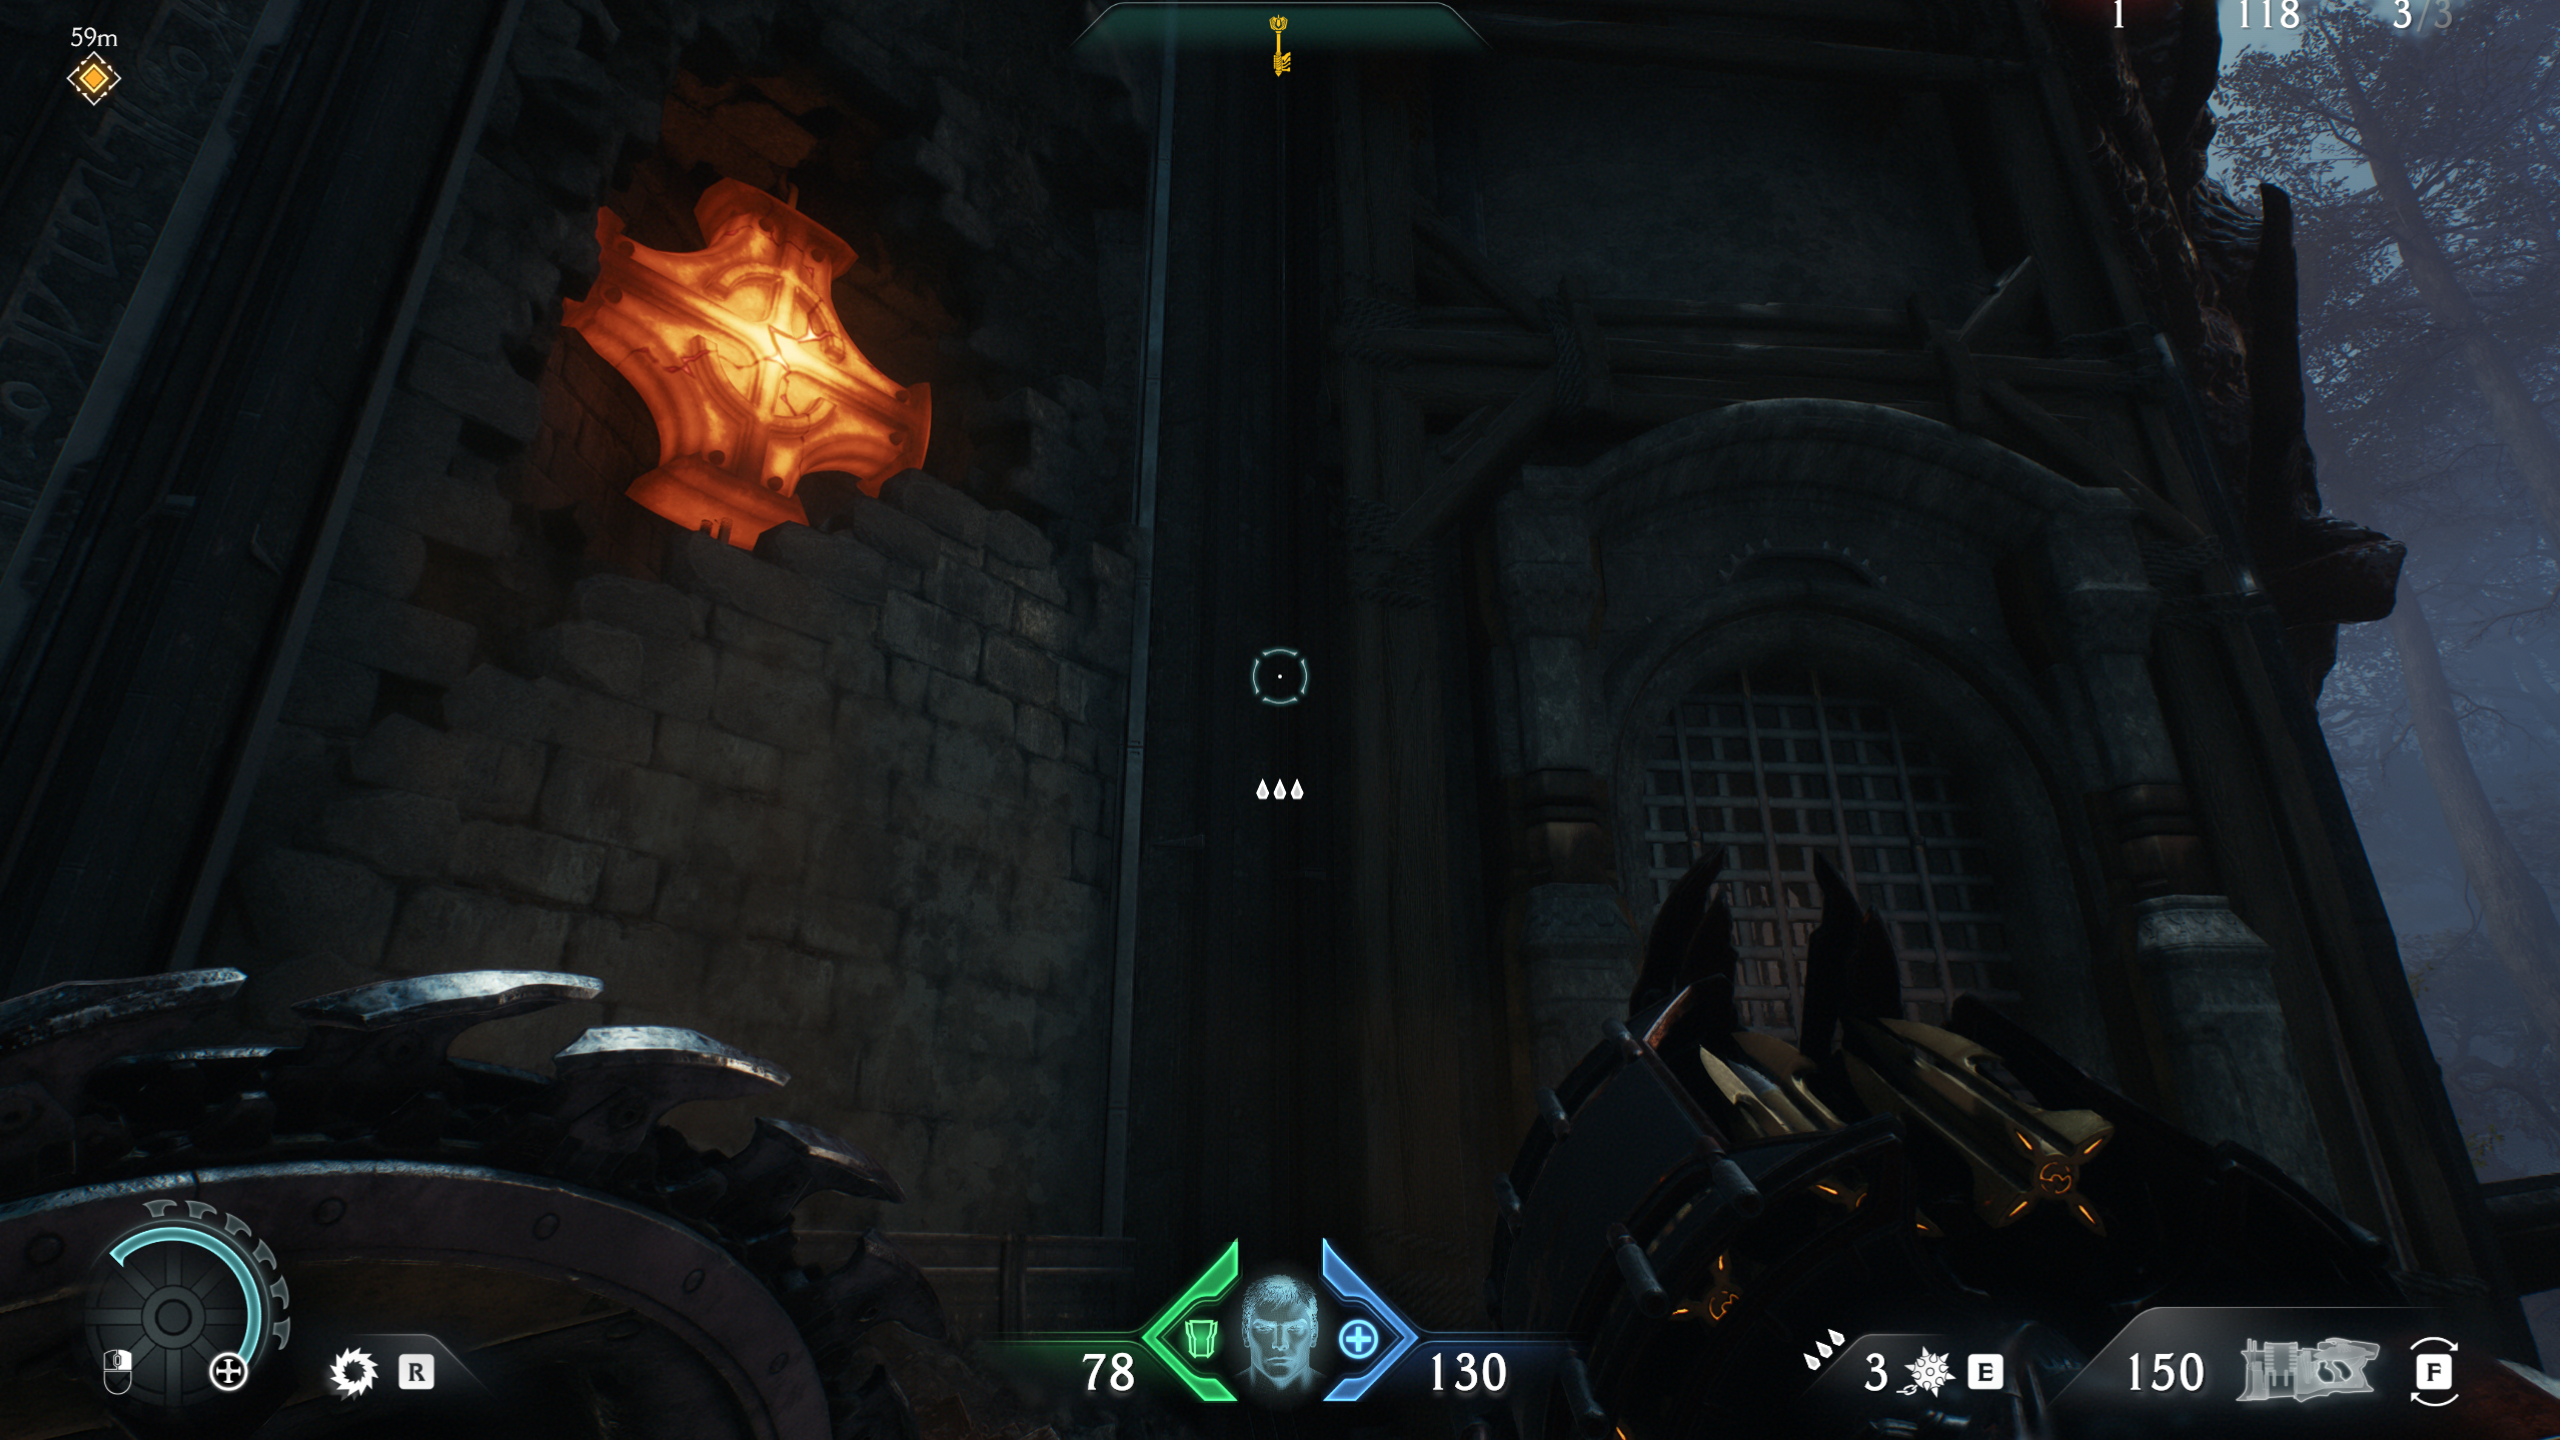
8 - Ruby

If this area couldn't get any more packed with secrets, you'll also find a hidden ruby here. Straight ahead from where you enter the arena, you'll see a big tower:
- Walk towards it and head around the left side
- Throw your shield at the right moment to break a chain hidden in the tower wall, lowering the climbing wall
- Clamber up the tower and then jump across the broken stone wall and wooden platforms until you find the ruby at the end of the path
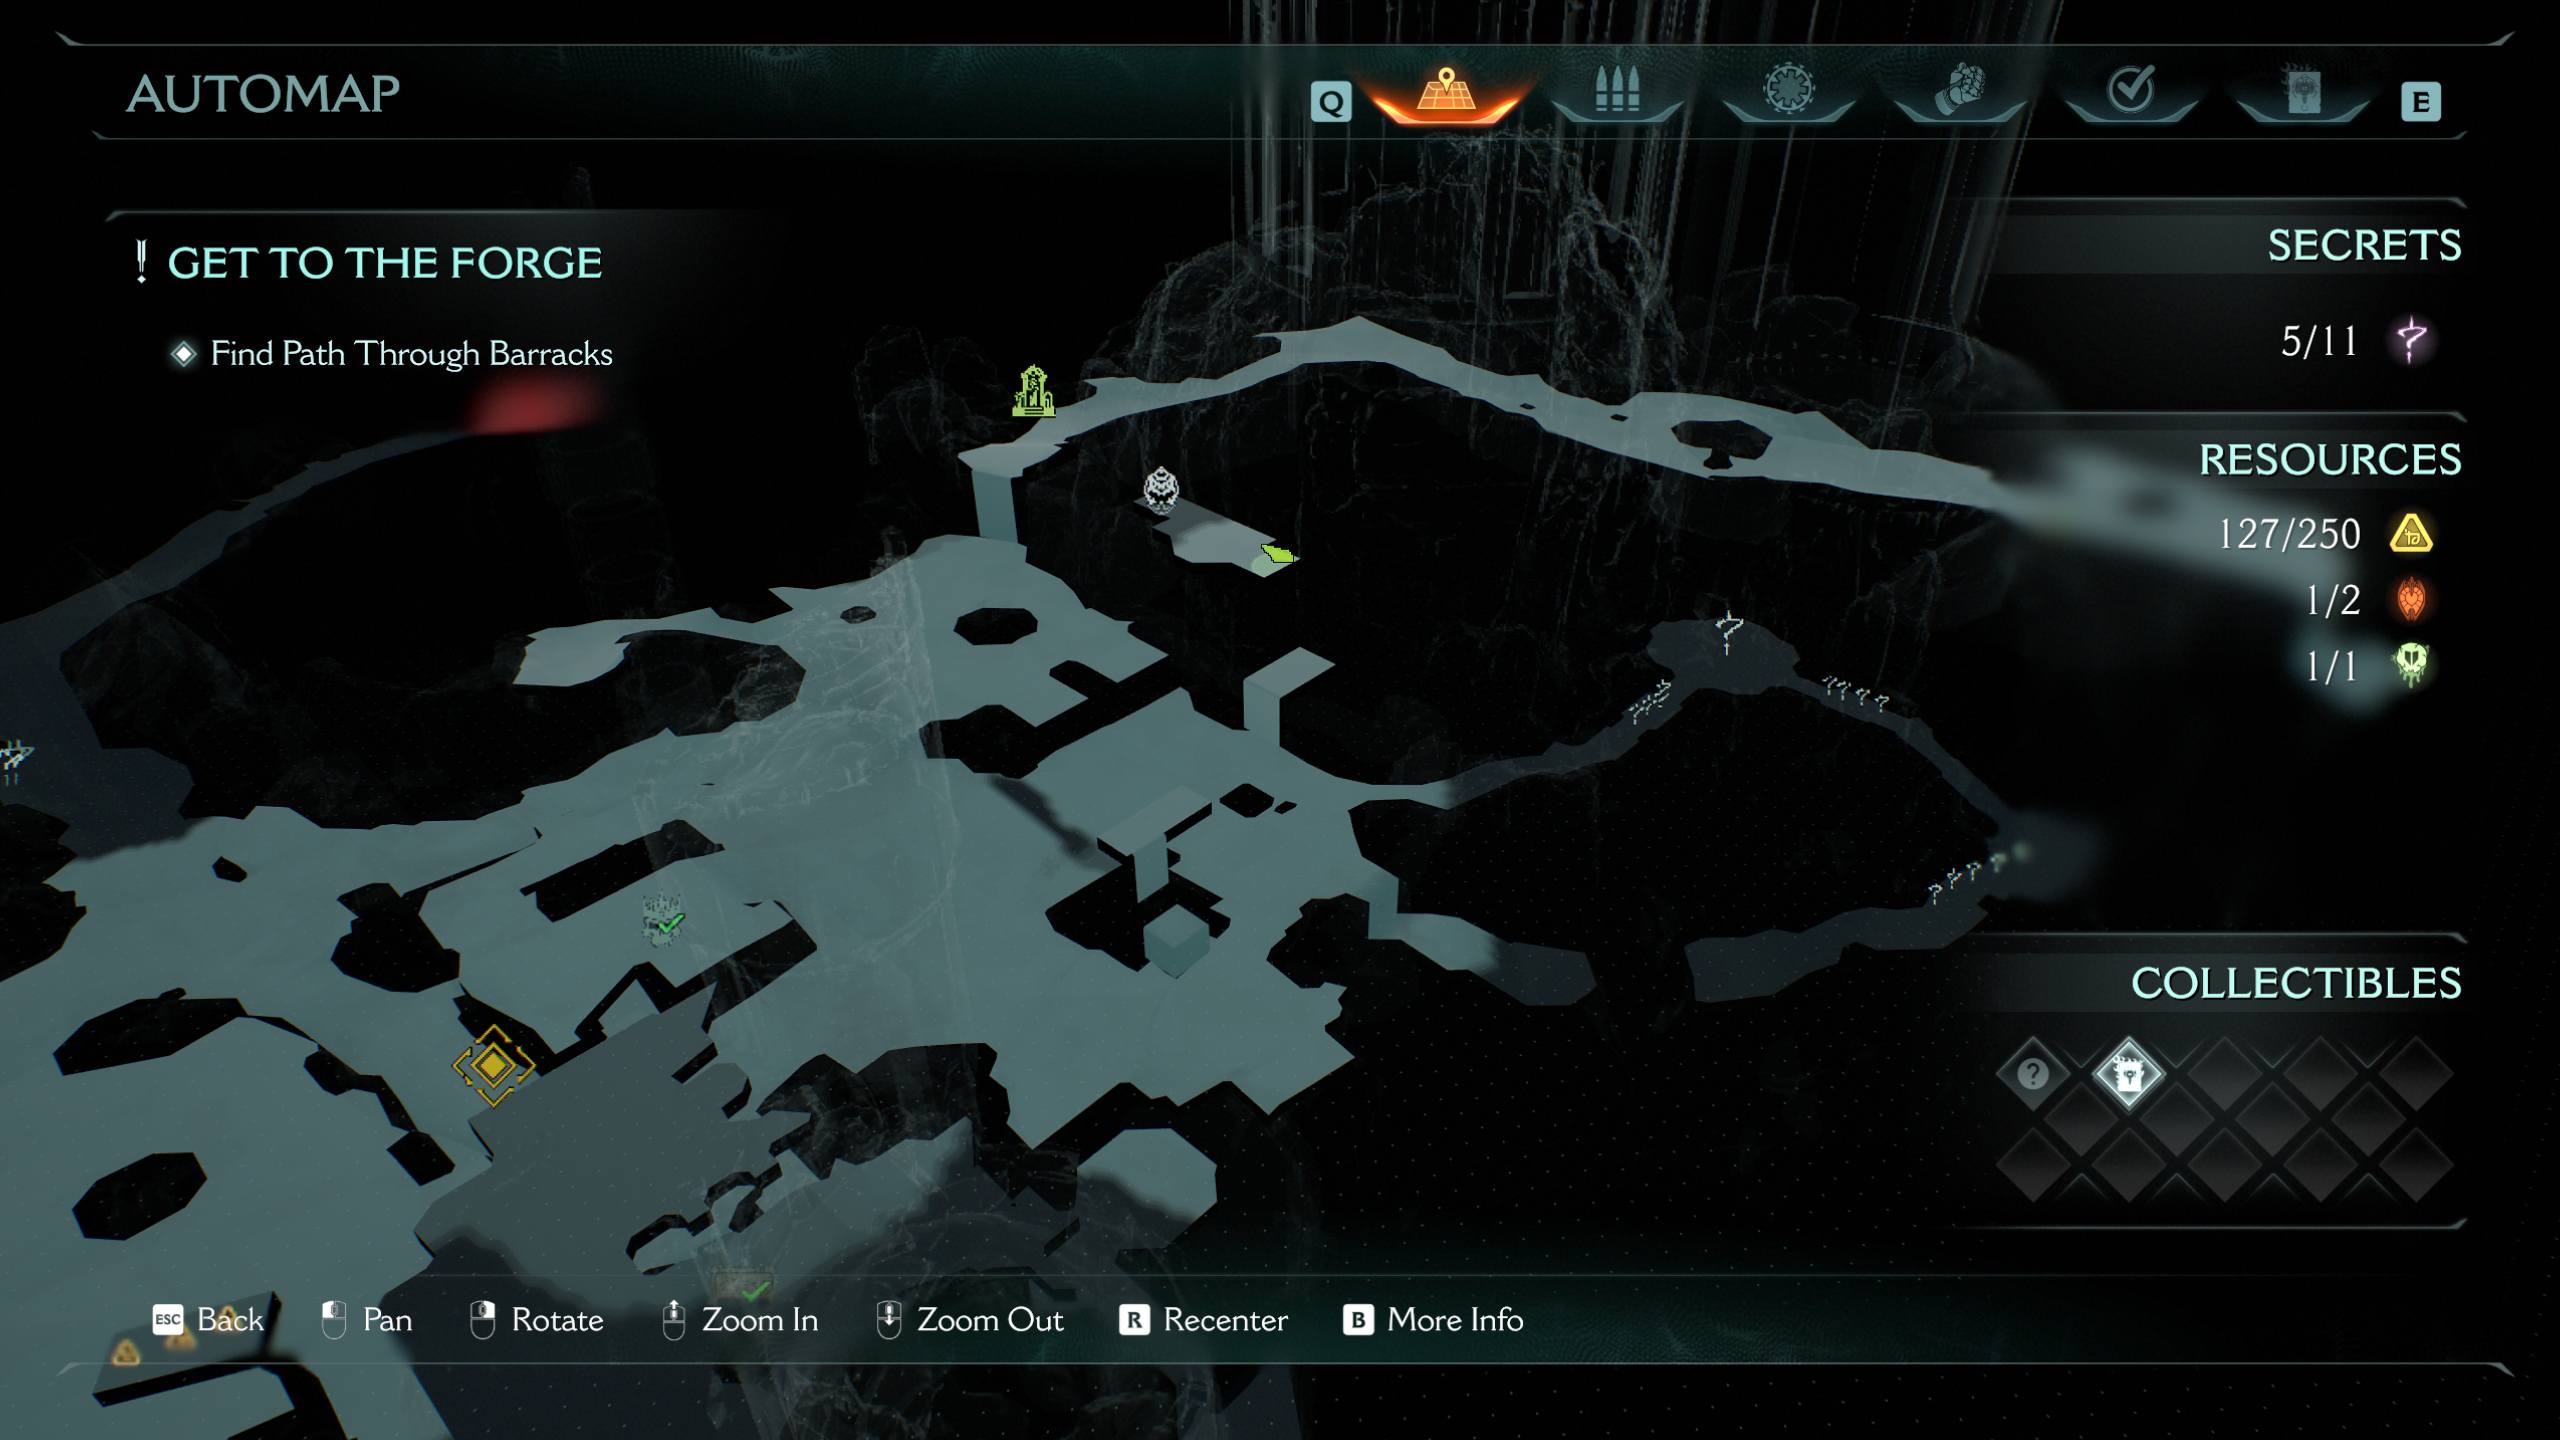
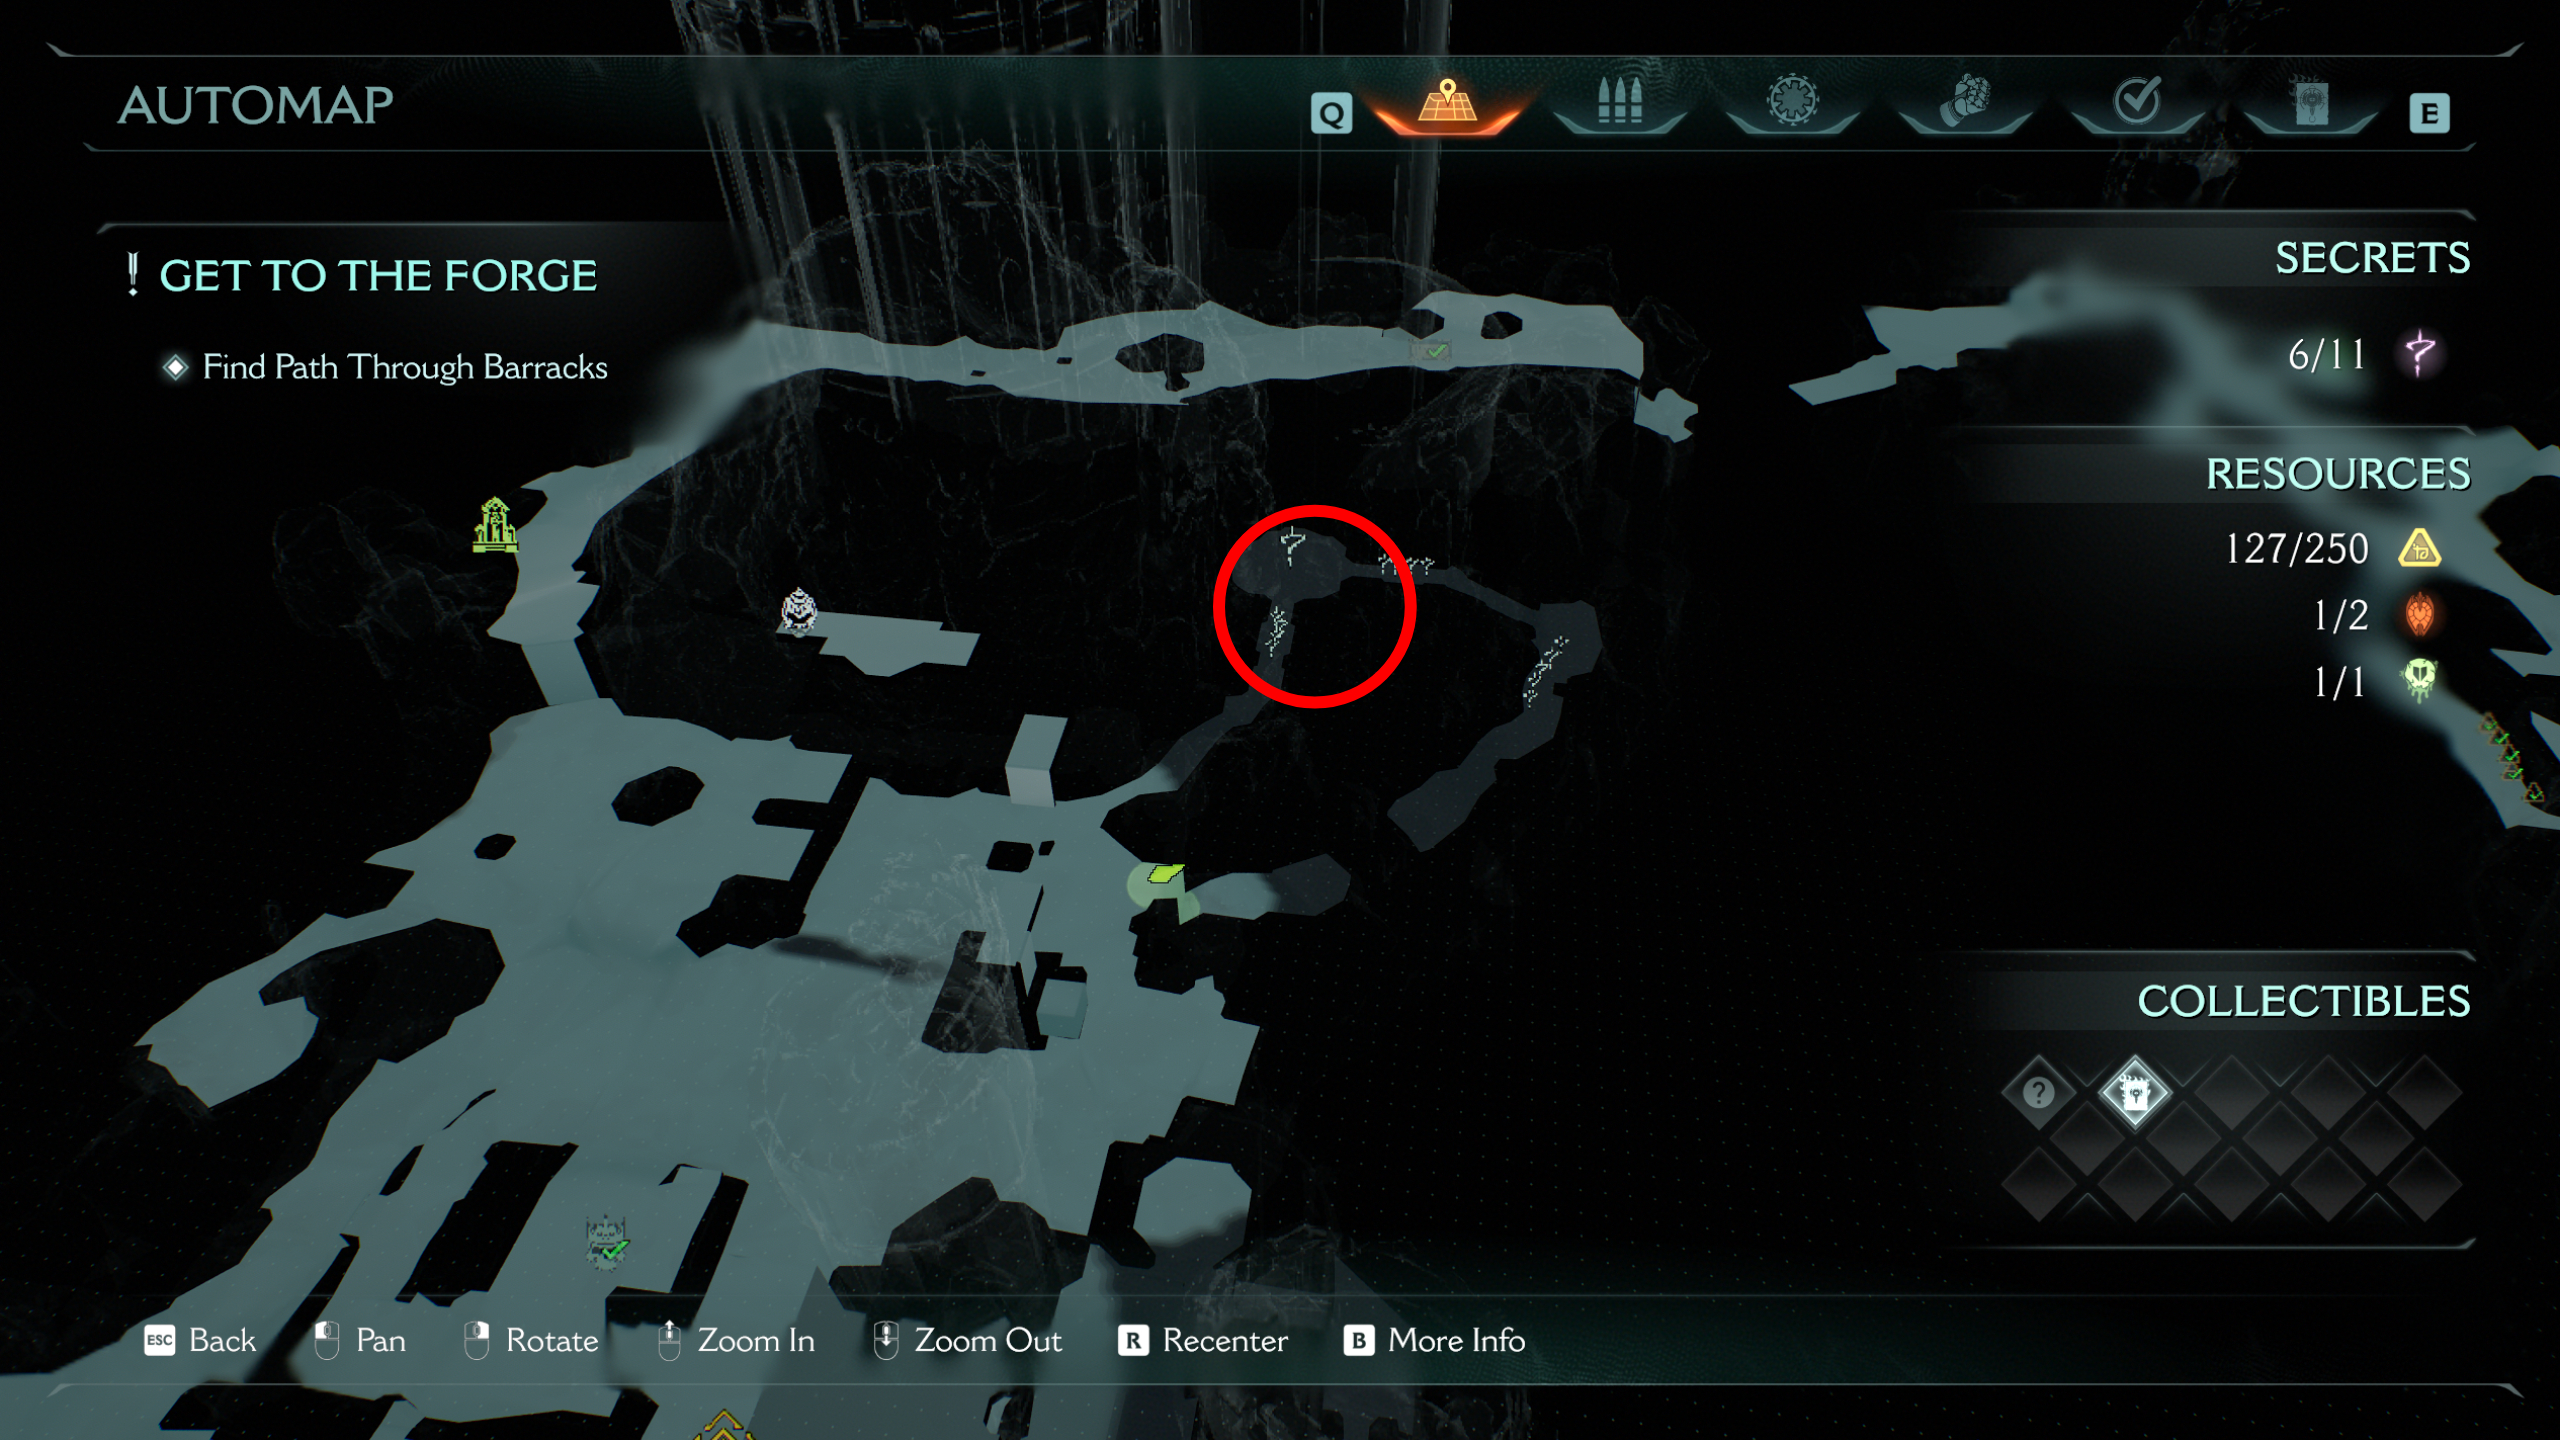
9 - Gold
The last secret in this area is a pile of gold. At this central tower, head around the right side and drop down to the balcony, which has a chain hidden in the wall. Break it with your shield, and you can enter the locked area, letting you grab the gold.
10 - Gold bars

After using the cannon on the tower to break the green rock wall blocking the objective, drop down from the point of no return. Immediately after entering the new area, turn around to grab the gold bars under the path you just jumped down from.
11 - Gold chest

After entering the mine and unlocking the grenade launcher, continue into the tunnel where you'll see green gloop on the wall, pointing you towards a shield jump location. Hop up and follow the tunnel, careful to jump over the gap midway through (it's incredibly dark), and you'll reach the gold chest at the end.


You must confirm your public display name before commenting
Please logout and then login again, you will then be prompted to enter your display name.