How to deactivate the conduits in Destiny 2: The Final Shape
You'll first face this puzzle in the Temptation mission early on.
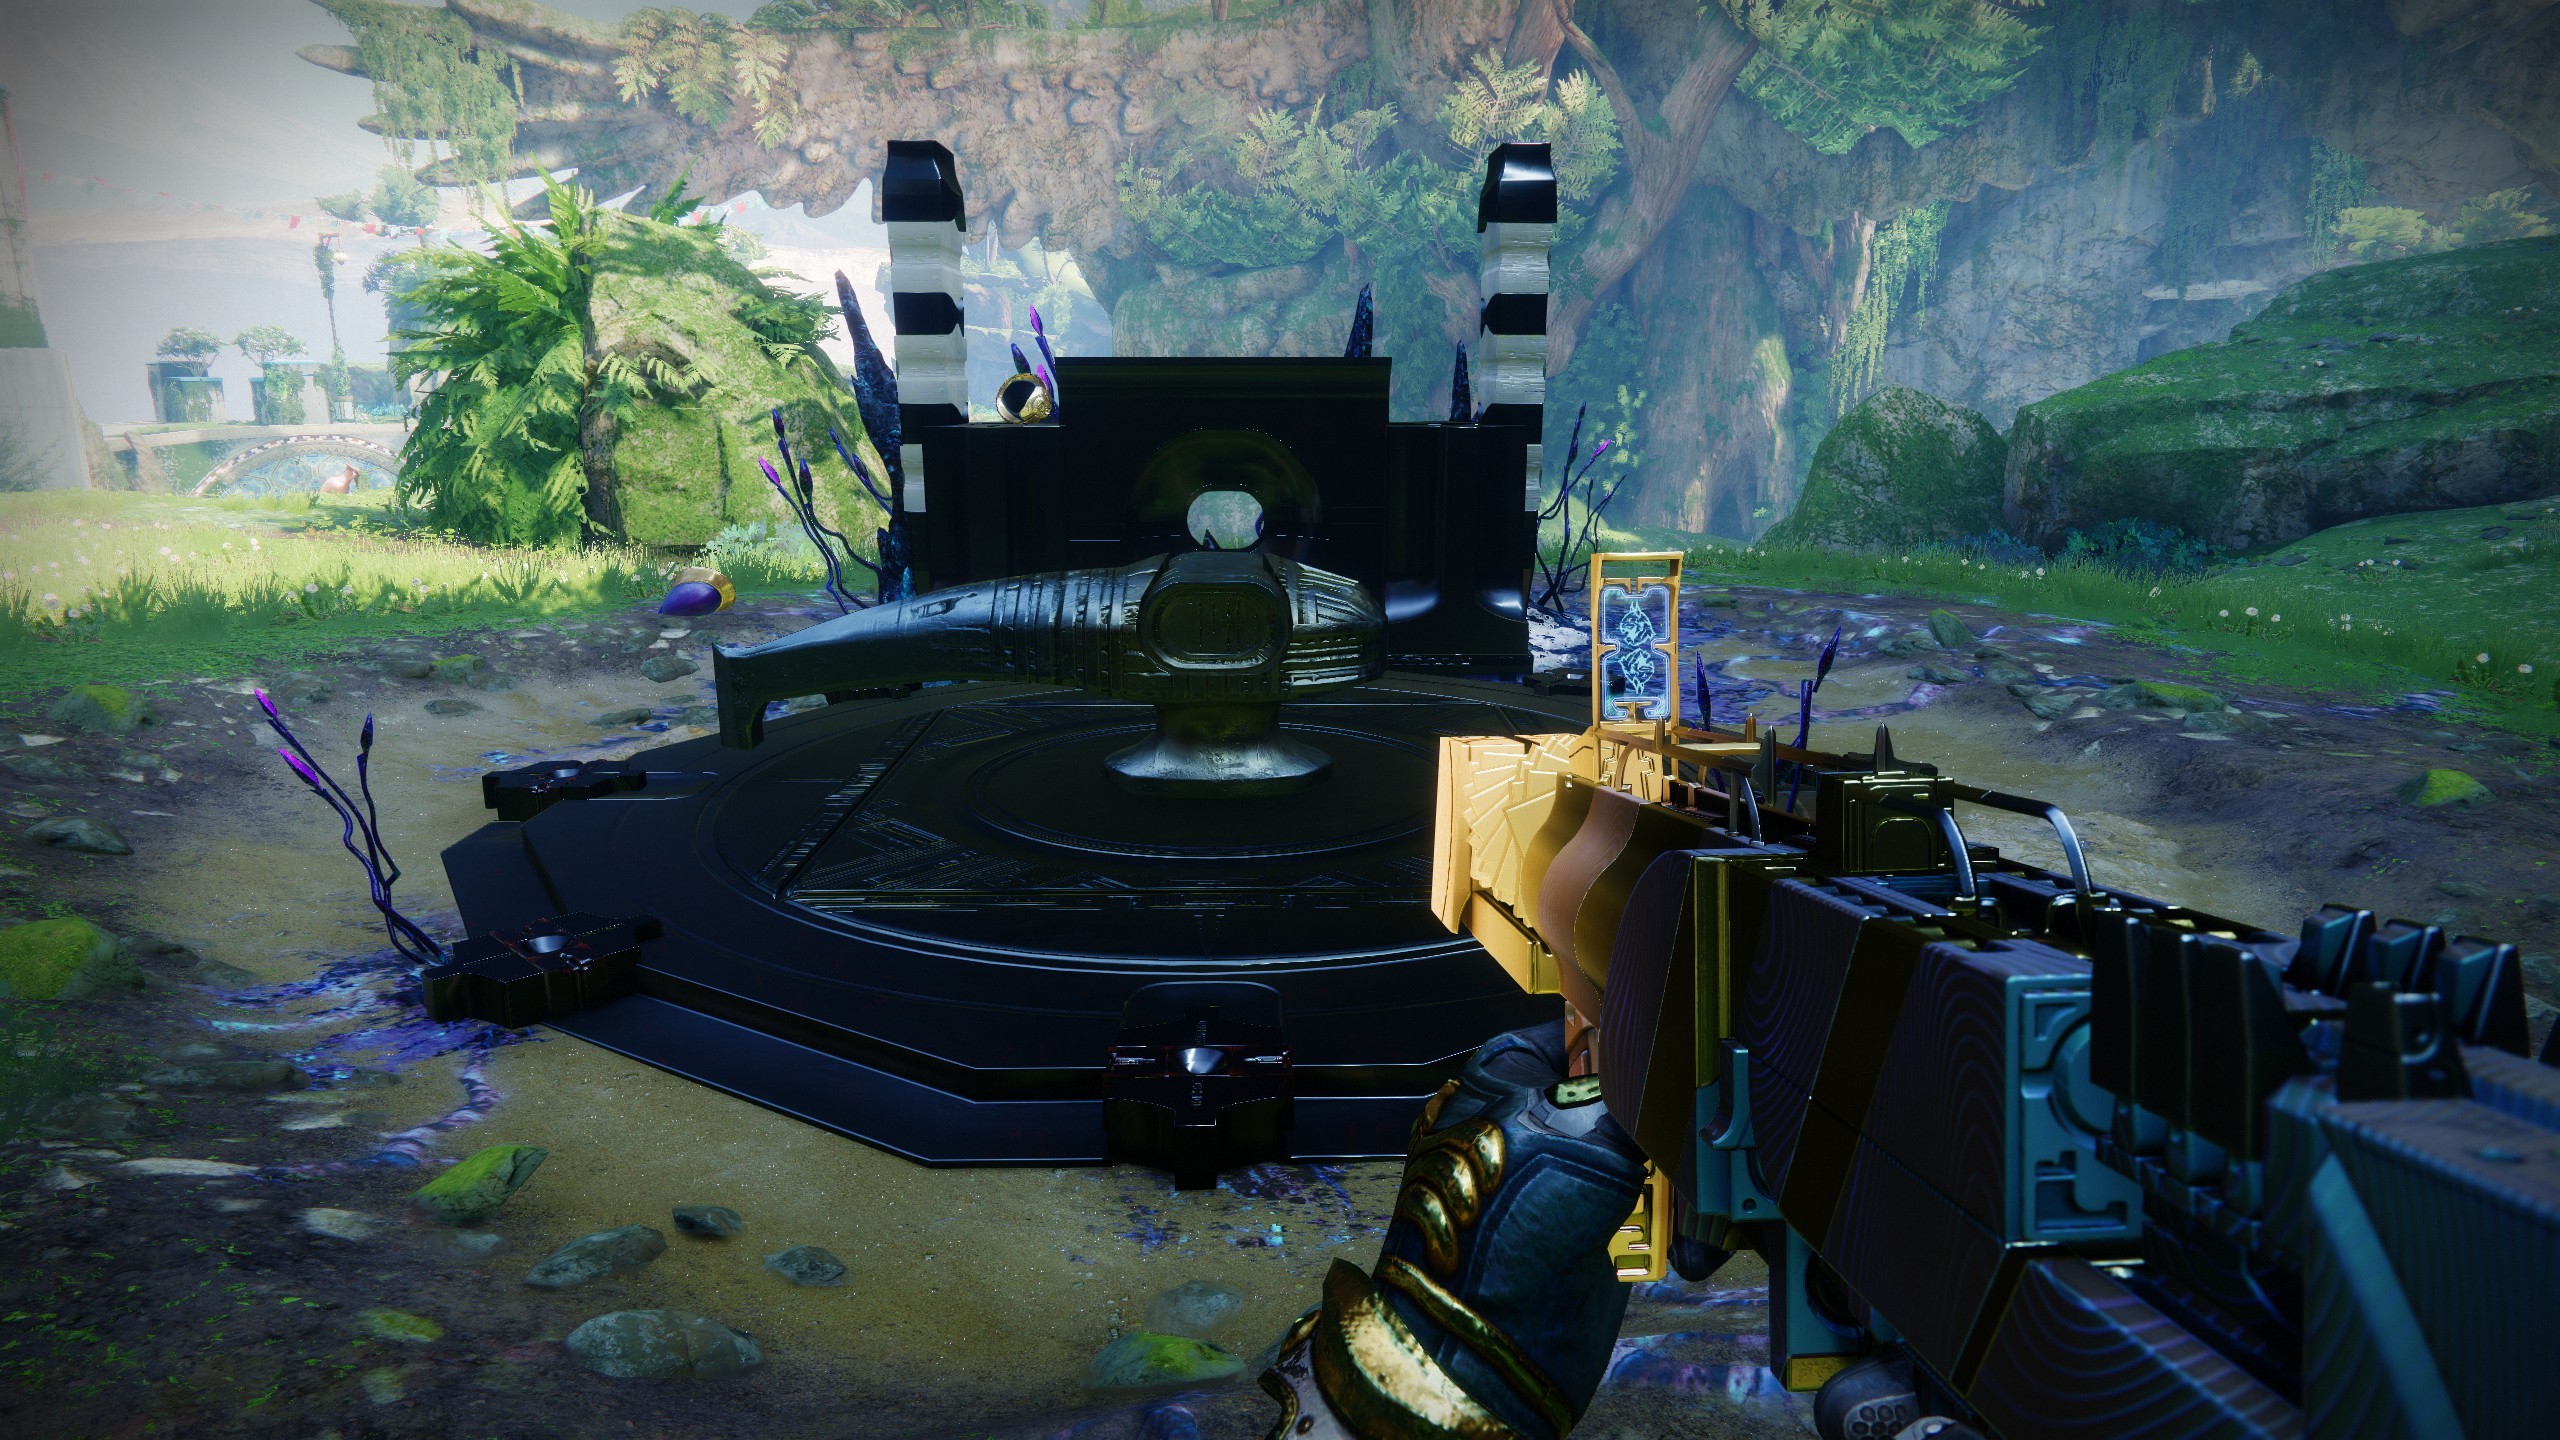
Trying to figure out how to deactivate the conduits is one of the first hurdles in Destiny 2's The Final Shape. Honestly, the new campaign is rather puzzle-filled, and in each subsequent mission on your journey to the Pale Heart of the Traveler, you'll be faced with lots of different mechanics. Some of them will certainly be familiar to anyone who's into raiding or dungeons, too.
In this case, however, it's an entirely new puzzle you'll have to work out. During the Temptation mission, you'll be tasked with tracking down Crow but, alas, he's somehow sealed himself in a cave and the barrier can only be opened via you deactivating three conduits in the nearby area. It's a little confusing at first, so here's how to solve the conduit puzzle so you can continue.
How to solve the conduit puzzle
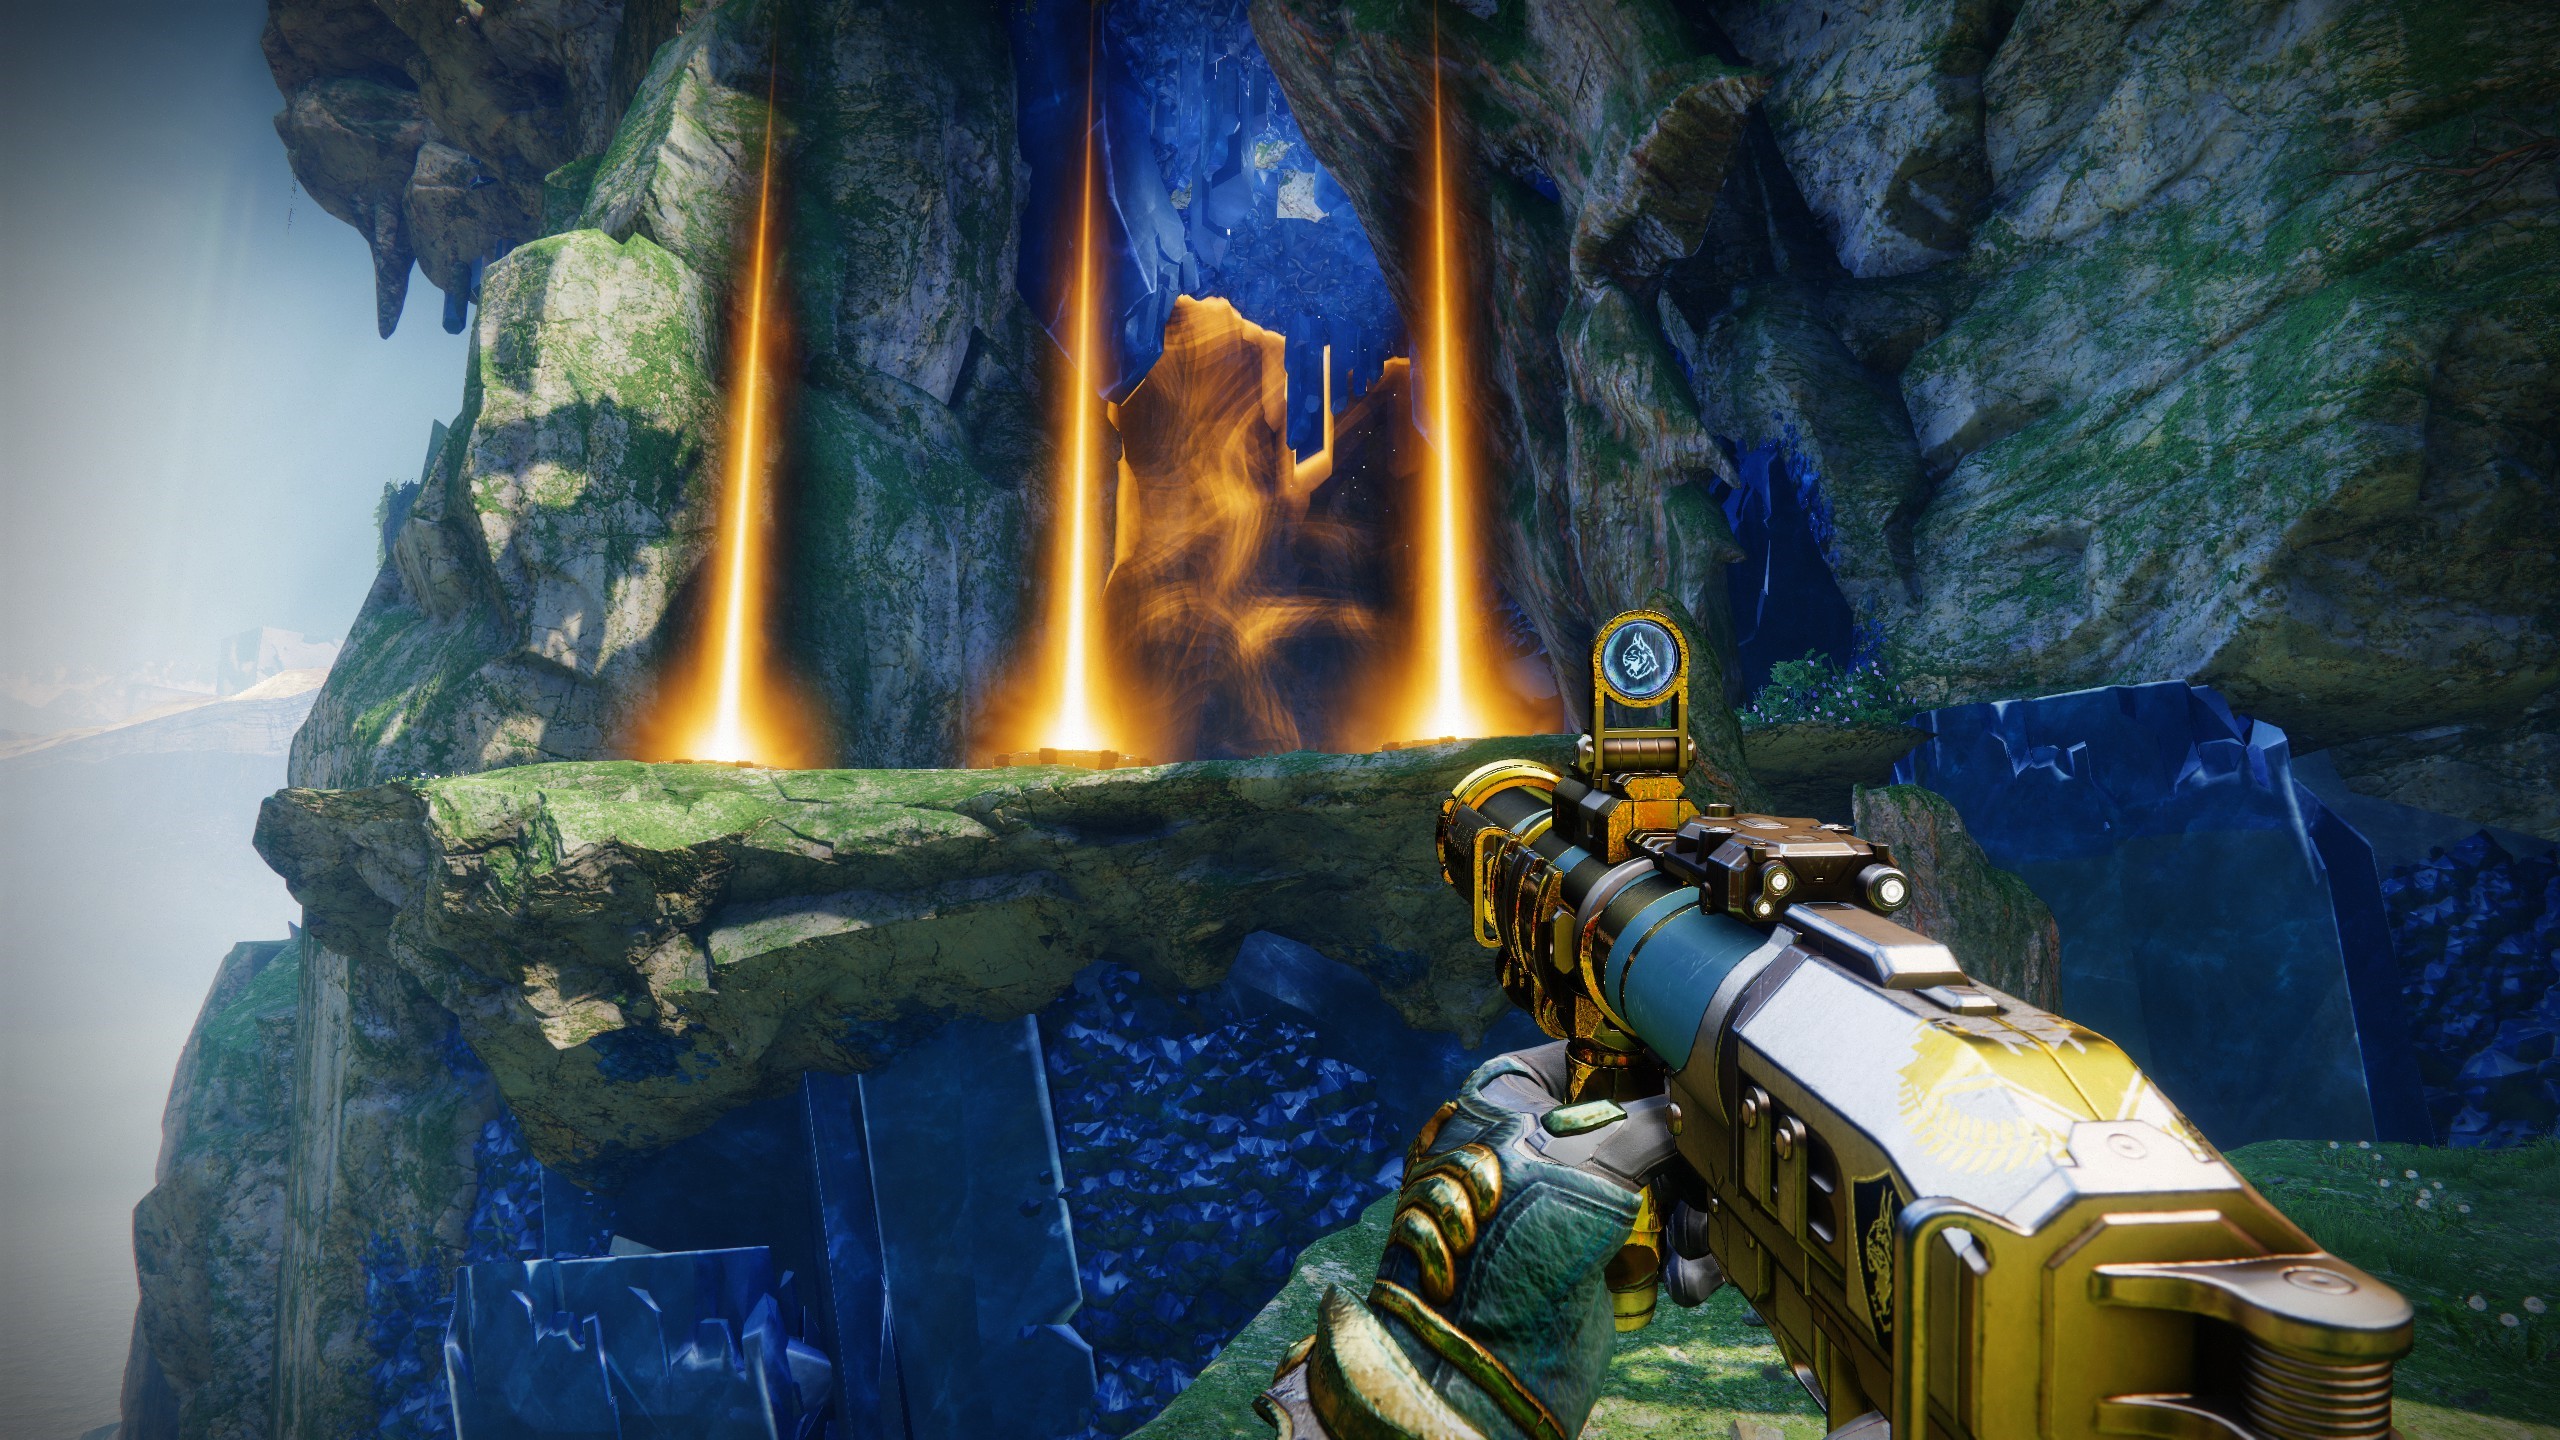
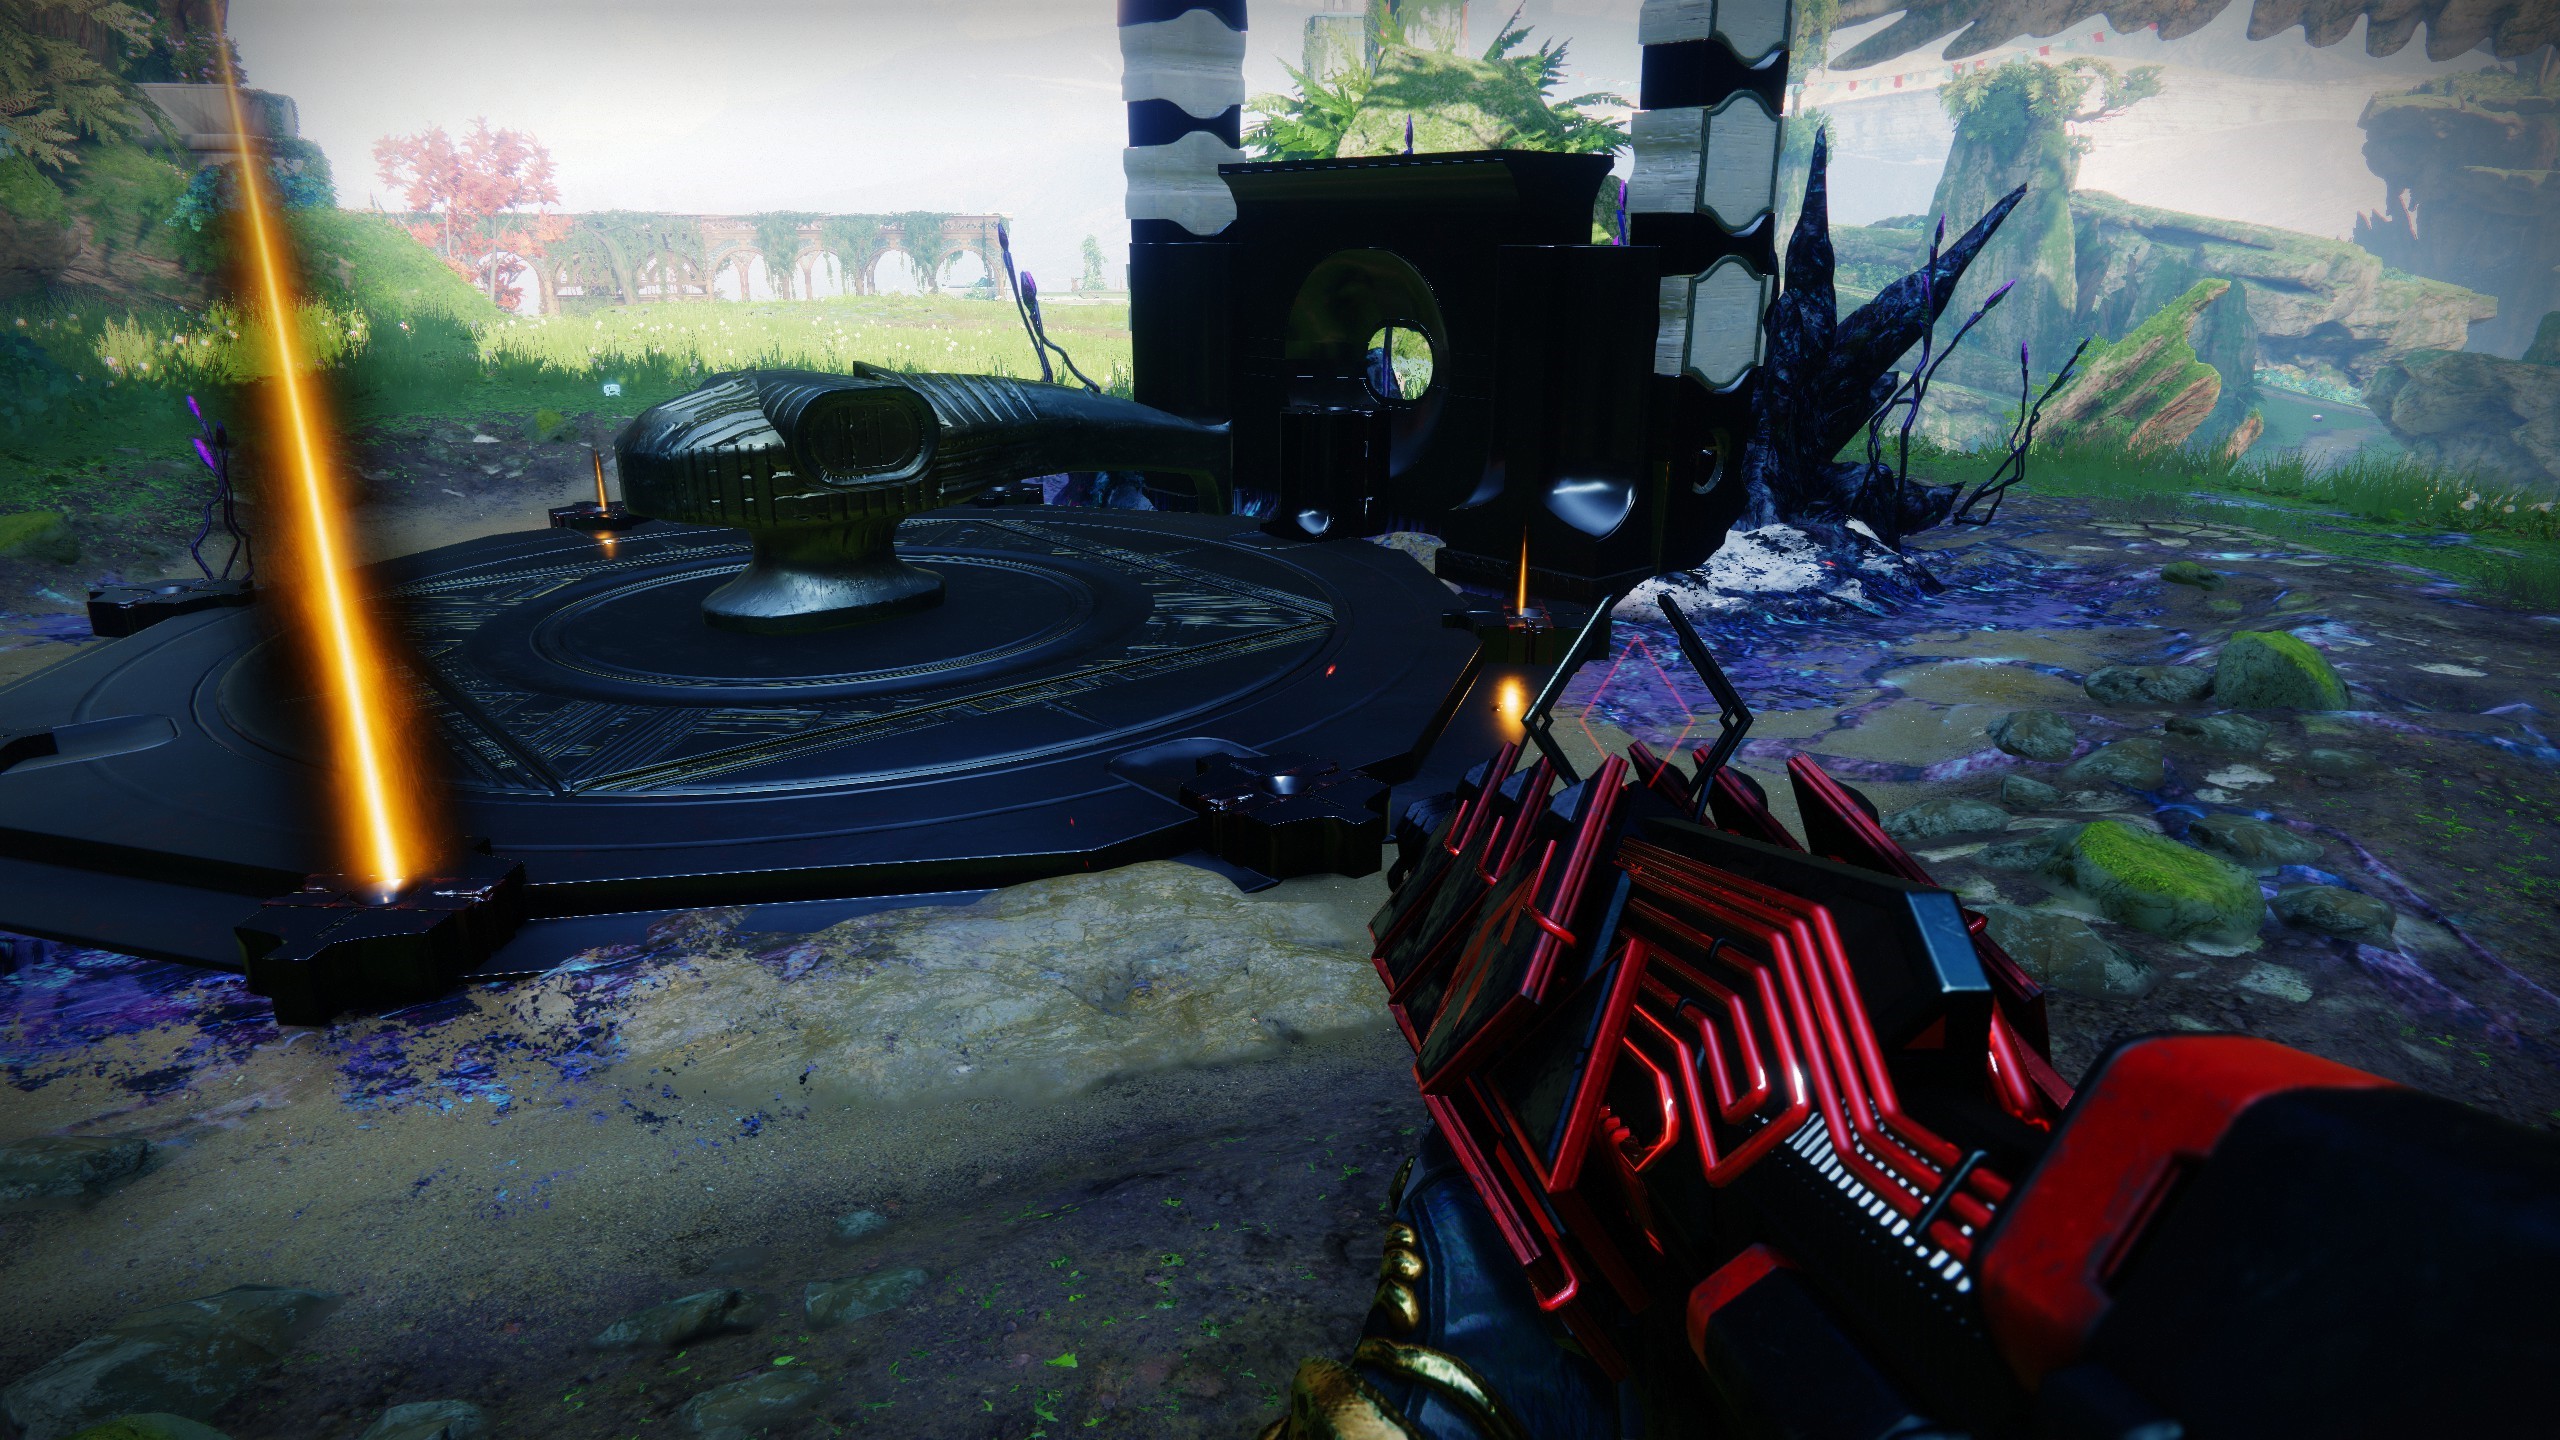
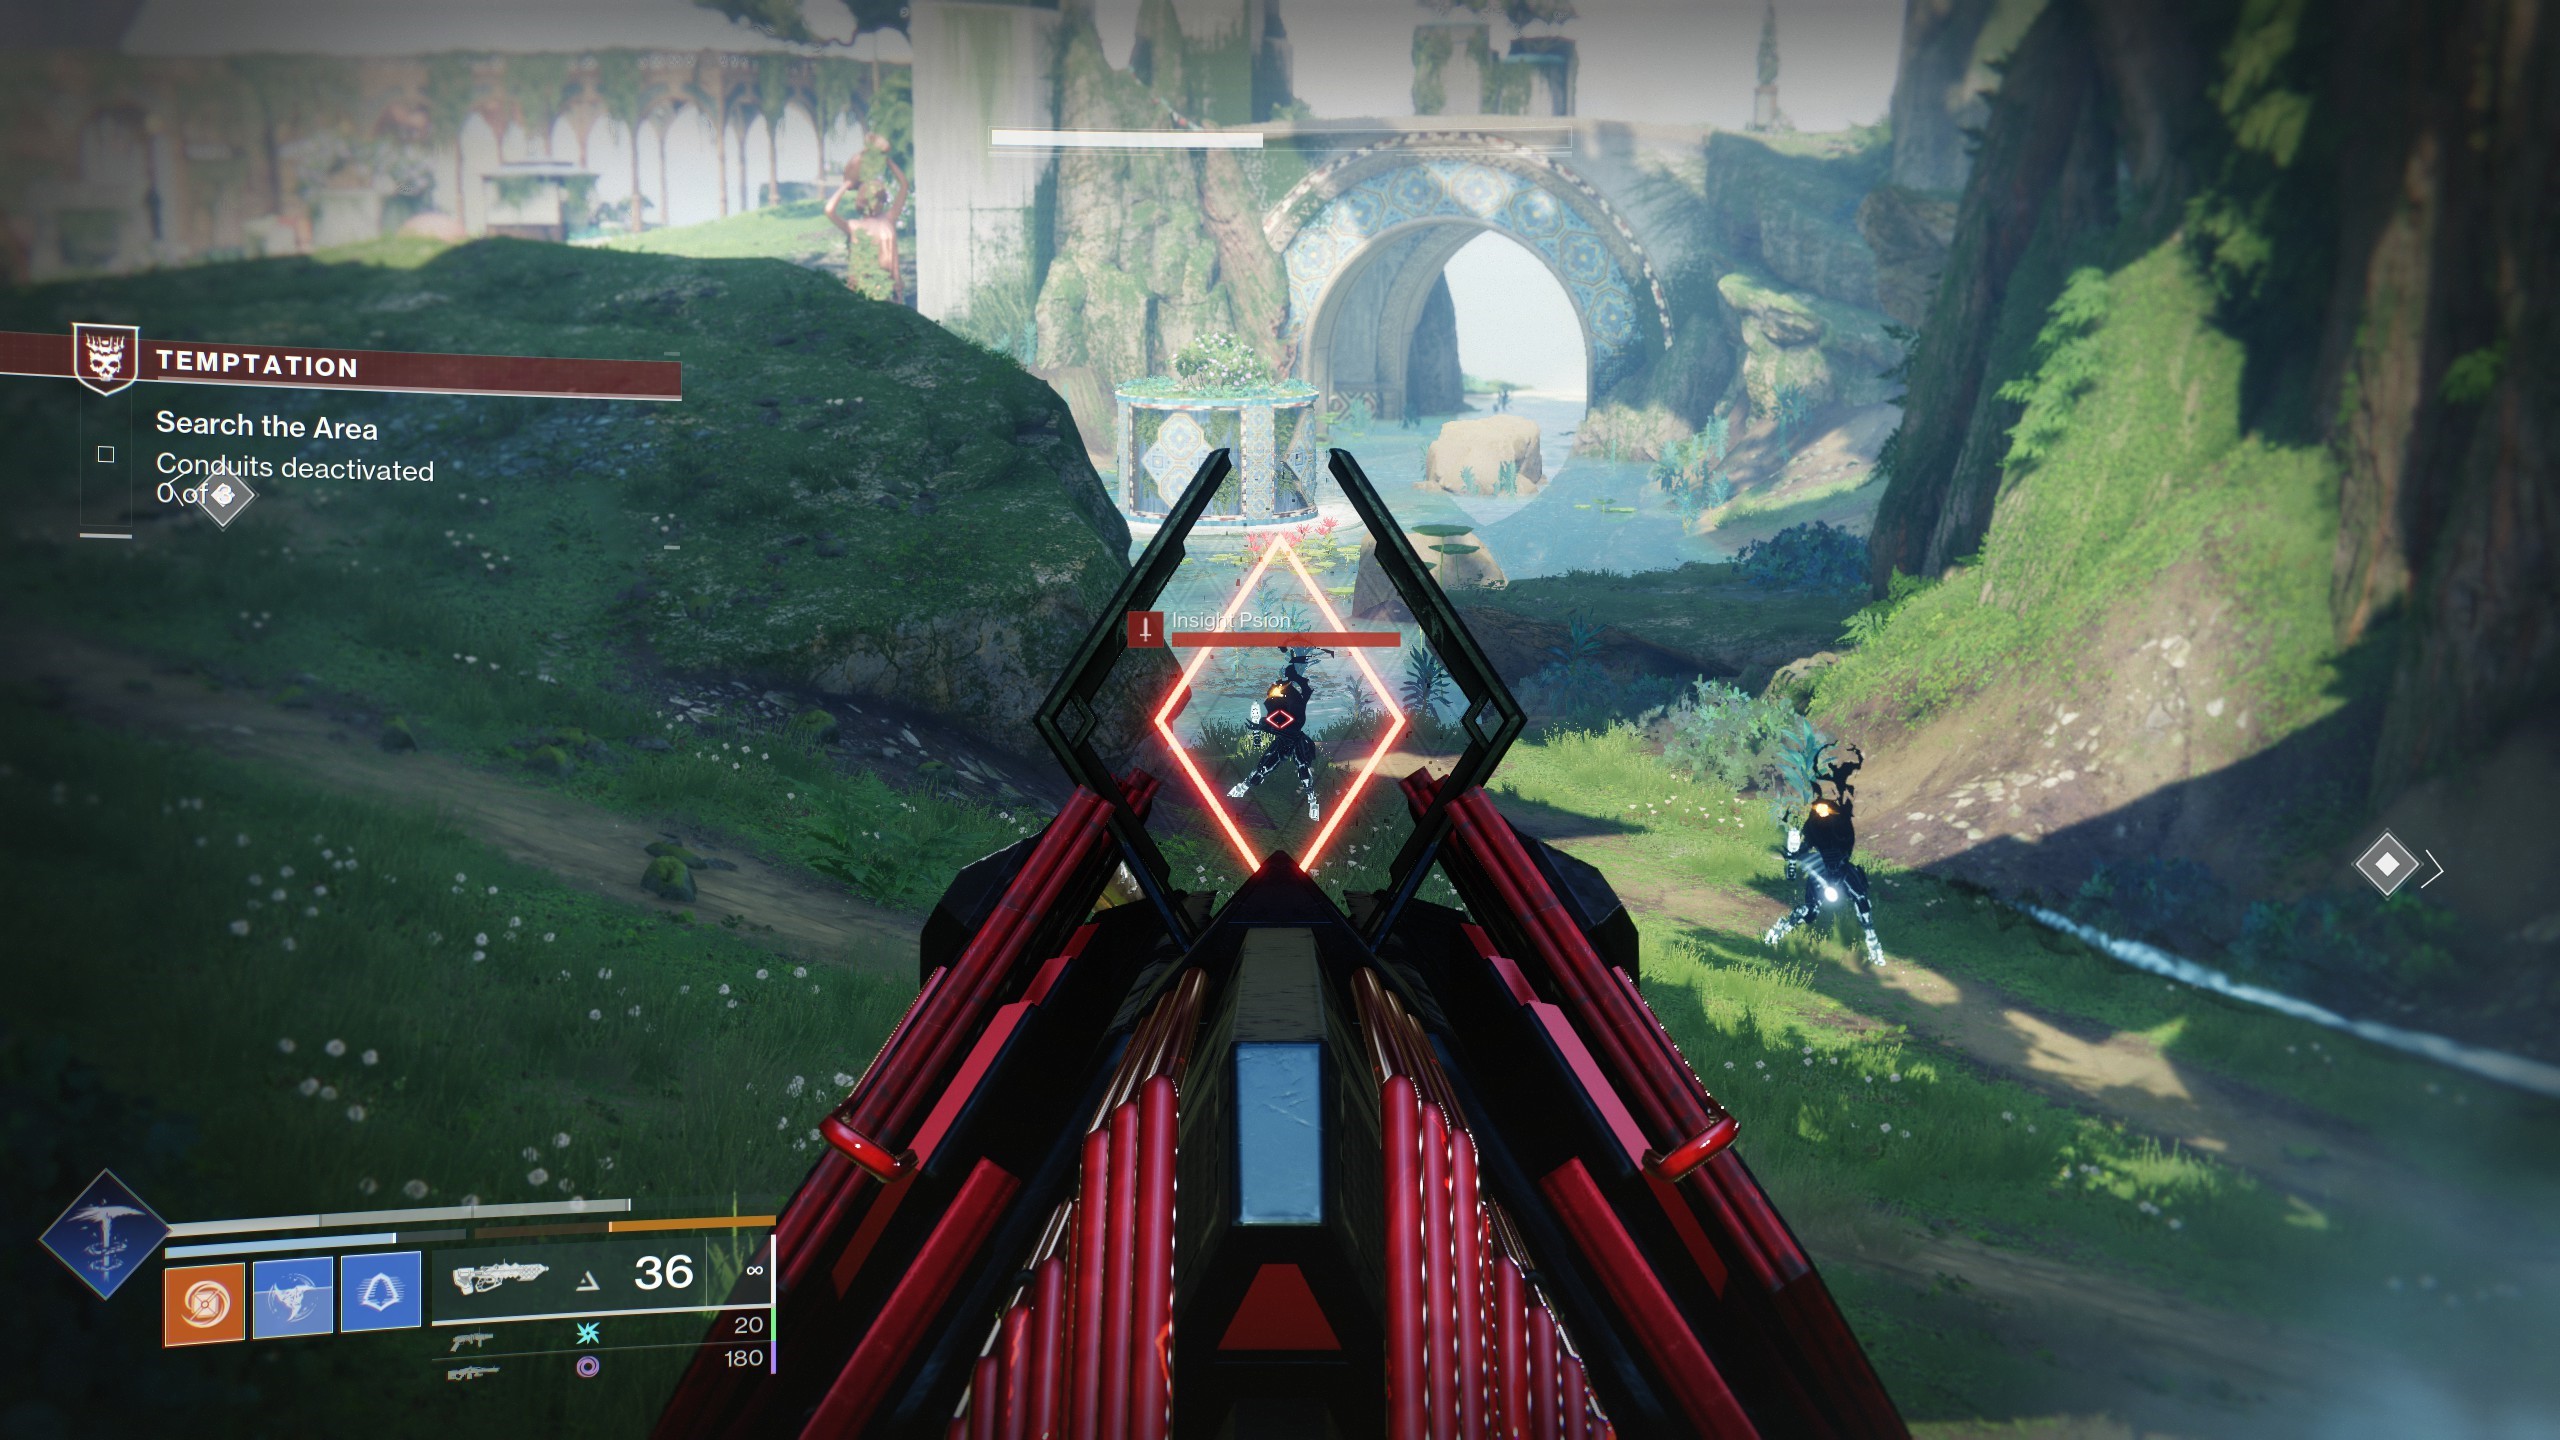
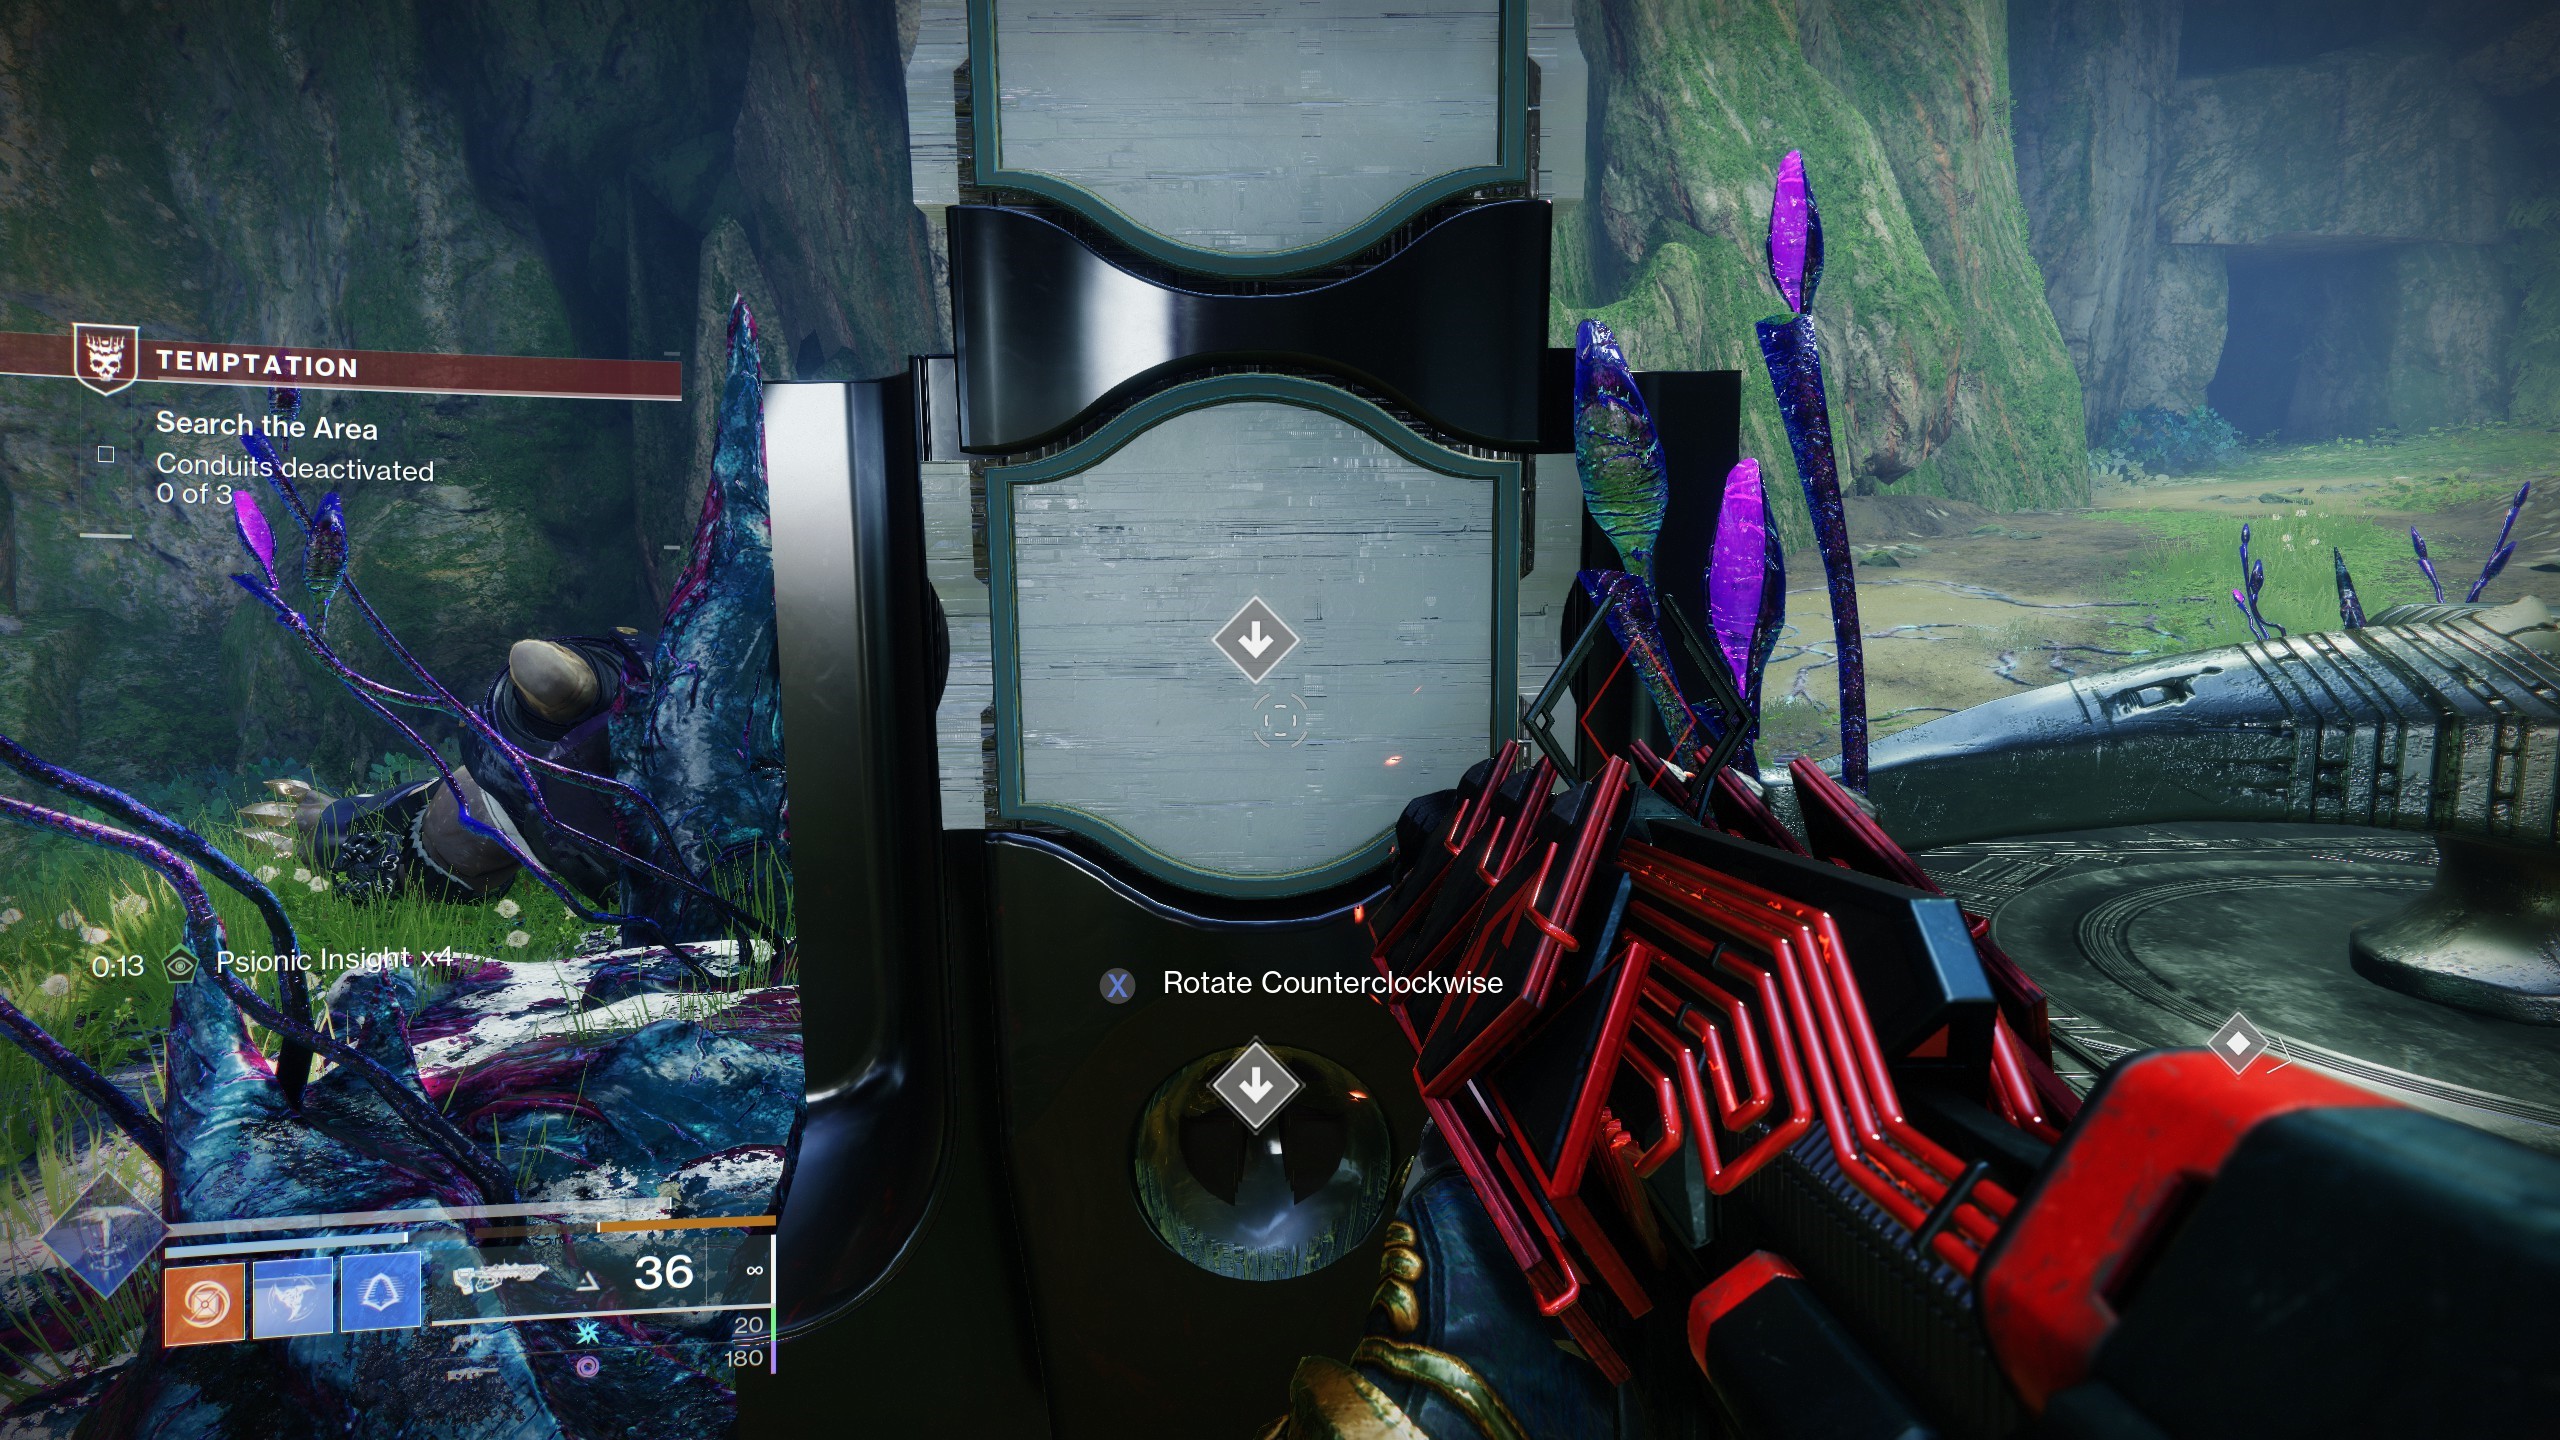
As mentioned, during the Temptation mission while searching for Crow, you'll find your path blocked by a big darkness barrier covering a cave entrance. To lower this, you'll need to search the nearby area for three clock-like conduits—each marked by a floating pyramid—and deactivate them to gain access.
Though they look pretty complex, your goal is relatively simple with these puzzles: move the clock's pointer to the glowing mark on the dial. Here's the process for doing that:
- When facing the dial, count the number of spaces the pointer will have to move—using the marks around the rim—going either clockwise (right) or counterclockwise (left) to reach the glowing mark
- You'll notice Insight Psion enemies spawning near to the conduit—usually there are six overall, split into groups of two. Killing one of these psions will give you a stack of the Psionic Insight buff
- You can deposit a stack of Psionic Insight into the conduit to move the pointer by one space either clockwise or counterclockwise, depending on the side you dunk it
- Acquire as many stacks of the buff as movements the pointer needs to make and dunk them in the appropriate side
If this is the first of the three conduits, that'll complete it, but as you move onto the next two, you'll have to repeat the positions of the previous conduits as well. For example, at the second conduit you'll have to move the pointer to two glowing marks in succession, and for the third conduit, you'll have to move it three times.
Also be careful using weapons that might harm multiple scions at once, since you may accidentally end up with more stacks than you want. Once done, the barrier will deactivate, so you can follow Crow and continue your journey to the Pale Heart of the Traveler.
Keep up to date with the most important stories and the best deals, as picked by the PC Gamer team.

Sean's first PC games were Full Throttle and Total Annihilation and his taste has stayed much the same since. When not scouring games for secrets or bashing his head against puzzles, you'll find him revisiting old Total War campaigns, agonizing over his Destiny 2 fit, or still trying to finish the Horus Heresy. Sean has also written for EDGE, Eurogamer, PCGamesN, Wireframe, EGMNOW, and Inverse.

