Where to find all the Preppers in Death Stranding
Some are mischievously hidden.
Death Stranding DOOMS: How does your birthday feature?
Death Stranding backpack: Customise your bag
Death Stranding tar belt: How to cross safely
Death Stranding cameos: Spot every familiar face
Death Stranding BTs: Avoid or fight them
If you’re looking to expand your delivery empire, you’ll need to locate all 36 Death Stranding Preppers. Finding each one—including the Death Stranding Collector—helps you complete the world's internet infrastructure, or 'Chiral Network'. They also give Sam some helpful upgrades. Now that Death Stranding has finally released on PC, I'm here to help you locate each Prepper, especially the hidden ones that aren’t introduced naturally in the main story.
I’ve listed each Prepper alongside various Death Stranding cameos in order of appearance, so you won't need to take too many time-consuming detours. If you’re missing a few there should be a reference point nearby to help you get your bearings. You can rely on your Odradek device to find shelters and, if you see lost cargo with a new Prepper name, pick it up to have the location marked automatically on your map.
All Death Stranding Prepper locations
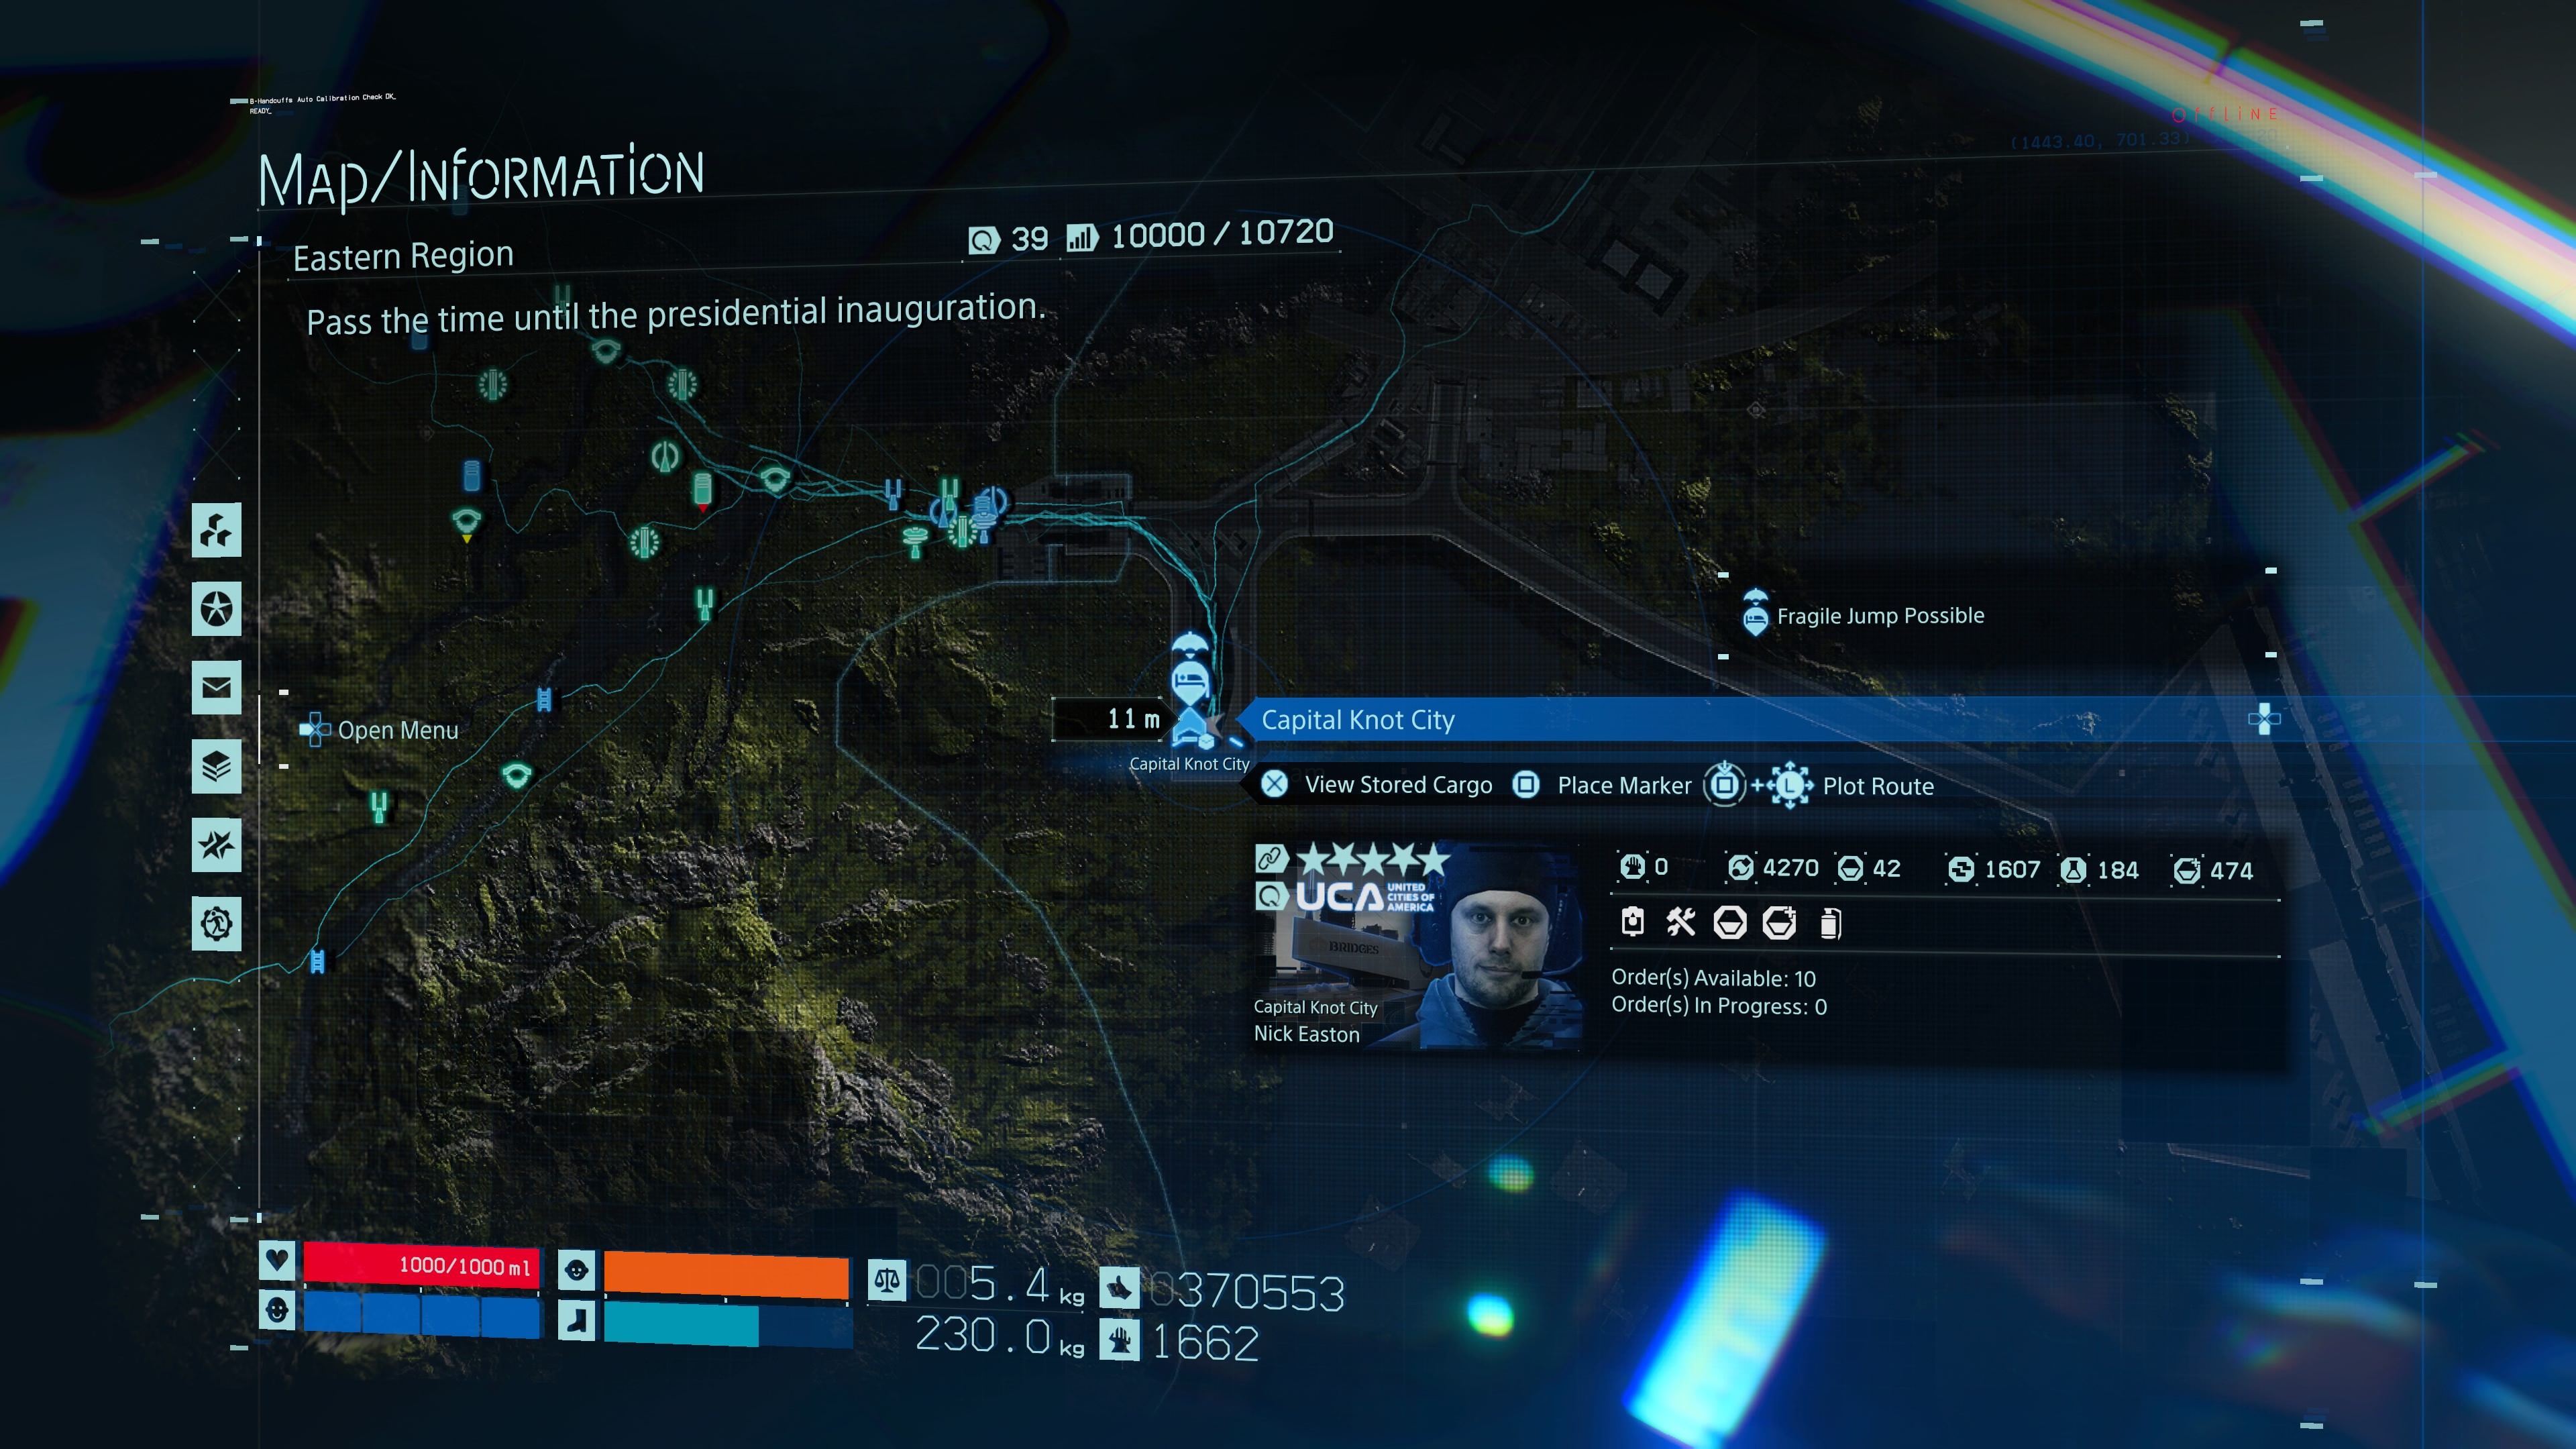
Capital Knot City
Article continues belowThis is the first station in the game, and you’ll arrive here during the narrative. No need for any further instructions here.
Peter Englert
Peter is found in a shelter directly west of Lake Knot, but there’s no point in visiting him unless you’ve been asked to deliver pizza to his premises. His shelter is shut… for now.
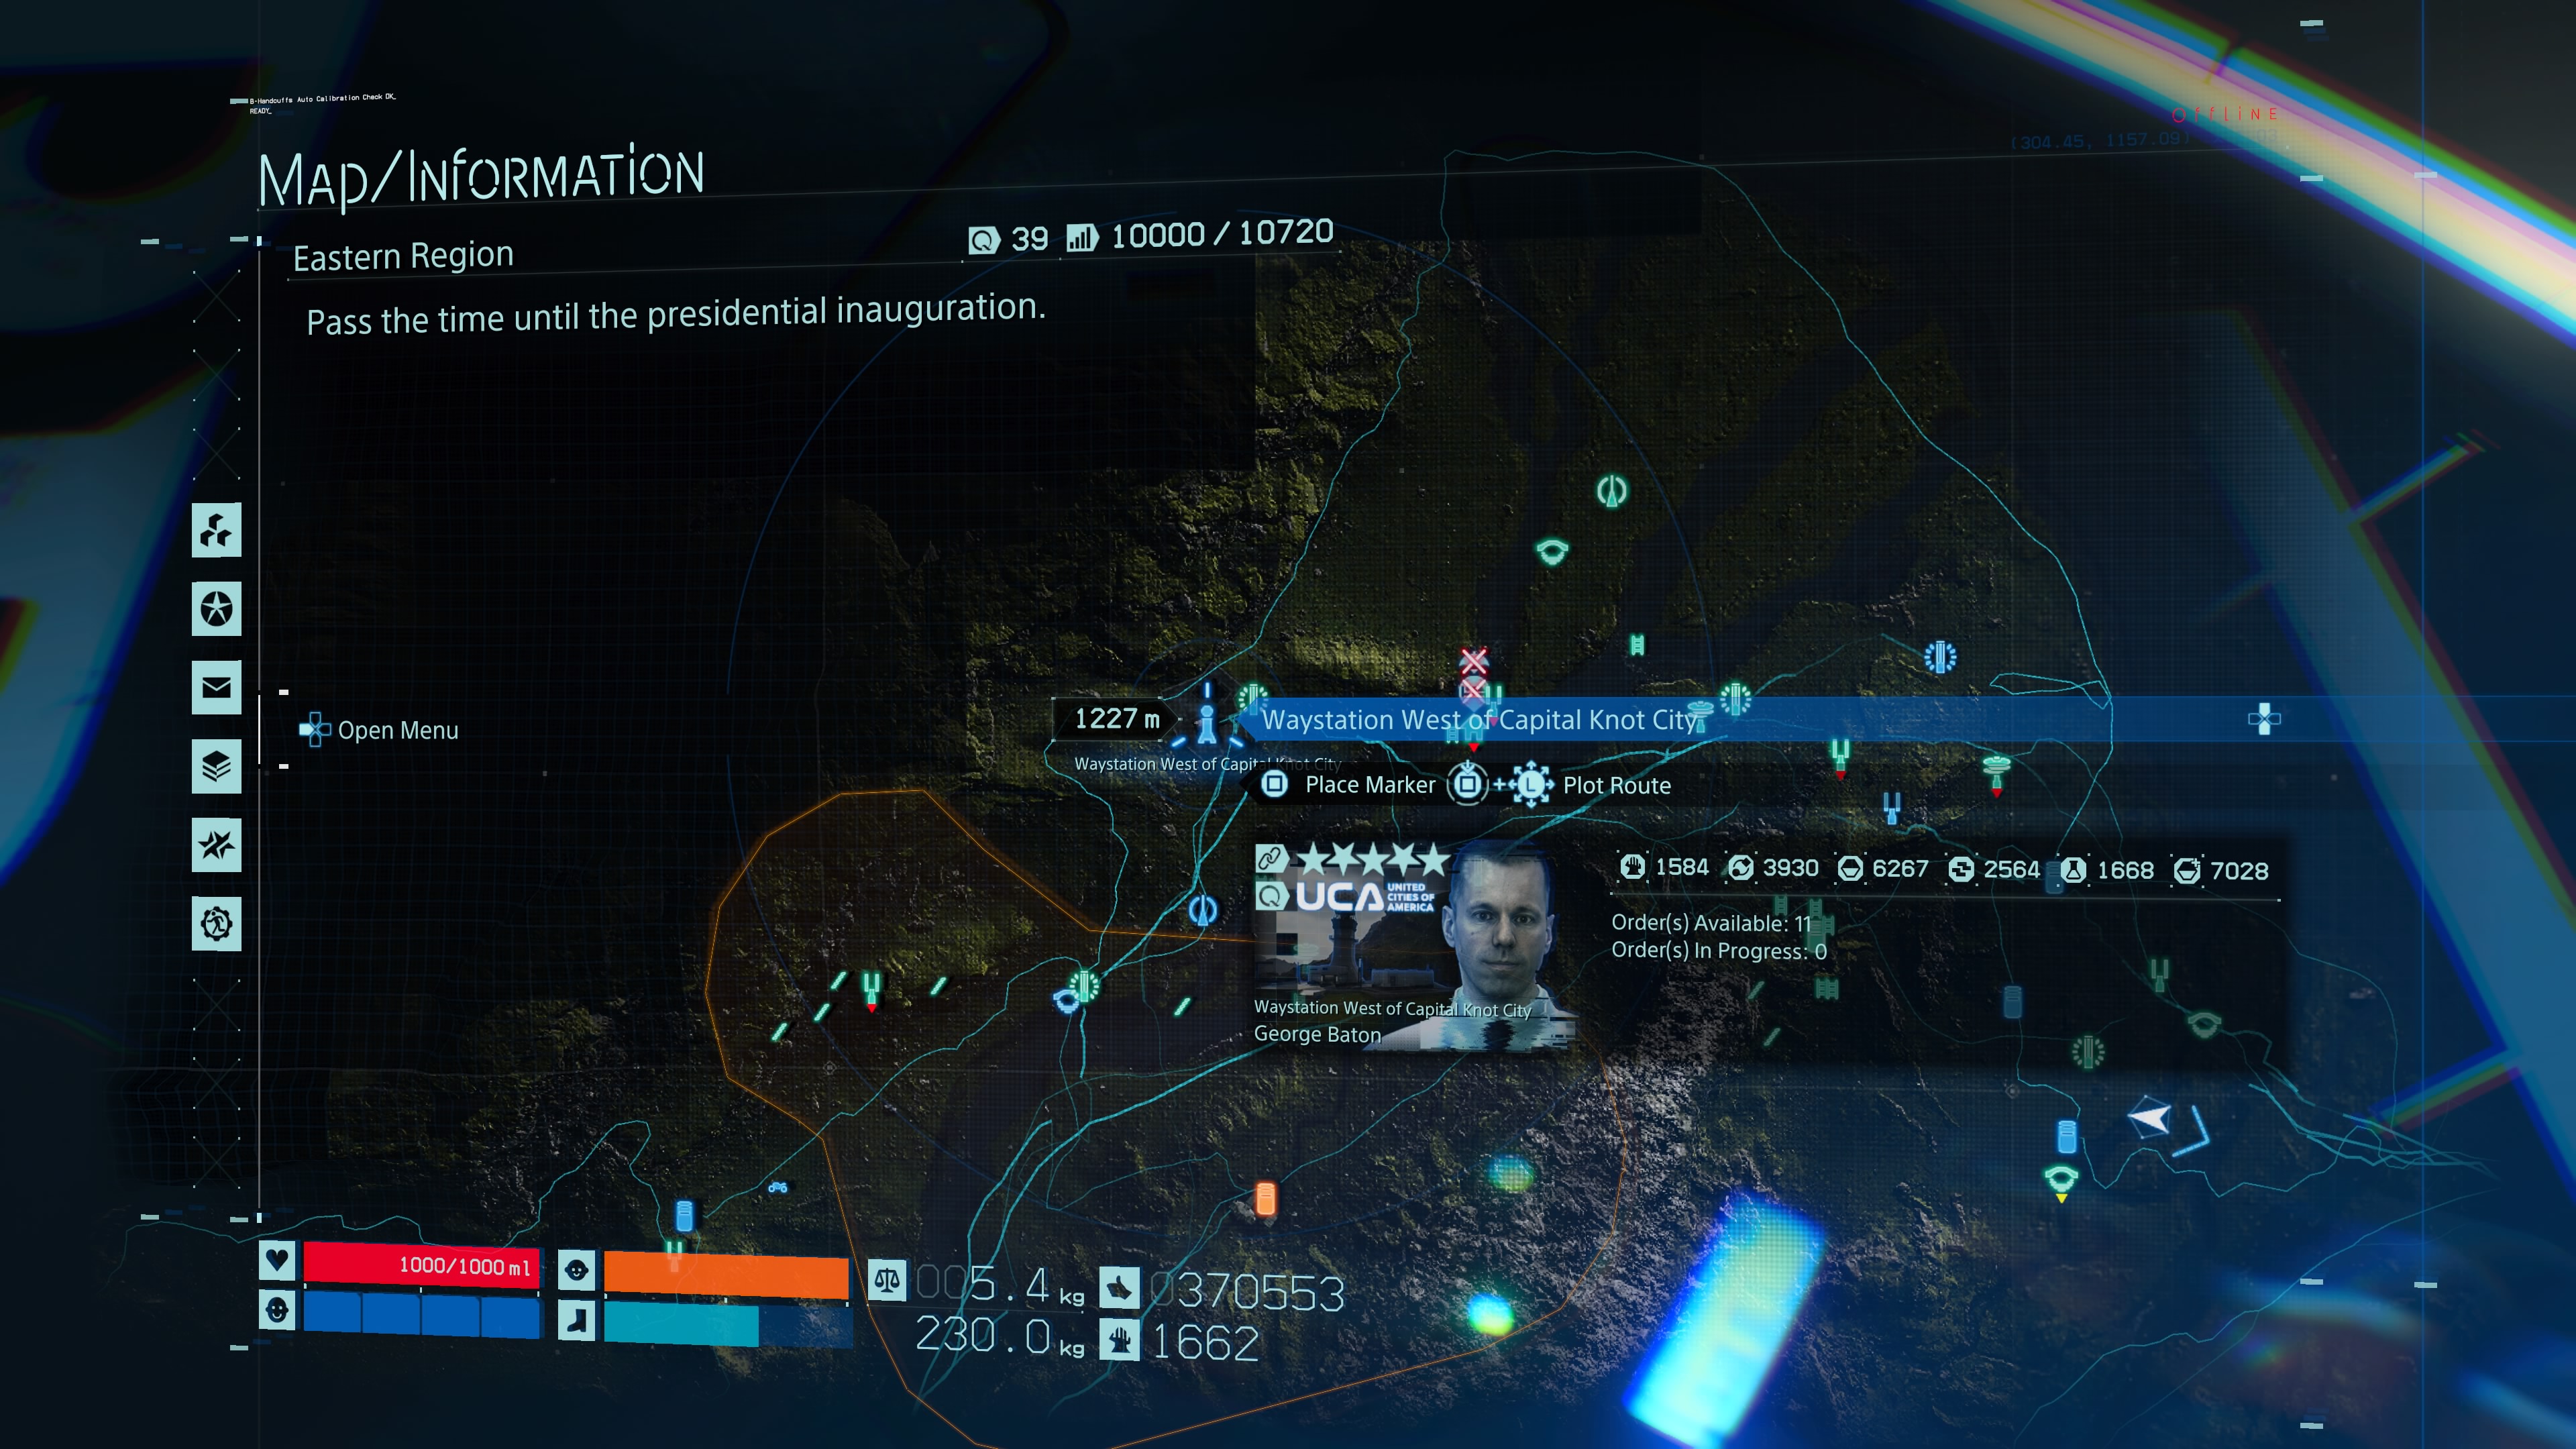
Waystation west of Capital Knot City
Keep up to date with the most important stories and the best deals, as picked by the PC Gamer team.
One of your first missions is to deliver something here. You have to scale a peak to get into the Eastern Region from Capital Knot. From there, just keep going straight ahead and you should find it with your scanner.
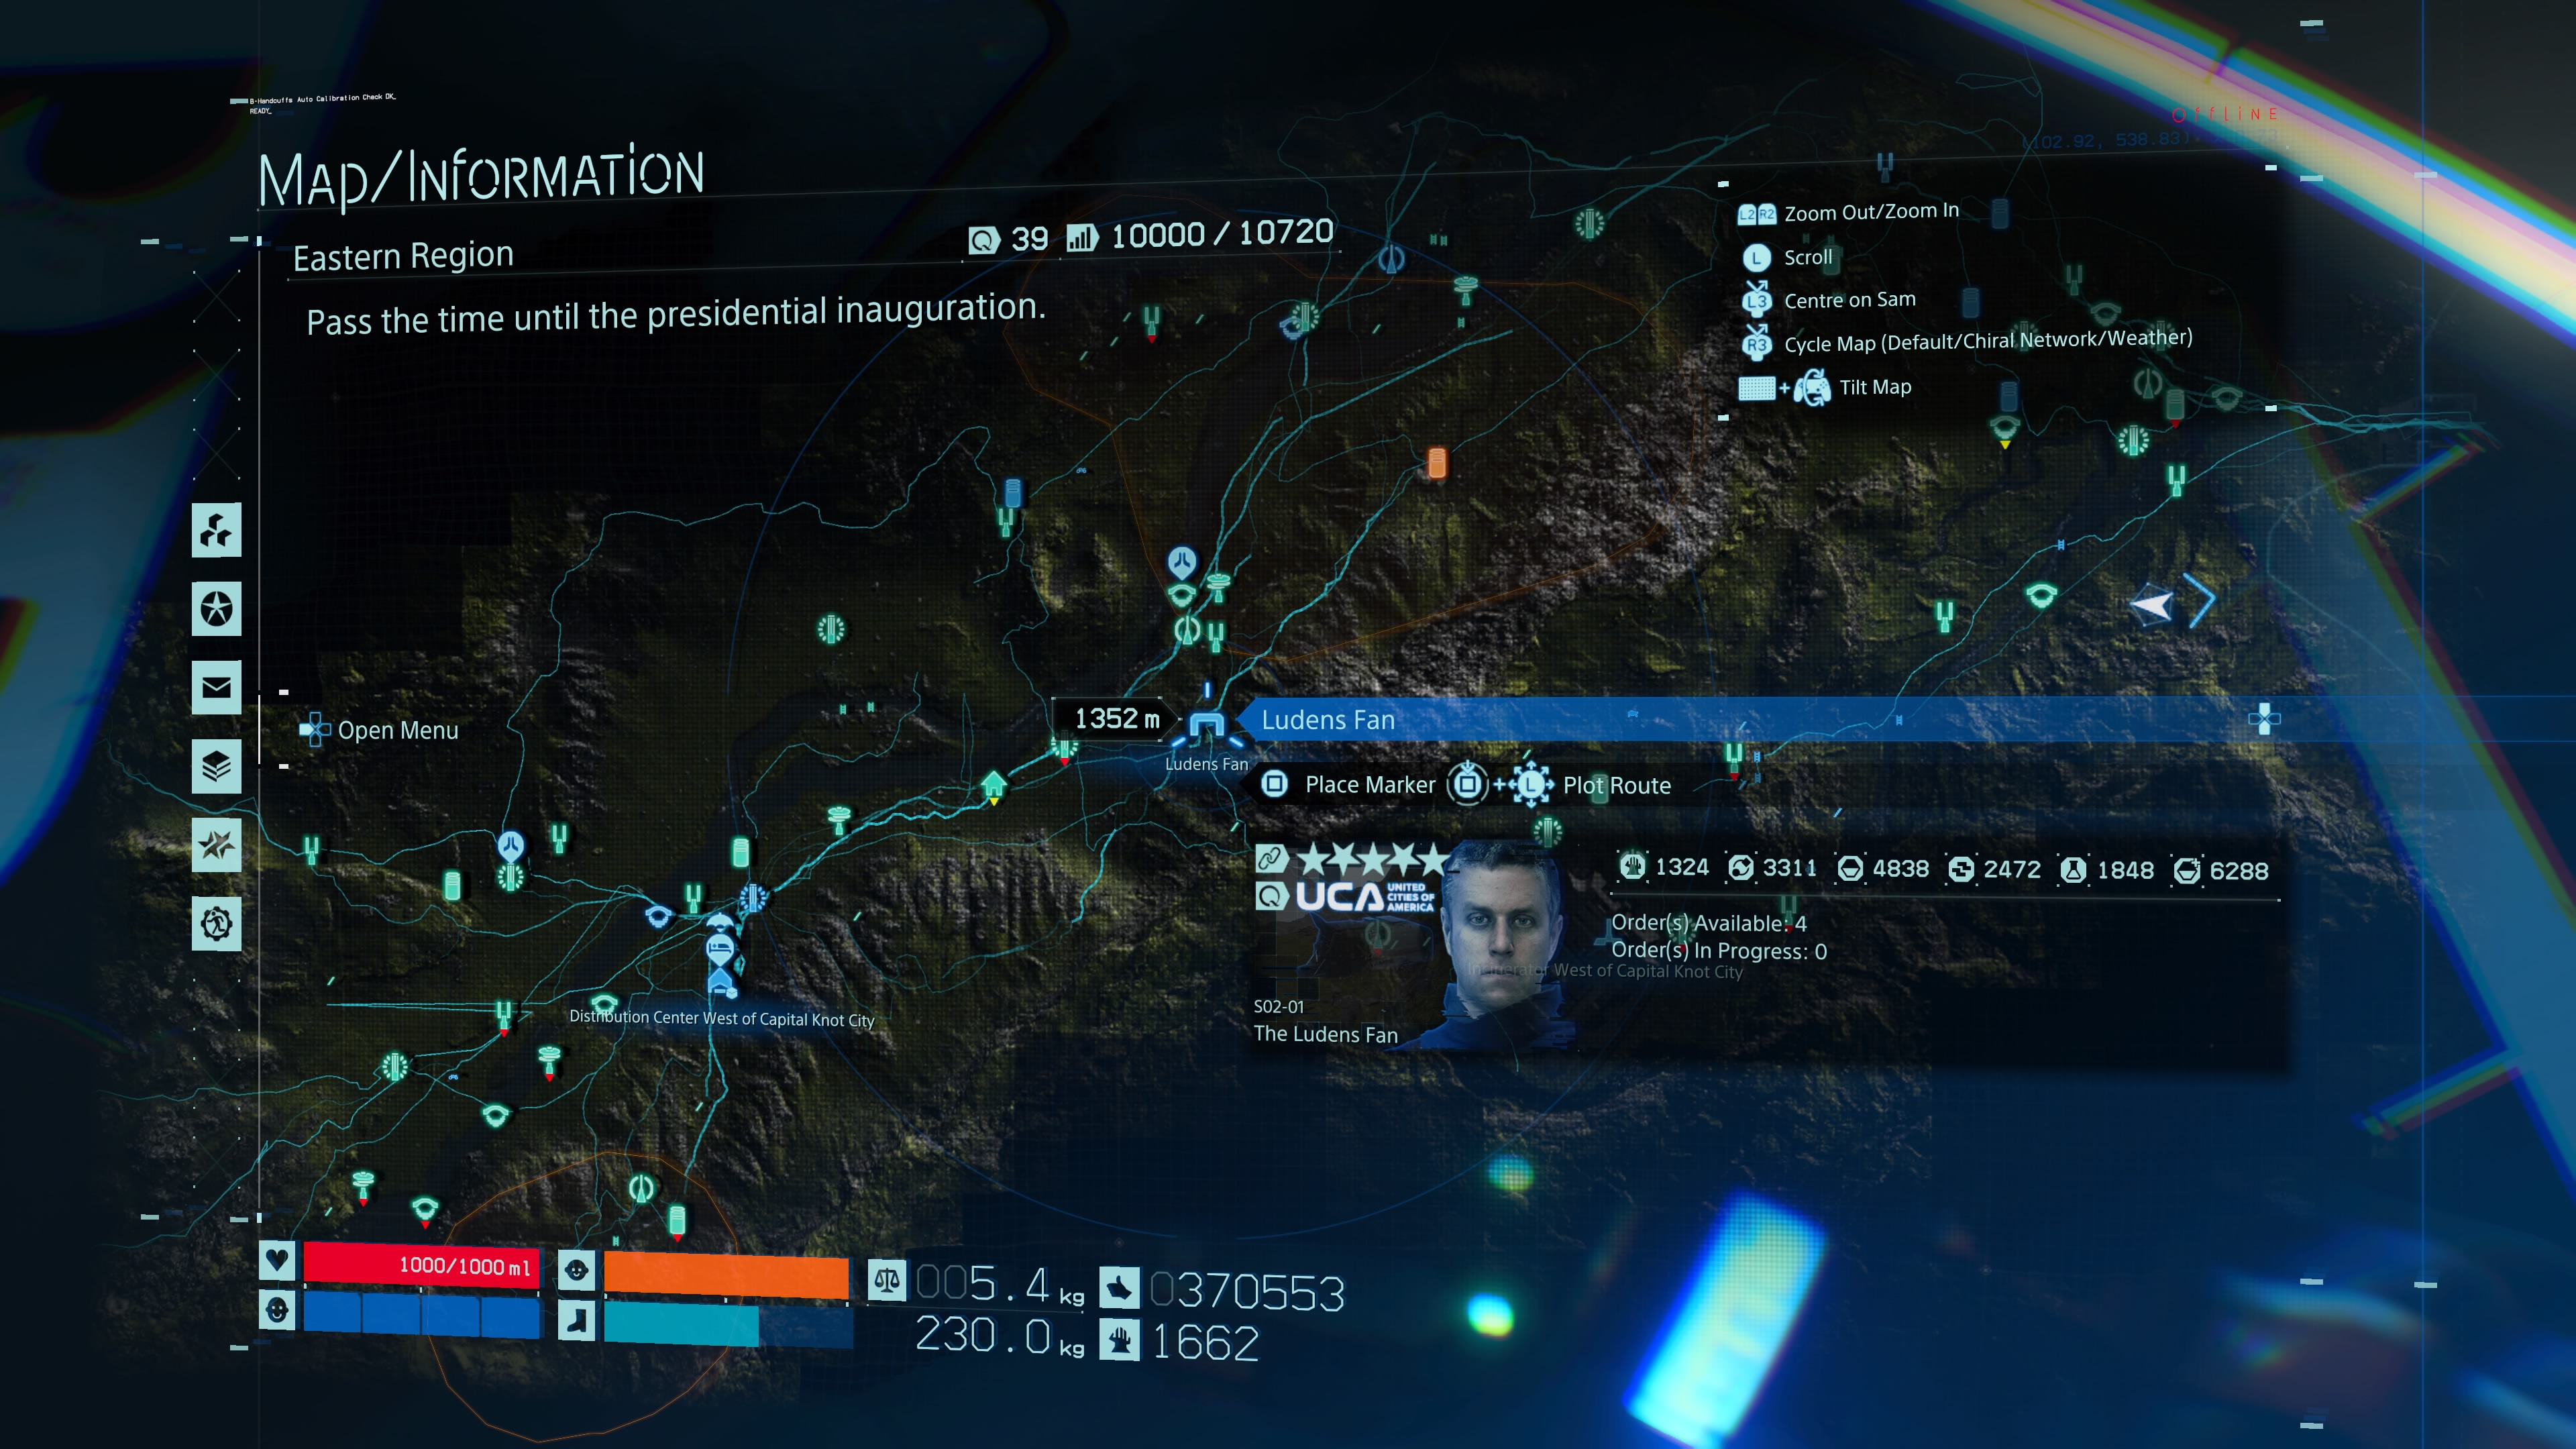
Ludens Fan
Geoff Keighley is hiding in the mountains between Capital Knot City and the western distribution centre and is the first hidden Prepper in Death Stranding. You should find a MULE camp on your way up the side of the mountains, get past that and keep pinging with your Odradek and you should see the Kojima Productions logo on the side of his shelter soon enough.
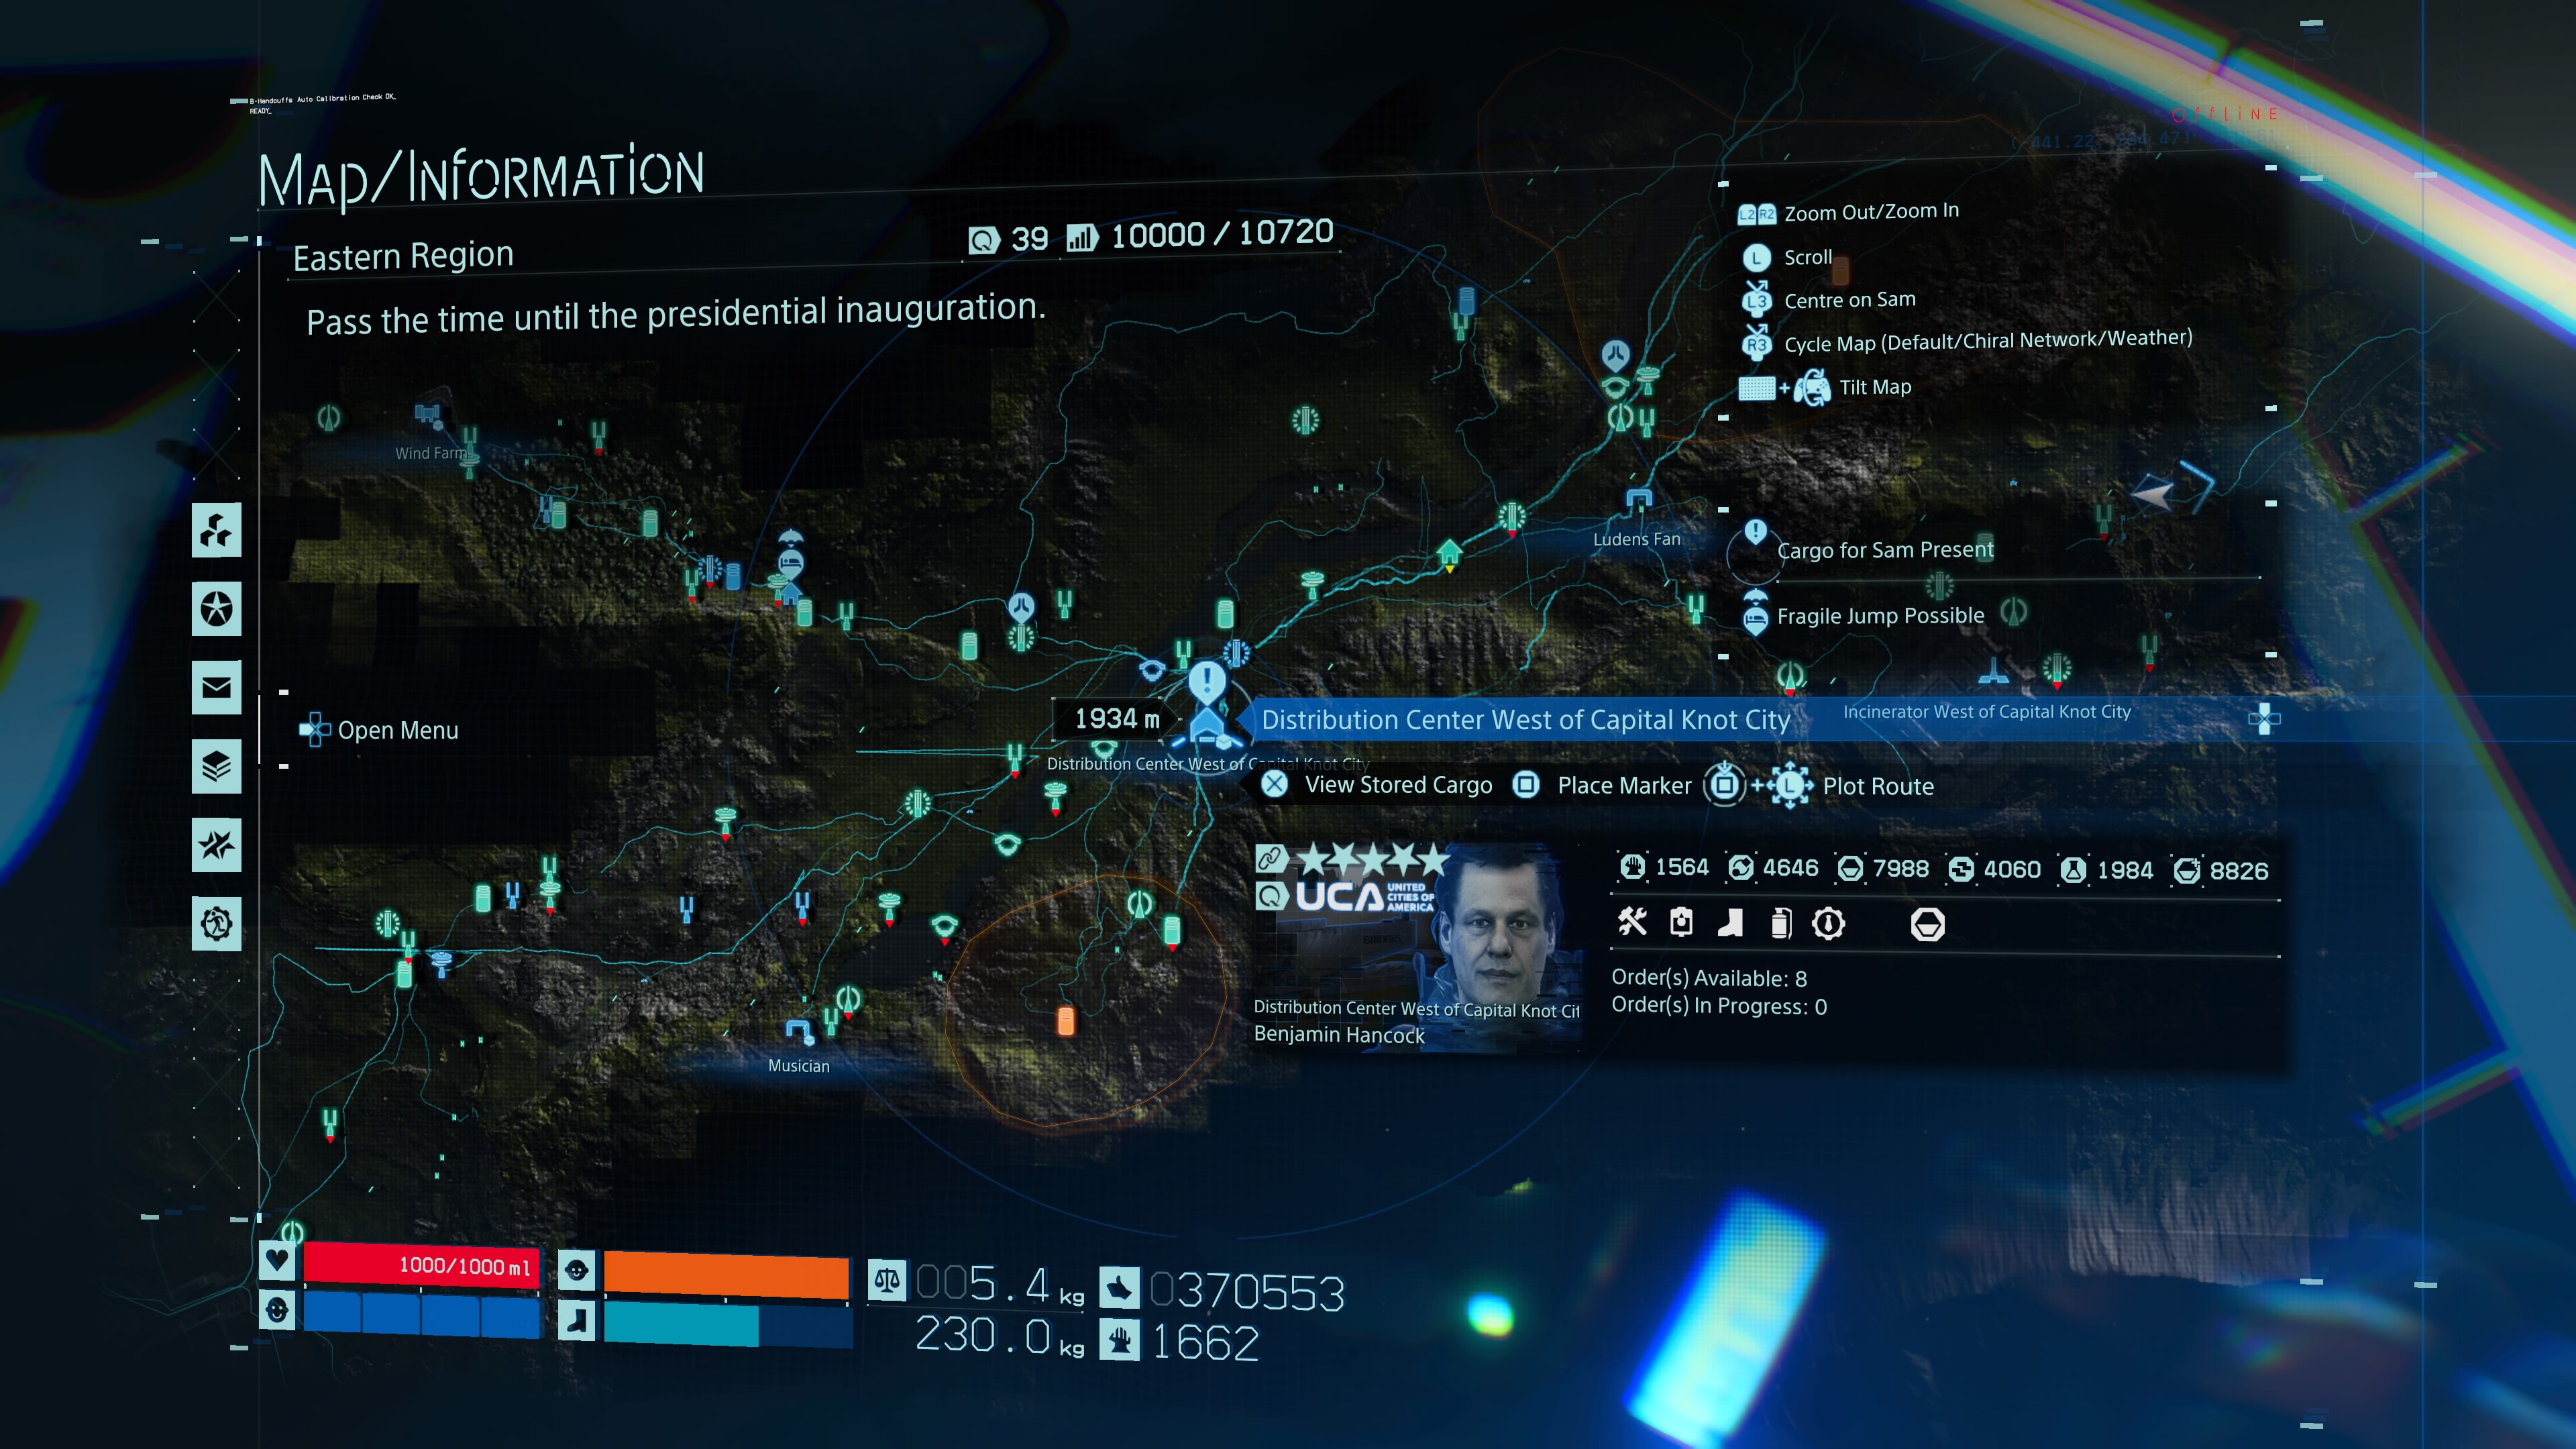
Distribution Centre West of Capital Knot City
You head here during one of the first missions in Death Stranding, but it’s in the centre of the Eastern Region and very easy to spot. It’s a massive jagged artefact in the landscape that offers your first garage and private room.
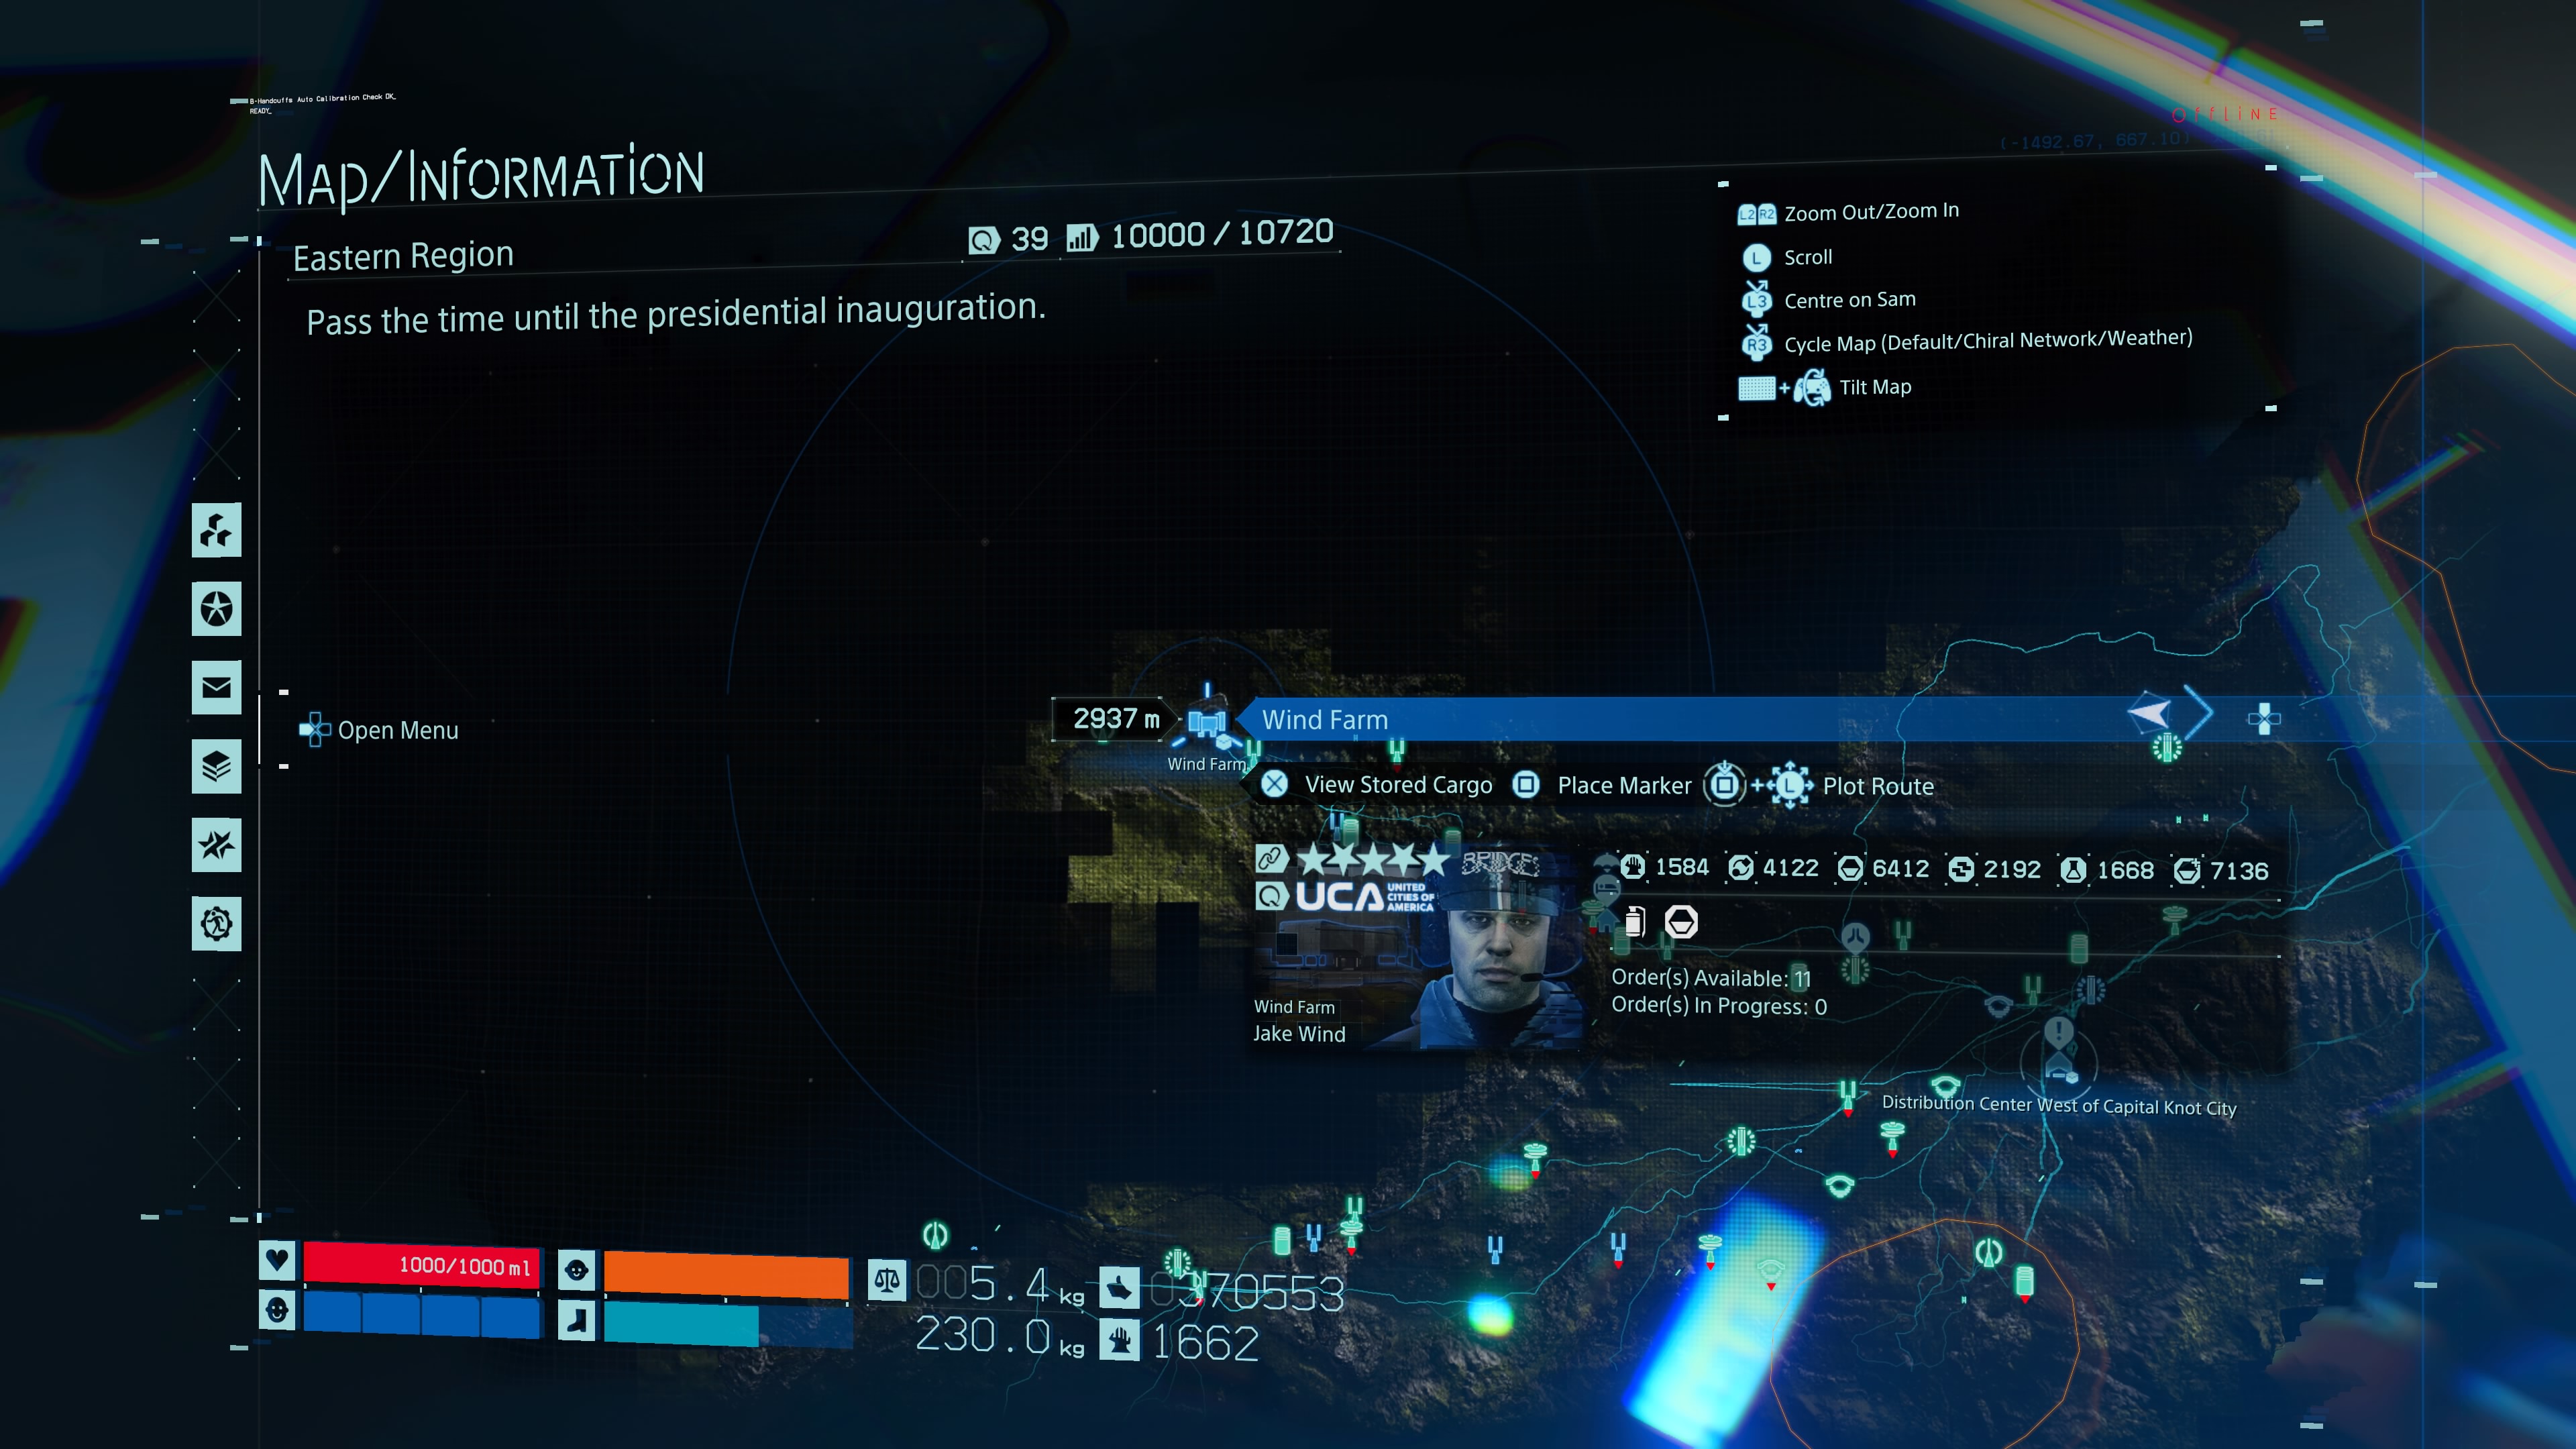
Wind Farm
Once you’ve found the above Prepper you’ll be tasked shortly after with delivering something to the Wind Farm, which is straight across from it and high up in the mountains. Scale the hill and brave the weather and you should tumble into a forested area where you’ll have your first (or second, depending on how you play) BT encounter. The Wind Farm is waiting shortly after.
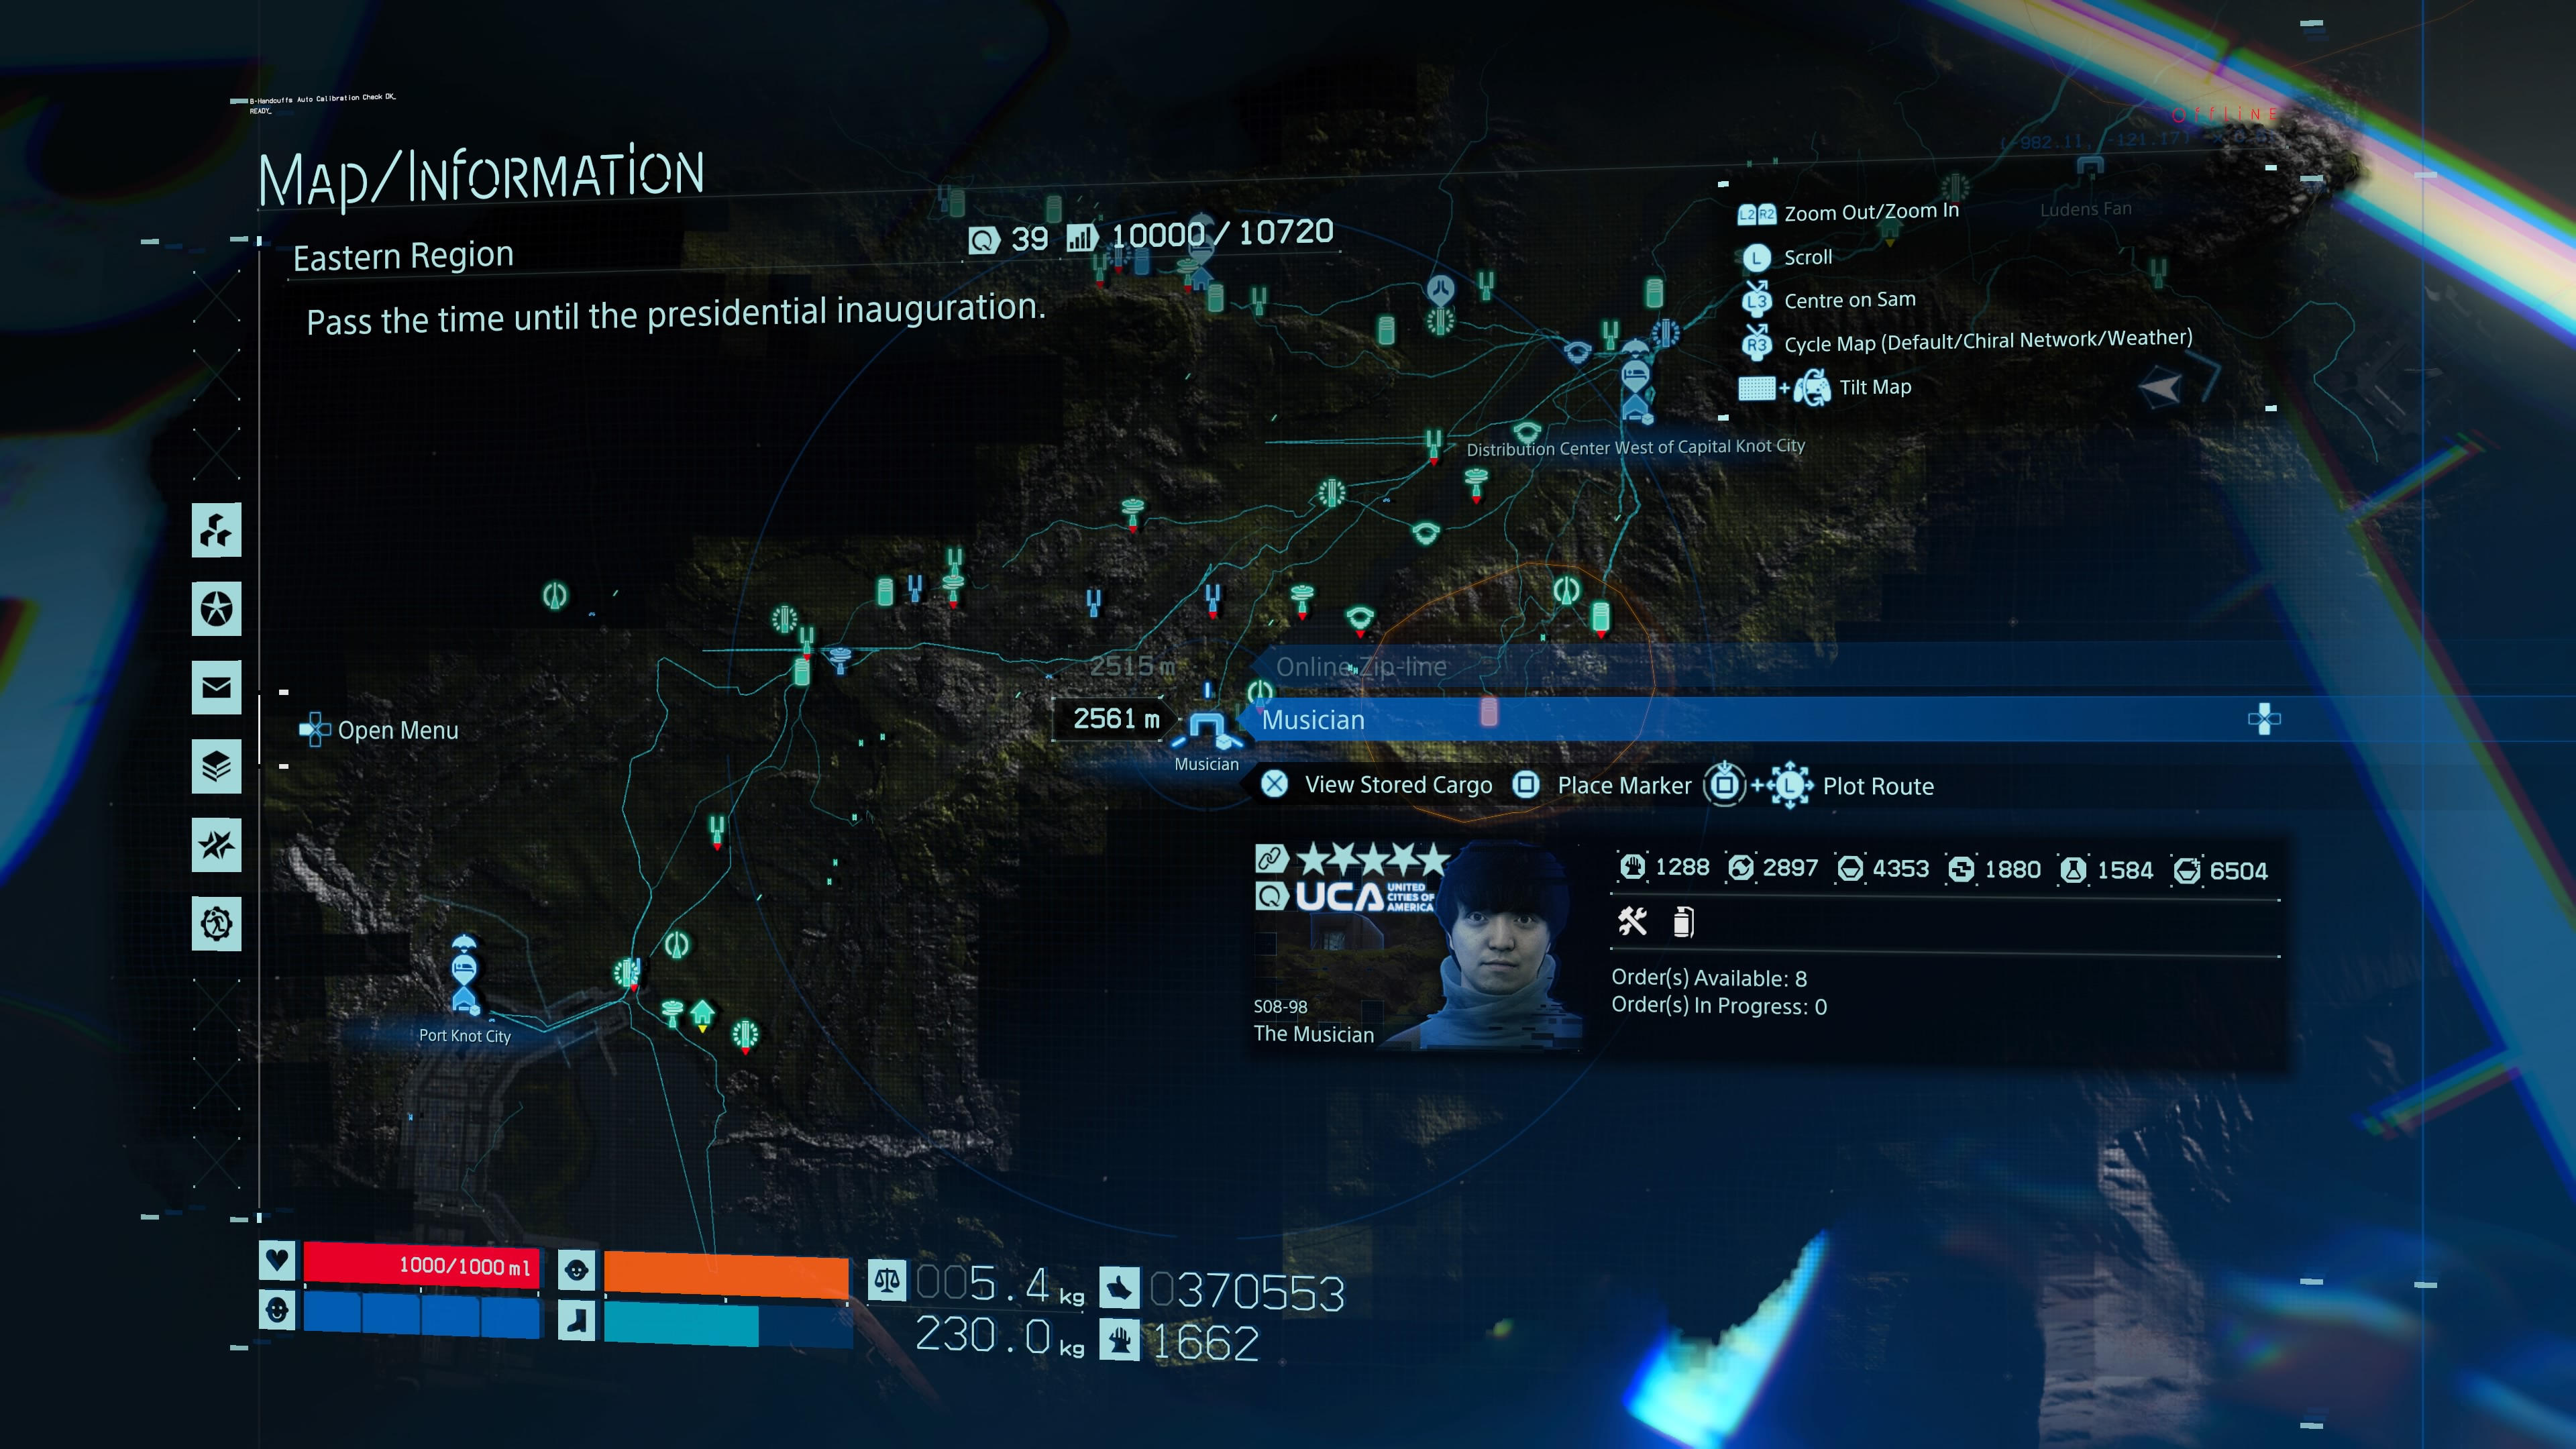
Musician
One of the final missions in the Eastern Region in Chapter 2 tasks you with deliver something from Capital Knot to Port Knot City, on opposite sides of the map. On your way past the distribution centre to Port Knot, head left before you enter the valley and you should see a waterfall. Up above the waterfall is where the Musician is waiting.
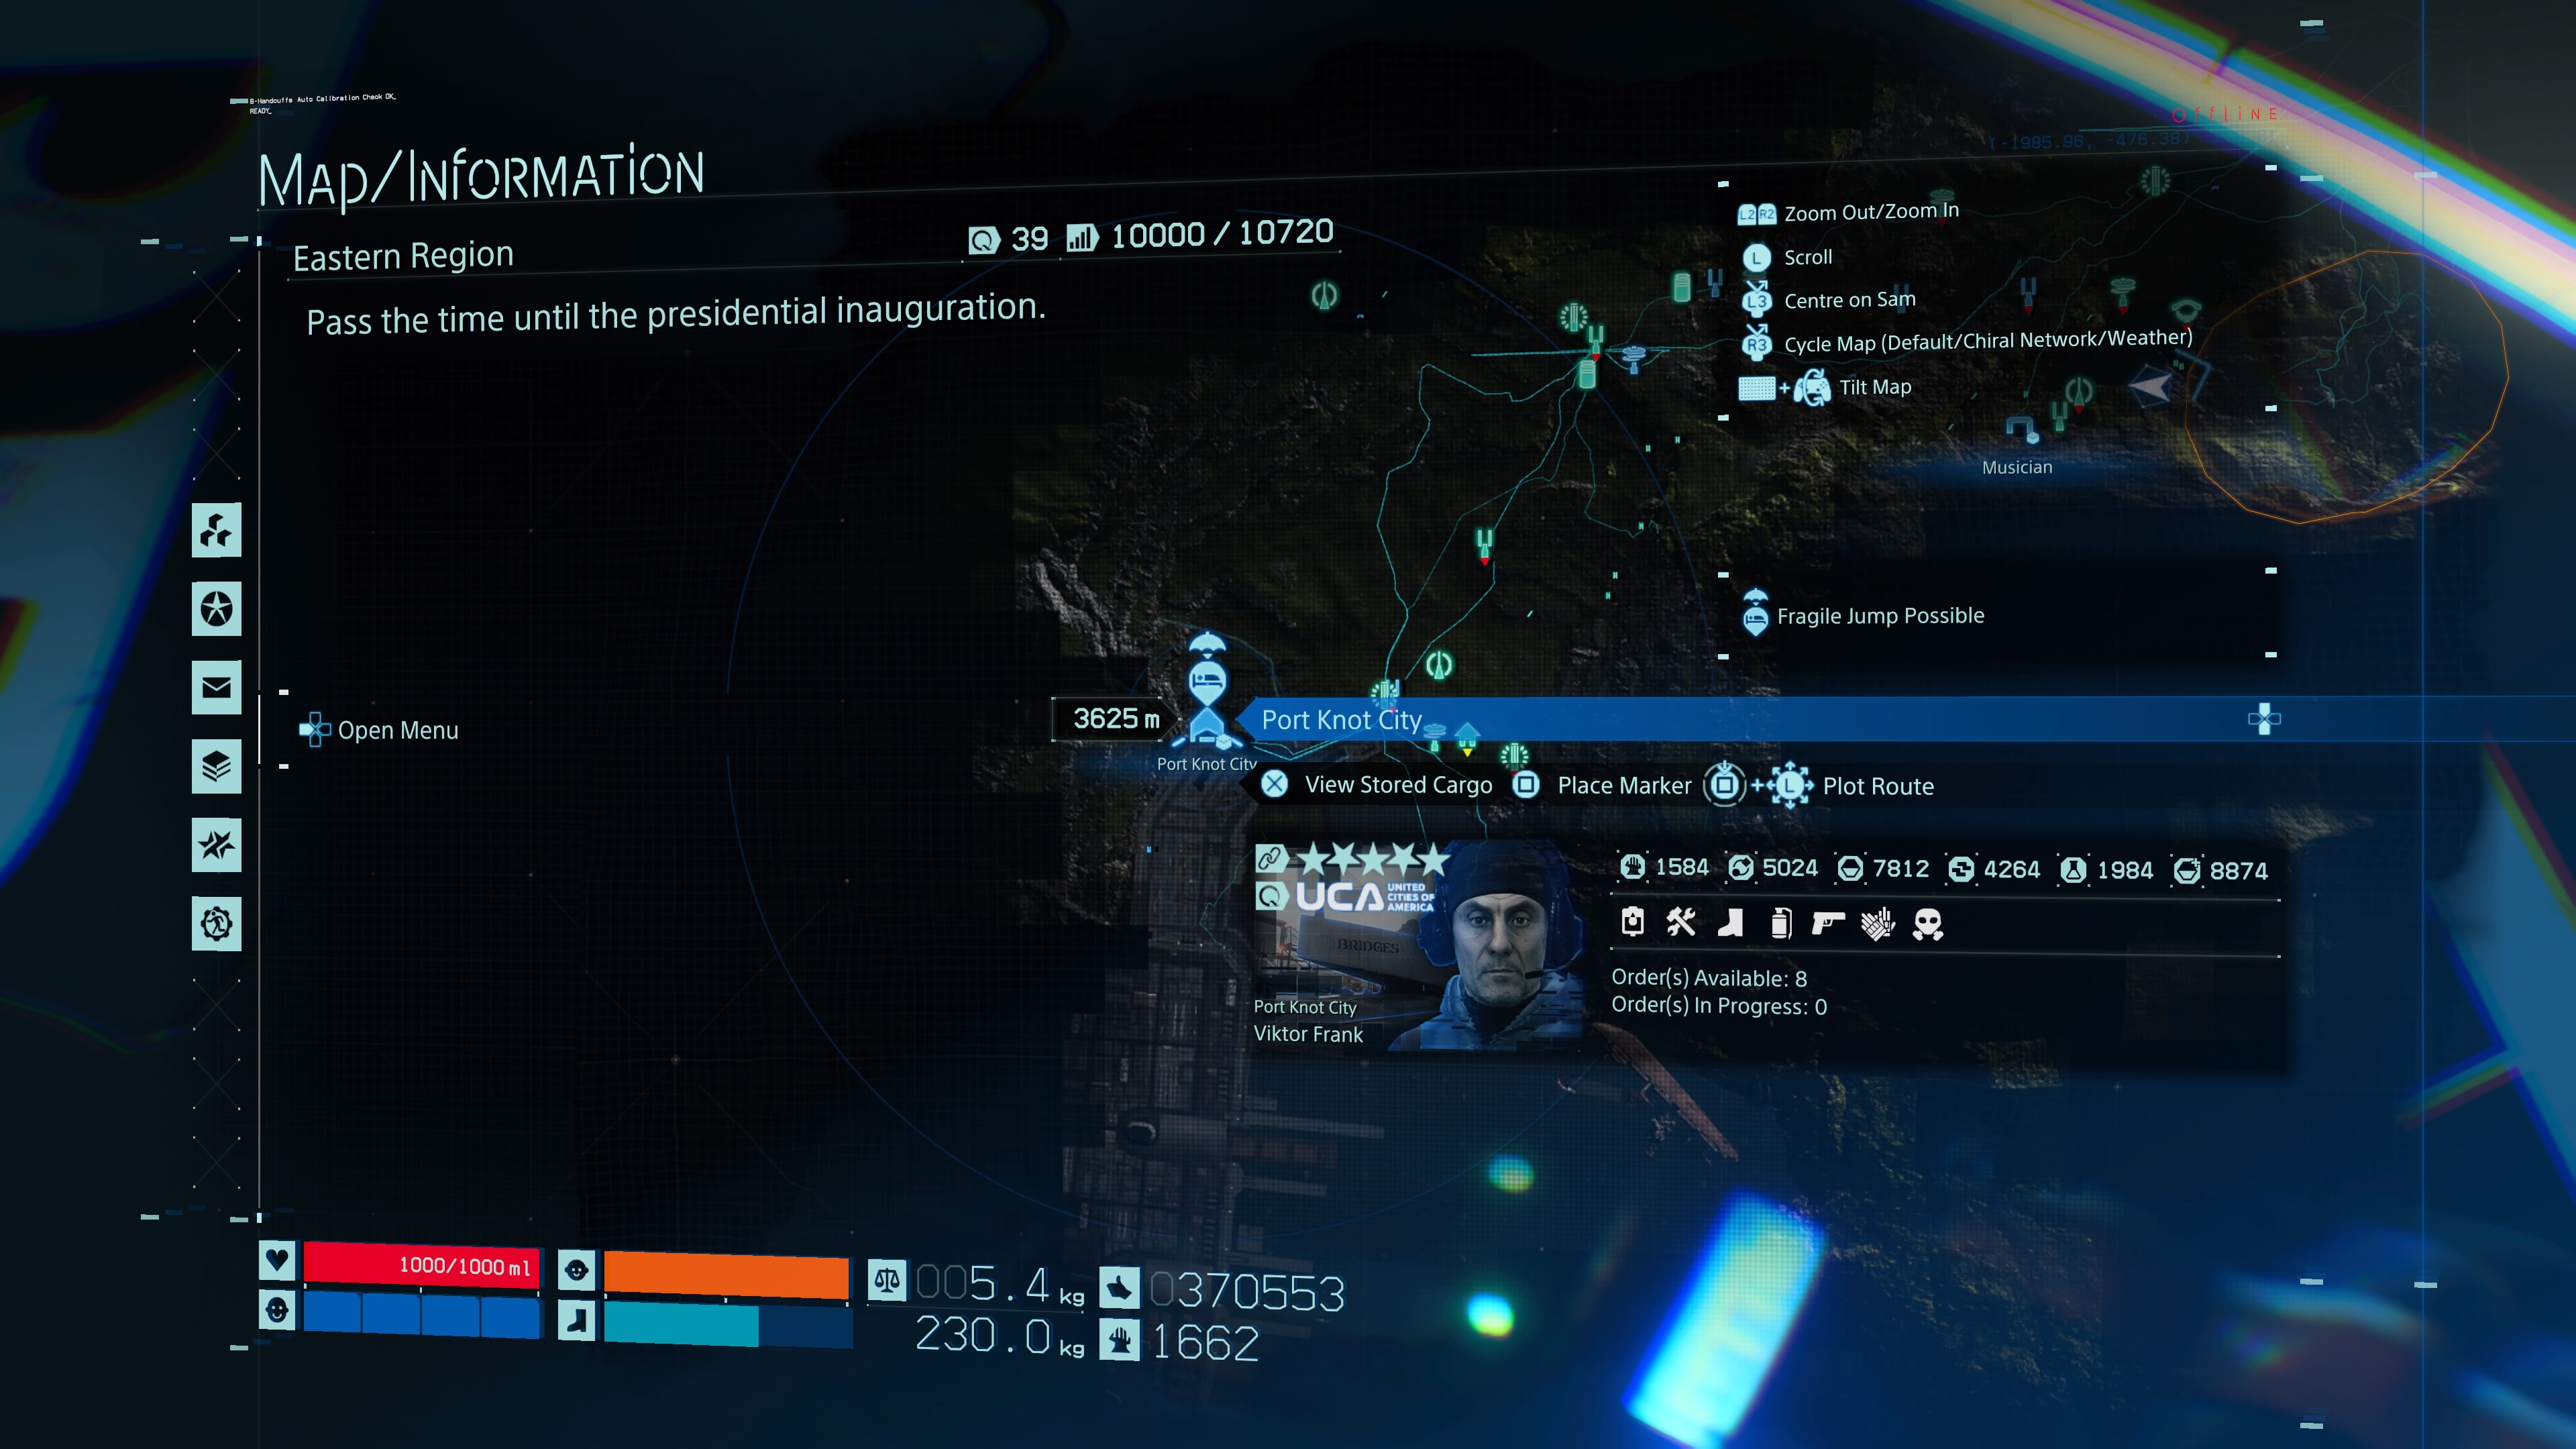
Port Knot City
You’ll discover this during an early story mission, but it’s on the opposite end of the Eastern Region to Capital Knot City, past the BT-filled valley.
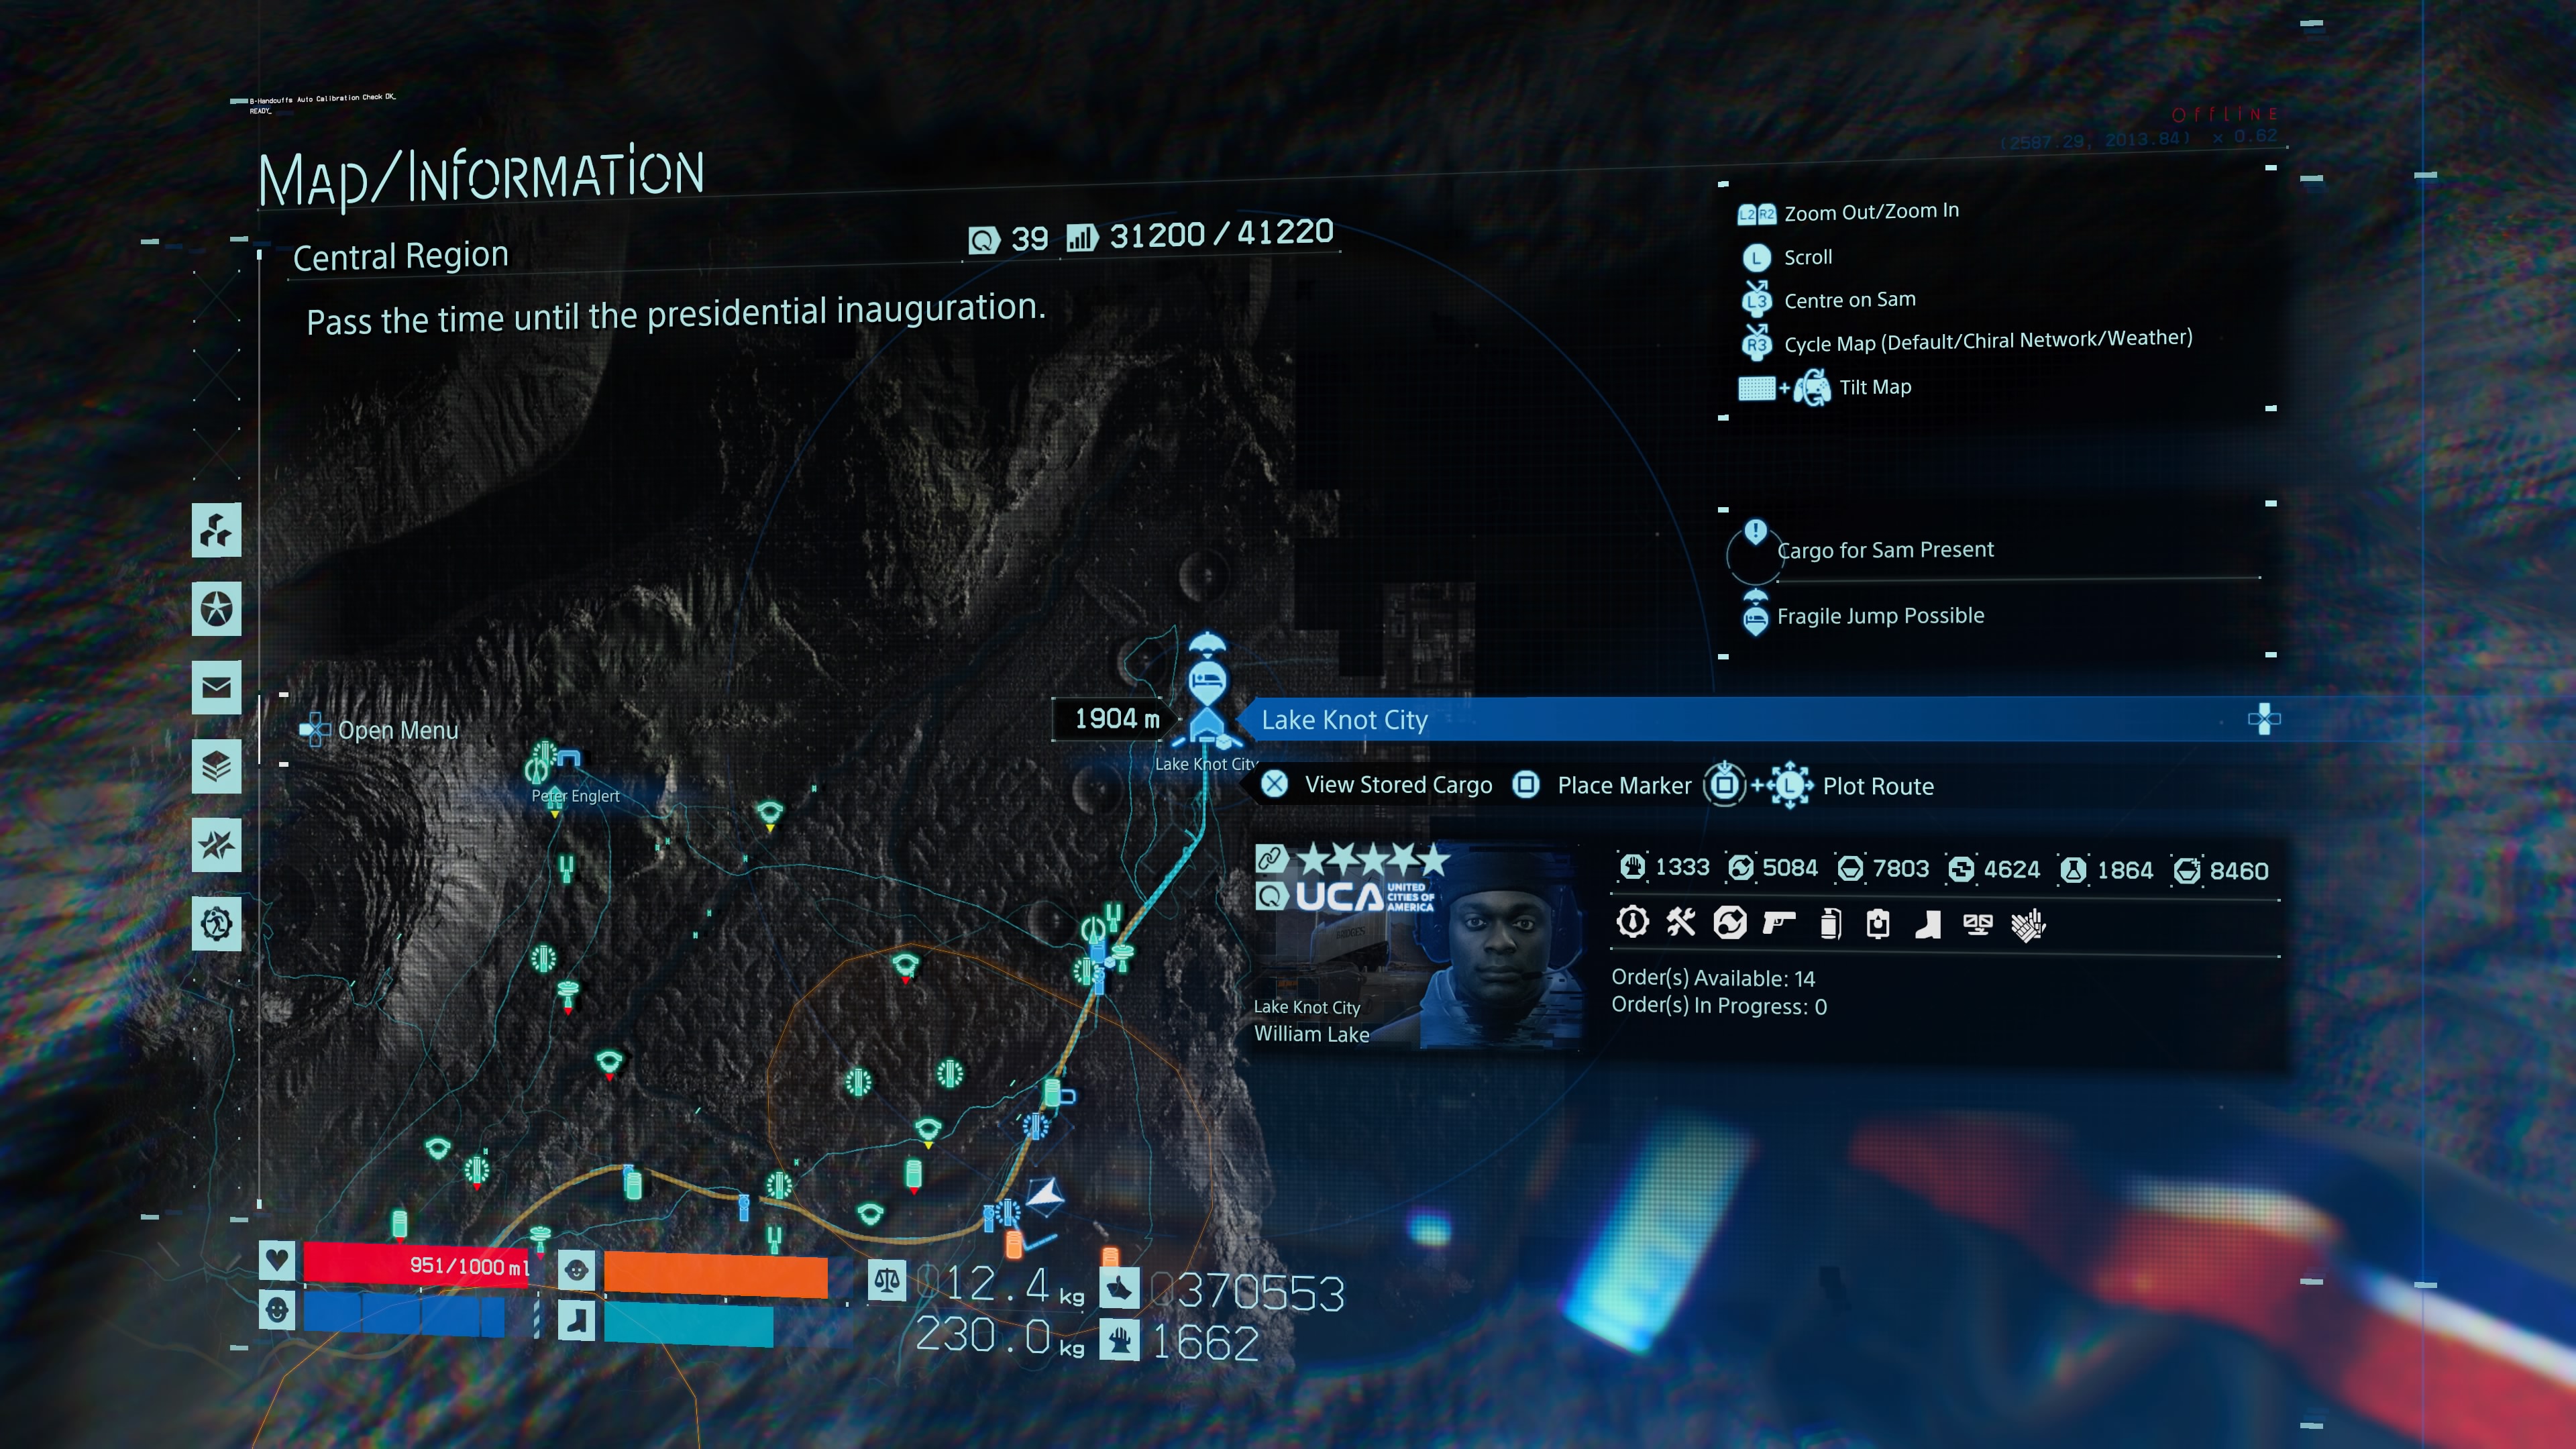
Lake Knot City
The next mission after finding Lake Knot City will involve you taking a boat to the Central Region, where Lake Knot City will be your first point of contact.
Engineer
Head dead south from Lake Knot and you’ll quickly run in to the Engineer (modelled by Junji Ito) who will offer the game’s first skeleton to help you move cargo.
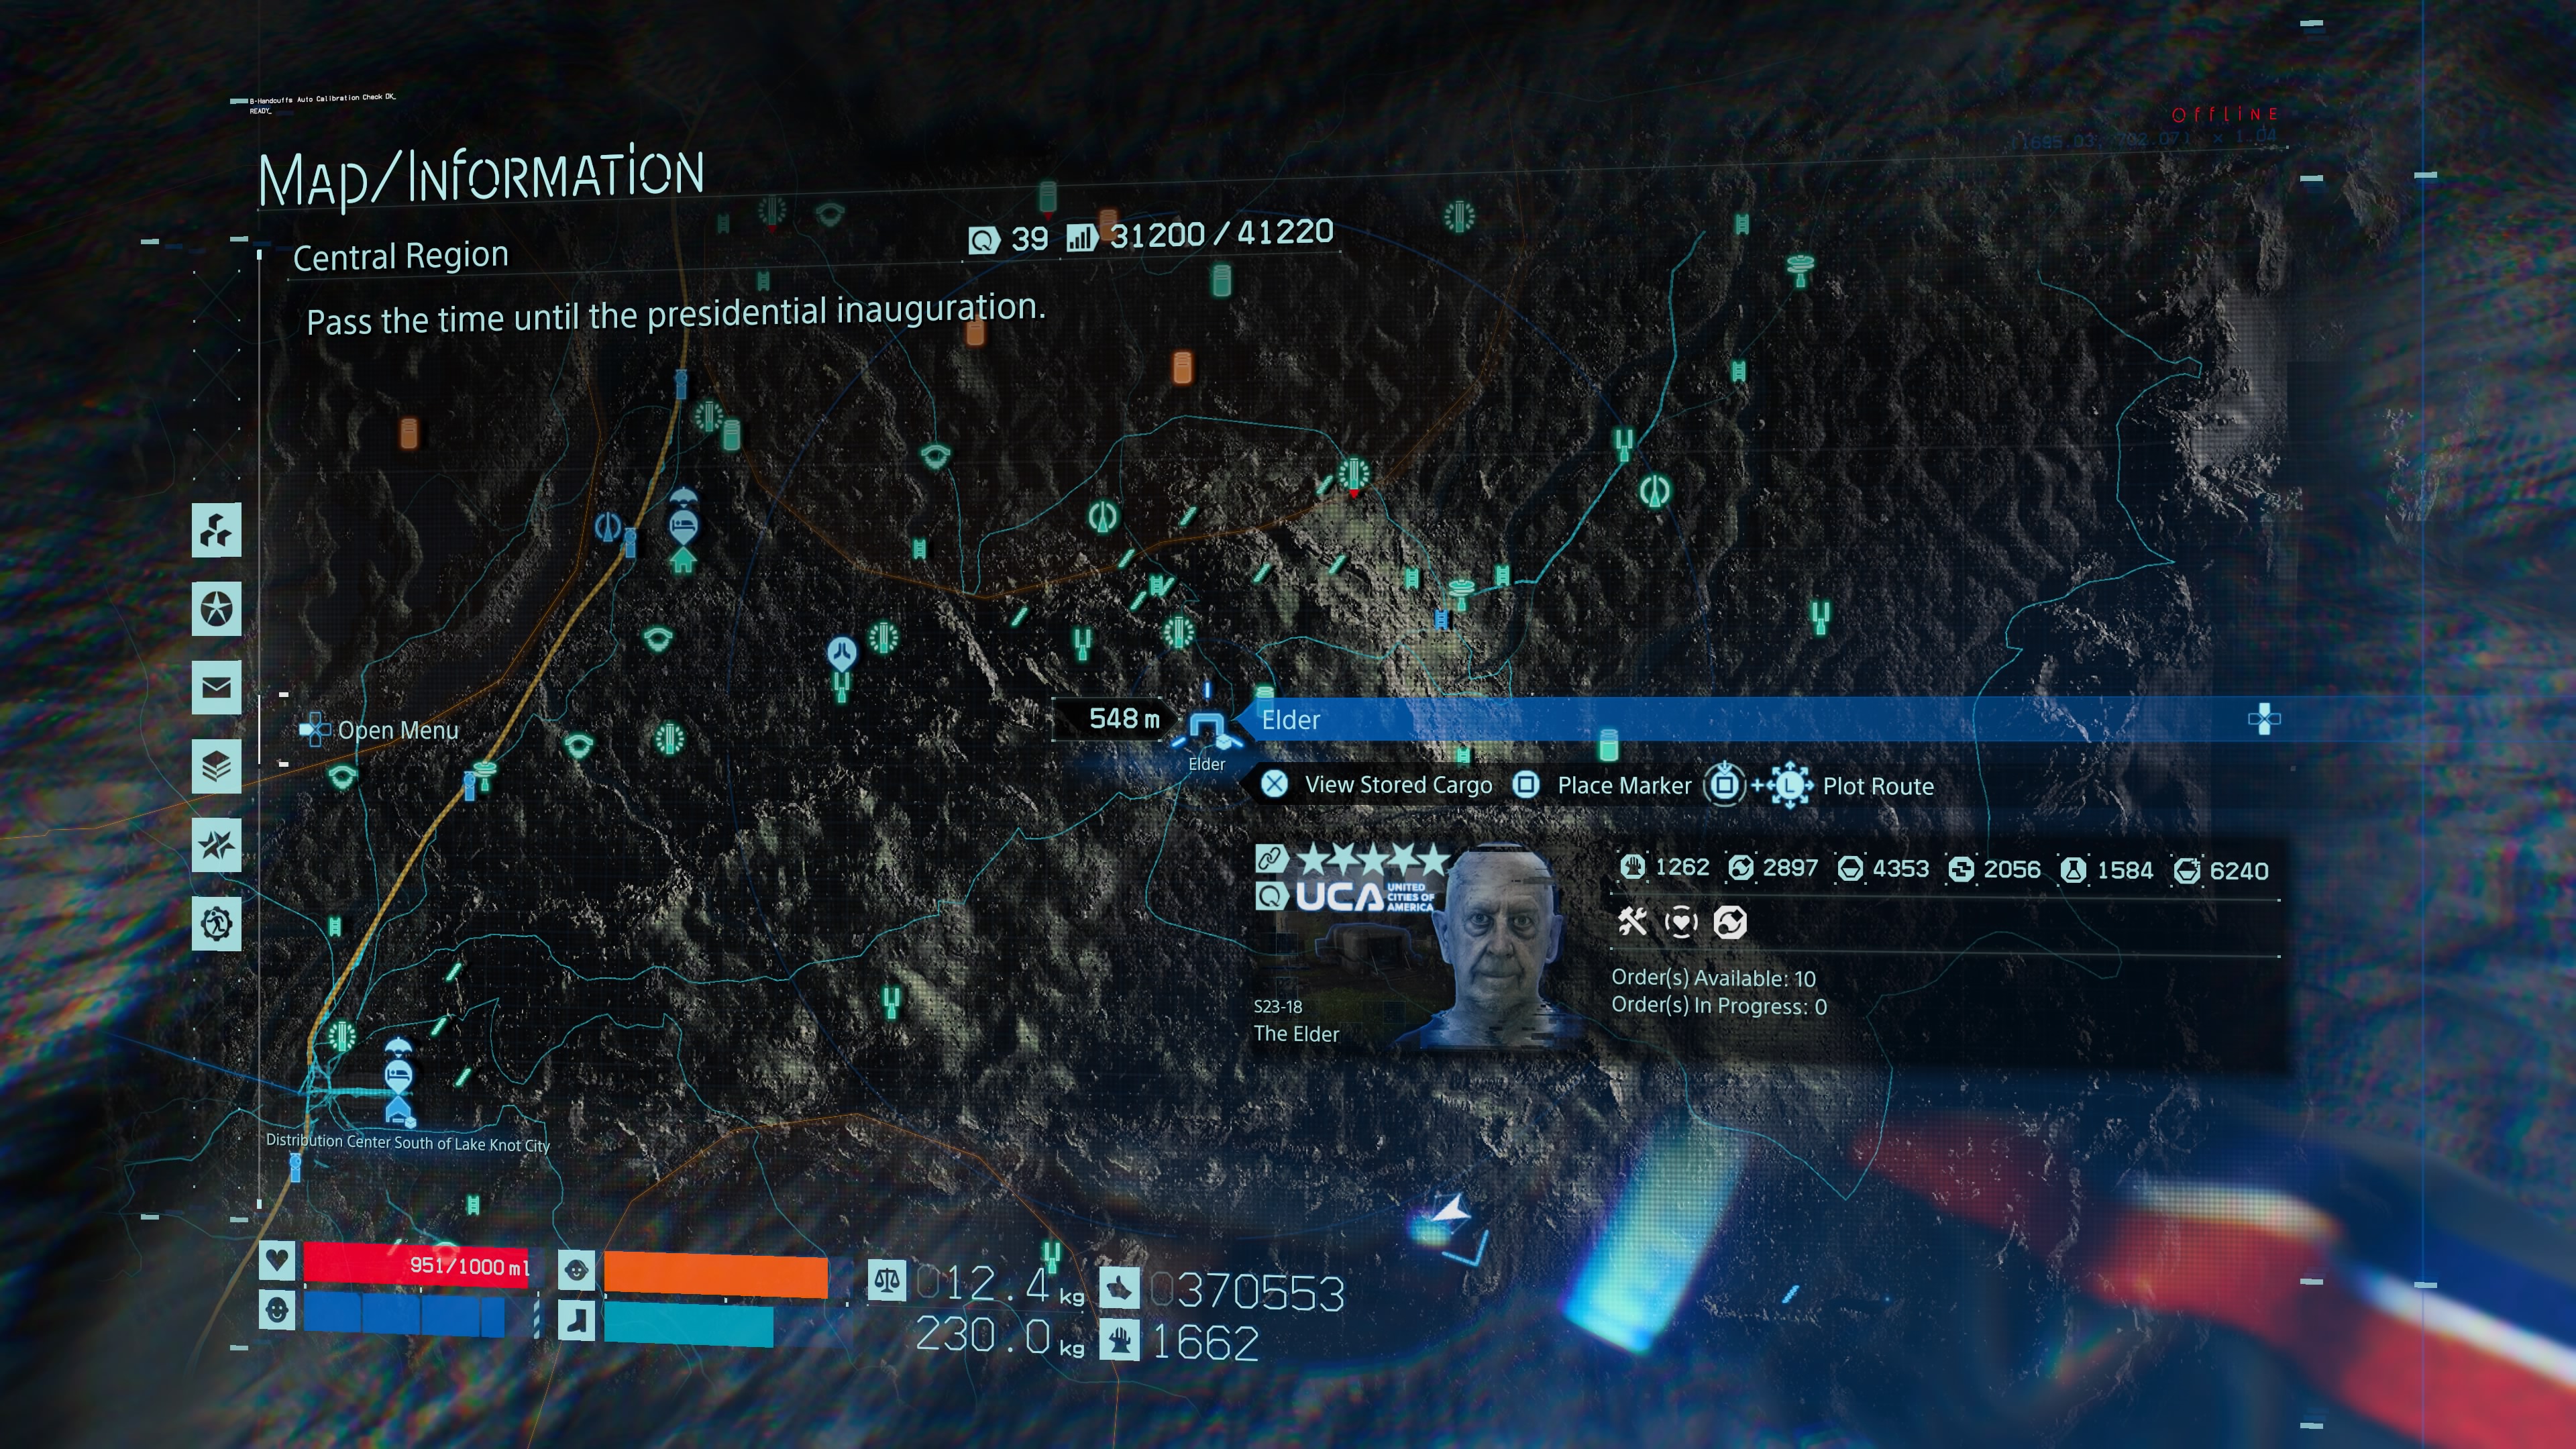
Elder
Head further south from the Engineer’s station and you’ll see a gigantic hill that you’ll struggle to climb in a vehicle on your right. Get on top of it to find the Elder waiting.
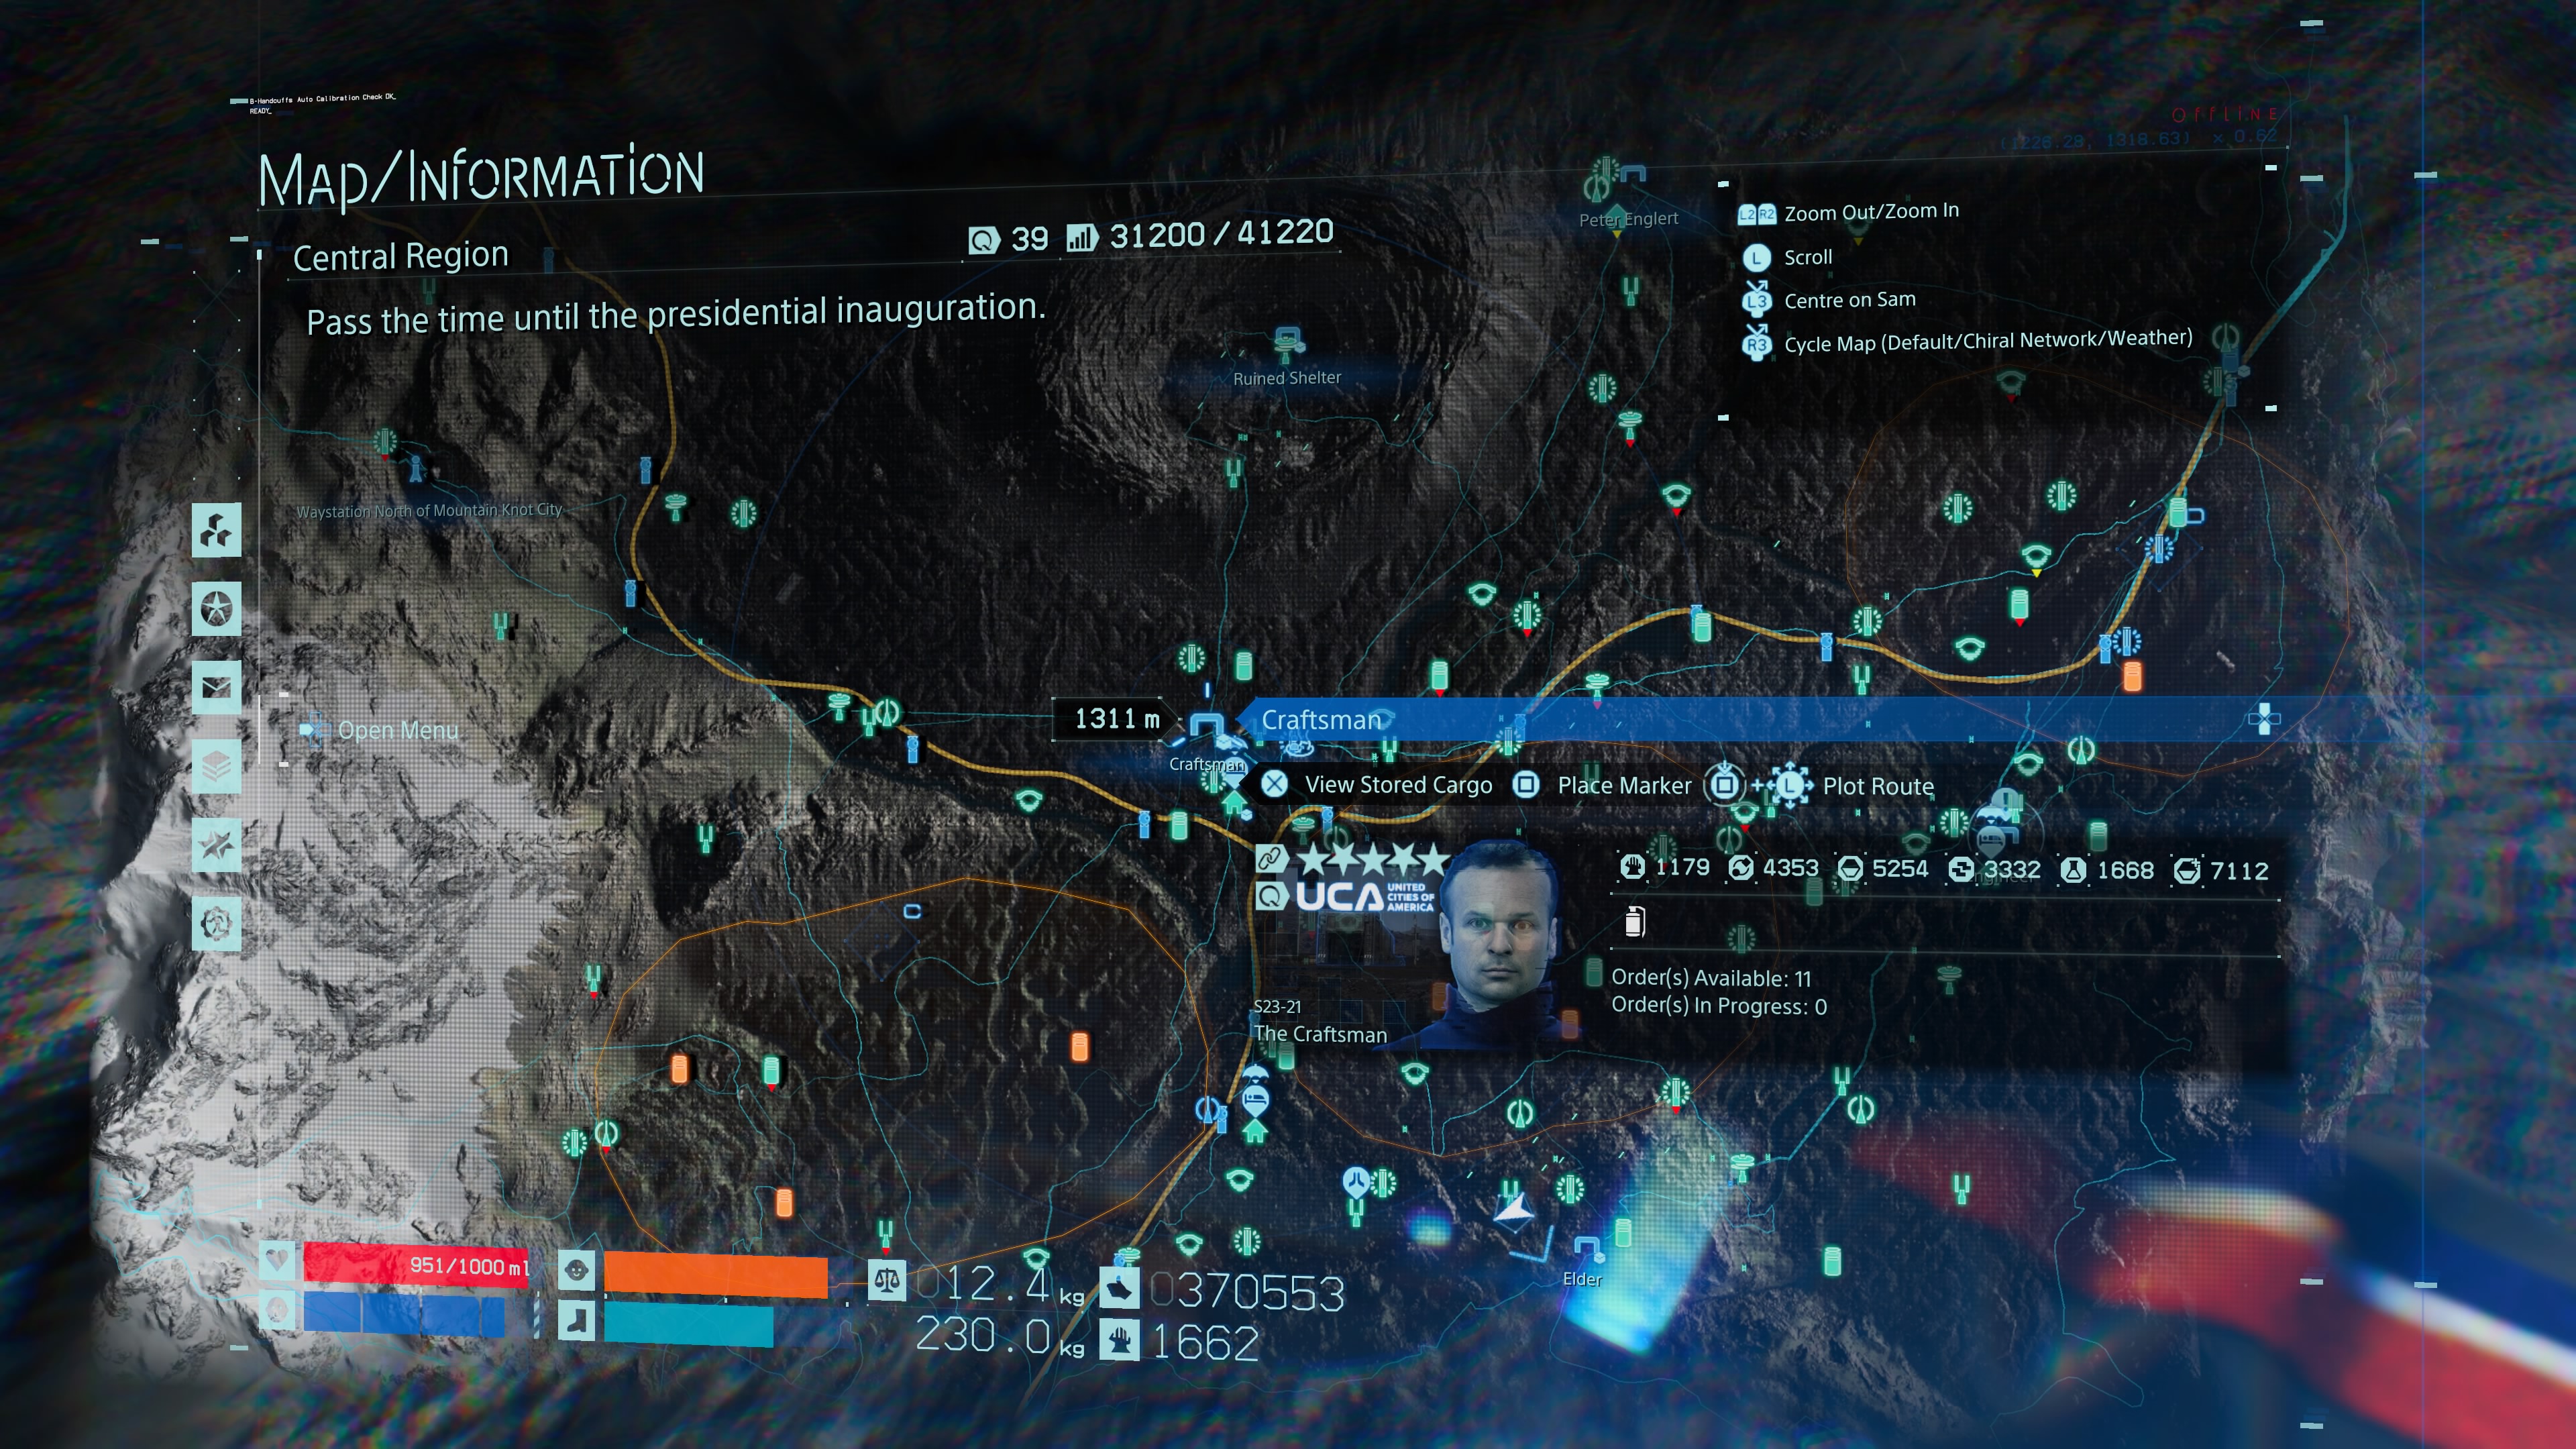
Craftsman
The Craftsman is easily found due west of the Engineer’s station amid a number of auto-pavers. He’s practically on a main road so this one is hard to miss, and its a key midpoint between Lake Knot and the centre of the Central Region.
Distribution Centre South of Lake Knot City
The distribution centre is south of Craftsman’s station, away and right from the MULE encampment that will no doubt cause you trouble. You should be able to spot it from afar or via a watchtower, as it’s another massive jagged structure.
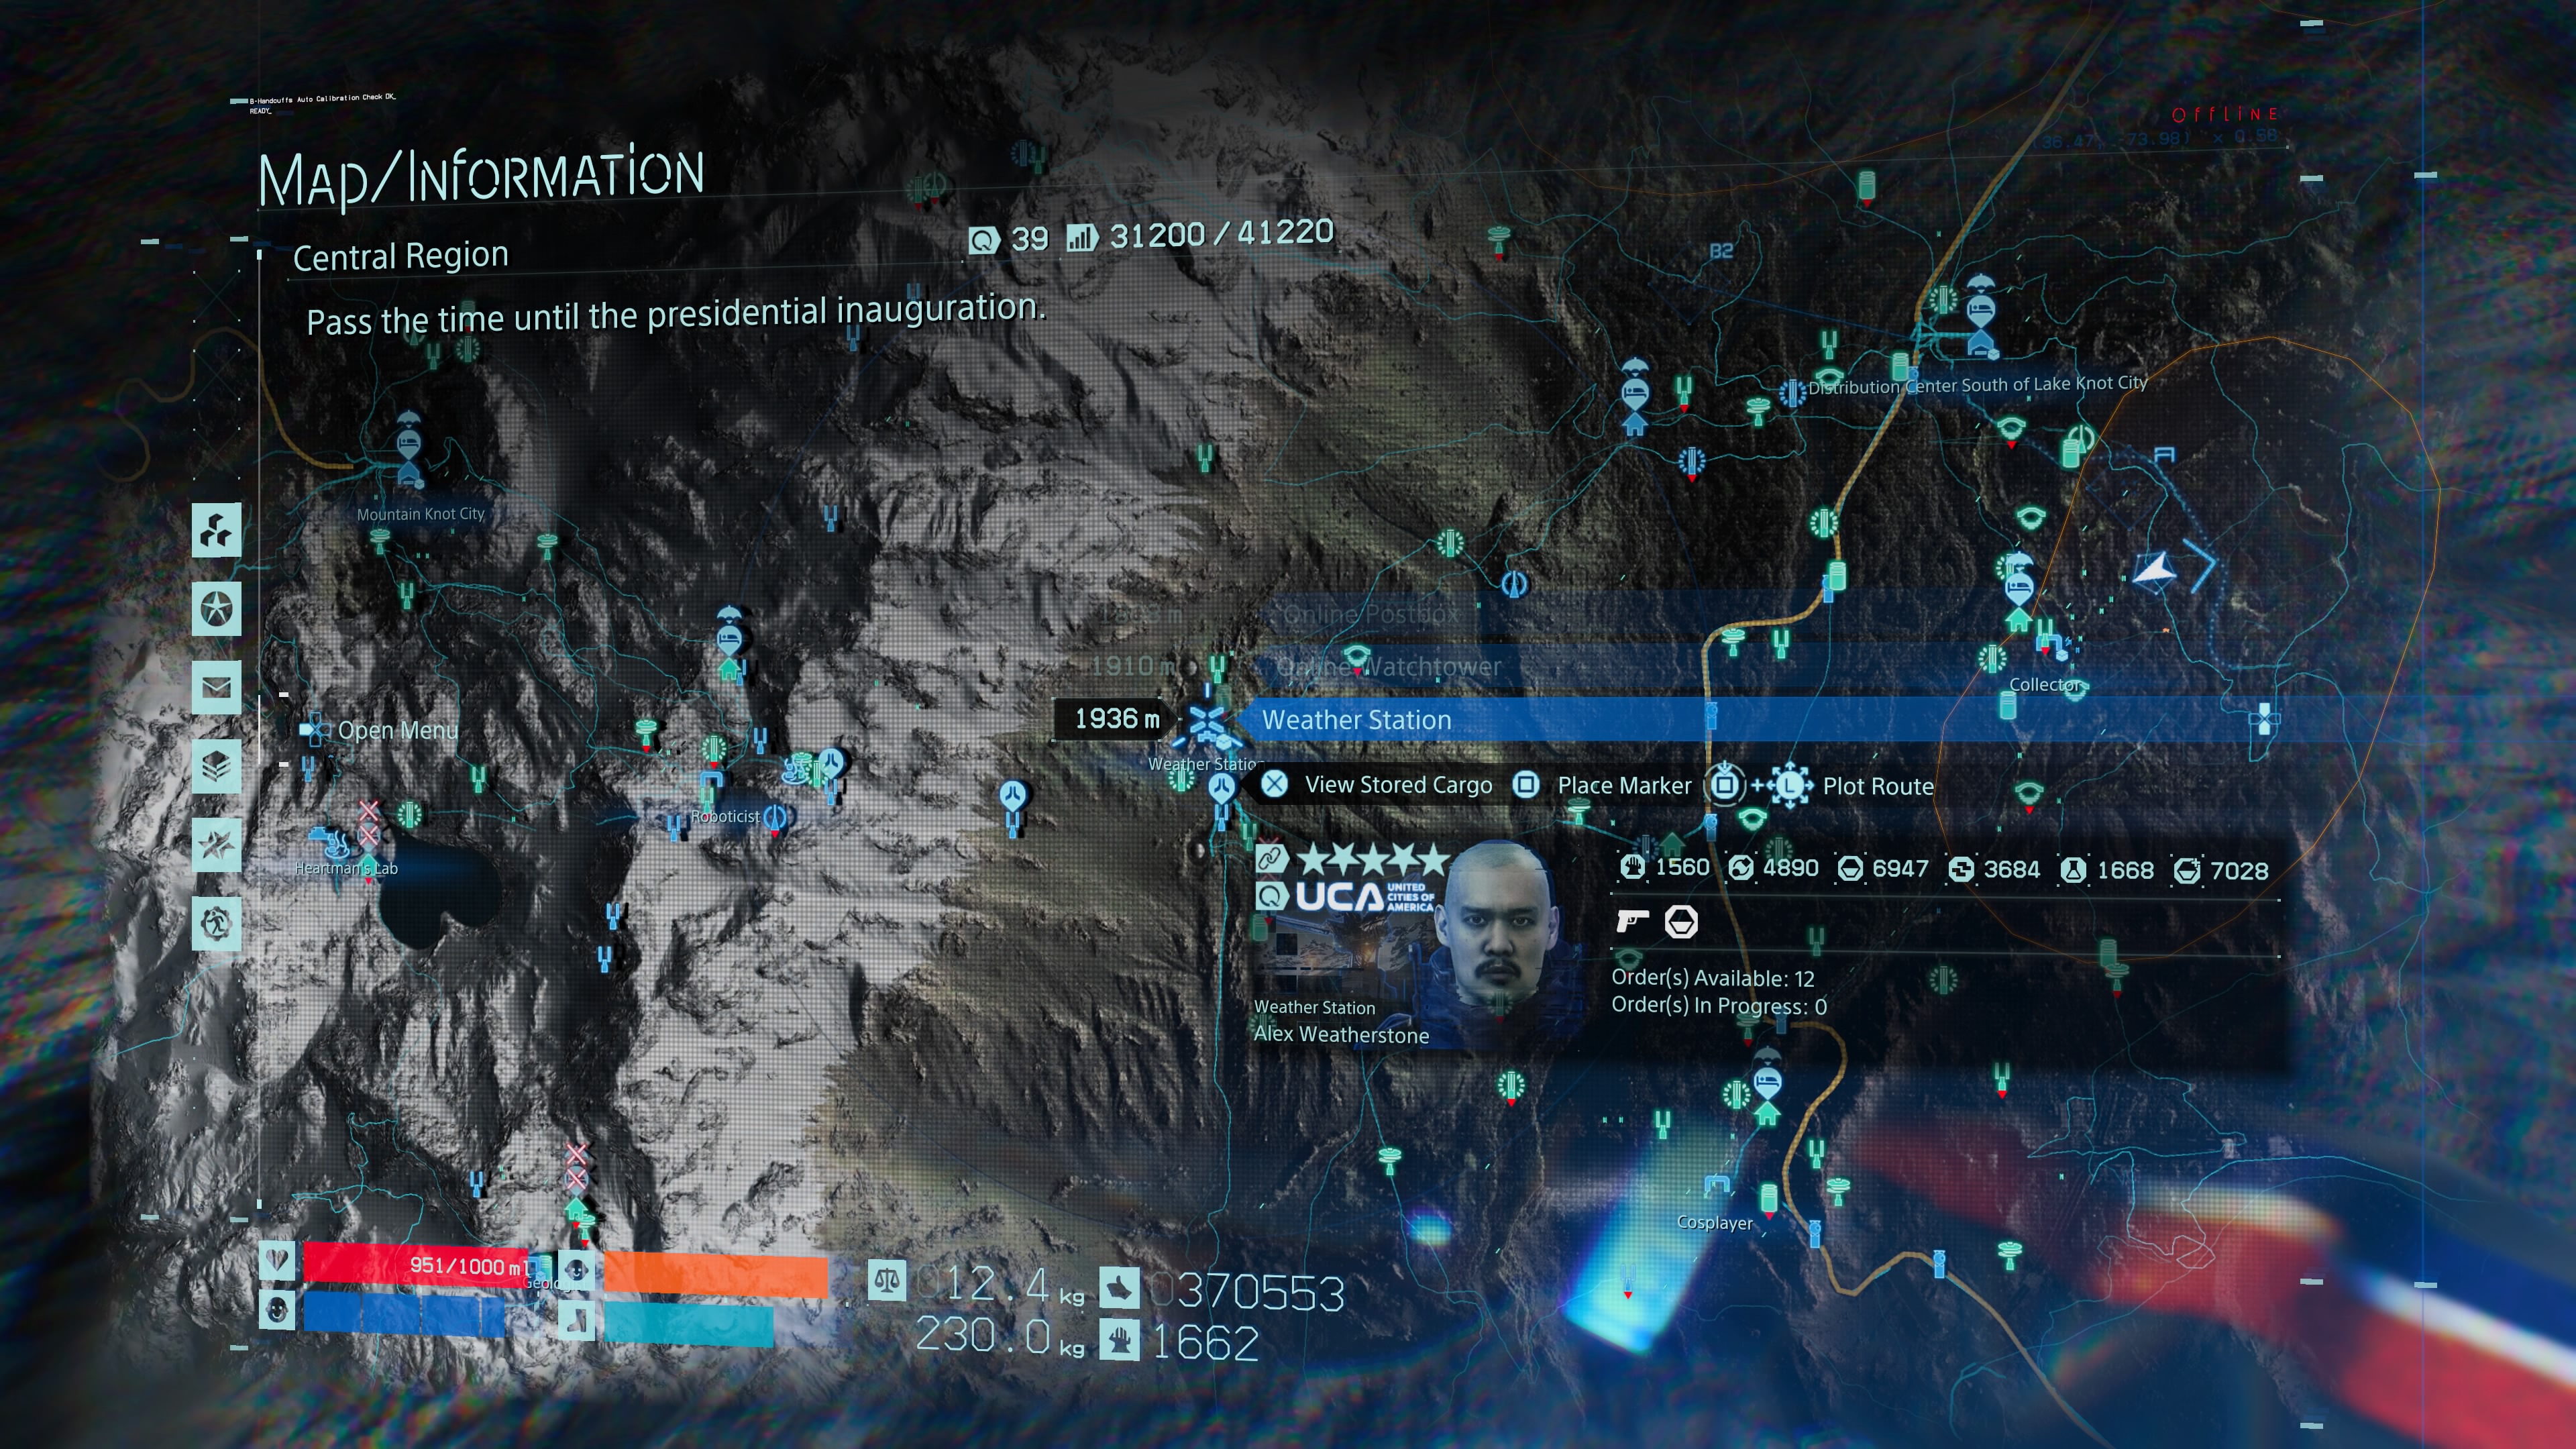
Weather Station
The Weather Station is almost directly west from the distribution centre above, and once you arrive there you should receive a mission to deliver cargo there to progress the story.
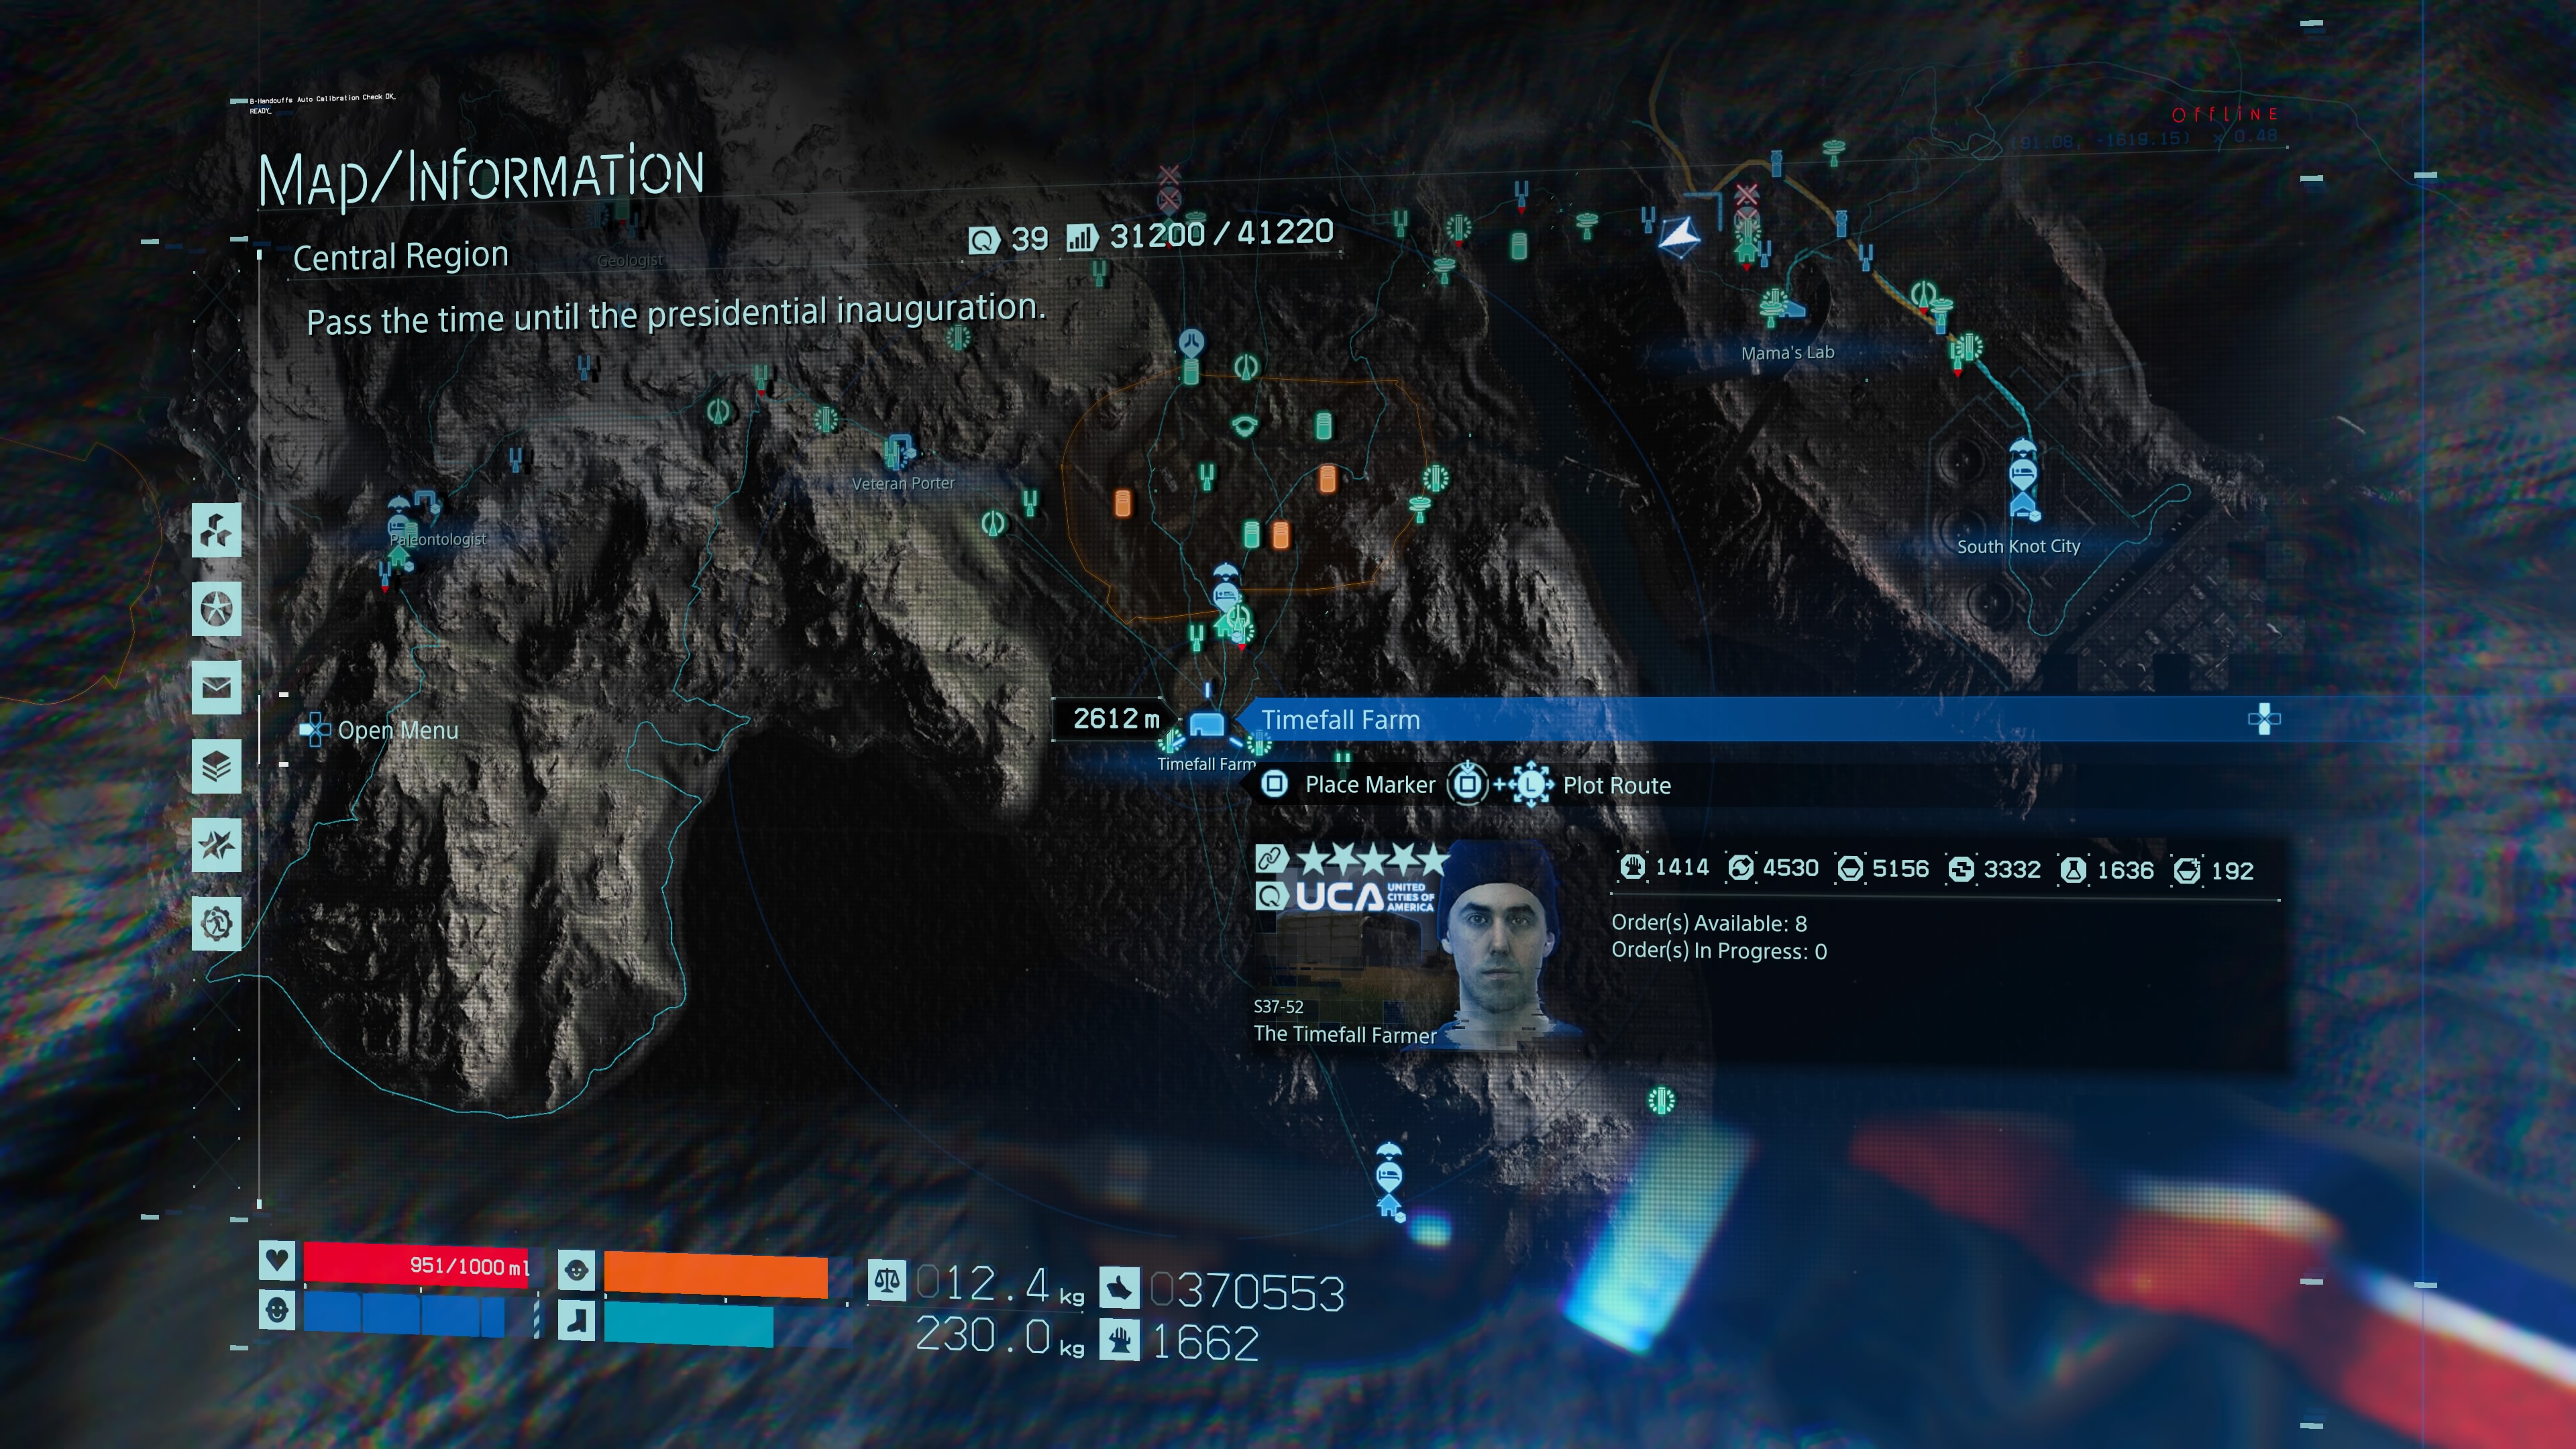
Timefall Farm
Similarly, you should have a mission to deliver to the Timefall Farm once you reach the Weather Station. It’s almost directly west from Alex Weatherstone’s yard so it’s hard to miss. It’s directly across the field full of MULEs, you can spot it by the giant yellow harvesting machines.
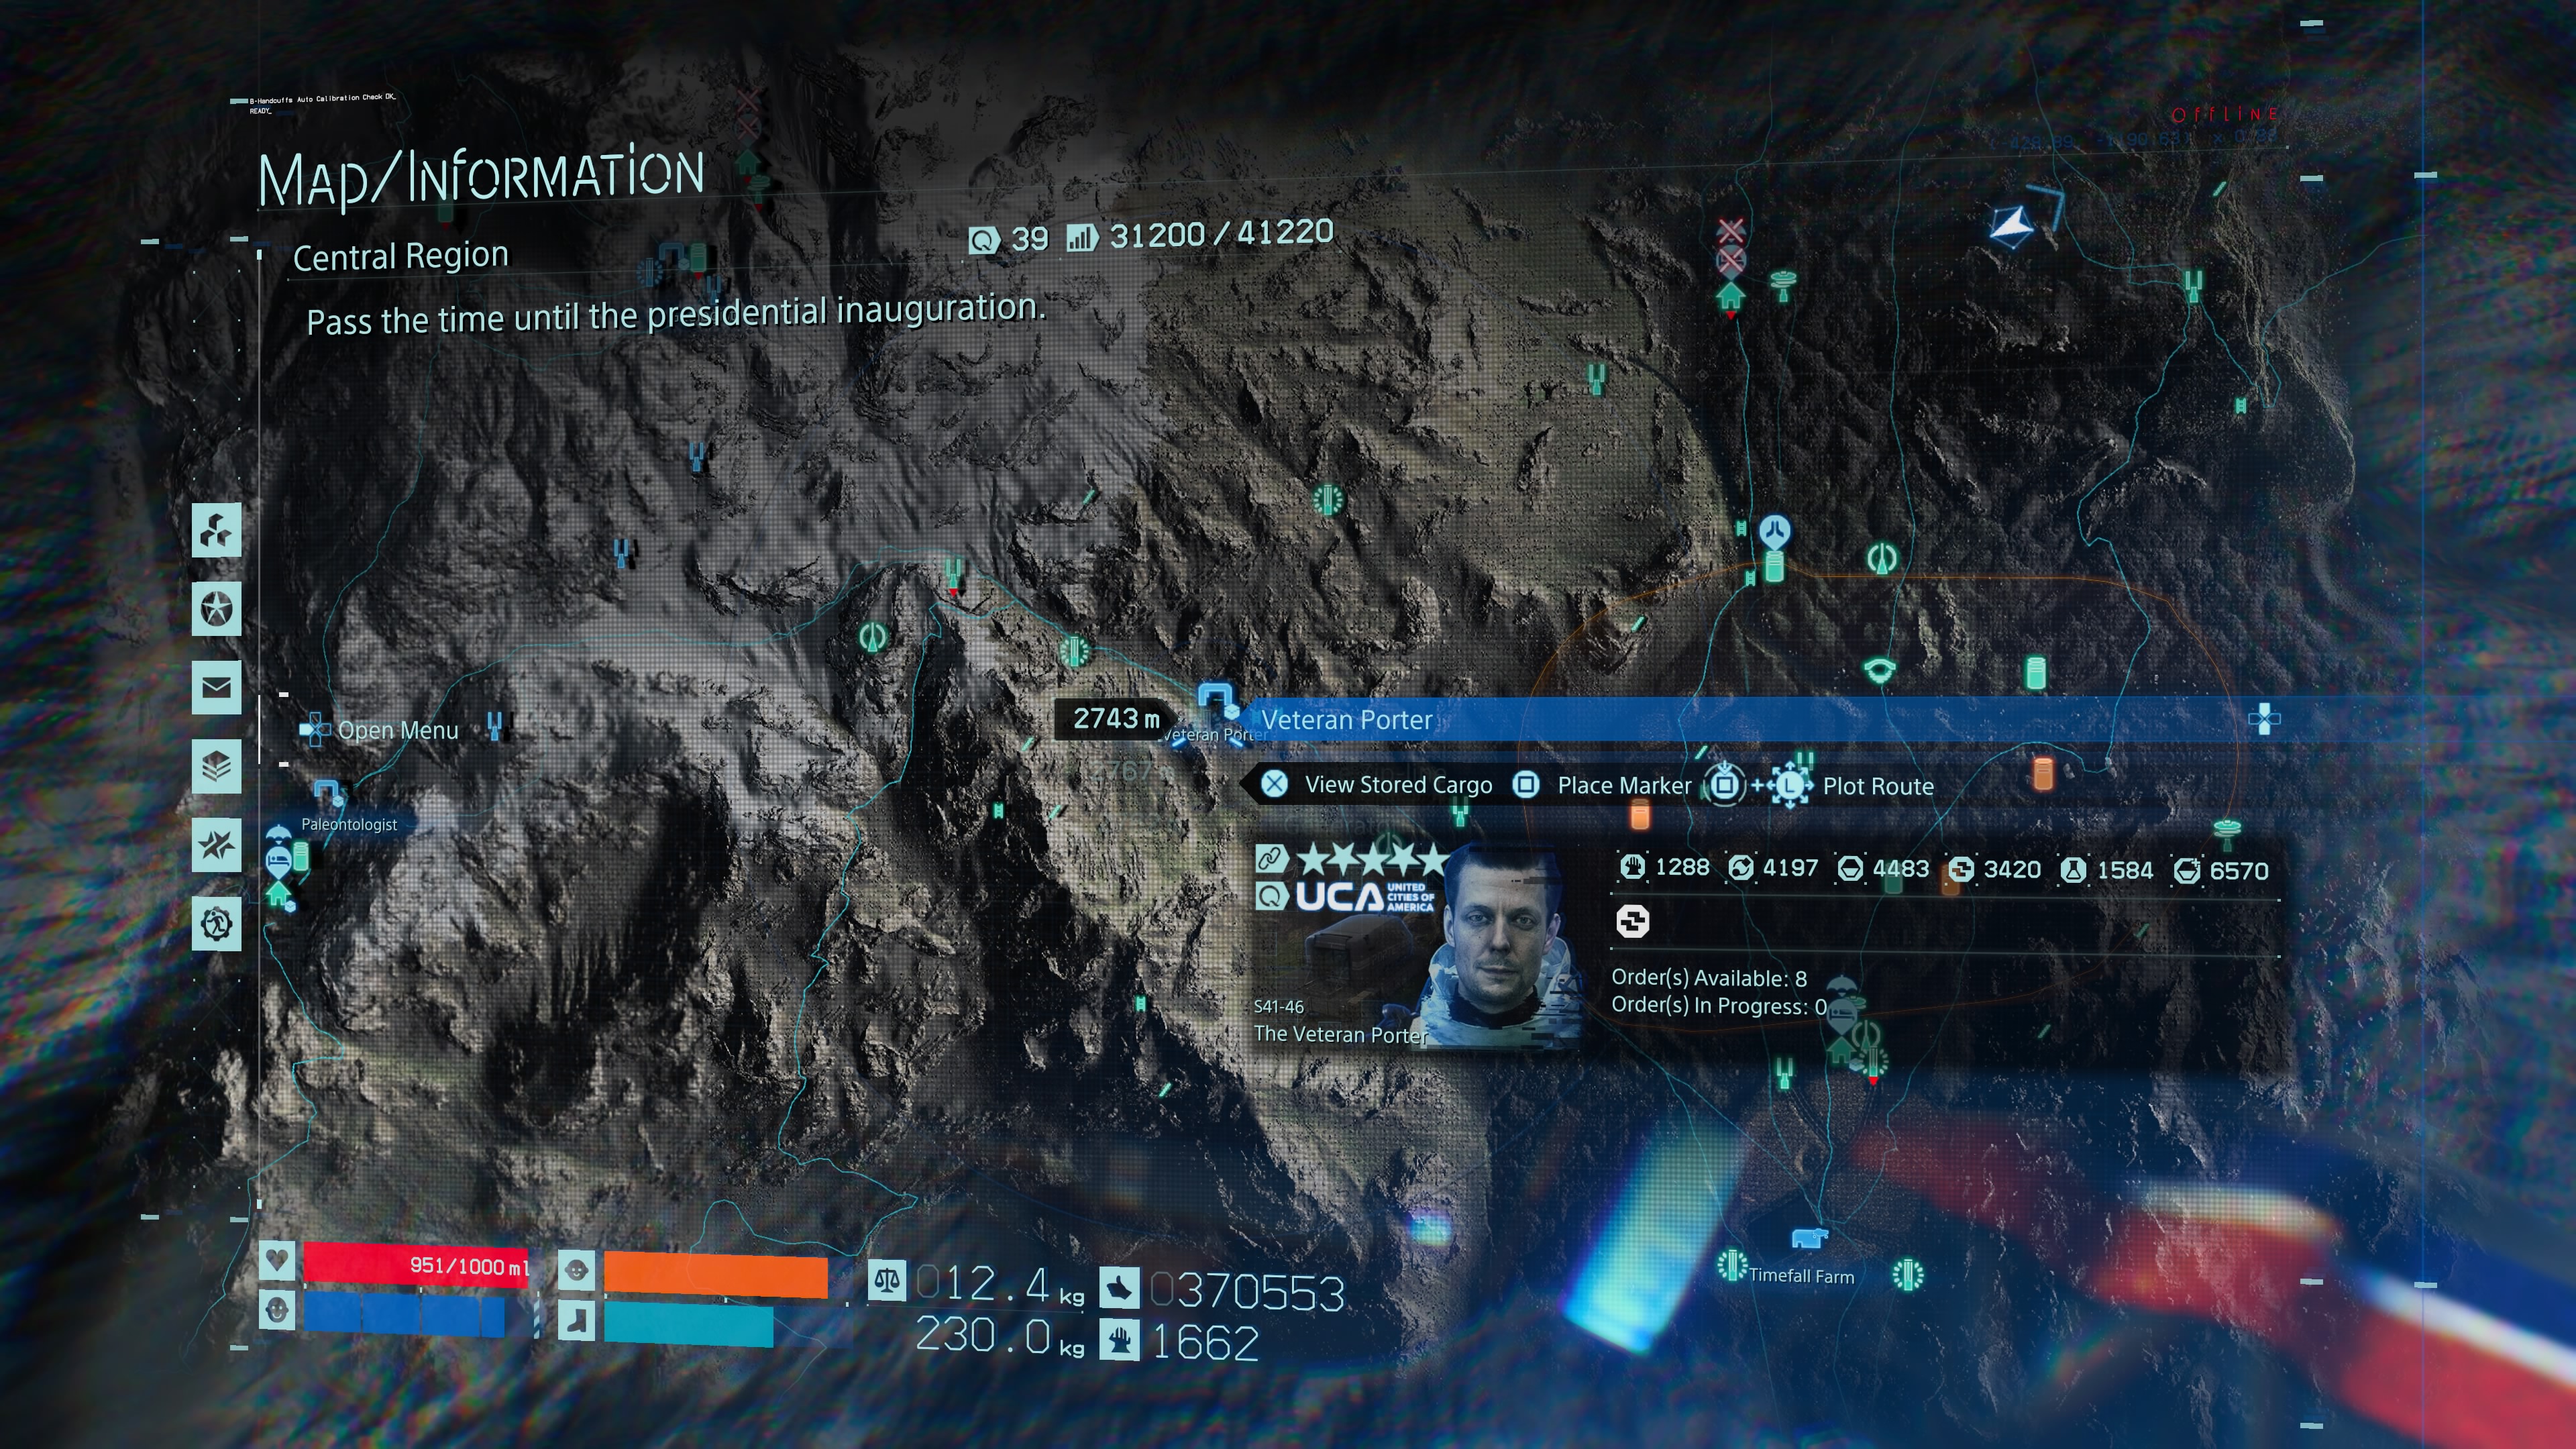
Veteran Porter
If you’re facing the front door of the Timefall Farm, head east towards the mountainous region. It looks like you shouldn’t be able to get there yet but you can, and on your way up you should find another Prepper hiding out.
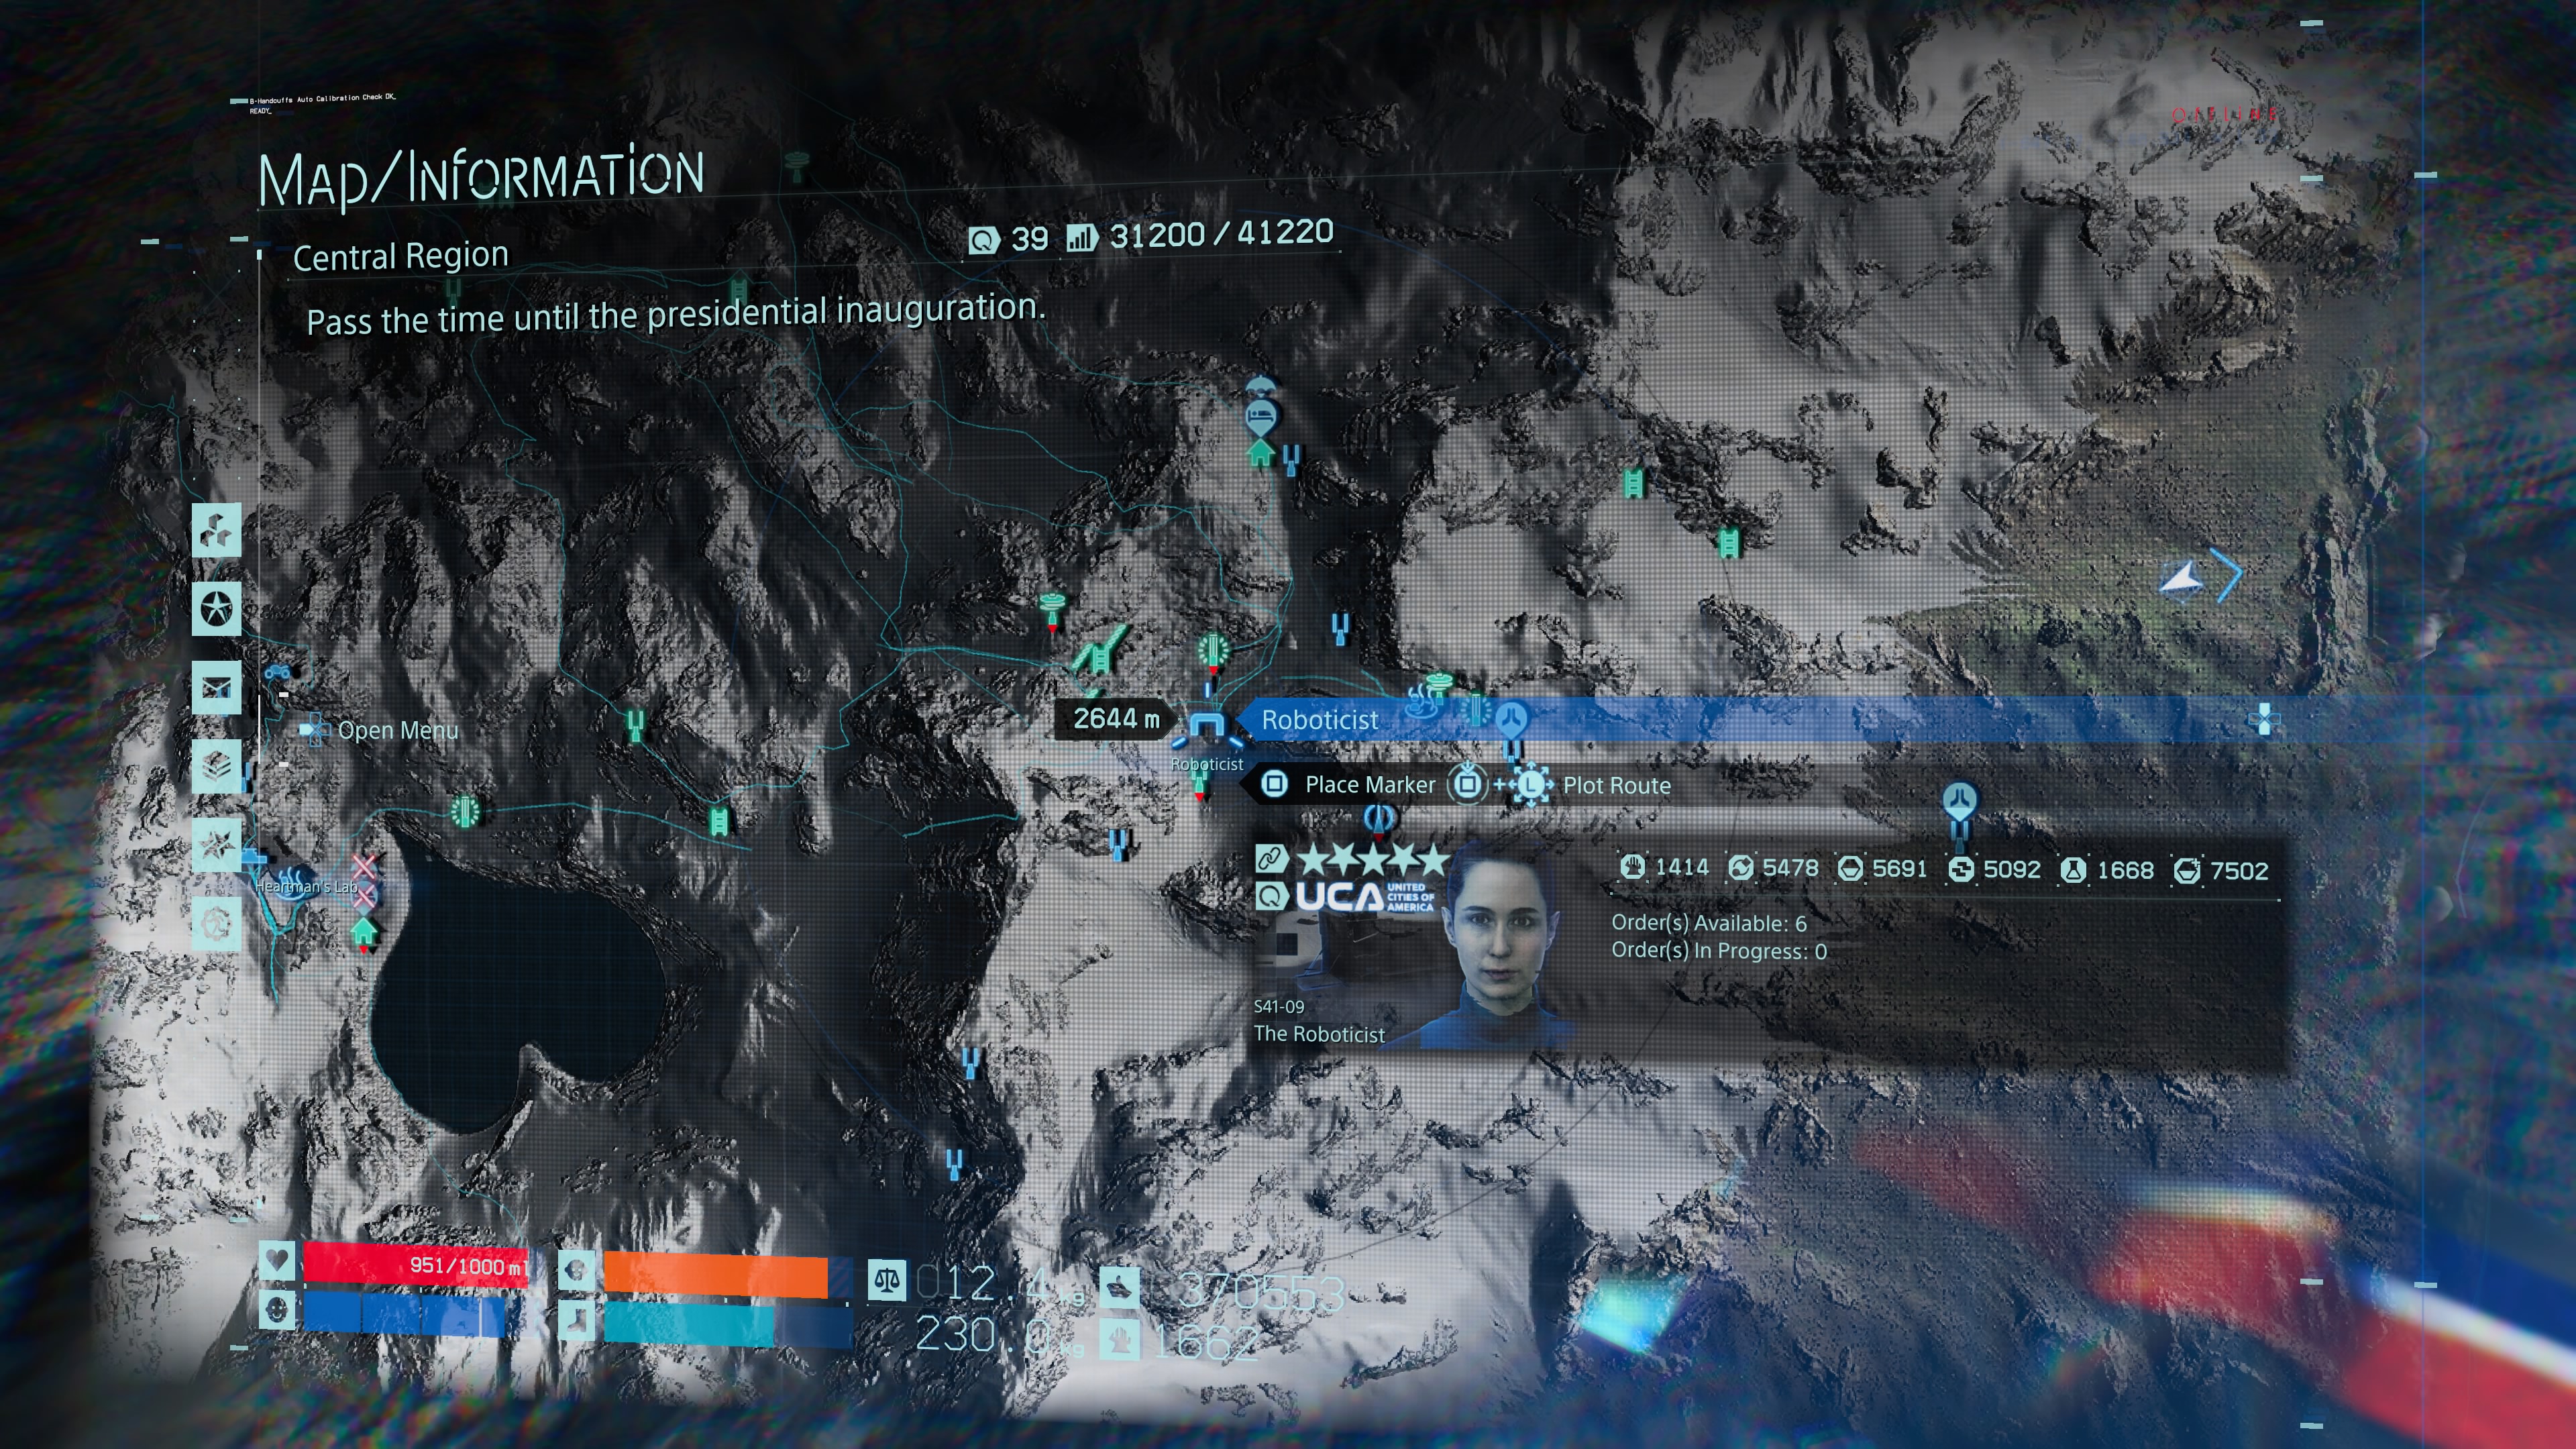
Roboticist
On your way back to Weather Station, look to the west and you’ll see a big snowy mountain. With some carefully placed ziplines you can scale it and you should find a regenerative bathing pool up there if you head directly west. Walk ahead from the pool and you’ll enter the domain of the Roboticist.
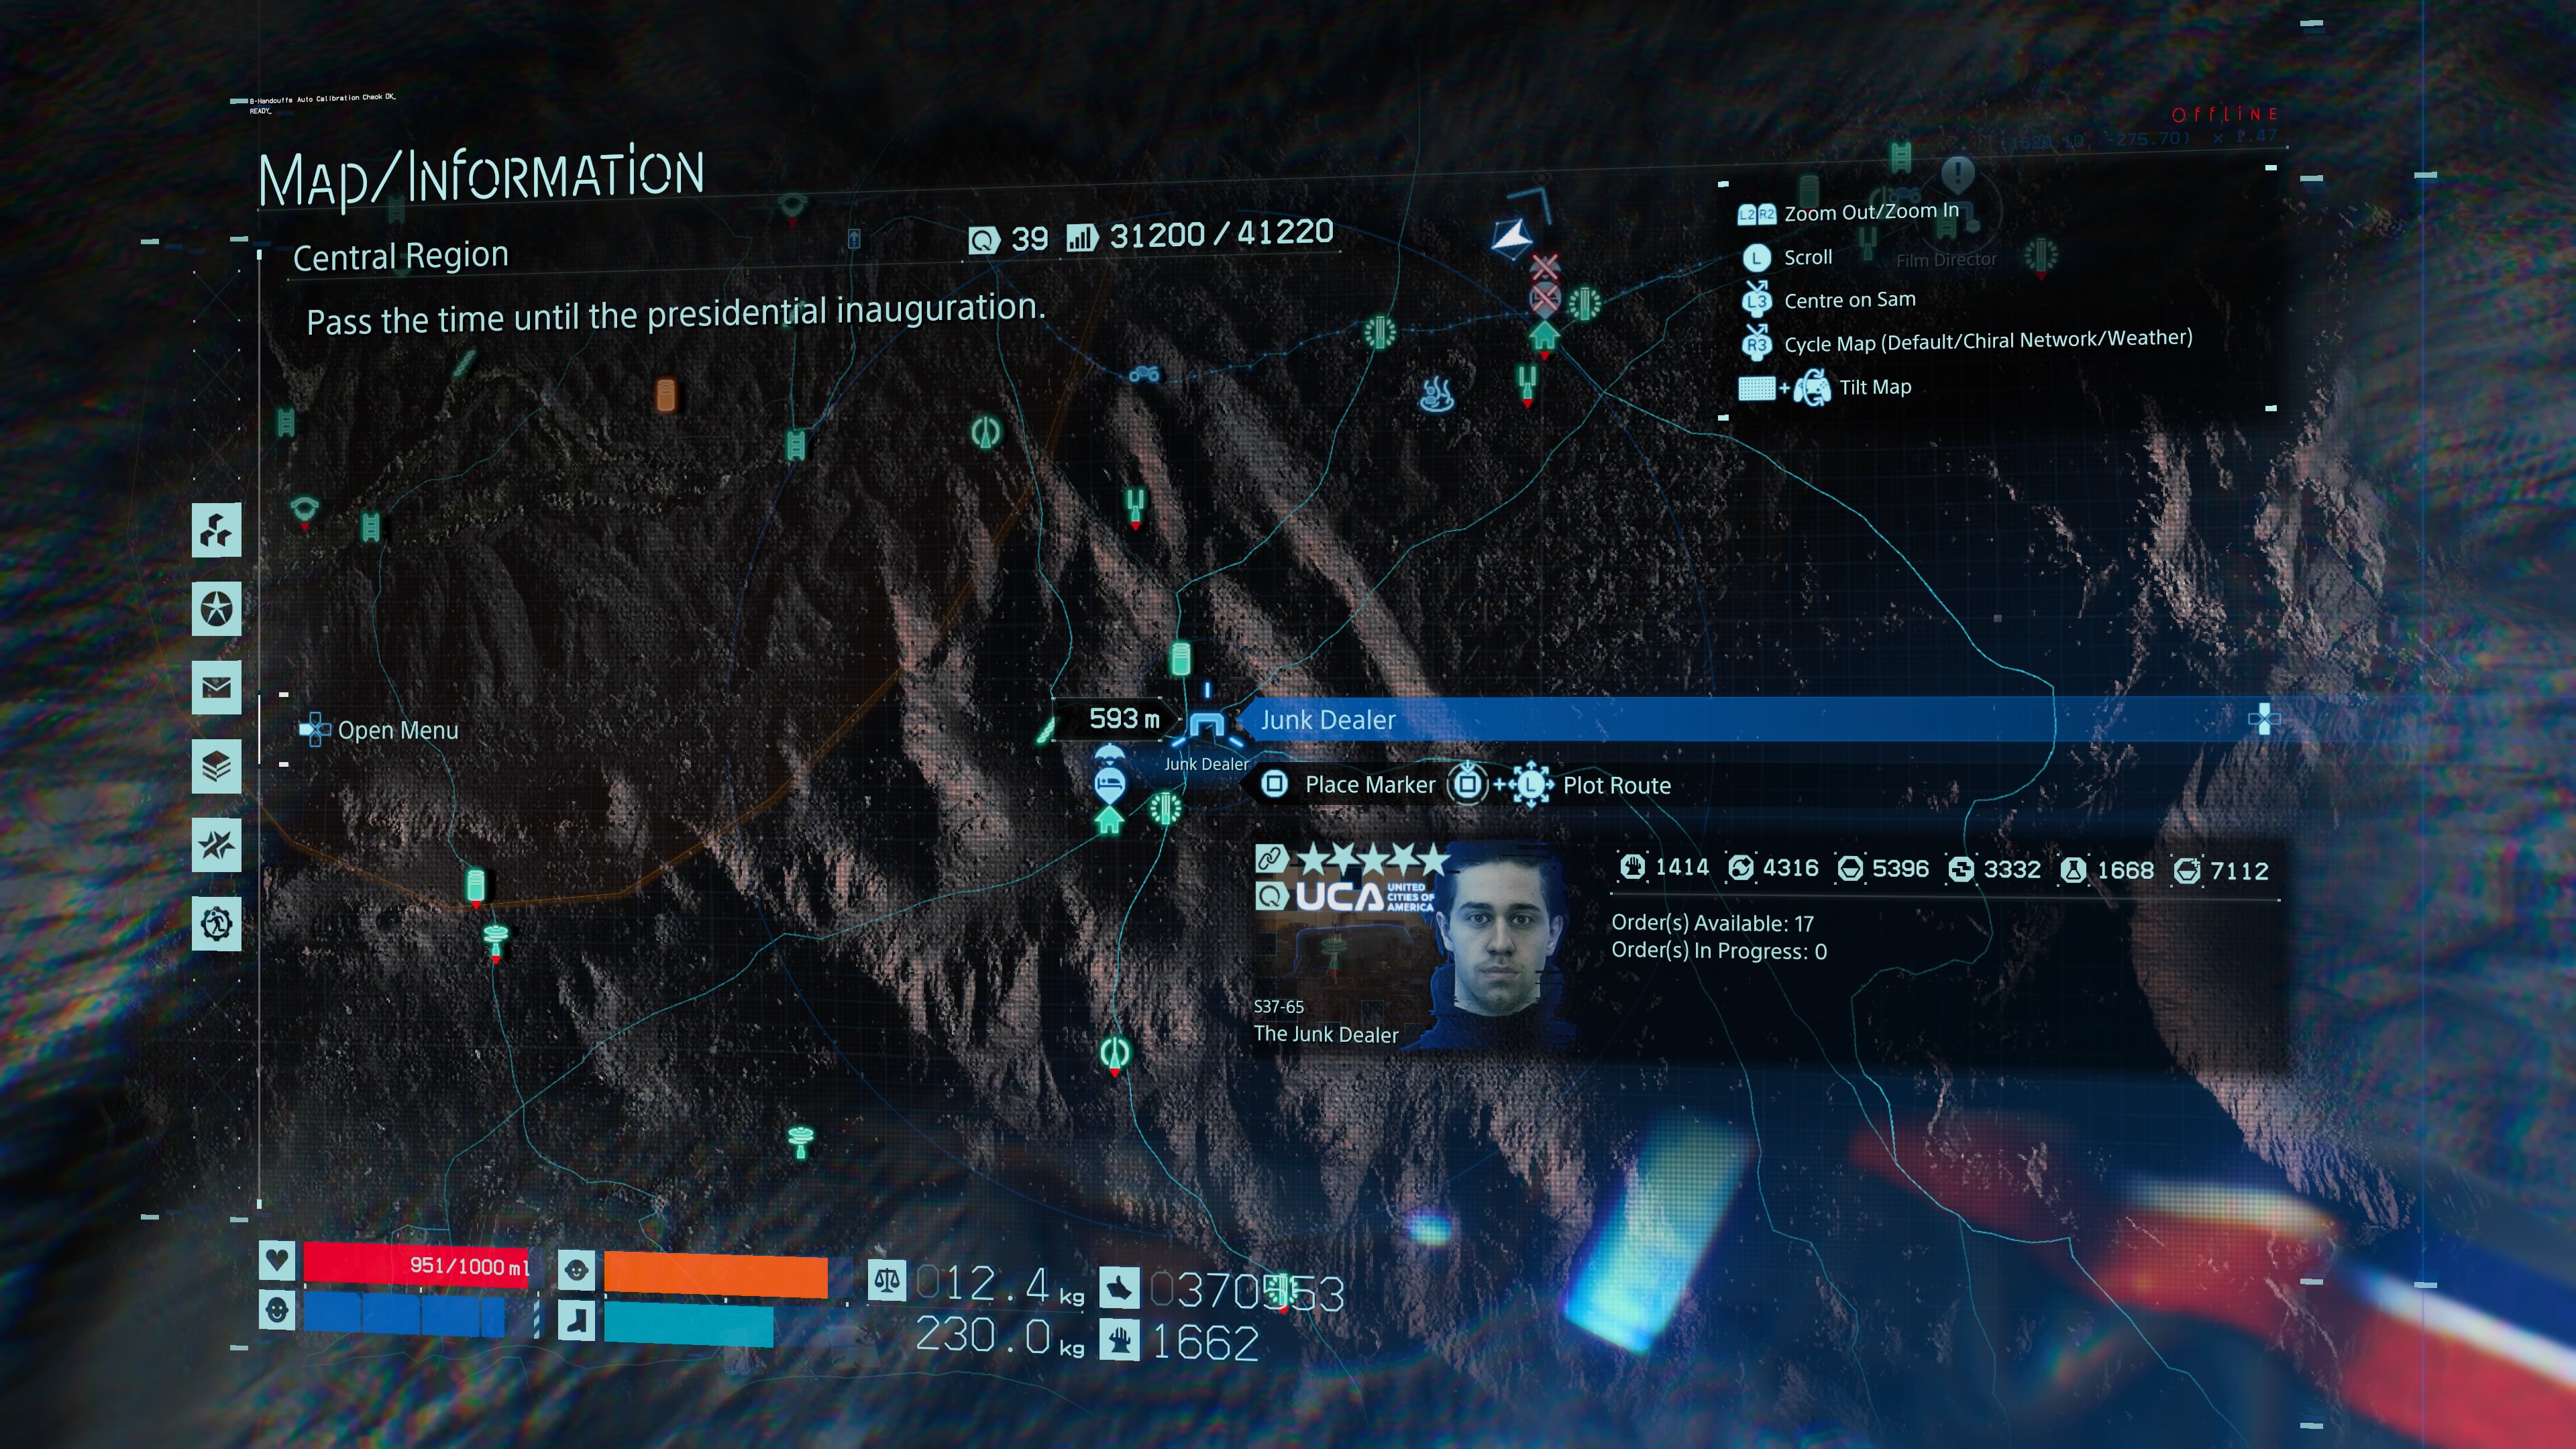
Junk Dealer
The Junk Dealer is further south from the distribution centre. You’ll have to cross a terrifying field full of MULEs and chasms to get there, but you'll come across it during the story.
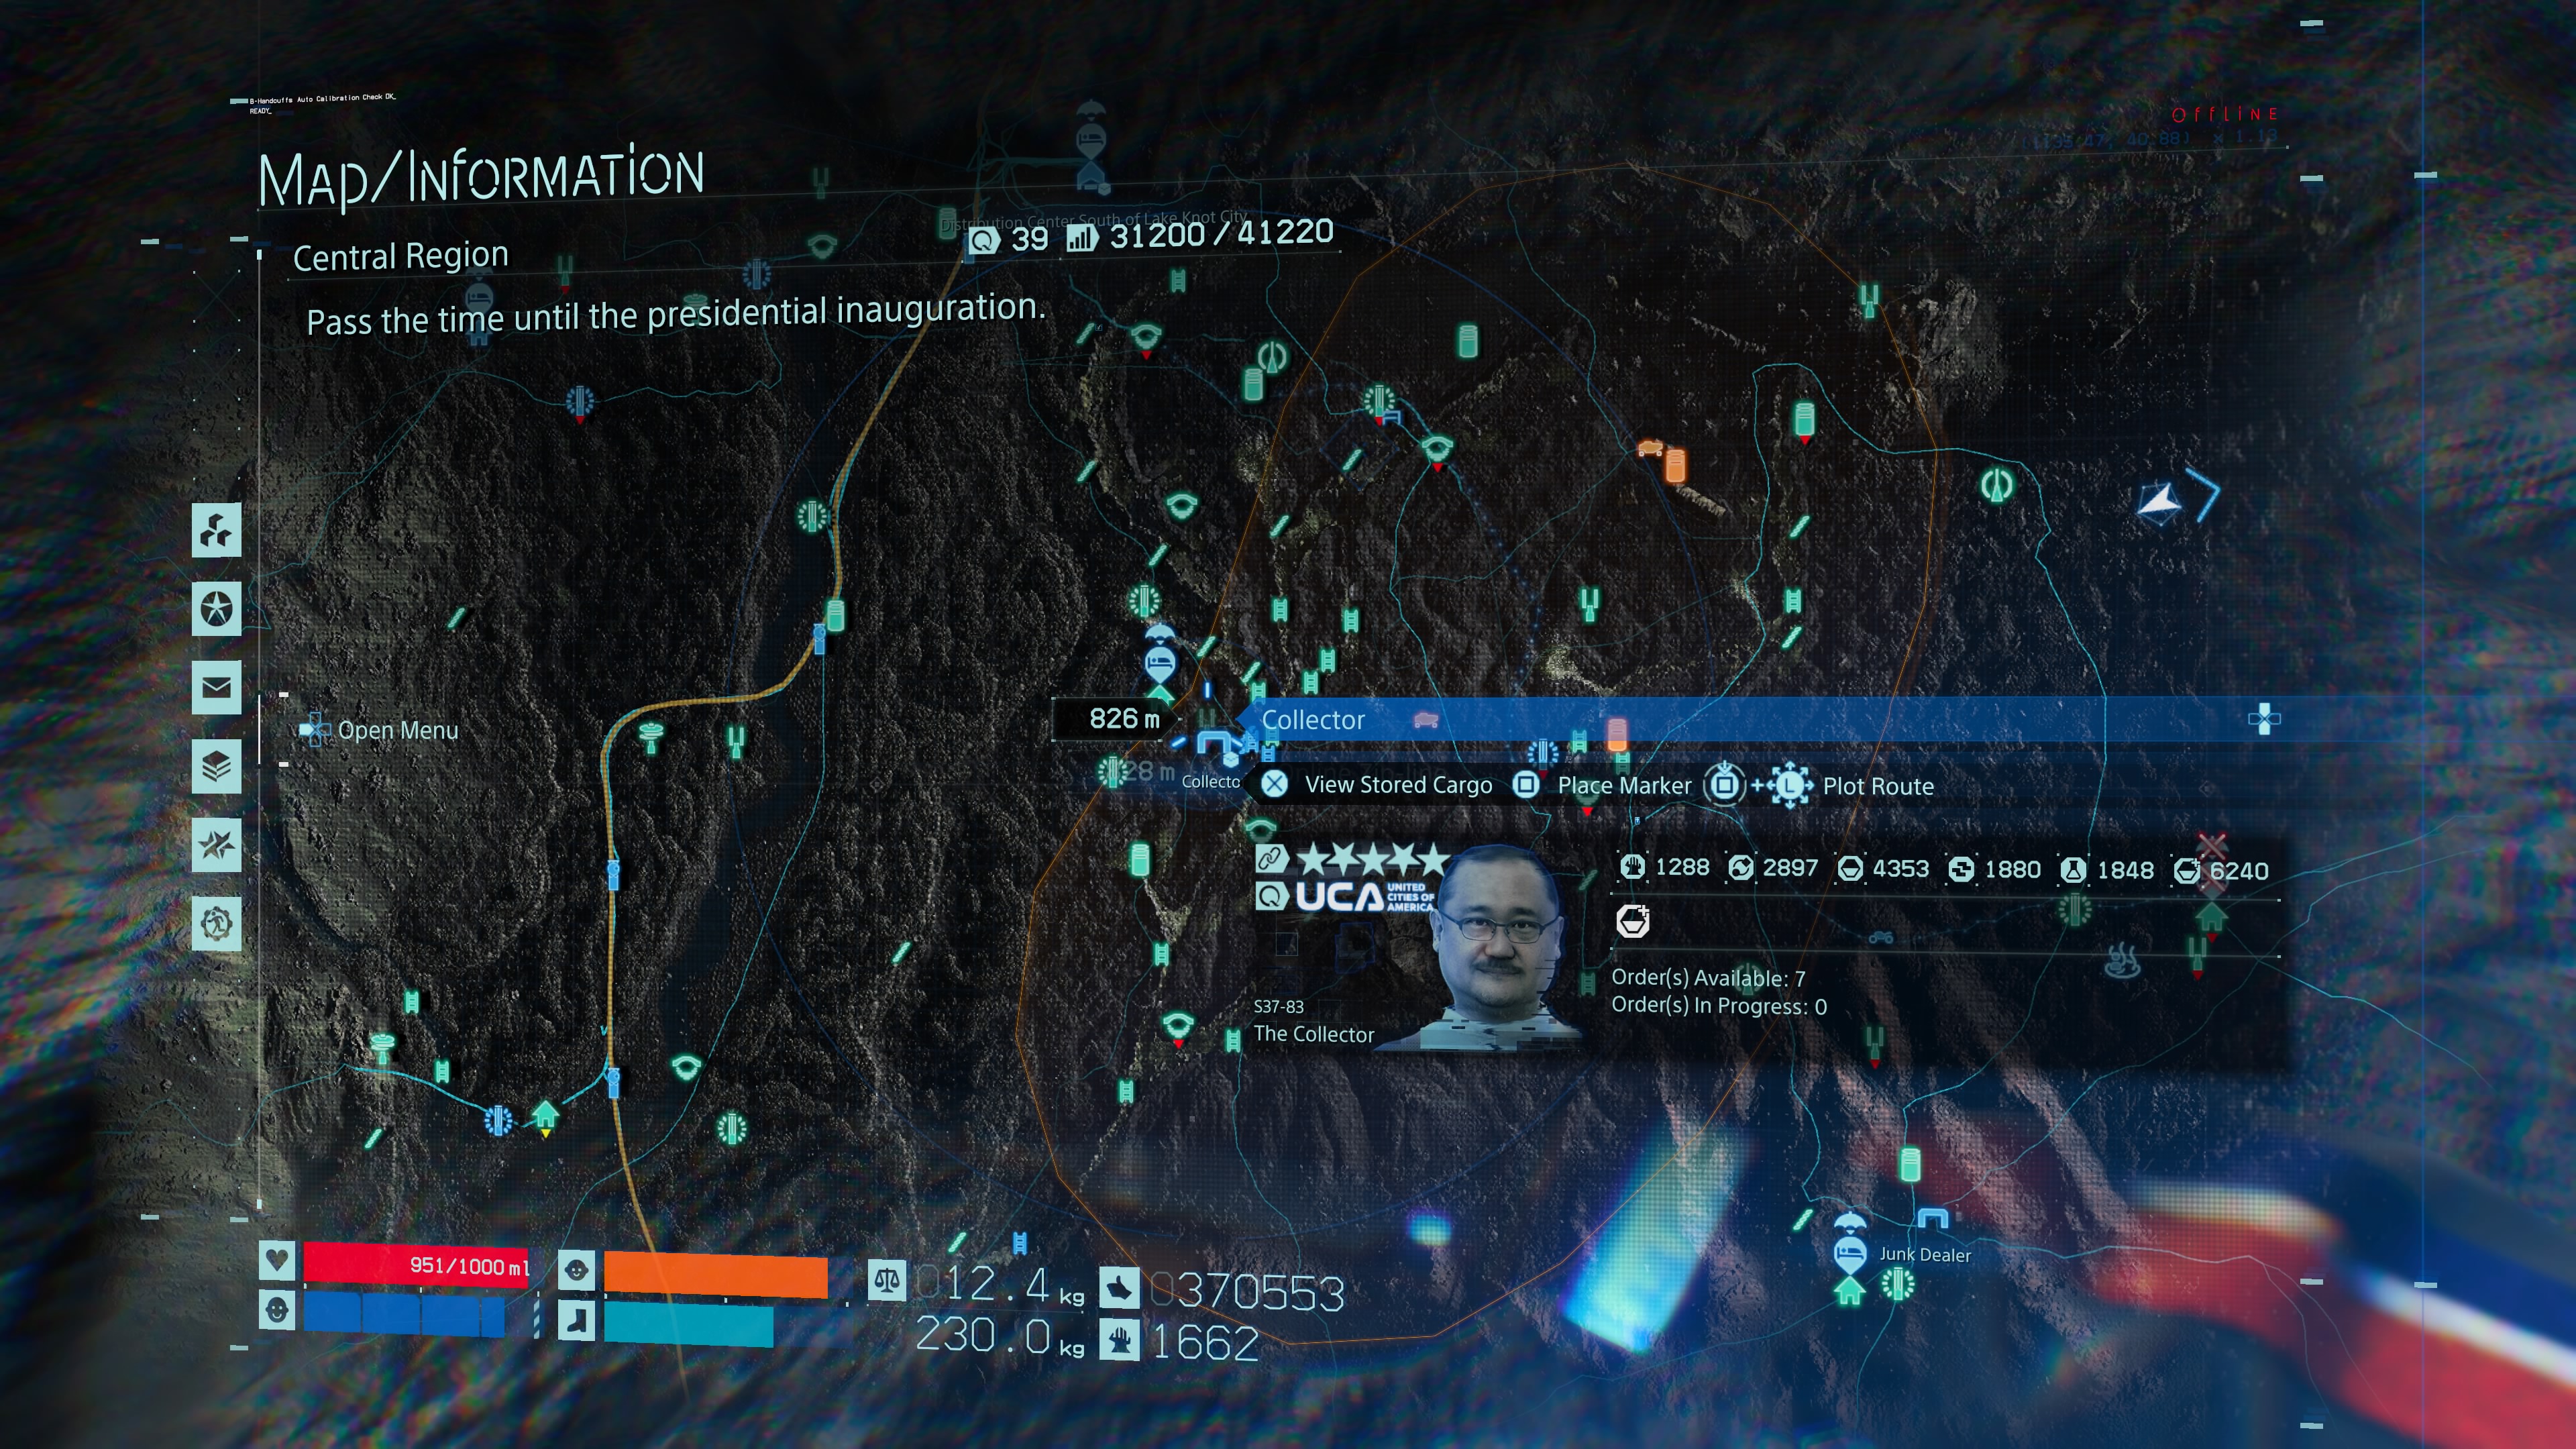
Collector
The Collector is one of the most tricky Preppers to find. From the distribution centre head across the field towards the Junk Dealer, but cut off and head right as you’re crossing the midsection and you should arrive at a rocky area with a cluster of chasms. The Collector is down within one of these chasms and you must use a climbing anchor to get down to him. Keep pinging this with your Odradek and you’ll find it in no time.
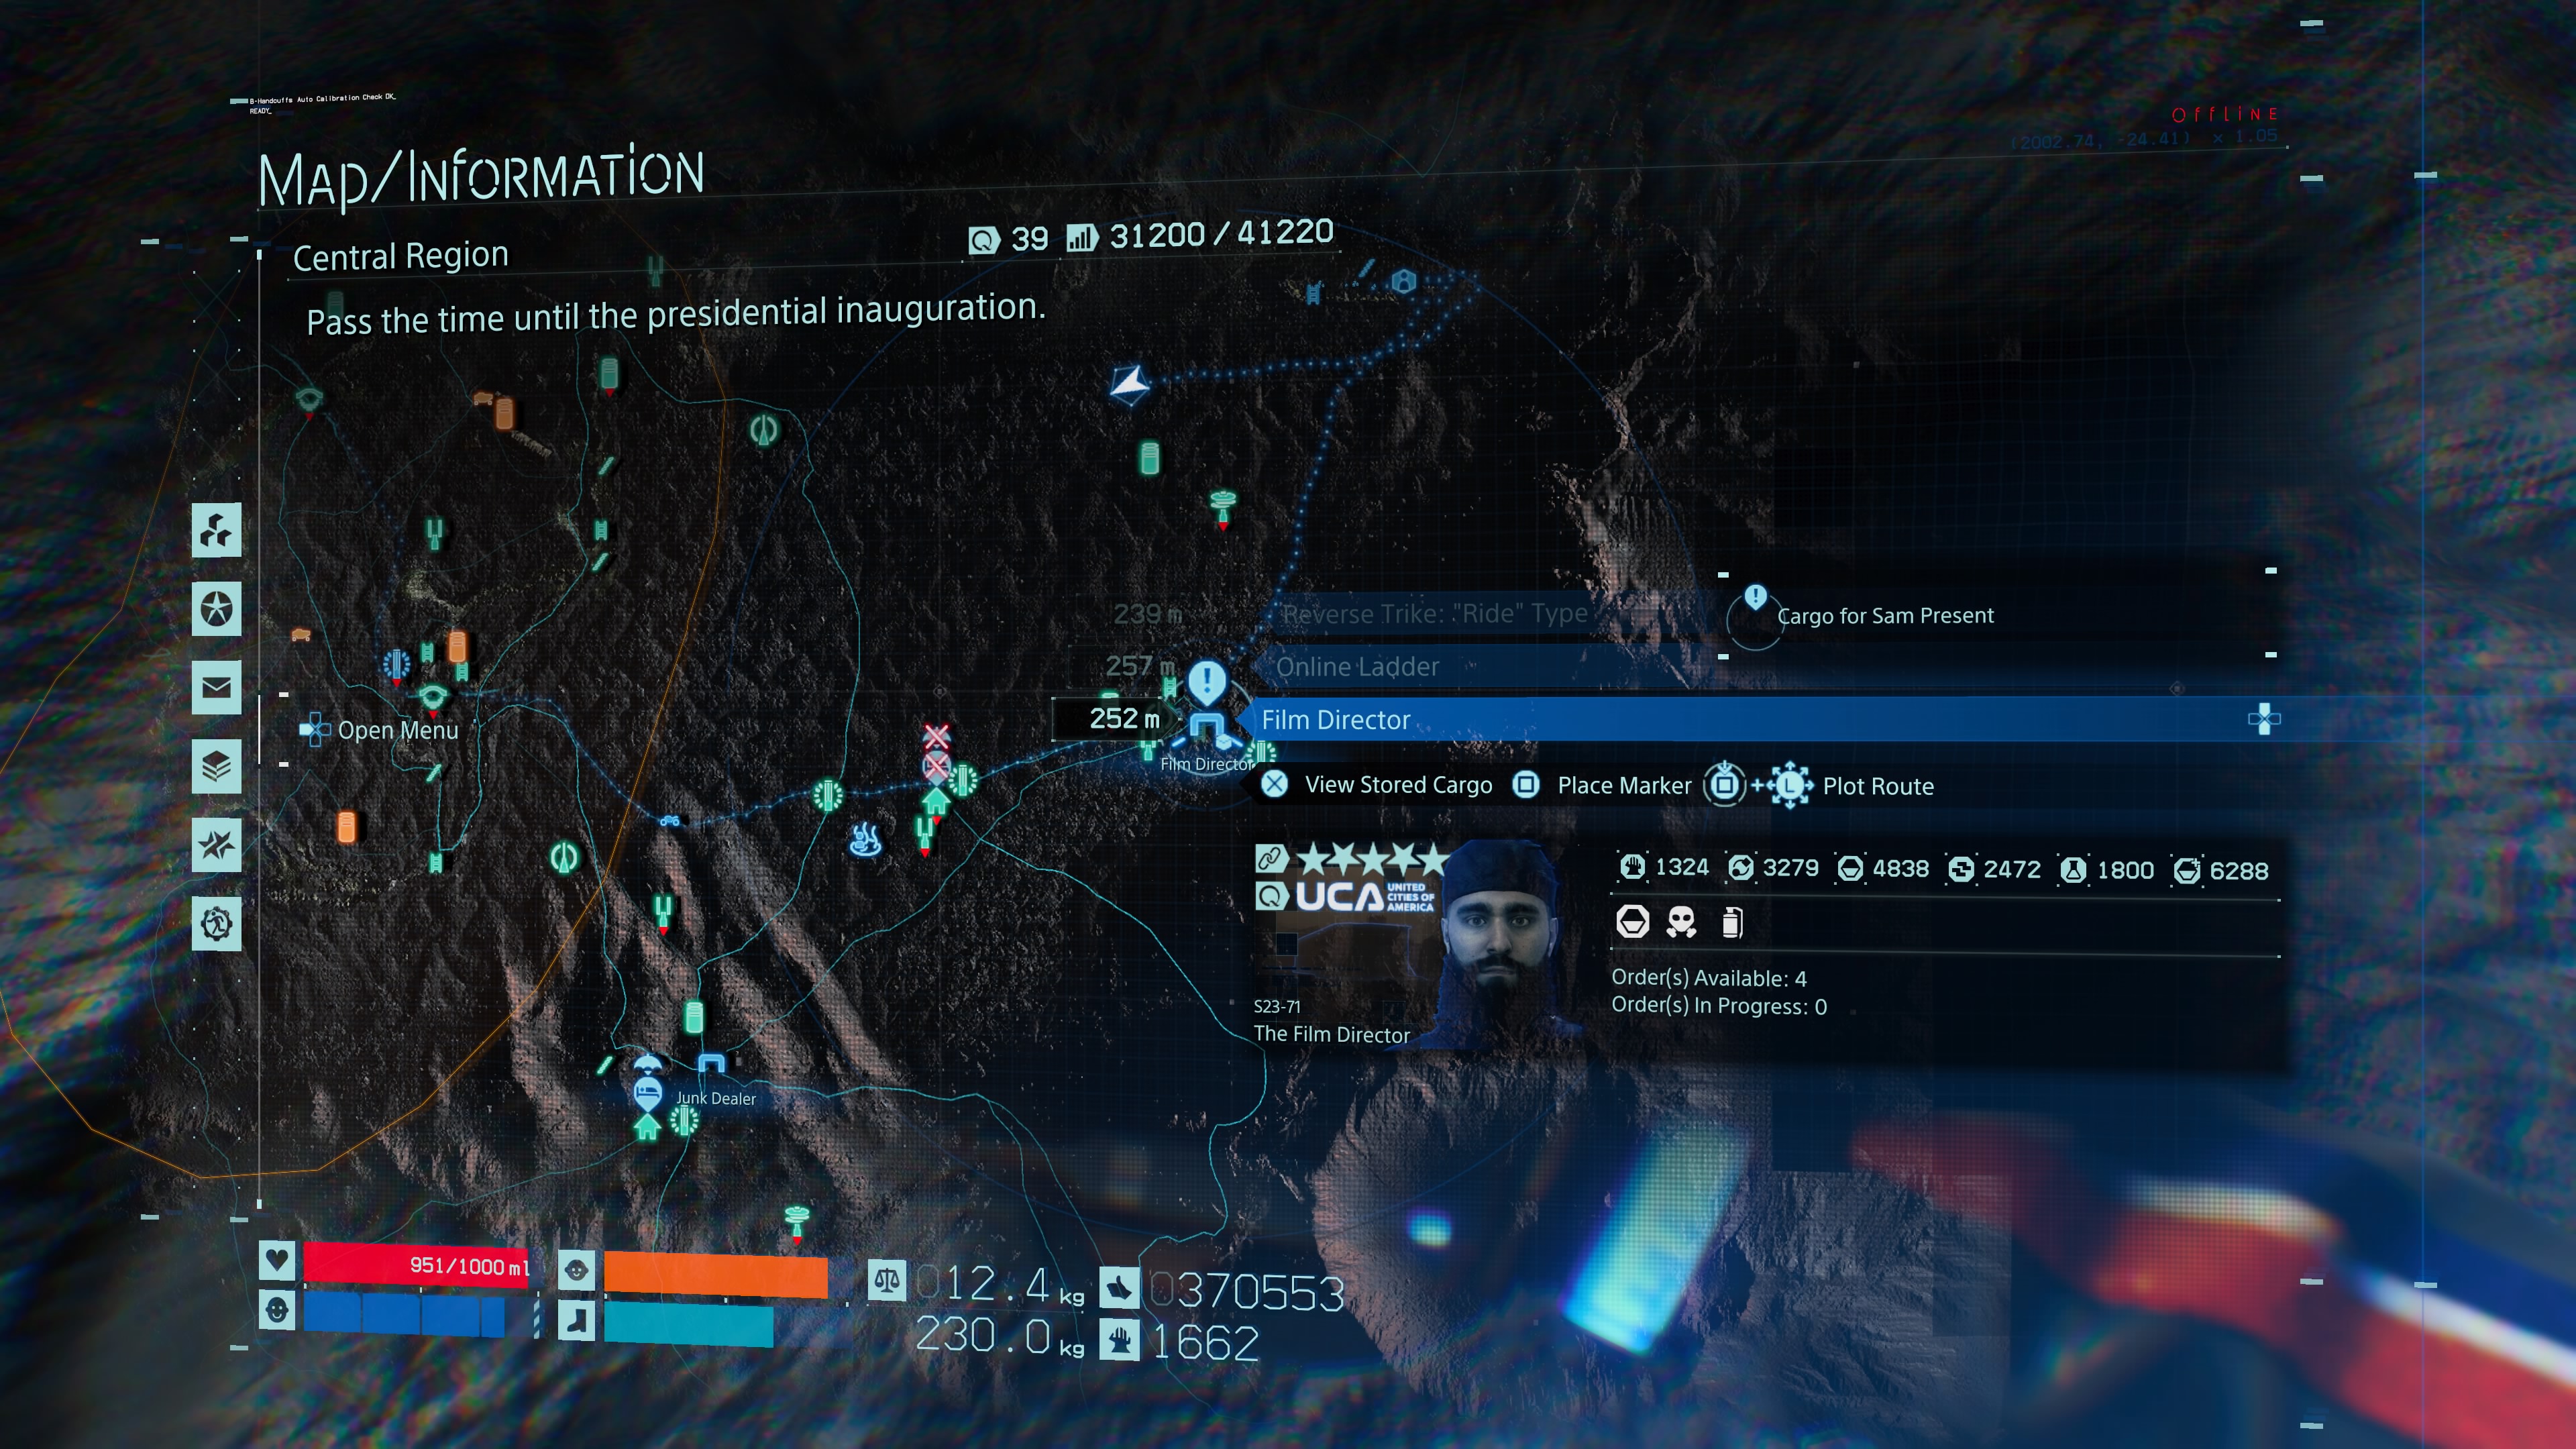
Film Director
The director of Kong: Skull Island is waiting for you west of the Junk Dealer. His station is very close to the Junk Dealer’s residence so it’s a simple direct walk over some rocky terrain to find him.
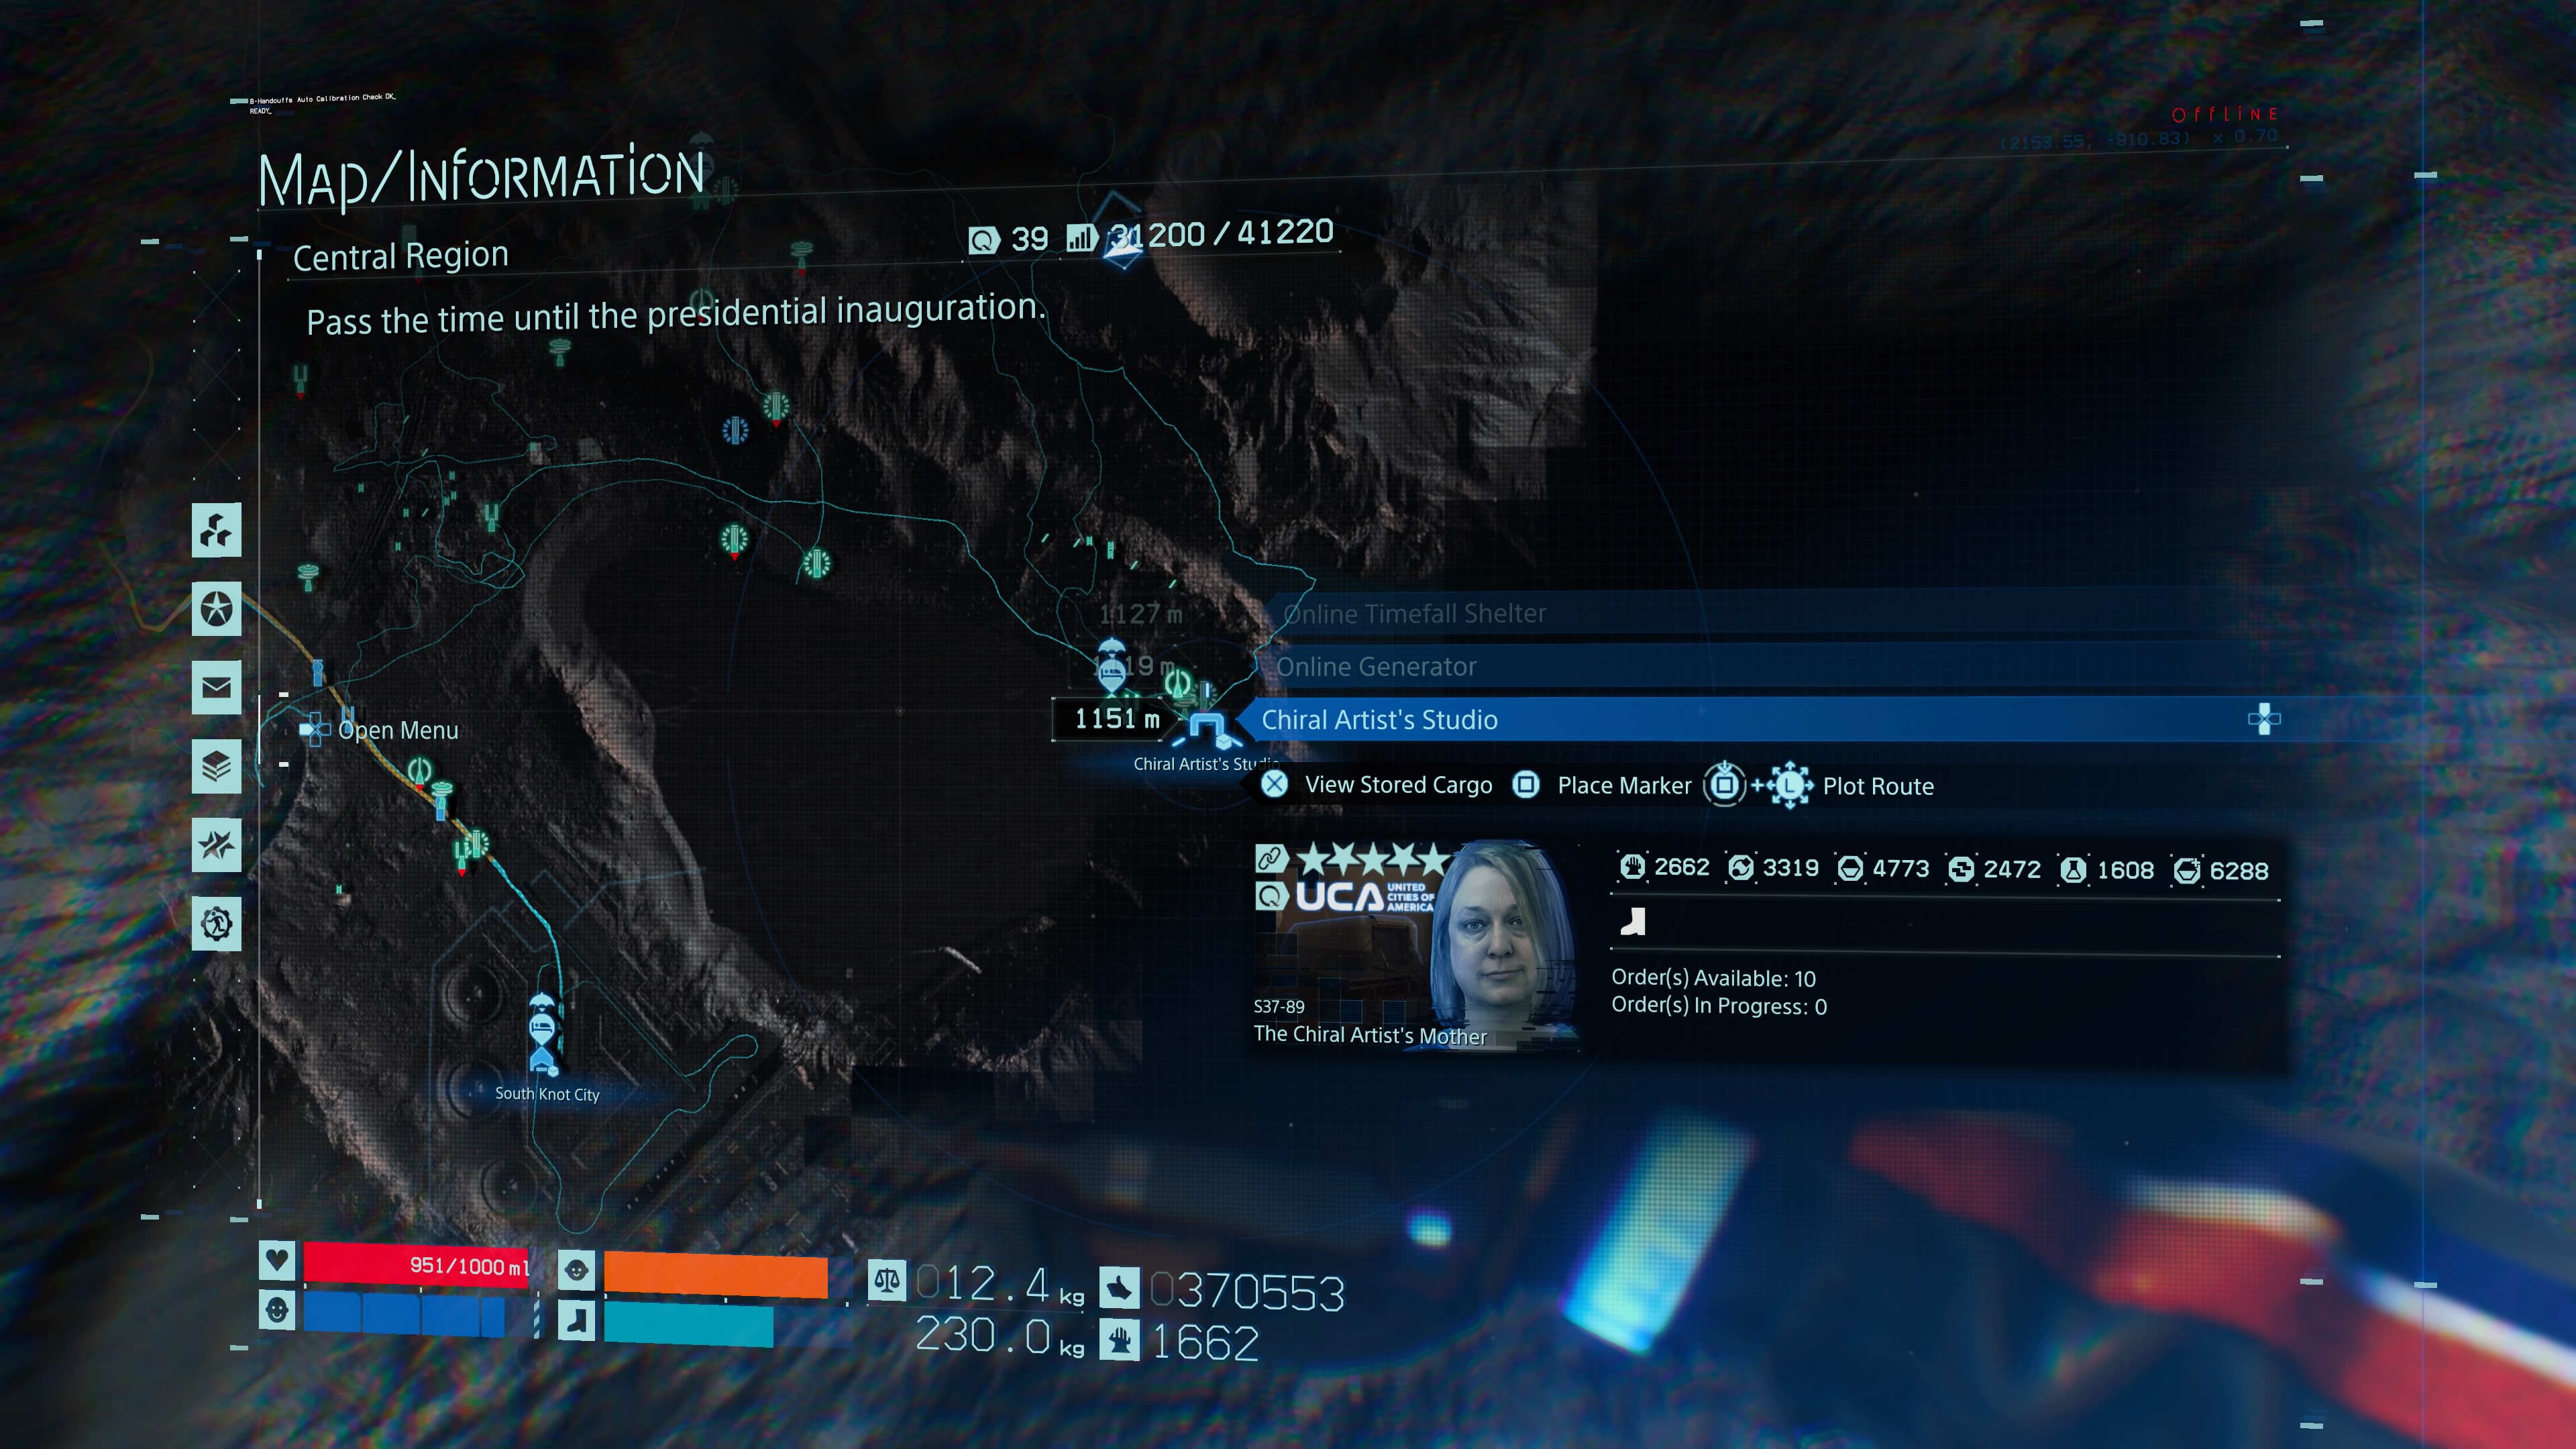
Chiral Artist’s Studio
The Chiral Artist’s Studio is even further south than the Junk Dealer. If you use the gigantic crater lake as a reference, follow its western beach around and you’ll find it.
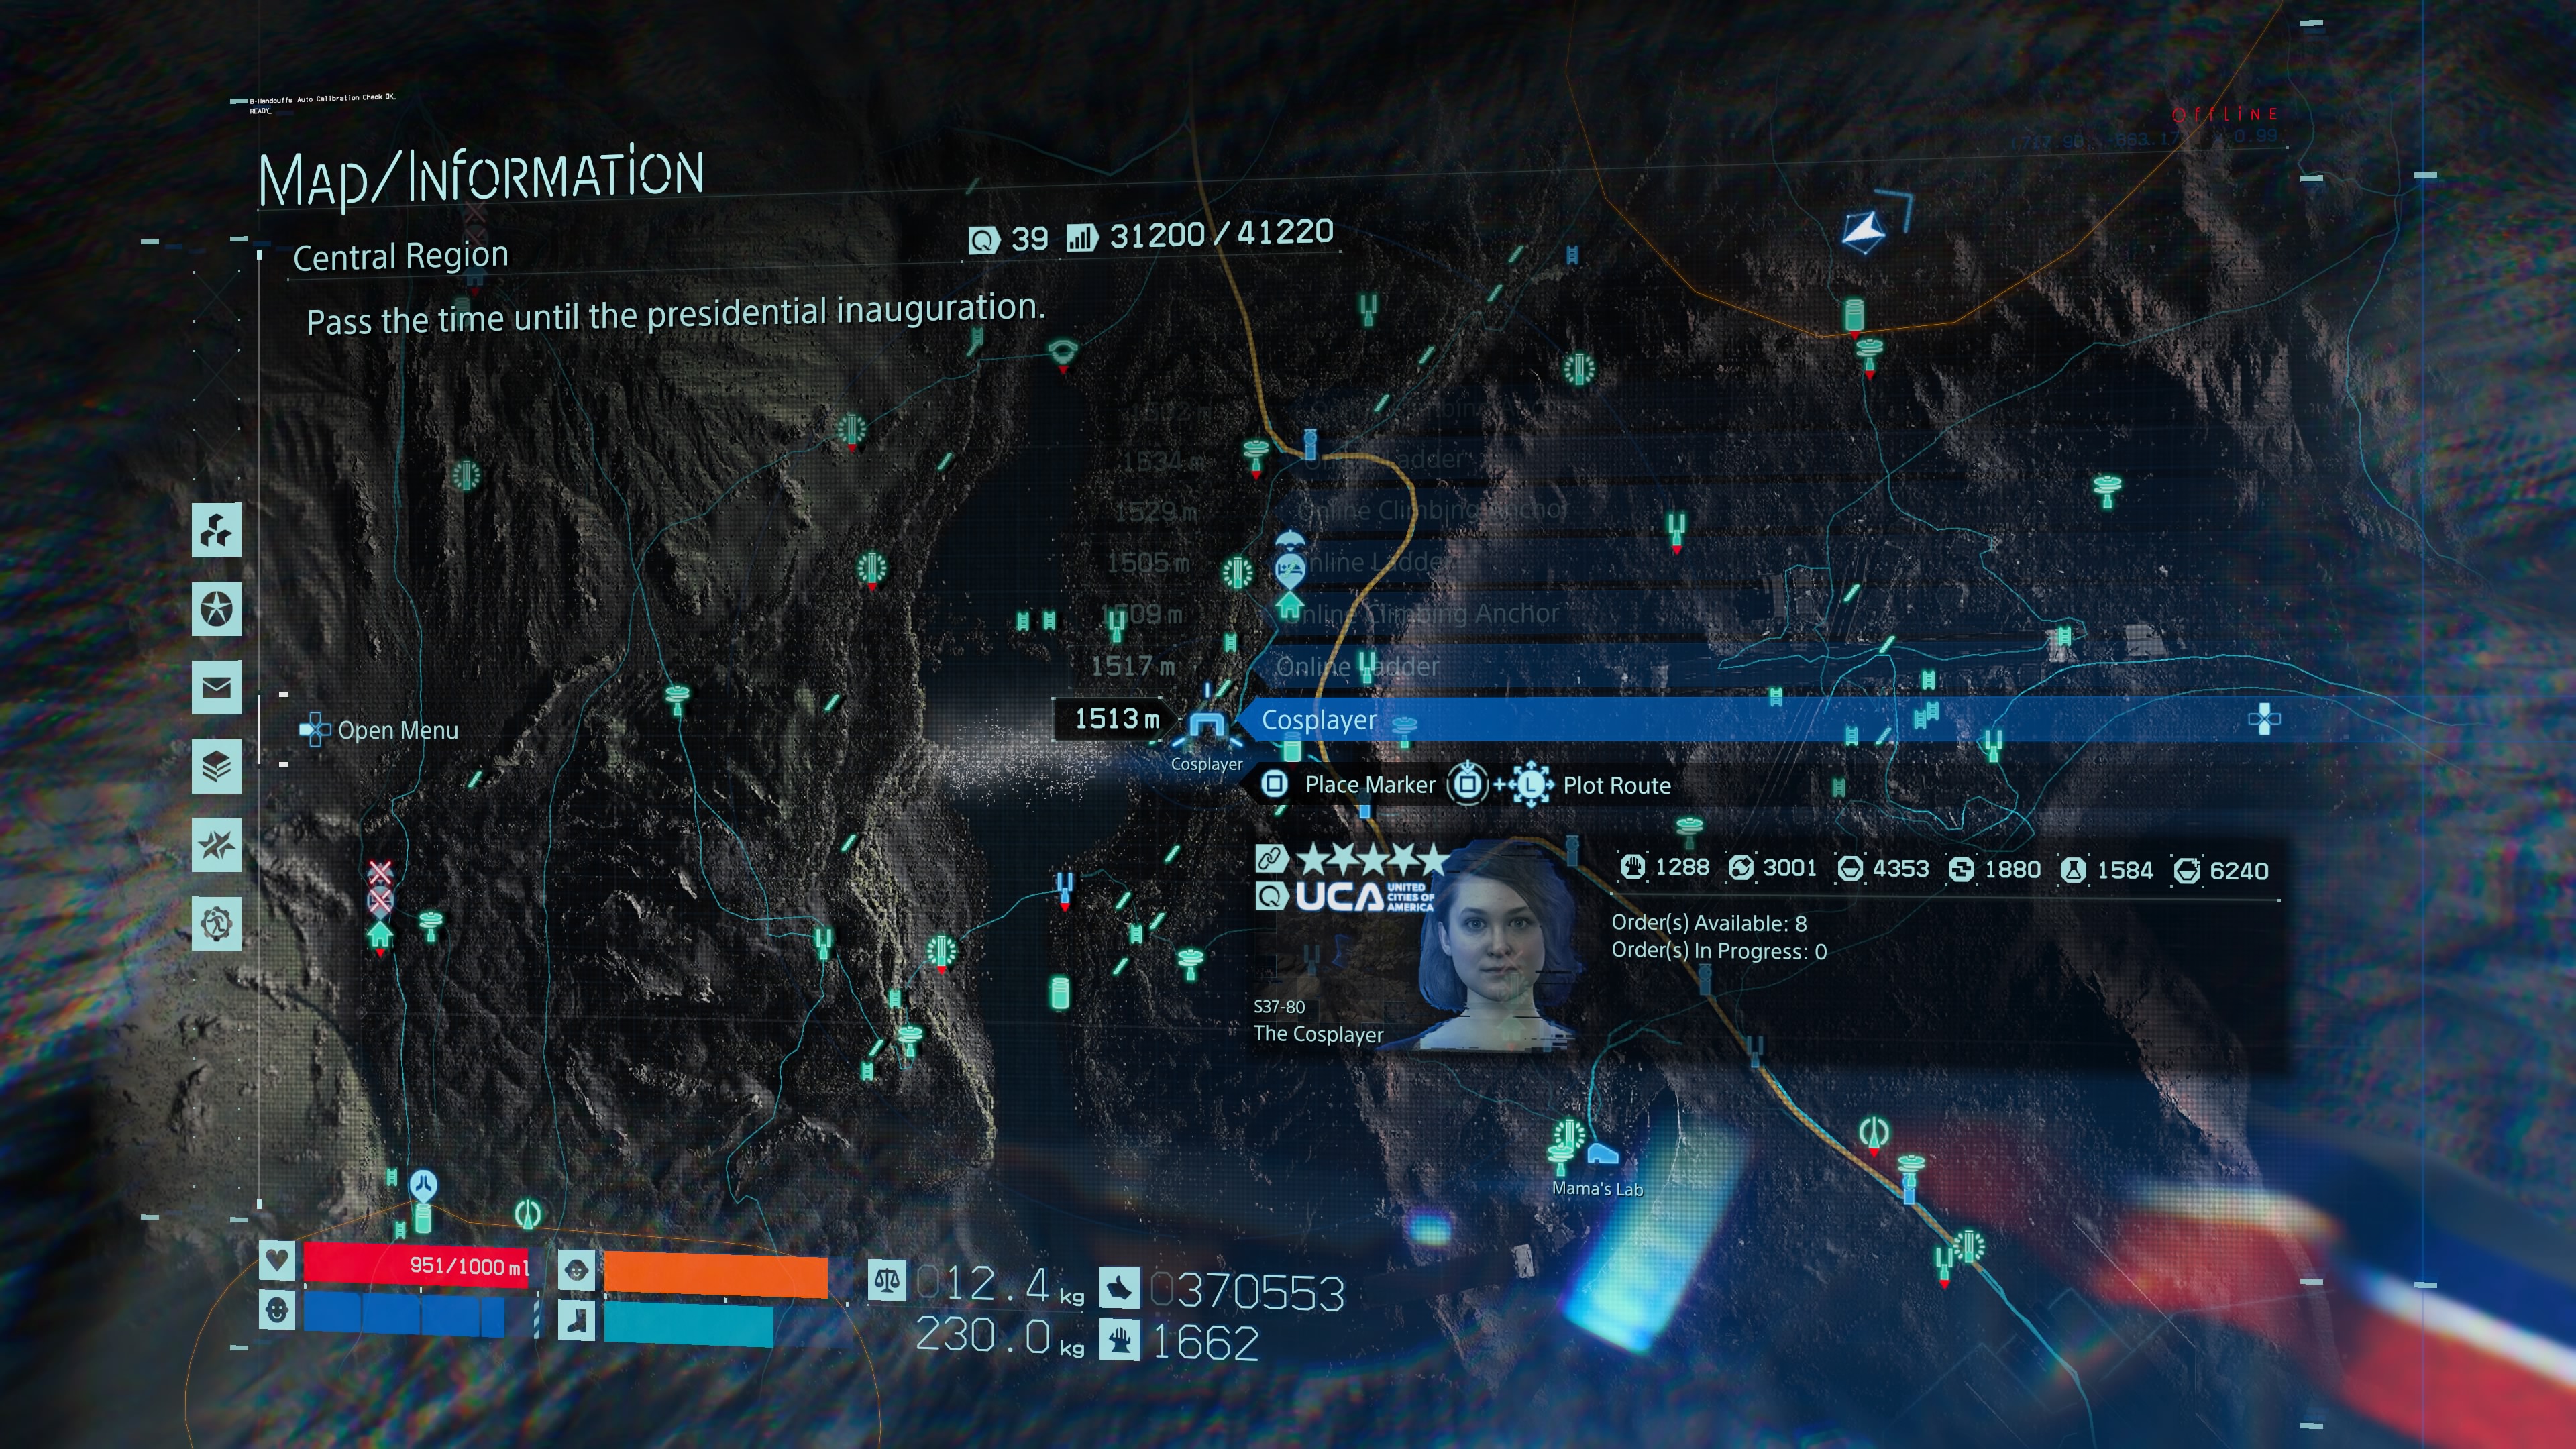
Cosplayer
The Cosplayer is another tricky one. If you found the Collector, climb out of the chasm and head further northeast from your position, away from the distribution centre. A famous TV show host is hiding in another chasm full of BTs. Skirt around it with a vehicle where possible.
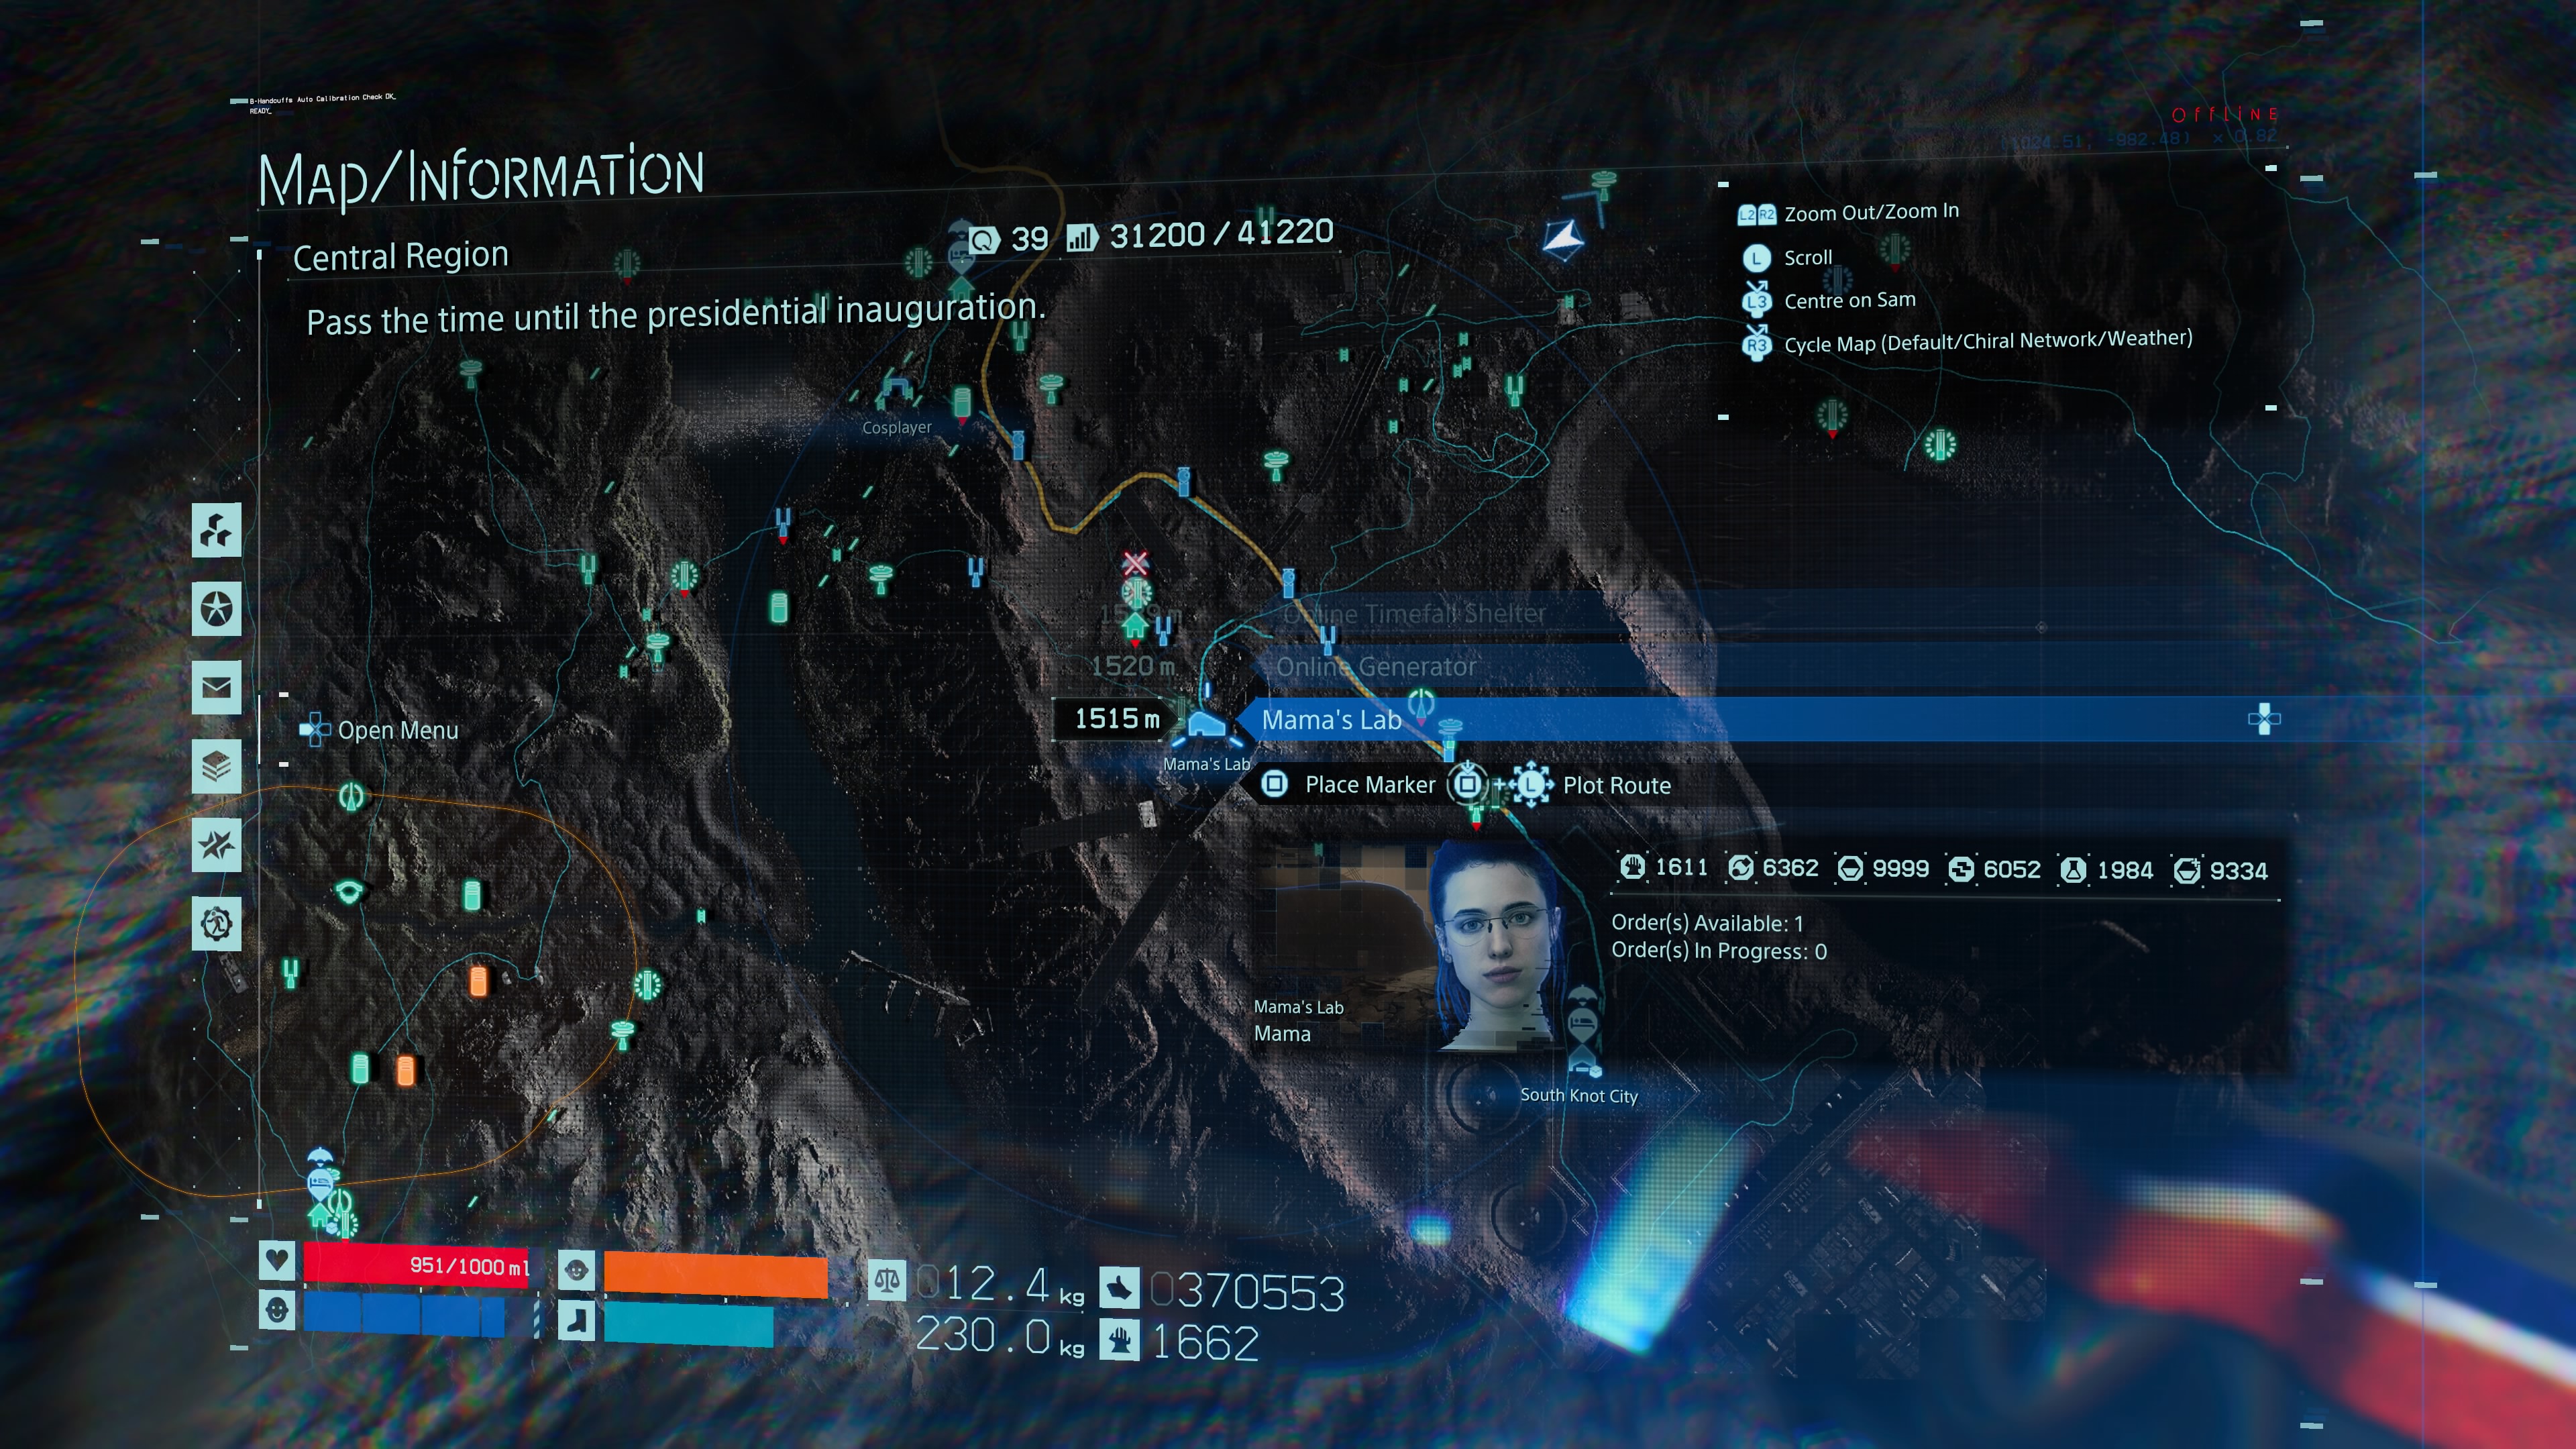
Mama’s Lab
You’ll get here as part of the main narrative, but it's dead north from the Cosplayer if you need a reference.
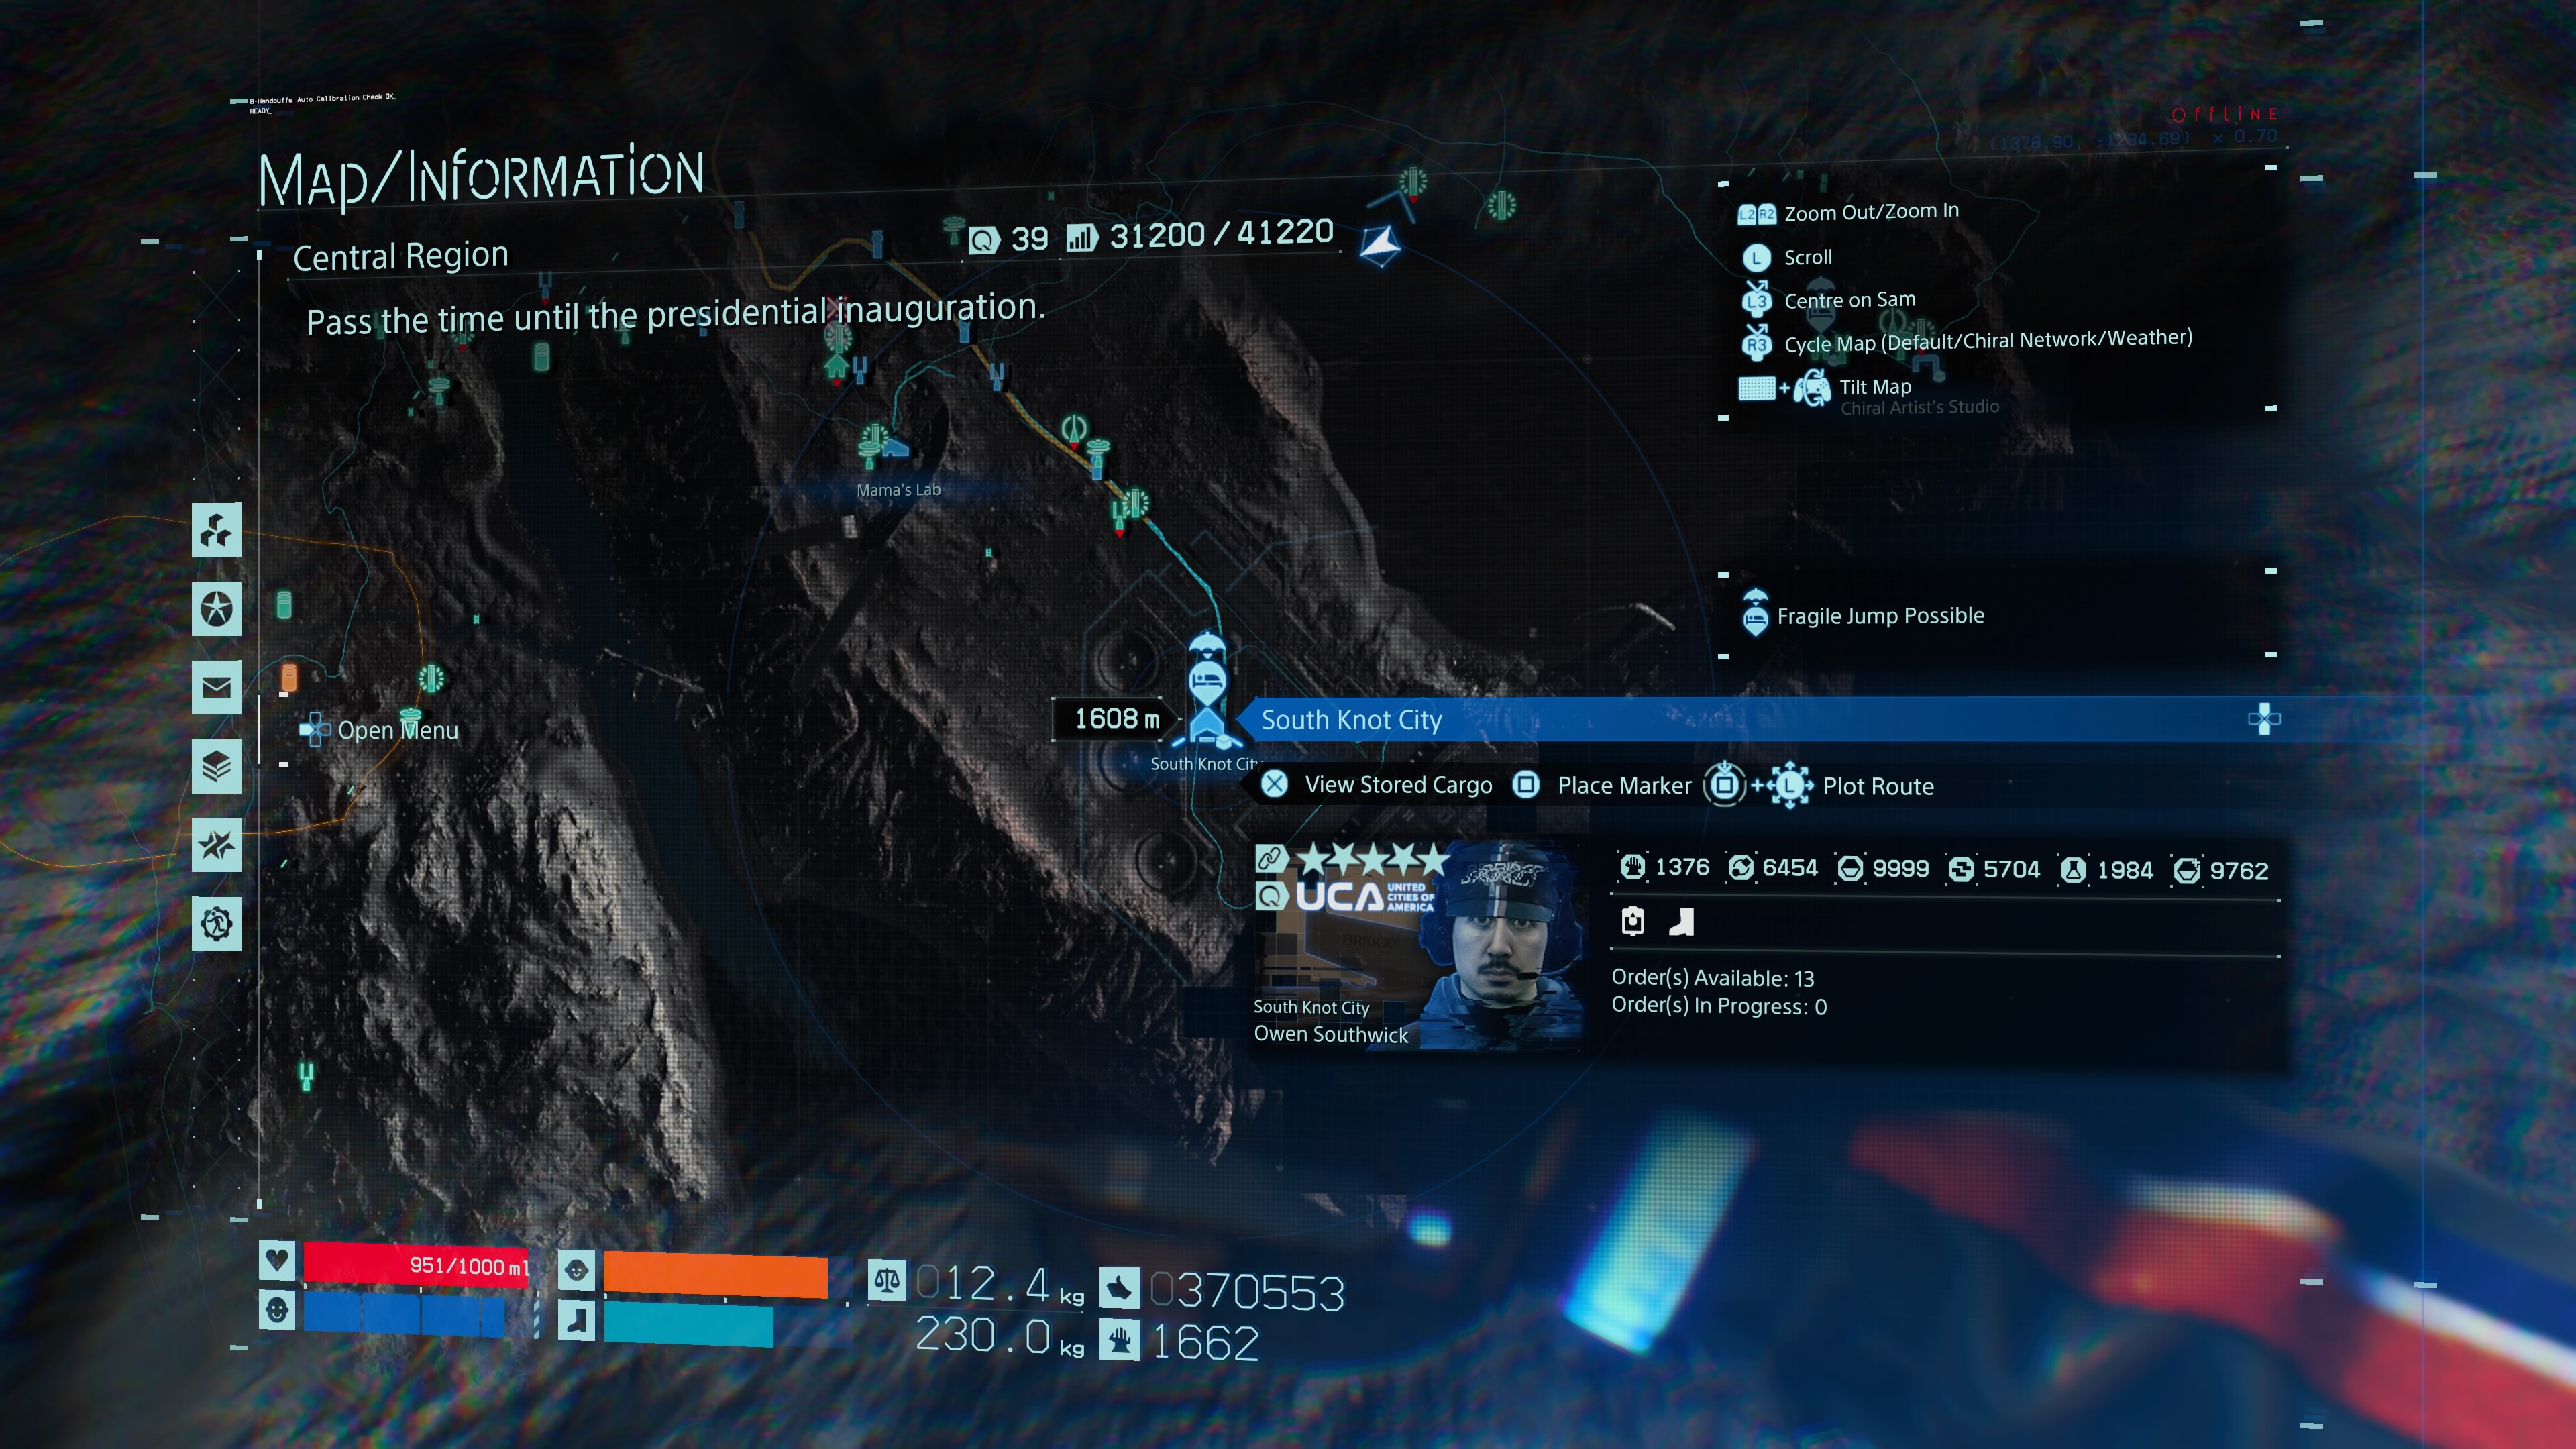
South Knot City
South Knot City is in the far reaches of the Central Region, further still from Mama’s Lab.
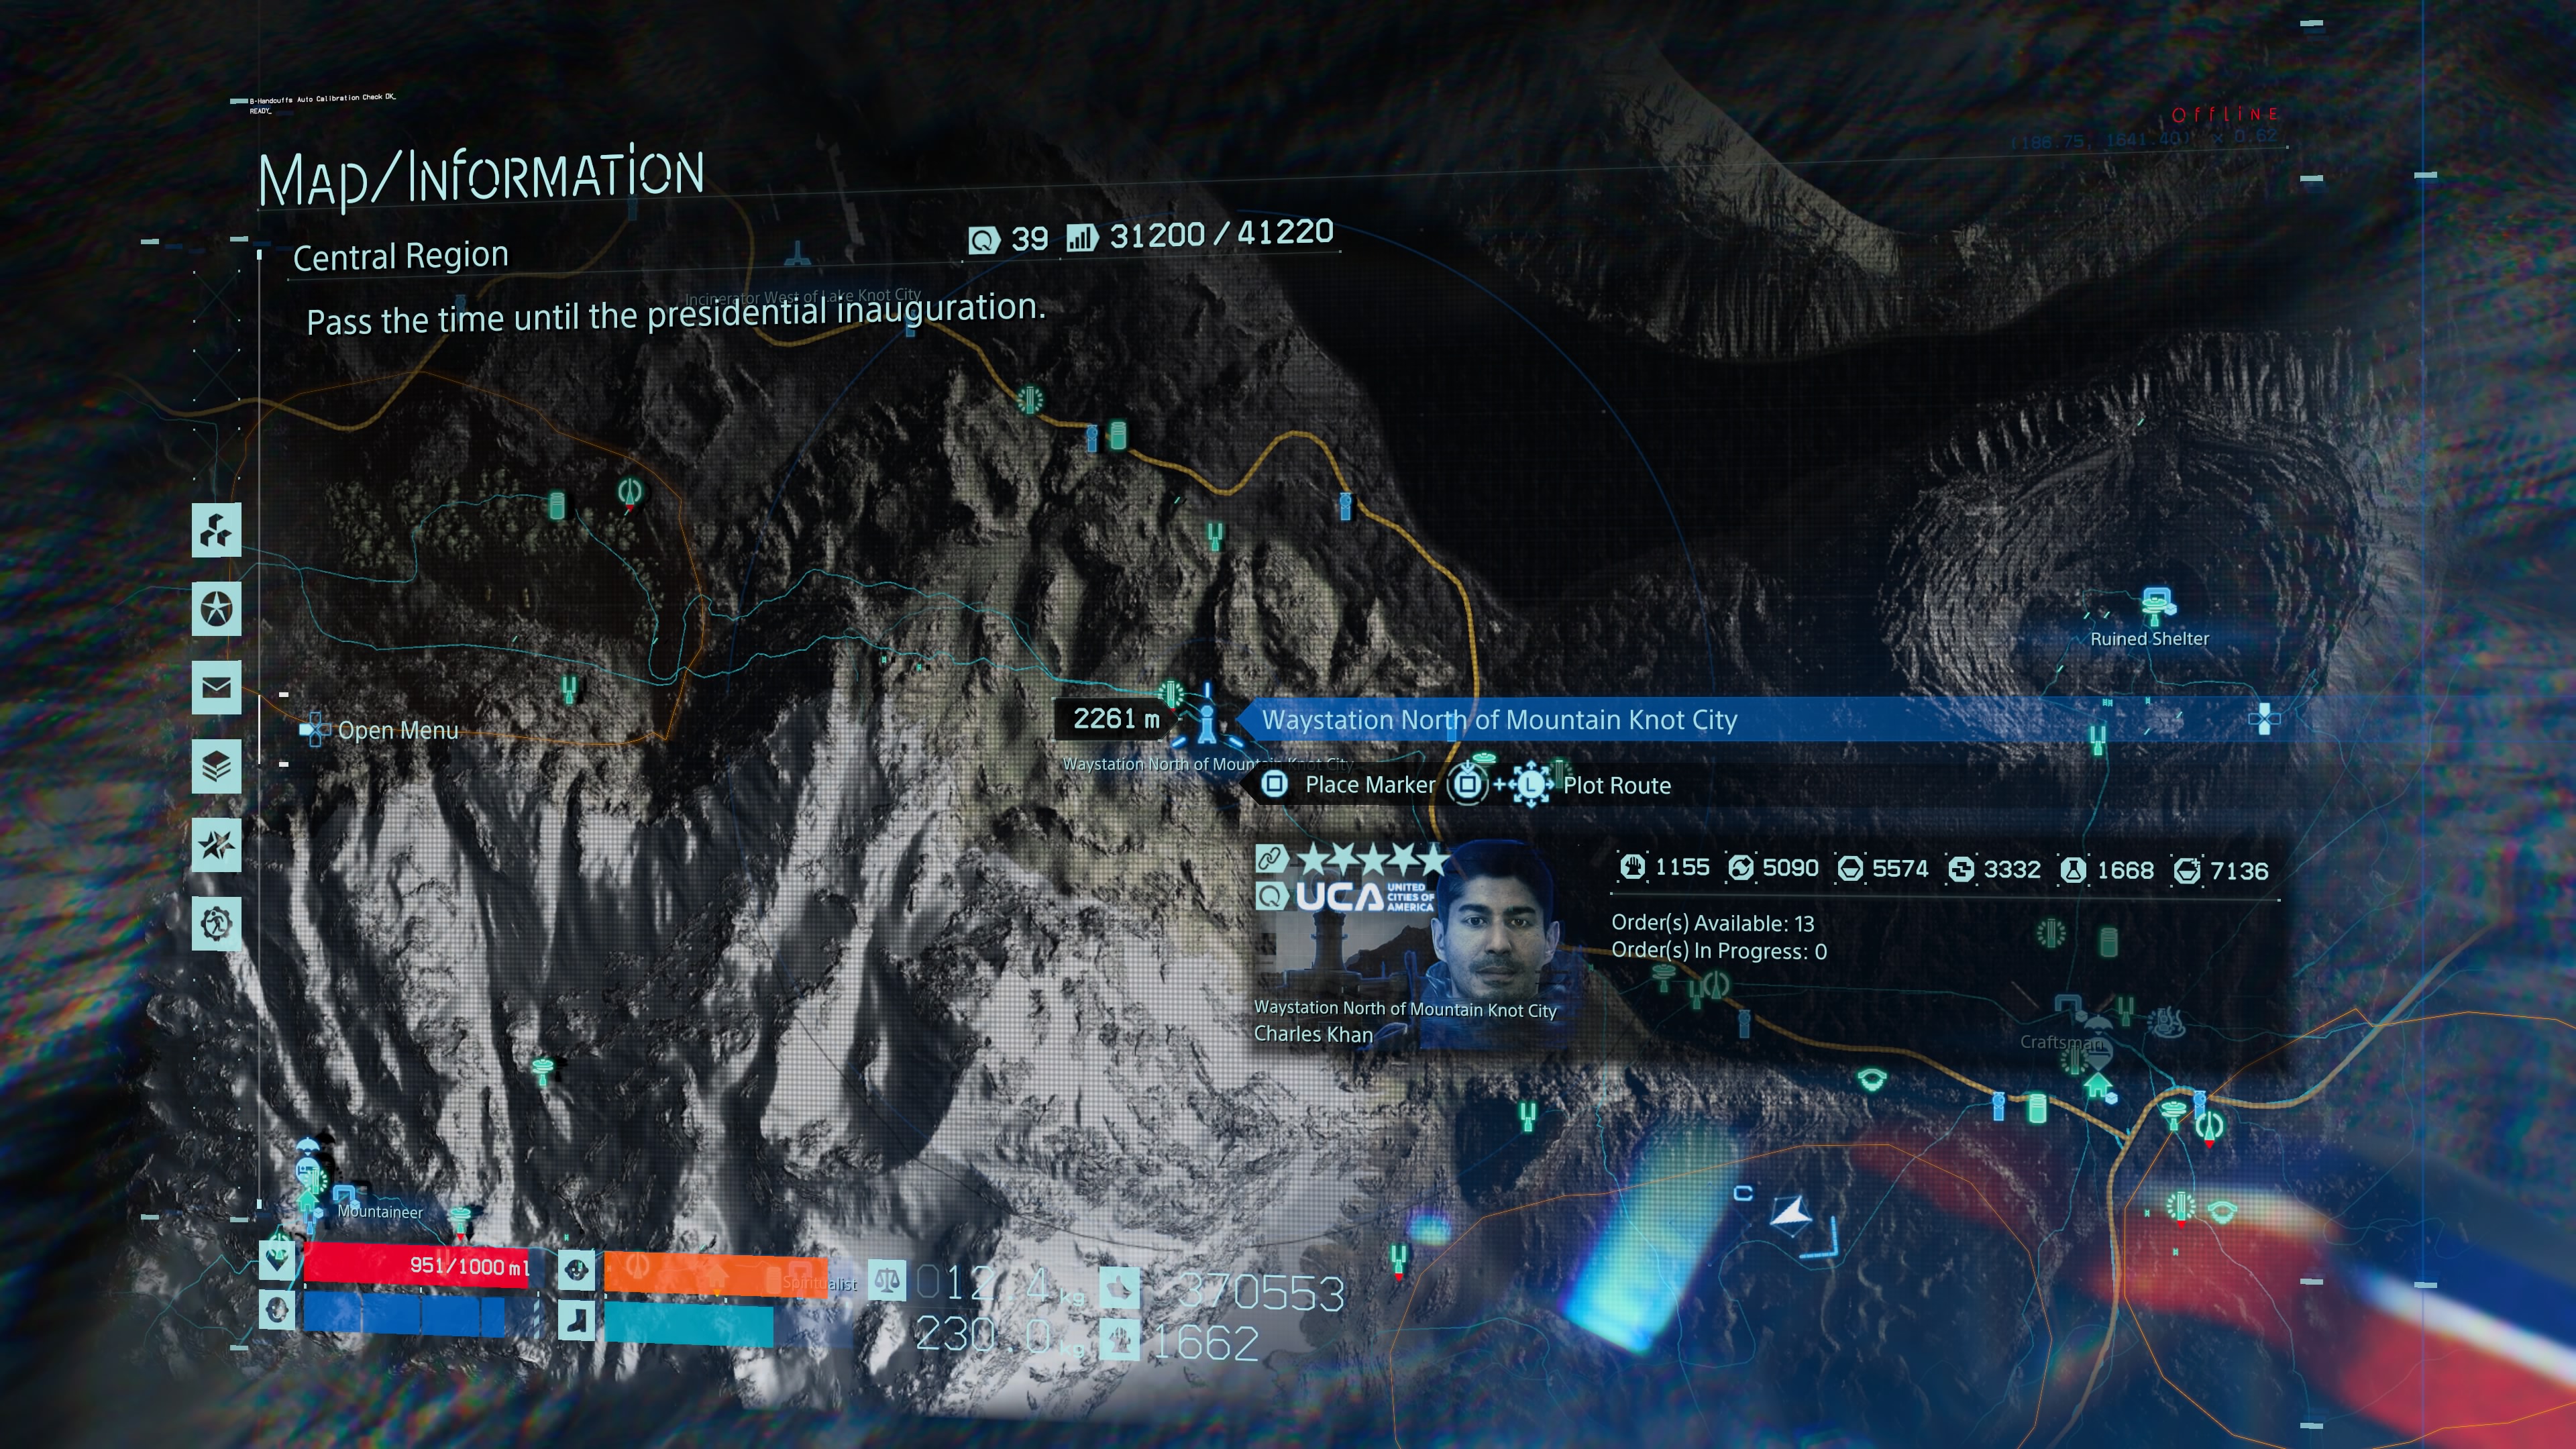
Waystation North of Mountain Knot City
Head back to the Craftsman’s station and follow the road west until you see a giant spire to the west of the built or broken road.
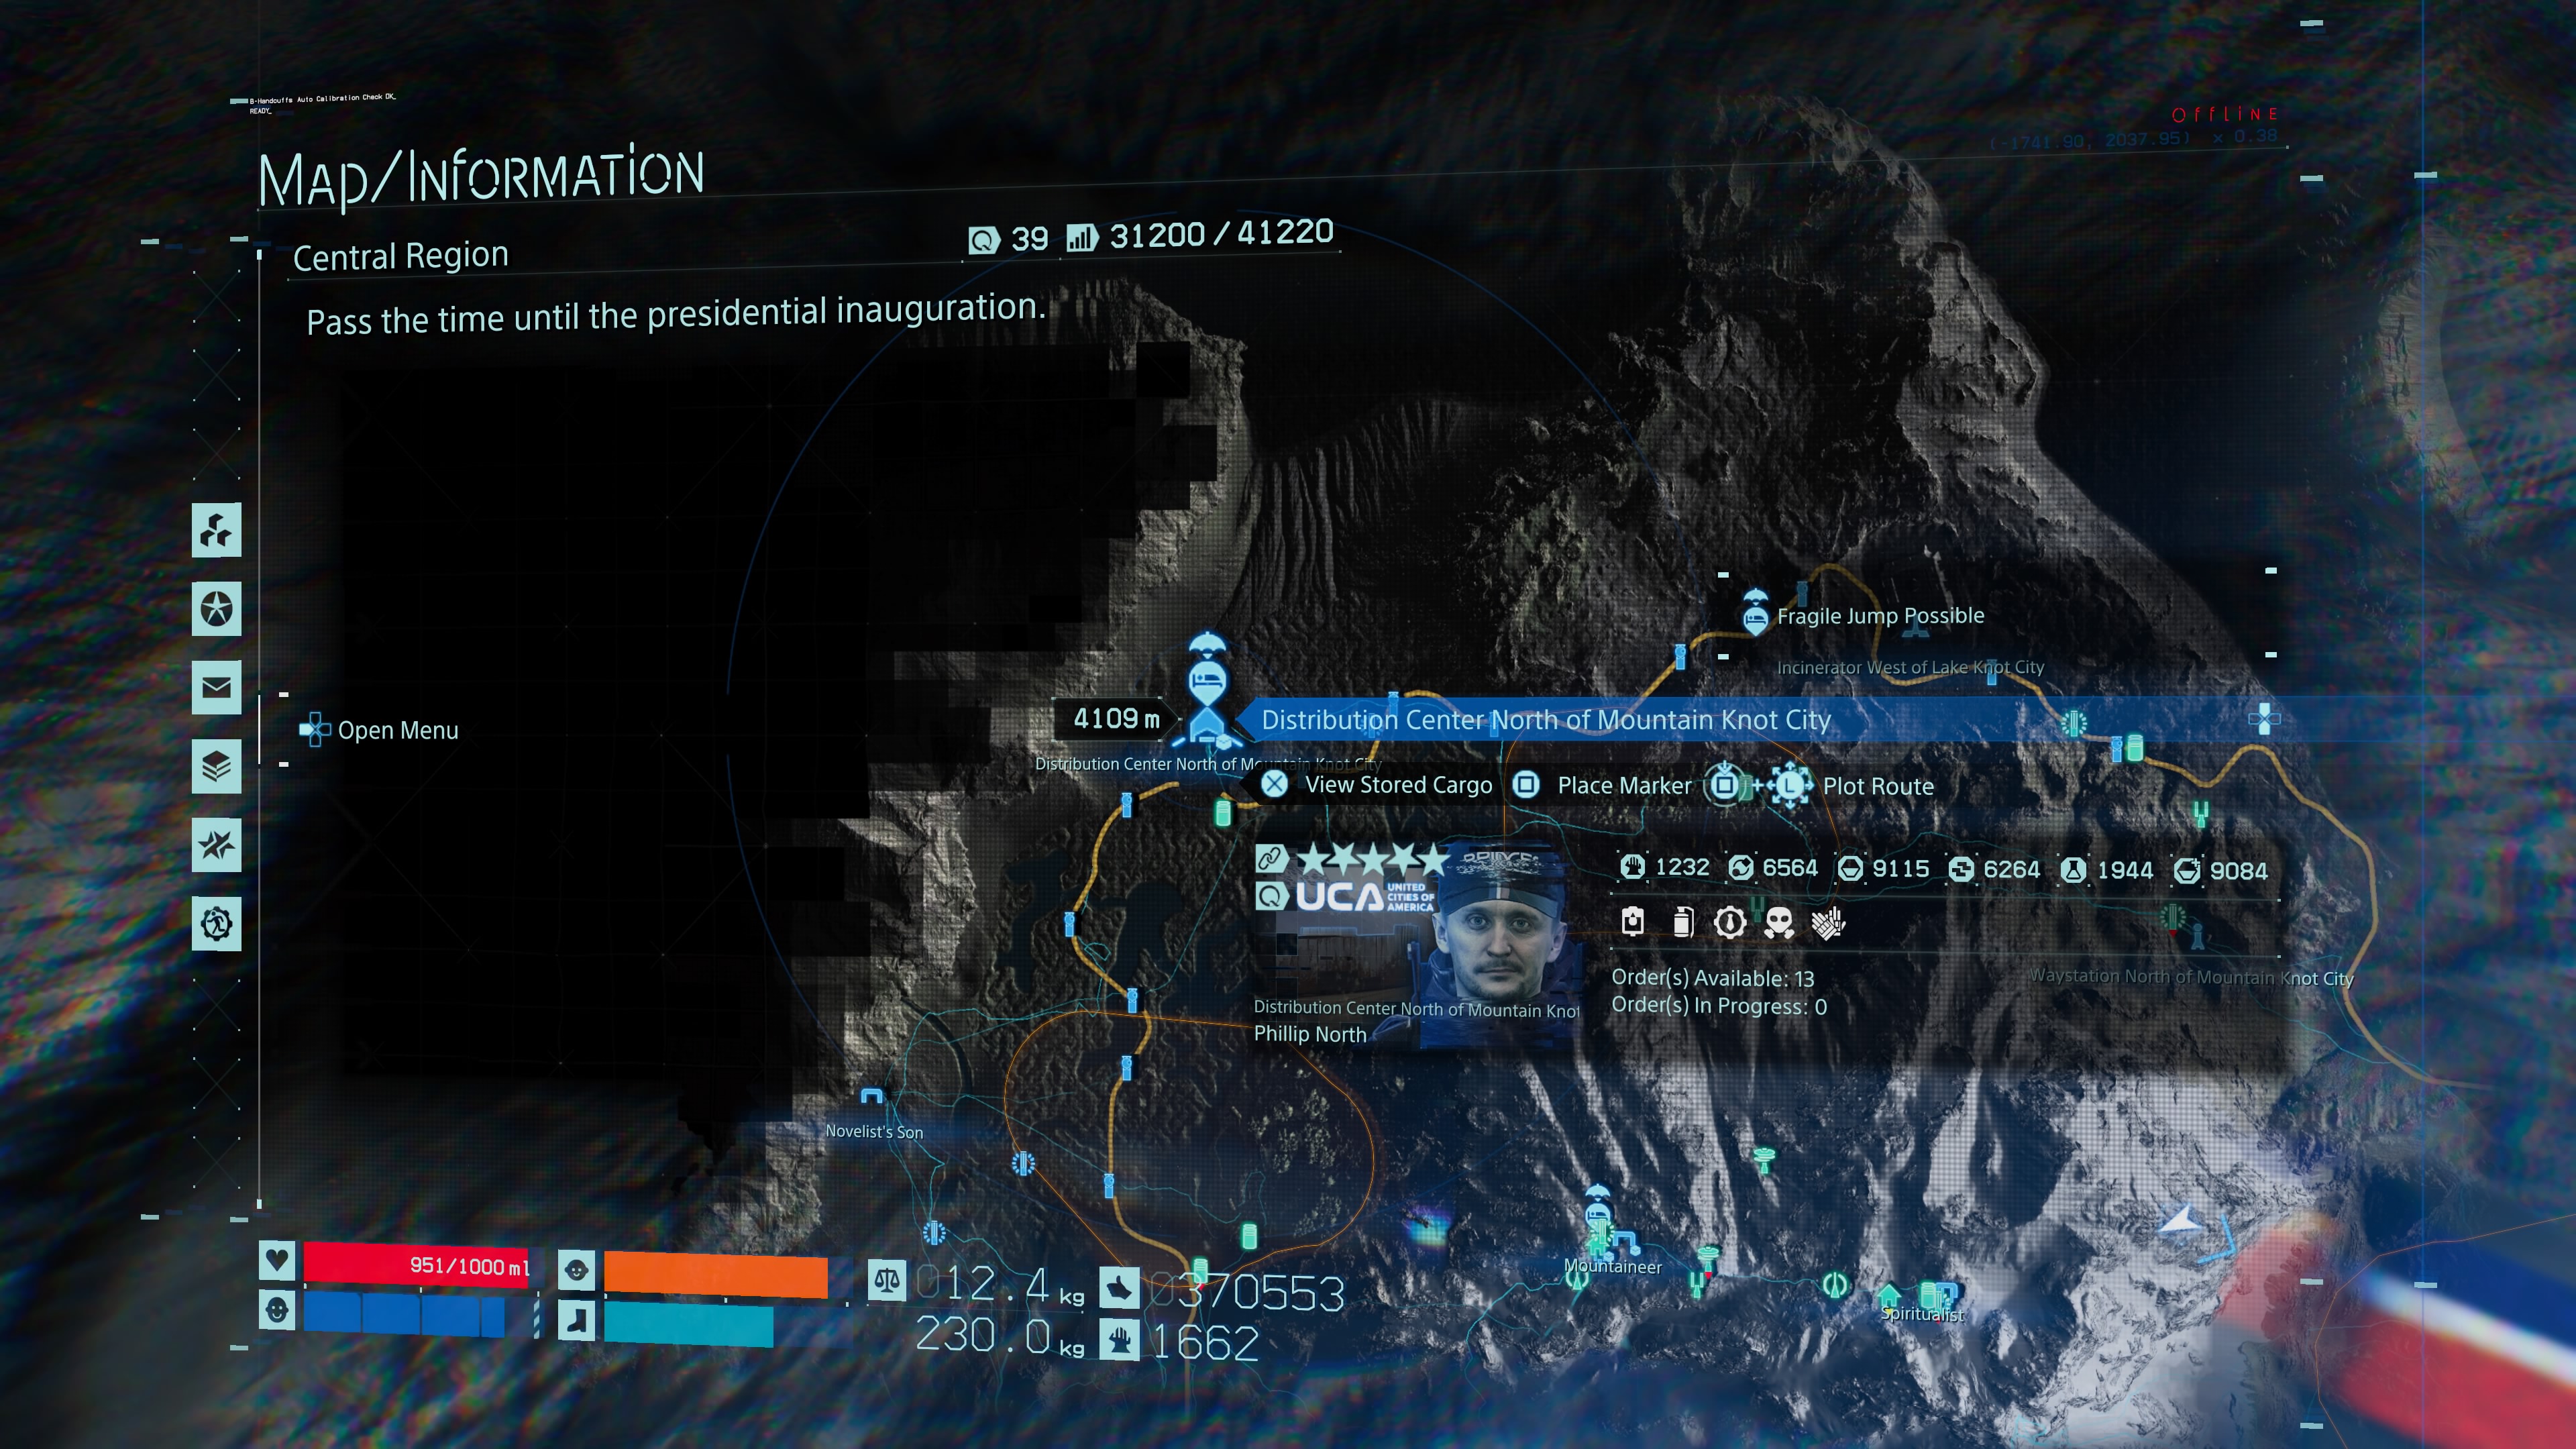
Distribution Centre North of Mountain Knot City
Keep following the road to Waystation North all the way around or head through the forested area full of Terrorists in a solid vehicle. You’ll eventually arrive at this new station, which is also part of a story mission.
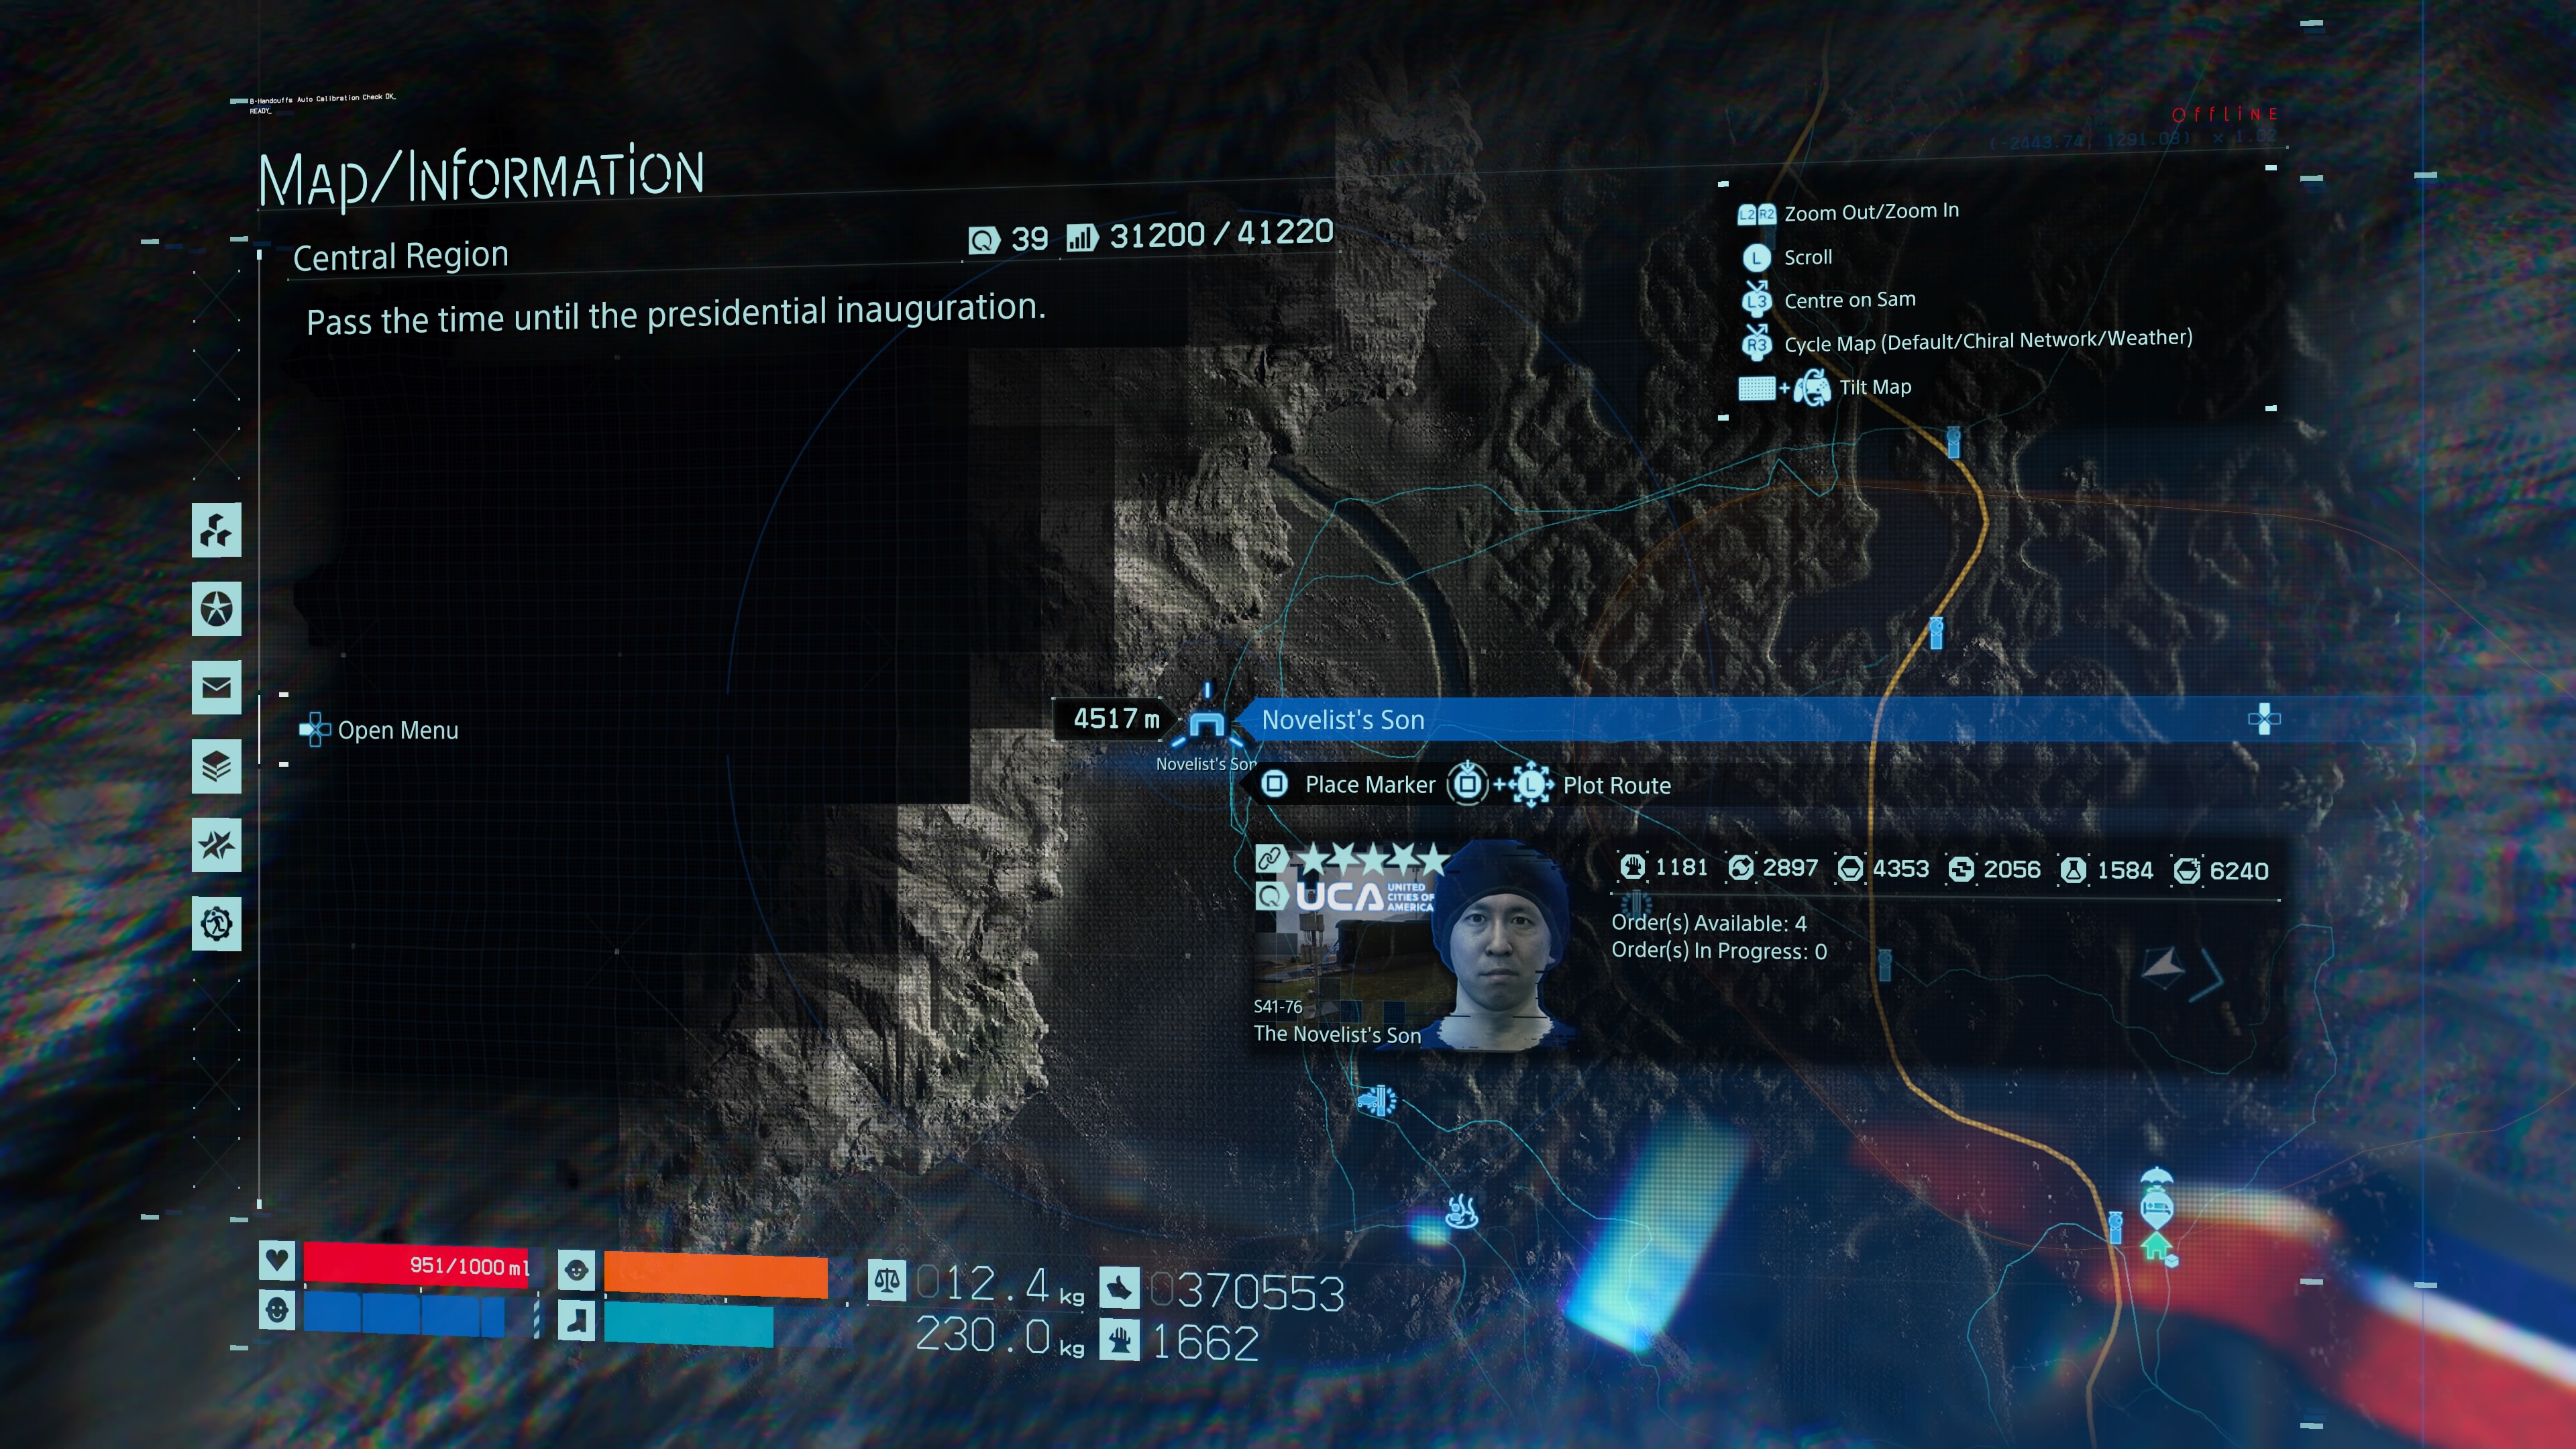
The Novelist’s Son
From the station above, keep following the auto-pavers and then peel off to the right before you turn into a BT-filled, snowy area. In the grassy field there will be one Pepper hiding on his own, cultivating gourds.
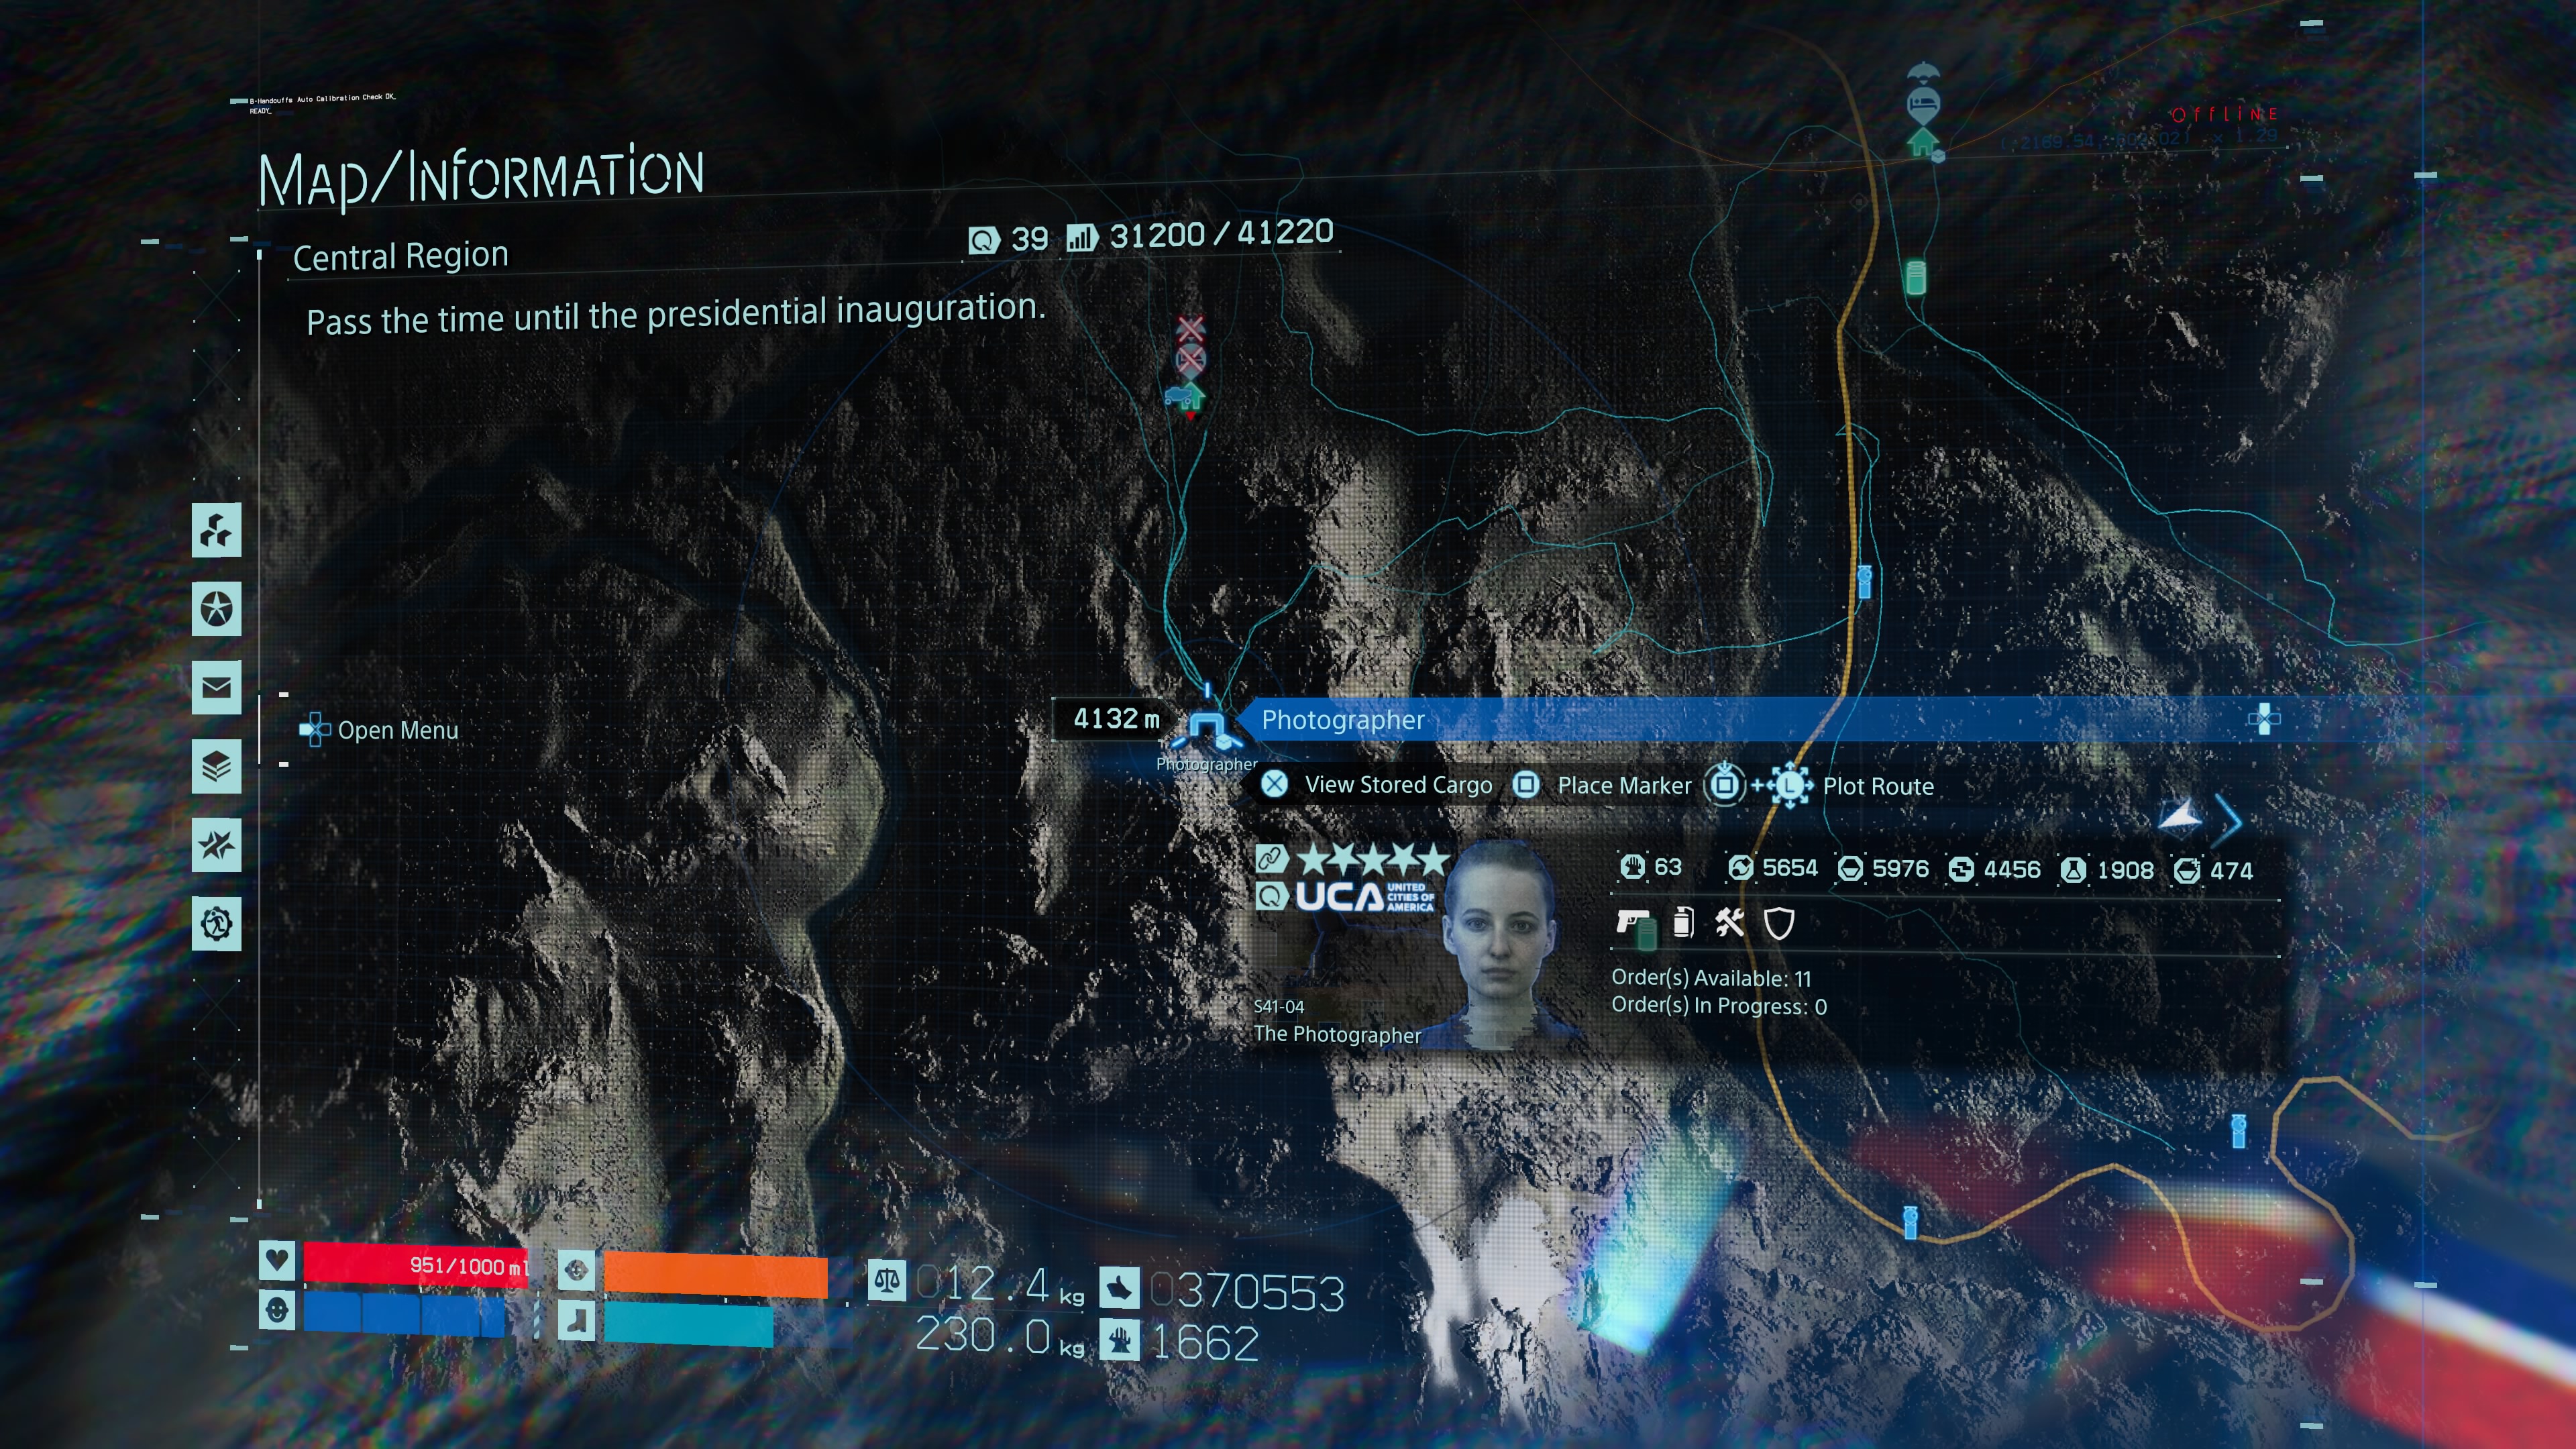
Photographer
From The Novelist’s Son, face the snowy area and head towards the mountains, but cut off and walk to the right before you get to the stream and you should see a raised section of half-snowy mountains hiding a shelter within.
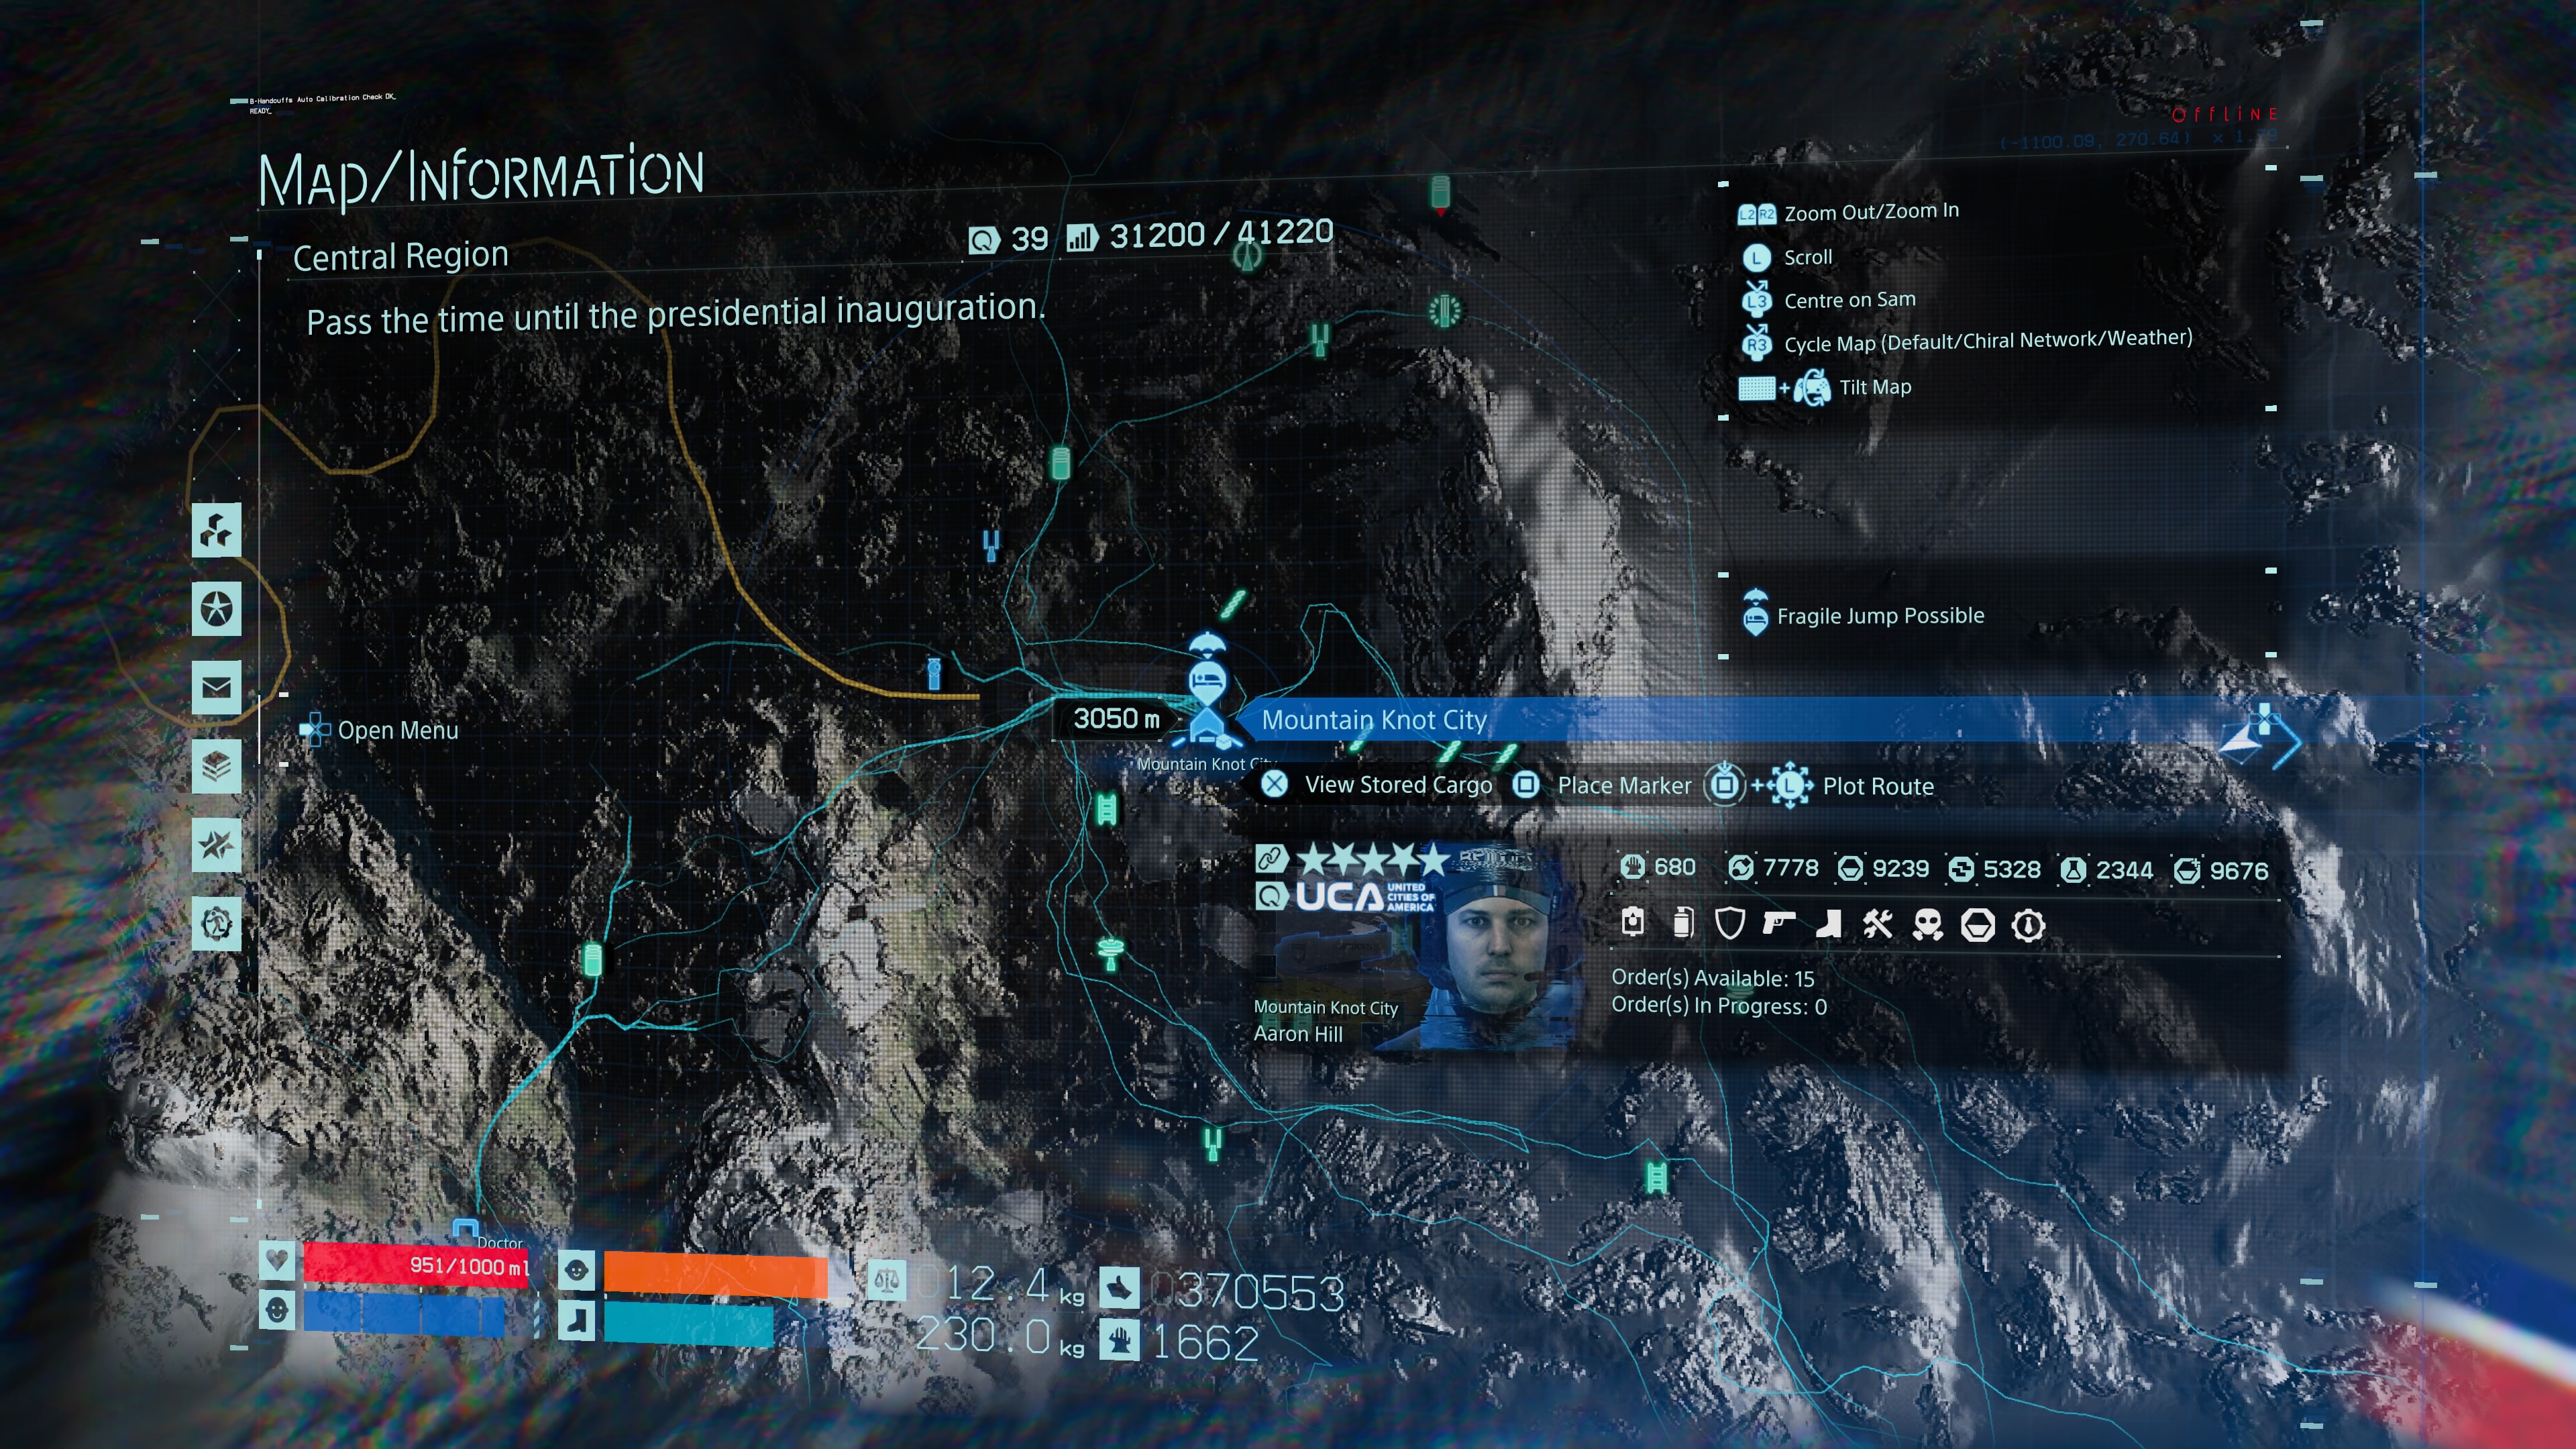
Mountain Knot City
You’ll have to head to Mountain Knot City for story reasons, but you can approach this in two different ways. You can either head there by ziplining or ambling up the high-altitude snowy mountain from Weather Station and darting through. Or you can follow the road all the way around from Craftsman.
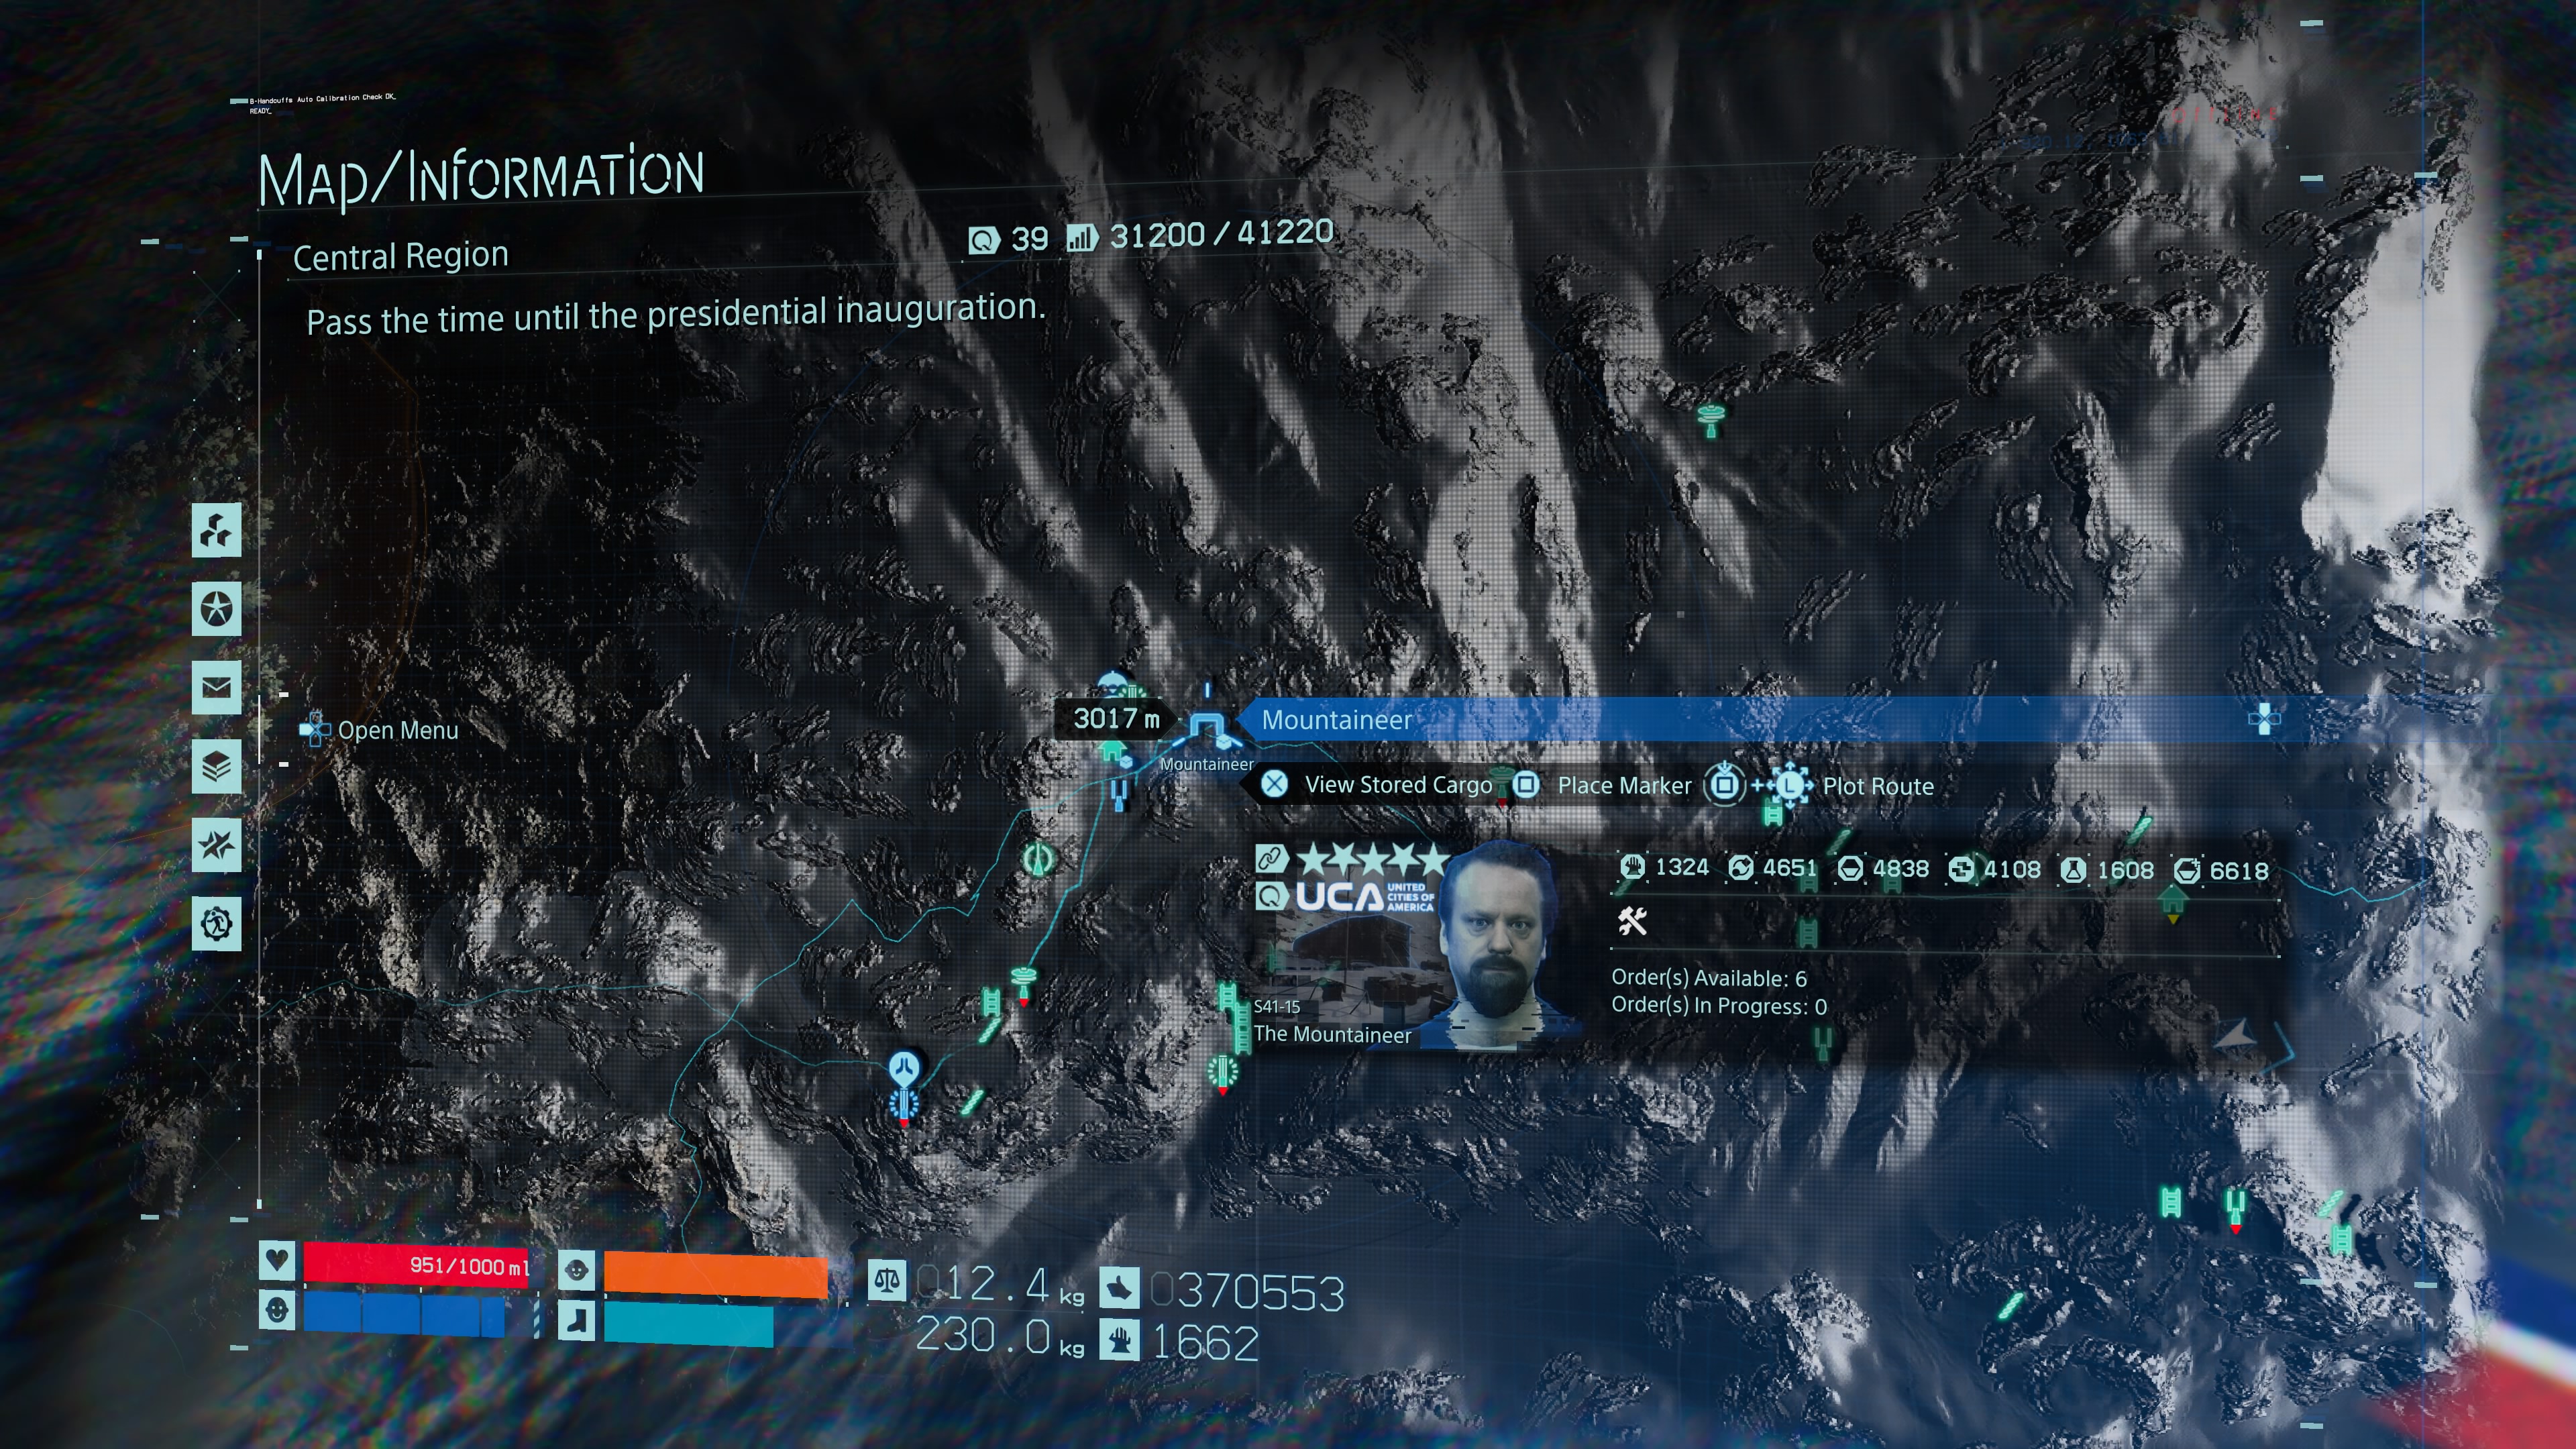
Mountaineer
As you’re leaving Mountain Knot and looking towards the road, you’ll see a mountainous region to your right. Scale it and keep going further towards the snowy peaks and you’ll enter a BT-infested area with metallic girders rising from the ground. Get past that area and you’ll reach the Mountaineer ahead.
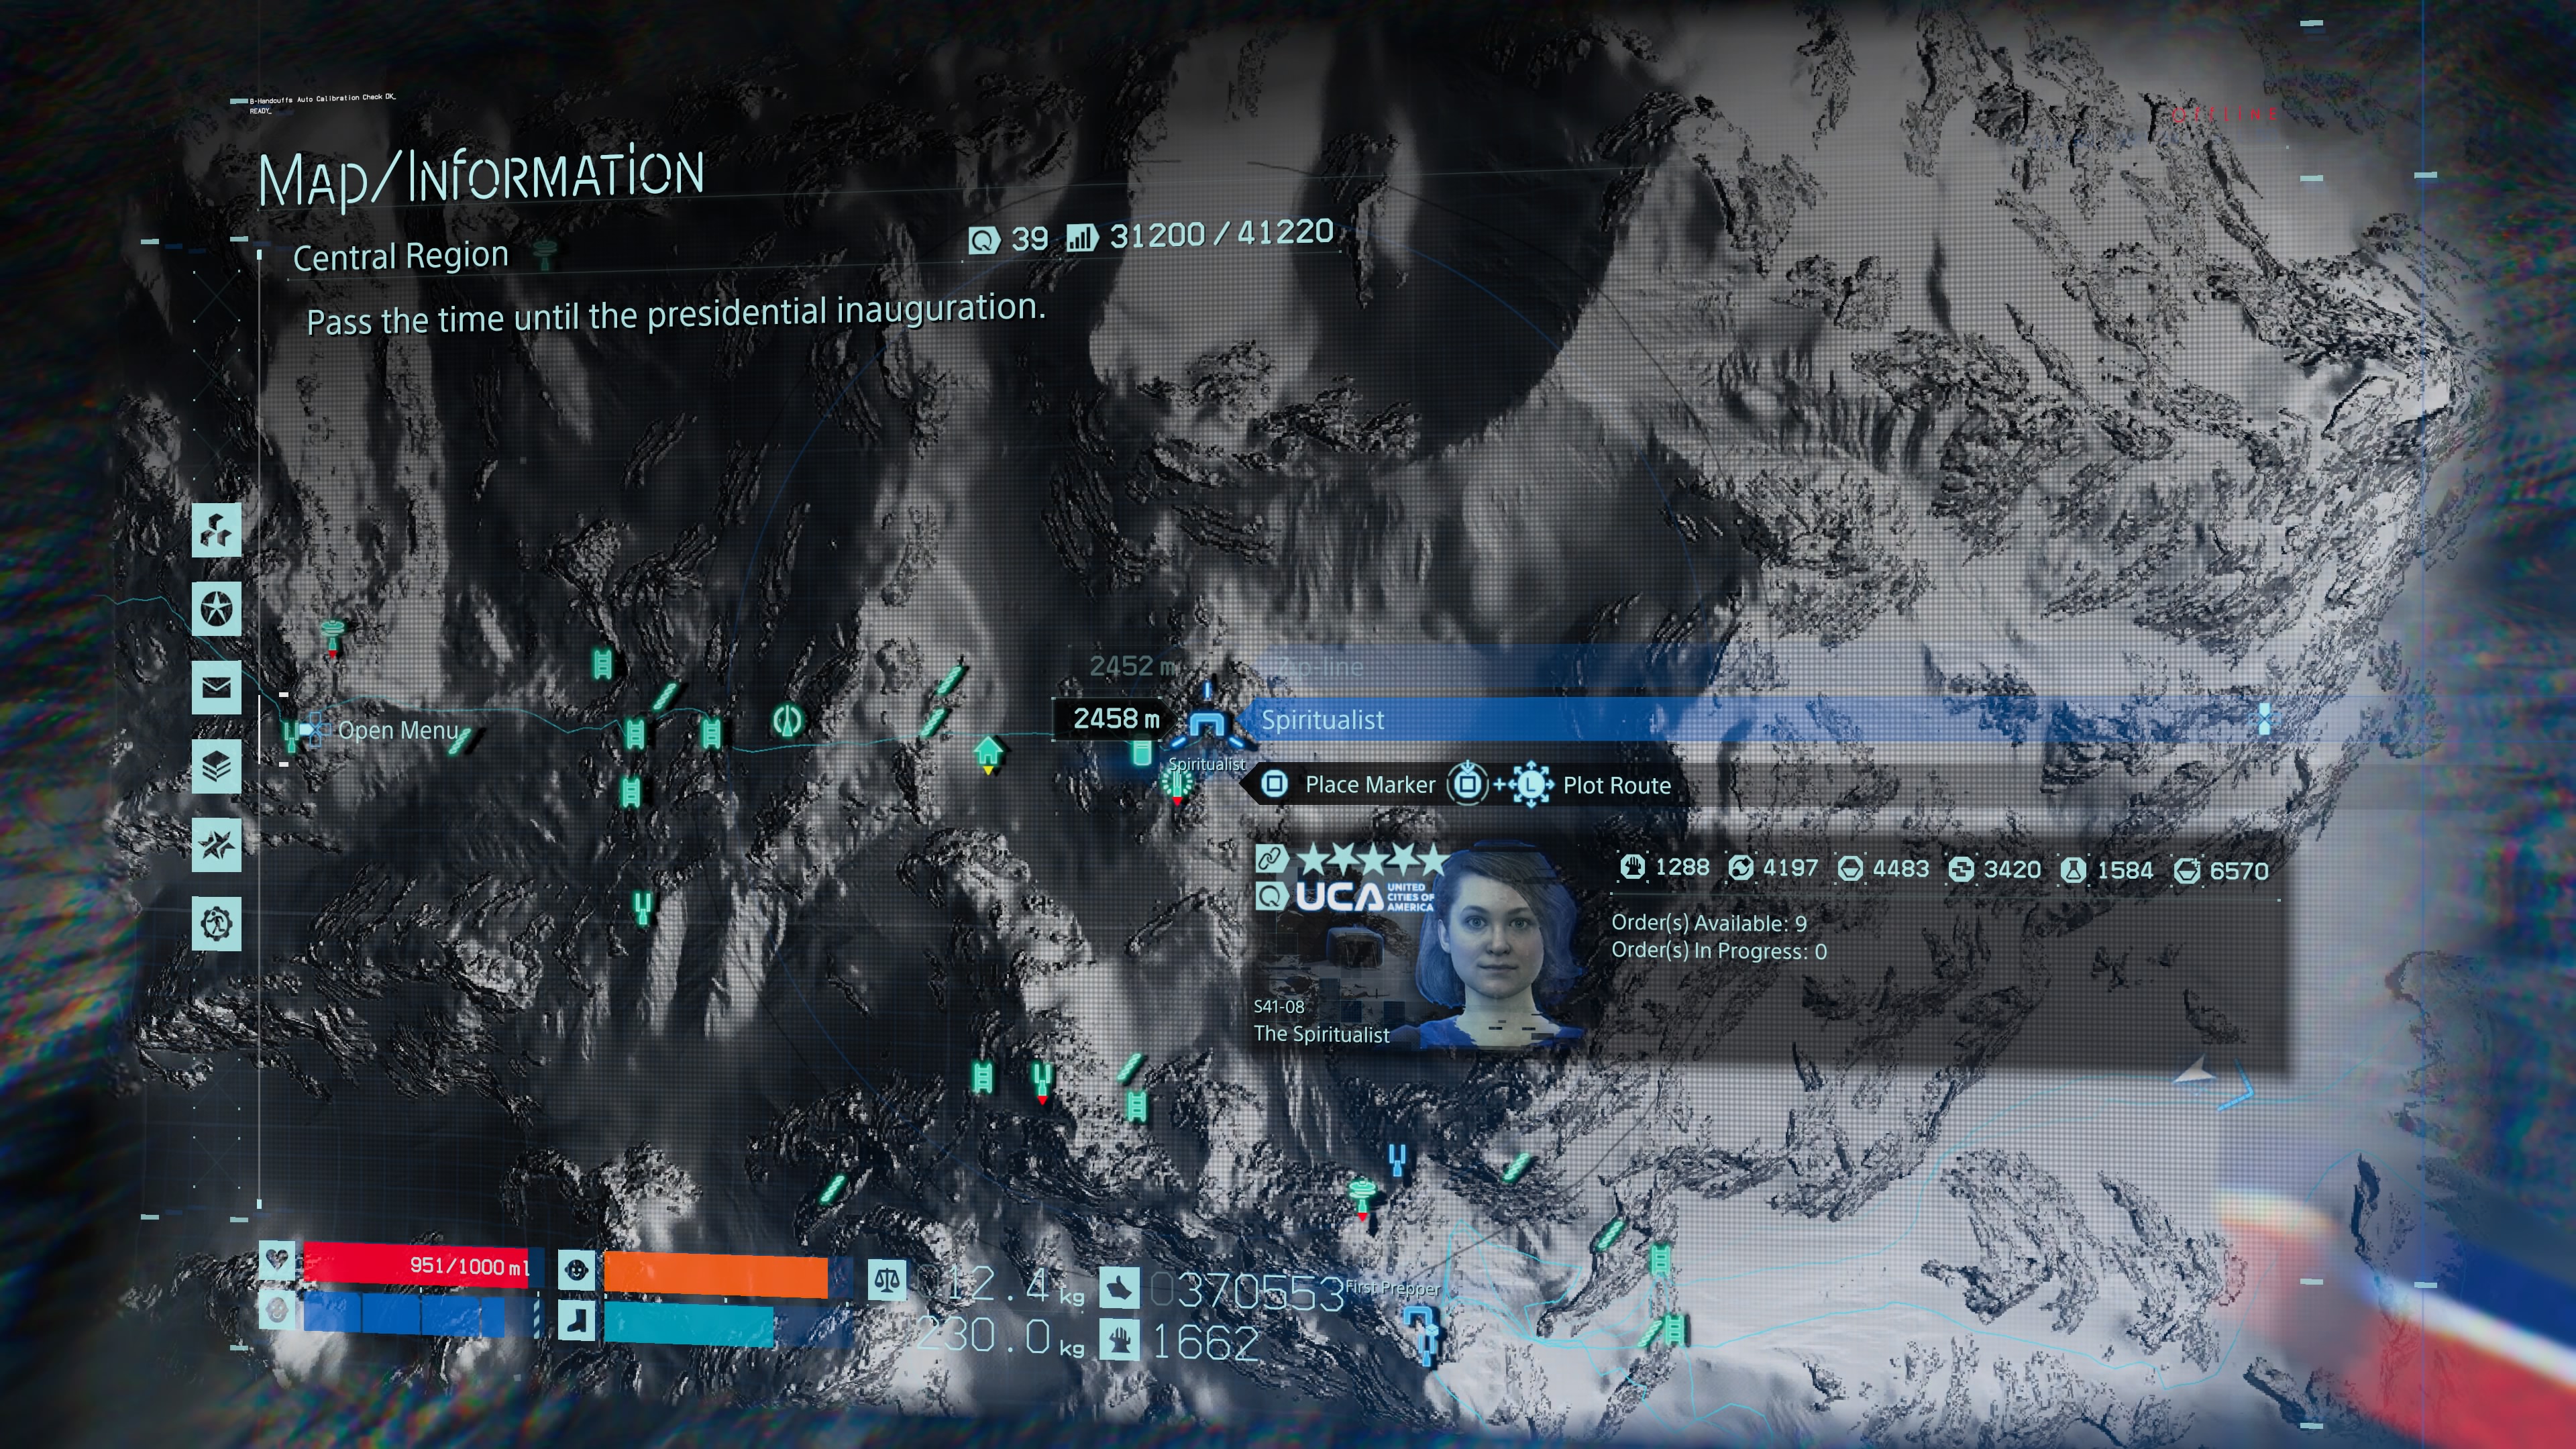
Spiritualist
As you’re leaving the Mountaineer’s station, look to your left and you’ll see another snowy mountain peak in the distance. Trudge against the grain up that way towards it, but before you hit the big peak look left and use your ping to locate the Spiritualist.
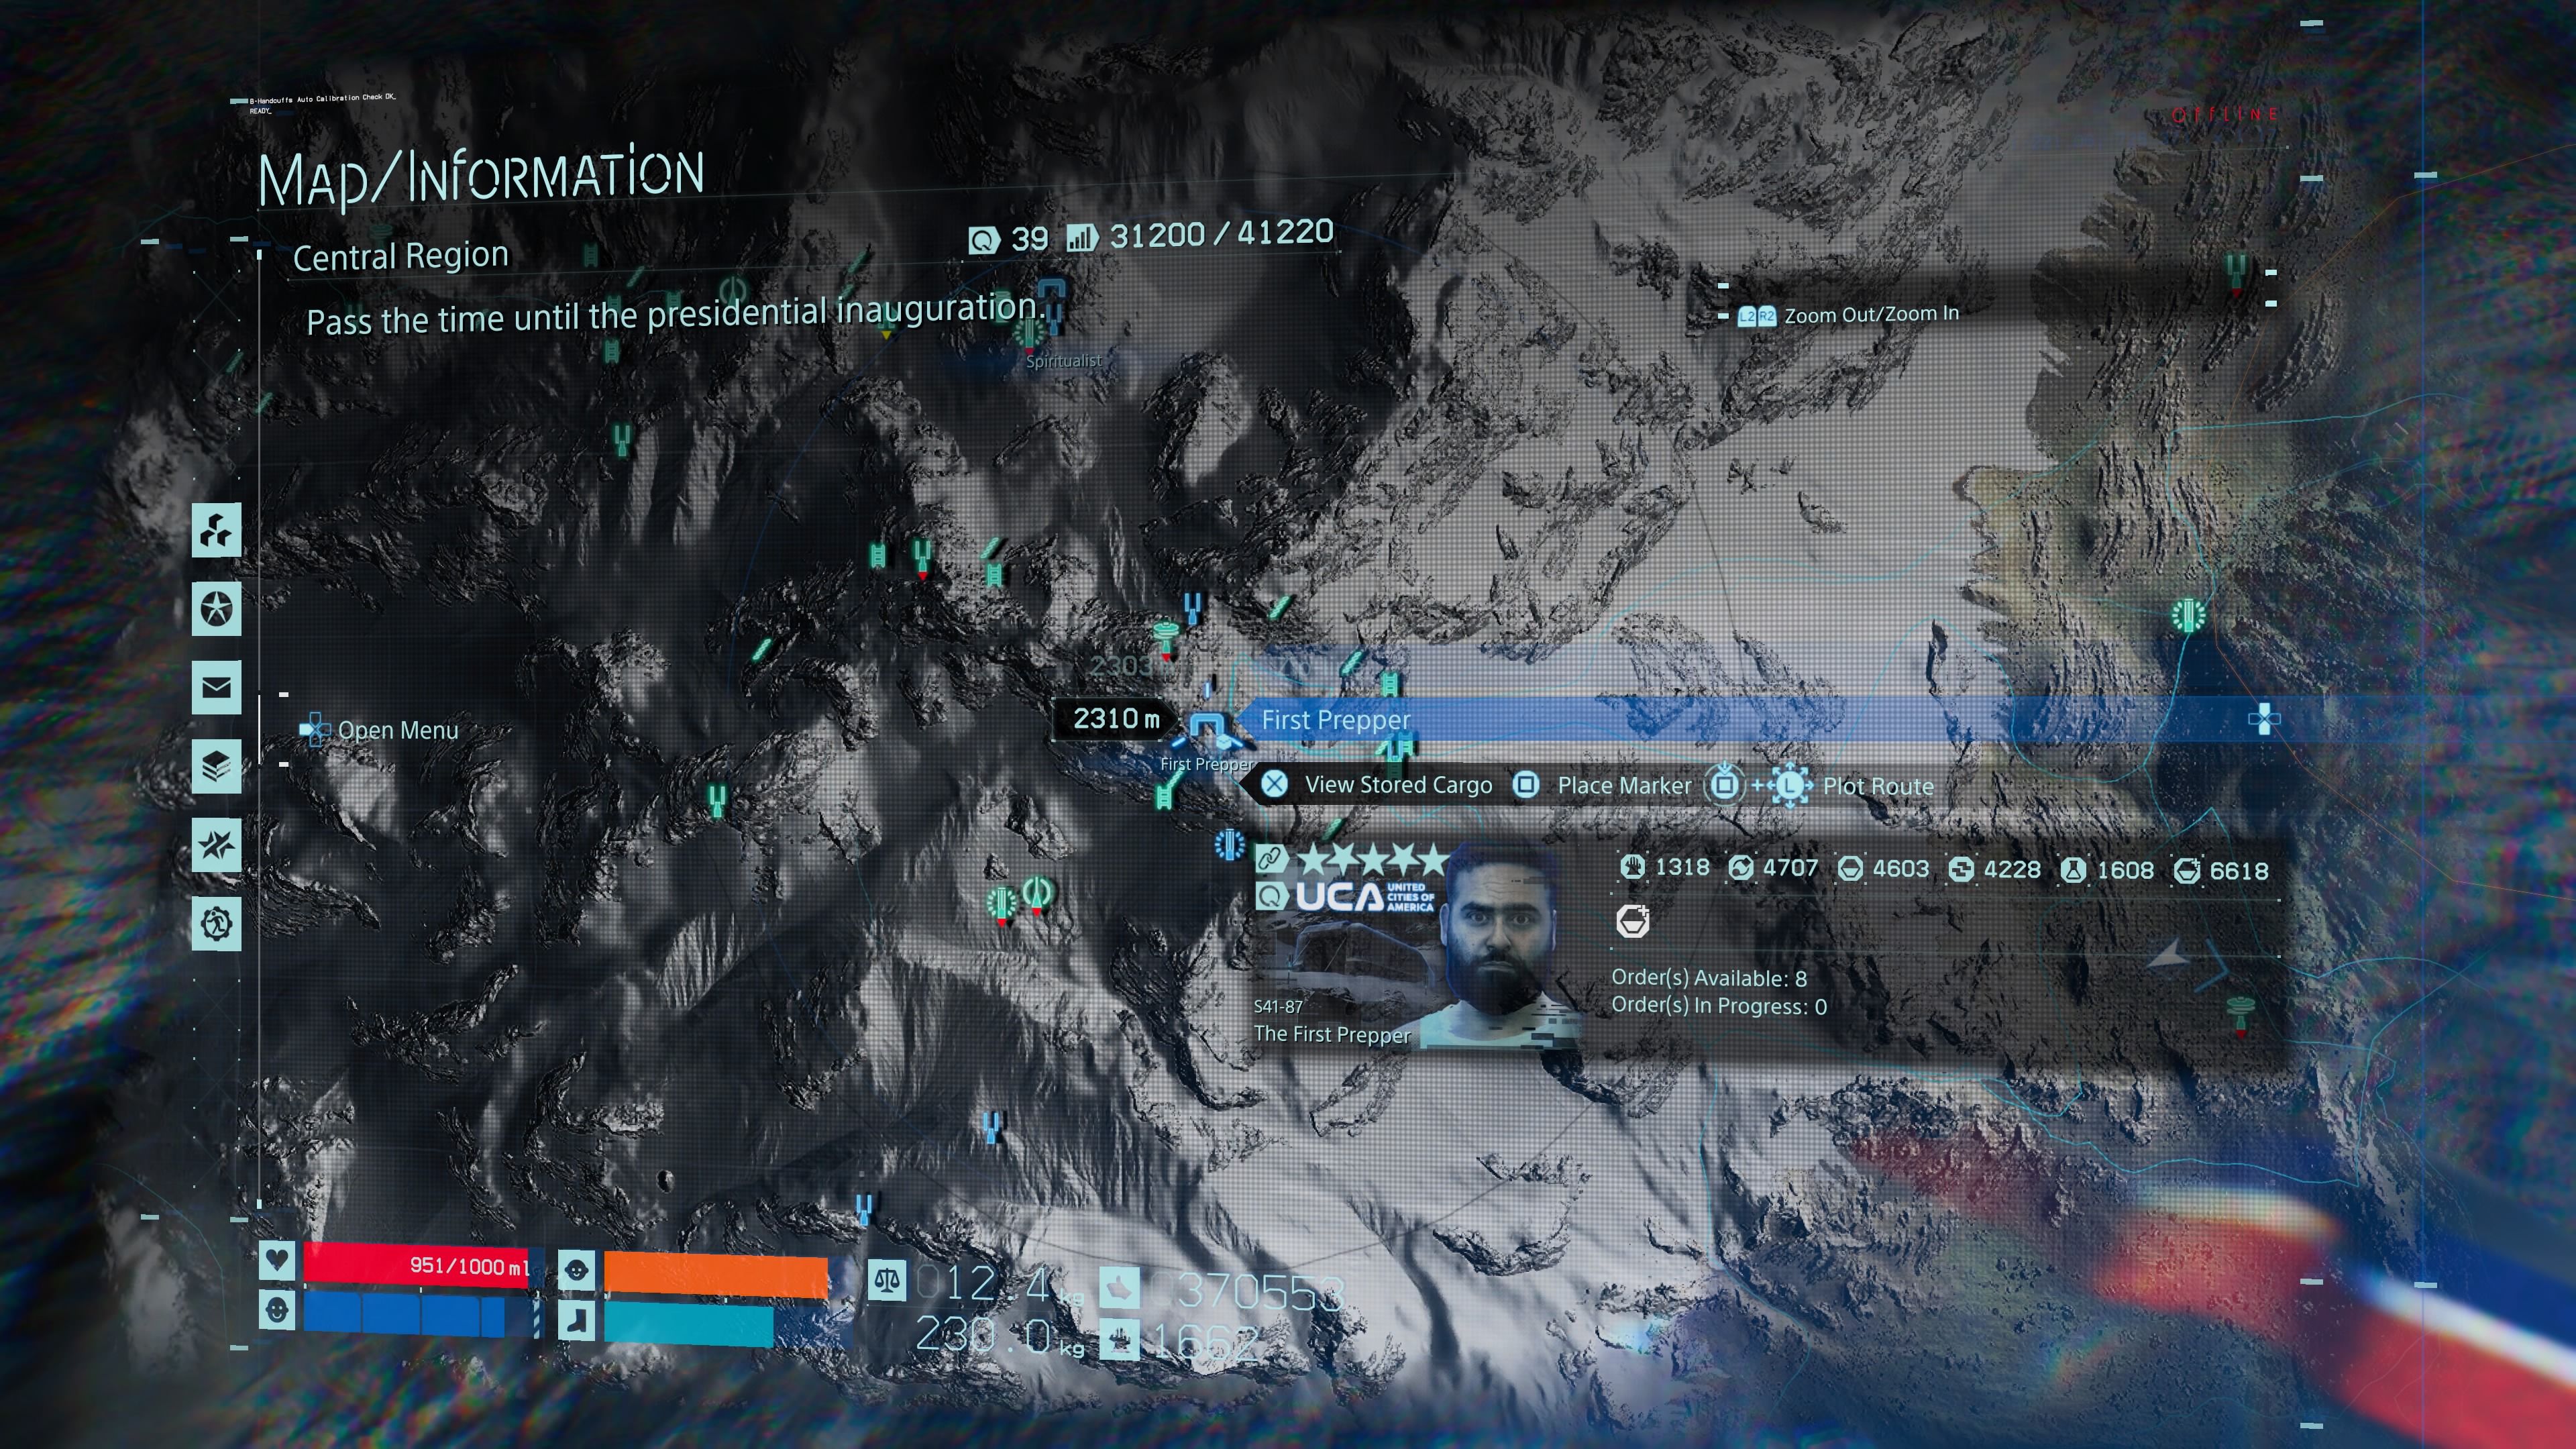
First Prepper
Leaving the Spiritualist’s shelter, look left and up and you’ll see the tip of that big peak you spotted on the way here. Trudge through the snow up that way and keep using your ping. You’ll eventually see the shelter icon on the other side of the peak, where the best-hidden Prepper is waiting.
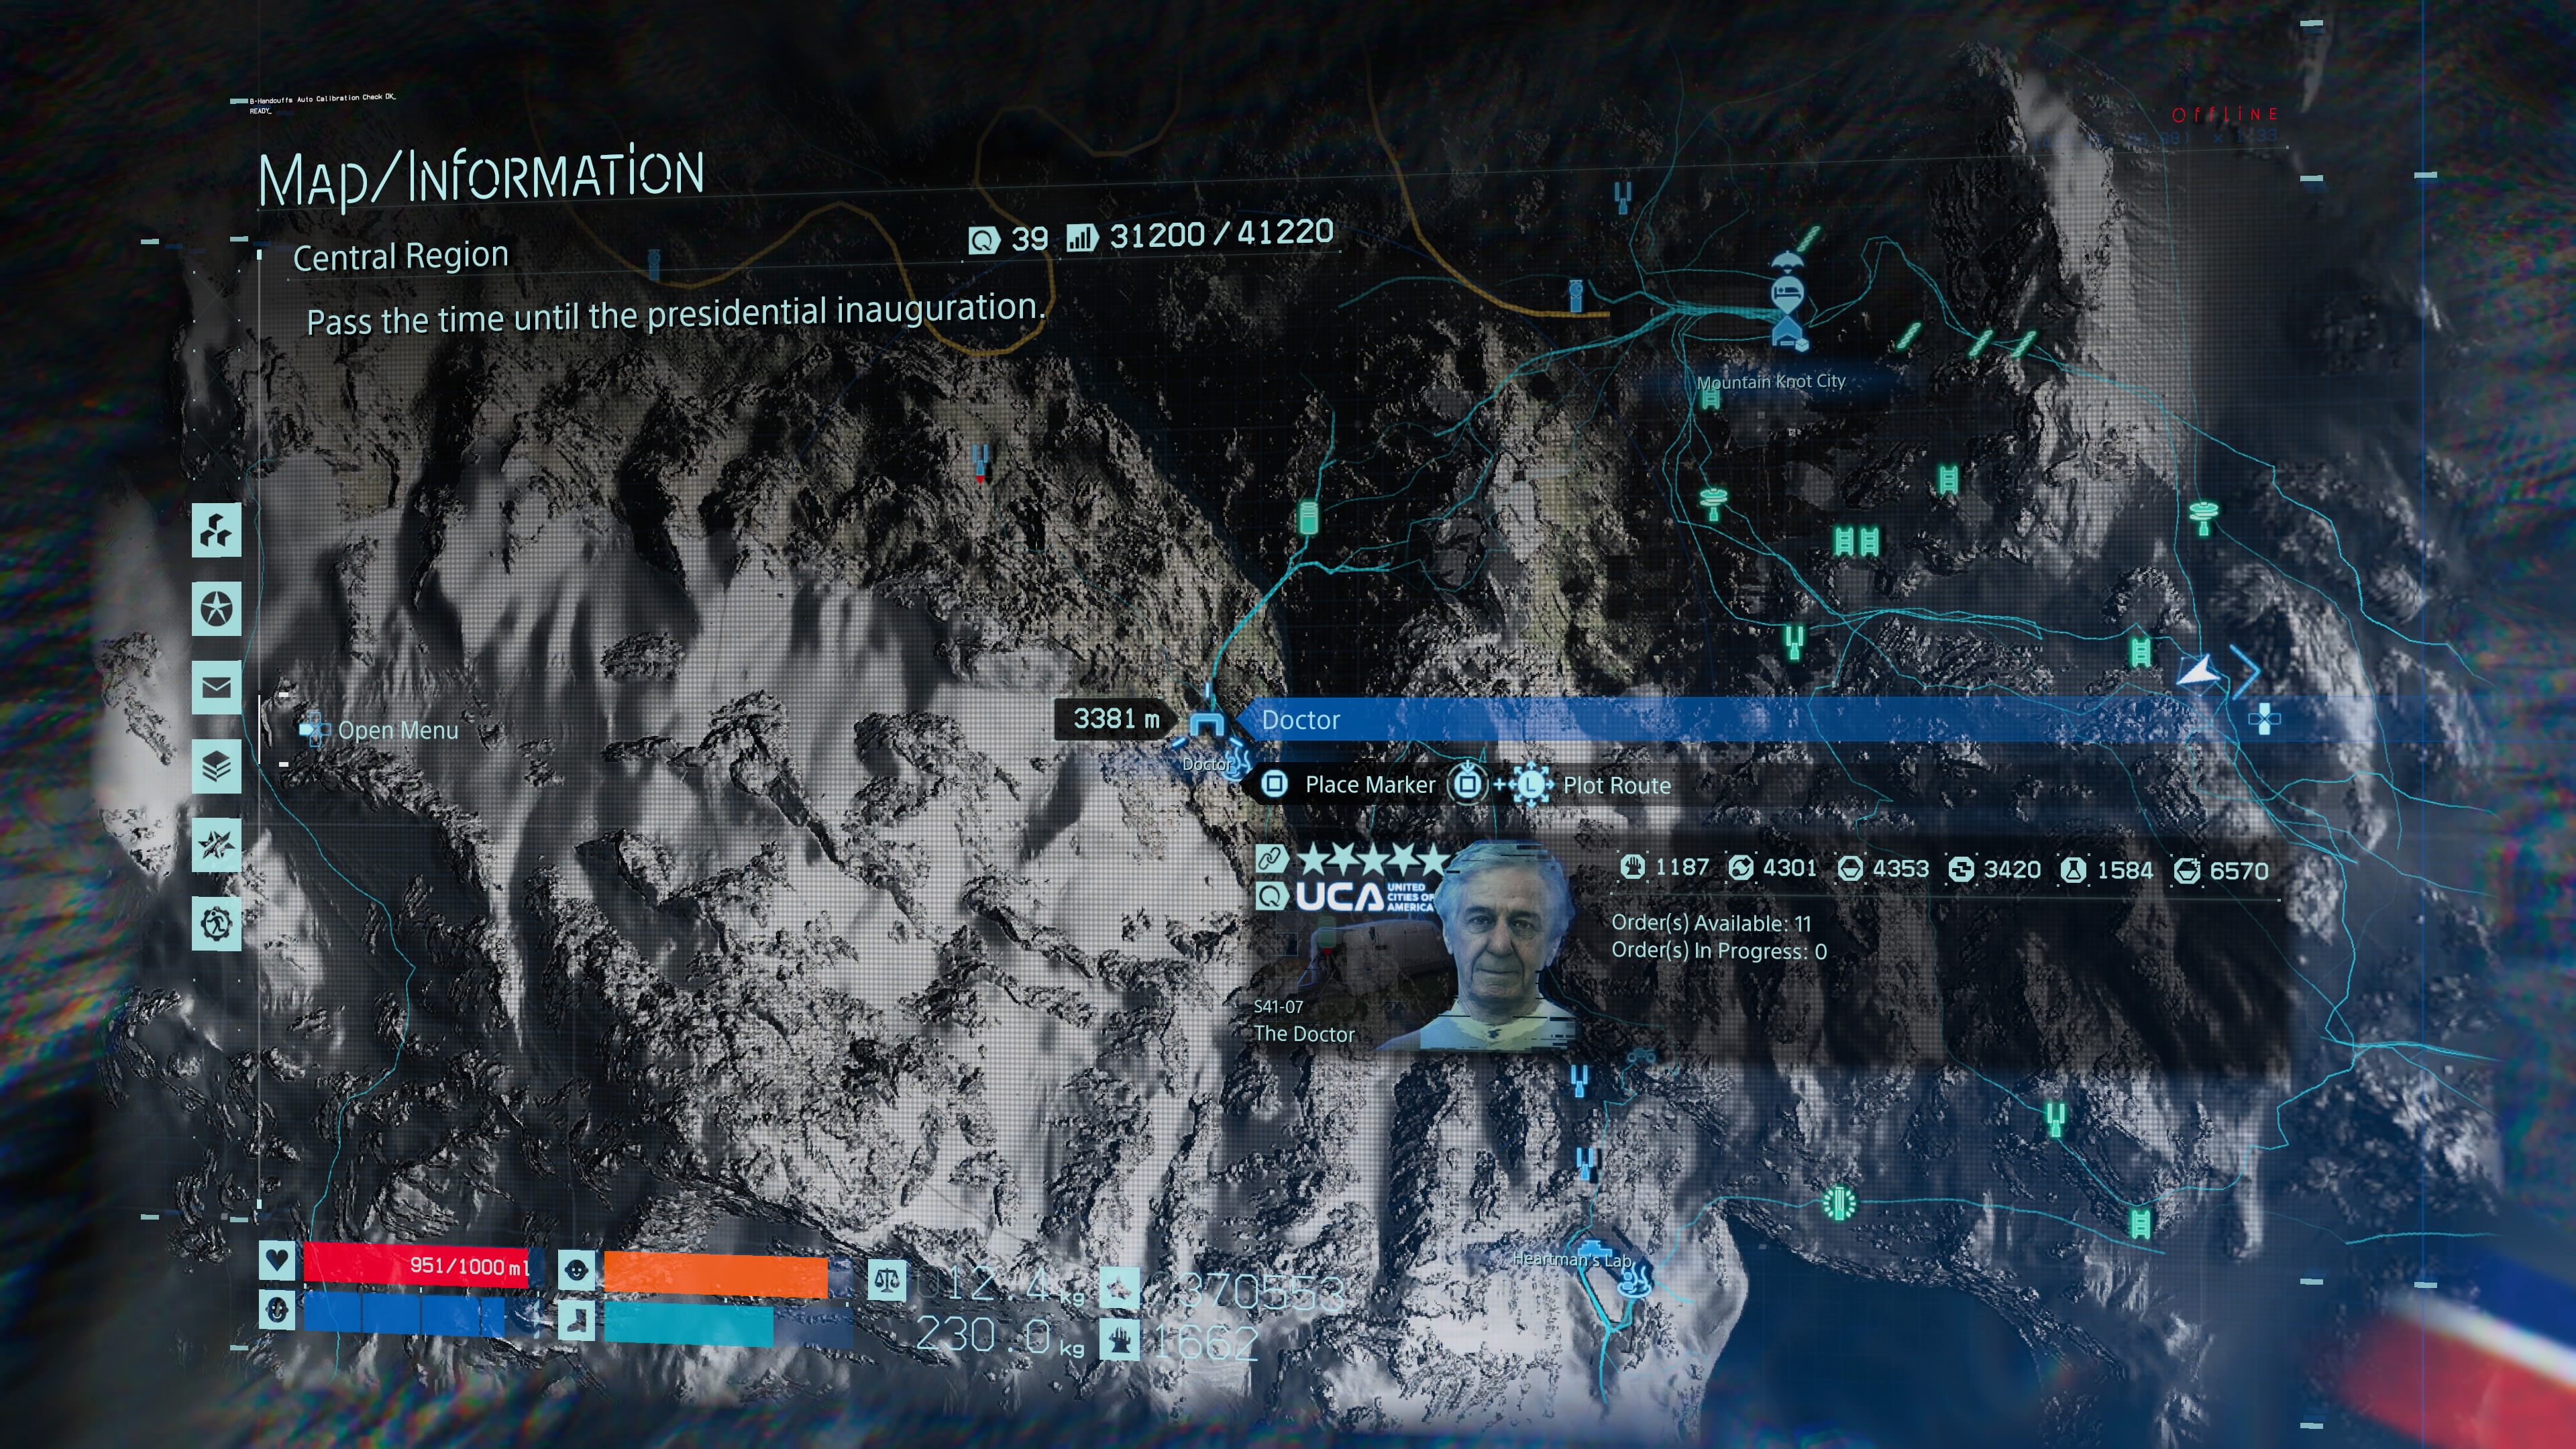
Doctor
As you leave Mountain Knot with your cargo, look to your left this time and you’ll see a little valley path you can follow back towards the direction of the Photographer. Follow it and you’ll see a giant chasm separating you from the Doctor, who can be reached, but it requires some challenging climbing.
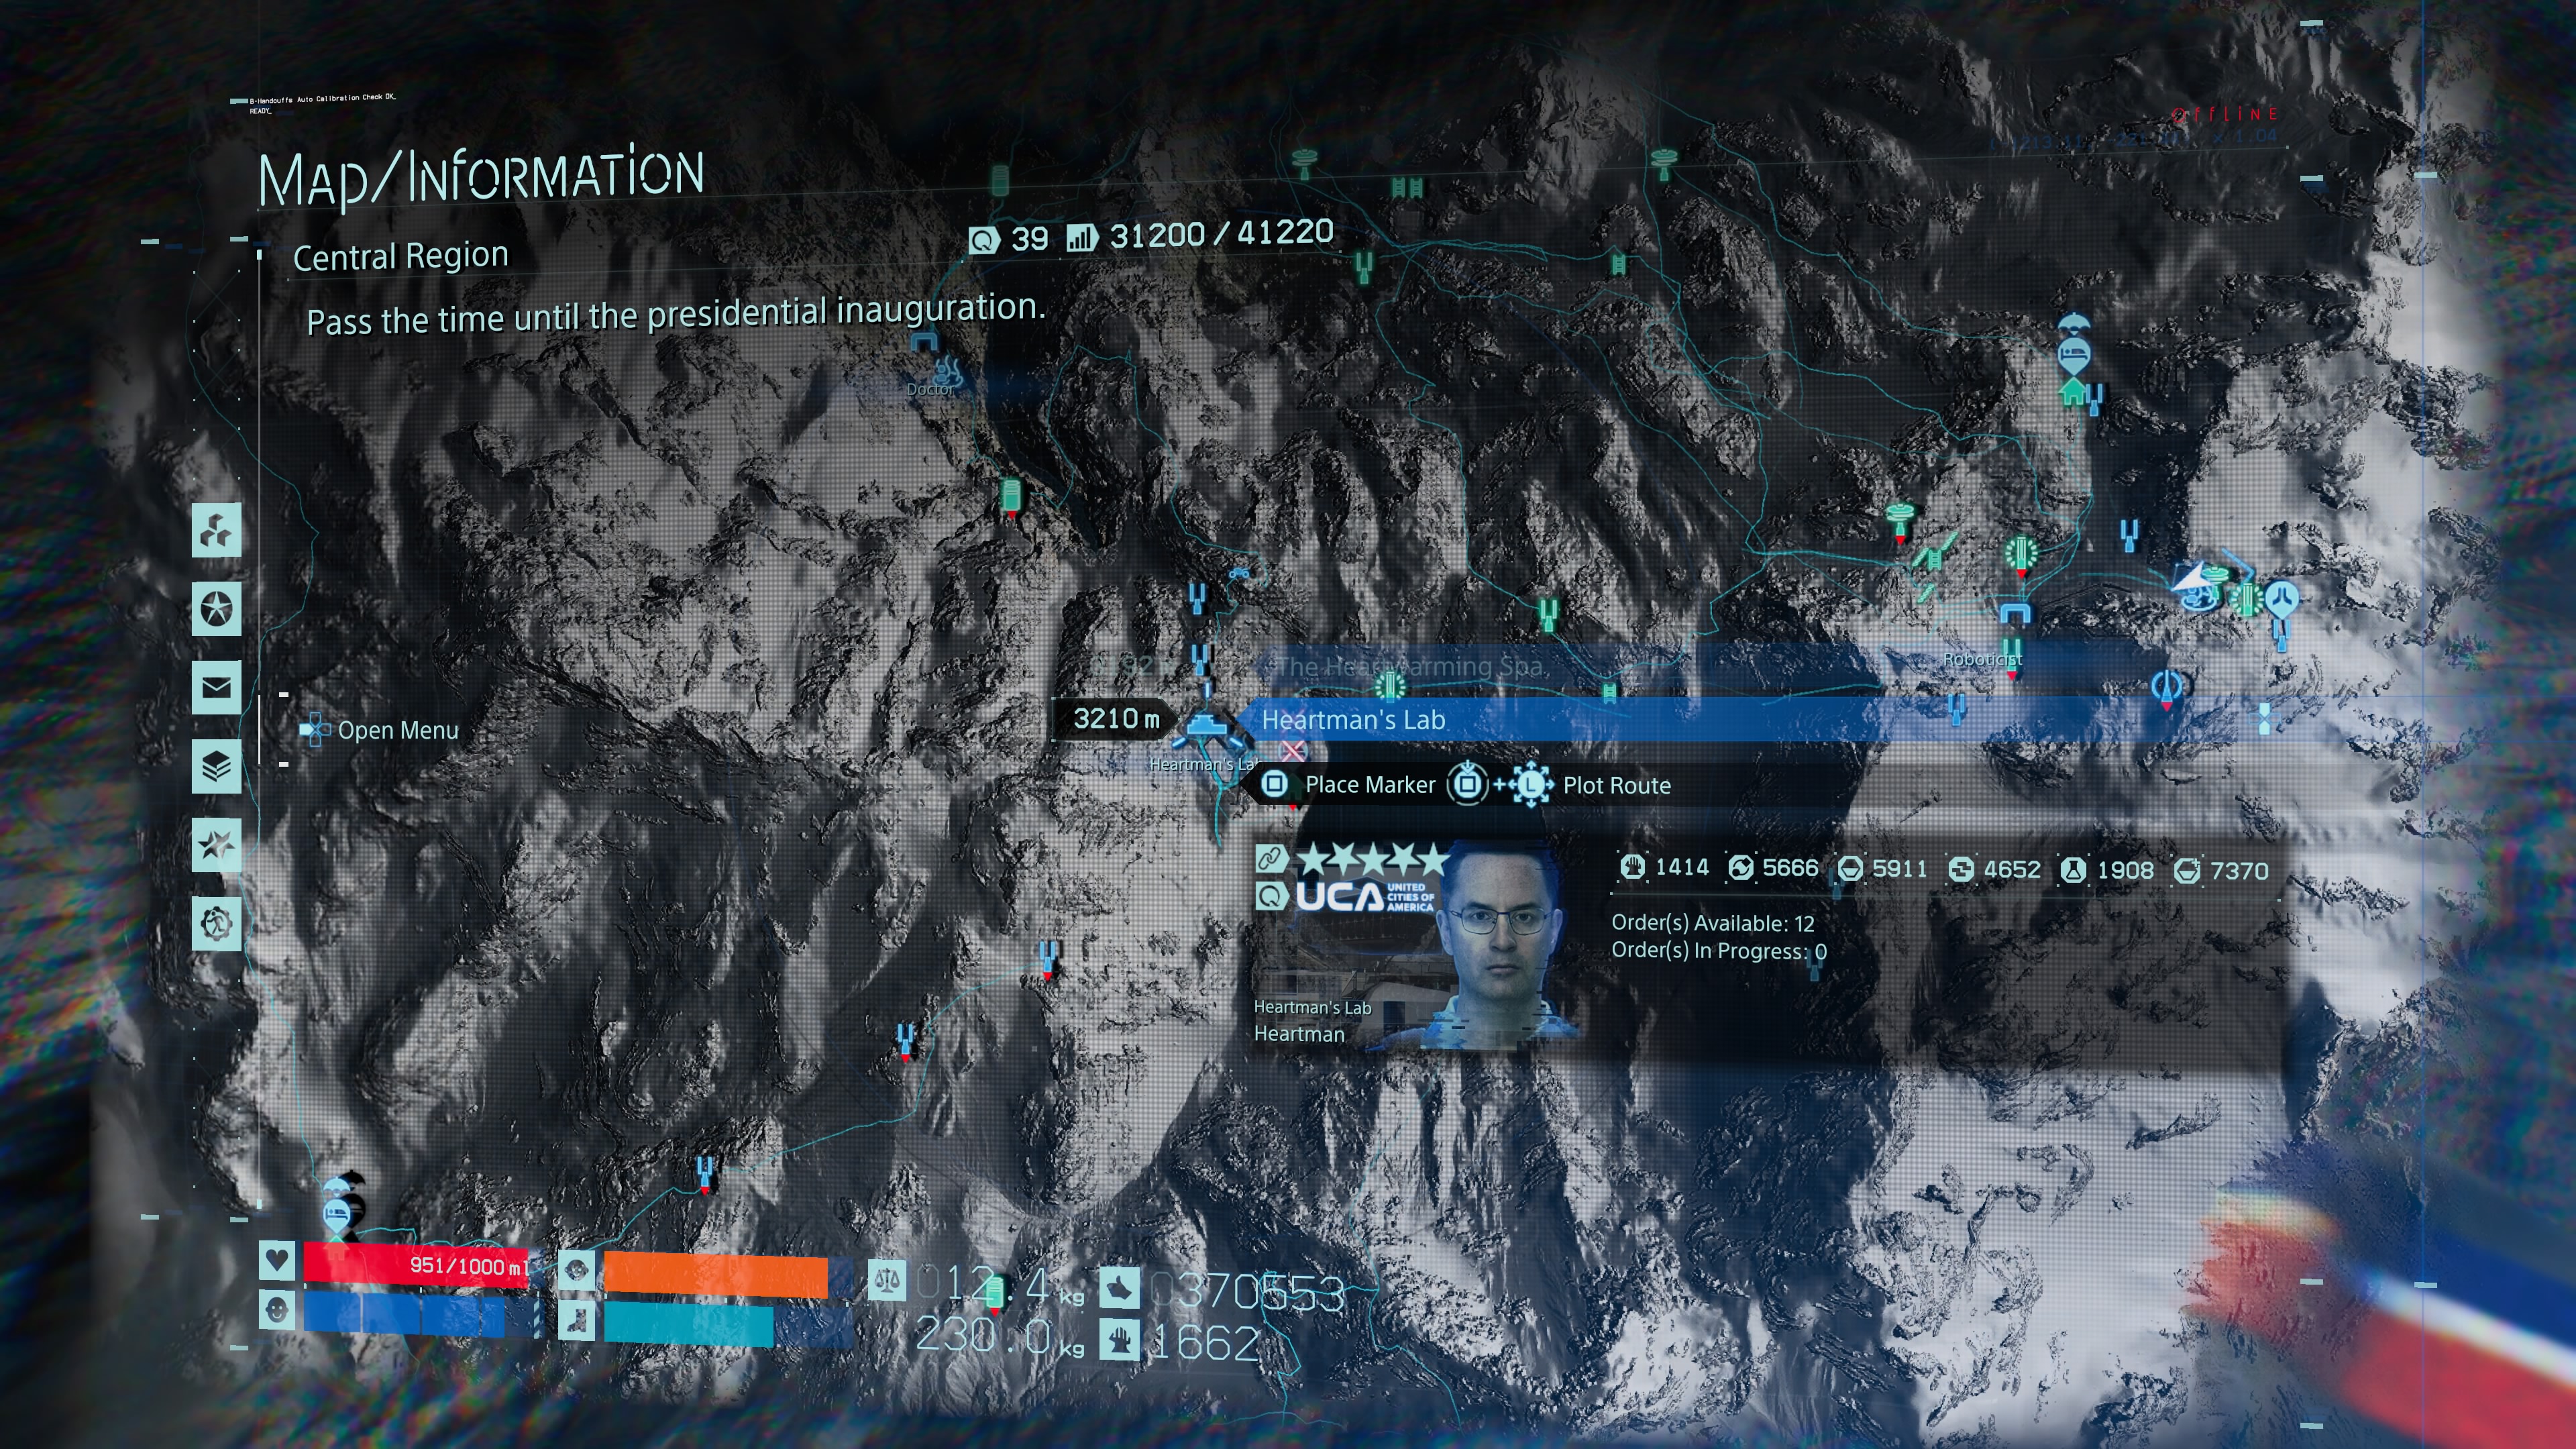
Heartman’s Lab
As you approach the Doctor’s shelter look up and to your left and you should see a hellish-looking hill to climb with a stream flowing down. You’ll have to scale it and on the other side is Heartman’s Lab, which is hard to miss. It’s story-relevant though, so you should end up there anyway.
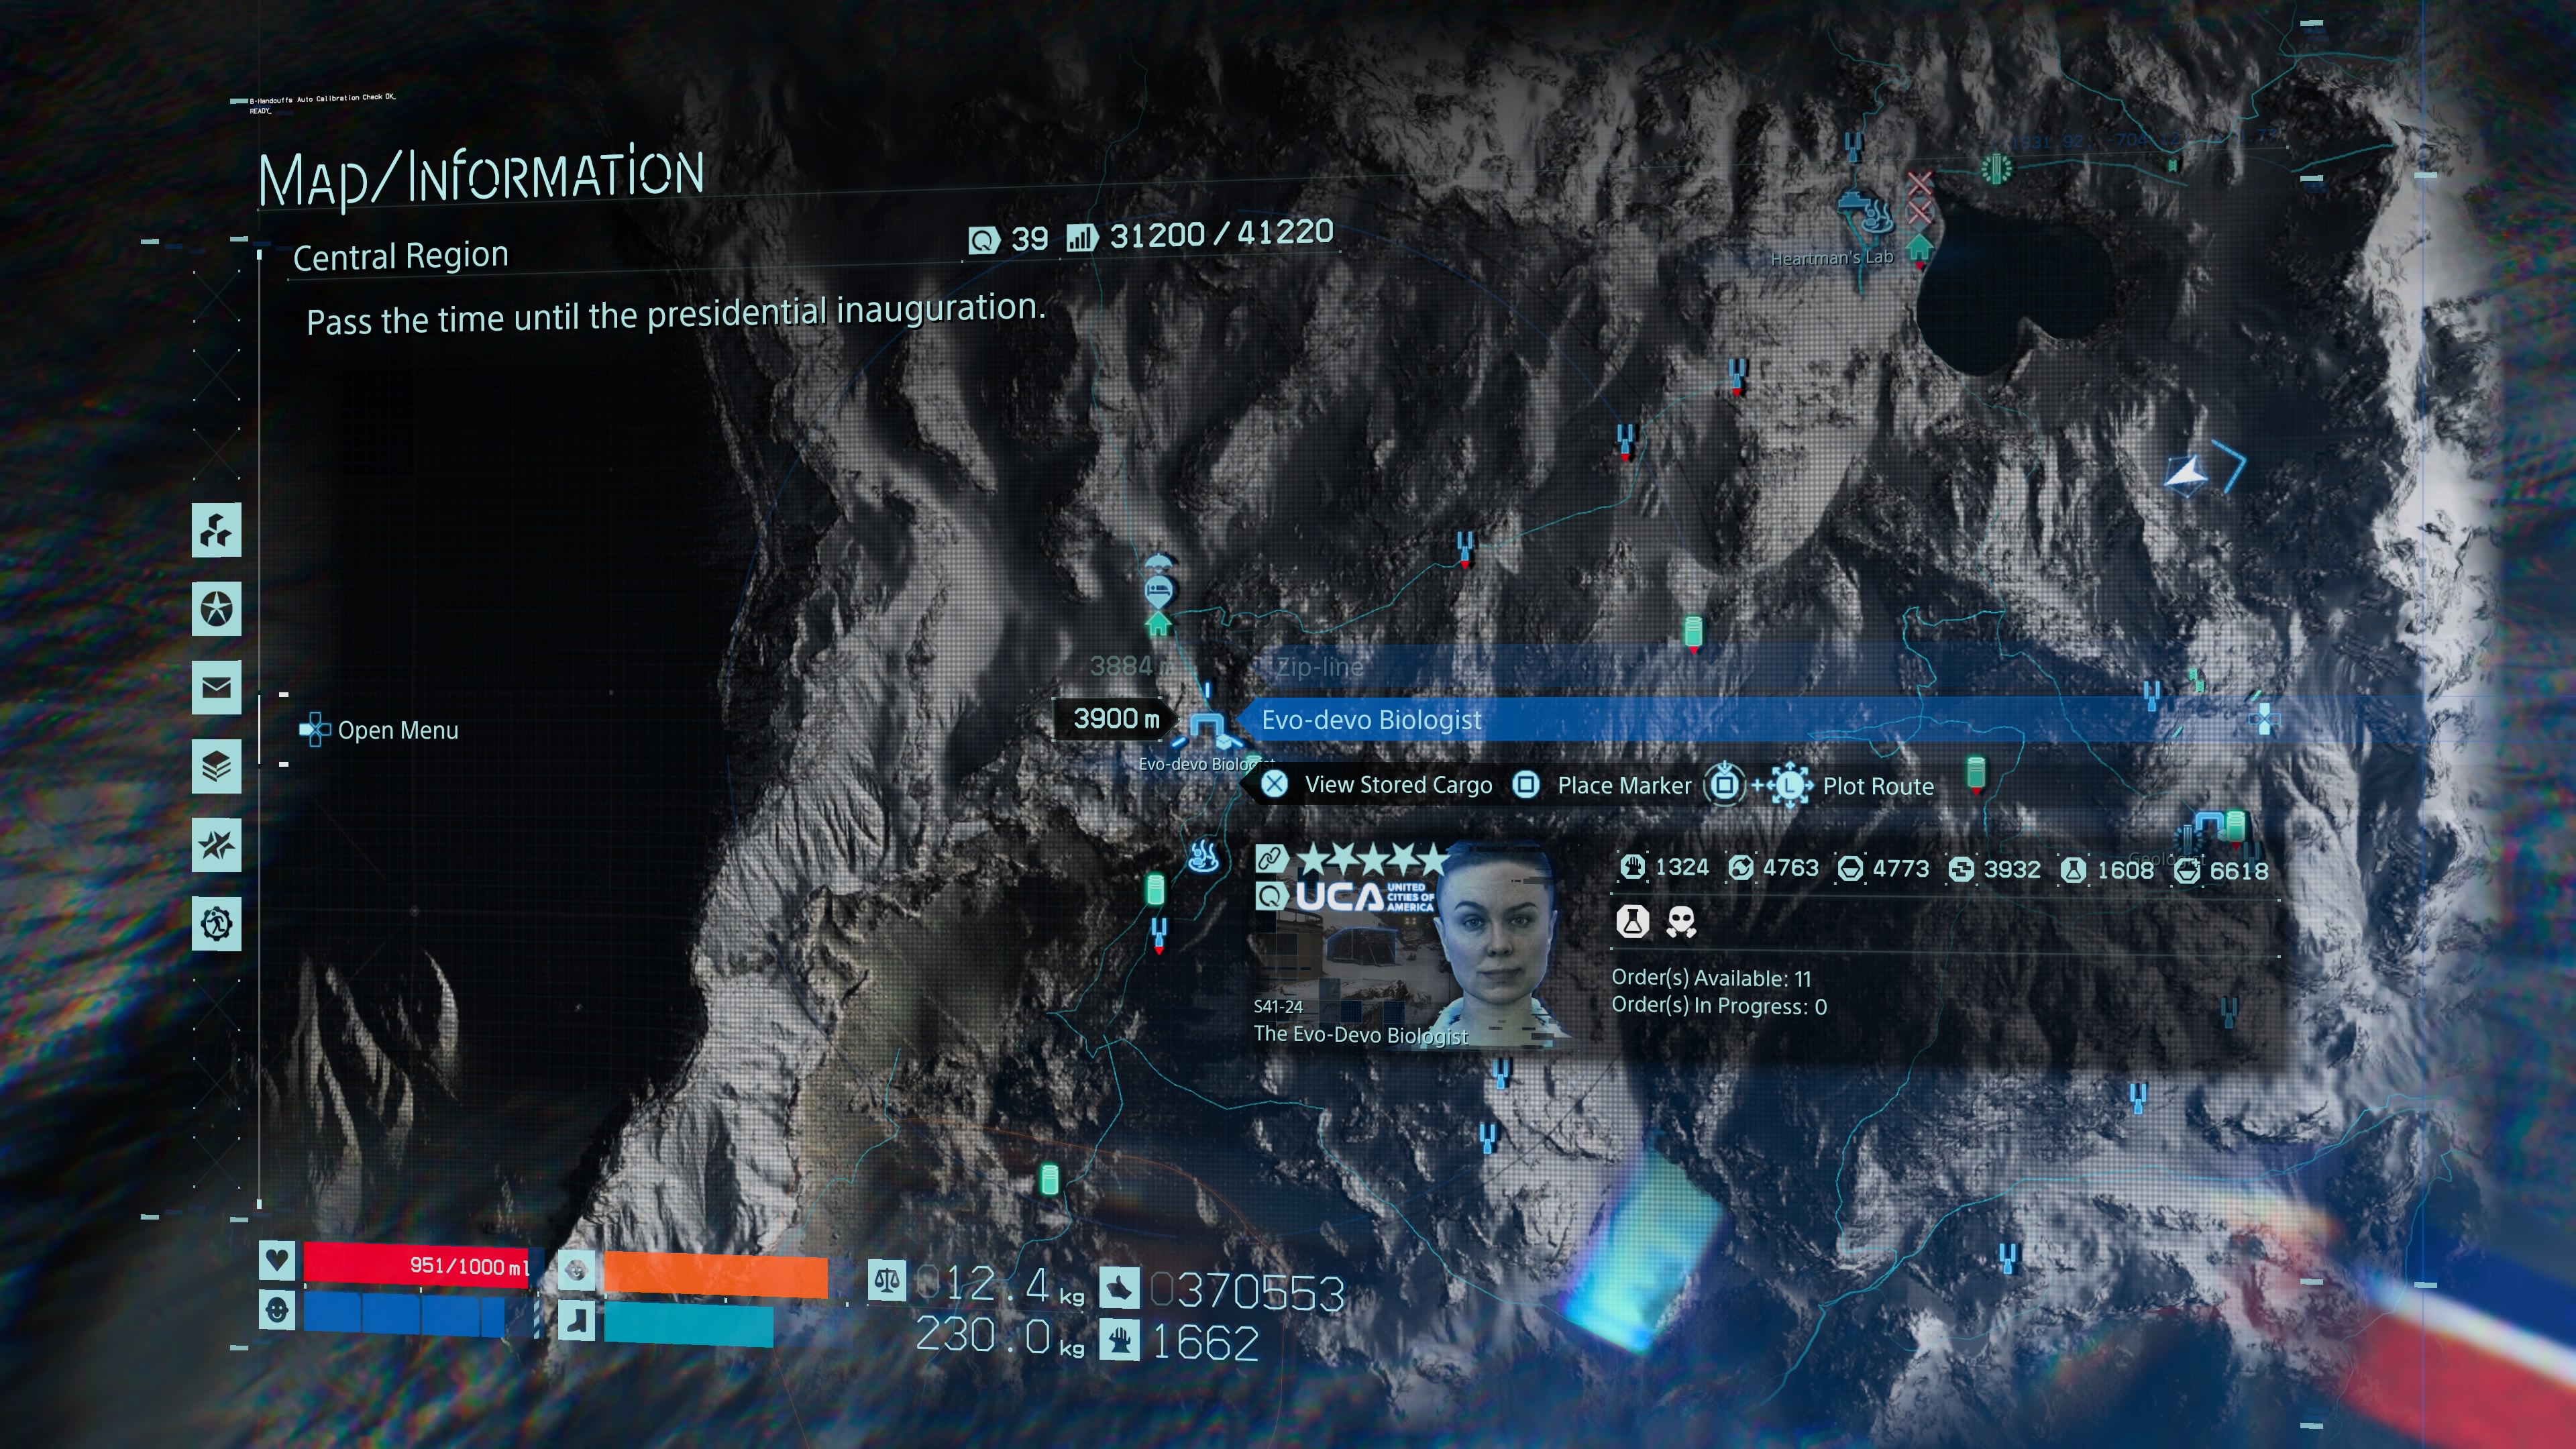
Evo-devo Biologist
The final three preppers are all story-relevant, so you won't miss them. If you’re desperate to get to them ahead of time, though, head almost directly ahead in the direction you face after leaving Heartman’s lab and you’ll end up in the domain of the Evo-devo Biologist.
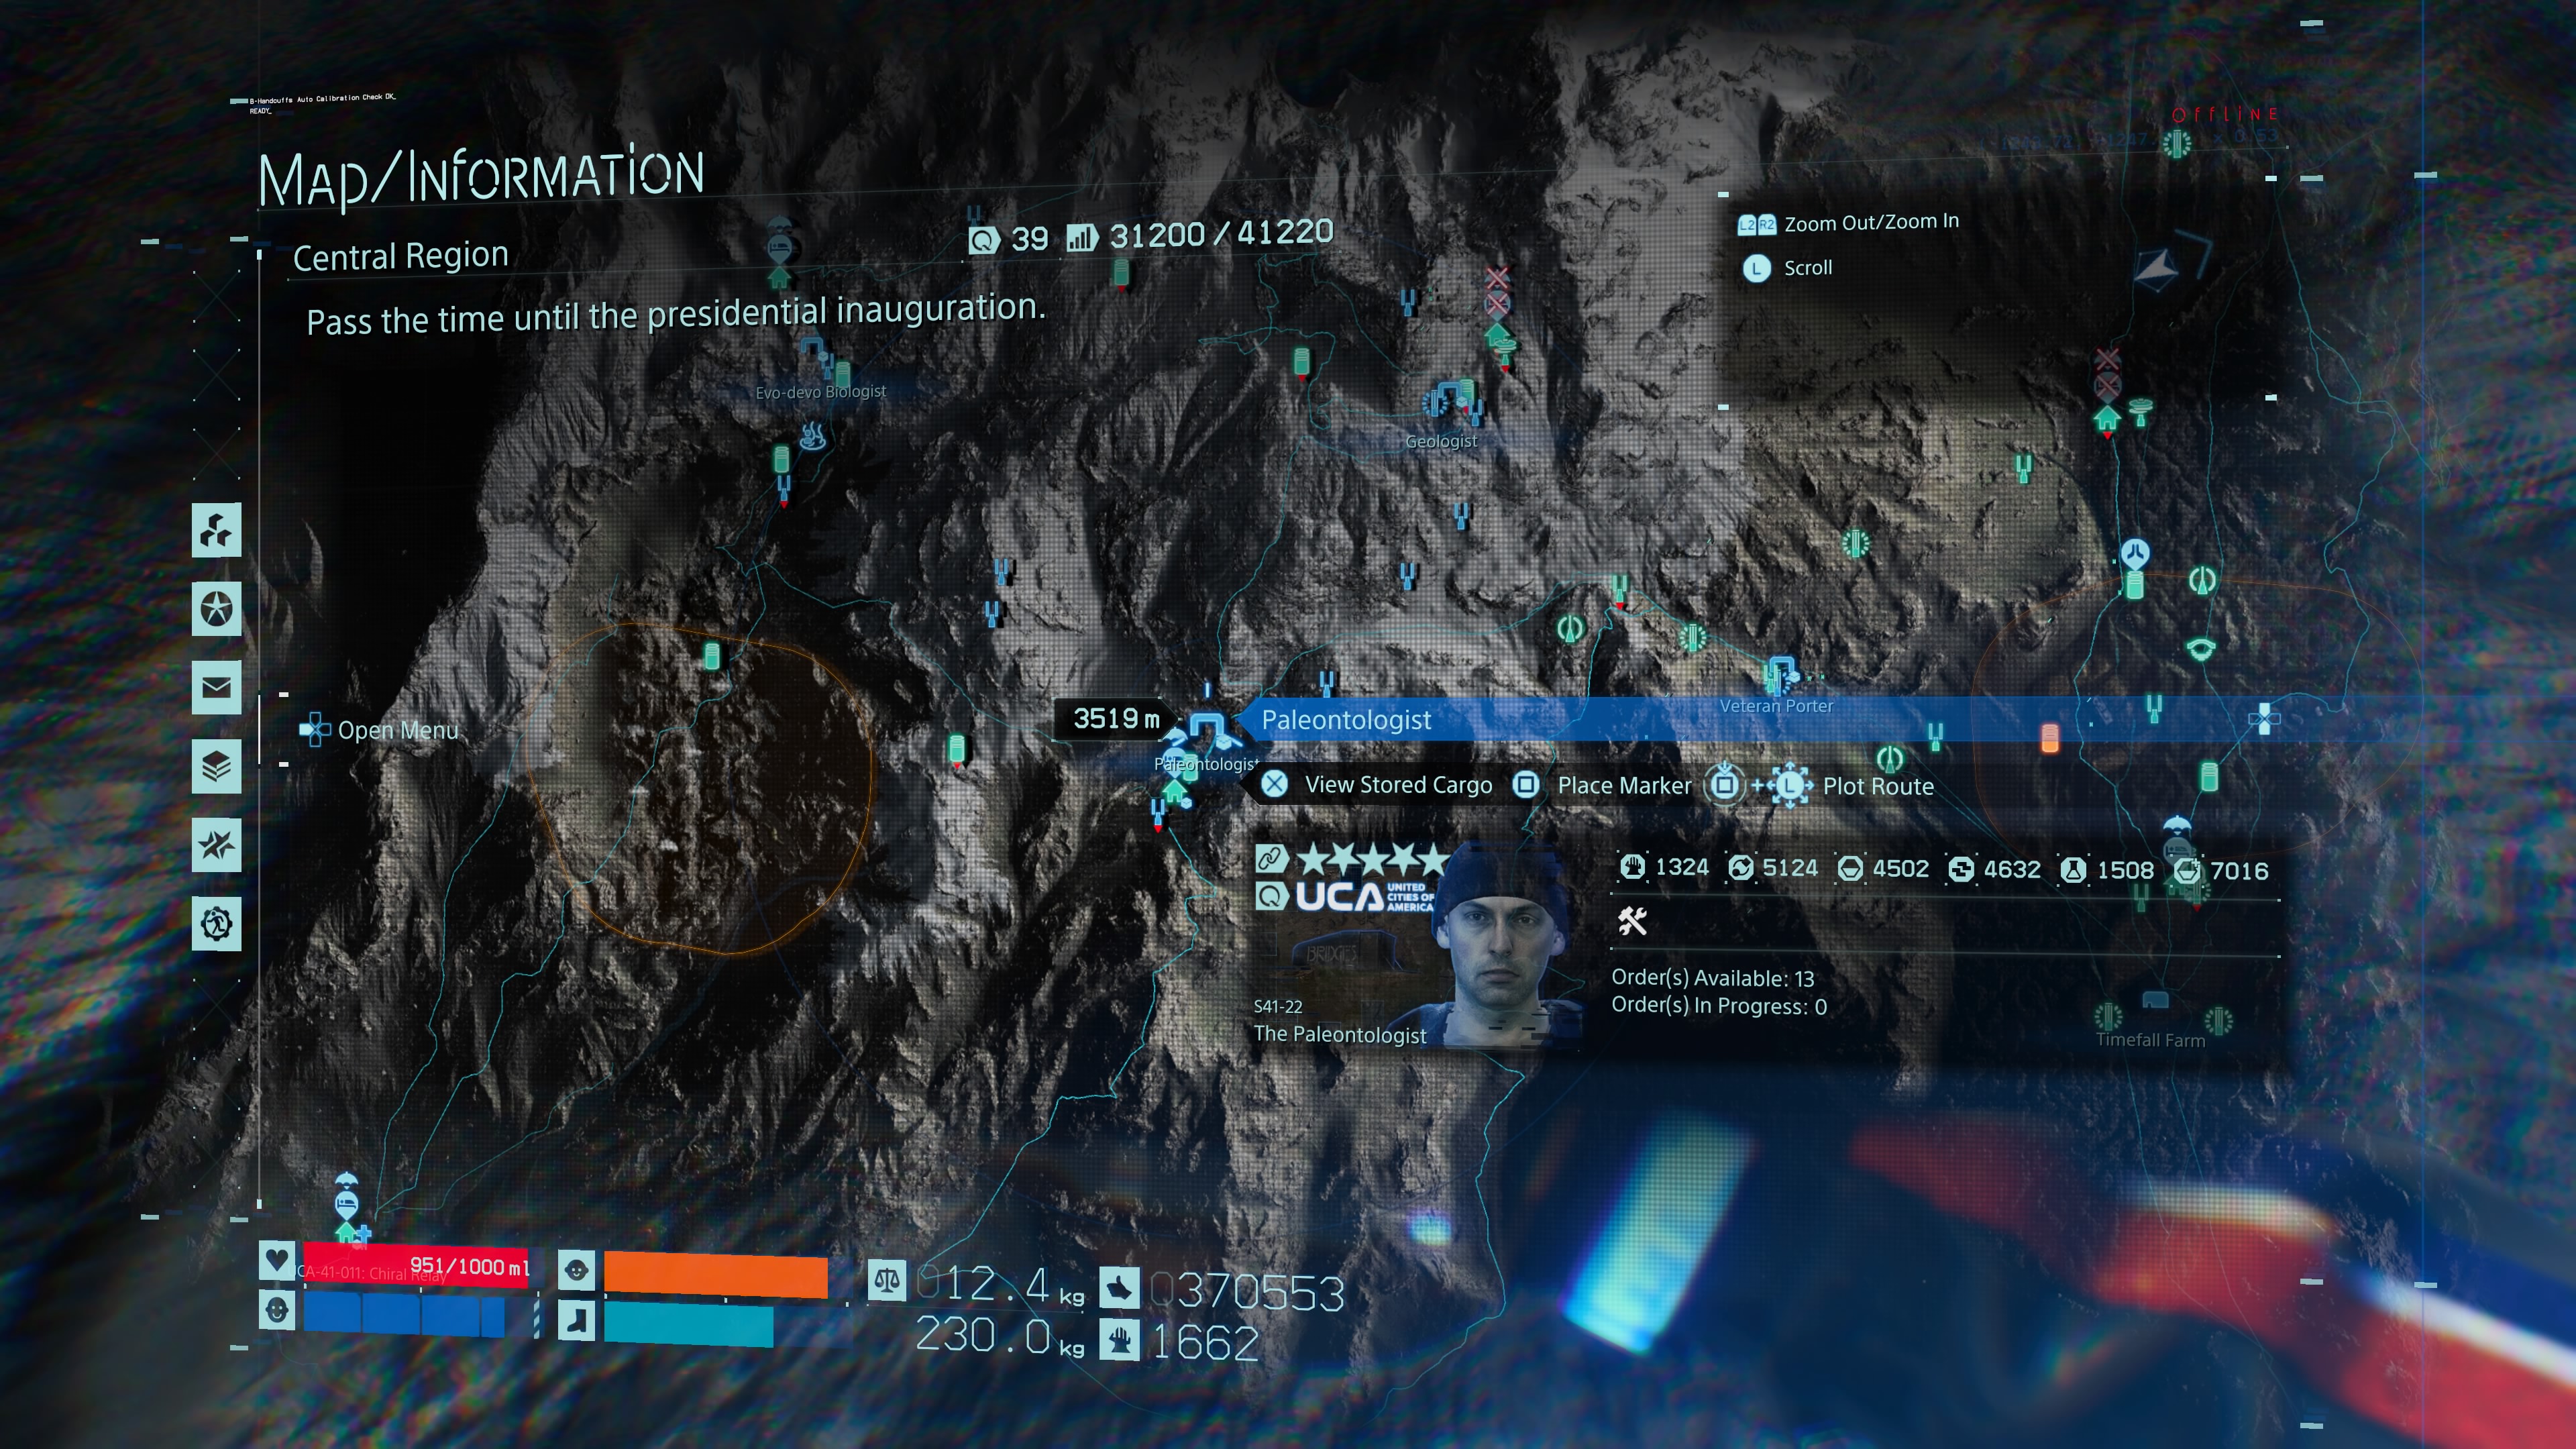
Paleontologist
Leaving the shelter of the biologist above, there’ll be a valley ahead down below. Look to your left as you leave and scale the snowy mountains in front and you should be able to see another area which isn’t covered in snow. This is where the Paleontologist is hiding.
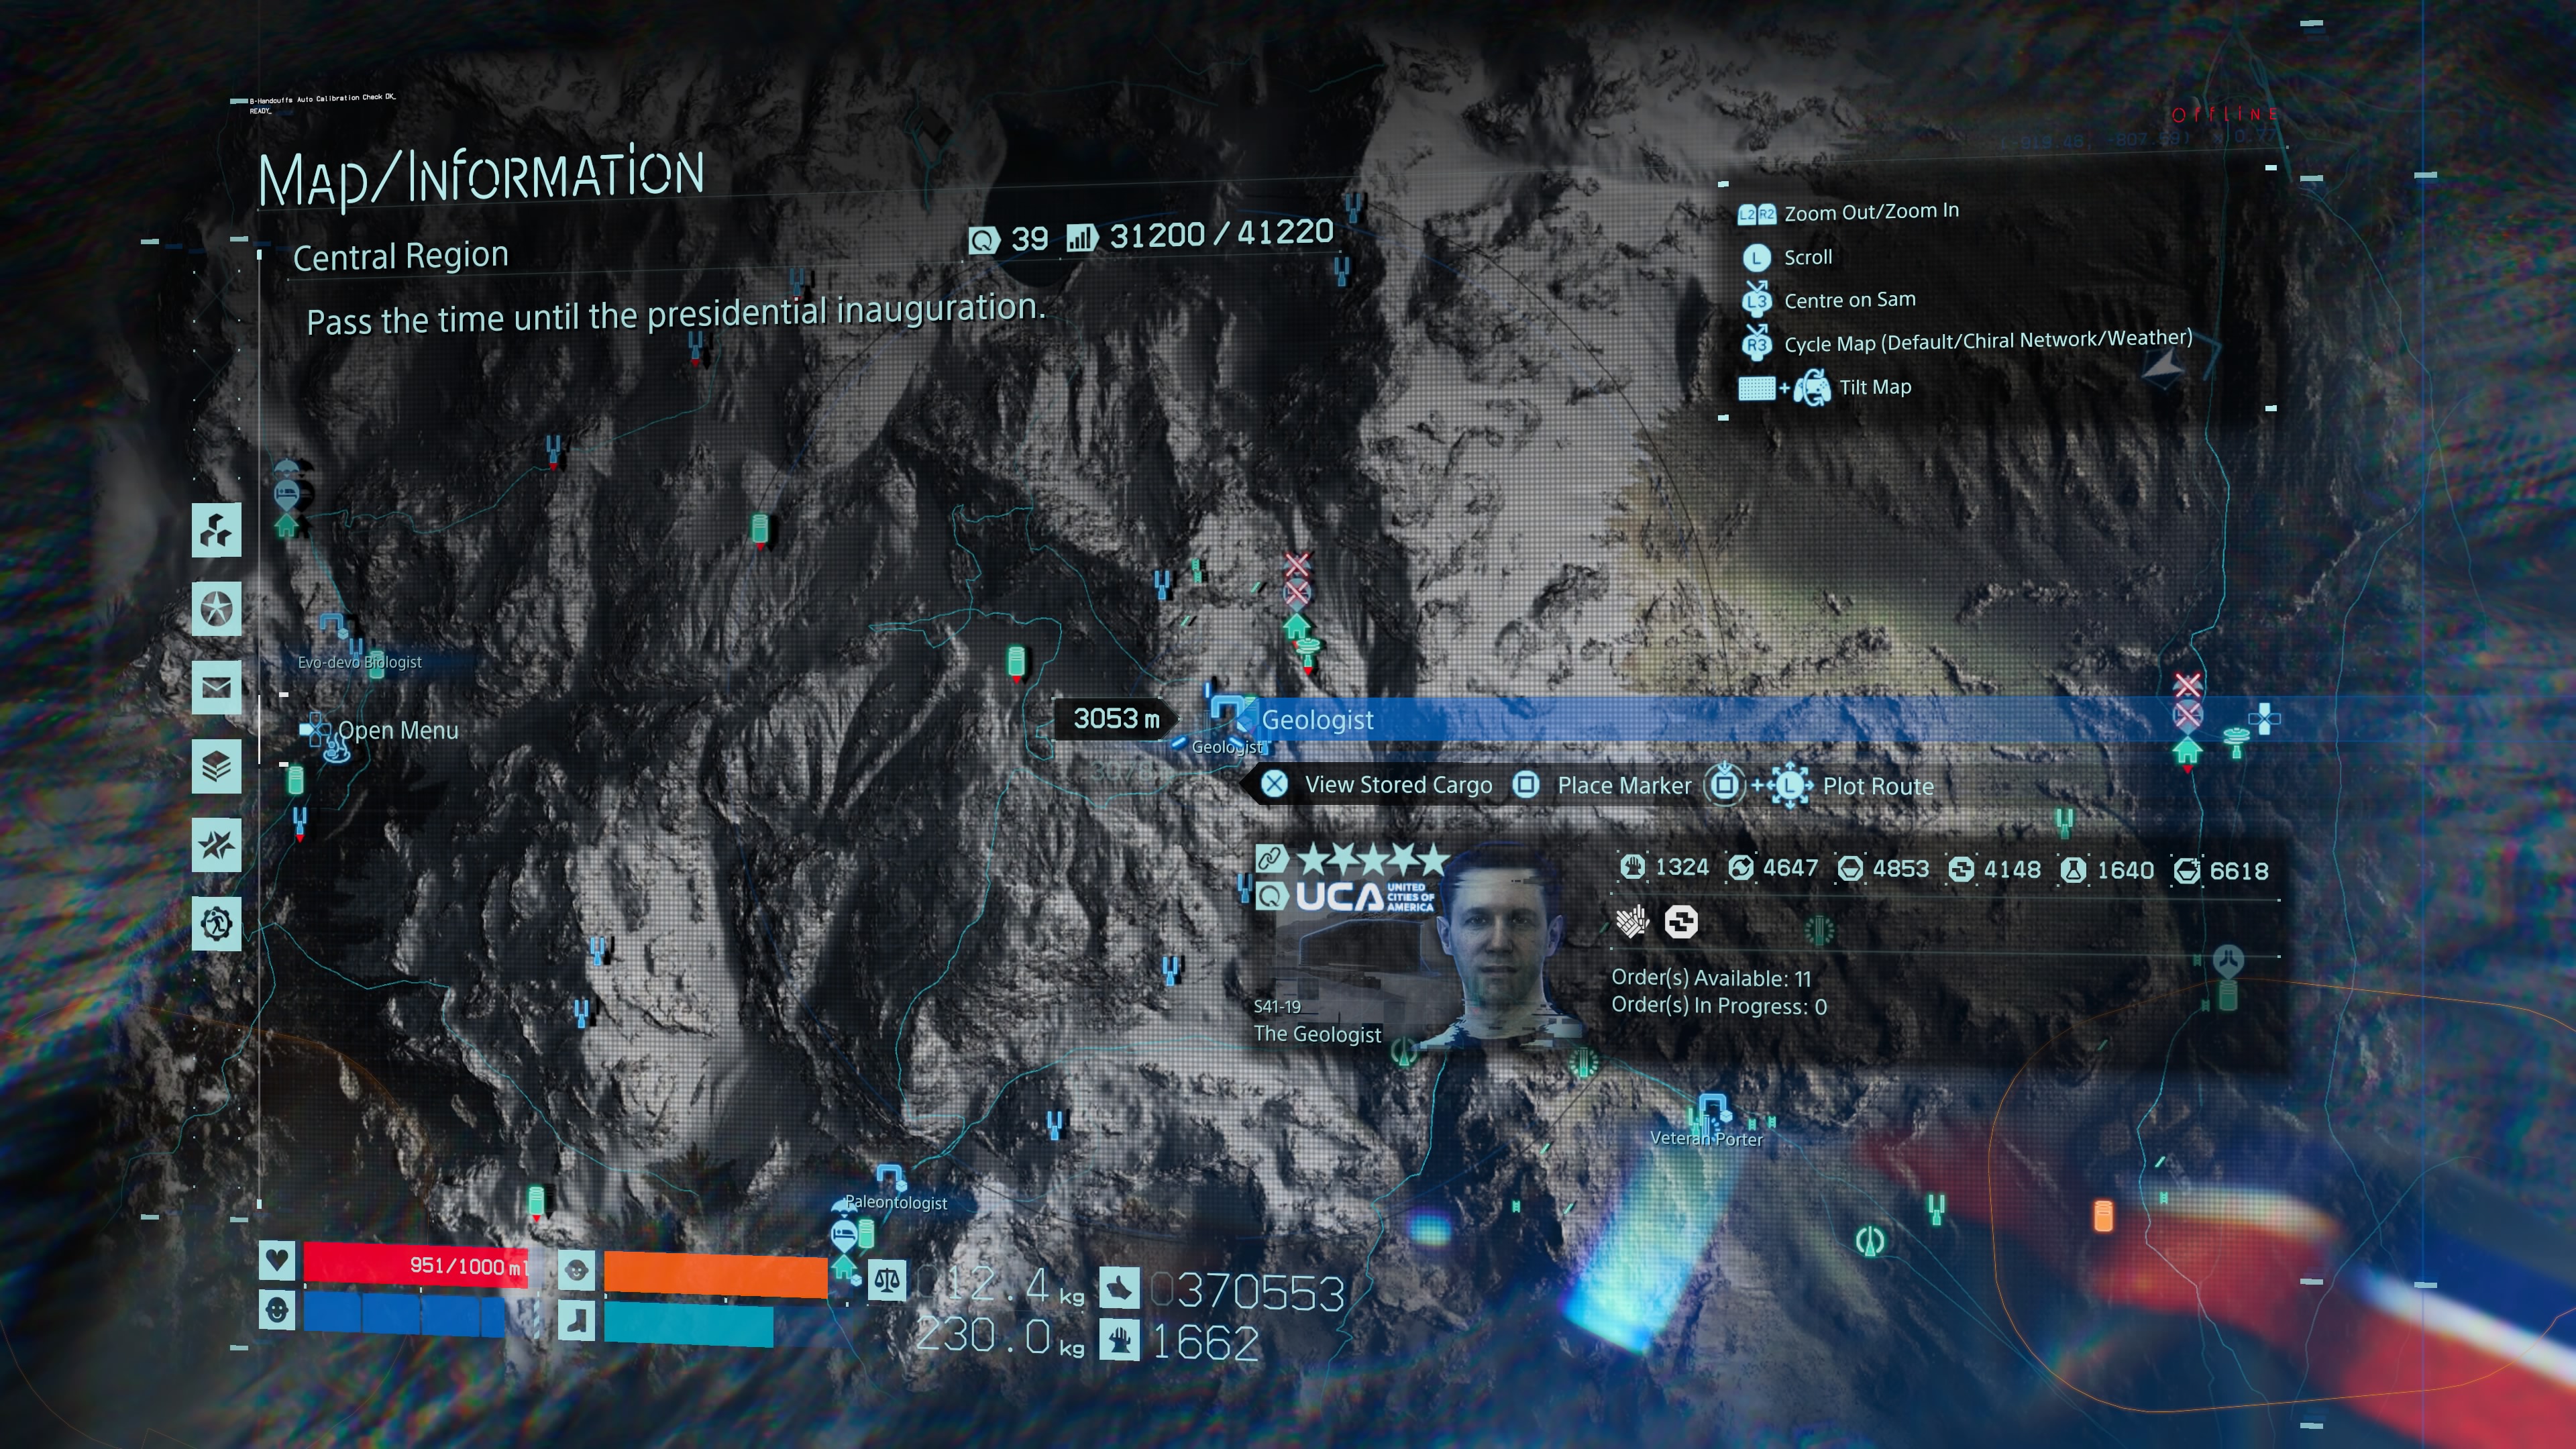
Geologist
The Geologist is really close to the Paleontologist. As you’re leaving the shelter, look to your left to see a track up into the mountains. Keep following this path forward and you’ll find the Geologist higher up on a plateau. You can also get here via following the track ahead of the Veteran Porter if you’re coming from the other side of the mountain.

 Join The Club


