9 Kick-Ass DIY Projects to Get Your Hack On
Upgrade Your Router to Manage Home Network Traffic
Third-party router software has been around for a while, but we can’t help but keep recommending it to users who want to add undocumented features to their home network. Our favorite router firmware package is still Tomato ( http://www.polarcloud.com/tomato ), which we favor for its compatibility with a wide range of router brands and models, user-friendly interface, and powerful feature set. We’ll show you how to upgrade your router’s firmware to the newest version of Tomato and then configure the Quality of Service settings to manage your network traffic.
Install Tomato Firmware
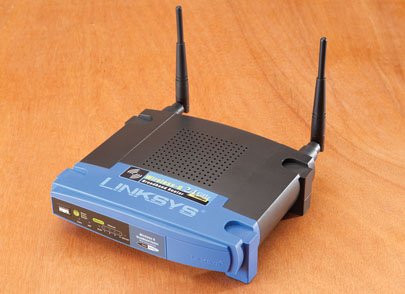
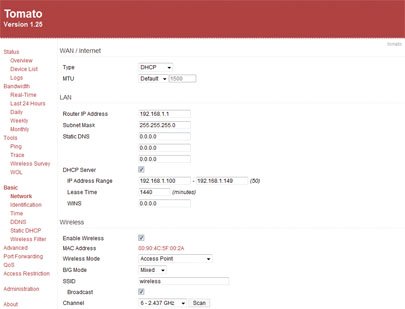
First, you need to make sure your router is supported by Tomato. The Linksys WRT54G-series routers work best, but some Buffalo and Asus routers also work. Check the Tomato FAQ ( http://www.polarcloud.com/tomatofaq#what_will_this_run_on ) to see if your router model and version number is supported. Download the latest firmware package (version 1.25 at press time) and extract its files with 7-Zip ( www.7-zip.org ). Access your router’s administration page with its gateway address (default is 192.168.1.1) and find the Firmware Upgrade section. Choose the firmware .bin file that matches your router and begin the upgrade process. Tomato will automatically transfer your router settings over so you don’t have to reconfigure the basic settings (image A).
(image A)
Configure Quality of Service
Quality of Service lets you manage the different types of data packets as they are routed around your home network and to your service provider. Internet surfing, gaming, VoIP, and BitTorrent traffic can all be prioritized so you can run web services simultaneously without clogging your bandwidth. There’s no one set of settings that will work for everyone, but we’ll give you the basics for you to get started.
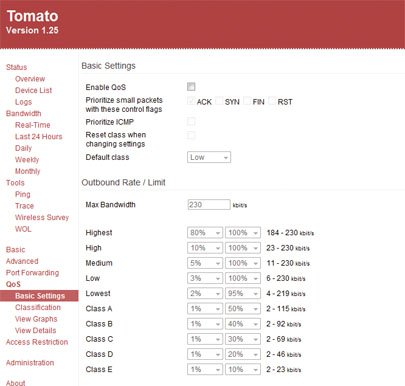
QoS works by classifying network traffic types and then ordering those classes for bandwidth prioritization. First, you have to determine your connection’s maximum uplink bandwidth (since upload traffic is the source of most connection clutter). We used Speedtest.net to find our upload cap, and put that bitrate number under Max Bandwidth (image B).
(image B)
Next, you’ll have to configure the upper and lower bandwidth bounds for each class of packet. By default, the “Highest” class has a range of 80 to 100 percent. This means that packets ranked in this class will always claim at least 80 percent of your bandwidth. The “Lowest” class, on the other hand, has a range of 2 to 95 percent. This means packets under this class will at most claim 95 percent of your bandwidth, if it’s available. Higher ranked classes should be reserved for services that require steady connections, like gaming and VoIP, while lower priority classes should be reserved for normal web surfing, downloads, and peer to peer networks like BitTorrent.
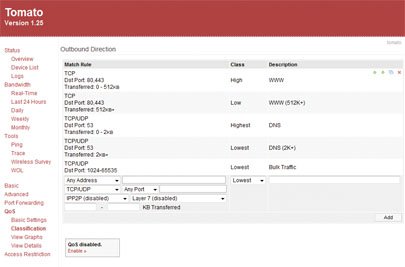
(image C)
Keep up to date with the most important stories and the best deals, as picked by the PC Gamer team.

