Modern Warfare 2 Spec Ops Missions and how to complete them
Time to get stealthy!
Keep up to date with the most important stories and the best deals, as picked by the PC Gamer team.
You are now subscribed
Your newsletter sign-up was successful
Want to add more newsletters?
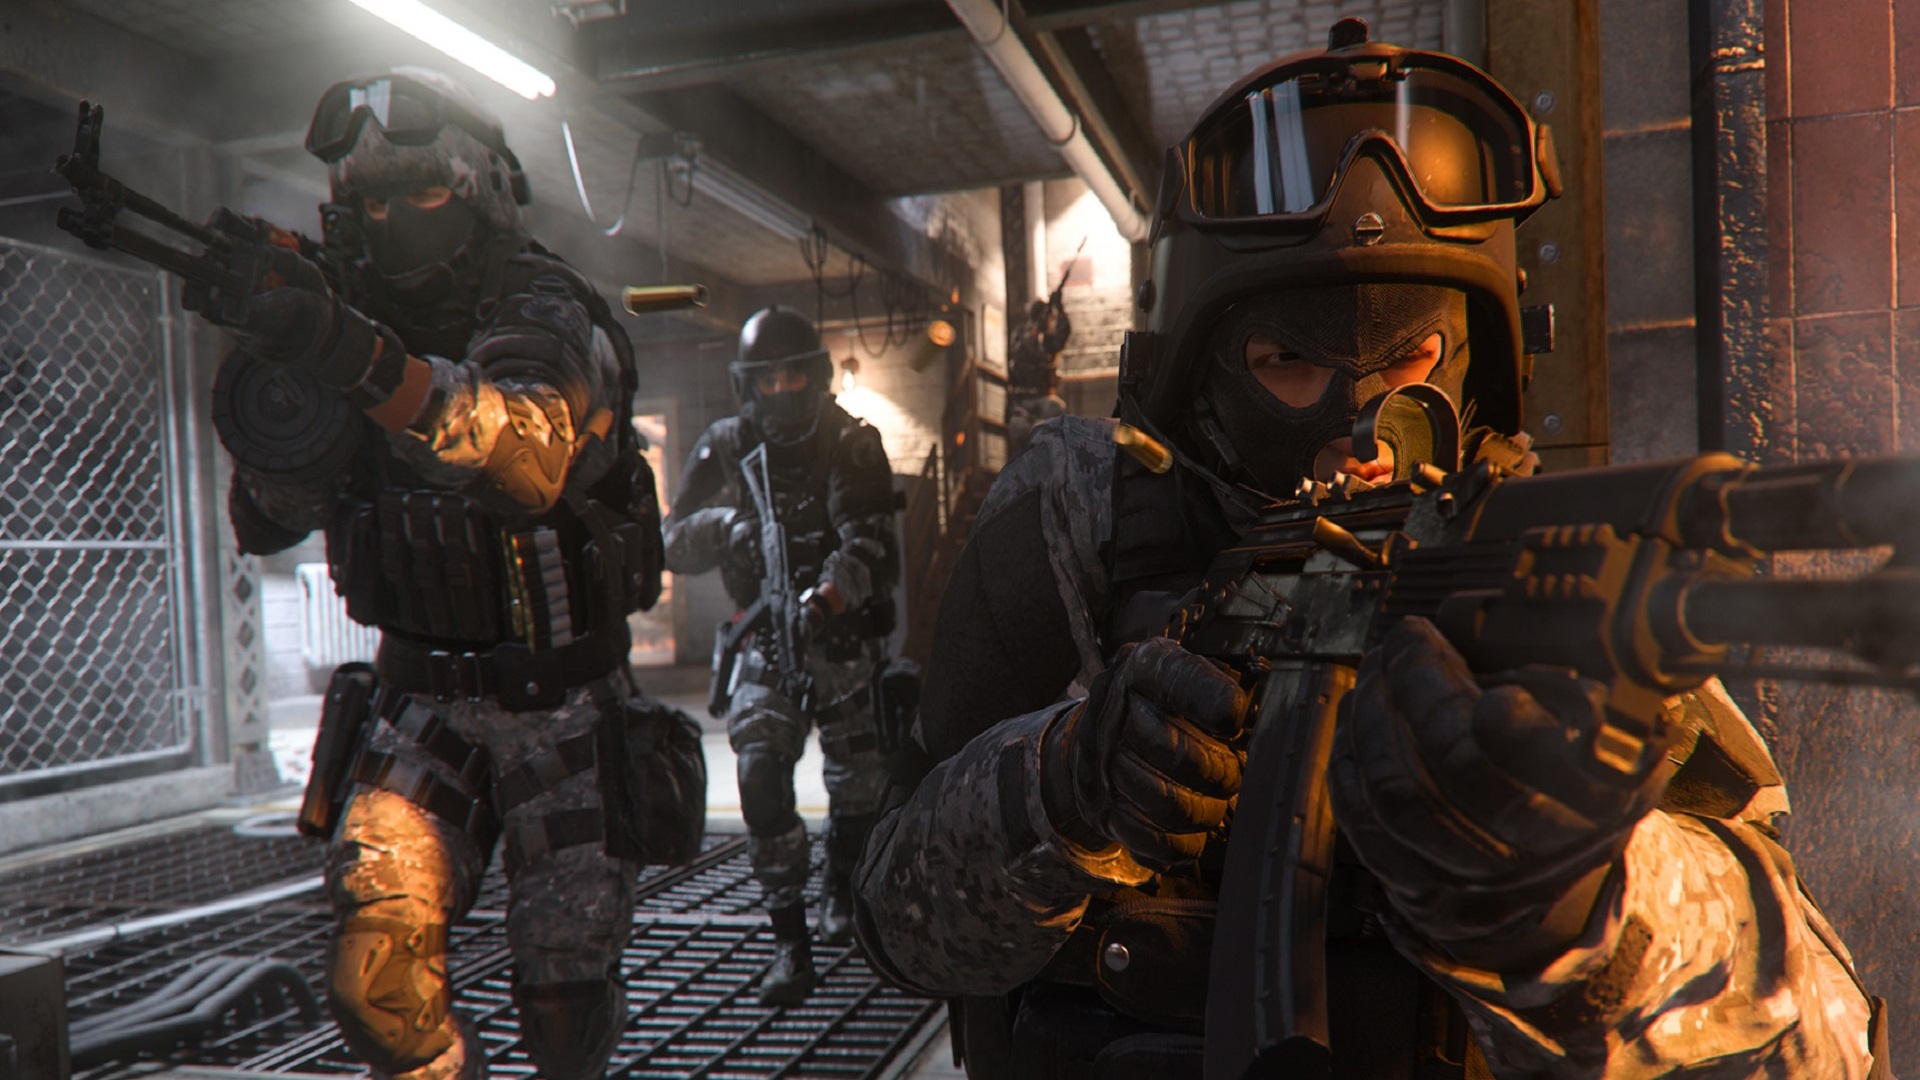
While the Call of Duty: Modern Warfare 2 Spec Ops missions don’t offer much in terms of story, they can be quite challenging to take on, even with a friend in co-op. If you’re curious about what these Modern Warfare 2 side missions entail and how to complete them swiftly, this guide has all the details you’ll need. Just make sure to bring someone you can trust along for the ride and maybe stock up on some snacks.
Modern Warfare 2 Spec Ops Missions list
Good news: you don’t need to complete the campaign or meet any other threshold to access the Modern Warfare 2 Spec Ops missions. You can hop onto any of the available missions at any time, either solo or with one pal in co-op mode online.
Here is the Modern Warfare 2 Spec Ops mission list:
Article continues below- Low profile
- Denied area
- Defender: Mt. Zaya
While the current selection is quite short, Spec Ops missions are part of the Modern Warfare 2 prestige system, so you’re likely to be replaying them to farm some XP eventually. And hey, there are some cosmetic rewards waiting for you in exchange for your time as well, which is a nice plus.
Low Profile
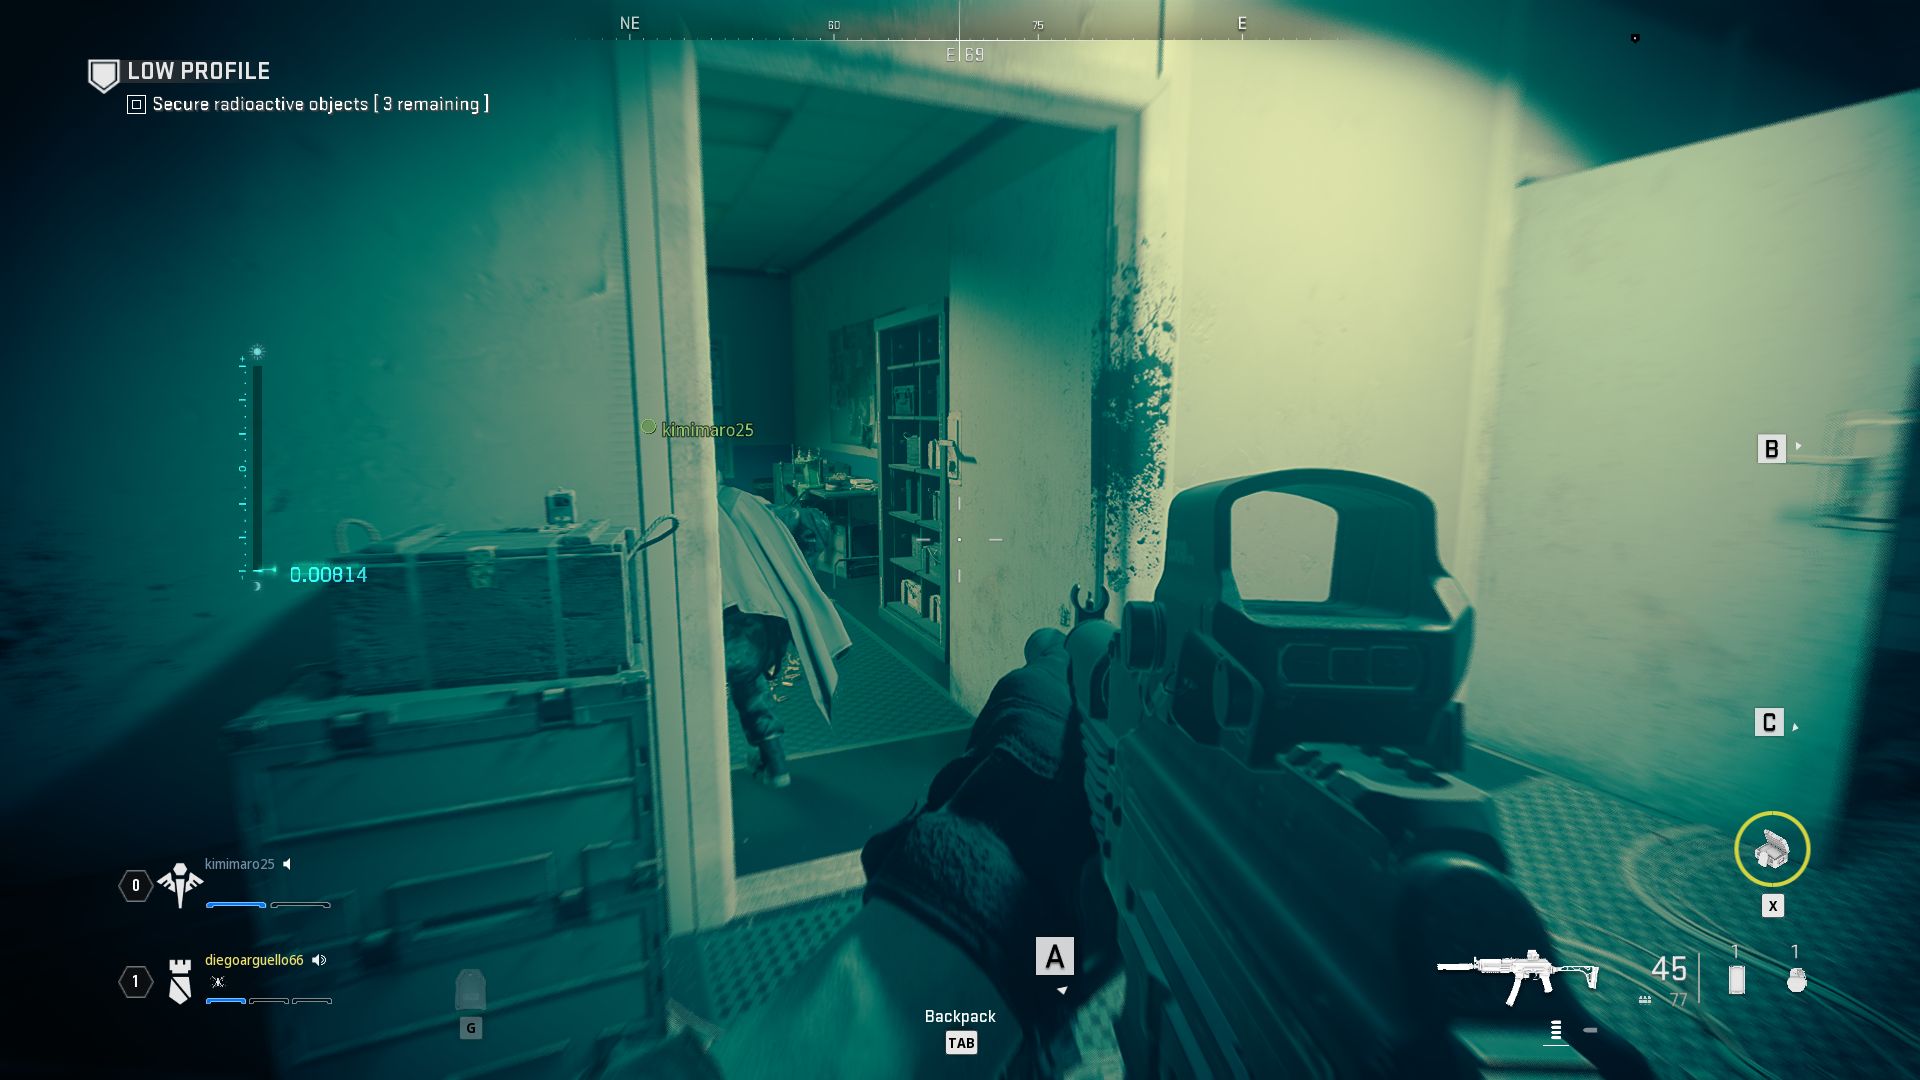
The Modern Warfare 2 Low Profile mission takes you to a secluded map to extract three radioactive weapons. Once the objective is done, you’ll have to leave the place with the assistance of a friendly helicopter. It’s definitely the most streamlined out of all the Spec Ops missions but, as per usual, there are a few things to keep in mind.
First of all, while stealth is definitely encouraged, it’s not mandatory. Feel free to pick any combination of weapons in the helicopter before dropping off—I went with an assault rifle and a sniper, which proved to be a great mix all around. Moreover, you won’t have to worry too much about ammunition on this Spec Ops mission compared to the rest. There are plenty of enemies around, so always make sure to loot after you take them down.
As for the objective itself, the game is going to automatically mark three spots on the map for you to infiltrate into in any order. The locations are randomized, but the steps to retrieve each of the three radioactive weapons are always the same.
Keep up to date with the most important stories and the best deals, as picked by the PC Gamer team.
Once you’re in the marked area, use your Geiger Counter to locate exactly where the object is. If the counter reads anything from 80 and upwards, you’re heading in the right direction.
Be careful as there are usually lasers around. Keep the Nightvision Googles on as you get close to the object and use the prone stance to stay underneath the lasers. Then, just interact with the radioactive weapon and you’ll be set—the lasers disappear once you do, so feel free to explore around on your feet. Repeat this with the other two spots to complete the mission.
There are two more elements to keep in mind for this Modern Warfare 2 Spec Ops mission. The first is that you’re likely to encounter a Juggernaut, which is a bullet-sponge type of enemy wielding an LMG. Try to stay out of its range of fire as much as possible, and use those grenades you’ve been keeping with you throughout the mission.
The second is that you can expect several enemies to come after you as you’re heading to the extraction site. The same applies to the waiting time until the helicopter arrives. Thankfully, there’s a second friendly chopper that is going to provide some aid but make sure to have ammo to spare. Don't linger around—keep an eye on the helicopter and hop on its back as soon as it lands, which is a task you have to do manually.
Denied Area
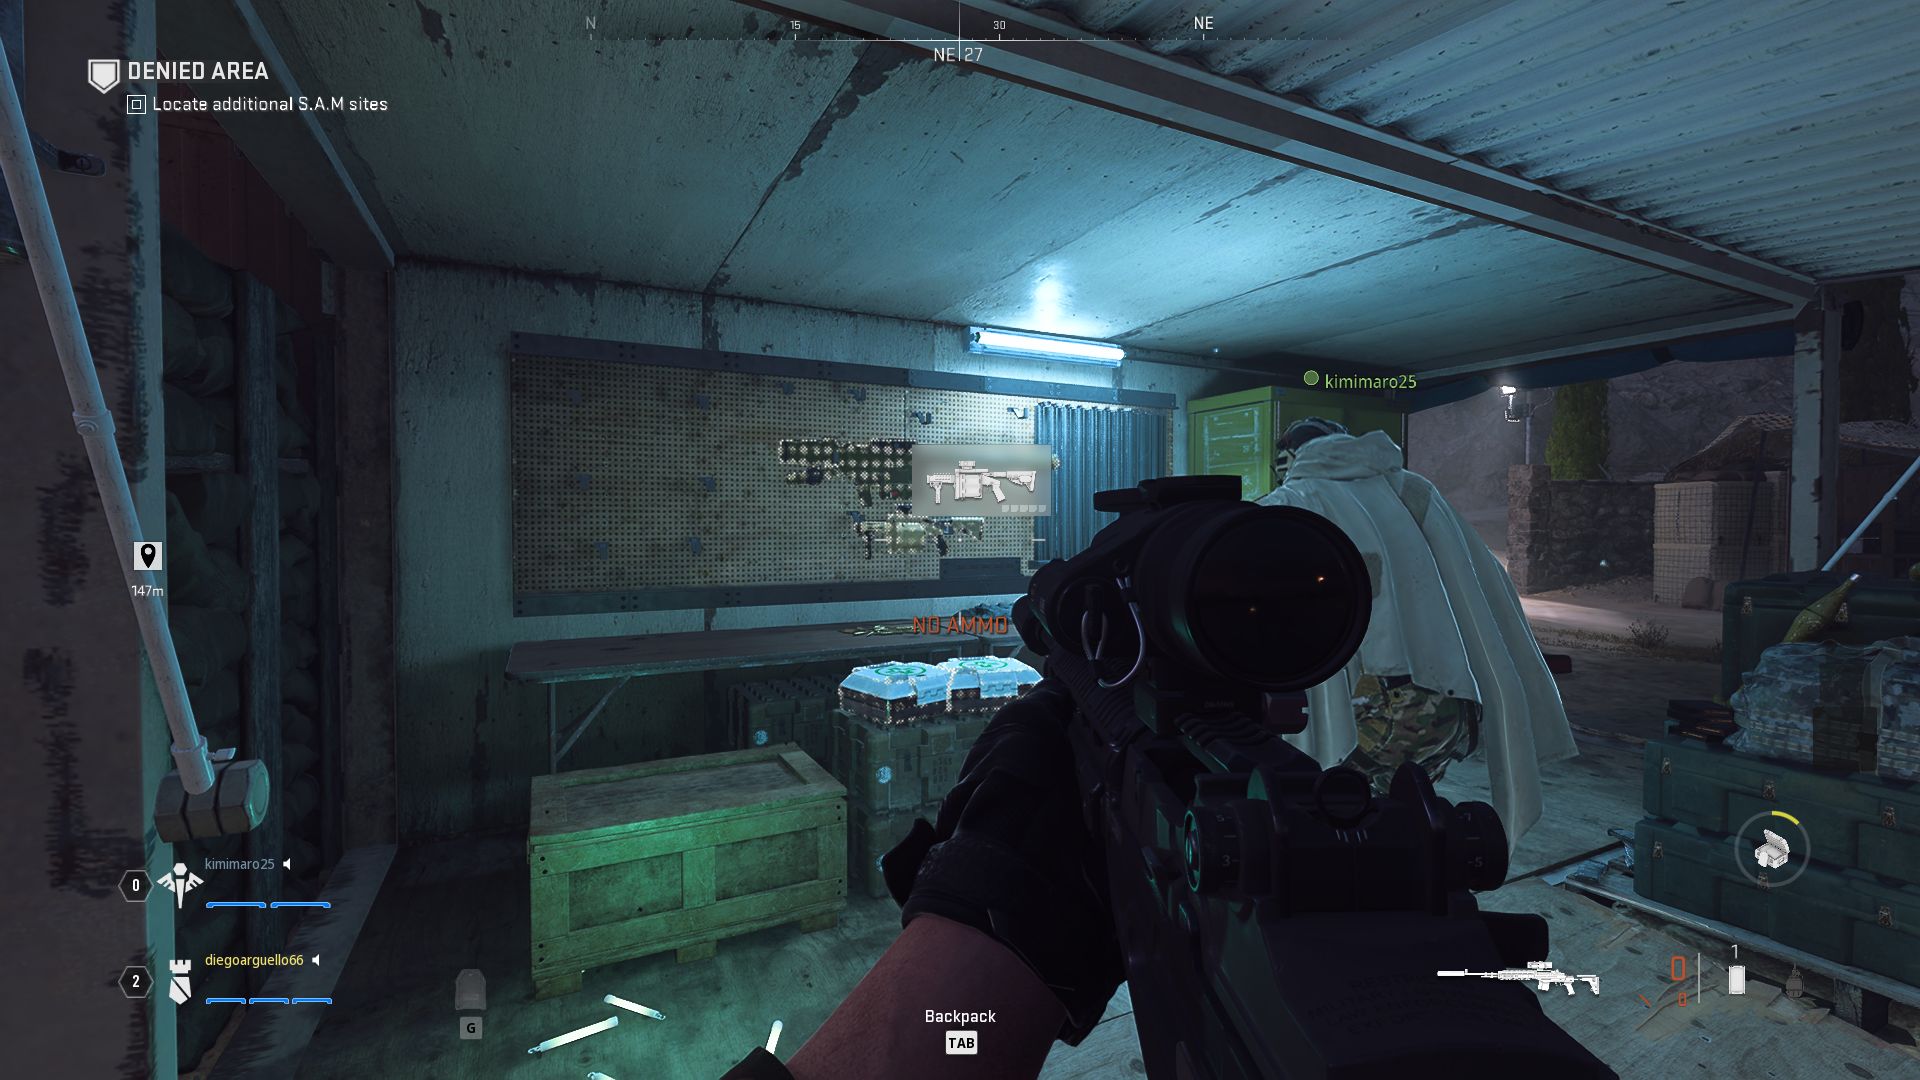
As for the Modern Warfare 2 Denied Area mission, I definitely recommend a stealth approach, especially at the beginning. The first enemies you spot are on a small guard post next to the road, so take them down silently to loot the post itself, as you’re going to need the weapons.
The objective here tasks you with destroying SAM Turrets around a few spots on the map, which you can tackle as they appear. The biggest issue is that there’ll be plenty of enemies coming at you at all times, and ammo might be scarce as a result as you run around looking for cover. Remember that you only need to explode the SAM Turret in each spot, and then quickly run to the next area.
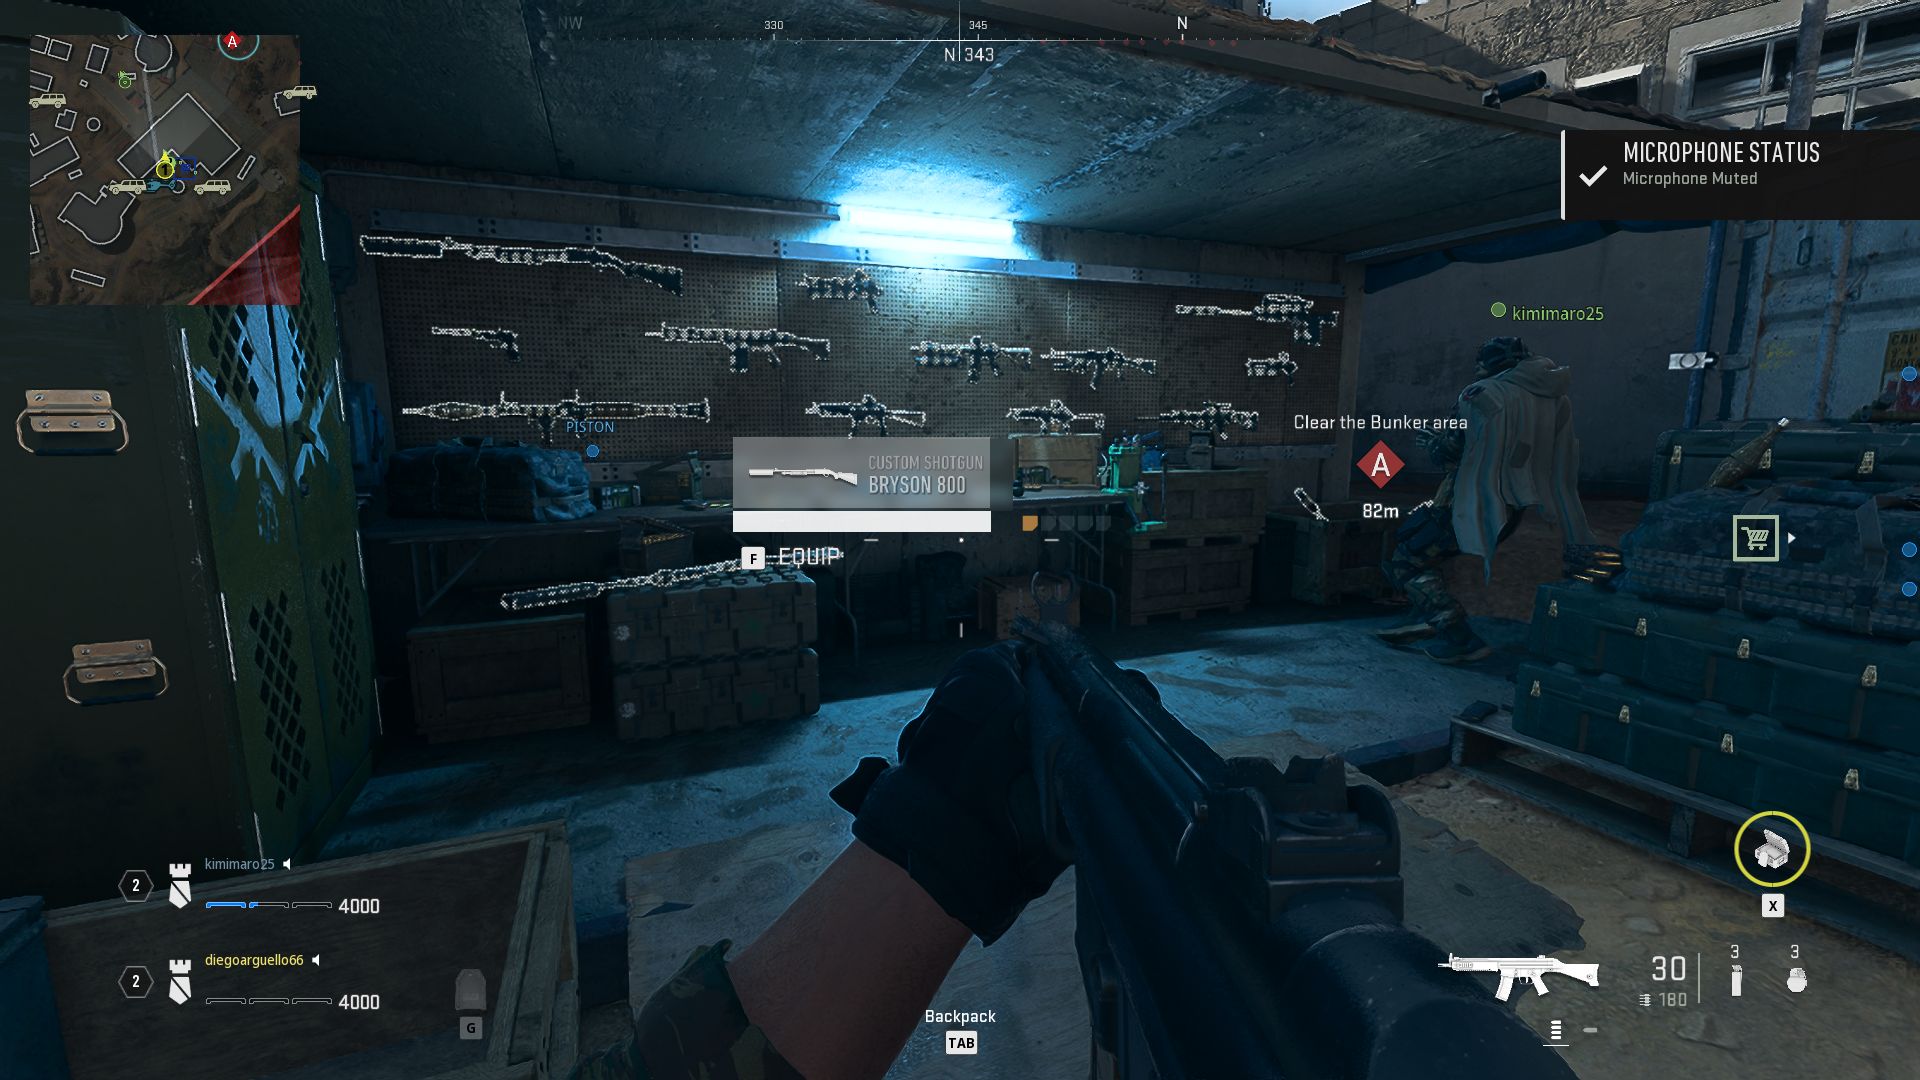
Expect a few enemies using turrets or grenade launchers. For this, sniper rifles are a must, but trying to get closer to them to close the gap and staying out of sight are also good strategies. Once you’ve approached the enemy, take them down in close quarters and focus on the turret. Also, each location you visit has a post with weapons and other supplies. I recommend picking up at least one missile launcher, as you’re going to face helicopters soon enough.
The upside is that there are plenty of vehicles around, so definitely keep an eye on one to escape promptly outside the area after you take care of the turret. Good luck out there.
Defender: Mt. Zaya
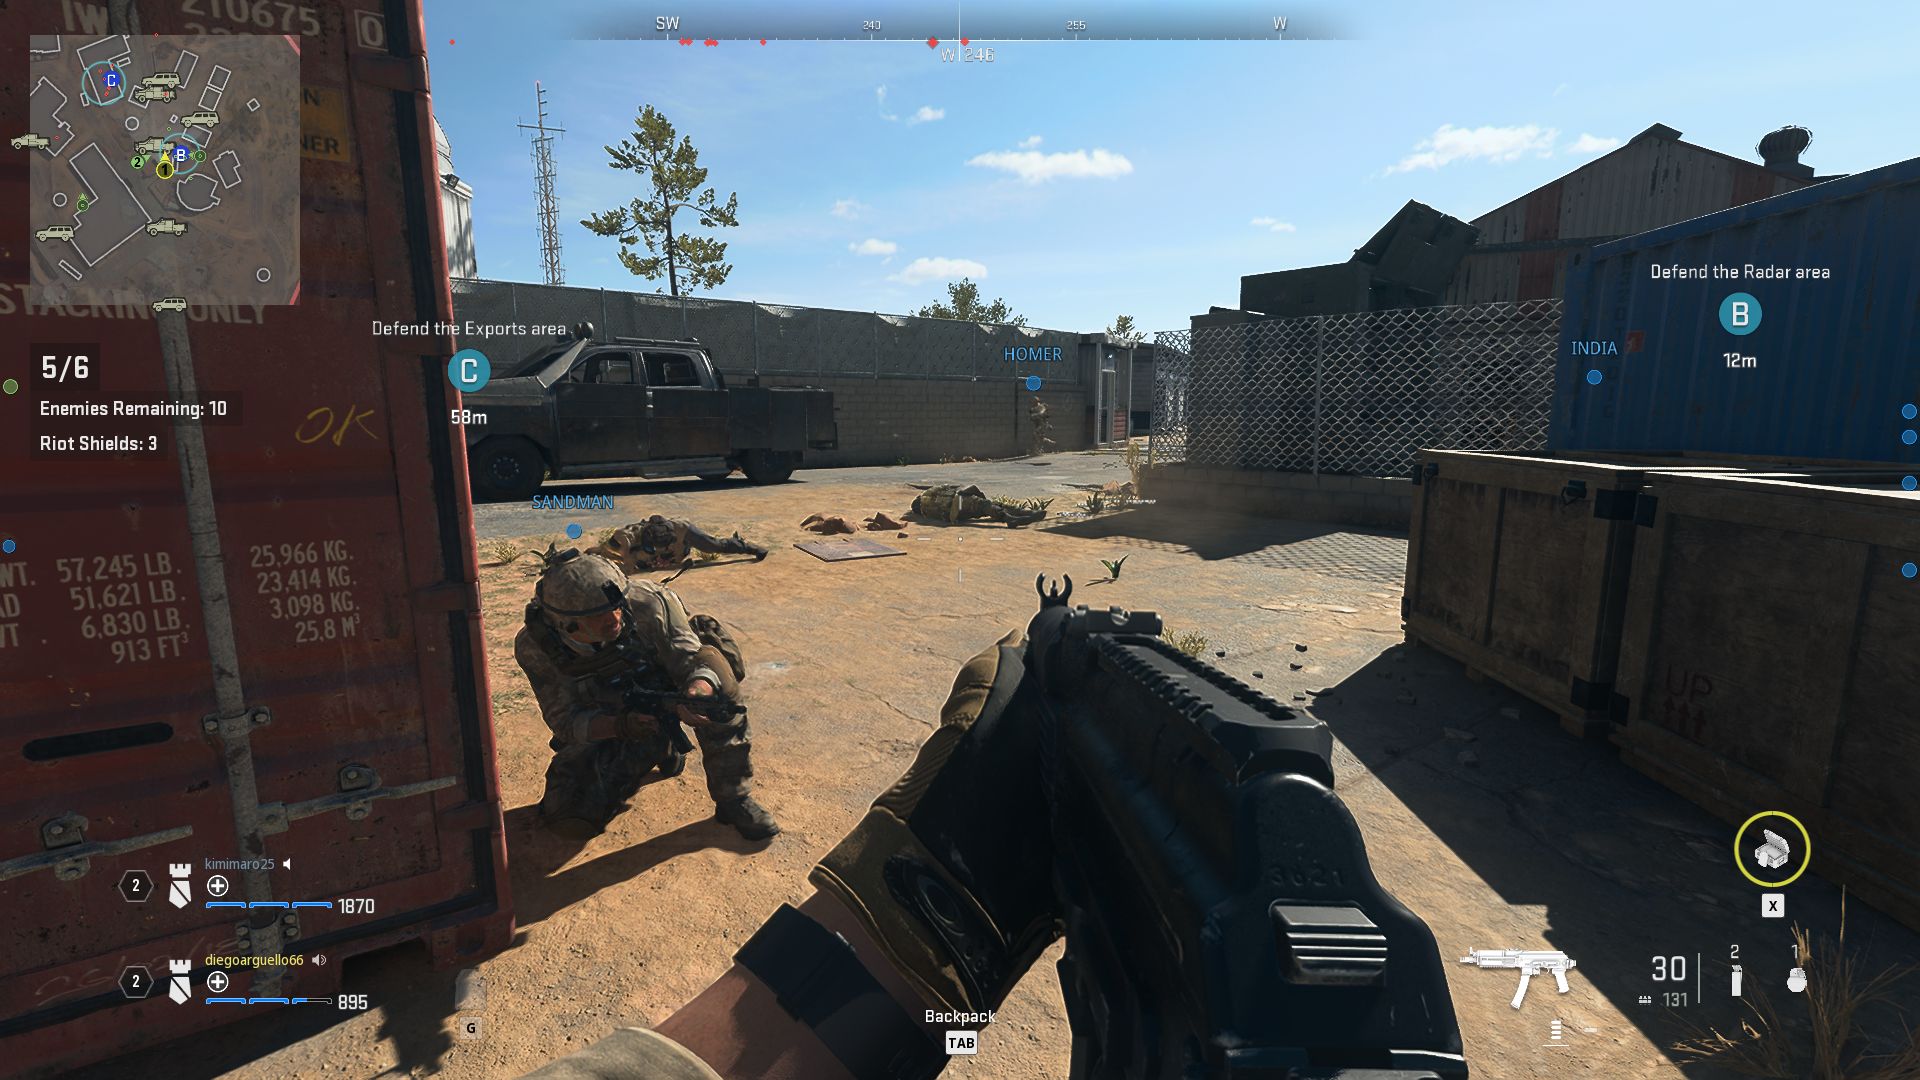
If you want to wind down and face enemy waves without worrying about objectives, then Modern Warfare 2’s Defender: Mt. Zaya is the mission for you. The task at hand has you defending multiple spots from six enemy waves, revolving around a small map with a shop and a weapons post in the center.
The first waves are fairly straightforward, and you’ll only have to worry about one spot to defend. It gets increasingly more intense up until the last wave where you'll be defending all zones at once. It sounds scary on paper, but in practice, you’re going to have enemies dropping on the map periodically, as well as a group in each zone. As soon as you arrive they’ll be expecting you, so storm in using grenades and take out the rest.
Each wave is going to leave you with money, which I recommend you use in the shop. Of all the available options, purchasing a Self-Revive Kit is never a bad idea, but Reinforcements are the key here—the friendly AI is fairly competent, which is a surprise, so use that to your advantage.
Plus, as long as they’re not taken down, your soldier buddies are going to stick around during subsequent waves, which can lead you to have a sizable squad for the final stretch. Also, if you and your teammate complete your purchases quickly, make sure to interact with the station right next to the shopping spot, as you’ll earn some bonus cash for ending the purchasing period early.
Enemies usually drop in from helicopters, so try to destroy them before they can land. Moreover, keep an eye on the rooftops, as some foes are going to stay prone on top of them and shoot you. In my experience, this happened in the later waves, but it’s still worth keeping in mind. And please, make sure to actually recharge your weapons before a new wave starts. Don’t be like me, who had to backtrack while all enemies were surrounding the marked spots already. I don’t think my co-op partner is gonna forget me for that one anytime soon.
