


Six years ago, you may have grabbed yourself Destiny 2’s Whisper of the Worm when the secret exotic mission The Whisper was first released. After being vaulted at the end of the Season of the Arrivals, Bungie has brought the mission and the famous sniper rifle back with the Into The Light content update ahead of The Final Shape’s release.
Thankfully, if you were around when the mission was first released (or if you are a new Guardian who joined the fight against The Witness more recently), you will be pleased to know this new version of The Whisper isn’t as much of a pain to complete as it was back in 2018. However, there are some slight changes to shake things up.
With Into The Light finally out, you can now revisit the winding pathways and cavernous halls and get Whisper Of The Worm for yourself - if you didn’t already have it. But, even if you did get the gun before it was vaulted, it is worth playing through the quest again to get the crafting recipe, allowing you to customize the exotic weapon at The Enclave on Mars.

For a full walkthrough of the quest and how to unlock its catalyst check out our guide below.
How to unlock Whisper of the Worm in Destiny 2
Whisper of the Worm in Destiny 2 can now be unlocked by completing the Whispers of the Past quest from Eris Morn. This will ask you to enter the reprised exotic mission, The Whisper and finish it to get the exotic Sniper Rifle at the end.
The weapon is now in the power weapon slot and uses heavy ammo. Whisper of the Worm is a famous Destiny 2 sniper rifle as it used to be incredibly strong in raids and against bosses before it was vaulted thanks to its unique intrinsic trait: White Nail.
This trait gives you higher base precision damage, and rapidly landing three precision hits will cause the magazine to refill. This allows you to do as much damage as possible during a damage phase of a raid or dungeon boss without needing to reload.
Destiny 2 The Whisper walkthrough

The Whisper is a 1810 Power Level mission. Ideally, you and your fireteam want to be at least 1800 Power Level to be able to take on the intense boss battles at the end of the mission.
If you have played The Whisper before, then not a lot has changed, but for new Guardians here is a quick debrief. You have 40 minutes to complete the mission and it is a huge jumping puzzle, similar to what you would find in a raid but much longer. Towards the end, it will turn into a gauntlet asking you to kill tons of Taken enemies, as well as four bosses - three smaller ones and one large boss.
Before you jump in, you will want to use the Fireteam Finder to find two other players for this mission if you don’t have any friends to play it with, as completing it solo is extremely tricky.
When you are ready, the mission kicks off near the surface of IO and instead of jumping down after the first room, you want to look over to your left for a small opening in the rockface. Jump in there, kill the Centurion, and destroy the Taken Blight. You can then drop down deeper into the planet.

For the next section of the mission, you will be jumping through the large Vex structures and across huge gaps to make your way to the boss fights, so take each step carefully. Thankfully, the checkpoints and where you respawn are quite forgiving.
After the initial gap ahead of you, you will see a red light, which has the next platform to jump to beneath it.

Once down here, crouch and make your way through to the first large hall. Here, you will have to contend with small blocks pushing you away from the wall, so before jumping, learn the rhythm and cadence at which they jerk in and out from the wall.
You want to stick entirely to the right side of the wall here initially. After the first block that tries to push you away from the wall, jump all the way down beneath you to another ledge with a red hue. Dodge the blocks once again and make your way to the long platform pointing to your left.

Down from this platform, you will find a small pillar to jump to and then a gap in the wall on the large column ahead. Shuffle your way along this column to your left, and jump around to the left to find another platform.
From this platform, you can crouch and walk along it, progressing deeper. Along this small ledge, blocks in the wall will actually try and knock you off. But, these can easily be avoided by taking one section at a time and waiting for the blocks to have fully receded back into the wall, before you try and get to the next safe section.

Once through, jump over to the opposite wall on your left and make your way along the ledge. You can crouch under the spherical structure on the wall and then jump onto the moving platform that goes up and down.
Once at the top, jump to the small ledge ahead and then take a left. Do not continue forward as this is a dead end.
After the corridor, make your way through the next jumping puzzle by avoiding the moving blocks in the same way as you have avoided the rest and enter the next large hall. This hall is a little trickier as you will have enemies positioned on ledges, trying to kill you. However, time your jump so as soon as the Taken blast in the wall by the first ledge finishes, you jump towards the ledge. This will ensure you miss the next blast. Hop from ledge to ledge, crouching once you reach the third ledge, continuing straight forward, and then jump through the hole in the wall ahead.

In the next room, you will see a lot of Vex-looking holes in the wall you can go through. However, most will lead to your death. The correct one to jump through is the final hole on your right. The easiest way to get there is to jump up to the ledge under the top set of spherical structures in the wall and walk along it until you reach the hole.
Watch out for the enemy, but once you are through you will enter another large hall.
This room is like a maze and you can easily find yourself looking around in circles for an exit. However, the easiest way forward is right where you enter the room. After dropping down to the base floor you can turn to your right and see a small gap in the rocks, which is the way forward.
If you do drop to the lower floor with the Taken Thrall, you can find several ramps, leading you back up.

From there, you have a few more jumps to make along the wall to the left as you enter the next hall. Finally, there is one large drop to make to the lit-up hole in the wall beneath you.

Continue forward and then look under the wall on your right in the next room to find a small hole, lit up by white light. This will finish the jumping puzzle section and put you right in the midst of combat.
There is nothing special to this initial fight, simply clear out the Taken and push forward before jumping down into the hole in the final room with the Psions.
Once in the final room, you will need to clear the first set of enemies and then summon three bosses. These can be done one at a time by shooting the Vex cubes in the arena or all at once. Fighting them one at a time makes for an easier battle, but summoning them all together and killing them will get you a Triumph.
These are regular boss versions of a Taken Captain, Centurion, and Knight. There is nothing special to them and machine guns and supers will make quick work of them. Additionally, there will be a whole bunch of extra enemies, but these can be slowly taken down one by one, and you can retreat to either of the caves on the left and right to recover your health.
Once all the enemies are down Tulgorh, will spawn - the true boss. However, this fight is actually significantly easier than the previous one. The only mechanic you need to remember is that at the start of the fight and at 50% health Tulgorh will gain a shield, which can only be destroyed by killing the two Taken Witches at the back of the arena.
Once those witches are dead you can unload on Tulgorh and defeat him. The only other enemies in the arena during this fight are some Taken Thrall, which are pretty easy to clear out.
Once Tulgorh is dead, you can open the chest at the end to complete the mission and get your Whisper of the Worm.
How to get the Whisper of the Worm catalyst in Destiny 2
The Catalyst for Whisper of the Worm is unlocked after obtaining the sniper rifle during your first run through The Whisper exotic mission. Upon returning to Eris Morn on the moon, she will give you the first Whispers of the Taken quest. This is a four-step quest, which upon completion will give you the perk Whispered Breathing for the Whisper of the Worm.
The perk from the catalyst gives the sniper bonus range and precision damage when zoomed in after it has been aimed without firing for a brief moment.
This quest is extremely simple, with the first step requiring you to kill 10 Taken and obtain Taken Essence. These kills don’t have to be with Whisper of the Worm either.
This can be done anywhere, but the best spot is in the Divalian Mists in The Dreaming City, as you can kill 10 Taken in less than two minutes.
The second step requires you to replay The Whisper mission on Legend and destroy the first set of Taken Blights. This is a little trickier as you only have 20 minutes to complete the mission. You want to be at Power Level 1810 or higher and if the rest of your fireteam is above the 1830 Power Level of the mission, even better, as they can help carry you through.
Fireteam Finder is a great way to do this as you will often find groups of higher Power level players or be joined by high Power Level Guardians if you are creating a session.
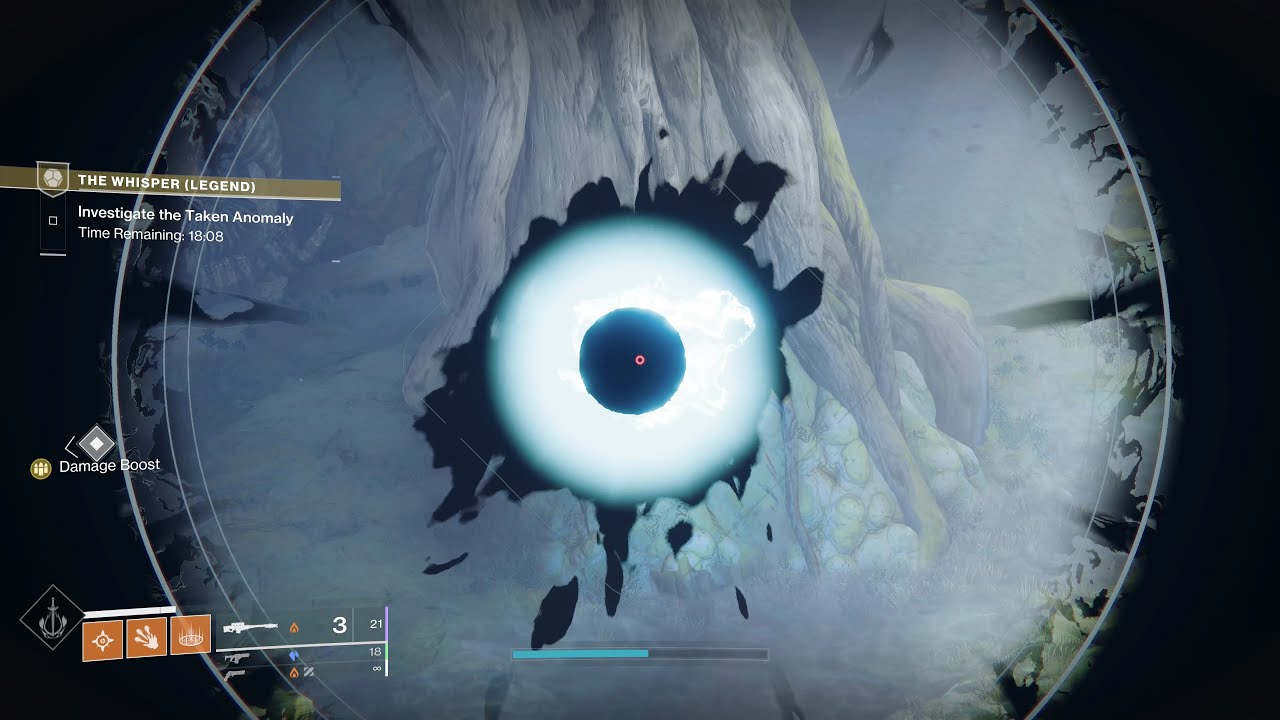
Once loaded in, these blights are located in the air within the second room at the beginning of the mission, just before you drop down. Before you jump to the cliff on your left, look over to your right and you will see two blights in the air by the trees and one right in front of you. Shoot them with Whisper of the Worm to destroy them.

The quest will then update and then tell you to finish The Whisper on Legend difficulty. As you are already here, bolt it back through the entire mission using our walkthrough above and try to get to the combat sections with as much time left as you can.
If your team are of a decently high Power Level, at least 1810-1820, you should be able to make it through these fights without too many issues. The enemies will be tankier and stronger, however, well-timed supers and strong machine guns used in unison with each other can melt the three initial bosses quickly and whittle away at Tulgorh’s health.
Do summon all three of the bosses in the first fight at the same time if you think your team can survive. Doing so means there is less time waiting for the bosses to spawn. Ideally, you want at least 10-14 minutes on the clock by the time you reach the first fight and begin clearing the Taken Corruption to give you enough leeway during the two boss battles.
After defeating Tulgorh you will unlock the catalyst and can return to Eris to complete the quest.
Even if you got the catalyst back when the weapon was first released, you will need to complete Whispers of the Taken to be able to put Whispered Breathing onto your crafted Whisper of the Worm. Finishing the quest will also unlock Field Prep within the Trait slot.

That is how to get yourself a fully kitted-out Whisper of the Worm and complete the exotic quests for its extra perks. This is easily the rarest weapon included with the Into The Light content update. However, there are also a whole bunch of classic legendary weapons to unlock from Onslaught. So, don’t skip out on the new wave-based horde mode for some extra returning weapons from Destiny’s past.


