Diablo 4 Tempering: How to add affixes to gear
Use Temper Manuals to roll affixes so you can Masterwork your equipment in season 4.

Tempering is Diablo 4's new crafting system that allows you to customize your gear. In season 4 and onwards, you can Temper an item at a blacksmith to add two affixes, or stats, onto them using a variety of manuals. Then, you can increase those stats via Masterworking, an endgame crafting system that takes some effort to perfect.
Your items need to be fully Tempered before you can start Masterworking them with materials from The Pit, a new set of endgame dungeons like Diablo 3's Greater Rifts. Masterworking can pump your item's stats way up into the stratosphere, like having a sorcerer's Frost Nova cover the entire screen. With both of these systems, builds will be more flexible, powerful, and dazzling to play.
How does Tempering work?
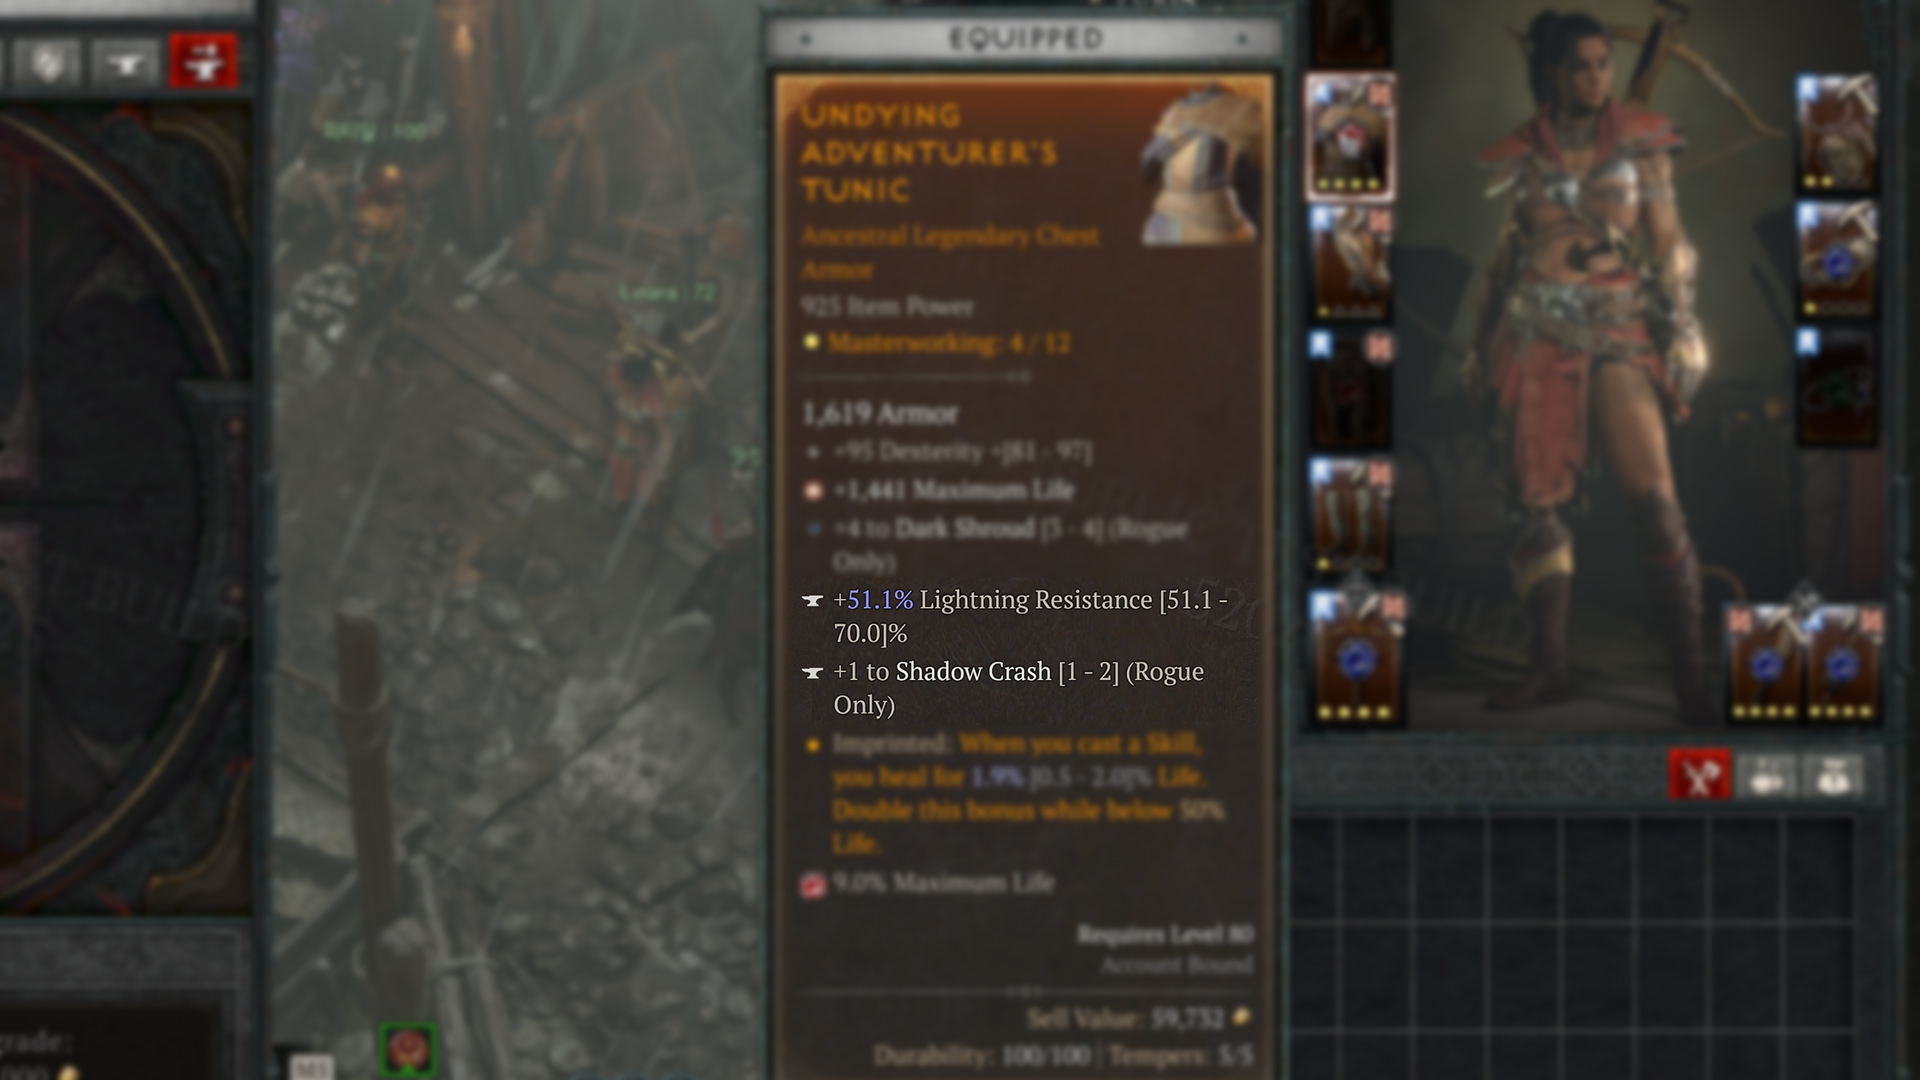
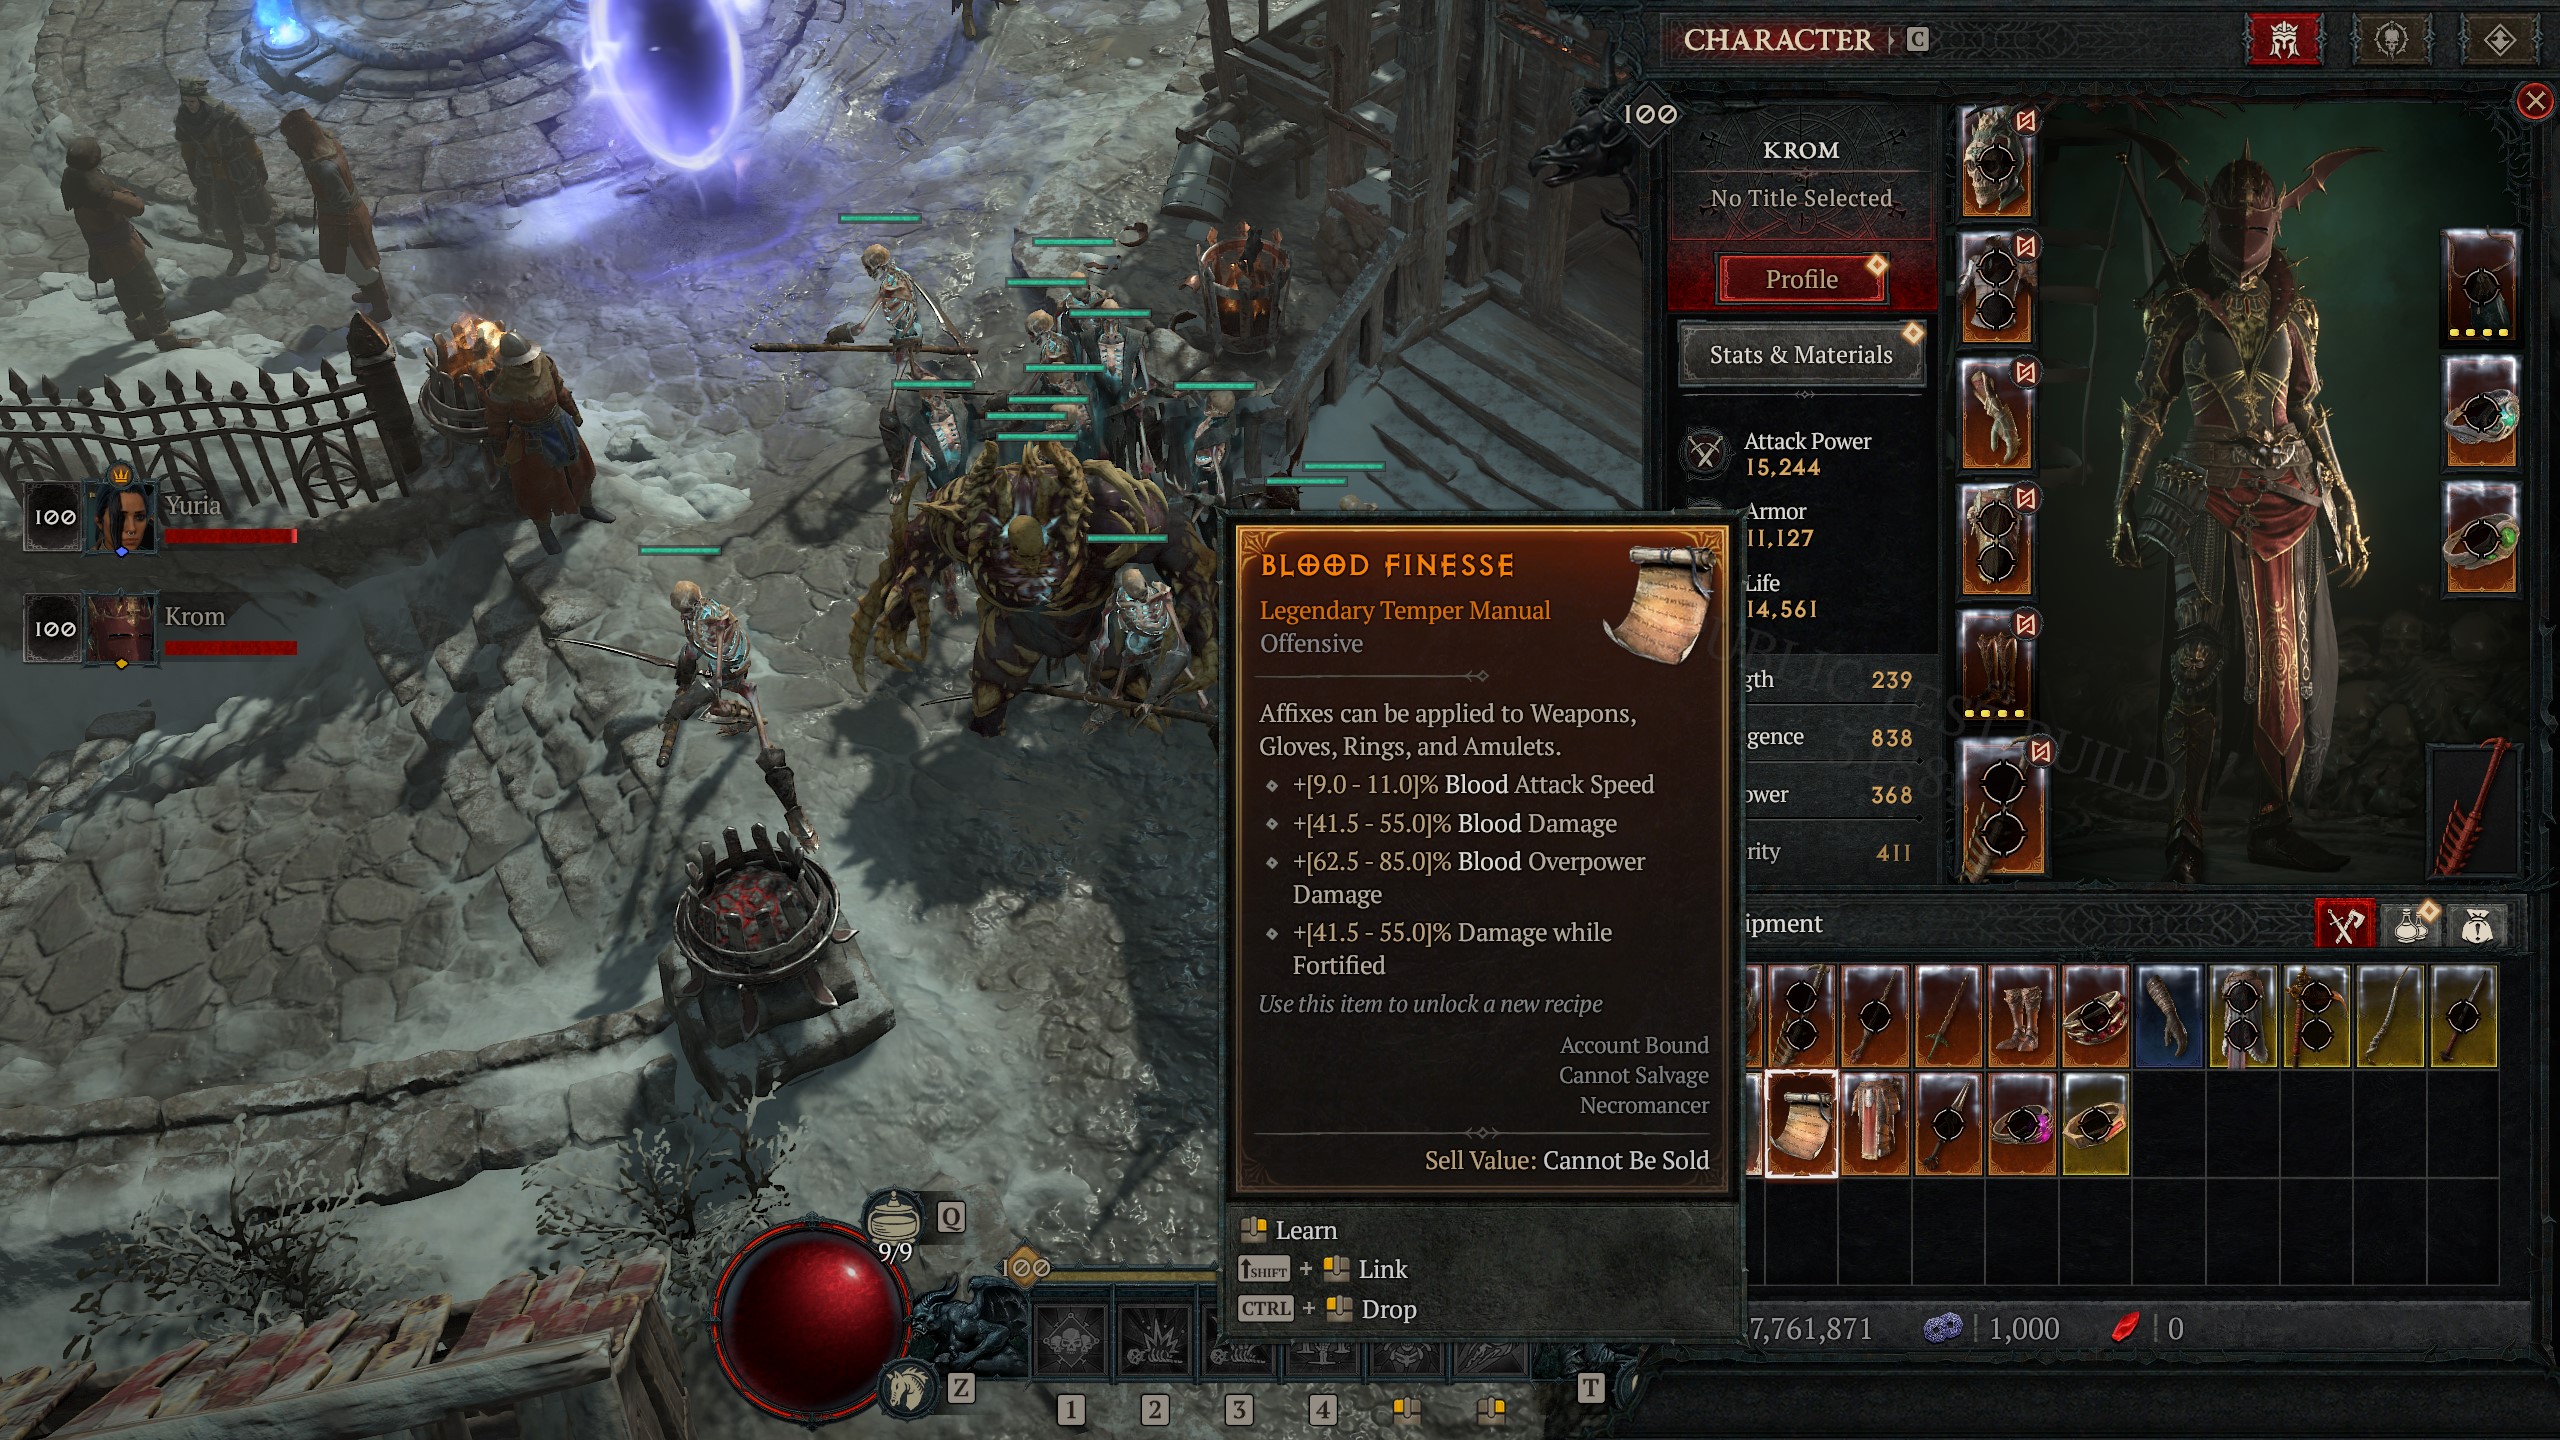
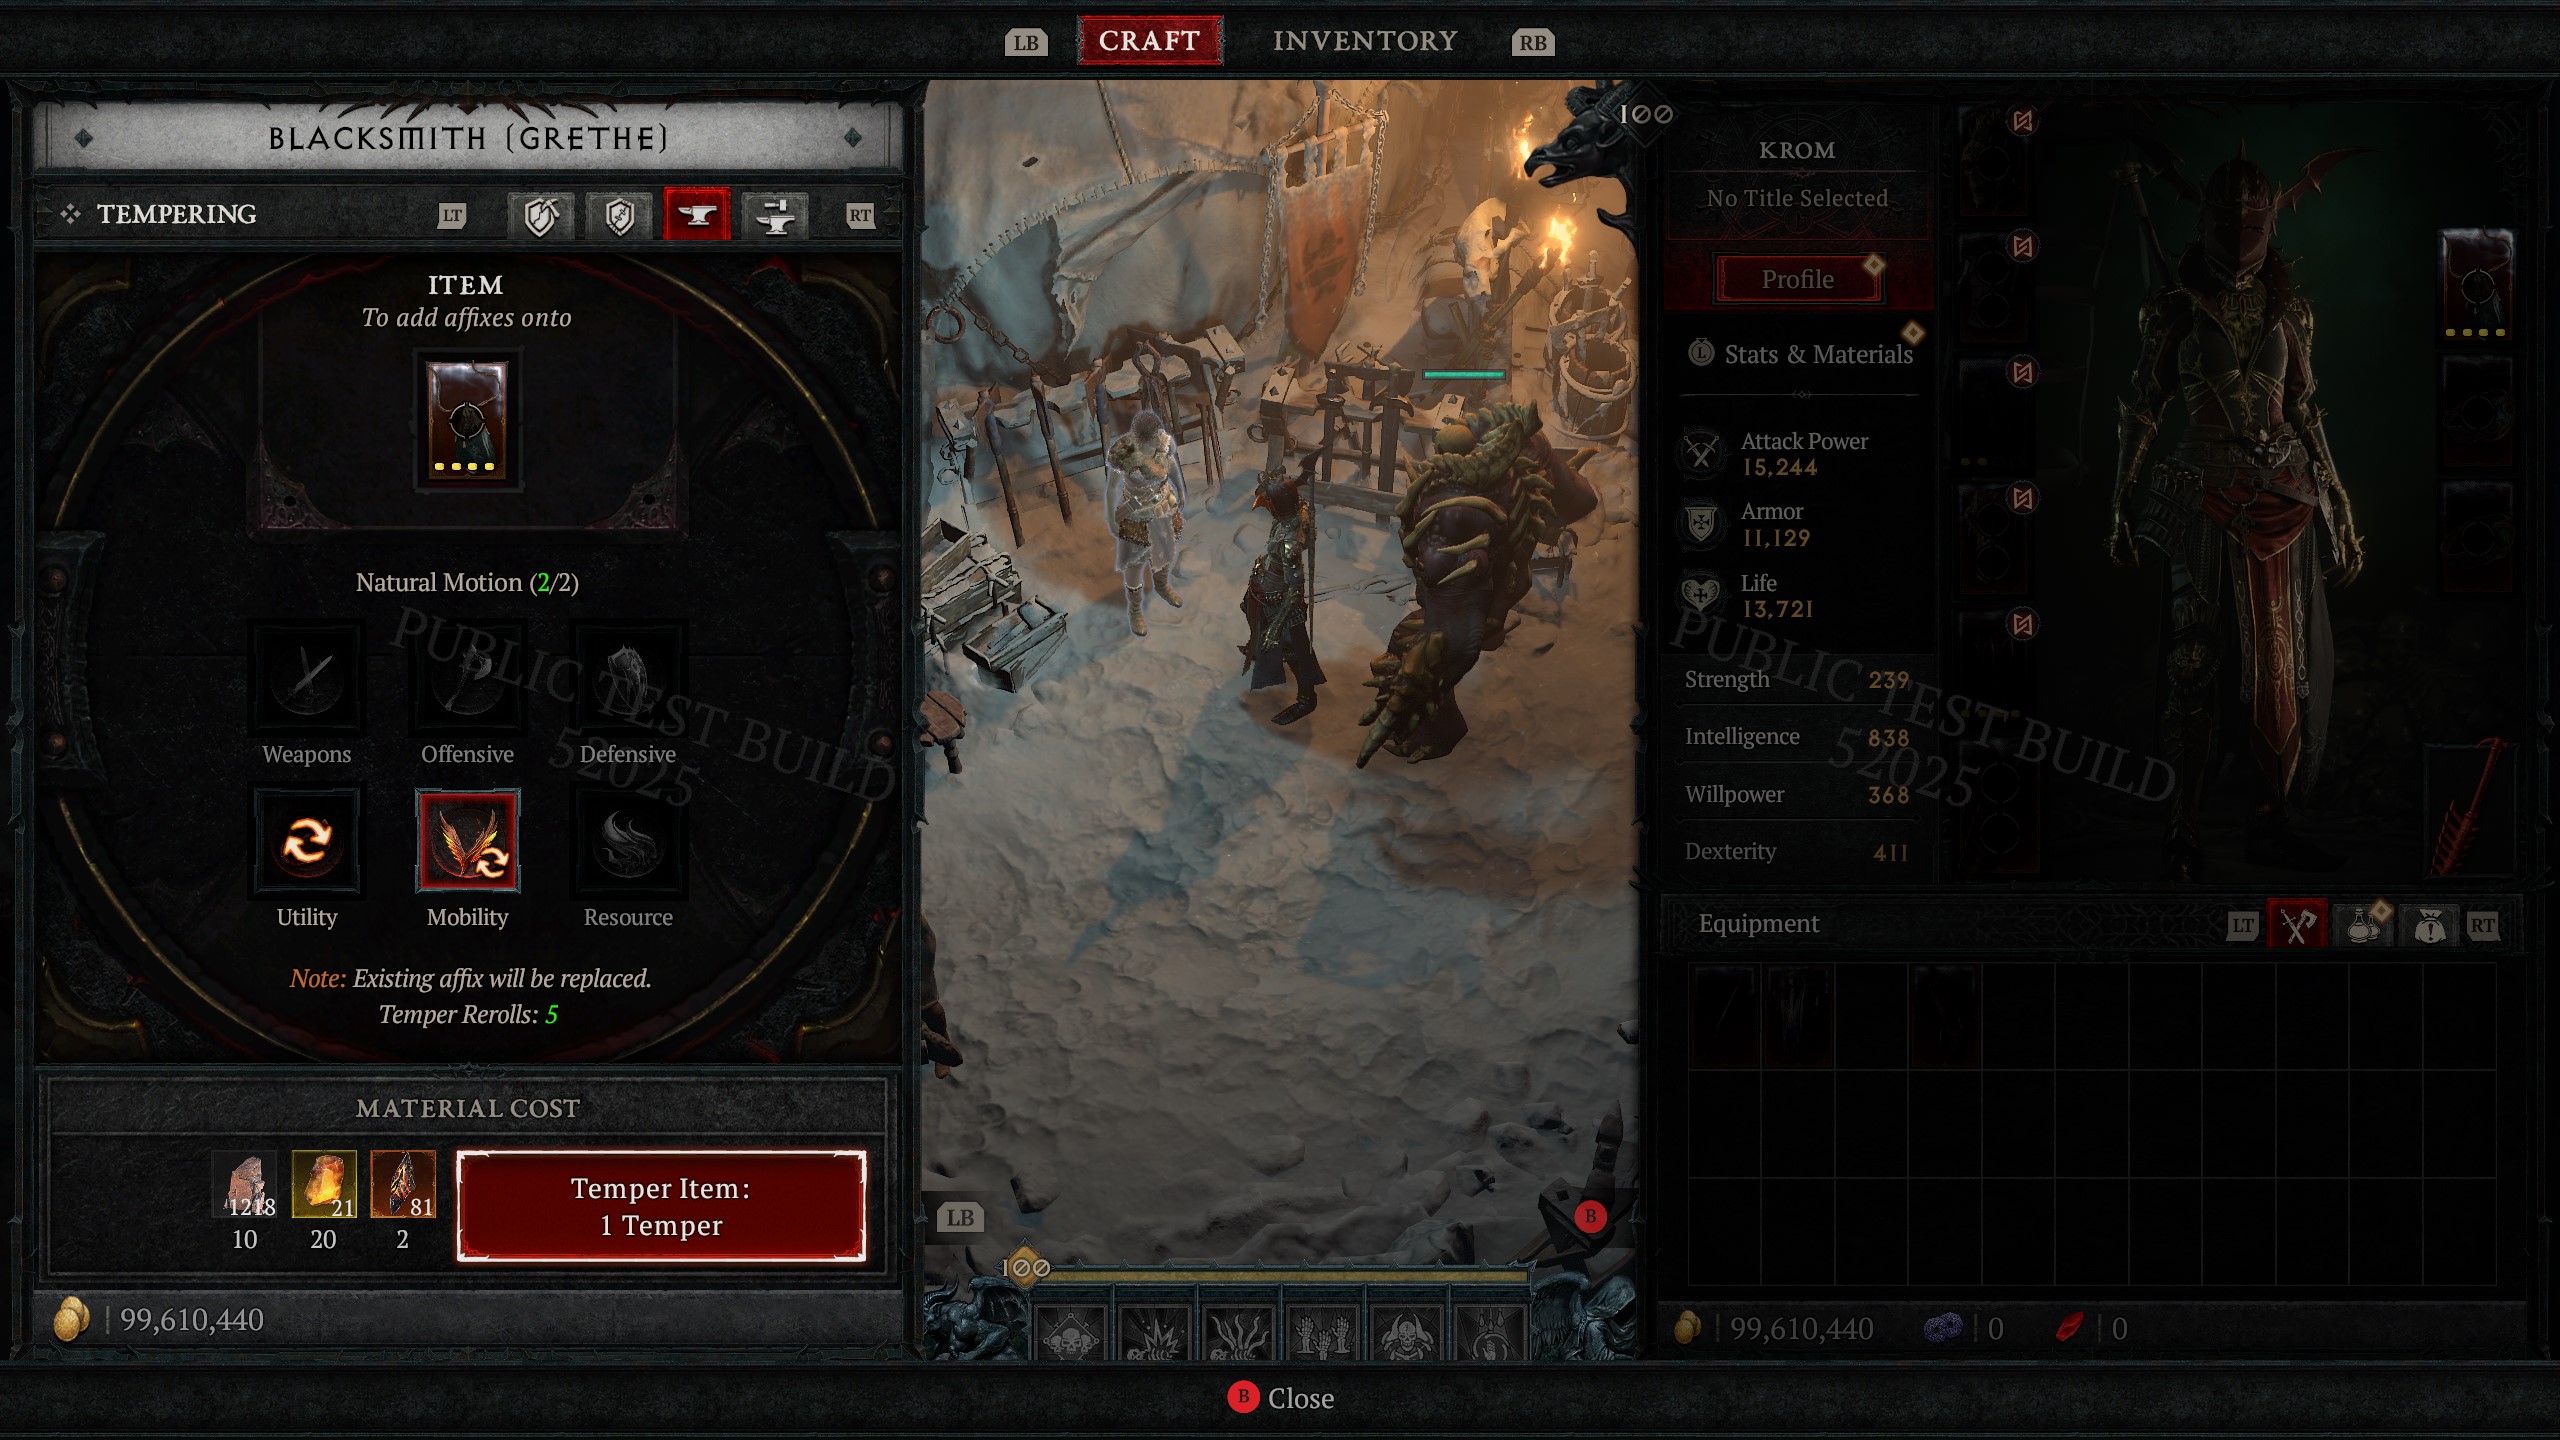
Tempering is Diablo 4's new system for adding a selection of affixes to non-Unique gear. Where previously weapons and armour would drop with all of their affixes, and you could then reroll an individual affix at the Occultist, you can now add two affixes to a piece of gear. These are randomly selected from the two Temper Manuals you choose during the process.
Article continues belowWhat's a Temper Manual, you ask? Think of them a little like a book of available affixes. You'll most commonly get them by completing bosses, world bosses, and Nightmare Dungeons. As with the new aspect system, consuming Temper Manuals unlocks the listed affixes for use in Tempering, or potentially improves the affix stat range if you've already consumed a lower rarity version of that manual. You can view the ones you have unlocked in the Tempering Recipes section of your Codex of Power.
While Temper Manuals cover all sorts of affixes, including buffs to class-specific skills, they fall into six categories that, like aspects, can only be attached to certain gear types:
- Weapons: Weapons
- Offensive: Weapons, amulets, gloves, and rings
- Defensive: Shields, helms, chest, pants, and amulets
- Utility: Shields, helms, chest, pants, amulets, gloves, and boots
- Mobility: Amulets and boots
- Resource: Amulets and rings
You can choose two manuals during Tempering and you'll roll these individually at the cost of gold, Veiled Crystals, and materials from salvaging gear: either Baleful Fragments or Coiling Wards. If you didn't get the affix you want, you can reroll and Temper the item again, which will reduce the item's Temper Rerolls count. Once these are exhausted, you can no longer reroll the affixes, which makes it the riskiest part of Tempering. If you keep gambling, you might end up with an item that has an affix you don't even want and with no way to change it.
Luckily, your first roll on either manual doesn't use those Temper Rerolls, meaning that even if you've used all of your rerolls on your first affix, you'll still be able to add a second no matter what—you just won't be able to reroll it since both of your affixes share the item's Temper Rerolls counter. Once two affixes have been added to an item, it becomes possible to Masterwork it.
Keep up to date with the most important stories and the best deals, as picked by the PC Gamer team.
How to Masterwork your gear
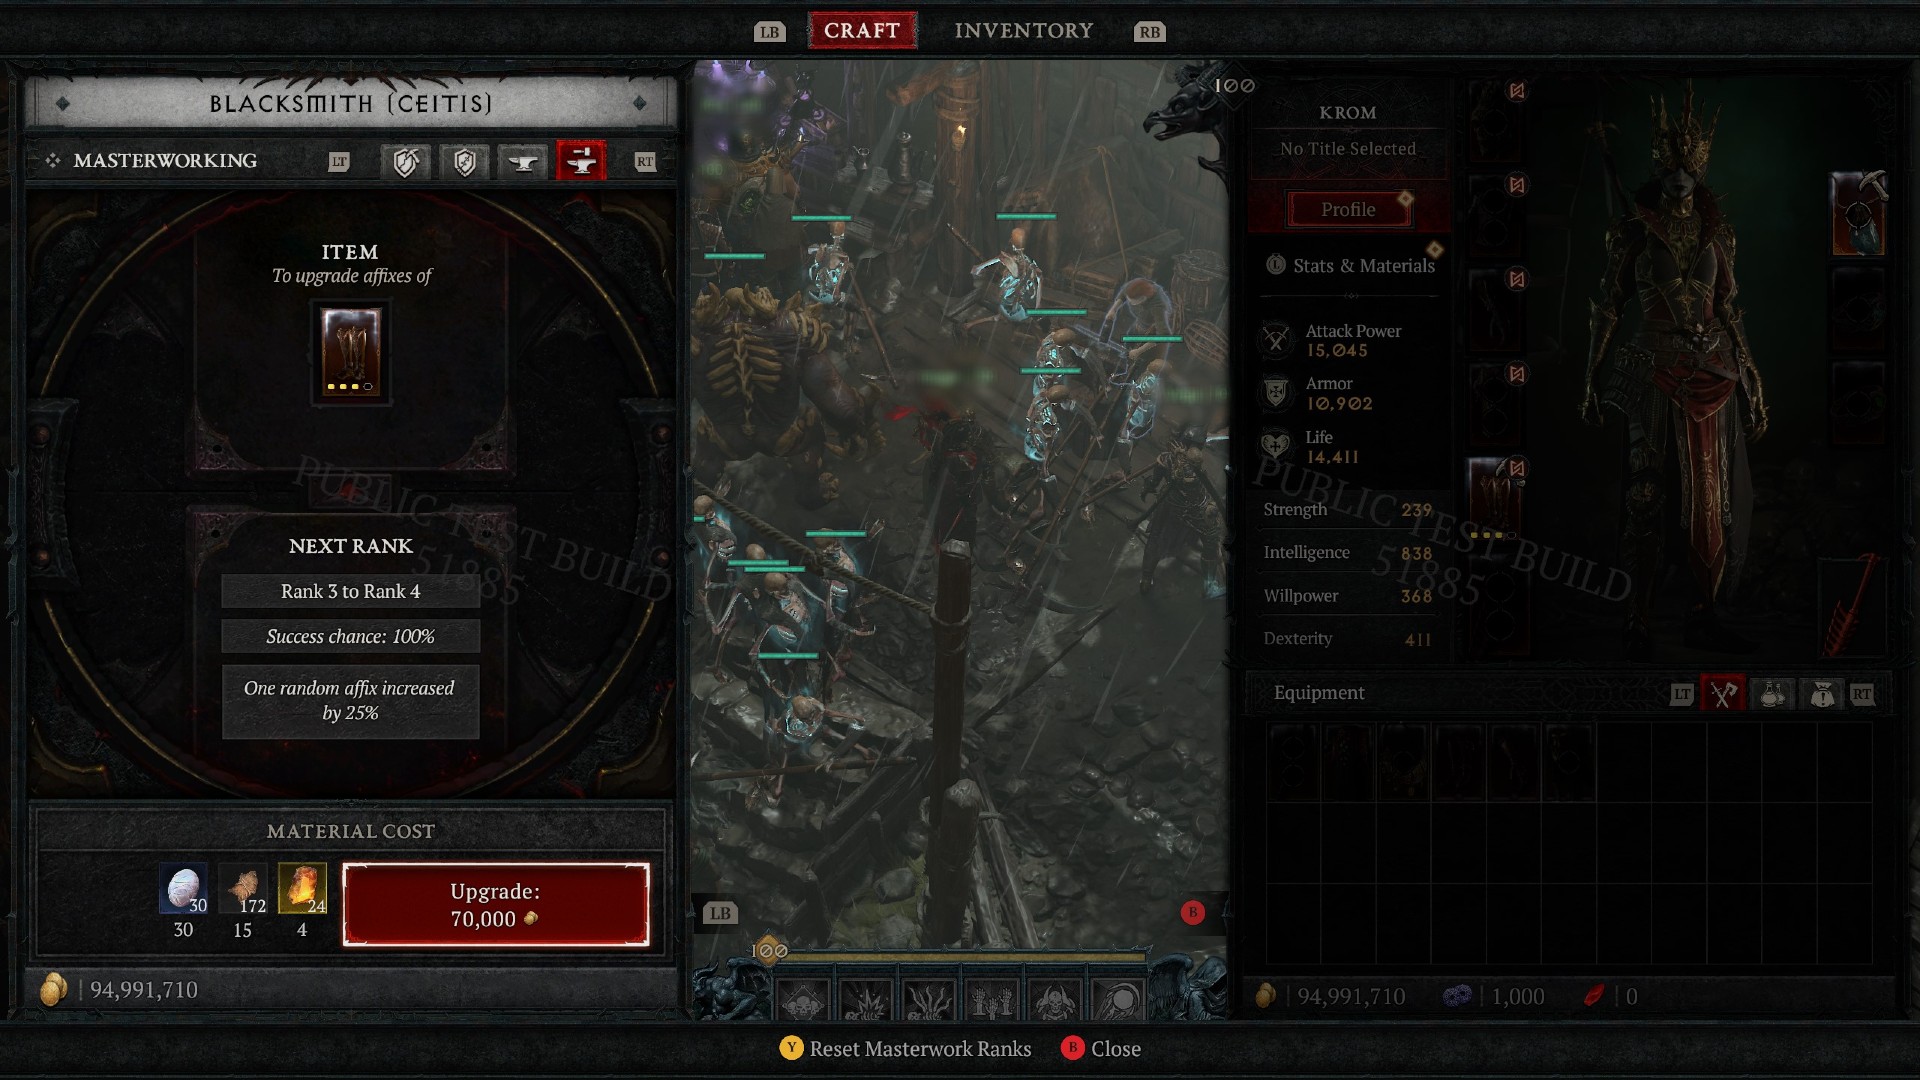
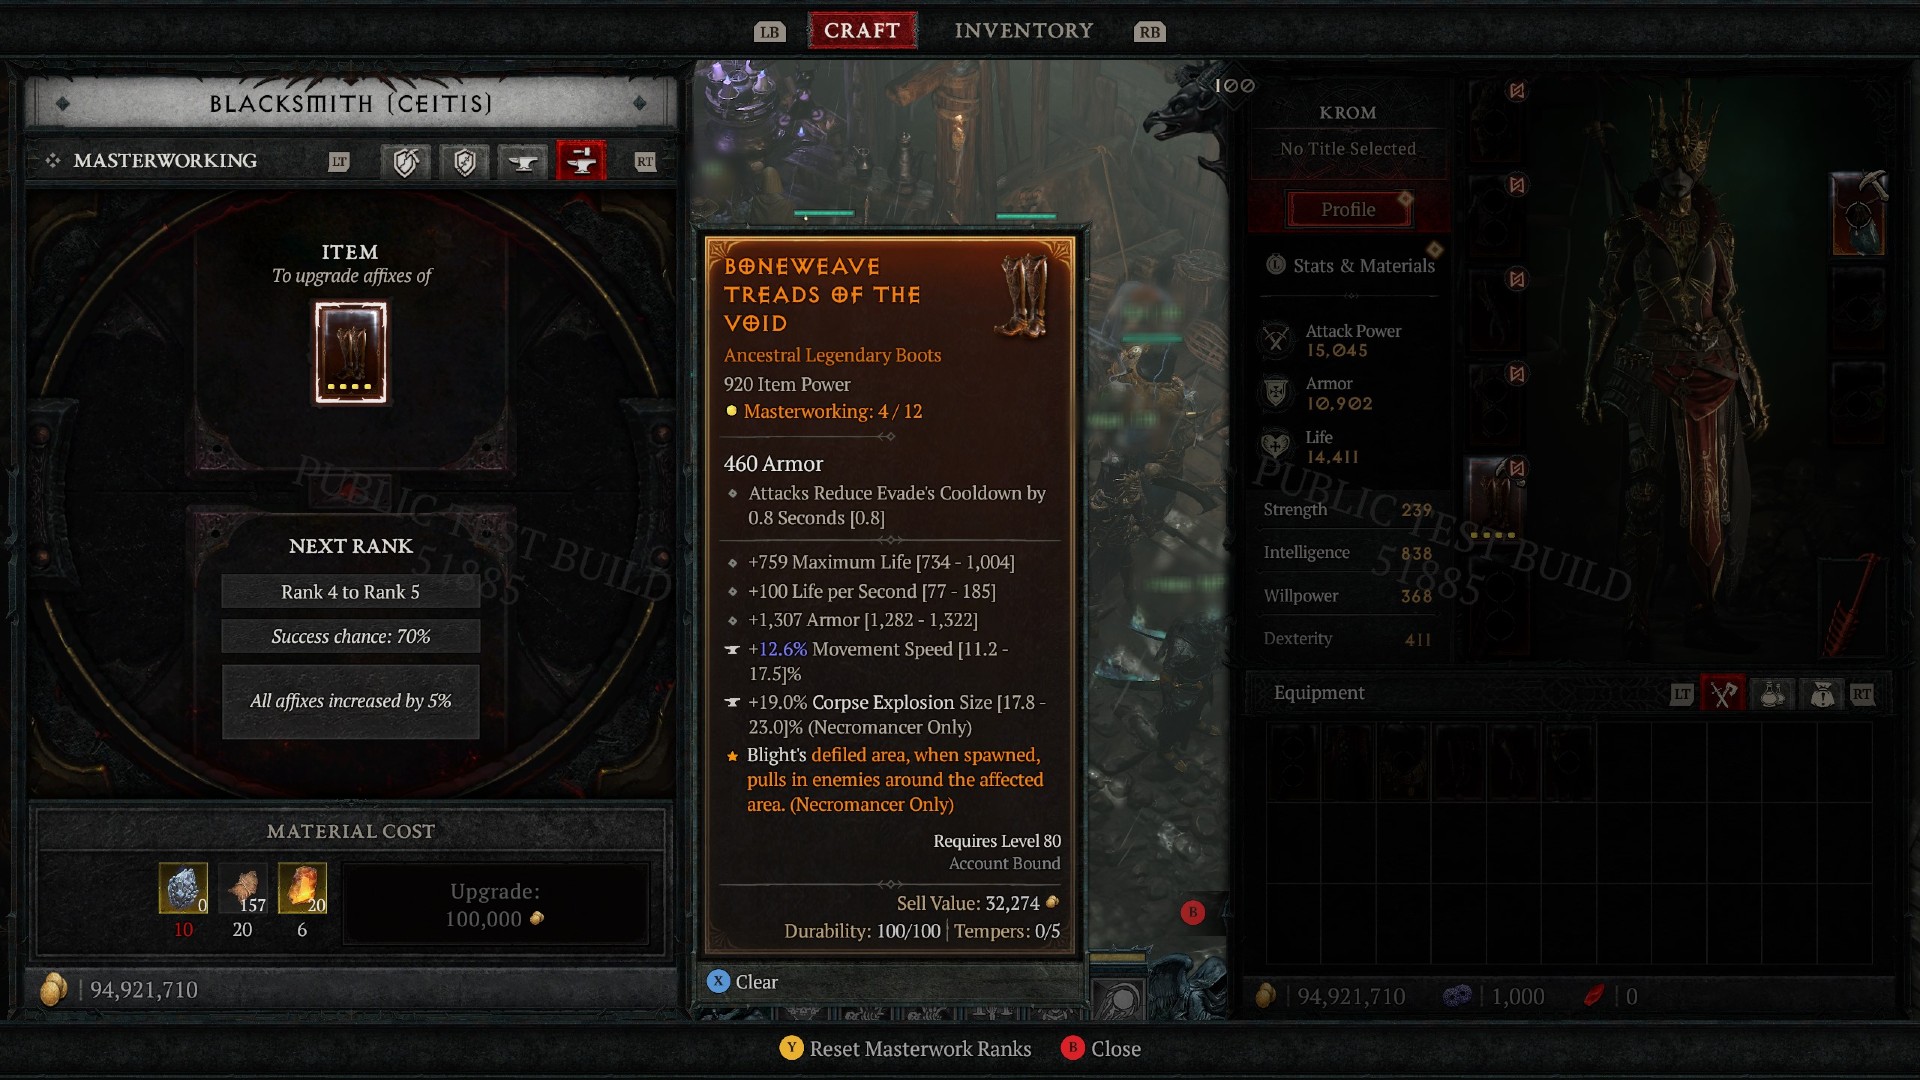
If you've got a fully Tempered item and have reached world tier four, you can start Masterworking it at the blacksmith. This twelve level process boosts your affixes by 5% each level and buffs a random affix by 25% at levels four, eight, and twelve. It also requires a selection of unique materials that you can only obtain through The Pit.
You'll get a priority quest to unlock this mini Abattoir of Zir-esque dungeon when you arrive in world tier four, where you'll have to acquire a Runeshard—the currency required to open The Pit. After that you can acquire these by completing Whispers, opening Legion or Helltide chests, and finishing Nightmare Dungeons.
Once inside The Pit, you'll need to quickly kill enemies to fill a yellow bar on the right side of the screen, staying ahead of the timer. When the bar is filled, a portal opens to the final boss, and if you defeat this big bad you can open a chest to get your Masterworking materials. Your available tier of The Pit will also increase by one or two or three depending on how speedy you were.
For the first four levels of Masterworking, you'll need Obducite, then Ingolith for levels five to eight, and Neathiron for levels nine to twelve. To access the higher rarity materials like Ingolith and Neathiron, you need to raise your tier in The Pit, and that requires gathering a lot more Runeshards so you can keep running it. That said, you can also convert higher rarity materials into lower rarity ones at the Alchemist.

Sean's first PC games were Full Throttle and Total Annihilation and his taste has stayed much the same since. When not scouring games for secrets or bashing his head against puzzles, you'll find him revisiting old Total War campaigns, agonizing over his Destiny 2 fit, or still trying to finish the Horus Heresy. Sean has also written for EDGE, Eurogamer, PCGamesN, Wireframe, EGMNOW, and Inverse.

 Join The Club


