
Looking for the Peculiar Pinion in Genshin Impact? It's a new gadget, added with the 2.2 update, and you may be wondering what you need to do to unlock it. There are various puzzles dotted around Tsurumi Island, but you'll be unable to tackle some of them until you've obtained the Peculiar Pinion.
Getting the new gadget is a relatively simple process, but there are several steps you'll need to go through before you can pick up the quest that unlocks it. Luckily, I'm here to help. Here's how to get the Peculiar Pinion in Genshin Impact, as well as how to use it to complete the Octave of the Maushiro quest.
Genshin Impact Peculiar Pinion: How to get it
The Peculiar Pinion is a gadget, similar to the Memento Lens we picked up during the Sacrificial Offering world quest on arrival in Inazuma. You'll automatically get the Peculiar Pinion early on in the Octave of the Maushiro quest, but you might be wondering how to get started.
Octave of the Maushiro is the second part of the Through the Mists world quest series. Note: It won't unlock until the reset after you've completed the step 'A Particularly Peculiar Author' and the Tsurumi Island fog puzzles associated with it.

How to use the Peculiar Pinion
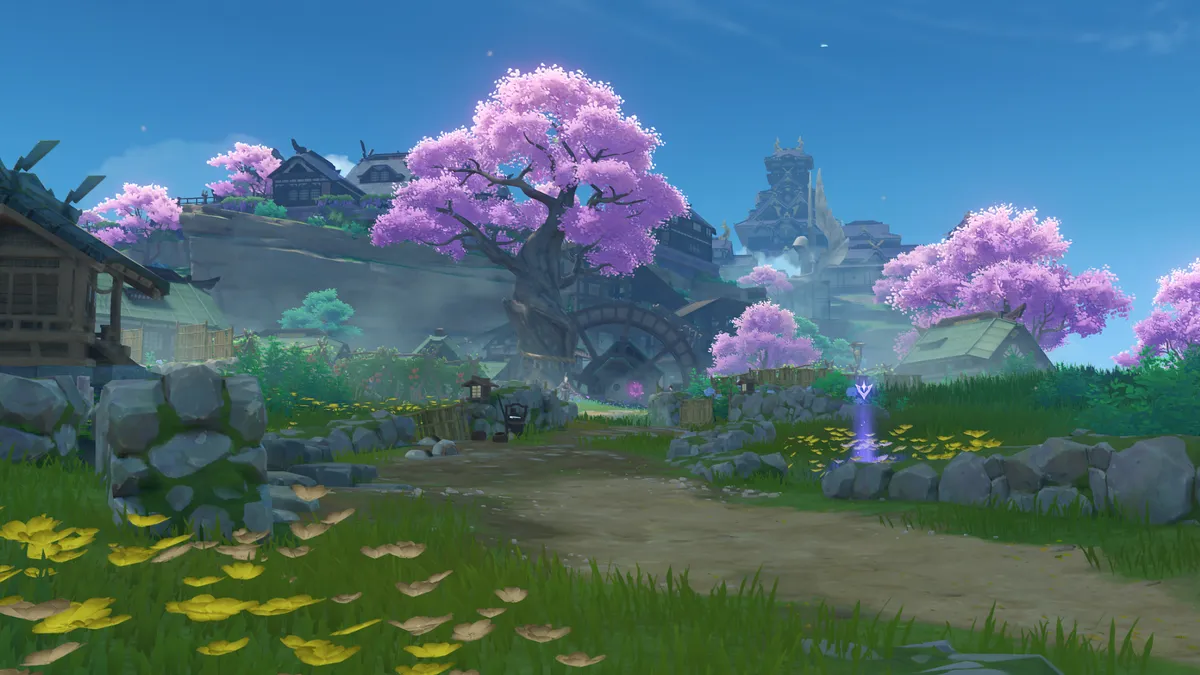
Once you've spoken to Sumida in Inazuma City to start the quest, head back to Tsurumi Island. The island is shrouded in mist again, and your first objective is to pass through the archway marked on the map. This will clear a good portion of the fog, and you'll see Ruu up ahead.
Speak to him to receive the Peculiar Pinion and he'll show you how it works—simply use the item on the glowing statue nearby and an illusion will appear.
How to complete the Octave of the Maushiro puzzles
How to get to Inazuma: Cross stormy seas
Genshin Impact Electroculus: All locations
Genshin Impact Sango Pearls: Find Kokomi's materials
Genshin Impact Fishing: Pick the best spots
Genshin Impact Warding Stones: Unlock the Thunder Manifestation boss
After interacting with the illusion created in the step above, you're prompted to 'look for buried objects', so dig at the marked spot to receive the Maushiro item.
Now head to the Ceremonial Site and listen in on the local's conversations. It seems Ruu isn't there, so head to different locations on the island to try to find him. These locations will need to be visited in order.
Wakukau Shoal
When you arrive at the location marked on the map, you should notice a statue. Use the Peculiar Pinion here to spawn an Electro Seelie. Follow this around the area—it will move several times as you reach it—and it will eventually come to rest next to another statue. Use the Pinion again to reveal rocks with symbols on them, and another nearby statue will give you the order in which you need to activate them—Electro attacks should do the trick.
Oina Beach
Once you've reached the location of the quest marker on the map, use the Peculiar Pinion on the glowing statue found here. Two illusions will appear, and after some more chatter, you'll need to solve the puzzle.
This one's not as confusing as it might first appear. The small stones with runes on them can be moved, and they need to match the runes on the immovable slabs of rock. There are set ways these stones can travel, so certain ones will need to be moved first. If you move the small stone that matches the rune closest to the statue first (it looks like an 'A'), the rest should be easy. You'll know when they're in the right place as they'll start to glow.
Autake Plains
When you get here, again, use the Peculiar Pinion on the statue. Ruu will appear briefly before running off. Have a look around the immediate area—be careful of the mist here—and you'll soon find another glowing statue. You'll also note that there appear to be missing stones, and you need to find all three of them. Use the Pinion on the statue to make three Seelie appear.
You need to follow each of the Seelie in turn until they come to rest. You should notice the tell-tale sparkle and a prompt to pick up the Autake Slate. Once you have all three, return to the statue and place them. Symbols will now appear on the pillar, and you'll need to attack these stones in order, starting from the symbol at the top.
With that done, you'll be prompted to return to the Ceremonial Site before returning to Sumida in Inazuma City to complete the quest.


