How to seal the Warding Stones in Genshin Impact
Here's how to complete the Seirai Stormchasers questline.

If you're wondering how to seal the Warding Stones in Genshin Impact, then you'll have picked up one of the new quests that landed with the 2.1 update. Along with two new characters—Baal and Sara—there are two new islands to explore in Inazuma. But getting around Seirai Island isn't as straightforward as you might think, thanks to the electro damage. You might not want to get too close to the centre of the island.
Completing the Seirai Stormchasers questline gets rid of the storm and unlocks the Thunder Manifestation boss, Electro Oceanid, too, but you'll need to go through some lengthy steps to complete it. Luckily, this guide has you covered. Here's how to seal the Warding Stones in Genshin Impact and complete the Seirai Stormchasers questline.
How to start the Seirai Stormchasers world quest

Genshin Impact guide: Beginner tips
Genshin Impact characters: Full tier list
Genshin Impact map: All Anemoculus locations
Genshin Impact build: Equip your party
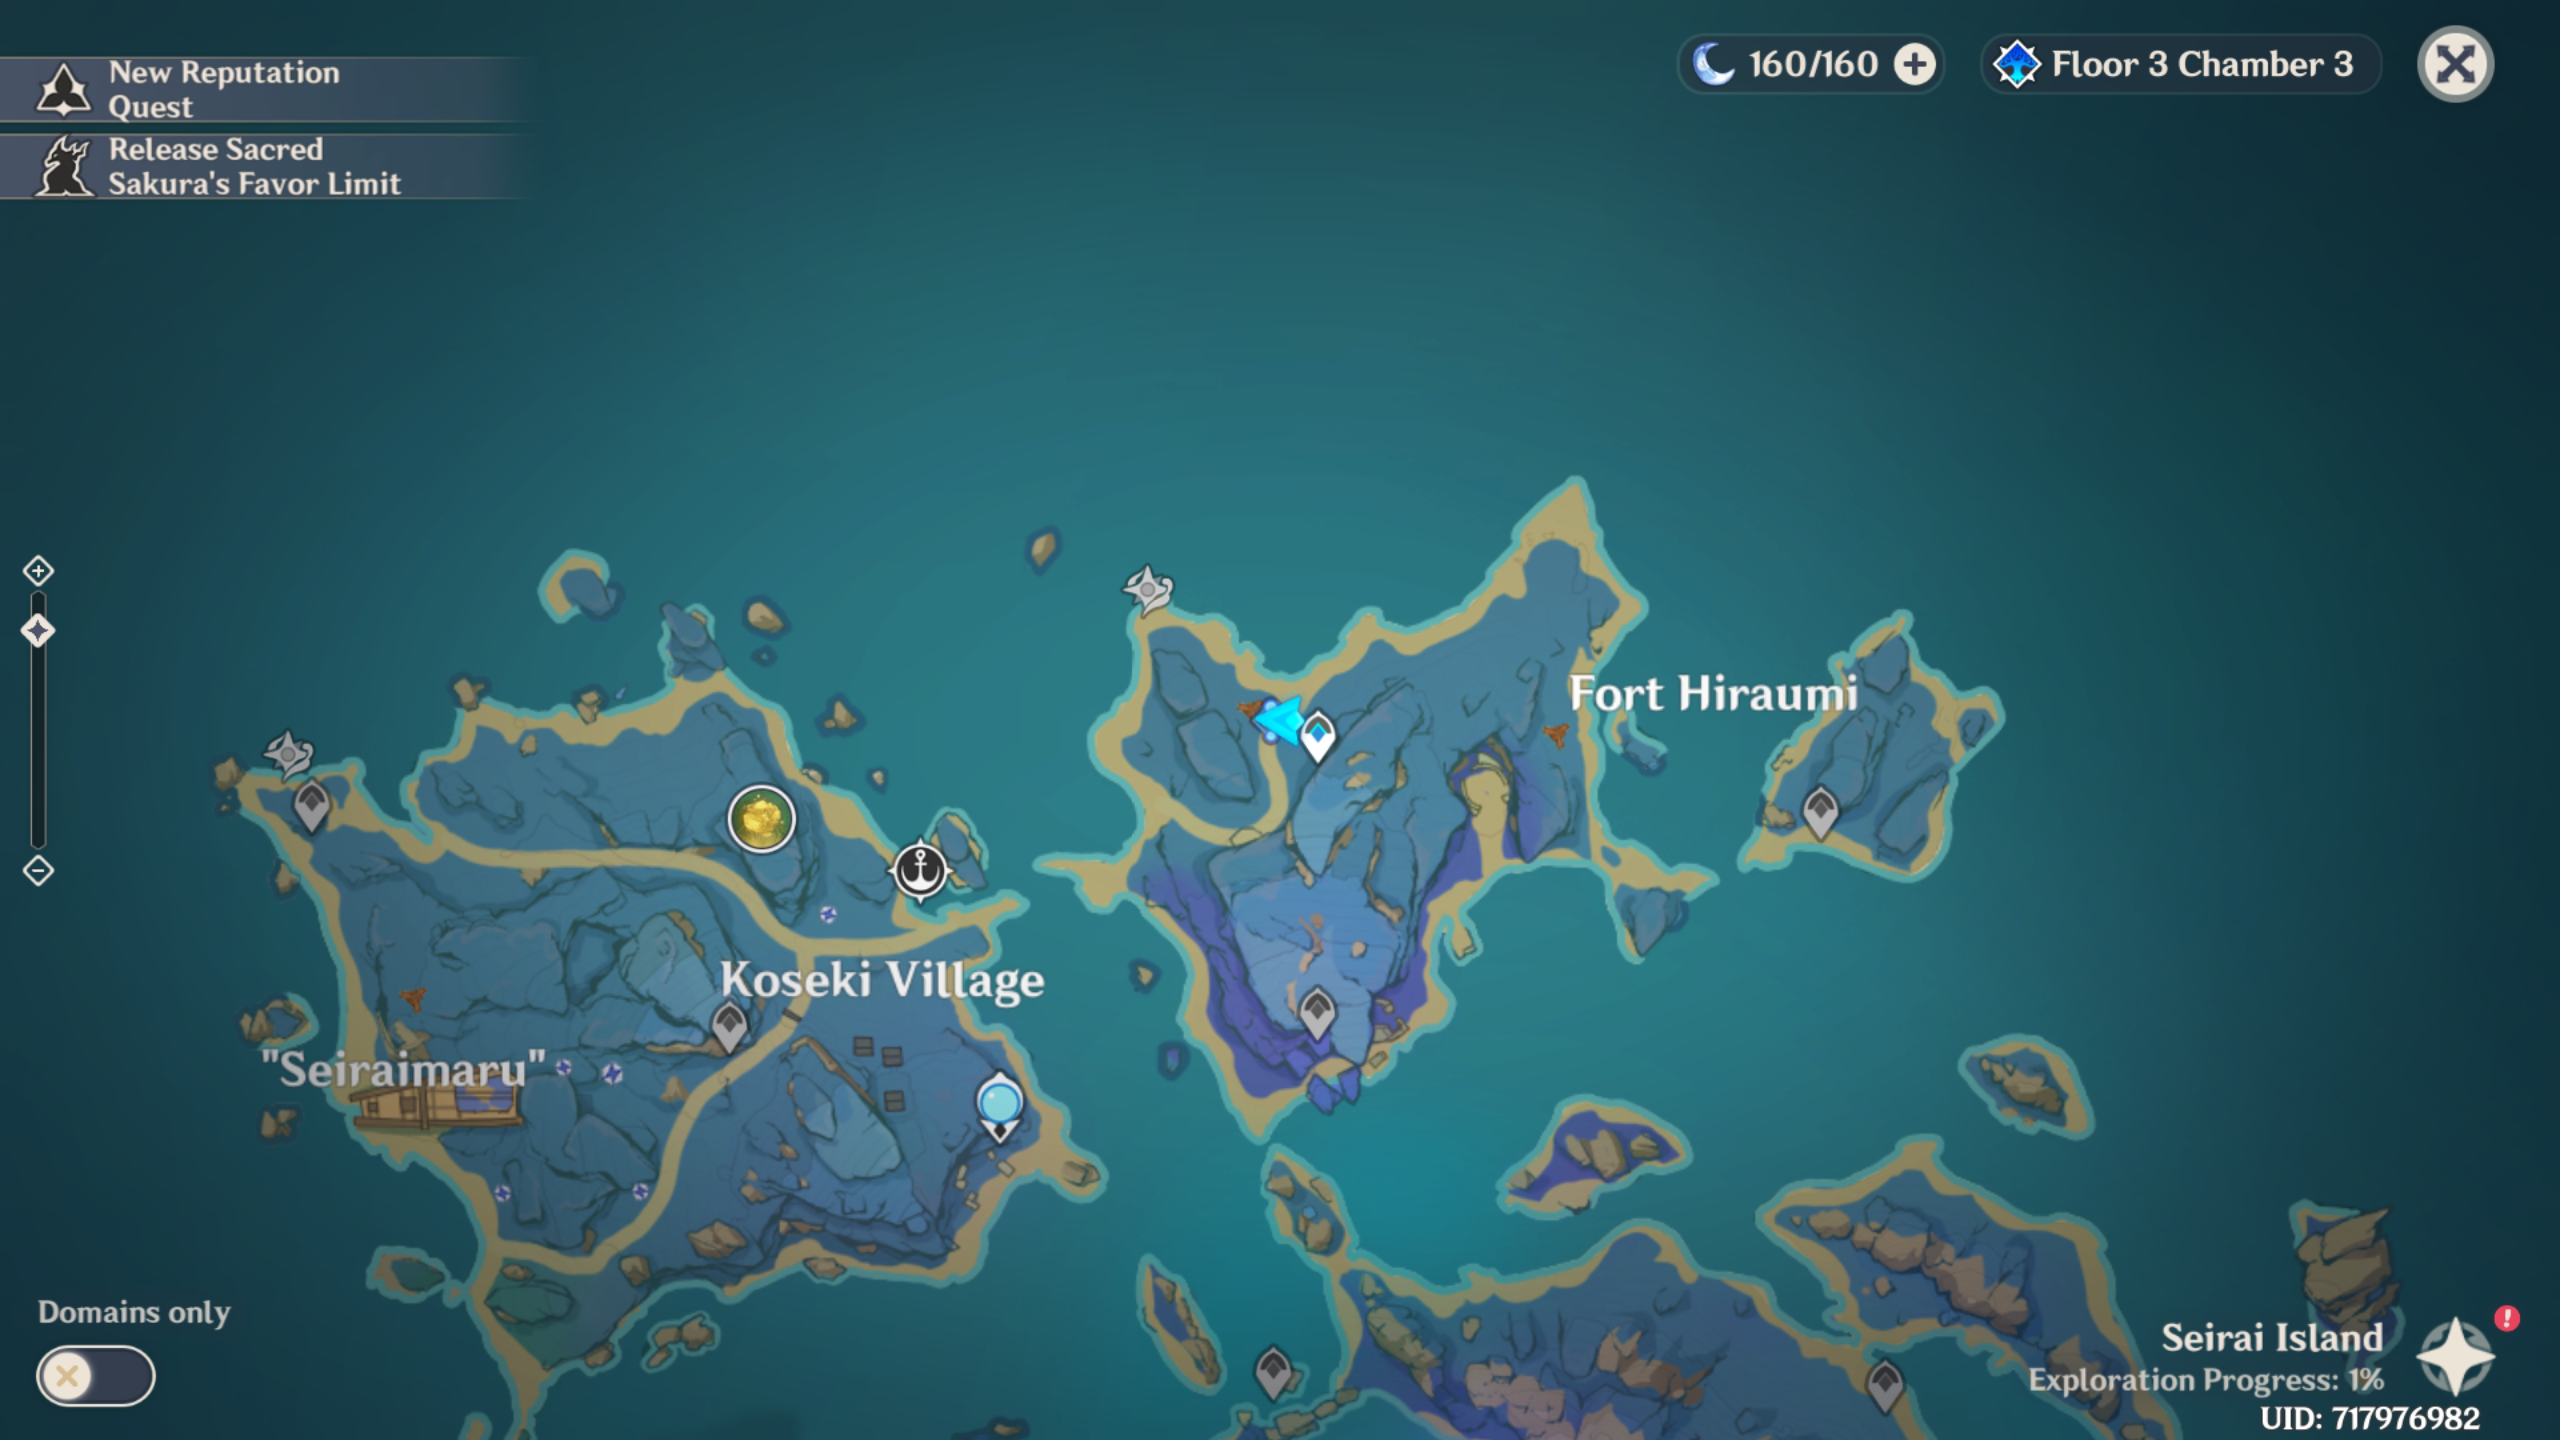
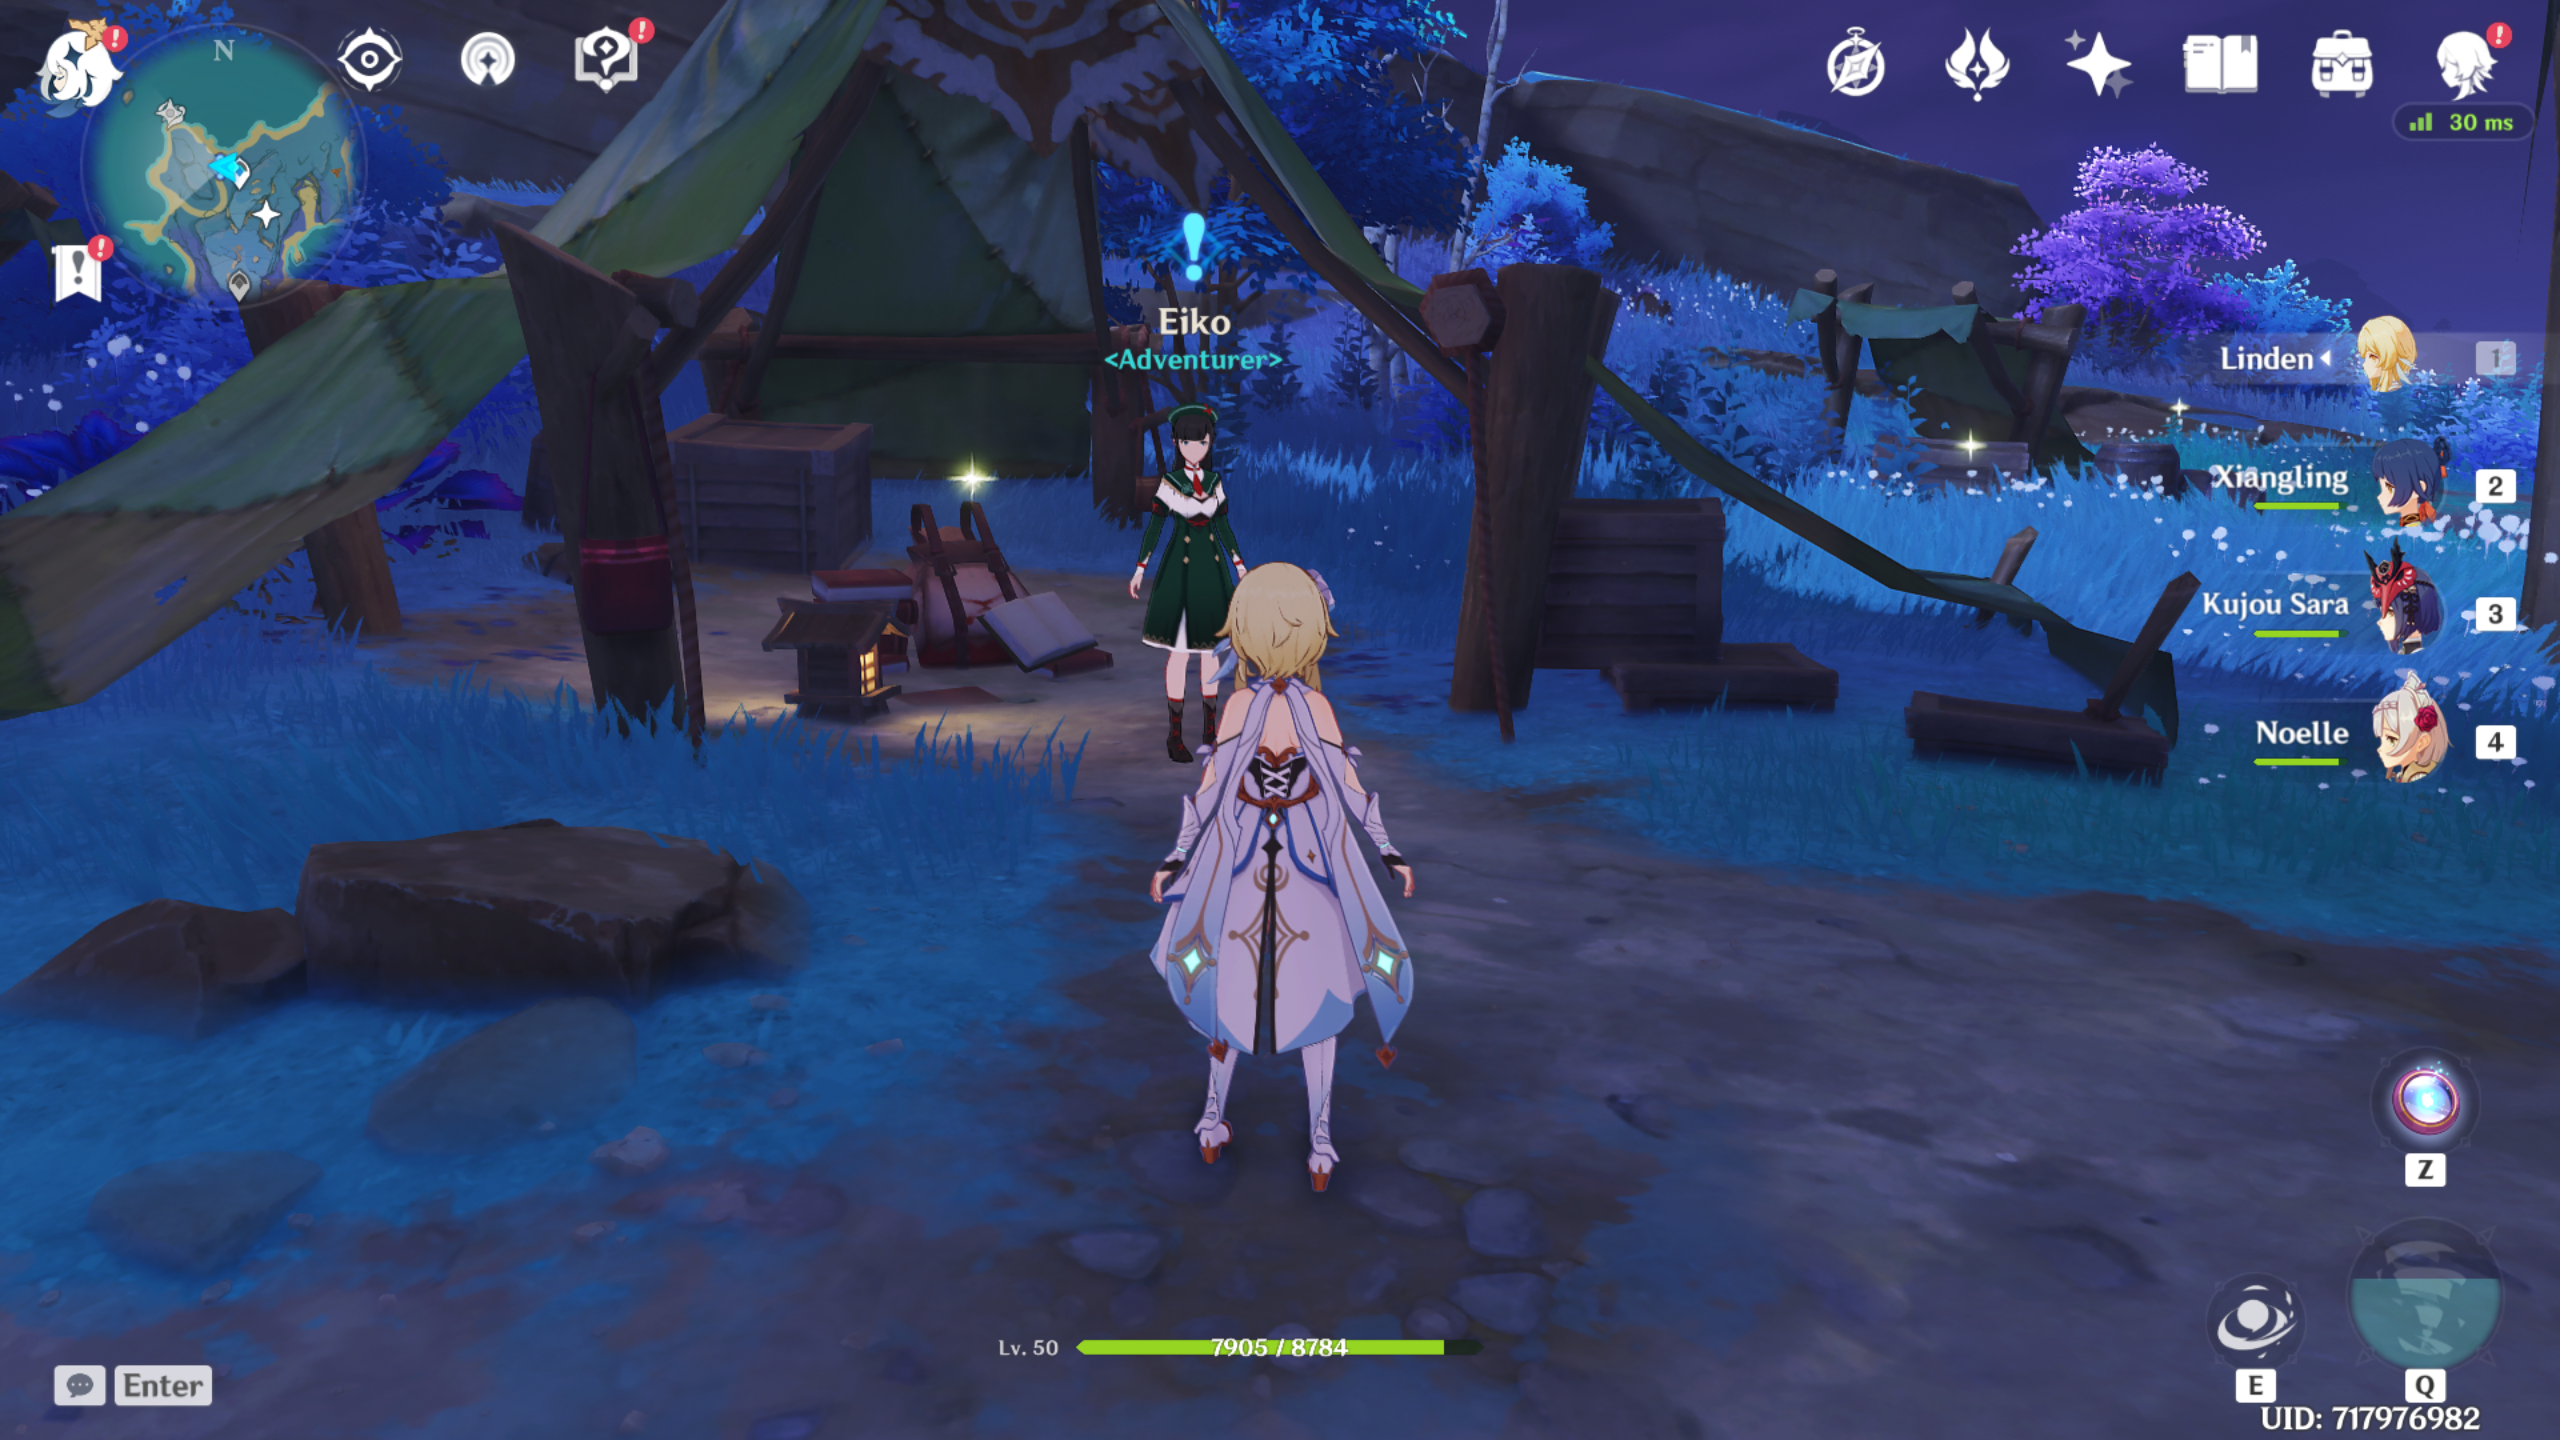
You pick up this quest from Eiko, an NPC located on Seirai Island. Check the map above if you're having trouble finding her. She'll tell you she's investigating the storm and that she and her companion believe it is related to the Warding Stones.
You'll meet up with Eiko's companion, Taisuke, at the first Warding Stone, and after more chatter, you're tasked with following the cat footprints to the west. As you reach each objective marker, the quest will update, so just keep following the footprints until you get to Asase Shrine. It's located on a small island.
A talking cat named Neko will tell you how to seal the Warding Stones in return for a favour—naturally—so check the Offering Box marked on the map nearby. To find the materials to fix the box, you're sent to a couple of locations around the island. You'll need to fight off treasure hoarders, too, so make use of the nearby Statue of the Seven if you need to heal up.
Once you've got the materials you need, head back to the shrine and fix the Offering Box. Then talk to Neko, and he'll explain how to seal the Warding Stones.

How to seal the first two Warding Stones
The explanation Neko gives you isn't particularly clear, but it's not that complicated.
Keep up to date with the most important stories and the best deals, as picked by the PC Gamer team.
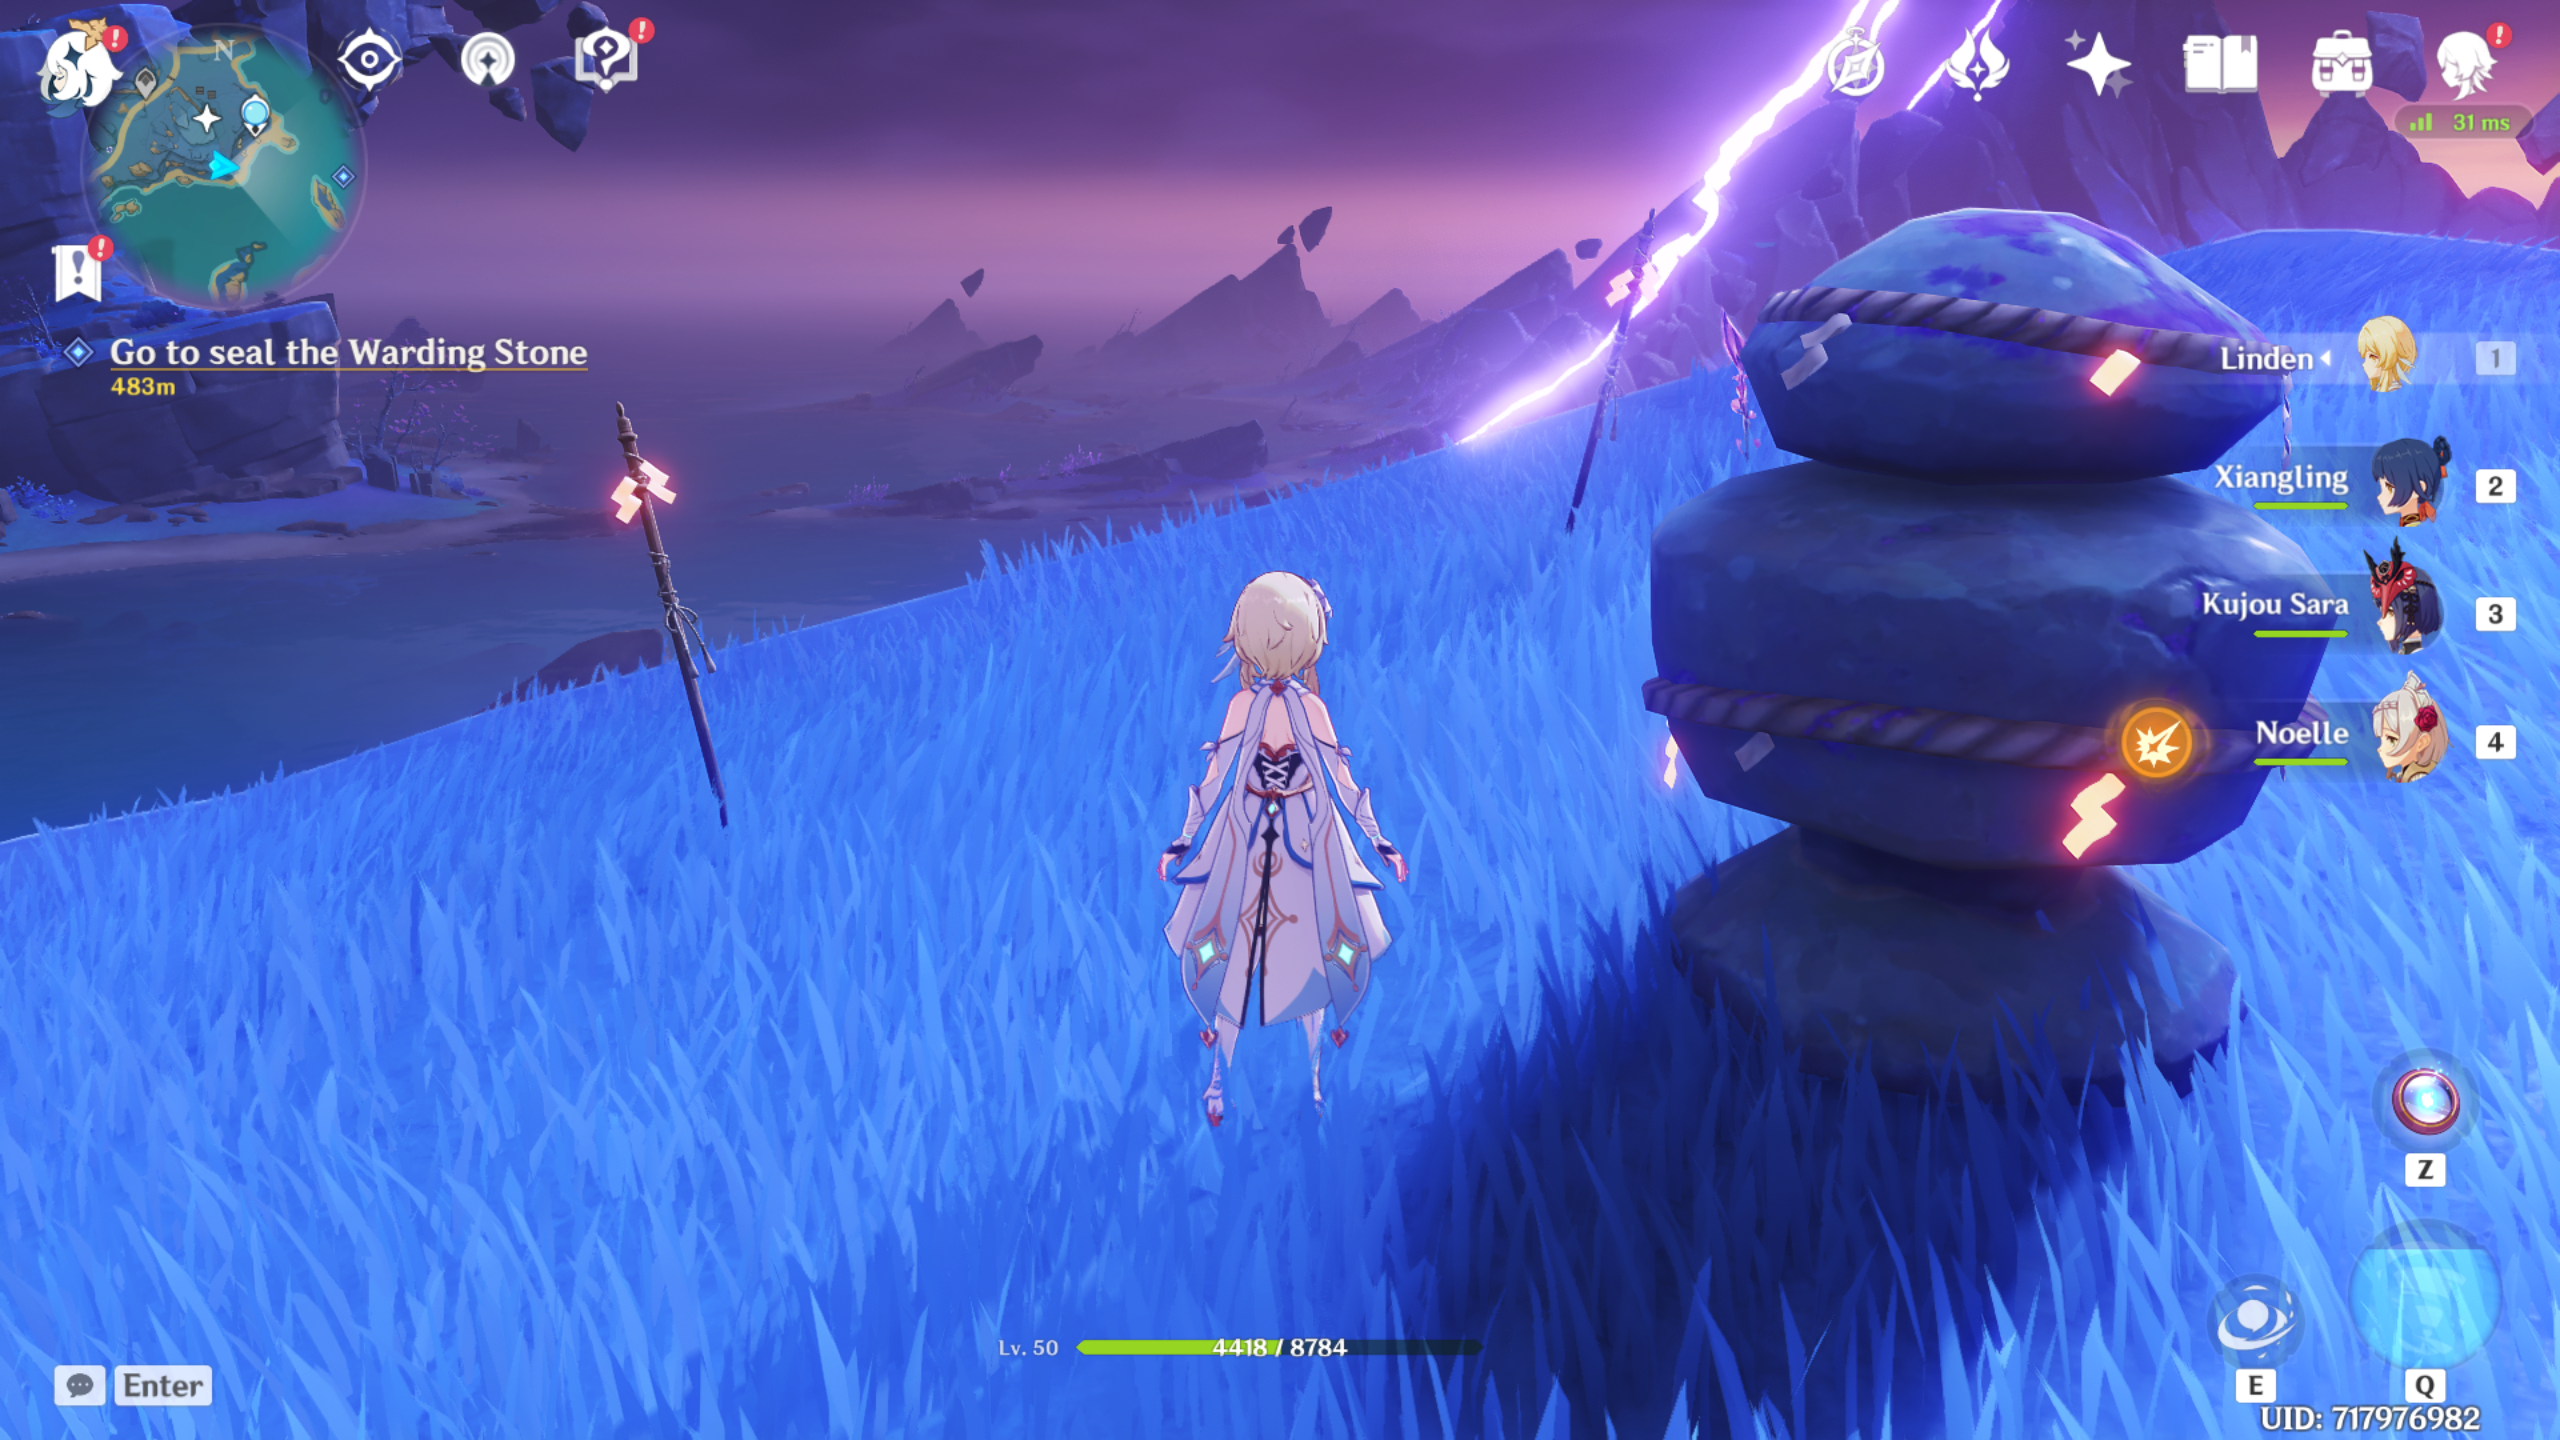
Once you rejoin Eiko and Taisuke, you can attempt to seal the Warding Stone here. First, interact with each of the three poles and pay attention to the number of paper charms on each.
Two of the poles have four paper charms, and the last one has three. Now you need to rotate the Warding Stone so that the same number of charms are facing each pole. So, four charms should face each of the poles with the same number, and three should face the last one. Check the screenshots above if you're unsure. For the first Warding Stone, rotate the bottom twice.
Once you've done the first one, the next Warding Stone is marked over to the east on the map. Defeat the opponents here, then touch all three paper charm poles—you'll find the third one a little way off to the northeast. You can reach it by using the Electrogranum nearby. Once you've made a note of the number of charms, head back to the stone. For the second Warding Stone, rotate the top three times. Speak to Eiko to find the next location.
How to seal the third Warding Stone
This is where things start to get a little tricky. You'll need to use the gate device you find here to get sent through the air and end up on a rock in the sky. Then, you'll need to use a series of Electrogranum to reach the three paper charms and the Warding Stone itself. Luckily, the Electrograna sends you in the right direction. There's a teleport waypoint right next to the Warding Stone, too, so make sure you activate it. The video below from Airyuken should help you out if you get stuck. Once you've located all the paper charms, seal the third Warding Stone by rotating the top three times, then the bottom five times.
How to seal the fourth Warding Stone
Before you even think about getting back down to solid ground, you'll need to get to the final Warding Stone, which is found on another floating rock formation on the other side of the crater. It's pretty straightforward to get to, though. Again, using the Electrograna, take the reasonably linear path in a southerly direction. You'll need to be pretty quick for the last section as you need to traverse a series of rocks before you're able to catapult yourself into the air.
Once you reach the Warding Stone, you'll be pleased to find that all paper charms are right here. Activate the teleport waypoint, then touch each of the paper charms. To seal the fourth—and final—Warding Stone, rotate the top twice, then rotate the bottom twice.
Head to the newly created platform, just to the north, to take on the Thunder Manifestation boss.

Sarah started as a freelance writer in 2018, writing for PCGamesN, TechRadar, GamingBible, Red Bull Gaming and more. In 2021, she was offered a full-time position on the PC Gamer team where she takes every possible opportunity to talk about World of Warcraft and Elden Ring. When not writing guides, most of her spare time is spent in Azeroth—though she's quite partial to JRPGs too. One of her fondest hopes is to one day play through the ending of Final Fantasy X without breaking down into a sobbing heap. She probably has more wolves in Valheim than you.

