Choosing your first three Dirty Bomb mercs
We write about FPSes each week in Triggernometry, a mixture of tips, design criticism, and a celebration of virtual marksmanship.
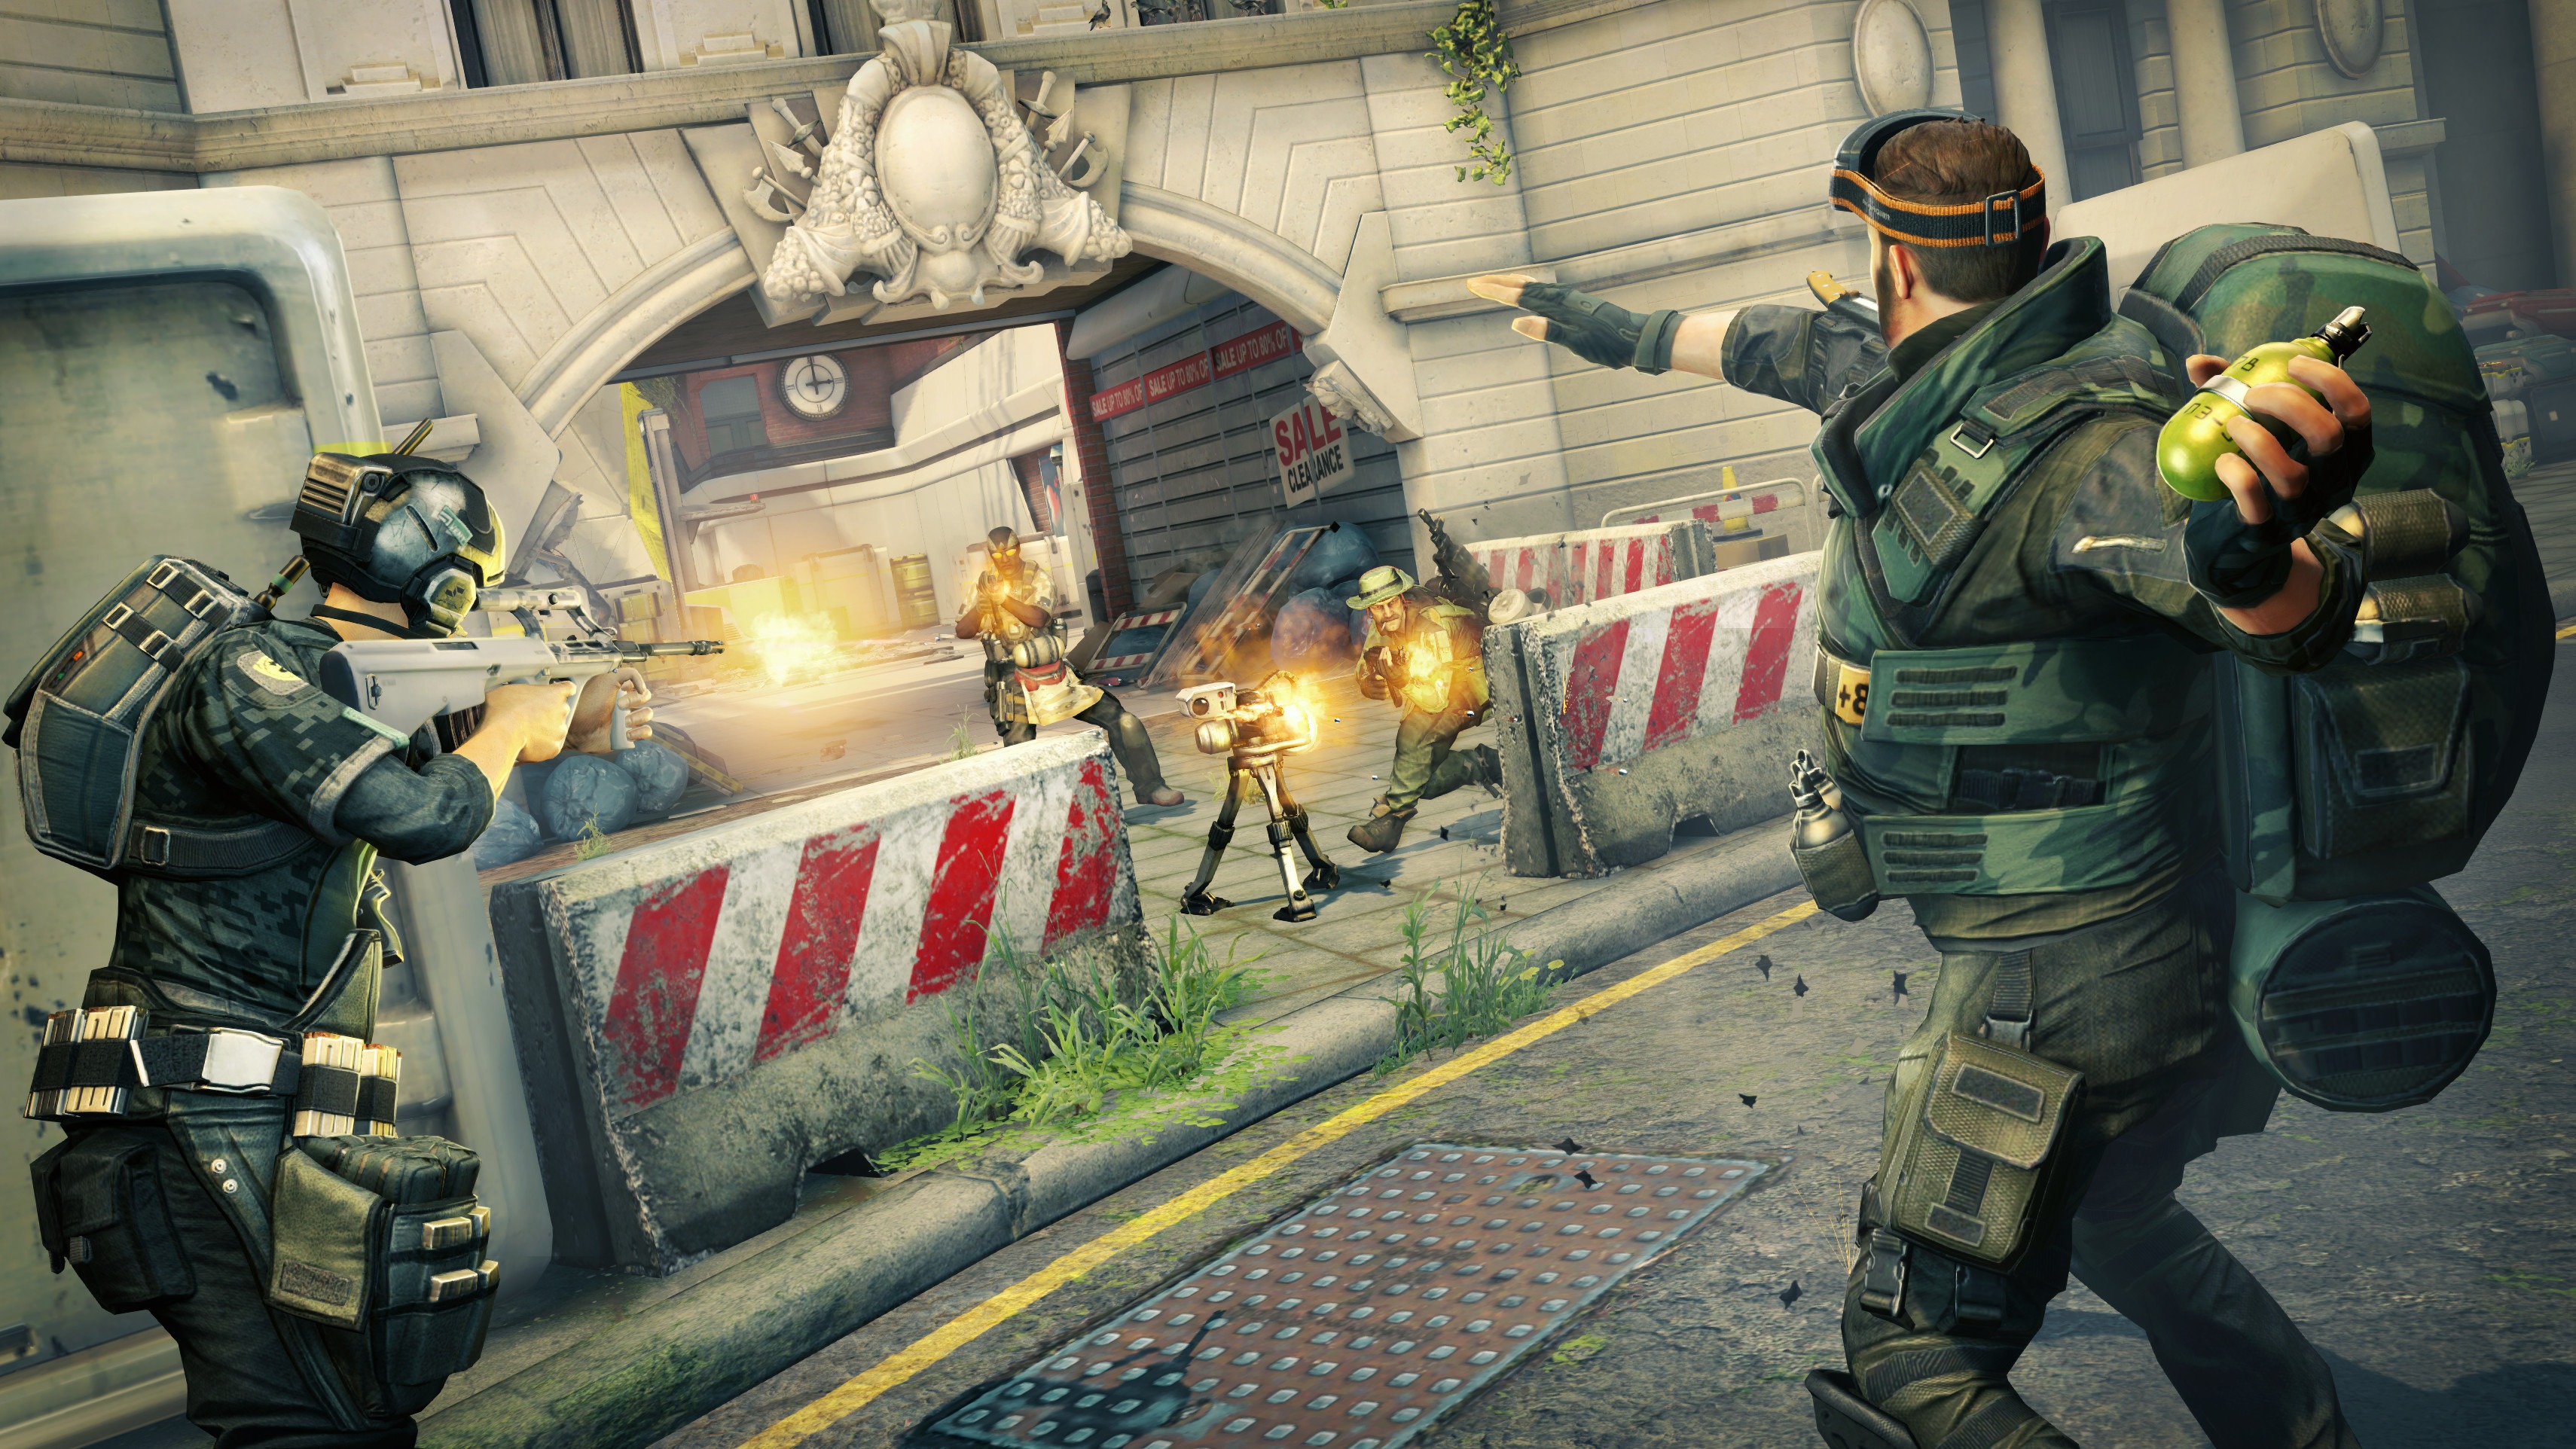
Mastering Dirty Bomb’s fundamentals and nuances begins and ends with the mercenary. Its gameplay is a Frankensteinian stitching regularly brought up to attract new players: Battlefield meets Team Fortress 2. Brink hand-in-hand with Wolfenstein: Enemy Territory. (DB’s developer, Splash Damage, also crafted those two games.) Call of Duty blended with Counter-Strike. Its prismatic influences reflect the same adherence to Bushnell’s Law as some of the genre’s greats. That applicability shows: since moving into open beta, DB’s concurrent player count has scraped close to 13,000. Joining in is easy—but first, you’ll need a merc.
Mercs aren’t an airtight seal on gameplay style; you’re completely free to, say, lead an assault as Vassili the sniper or delicately sabotage machinery as Rhino the chaingun bruiser. Each merc represents a theoretical established role, but skilled shooter veterans will find a surprising degree of malleability for their chosen character. You’ll select a squad of three mercs before each round begins, and you can swap between your selections per respawn. Predictably, efficient combinations entail a balanced focus on offense, defense, and utility.
Credits, the freely flowing in-game currency earned for completing matches and hourly bonus objectives, permanently add mercs and loadout cards to your roster and armory, respectively. Your first few rounds include a bonus to credit rate as a nice initial boost to your funds. Still, unlocks are steeply priced; with a few exceptions, most mercs cost 30,000 credits—an investment of a fair chunk of hours (around 8 to 10). Pooling credits for a specific merc or unlock goal is generally a good practice, and I suggest resisting the urge to immediately pour credits into cases (which hold sets of loadout cards) until you’re adept with DB’s movement and weapon mechanics.
Thus, here’s a three-merc setup ideal for picking up basics and broadening your versatility in the field. Optionally, stick with the mercs available on free rotation—you won’t lose any stopping power, but you’ll give up the ability to configure a trio of your choosing.
Fragger
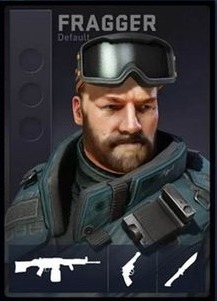
Fragger is a beginner-friendly, assault-oriented killing machine. When defenders dig in or the offense needs some extra pressure, Fragger should be queued up for your next respawn. He’s a fitting choice for no-frills shooting, and the simplicity of his equipment is a fun and gentle initiation.
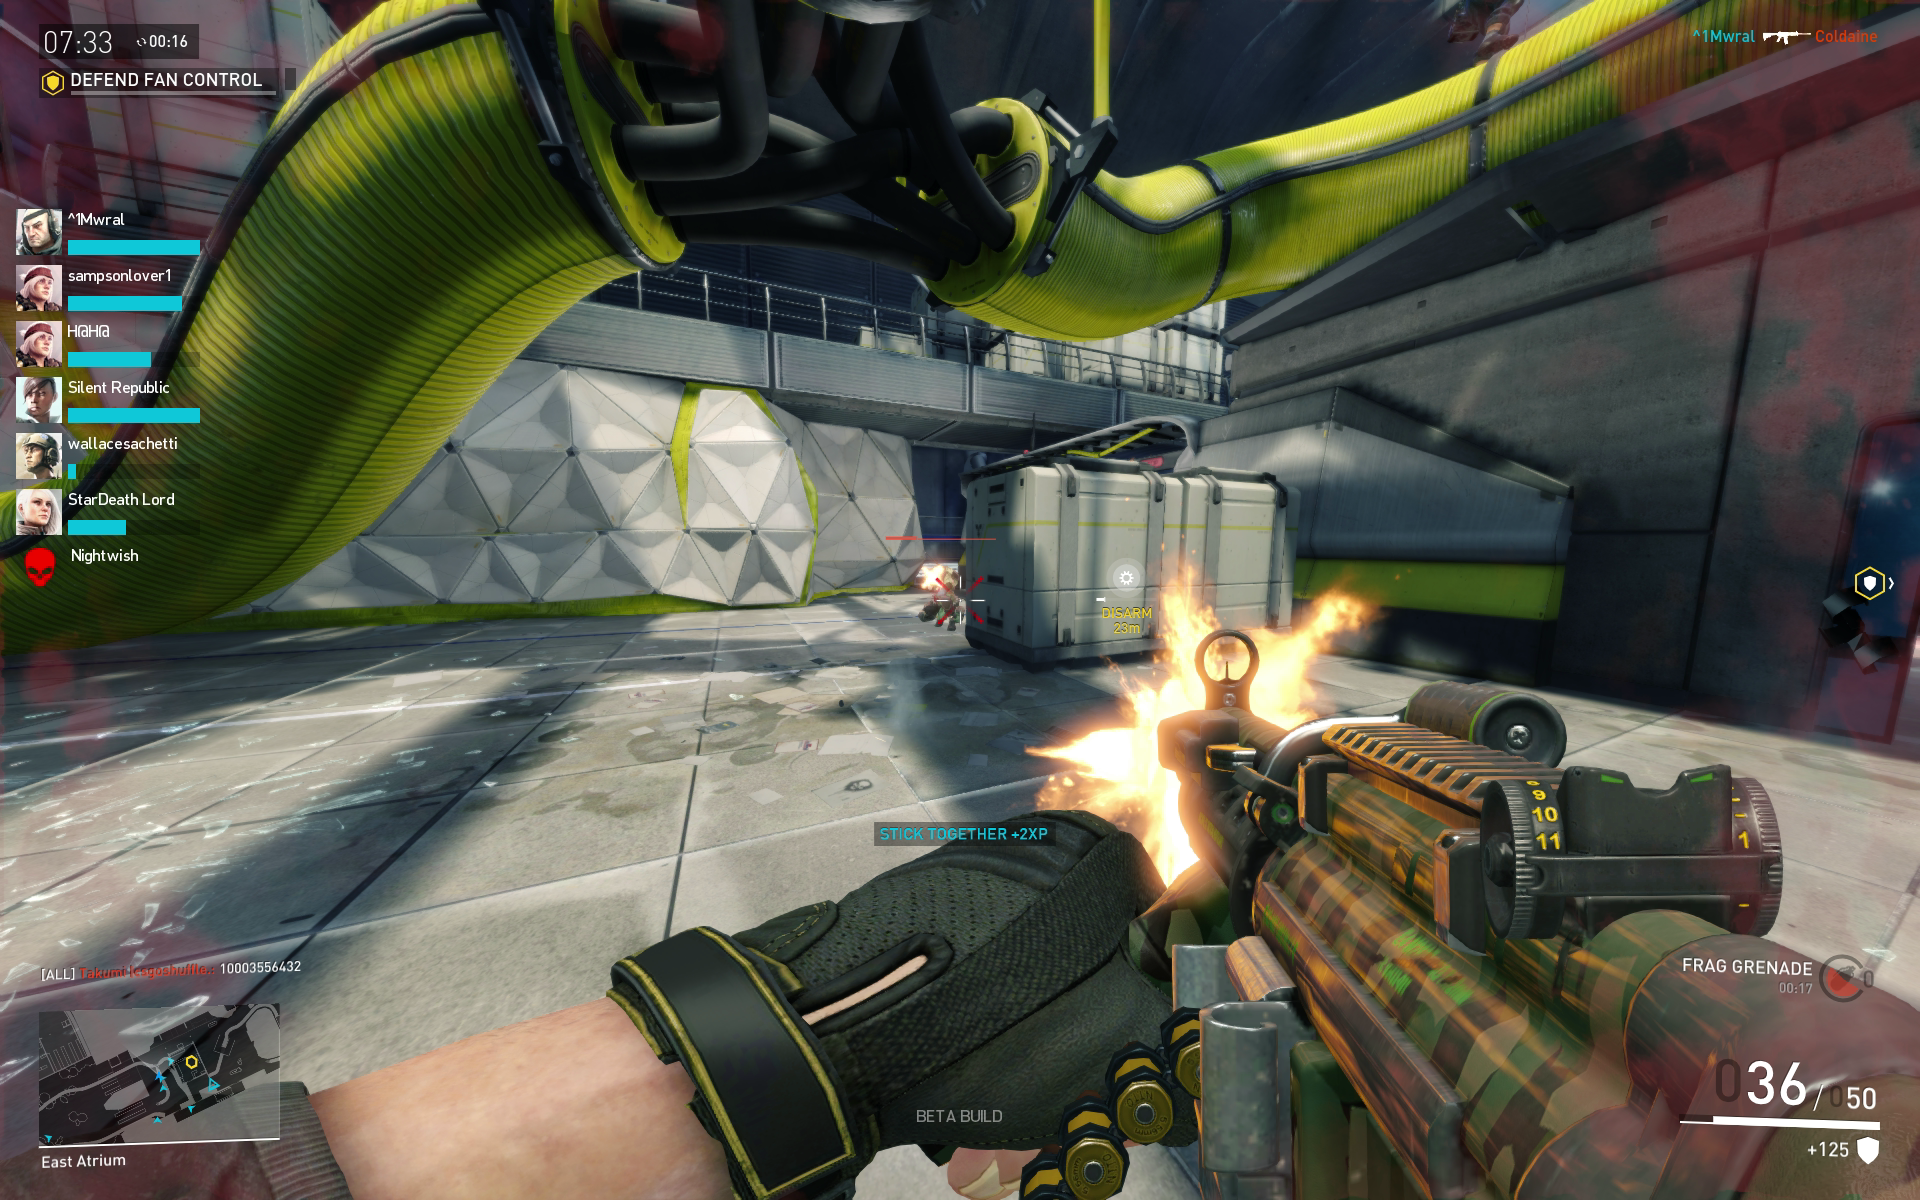
As a Fragger, you won’t need to manage ammo dispensers, health packs, or babysit turrets. Your job is shock trooper: find the frontline, wade in, and get aggressive. Fragger’s stock K-121 LMG boasts 50 rounds per magazine—the highest bullet count of DB’s assault weapons—so don’t hesitate to slam the hammer when up against packs of enemies. Your 150 points of health brings enough brawn to tip the odds of most engagements in your favor, and your weapon’s roomy mags keeps you throwing lead into faces long after your foes have hit reload.
Best of all, Fragger’s special ability is a surefire room-clearer. Hit Q and he’ll toss one of his two grenades on a three-second fuse. Bounce them off walls and curve them around corners for some indirect punishment. Toss your rocks aggressively; Fragger is a crowd-control connoisseur and can soften or gib multiple opponents with a single throw. Try cooking a grenade before chucking it: hold down your ability key, and Fragger will pull the pin on a grenade but keep it in his hand. Watch his other hand for a visual count from one to three seconds. Flinging your frag at around two seconds delivers a short-range boom that’ll catch unaware enemies expecting a longer escape window when it lands on their boots.
Keep up to date with the most important stories and the best deals, as picked by the PC Gamer team.
Sawbonez
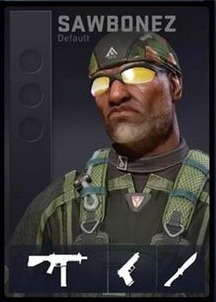
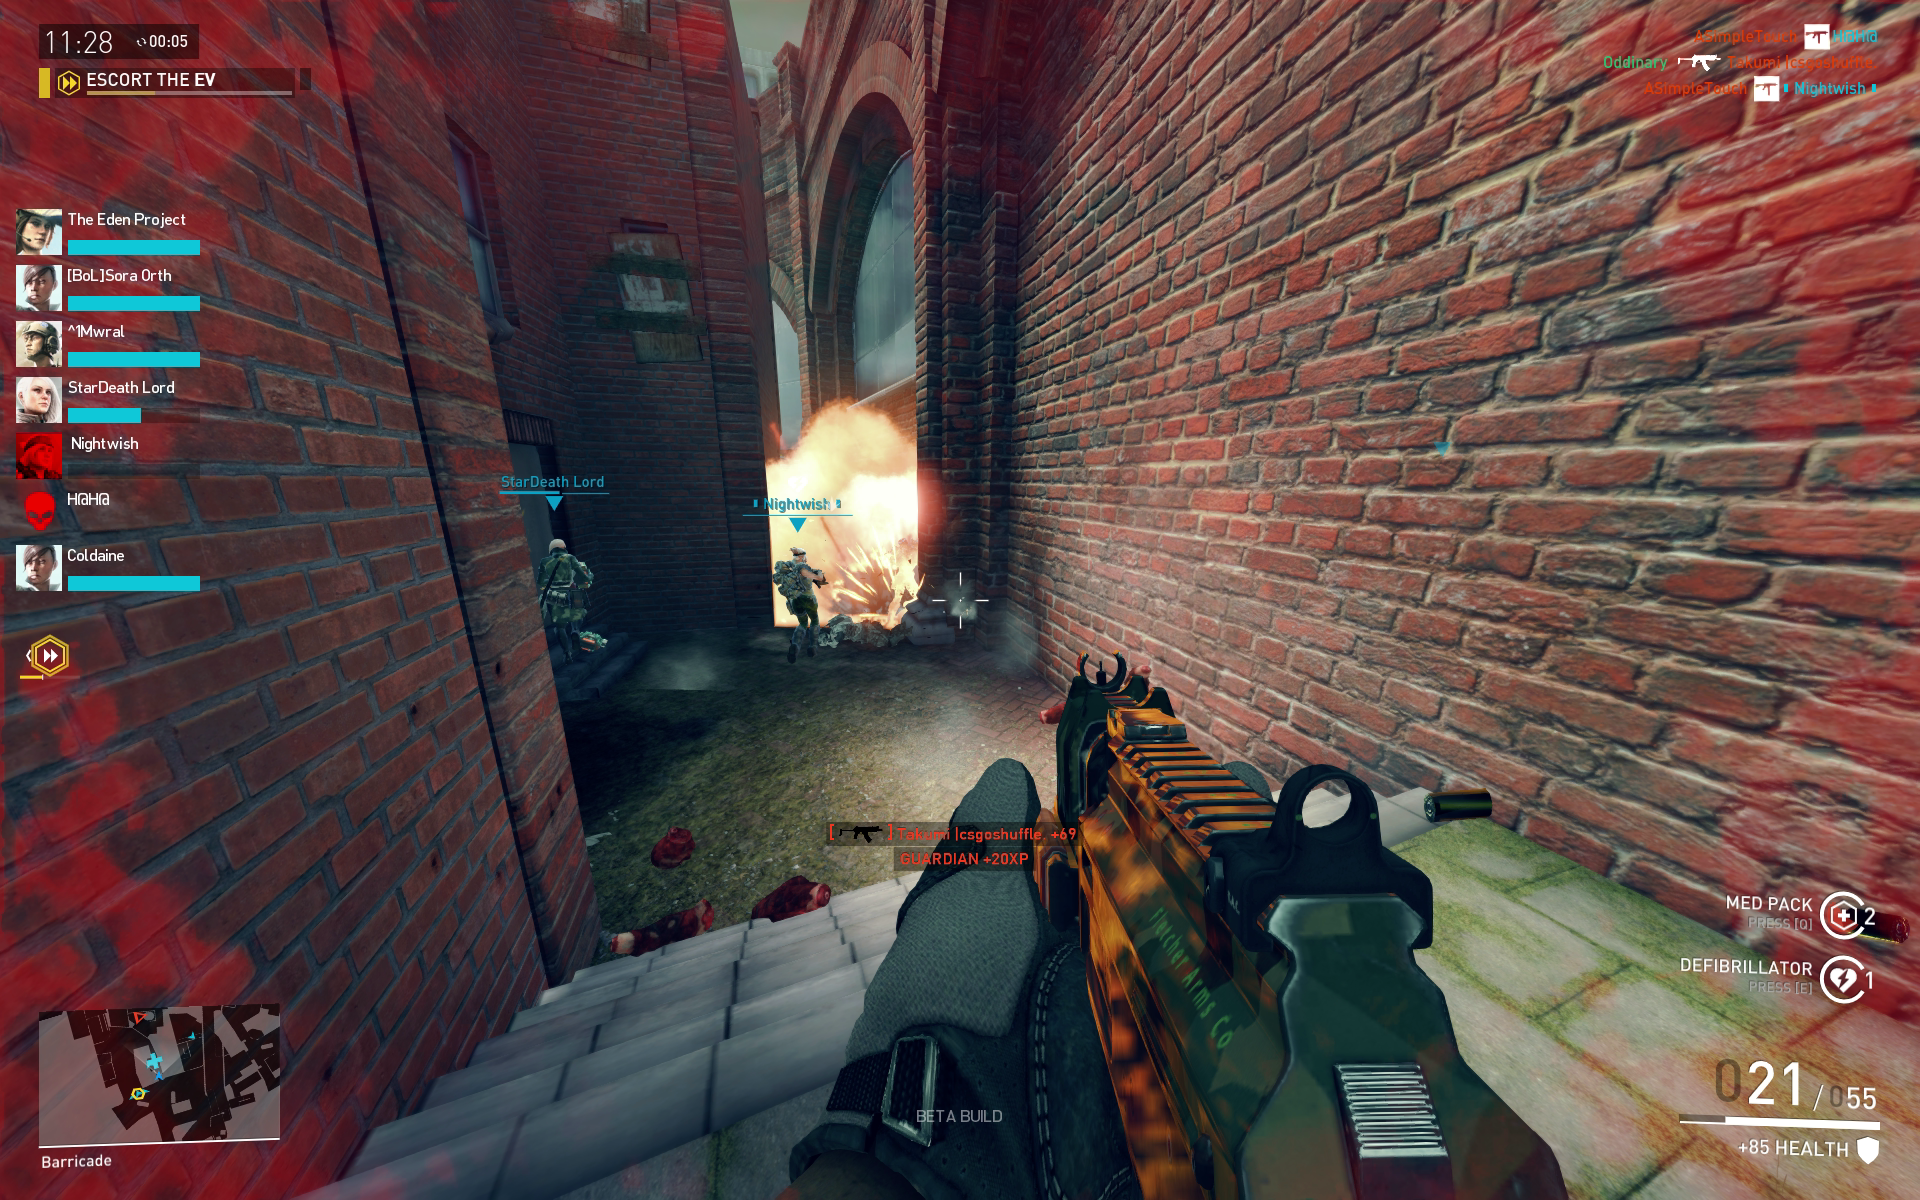
Sawbonez is an excellently approachable support merc mixing good firepower with healing efficiency. DB’s medic mercs prioritize the welfare of his or her team over a swanky K/D on the scoreboard. Sawbonez’s triage is the most straightforward and recognizable if you’ve stepped into a Battlefield map or two. He can toss med packs on the ground or directly onto an injured patient that greatly accelerates health point recuperation. His pair of defibrillators instantly zaps downed comrades back into the action. A good Sawbonez is absolutely crucial for a well-oiled team.
Your place is in the thick of a scrap. Keep your teammates at your side. If someone hits dirt, dart in for the revive before rejoining the group. Retreat if things get hairy, but don’t stray too far—staying alive and providing support is the center of your universe, and that’s best done at a close proximity. Sawbonez wields an SMG-9 by default, an adequate defense against mid- and close-range threats, but there’s nothing wrong with shielding yourself behind bulkier merc classes if things get dangerous. Be careful of overzealously tossing health packs, as it’s best to selectively cure individual low-health allies instead of haphazardly sprinkling the area. As an advanced tip, if your pack lands directly on a player, he or she gets an additional boost to health recovery and a shorter ability cooldown.
Proxy
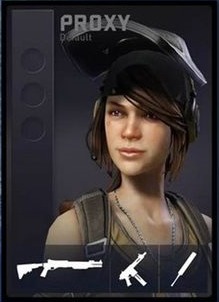
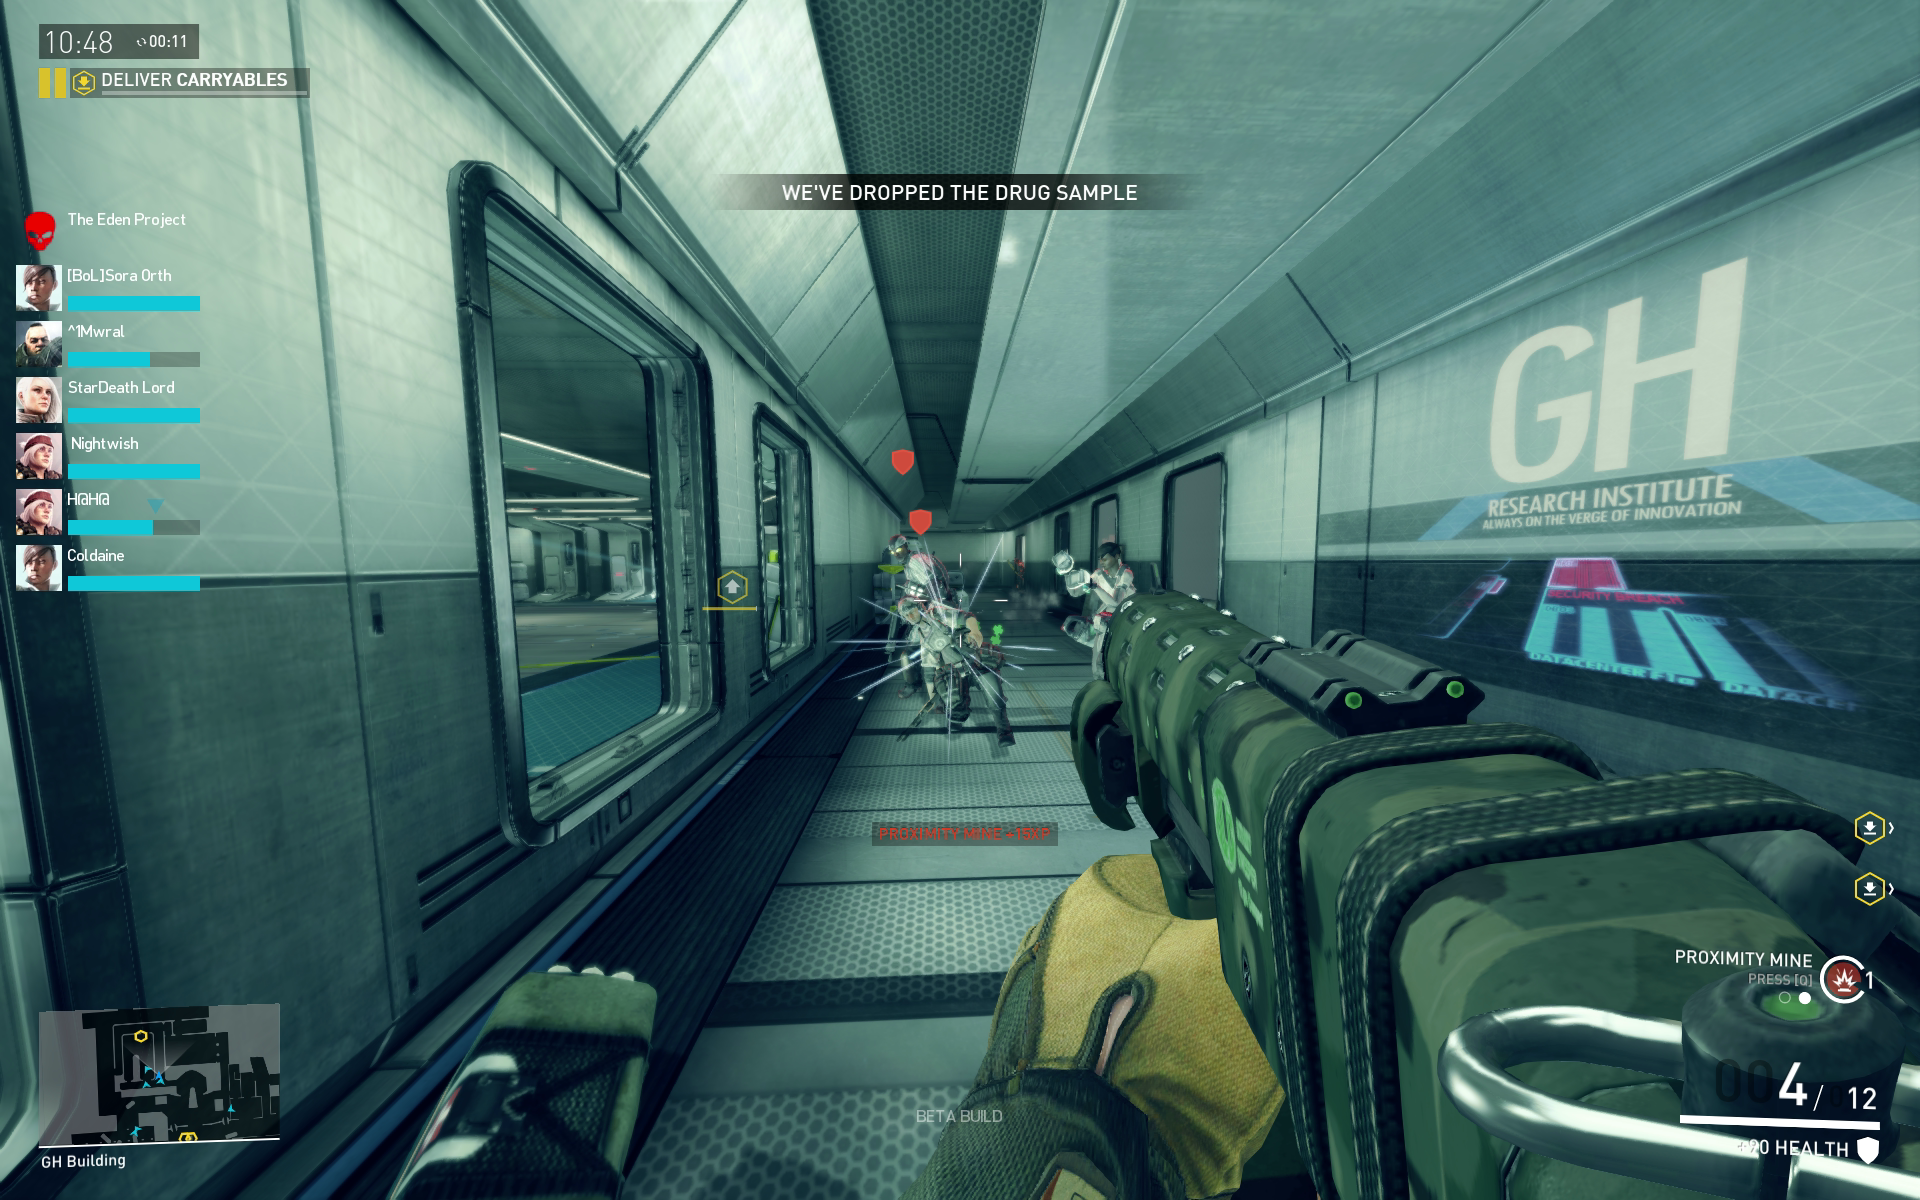
Proxy is a speedy, shotgun-savvy objective specialist. Choose her if your team needs an objective neutralized, repaired, or defused pronto. Her sprint speed is one of the fastest—much like TF2’s Scout, her strengths cater to lightning-quick hit-and-run tactics. Her starting Hollunds shotgun is a deadly boomstick up close, but it’s most effective (and hilarious) when flanking unsuspecting victims.
Consequentially, Proxy synergizes with learning the intricacies and multiple pathways of each map. Her speed is best suited for juking into an advantageous position. Stay away from direct firefights; her frail 90-point health pool can’t withstand more than a few hits. At every opportunity, jump onto an objective and utilize Proxy’s hasted capture/repair/defuse rate for piles of points and another step to victory. Above all, never stop moving—pick a direction (toward an objective, preferably) and run.
At chokepoints or blind corners, consider dropping a trip mine or two. Proxy’s ability can arm two mines at a time, and they’re fantastic for baiting enemies into a trap or acting as a set-and-forget base defense. Keep in mind the seconds-long window each mine needs to fully arm, and place them in small nooks and sharp angles of the map’s geometry so they’ll be easily missed. Mentally preparing an escape route is a necessity when playing as Proxy, but with enough practice, you’ll quickly notice the benefits of superior map control and awareness.
Omri Petitte is a former PC Gamer associate editor and long-time freelance writer covering news and reviews. If you spot his name, it probably means you're reading about some kind of first-person shooter. Why yes, he would like to talk to you about Battlefield. Do you have a few days?

