How to beat the Vault of Glass in Destiny 2
Defeat Atheon, grab the Vex Mythoclast exotic, and beat the Destiny 2 Vault of Glass.
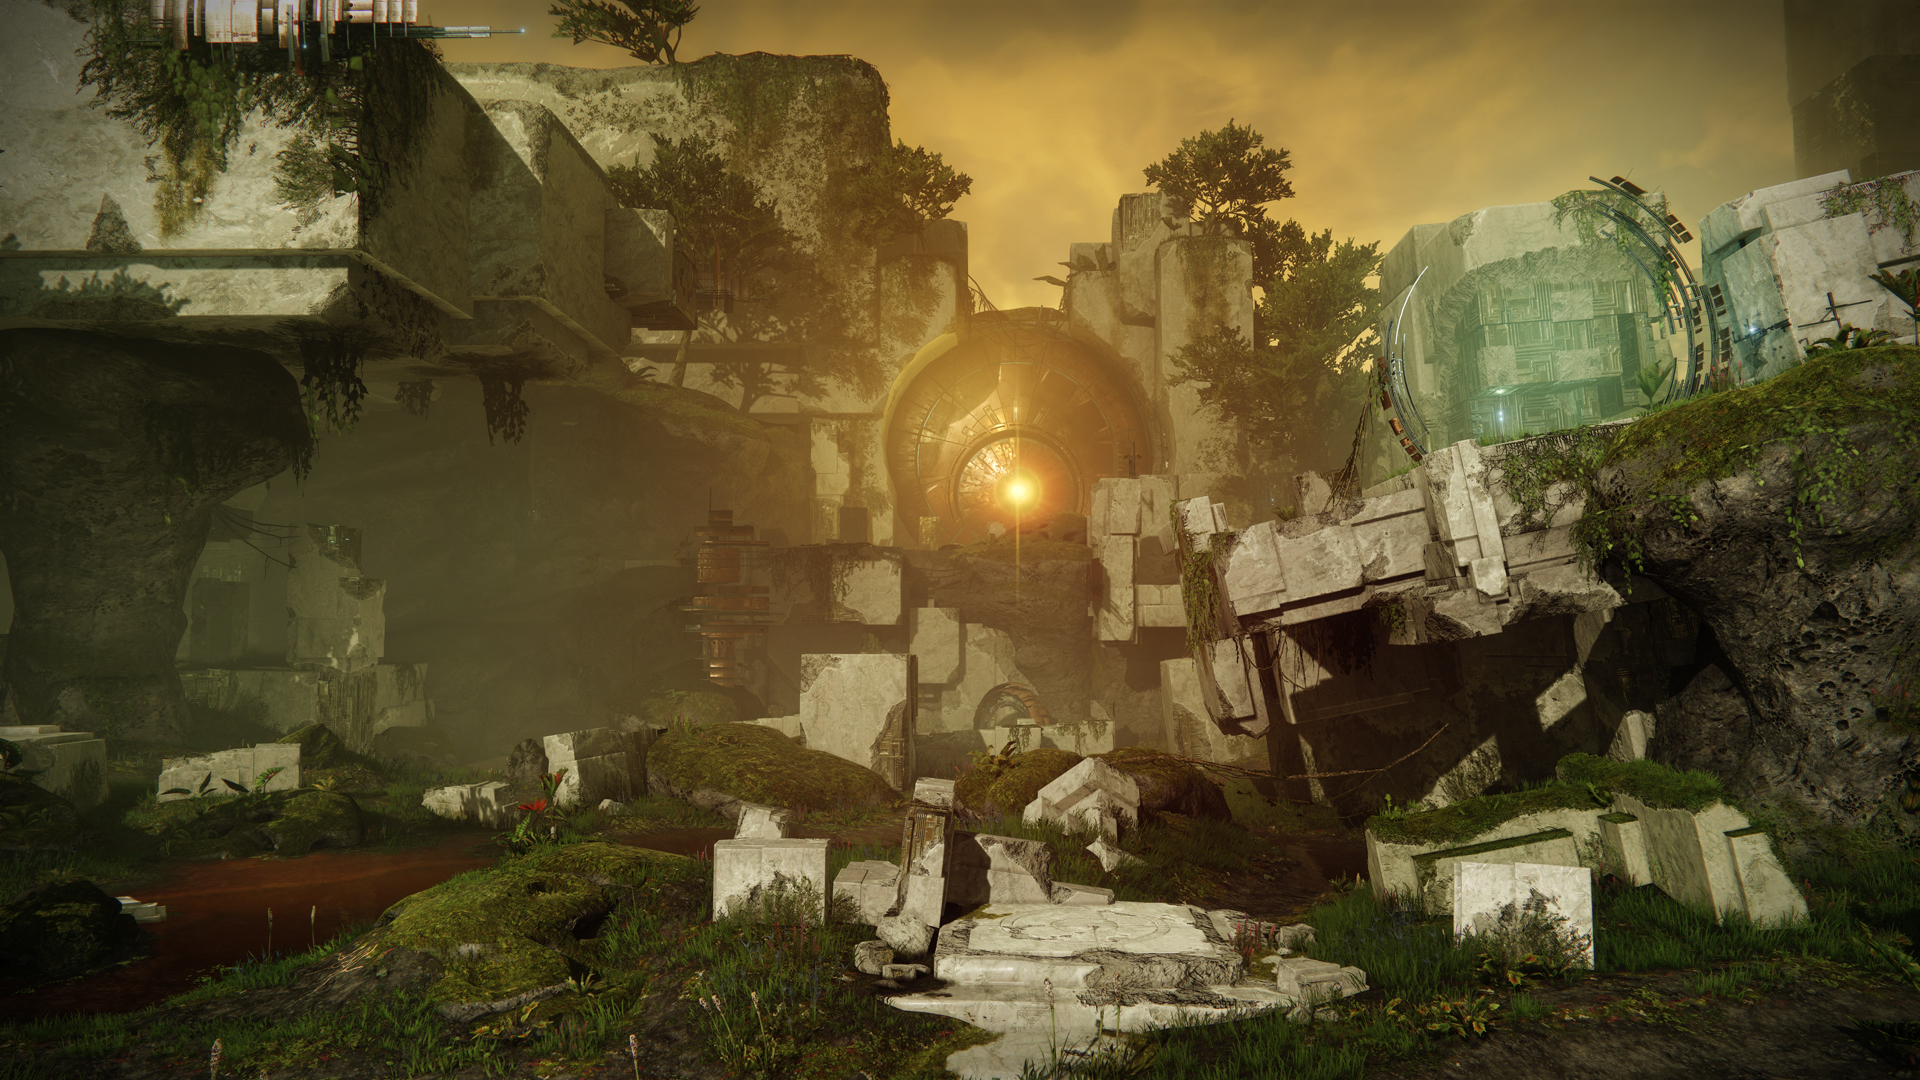
This weekend was a special one, we all watched as teams competed for World’s First by completing the Destiny 2 Vault of Glass raid not once, but twice in contest mode with the adage of special challenges applied to their second run.
While that was going on, others methodically planned out their runs and pushed as far as they could. Some struggled at the Templar, and others, Atheon. Regardless of whether you beat it in 2014 and need a refresher, or you're trying this fabulous challenge for the first time, I'm here to make sure you smash the Vault of Glass in Destiny 2 with this handy raid guide.
Destiny 2 Vault of Glass guide: How to prepare for and beat the raid
Loadouts
The variety of encounters in the Vault make designing a useful loadout for it a challenge, but there are some staples every class must have and some weapons that will give you the edge:
Hunters
There's a large focus on clearing waves of Vex or Damage, but never both at the same time. So, as you might expect, a Celestial Nighthawk offers Hunters additional Damage when paired with the Way of the Sharpshooter on your Gunslinger Subclass. When it comes to controlling pesky enemies in large groups, Orpheus Rigs with Way of the Trapper or Way of the Pathfinder are pretty easy picks. Way of the Pathfinder combined with the Omnioculus is also a godsend when you're evading Gorgons—should you wish to run wildly through The Labyrinth without detection.
Titans
Titans' role might vary depending on how many you have in your team, rather than the given encounter. Titan’s with Ursa Furiosa and the Code of the Commander proved effective for me during the Templar encounter as we were able to block incoming shots while generating many orbs for the squad. When there is less incoming fire, and the team could benefit from a few extra points of damage, the Titan’s Code of the Protector bubble added that little bit extra thanks to Weapons of Light. And one of most finicky, enjoyable, and devastating builds for damage came in the form of Code of the Missile and the shiny new Cuirass of the Falling Star.
Warlocks
Finally, there’s your friendly neighborhood space wizard, Warlocks. More often than not, Phoenix Protocol combined with the Attunement of Grace proved the most flexible super and exotic armour piece, but you could try out the new Boots of the Assembler. Aside from the obvious choice, when faced with an abundance of Warlocks, I even managed to sneak a few in with a pair of Geomag Stabilisers on and the Attunement of Control.
Weapons

The majority of the weapons in your arsenal will see you through the Vault of Glass. However, here are a few weapons that stand out:
Keep up to date with the most important stories and the best deals, as picked by the PC Gamer team.
Anarchy
Chances are Anarchy was already your go-to Heavy Weapon for high level content, such as Grand Master. But, with the latest seasonal mod, Breach and Clear, Anarchy is almost mandatory until season 15. Then you have the fact that this baby ticks for some pretty good damage while you unload another weapon’s clip into a boss’s face, which is a pretty popular strategy in Deep Stone Crypt, too.
Palindrome, Ikelos_HC_V1.0.2 or Bottom Dollar
Given that the only shields in the Vault of Glass are Void and the only champions are Overloaded, these hand cannons are an easy pick. It doesn’t really matter which one, you mainly want to make sure you're comfortable with it.
Royal Chase, Night Watch, or Hung Jury
Due to the need for you to stay at a safe distance for several encounters, and the prevalence of Hobgoblins, you can keep them at arm's length and destroy them through their shields if you opt to squeeze an Anti-Barrier mod in. Bonus points for Void scout rifle, Royal Chase.
Xenophage
Everyone loves a big, chunky machine gun, and you should choose Xenophage because it does big damage and it makes dealing with Oracles so much easier. If you also happen to have somebody running a Divinity or Anarchy with the Breach and Clear mod in your team, you’ll be able to top up that damage.
Mechanics
In the Vault there are three recurring mechanics: Confluxes, Aegis Relics, and Oracles. Here’s what to expect for each of them:
- Confluxes: These are small Vex pillars that require Guardians to stand in the circle to capture them. Vex will try to sacrifice themselves at these confluxes, so it’s important to ensure that none of them interfere with your captures or you may wipe.
- Ritual of Negation: Marked for Negation is applied to your fireteam in numerous ways, but it always has a constant in that you will die if it isn’t cleansed. While it doesn’t have a hard timer on your screen, you only have a few moments to cleanse yourself by jumping in a set area in encounters two to four.
- Aegis Relics: Relics are unique to the Vault of Glass. They're like Captain America’s shield: They have a whole host of abilities, like a bash, shield, jumping smash when airborne, and a special super ability that’s used for knocking special shields off unique enemies. On top of all of that, the Aegis Relic can also cleanse your team of their negative status effects in the Atheon fight. It does everything.
- Oracles: Simple in description, but so frustrating to destroy. Oracles are small boxes that spawn around various arenas that must be destroyed. If they're not, they'll inflict you with a debuff that, if not cleansed, will kill you.
Encounter 1: The Spire
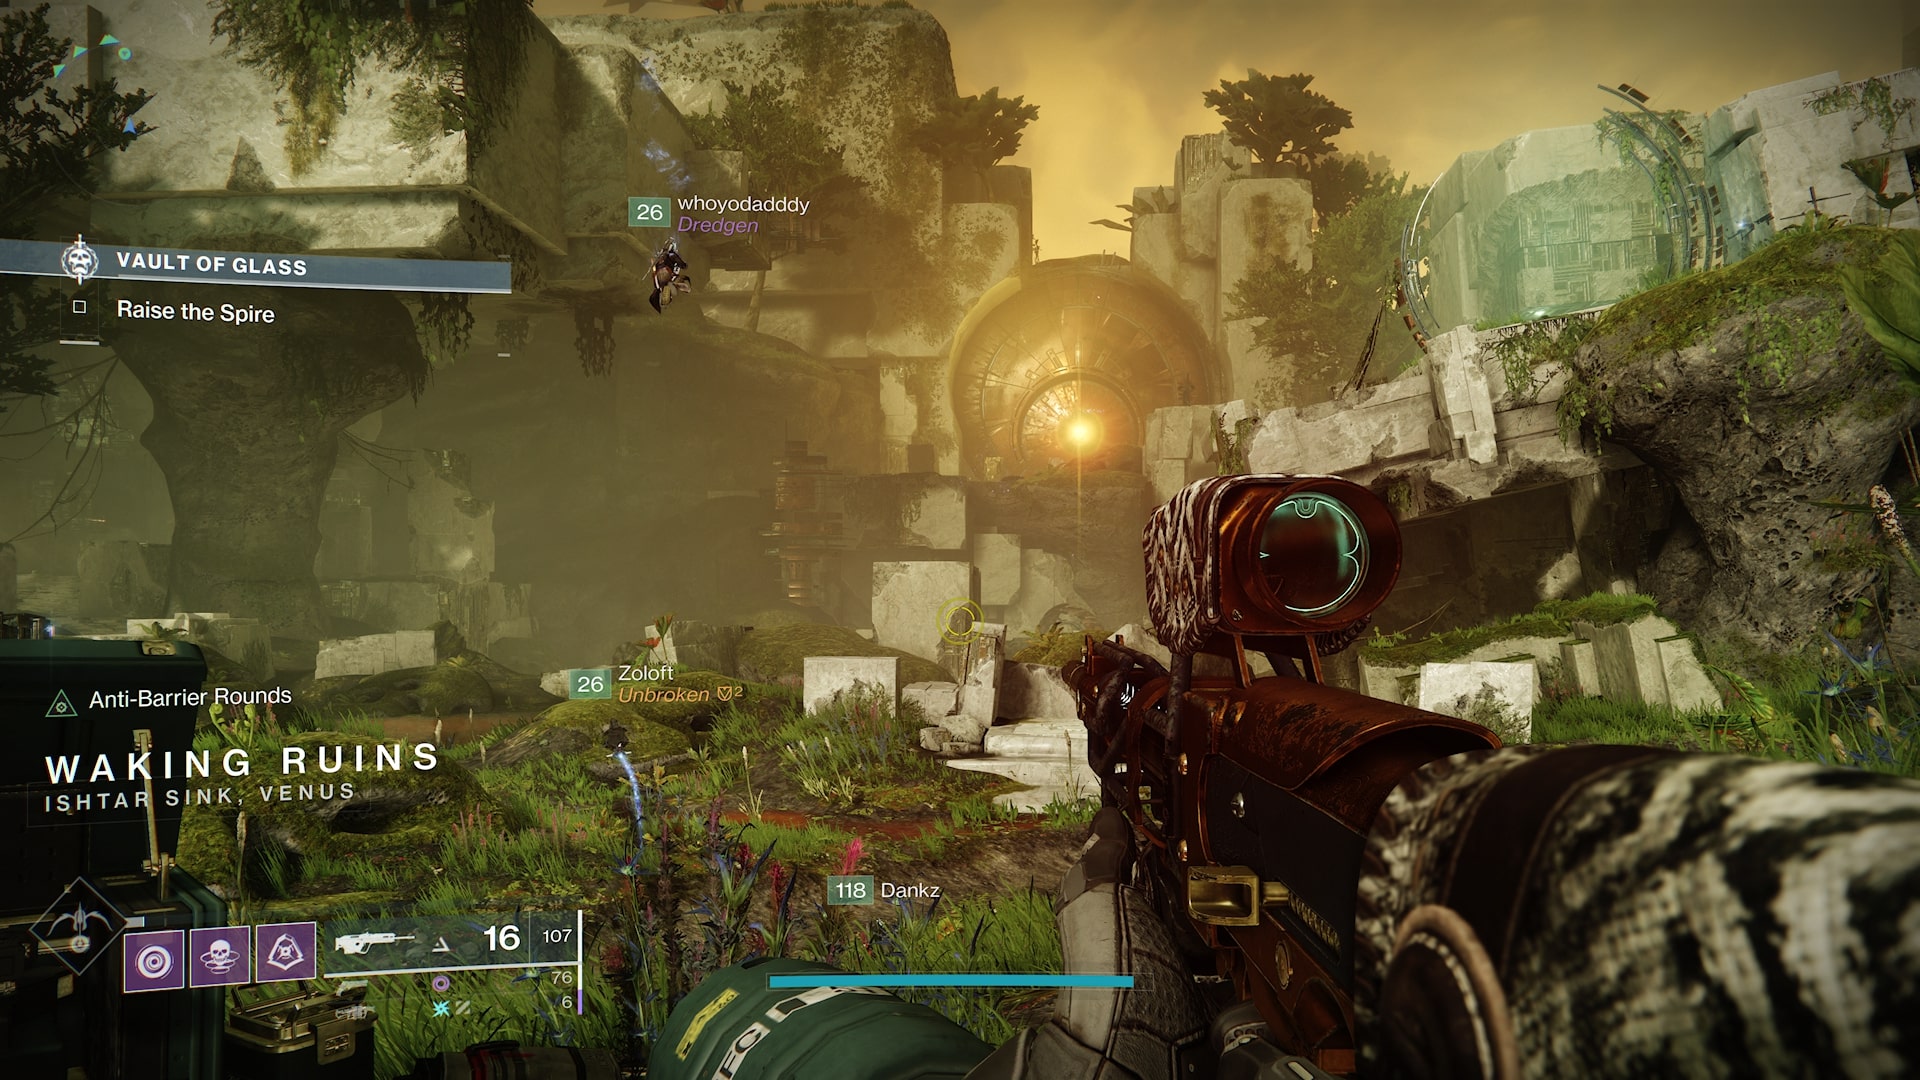
Here players are required to open the Vex gate into the Vault of Glass by occupying and defending three different plates across the arena. While capturing plates, various Vex enemies will spawn, including Cyclops. So it helps to divide your team into three (two in each team), and ensure that one person in each team has a safety or ad-clear super, plus some weapons that can deal with Void shields.
After a short period of protecting all three plates simultaneously, the gate will open and there will be a short section to explore before you arrive at the next area and encounter.
Encounter 2: Confluxes
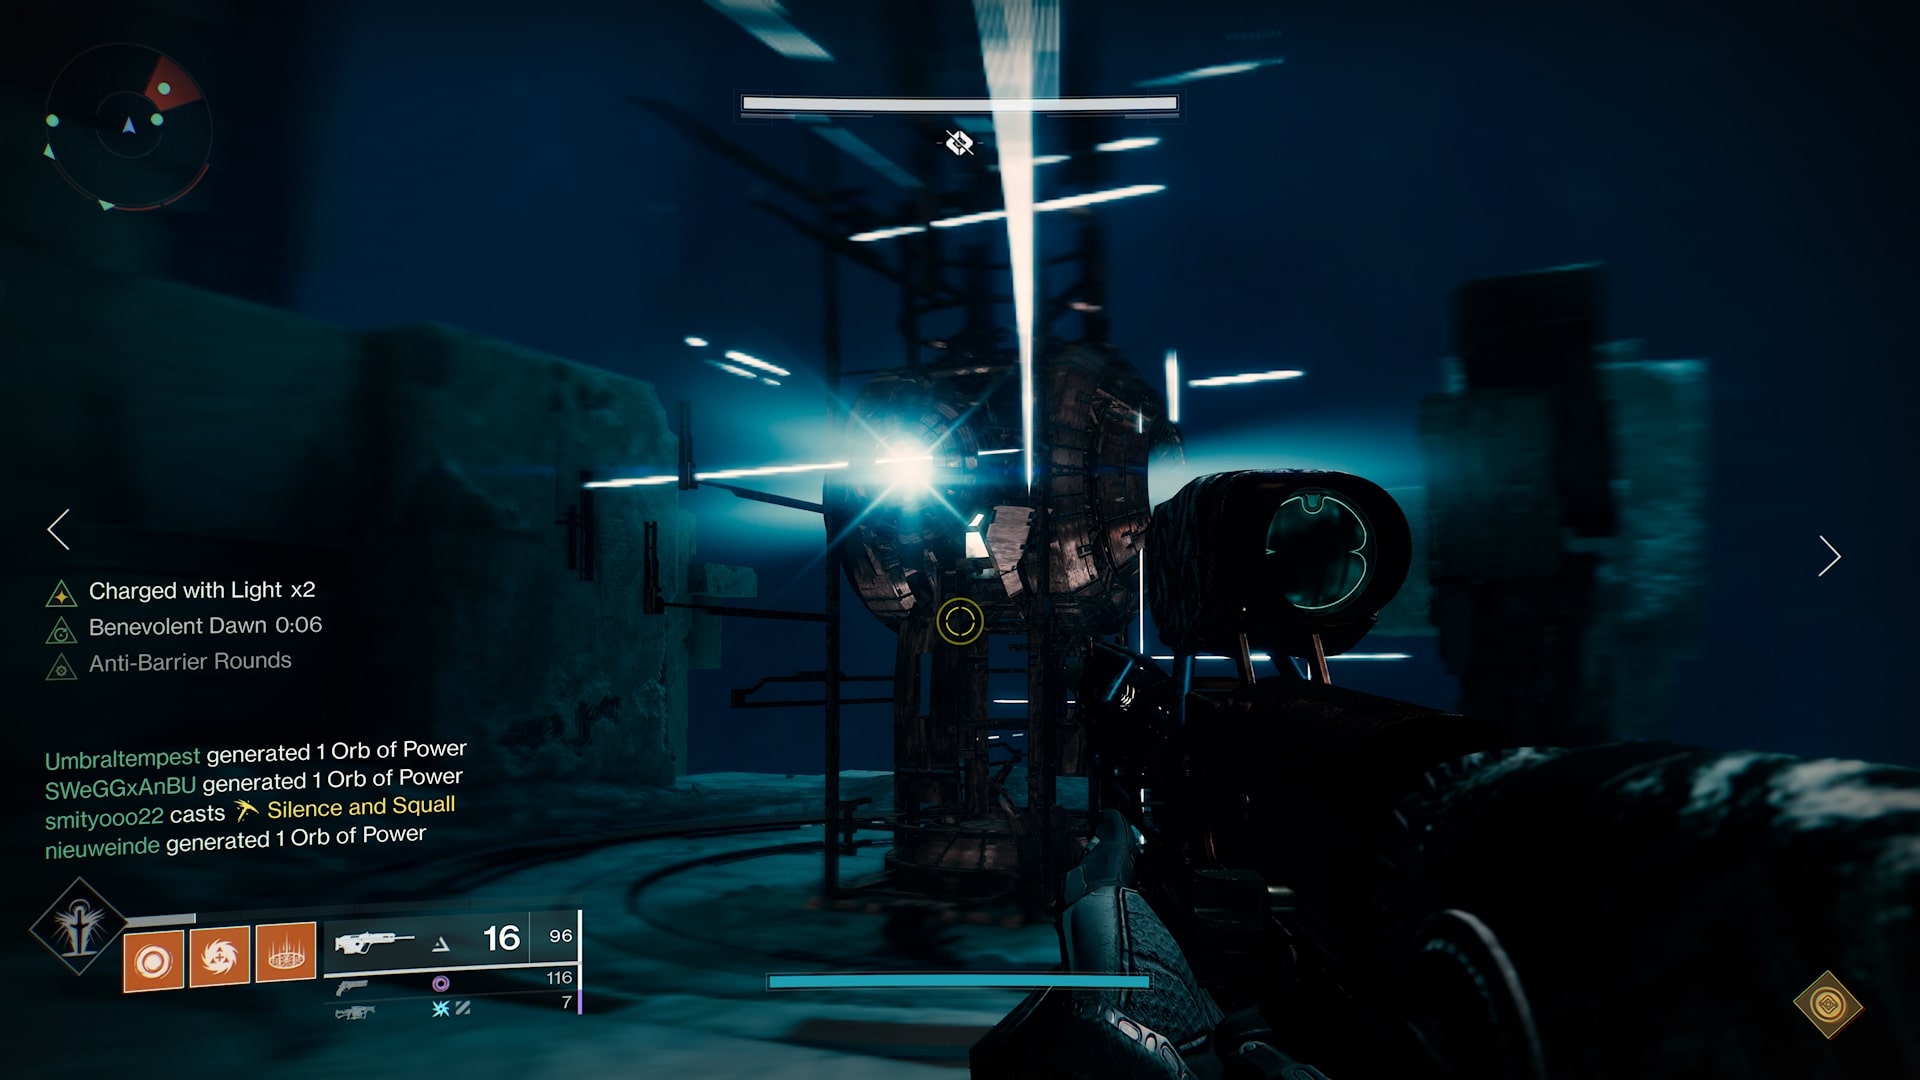
Confluxes introduce you to the nuances of this section while you defend Confluxes... hence the name. Like the previous encounter, you must split your team into three and ensure the same builds are in place.
The main objective is to prevent Vex from sacrificing themselves at each Conflux. The initial part of this encounter will start in the middle of the arena, before moving out to the left and right side while the middle Conflux turns off, then it closes out with all three Confluxes being active at the same time.
Throughout this encounter you’ll be inundated with Vex, but none are more important than the Fanatics, the Wyverns, and the Overload Minotaurs. As the Wyverns and Overload Minotaurs spawn closer than other enemies, you need to be conscious of them when you see the spawning smoke. Whereas the Fanatics, who typically spawn further away, pose less of an immediate threat but will apply you with Marked for Negation.
If you get that debuff, you'll need to drop to the centre of the arena and into the glowing blue pillar, or else you will be wiped. Doing so will deactivate this cleanse for a period of time, so if multiple Guardians happen to have the debuff, you'll need to time the cleanse together. After surviving and protecting all three Confluxes simultaneously, the encounter will end and you will be able to progress.
Encounter 3: Oracles
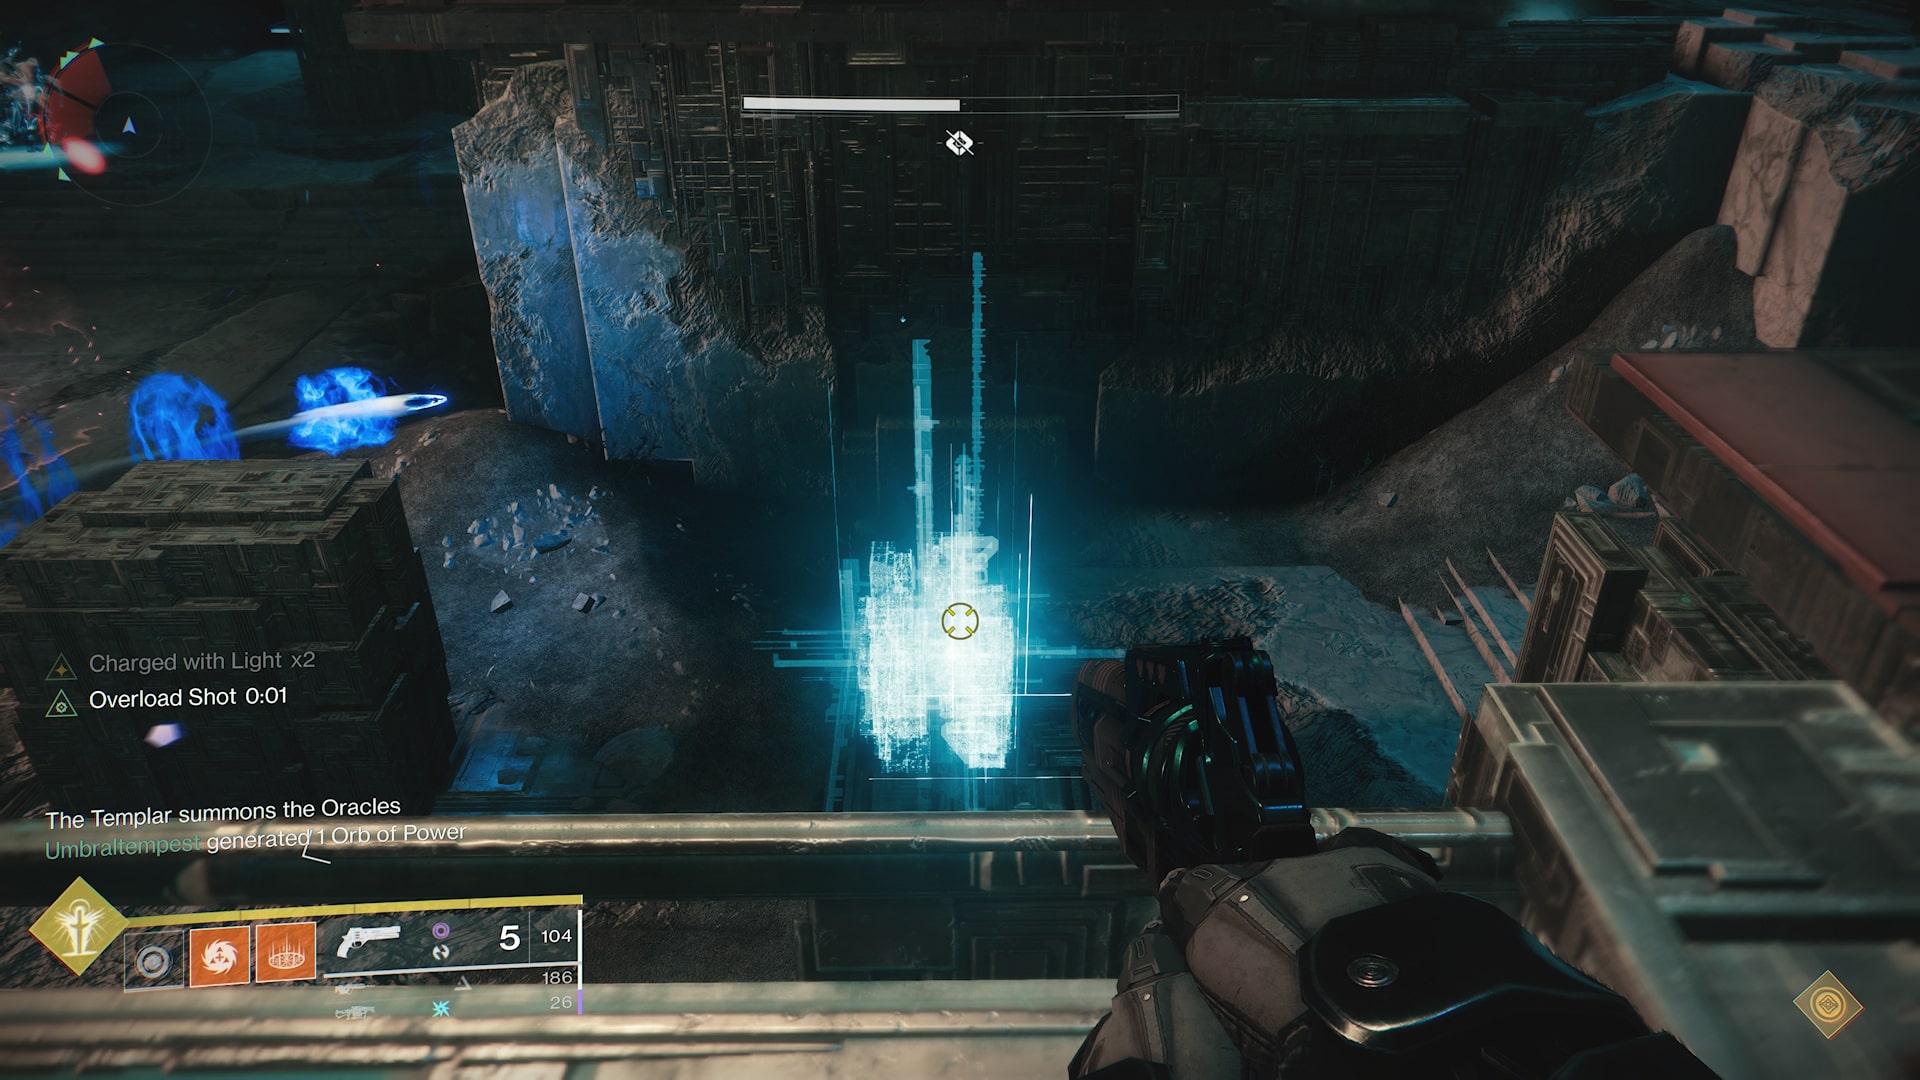
Now you’ve successfully defended the Confluxes, a new challenge awaits in the same area. Thankfully your team will now be familiar with the layout. Instead of three teams, your fireteam should split in two. One team will occupy the left side of the map and the second on the right.
The goal of the entire team is to shoot Oracles. They appear in the order you require to shoot them twice before you can damage them with a chiming noise. You'll need to coordinate with your teammates which you plan to shoot and confirm they know which you will destroy. When an Oracle is destroyed, the game will tell you, but it’s good practice to inform your team in voice chat, too.
There are five rounds in total, starting with three Oracles that require smashing in the first round. By the time you reach the fifth round there will be seven. In the area there are only seven Oracles in total, so that means you will shoot all Oracles and a Guardian will need to shoot two as opposed to one. DestinyRaider has shown some tried-and-tested positions.
Should you fail to clear the Oracles or destroy them in the wrong order, your entire team will wipe. Adding to the chaos is also a torrent of Vex with bad intentions, including a series of Hobgoblins that spawn on the outskirts of the area and ensure you don’t get an easy ride.
Encounter 4: Templar
Destiny 2 Bad Juju: How to get the exotic pulse rifle
Destiny 2 Lumina: Snag the exotic pistol
Destiny 2 Izanagi's Burden: Grab the exotic sniper
Destiny 2 Leviathan's Breath: Exotic bow quest steps
Destiny 2 Deathbringer: Bag the fearsome launcher
Destiny 2 Divinity: How to get the exotic trace rifle
Destiny 2 Fourth Horseman: Make this shotgun yours
Destiny 2 Ruinous Effigy: Growth quest steps
Destiny 2 Traveler's Chosen: Get the OG sidearm
Destiny 2 No Time To Explain: How to get it
Destiny 2 Salvation's Grip: Beat Aspect of Control
Destiny 2 Lament: All Dead Exo locations
Destiny 2 Dead Man's Tale: Presage quest walkthrough
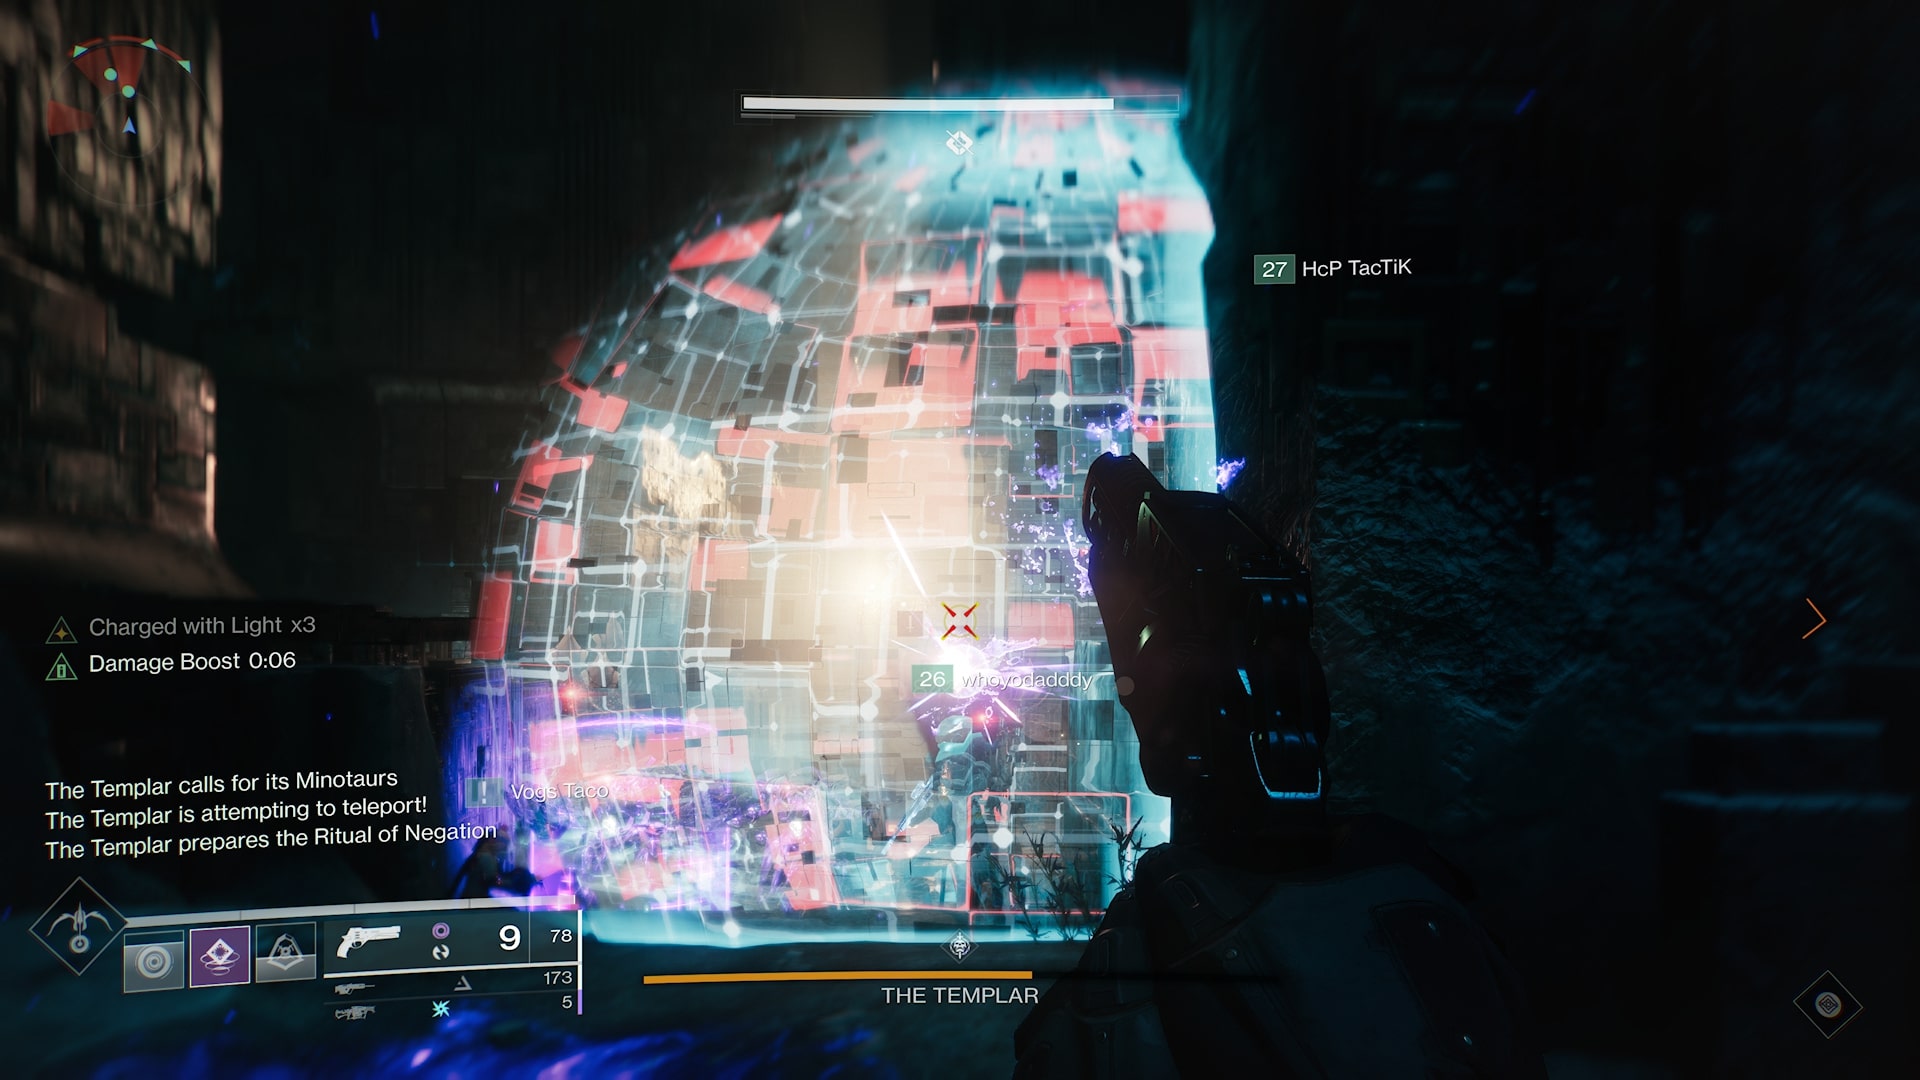
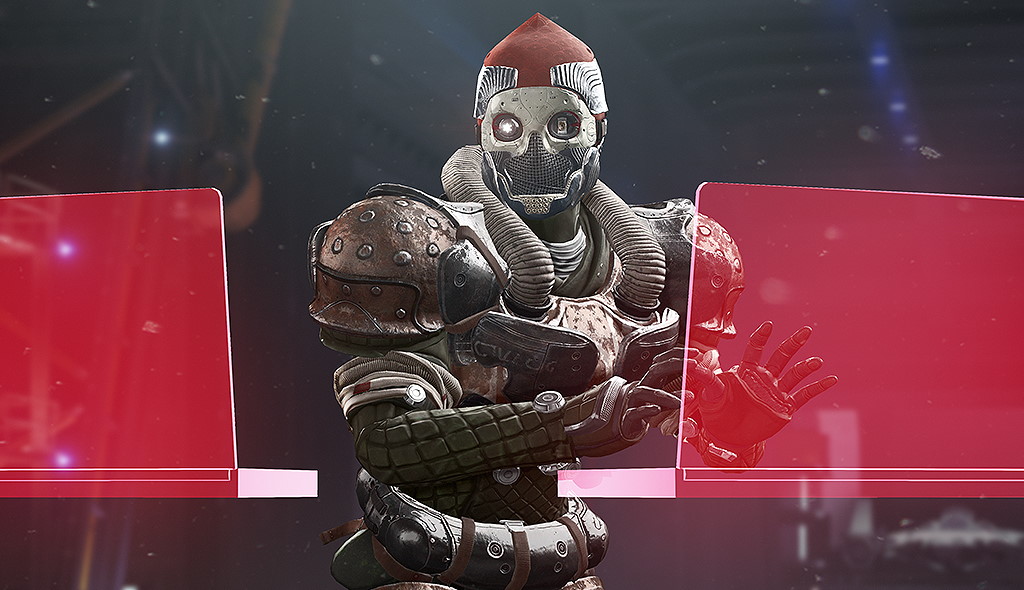
This encounter combines a boss, the Templar, with Oracles. Thankfully, unlike the previous encounter, only three Oracles spawn. There's also an Aegis Relic that will spawn in the central area where you previously cleansed your Marked for Negation debuff.
This means there are two objectives for this encounter that operate in tandem; Killing the Templar and destroying the Oracles. Your team will need to split in two again: One for the left side of the map and one for the right, but with one player also grabbing the Aegis Relic from the start of the encounter. As damage is the primary objective for this encounter, favour DPS and a safety super. Preferably a Warlock with Well of Radiance to allow you to stand still and remain safe during the Templar’s damage phase.
You might notice that it isn't possible to damage the Templar as he spawns. That’s because your Relic user will be required to remove his shield by casting the Relic’s super. After hitting the Templar with the Aegis Relic super, the whole team can unload everything they've got. Note: If the Aegis Relic is dropped, there's a ten-second timer before it despawns and kills the whole team, so play safe if you're the Relic holder.
While your Aegis Relic user is charging their super, you will have time to tackle the first set of Oracles. Just like before, you must watch the order the Oracles spawn and then destroy them in this order between your team. There will only be three and after the first wave there's a large cooldown period in which I recommend you damage the Templar as the Aegis Relic holder’s super should be charged.
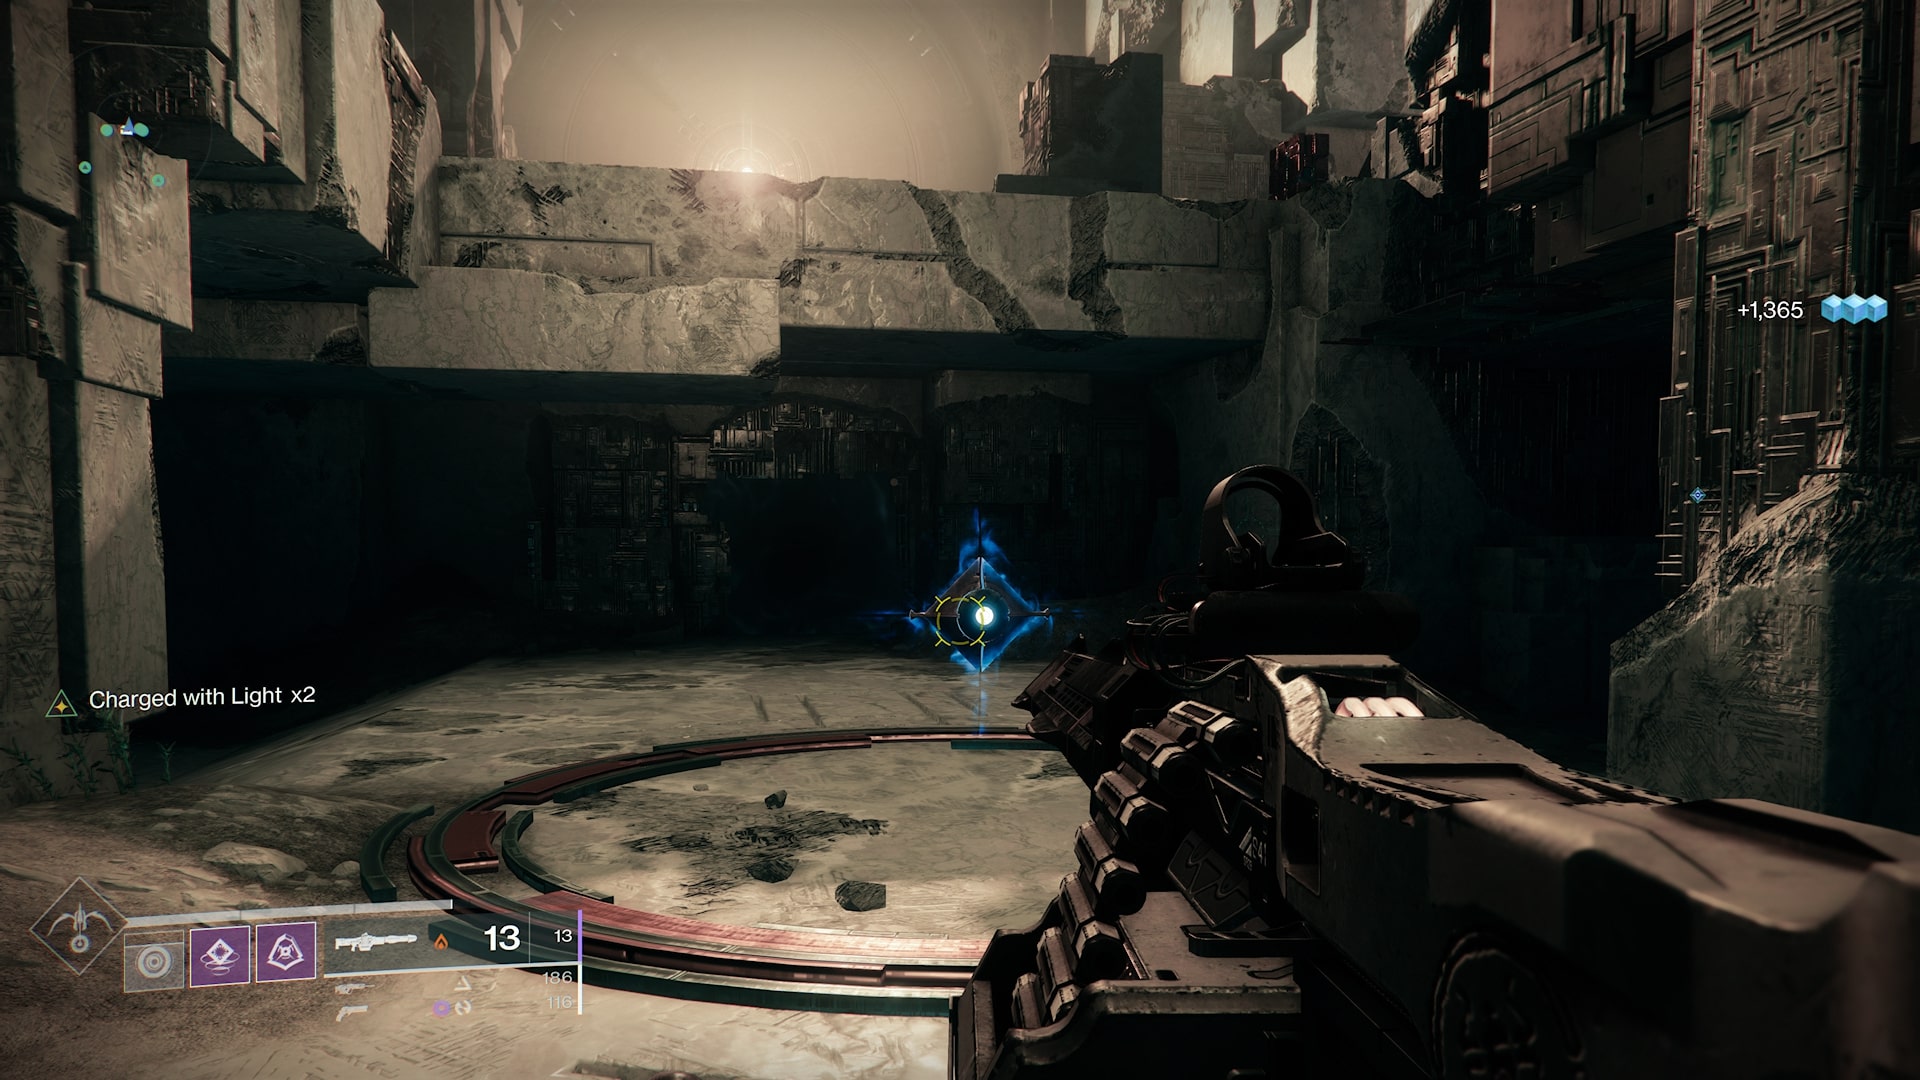
During the damage phase, the Templar will try and teleport away. This will be indicated by a beam of light and a glowing circle in the arena. Standing in this spot will block the Templar’s teleport and extend his damage phase. Only one person is required to stand in this spot, so I recommend the Aegis Relic fulfill this role as it will not drastically impact your DPS and allow the remaining fireteam members extra time to give it all they’ve got. There will also be a random capture state applied to one member of your team. The captured state will place the player in a bubble that must be shot to release them. If all the players are too close, everyone will be placed in this bubble and may result in a wipe. Any kind of damage will destroy this bubble, so you can shoot it with your primary, should you see it, but the Relic’s jumping attack seems to be the most efficient means of bursting the bubble.
The main goal here is to block the Templar for long enough until you kill it, but, while you are damaging it, Oracles may spawn. These Oracles will chime twice like before and then spawn while spawning in the order required to shoot them. You have a set amount of time to destroy them, if you have enough damage you can actually bypass this phase and continue to block the Templar’s spawn while aiming for the kill. Should the Oracles all pop, you can also run to the central area where the Aegis Relic spawned and jump into the blue light to cleanse your team. If you successfully time this with a teleport block you can also do some DPS from this point.
Encounter 5:The Labyrinth
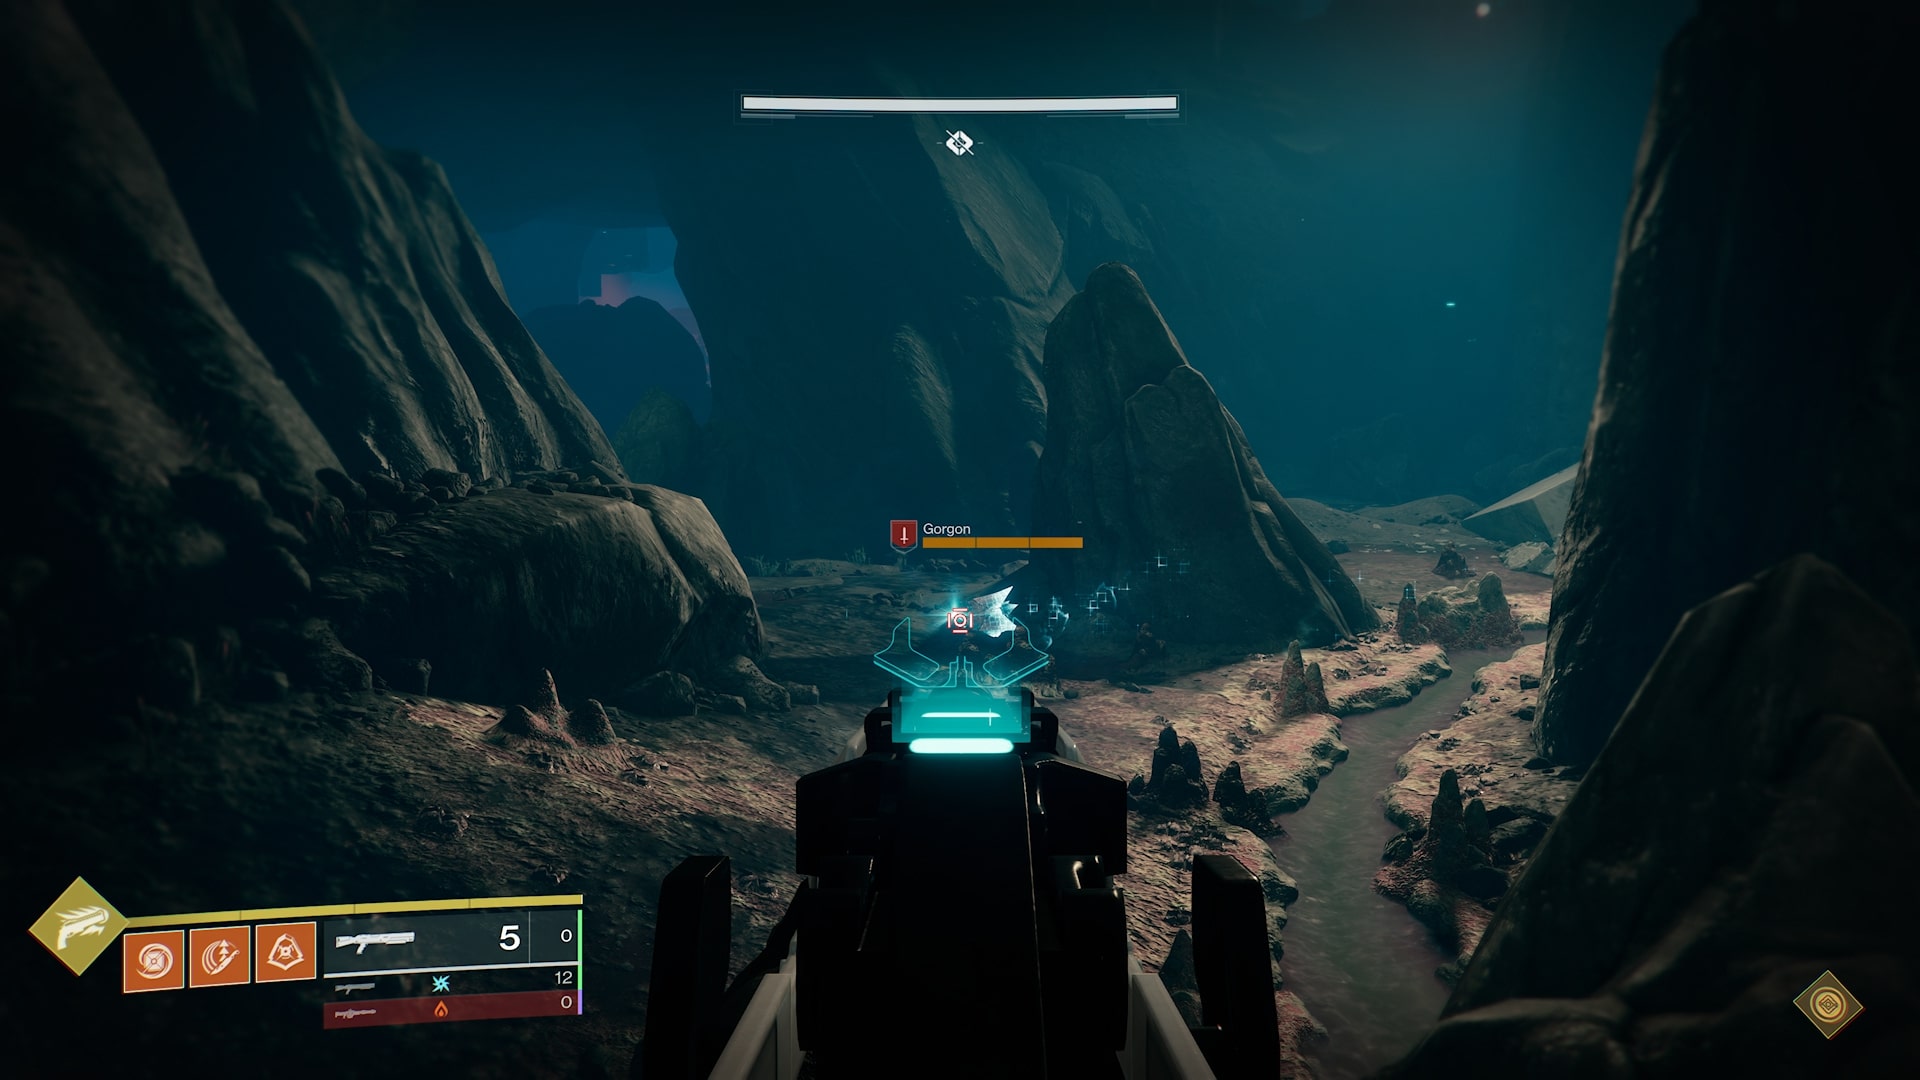
This is the point in the guide where Hunters might question if this is even an encounter. For them this is an exercise of playing with smoke bombs and going really, really fast.
The Labyrinth is a short stealth section inside the Vault of Glass. It’s an underground maze full of Gorgons (aka glowing Vex Harpies). Guardians are required to navigate through this area and avoid detection, with the main escape point located at the back of the arena within the caves.
As this encounter is as old as time itself, there are plenty of guides around, but I strongly recommend Tauxfox’s map as they have updated it to indicate the new Vex Cubes that can be destroyed as well. Destroying all three Vex Cubes will open a new area with a secret chest inside and a rally flag. This technically means your whole fireteam can get full ammo and supers in a bid to take on the Gorgons. While this is possible, it isn't recommended.
After you reach the exit, there’s a short jumping puzzle with disappearing platforms before Atheon’s door and the final two encounters.
Encounter 6: Gatekeepers
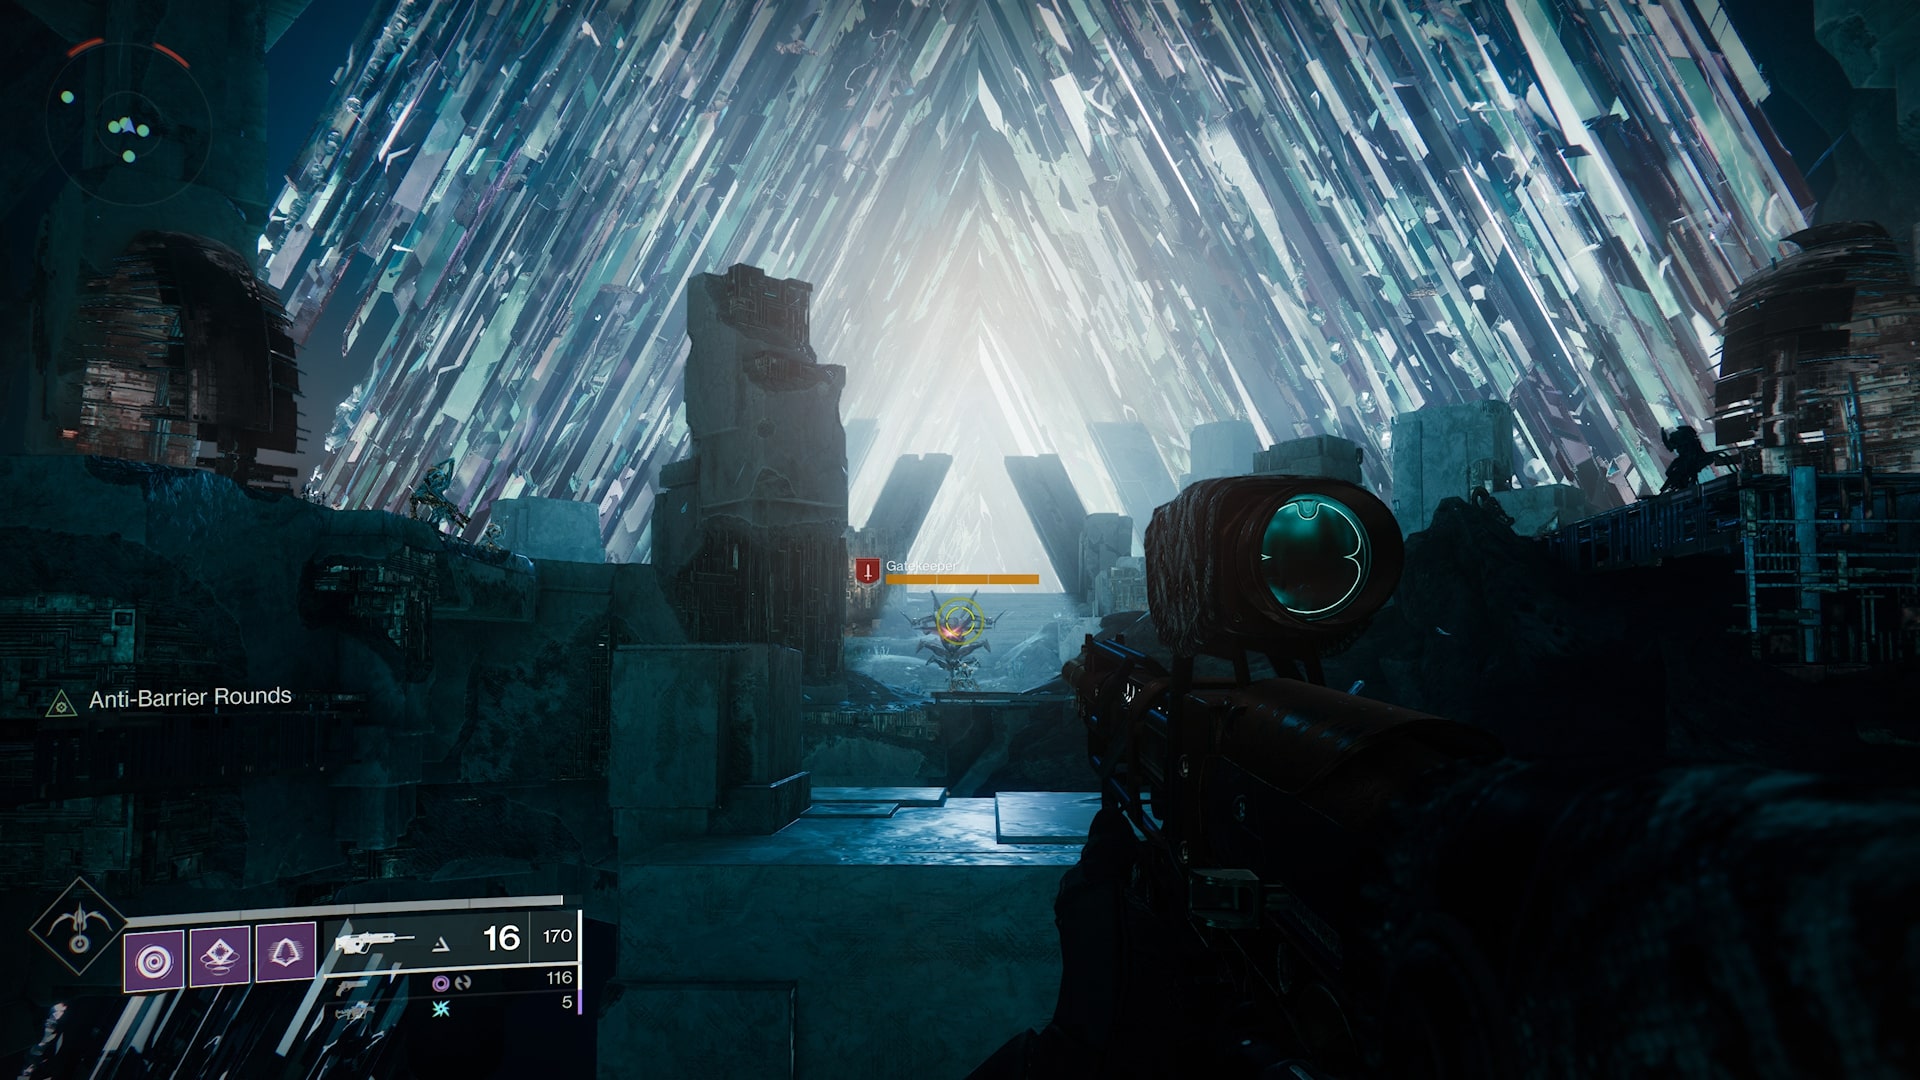
This section eases you into the mechanics of teleporting to other worlds and the idea that you might just have to fight for your life in these zones. So, before you race ahead, split your team into two groups, three Guardians on the left and three on the right.
The objective of this encounter is to have players defend Confluxes from sacrificing Vex in different worlds that can be accessed from the front-left and front-right of the arena. To open these worlds you must stand on the plates on each side and prevent Vex, including Overload Minotaurs, from recapturing the plates. There will also be large Vex Hydras, called Gatekeepers, who spawn and instantly lock the teleports. Kill them as soon as they spawn.
While in these worlds, players will be assaulted by various enemies, including Wyverns and a special Vex Minotaur called the Praetorian. The Praetorian’s shield can only be destroyed by a Relic holder, just like the Templar.
The Aegis Relic is dropped by the first Gatekeeper, which can be found in the centre of the arena as you enter. In this encounter, everyone will have a shot of the Relic. This is because entering a Vex Portal while holding the Aegis Relic will prevent the Relic holder from using the portal for a short period of time, resulting in them passing the Relic on to another player.
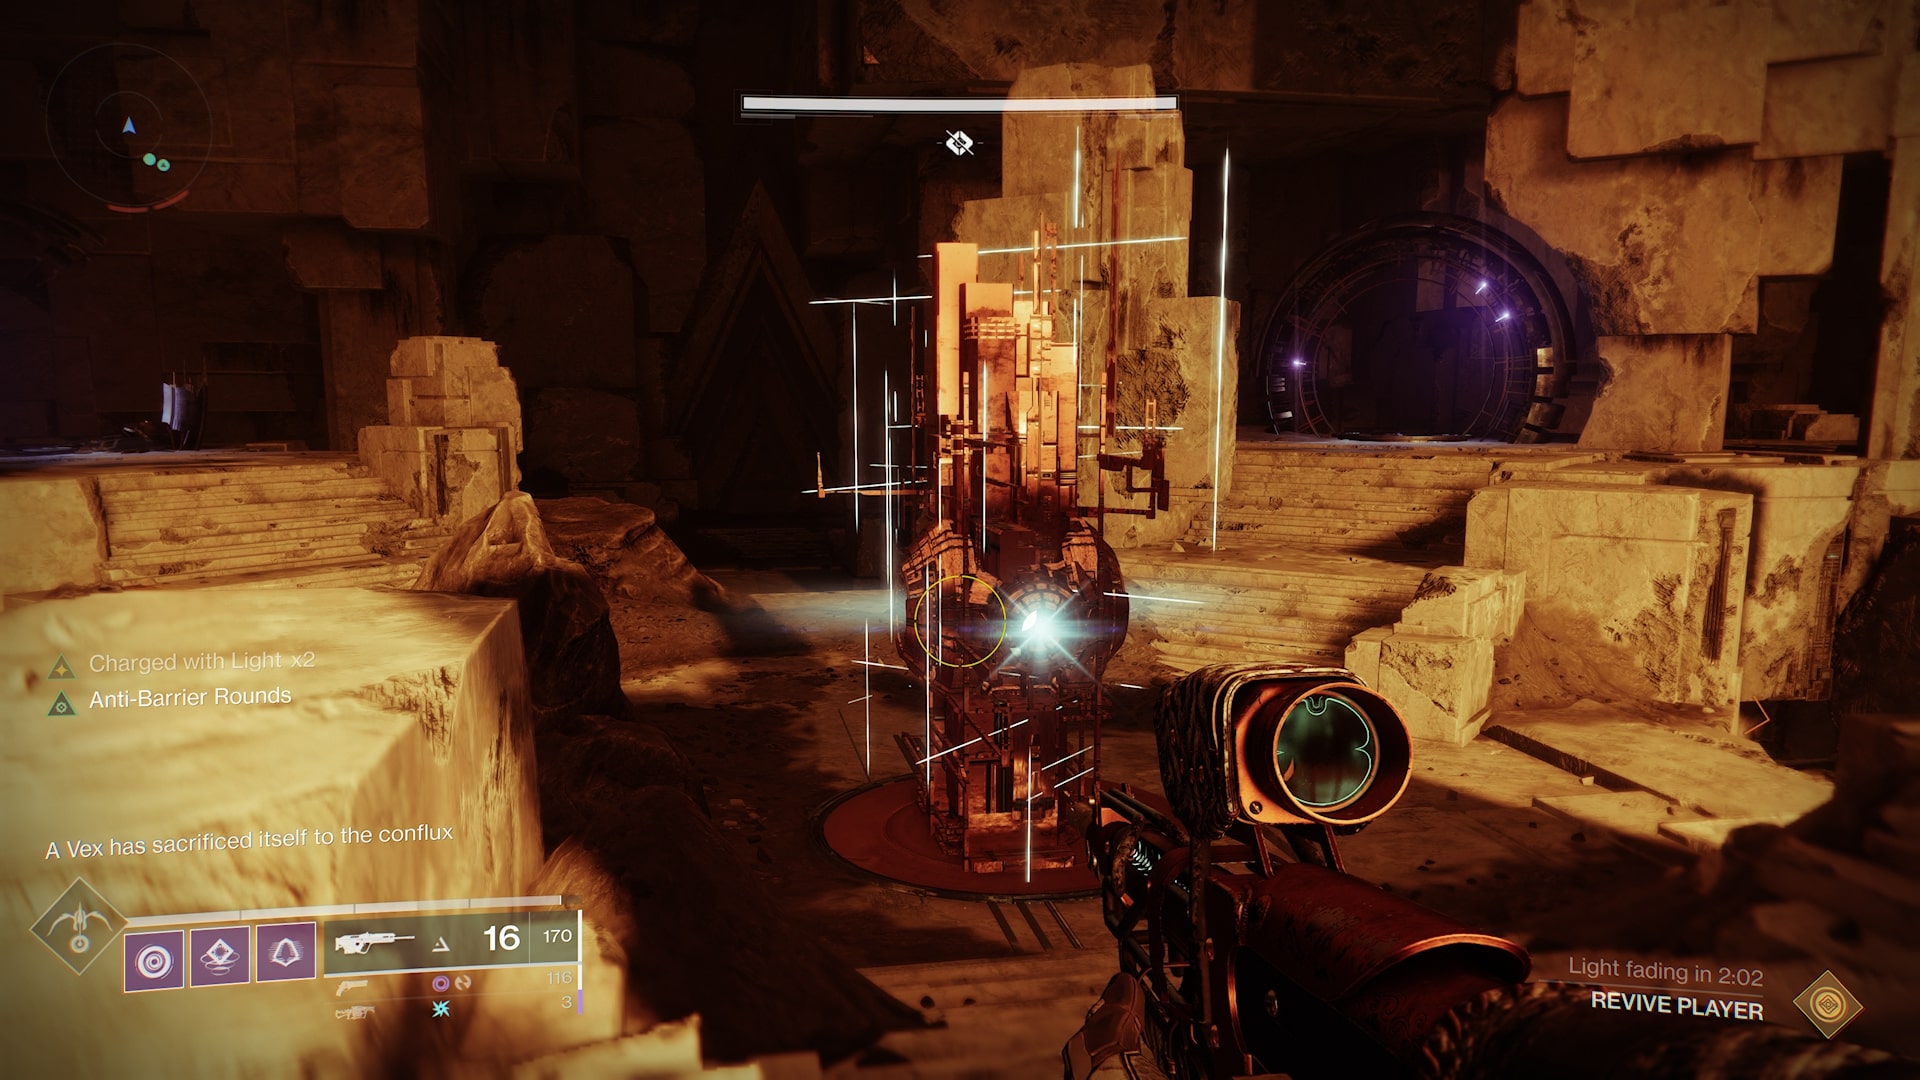
This means the encounter should play out as follows (with Gatekeepers and Vex spawning who must be defeated):
- Players split into two teams and kill the first central Gatekeeper
- One player picks up the Aegis Relic, and one player from each team enters the portal on each side.
- While in the portal, the side with the Praetorian will advise it’s there and the Relic user will jump in and kill it.
- After killing the Praetorian, the Relic user drops it and the player they helped will pick it up and return to the main area.
- After leaving the area, the Relic holder passes the Relic on to whomever was defending the plate and they will enter the other portal on the opposing side to kill another Praetorian before repeating the whole process again.
After defeating six Praetorians, your team will then return to the main zone and defend a final Conflux where you killed the first Gatekeeper from an onslaught of enemies. These waves will include Wyverns, Praetorians, and lots of small Vex. Survive this and you’ll receive a chest and move on to the final encounter.
Encounter 7: Atheon
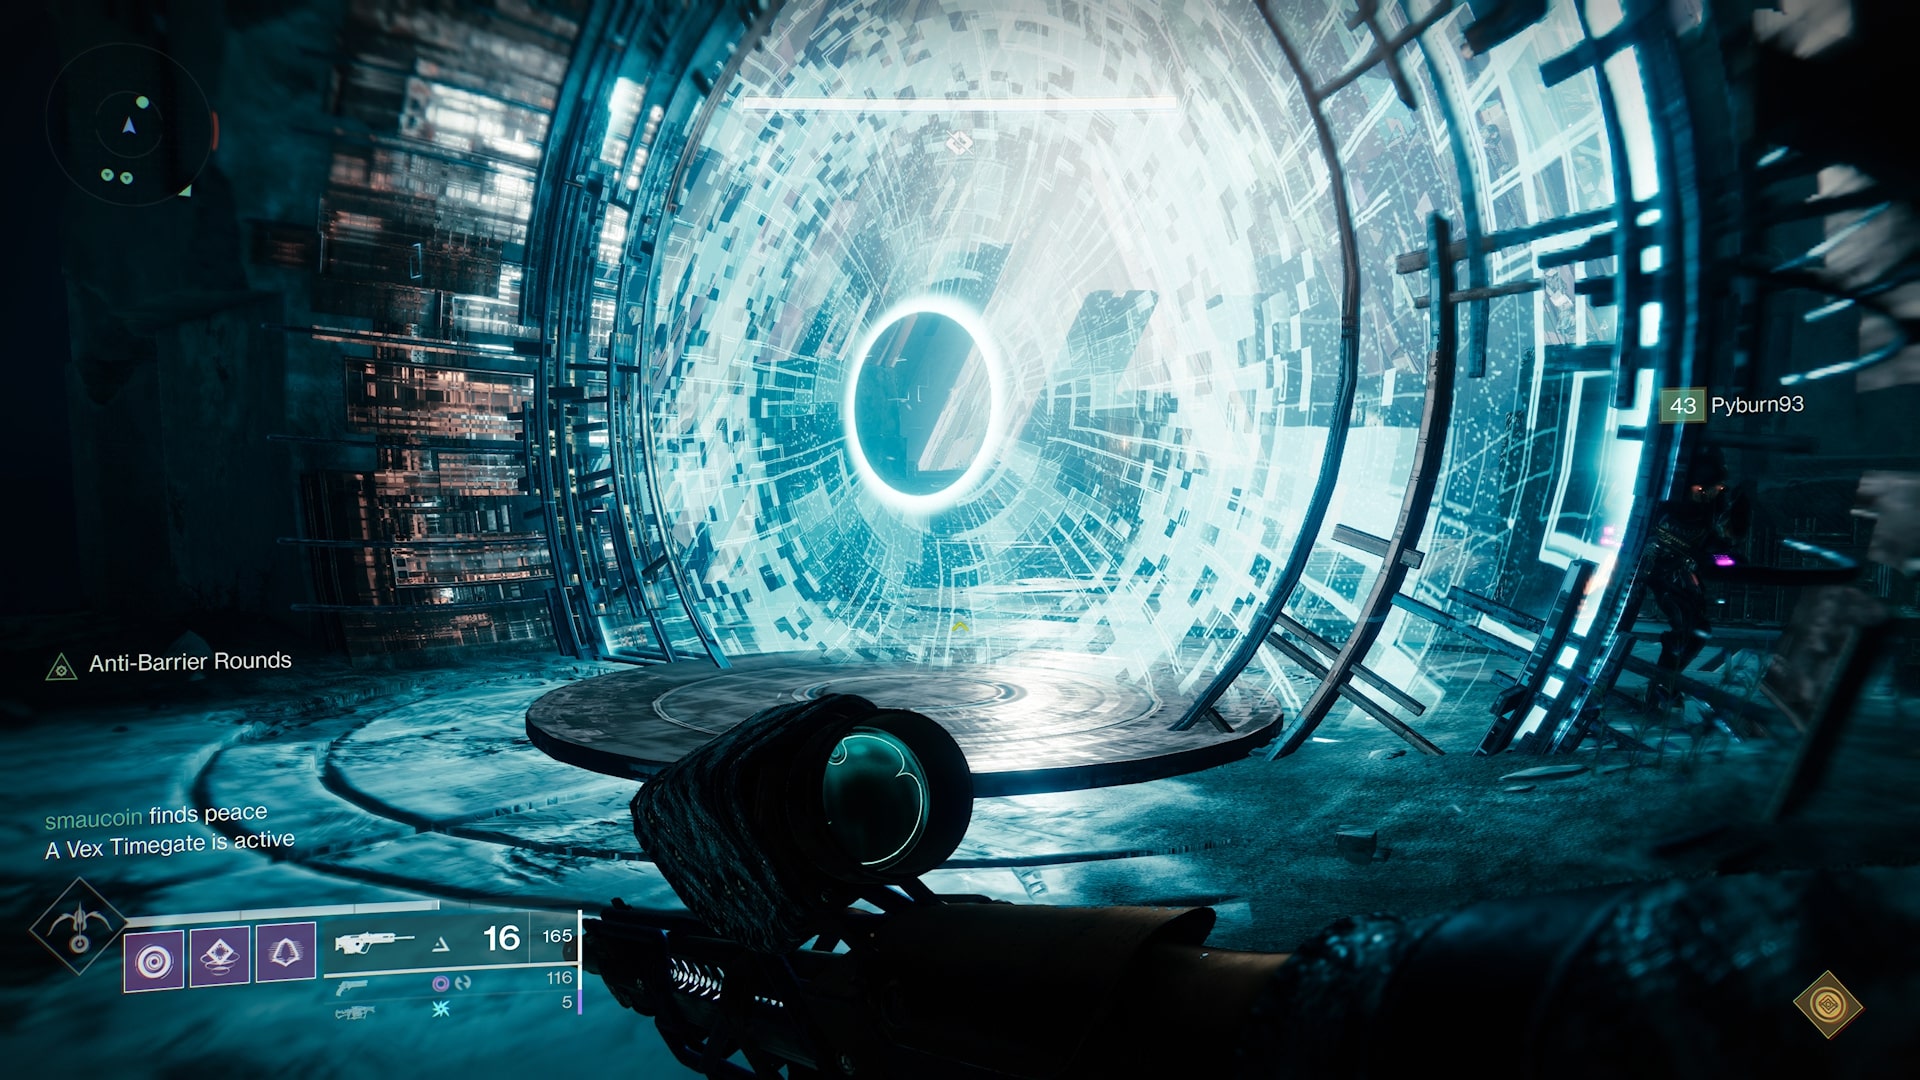
Everything that has come before leads up to this moment: Atheon isn’t just a big boss fight, it’s also an Oracle encounter. You also need to defend plates to open portals. The only mechanic it doesn’t have is Confluxes.
That means you’ll be bringing nearly everything you’ve learned in the raid and mashing it all together. While there are technically teams in this encounter, randomness is the name of the game. So it helps if players know how to shoot and call out Oracles, have a long-range weapon, a damage weapon, and a weapon to kill smaller enemies, and know how to use the Relic.
The encounter starts when the central box is shot. Following this, Atheon will awaken and charge about the arena shooting at everyone. Play it safe here and destroy all the Harpies that spawn. After a set amount of time, Atheon will teleport three members of the fireteam to a different area.
As the team spawns in this area, there will be an Aegis Relic. One player will pick it up and the others should focus on killing the enemies in the centre of the area. The player with the Relic will also need to periodically Cleanse those around them by putting up the shield.
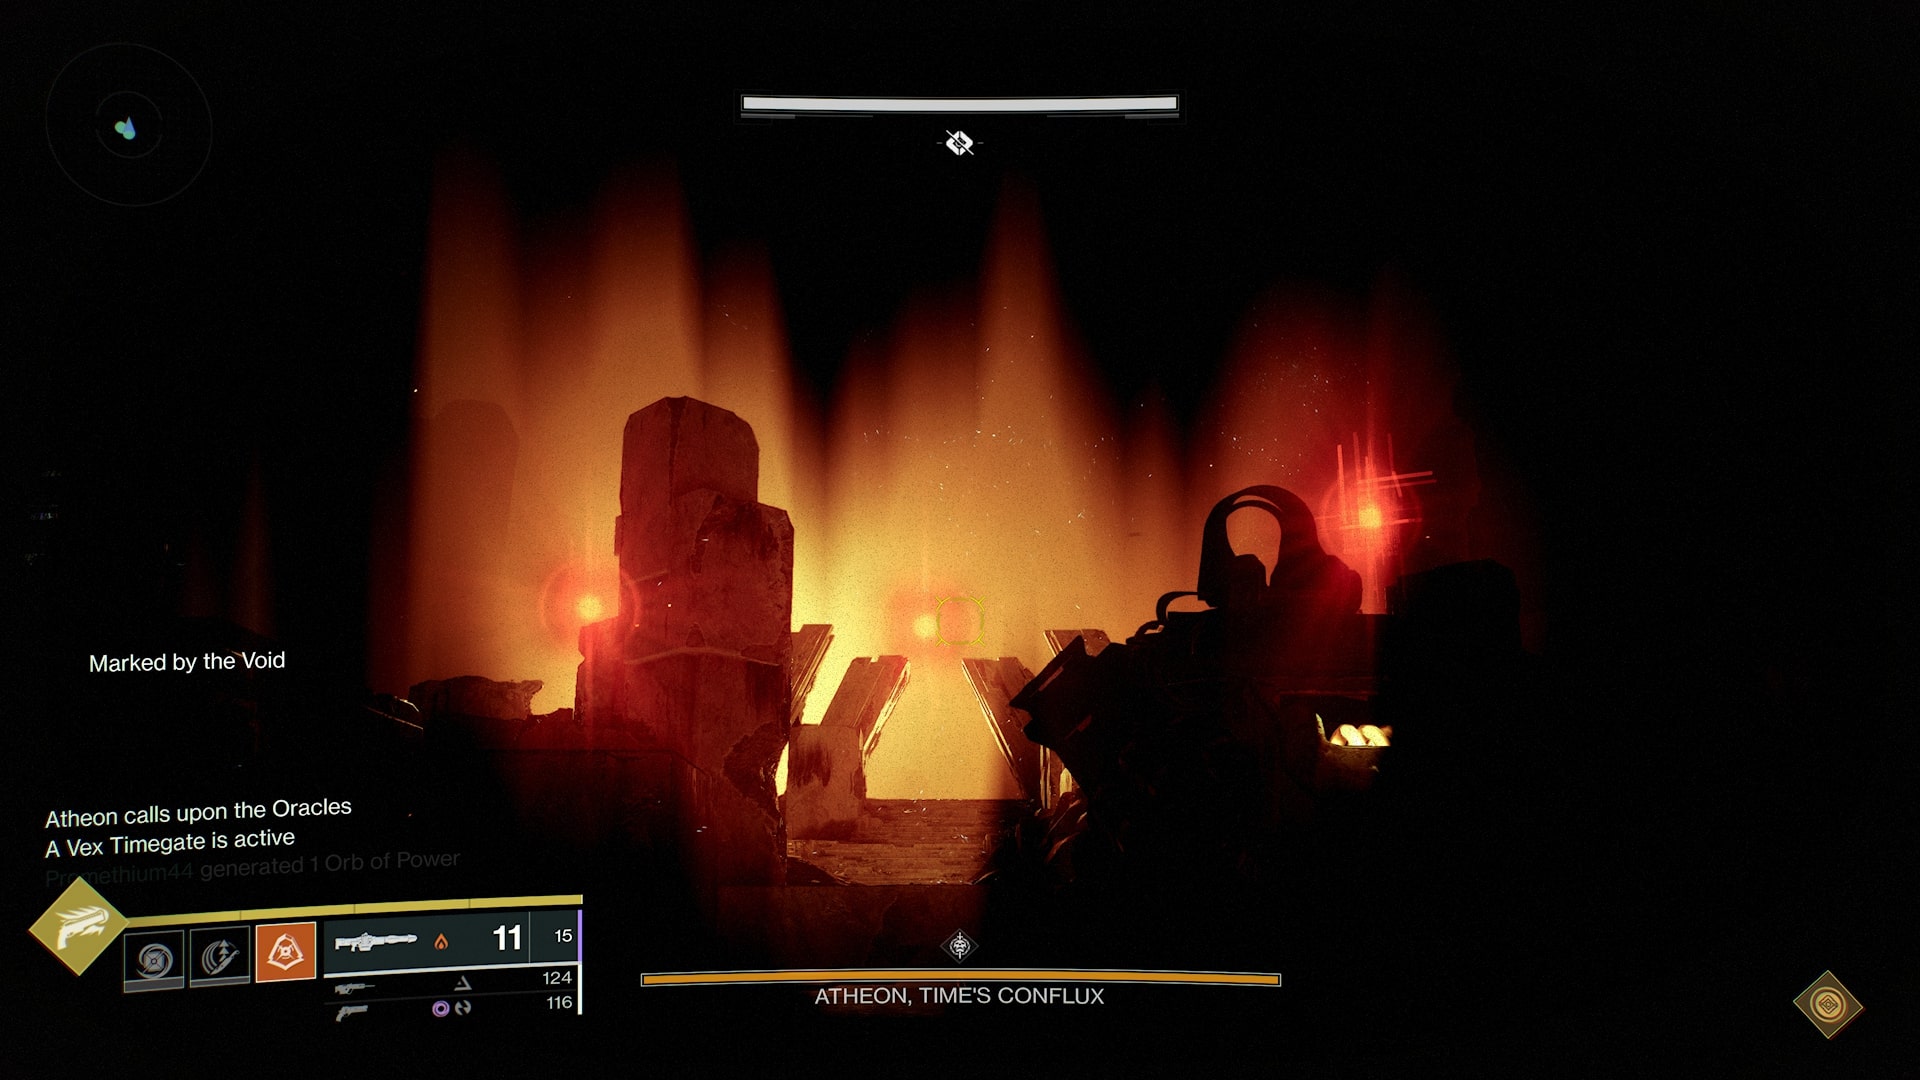
The eagle-eyed among you will recognise that this new area is the same as the Gatekeeper encounter. It’s at this point where you must call out to the team which area you're in. This allows those not transported to head to whatever side matches your callout (some prefer to call it 'Mars' or 'Venus', others say 'Green' or 'Red', but I prefer explicitly stating 'left' or 'right' as it reduces confusion). We also made it a point to run to the opposite side of the area when we spawned, as this will mimic where those not transported to this world’s position.
While players are in the portal, those not teleported must stand on the plate that corresponds with the away team’s callout. As this is happening, three Oracles will spawn overhead in a specific order for those that were not teleported. My fireteam’s chosen method of calling these Oracles out matches that of JoshHunt . These must be called out and destroyed in the same order by those in the portal. After this has happened three times, the teleported team will need to return to the area through the portal.
After the third wave of Oracles has been destroyed, you'll be able to damage Atheon. Our team did so from the central floating platform directly in front of where you spawn. This allows players to safely shoot Atheon without worrying about the waves of enemies that continually harass you. If your fireteam is running a Warlock Well, this is a perfect place to drop it and a Titan Bubble too for the Weapons of Light buff.
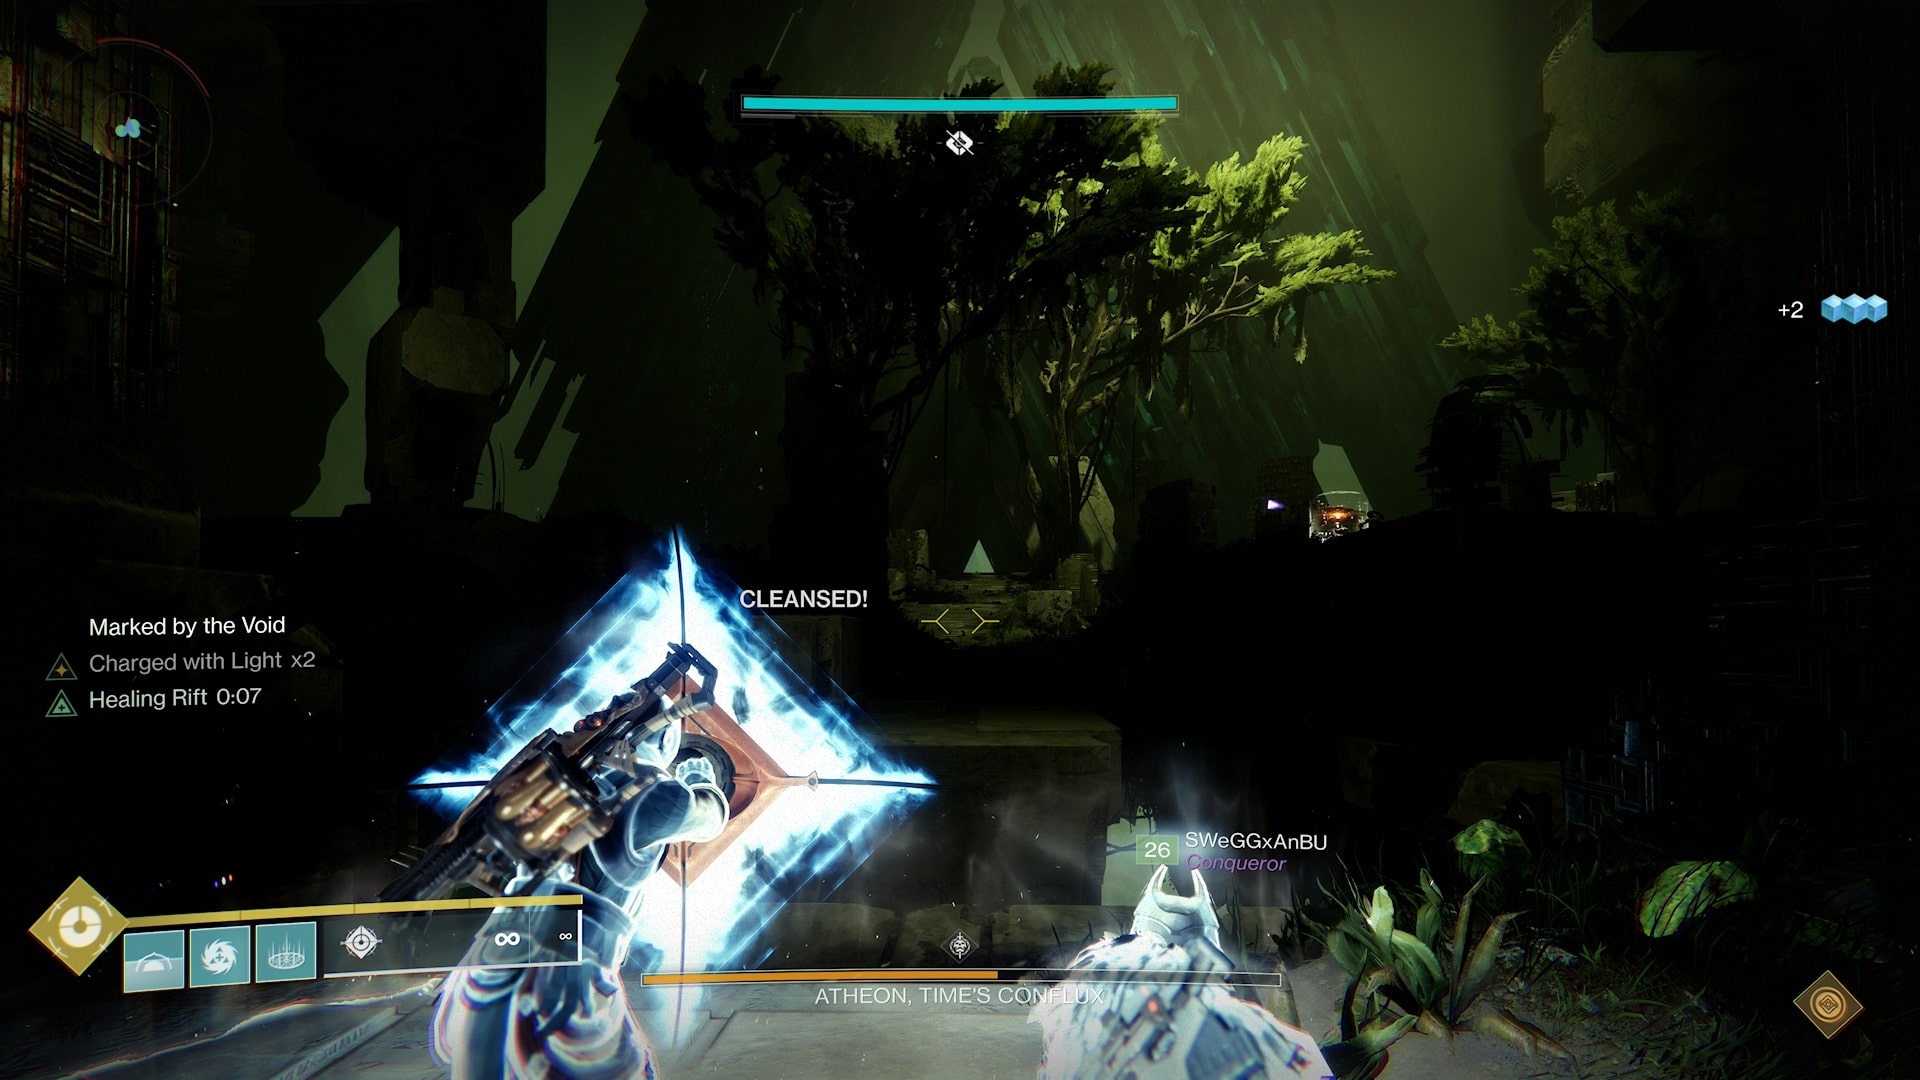
As this is all happening, everyone will receive the Time’s Vengeance buff. This lasts 30 seconds and allows players to damage Atheon while drastically improving super regeneration speed. So, firing off as many supers as possible is key here and, as a result, having Anarchy with Breach and Clear allows you a few shots in between supers. This cranks up your damage nicely.
And then there's a debuff applied to one person. Called Detainment, this is applied randomly to one member of your fireteam. It’s imperative you keep an eye out for this as it applies the same capture state found in the Templar encounter. If the Guardian holding this debuff is in the middle with you during the damage phase, they will wipe your team. So, as soon as the affected player identifies themselves by checking their debuff at the bottom-left of the screen, they must jump away from the group.
After a successful damage phase, players will need to clear ads before three are randomly selected and tossed to another world again. Repeat this process until Atheon is defeated. Note that Atheon enters an enraged phase after the third DPS phase and will wipe your entire team after the fourth damage phase. Should you deal enough damage, Atheon will crumble and you will have successfully completed the Vault of Glass.
Now you're done you can make your way to the back of the room, pray for a Vex Mythoclast, and start it all over again every Tuesday until you see that sweet golden engram.

