Keep up to date with the most important stories and the best deals, as picked by the PC Gamer team.
You are now subscribed
Your newsletter sign-up was successful
Want to add more newsletters?
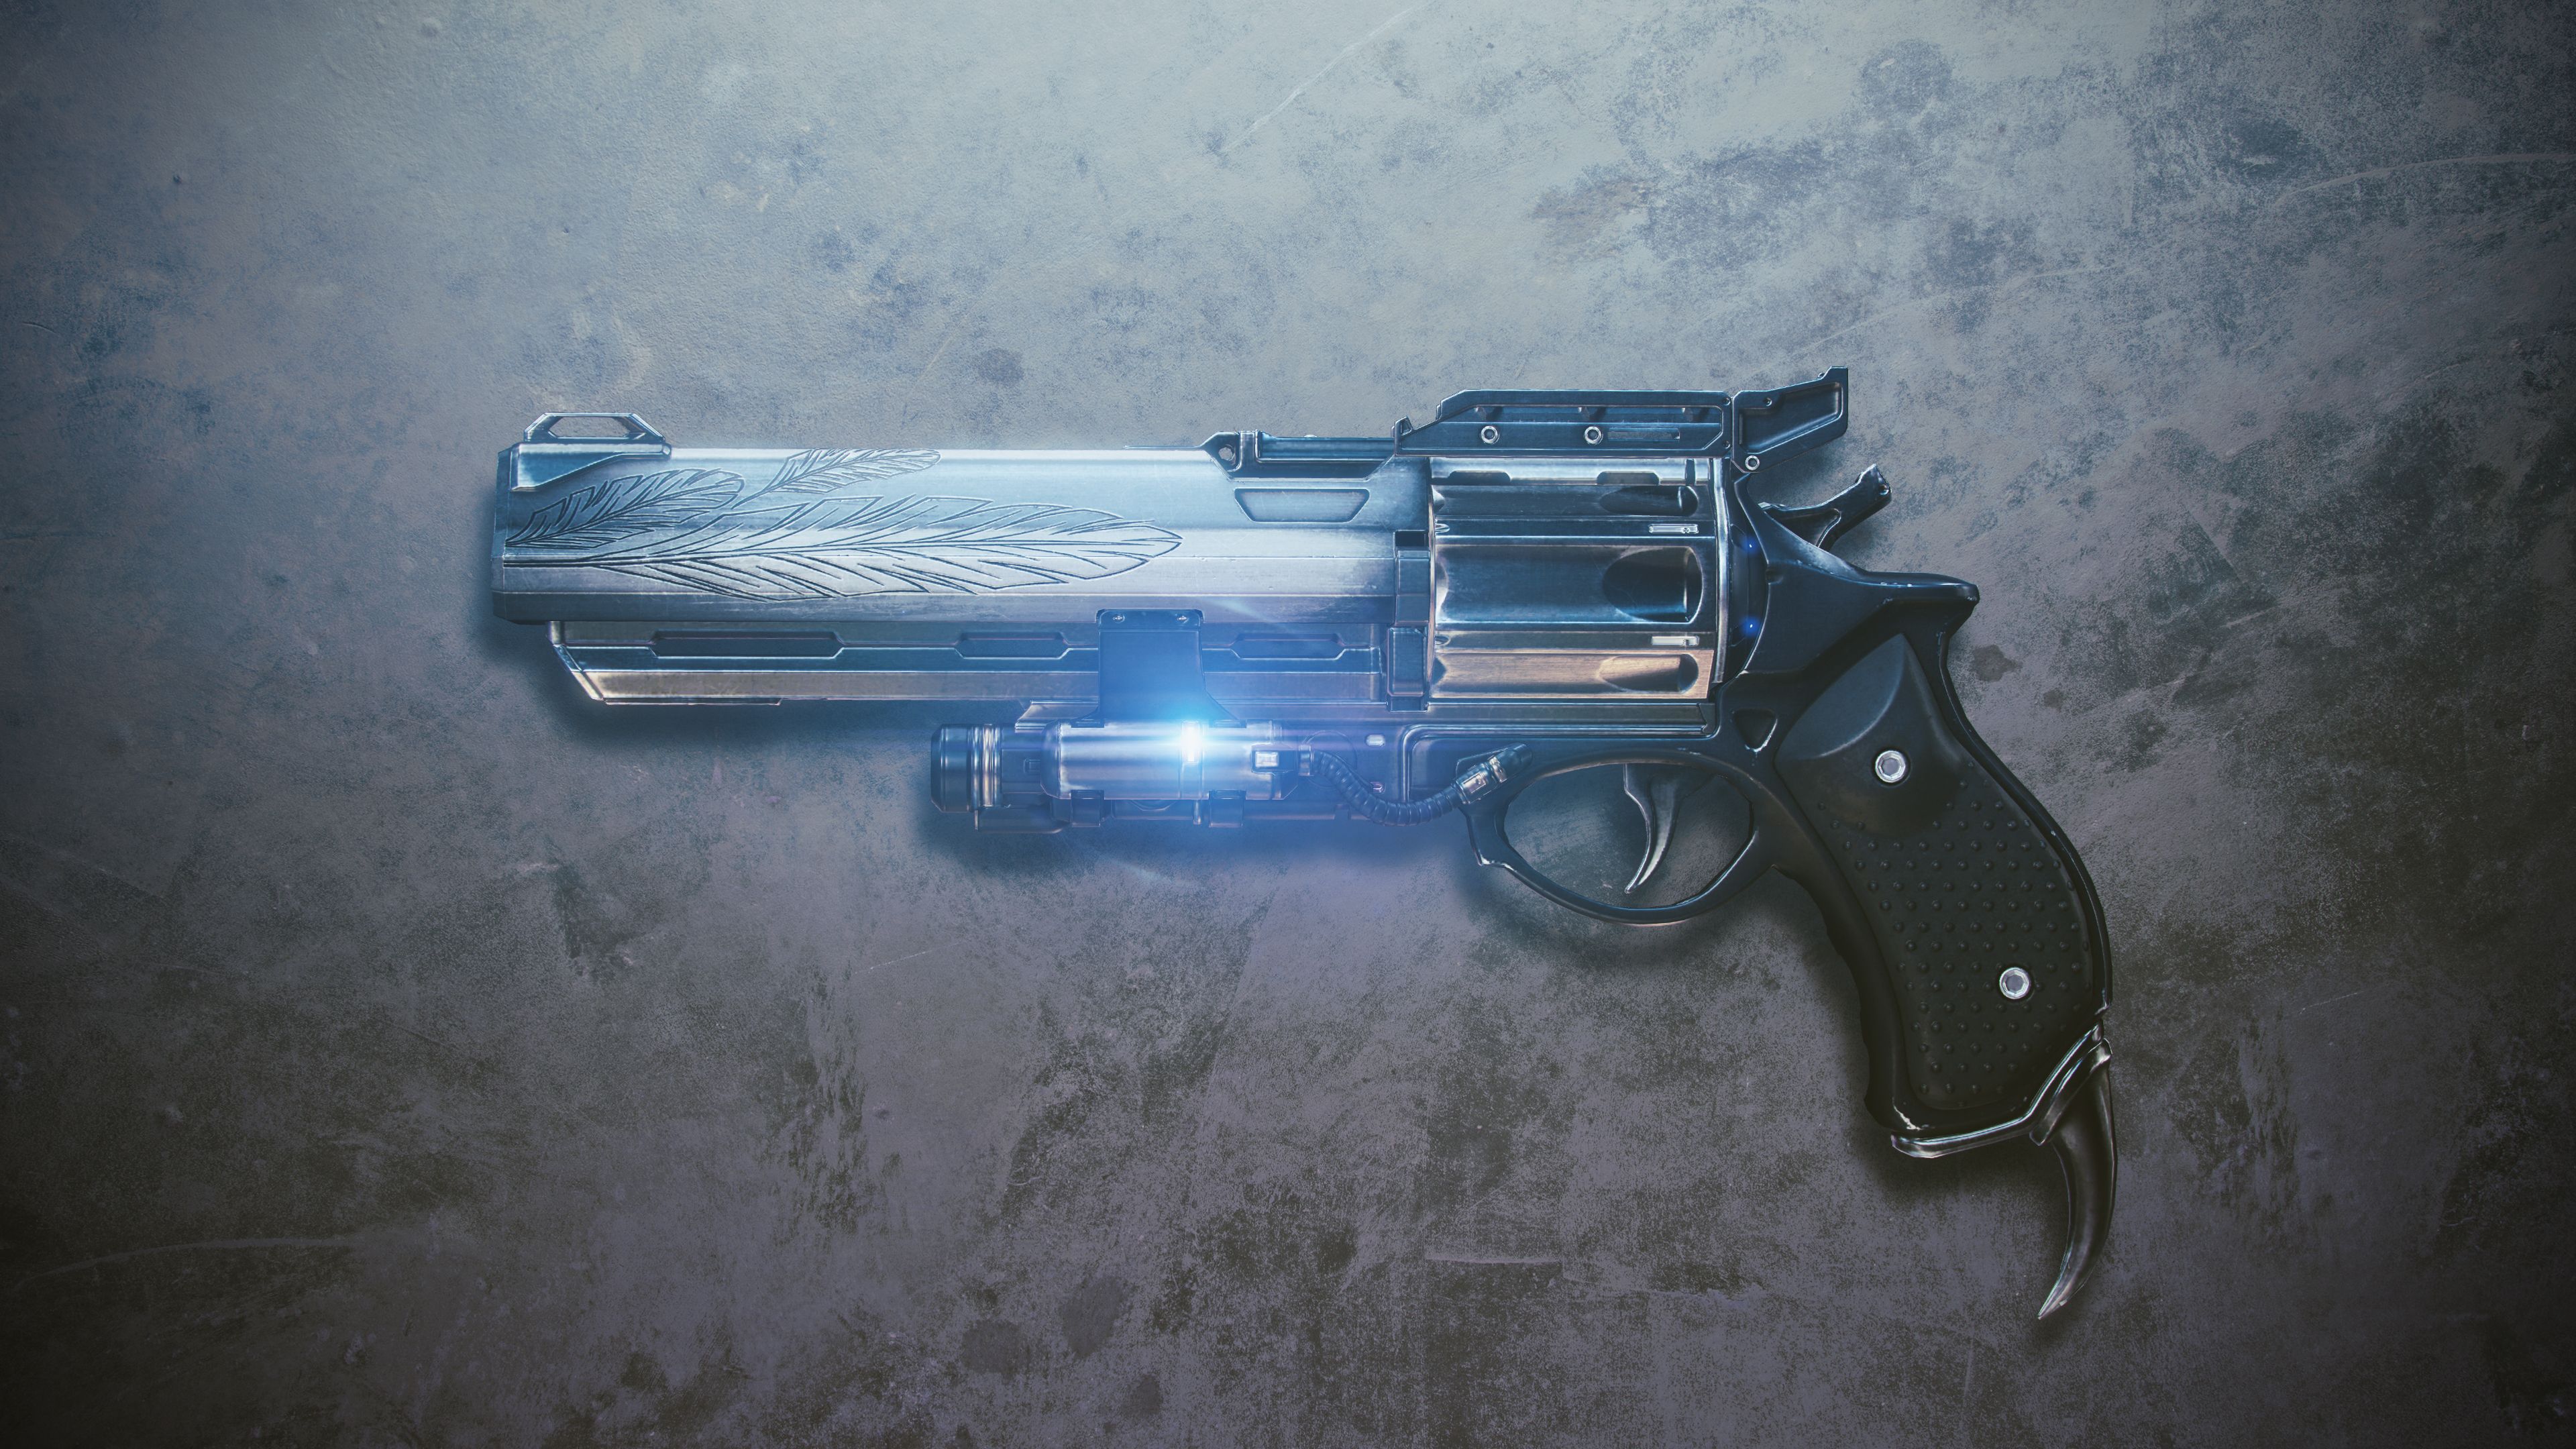
Ready for the Destiny 2 Harbinger quest? Hawkmoon was my favourite gun in Destiny 1, so I was pretty nervous when Bungie announced a reworked version was coming to Destiny 2. But I needn't have been—the redux version of this exotic hand cannon is a monster, and much better in PvE than the original, which was mostly renowned for its PvP prowess. If you haven't got it, here's our guide to earning the base version of the Destiny 2 Hawkmoon exotic.
I say base version because when Hawkmoon originally dropped it had a missing perk with a question mark called Transformative that read: "Future drops of this weapon will have random rolls." Until now we didn't know how to unlock those enhanced rolls, but with the latest weekly reset the mystery is solved. Friend of PC Gamer Fallout Plays explaining how to get random rolled Hawkmoon drops, which I've embedded below, and recommend using.
For those of you with an aversion to moving pictures, my own write-up is below. One word of warning: The mission is lengthy and tough, with enemies pegged at around 1270-1280 power and several negative modifiers. There's a triumph for completing it solo, but I'd recommend going in with a fireteam for your first completion. So, here's how to get the Destiny 2 Bird of Prey exotic quest and help you on your way to random Hawkmoon rolls and the exotic catalyst
Article continues belowDestiny 2 Harbinger and Bird of Prey quest steps
1. Visit The Crow
To begin the quest head to The Crow's office, which you'll find located to the left of Spider on the Tangled Shore. Pick up the Destiny 2 Bird of Prey exotic quest from him. Note that you'll obviously need to have already unlocked Hawkmoon to do this.
2. Begin the Harbinger mission
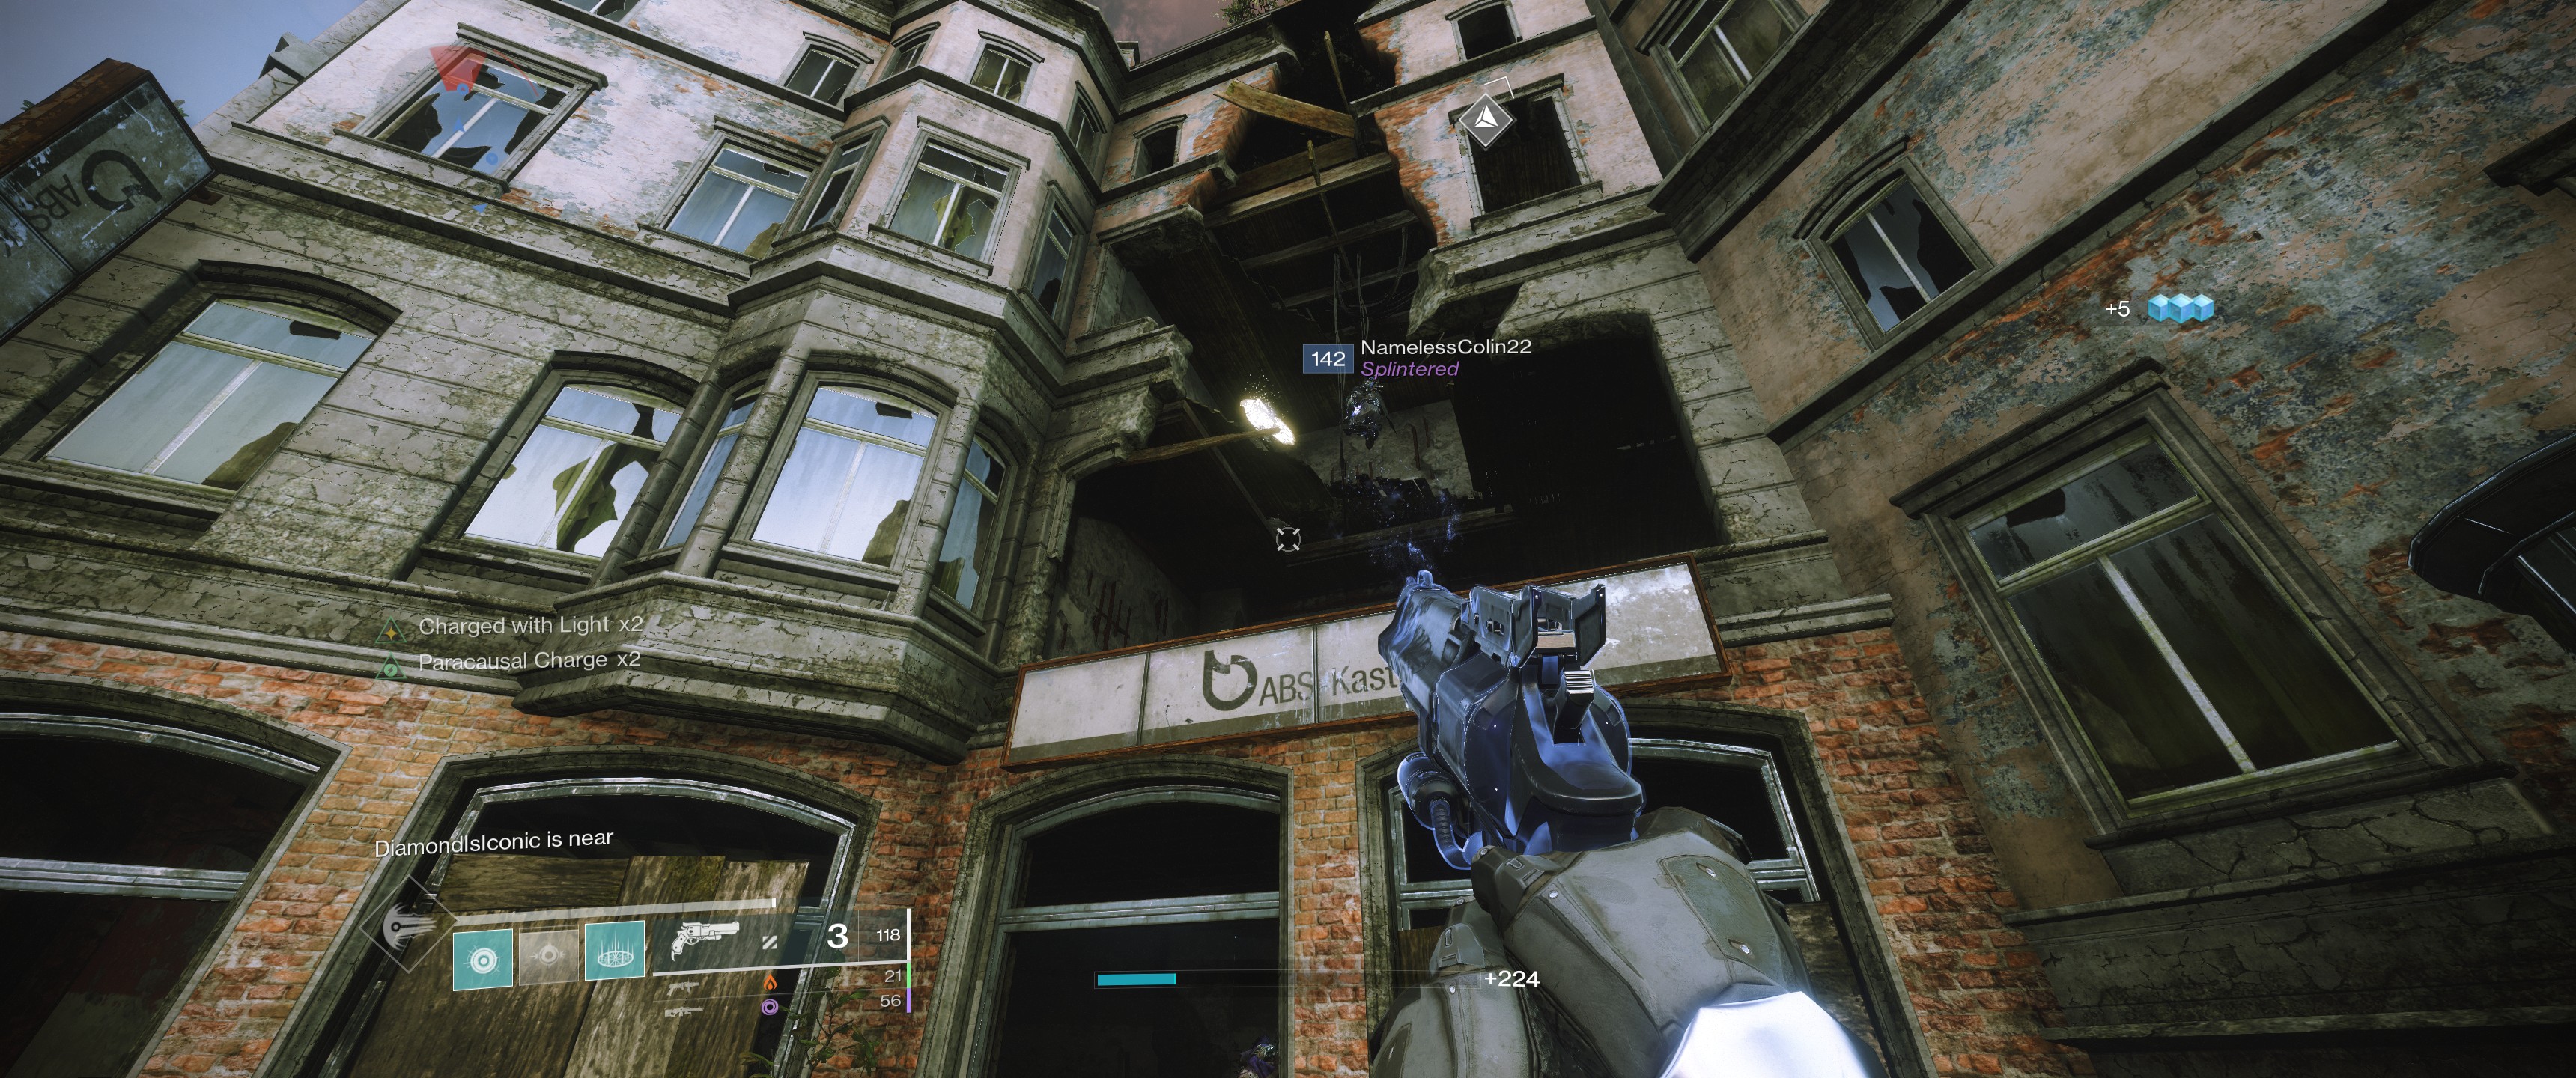
The quest tells you to visit the EDZ, where the mission will be marked on the map. Except it wasn't for me. No matter. Just fly into Trostland (the landing point by Devrim Kay) and head for the shattered building with a sign that reads ABS Kastner to the right of spawn. You'll know it's the right one because there will be a golden hawk perched on a beam. Jump up to the first floor, head in, and turn to your left.
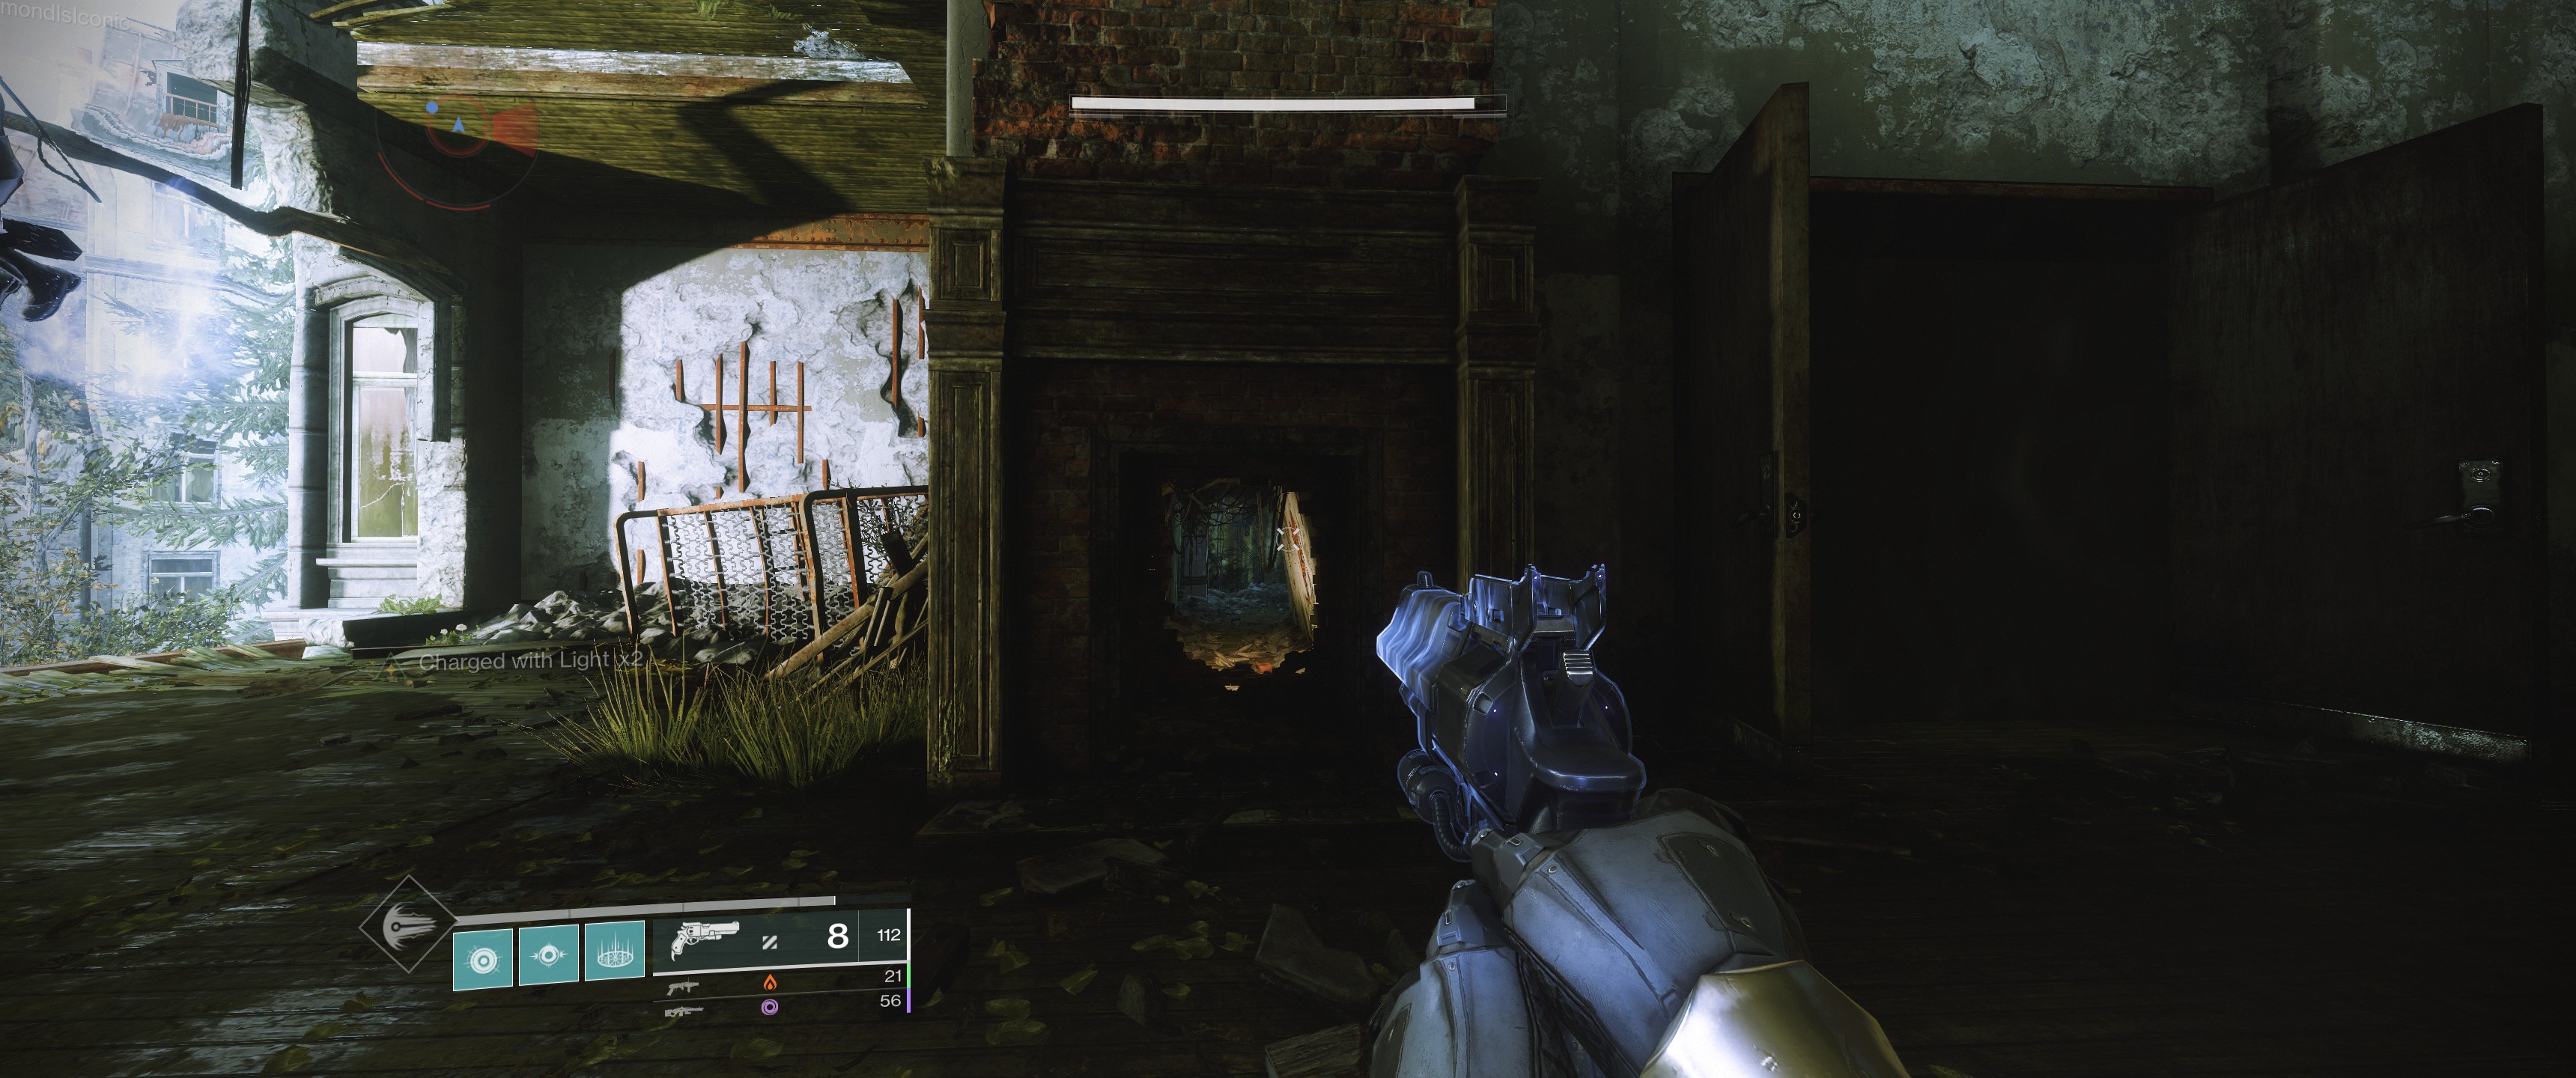
You'll find a fireplace which will either be blocked with rubble that needs shooting out or already be open. Head inside and on your left you'll find a panel with a 'Start mission' prompt.
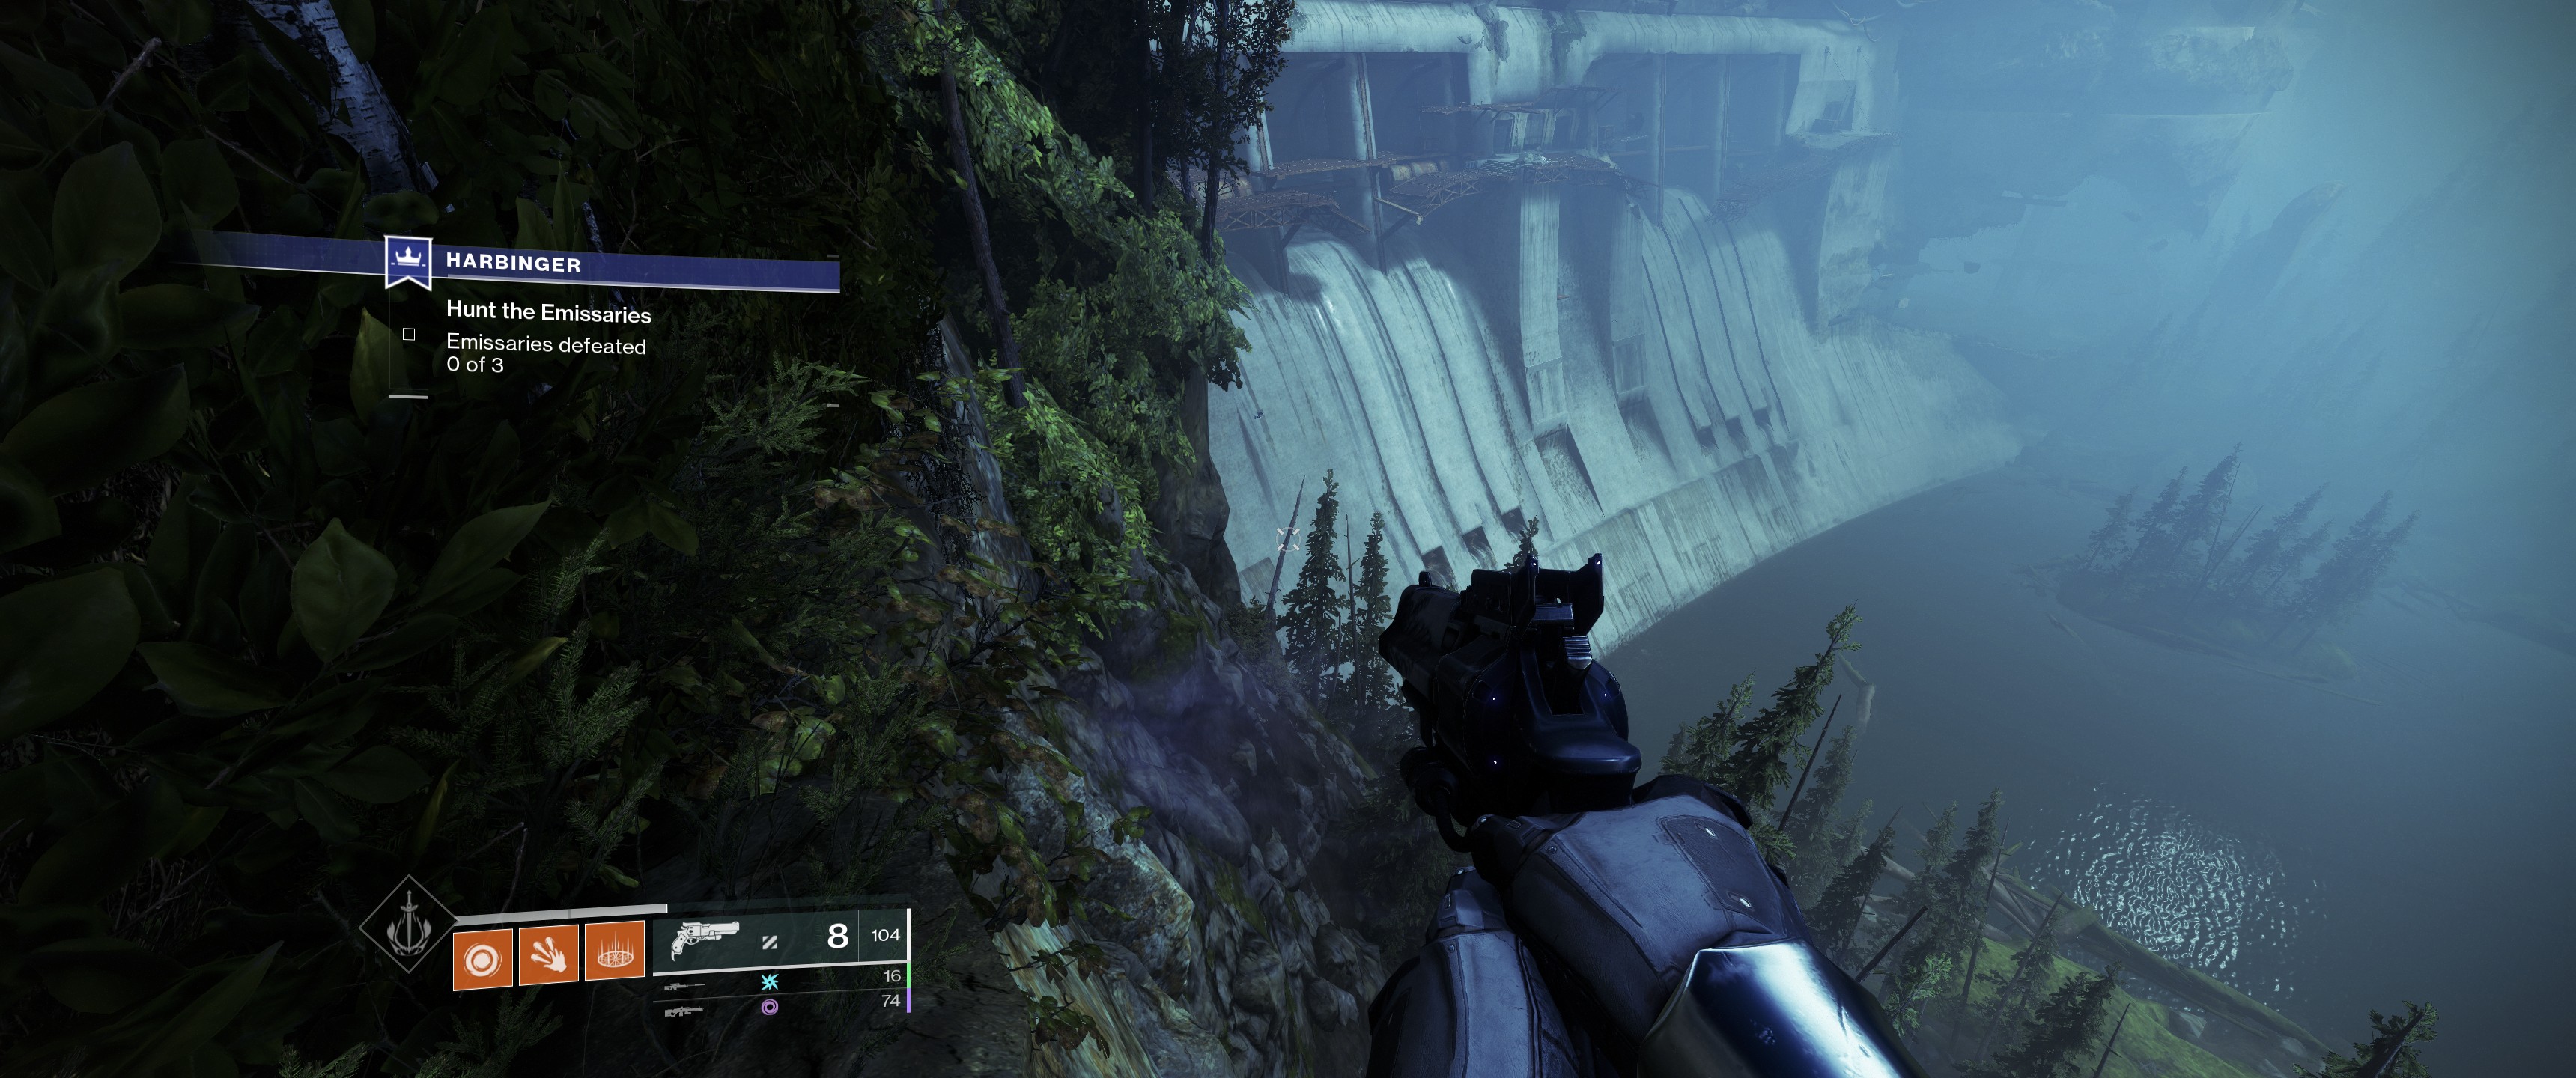
Once you're in, follow the path forward until you reach a dead end area with pipes and wires above. On the right hand wall there's actually an alcove. Step in and keep going. Eventually you'll reach an open area looking out over the dam. Welcome to the first jumping puzzle.
Keep up to date with the most important stories and the best deals, as picked by the PC Gamer team.
3. Traverse the base of the dam
See that dam in the distance? You need to make your way over there and then clamber along and then up the side. It's not as hard as it might initially seem, especially if you follow Fallout's route in the video embedded further up this guide. First kill the Hobgoblin sniper, then hop across. Then look down at the long branch sticking out an angle. Jump down to that and then make a big leap across to the lower lip of the dam.
From here it's a case of using the stained inlets to progress along until you reach a section where you can start heading up. You're looking for a plank sticking out, under which is another hole that you can enter, which takes you into the next section.
4. Kill the emissaries
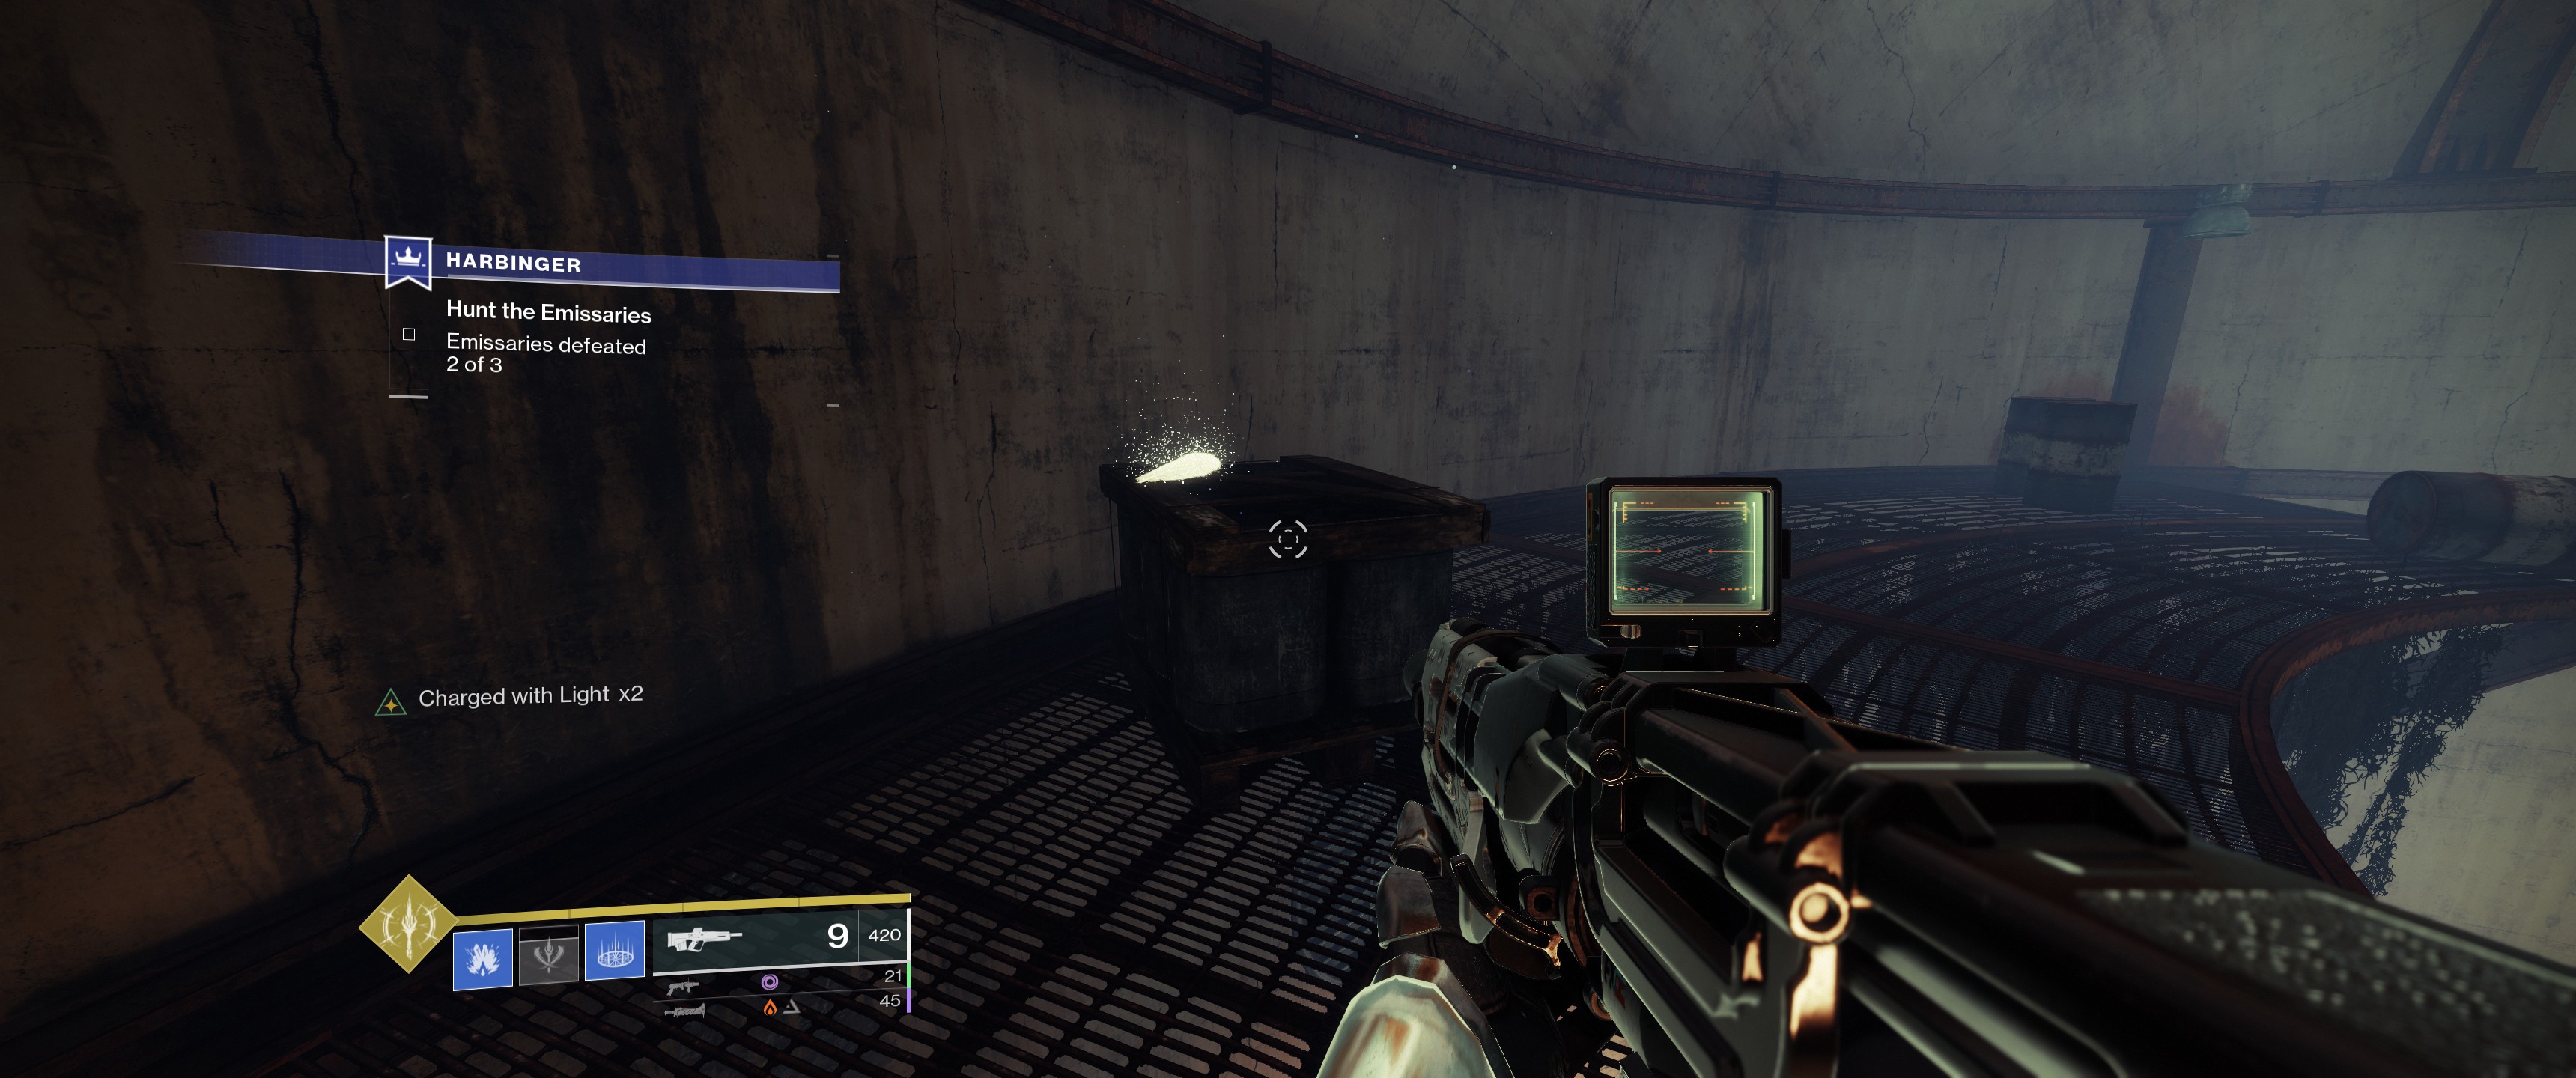
Combat time now. Make your way into an area with multiple turbines and elevated walkways. Here you'll face a buttload of Taken, and need to kill three Emissaries of Savathun. As I noted at the top these are fairly challenging, and you'll want to have multiple damage elements covered as the Emissaries are all shielded—centurion (arc), wizard (void), and knight (solar). After each has taken a chunk of damage it will retreat further into the complex. In order to track them down, you'll need to break one of the black wibbly blights that's blocking an entrance.
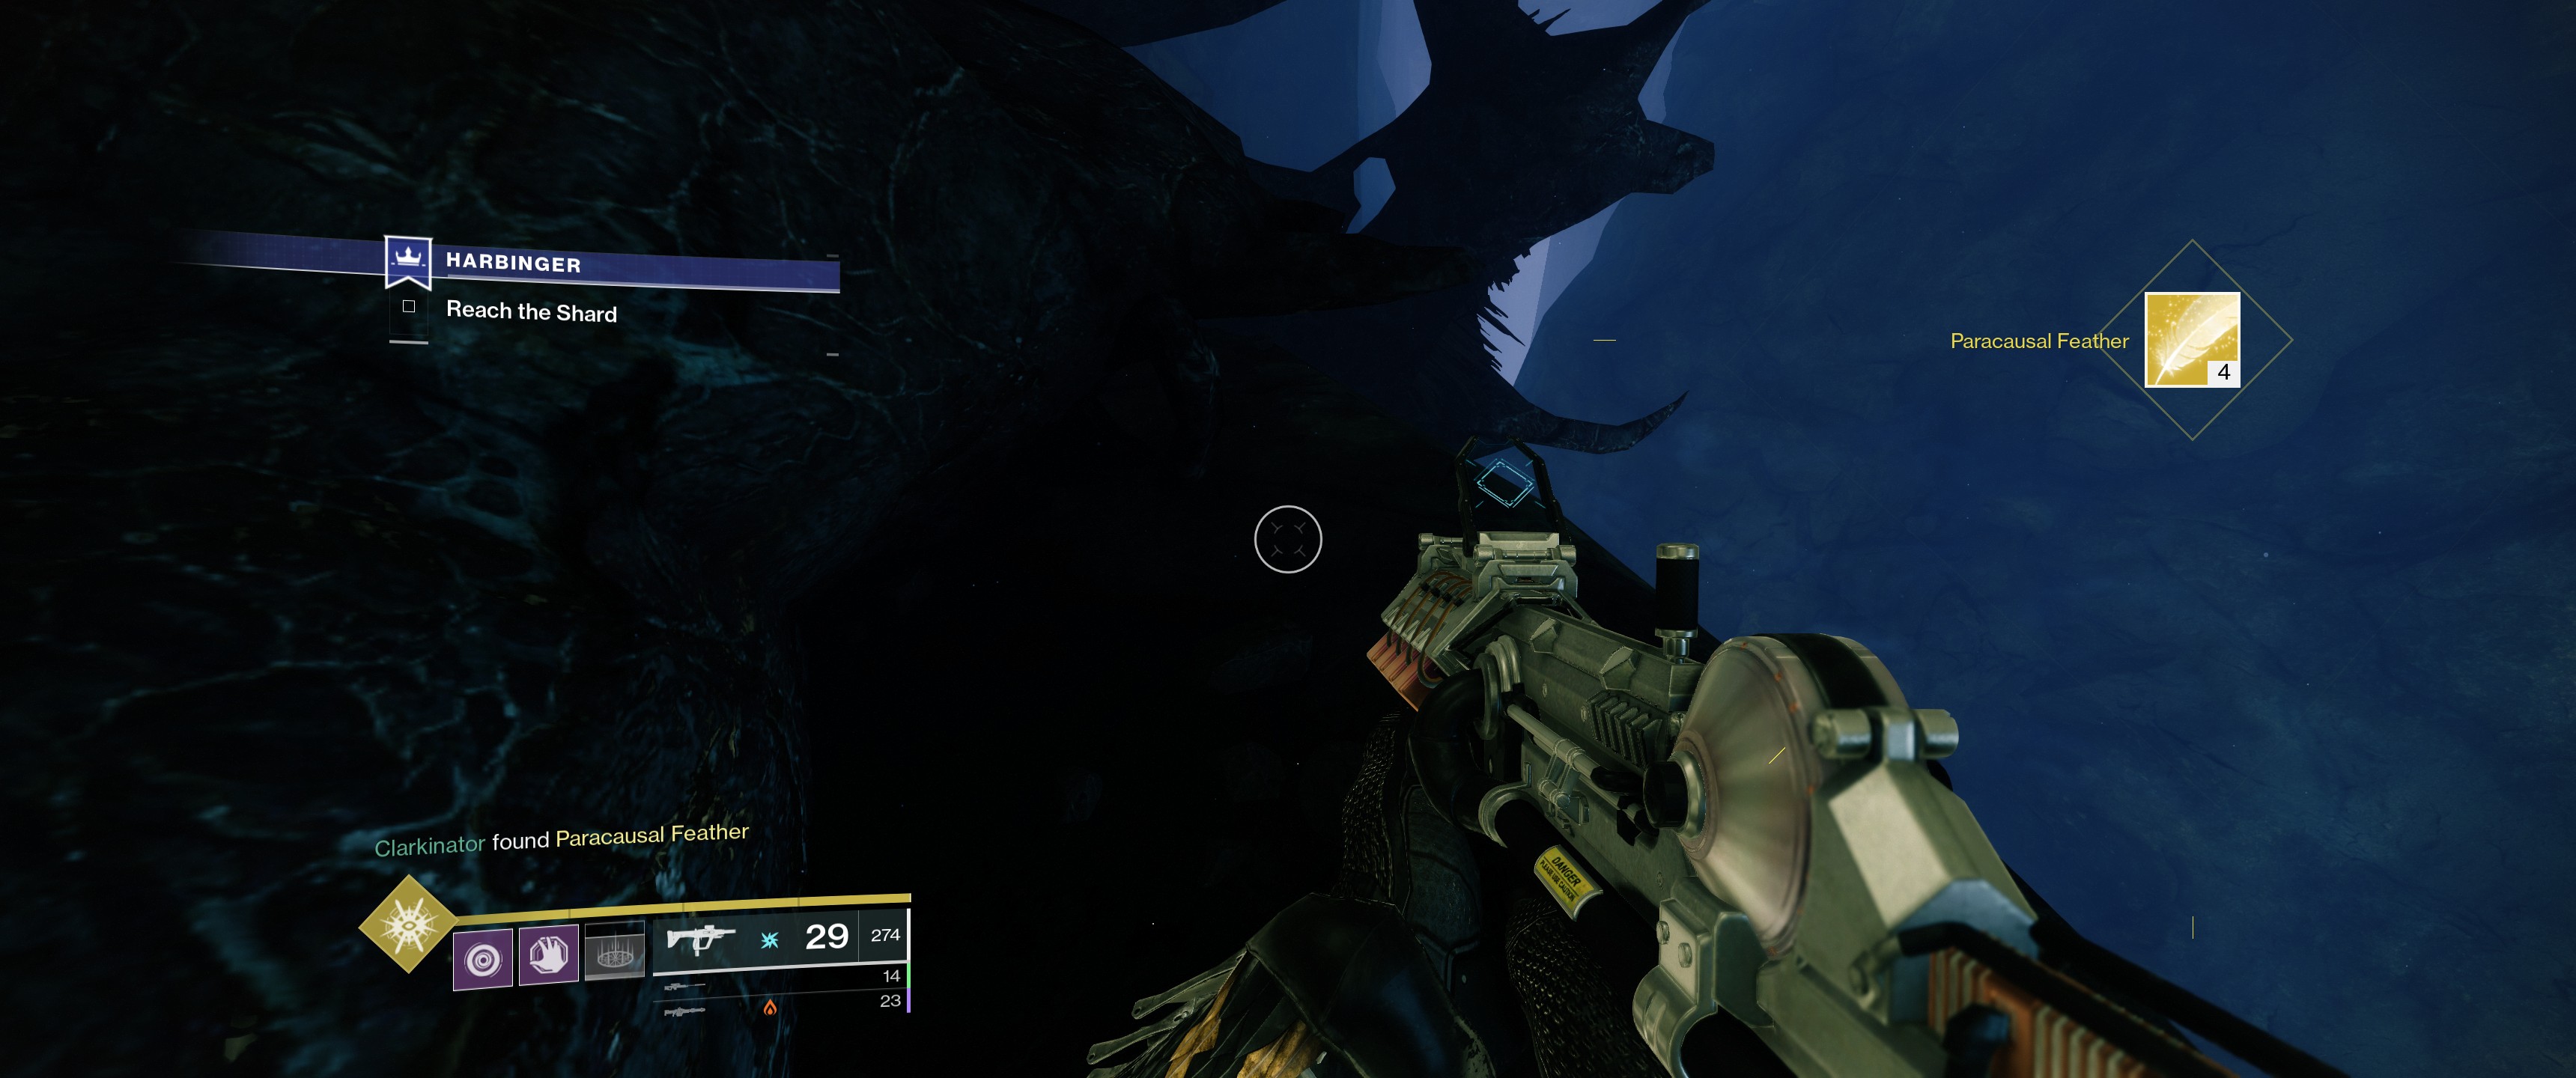
It's simple enough to find them though, so just repeat the loop of damage boss, break blight, find and finish them off. Along the way also keep an eye out for Paracausal feathers. You earn some from beating bosses, but others are scattered around the mission. Once all three emissaries are dead you'll be given a prompt that reads 'Follow the Hawk'. The objective marker is a little unhelpful here but head back to the main concourse, keep looking for blights, and you'll find the next area easily.
5. Survive
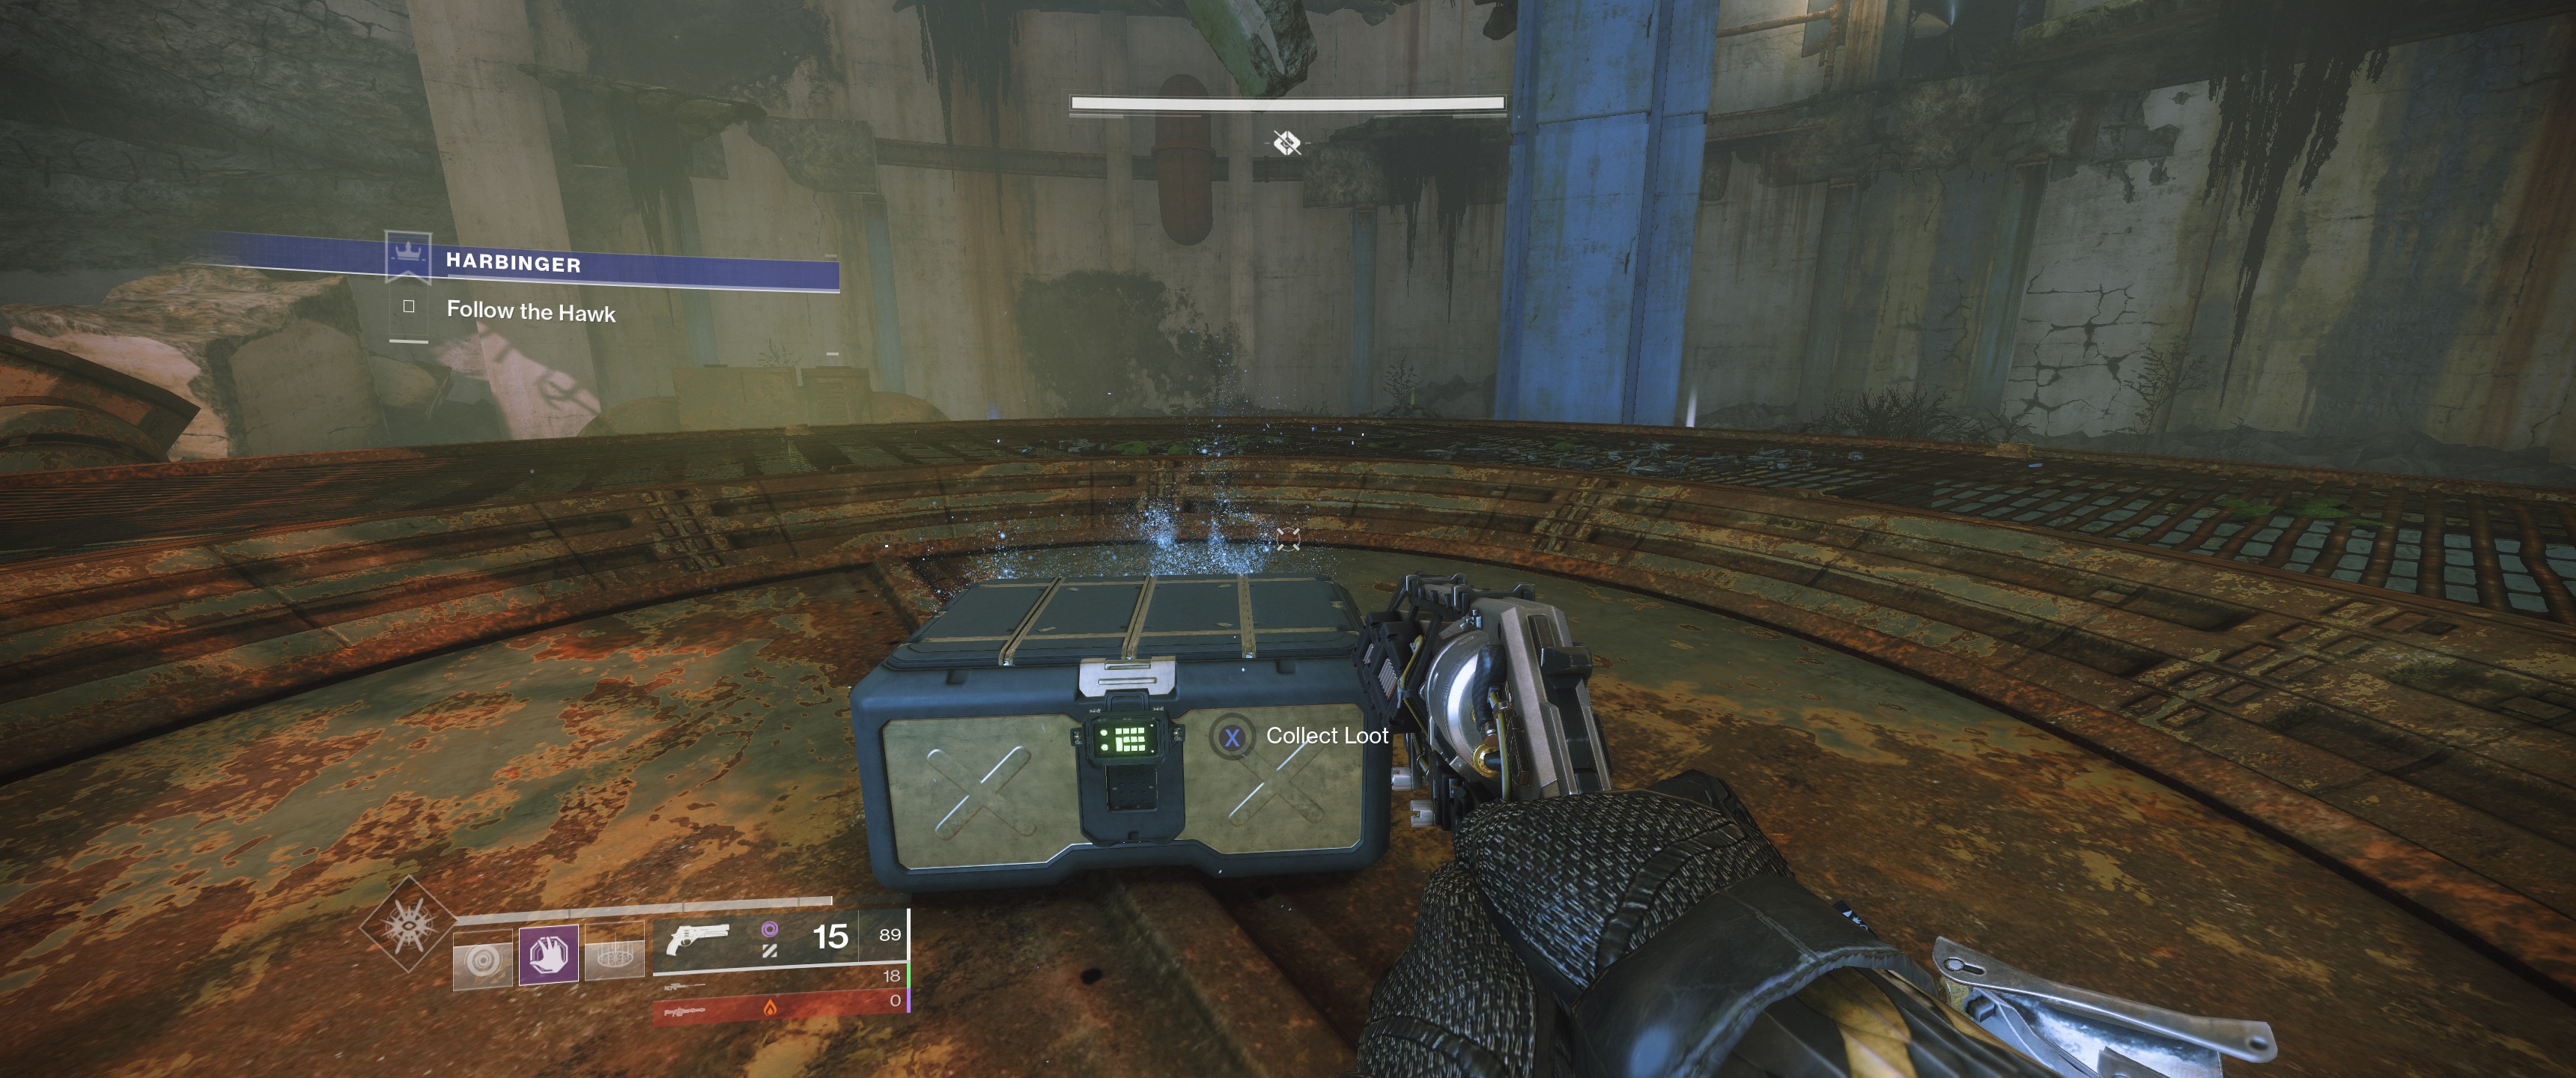
Here's where you start to really need a fireteam to help. You're in the open area from the end of the Lake of Shadows strike, and need to fend off multiple enemies, including more shielded centurions, wizards and captains. To make matters even more annoying, there are a few 'Unstoppable' champions, so be sure to have at least one means of staggering those. The hobgoblin snipers will also light you up like the Macy's Day parade given half a chance, so take them out quick. Make it through and a reward chest will spawn which contains…. More feathers. I'm afraid we're not done yet.
6: Jumping Puzzle 2: Electric Boogaloo
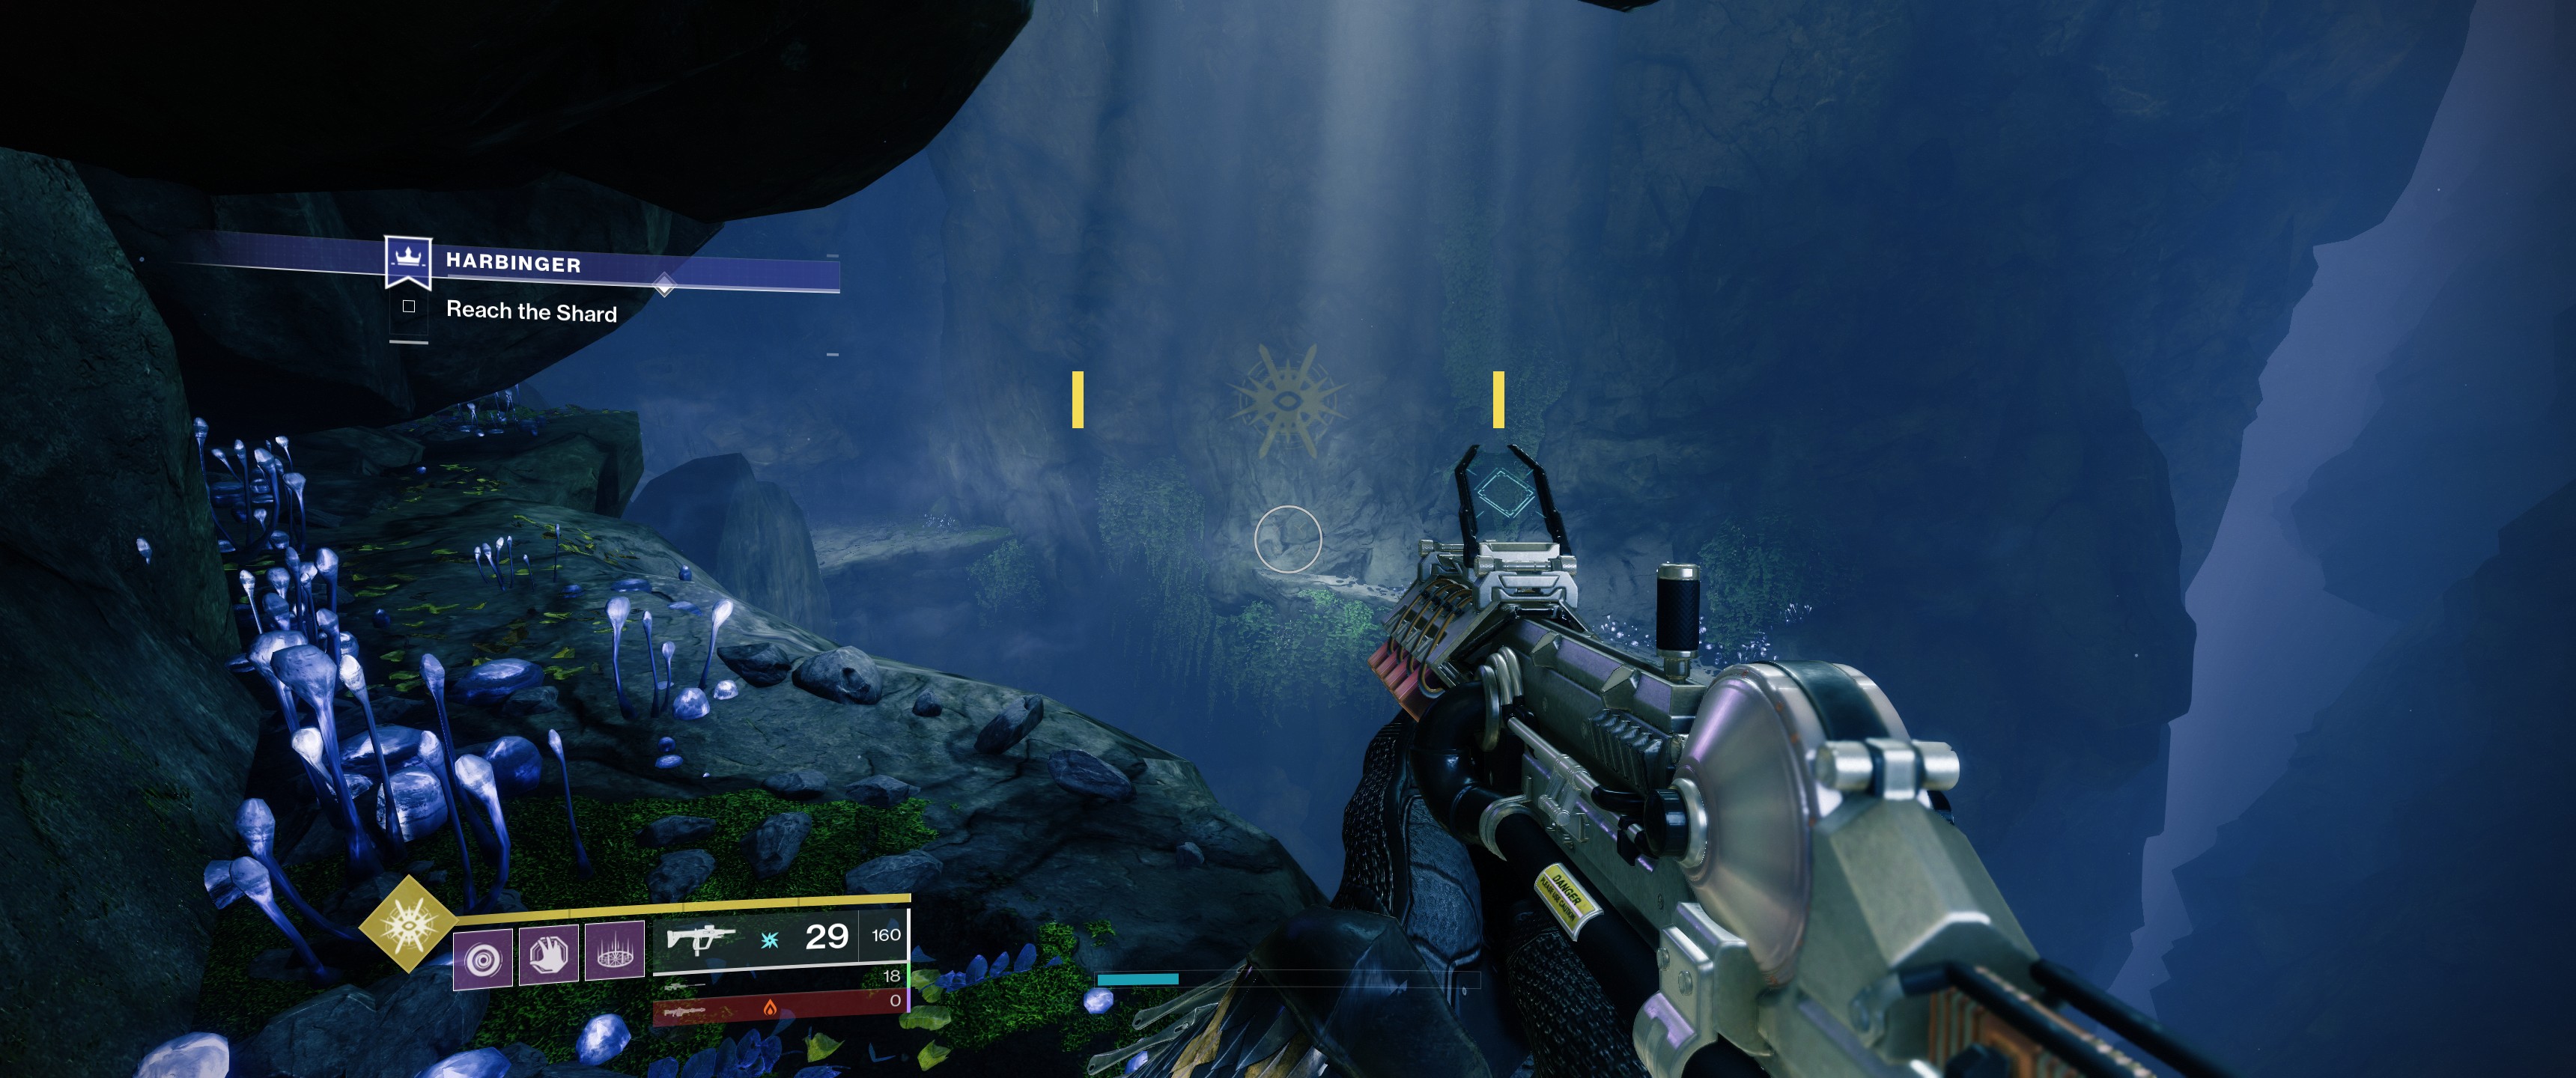
Now we need to 'reach the shard', which means taking a trip through the EDZ's spooky forest. In practical terms that involves another spell of platforming. This section is a reprise of The Hawk and the Crow jumping puzzle from the previous quest to get the base version, and again the route is shown in Fallout's video. It's pretty easy honestly. Which is more than I can say for the final room.
6: Survive (again)
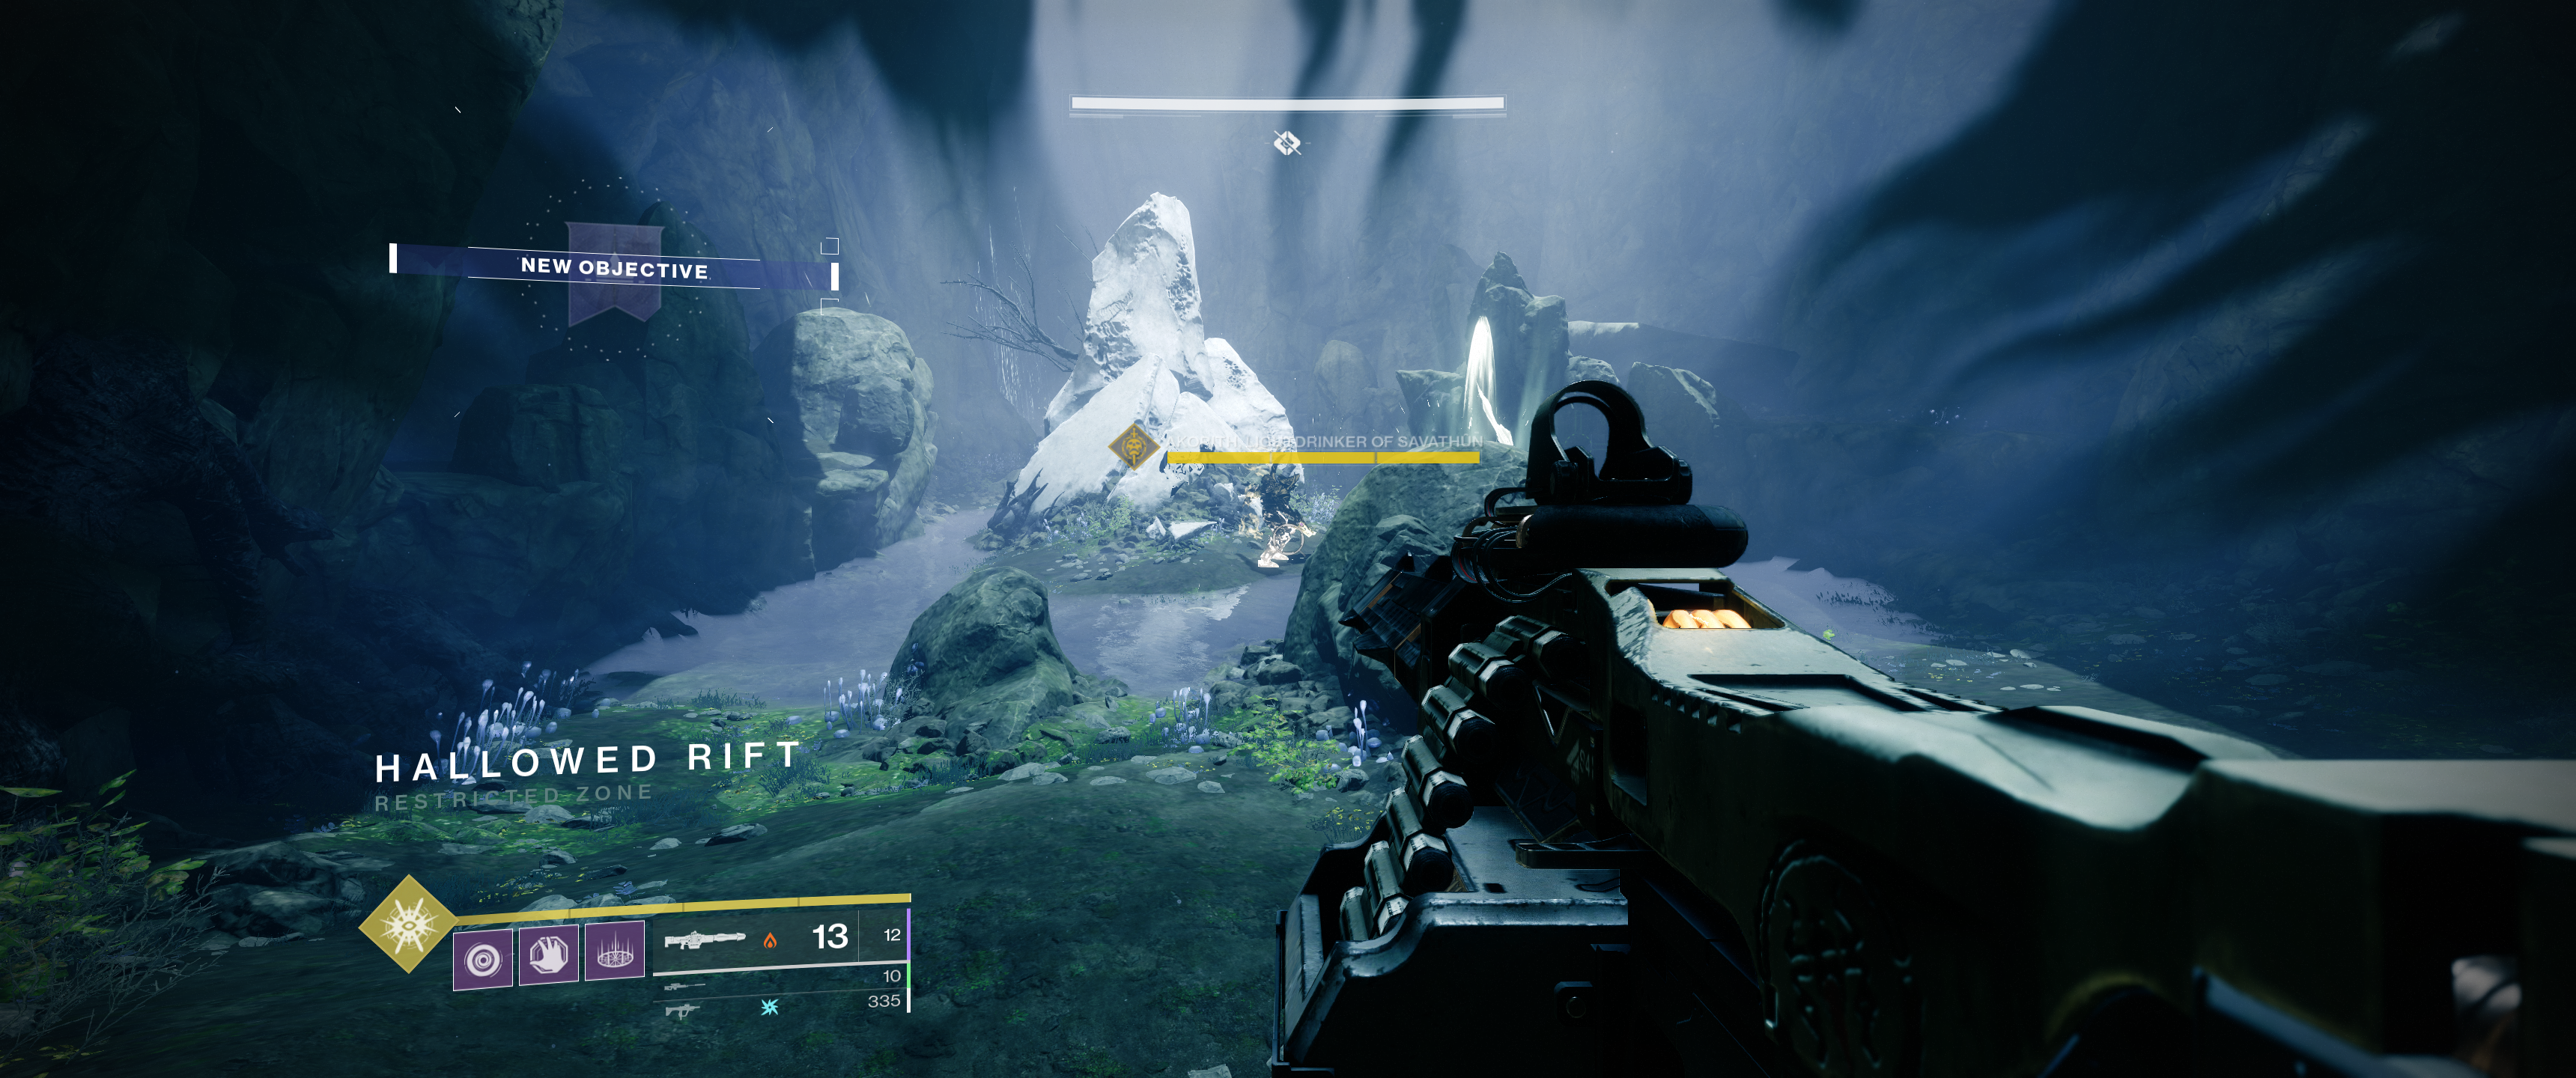
Eventually you'll reach a room with another buttload of Taken. Off a bunch of them and eventually a big fire-breathing knight will spawn. Great! Once you've chipped his health down enough he'll go immune, and several smaller solar-shielded knights will spawn in. The Destiny 2 Xenophage exotic is great for putting those down, but you'll also want a void weapon as there are a ton of those shields, too.
There's a lot going on in this fight, so use cover judiciously. It will take three full damage phases to beat the boss, so try to be patient. This is one of those encounters where goblins shielding opponents from absurd ranges will have you absolutely raging. I speak from bitter experience.
Once the boss is toast a chest will spawn, and this one will include a shiny new Hawkmoon, complete with random perks. You can see all the possibilities in the Light.gg database. I'll be hunting for a roll with Opening Shot and another with Killing Wind. Maybe one with Surplus if I'm feeling spicy.
You will also receive the exotic catalyst, which once completed will enable you to generate Orbs of Power on multikills. It also grants another perk, Hunter's Trance, which reads: "Increased magazine size. Grants increased handling, reload speed, and weapon range based on the number of stacks of Paracausal Charge." That a lot of bonuses, so you'll definitely want to complete the kills required to fully unlock it.
Oh, and if you're wondering what all the feathers are for: collect enough of those across multiple runs and you'll unlock a swanky exotic ship. Note that it seems like you can only loot the chest and feathers from the Destiny 2 Harbinger quest once per week on each character, which will determine how long it takes you to snag the ship. Happy hunting!
- Destiny 2 Lament: Make the exotic yours
- Destiny 2 weekly reset: Everything you need to know
With over two decades covering videogames, Tim has been there from the beginning. In his case, that meant playing Elite in 'co-op' on a BBC Micro (one player uses the movement keys, the other shoots) until his parents finally caved and bought an Amstrad CPC 6128. These days, when not steering the good ship PC Gamer, Tim spends his time complaining that all Priest mains in Hearthstone are degenerates and raiding in Destiny 2. He's almost certainly doing one of these right now.
