Destiny 2: how to get the Xenophage exotic machine gun
How to get the Xenophage in Destiny 2—our complete quest guide.

With the launch of the Festival of the Lost, Bungie has also released its latest exotic weapon quest: The Journey.
Through completing The Journey, players will be able to unlock the new exotic machine gun, Xenophage.
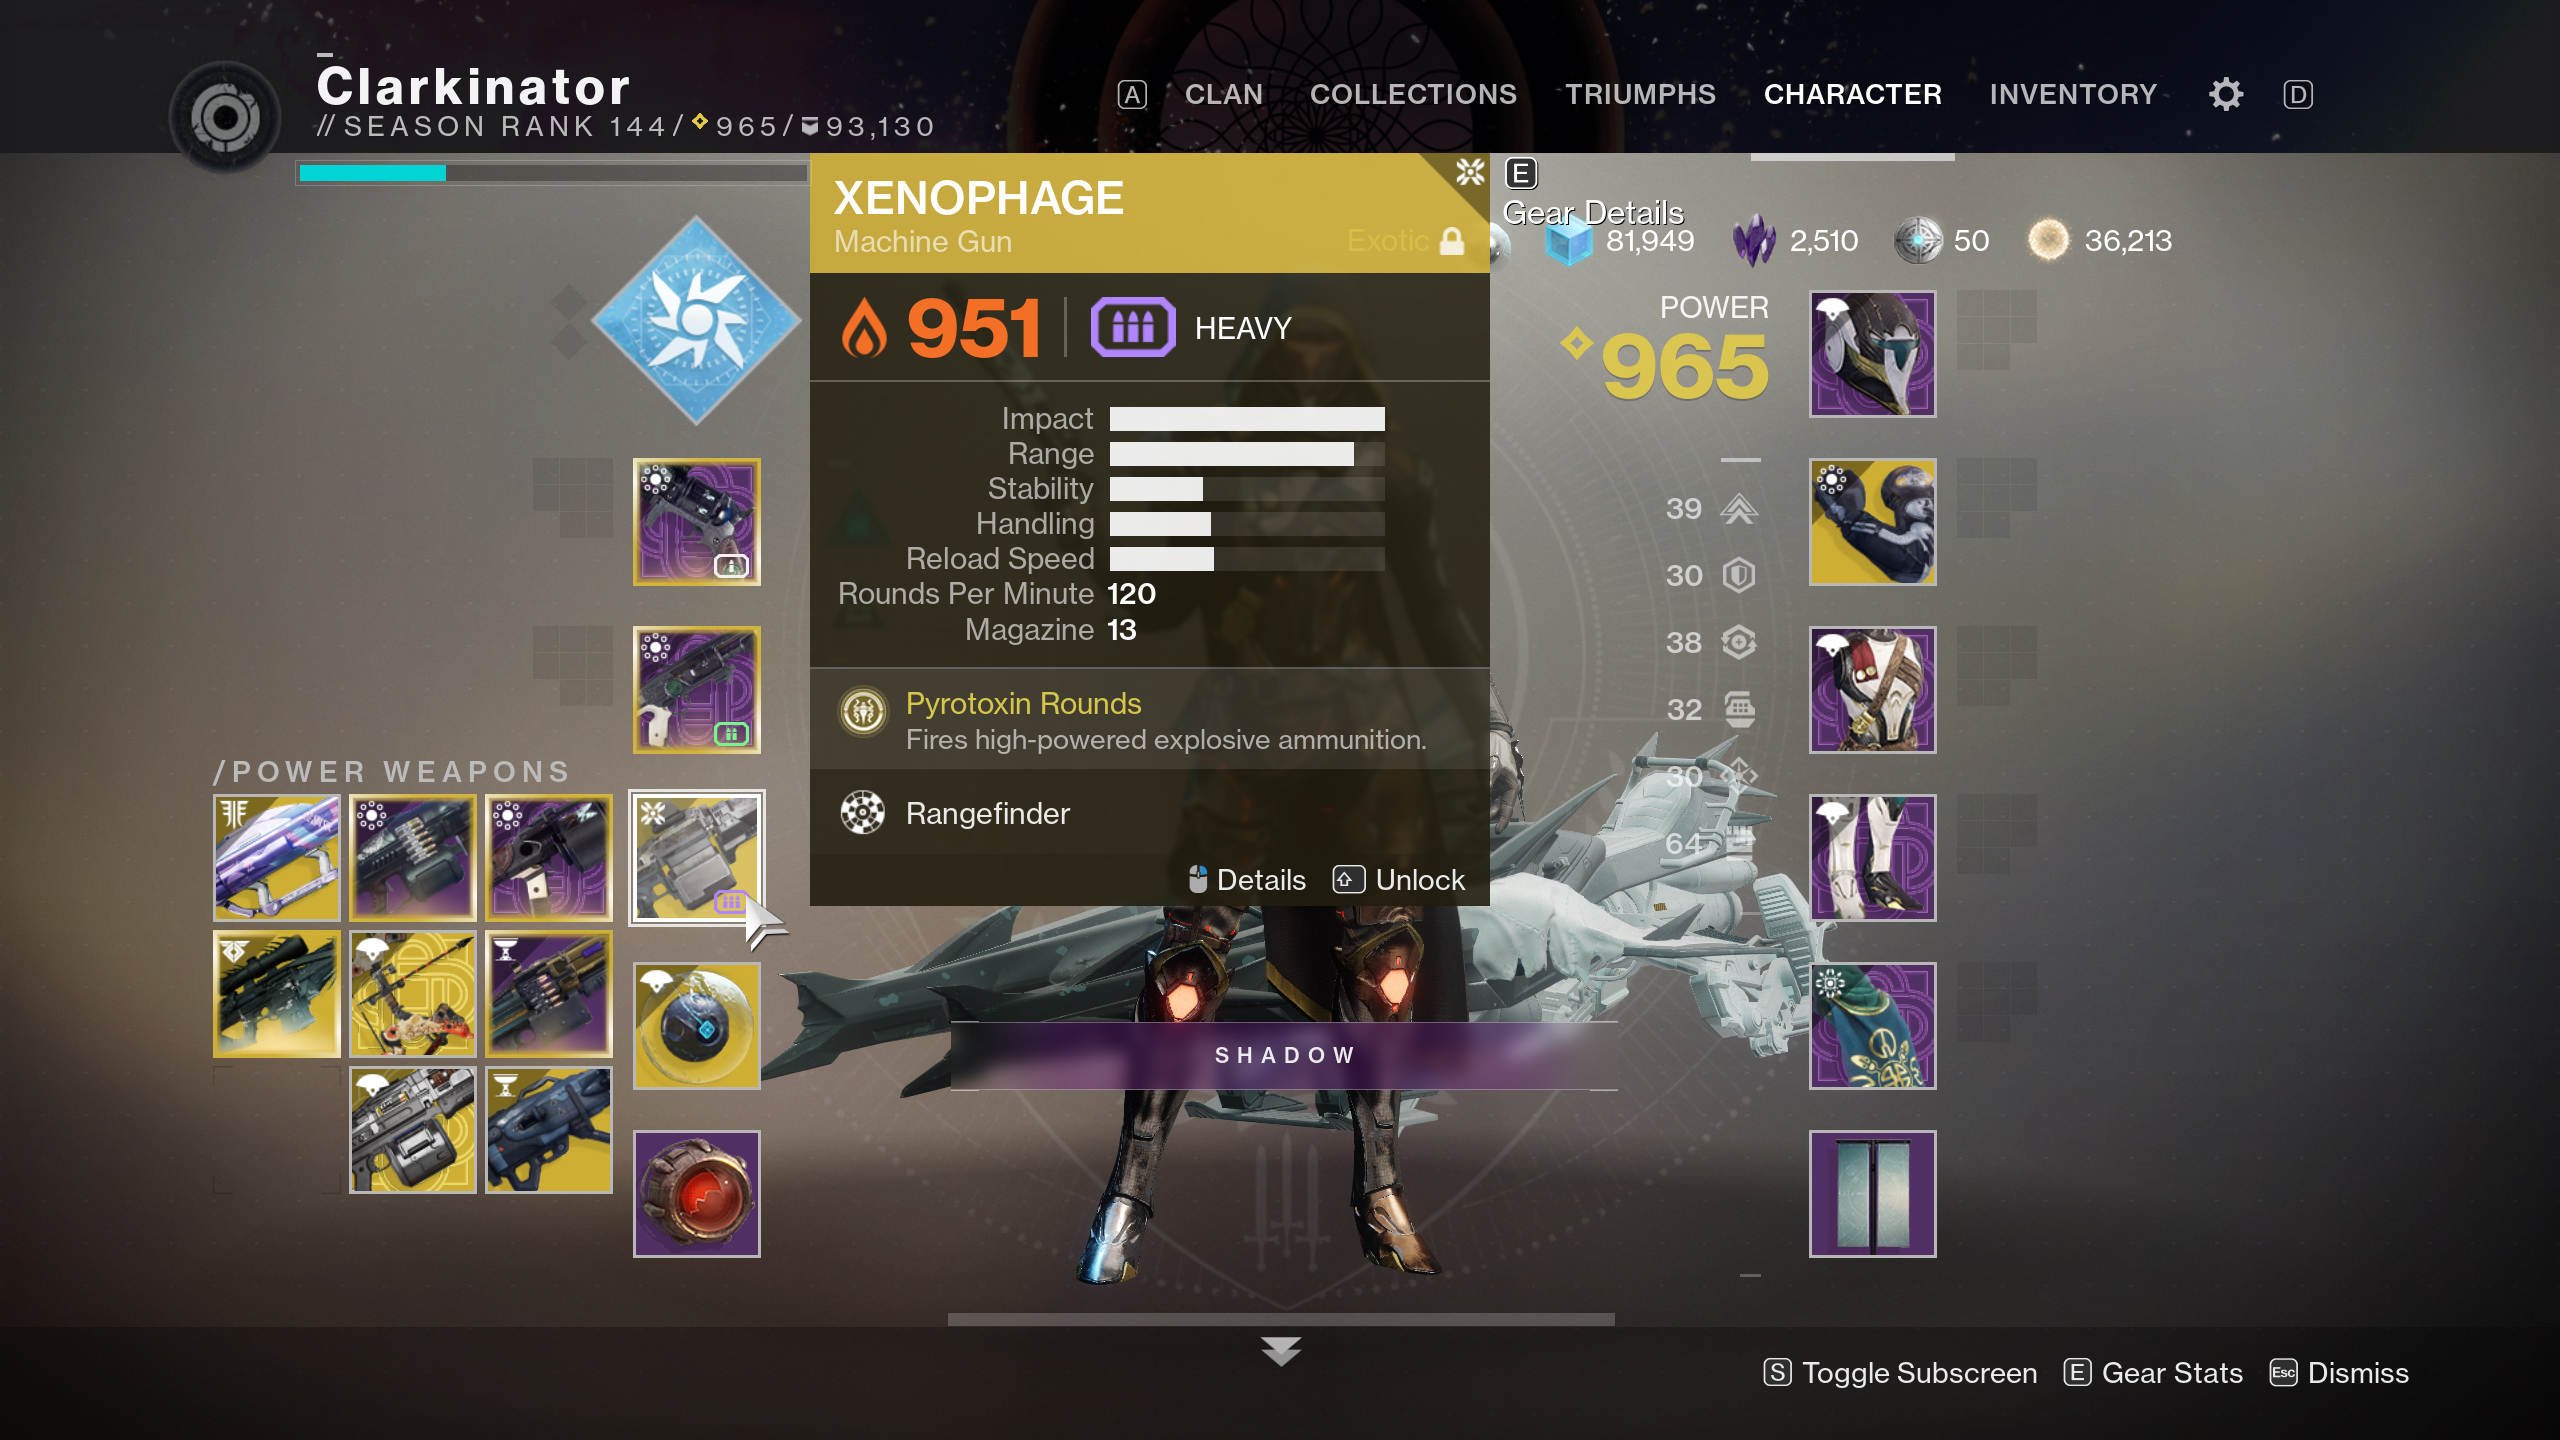
As Destiny 2’s second exotic machine gun, Xenophage offers a unique and powerful set of perks. Its slow rate of fire makes it feel more like a single-shot anti-artillery weapon, but holding the trigger proves it is an automatic.
Each shot fired from this 13 round magazine provides a devastating punch with a small explosive radius that can tear through waves of enemies. In total the weapon can hold two magazines of ammo and its inability to deal crit damage seems a little odd, but it was able to tear through Nightmares with ease so it’s definitely worth getting.
Here’s how to pick up Xenophage.
Step 1: Embrace the Light
To start this quest you’ll need to go to the Moon and enter the portal next to Eris (you can also get here through Sorrow’s Harbor). While in the room where Eris usually sits after completing a memory you will see four statues. Each statue can be interacted with and will light one of the other four statues around the room.
To successfully light all four at once, interact with the statues in the following order (taken from the perspective of entering the room): front right, back left, front left. Upon lighting the final statue, a chest will appear and reward you with The Journey.
Keep up to date with the most important stories and the best deals, as picked by the PC Gamer team.
Step 2: Lighting the way
After acquiring The Journey you will be given some very cryptic steps that allude to the Anchor of Light on the Moon. Head to the Anchor of Light and move towards the large tower on the left side. Within the small building under the tower to the left when you enter there will be a fire. Interacting with this fire will give you a buff.
When in possession of the buff you will need to run around the Anchor of Light and activate six lecterns in a specific order. If you fail to interact with these lecterns in the right order, you will lose your buff and will need to start over. You can see the correct path below, with help from our pals at GamesRadar+.
Step 3: Solve the Lost Sector puzzles
After lighting the fires in the previous step you’ll be treated to another series of rather ambiguous clues. What these clues really mean is that you need to venture into the Lost Sectors on the Moon, all four of them, and complete a puzzle that can be found on the wall at the end of each past the final chest.
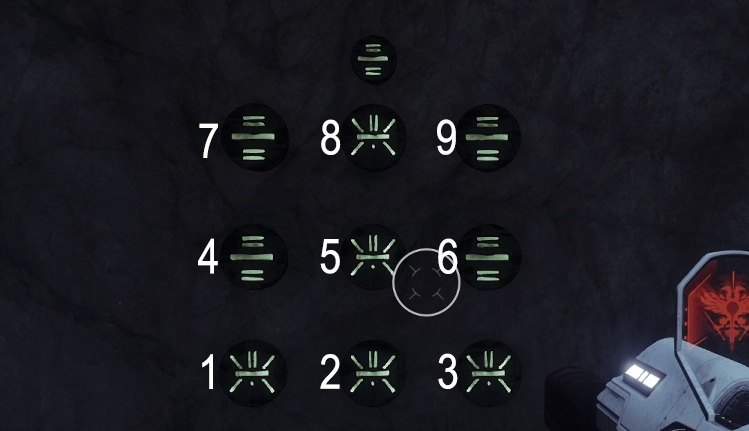
These puzzles are all based on rotating tiles. Shooting a tile will alter the 3x3 grid in different ways. Your goal is to rotate all the objects in the correct order until the entire puzzle matches the symbol placed above it. To save you the heartache of completing several mini Rubik’s Cubes, here are the solutions to each puzzle from their starting position below. The notation below matches up with a standard computer number pad.

K1 Communion: 1, 3 ,8, 8
K1 Revelation: 6, 4, 5, 5, 4, 8, 2, 5
K1 Logistics: 7, 1, 6, 5
K1 Crew: 9, 4, 5, 2, 3, 3, 2
After completing all four of the puzzles and obtain four map fragments, you will unlock the next step in unlocking Xenophage.
Step 4: Journey to the Depths
Now that you’ve got a full map you will need to complete the first phase of the Pit of Heresy. Directly after you complete this section and unlock the chest you will be faced with a wall of doors. Look for the door that does not have a rune hanging over its awning and jump inside. While you are inside you will want to interact with another rune and proceed to the next encounter.
Step 5: Light more torches
Within the second encounter, while the invulnerable ogres are chasing you, there will be a series of Hive runes on the floor at a cliff at the far side from where you dropped down. As you interact with the runes, a series of platforms will appear in the chasm in front of you.
Jump over these platforms and acquire the fire. With the fire in hand, continue back the way you came from and stick to the right-hand side. This might prove tricky due to the ogres, but your end goal is to locate a door with two lecterns outside and light them (similar to those you lit in step 2.) When you light them, the doors will open and you can progress to the final step in the quest.
Step 6: Defeat the Hive Witch

As the doors open you will enter a room with four different runes in each corner. Each of these runes corresponds to an energy type indicated by the glowing orb below it. Blue represents arc, red represents solar, purple represents void, and white/colourless represents neutral. In the next room there will be a boss roaming the area, an object that contains a glowing orb of light, and four different places to deposit this light.
To damage the boss you will first need to look at the debuff you are currently affected by at the bottom left of your screen (void, solar, arc, or neutral), match it with a rune in the first room, and then find the matching rune within the second room where you should then deposit the light you’ve picked up. After depositing the light you will receive a buff for 30 seconds that will allow you to damage the boss using attacks of that specific energy type and only that specific energy type. So make sure you have a varied loadout.
Continue to follow the process of matching your debuff with the correct rune and following up with the correct damage until the boss is defeated. As the boss slowly falls you’ll be awarded with one final item that should be returned to Eris, and in exchange for this item you will receive the Xenophage.
Now it’s time to rip through some enemies like cheap toilet paper. Have a look at the Xenophage in action below:

