Baldur's Gate 3 Underdark entrances and how to unlock each
Find your way into the dark and deadly underground.
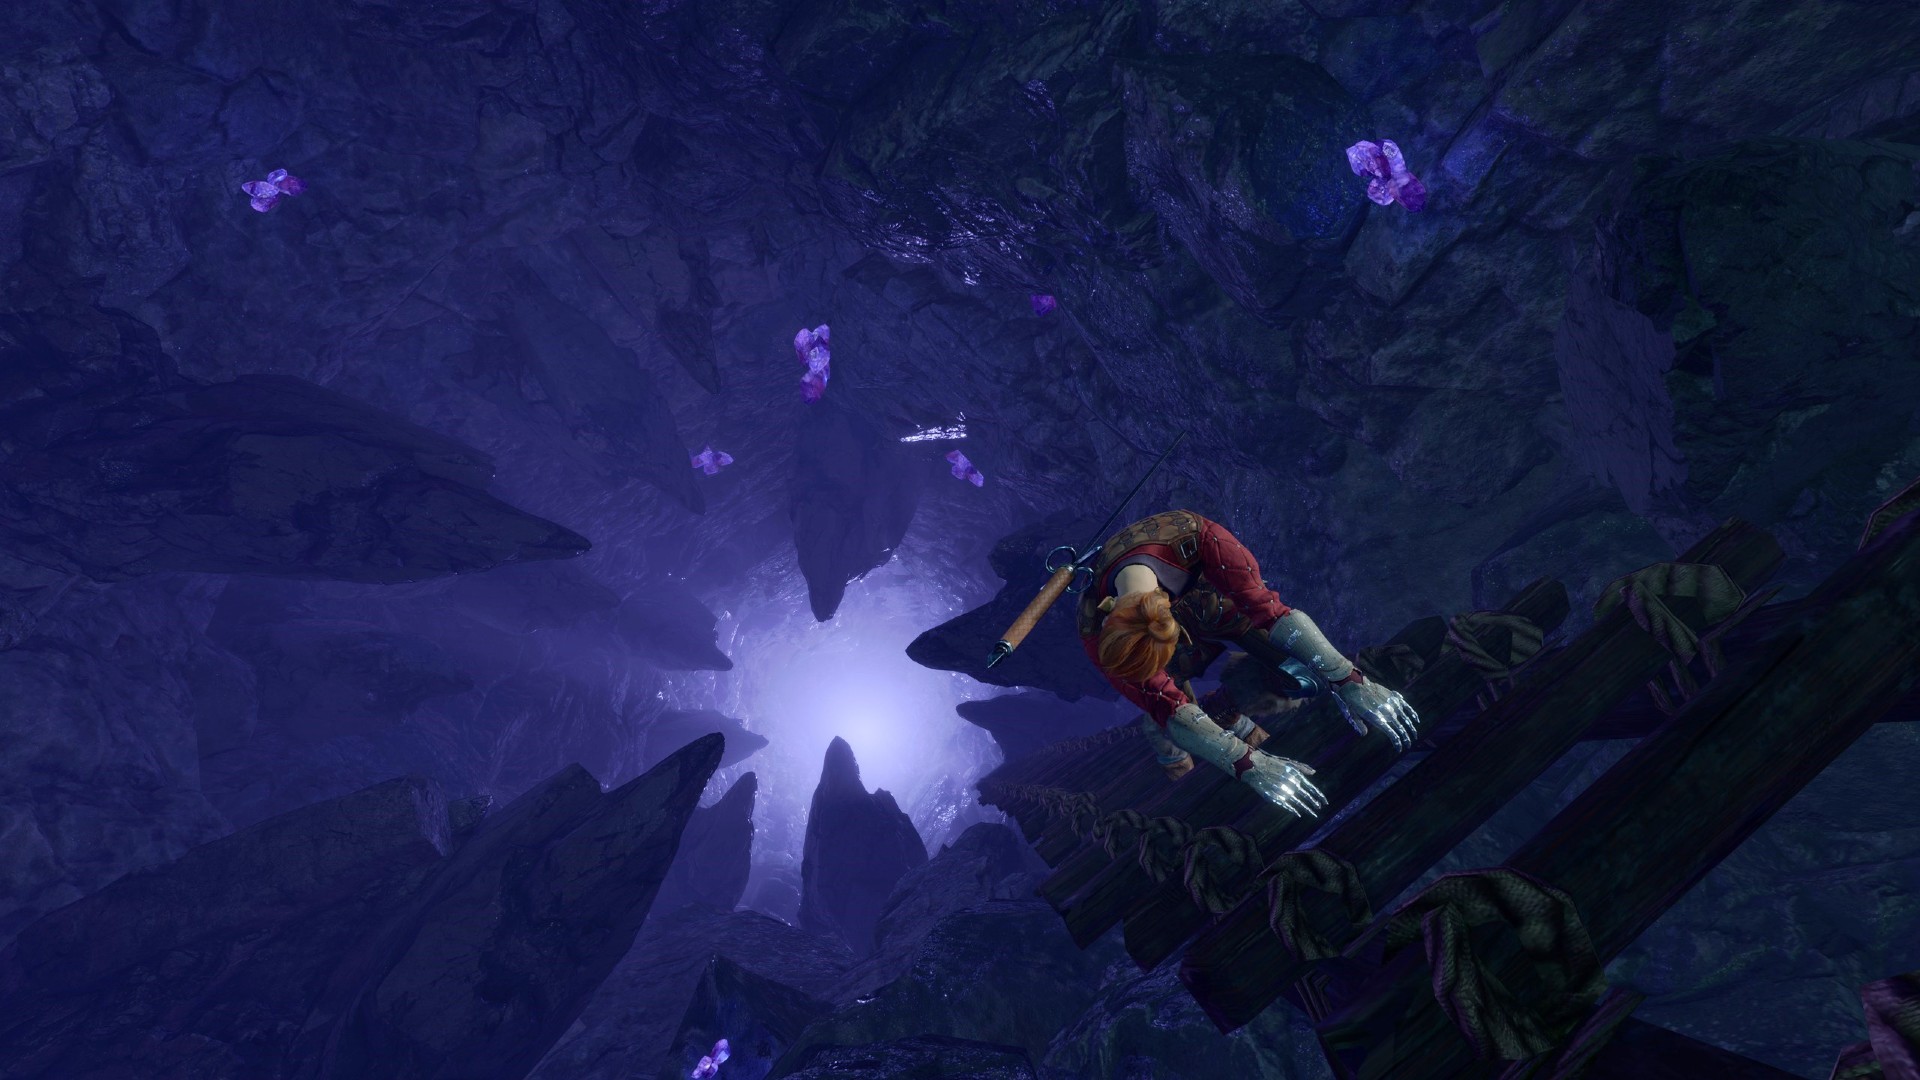
Finding Baldur's Gate 3 Underdark entrances is one of the early challenges if you decide to avoid the mountain pass route during Act 1 of your adventure. Once you find it, the Underdark is filled with all manner of monstrosities, from Bulette tunnelling around trying to eat you, to those Hook Horrors that look a bit like those evil birds from The Dark Crystal. There's also a whole heap of treasure to claim if you're brave enough to go looking for it.
There are four Underdark entrances in Act 1:
- Jump down the big hole in the Blighted Village
- Sneak into the Defiled Temple in the Goblin Camp
- Talk your way into the Zhentarim Hideout in Waukeen's Rest
- Find the hidden teleporter in the Sunlit Wetlands
You can get to the Underdark inadvisably close to the start of the game, and if you pick up the Sussur Bark weapon quest, you'll probably want to take a quick trip down there. Either way, here are the different Underdark entrances in Act 1, where to find each of them in order of difficulty, and what hoops you'll have to jump through to actually unlock these gateways to the abyss.
The Whispering Depths - Blighted Village
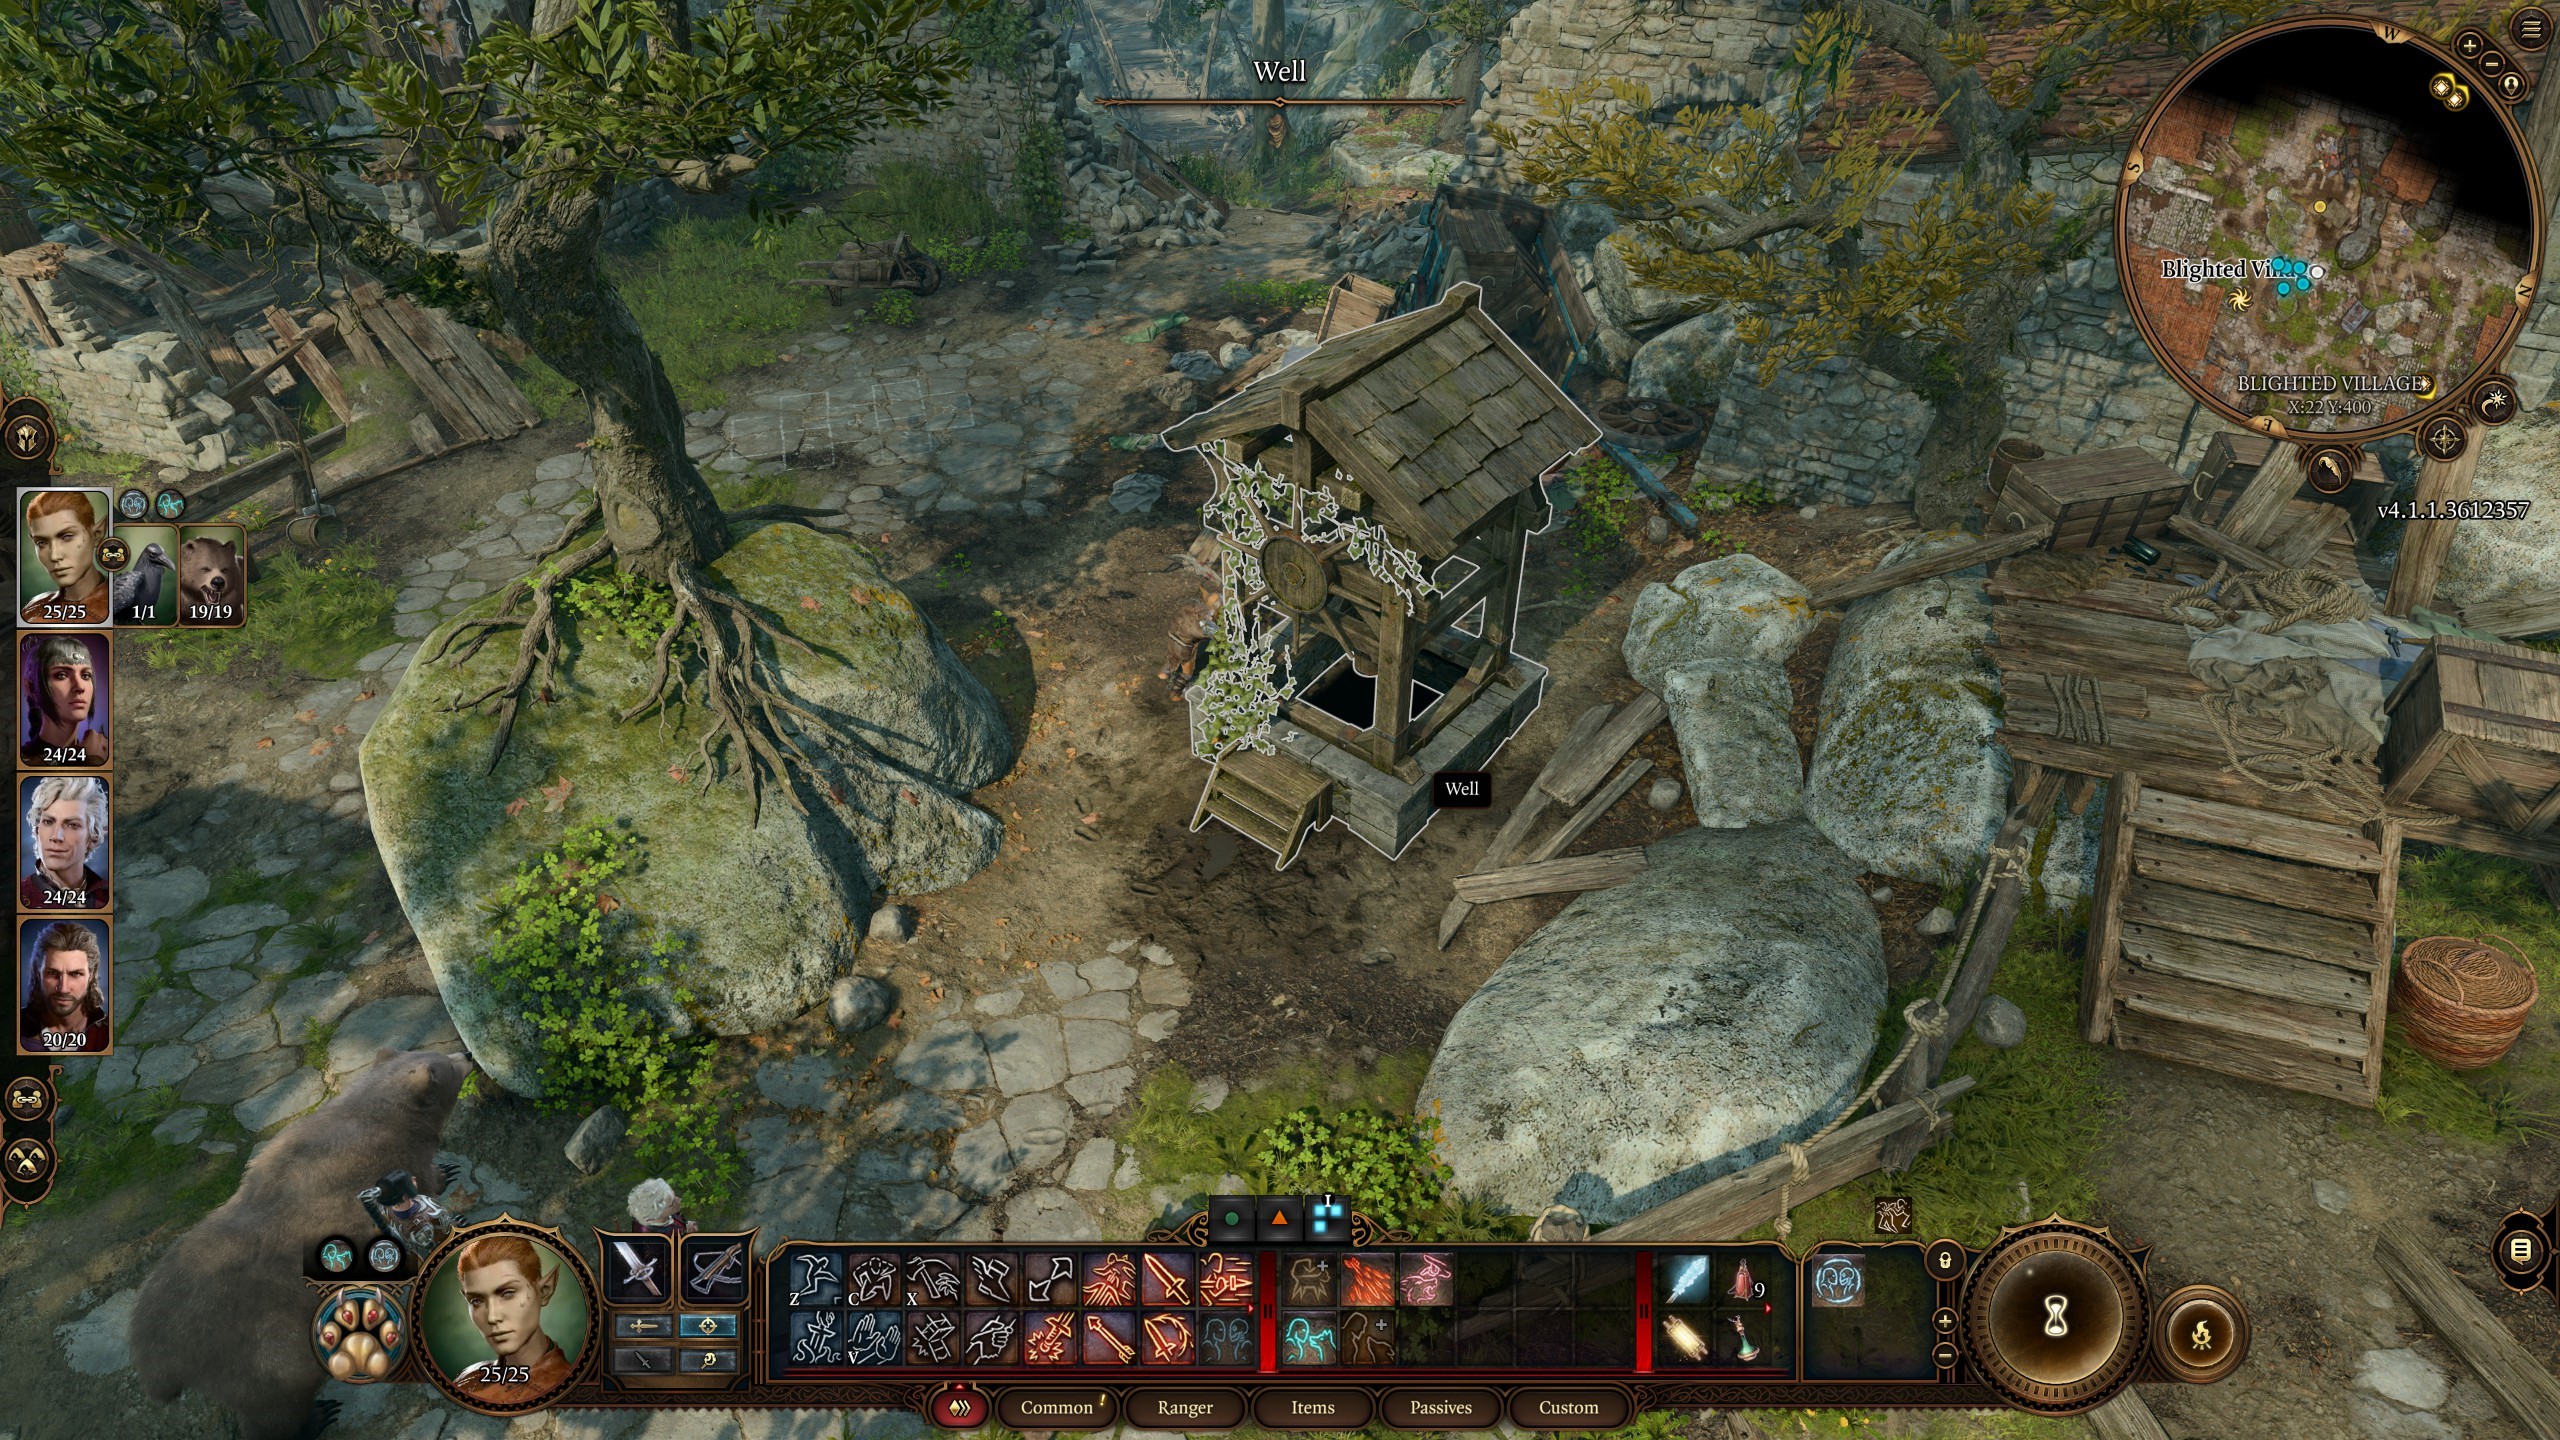
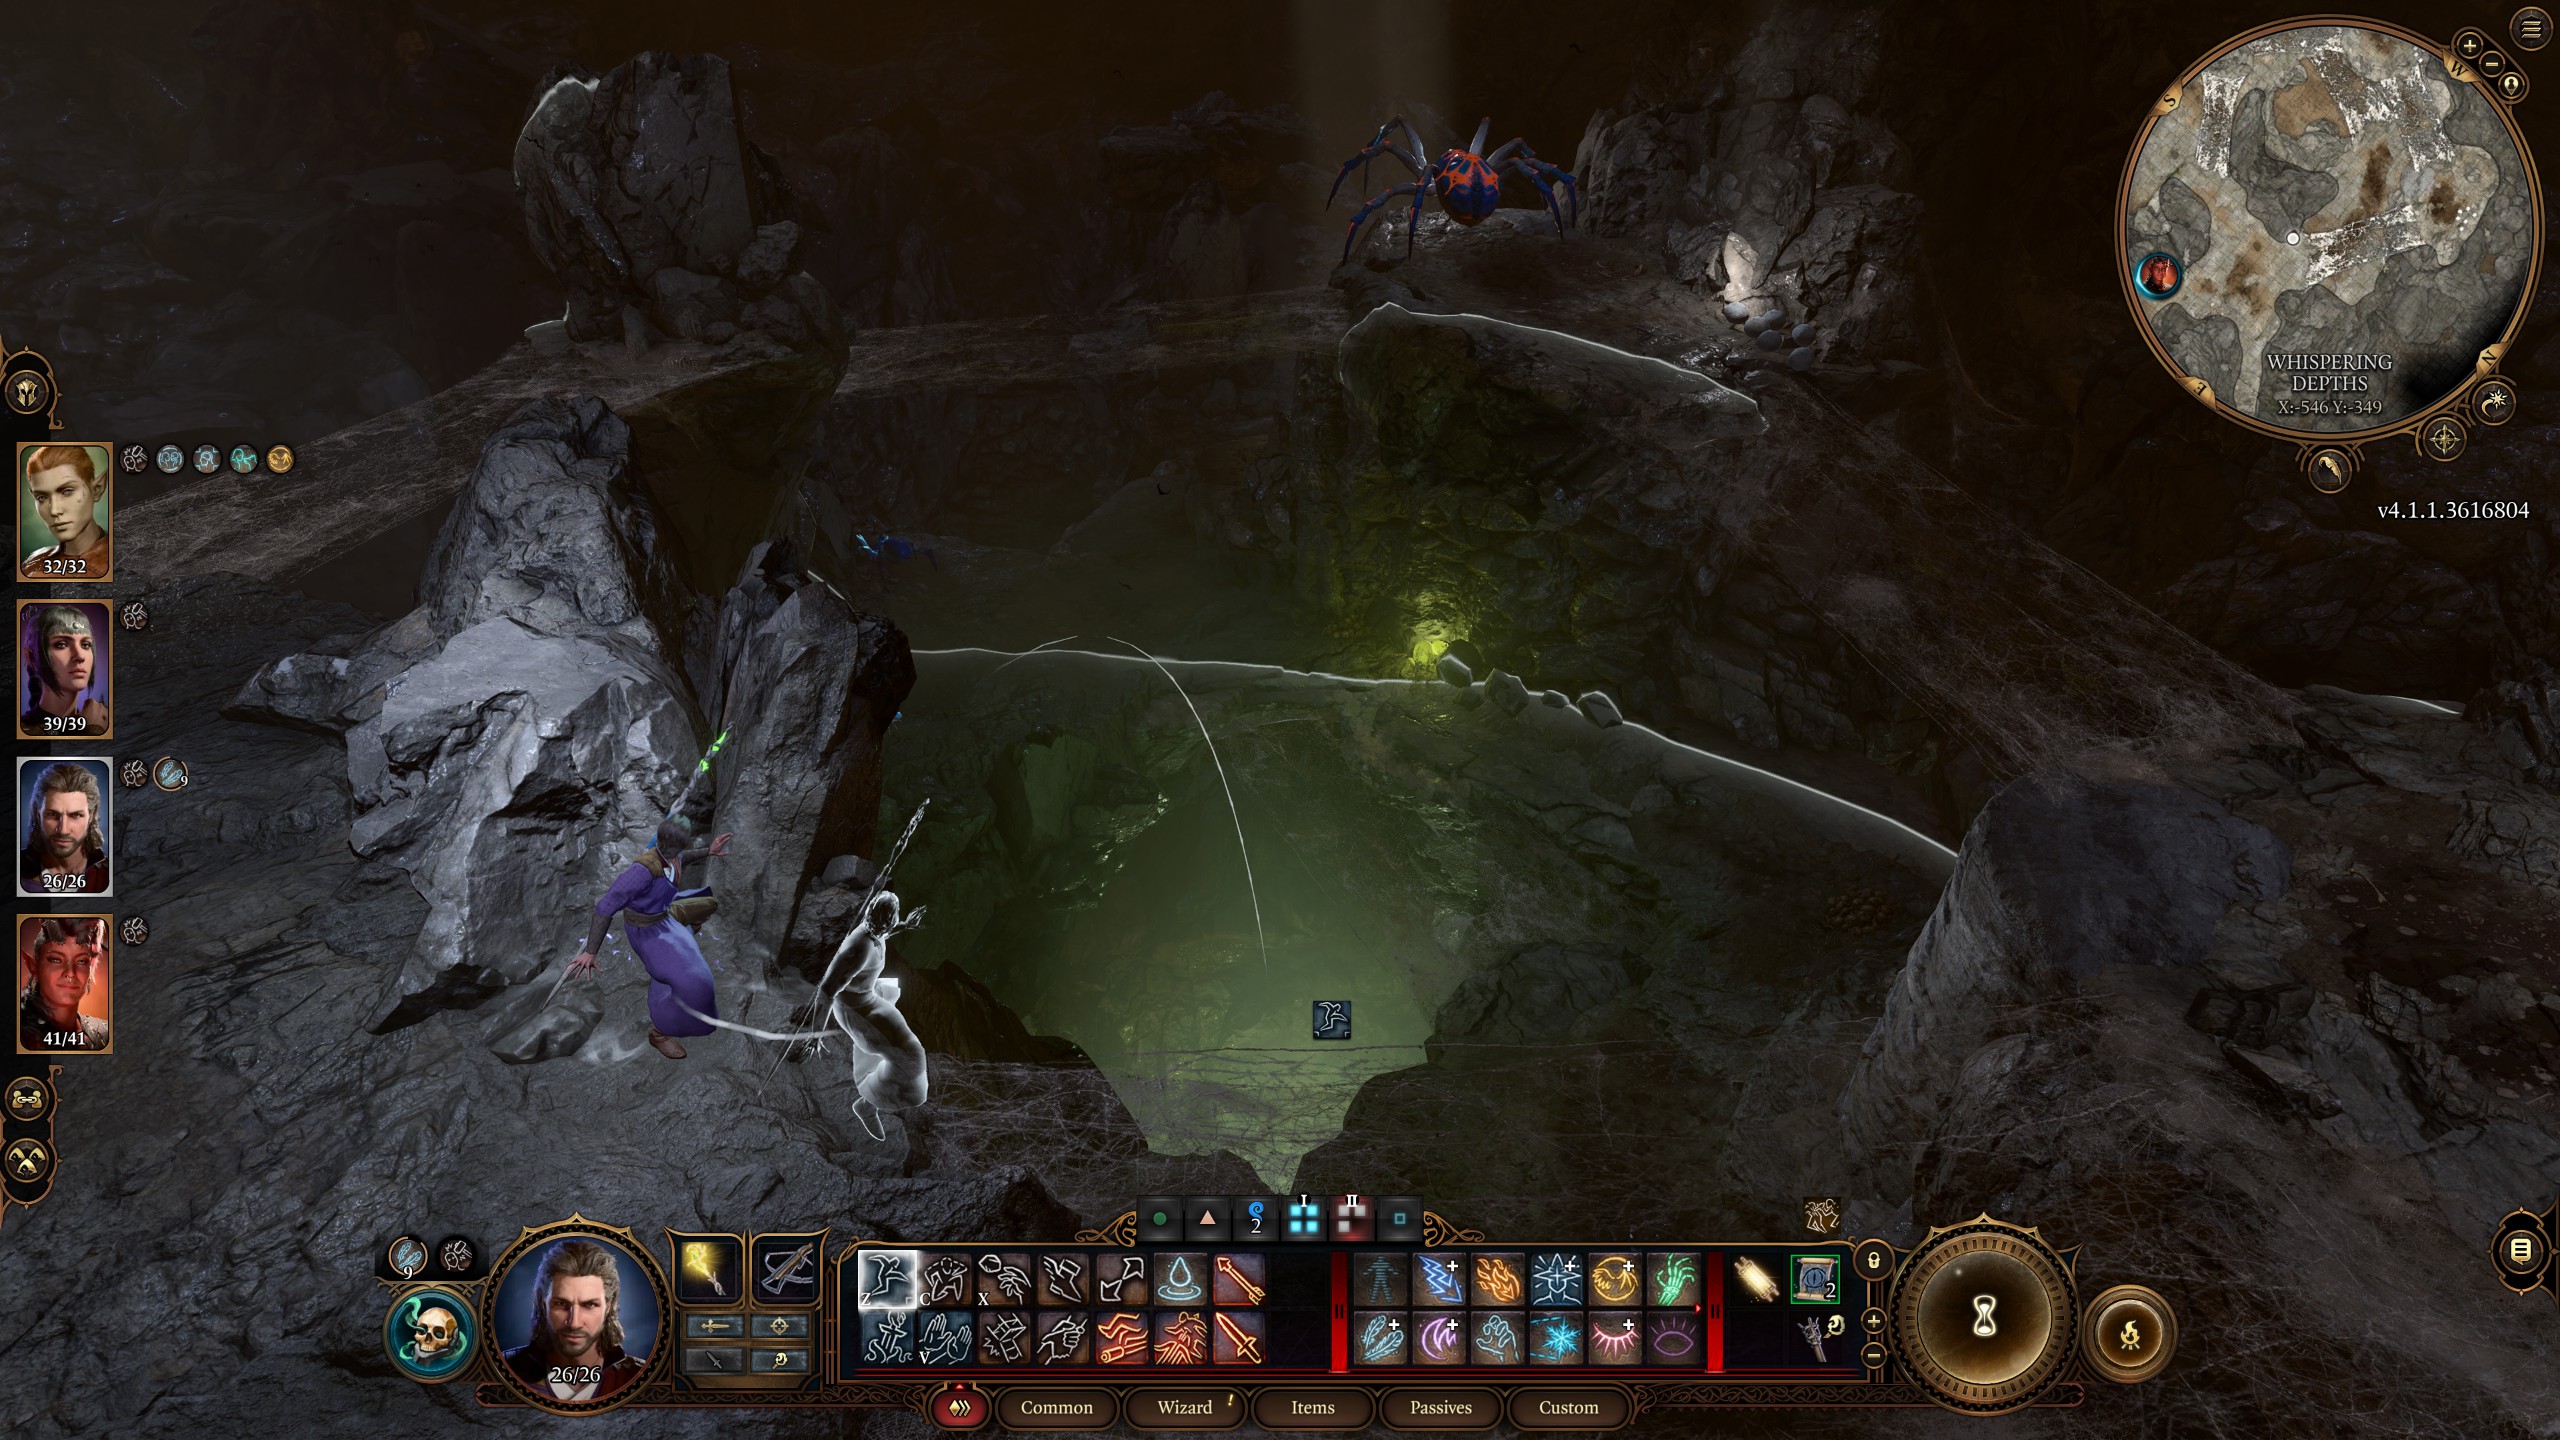
The first entrance to the Underdark is located in the Whispering Depths beneath the Blighted Village to the west of Silvanus' Grove. You're likely to find this area as part of the Necromancy of Thay quest, and you can find your way down through the well in the village centre. Either fight the Phase Spiders or sneak through into their main nest and you'll find a giant hole surrounded by webs with the Phase Mother Matriarch patrolling.
To use this entrance, you'll need to cast Feather Fall and jump into the big hole. This will trigger a cutscene of you drifting down into the Underdark. A word of advice: make sure everyone is in the spell's AoE when you cast Feather Fall. Unless, that is, you want to be awkwardly greeted by the corpses of your party, who arrived much faster, at the bottom. Also, watch out for the minotaurs that hang out close to where you land.
The Defiled Temple - Shattered Sanctum
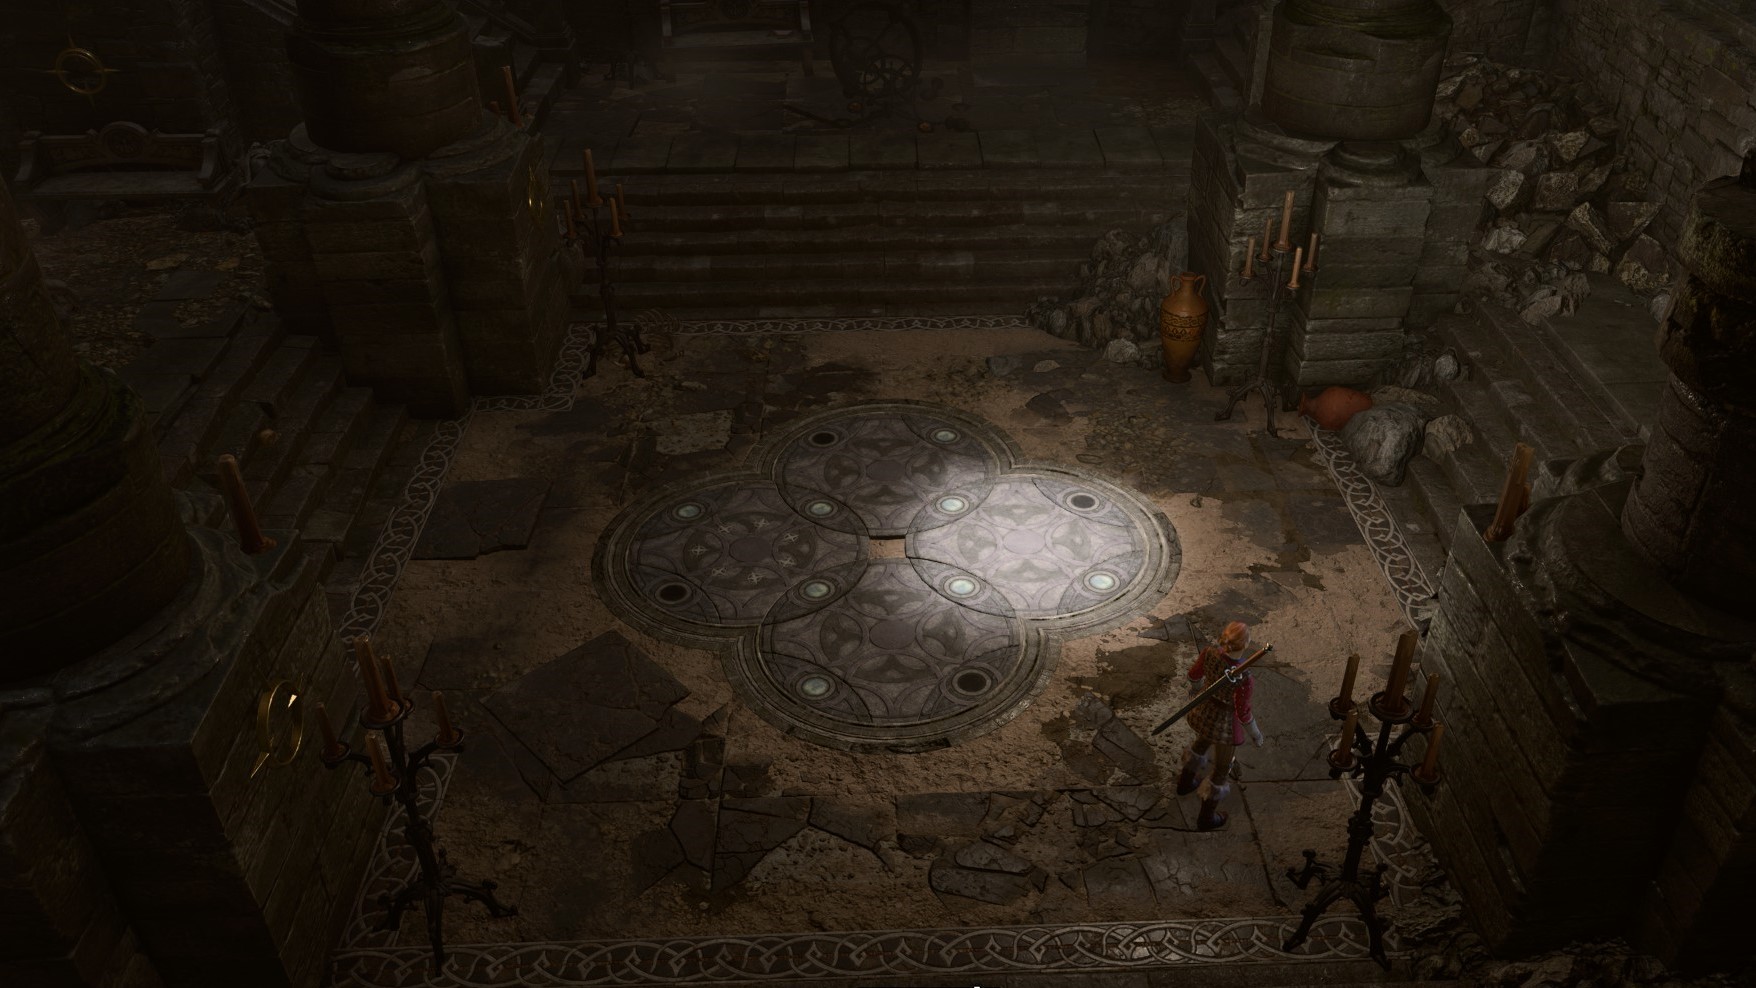
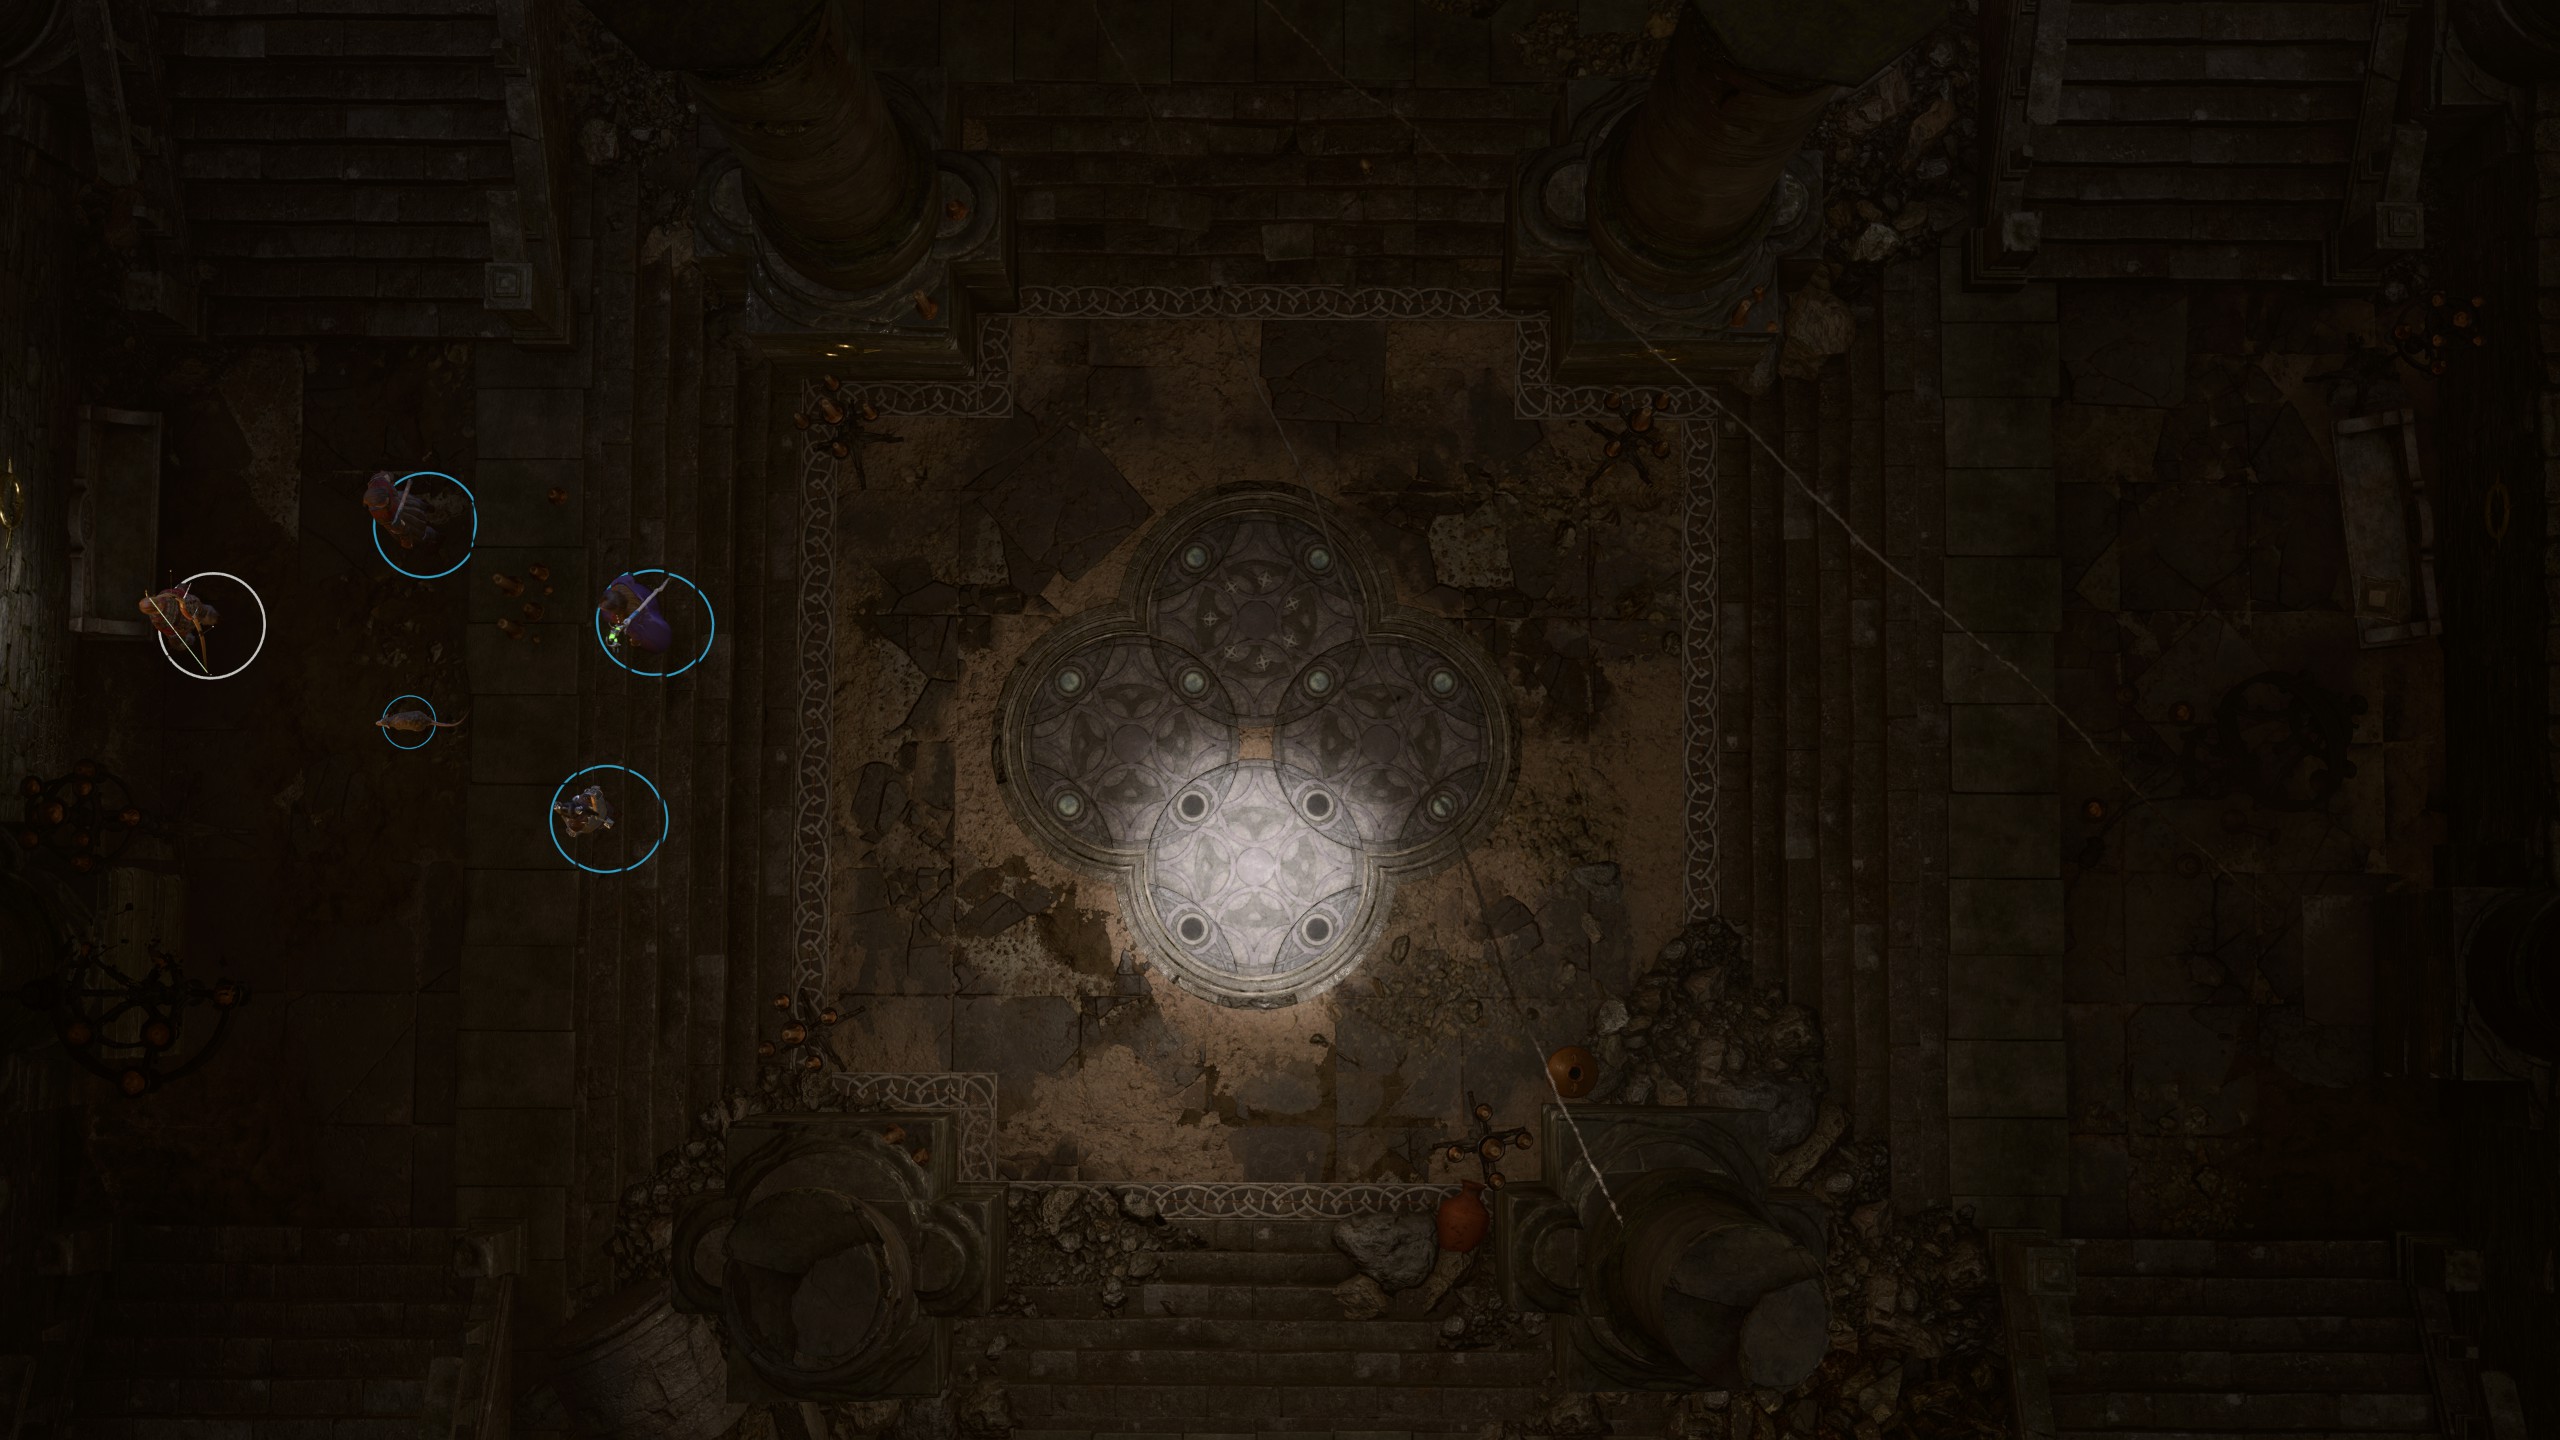
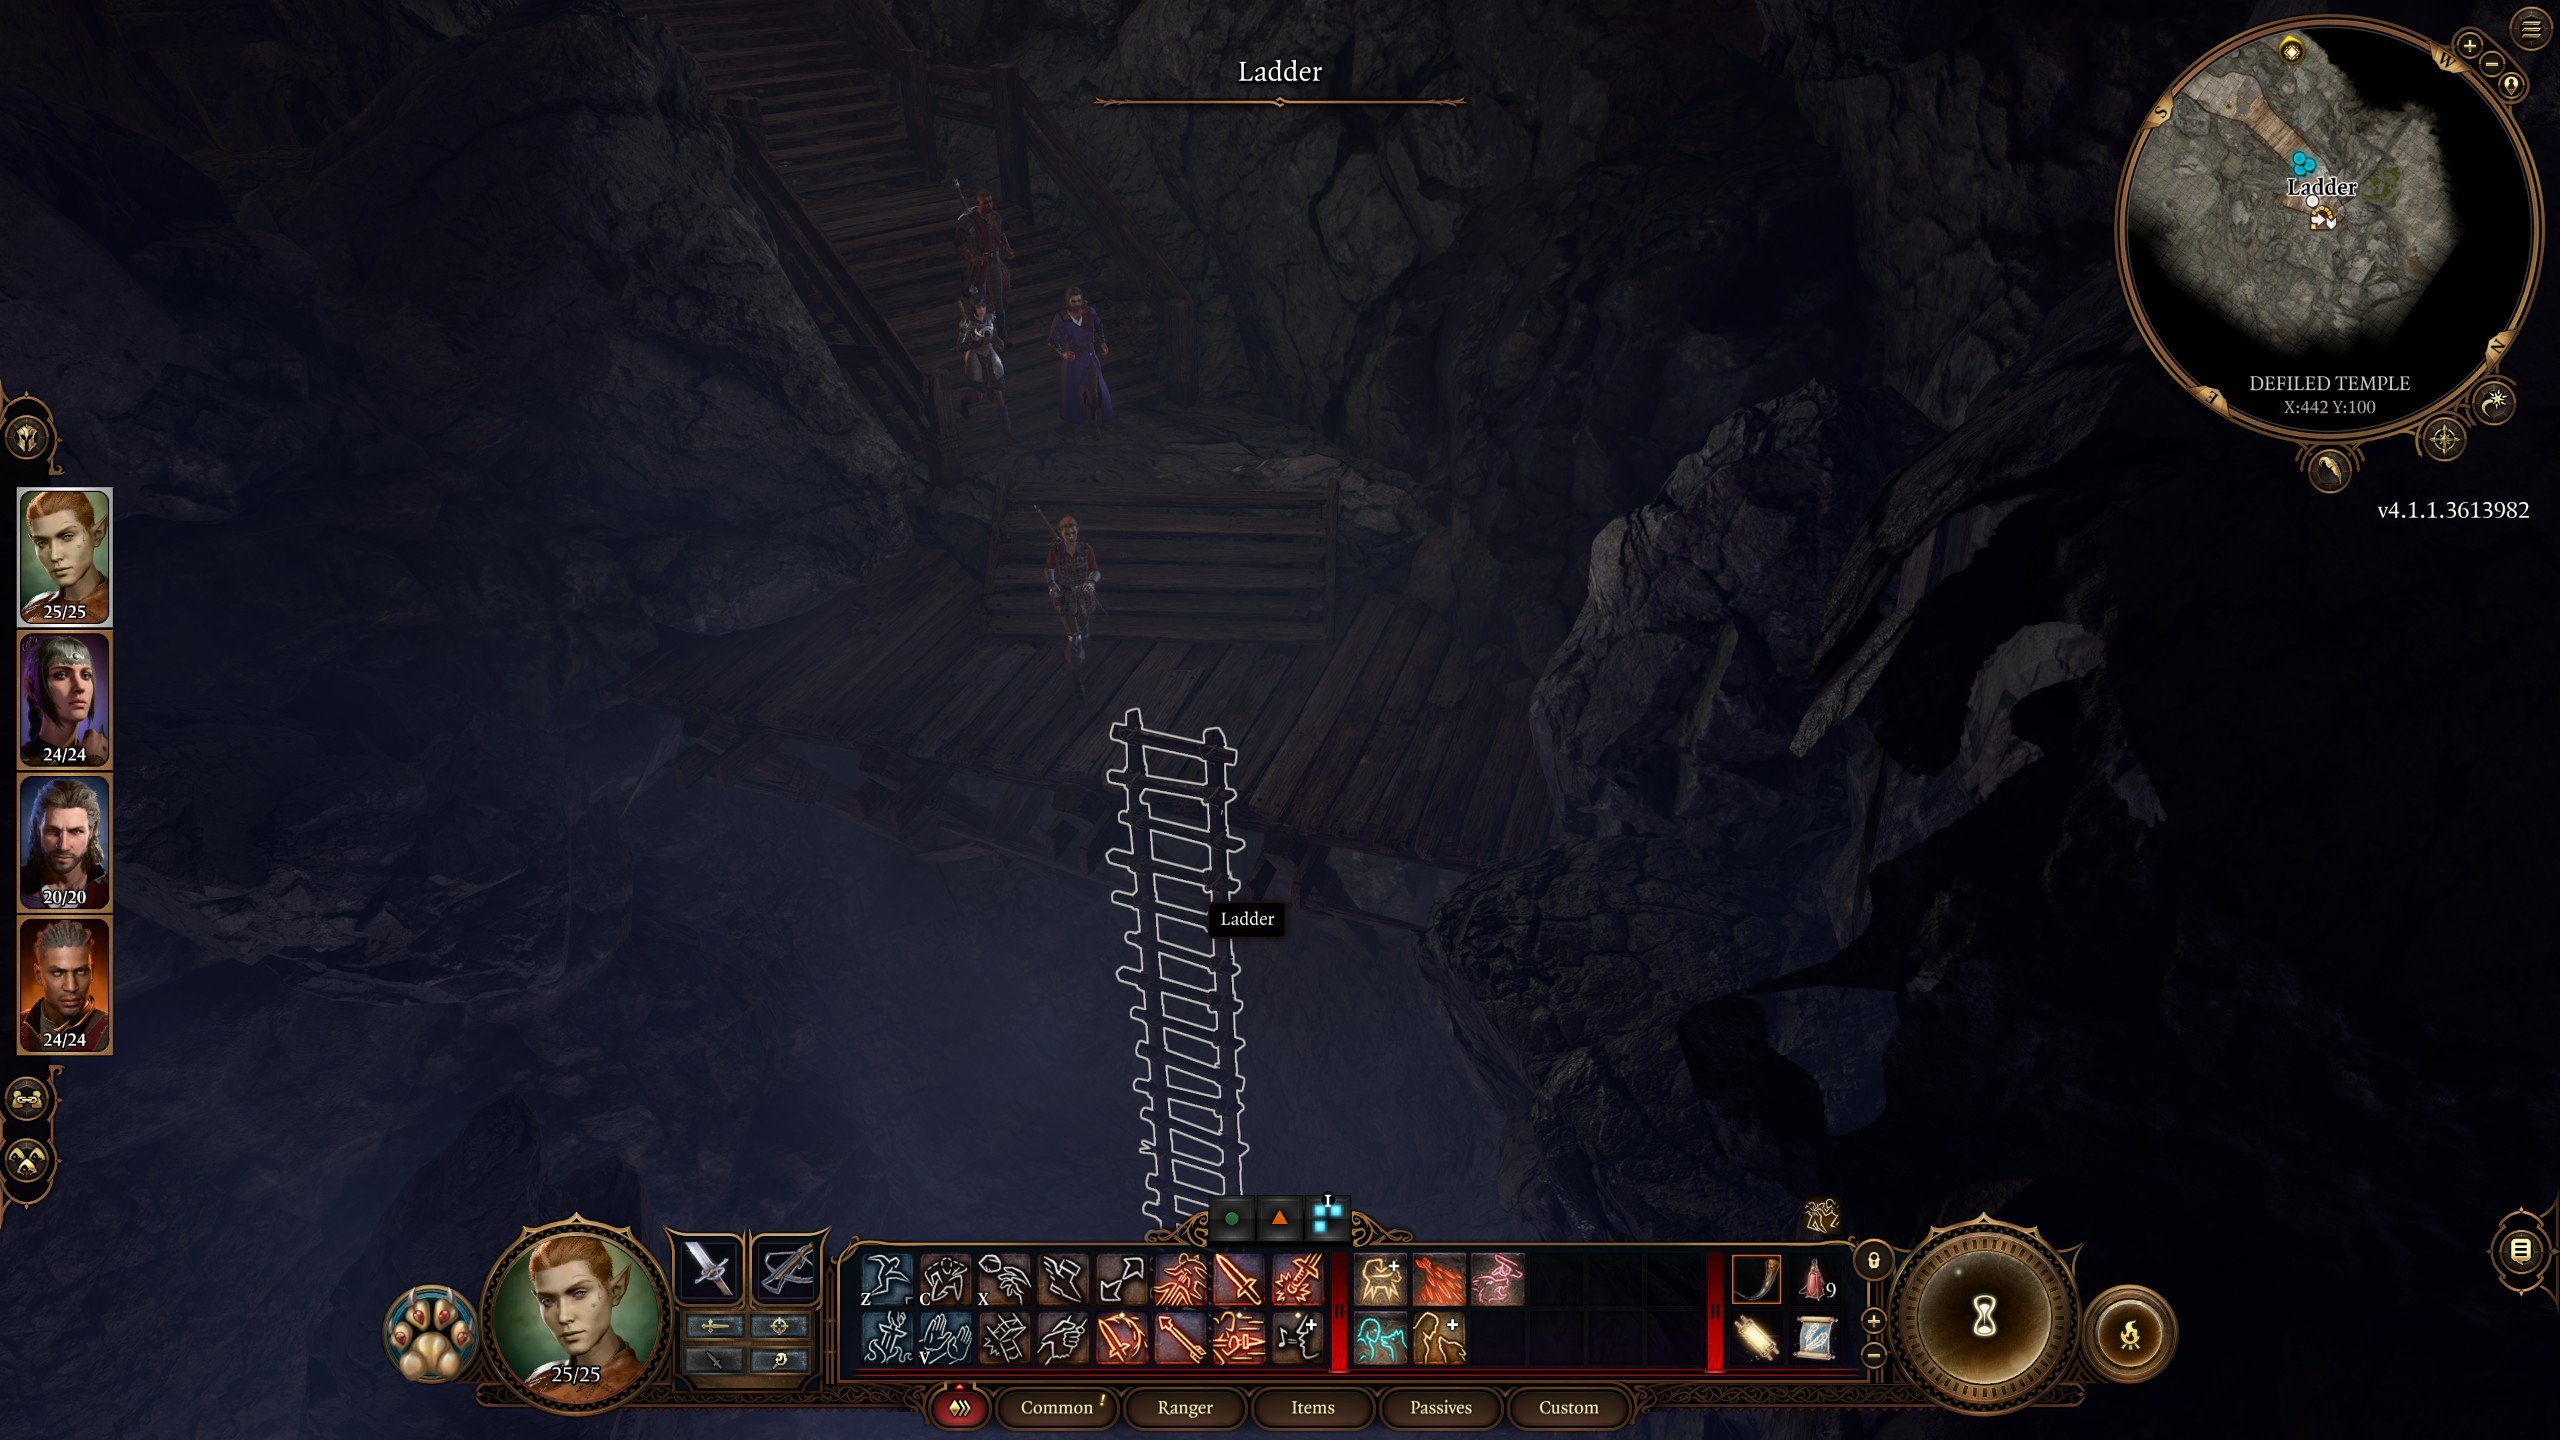
To get into the Underdark this way, there are a couple of obstacles you'll have to overcome, namely, a horde of goblins, and a puzzle with some dials. Whether you slaughter them or convince them you're a pal, you can enter the Defiled Temple through the west side of the Shattered Sanctum in the Goblin Camp, through the locked door in the goblin priestess's room. After you've snuck past her bodyguard ogre, you'll find the Defiled Temple puzzle, the solution to which is linked just there. Once you've spun the dials into the correct position, a doorway will open at the far end of the temple, and you'll find a ladder leading down into the Underdark and the Selunite Outpost.
Zhentarim Hideout - Waukeen's Rest
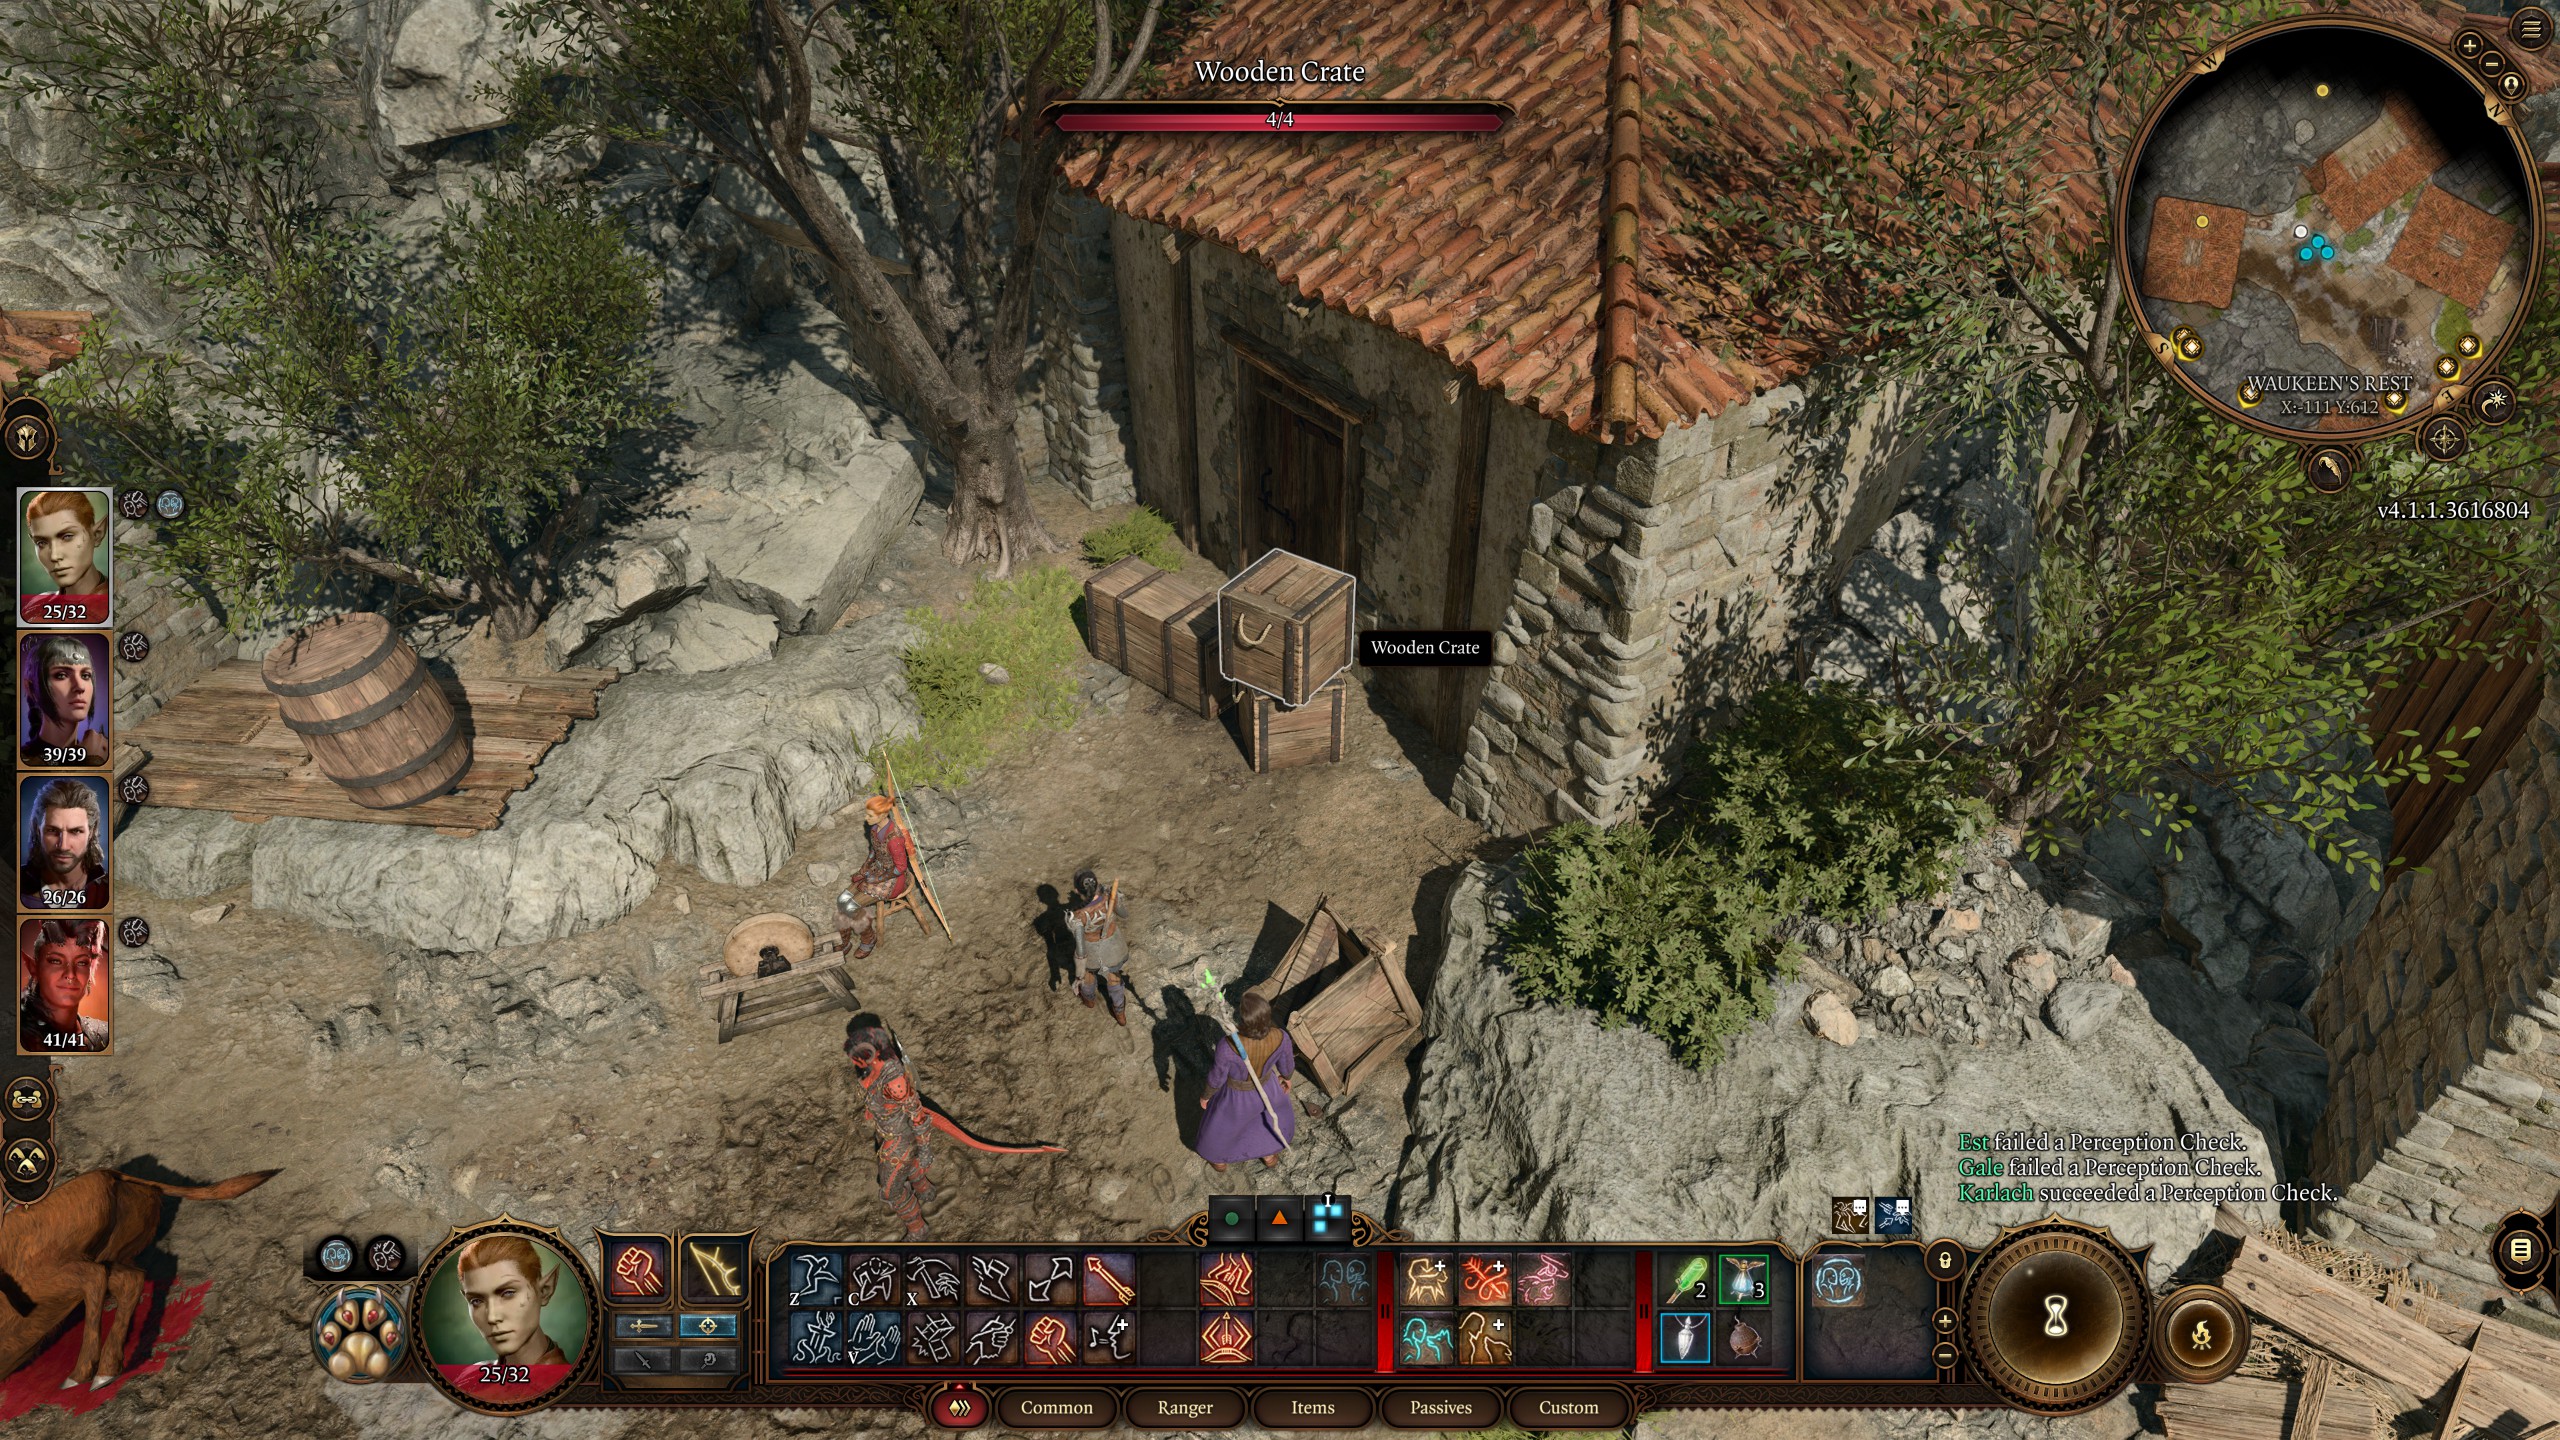
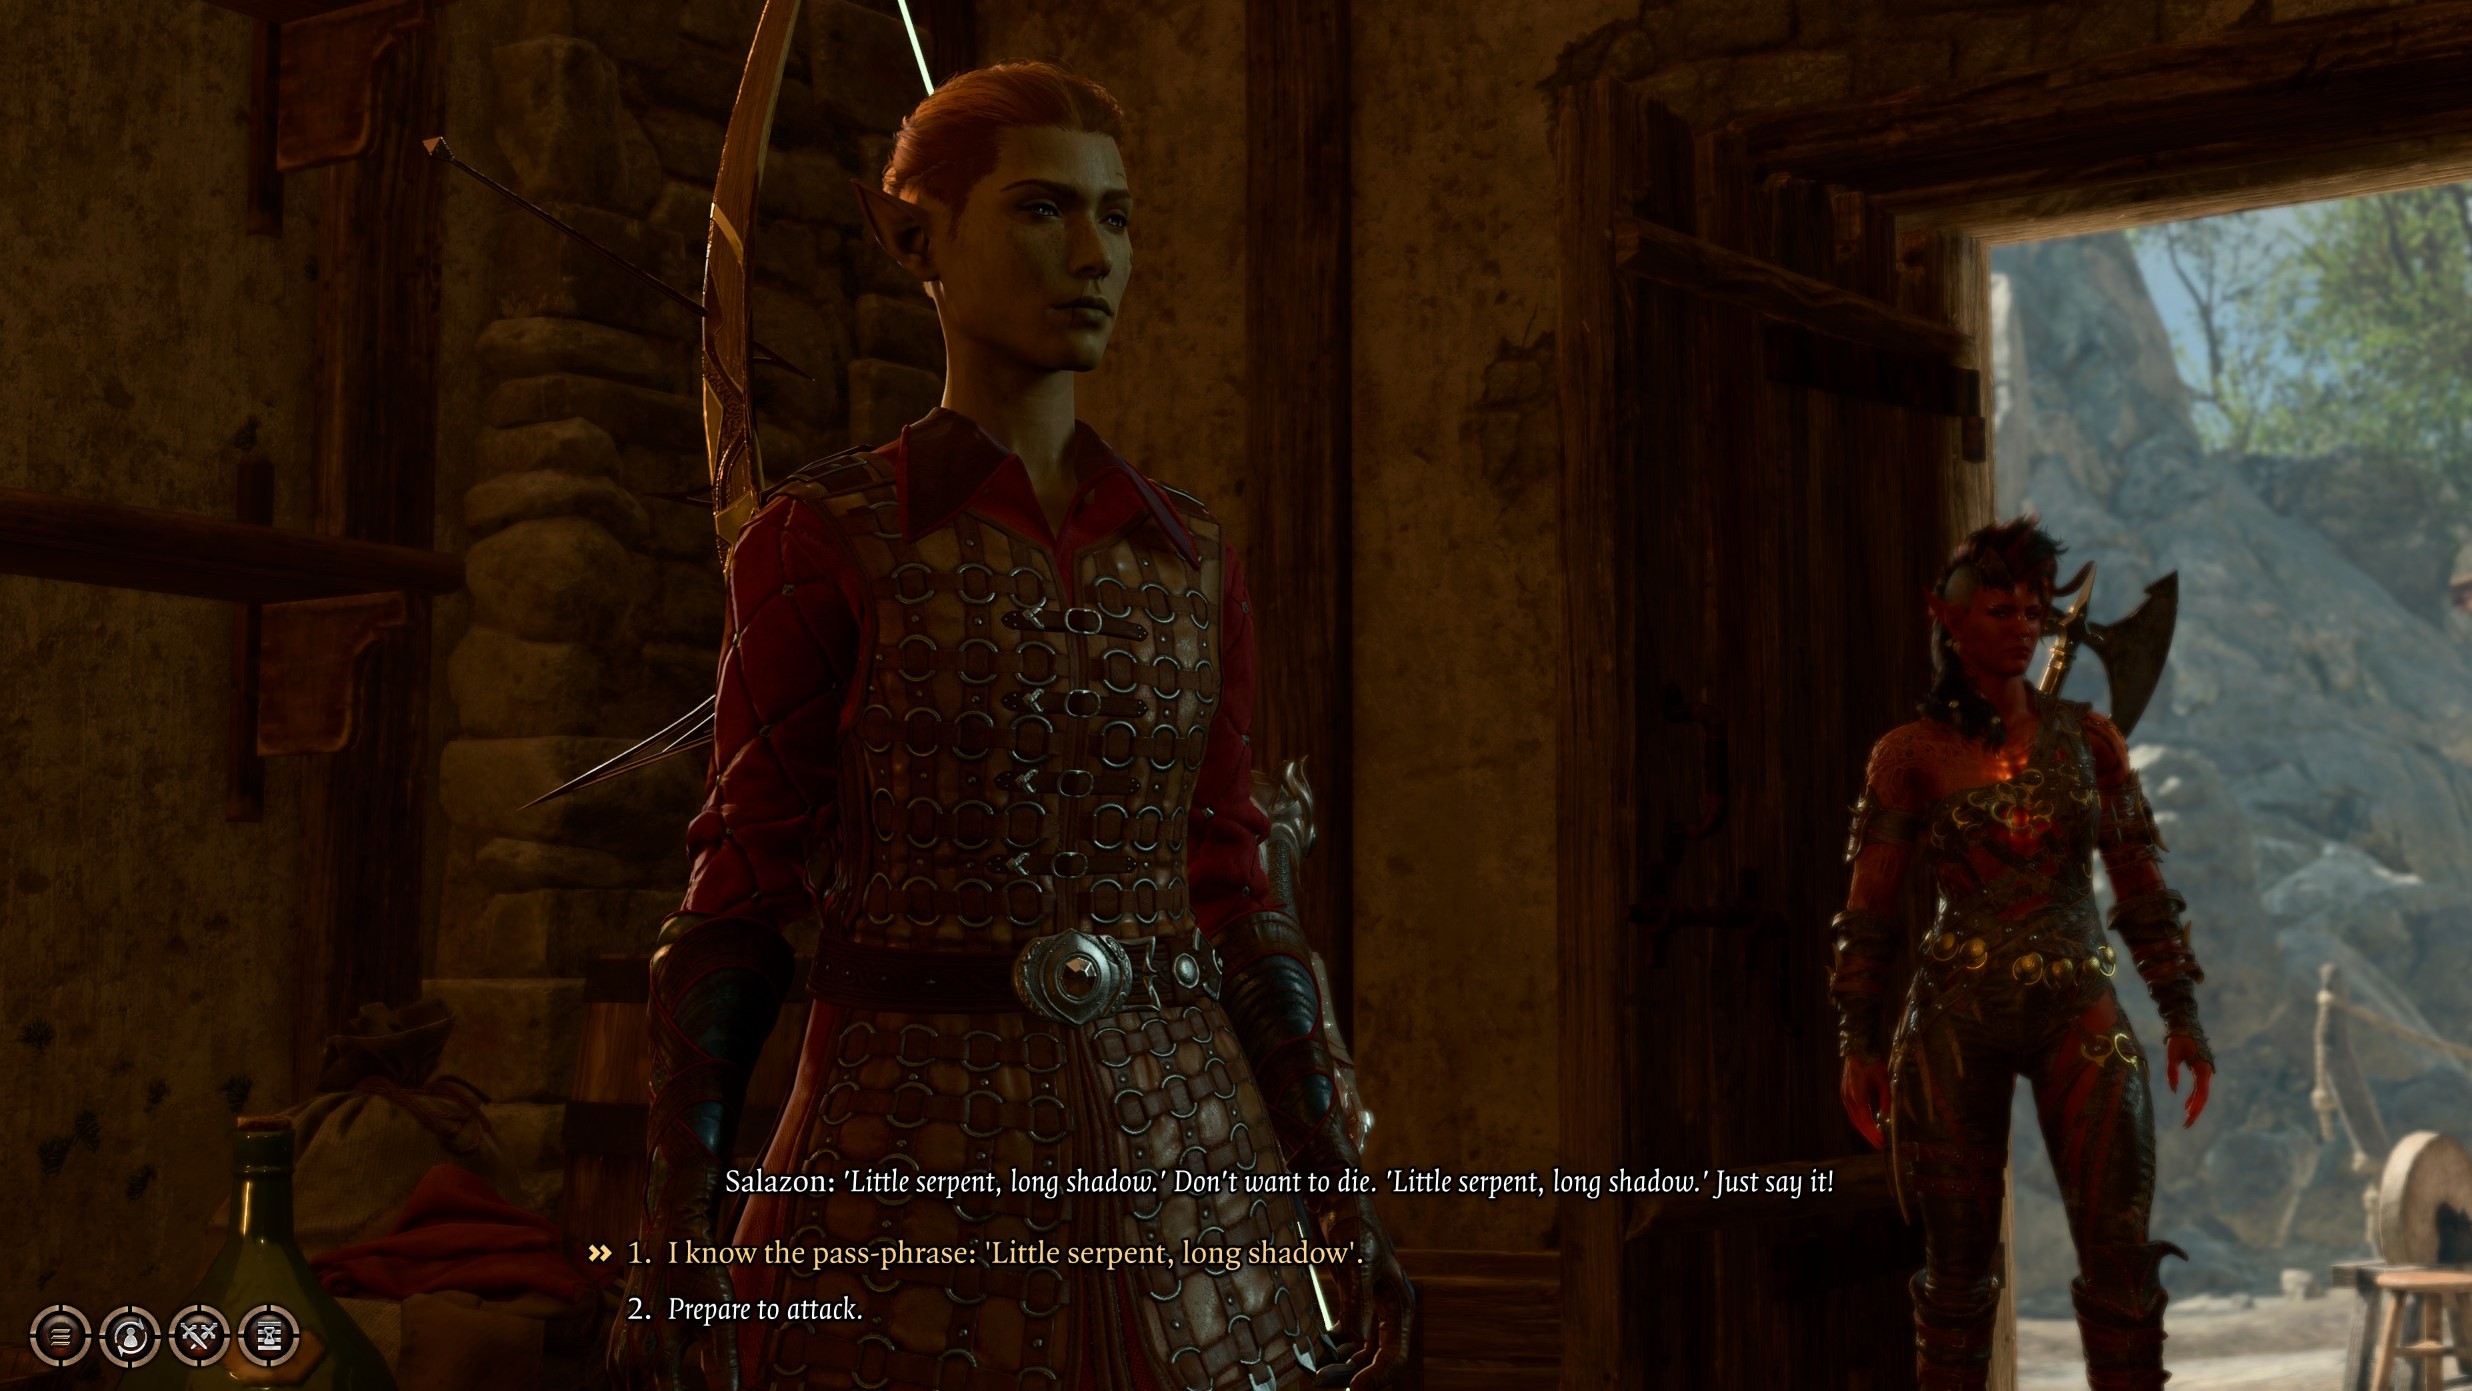
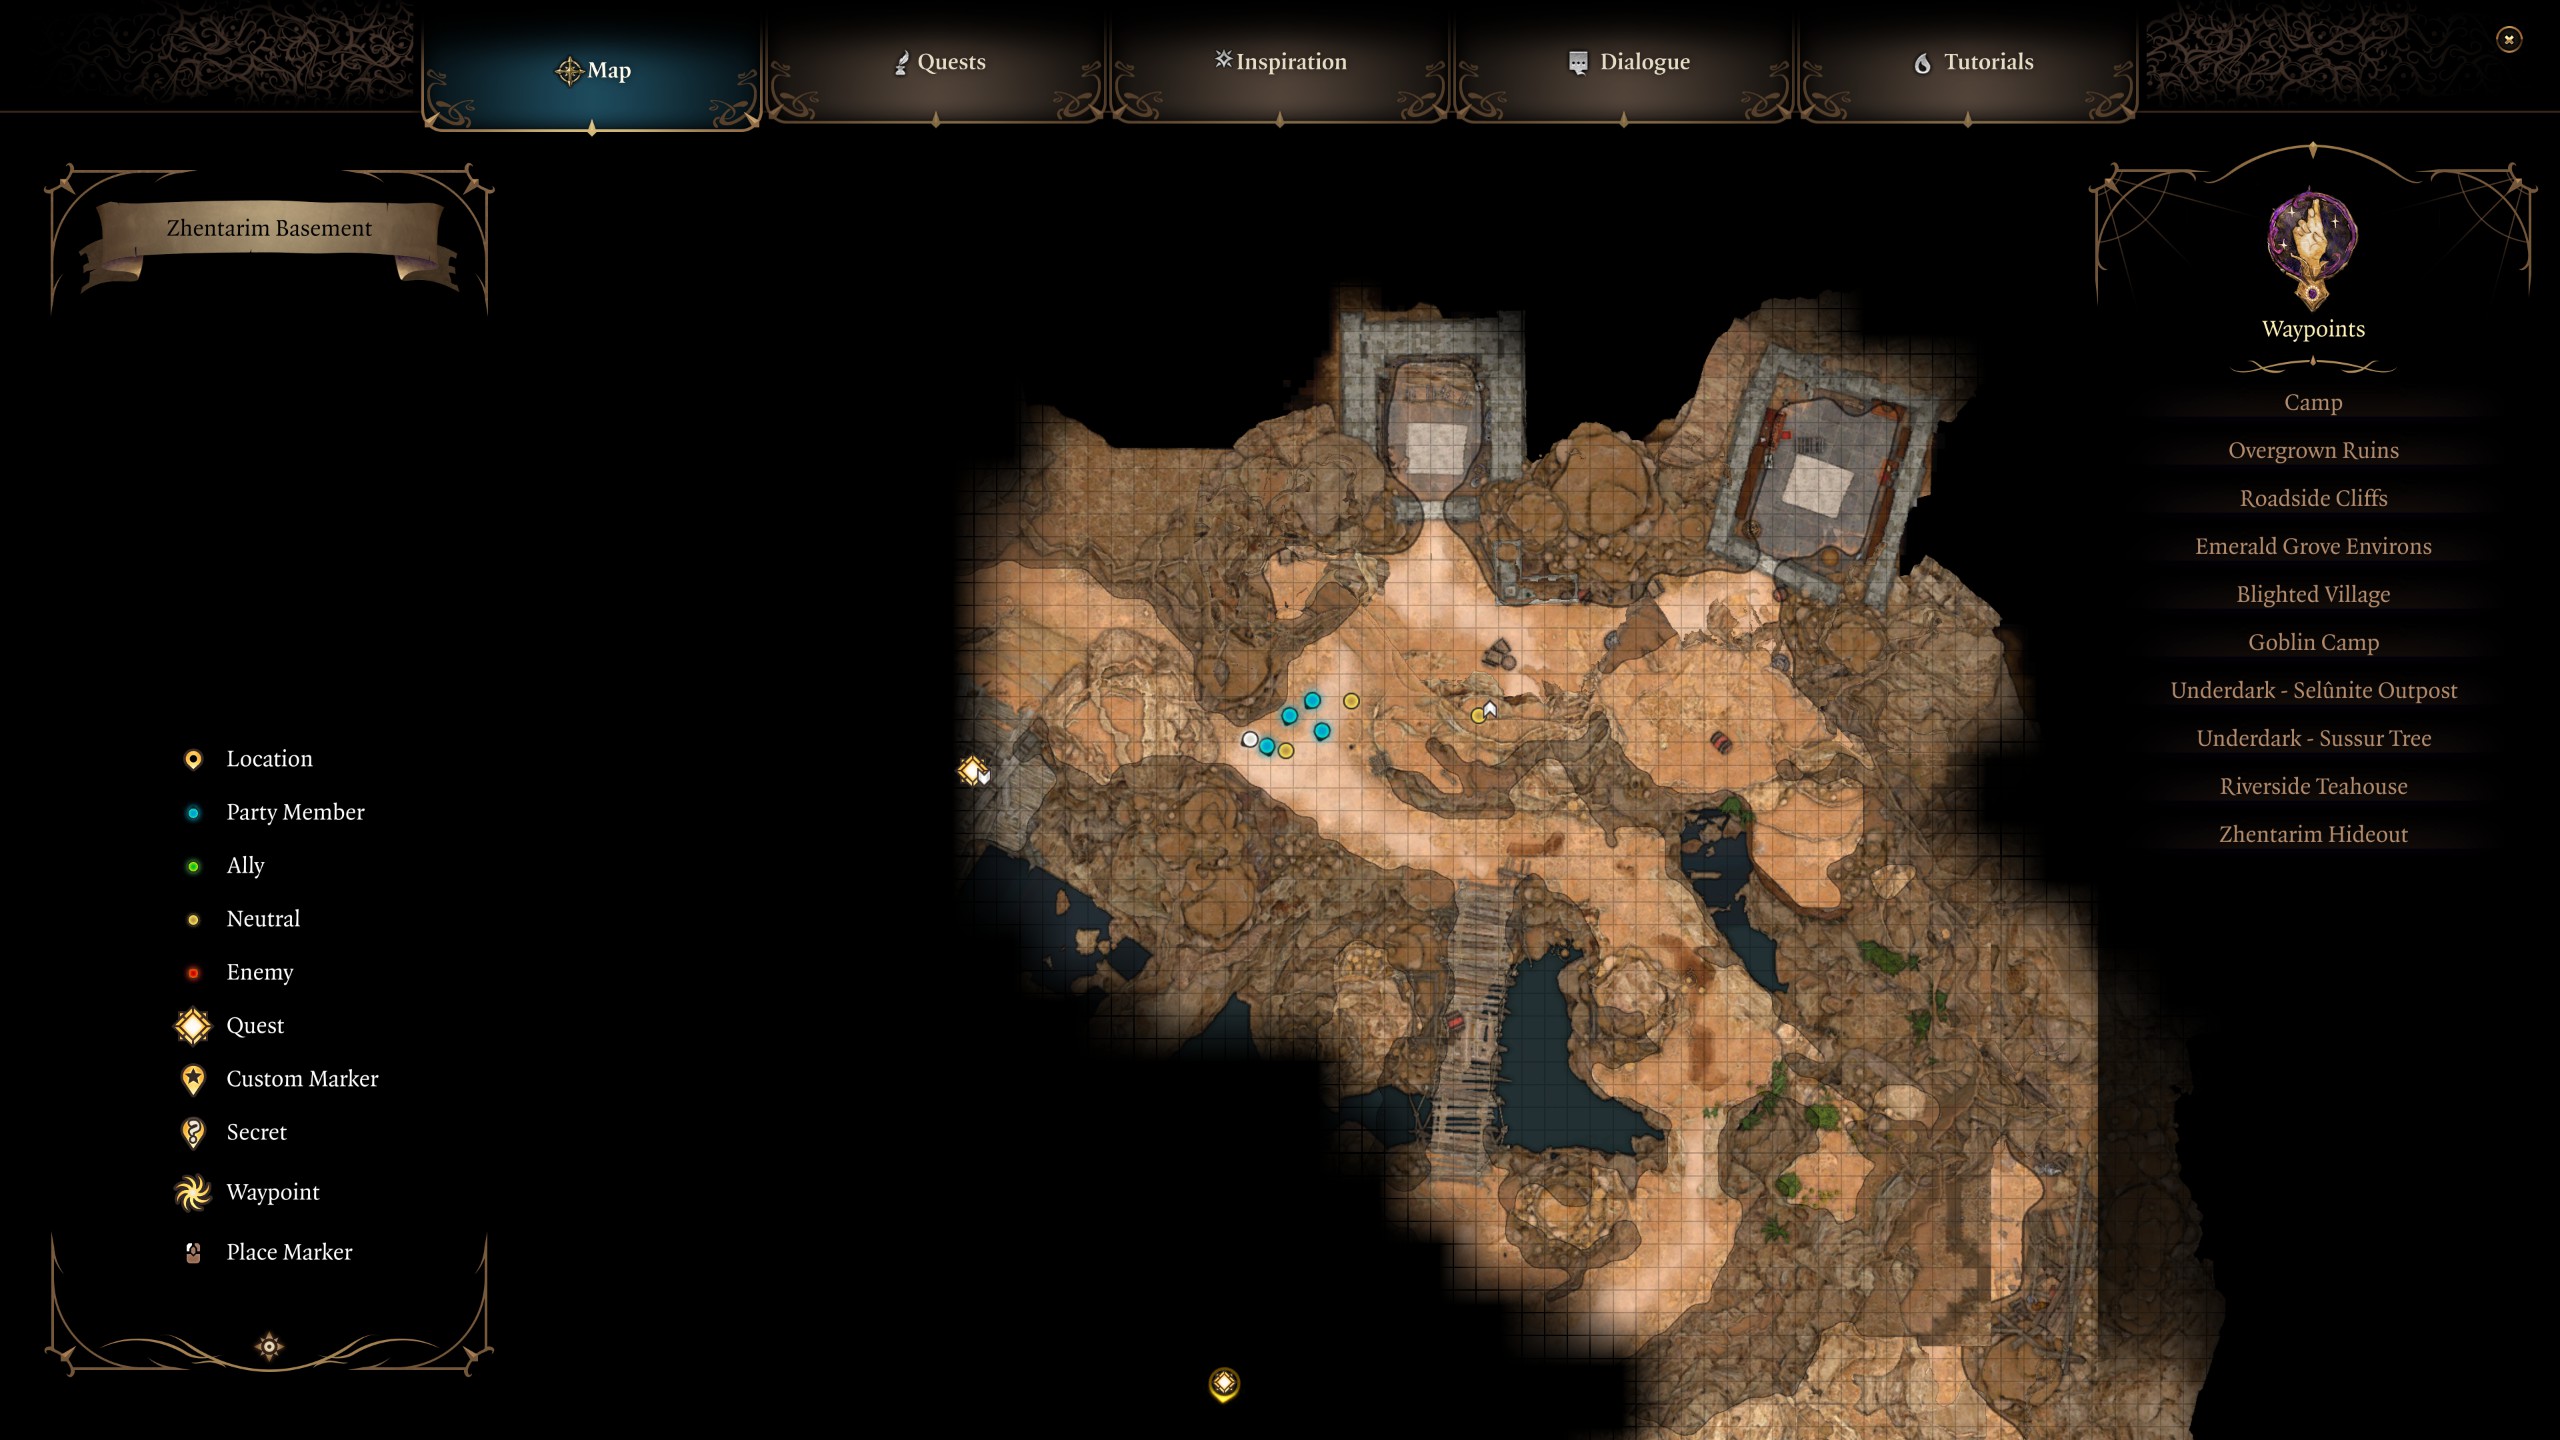
This Underdark entrance is even more elaborate than the first two and requires a fair few steps to access. Before you try it, make sure you have access to the Detect Thoughts spell. First off, you'll want to head to the Risen Road to the north of the Blighted Village and then travel northwest up the road until you find a burning house called Waukeen's Rest. Instead of helping the soldiers bashing on the main door, head left through the gap between the houses to find a small building with a door blocked by crates.
Keep up to date with the most important stories and the best deals, as picked by the PC Gamer team.
Move the crates and head inside. You'll be met by a nervous fella called Salazon wielding a fireball ready to blow you up with some explosive barrels—this is where you use Detect Thoughts to discover the password. If you succeed, he'll give you a key and tell you to head down into the basement and use it to unlock a secret stairway behind the wardrobe. Still with me? This tunnel leads to the Zhentarim Hideout where a band of black market traders and smugglers make their home.
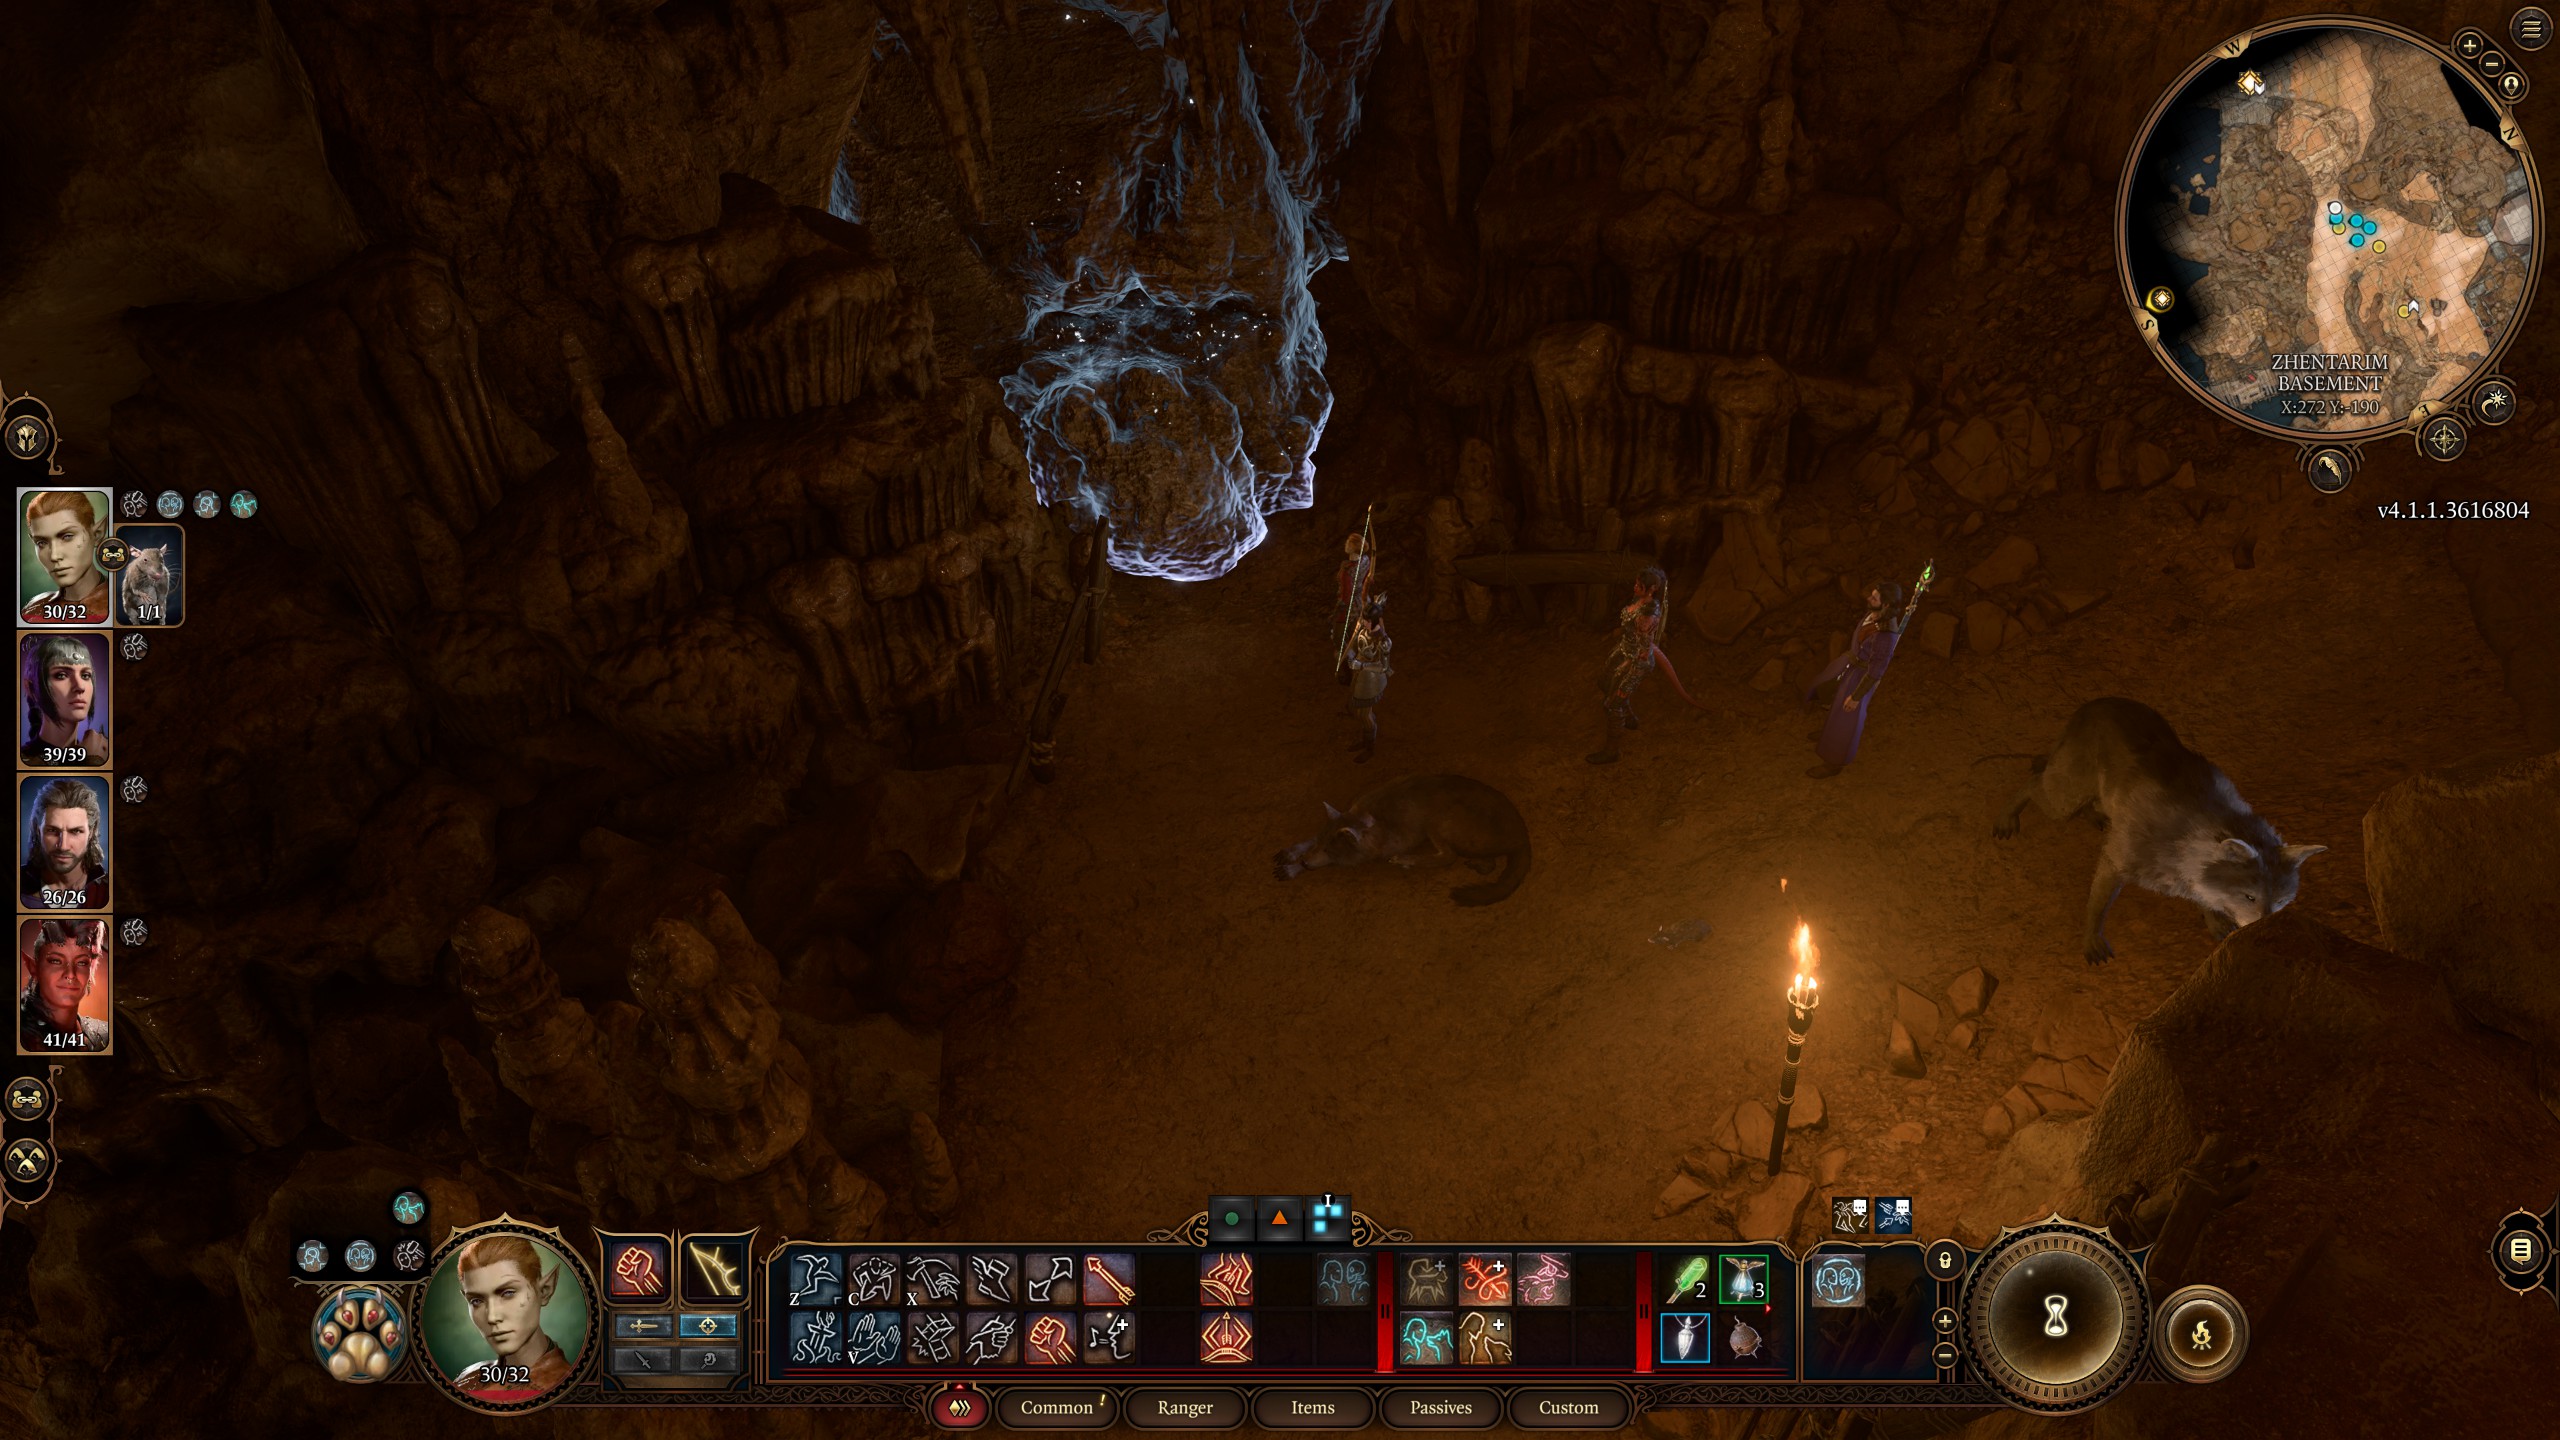
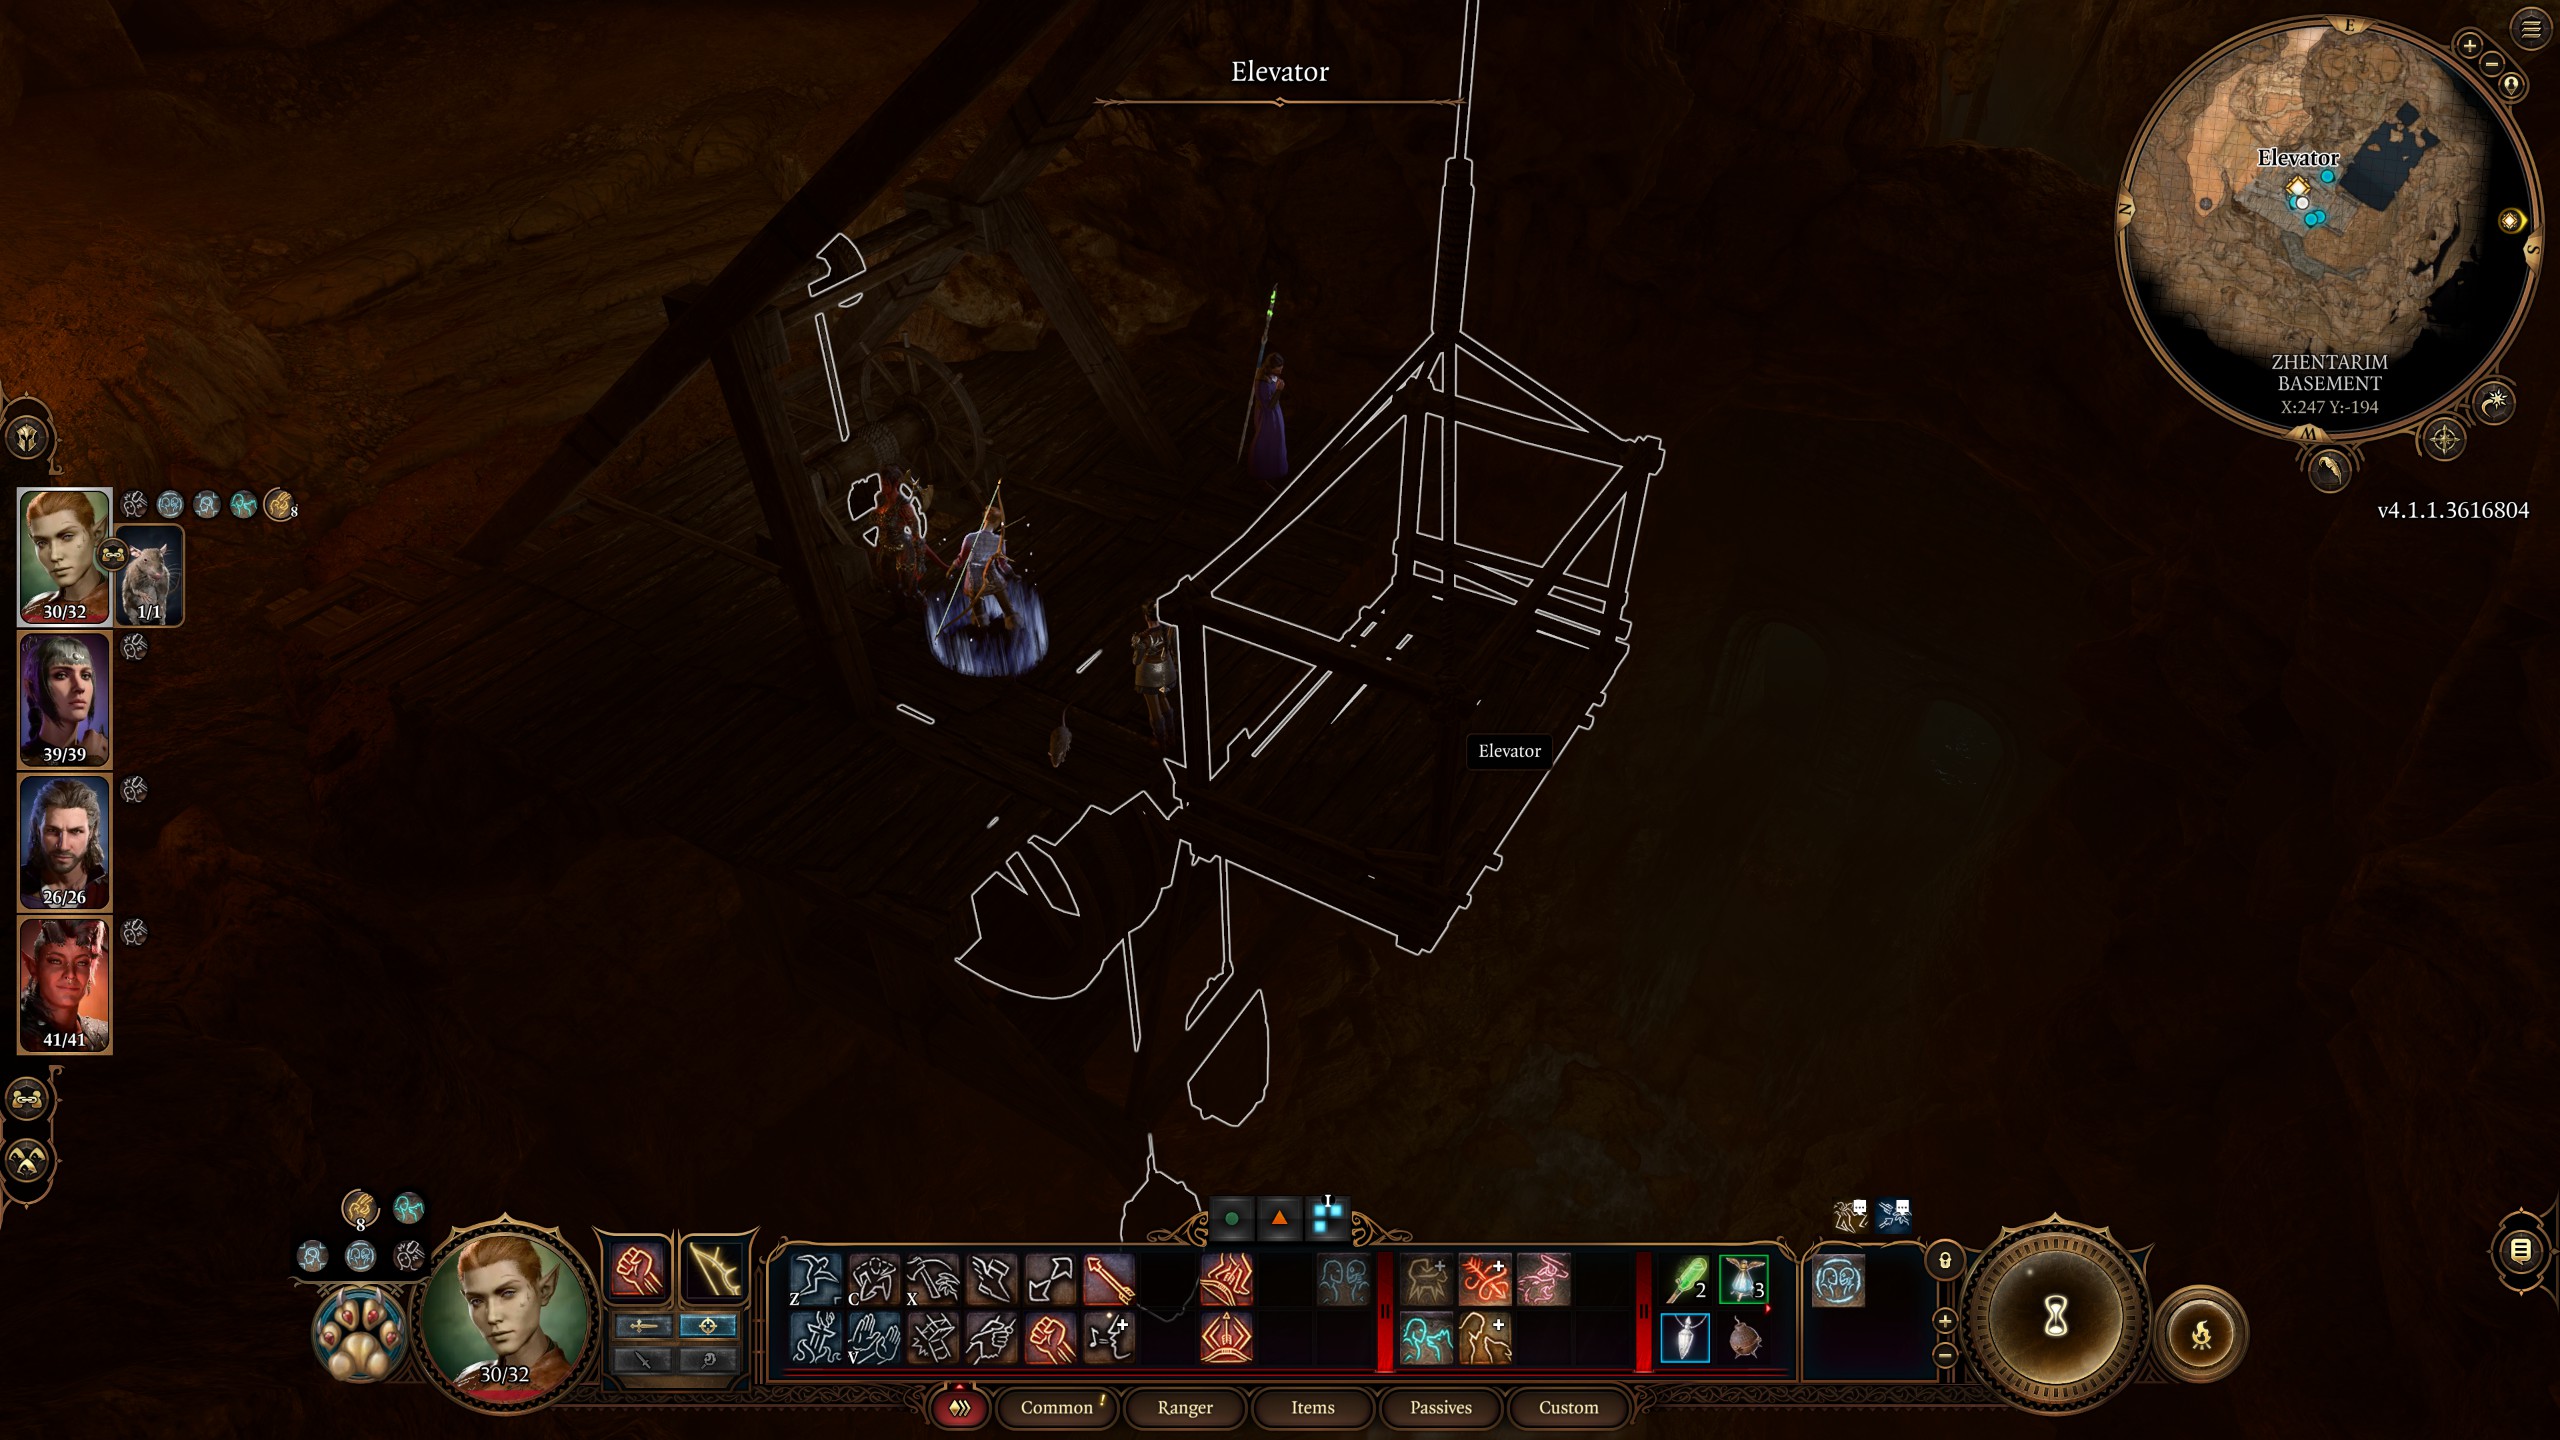
To progress through here, you'll have to either fight them all, or convince Zarys that you're there for business using Persuasion, Detect Thoughts, or Intimidation. Doing so disarms the traps and allows you in. You'll want to go to the northwesternmost point of the cave where you'll find a couple of wolves chilling in front of an illusory wall. Behind this is an elevator; use a lockpick on the winch and you're ready to ride that bad boy all the way down to the Underdark. It'll also give a point of Inspiration if you have the Guild Artisan background.
Alternatively, if that sounds like a bit too much effort, you can go and save the Zhentarim caravan from gnolls in the northeast of the Risen Road. This is a lot easier to do if you head up into the hills and approach the beasts from behind rather than going through the cave where the caravaneers are hunkered down. If you save them, you can get an invite to the Zhentarim hideout.
Riverside Teahouse - Sunlit Wetlands
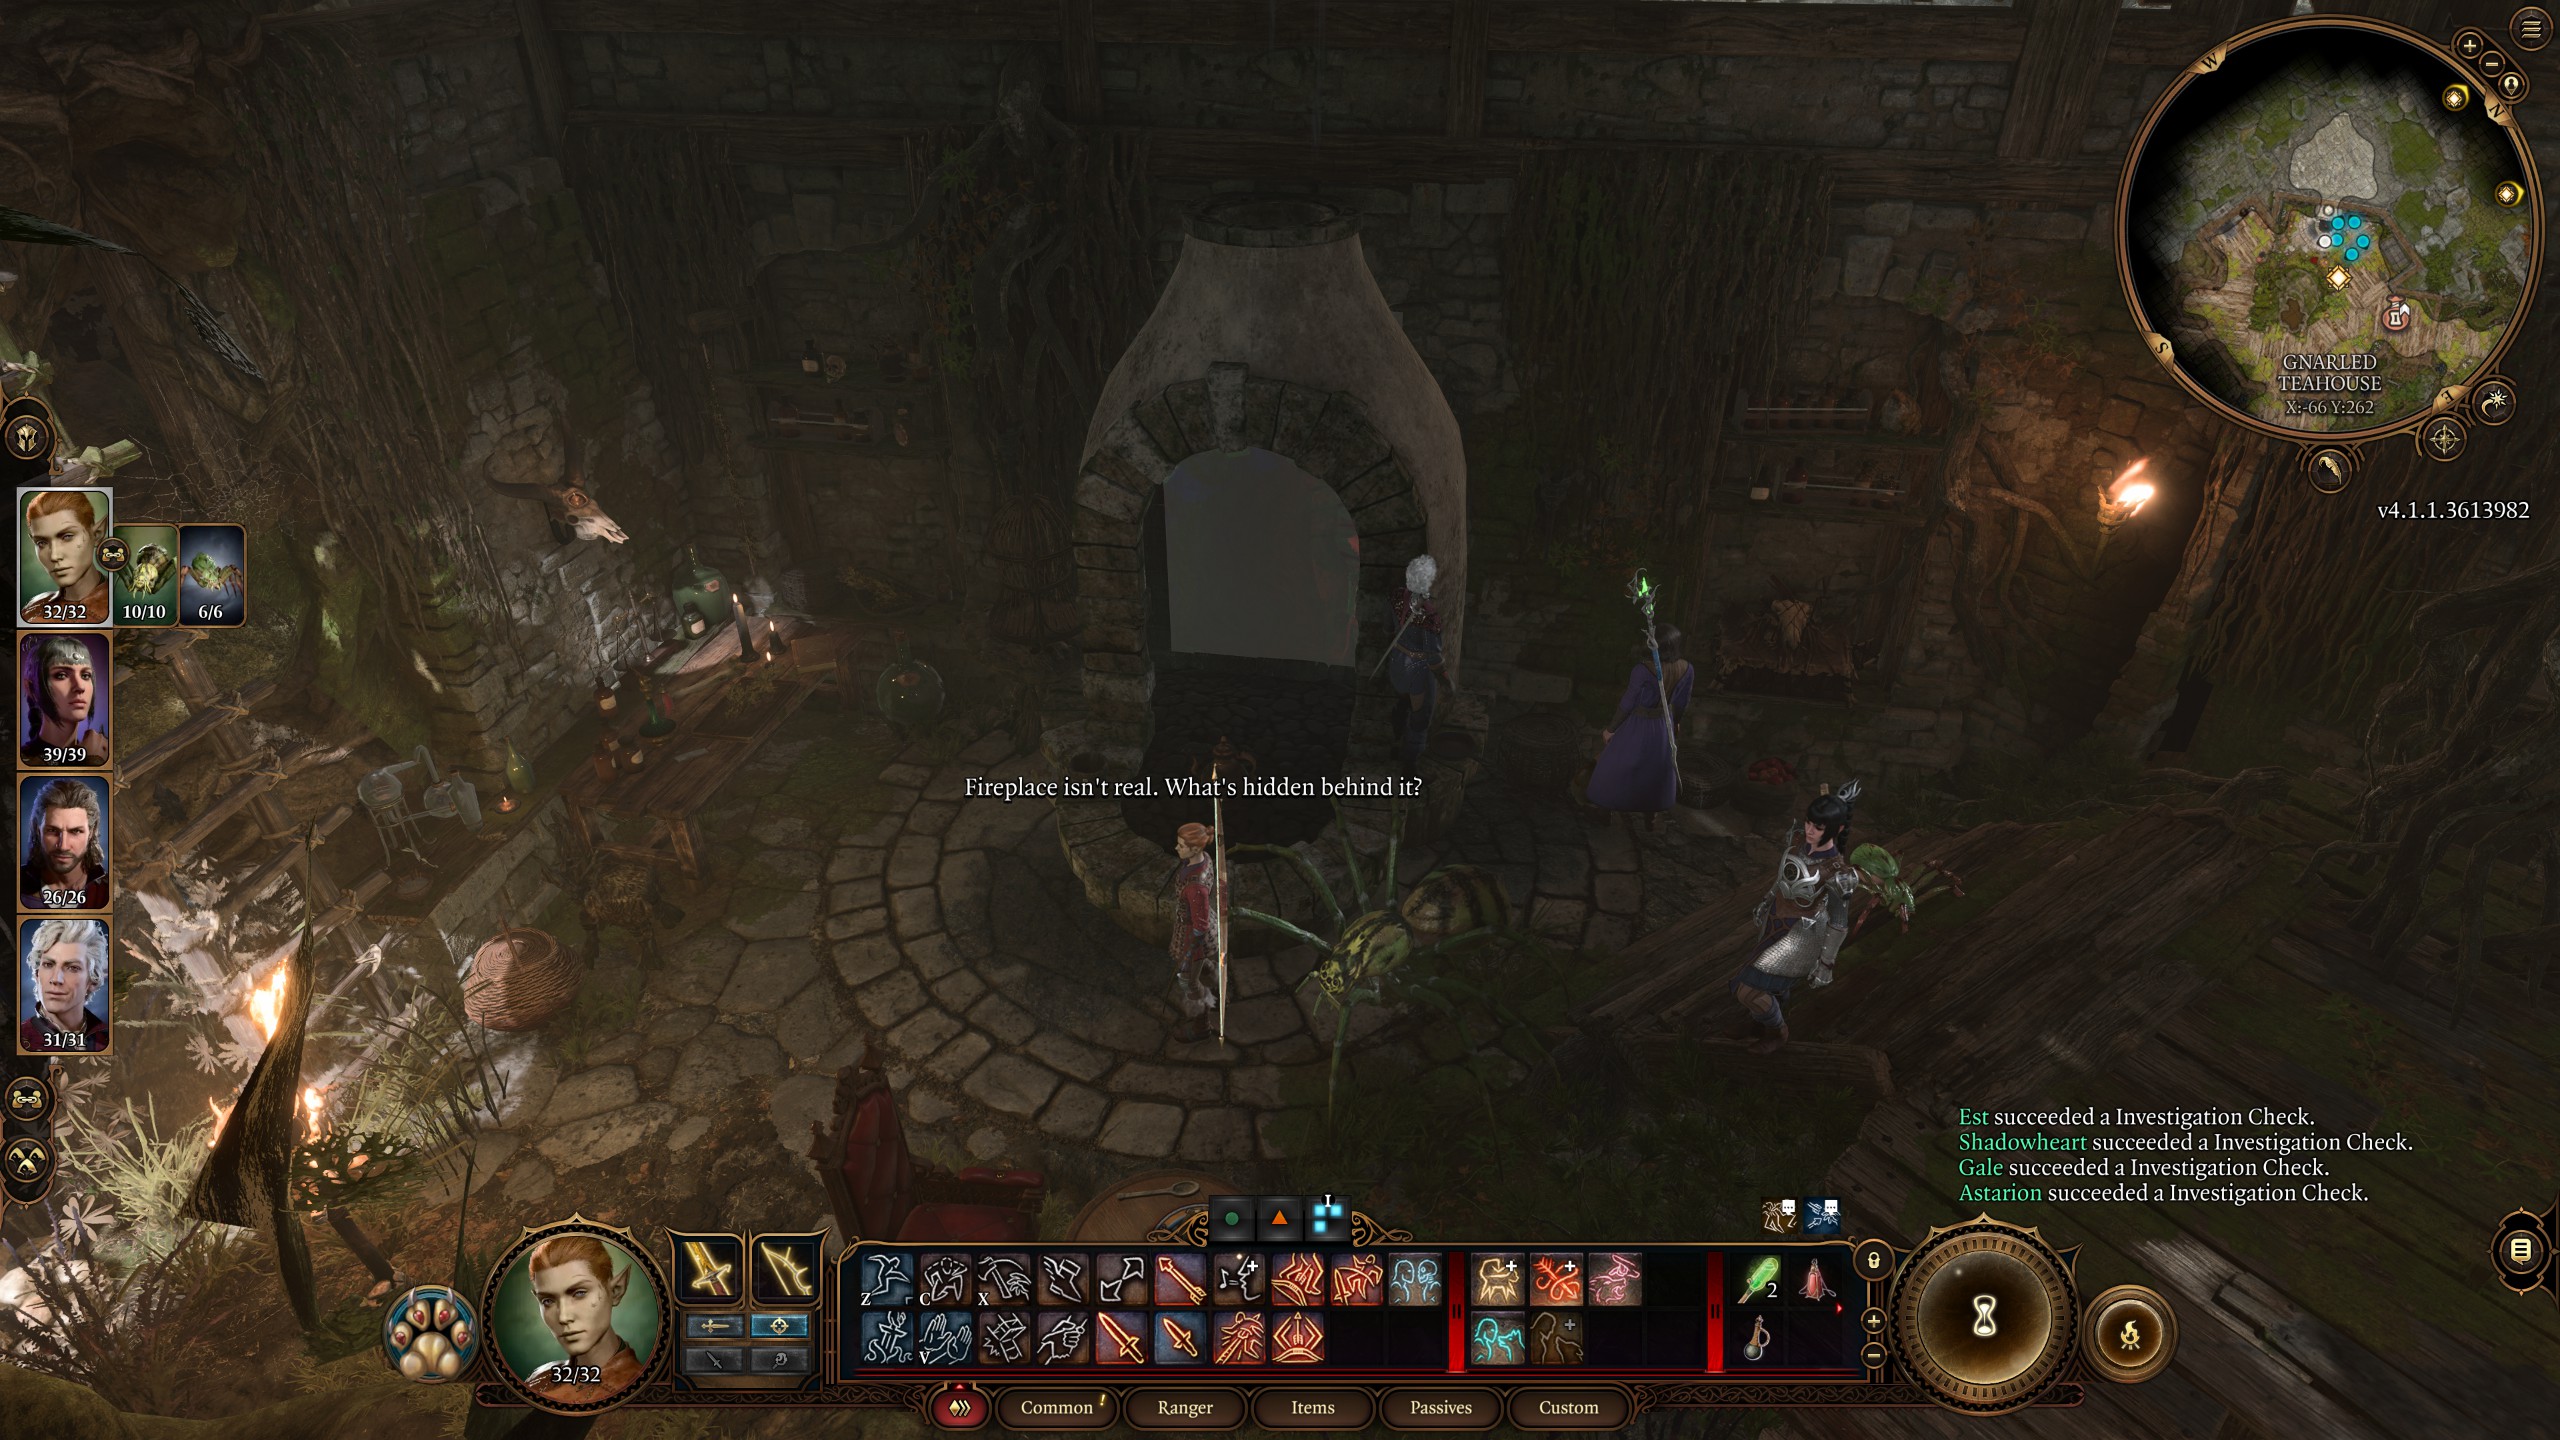
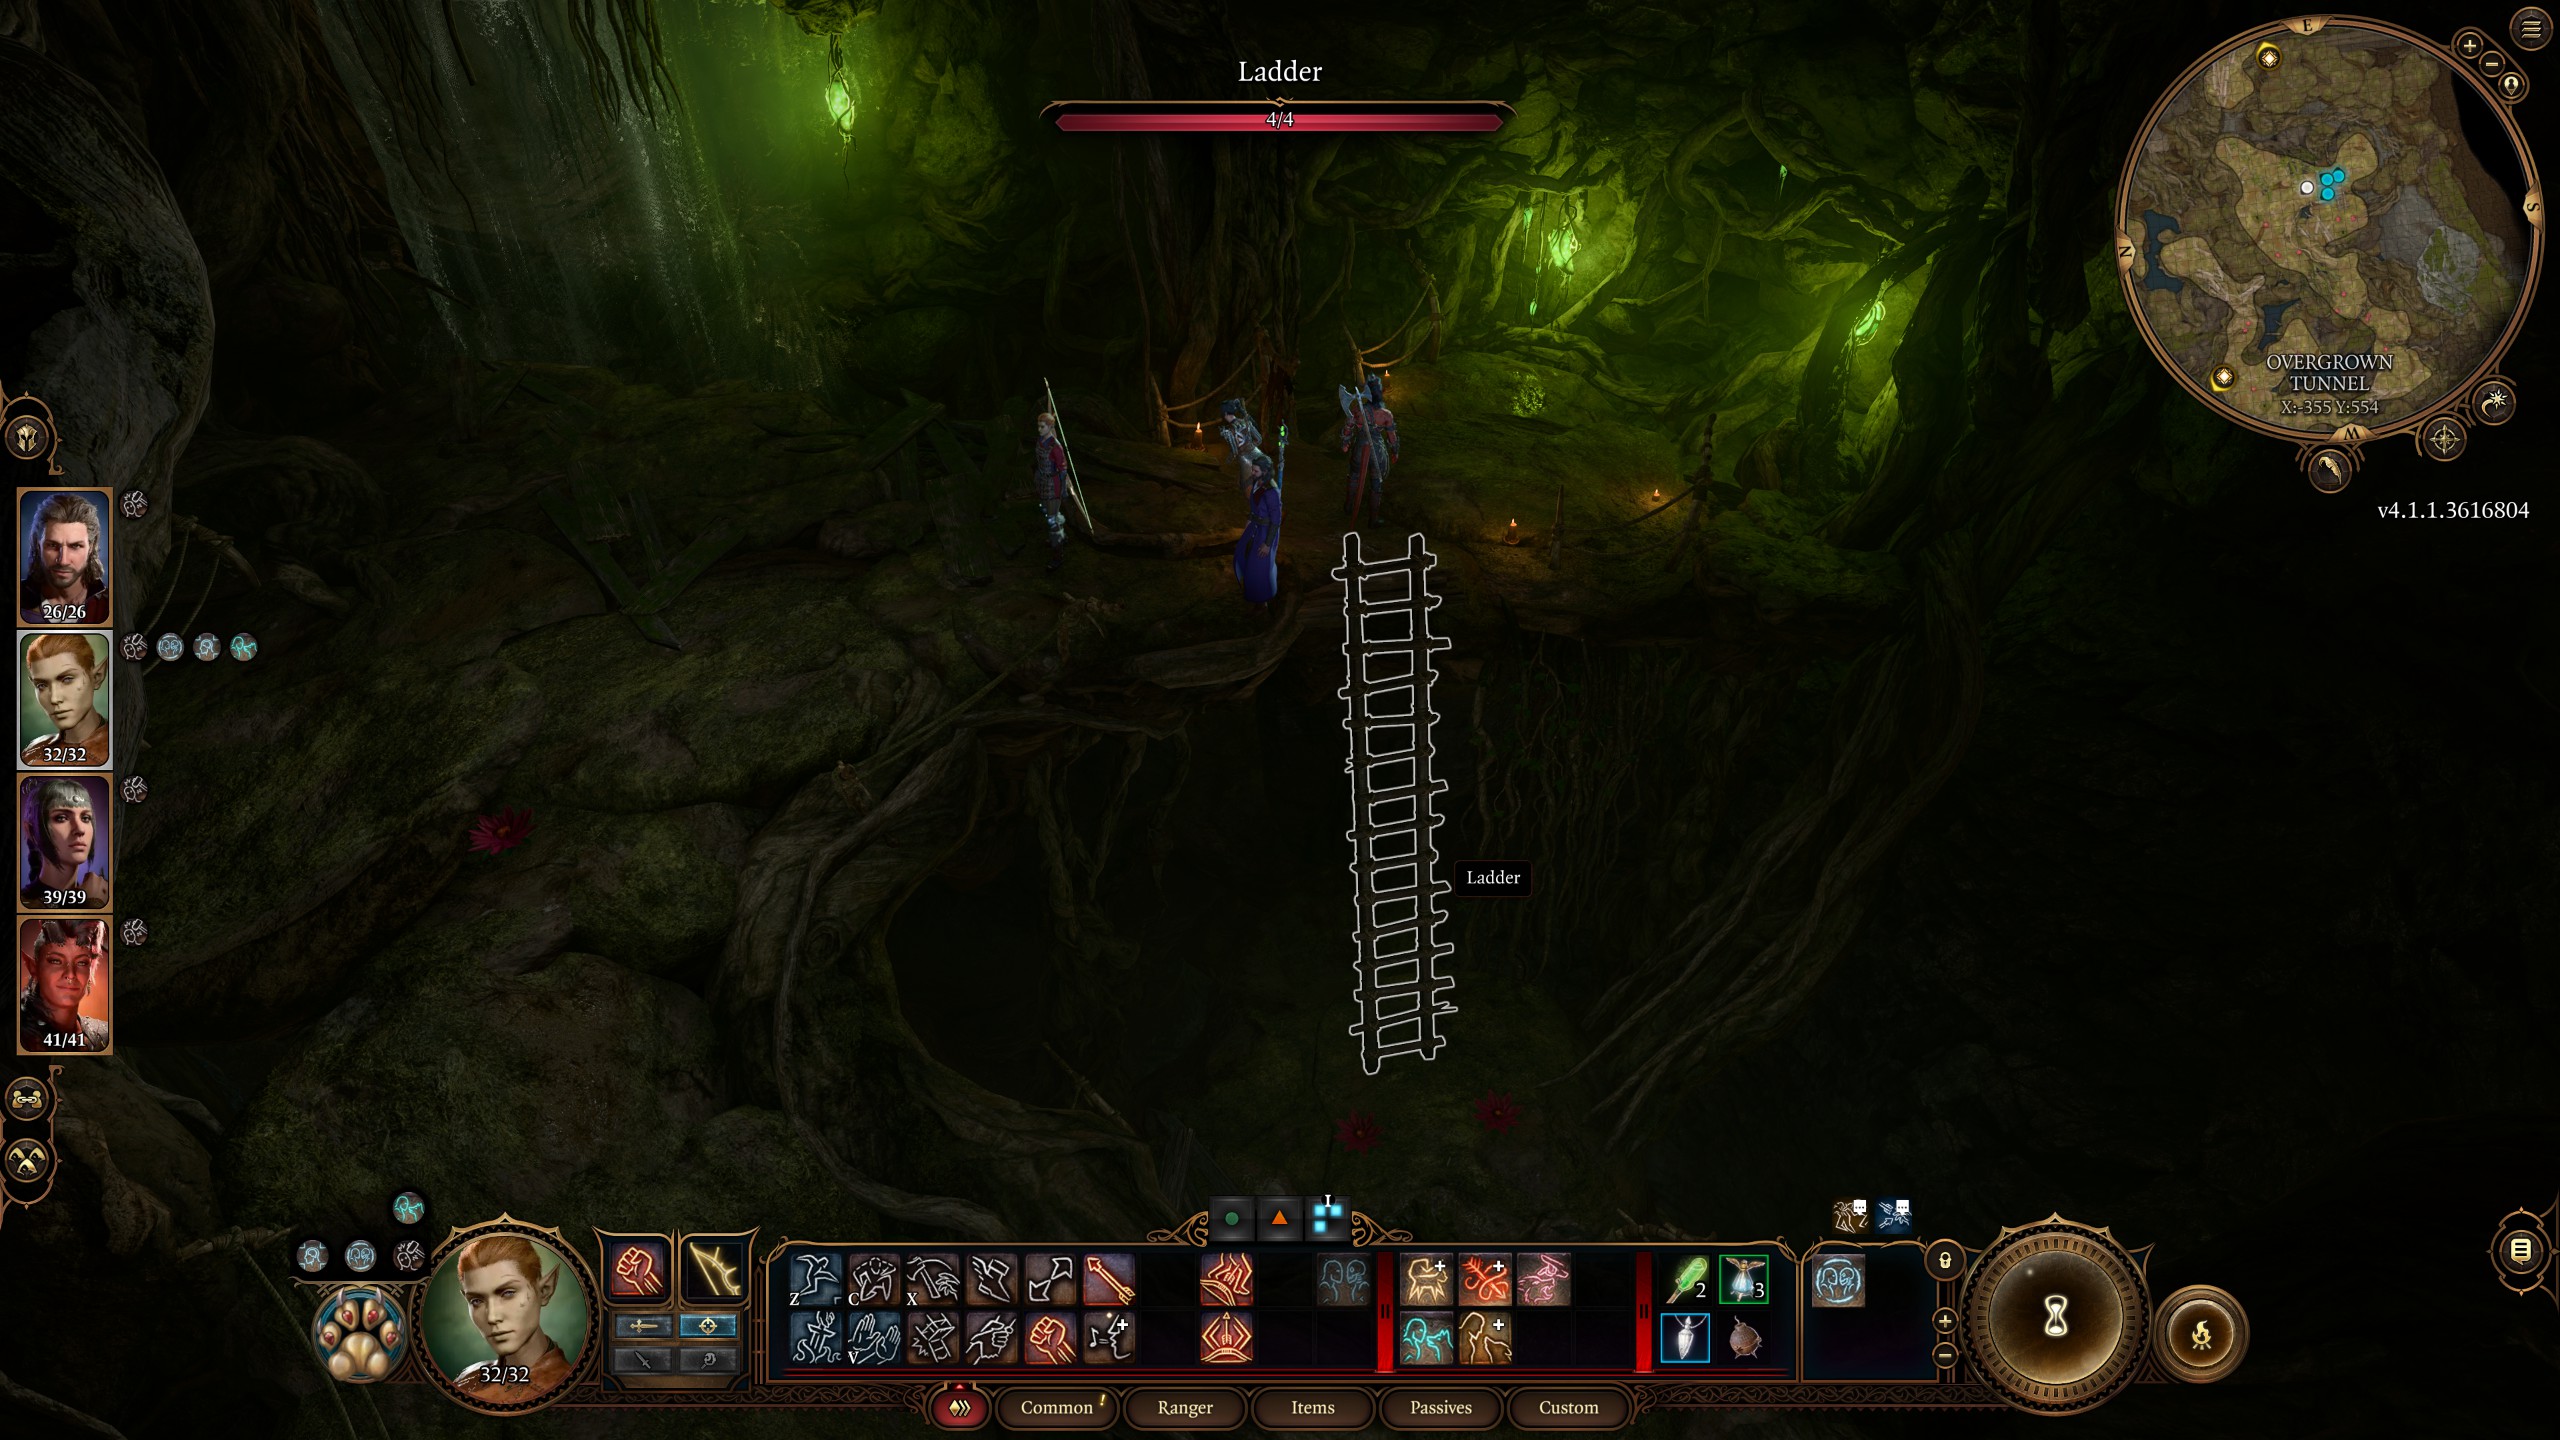
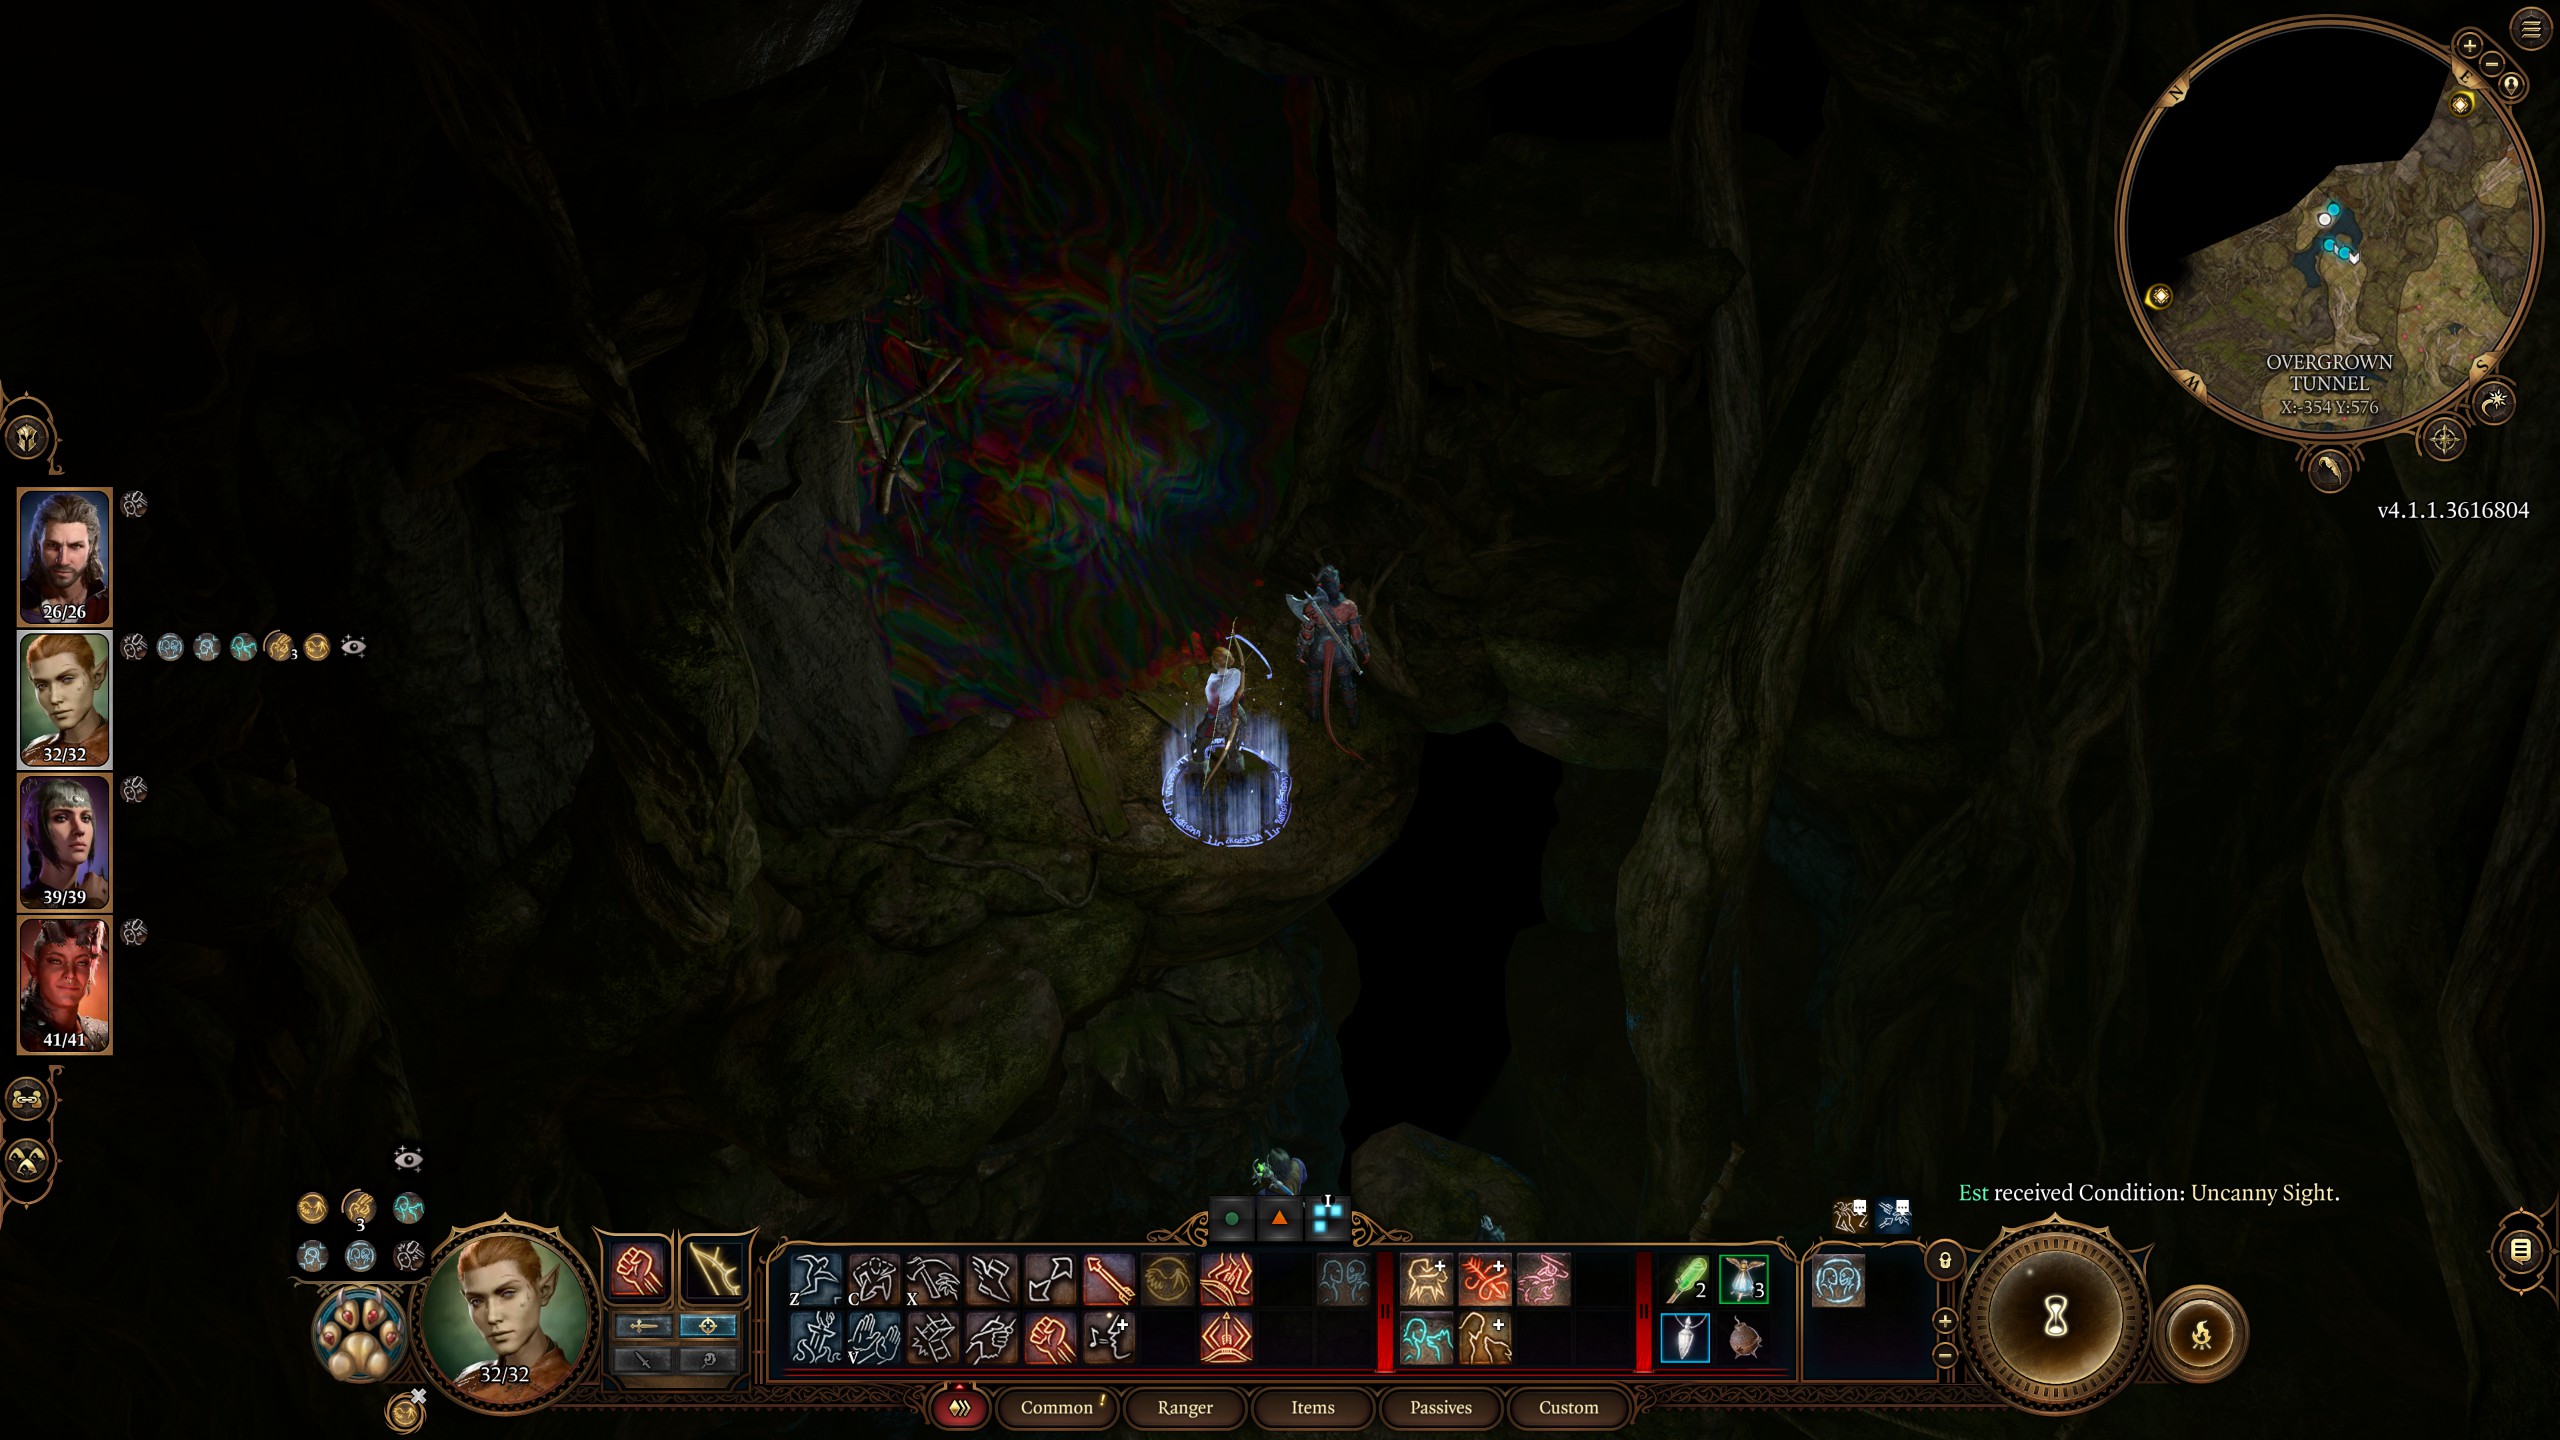
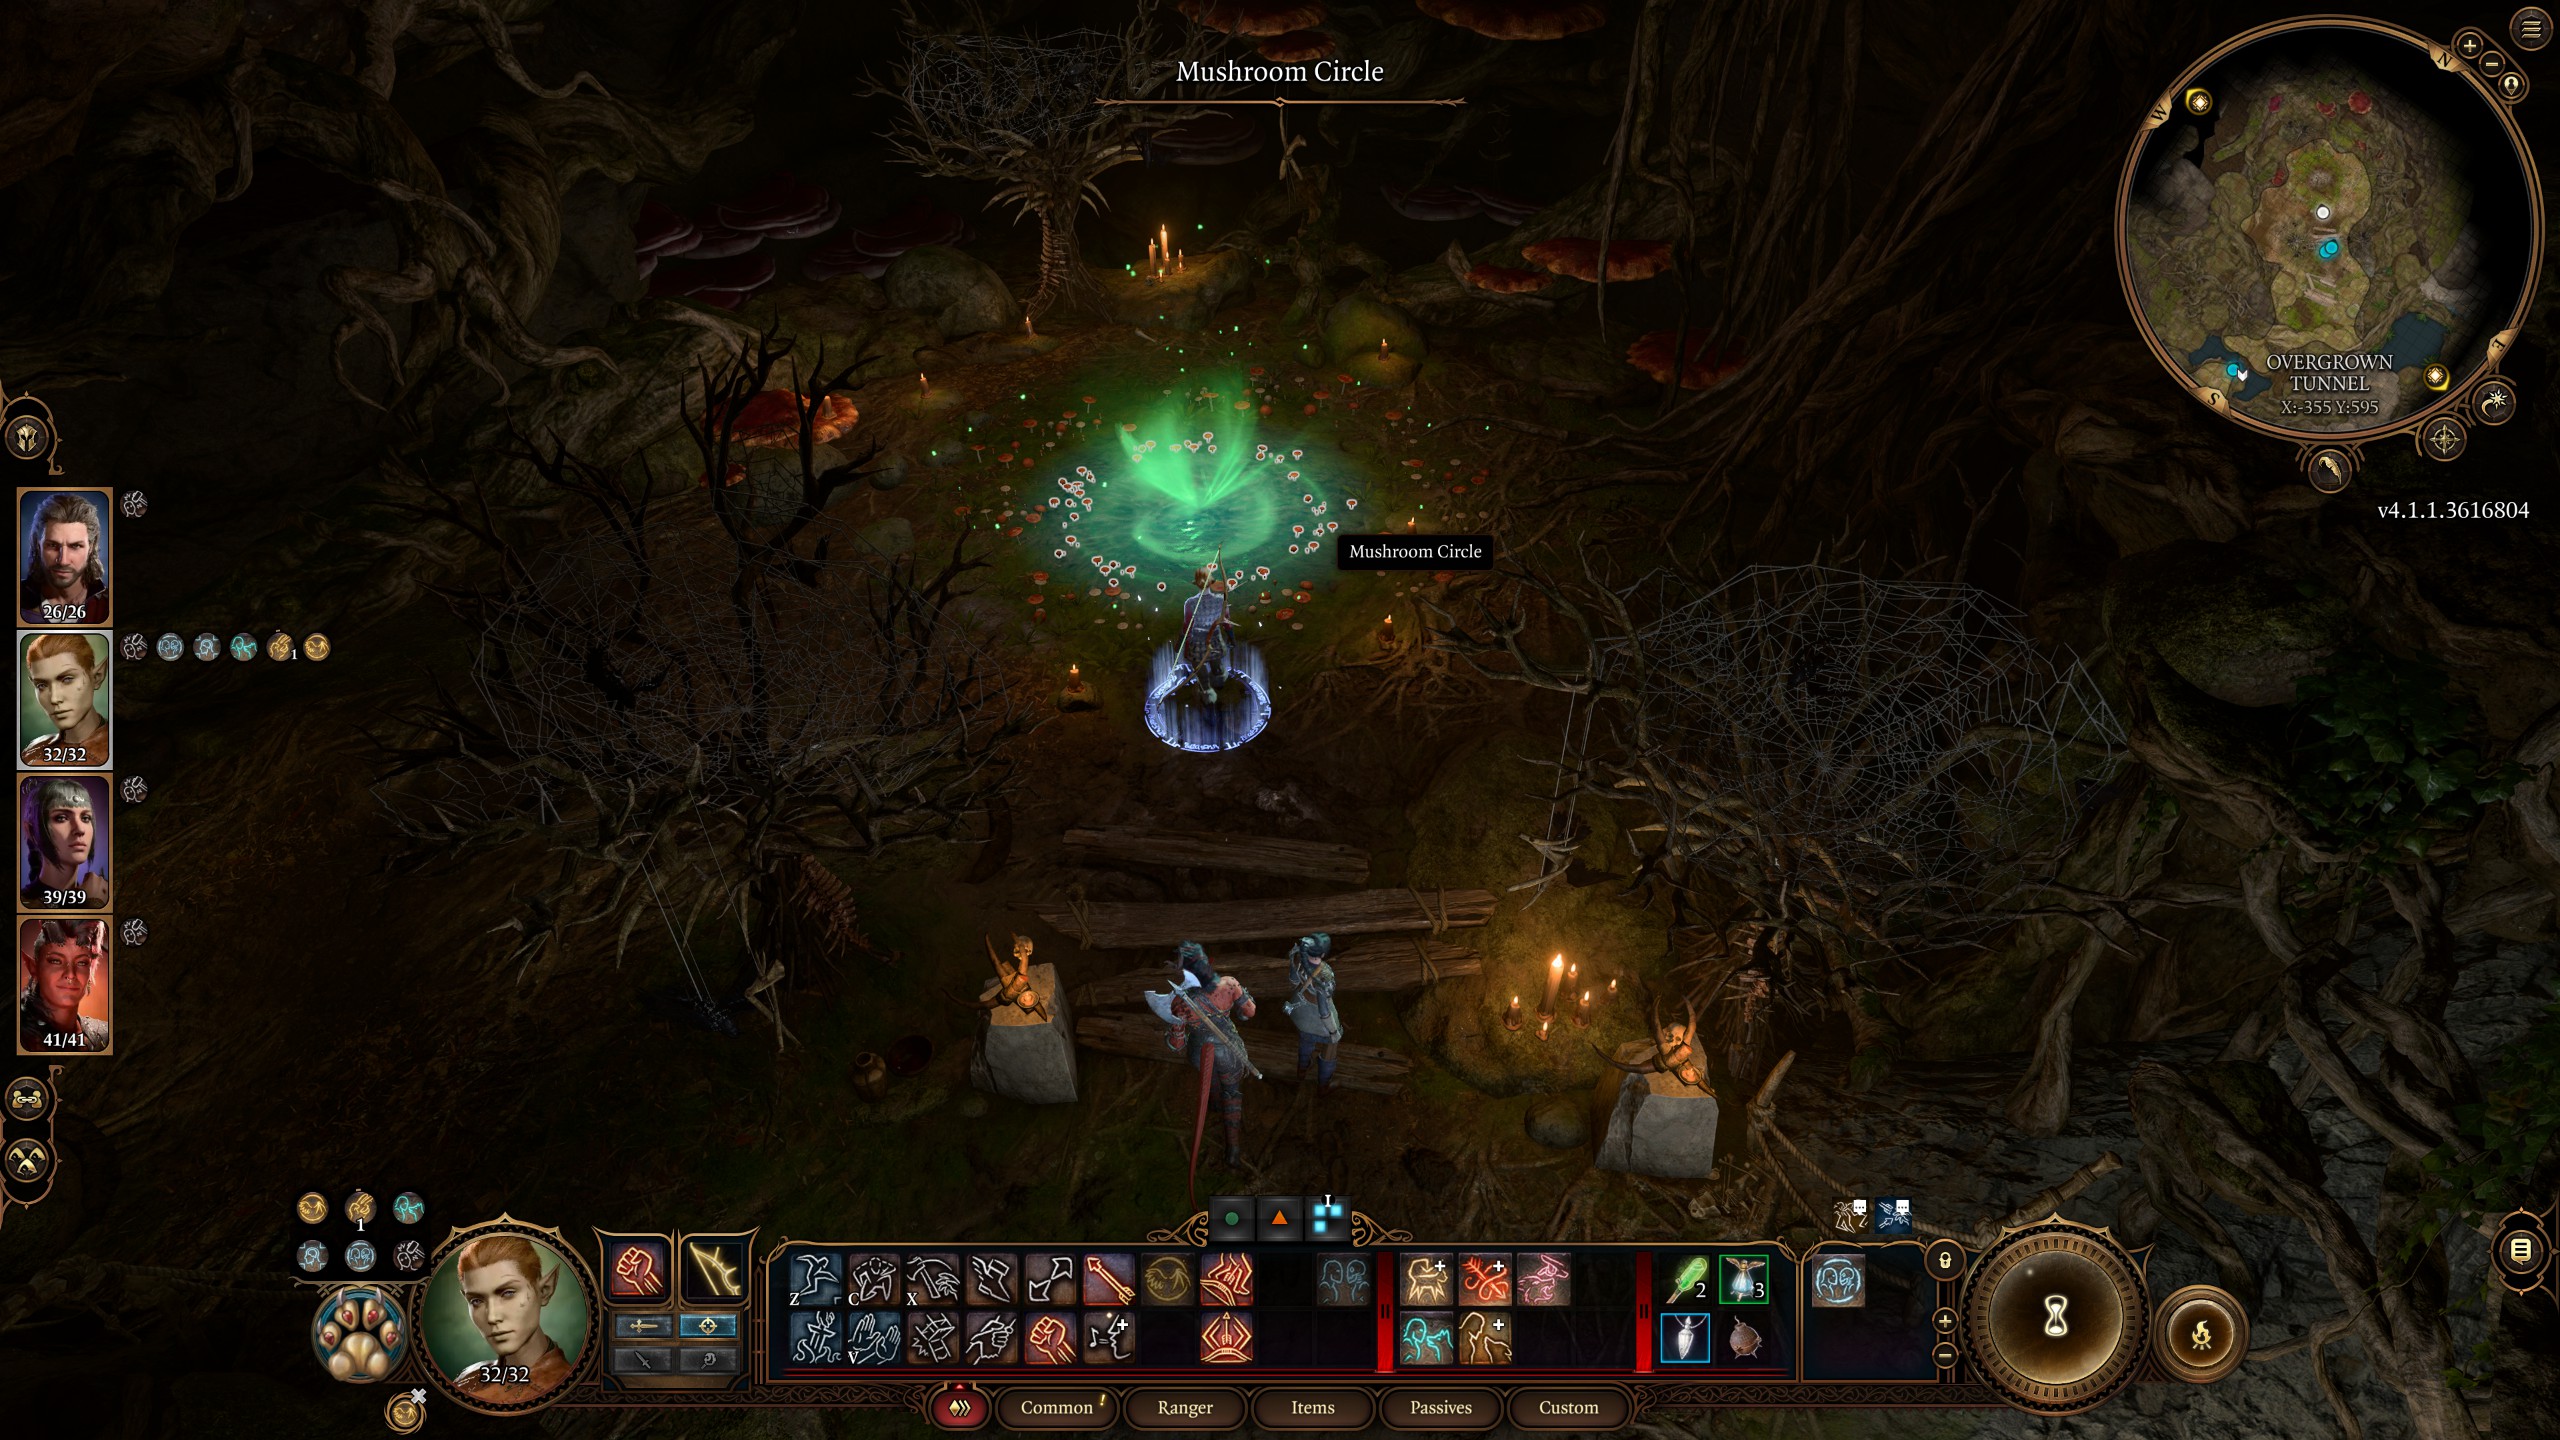
The final and by far most elaborate way into the Underdark is through the caves underneath the Riverside Teahouse in the west of the Sunlit Wetlands, to the south of the Blighted Village. To do this, you'll have to do 90% of the Save Mayrina quest, but here's the gist of finding this entrance:
- Turn off the fireplace in the Riverside Teahouse and sneak through the illusory wall behind it.
- Head down the stairs and grab a Whispering Mask from the table in the Overgrown Tunnel's first room.
- Use Protection from Evil and Good—unless you want the mask possessing you—then put on the mask and pass through the illusory wooden wall with the face. Don't forget to take the mask off before the spell runs out.
- Sneak by or fight the hag's thralls in the next room—non-lethally if you want to save them—then jump through the waterfall.
- Climb down the ladder, but instead of continuing further down, head north along the ledge to find another wooden wall with a face you can jump up to.
- Cast Protection from Evil and Good again, put on the mask, and head through the illusory wall to find a secret room with a circle of mushrooms.
Activating this circle will teleport you down into the Underdark, though be aware you'll have to pass through another illusory wall at the bottom, though it's just a regular one this time.
Baldur's Gate 3 Soul Coins: Find them all
Baldur's Gate 3 infernal iron: Karlach collectibles
Baldur's Gate 3 owlbear cub: Befriend the bird
Baldur's Gate 3 find Halsin: Where's the bear?
Baldur's Gate 3 defiled temple: Solve the moon puzzle

Sean's first PC games were Full Throttle and Total Annihilation and his taste has stayed much the same since. When not scouring games for secrets or bashing his head against puzzles, you'll find him revisiting old Total War campaigns, agonizing over his Destiny 2 fit, or still trying to finish the Horus Heresy. Sean has also written for EDGE, Eurogamer, PCGamesN, Wireframe, EGMNOW, and Inverse.
