Baldur's Gate 3: How to solve the moon puzzle in the Defiled Temple
Spin the circles to open the way into the dark.
Keep up to date with the most important stories and the best deals, as picked by the PC Gamer team.
You are now subscribed
Your newsletter sign-up was successful
Want to add more newsletters?
Join the club
Get full access to premium articles, exclusive features and a growing list of member rewards.
The Baldur's Gate 3 moon puzzle in the Defiled Temple is one the trickiest I've encountered in my adventures so far. Usually, the game seems to be more about finding creative solutions to problems rather than solving a literal puzzle, so having to sit down and spin some moons into a certain pattern might come as a shock to the system.
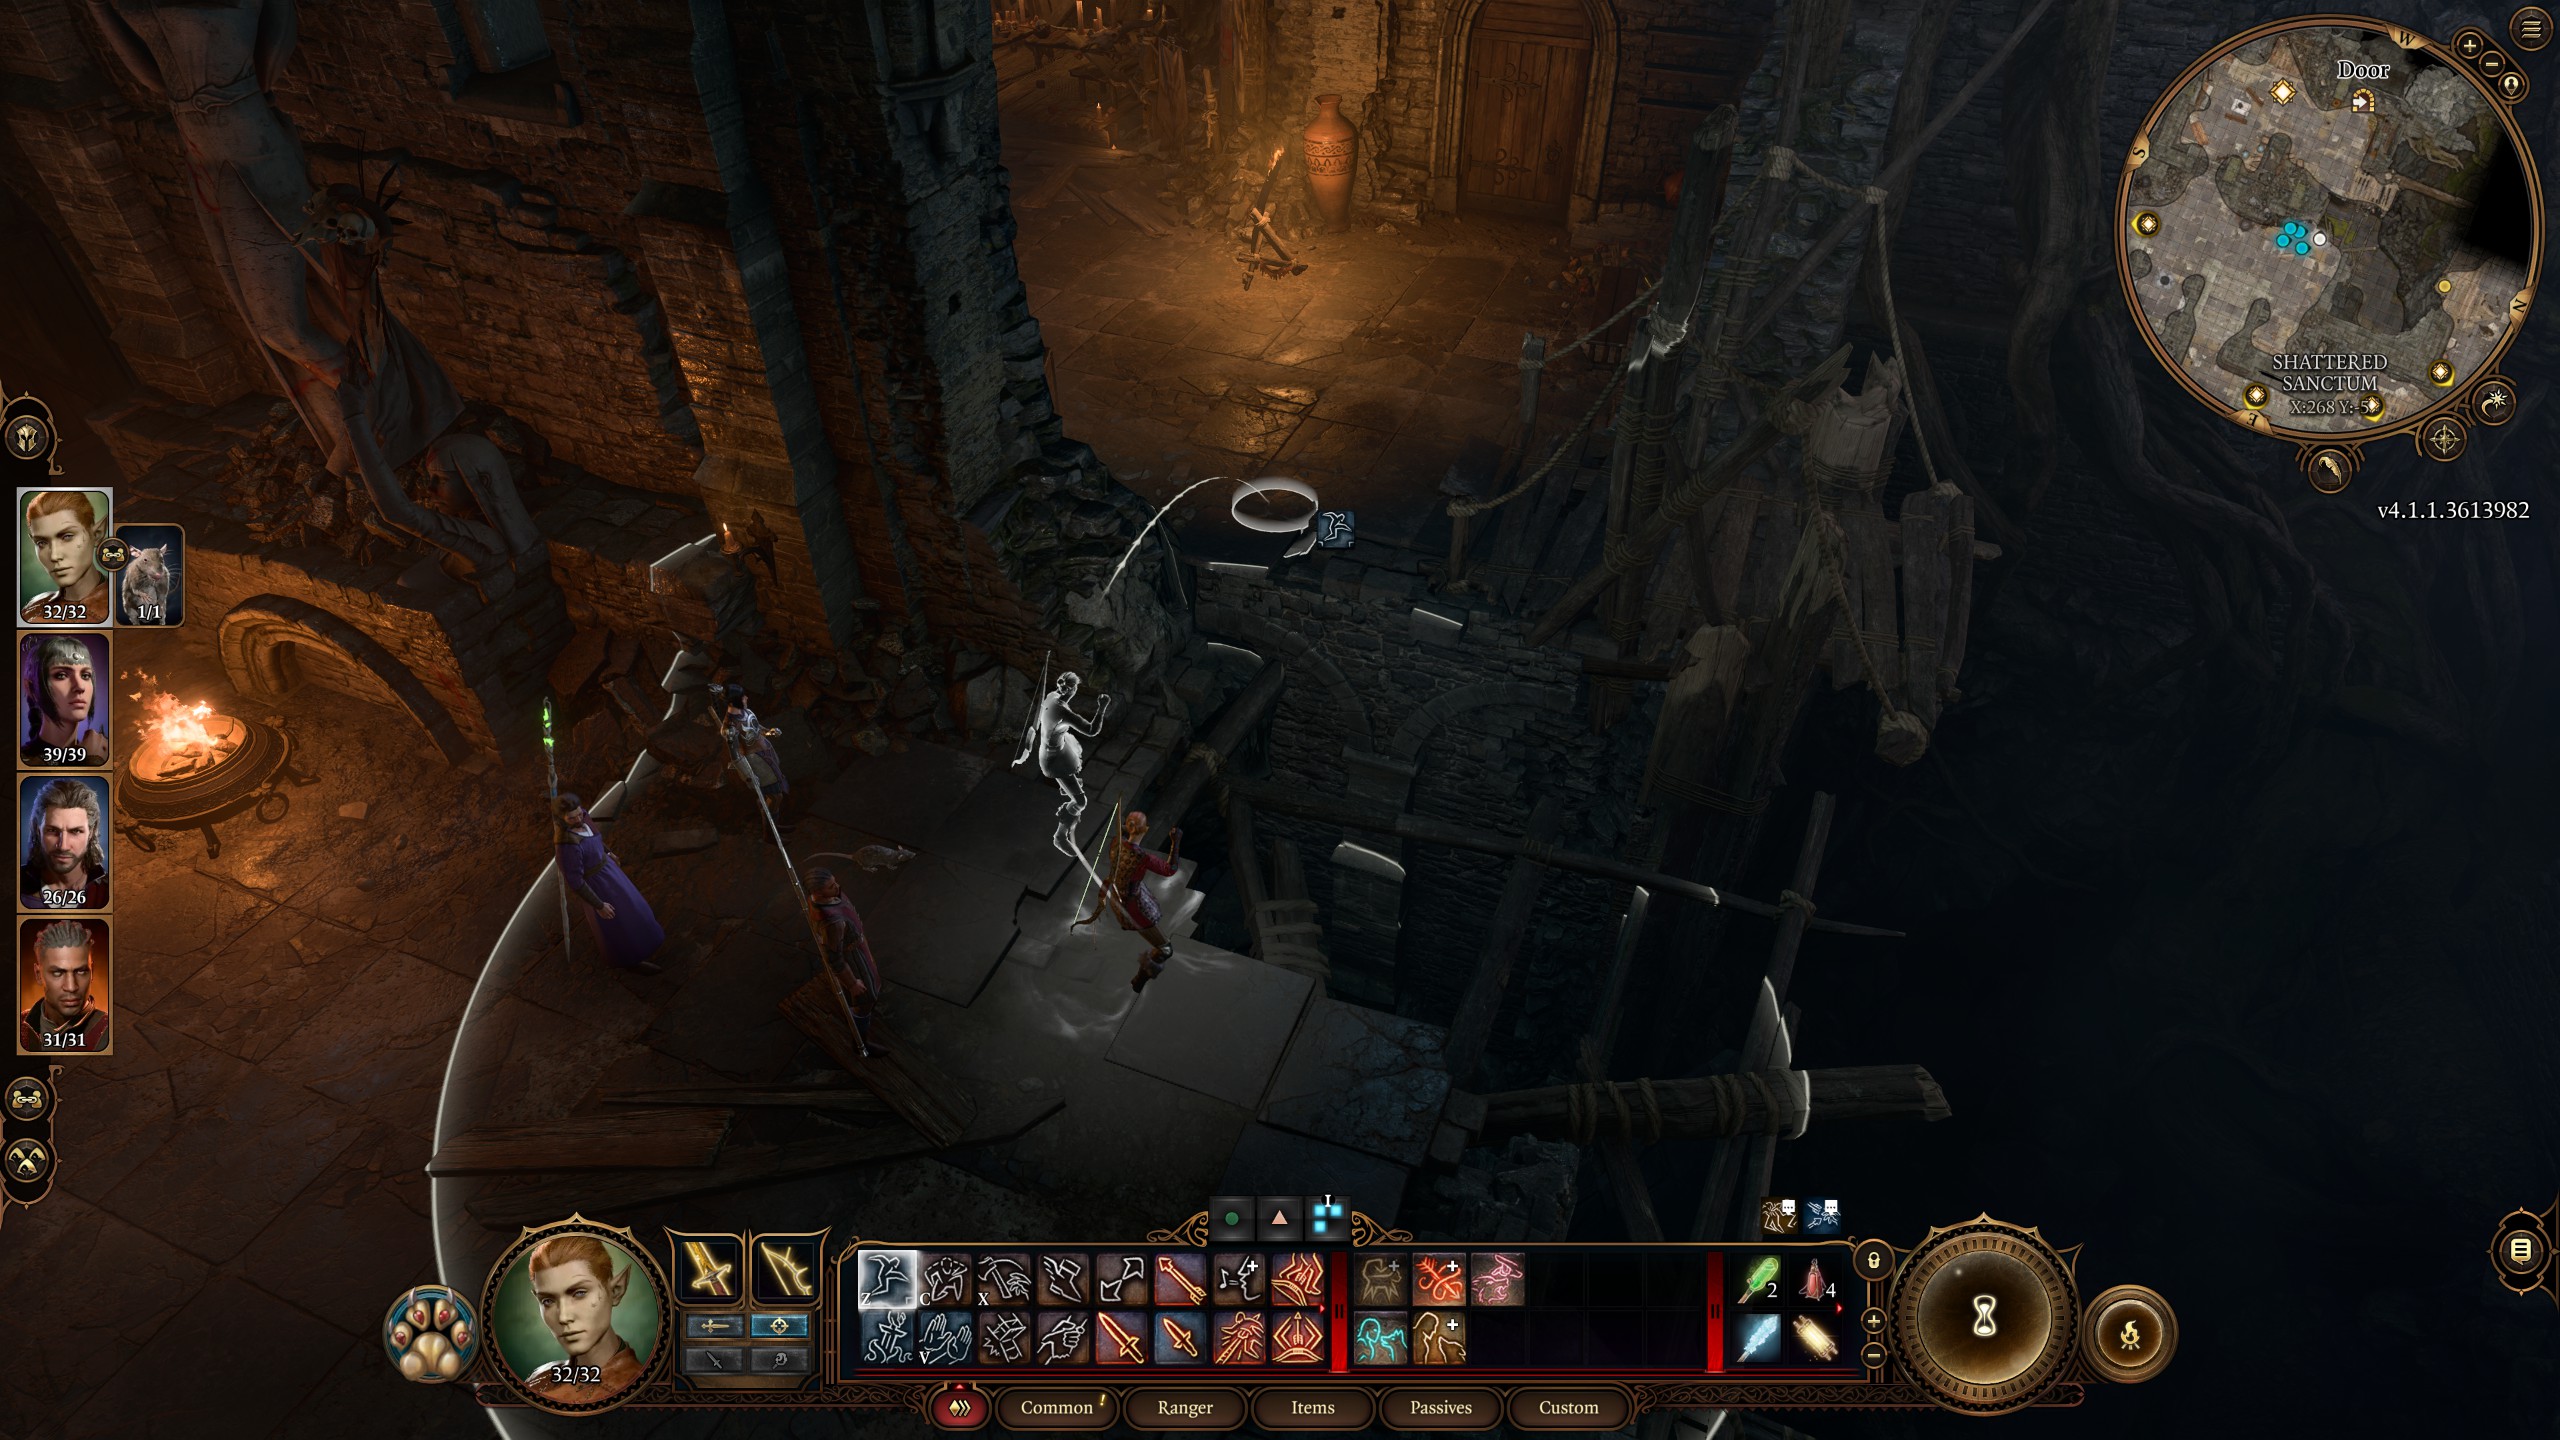
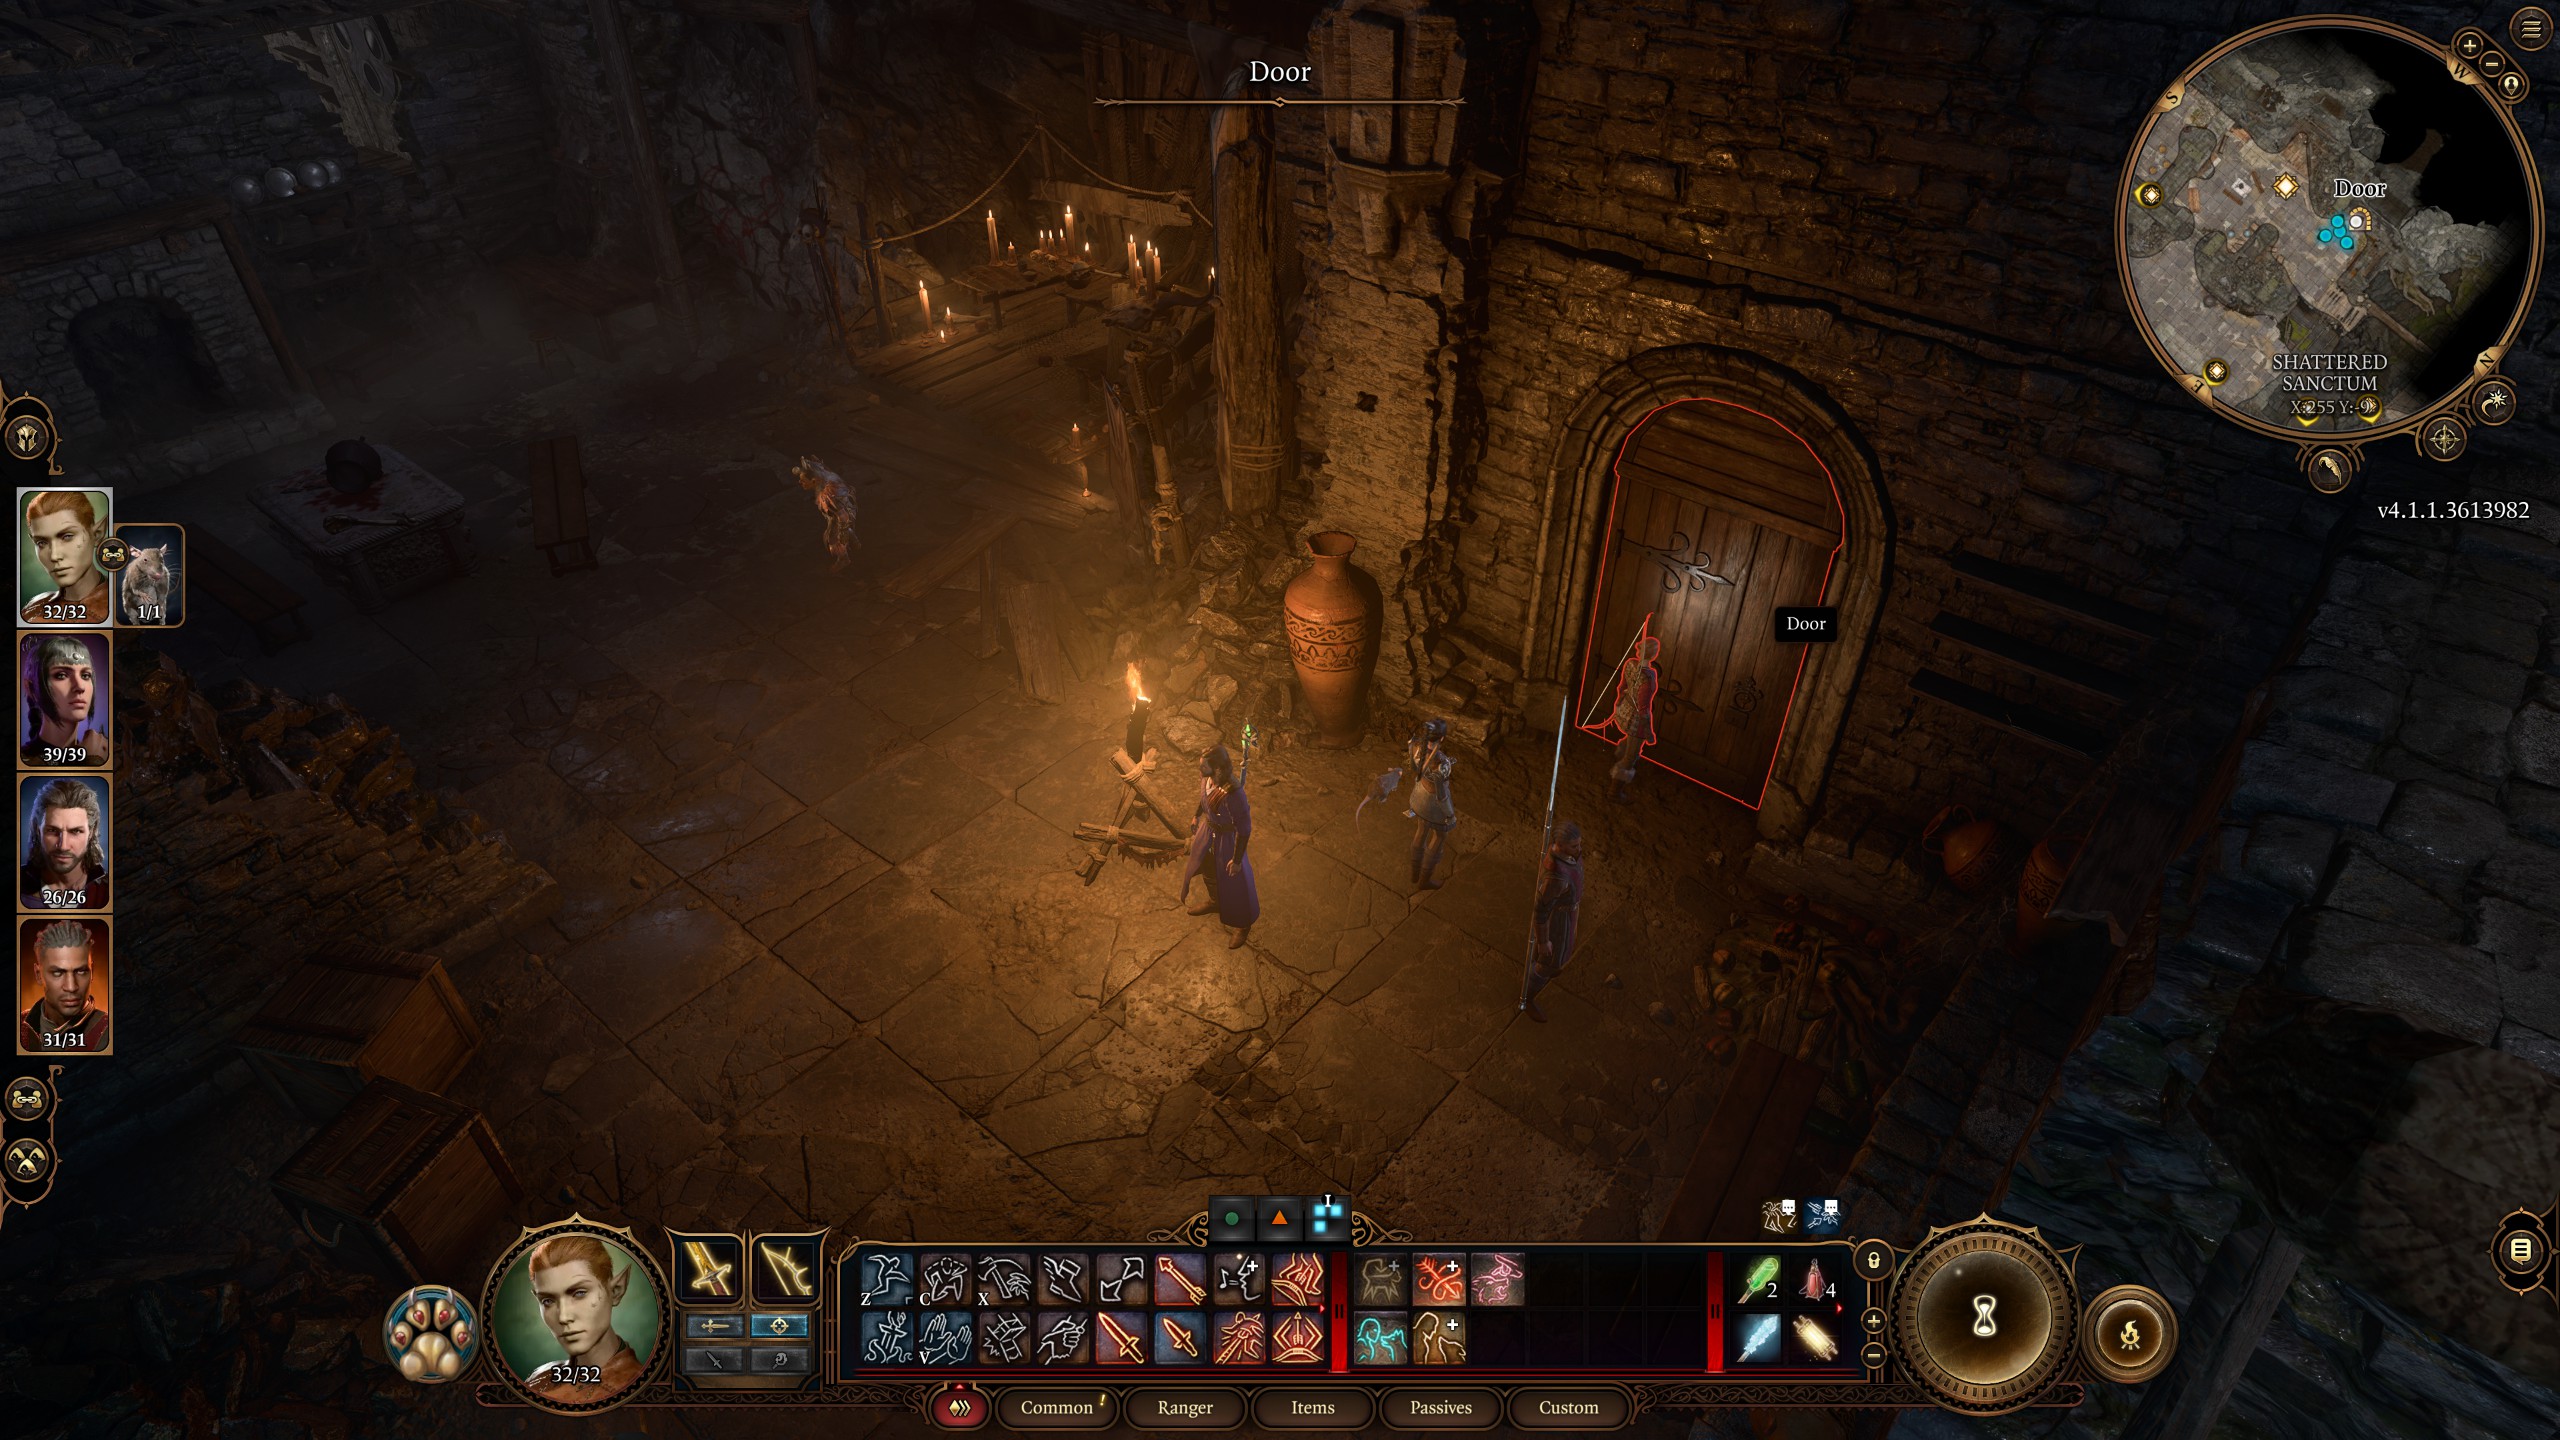
You can get to the Defiled Temple through the west side of the Shattered Sanctum in the goblin camp, either after you slaughter them all, or if you want to sneak through the goblin priestess's quarters and avoid her ogre bodyguard. One way to do this is to convince her that you want help removing the Mind Flayer parasite, since she'll let you into her room, then it's just a case of lockpicking the door into the temple itself.
You can also jump over into the goblin priestess quarters to the right of the door if you don't want to talk to her. If you've saved the grove and are heading to Moonrise Towers and act 2, then this puzzle is the quickest of all the Underdark entrances available to you. Whatever path you choose, here's how to solve the moon puzzle you'll find in the Defiled Temple.
How to find the moon puzzle hint
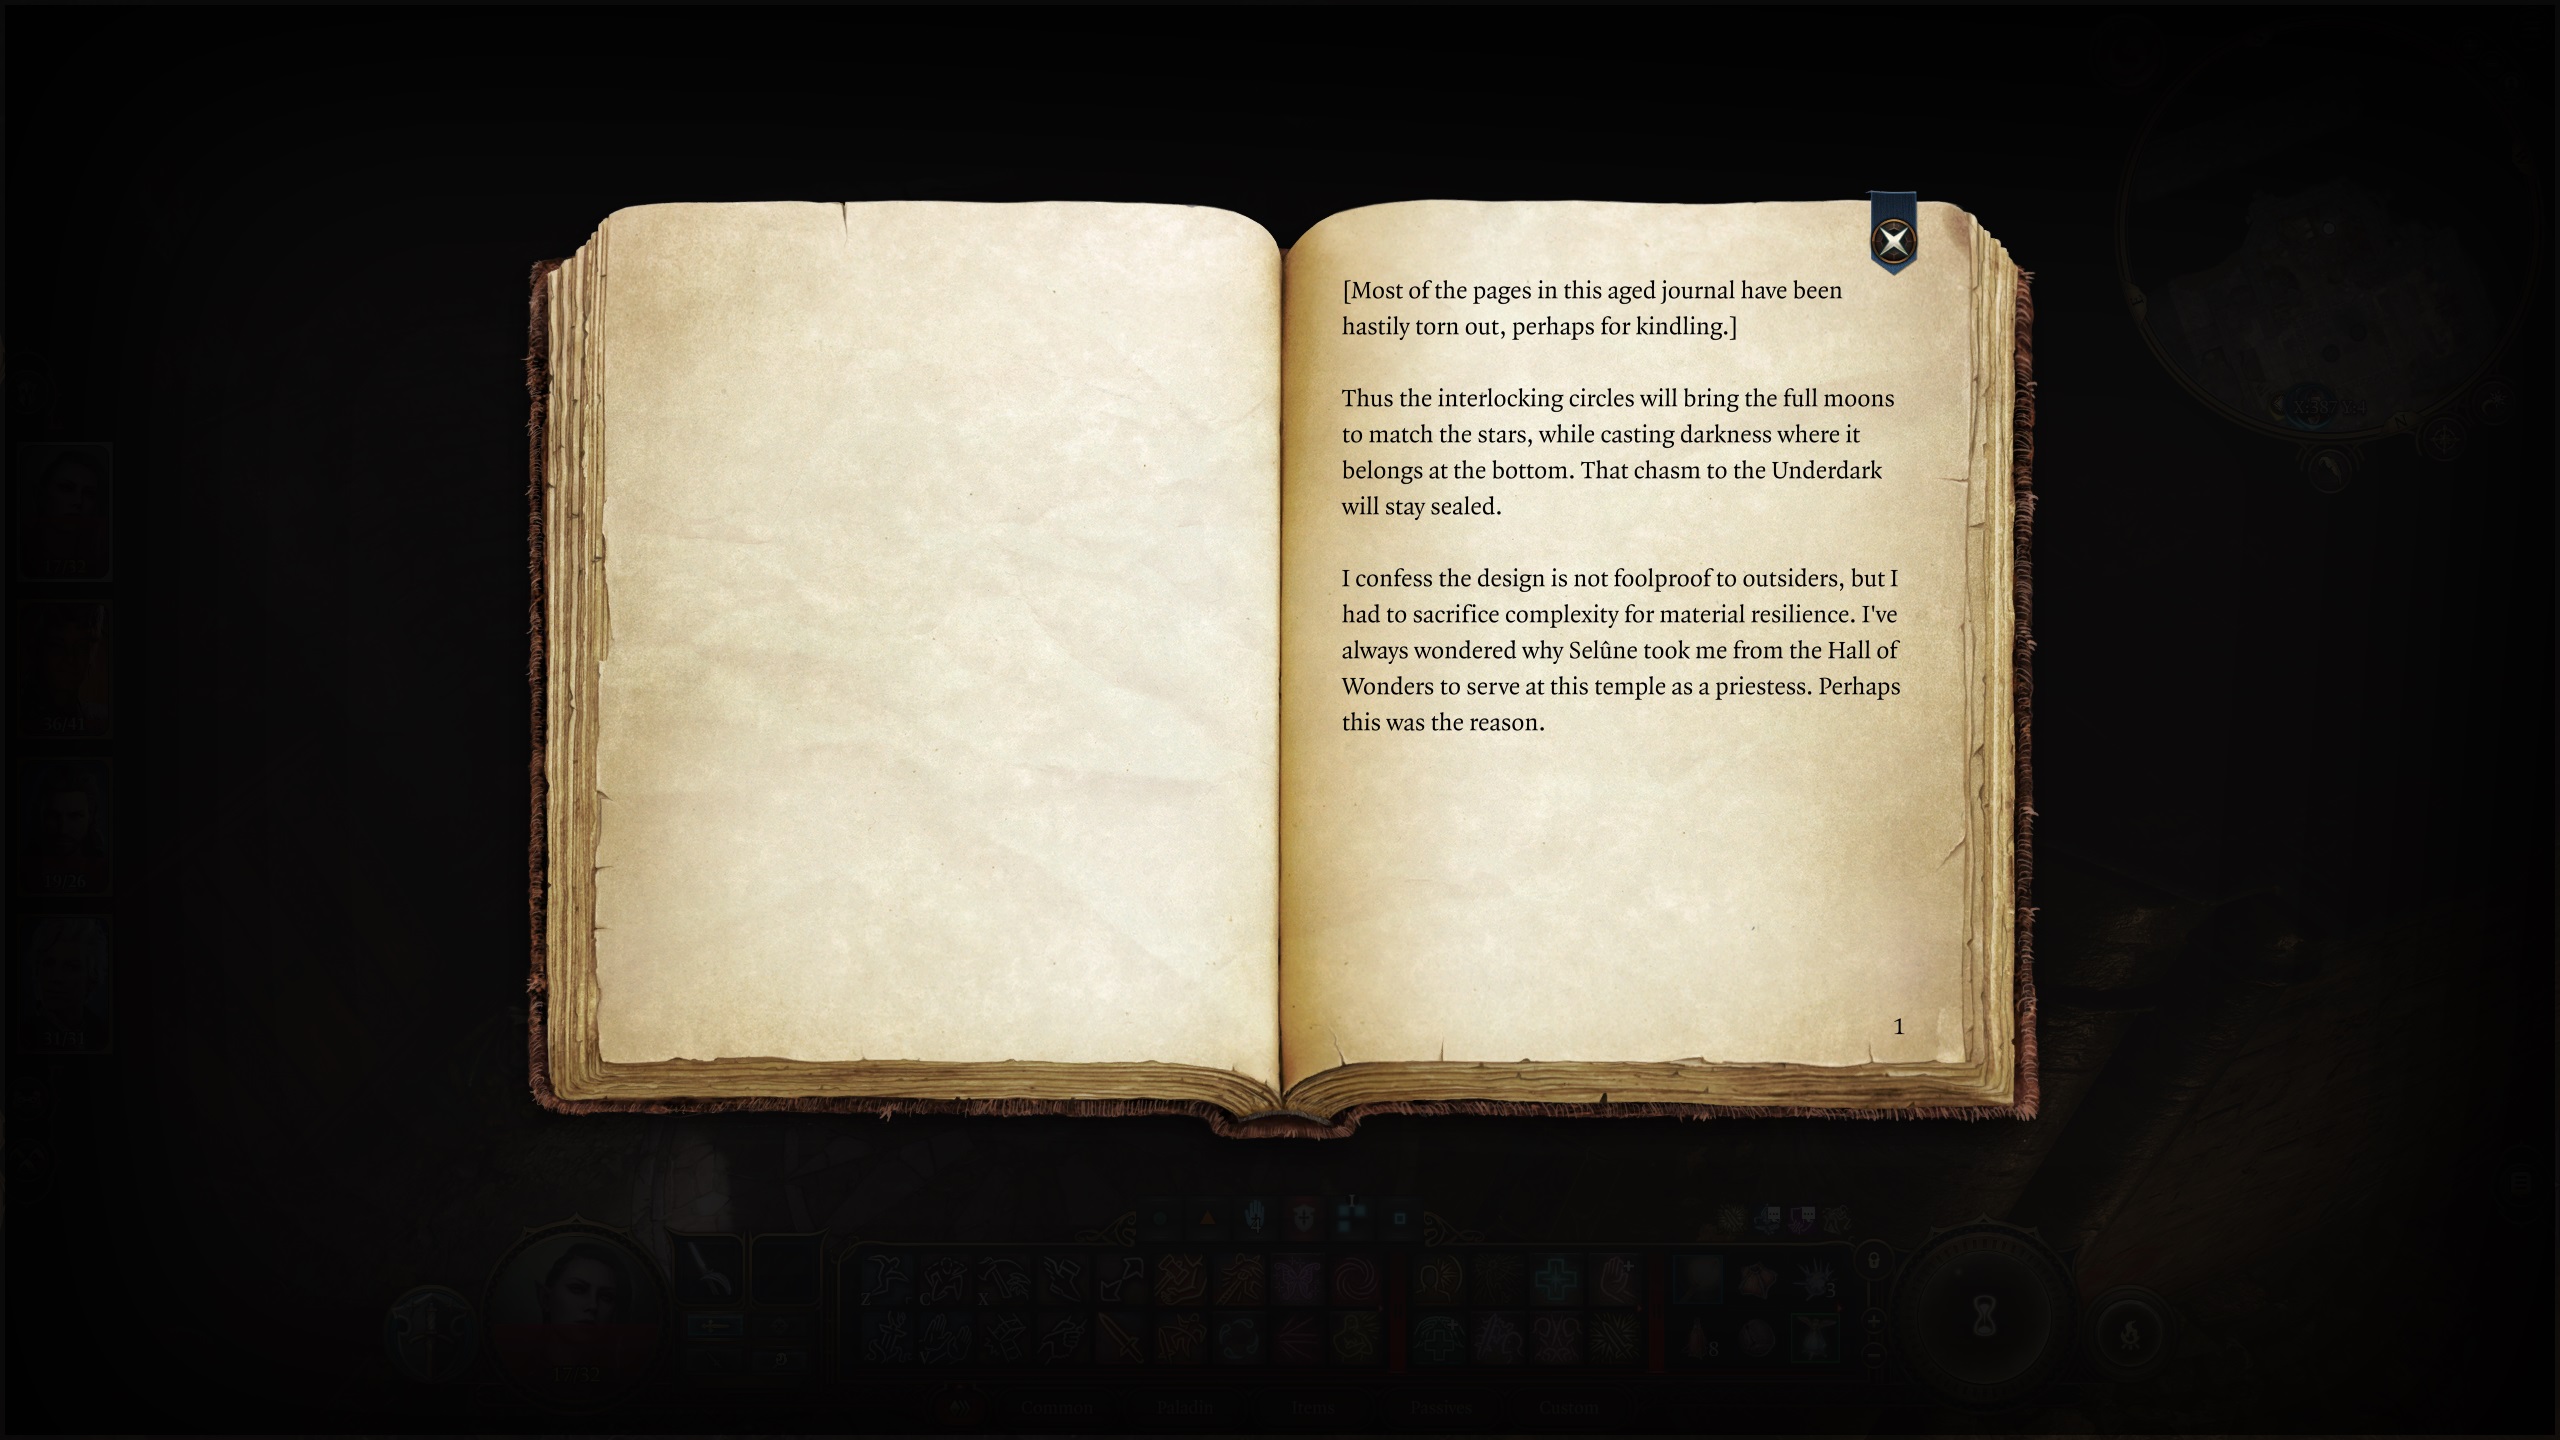
If you want a clue to solve the moon puzzle, you can find it written down in a journal. Make your way past Polma the ogre guard in any fashion you choose and then search the cabinet on the right side of the four-post bed. Inside is a Selunite Journal that gives this moon puzzle hint:
"Thus the interlocking circles will bring the full moons to match the stars, while casting darkness where it belongs at the bottom."
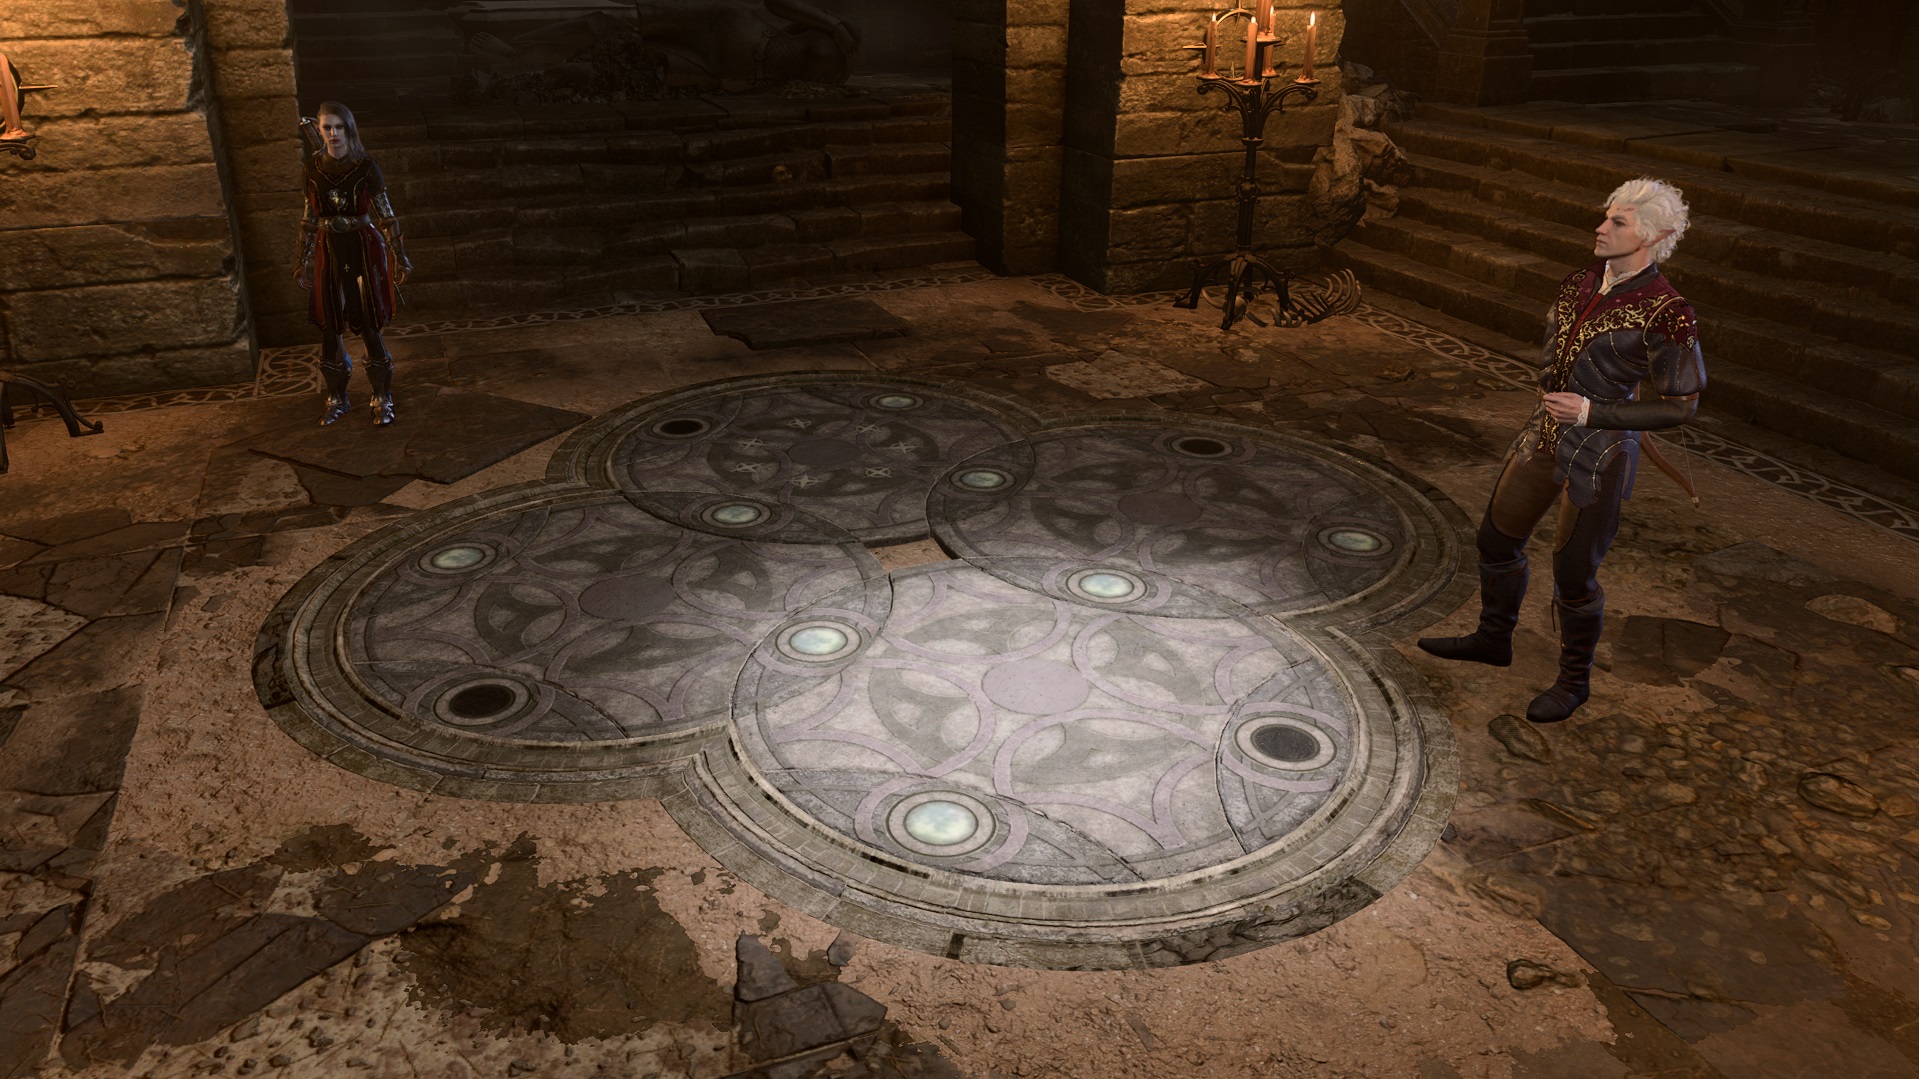
Take a look at the puzzle and see if you can figure out how to reflect that state of affairs using the dials provided. If you want the precise answer to the moon puzzle, scroll on down and we'll walk you through the order to press the dials in.
How to solve the Moon Puzzle
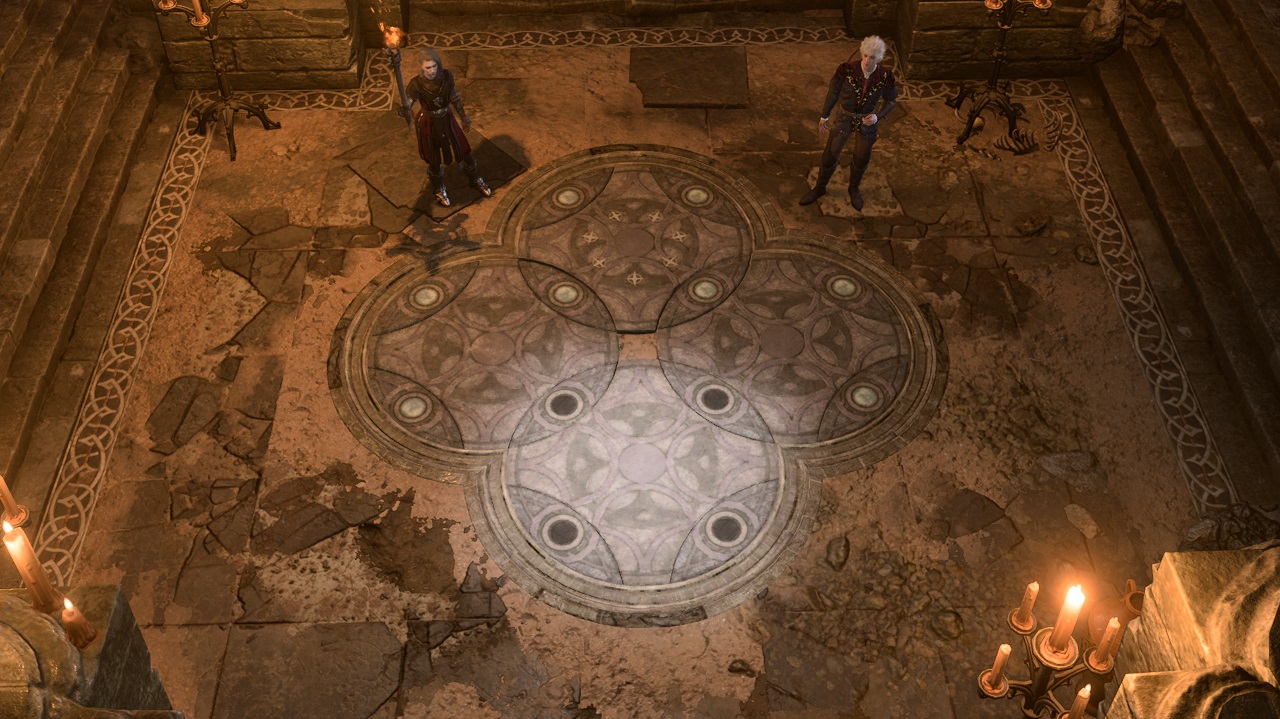
Once you're inside the Defiled Temple and have snuck past or butchered the goblin priestess's ogre bodyguard, you'll find yourself in a small temple room with a collapsed statue and a series of circular dials on the floor. You'll know you're in the right place because of the mural above the entrance depicting a circle of stars with a pair of eyes at the centre.
Keep up to date with the most important stories and the best deals, as picked by the PC Gamer team.
Now, to solve the puzzle and progress through the temple, you need to turn the dials in a certain order to create a pattern. When you enter the room, you'll want to head down either staircase to the centre where the dials are, then position yourself with the puzzle in front of you, facing towards the collapsed statue by the plinth, with the other statues on the left and right sides of the room.
Solve the moon puzzle by activating the dials in this order:
- Top
- Left
- Right twice
- Bottom three times
- Left twice
This will solve the puzzle and open the way into the Underdark and the Selunite Outpost, progressing the Nightsong quest. If you've decided to head through the Underdark to Moonrise Towers instead of through the treacherous mountain pass, you're now well on your way.

Sean's first PC games were Full Throttle and Total Annihilation and his taste has stayed much the same since. When not scouring games for secrets or bashing his head against puzzles, you'll find him revisiting old Total War campaigns, agonizing over his Destiny 2 fit, or still trying to finish the Horus Heresy. Sean has also written for EDGE, Eurogamer, PCGamesN, Wireframe, EGMNOW, and Inverse.

 Join The Club


