How to get the Blood of Lathander mace in Baldur's Gate 3
Deactivate the defenses to claim this legendary weapon.
Keep up to date with the most important stories and the best deals, as picked by the PC Gamer team.
You are now subscribed
Your newsletter sign-up was successful
Want to add more newsletters?
Join the club
Get full access to premium articles, exclusive features and a growing list of member rewards.
The Baldur's Gate 3 Blood of Lathander weapon is one of the few legendary armaments in the game and is an amazing weapon for a Cleric like Shadowheart. It provides a powerful spell in the form of Sunbeam and revives you once per long rest if you get downed, healing any party members in the vicinity. The trouble is, the weapon is at the heart of the Githyanki Creche, Y'llek.
To get the mace you'll have to find a way inside, either by befriending the Githyanki—or at least making them less hostile—and then get to the Inquisitor's chamber. You'll also have to resolve the small matter of the monastery getting nuked if you take the mace, but let's take it one step at a time, shall we? Here's how to get the Blood of Lathander mace in Baldur's Gate 3.
Find the Blood of Lathander
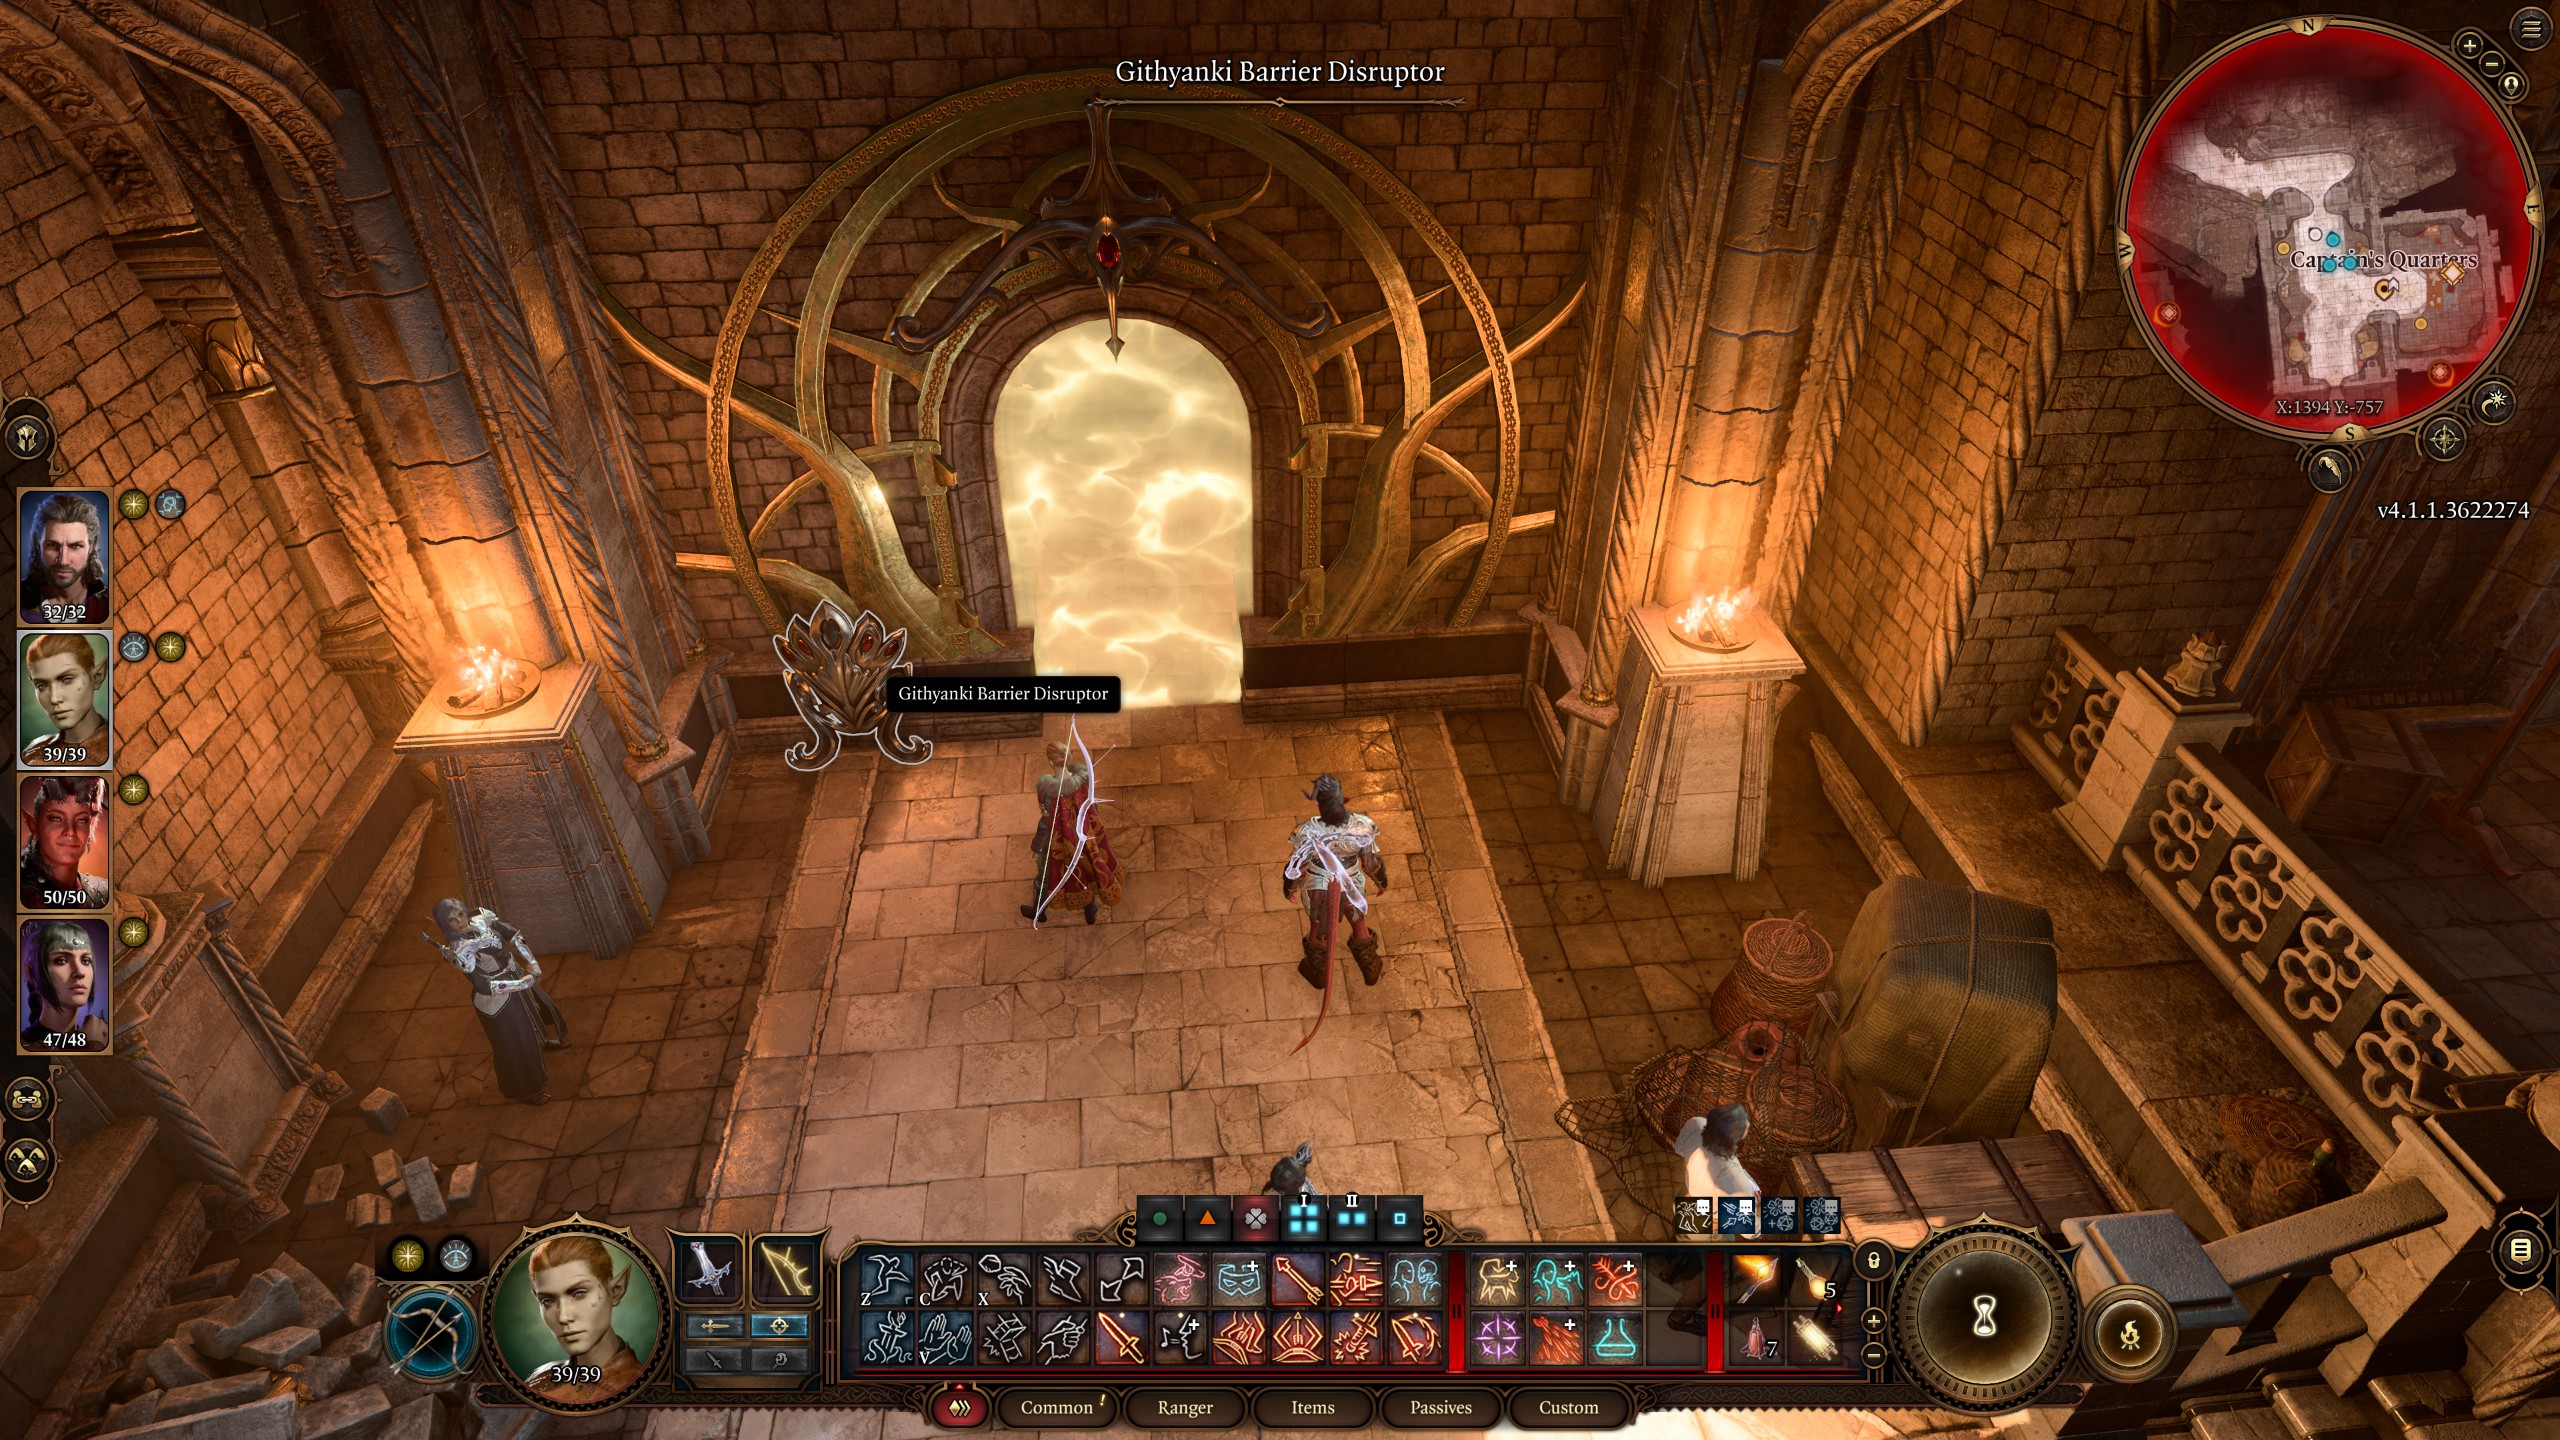
So first things first: to get the Blood of Lathander, you need to make your way to the Inquisitor's chambers in the heart of the Githyanki Creche near the Mountain Pass. You can do this by giving Kith'rak Therezzyn the artifact in her office—don't worry, it rejects her and jumps back into your hands—but if you'd prefer not to talk to her, you can also pickpocket the key to use on the Githyanki Barrier Disruptor by the door.
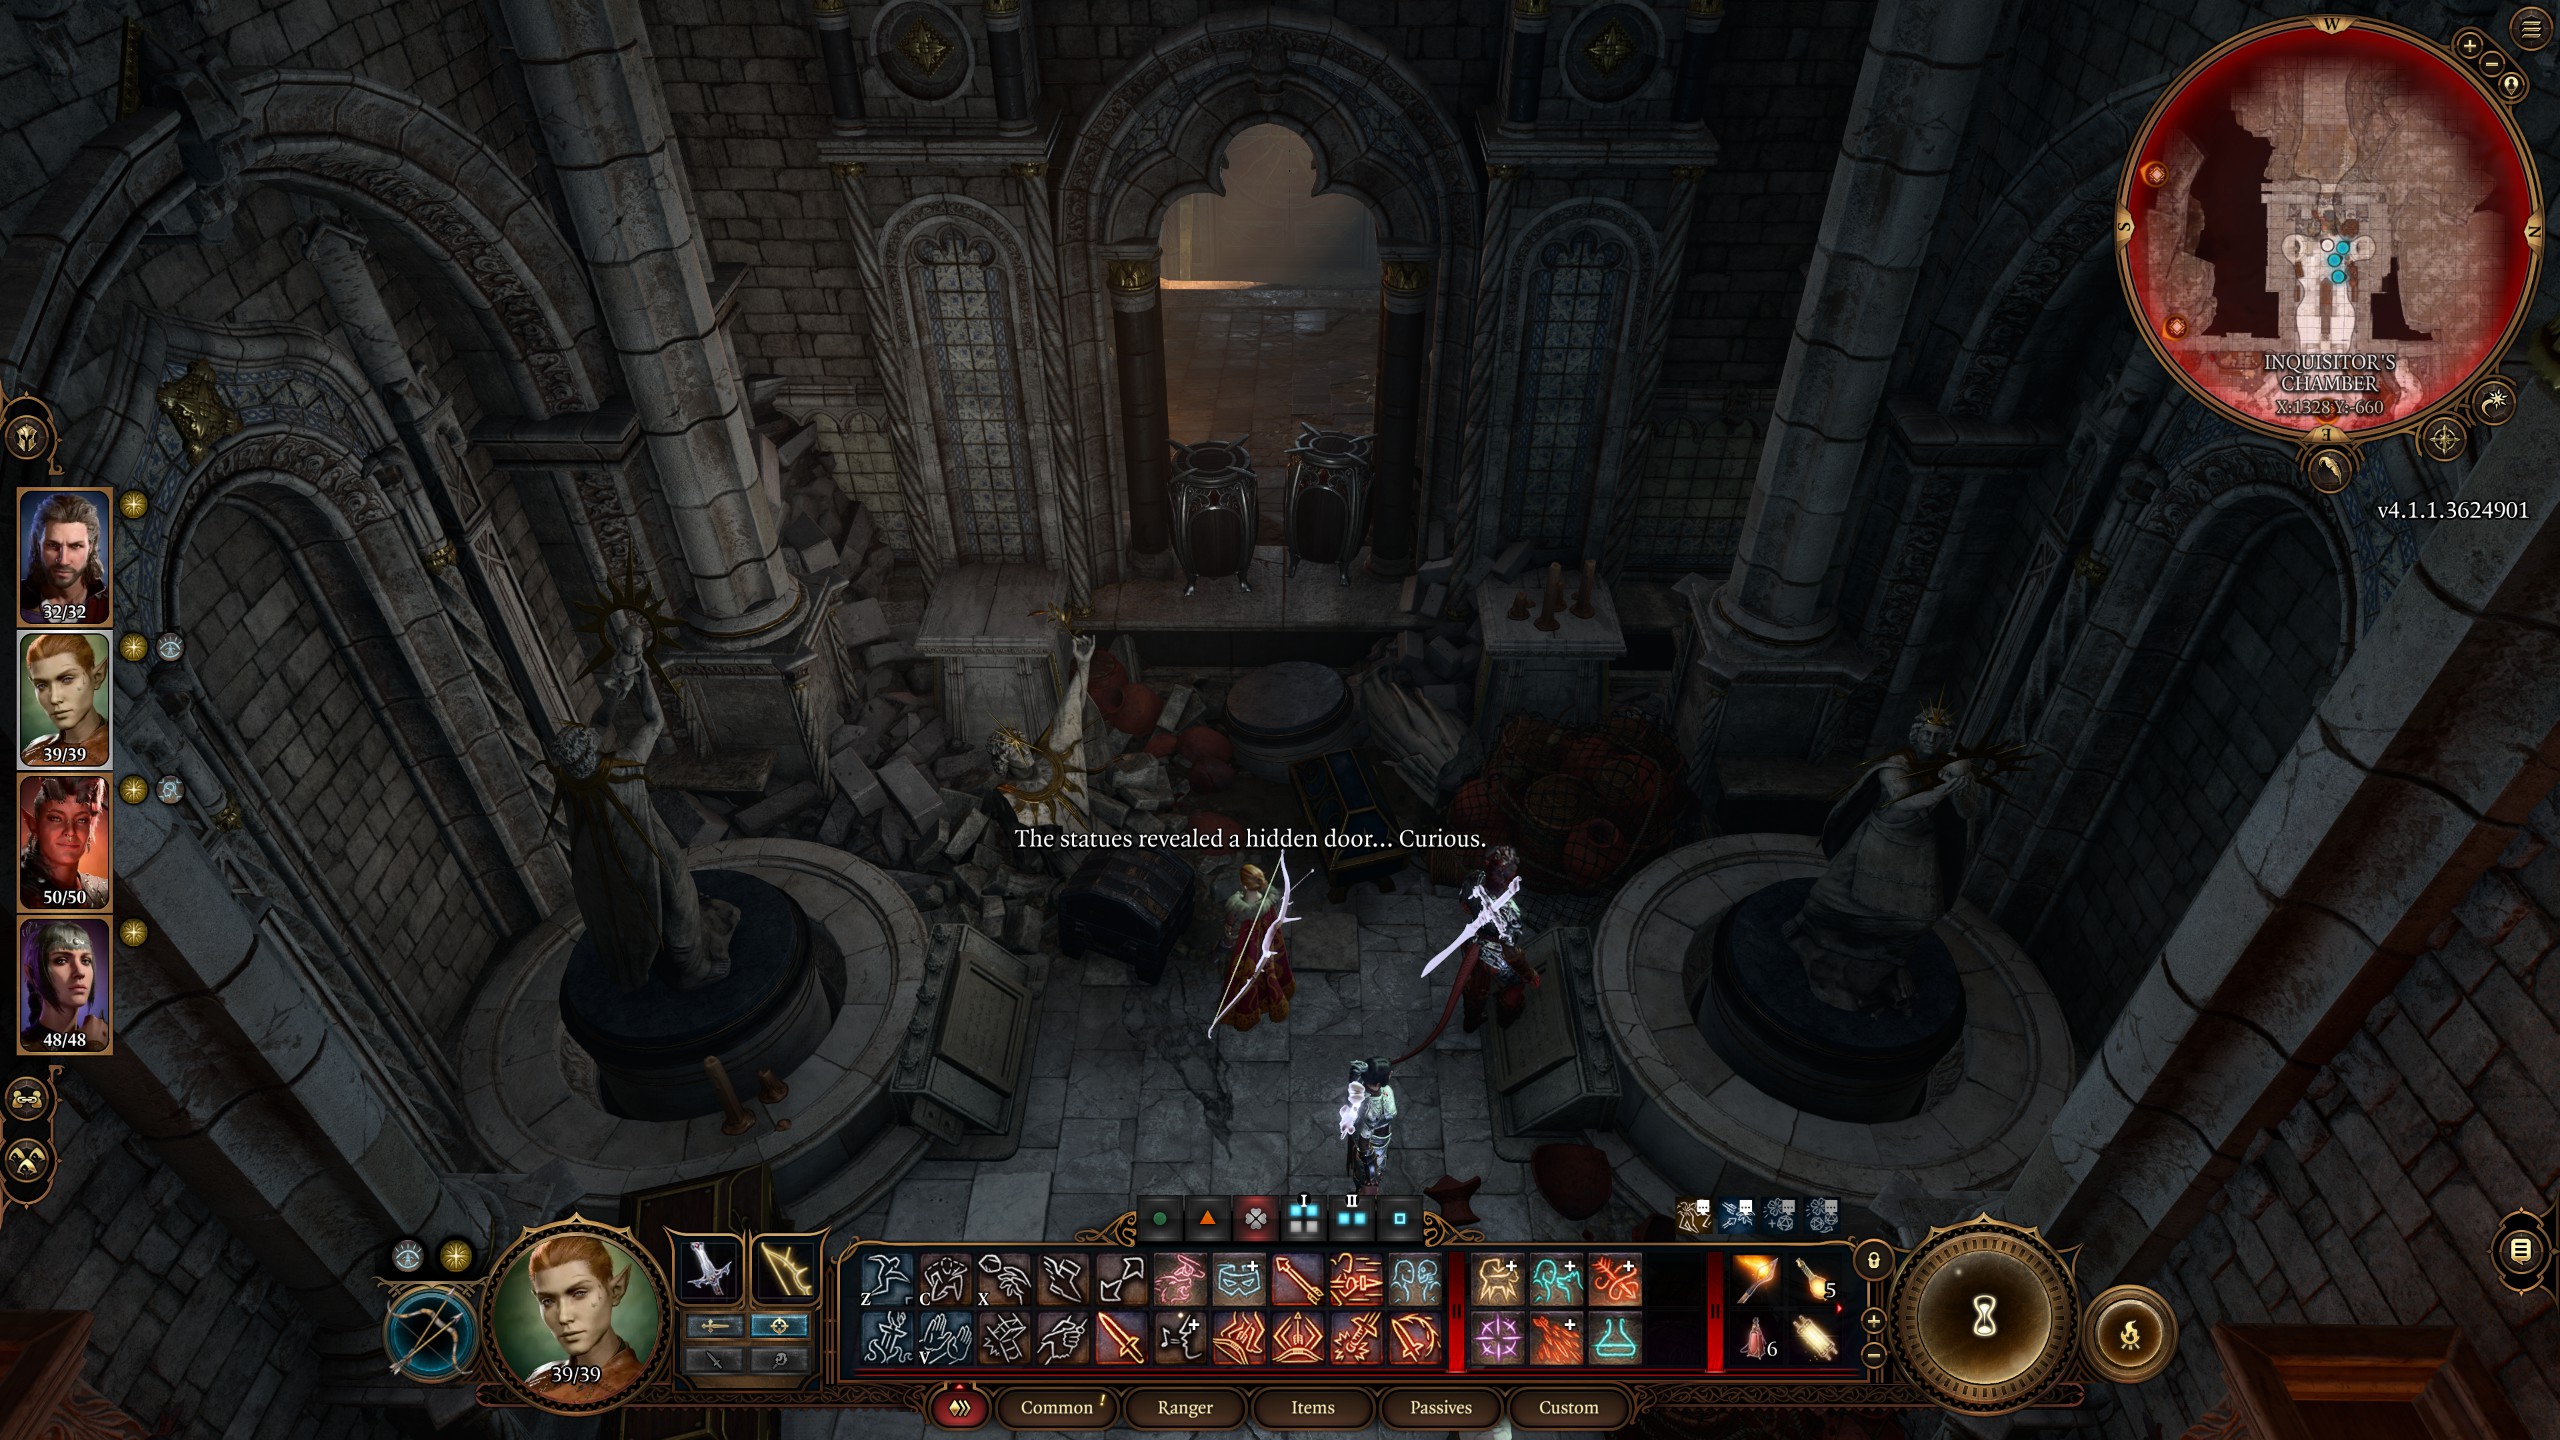
When you enter the Inquisitor's chamber, he'll call you over, which will start a cutscene that'll likely end in combat. If you want to find the mace instead, ignore the Inquisitor for now, skirt around to the left, and jump down into the west room with the two statues inside. The left statue has a plaque saying "Lathander bids the setting sun a fond farewell", while the right says "Lathander blesses the bountiful, rising sun." What you need to do is turn them in the direction of the sun rising and setting, though one statue is stuck:
- Hit the left statue with an attack of at least ten damage to unstick it.
- Turn the left statue to face the west—the setting sun.
- Turn the right statue to face the east—the rising sun.
This reveals a doorway ahead and lets you through into the secret area containing the mace, though there are still some hoops to jump through.
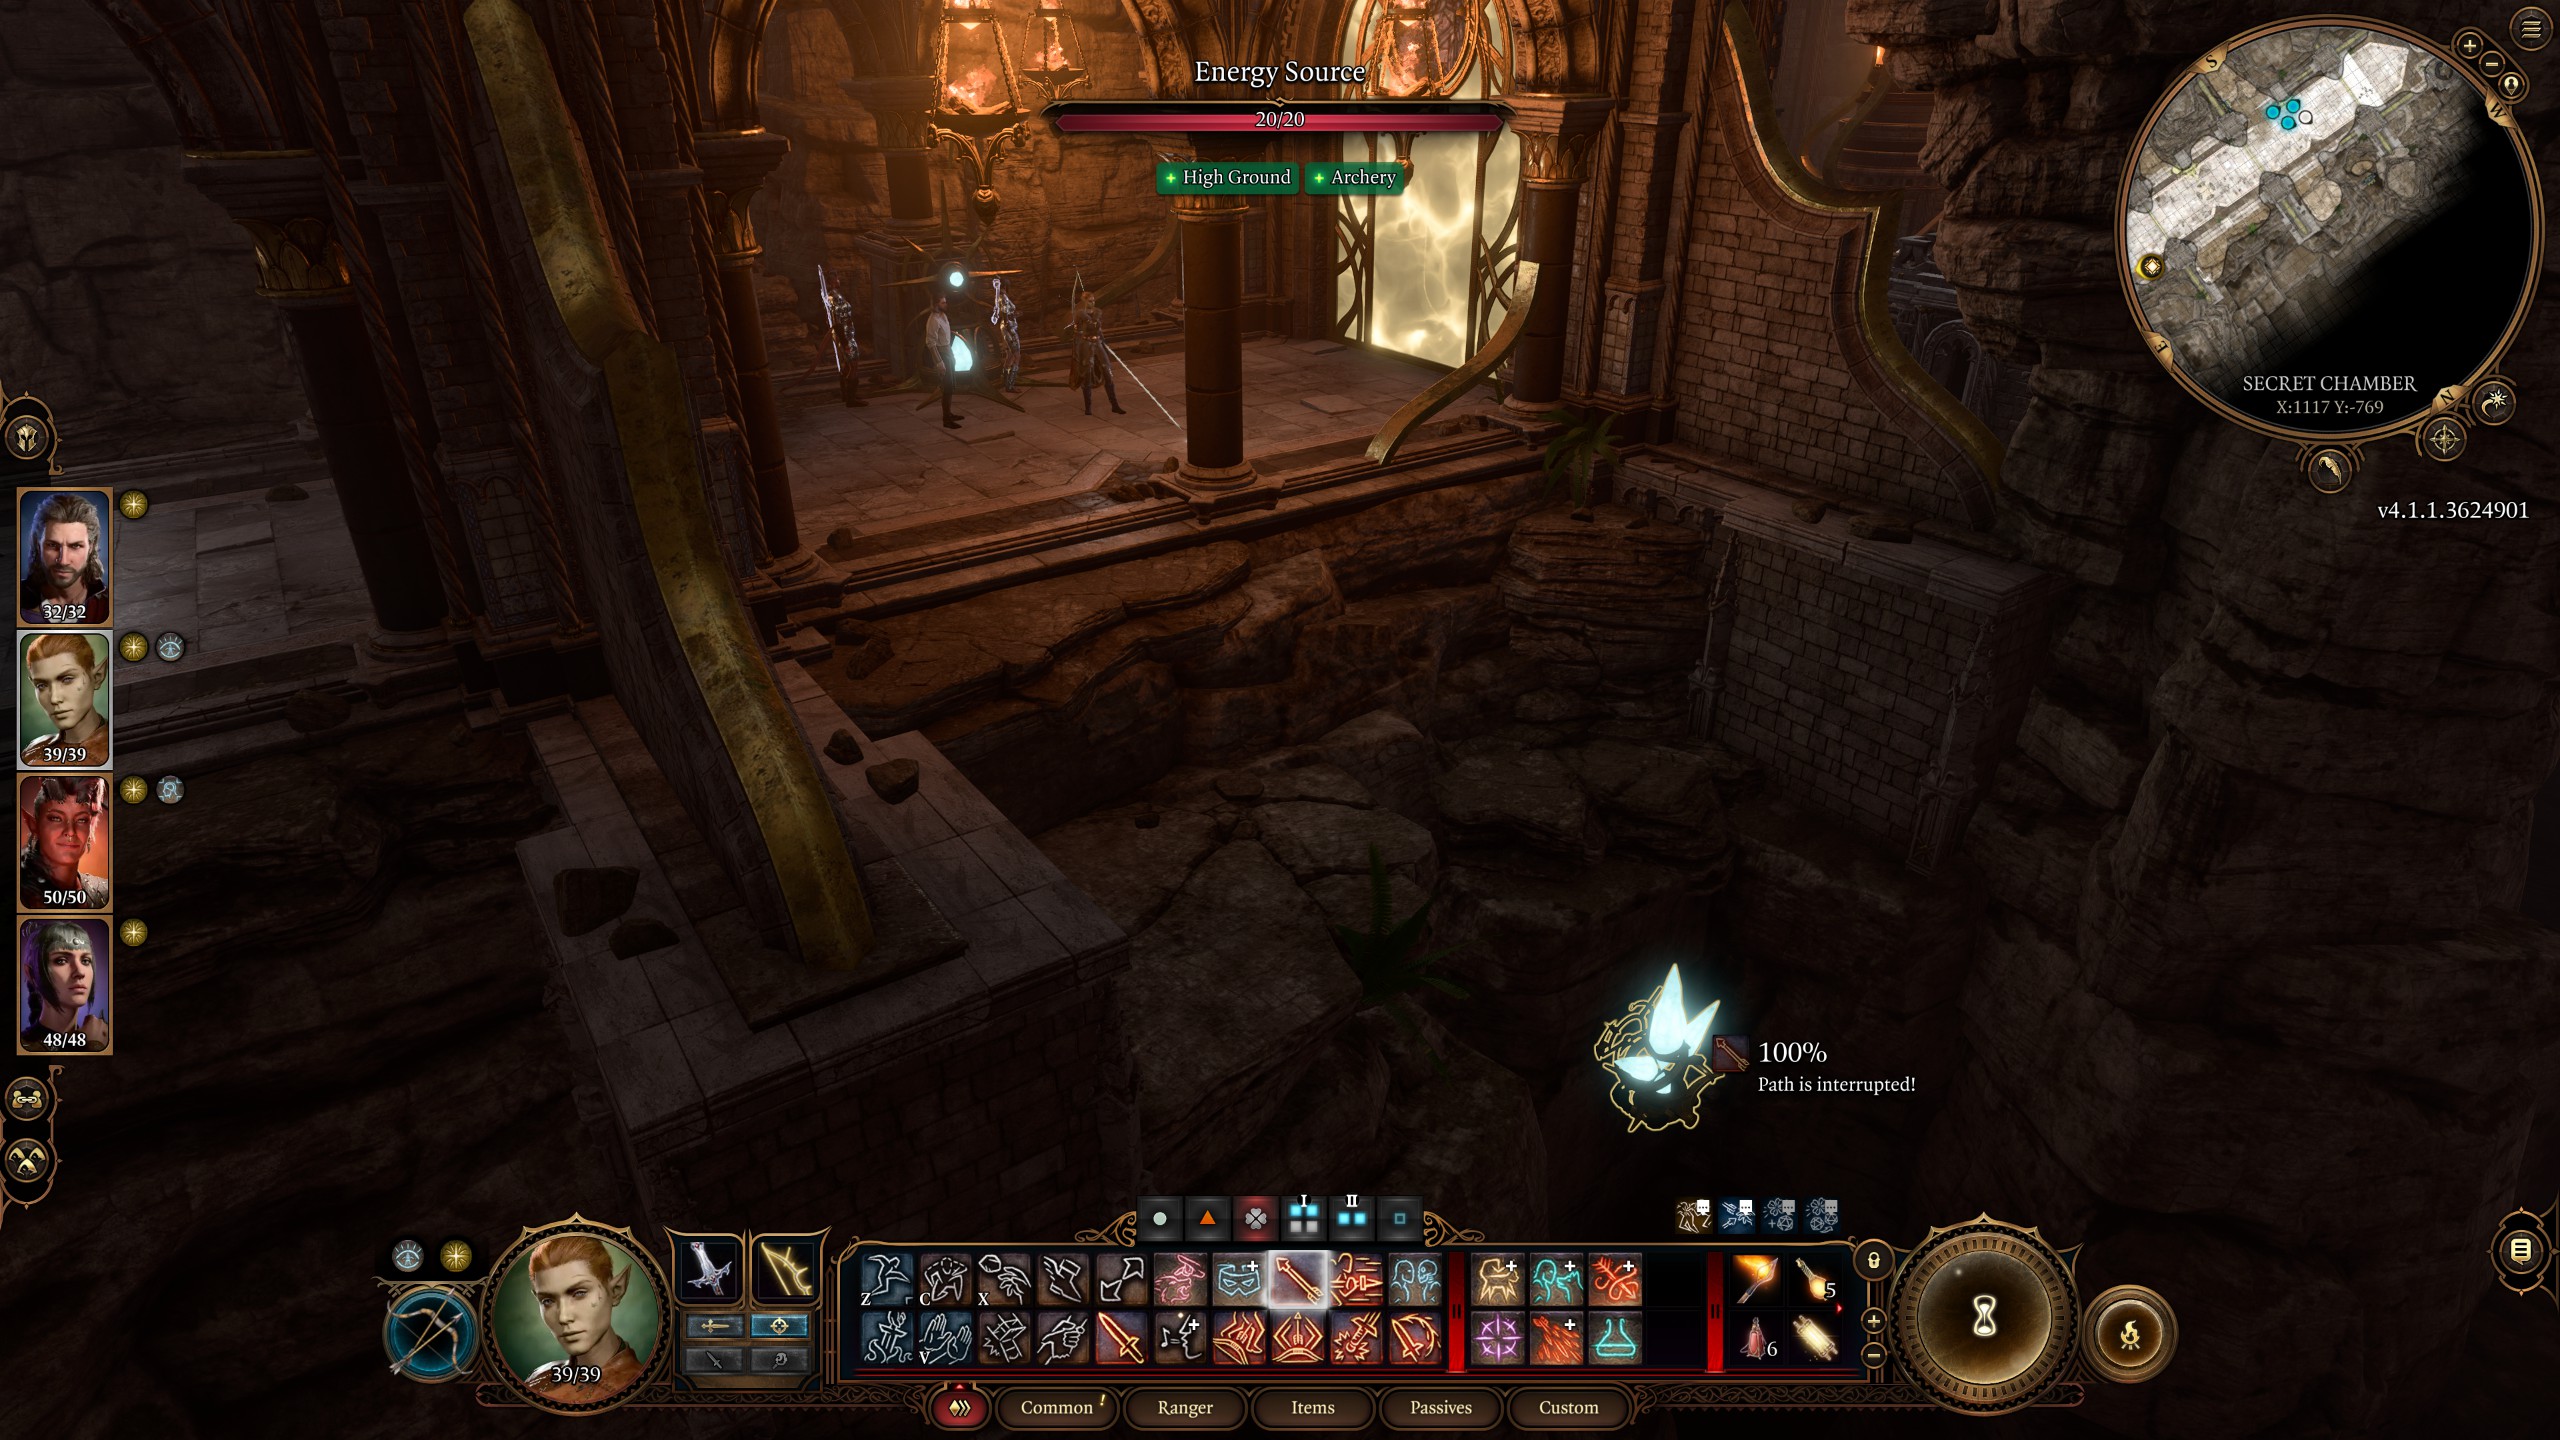
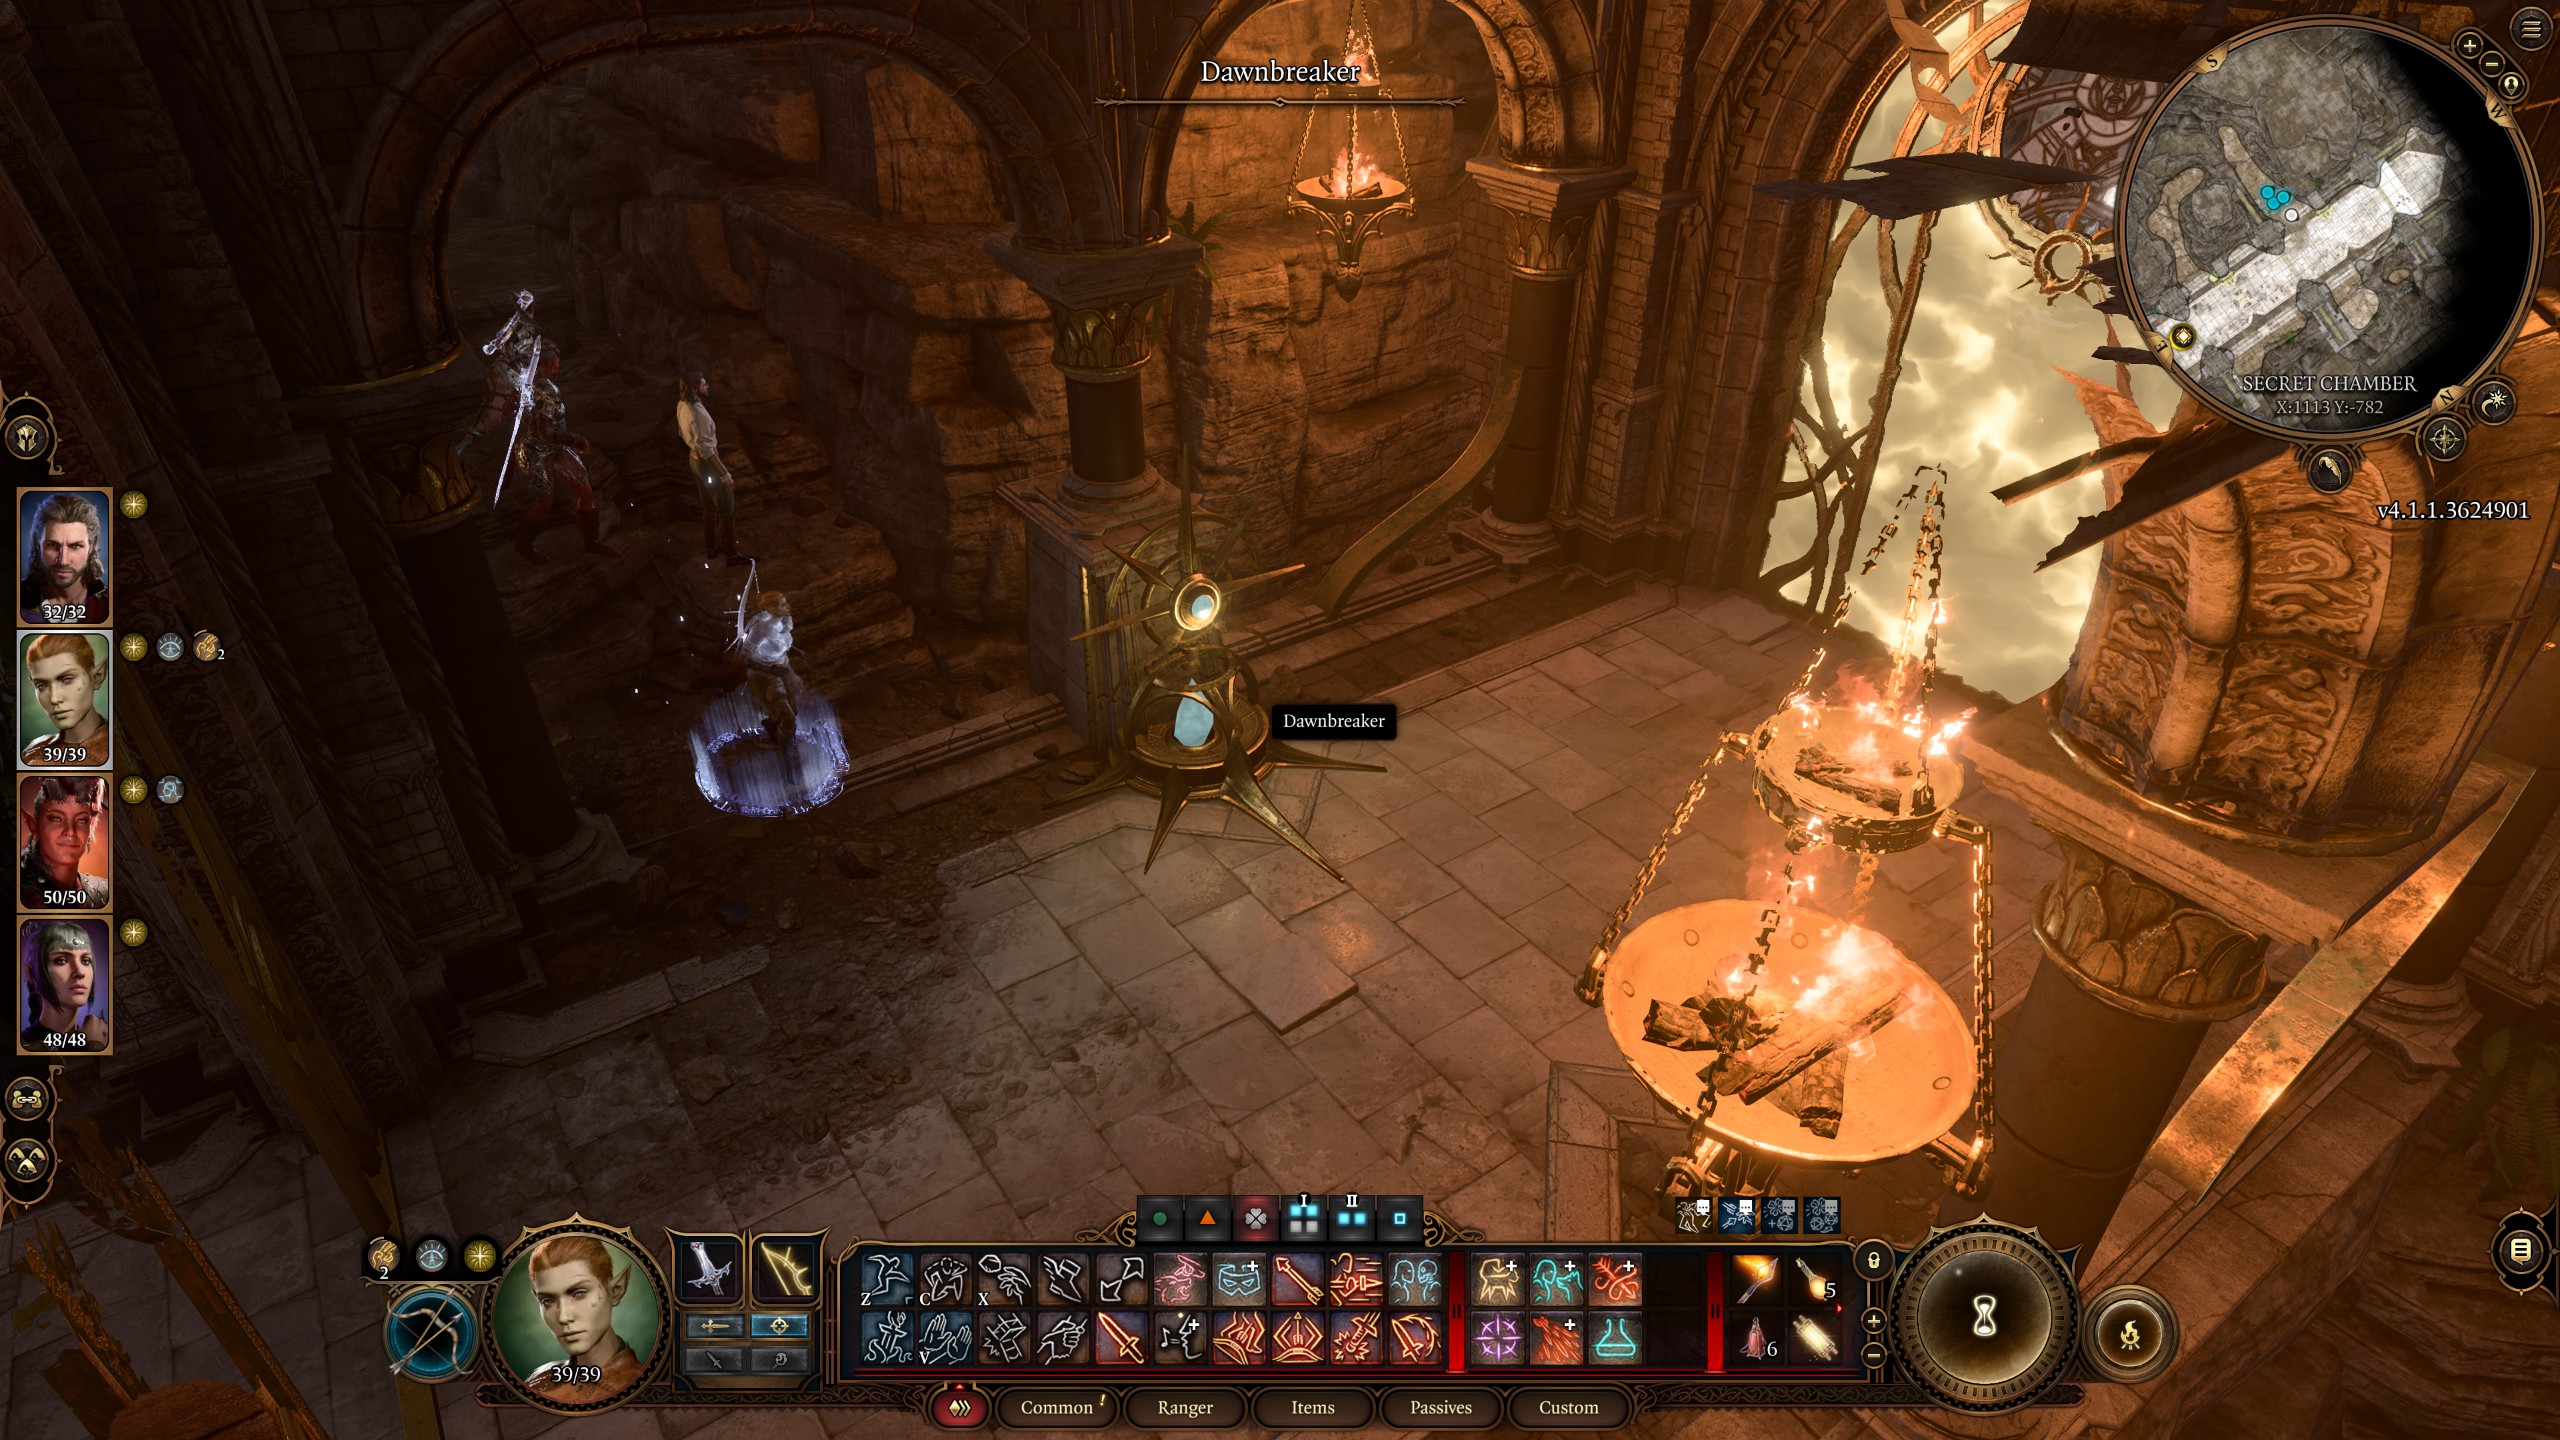
In the next section, you'll have to get through three barriers by destroying the crystals that keep them active, plus disarm or avoid the traps in between. Here's what you need to do:
- Destroy the first crystal to open the barrier.
- Avoid the Dawnbreaker trap straight ahead by turning left and skirting around the edge of the cliff to behind the next barrier.
- Disarm the next Dawnbreaker then look over the northern edge of the cliff to see a crystal down below you can shoot, opening the final barrier.
Take the Blood of Lathander
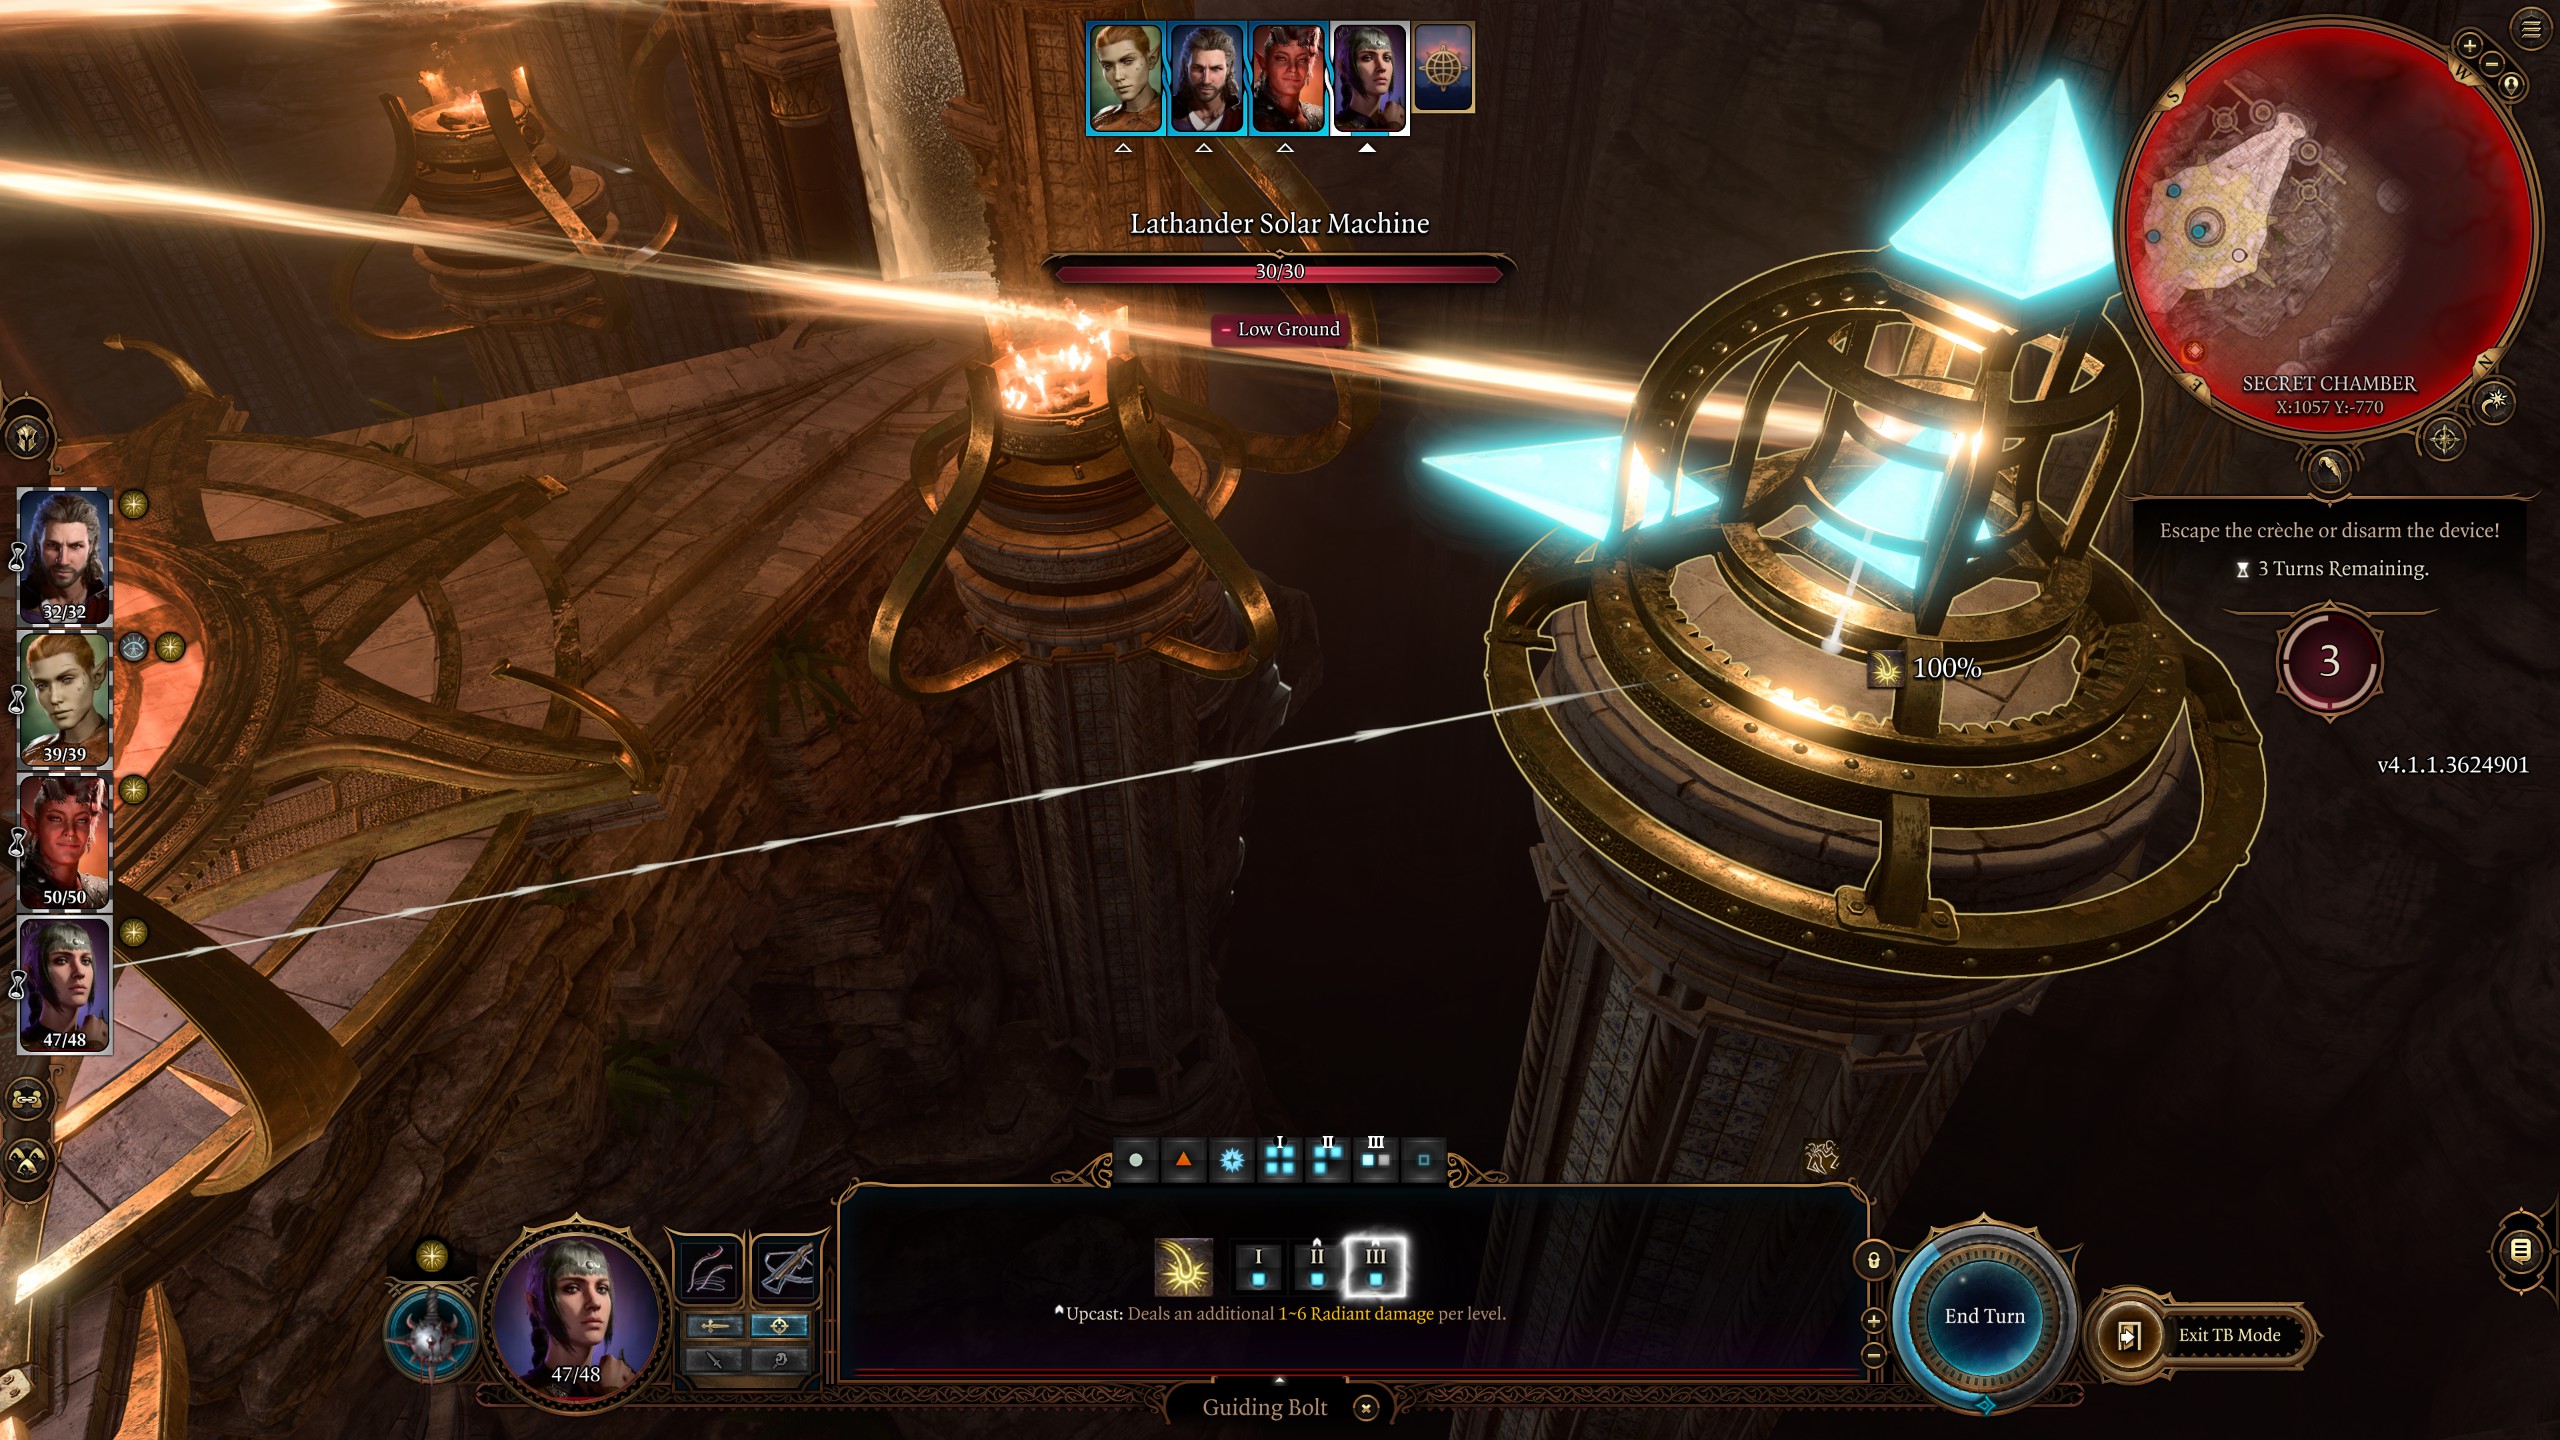
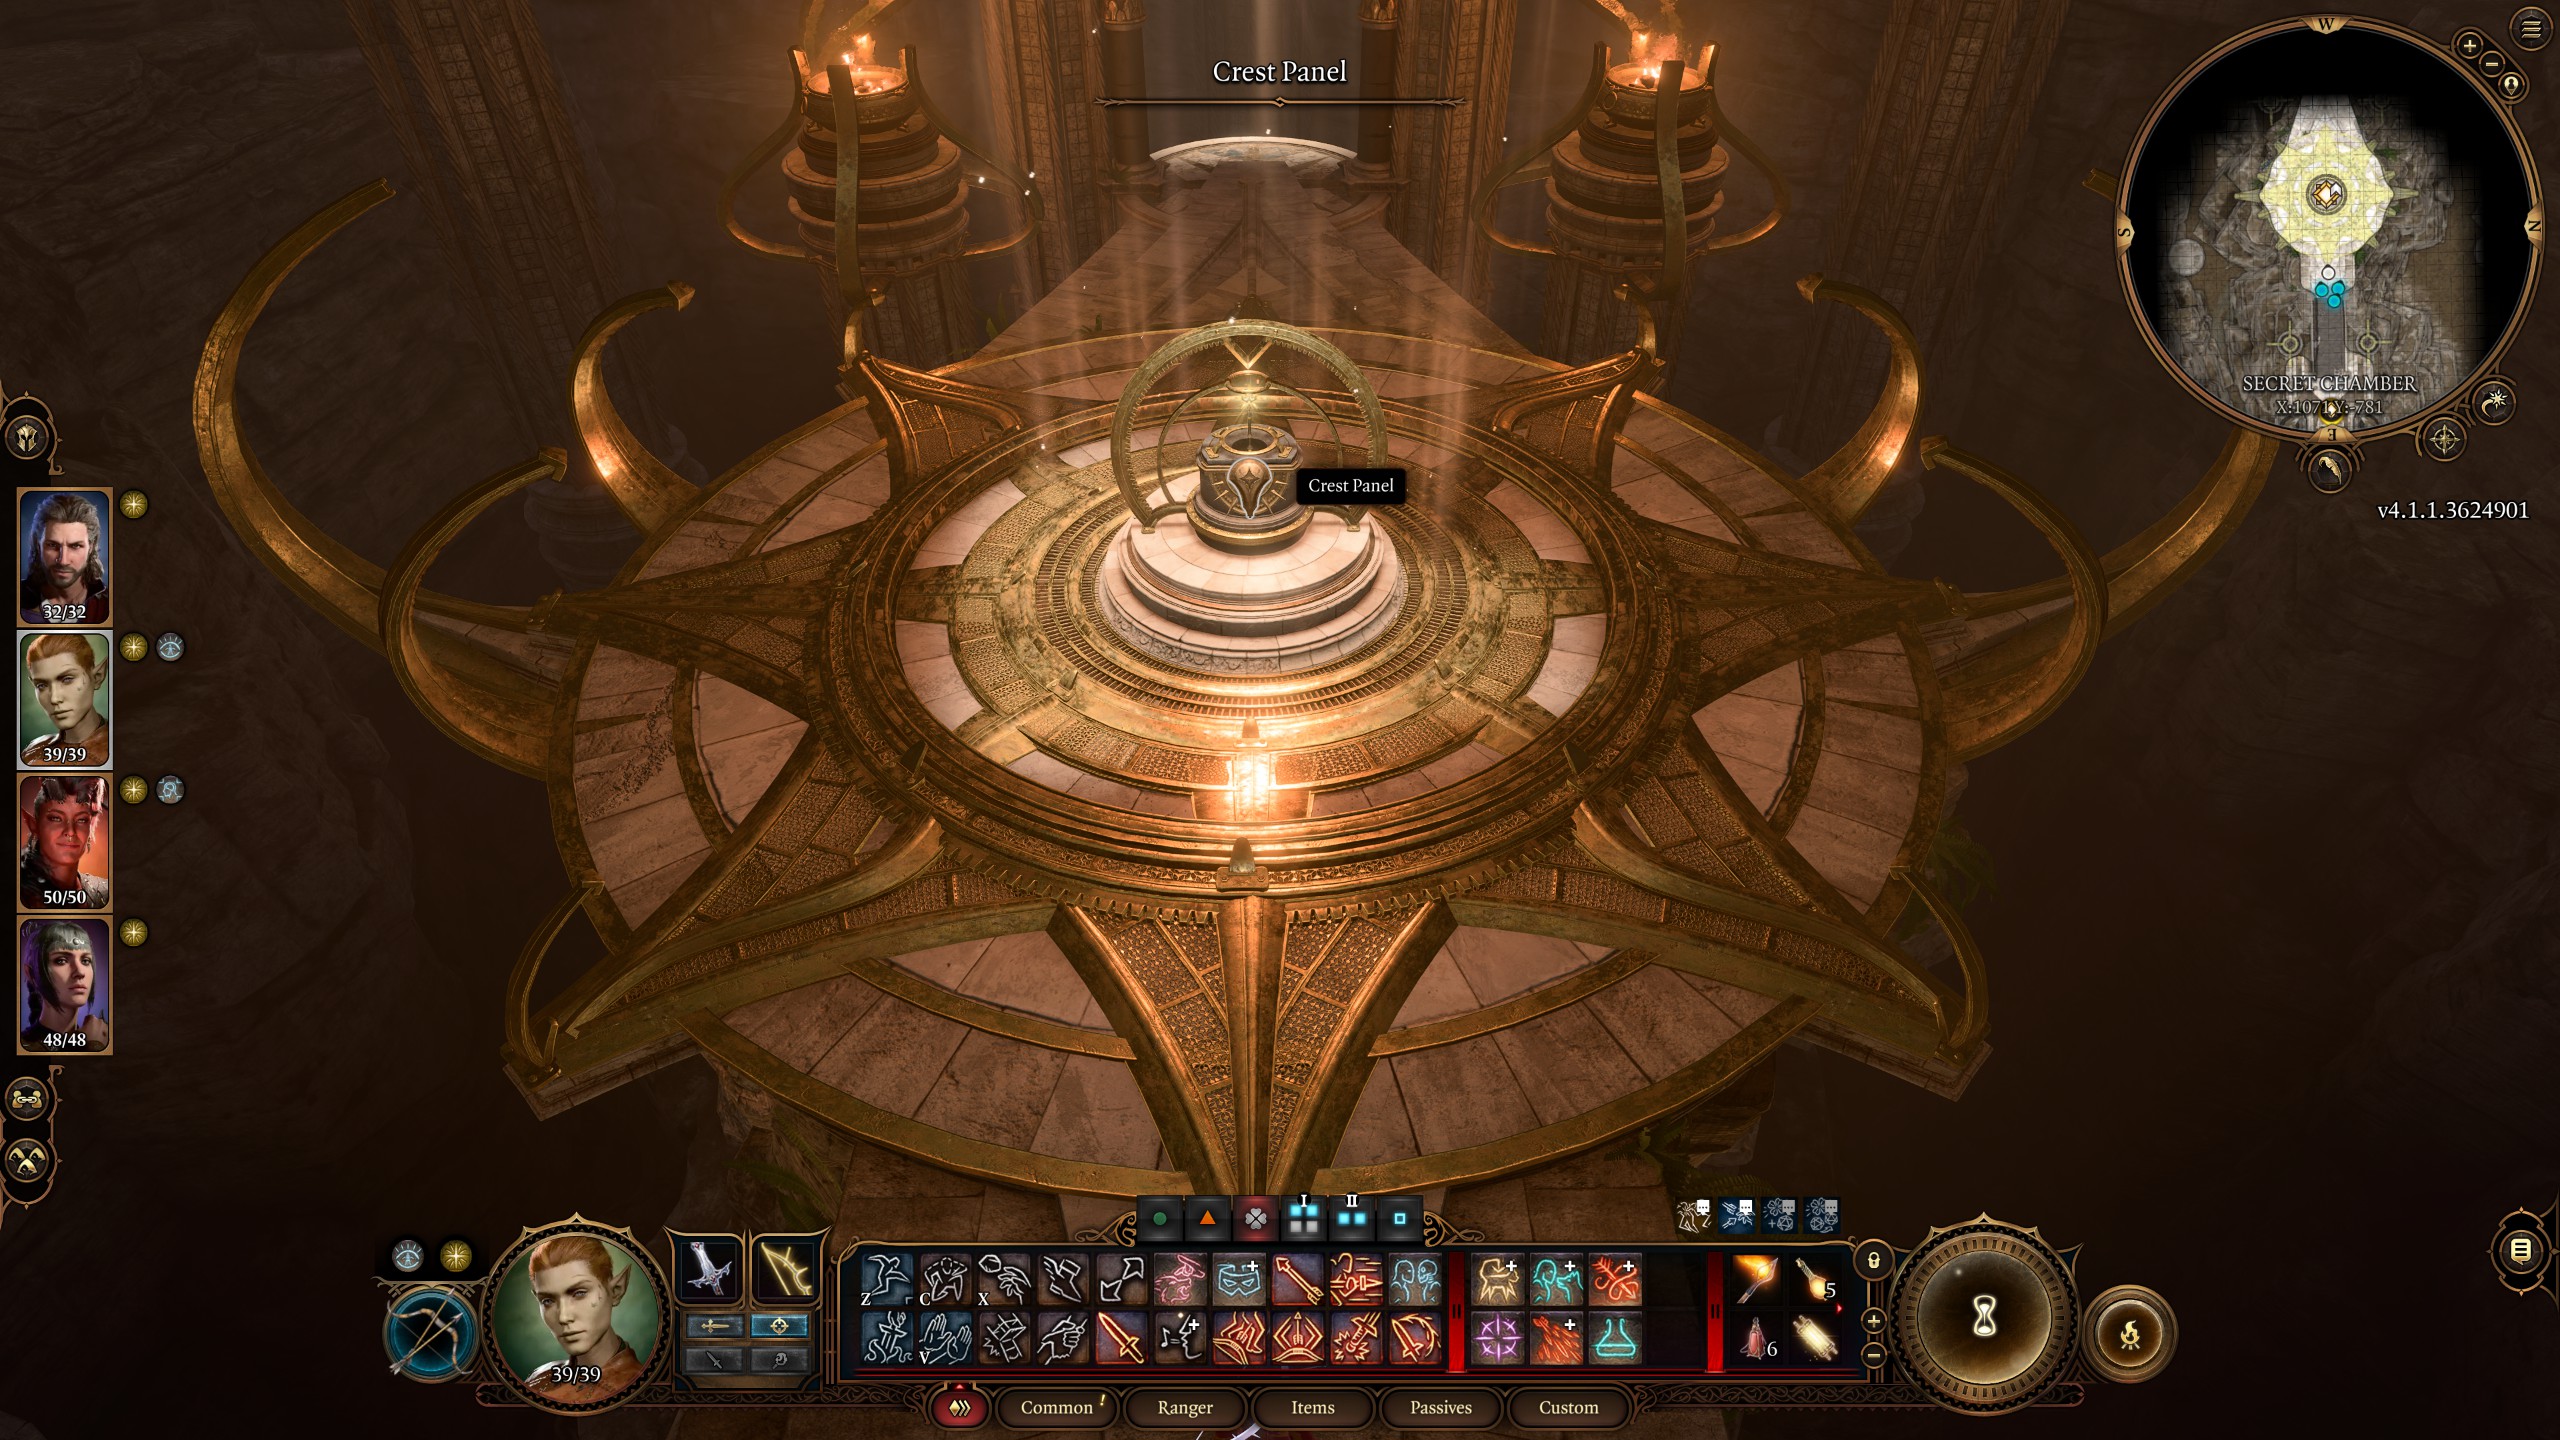
You should now be in the chamber with the mace. There are all sorts of checks you can do to examine the weapon and apparatus it's contained in, but the long and the short of it is: if you take the mace, the monastery will blow up. Not immediately, mind you, but you will have to quickly resolve the situation before that lance weapon on the roof destroys everything. You have two options:
Keep up to date with the most important stories and the best deals, as picked by the PC Gamer team.
- Destroy the Lathander Solar Machines within four turns: These devices are in each corner of the room. It's worth noting that they can only be damaged with ranged attacks, and you'll only have three characters to use in the fight, since one is trapped with the mace during all this, so pick your party and who takes the mace accordingly.
- Use the Dawnmaster's Crest: If you completed the Stained Glass puzzle on top of the Rosymorn Monastery above, you'll have the Dawnmaster's Crest, which can be inserted into the underside of where the mace is to disarm the weapon. That puzzle is quite elaborate, though, and it doesn't have any particularly amazing rewards.
Do either and the sequence is aborted, letting you keep the mace. The Blood of Lathander mace itself is one of the few legendary weapons in the game, and if you're about to head into the Shadow-Cursed Lands, its Lathander's Light condition illuminates the space around you and blinds enemies, which is very useful.
Baldur's Gate 3 guide: Everything you need
Baldur's Gate 3 Mayrina: Save the sister
Baldur's Gate 3 Necromancy of Thay: Open the tome
Baldur's Gate 3 underdark: How to get in
Baldur's Gate 3 ornate mirror: Open the cellar door
Baldur's Gate 3 gauntlet of Shar: Umbral gem locations

Sean's first PC games were Full Throttle and Total Annihilation and his taste has stayed much the same since. When not scouring games for secrets or bashing his head against puzzles, you'll find him revisiting old Total War campaigns, agonizing over his Destiny 2 fit, or still trying to finish the Horus Heresy. Sean has also written for EDGE, Eurogamer, PCGamesN, Wireframe, EGMNOW, and Inverse.

 Join The Club


