Baldur's Gate 3: Where to find every Umbral Gem in the Gauntlet of Shar
Pass Lady Shar's trials with guile, or with an excessive use of Dimension Door.
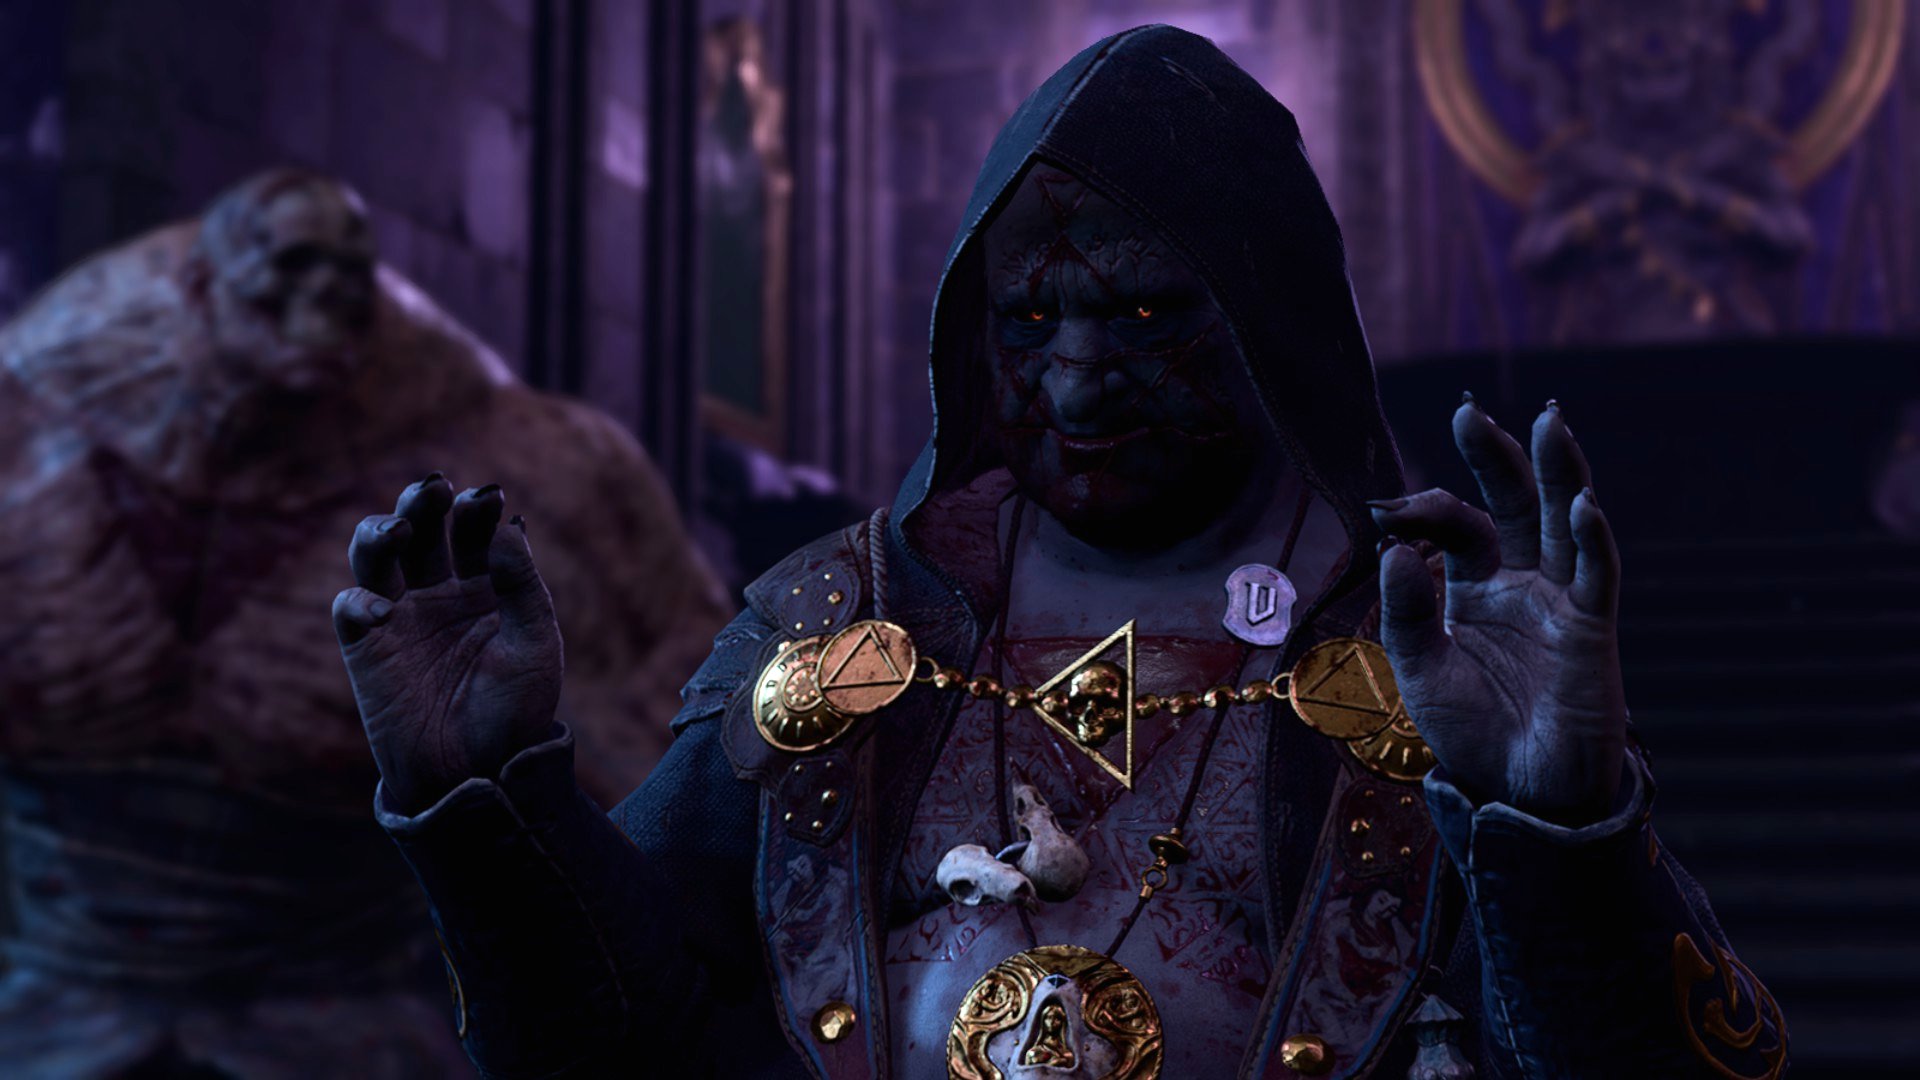
The Gauntlet of Shar in Baldur's Gate 3 consists of three unique trials, which you must conquer to descend into the depths of the temple and confront the Nightsong.

Baldur's Gate 3 guide: Everything you need
Baldur's Gate 3 tips: Be prepared
Baldur's Gate 3 classes: Which to choose
Baldur's Gate 3 multiclass builds: Coolest combos
Baldur's Gate 3 romance: Who to pursue
Baldur's Gate 3 co-op: How multiplayer works
To drive a knife into the heart of Ketheric Thorm's immortality, you'll need to collect four Umbral Gems—three of them come from the trials, while the fourth Umbral Gem has been stolen by an Orthon who has a history with everyone's favourite devil, Raphael.
Once you've either lockpicked or puzzled your way through the mausoleum and entryway, you'll discover a central elevator that leads to a central platform missing its gems. Bank left to find a waypoint for the temple itself.
Before you descend down the stairs, it's worth turning left from the waypoint and meeting the necromancer Balthazaar. While he's not a sparkling conversationalist, chatting with him does have a chance of netting you a bell, which you can later use to summon an undead monstrosity to help you in combat. Return to the waypoint, then head down the stairs to begin the Gauntlet of Shar. Here's everything you need to know about it.
First gem: the Soft-Step Trial
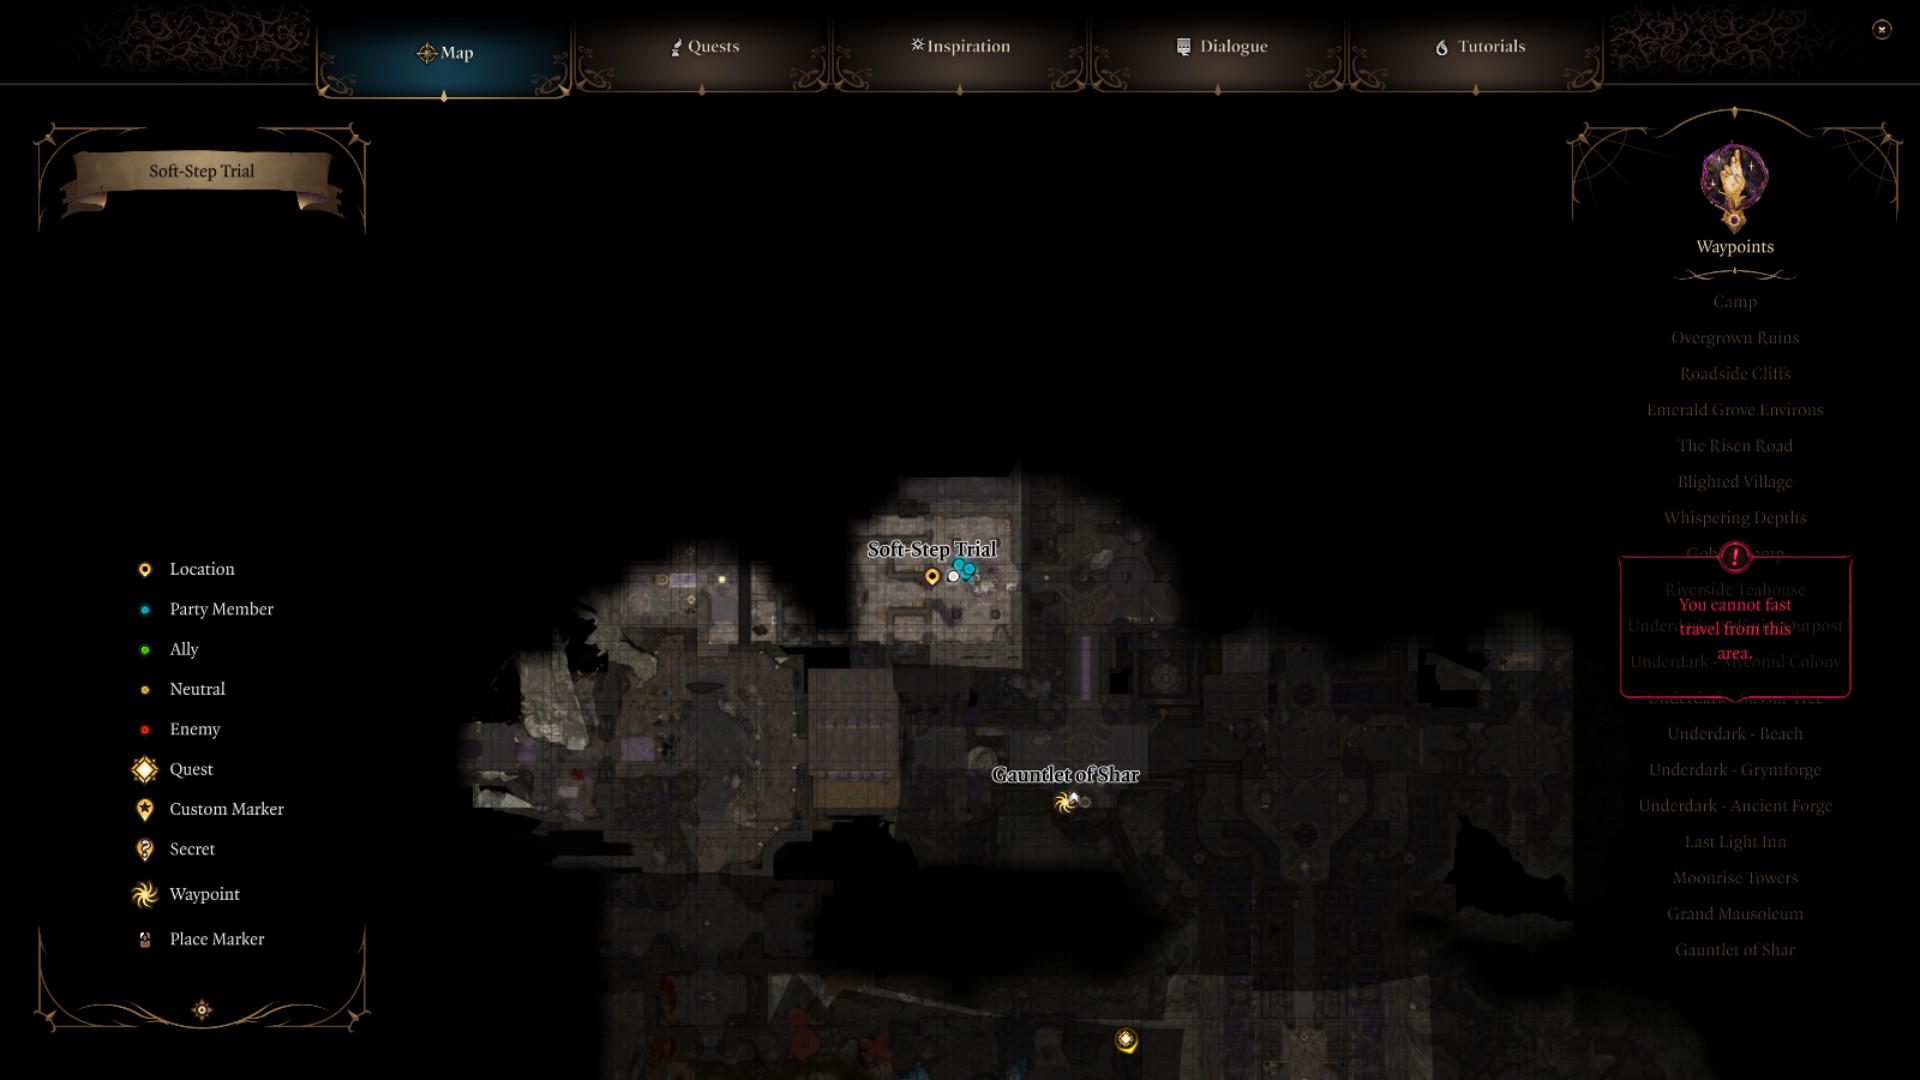
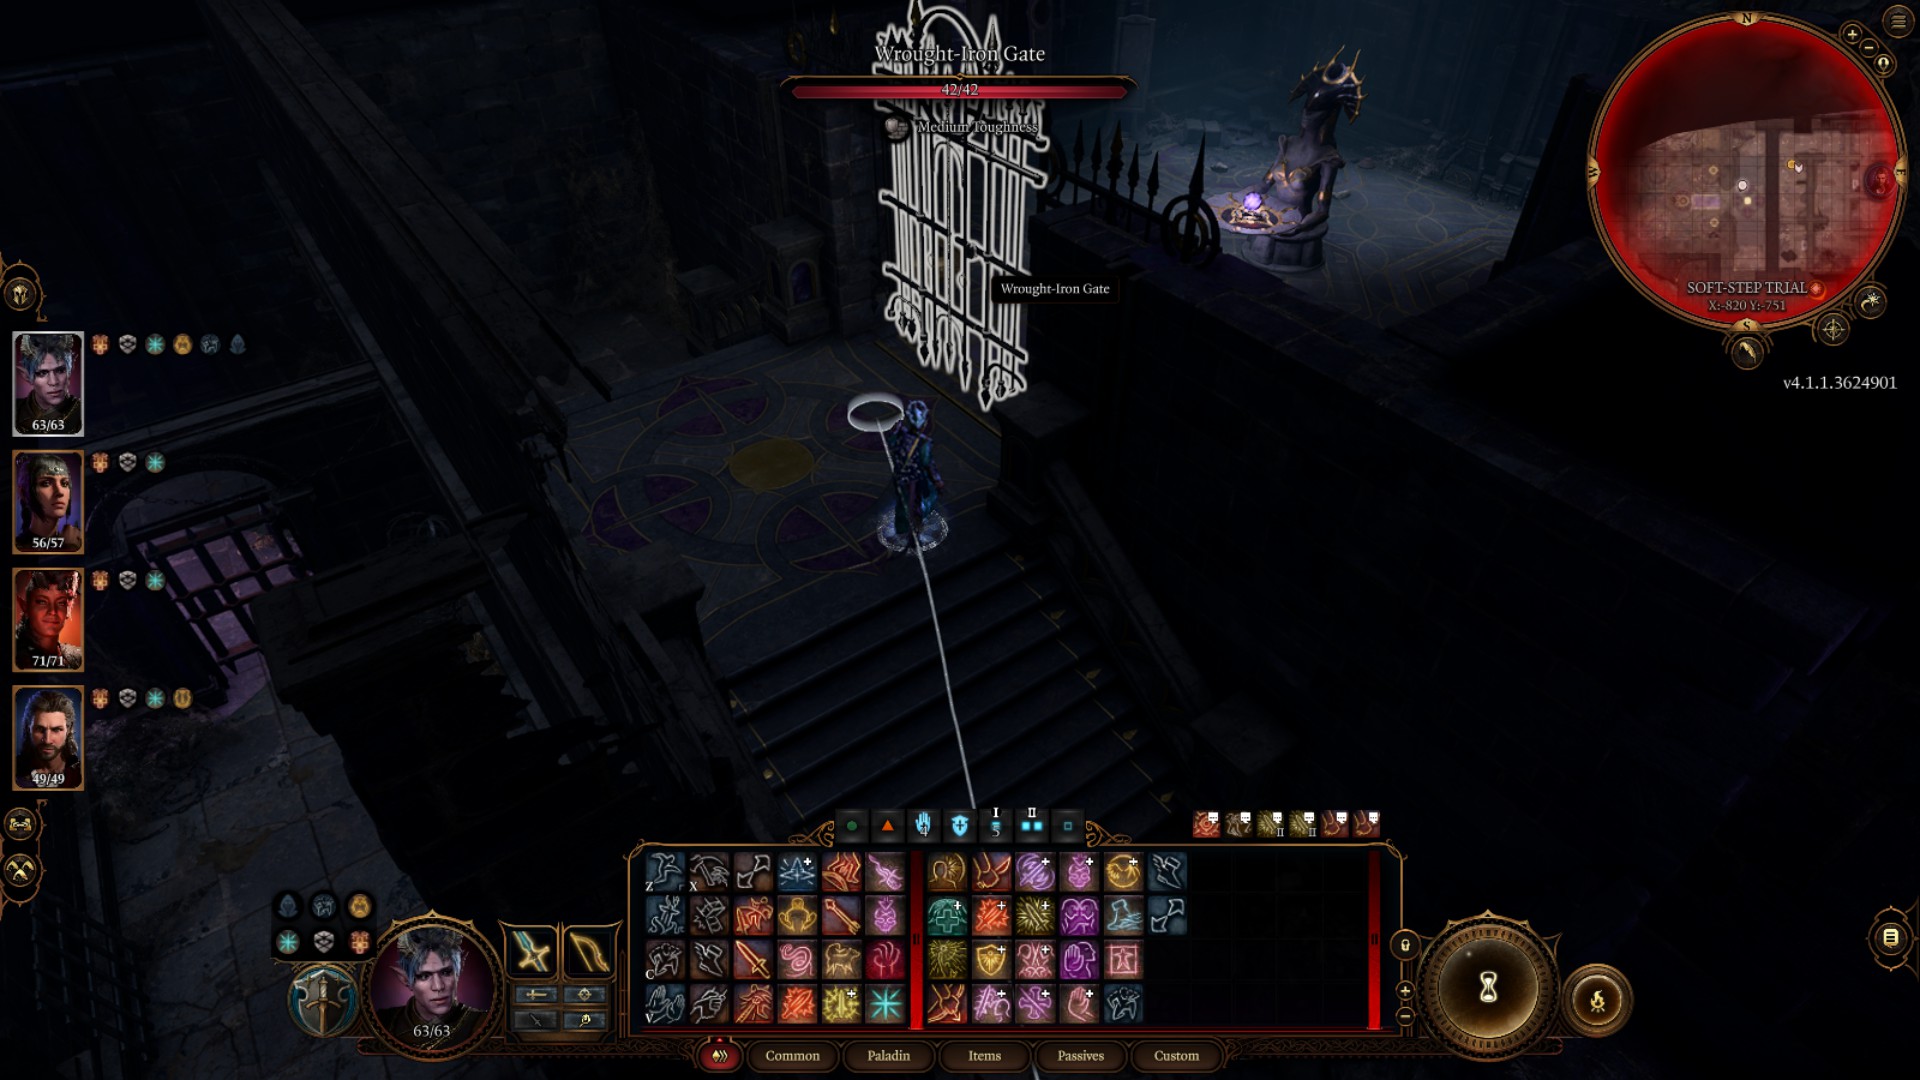
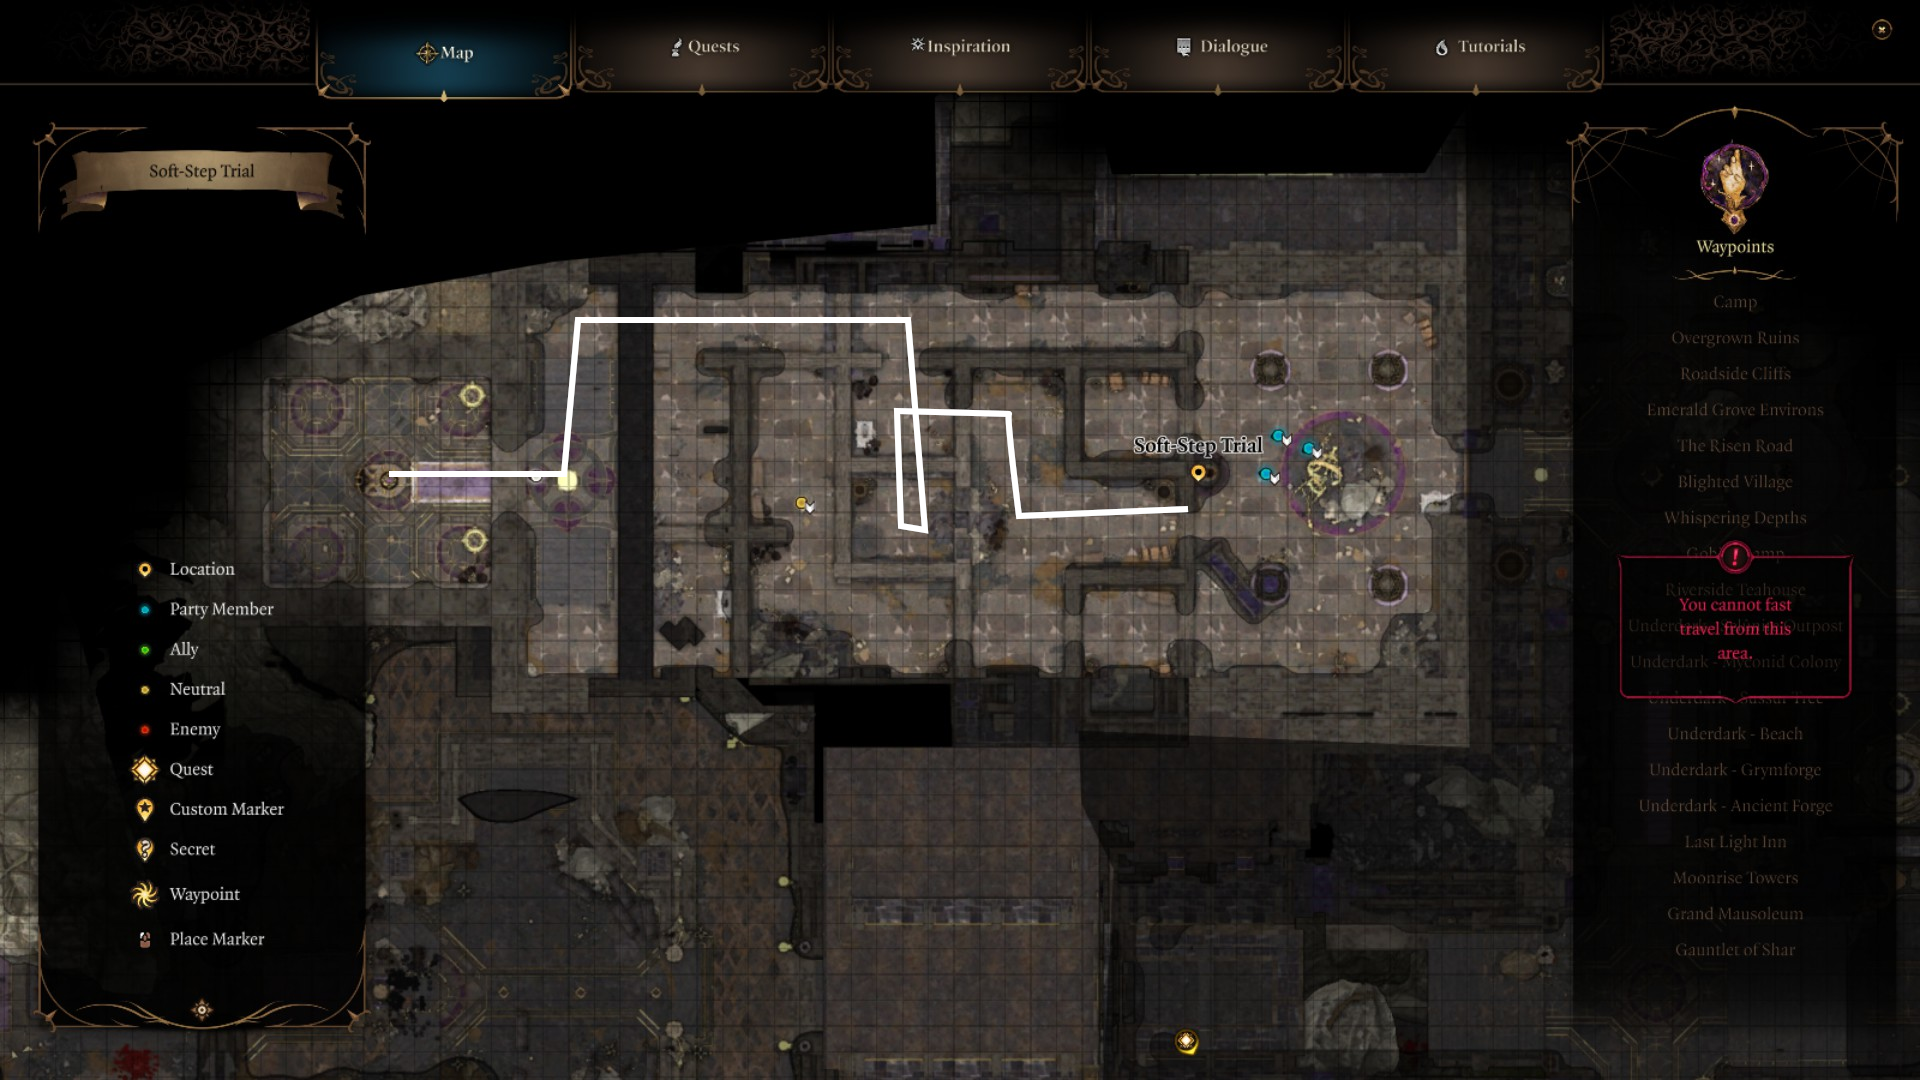
Every trial starts with a blood sacrifice at a ritual bowl. If you have Shadowheart accompanying you, let her offer her blood at each bowl for a free bump of approval.
The Soft-Step Trial is a small maze patrolled by Shadows. You'll need to skulk to the end of the maze without being spotted, so send in your stealthiest party member. If you have the spell Enhance Ability available, it's worth using Owl's Wisdom on them to help them spot traps.
Alternatively, if you don't have a rogue, Invisibility will do the trick just fine. I recommend entering turn-based mode for this, however, as the Invisibility spell only lasts for 10 turns, which passes by a lot faster outside of combat.
Keep up to date with the most important stories and the best deals, as picked by the PC Gamer team.
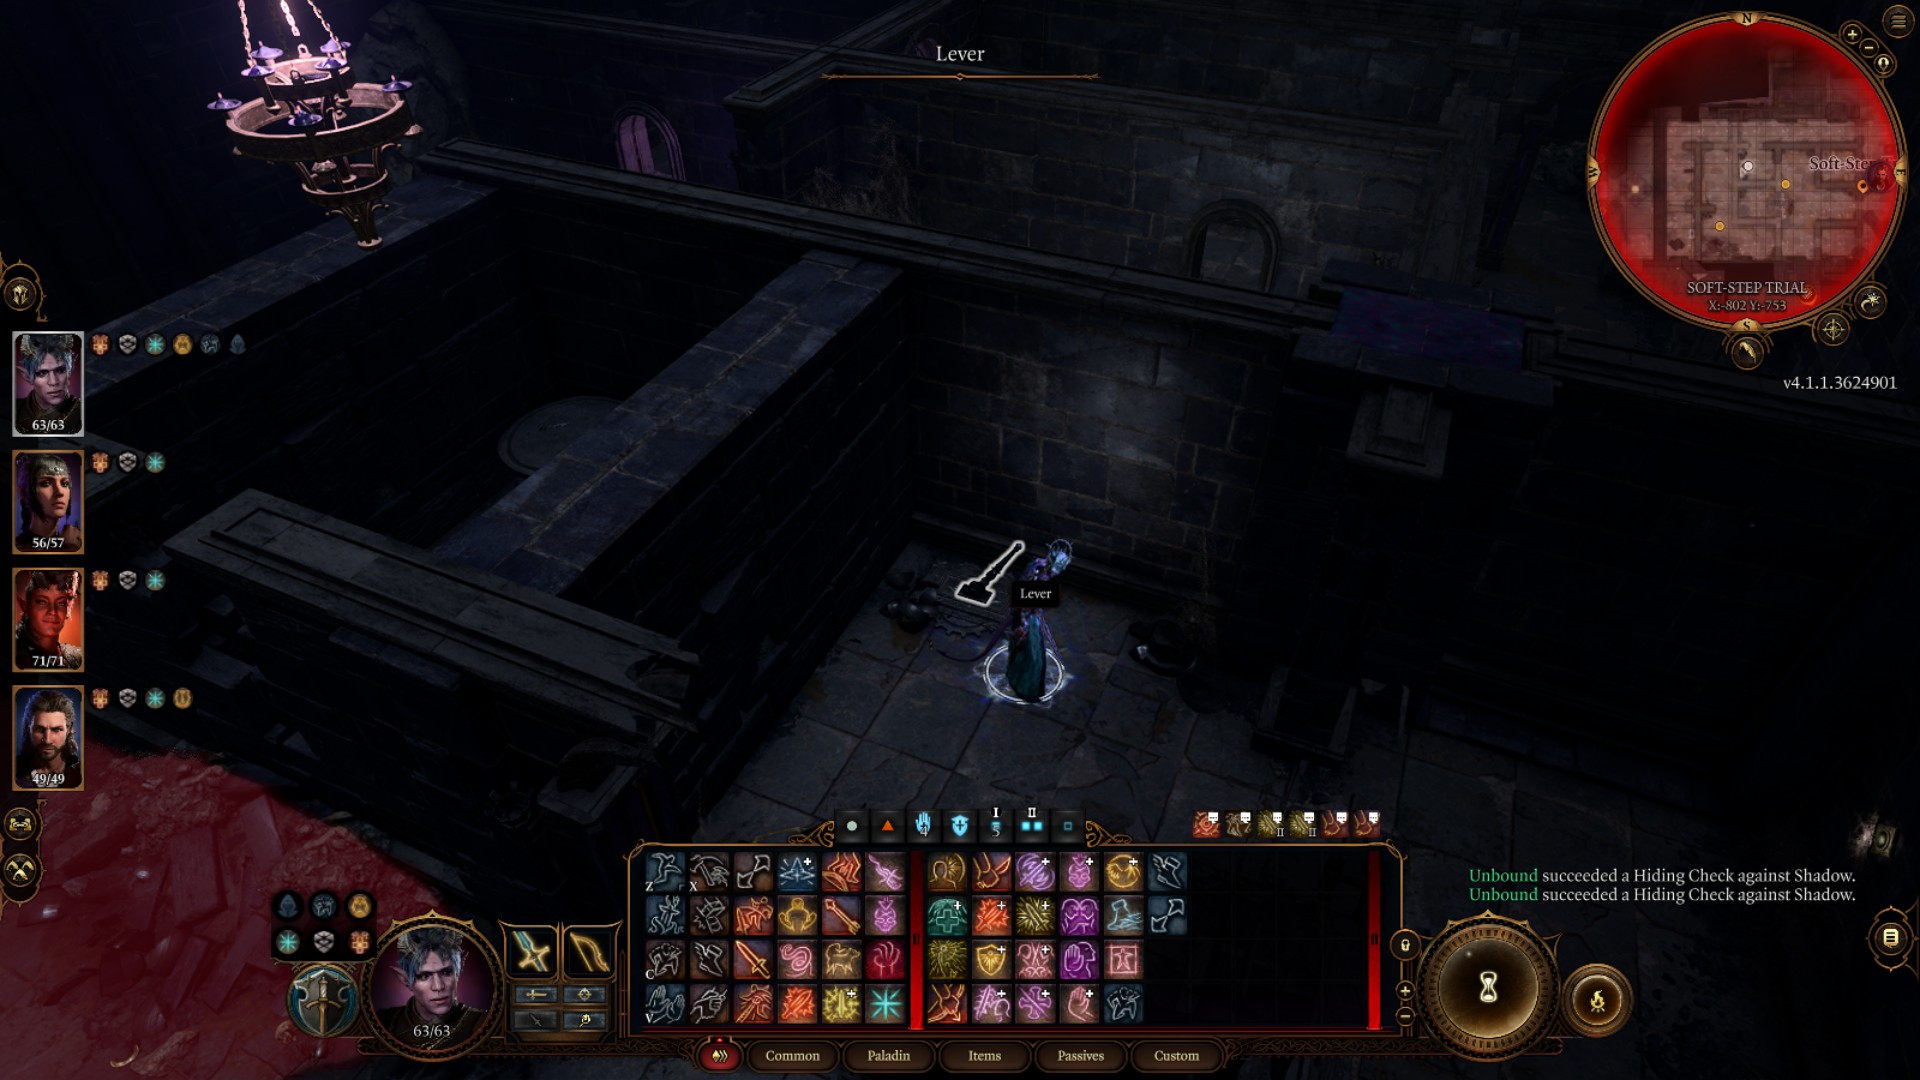
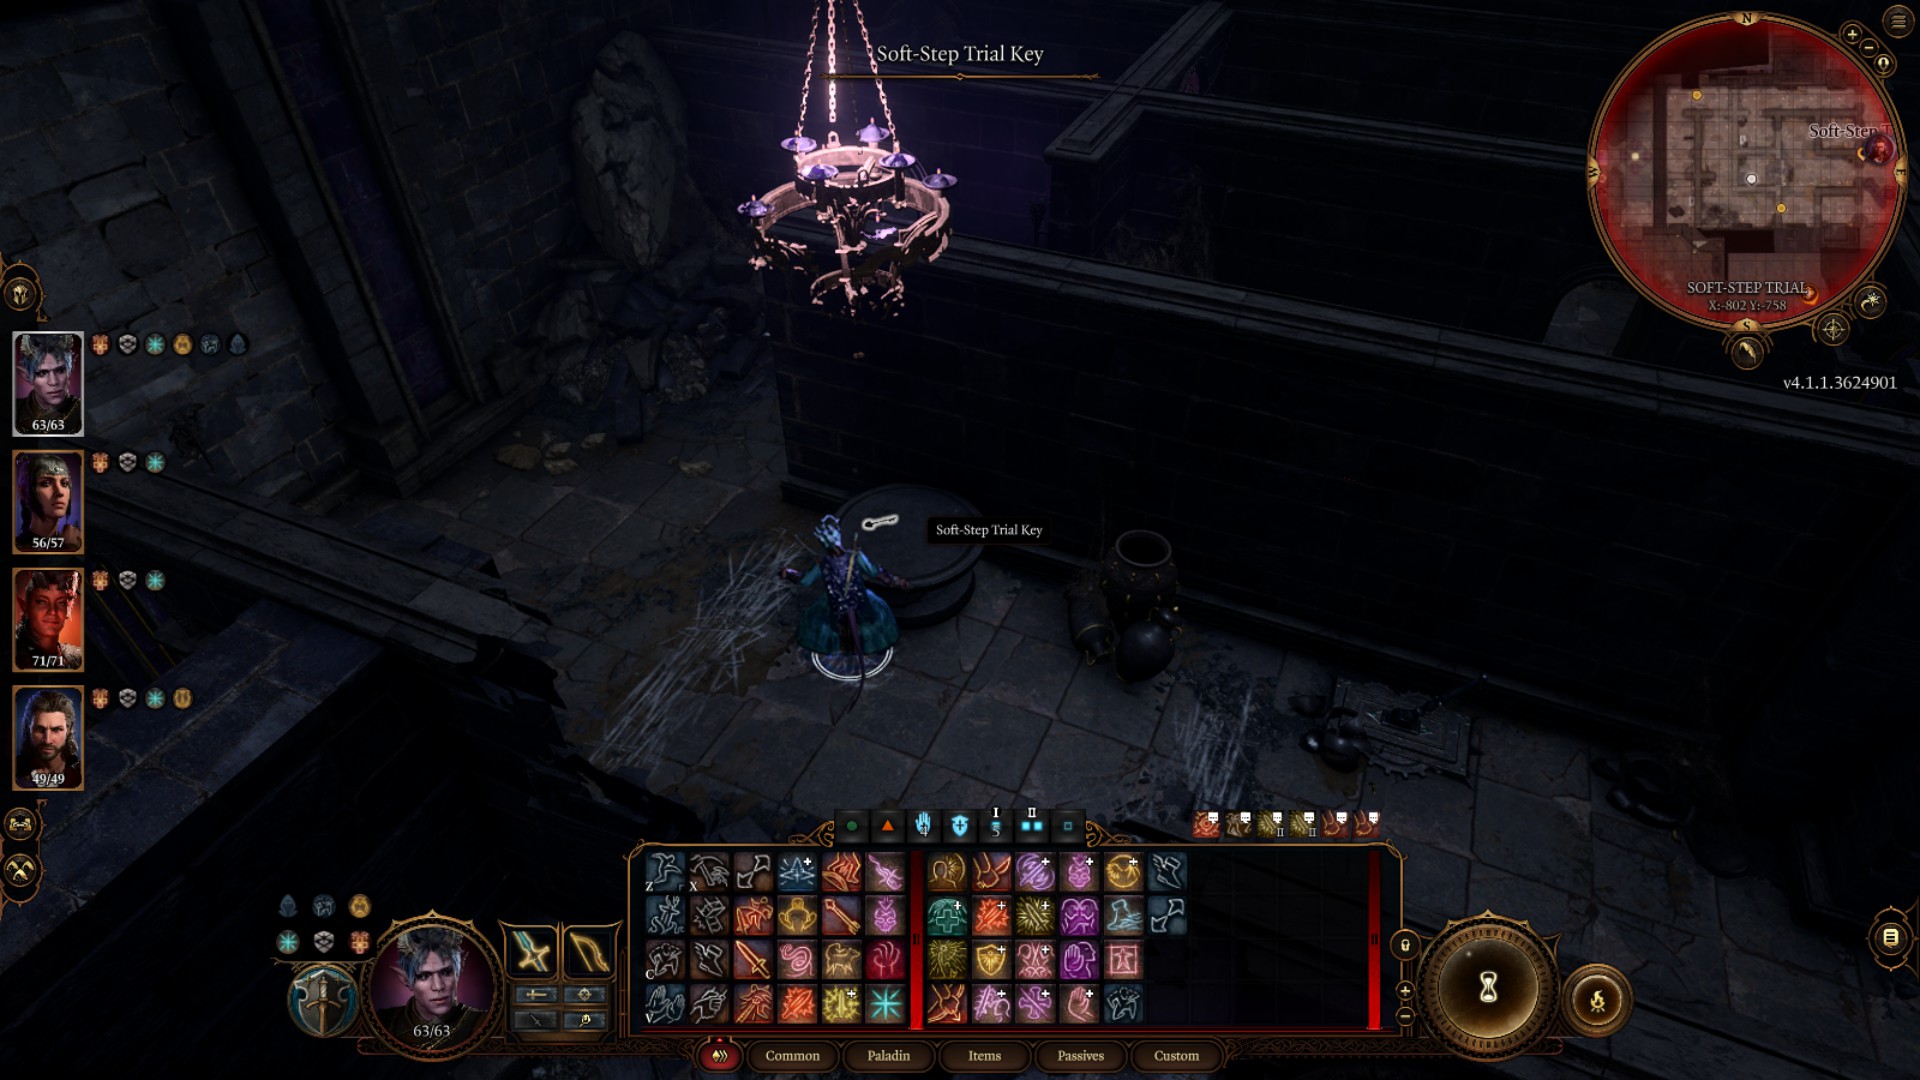
Head through the middle entrance, then turn to the right. Pull the lever to move two walls, revealing a hidden room containing a table with a Soft-Step Key on it (as with all items, you can hold down ALT on your keyboard to find it easier). If you want to skip the key, the door it opens can also be lockpicked.
Grab the key, then navigate towards the end, avoiding both traps and the roaming shadows. Ignore the hallway with a locked door—the key won't work on it—and proceed to the large gate at the end of the trial. If you're teleported back to the start, you don't have to pick the key back up again.
Alternatively, if you have access to the spell Dimension Door, you can bypass the trial entirely. The leftmost entrance gives you just enough line of sight to cast the spell through a window. Have your caster teleport themselves and someone with Thieves' Tools proficiency towards the end of the puzzle, then lockpick the final gate. Claim your Umbral Gem and proceed to the next trial.
Second gem: the Self-Same Trial
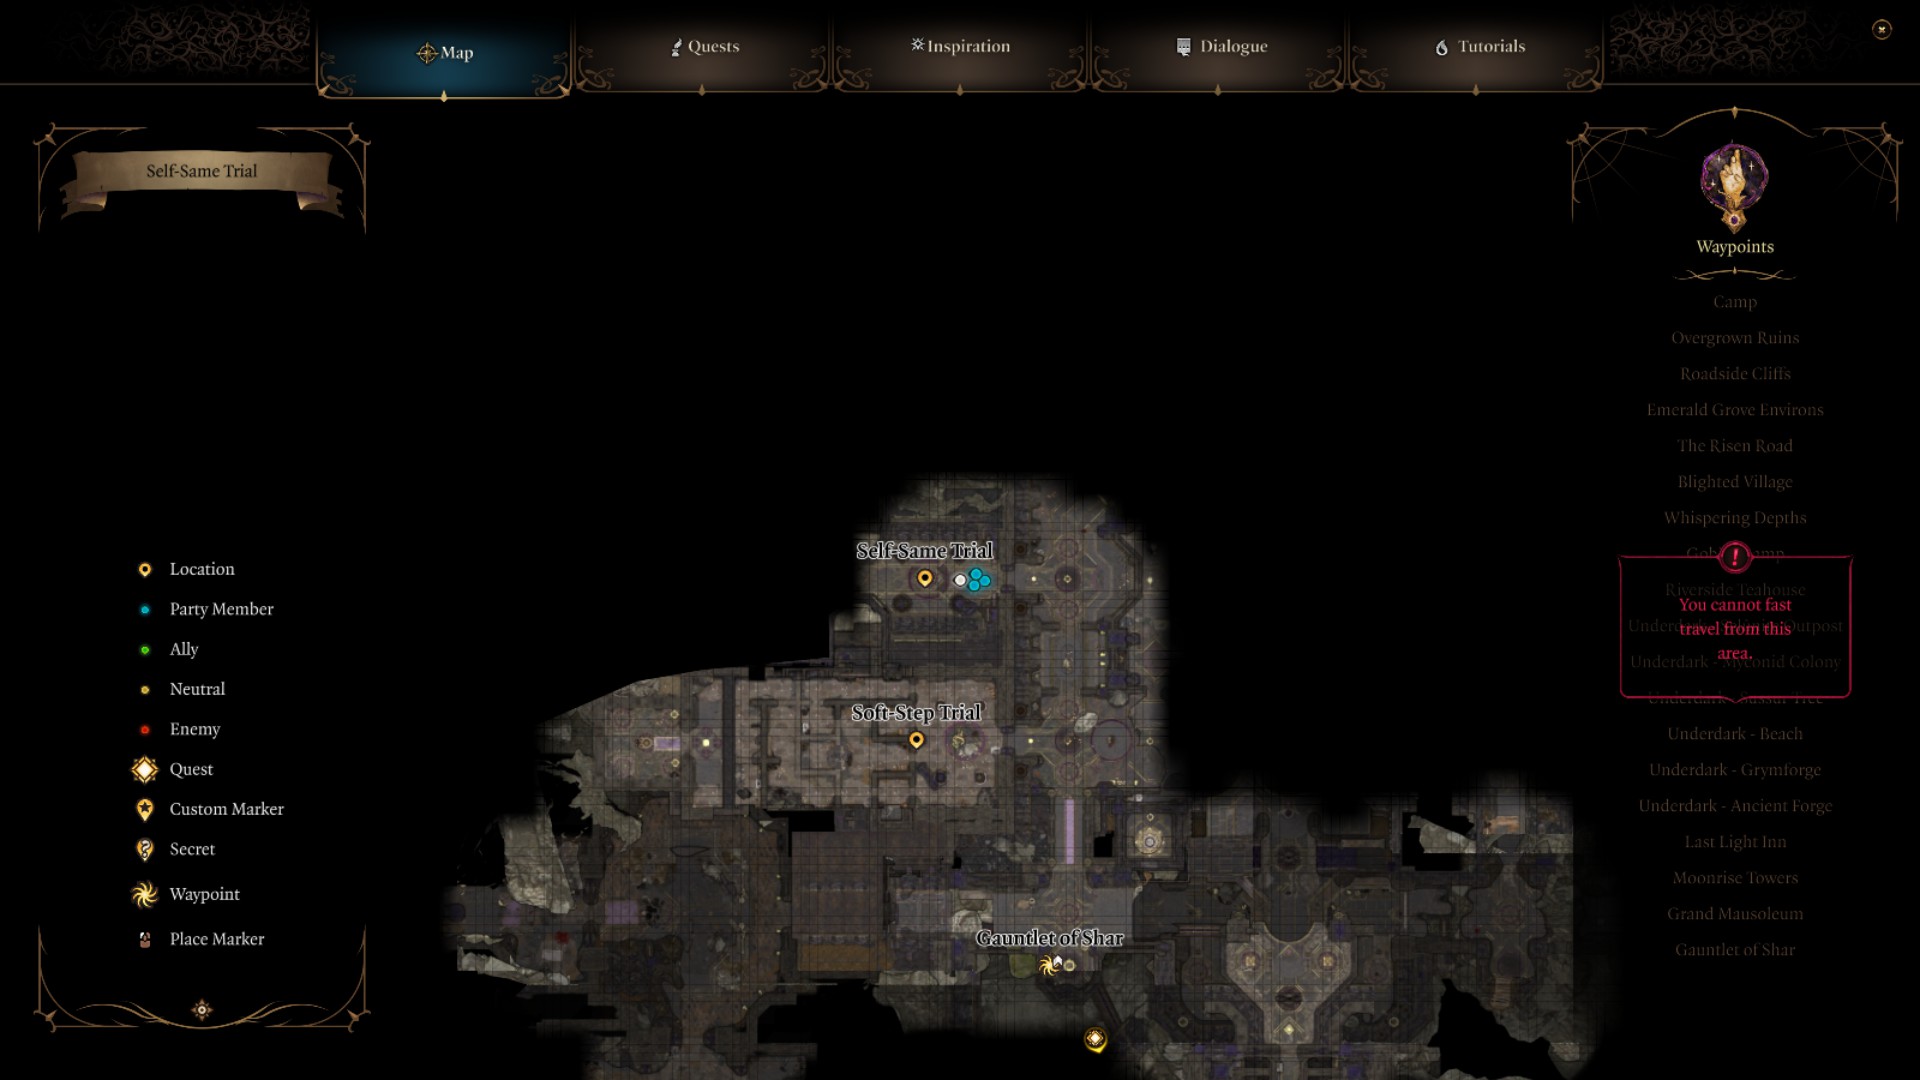
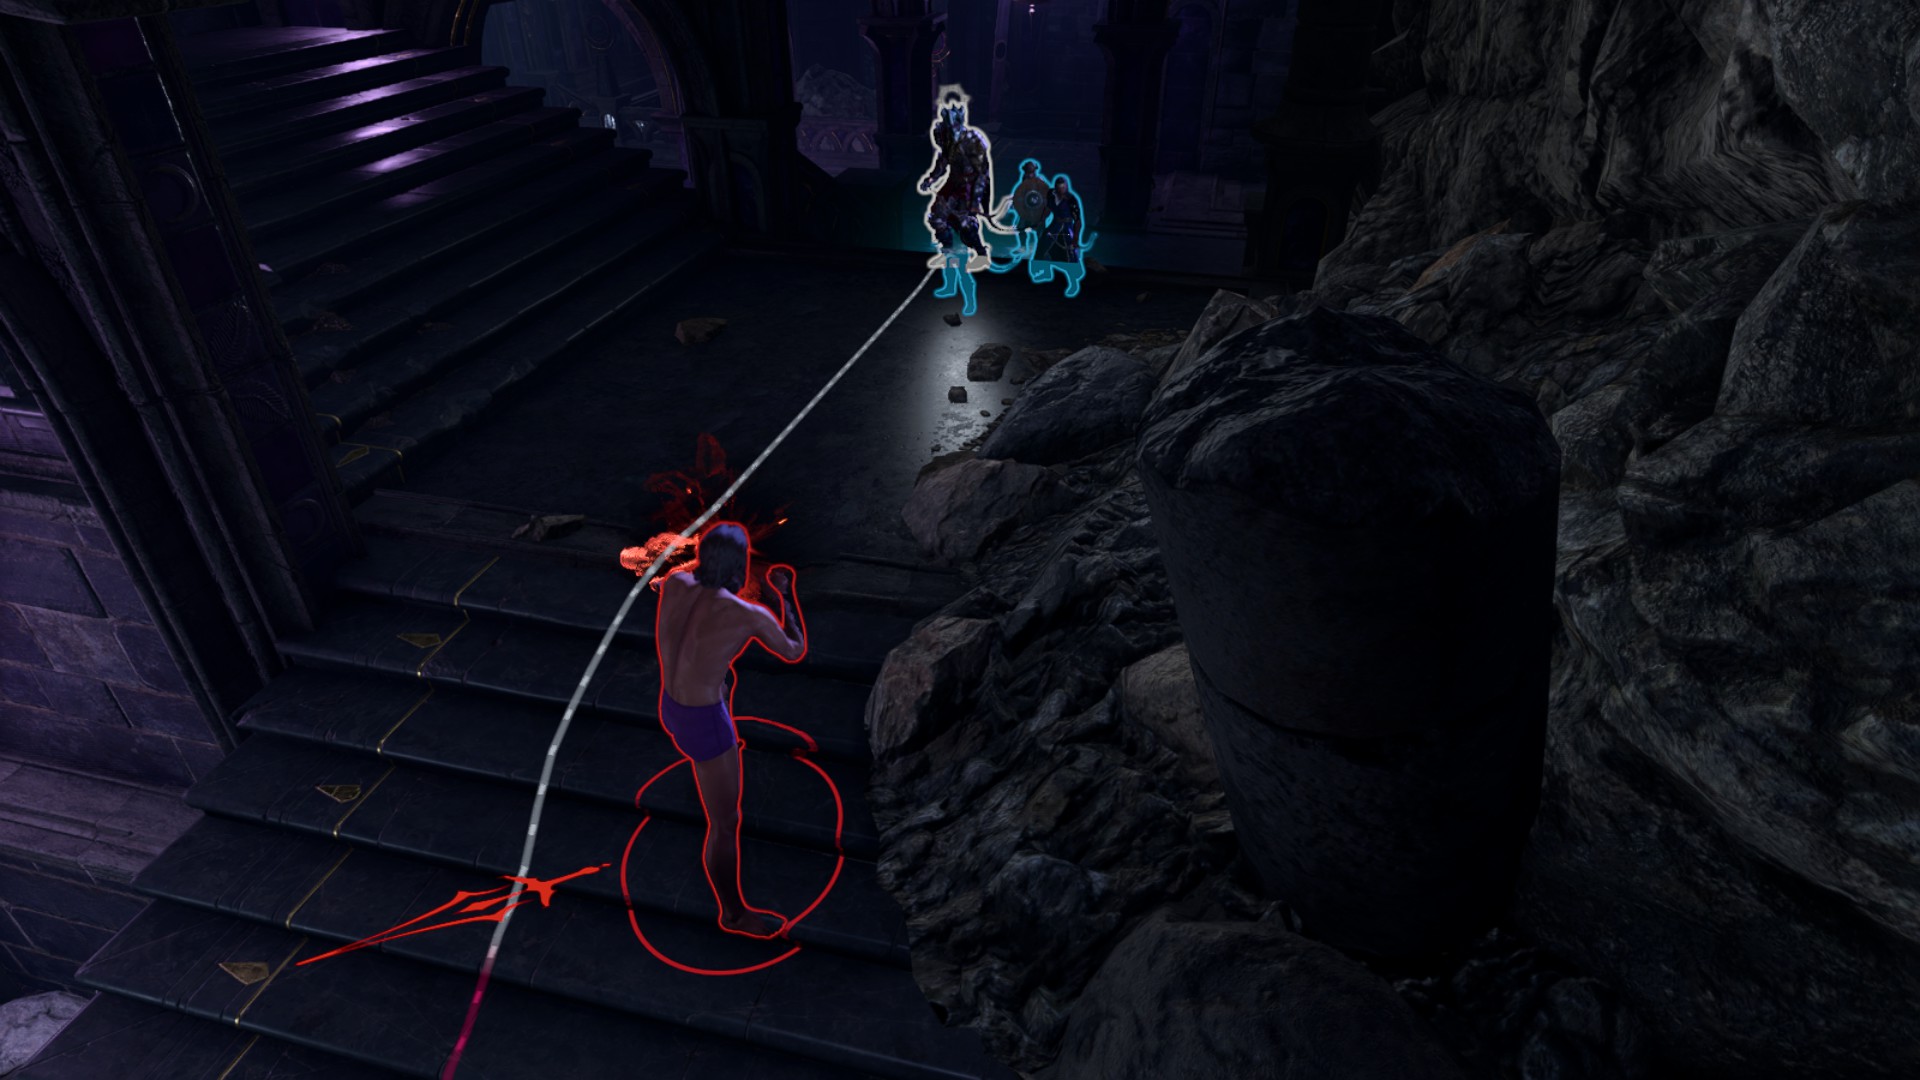
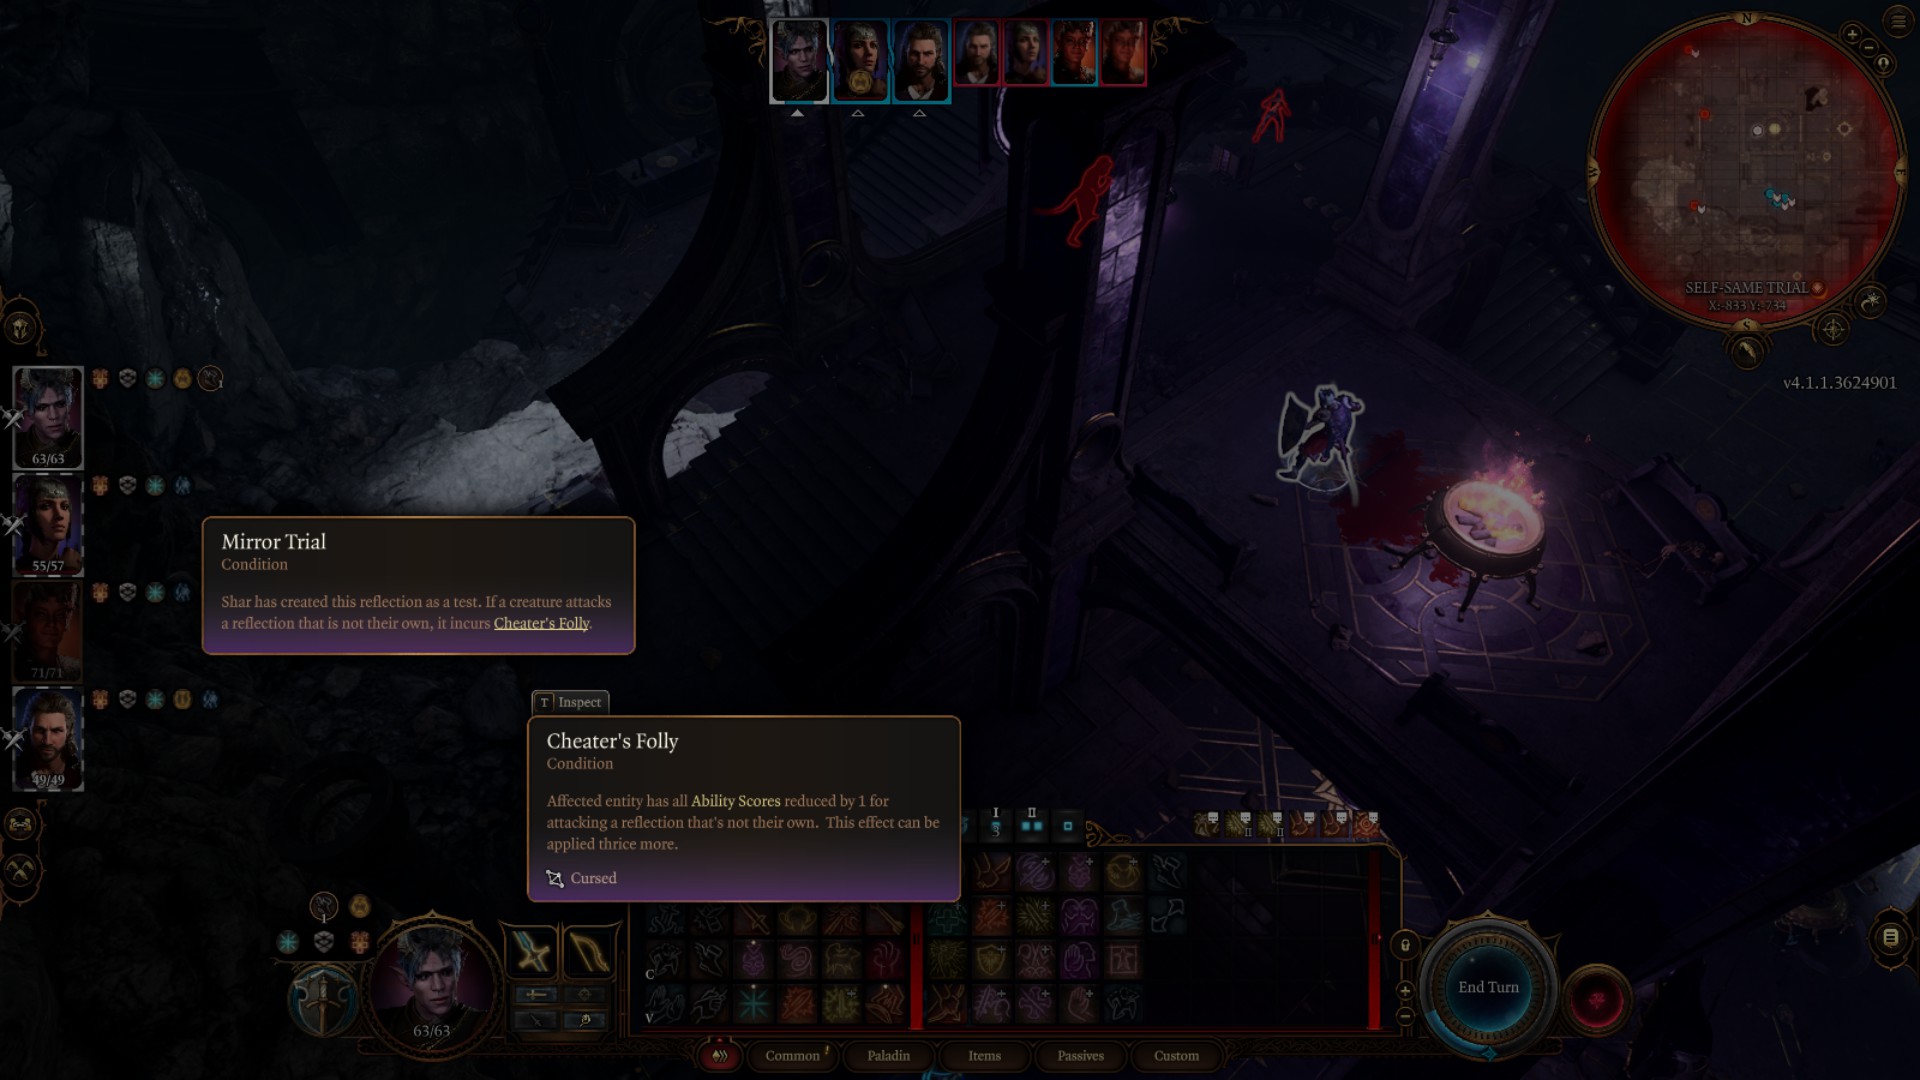
You are your own worst enemy—in this case, literally. The Self-Same Trial forces you into a mirror-match with your own party. To reach it, head down the same corridor and turn to the left. Before you interact with the bowl, get naked. It'll help, trust me.
The trial creates copies of your party, wearing everything you have equipped. If you happen to be butt-naked before entering battle, they'll be naked too. You can re-equip your gear before entering the fight, which seems unfair, but Lady Shar would probably approve of these underhanded tactics.
If you have a means of seeing invisibility, it's worth preparing it for this battle, as your clones will be able to dip in and out of the shadows. Even without clothes on, this can make the fight last longer than it has to.
During the fight itself, you'll each be tagged with the Mirror Trial debuff. This buff gives a stacking curse that reduces each one of your ability scores by 1 every time you hit someone else's mirror. However, killing a clone rids the real party member of the debuff, allowing them to join the fight proper.
Before you grab your Umbral Gem and bounce, make sure to pick up the Killer's Sweetheart ring. This thing is nearly best-in-slot for Paladins, Barbarians, and Rogues, allowing them to bank an on-demand critical once per Long Rest.
Third gem: the Faith-Step Trial
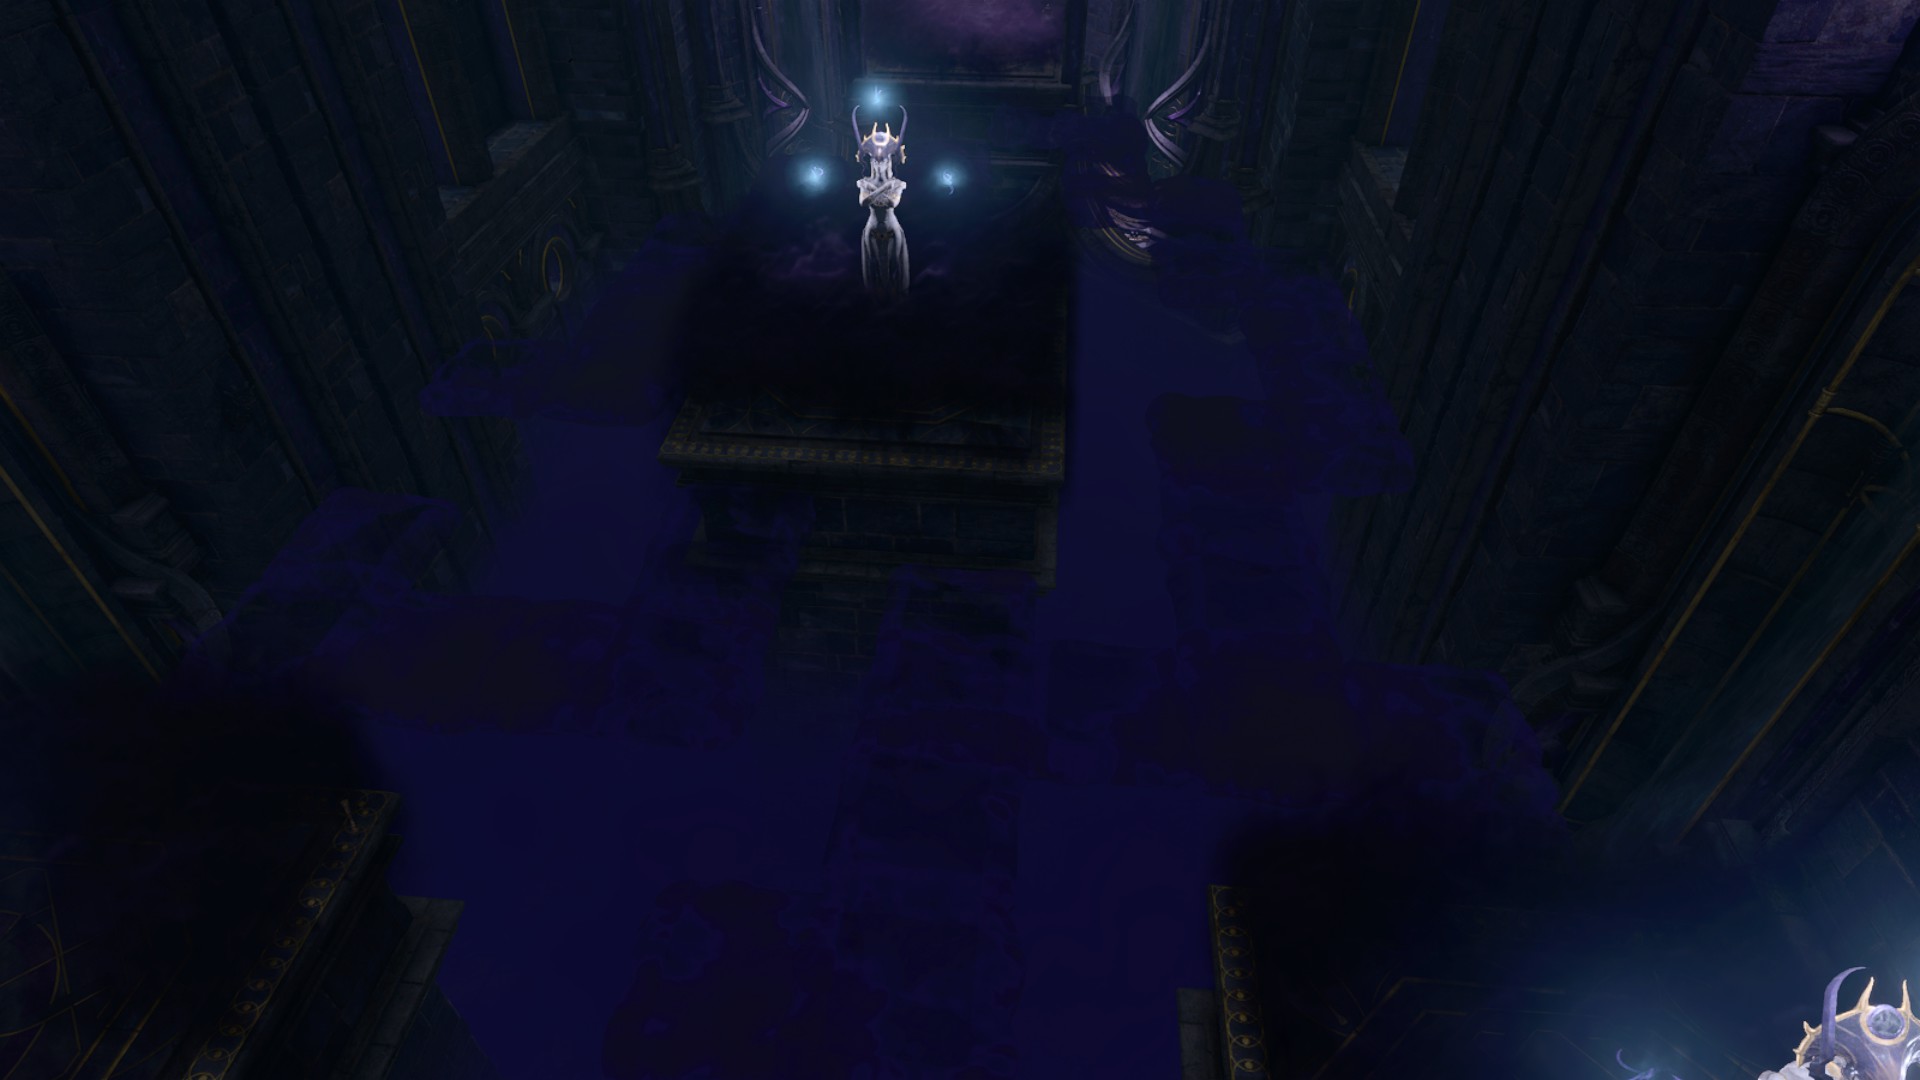
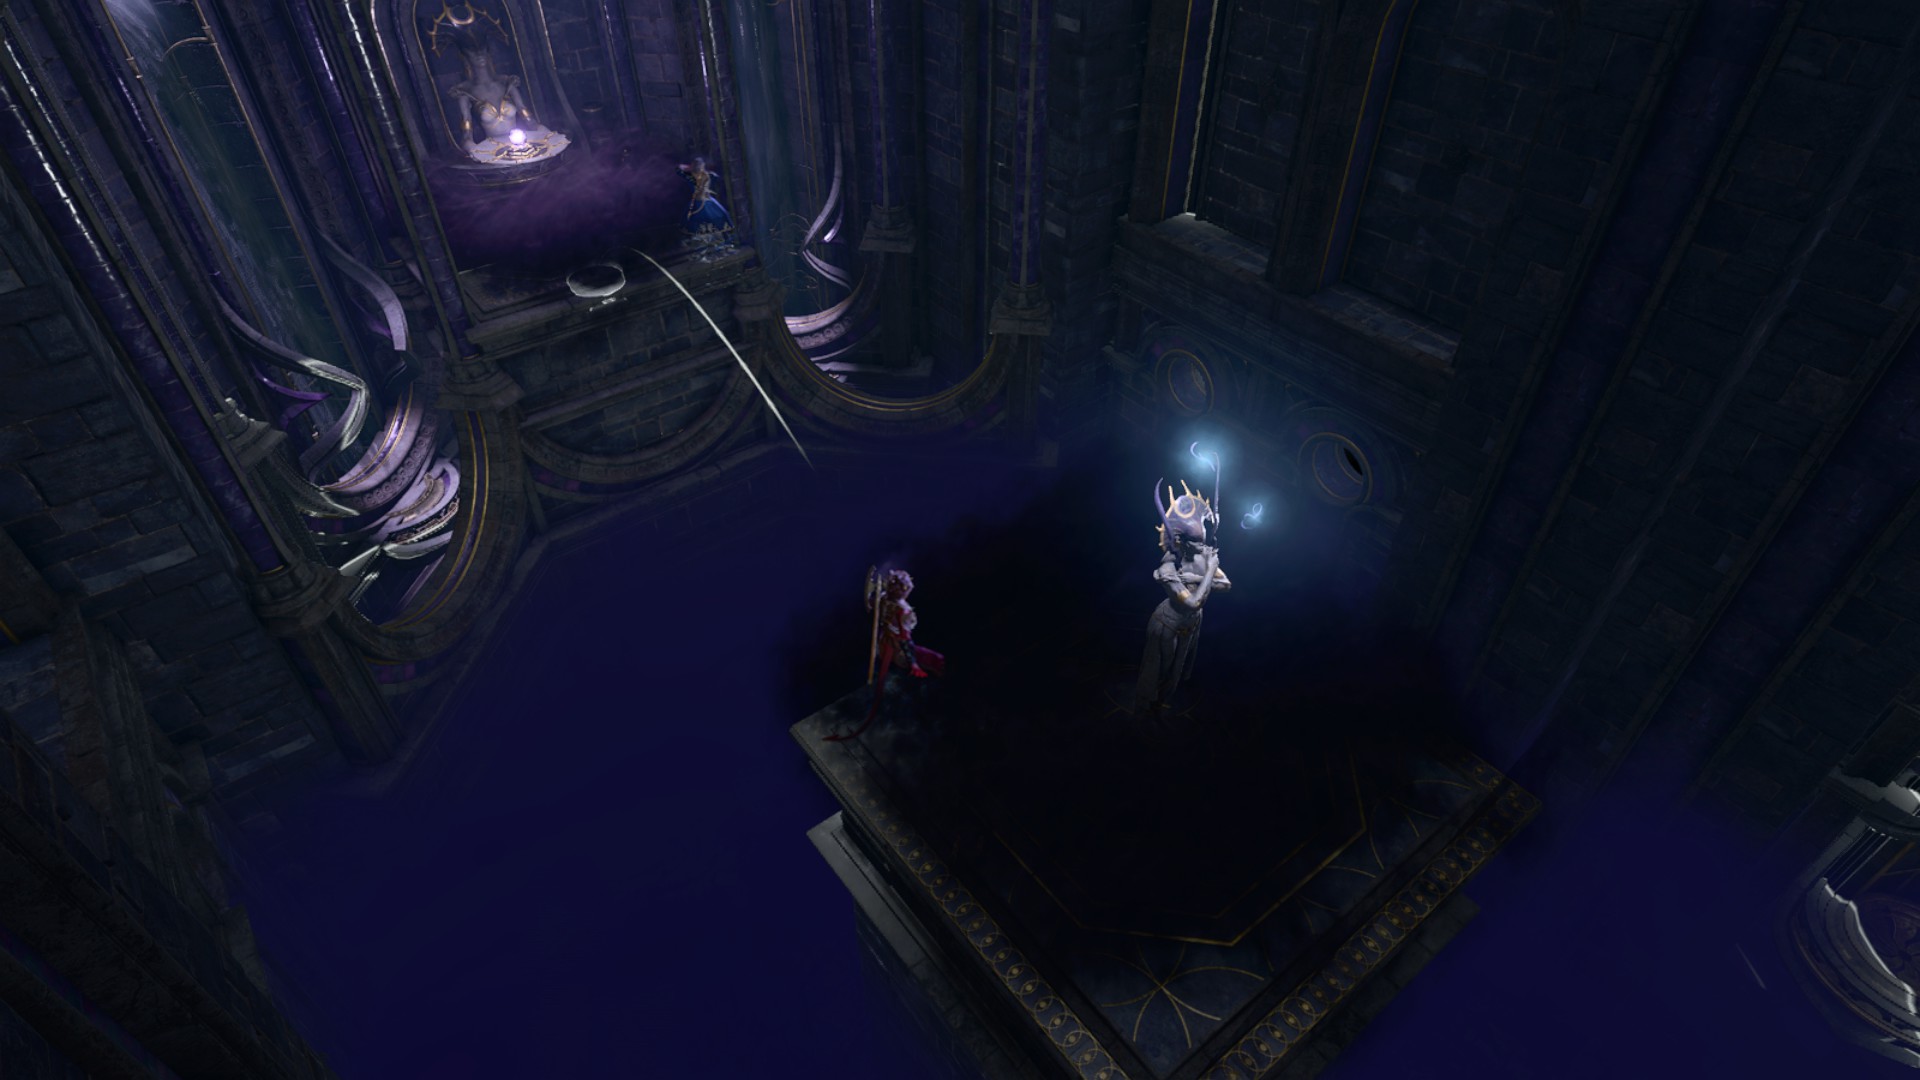
The Faith-Step trial is the last of the gauntlet's direct challenges. To find it, go downstairs and head through the first door you see. Donate your pound of flesh to Lady Shar in the ritual bowl, as is custom.
The room will be plunged into darkness. Before you do anything else, take a quick detour to the options menu and turn your brightness up. There are platforms here, but they vanish the closer you get to them, requiring you to memorise the route. I recommend taking a screenshot or, even better, using the one I've provided above.
If you have access to Dimension Door, I've got great news for you: you can use it to cheese this trial as well. While the stone platform at the end is shrouded in magical darkness, you can still target one of the further invisible walkways. From there, it's just a matter of jumping.
If you have a means of jumping or flying—such as having a Barbarian in your party—you can simply leap across the stone platforms with Lady Shar's statue on them. Make sure to step onto the invisible walkways first, as leaping directly from the ritual bowl will get you teleported back.
Navigate the void, stare into the abyss, and you'll be able to claim the next Umbral Gem.
Fourth gem: the Orthon
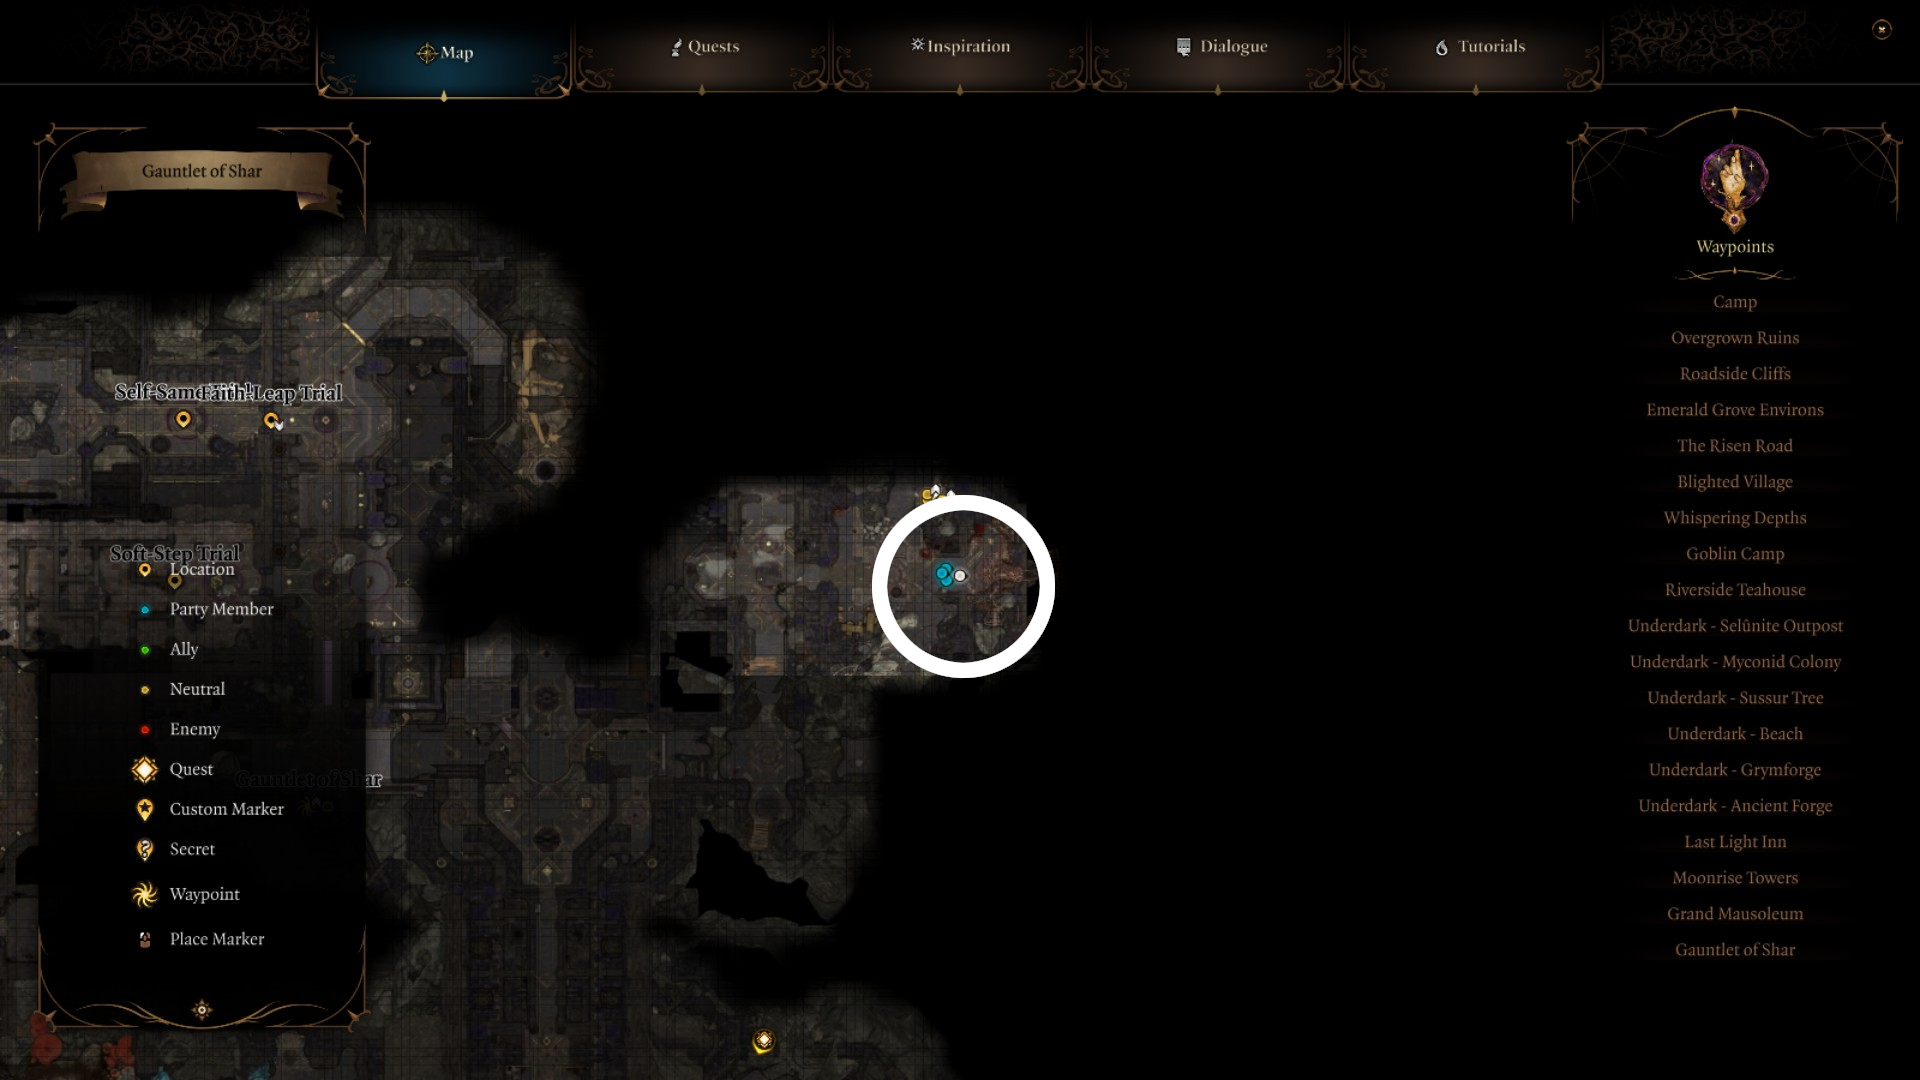
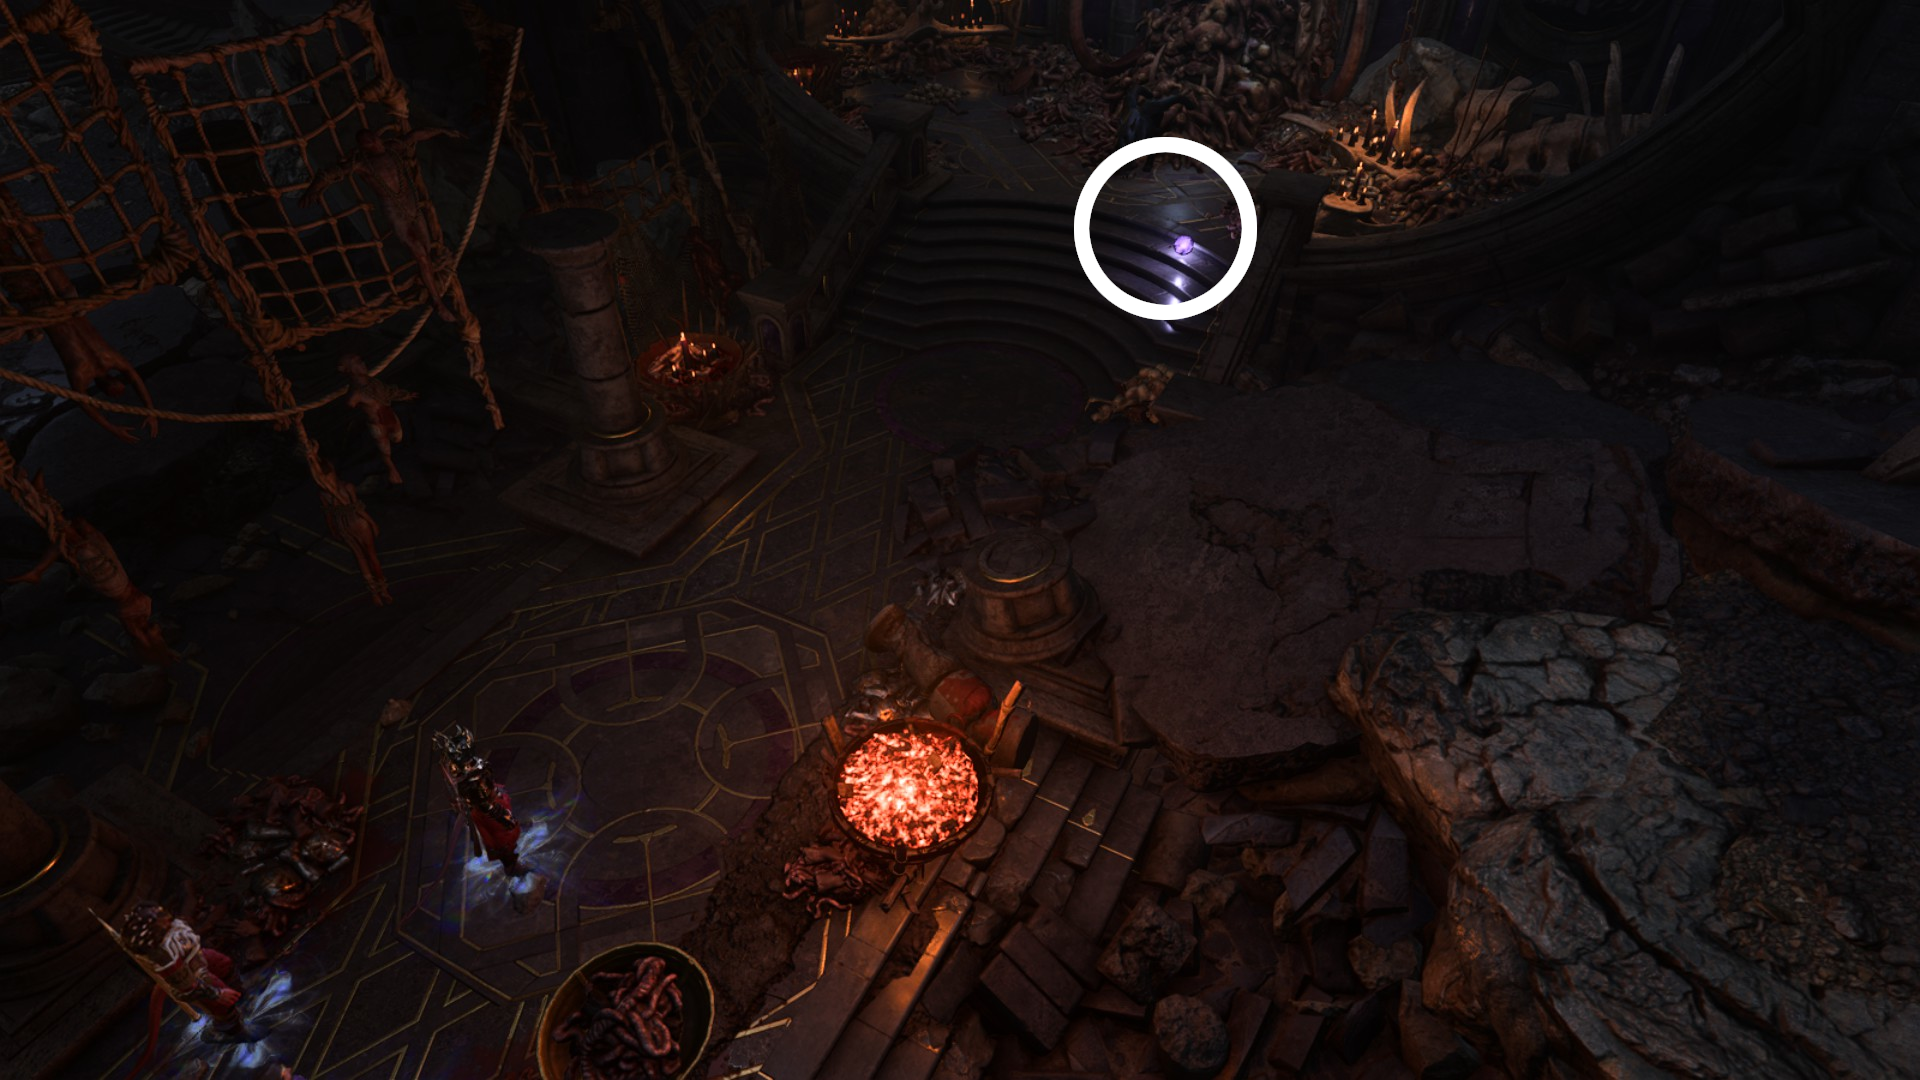
The fourth Umbral Gem can be found in the Orthon's lair, and can easily be missed your first time through. Return to the Gauntlet of Shar waypoint, then turn right. Leap down the ruined staircase and head further down until you come to a large chamber teeming with corpses.
If you simply waltz into the chamber, you'll be ambushed by the Orthon and its minions. This creature is a long-time enemy of Raphael, and killing it will earn his good favour and progress your storyline with him and Astarion.
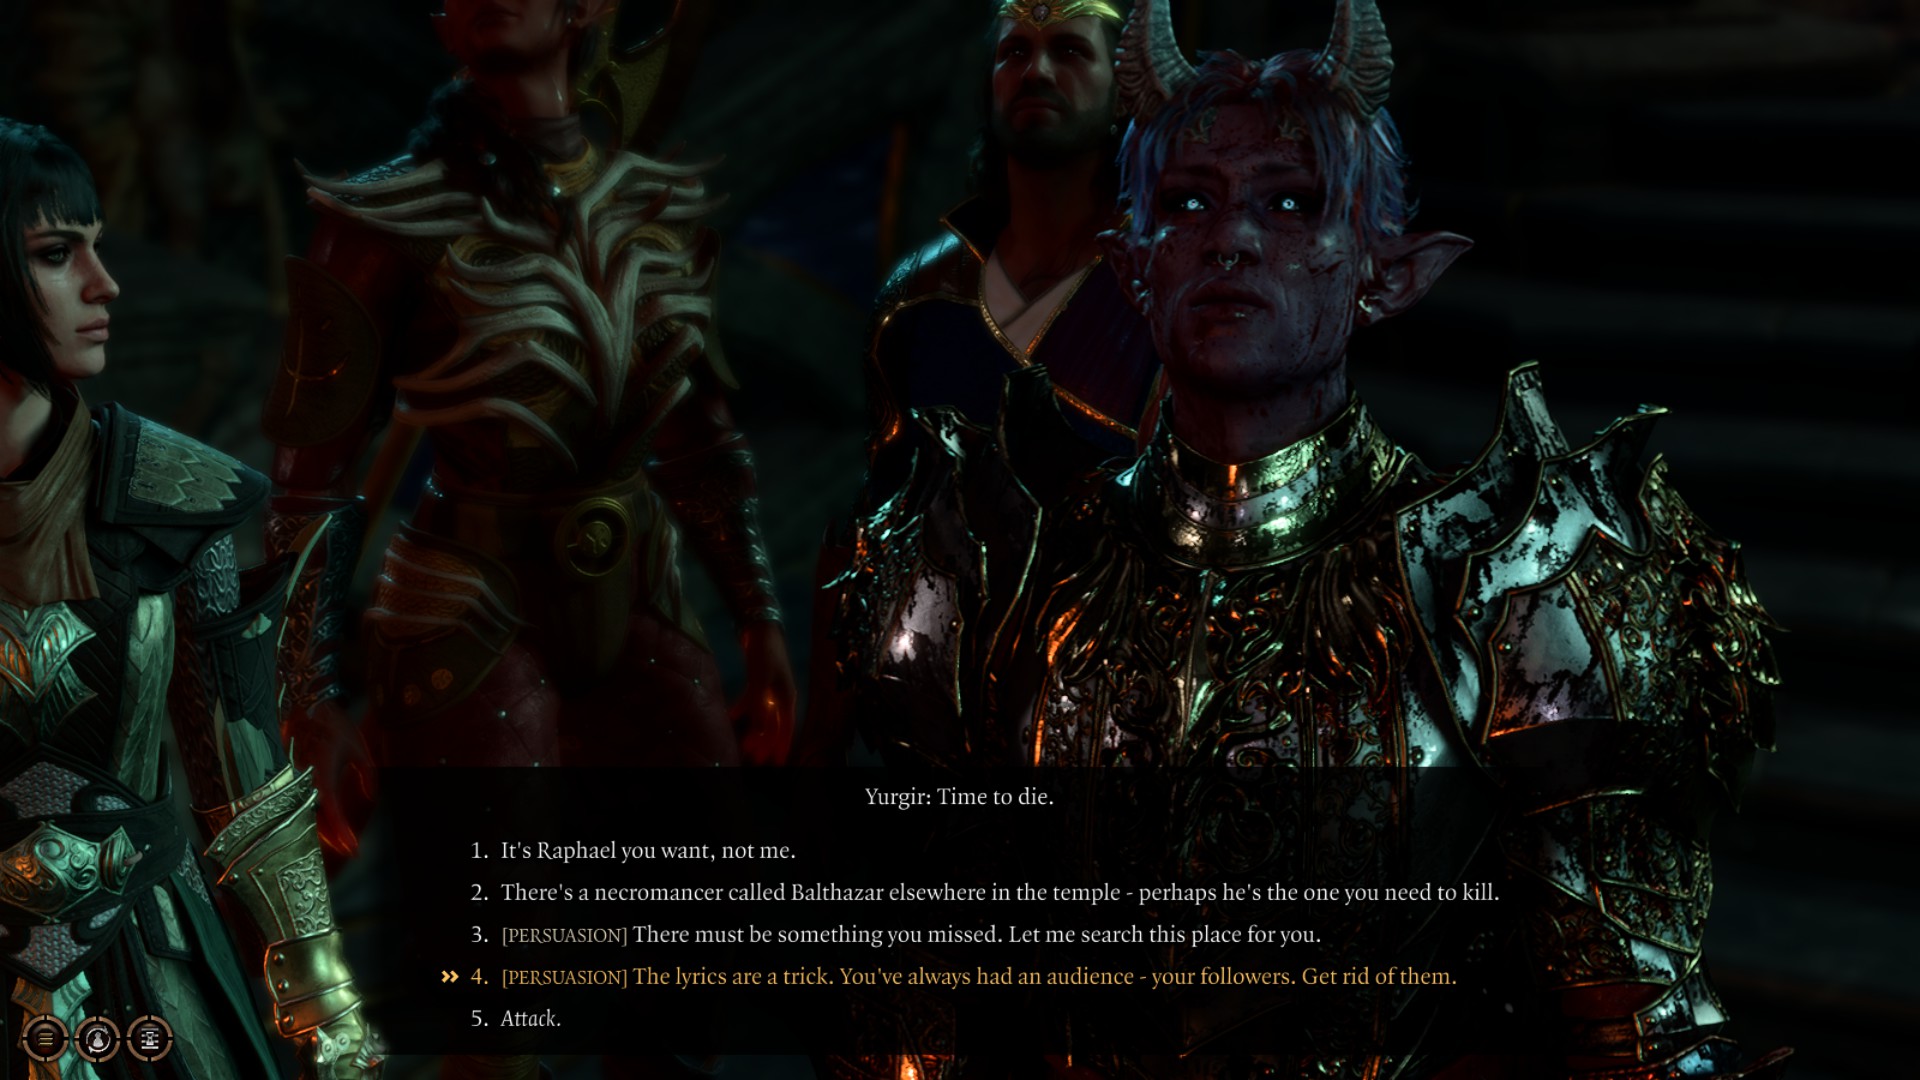
Fortunately, if you have a silver tongue, you can avoid this fight entirely by getting him to kill his minions, his displacer beast, and then himself. The difficulty of these checks is fairly high, so I recommend casting Enhance Ability (Eagle's Splendour) on whoever's doing the talking.
Then it's just a matter of keeping him chatting about the contract binding him here until you unlock a persuasion check to get him to slaughter his audience. Things snowball from there, and with a little luck, you'll leave the room littered with corpses without even raising a finger.
Whether you brawl with the Orthon, ambush it, or talk it into dying by its own hand, you'll be able to pick up the Umbral Gem on the staircase next to its throne.
With that, you'll have everything you need to go and fight the Nightsong. Make sure to pay a visit to the Silent Library before you leave, though—doing so is vital for Shadowheart's questline.

Harvey's history with games started when he first begged his parents for a World of Warcraft subscription aged 12, though he's since been cursed with Final Fantasy 14-brain and a huge crush on G'raha Tia. He made his start as a freelancer, writing for websites like Techradar, The Escapist, Dicebreaker, The Gamer, Into the Spine—and of course, PC Gamer. He'll sink his teeth into anything that looks interesting, though he has a soft spot for RPGs, soulslikes, roguelikes, deckbuilders, MMOs, and weird indie titles. He also plays a shelf load of TTRPGs in his offline time. Don't ask him what his favourite system is, he has too many.

