How to find the Resident Evil Village Well Wheel
Get the goods from the Resident Evil 8 wells.
Missing the item required for the Resident Evil Village wells? You'll come across the wells early on in your playthrough, but you'll have to wait a while before you discover the item you need to operate them. Thankfully the map marks where all the wells are, so they're easy to find when backtracking.
You won't find anything essential to Resident Evil 8's main story, but there's plenty of ammo, pipe bombs, and treasures to rescue from the depths of these. As always, if you want to avoid spoilers, tread carefully as this guide touches on a few light ones. Here's how to find the Well Wheel and the items that lurk below in the Resident Evil Village wells.
How to find the Well Wheel

Resident Evil Village tips: Ensure Ethan's survival
Resident Evil Village bell puzzle: Ring all five
Resident Evil Village doll puzzle: Find every item
Resident Evil Village masks: Escape the castle
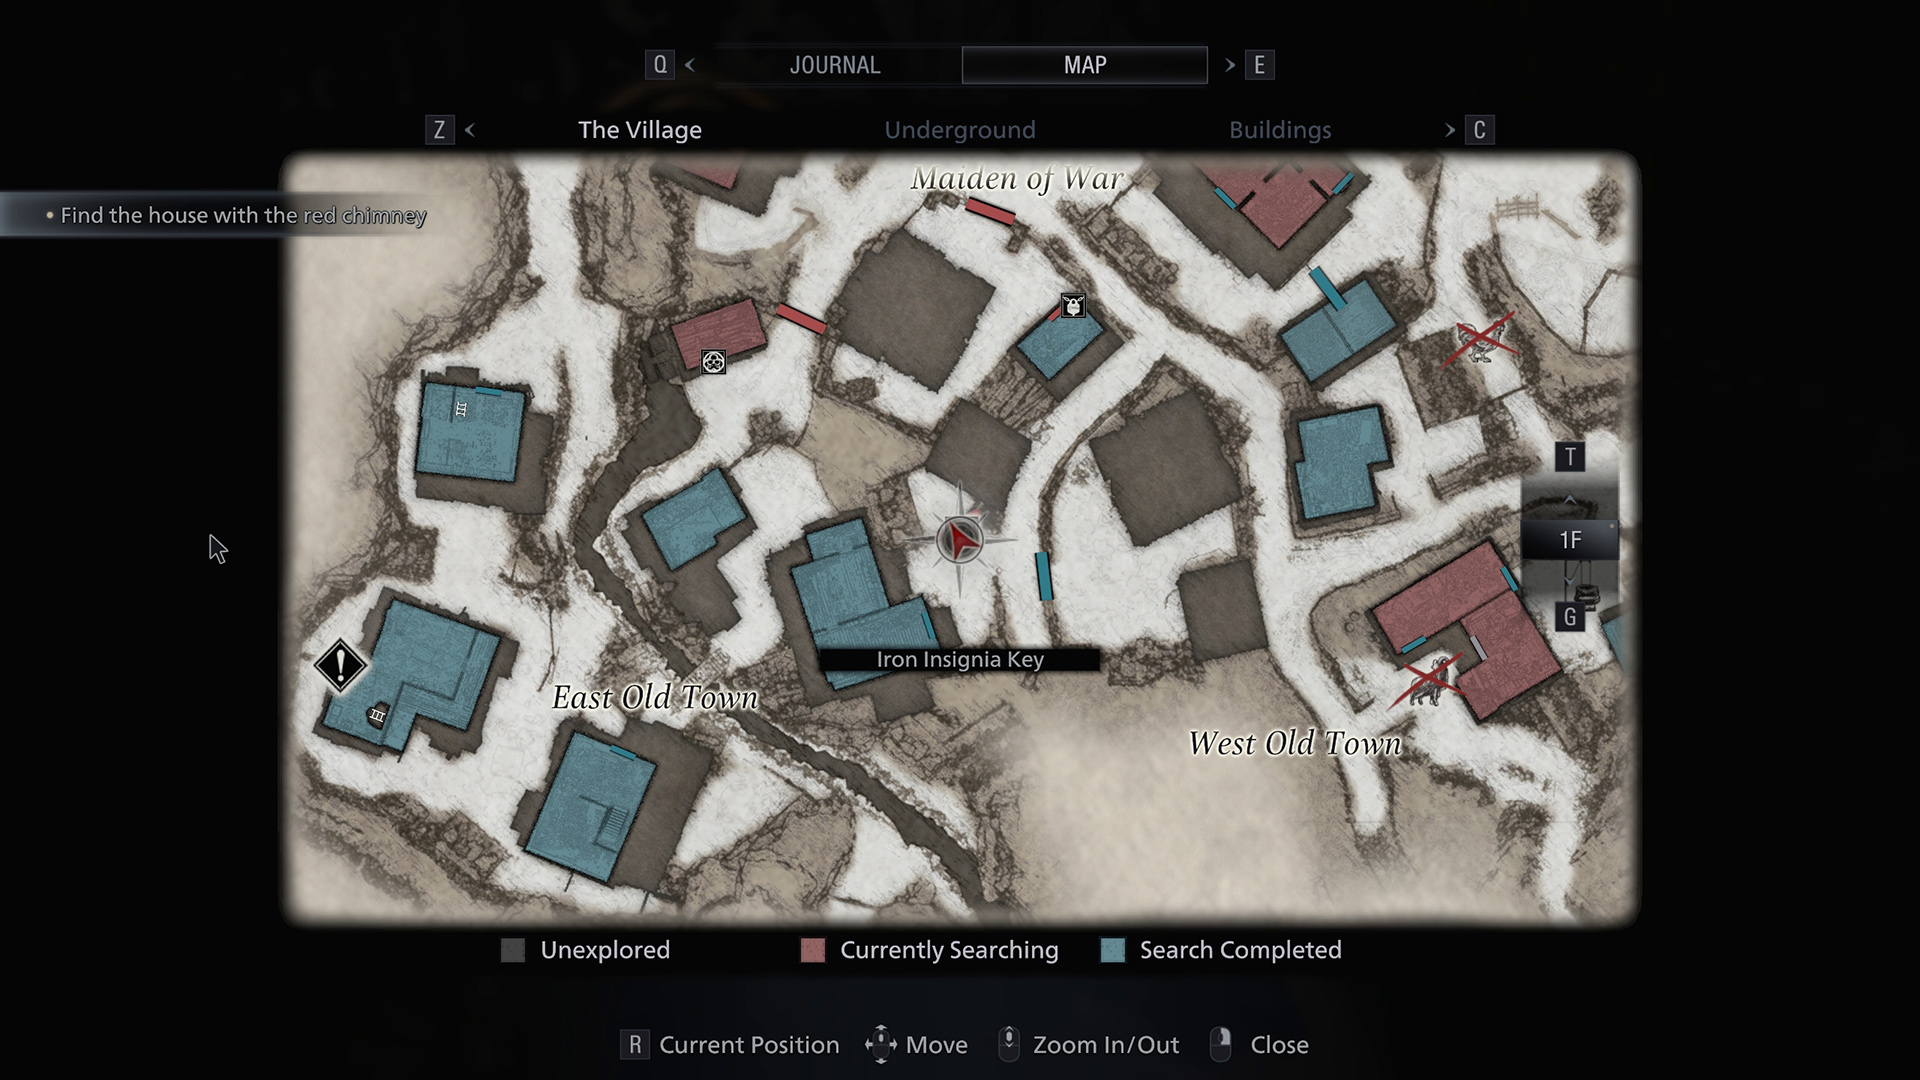
Before we dive in, you'll need to have found the Iron Insignia Key to retrieve the Well Wheel. You find this in Castle Dimitrescu, so don't sweat it if you've just started the game and can't work out how to access the wells in the village straight away.
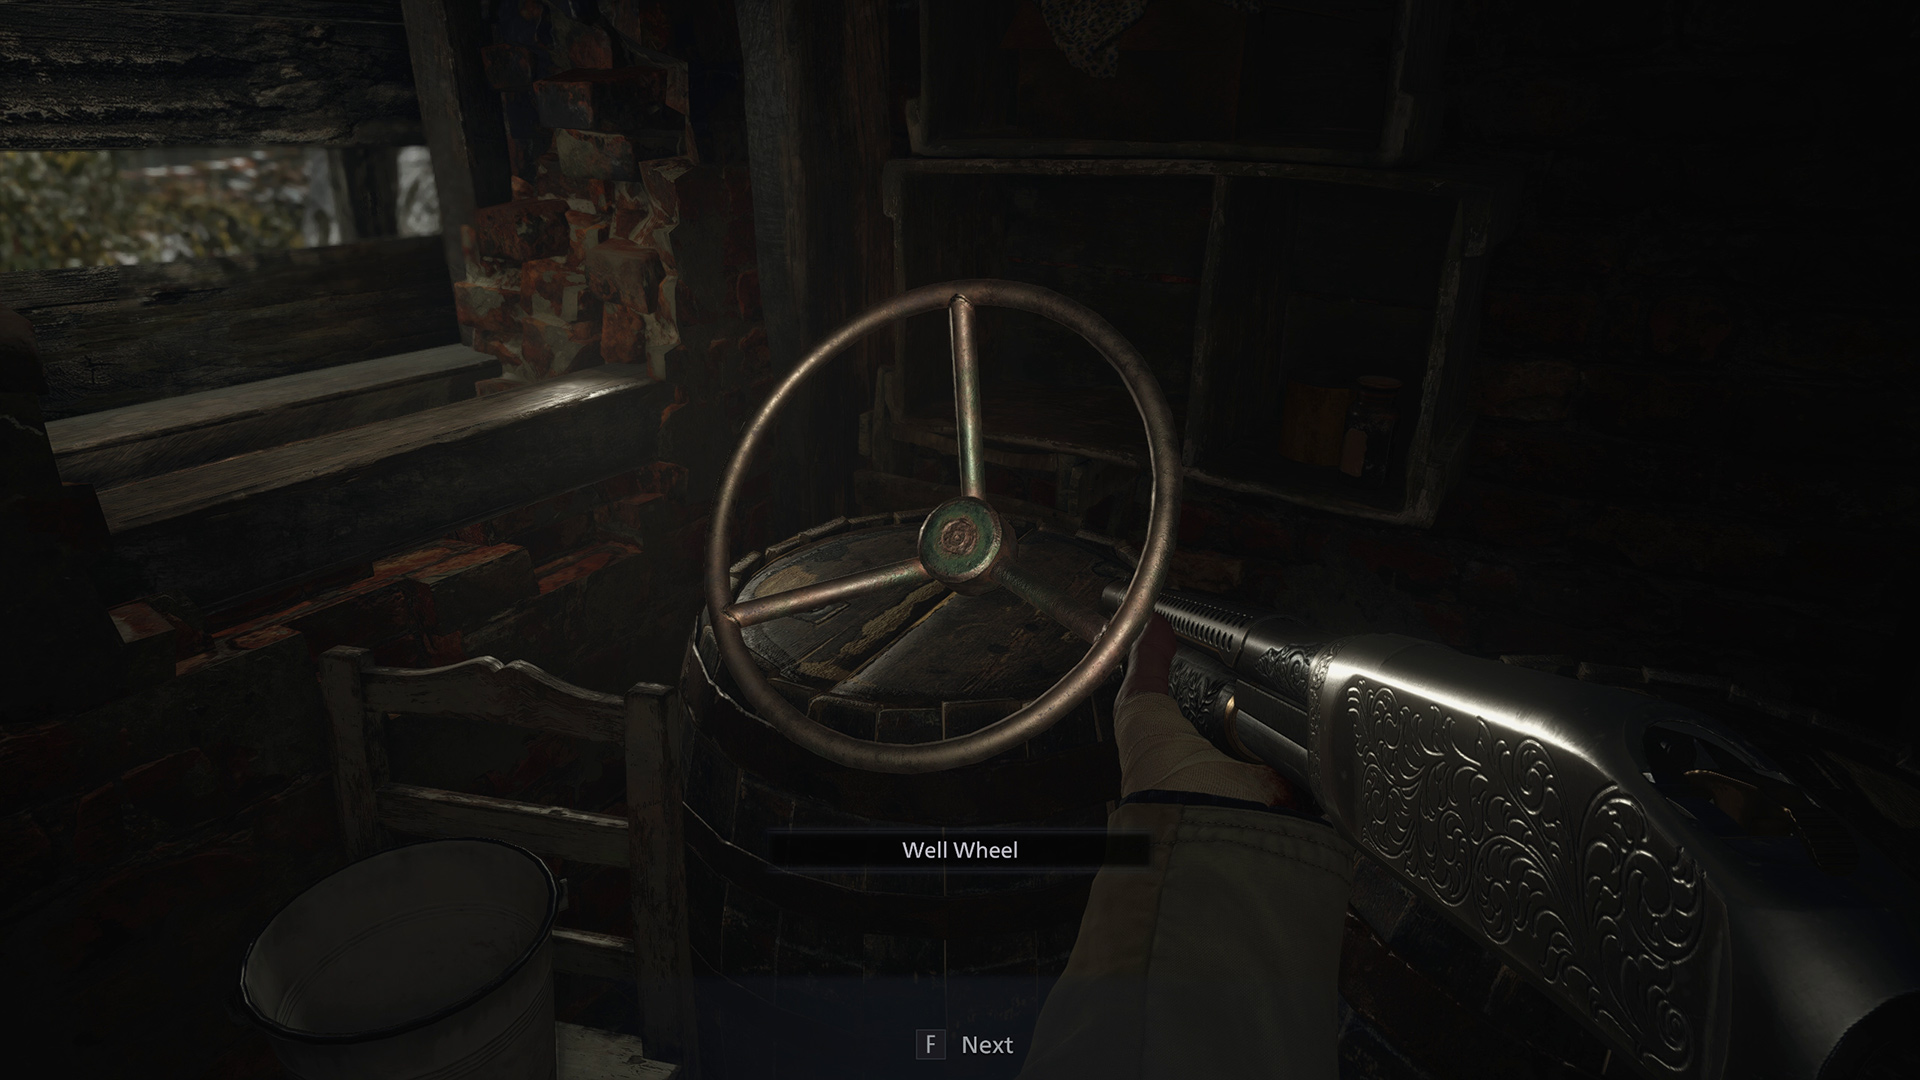
Once you have the key and find yourself back in the village, open your map and head to the locked gate (above). Enter the small building, smash the crate to grab some Shotgun ammo, then walk around the corner to retrieve the Well Wheel.
Take the yellow ladder onto the roof, grab the scrap, and drop down on the other side to open the double doors. There's also a small building here, so slash at the lock with your knife and you can head inside. You're now free to return to all the wells you've come across in the village. The Well Wheel is reusable and will remain in your key items tab.
Resident Evil Village well locations and items
As I mentioned earlier, all the well locations are handily marked on your map:
- Church well: Necklace with Two Holes (Treasure).
- Maiden of War well: Wooden Animal (Head) combinable treasure.
- Fallow Plot well: Pipe Bomb.
- West Old Town/Workshop well: Lockpick.
- Garden well: Madalina (Head) combinable treasure.
- Moreau's Laboratory well: Flashbangs.
How to solve the secret well puzzle
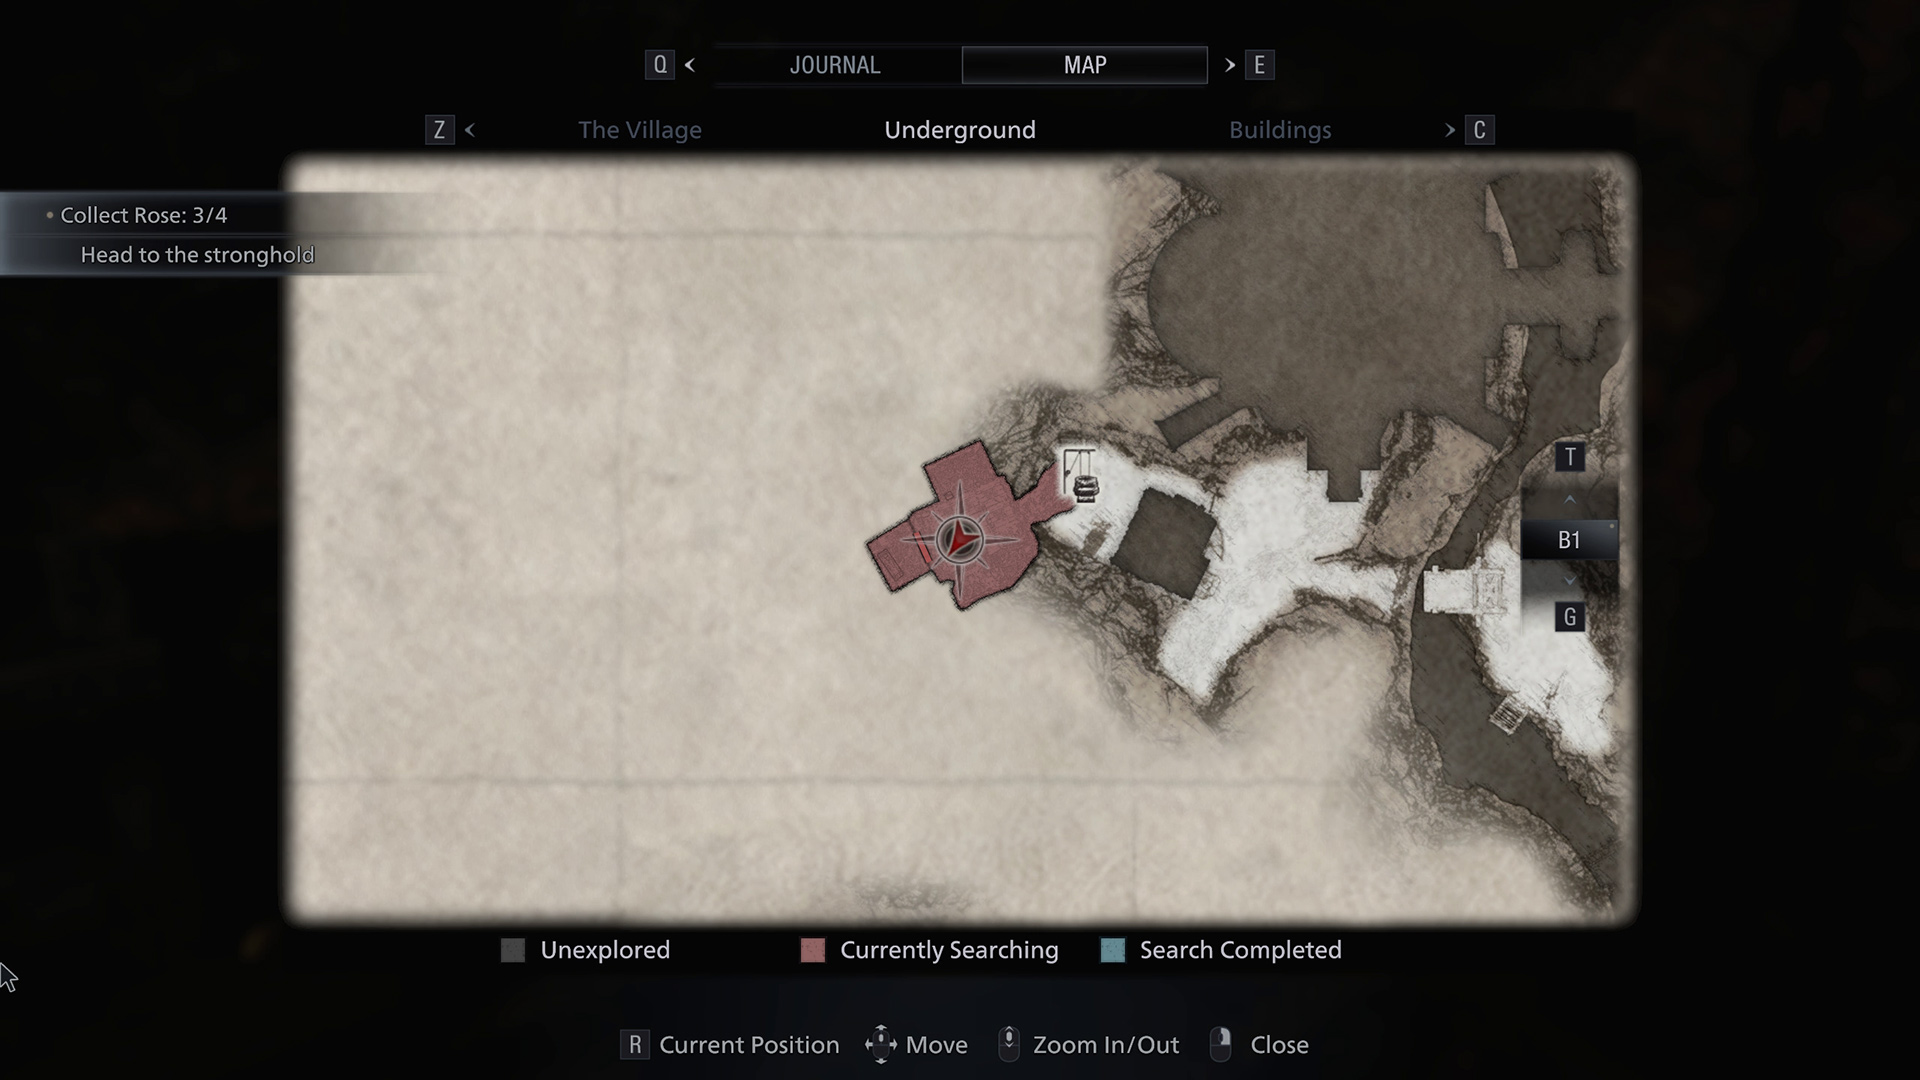
There's also a well that is tucked away in another area of the map. Once you have the Crank, head to the drawbridge on Lone Road and lower it. Run across and hop in the boat. Head the way the front of the boat is facing and disembark at the other end. There's another drawbridge to lower here.
Keep up to date with the most important stories and the best deals, as picked by the PC Gamer team.
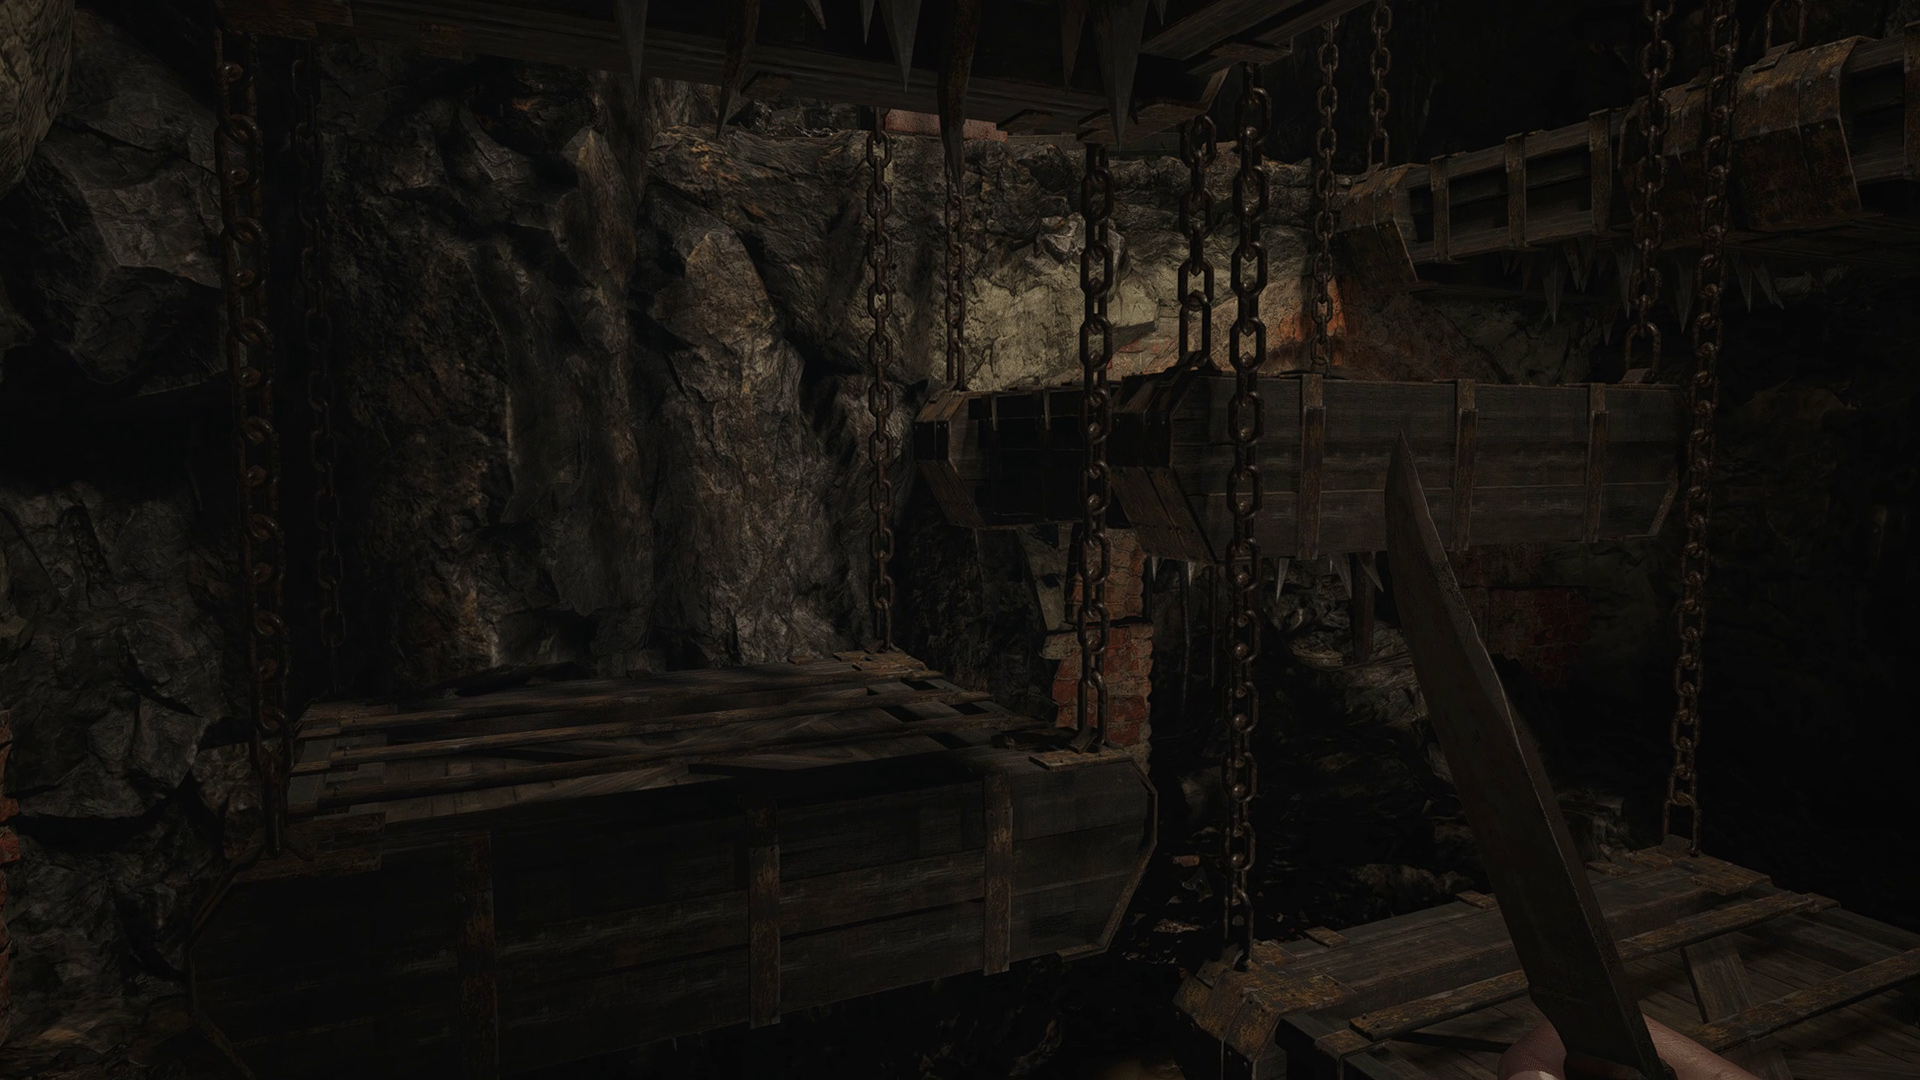
Cross the bridge and enter the small building. You can climb through the window to reach the well in the garden behind. Rather than reveal an item, this well has a ladder that you can now descend. There are several platforms suspended on chains in the dungeon below, and a locked room that you can gain access to by navigating the platforms.
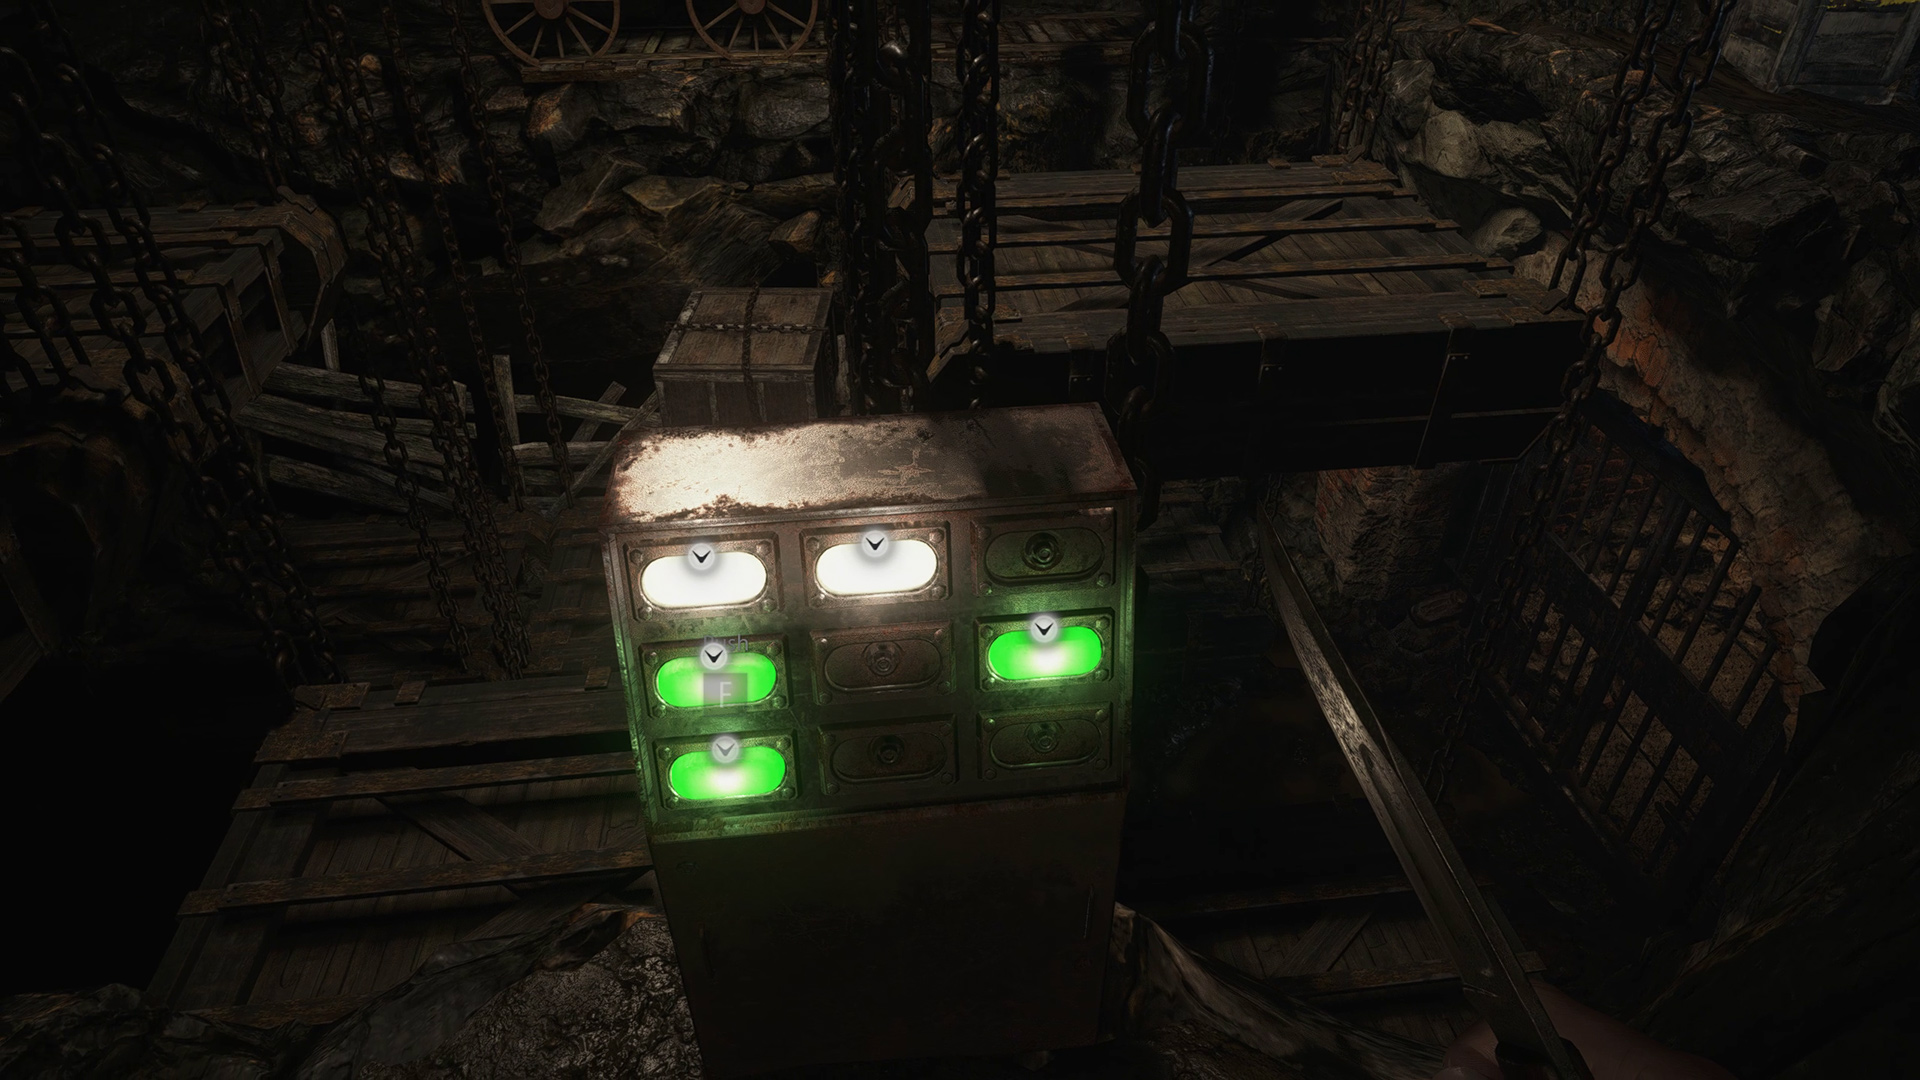
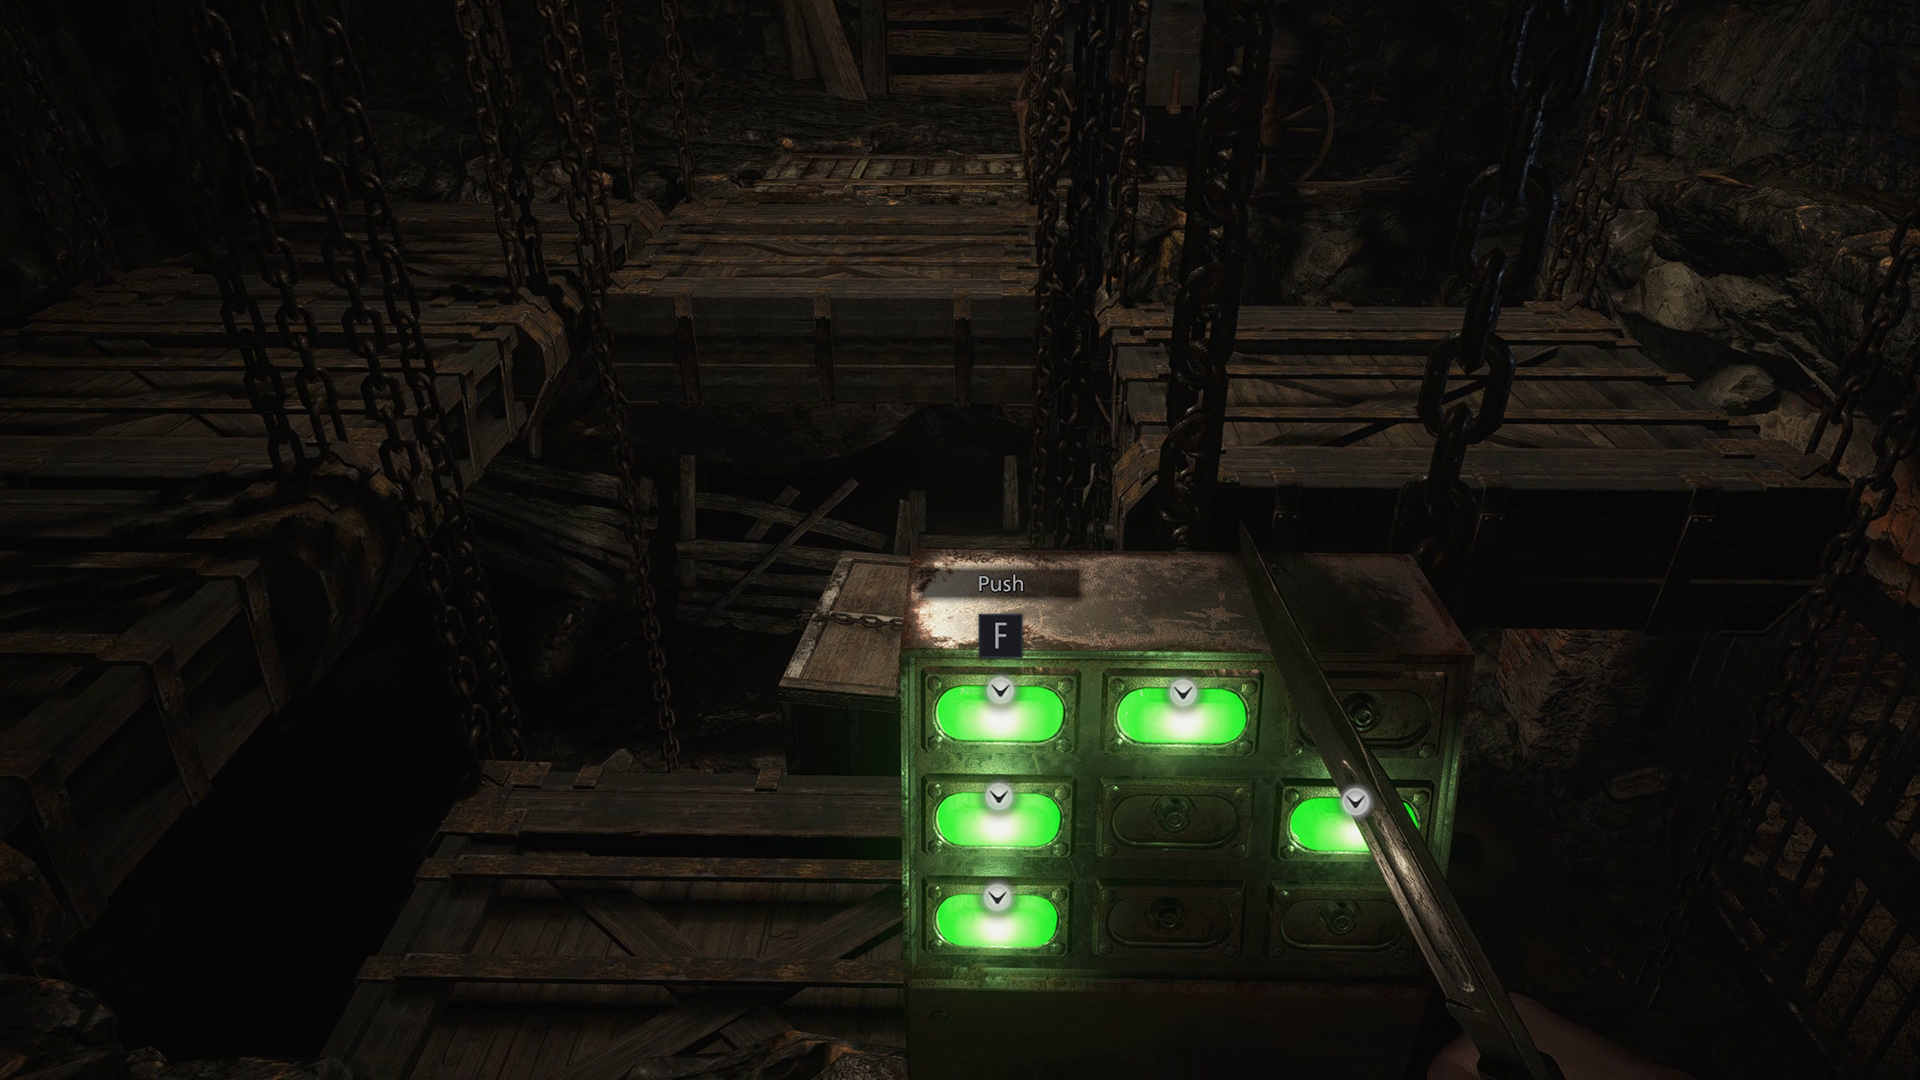
To begin the puzzle, walk into the platform to the right of the locked gate so that Ethan pulls himself up. The three platforms on this side of the room serve as big steps to get you to the next level. There's a Pipe Bomb in the corner next to a wooden fence. Turn around, and you'll see a console with green and white lights on it. Here's how to solve the platform puzzle:
- Press both white buttons once.
- Walk over to the cart blocking the one on the platform and push it forward twice so that you can access the other one.
- Now, push this cart over the edge so it lands below.
- Press the buttons so that all of them are green.
- Walk around and drop down onto the cart you pushed onto the platform below, then pull yourself up to make your way over to the wooden crate.
- Smash the crate to get an Explosive Round, then drop through the hole in the floor to access the locked room. There's a Large Pigeon Blood Ruby in the box. You can also collect two Flashbangs until the table, and some Magnum Ammo.
If you're in the mood for another quick puzzle, walk back over the drawbridge and through the big doors with torches outside. It only takes a few moments to clear the Riverbank Treasure House, and you'll be considerably richer afterwards.
As PC Gamer's guides writer, Emma is usually juggling several games at once. She loves competitive first-person shooters like CS:GO and Call of Duty, but she always has time for a few rounds of Hearthstone. She's happiest when she's rescuing pugs in Spelunky 2.

