Essential PC Building Tips
The Pros Chime In
We do it for fun, but the OEMs—the professionals—do it for a living. We asked a few key players for some tips to aid the common nerd.
Kelt Reeves, Falcon Northwest
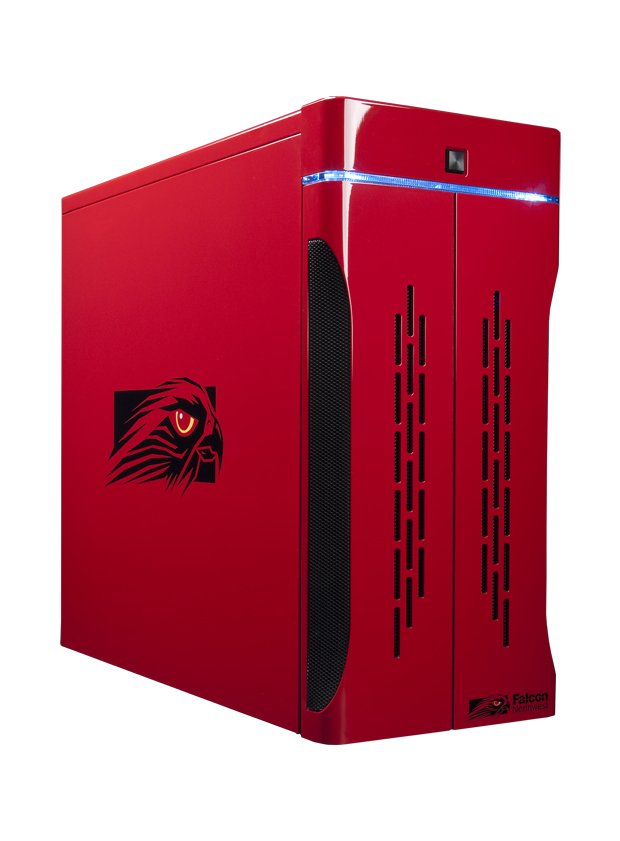
“Your case is the critical first build decision, and where DIYers often buy mainly on price or looks. Start by considering size and form factor. With 4TB drives, and even Mini-ITX motherboards loaded with features, few people really need tons of expansion anymore. Next, investigate the airflow patterns and noise, primarily determined by its cooling fans. Fans are where chassis makers tend to skimp, as four high-quality fans cost more than a cheap case. Your case is what you’ll look at, interact with, and probably keep longer than most components. So devote some thought and budget to a quality enclosure."
Jorge Percival, Origin PC
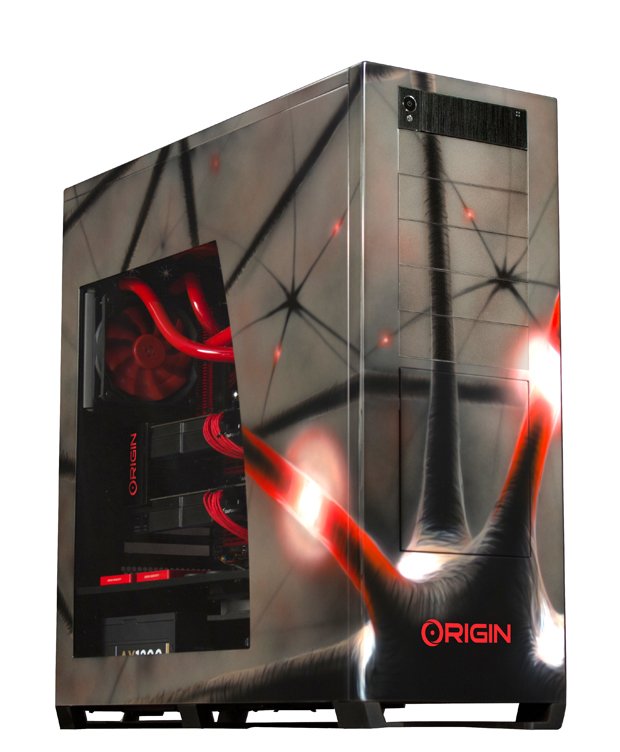
“When building a custom liquid-cooling loop, it is important to first test all components for any leaks, visualize the entire loop, and check where components are going to be located, so you gain a better idea of how the liquid will flow through the blocks. Always have the reservoir above the pump—this will guarantee your pump never runs dry. If possible, always dump heat by having the liquid go through a radiator before going back to another high-heat component. Try to avoid having the GPU liquid going right into the CPU without dumping heat. This is a common mistake people can make. Before filling for the first time, check all fittings and plugs to make sure they are covered.”
Harjit Chana, Digital Storm

“Cable management is important not just for airflow and aesthetic reasons, but it makes future upgrades easier. When routing your cables, instead of bundling all of them together, separate your power supply, SATA, and chassis audio/USB cables into their own smaller bundles.”
Adrian Hunter, Geekbox
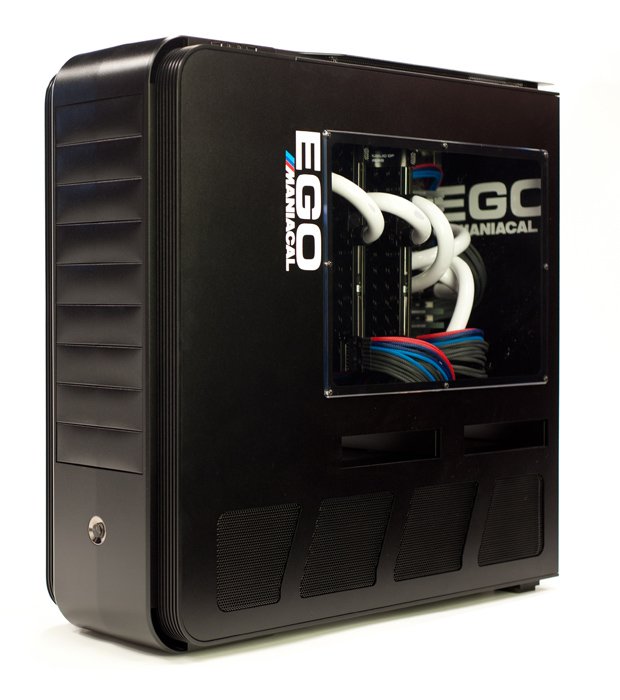
“Take your time. Chances are, you don’t build several machines per day. As such, the level of satisfaction and joy you will receive by allotting yourself enough time to build your system will ensure that both the system and your experience are rewarding. Instead of rushing through your build, consider giving yourself three days to perfect every aspect of your build. From inspection of your new parts and careful integration to beautiful wiring—giving yourself enough time to critique your work before turning the machine on will pay in spades. Also pre-test your hardware before implementing a complex liquid-cooling solution. More often than not, this will save you countless hours of dealing with a possible headache. In the process, you can also find a baseline of how your system performs before your massive cooling upgrade. Once you have concluded you have a solid foundation to build upon, construct your cooling loop outside of your build and leak-test for 24 hours. By spending the time to follow these steps, you will avoid landmines that are all too prevalent within the enthusiast community.”
Josh Covington, Velocity Micro
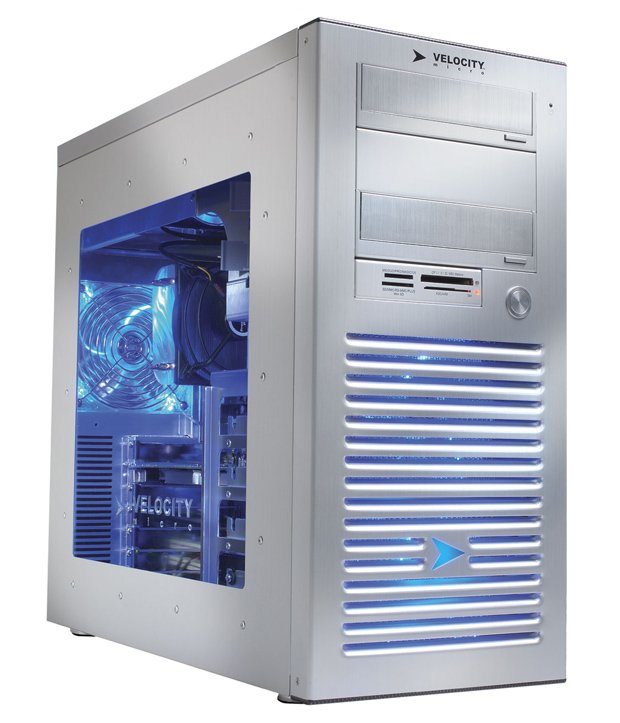
“Heat is your enemy. When building an enthusiast-level machine, your goal should be finding ways to improve airflow and pull heat away from vital components to increase the longevity and overall reliability of the system. But this doesn’t mean you have to do something crazy like invert the components, invest in an insane liquid-cooling solution, or install obnoxiously loud fans. We’ve found the simplest and most effective way to keep a system cool is to wire as neatly and cleanly as possible—this keeps the air moving through and out like it was designed to.”
Misha Troshin, AVA Direct
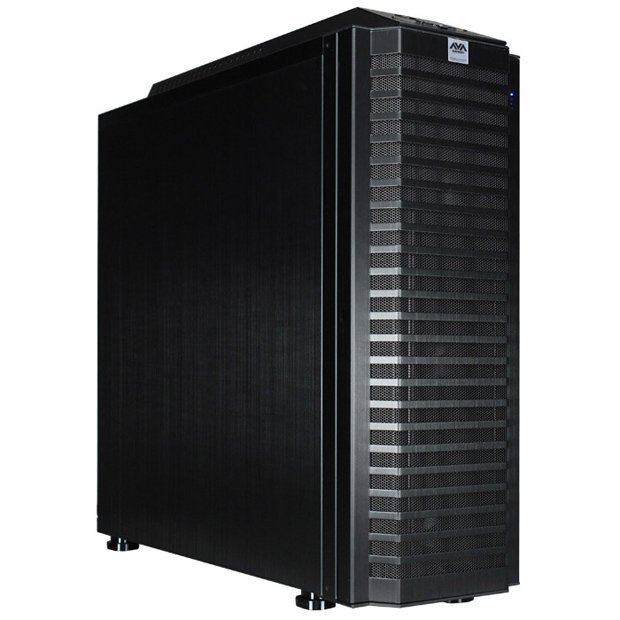
“Consider going above what you need for your power supply by at least 20 percent. Avoid cases without sufficient space behind the motherboard tray for cable routing. Using cases with hard drive cages facing the side panel will help improve internal aesthetics. Do not underestimate Electrostatic Discharge (ESD) significance. Use a grounding kit when handling memory or other sensitive components, especially in dry air conditions. Be aware that many of today’s motherboards do not support Smart Fan functionality with non-PWM fans, so be sure to get PWM fans to avoid excessive noise. When overclocking your system, give preference to Offset Mode. If computer-building isn’t your hobby, to save time and money go to a professional builder with fair pricing and lifecycle support.”
Keep up to date with the most important stories and the best deals, as picked by the PC Gamer team.
Click the next page for tips on the physical installation process.
