Everything you need to know about WoW: Shadowlands' world bosses
World bosses are one of the easiest ways to get powerful loot. Here's how to take them down.
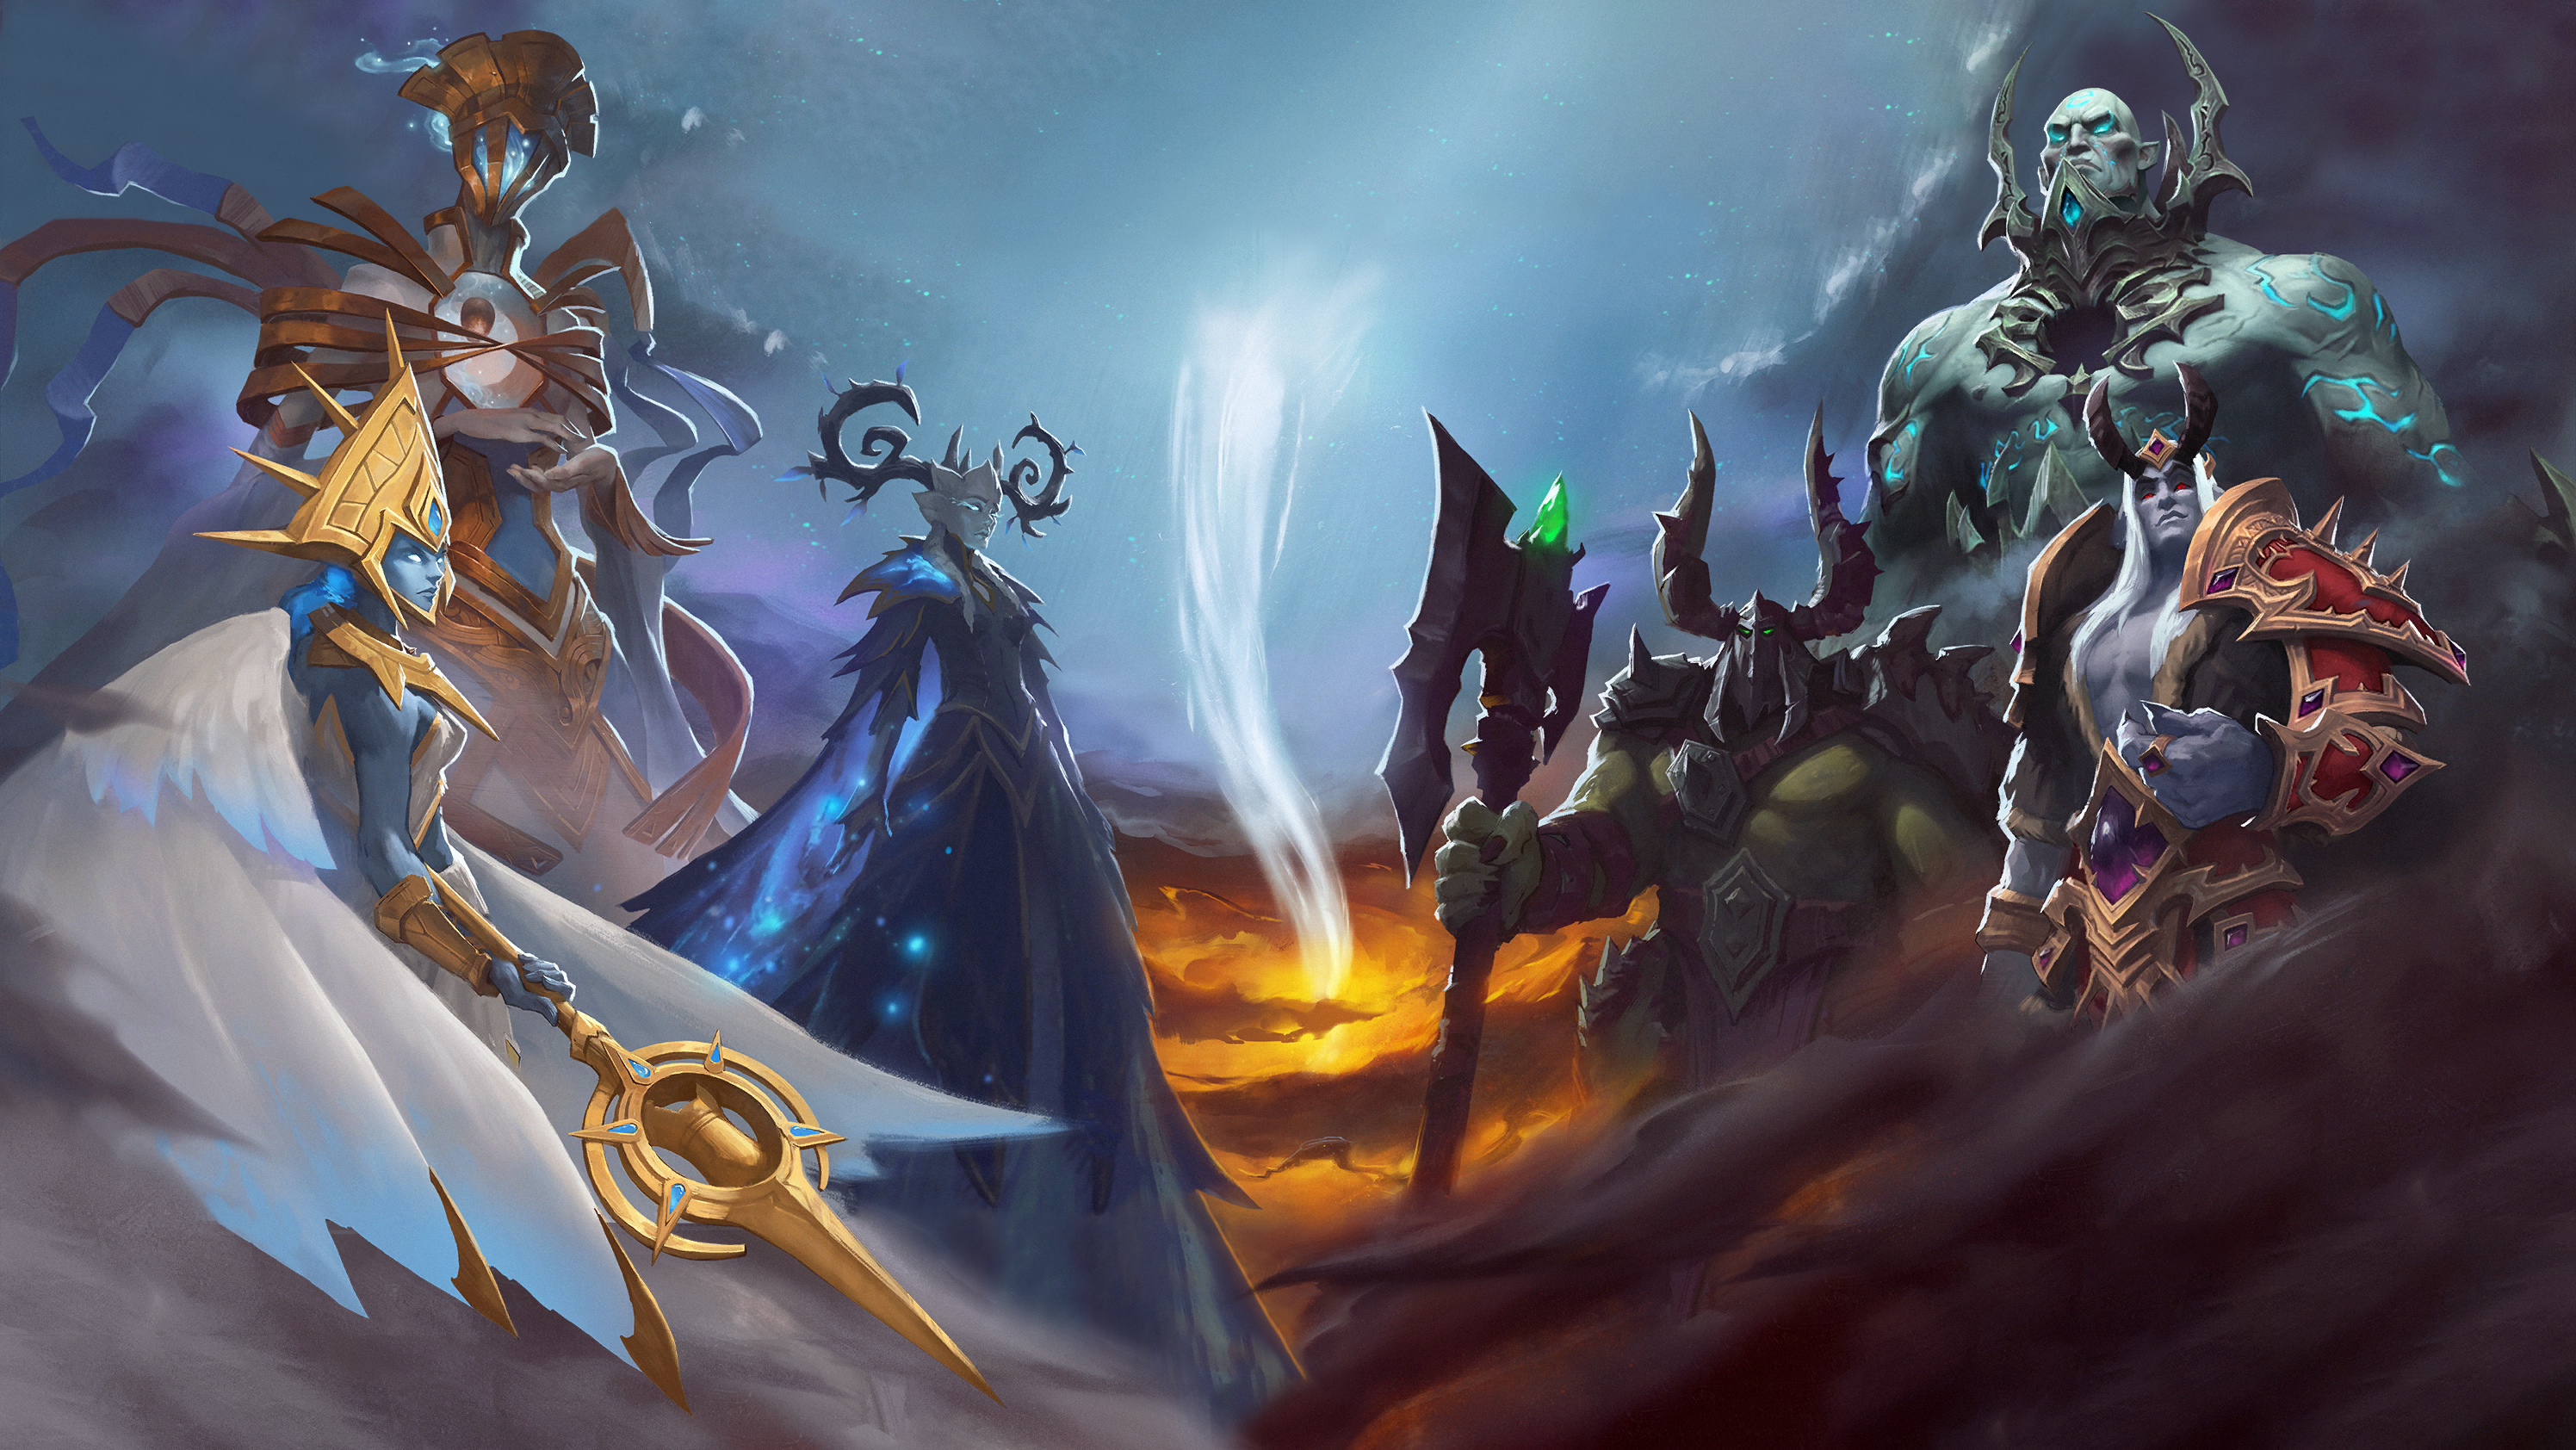
World of Warcraft: Shadowlands' world bosses are probably the easiest way to get powerful gear. So powerful, in fact, that drops from the four new world bosses found in Shadowlands are on par with the best gear you can get from beating its new raid, Castle Nathria, on normal difficulty. World bosses are also a great source of Memories, the crafting ingredient you need to create powerful Legendary items.
Once world bosses become available you'll want to start farming them regularly, and though the system hasn't changed much from previous expansions, it can be a little intimidating knowing where to start. That's where this guide comes in. Here you'll find everything you need to know about the four new world bosses including where they spawn, how to defeat them, and what loot they drop.
How Shadowlands' world bosses work
World bosses haven't really changed much since they were reworked in Legion. The gist: a boss appears somewhere in one of Shadowlands' four new zones, and players gather in enormous numbers to quickly kill them. Here's how it works in Shadowlands:
- Once a week a world boss will spawn in one of the four main zones. Which boss will spawn rotates weekly.
- You'll know that a world boss is available because there will be a world quest for it. That quest's icon on the map will be surrounded by the gold spikes used to denote elite enemies.
- World bosses are extremely powerful and cannot be killed alone. Fortunately, when you get to the spawn point of a world boss you'll typically find dozens of other players looking to kill it too.
- Though grouping isn't mandatory, it's beneficial to use the party finder to team up with other players—especially if you can't find other players already nearby. World bosses do a lot of damage and it's helpful to have a healer or two keeping you alive.
- World bosses only drop loot once. If you didn't get any items, you'll have to wait until the next week when a new boss spawns.
- World bosses currently drop ilvl 207 gear, which is on par with the Castle Nathria normal-difficulty raid.
- World boss strategies and what each one drops can be found in your Adventure Journal.
Valinor
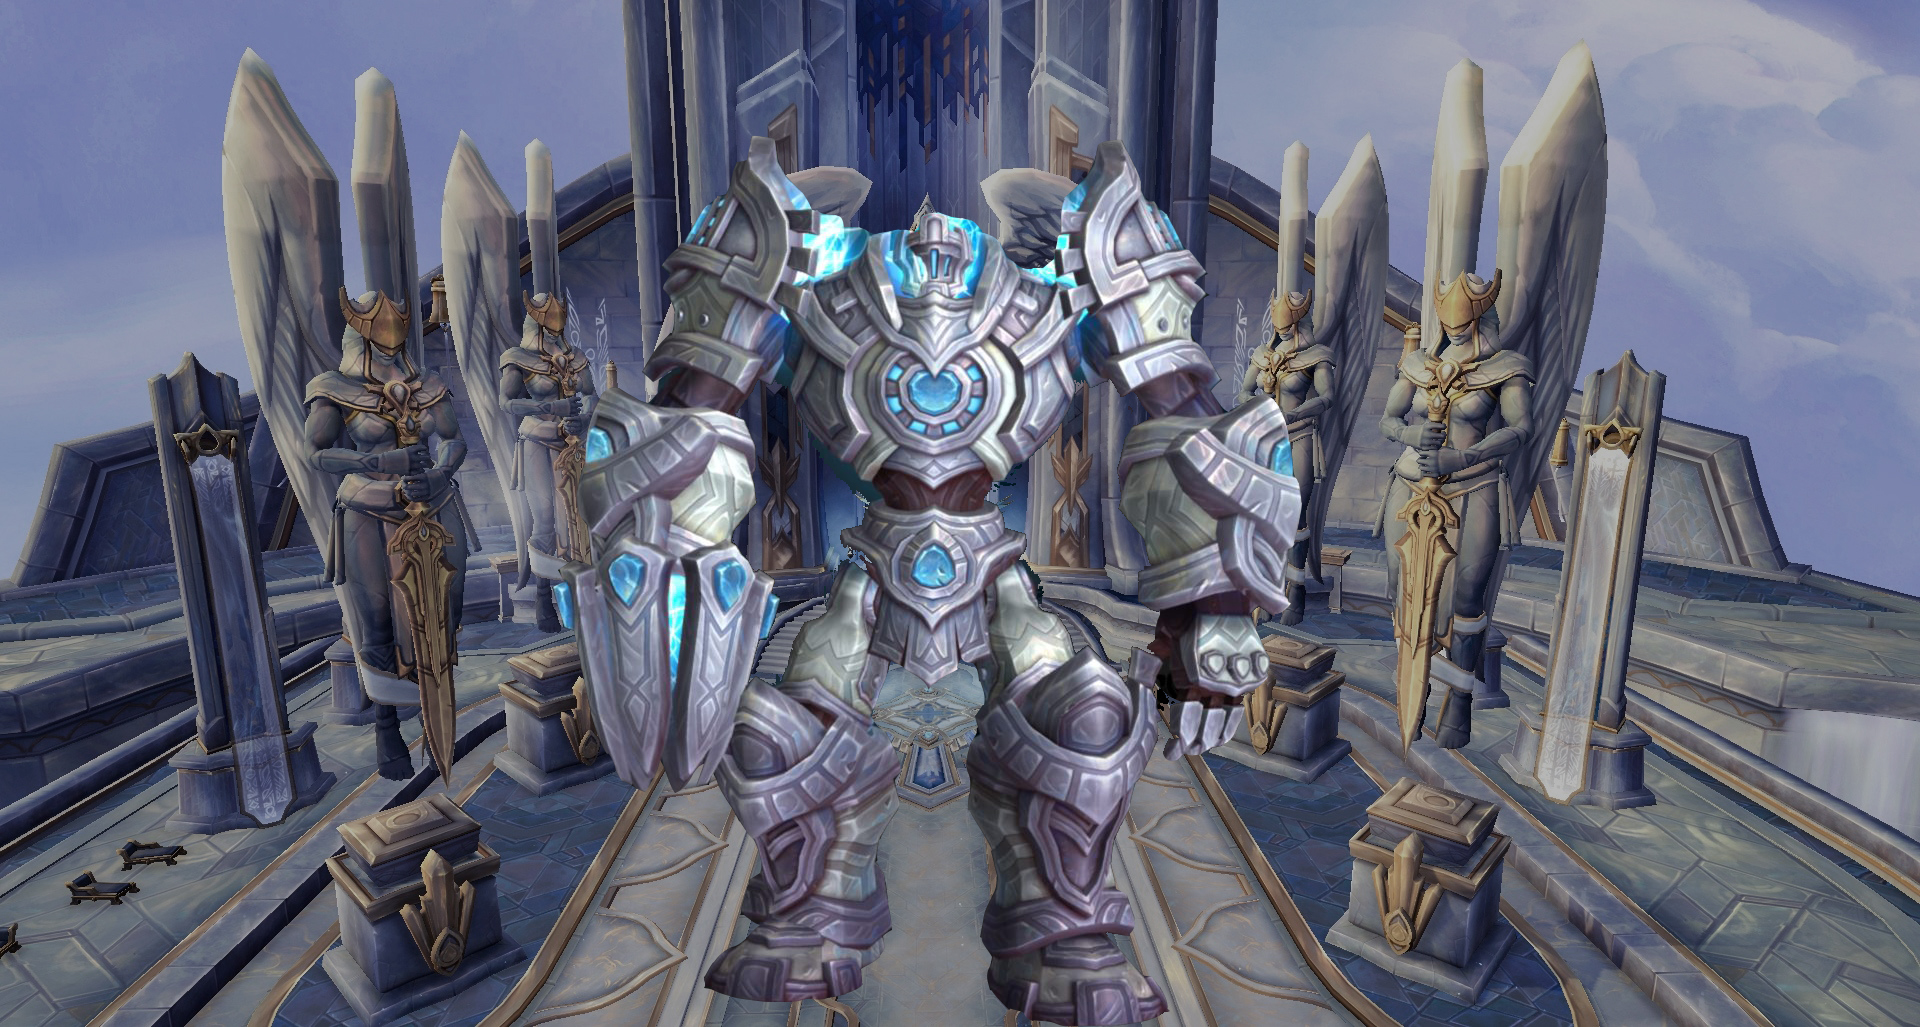
Valinor the Light of Eons
Zone: Bastion
Overview: Valinor won't activate until players destroy the barrels of anima near him. Once active, Valinor has several abilities that deal significant damage to every player and require you to carefully spread out and maintain at least 10 yards from others. Valinor also fires Anima Charges that players will need to dodge.
At the same time, tanks will need to periodically swap aggro because Valinor hits them with a stacking debuff that reduces incoming healing.
Main abilities:
- Anima Charge fires a bolt at a location on the ground that then splits into four smaller bolts.
- Charged Anima Blast fires a concentrated blast of anima at an enemy that will chain to anyone nearby while also dealing 25 percent more damage for each jump. It can hit a maximum of 40 targets and will be lethal if players don't spread out.
- Mark of Penitence debuffs the tank, reducing 20 percent of their incoming healing. It stacks, too, so you'll need to swap periodically until the debuff runs out.
- Recharge Anima causes Valinor to stop attacking for 30 seconds. He'll do this when his anima meter—which depletes when using his abilities—reaches zero.
Loot:
Keep up to date with the most important stories and the best deals, as picked by the PC Gamer team.
- Soulbind Conduits for all classes
- Memory of Archbishop Benedictus
- Memory of the Final Verdict
- Memory of the Windspeaker's Lava Resurgence
- Oversized Centurion Helm (plate helm)
- Shroud of the Penitent (back)
- Anima-Charged Wristbanding (leather wrist)
- Doubtweaver's Handwraps (cloth hands)
- Servo-Chain Waistguard (mail waist)
- Valinor's Ground Pounders (plate feed)
Mortanis
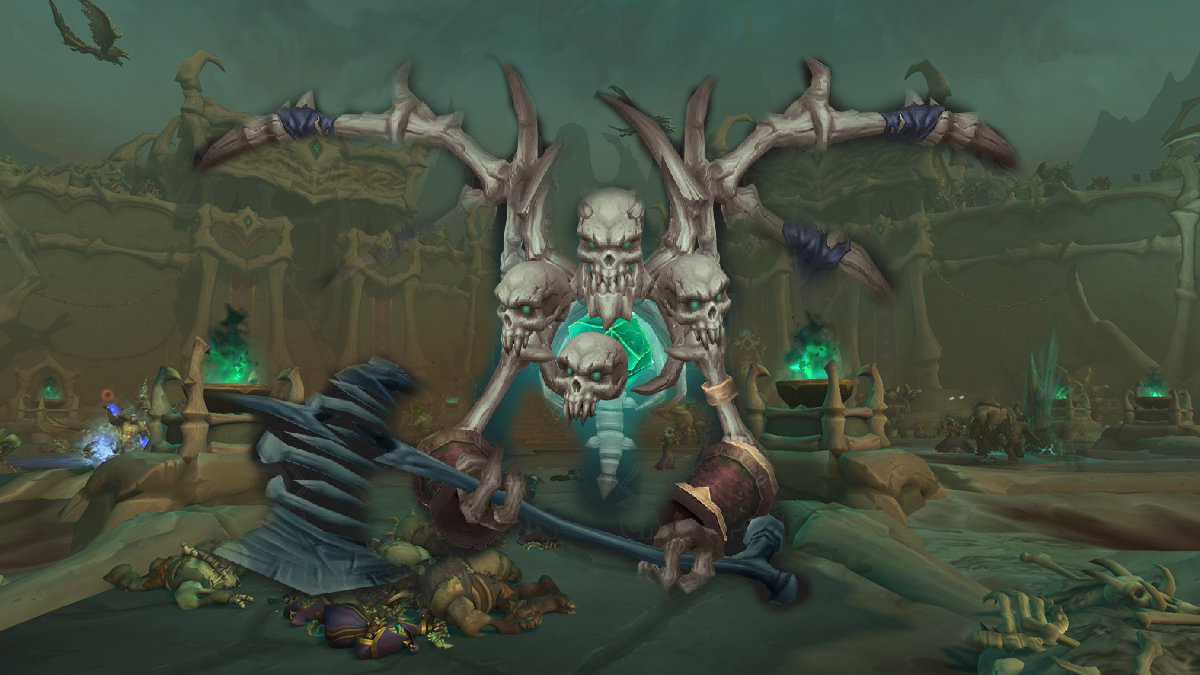
Mortanis
Best WoW addons: What to download for 2020
WoW beginner's guide: Start your Azeroth journey
WoW class guide: The best for you
WoW leveling guide: Get from 1-50 fast
Best WoW Covenant: Which to choose
WoW Shadowlands guide: 7 top tips
WoW Torghast guide: How to beat it
WoW legendary crafting: How to do it
Zone: Maldraxxus
Overview: Mortanis won't enter the battle until the nearby necromancers are defeated. Once the fight begins, players will need to dodge several area-of-effect abilities while also occasionally grouping together to split the damage from abilities like Screaming Skull and Bone Cleave. When his HP is low, Mortanis will cast Lord of the Fallen, causing area-of-effect spells to cover the arena while also reducing the cooldown on some of his other abilities.
Main abilities:
- Spine Crawl causes a line of spiky bones to erupt from Mortanis' position that players have to dodge.
- Unruly Remains creates circles on the ground that erupt several times, with each eruption increasing the diameter of the spell.
- Screaming Skull attaches skull bombs onto certain players who have to group with others to split the damage or die.
- Bone Cleave hits all players directly in front of Mortanis, splitting the damage between them.
- Unholy Frenzy makes Mortanis attack much more quickly and should be dispelled.
- Lord of the Fallen increases the rate at which Mortanis uses Spine Crawl, while also covering the arena in area-of-effect spells that must be dodged.
Loot:
- Soulbind Conduits for all classes
- Memory of a Guile Charm
- Memory of Fujieda
- Memory of Keefer
- Mortanis's Ribcage (mail chest)
- Shoulderblade Vambraces (plate wrist)
- Bone Crushing Vicegrips (mail hands)
- Spine Crawler Waistcord (cloth waist)
- Bone-Cleated Footpads (leather feet)
- Band of the Risen Bonelord (ring)
Oranomonos
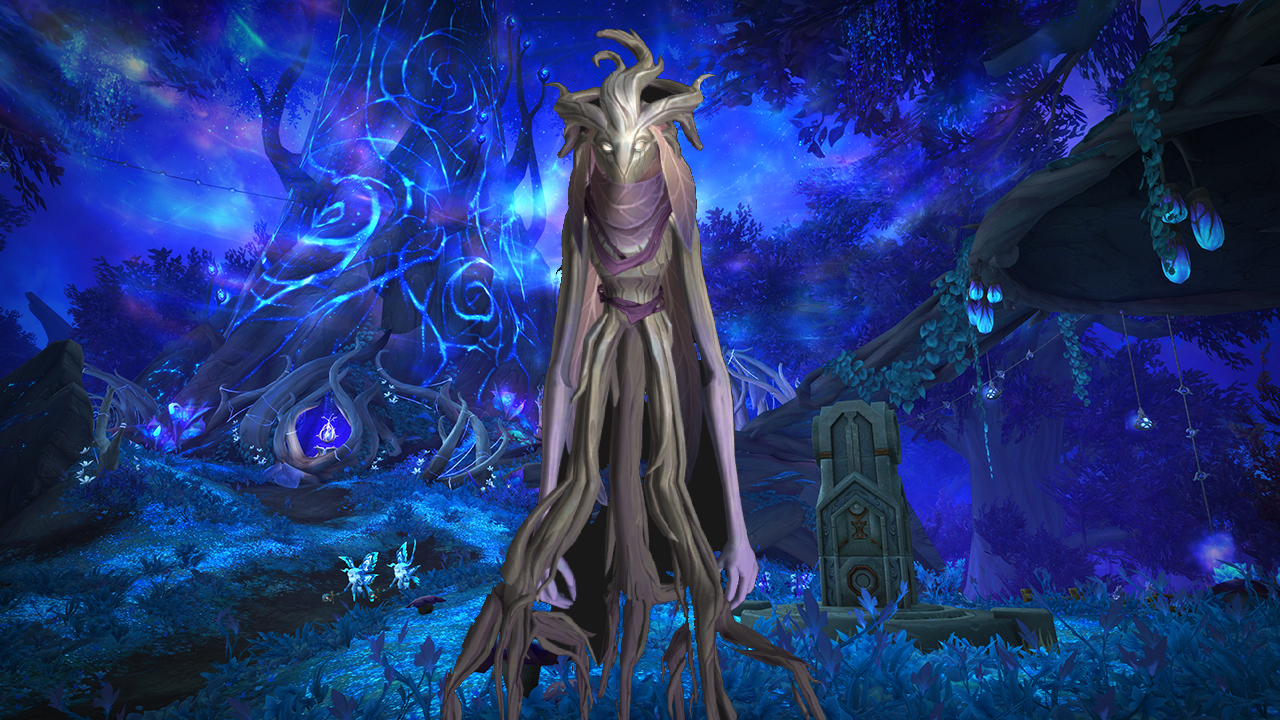
Oranomonos the Everbranching
Zone: Ardenweald
Overview: Oranomonos is a powerful boss that requires a strong team of healers to keep everyone alive. She'll pepper the arena with a rainfall of seeds that deal heavy nature damage and Withered Winds will circulate the arena, dealing heavy damage over time and making players miss their attacks.
At 50 percent HP, Oranomonos casts Dirge of the Fallen Sanctum, damaging and slowing the entire raid. Players will have to group together so healers can use their strongest area-of-effect heals to keep everyone alive.
Main abilities:
- Withered Winds spread throughout the arena, damaging players over time and reducing their accuracy. Avoid at all costs.
- Implant is a stacking damage-over-time spell cast on tanks. Tanks need to swap if the damage gets too high.
- Regrowth is a powerful healing ability that must be interrupted.
- Rapid Growth roots players and deals heavy damage for 30 seconds. Healers will need to dispel this.
- Seeds of Sorrow drops a rainfall of damaging seeds around Oranomonos. Move away from her.
- Dirge of the Fallen Sanctum deals enormous damage to the entire raid and slows them. Group together and pop defensive cooldowns while healers use their best abilities to survive.
Loot:
- Soulbind Conduits for all classes
- Memory of a Fevered Incantation
- Memory of Surging Shots
- Memory of the Verdant Infusion
- Ironfoot Bindings (mail wrists)
- Seed-Tender's Handwraps (leather hands)
- Stonebark Girdle (plate waist)
- Oranomonos's Diaphanous Leggings (leather legs)
- Slippers of the Leafy Undergrowth (cloth feet)
- Twisted Witherroot Band (ring)
Nurgash
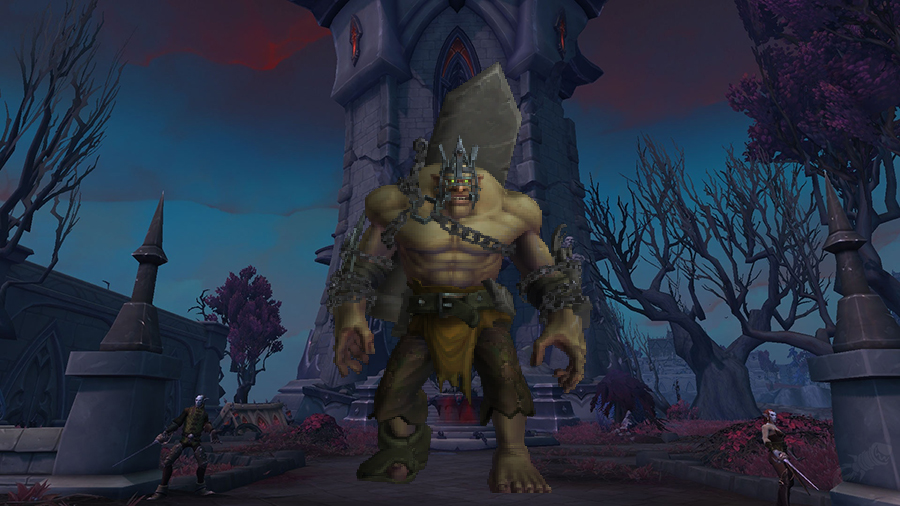
Nurgash Muckformed
Zone: Revendreth
Overview: Nurgash is a heavy-hitter who grows in strength as the battle continues, so he needs to be killed quickly. Nurgash has abilities that only hit players who are a certain distance from him, so players will need to stay relatively close, but he also has area-of-effect spells that will need to be dodged. Healers will need to stay on their toes, as Stone Stomp does heavy damage to all nearby players.
Main abilities:
- Hardened Muck increases Nurgash's damage but slows his speed. The effect stacks, making him hit harder and harder as the fight goes on.
- Stone Stomp damages all nearby players.
- Earthen Blast hits an area with rock shards, dealing heavy damage to anyone caught in the blast.
- Hail of Stones is a fatal attack that only hits players who are far enough away. Stay close.
Loot:
- Soulbind Conduits for all classes
- Memory of a Frenzied Monstrosity
- Memory of an Erratic Fel Core
- Memory of Azj'Aqir's Madness
- Muckformed Chain Choker (neck)
- Sinstone Shoulderpadding (cloth shoulder)
- Comfortable Slumberwraps (cloth wrist)
- Hardened Castle Crushers (plate hands)
- Nurgash's Belt of Many Sinstones (leather waist)
- Jingling Stone Stompers (mail feet)
With over 7 years of experience with in-depth feature reporting, Steven's mission is to chronicle the fascinating ways that games intersect our lives. Whether it's colossal in-game wars in an MMO, or long-haul truckers who turn to games to protect them from the loneliness of the open road, Steven tries to unearth PC gaming's greatest untold stories. His love of PC gaming started extremely early. Without money to spend, he spent an entire day watching the progress bar on a 25mb download of the Heroes of Might and Magic 2 demo that he then played for at least a hundred hours. It was a good demo.

