
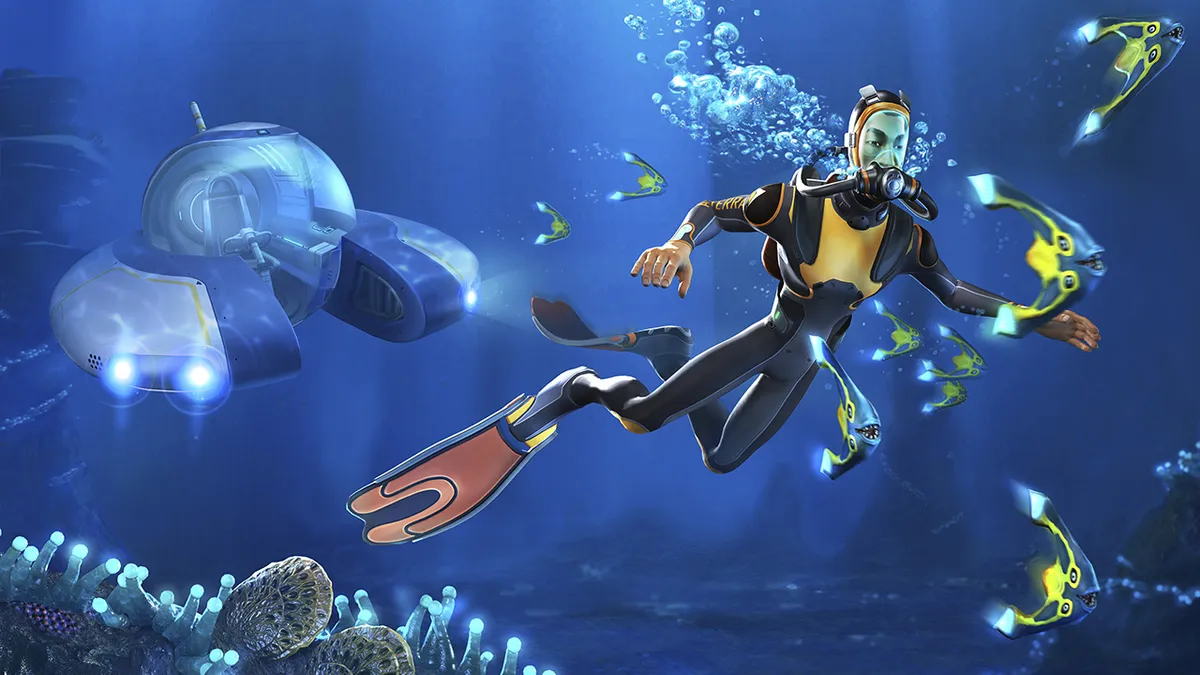
Subnautica's bizarre alien life and dramatic rock formations make it easy to spend a lot of time beneath the waves, but it's also easy to get completely, where-the-hell-is-my-Seamoth kind of lost. Maybe humans just aren't built to navigate as well underwater as we do on land, or maybe Planet 4546B needs to hire a better city planner.
Whatever causes it, getting turned around under the sea is no fun. There's no such thing as an in-game Subnautica map, and even the really smart fish haven't figured out how to invent GPS satellites. To help out our fellow marooned survivors, we put together our own map and a few of our best strategies for finding your way around in Subnautica.
A note on spoilers: This guide is spoiler-free. We won't give away any locations from later in the game or share directions to the fully stocked, 24-hour supermarket hidden under the sea. That said, exploring Subnautica with no knowledge at all, getting lost, and stumbling across something amazing is a pretty great experience. If you haven't gotten into the game at all, go get your feet wet and come back here when you need help.
Orientation for beginners
The world you explore in Subnautica is a volcanic crater, though you wouldn't know it by sailing a boat across it. On the surface you'll find nothing but open ocean and four landmarks: your lifepod, the crashed hulk of the Aurora, and two mountainous islands (usually obscured by fog until you get close to them). To get your bearings, the lifepod is in the middle, the Aurora is to the east, and the two islands are to the northeast and southwest.

You'll find a schematic for a compass pretty early in the game, and it's essential for finding your way around. With a compass and this map, you can plot some basic directions for yourself using the grid markings, which have a line every 500 meters. To get to lifepod 19, for example, you swim about 250 meters due west from your crash site. Lifepod 6 is around 300 meters east and 200 meters north—according to Pythagoras, that's 360 meters due northeast.
As for depth, that's much simpler: hug the ocean floor. Almost all of the good stuff is found on the floor, whether it's in the charming shallows at 8 meters or the inky depths at 900 meters. Whether or not you can go deep enough to find the floor depends on your equipment and your vehicles, but the question of "where is that thing?" is usually a matter of directions, not depth.

Filling in the edges
Since there's no in-game Subnautica map, you're going to need to take some notes yourself. When commenters or forum posters say they want a map in the game, they usually want a way to cross off explored areas or remember important locations. If you want to keep track, make like it's a '90s-era adventure game and break out a notepad.
To actually note locations, you need a coordinate system, and you have two options: console coordinates or homebrewed beacon triangulation. One of them is cool and fun and the other is dumb and boring. You can use whichever one you want, I'm not your dad.
Here's the first way: Everything in Subnautica has in-game coordinates. You can find coordinates by pressing F1 to bring down a console menu. Under "Camera world pos" you'll see three numbers shown as (x, y, z), where X is east-west, Y is depth, and Z is north-south. If you find something cool or you're done exploring a certain sunken wreck, press F1 and note those coordinates so you can refer to them later. If you really get stuck and you consult the wiki, you can use those coordinates to find whatever you've been looking for.
Personally, I find pulling down a console menu a serious buzz-kill. That's why I prefer the second method, which fits better inside the tools of the game: Triangulation. Triangulation can be used for making maps in all sorts of ways, but the method we're going to use here is position resection: using three fixed, known points to determine your unknown location.

To get a known fixed point to measure from, you need beacons, floating radio transmitters that stay stable in water. After you scan a few fragments at wrecks near the shallows, you'll unlock a blueprint for a beacon, and a little copper ore and titanium will let your fabricator whip one up.
For the best coverage, swim (or drive) out to the edges of the map and drop all three beacons. This may take you over some deep and dangerous waters, but as long as you stay on the surface, you probably won't die.
The key with beacon triangulation is to spread 'em out as much as you can. Once you've got all three placed and labeled, you can bring up your tablet and toggle a HUD display to show icons and distances. When you want to make a note of a spot, get a distance reading from each of the beacons, e.g., 900 meters away from #1, 640 meters away from #2, 1,000 meters away from #3. If you find a wreck with a broken door panel but you left your repair tool back at base, those distances will work like coordinates to help you find your way back.
Biomes
There are a lot of distinct biomes in Subnautica, and some crafting recipes will force you to track down a specific biome with some rare creature or mineral. This list isn't exhaustive—there are two major mushroom forests, for example, in different and unconnected parts of the world. I'm also not mentioning some of the rare, hard-to-reach biomes that show up late in the game.

Shallows and kelp forest
This is the easy one. The shallows and a bordering kelp forest are the first things you'll see when you swim away from your lifepod for the first time. There's a ton of food and basic crafting materials to be found here.

Grassy plateau
Coordinates: 362, -90, 21
You'll see the wide open spaces and bright red grass first. These plateaus have more interesting minerals and some of the more aggressive small animals.

Crash zone
Coordinates: 453, -13, -180
The area immediately around the Aurora has been churned up, and most of the plant life has been destroyed. You'll find a lot of scrap metal, minerals, and a few supply crates from the cargo hold. To get there, well, swim toward the massive burning spaceship.

Mushroom forest
Coordinates: 529, -175, 371
There are two separate mushroom forests, and they're very distinctive: towering trees of flat, disc-shaped fungus branches. It's one of best looking biomes to explore, and it's one of the first places you find large mineral deposits. As soon as you have drilling gear, head to the mushroom forest to load up on crafting materials.

Jellyshroom cave
Coordinates: -355, -110, -226
Strangely beautiful and super creepy, the Jellyshroom cave is like if you lit your bedroom with lamps made of nuclear waste: sure the lighting is good, but you don't actually want to spend time in there. You'll find an entrance quite close to your lifepod, but you'll need an upgraded vehicle to dive all the down to 300 meters.

Mountains
Coordinates: 1090, -265, 1215
The northeastern island is the uppermost tip of a sprawling mountain range, most of which is underwater. You'll find some really rare minerals on the sheer cliff faces, and large predators are everywhere.

Mountain island
Coordinates: 309, 0, 1080
The northeastern island is larger than the southwestern one, and it's covered with more tunnels and places to get lost. You'll find a lot of gold and lithium in the caves, and the large alien tower on the northern tip is going to be an important part of your adventures.

Underwater islands
Coordinates: -85, -66, 635
Large alien membranes act like floatation devices, holding a large archipelago suspended under the surface. These are a good place to find diamonds without going too deep, as long as you can avoid being eaten.

Floating island
Coordinates: -620, 0, -967
The underwater islands' more famous, more successful cousin, the floating island managed to gather enough weird alien membranes to breach the surface and stay up there. On the surface is a dense rainforest full of edible plants and crops you'll want to take back to your home garden for food. You'll also find quite a lot of tech and architectural blueprints in the old ruins scattered around.

Dunes
Coordinates: -1101, -213, 342
One of the best places to find large mineral deposits is also the most dangerous. The dunes are dark and murky with silt and sand even on a sunny afternoon, so watch your back. When you start drilling, it really ticks off the neighbors.

Blood kelp
Coordinates: -977, -315, -532
When it's time to suck it up and head into that deep water, that bad water, you're probably looking for blood kelp. Skeletal kelp vines drop valuable organic matter, and you'll find other hard-to-find crafting materials like gel sacks, uraninite, and deep shrooms.

Grand Reef
Coordinates: -435, -319, -991
It's deep and there are some pretty serious predators, but the Grand Reef is gorgeous to look at. If you can dodge the floating anchor pods, you'll find some of the most diverse mineral deposits in the game. There are also two very large sunken wrecks to explore for some good tech blueprints.

