Resident Evil 2 Remake locker codes, safe combinations, and portable safes
All safe codes, locker codes, portable safe locations, and laboratory puzzle codes in the Resident Evil 2 Remake.
If you want to uncover all of the locker codes, safe codes, and portable safes in Resident Evil 2 Remake, you’re going to have to do a lot of exploring. But let’s face it: the game is spooky and I’d understand if you’d rather not go scouring blood-soaked hallways looking for a tourist pamphlet with a series of numbers hastily jotted along the back.
Rather than backtrack and risk a nasty encounter with a Licker or, even worse, the Tyrant, why not just use this guide instead? No one has to know. Here's every single locker code, safe combination, and portable safe location in the Resident Evil 2 remake.
RE2 Codes and combinations: Safe and found
RE2 Shotgun location: Blast 'em
RE2 Magnum location: Really blast 'em
RE2 Mr Raccoon locations: Scavenger hunt
Leon's desk locker codes in Resident Evil 2 Remake
The combination for the first Leon’s desk lock is MRG, and the combination for that second Leon’s desk lock is NED.
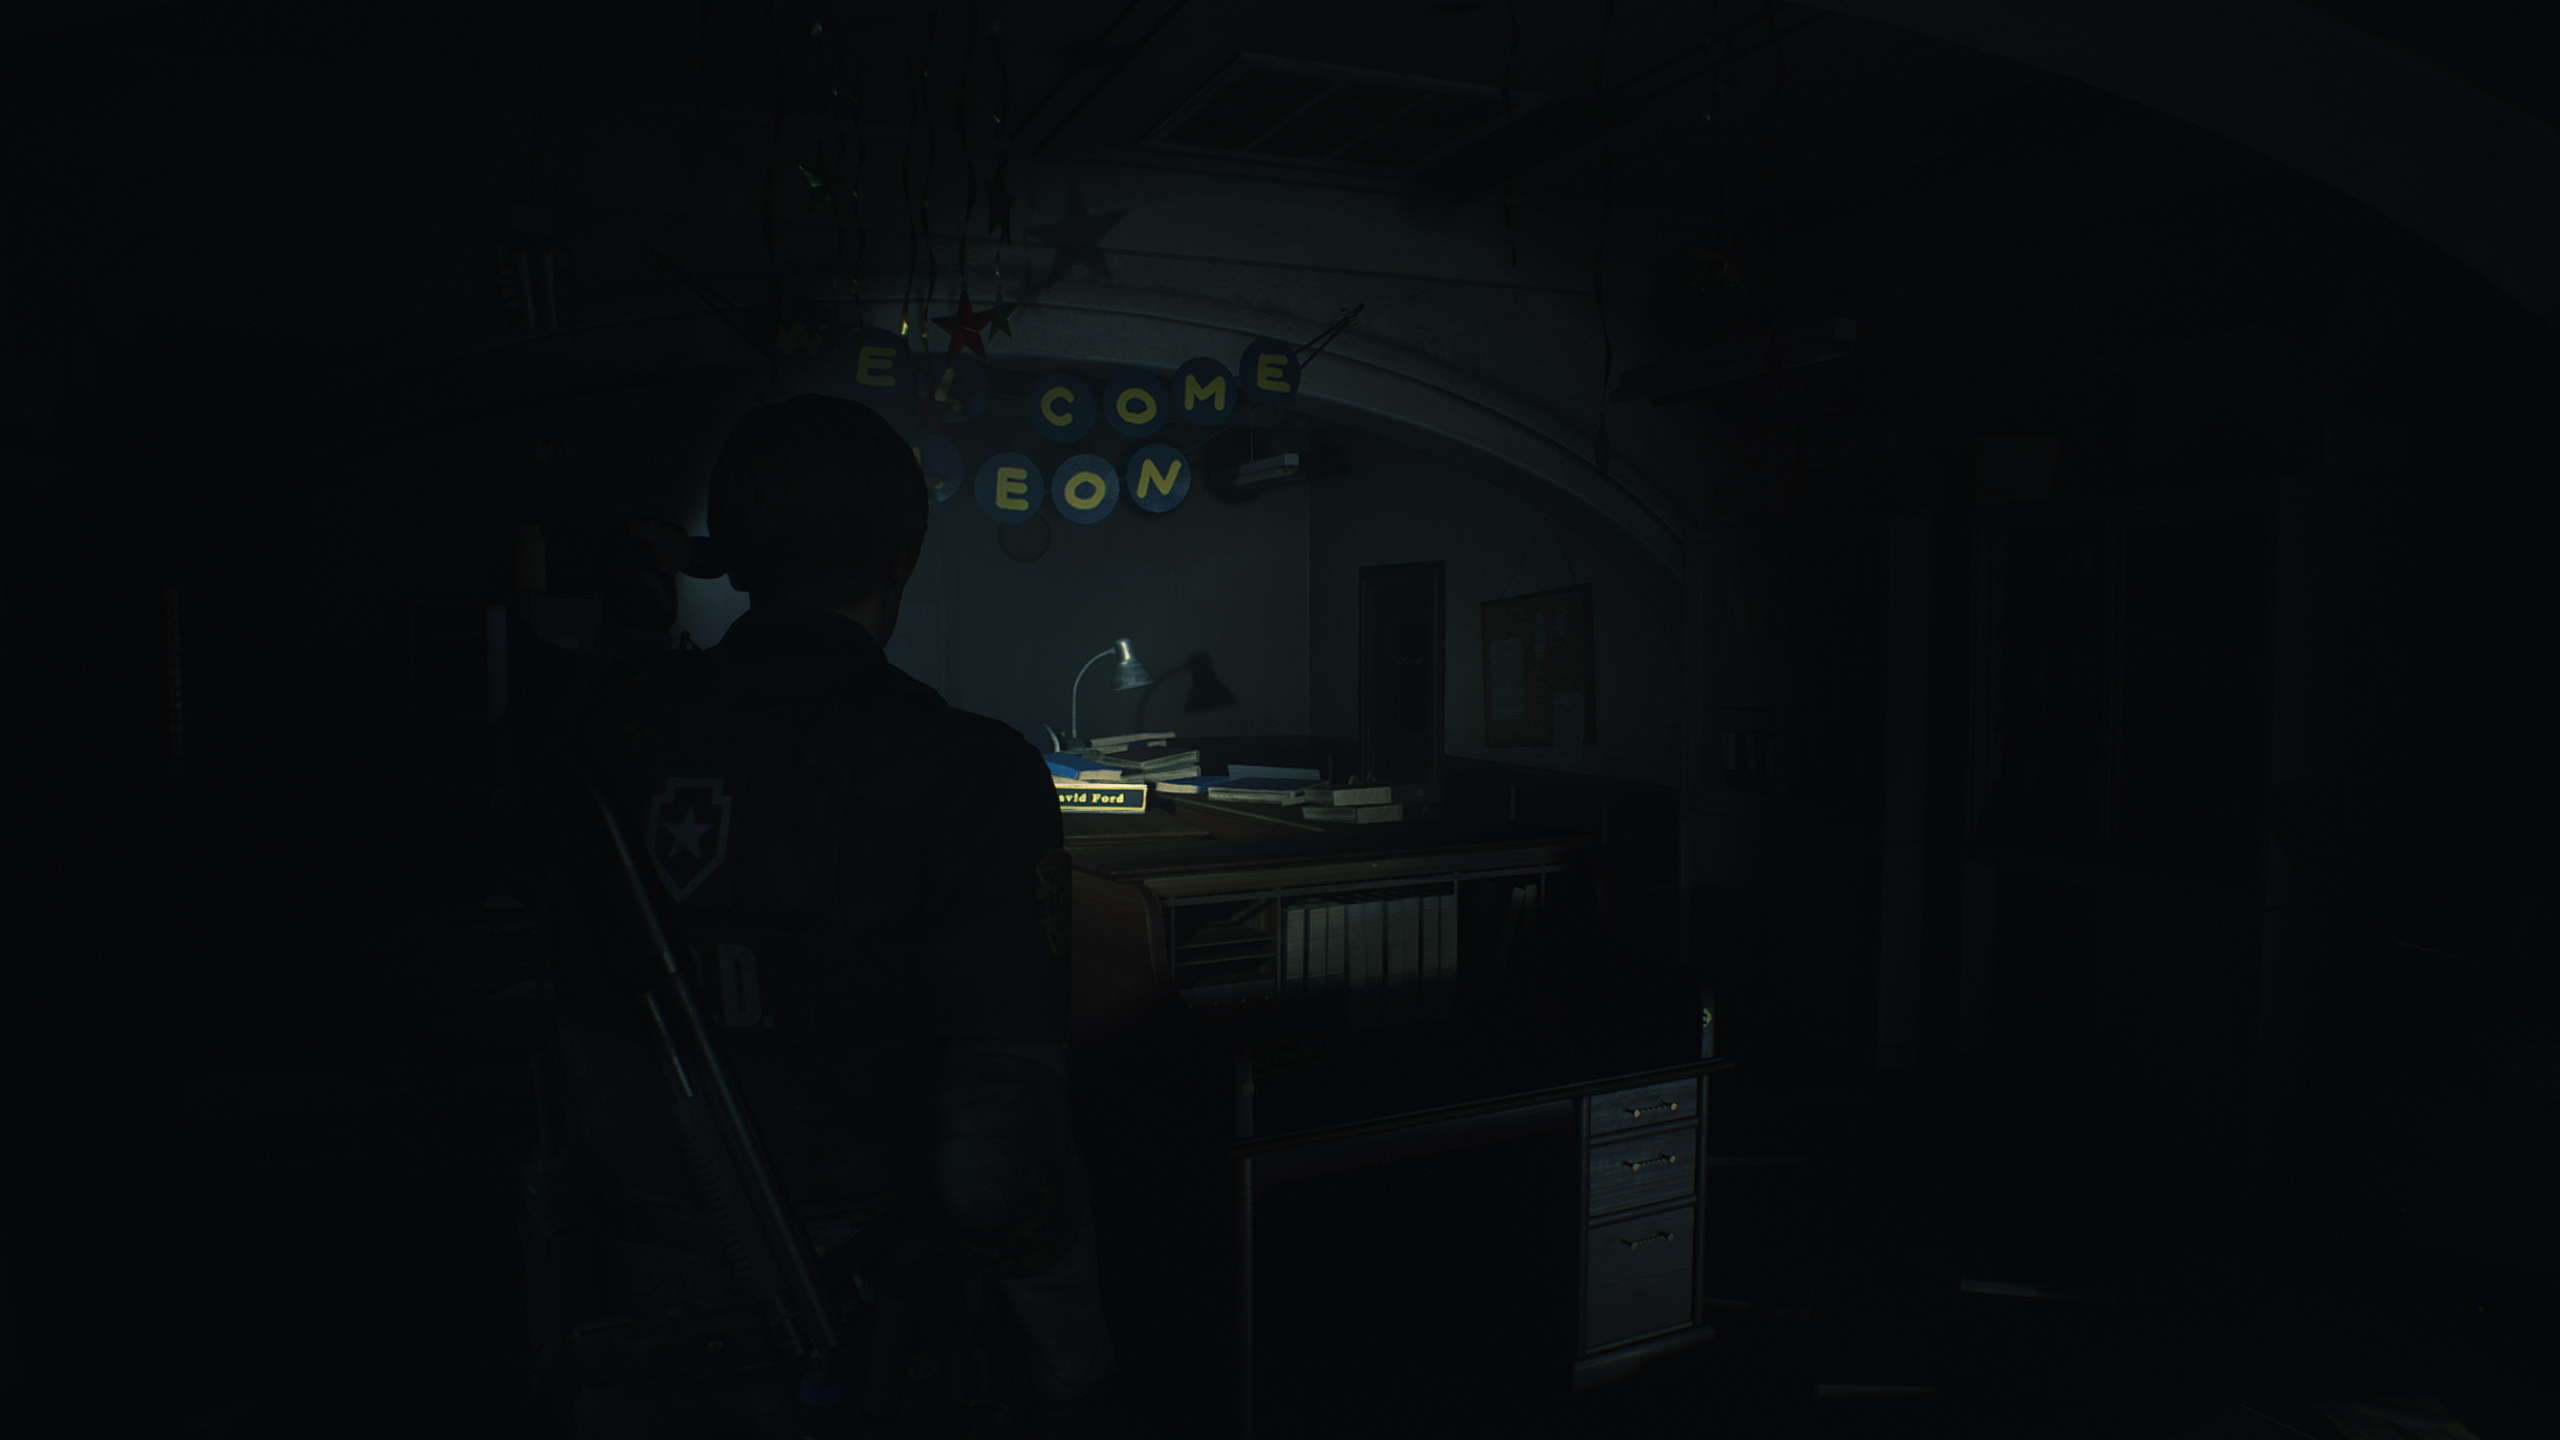
Article continues belowOne of the first set of locks you’ll encounter is in the West Office, where a "Welcome Leon" sign is hanging. In this room, you’ll find Leon’s desk that has two locks keeping it shut. To open it, you’ll need to input the first letter of each of your would-be coworker’s first names. To figure this out, you can look at the sets of three desks on each side of Leon’s desk. On the right side of south-facing desks, you’ll find name plaques for three officers. They are Marvin Branagh (M), Rita Phillips (R), and George Scott (G). So that's MRG.
On the north-side desks, only two of the plaques can be seen. They are Elliot Edward (E) and David Ford (D). You need the first name, but it’s nowhere to be found. Fortunately, you can just brute force the lock by trying every option, giving you NED.
Unlocking Leon's desk will get you an extended magazine for Leon's pistol or a speed reloader for Claire's revolver.
Resident Evil 2 Remake locker codes
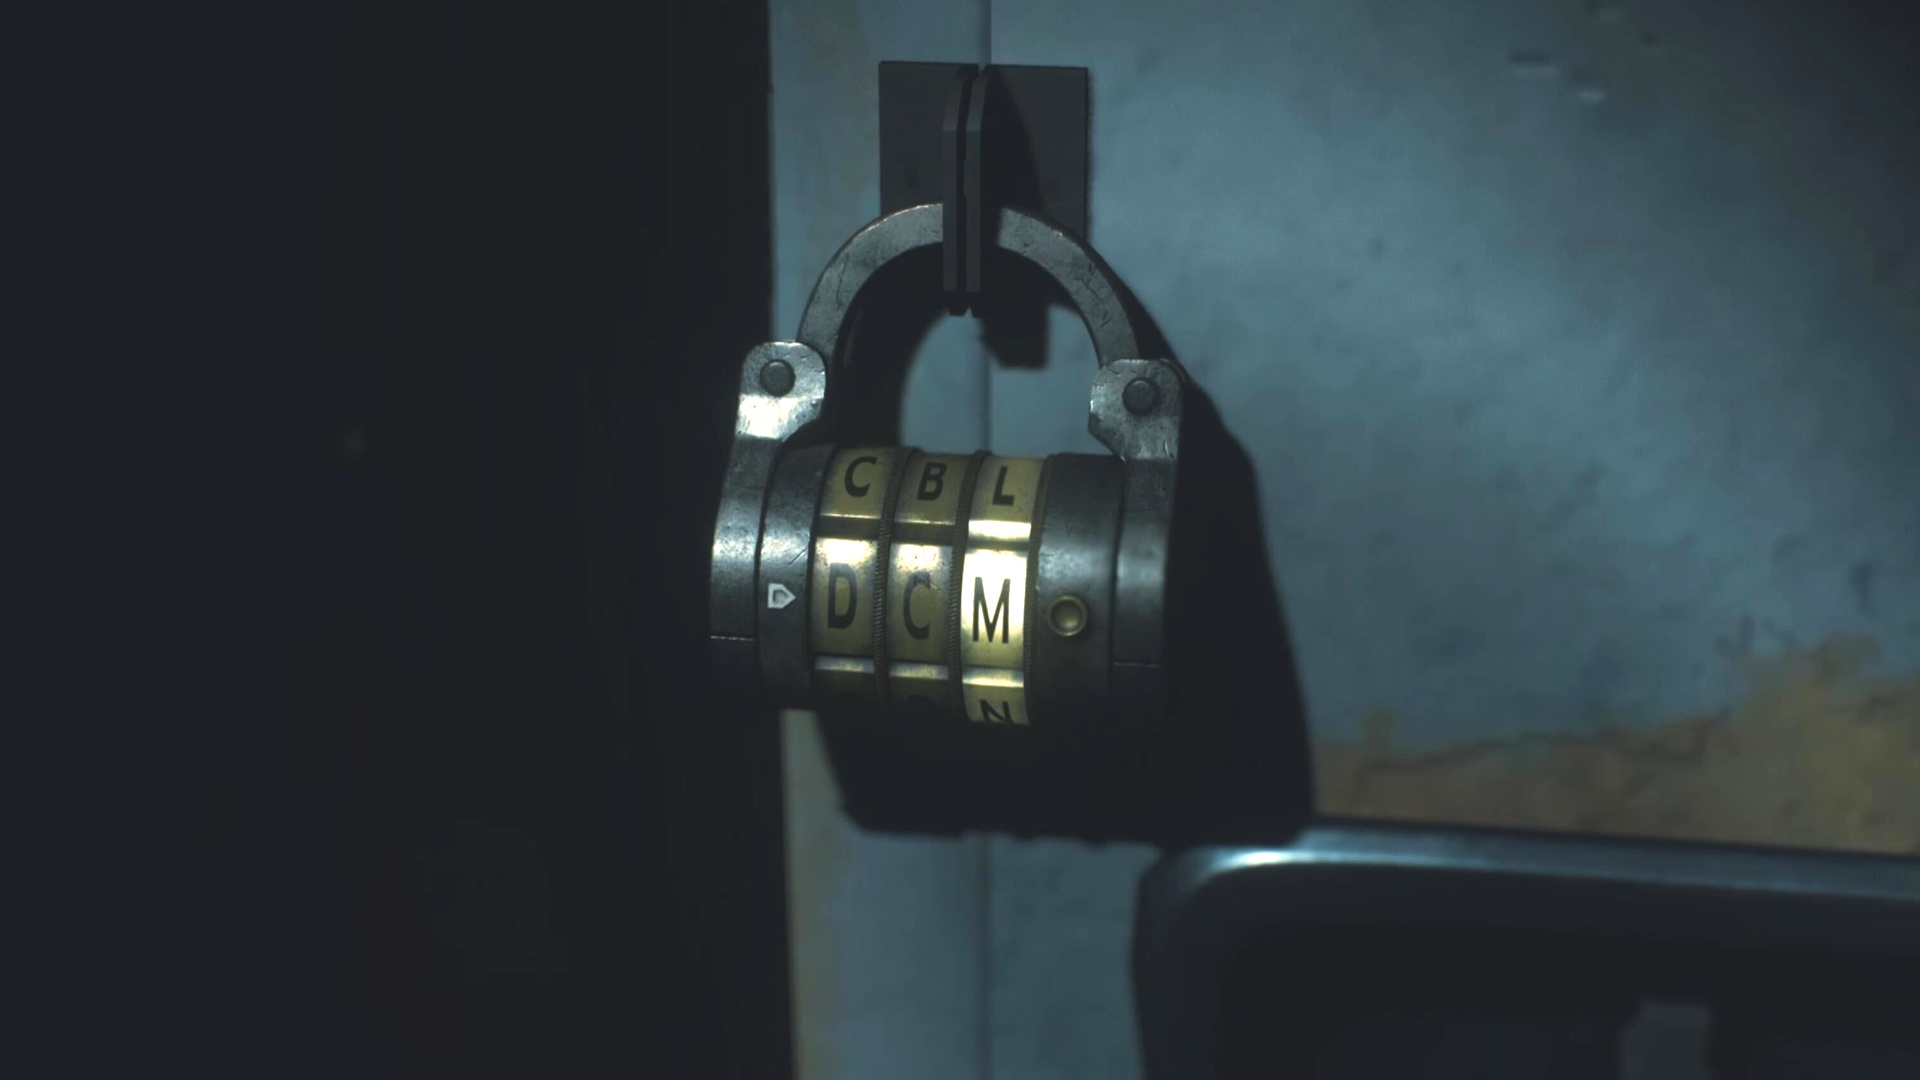
There are three other lockers to be found in the rest of the Resident Evil 2 Remake. Here are the required combinations to unlock each of them:
Keep up to date with the most important stories and the best deals, as picked by the PC Gamer team.
- Raccoon City Police Station 2nd floor shower room locker code: CAP
- Raccoon City Police Station 3rd floor locker (by the stairs) code: DCM
- Sewers Control Room locker code: SZF
Each of these lockers provides a different type of ammunition, which is very useful so don't ignore them.
Resident Evil 2 Remake safe codes
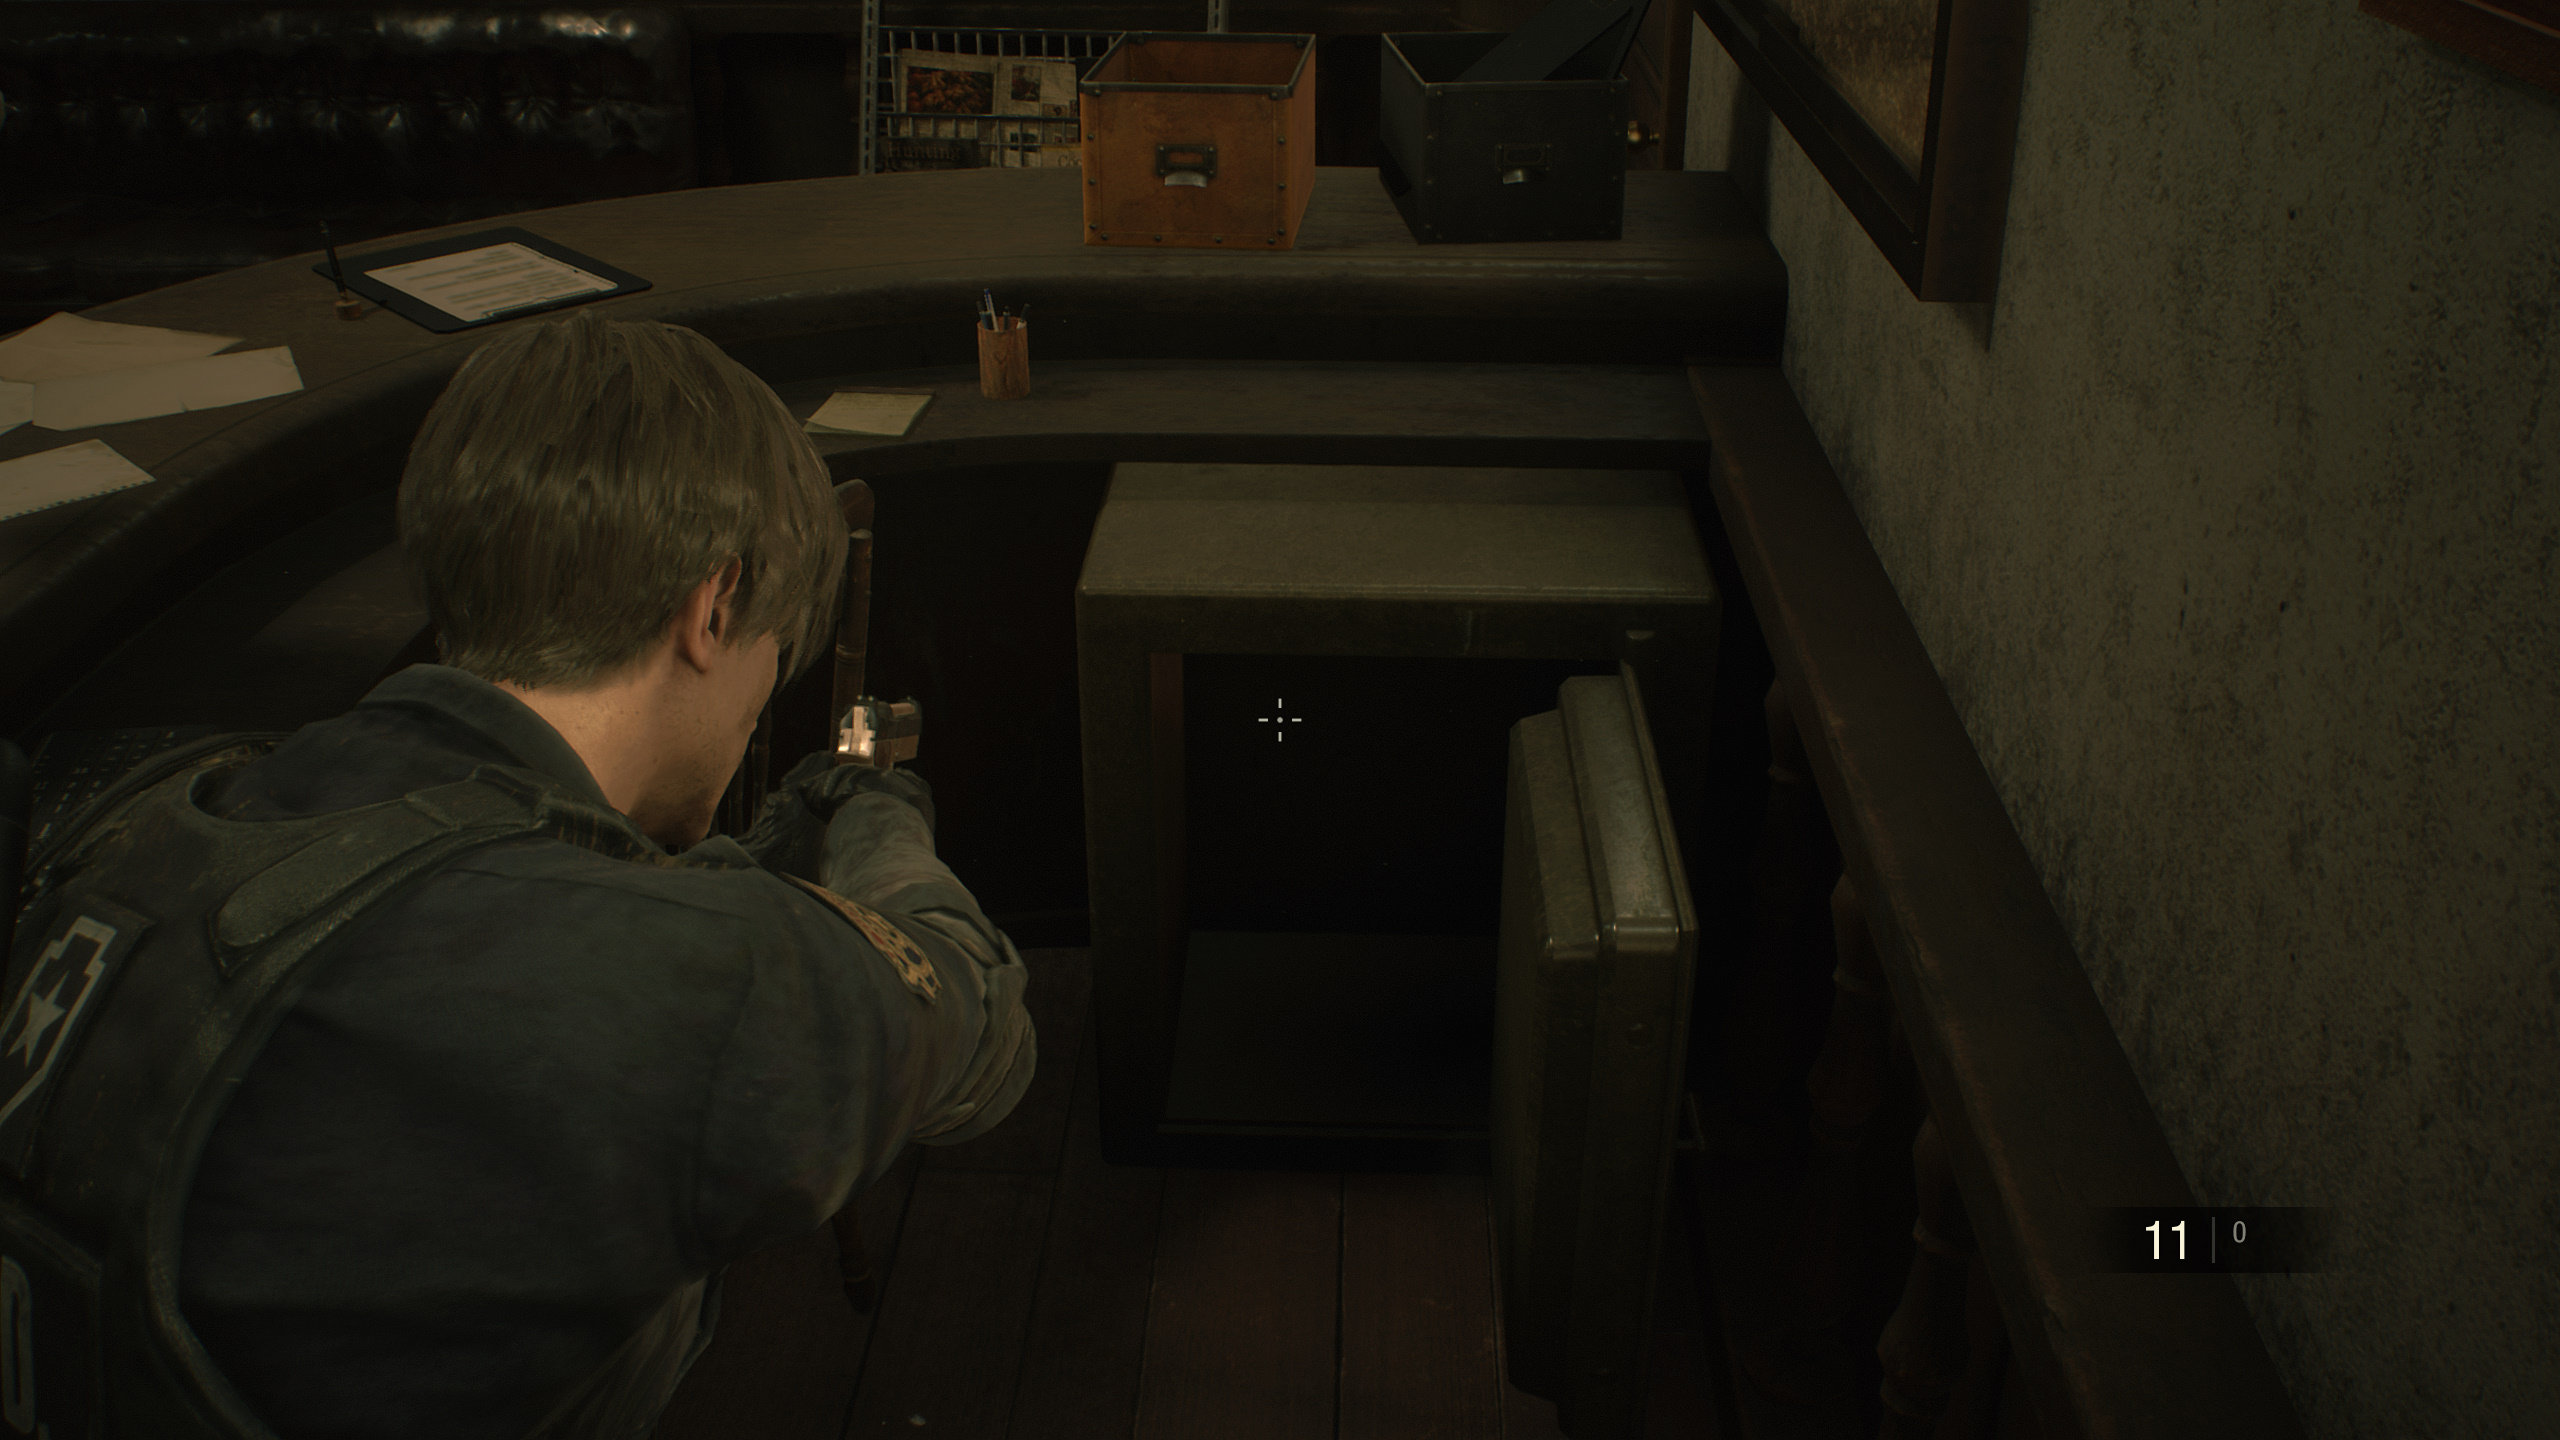
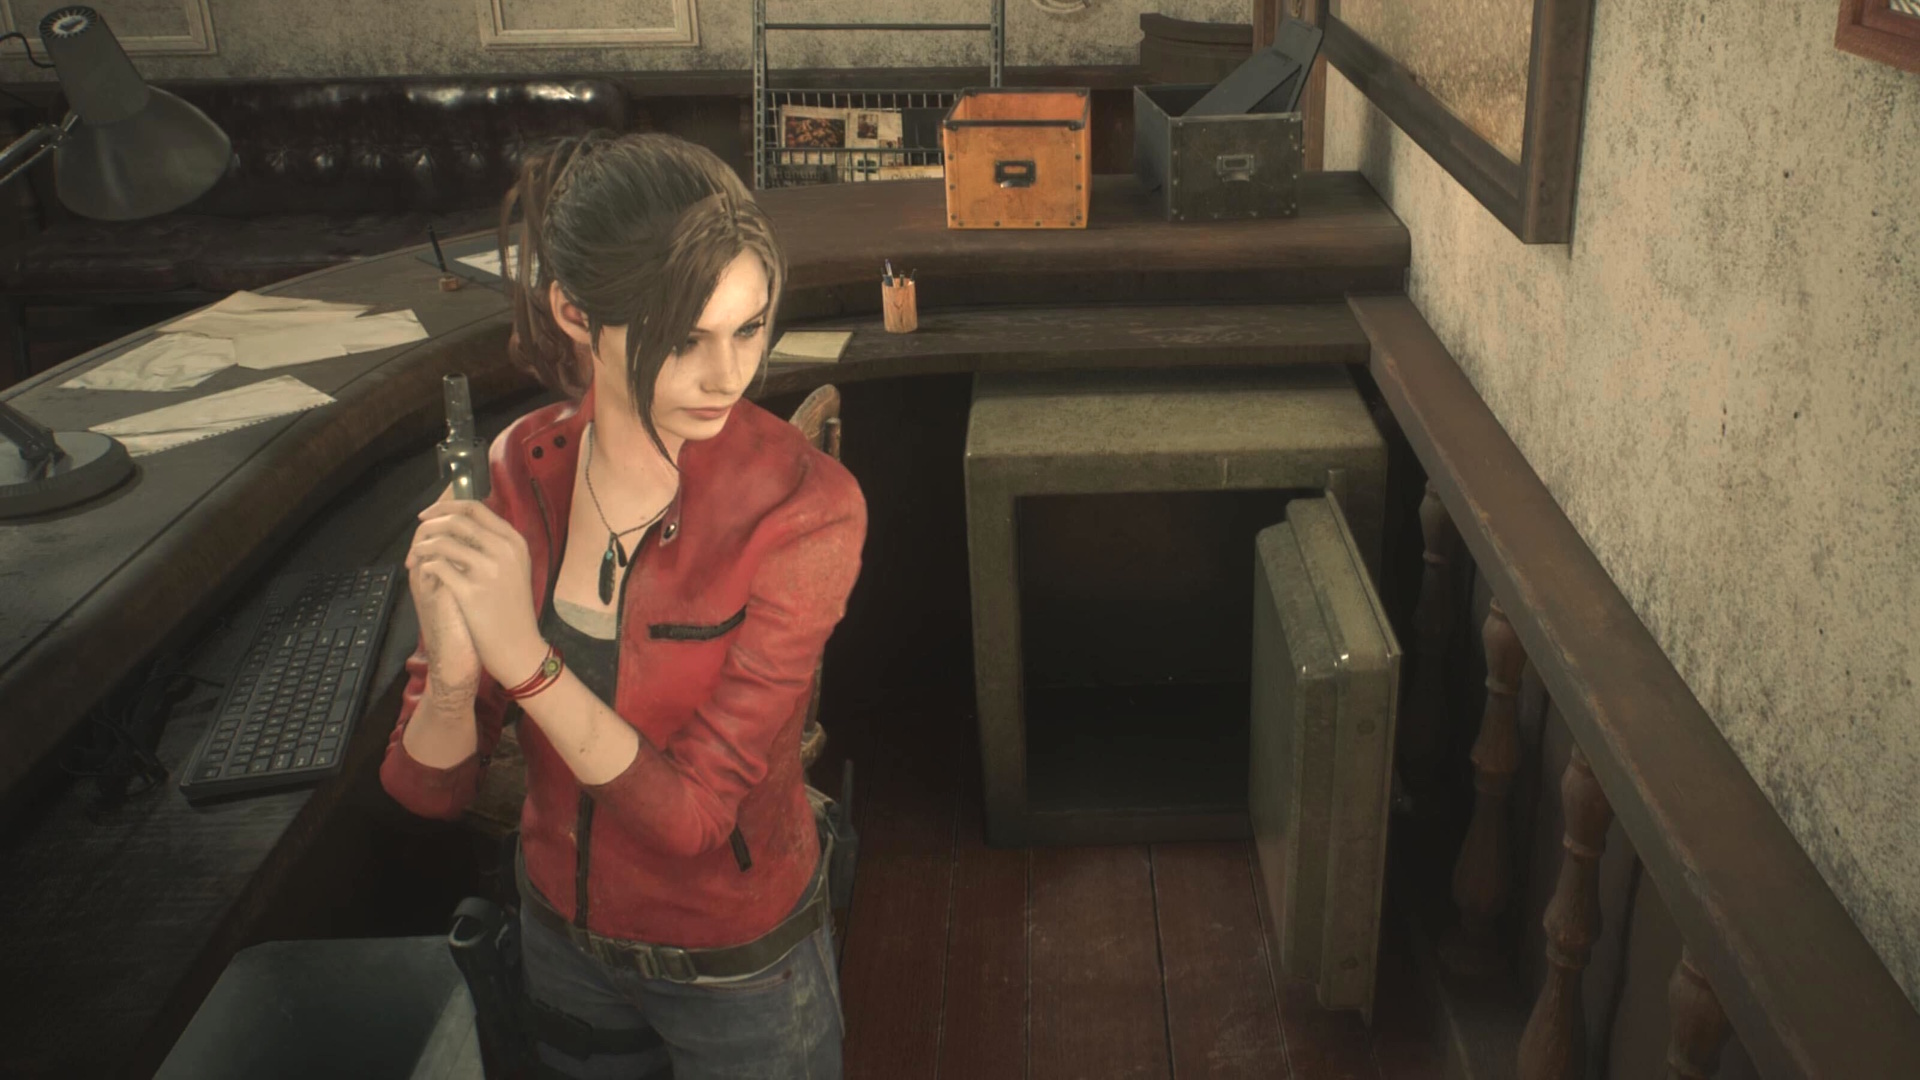
Also found in three areas in the Resident Evil 2 Remake are safes that require special combinations to unlock. They follow a pattern of turning the dial left, right, left to reach the required numbers and then pressing the "accept" button to open the safe. Here are their required safe combinations:
- 1st Floor, west office safe combination: left 9, right 15, left 7 (rewards hip pouch)
- 2nd Floor, east wing waiting room safe combination: left 6, right 2, left 11 (muzzle break for Leon, extended mag for Claire)
- Treatment pool room safe combination: left 2, right 12, left 8 (shotgun upgrade for Leon, hip pouch for Claire)
Resident Evil 2 Remake Laboratory codes
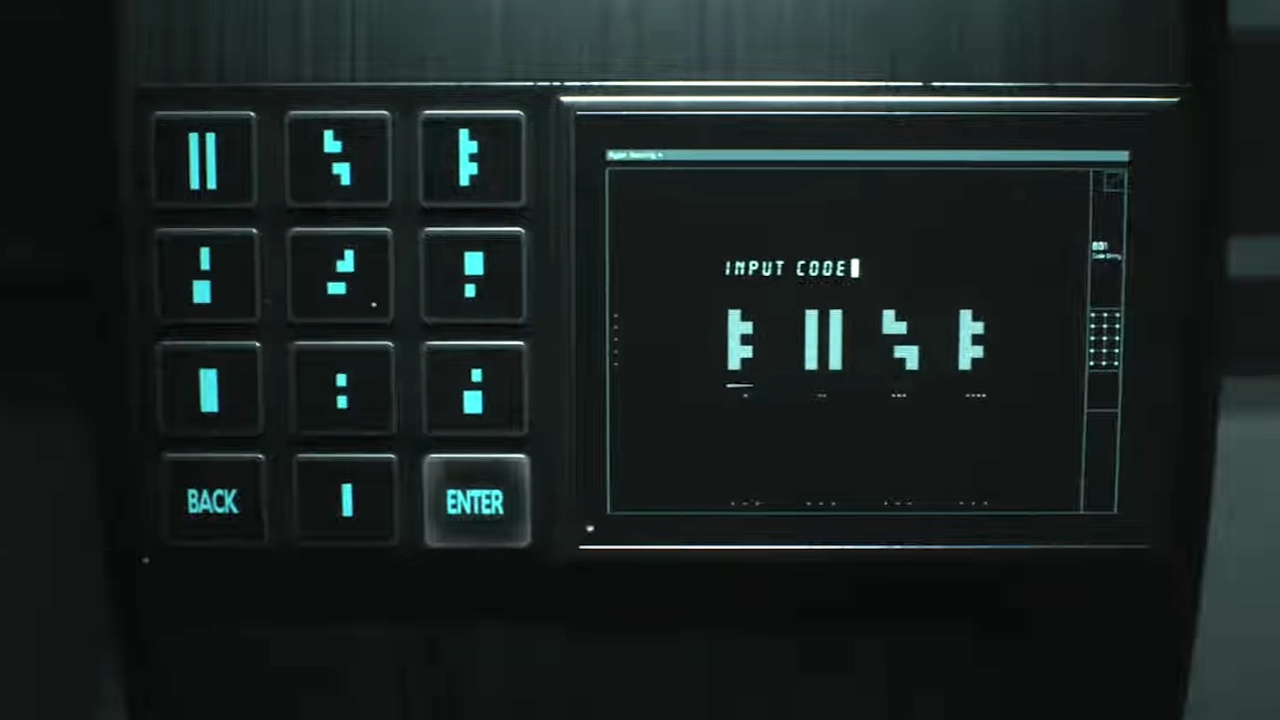
You'll also need a few codes for the Laboratory, Plant 43, and the greenhouse:
- Greenhouse Control Room ladder code 1: 3, 1, 2, 3
- Greenhouse Control Room ladder code 2: 5, 8, 3, 1
- Greenhouse Control Room drug testing combo: 1, 0, 4, 8
- Plant 43 Solution 1: Red, Green, Blue, Red, Green, Blue, Red, Green
- Plant 43 Solution 2: Blue, Red, Green, Blue, Red, Green, Blue, Red, Green
Resident Evil 2 Remake portable safes
Unfortunately, there are no universal codes for the portable safes. Each one is randomized, but they're easy to figure out with a little trial and error. Each button illuminates a green light on the dial, with the goal of pushing each button in order going counter-clockwise. You can start with any button, but you want to complete a full circle in order.
The best way to do this is to pick any button and start pushing keys to figure out the next one in that sequence. Keep doing that until you're able to complete a full rotation without pressing the wrong button and the safe will open.
The portable safe locations are found here:
- Playthrough A: 2nd floor shower room, 2nd floor linen room
- Playthrough B: 1st floor interrogation room, 2nd floor linen room
The reward for opening both of these safes are the replacement keys you can insert into the keypad located on the 1st floor safety deposit room. Now that these replacement keys are in place, you can use them to open a number of locked containers to get a hip pouch and some handy healing items.

With over 7 years of experience with in-depth feature reporting, Steven's mission is to chronicle the fascinating ways that games intersect our lives. Whether it's colossal in-game wars in an MMO, or long-haul truckers who turn to games to protect them from the loneliness of the open road, Steven tries to unearth PC gaming's greatest untold stories. His love of PC gaming started extremely early. Without money to spend, he spent an entire day watching the progress bar on a 25mb download of the Heroes of Might and Magic 2 demo that he then played for at least a hundred hours. It was a good demo.
You must confirm your public display name before commenting
Please logout and then login again, you will then be prompted to enter your display name.

 Join The Club


