How to solve the Sacred Archive time puzzles in Prince of Persia: The Lost Crown
Overcome each of the Secret Room trials to gain the Clairvoyance power.

Prince of Persia fast travel: How to unlock
Prince of Persia sidequests: Where to find each
Prince of Persia Amulets: Powerful trinkets
Prince of Persia The Deserter quest: Help the lost soldier
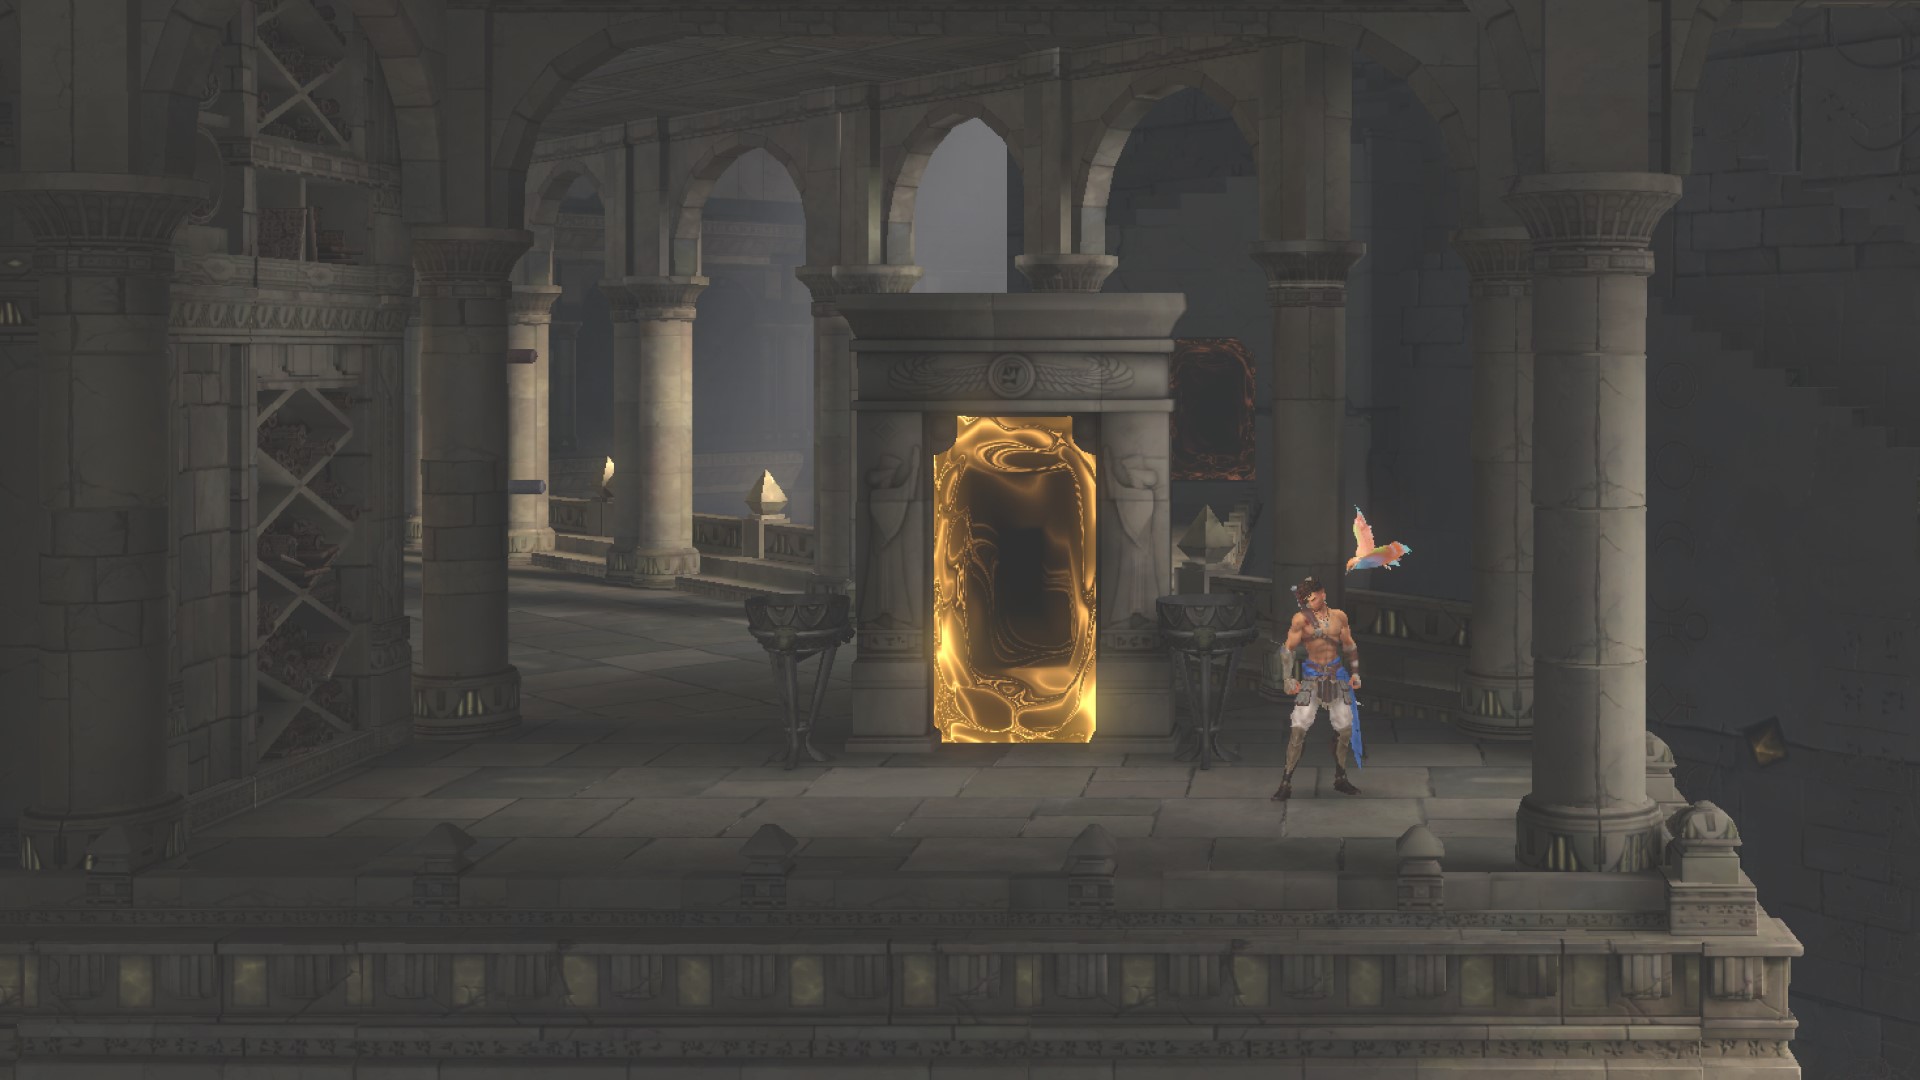
The Sacred Archive puzzles in Prince of Persia: The Lost Crown are some of the most challenging in the game, requiring you to use your smarts in order to earn the Clairvoyance power. What makes these four Secret Rooms a challenge is that each puzzle requires you to use multiple versions of your character, Sargon, to activate switches and use powers to grab the tablet at the end of each trial—all with a ticking clock.
This makes timing a tricky component, as you have to wait for previous Sargons to activate the platforms and walls necessary for your final Sargon to make their way to the prize. If you'd rather just have a solution straight away and head off to the Pit of Eternal Sands, here's what you need to do to solve each of the Sacred Archive puzzles.
First Secret Room (bottom left portal)
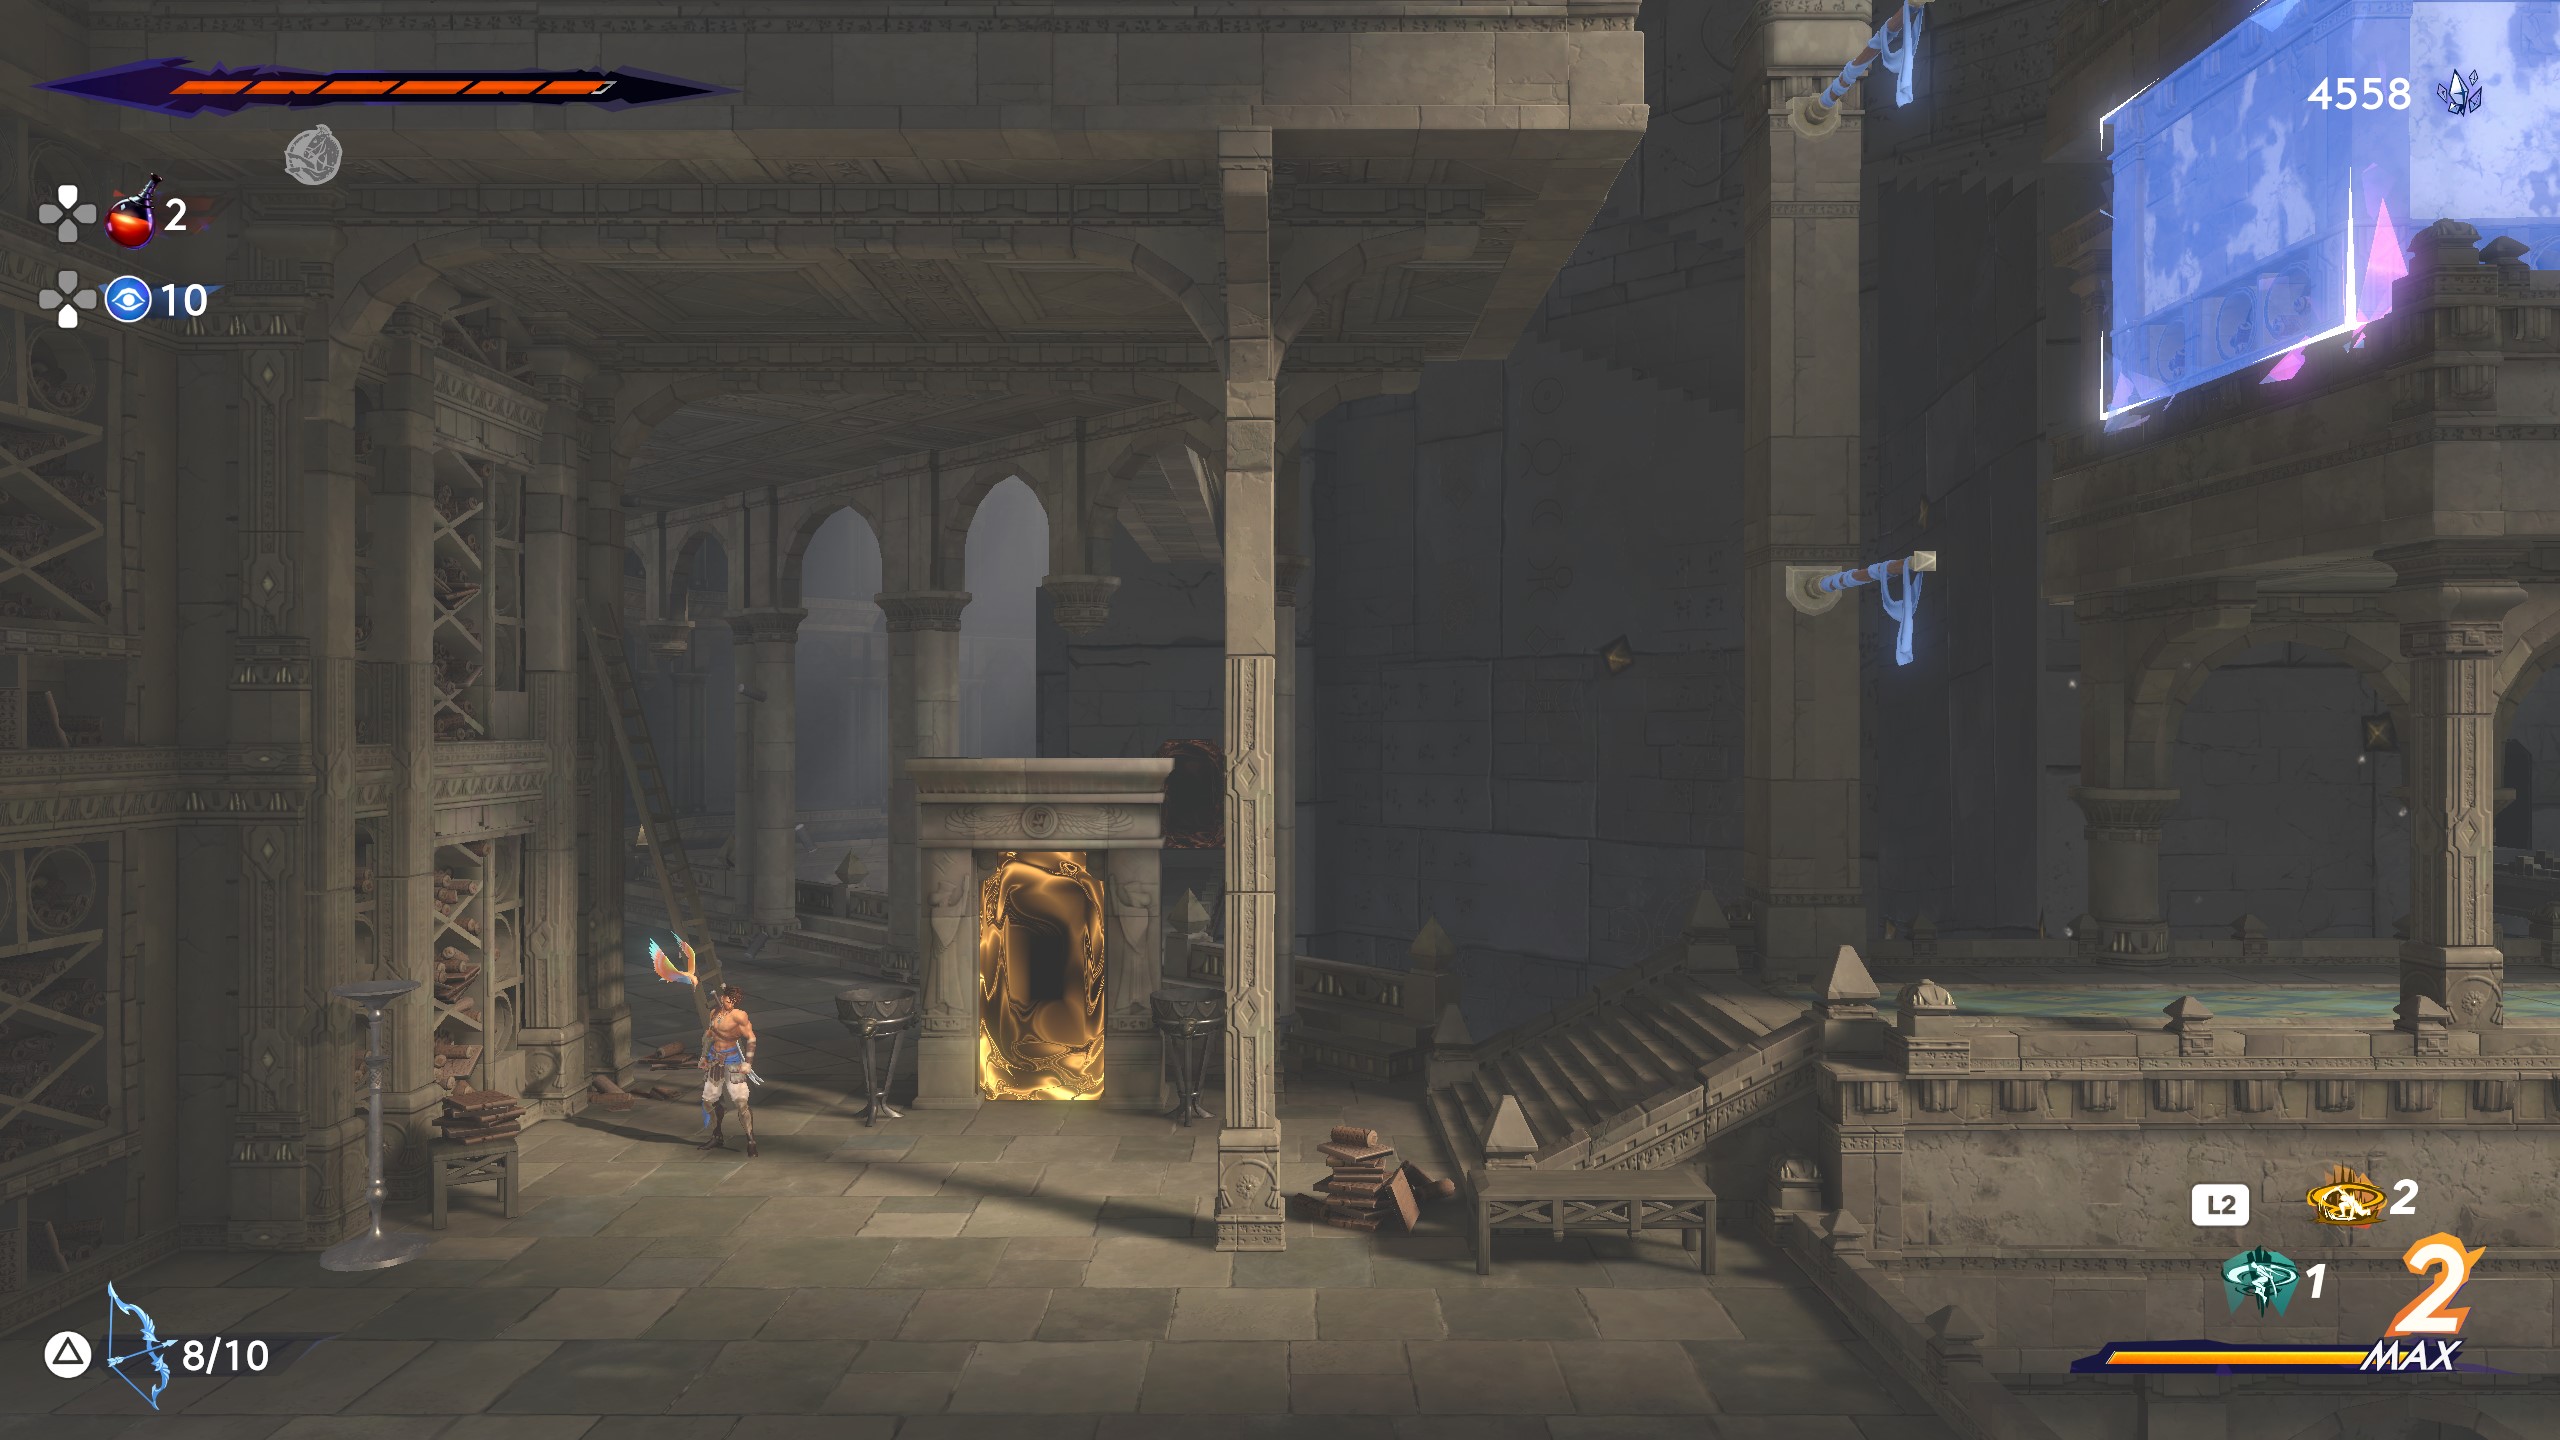
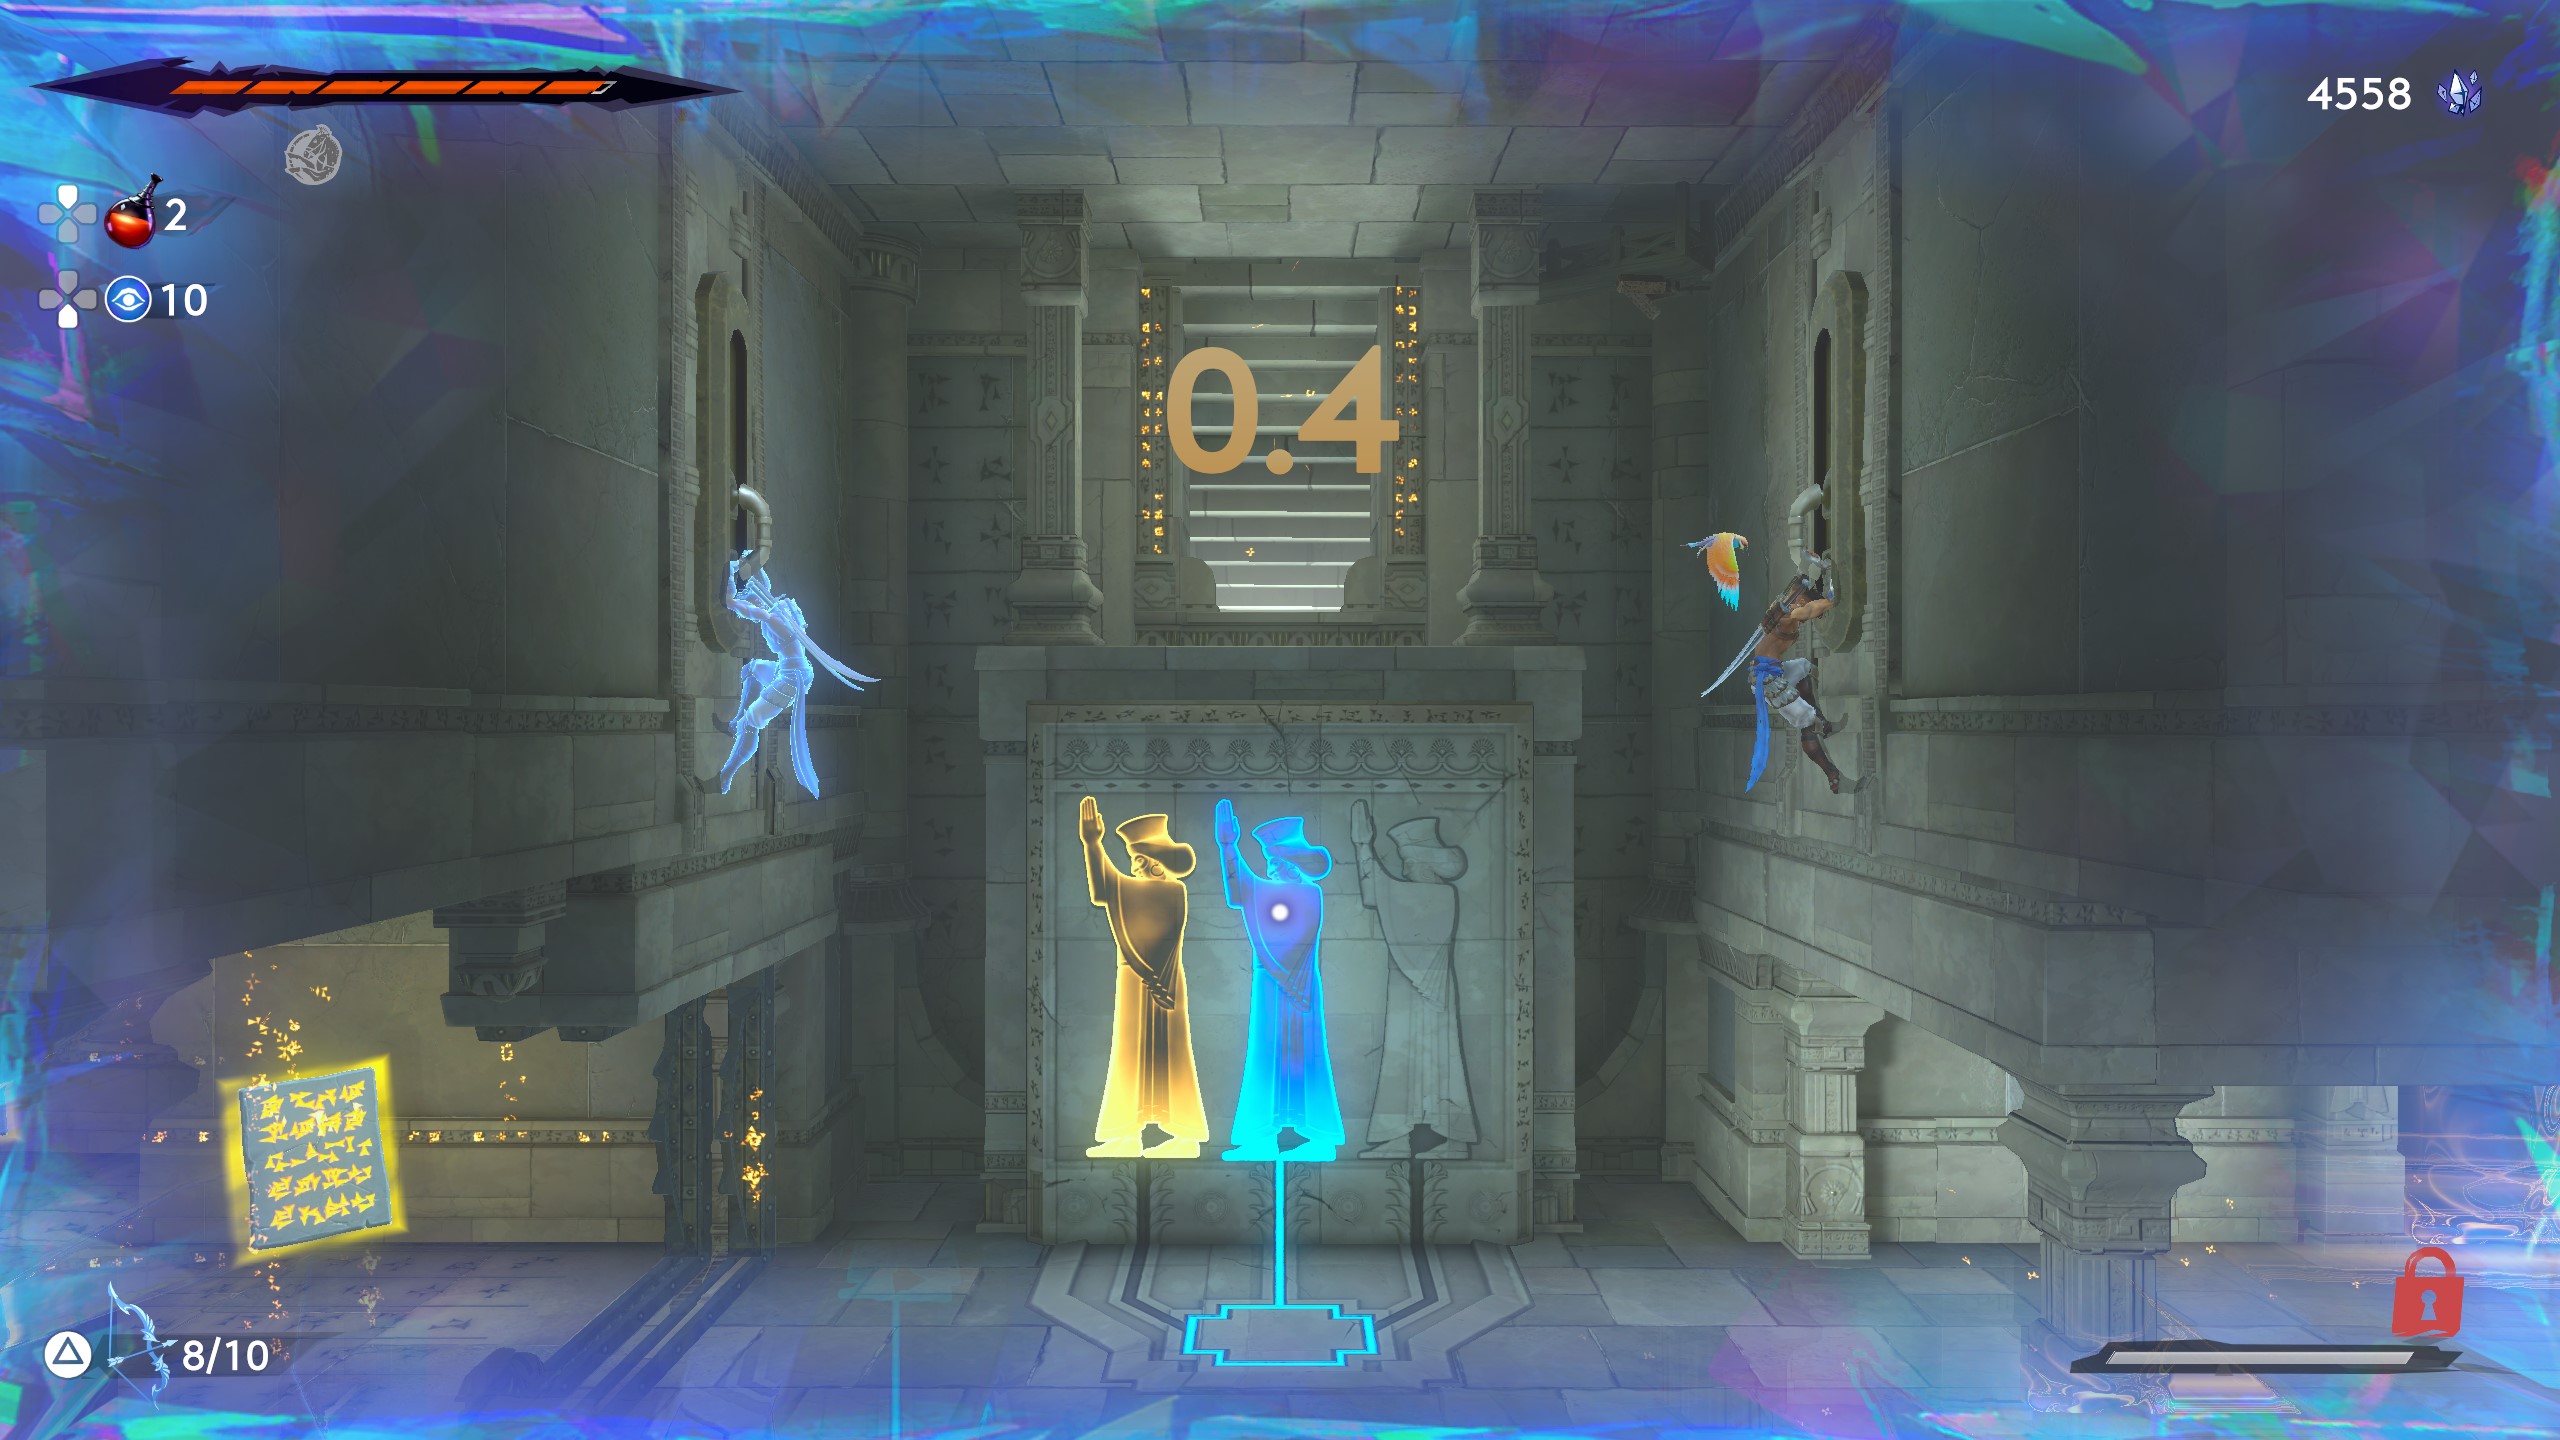
The first room is an easy introduction to the puzzle concept of using three different Sargons to activate switches and get where you need to go. Simply activate the switches on the left and right walls using your first and second Sargons respectively, then send your third to grab the tablet.
Here's that broken down step-by-step:
- Send your first Sargon up the left side of the room to pull down that switch.
- Send your second Sargon up the right side to pull down that switch.
- Now your third Sargon can pass through the gate when it opens to grab the tablet.
Second Secret Room (top left portal)
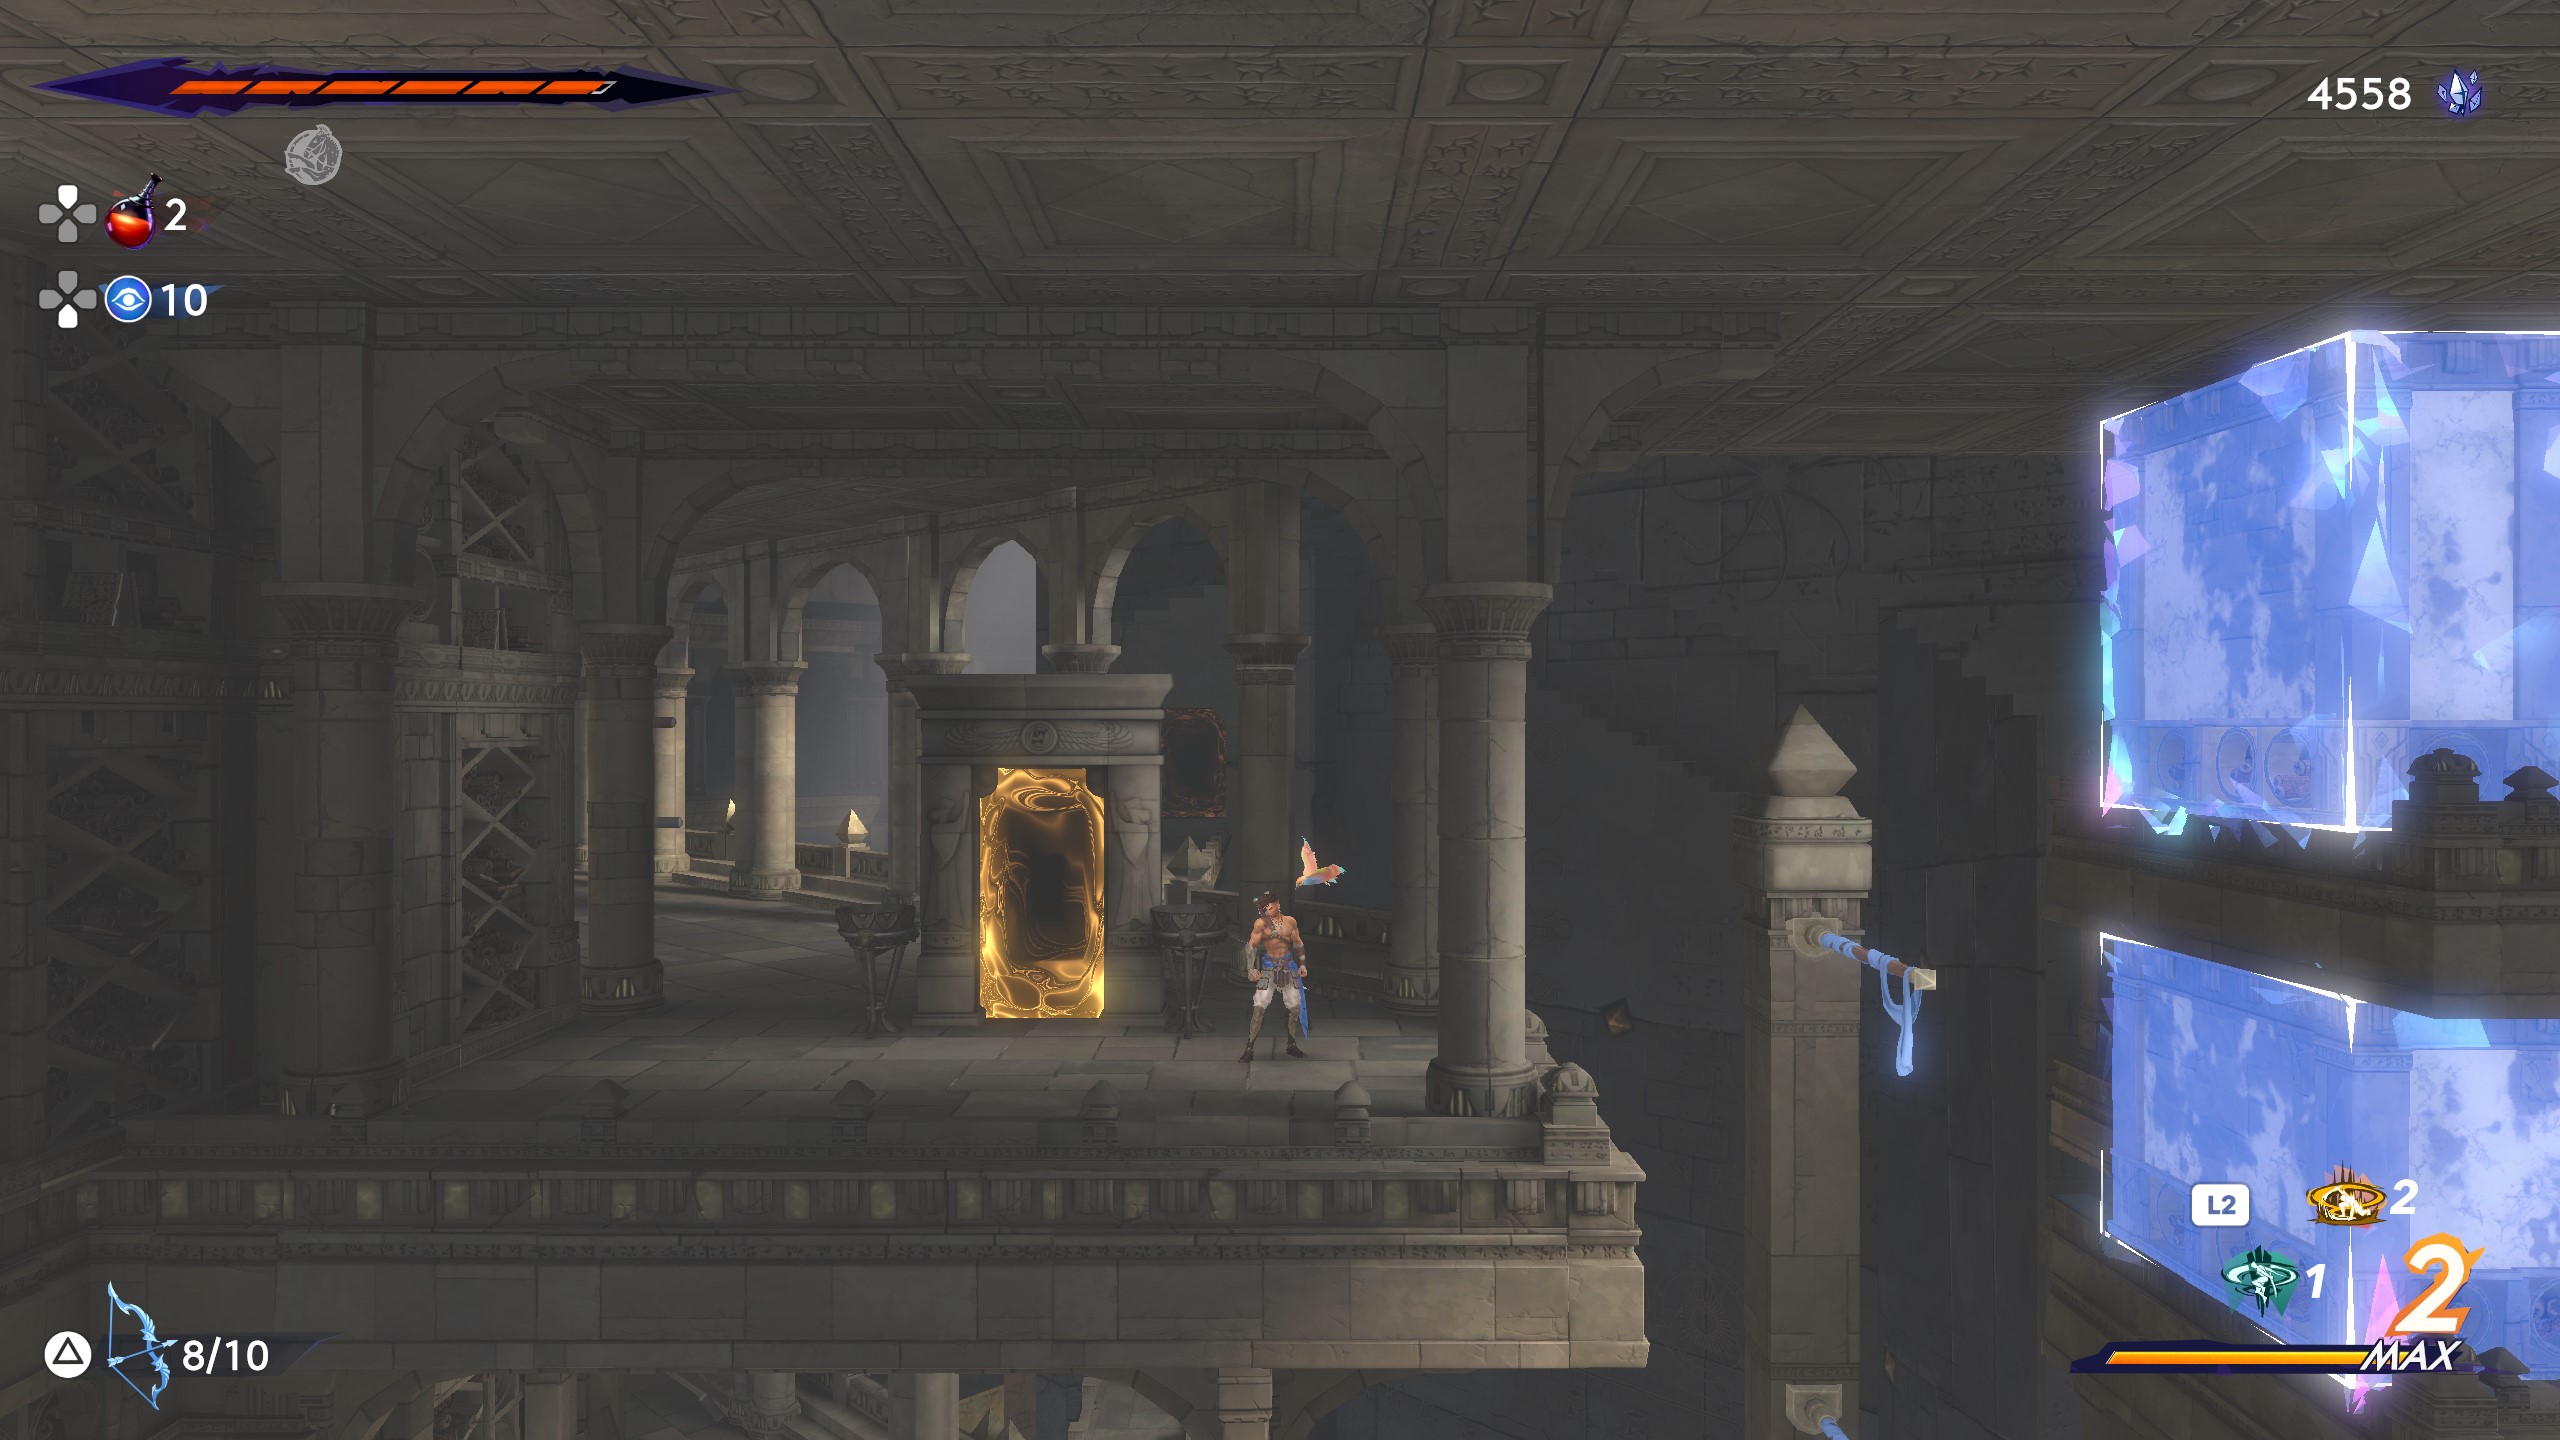
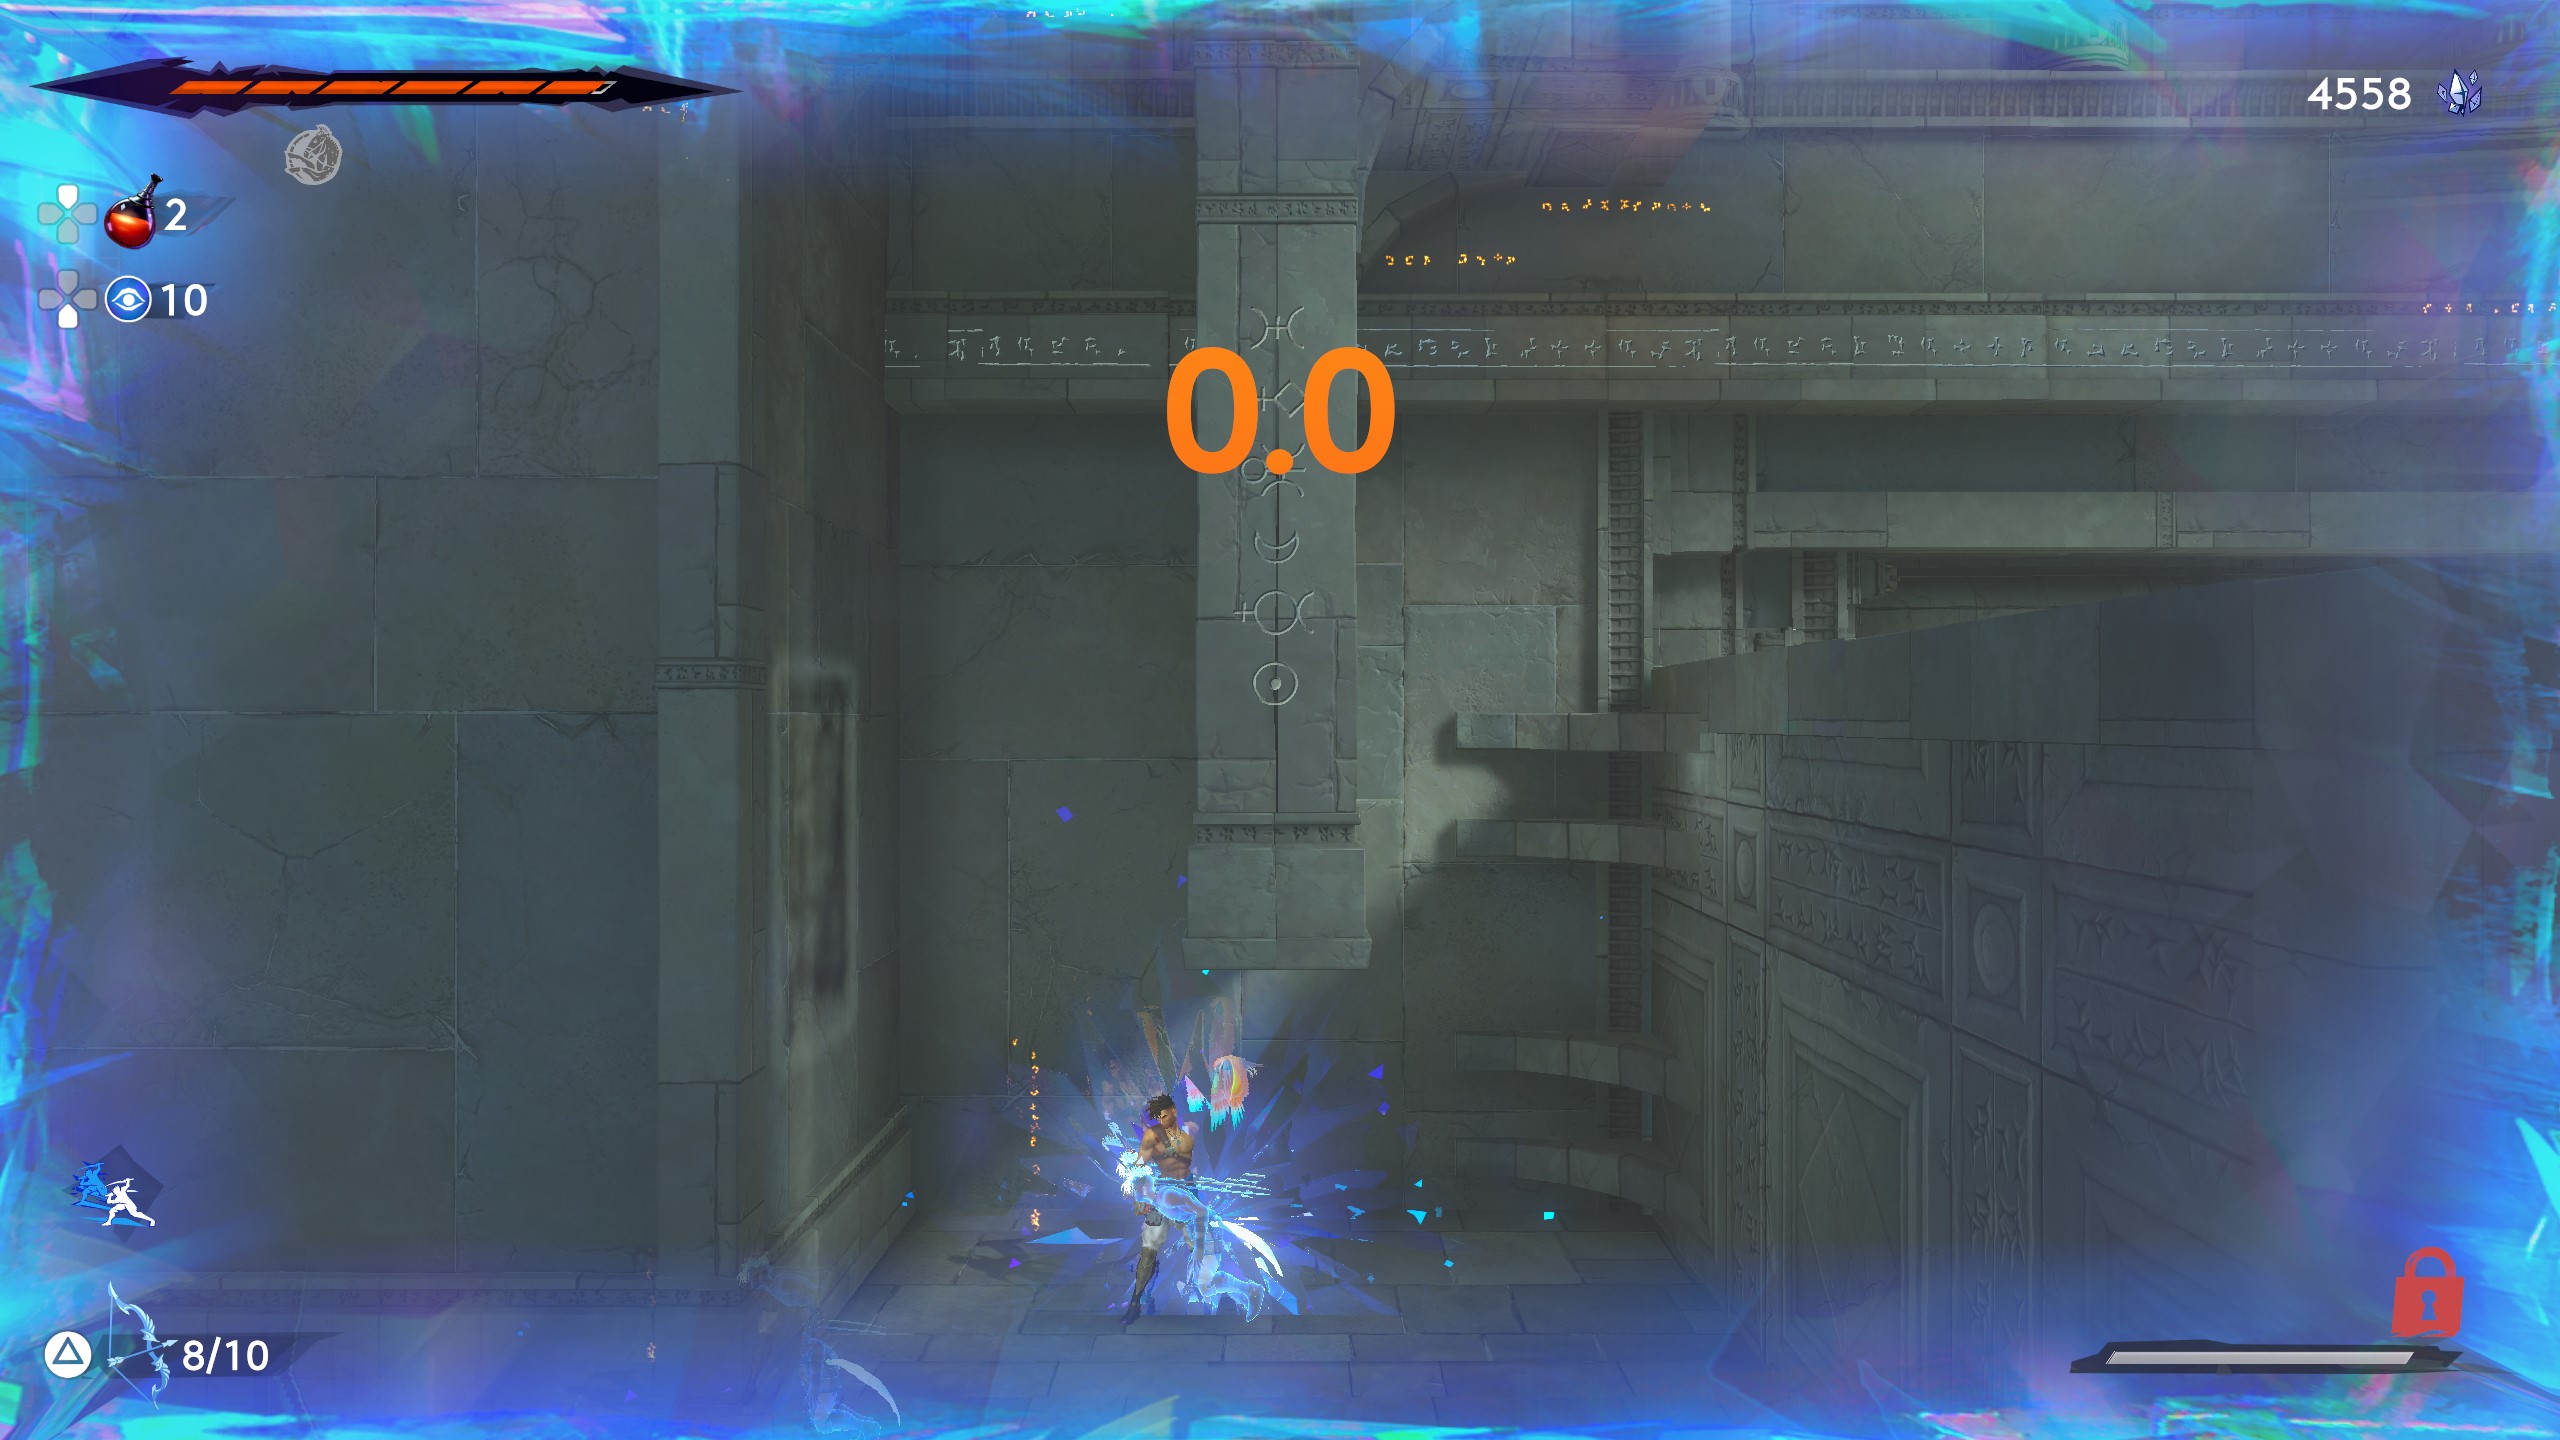
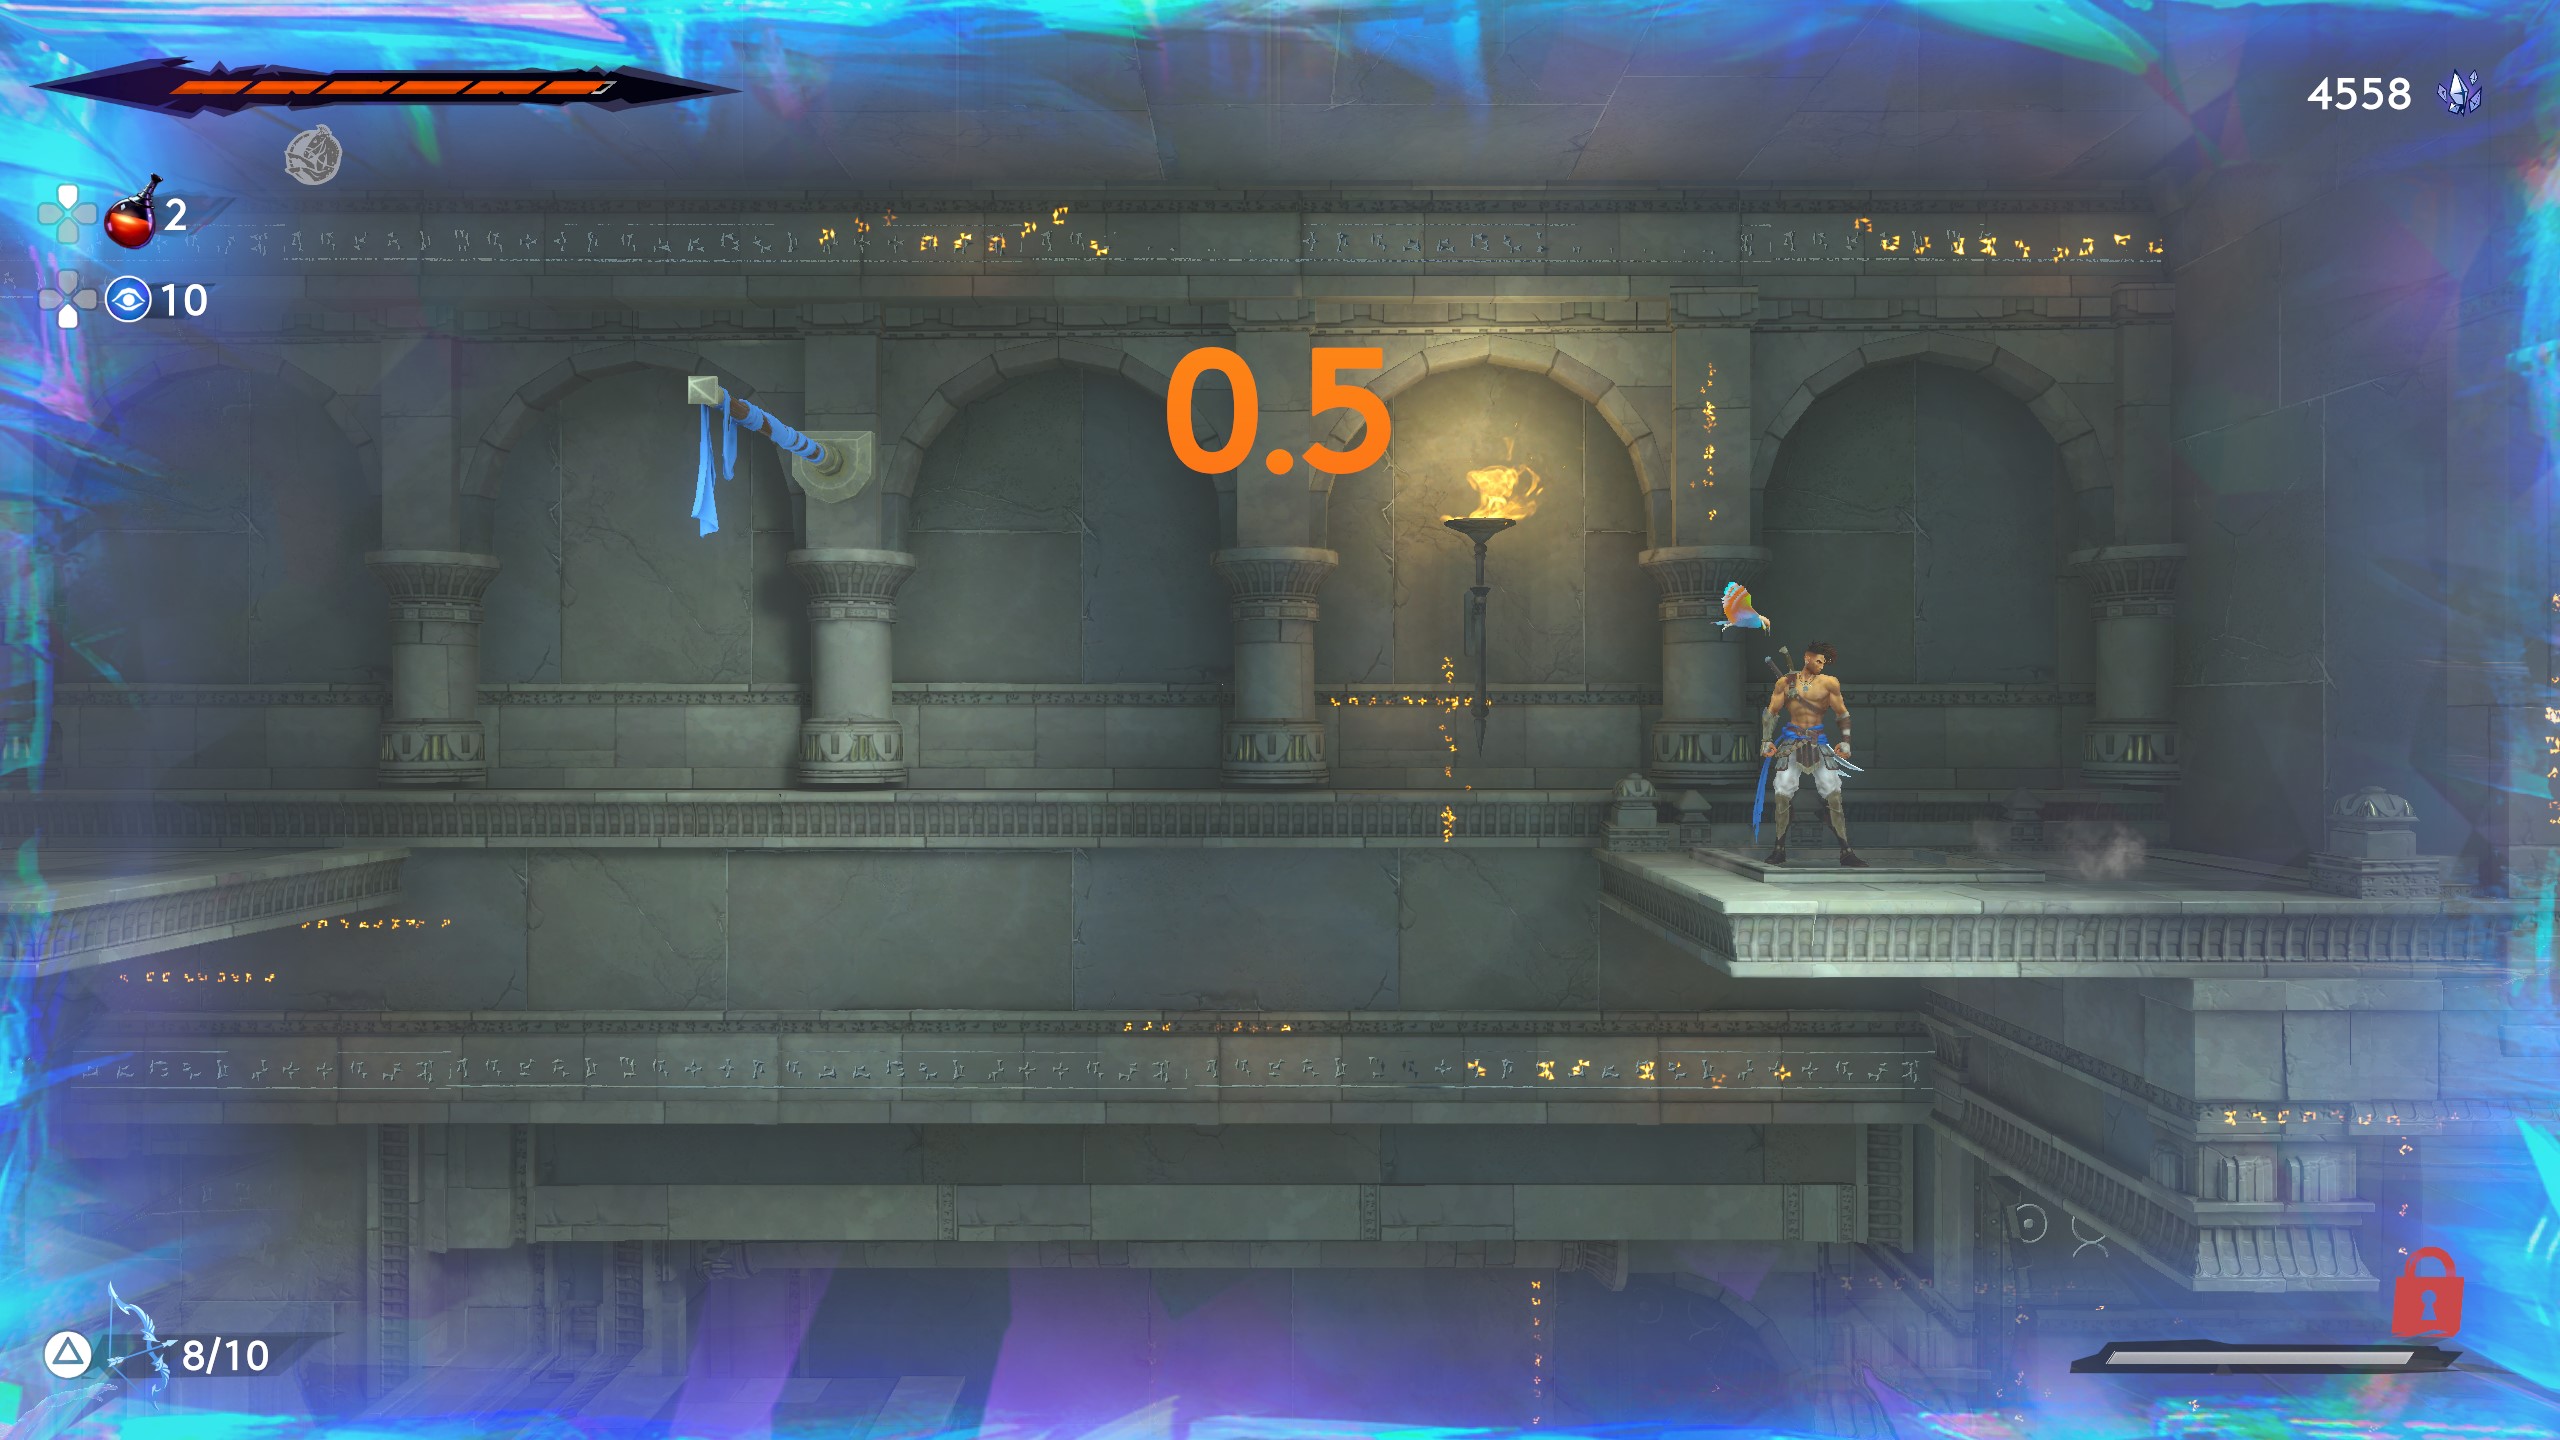
This one is a bit harder and requires you to use the Shadow of the Simurgh ability with your first Sargon to create a warp point that your second Sargon can then use to get to the pressure plate at the top of the room and activate it before the time runs out.
Here's what you need to do step-by-step:
- Make as much progress as you can with your first Sargon towards the pressure plate at the top of the room. Just before the timer runs out, use the Shadow of the Simurgh ability to create an echo you can warp to. Make sure to do this on the ground—I recommend right before the wall-jumping section.
- Activate the Shadow of the Simurgh ability with your second Sargon to warp straight to the first's final position. Use the remaining time to get to the top of the room and stand on the pressure plate to open the gate.
- Now send your third Sargon through the gate at the bottom of the chamber when it opens to grab the tablet.
Third Secret Room (bottom right portal)
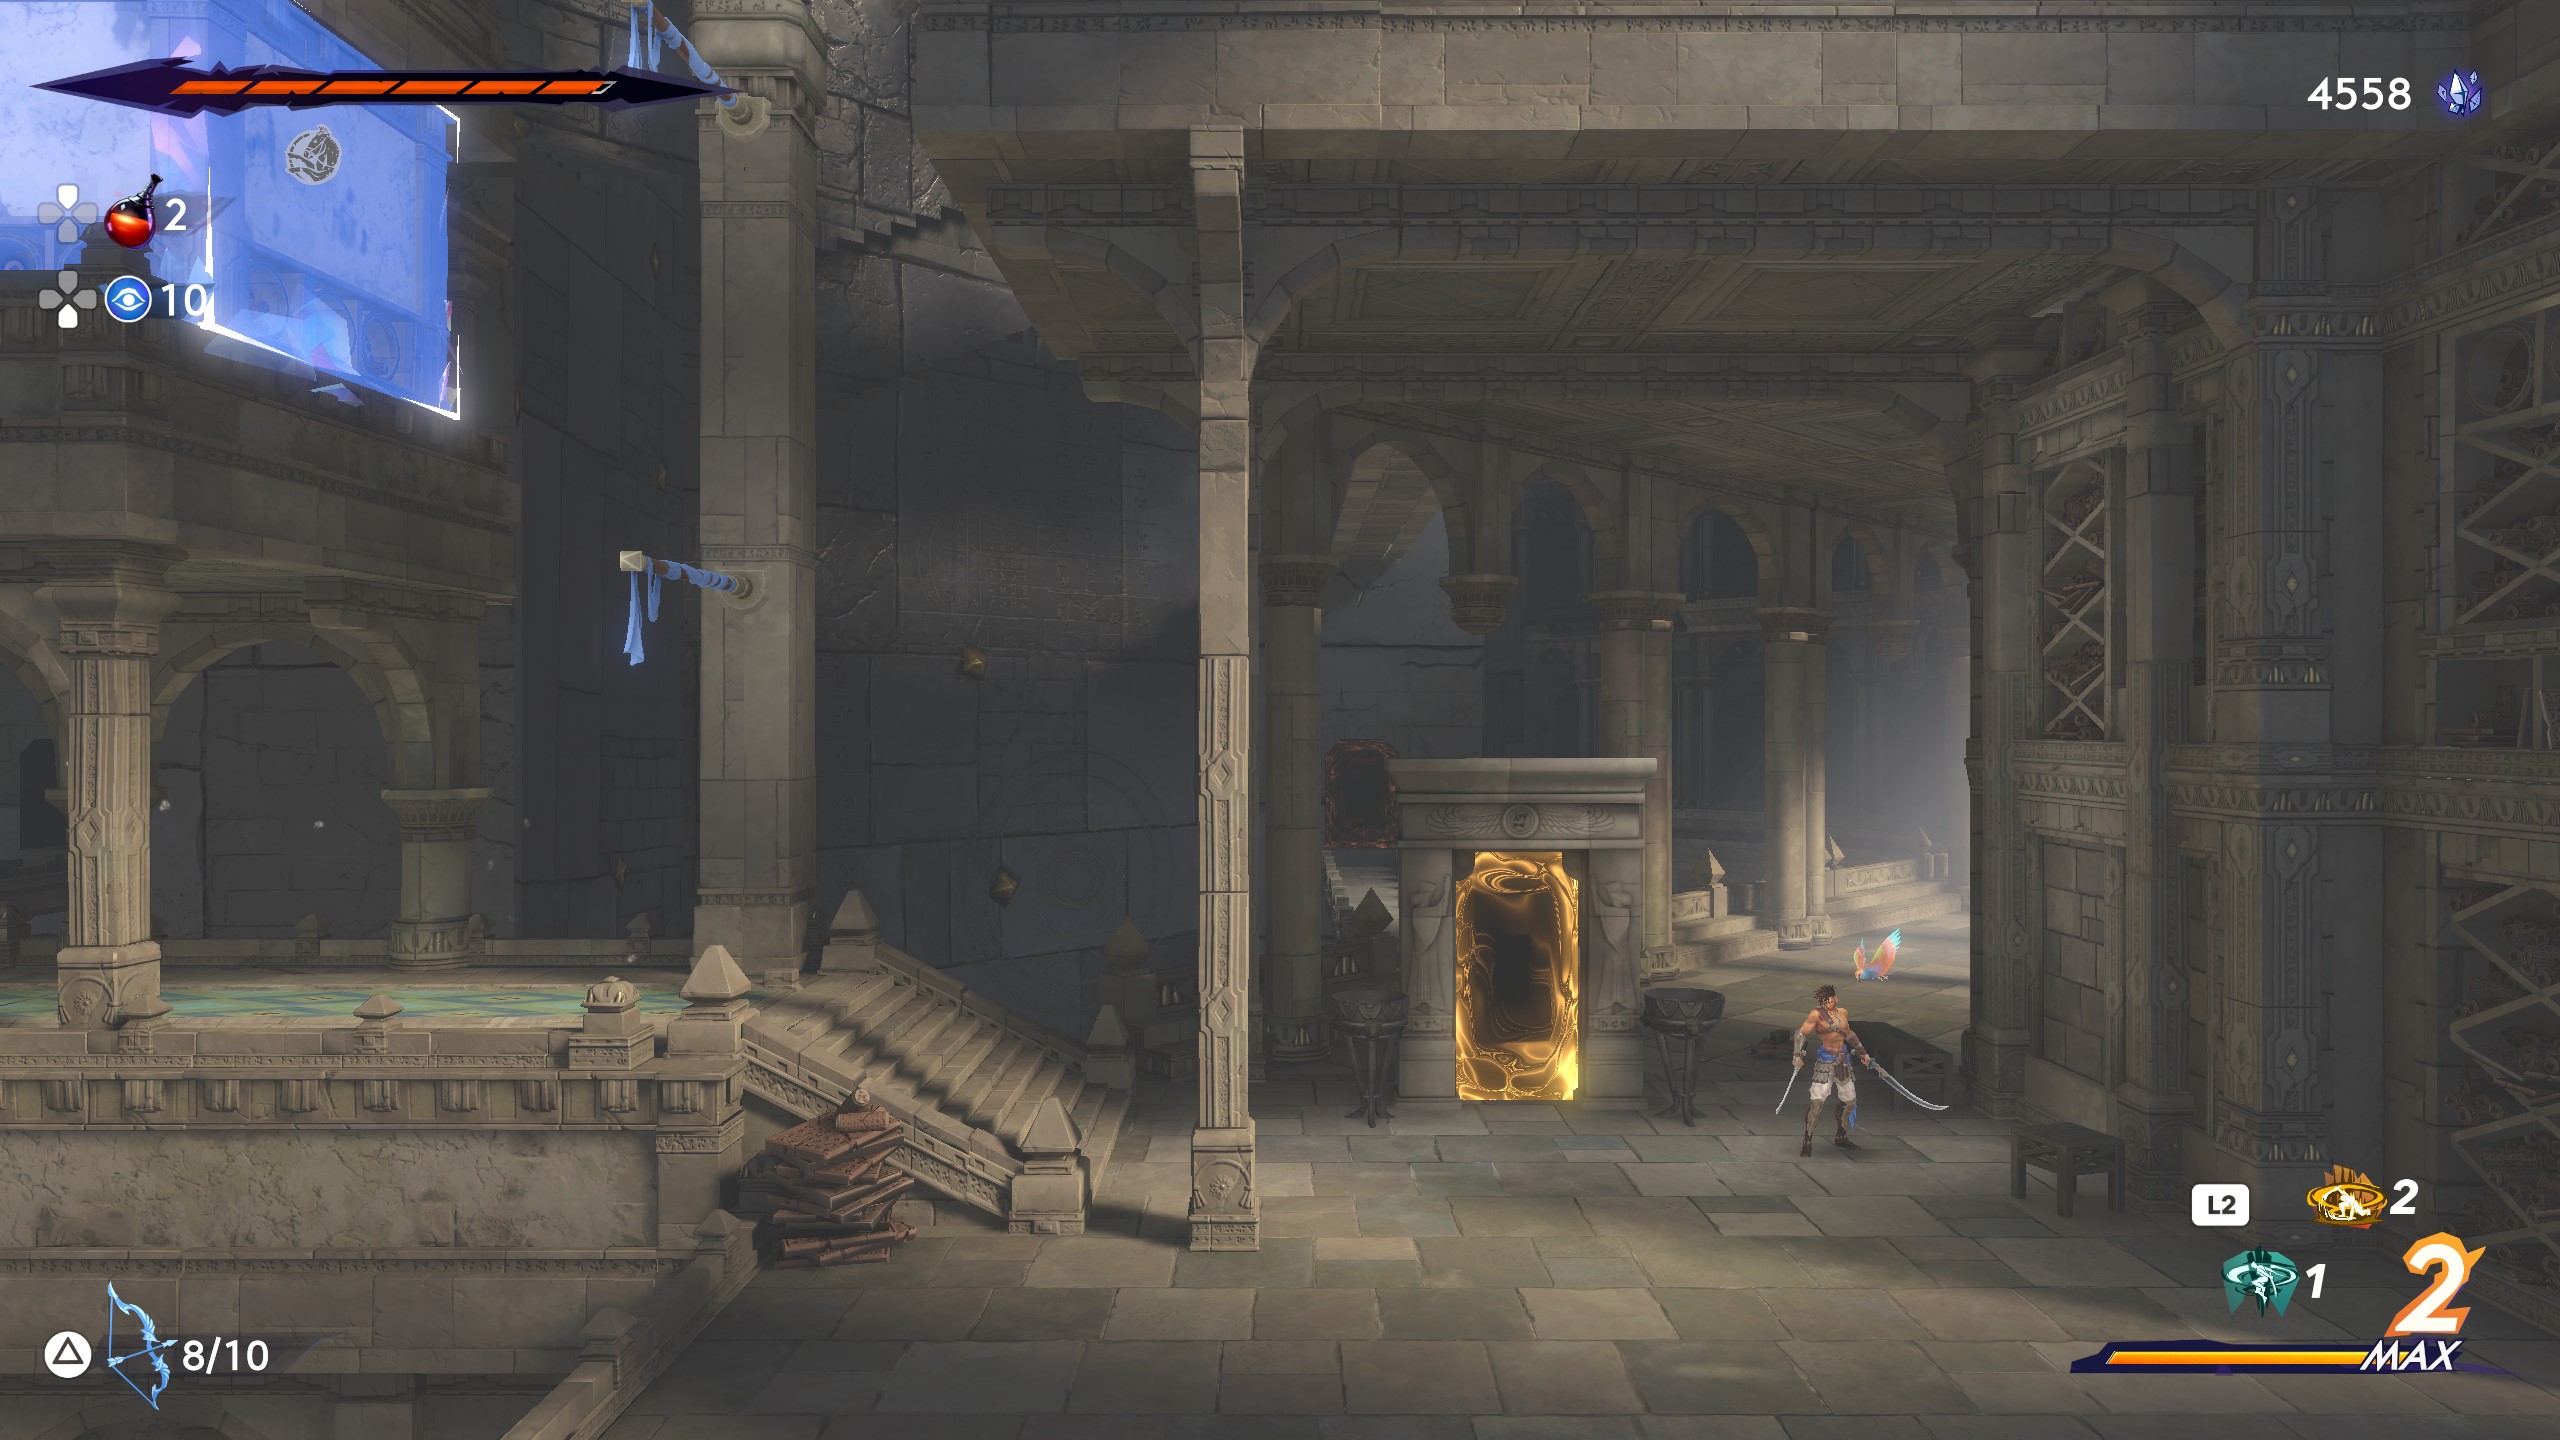
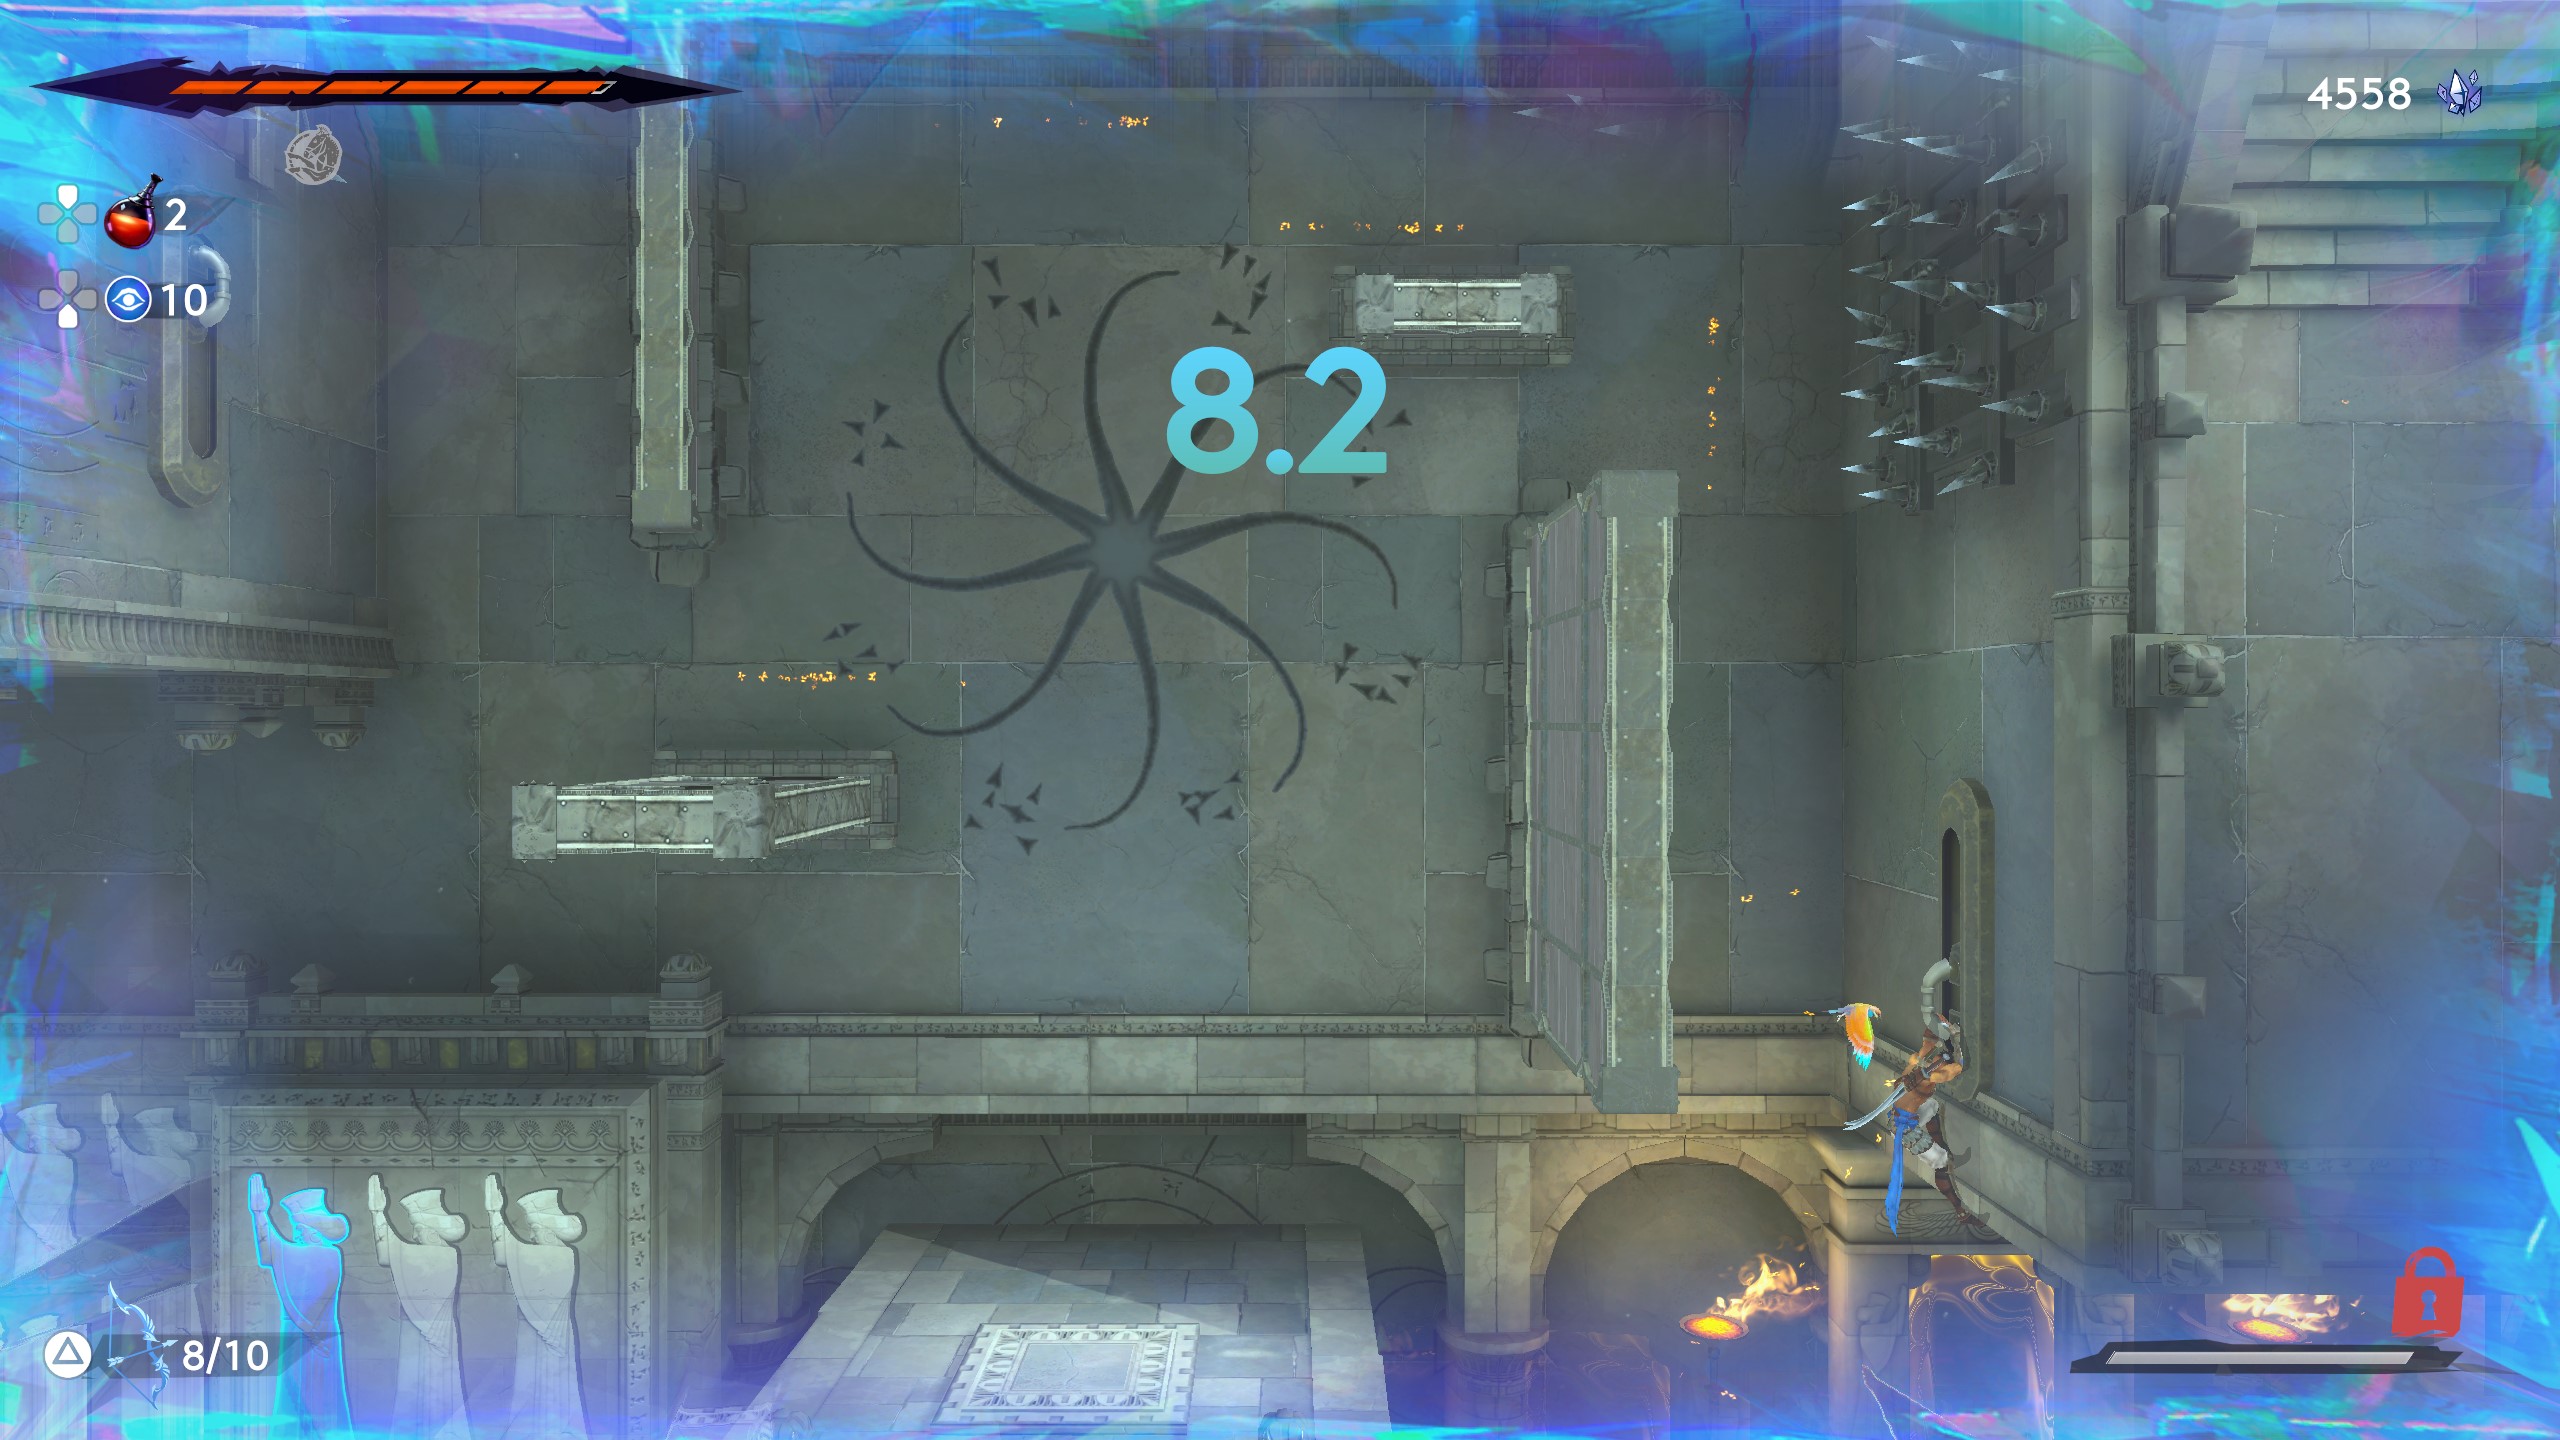
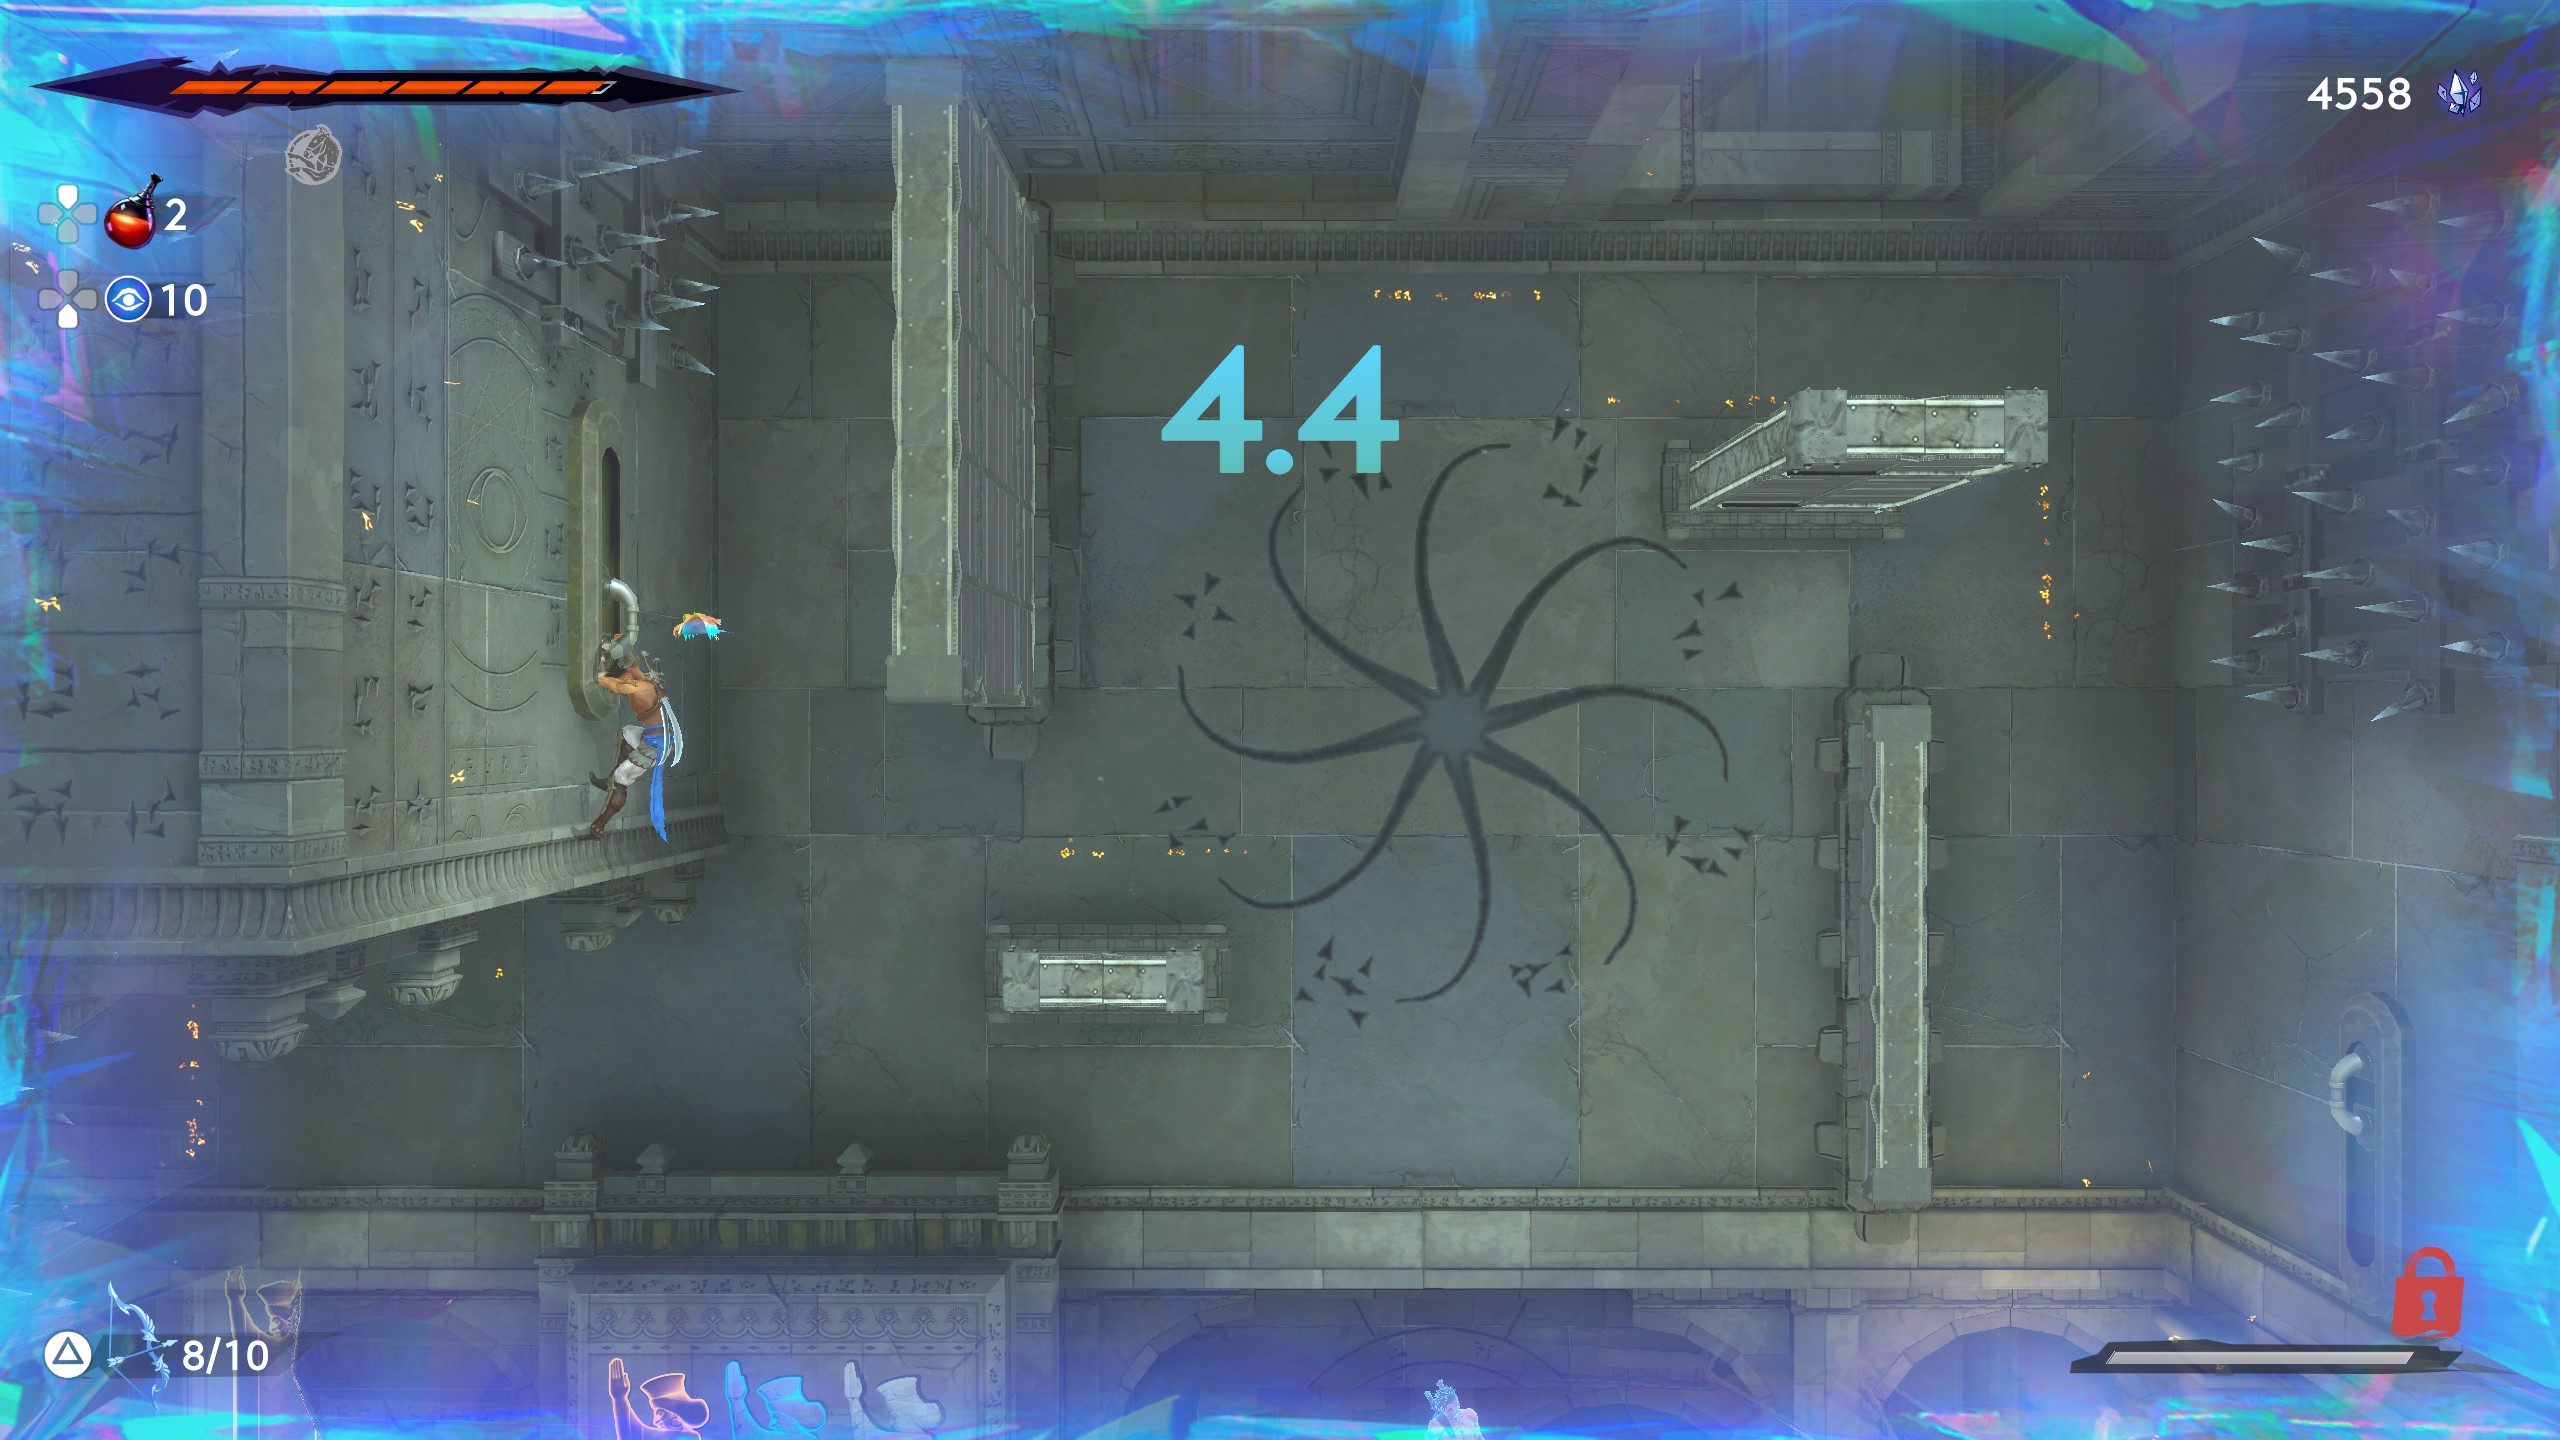
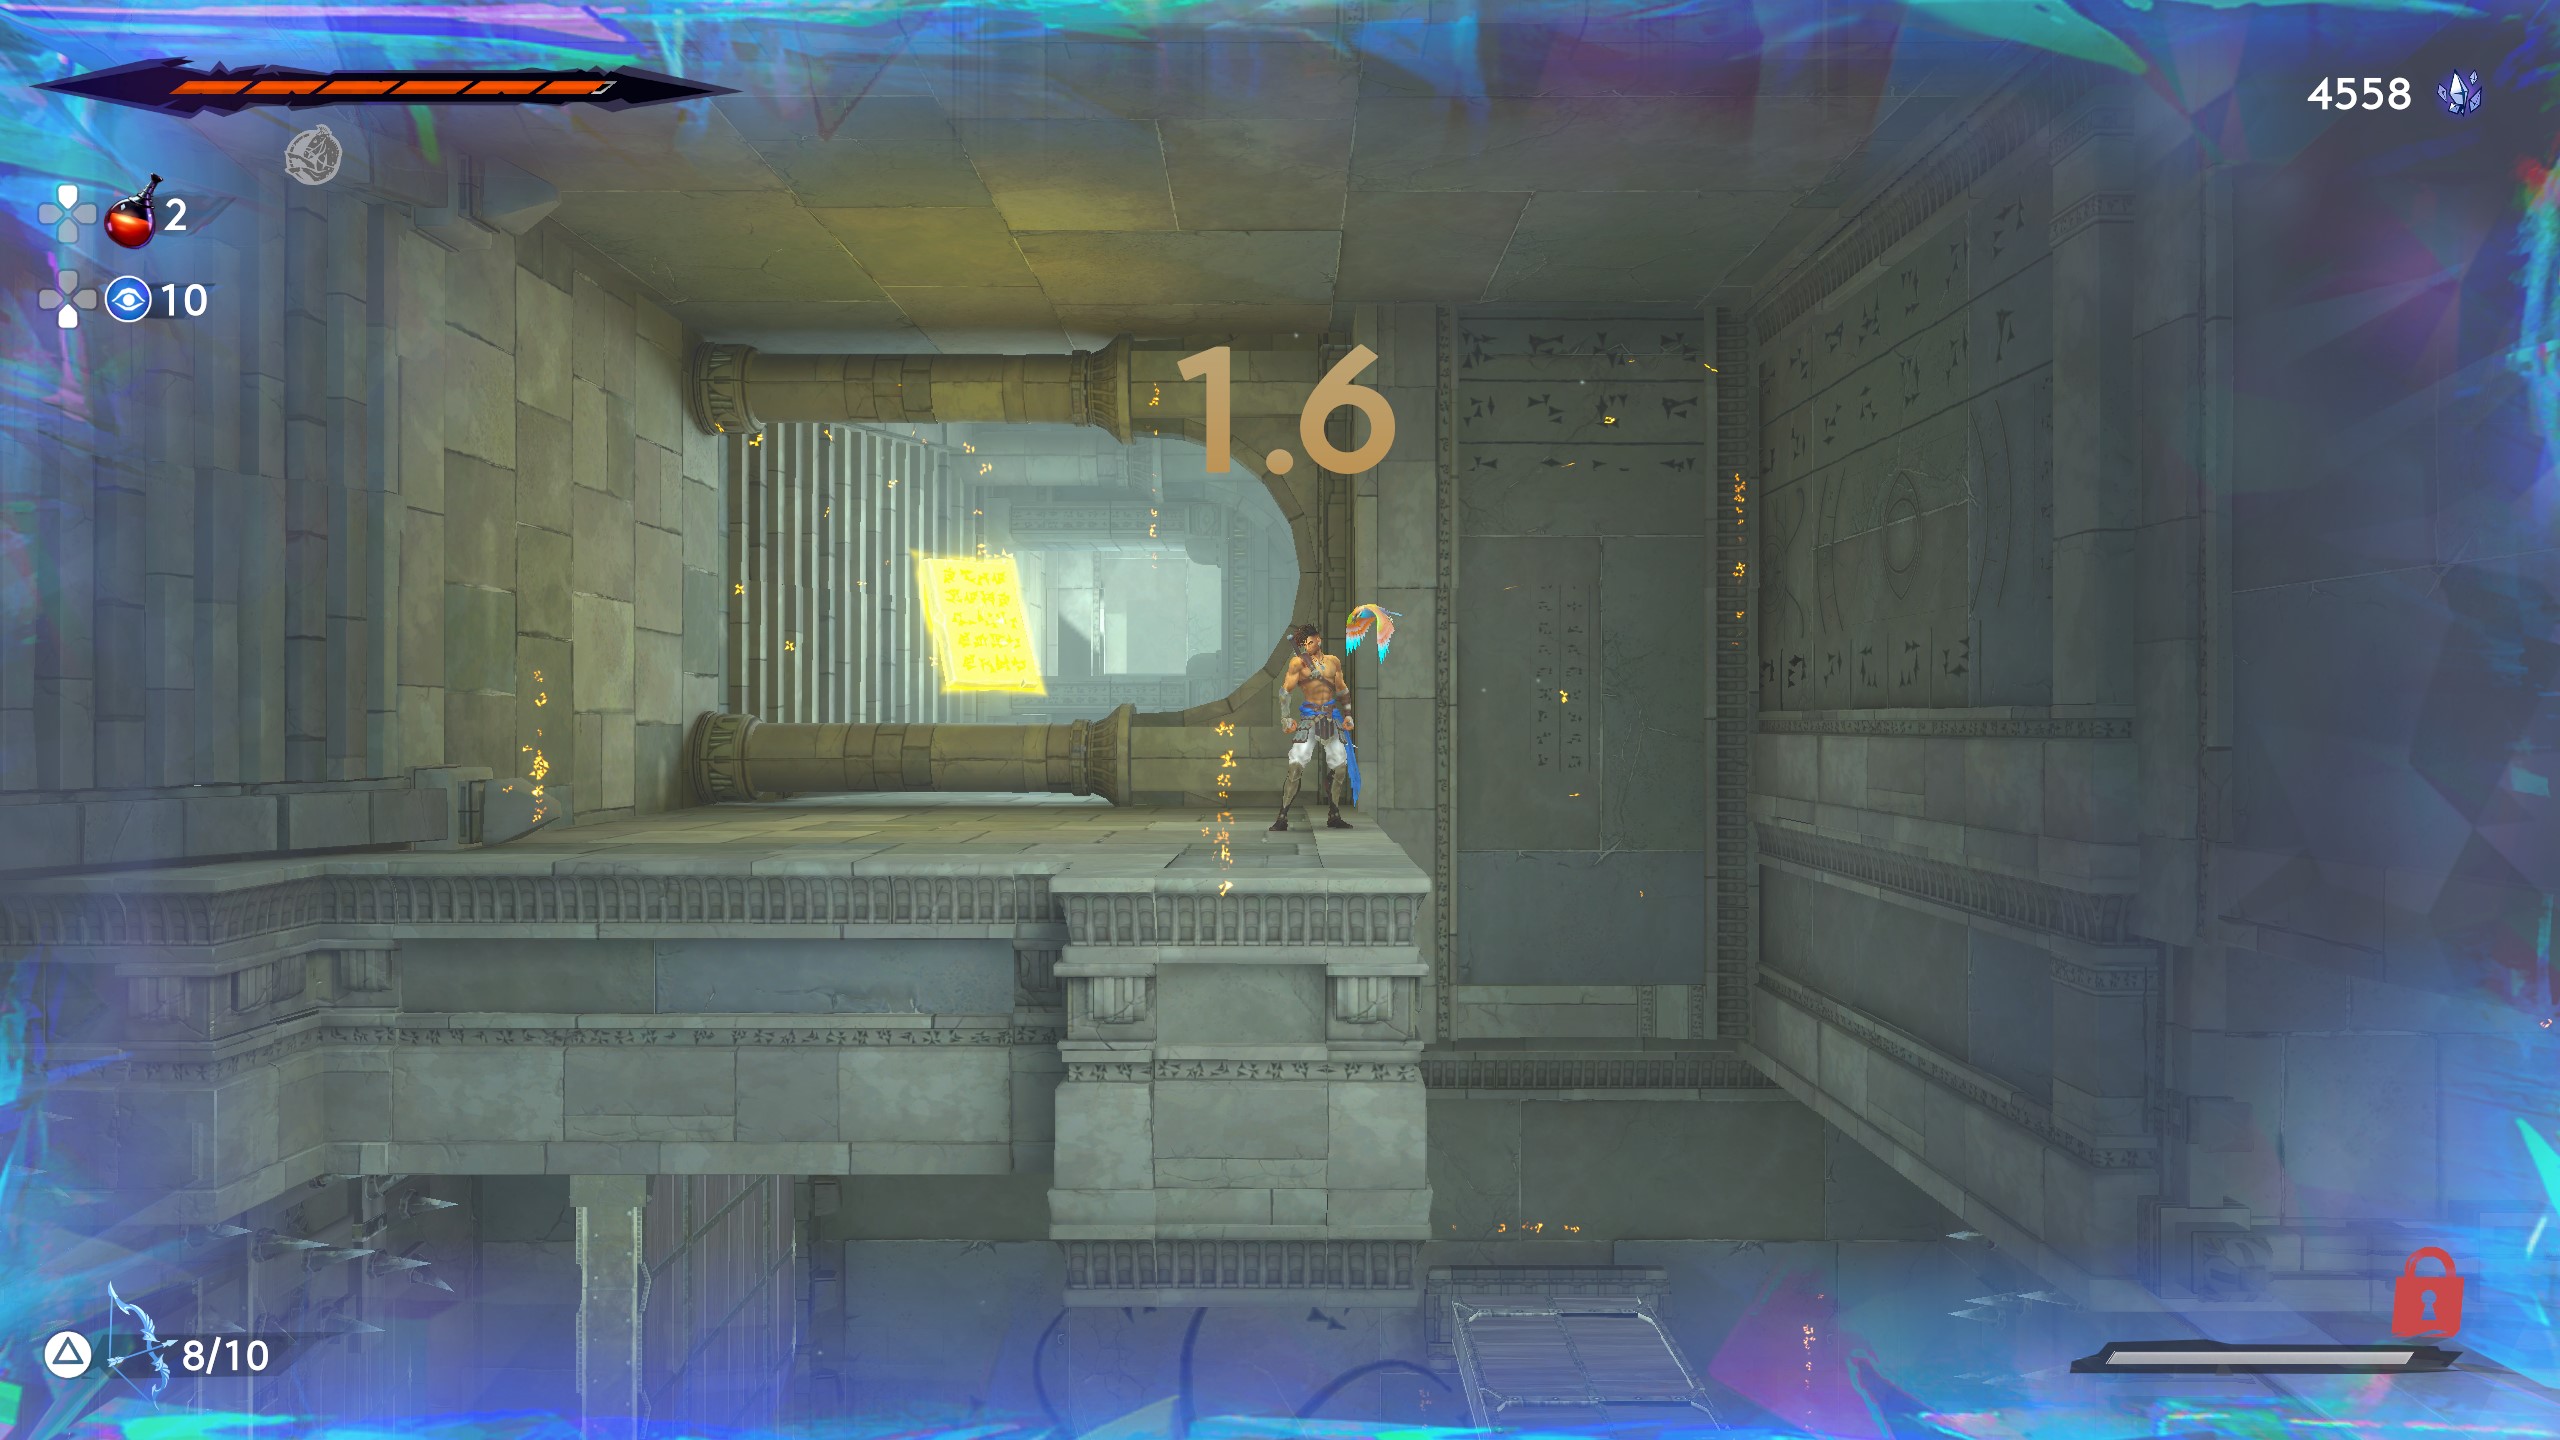
This room is tricky since it requires you to perform multiple tasks with your first Sargon in order to open the way to the tablet at the top of the chamber.
Keep up to date with the most important stories and the best deals, as picked by the PC Gamer team.
Here's what to do with each Sargon:
- Jump up onto the platform with your first Sargon and then onto the right wall to activate the pull-down switch. After a few seconds, jump back onto the middle platform and stand on the pressure plate there.
- Wait for the first Sargon to pull down the switch and make the wall appear, then jump up to the next level with your second Sargon and activate the pull-down switch on the left-hand wall.
- Now with your third Sargon, follow the path of the second up to the next level, then wait for the first Sargon to step on the pressure plate and activate the platform that'll let you get to the top of the room and grab the tablet.
Fourth Secret Room (top right portal)
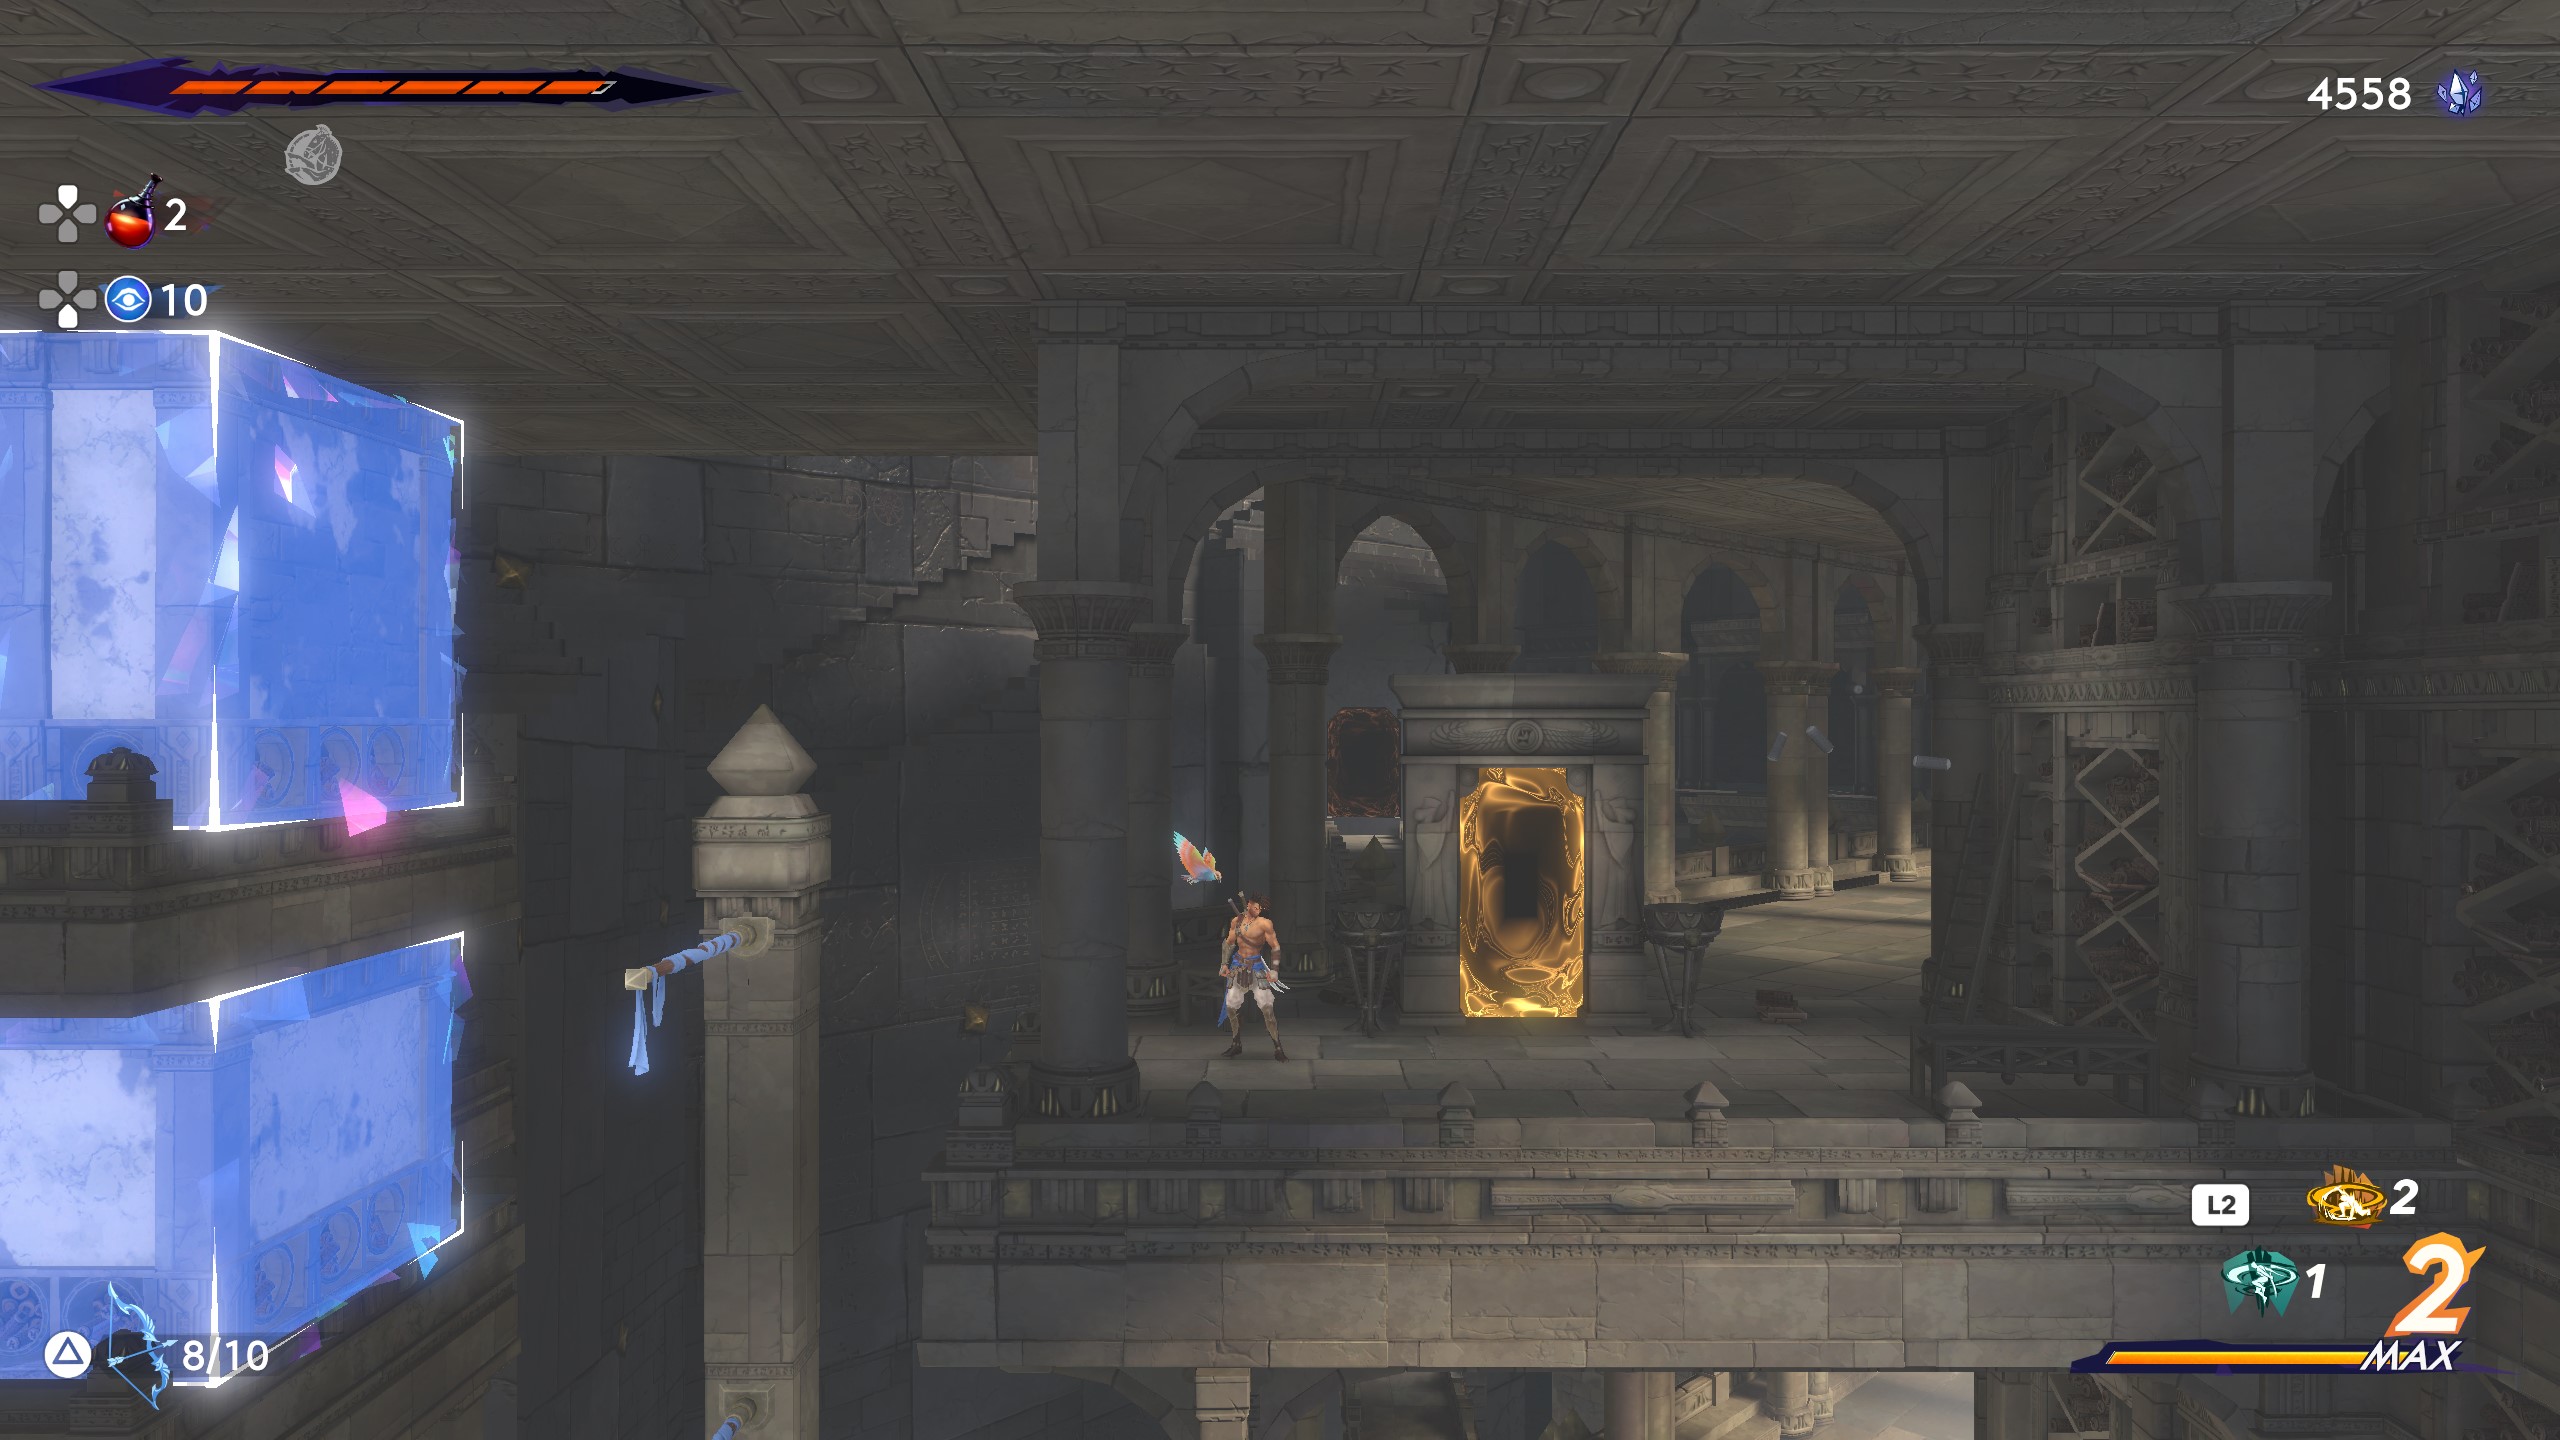
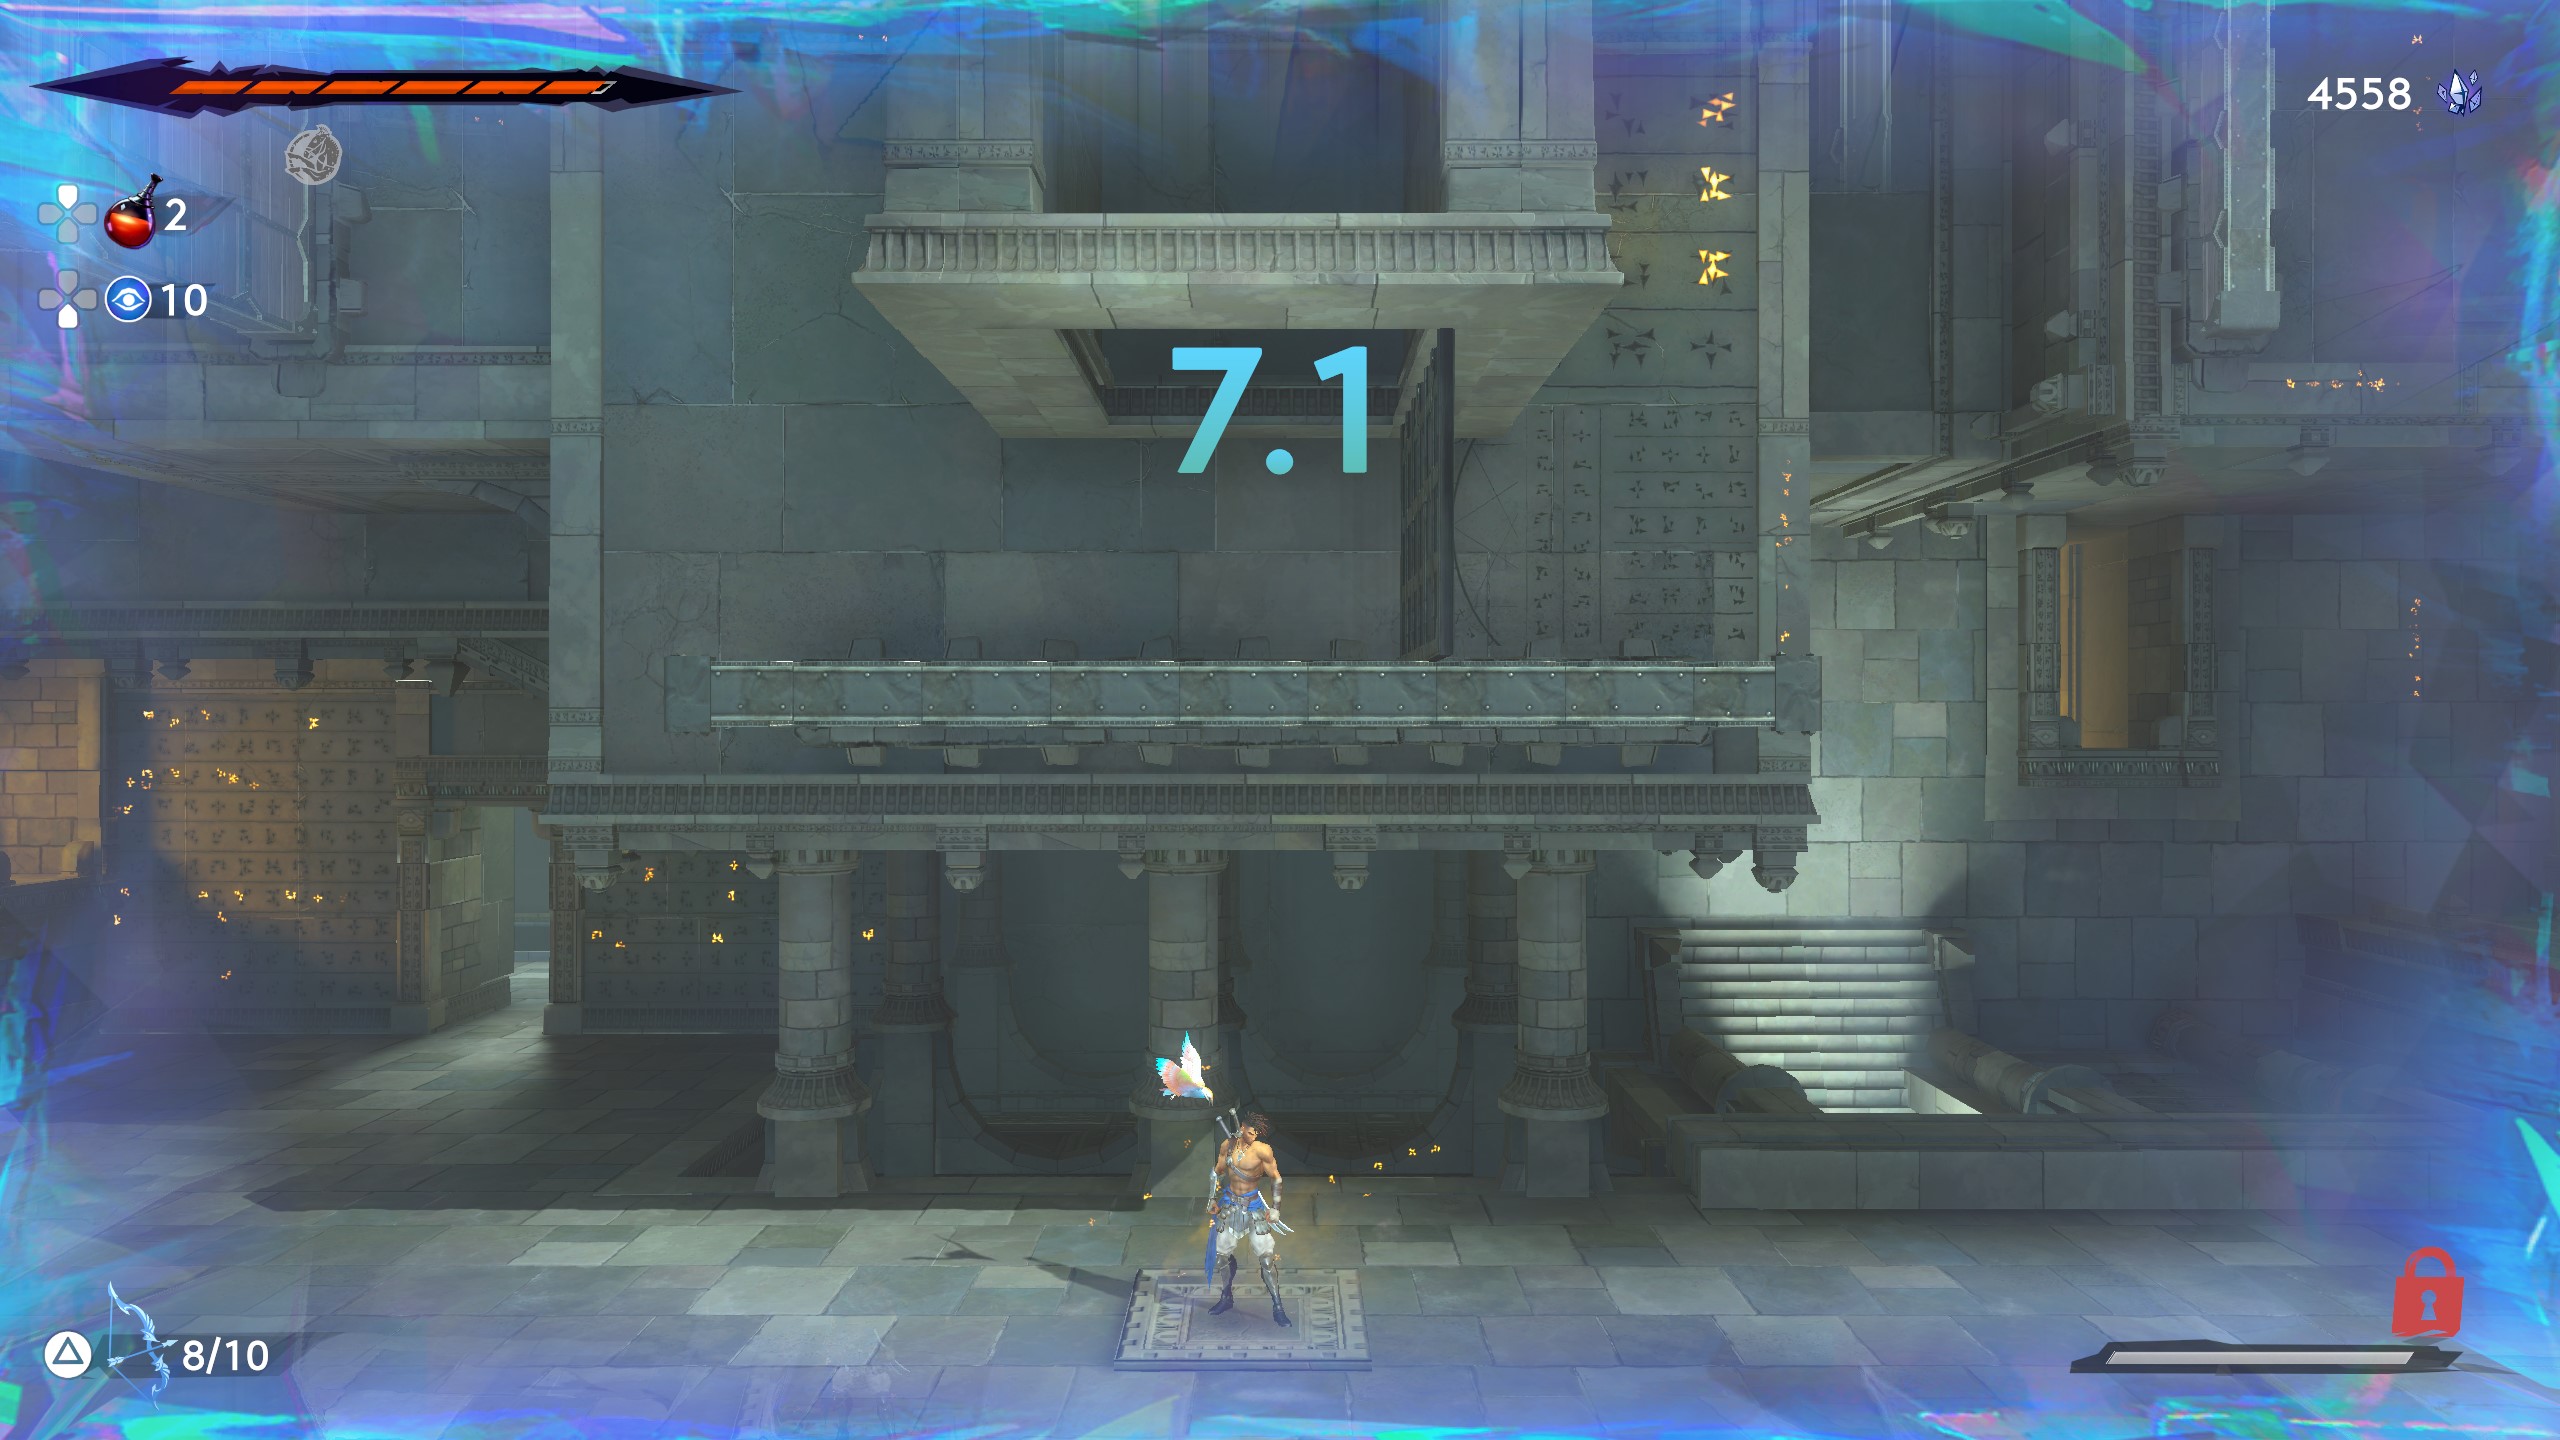
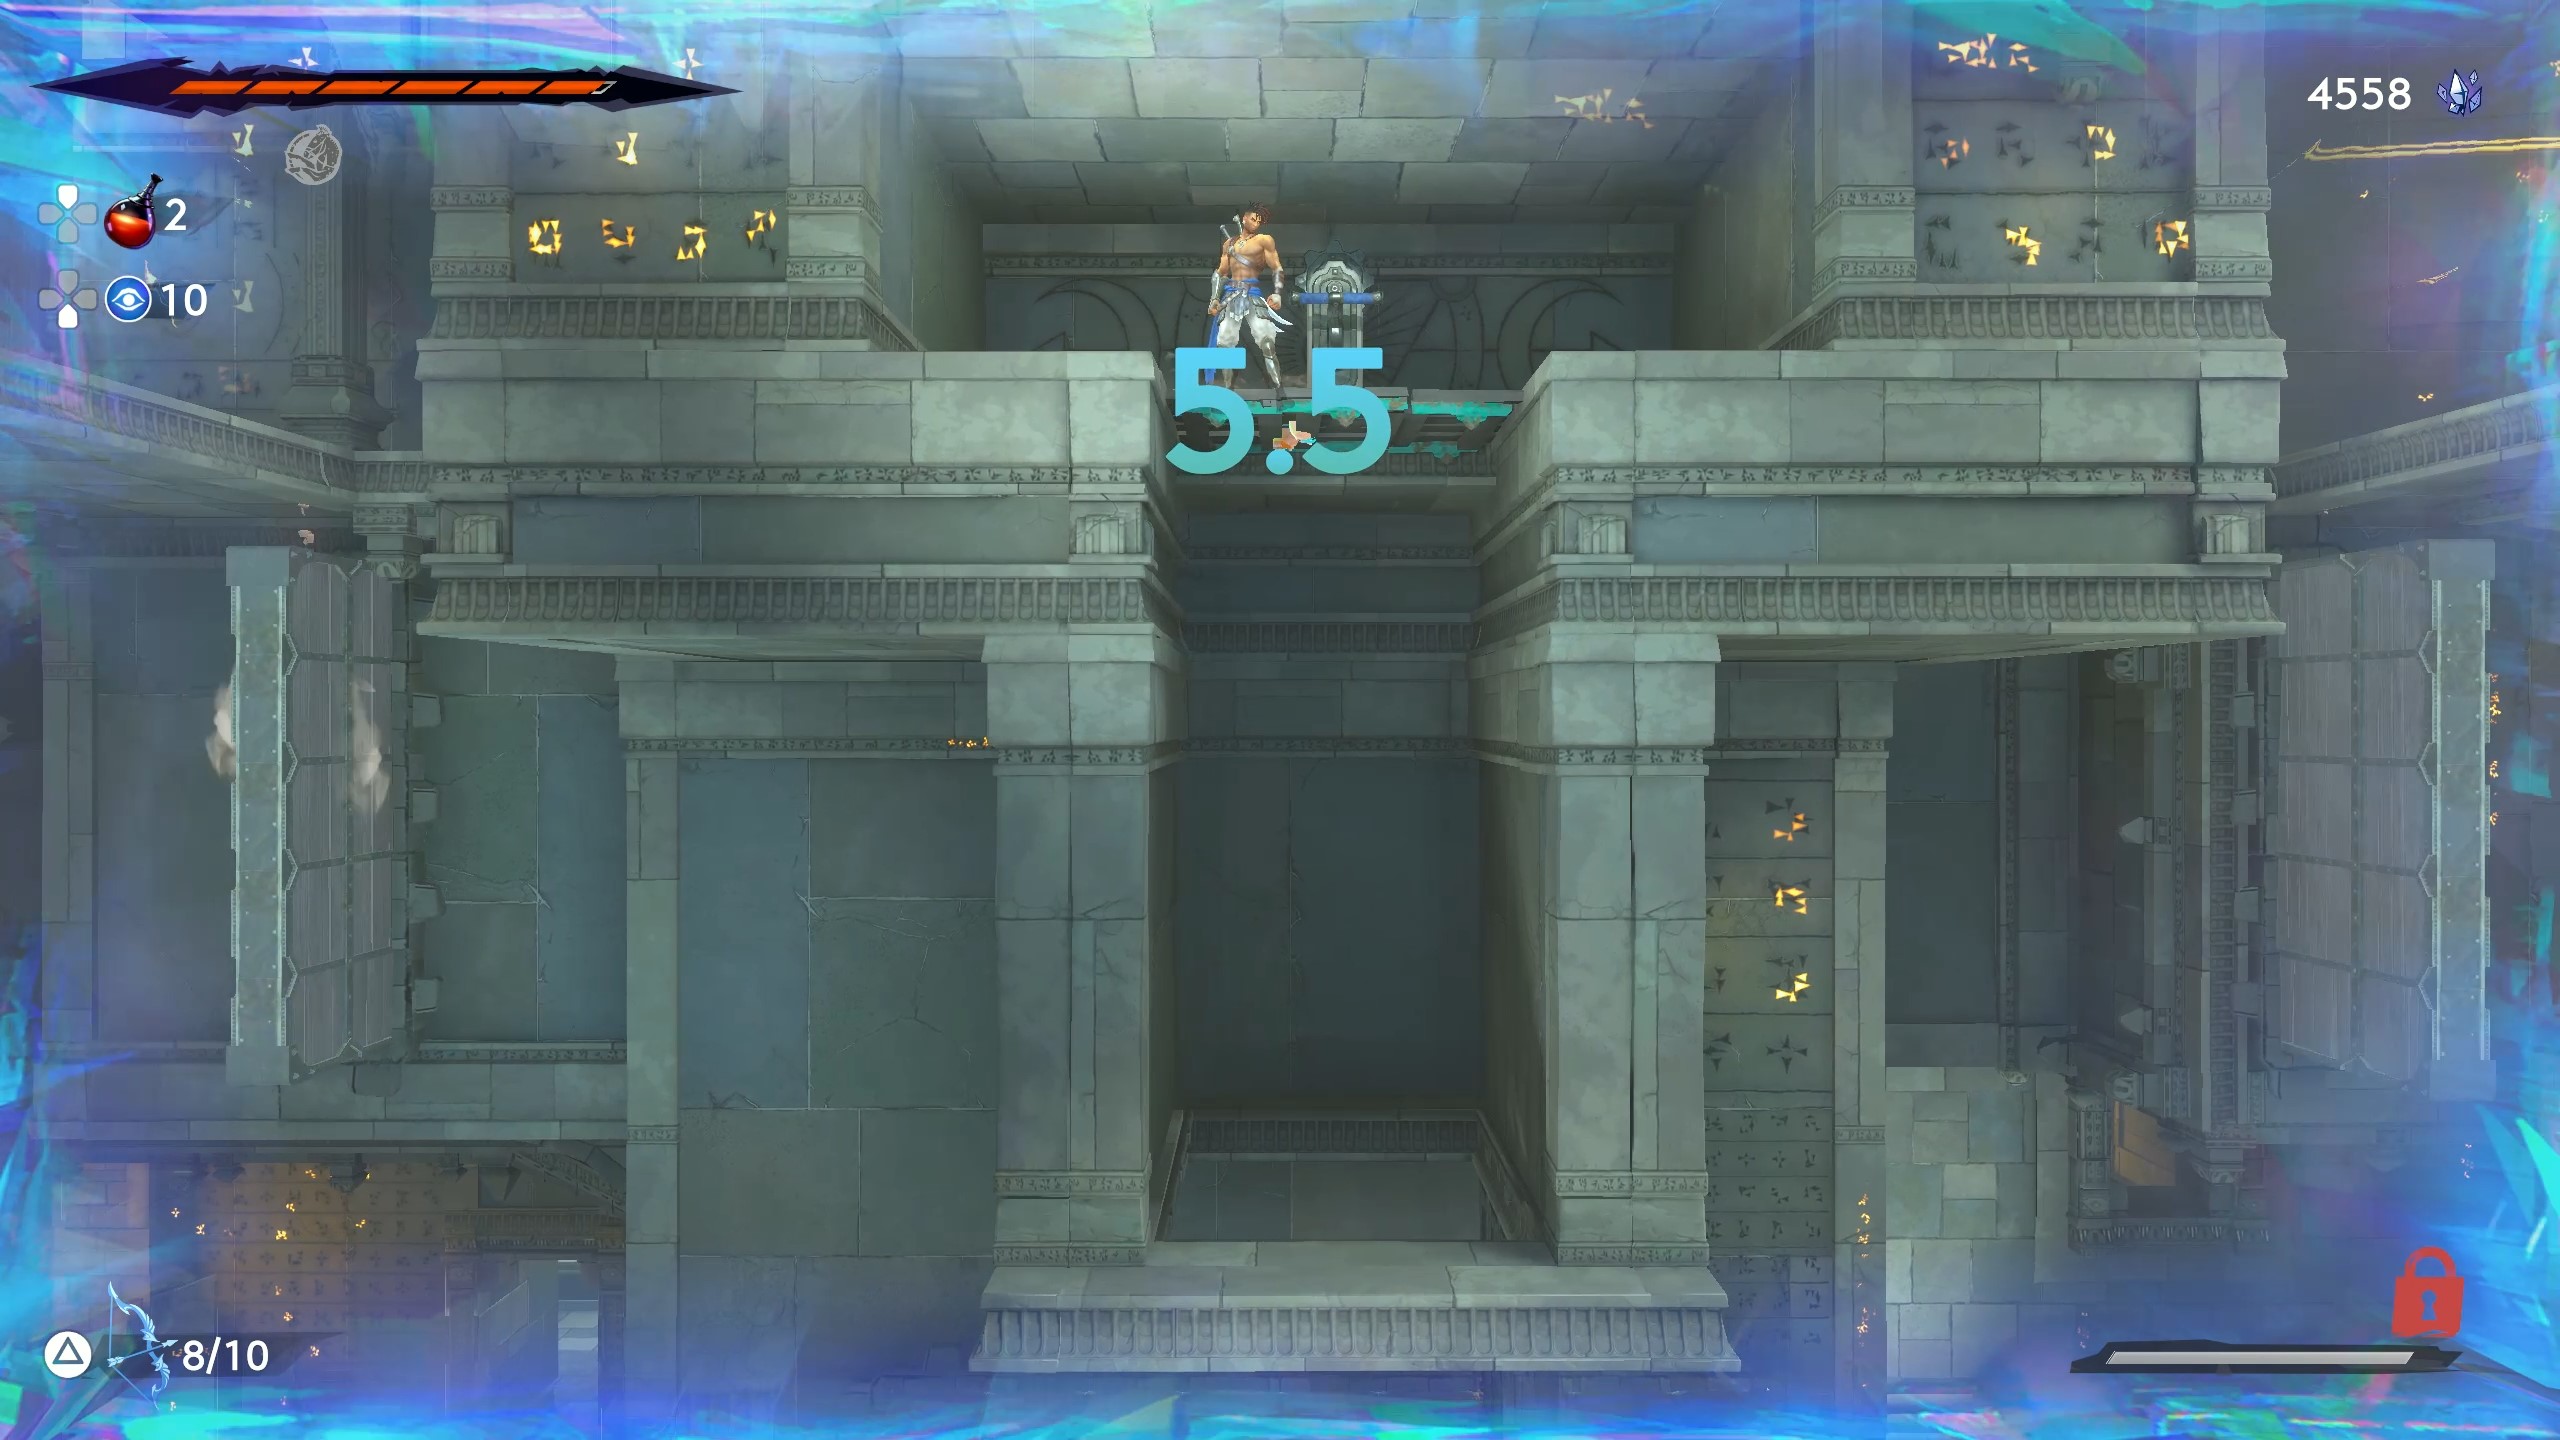
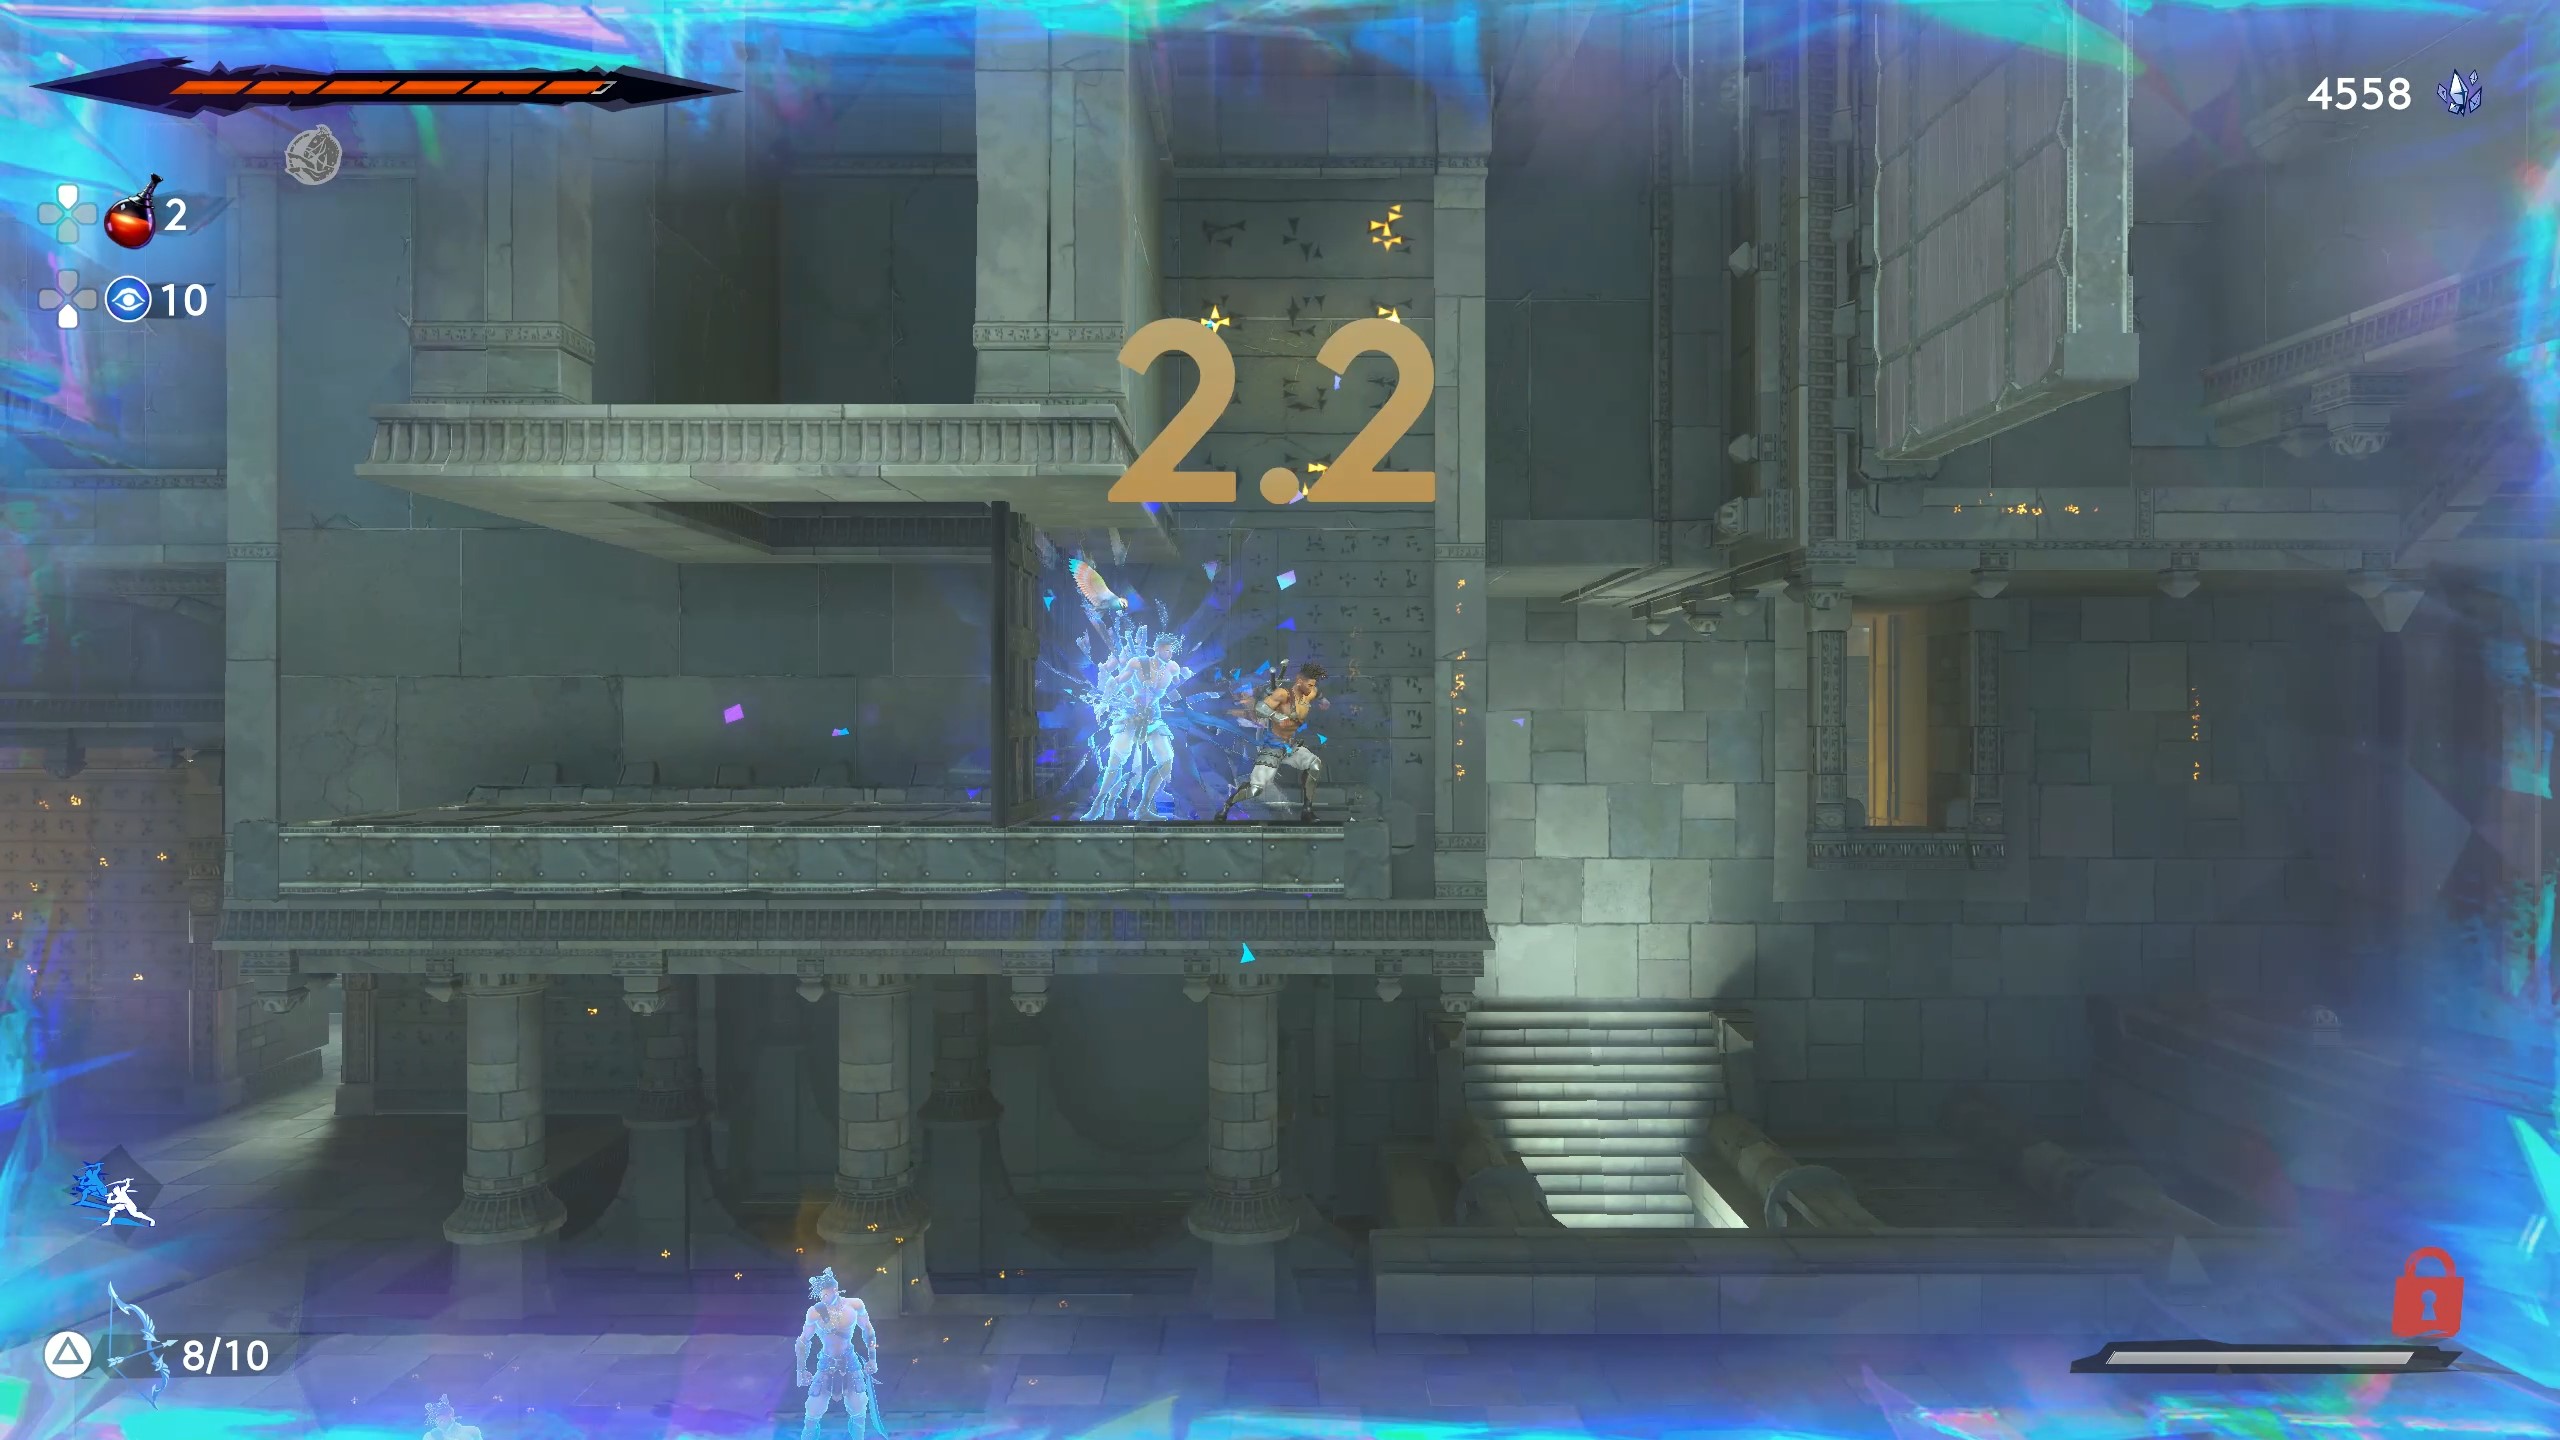
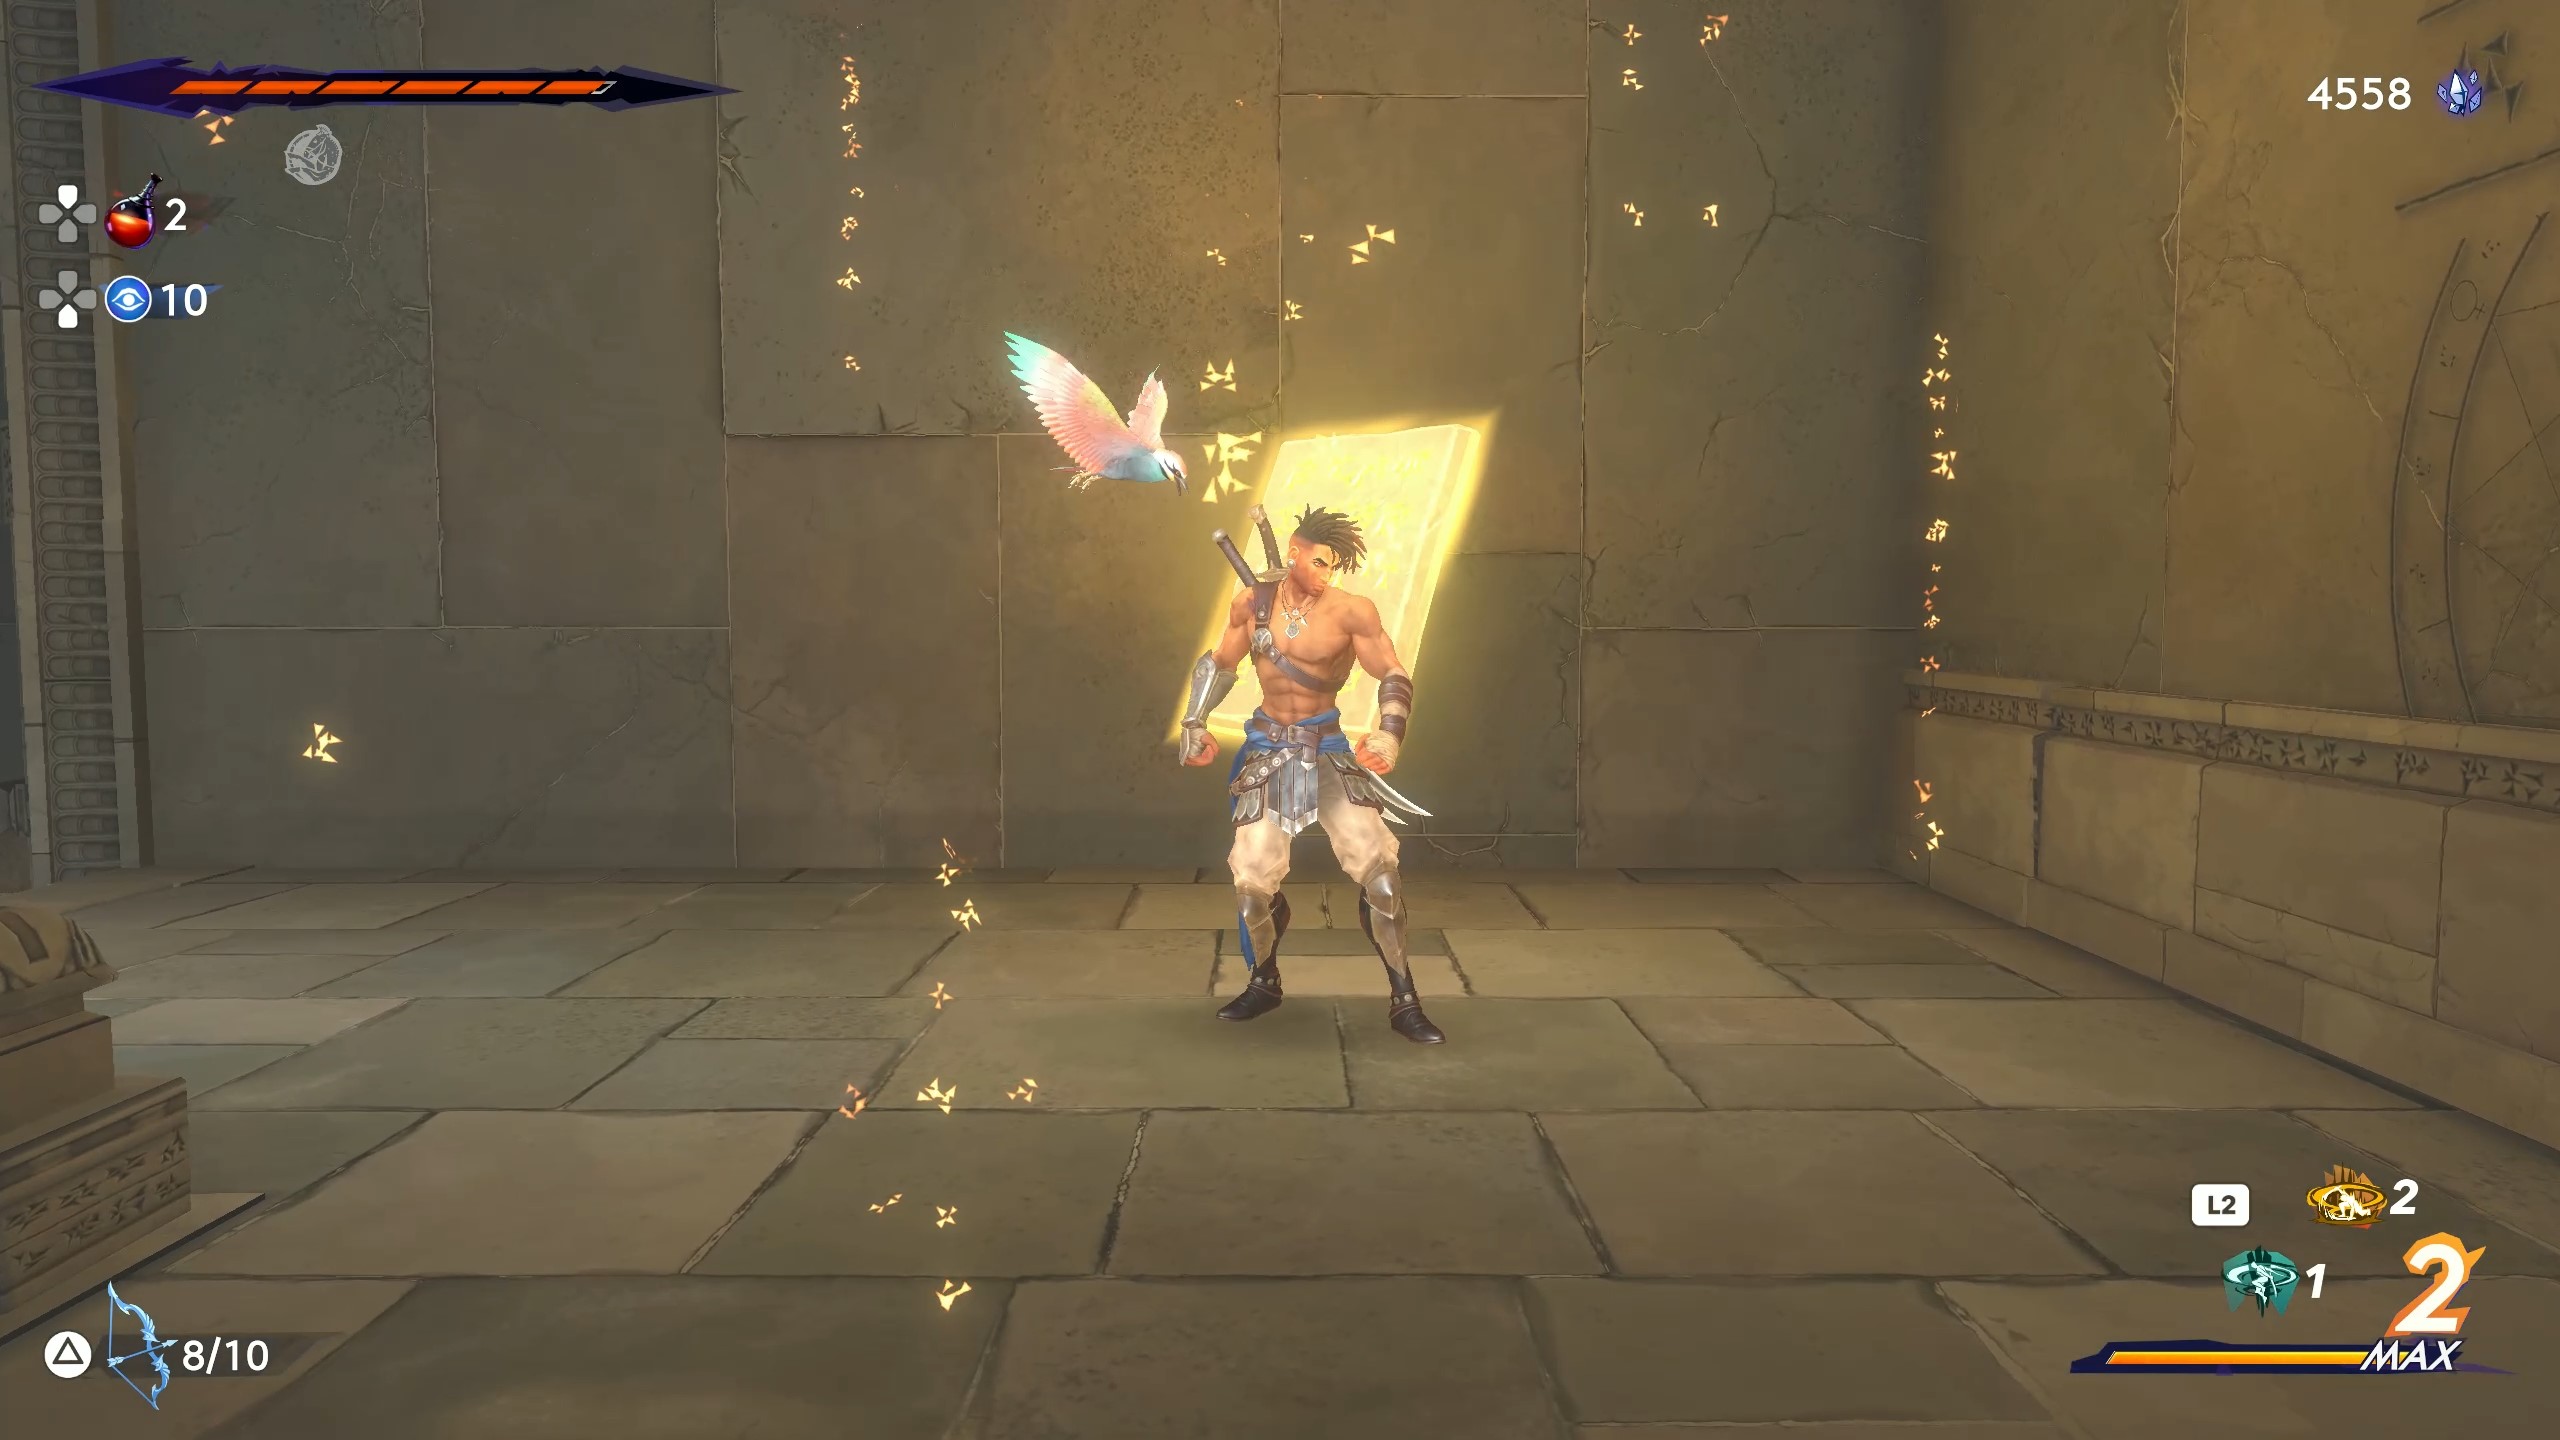
This one is the hardest, since it combines using the Shadow of the Simurgh ability from the second puzzle while having a Sargon perform multiple tasks like in the third.
Here's each step:
- Send your first Sargon to the bottom of the room and activate the pressure plate to lower the platform and open the trapdoor. Wait around four seconds, then step off the plate and quickly back onto it again.
- Use your second Sargon to drop and dash onto the platform that the first activates, then wall jump up through the trapdoor quickly and activate the switch there. Drop back down onto the platform in time for when the first Sargon steps off it. This will give you a brief moment to dash past the closing trapdoor and use Shadow of the Simurgh on the other side to leave a warp point.
- Once the first Sargon has activated the platform, use Shadow of the Simurgh to warp your third Sargon to the second Sargon's final position. Wait for the second Sargon to go up the trapdoor and activate the wall to jump up, then make your way to the top of the room to grab the final tablet.
When you've completed all four secret rooms, the barriers blocking the central portal will disappear, so you can head inside and grab the Clairvoyance power. If you've also been to the Soma Tree and fought Kiana, you'll now be able to make your way into the Pit of Eternal Sands and continue the story.

Sean's first PC games were Full Throttle and Total Annihilation and his taste has stayed much the same since. When not scouring games for secrets or bashing his head against puzzles, you'll find him revisiting old Total War campaigns, agonizing over his Destiny 2 fit, or still trying to finish the Horus Heresy. Sean has also written for EDGE, Eurogamer, PCGamesN, Wireframe, EGMNOW, and Inverse.
