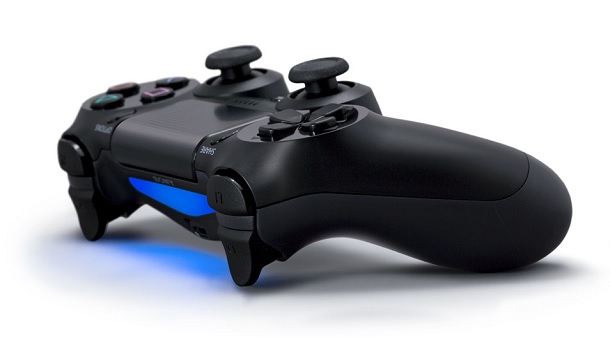
How to use a Nintendo Switch Pro controller on PC
The easiest way to connect Nintendo's Switch Pro controller to your PC, wired or via Bluetooth.
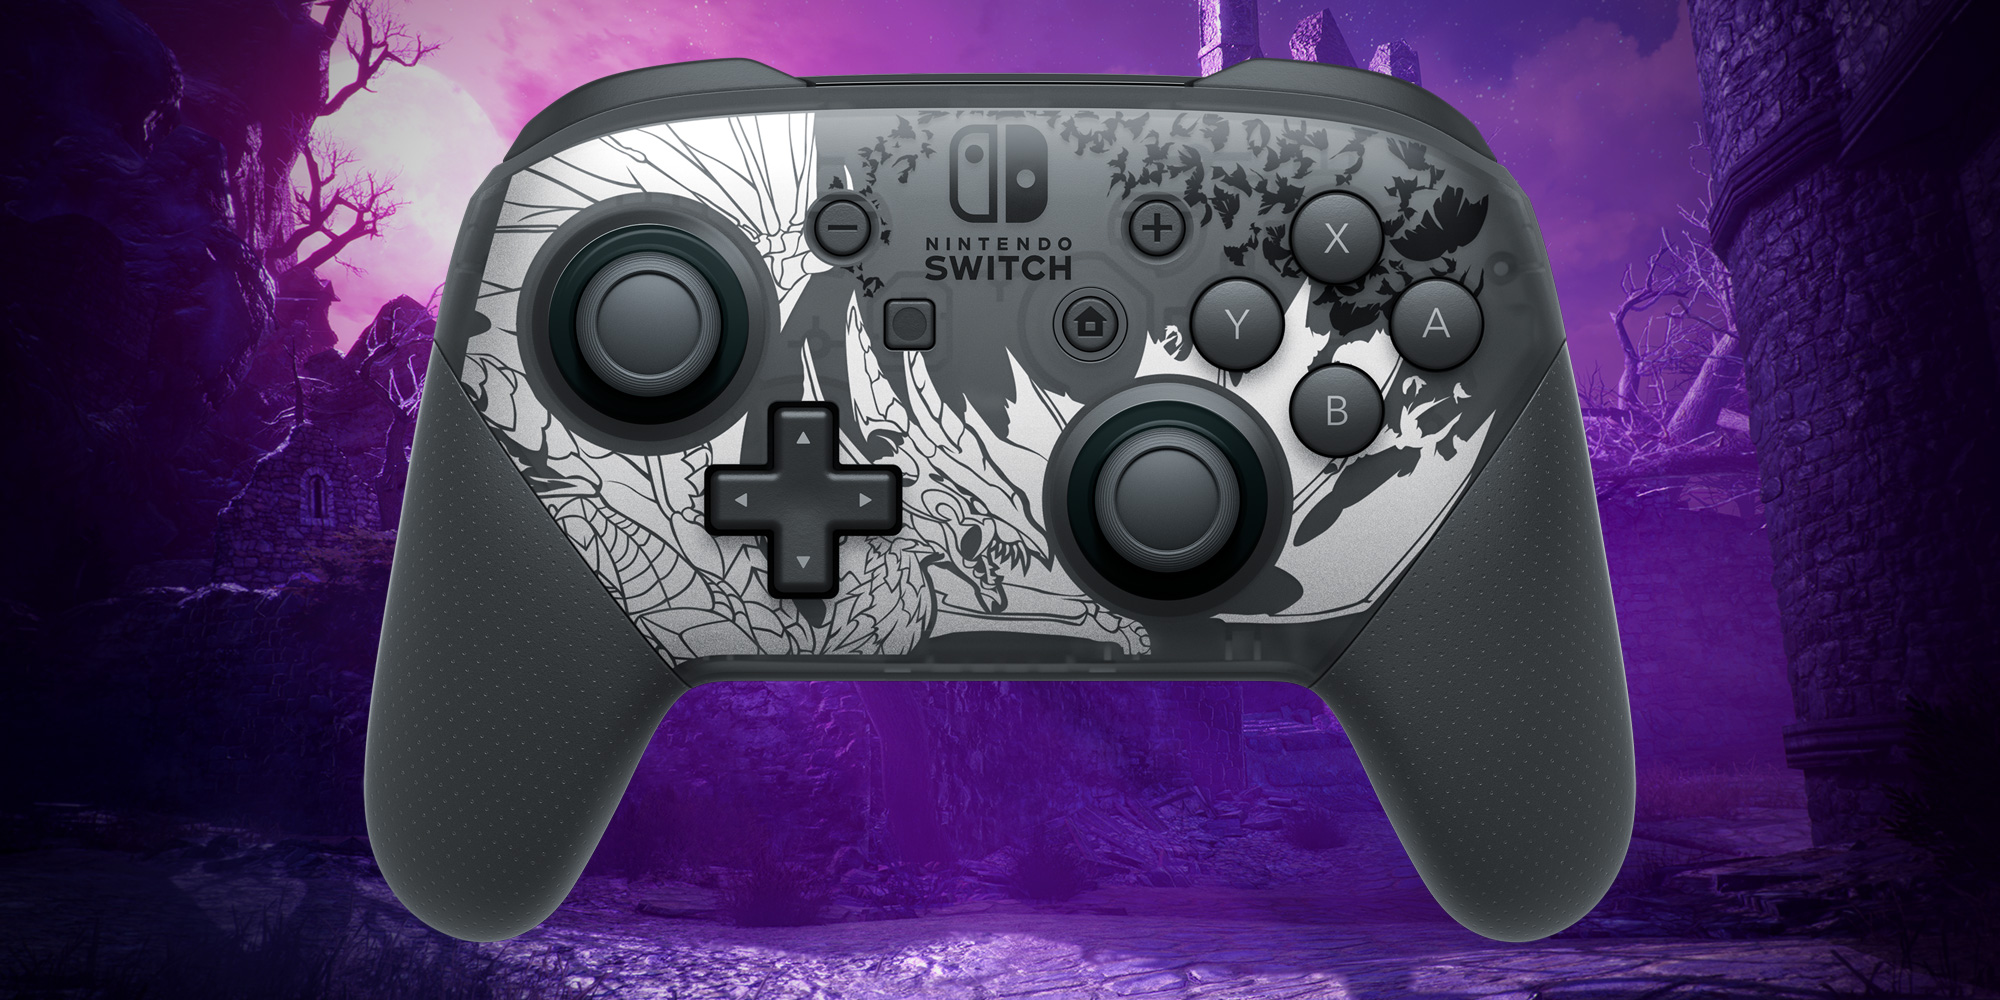
Nintendo has announced the Nintendo Switch 2, which has us wondering whether our old Switch accessories will be accessible with the new handheld system when it releases. Even if they aren't, we won't be too bummed, because we can still connect our Nintendo Switch Pro controllers to PC anytime. One of the best game pads ever made is easy to use in Windows, either as a Bluetooth controller with stellar battery life or plugged in via trusty USB.
The Switch Pro controller nails the "premium" feeling I love in a controller. It's weighty but not too weighty, sturdy and compact, with excellent joysticks and triggers and a good-enough D-pad. Heck, who needs a Switch? Thanks to Steam, getting the Switch Pro controller working on PC is so quick it's a perfectly suitable dedicated PC pad. It doesn't make our list of the best PC controllers in 2025, but if you already own one, you should absolutely put it to use.
I recommend using Steam's built-in controller support to set up the Switch Pro controller on PC. It takes away any fussy setup and works practically instantly; if all the games you play are on Steam, there's no point in even thinking about other solutions.
If you do want to play some non-Steam games, that's where the instructions in this guide come in. I'll go over how to get Windows to recognize your Switch Pro controller's inputs with a third-party tool.
But let's quickly go over the basics. First, here's the step-by-step guide on how to get your Nintendo Switch Pro controller working on PC via Bluetooth or wired USB.
Switch Pro controller on PC: Steam setup
How to use the Switch Pro Controller in Steam
Steam's built-in controller configurator recognizes Nintendo's controller as soon as you plug it in, which makes using the controller dead easy in Steam games.
Enabling it is extremely simple. Start by *deep breath* plugging the controller into your PC. You've got this!!!
Keep up to date with the most important stories and the best deals, as picked by the PC Gamer team.
Plugged in? Okay, next:
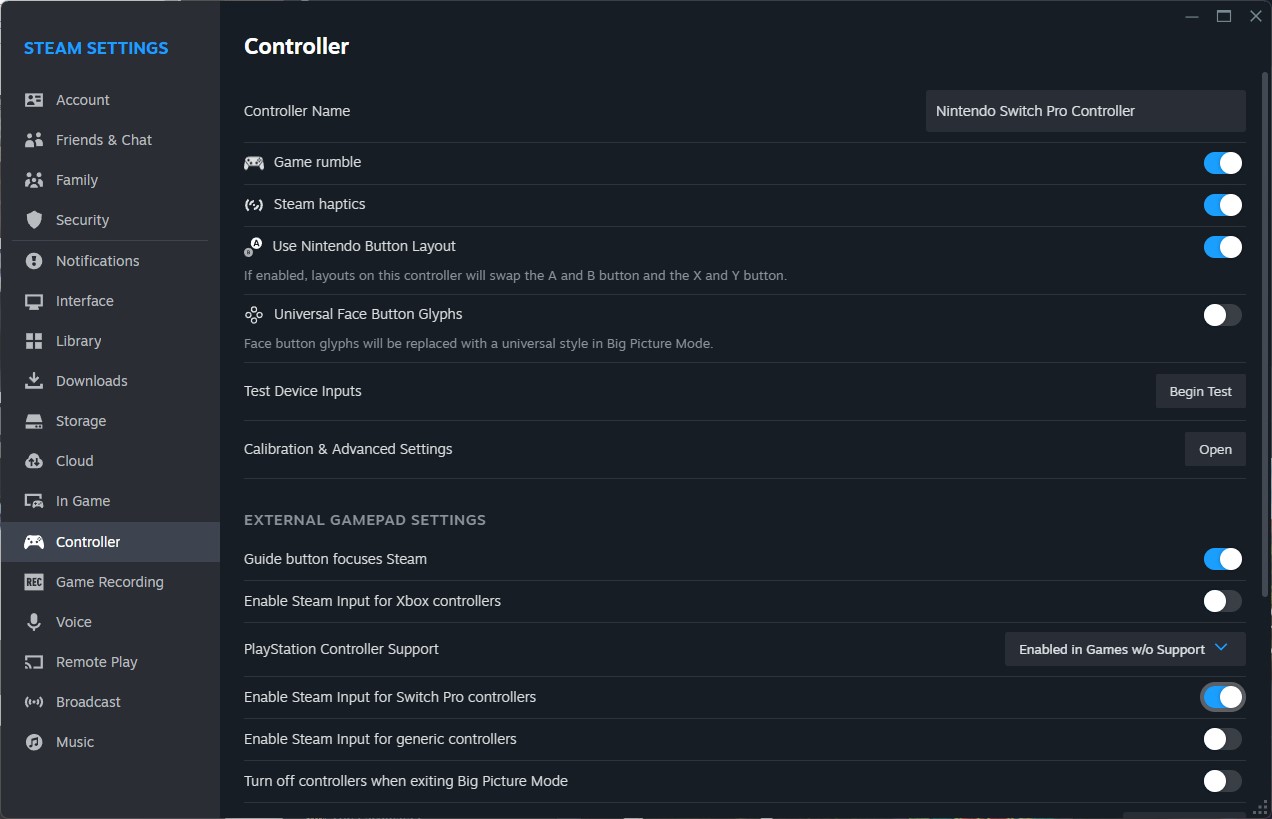
1. Open Steam and the settings menu. Find the Controller tab and verify that it recognizes your controller. Scroll down to the setting for "Enable Steam Input for Switch Pro controllers" and tick it on. This will ensure the controller works even in games that don't natively support it.
2. If you like your Pro controller with flip-flopped X/Y and A/B buttons, you can also enable Use Nintendo Button Layout so games default to it (Microsoft had to go and reverse them on the original Xbox, for some reason, and it's still confusing). If this option is not enabled, your Pro controller button presses will be treated like an Xbox controller.
You can also change your controls game-by-game by right-clicking that game in your library, selecting Manage > Controller layout, and remapping each button.
3. While you're in the Controller menu, take the time to personalize your Switch controller by clicking Calibration & Advanced Settings. You can calibrate the joysticks, gyro, and tweak the brightness of the LED. If you ever feel the need to calibrate your controller, click Calibrate, set it on a flat surface, and follow the button prompts.
Switch Pro controller on PC: Non-Steam games
Setting up the Switch Pro Controller for non-Steam games
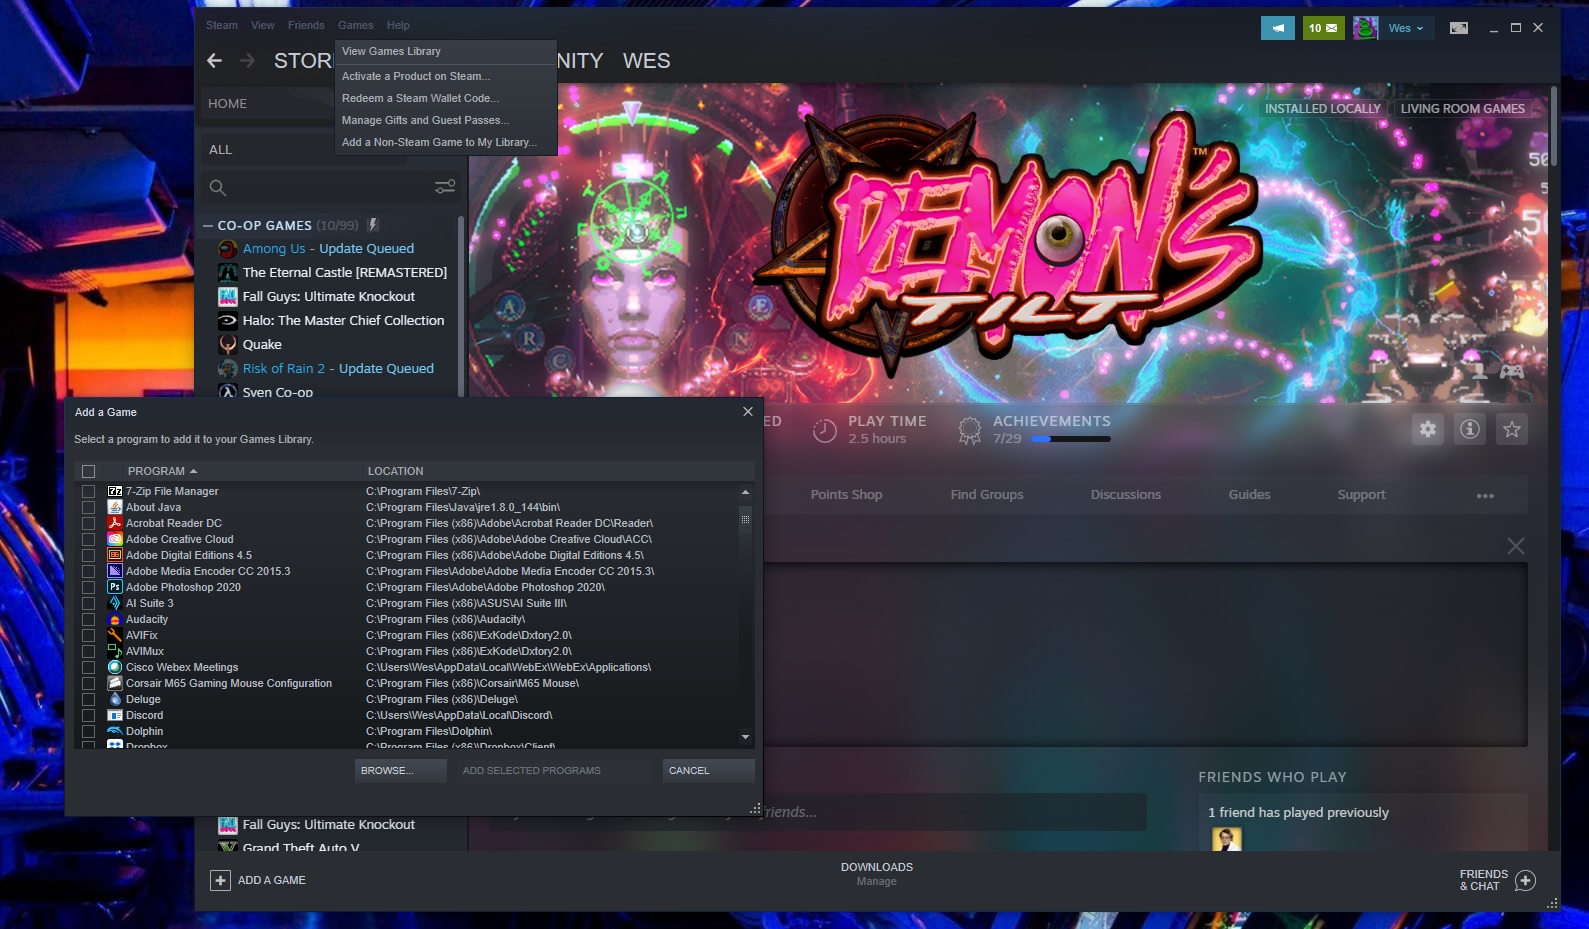
Using Steam is the really easy way to get this controller working. If you aren't playing games via Steam, using a Switch Pro controller is still an option but it requires a little extra work, particularly for a Bluetooth connection. But the good news is that it's natively recognized in modern Windows 10/11, which helps speed things up.
The easiest solution for non-Steam games is to actually bring Steam back into the picture. Steam has an "Add to library" feature for Windows executables that allows you to add other programs to your Steam library, and then make use of the Steam overlay. This even works for the Nintendo GameCube/Wii emulator Dolphin!
As you can see in the image above, click the "Games" menu in Steam, then choose the "Add a Non-Steam game to my library..." option to pull up a list of programs on your PC. In most cases, this should allow you to add a game and use a controller with Steam as an intermediary. Hooray!
Switch Pro controller on PC: Bluetooth connectivity
How to get Bluetooth working on PC
Here's what you need to start:
Hardware
- Nintendo Switch Pro controller
- Bluetooth dongle (or built-in Bluetooth)
- 8Bitdo wireless Bluetooth adapter (optional)
Software
- BetterJoy (if you don't use the 8Bitdo dongle)
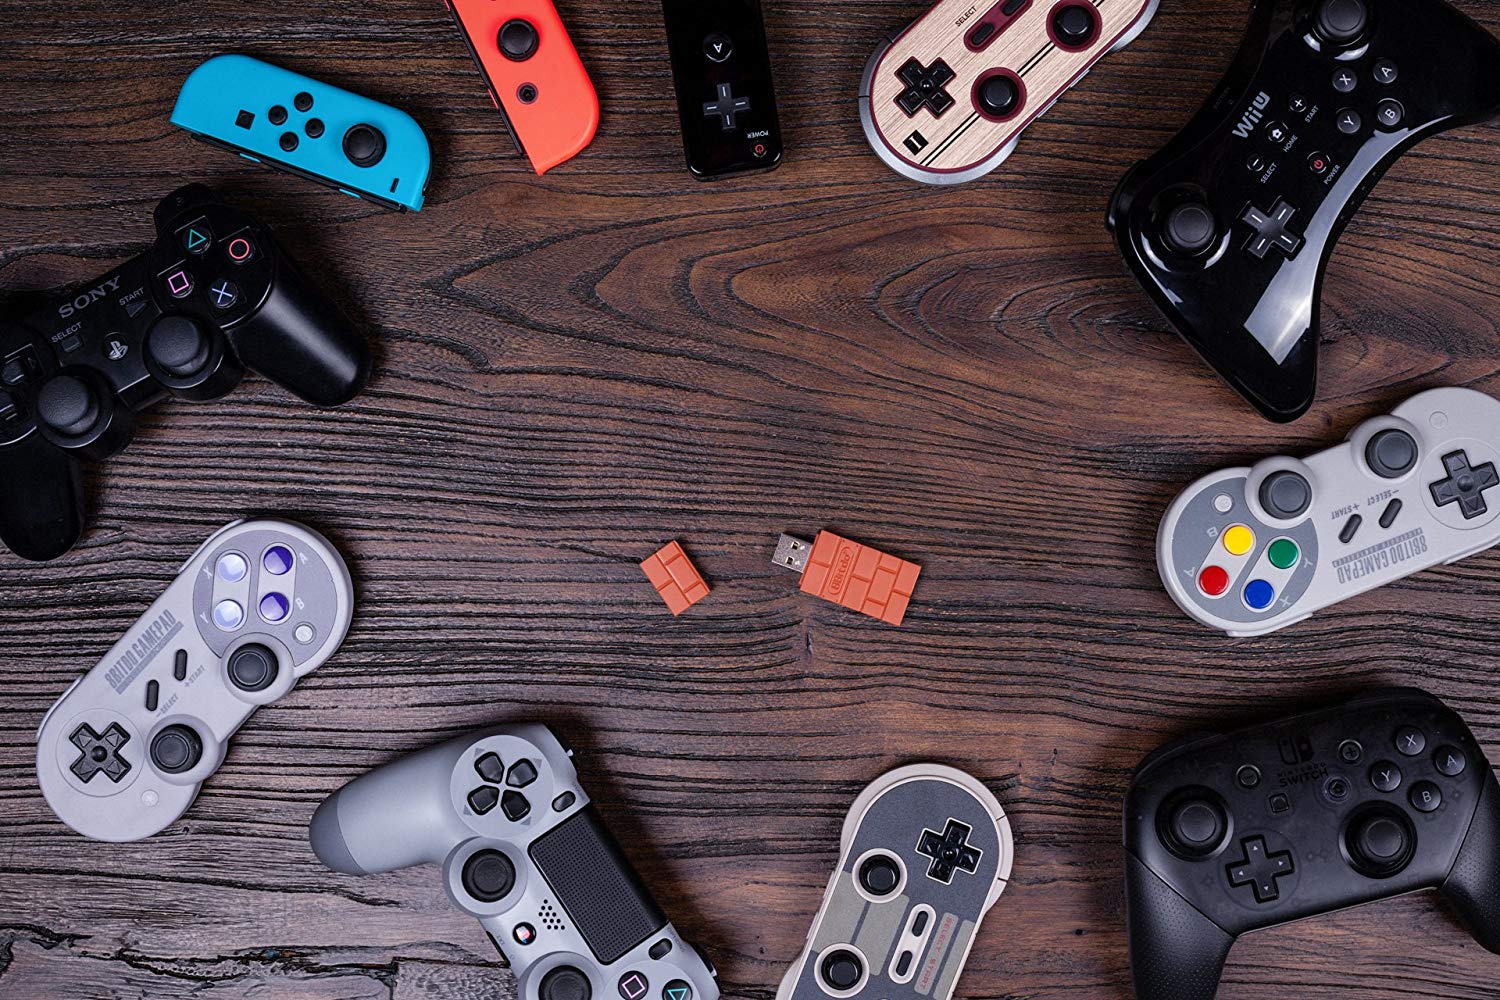
8Bitdo adapter: Easy Bluetooth and XInput support
The $20 8Bitdo Bluetooth adapter helps you bypass most of the finicky setup below by handling the Bluetooth connection and making Windows play nice with the controller without any extra software. It'll make Windows see the Switch Pro controller like it would an Xbox gamepad, and supports the button/joystick inputs and motion controls (but not vibration).
As a bonus, this will work on multiple consoles and with tons of other controllers, too, including the Switch Joy Cons, PS4 controller, Wii remotes, and more.
If you don't want to spend the $20, follow the guide below.
The (slightly) harder way: Windows installation guide
Note: You only need to follow these steps if you're not using the Switch Pro Controller through Steam.
1. Plug your Switch Pro controller into the PC with a USB cable. You should be able to use the USB-A to USB-C cable that came with the controller, or you can use a USB-C to USB-C cable, if your PC has the appropriate port. Within a few seconds, Windows 10 should pop up with a new connected device: Pro Controller.
You're most of the way there! But because this is a DirectInput controller (like most gamepads other than the Xbox's), if you aren't using Steam's built-in controller interface, some games won't recognize the controller without some extra software.
2. Download BetterJoy and install it.
BetterJoy is a piece of open source software specifically built to use the Switch Pro controller and joy-cons as generic XInput devices (and to make them easier to use with emulators).
Unzip BetterJoy, open the folder it created when you unzipped it, and head to the drivers folder within. Install its drivers and reboot as it instructs you to. That's pretty much the install process. Now it's time to connect that controller.
The (slightly) harder way: Windows Bluetooth setup
You only need to follow these steps if you want to play wirelessly and chose not to buy the 8Bitdo adapter for Bluetooth connectivity.
Note that if you decide to connect via Bluetooth, without using the 8Bitdo adapter method above, you cannot charge the controller while it's connected, so make sure its battery is topped off before you start.
First, disconnect it from your Switch by holding the small circular button on the top of the controller to the left of the USB-C port. (If your Switch is in the same room as your PC, I recommend turning it off, just to keep your Bluetooth environment clear. We also don't want it to know we're two-timin' it. You can easily reconnect your Pro controller to your Switch via cable.)
Pull up your Windows Bluetooth settings and start a search for new devices, then press the same small button on the top of your controller one more time. It should automatically pair after 30 seconds to a minute.
Using your Switch Pro controller in PC games
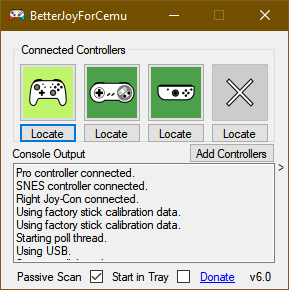
BetterJoy works by reading DirectInput commands as XInput commands, which is what most modern games support. Now that it's installed, your Switch Pro controller should behave like an Xbox 360 controller in most games. But first you have to launch BetterJoy for Cemu (the name of the executable) from its install folder.
Once it's open, click the "Locate" button and it should find your Switch controller if it's paired via Bluetooth. Once connected, you can click Map buttons to change as desired.
And with that you're ready to game: your controller should show up and work in any game that an Xbox controller would.
Not a controller person? Here's a round-up of the best gaming keyboards, and best gaming mouse.

Wes has been covering games and hardware for more than 10 years, first at tech sites like The Wirecutter and Tested before joining the PC Gamer team in 2014. Wes plays a little bit of everything, but he'll always jump at the chance to cover emulation and Japanese games.
When he's not obsessively optimizing and re-optimizing a tangle of conveyor belts in Satisfactory (it's really becoming a problem), he's probably playing a 20-year-old Final Fantasy or some opaque ASCII roguelike. With a focus on writing and editing features, he seeks out personal stories and in-depth histories from the corners of PC gaming and its niche communities. 50% pizza by volume (deep dish, to be specific).
You must confirm your public display name before commenting
Please logout and then login again, you will then be prompted to enter your display name.
