8 tips to triumph as a solo player in Helldivers 2
When matchmaking can't find a game, you can always go solo.
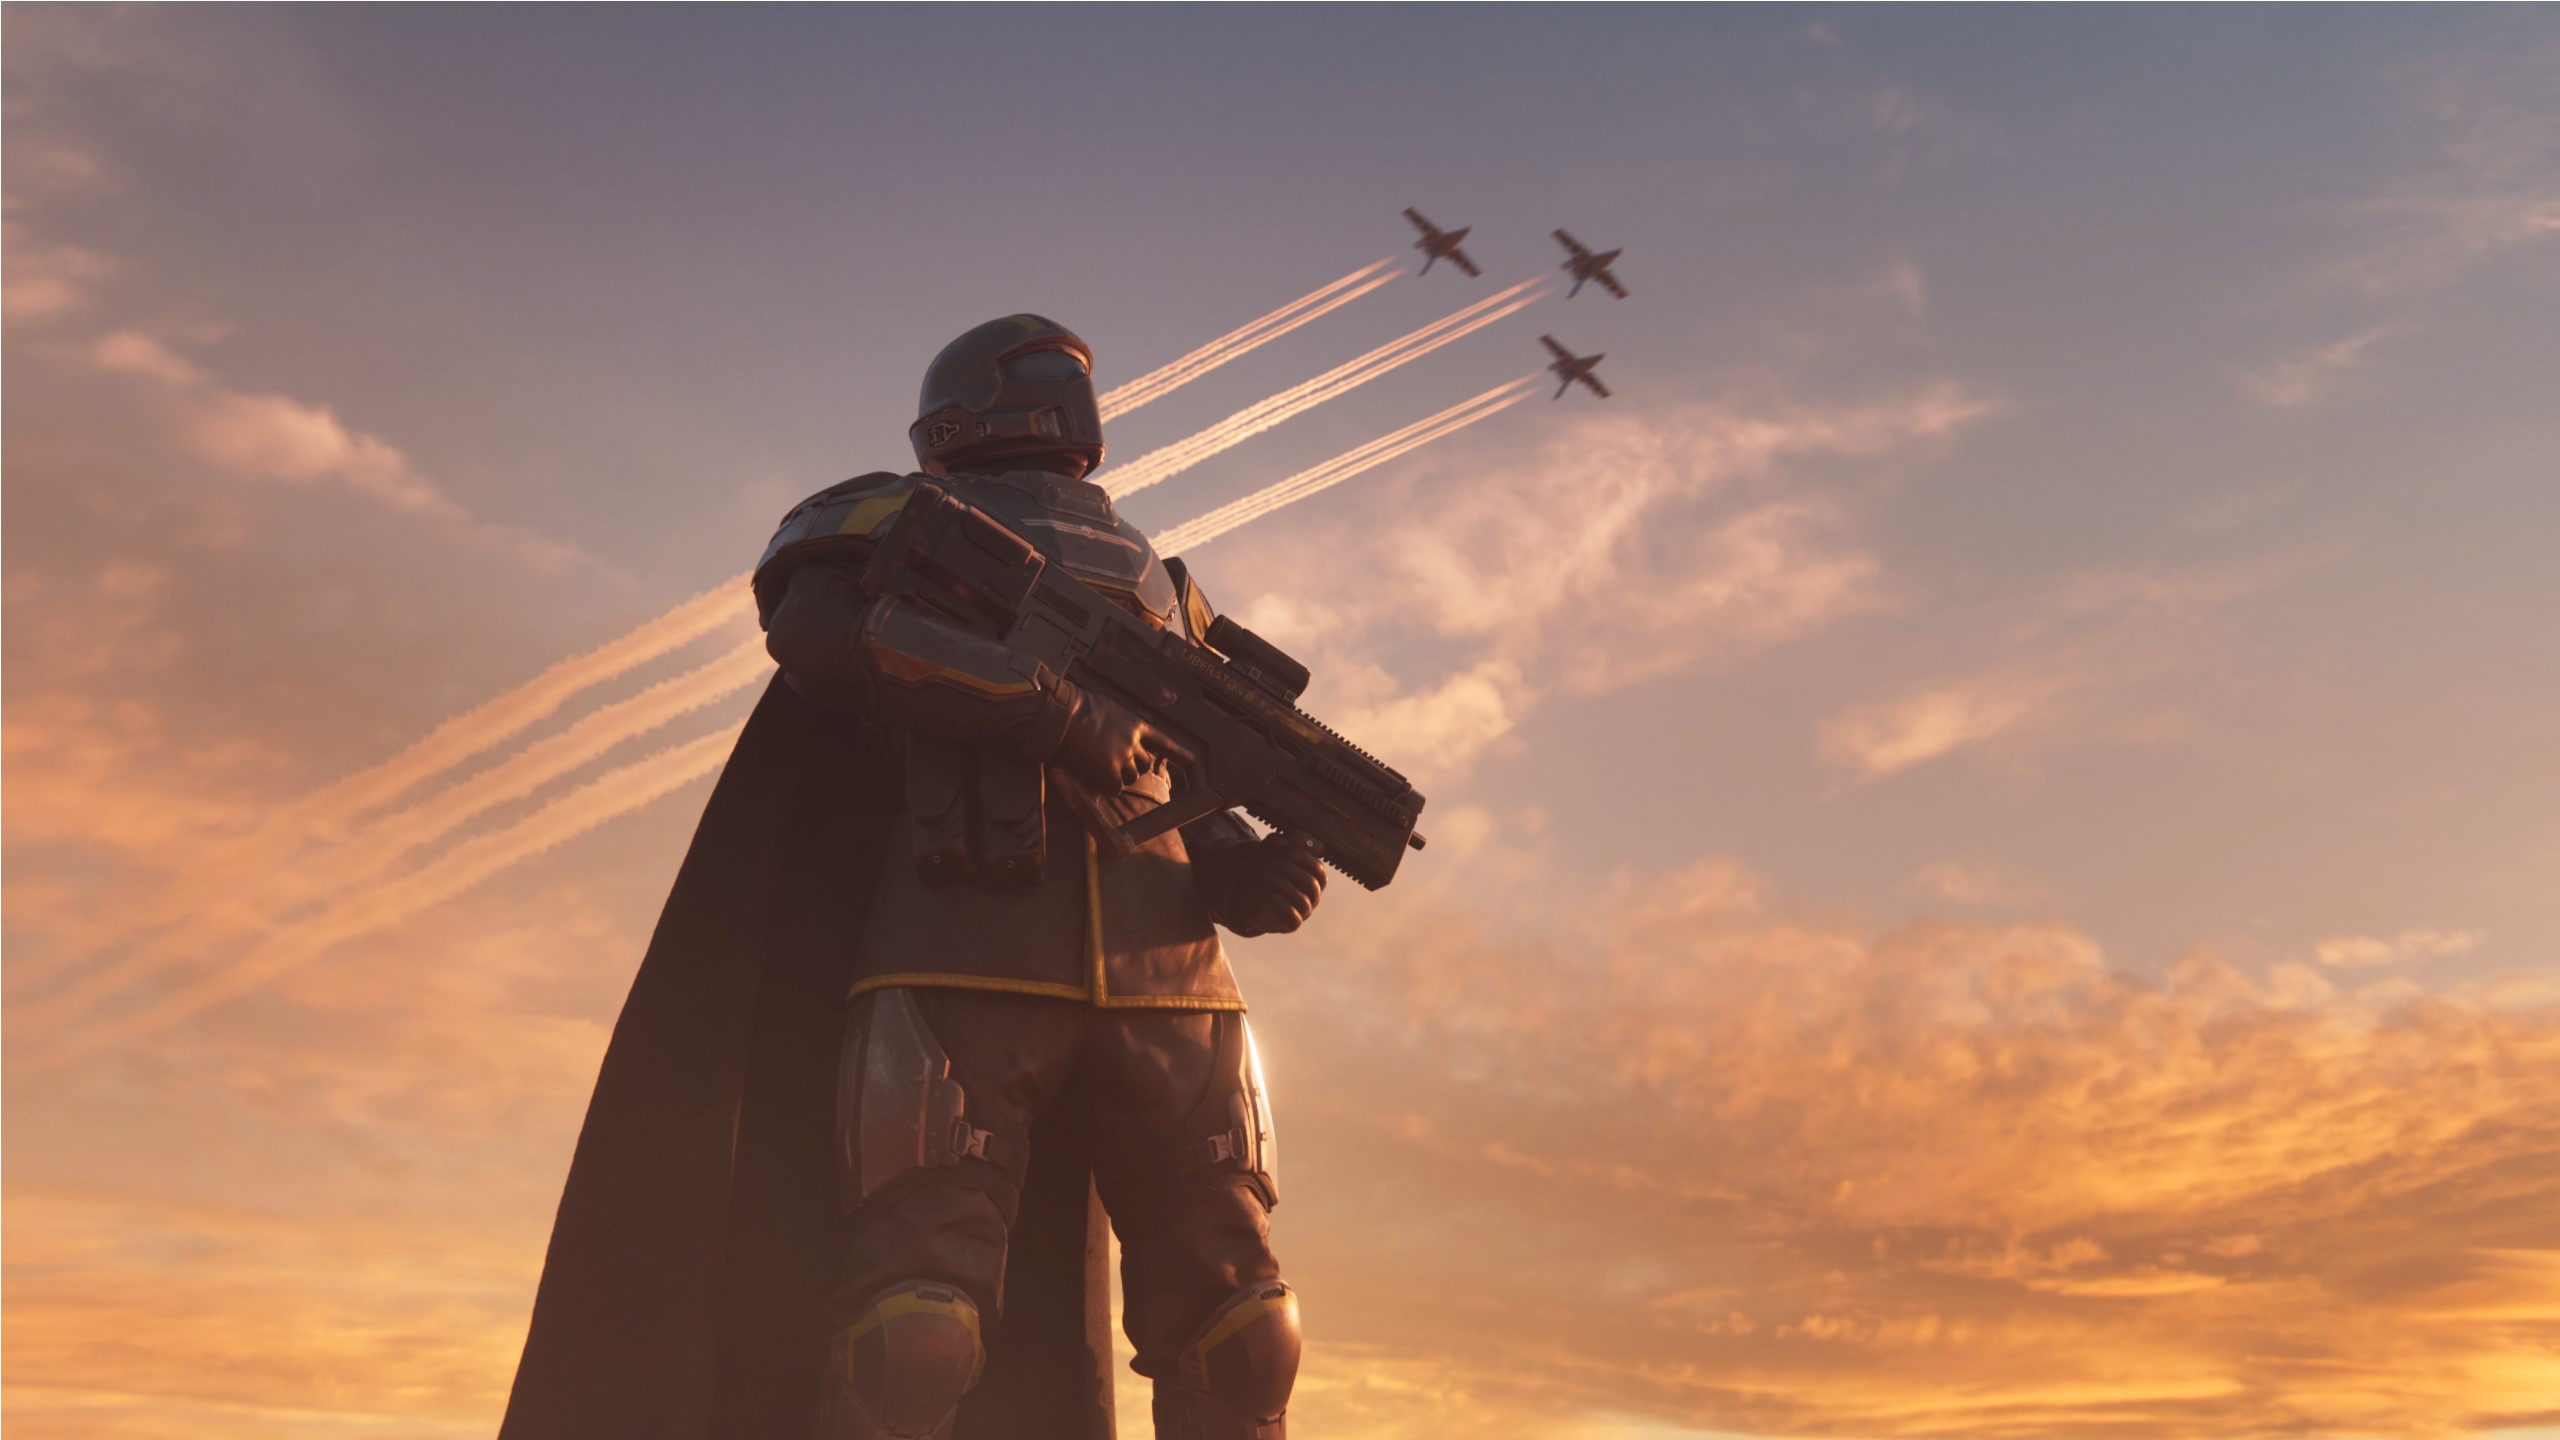
Trying out solo play in Helldivers 2 can be a good way of bypassing the current on-and-off matchmaking issues that the co-op shooter is experiencing. As you'd imagine from a squad-based game, solo play is pretty unbalanced—you get less XP due to having fewer players to extract, plus you have fewer overall reinforcements. It's definitely more of a challenge if you're feeling up to you.
If you play Helldivers 2 solo you have to cope with every threat by yourself, and that puts a lot more pressure on your loadout, stratagems, and ensuring that you're covering all bases and possible threats you're likely to encounter. Since I've played quite a bit solo due to the matchmaking issues and have now hit level 40, I've collected some tips that should be helpful if you want to give a stab at solo play yourself.
Bring a Sentry or a Guard Dog
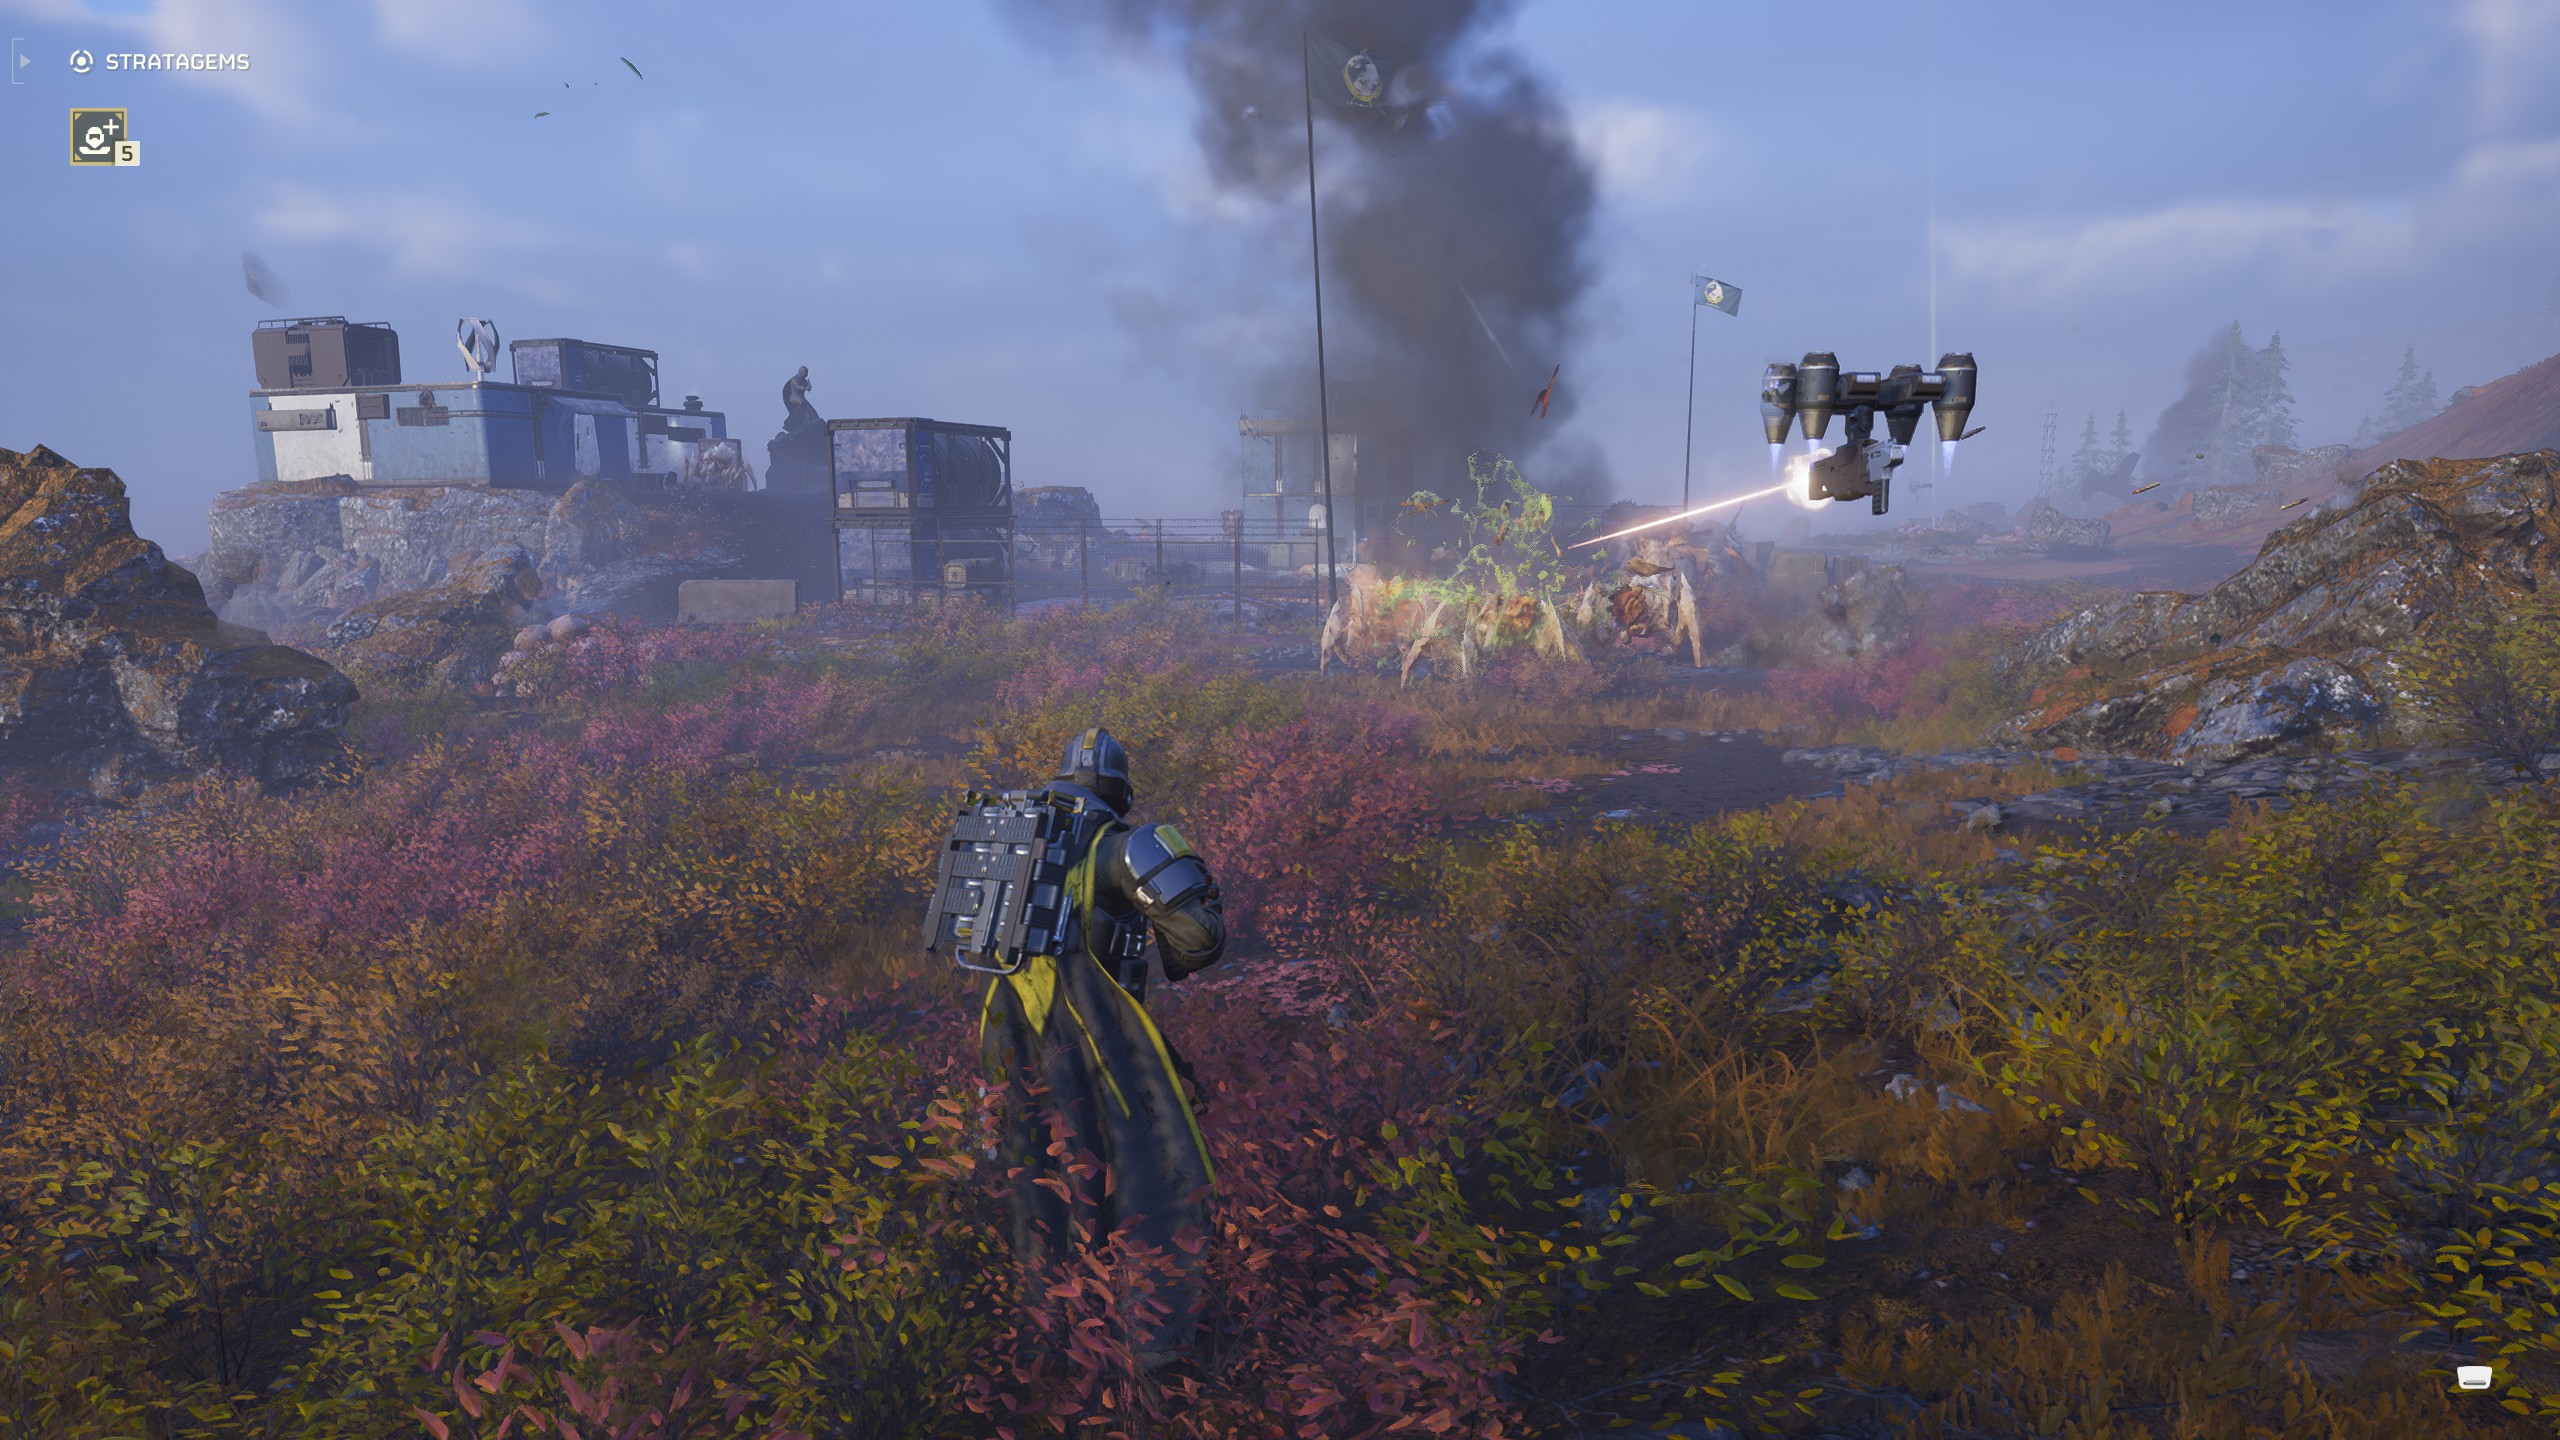
Just because you're not bringing actual friends, doesn't mean you can't have some backup on hand. Sentries and drones like the Guard Dog are great for providing a little fire support and watching your back—the drone's 360 firing arc means it'll often spot encroaching enemies before you do.
Article continues belowI recommend the regular Guard Dog with the Liberator, since the Rover can be quite bad in terms of friendly fire. Also if it's just you, don't forget to stand on top of your sentry—or near to it if it's a mortar sentry—since it won't hit you and you can pick off any extra enemies that it isn't able to deal with. One word of warning; since the Guard Dog attacks any enemies in range, best not bring it if you're going for the stealthy scout route.
Build for survivability
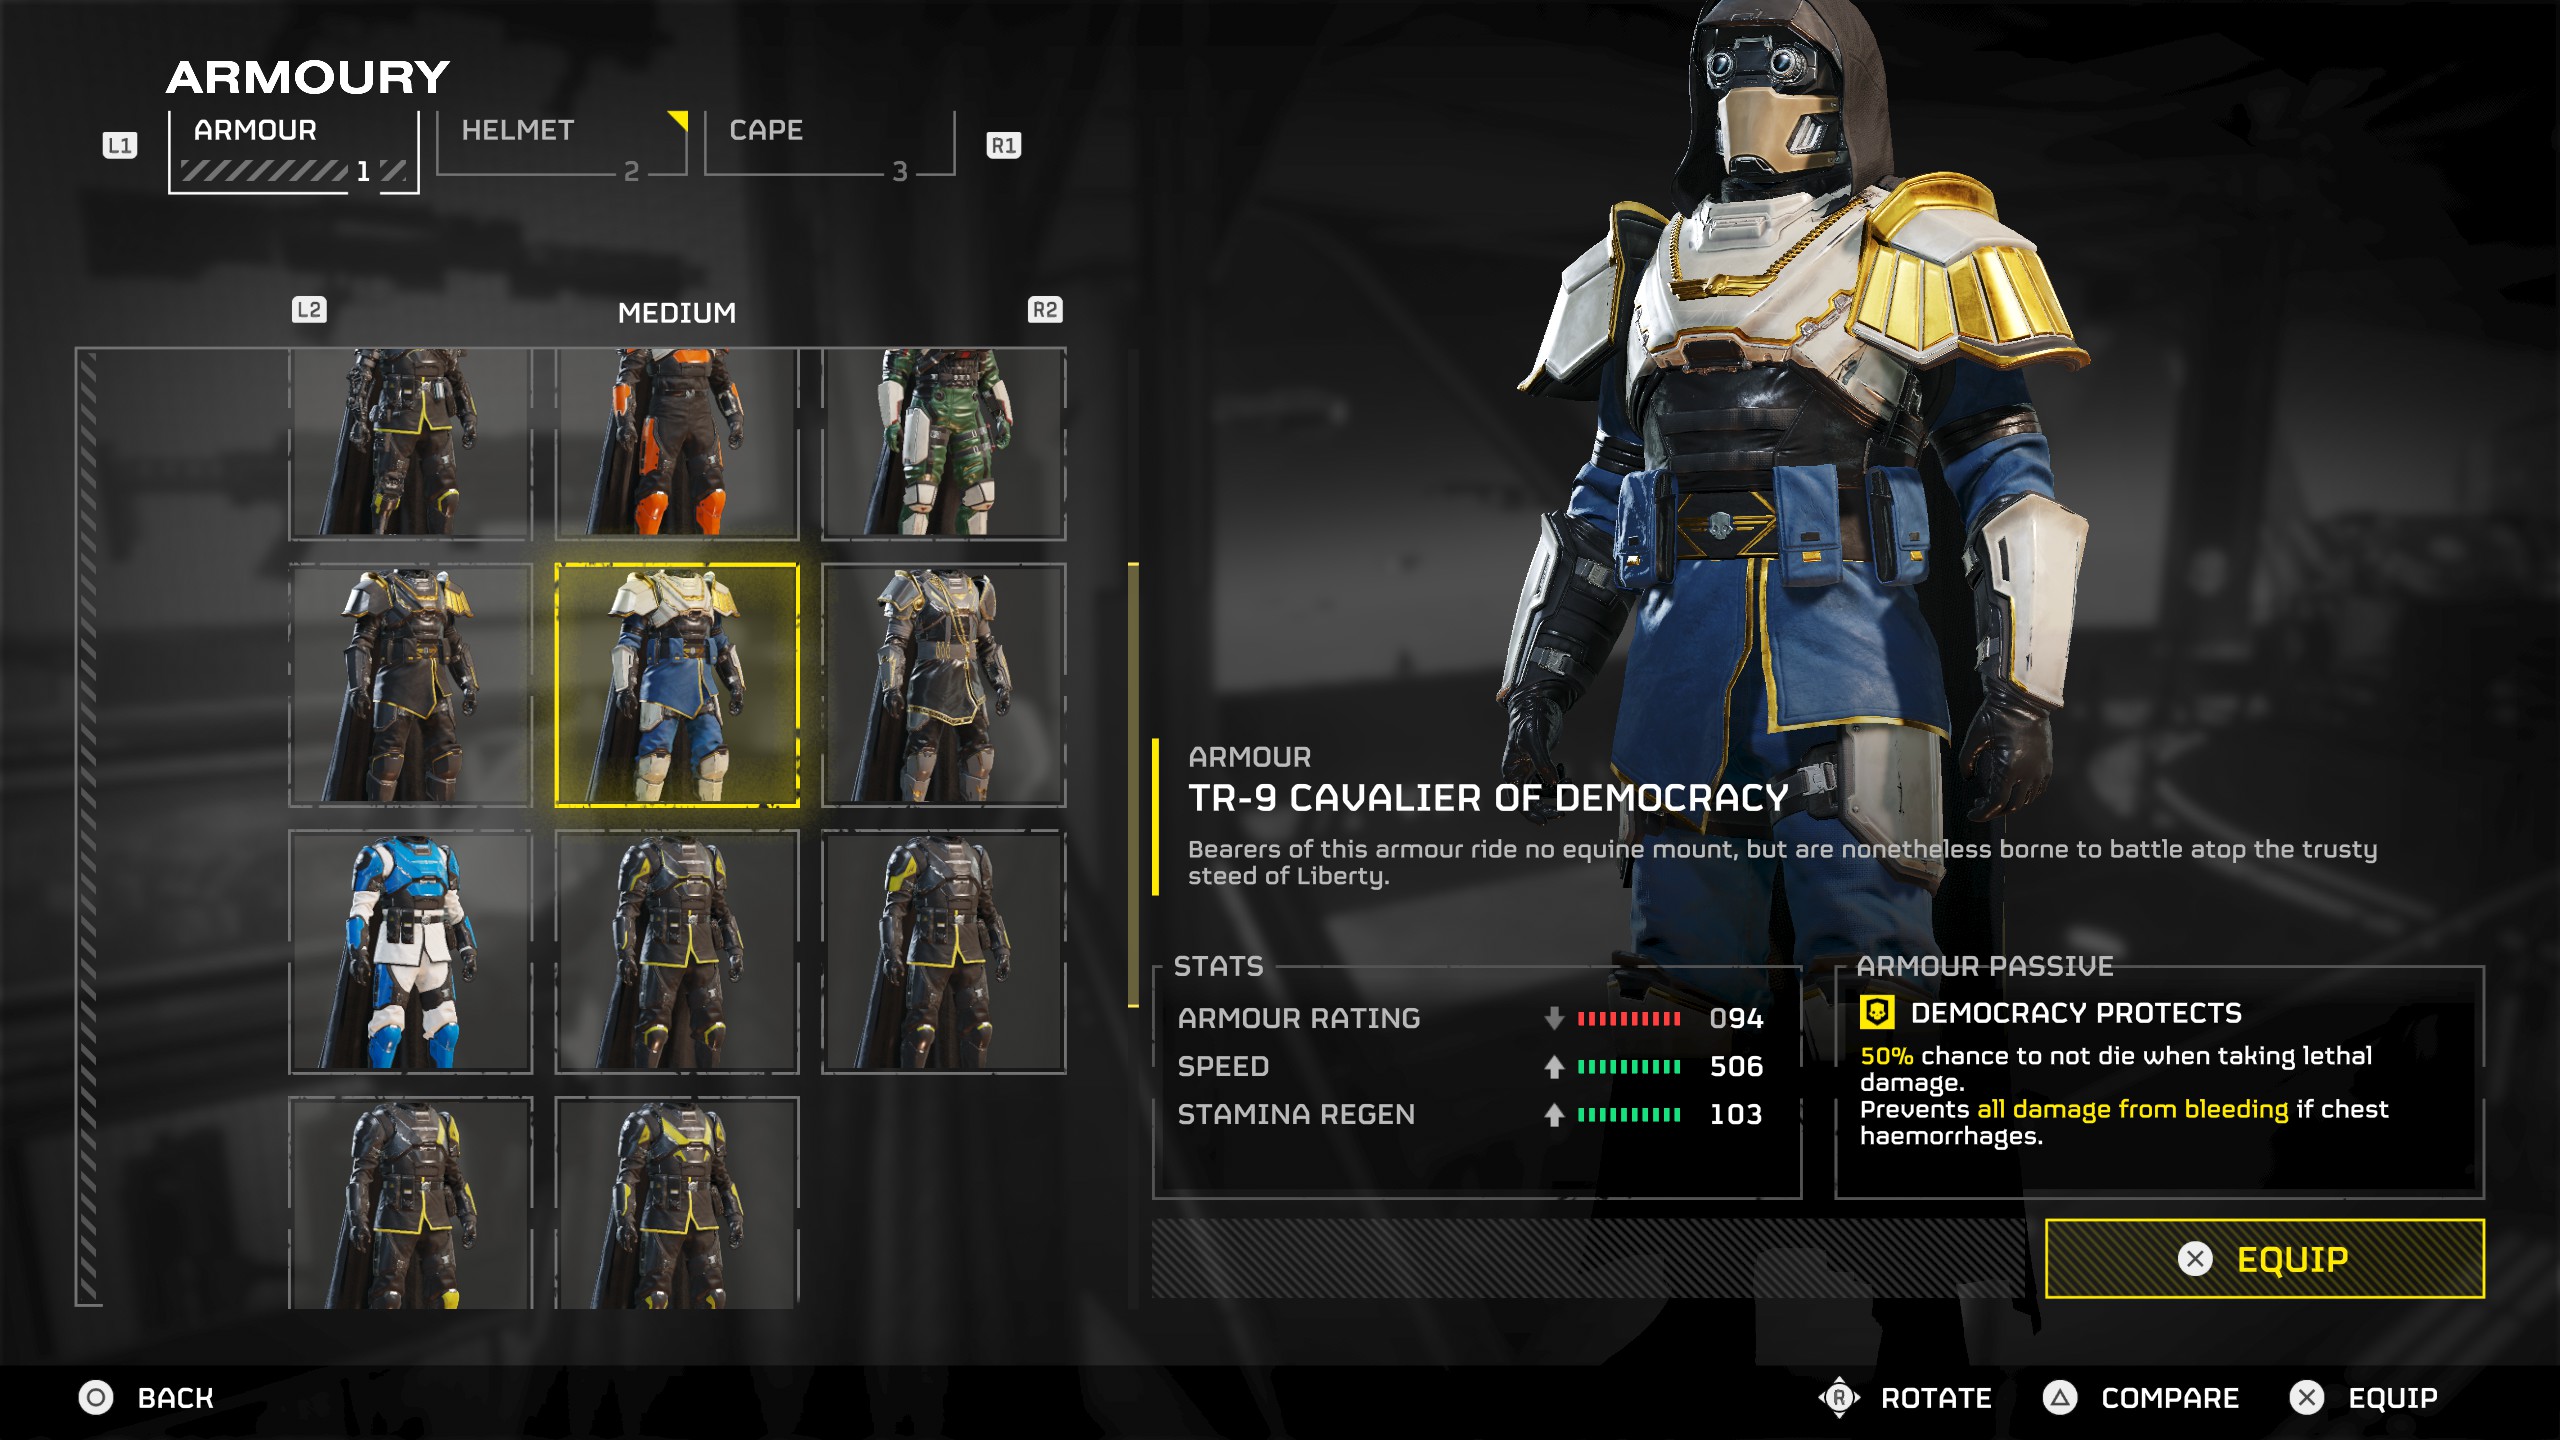
As mentioned, Helldivers 2 isn't really balanced for solo play; you get less XP and fewer reinforcements to work with, so staying alive is important. To buff this you can bring an armour set with passives like Med-Kit or Democracy Protects, with the former giving extra stims and a longer healing effect, while the latter reduces your chances of taking lethal damage.
There are also higher level stratagems that can help. I always bring the shield generator pack for instance. It works against both Automaton lasers and close-quarters bug attacks, and can even prevent damage effects such as being slowed. Even if the shield breaks, it'll reactivate momentarily if you avoid getting hit for a short while.
Keep moving
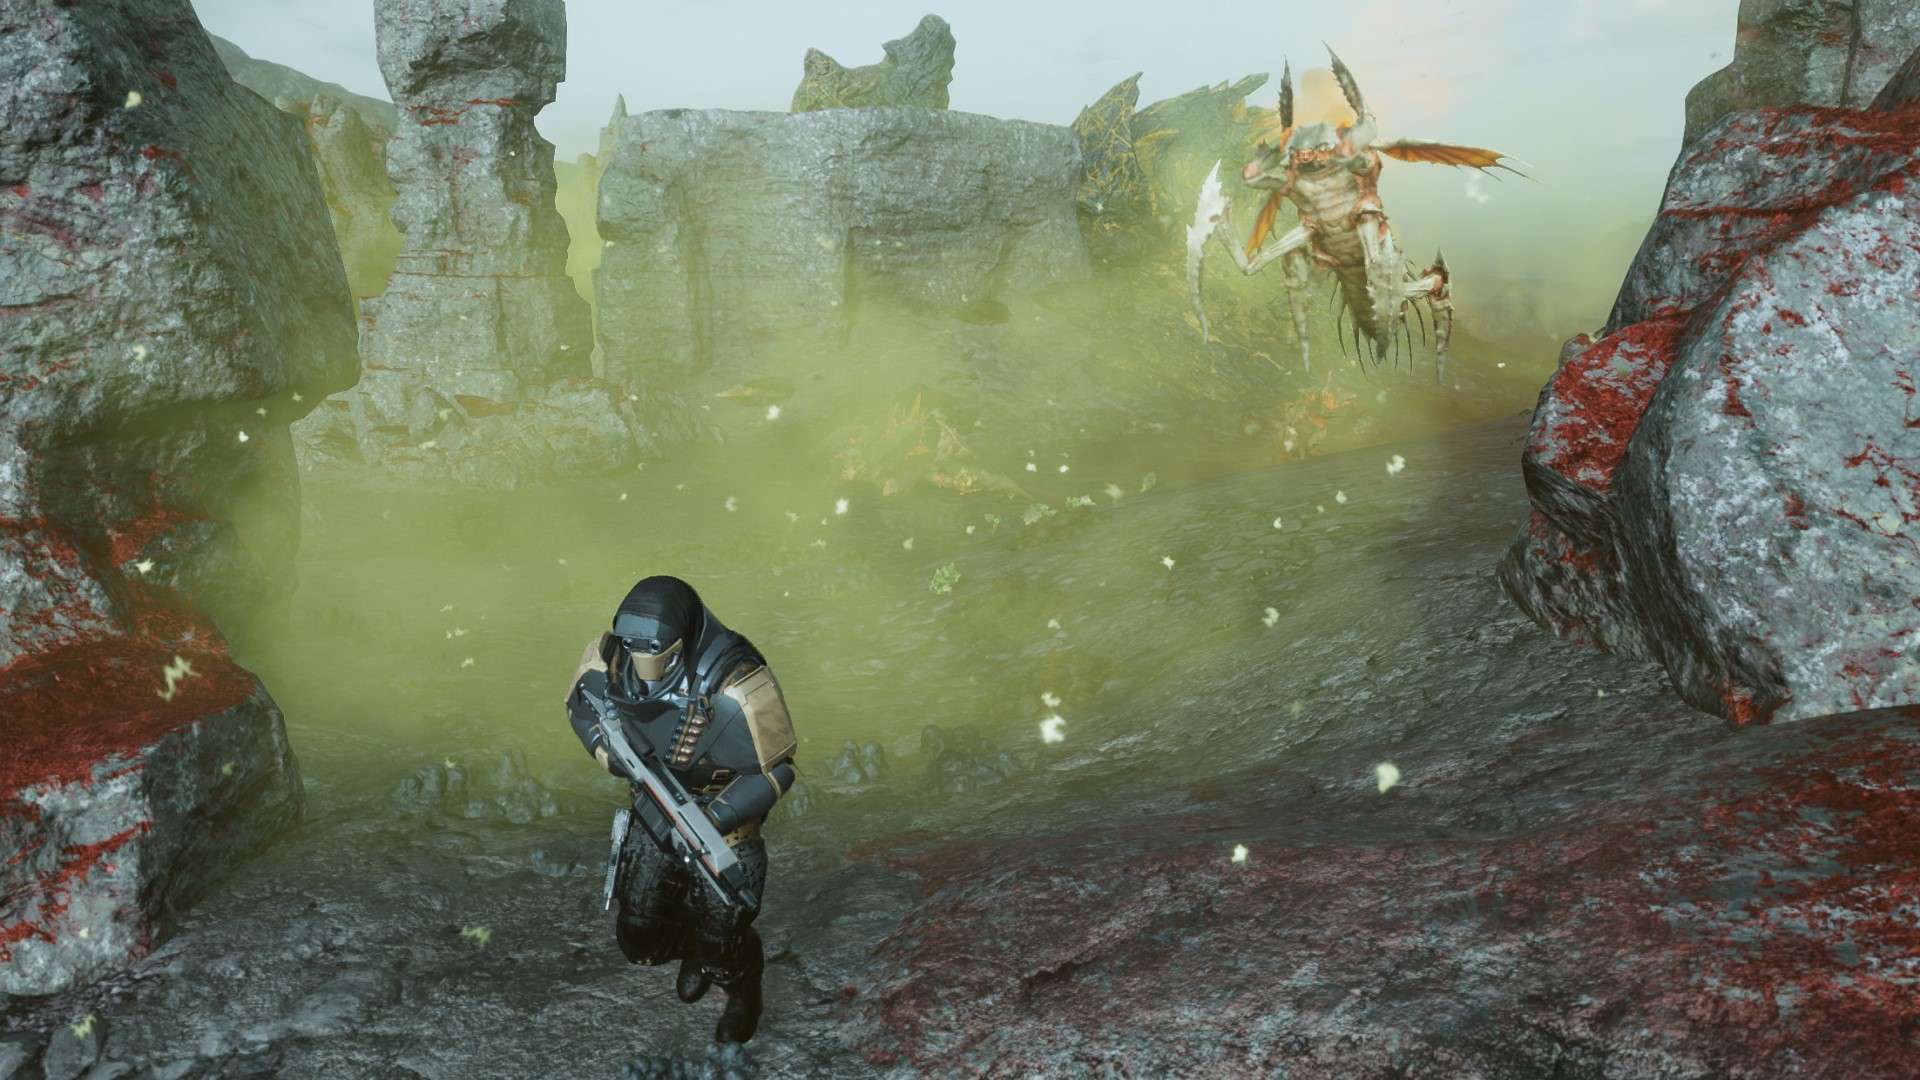
One of the worst things you can do in Helldivers 2 is get locked into a big grindy fight that you could've absolutely avoided. It's understandable when defending objectives, but at any other time you should be on the move fighting a retreat rather than sticking in one place battling against endless tides of enemies to no avail.
Keep up to date with the most important stories and the best deals, as picked by the PC Gamer team.
Definitely bring medium or light armour for its stamina bonuses, and you could even take a booster like Stamina Enhancement in order to sprint longer. Also make sure you're sprinting properly, i.e, once your stamina meter in the centre of the screen is exhausted, stop sprinting to let it recover, then start sprinting again.
Stealth is a viable playstyle
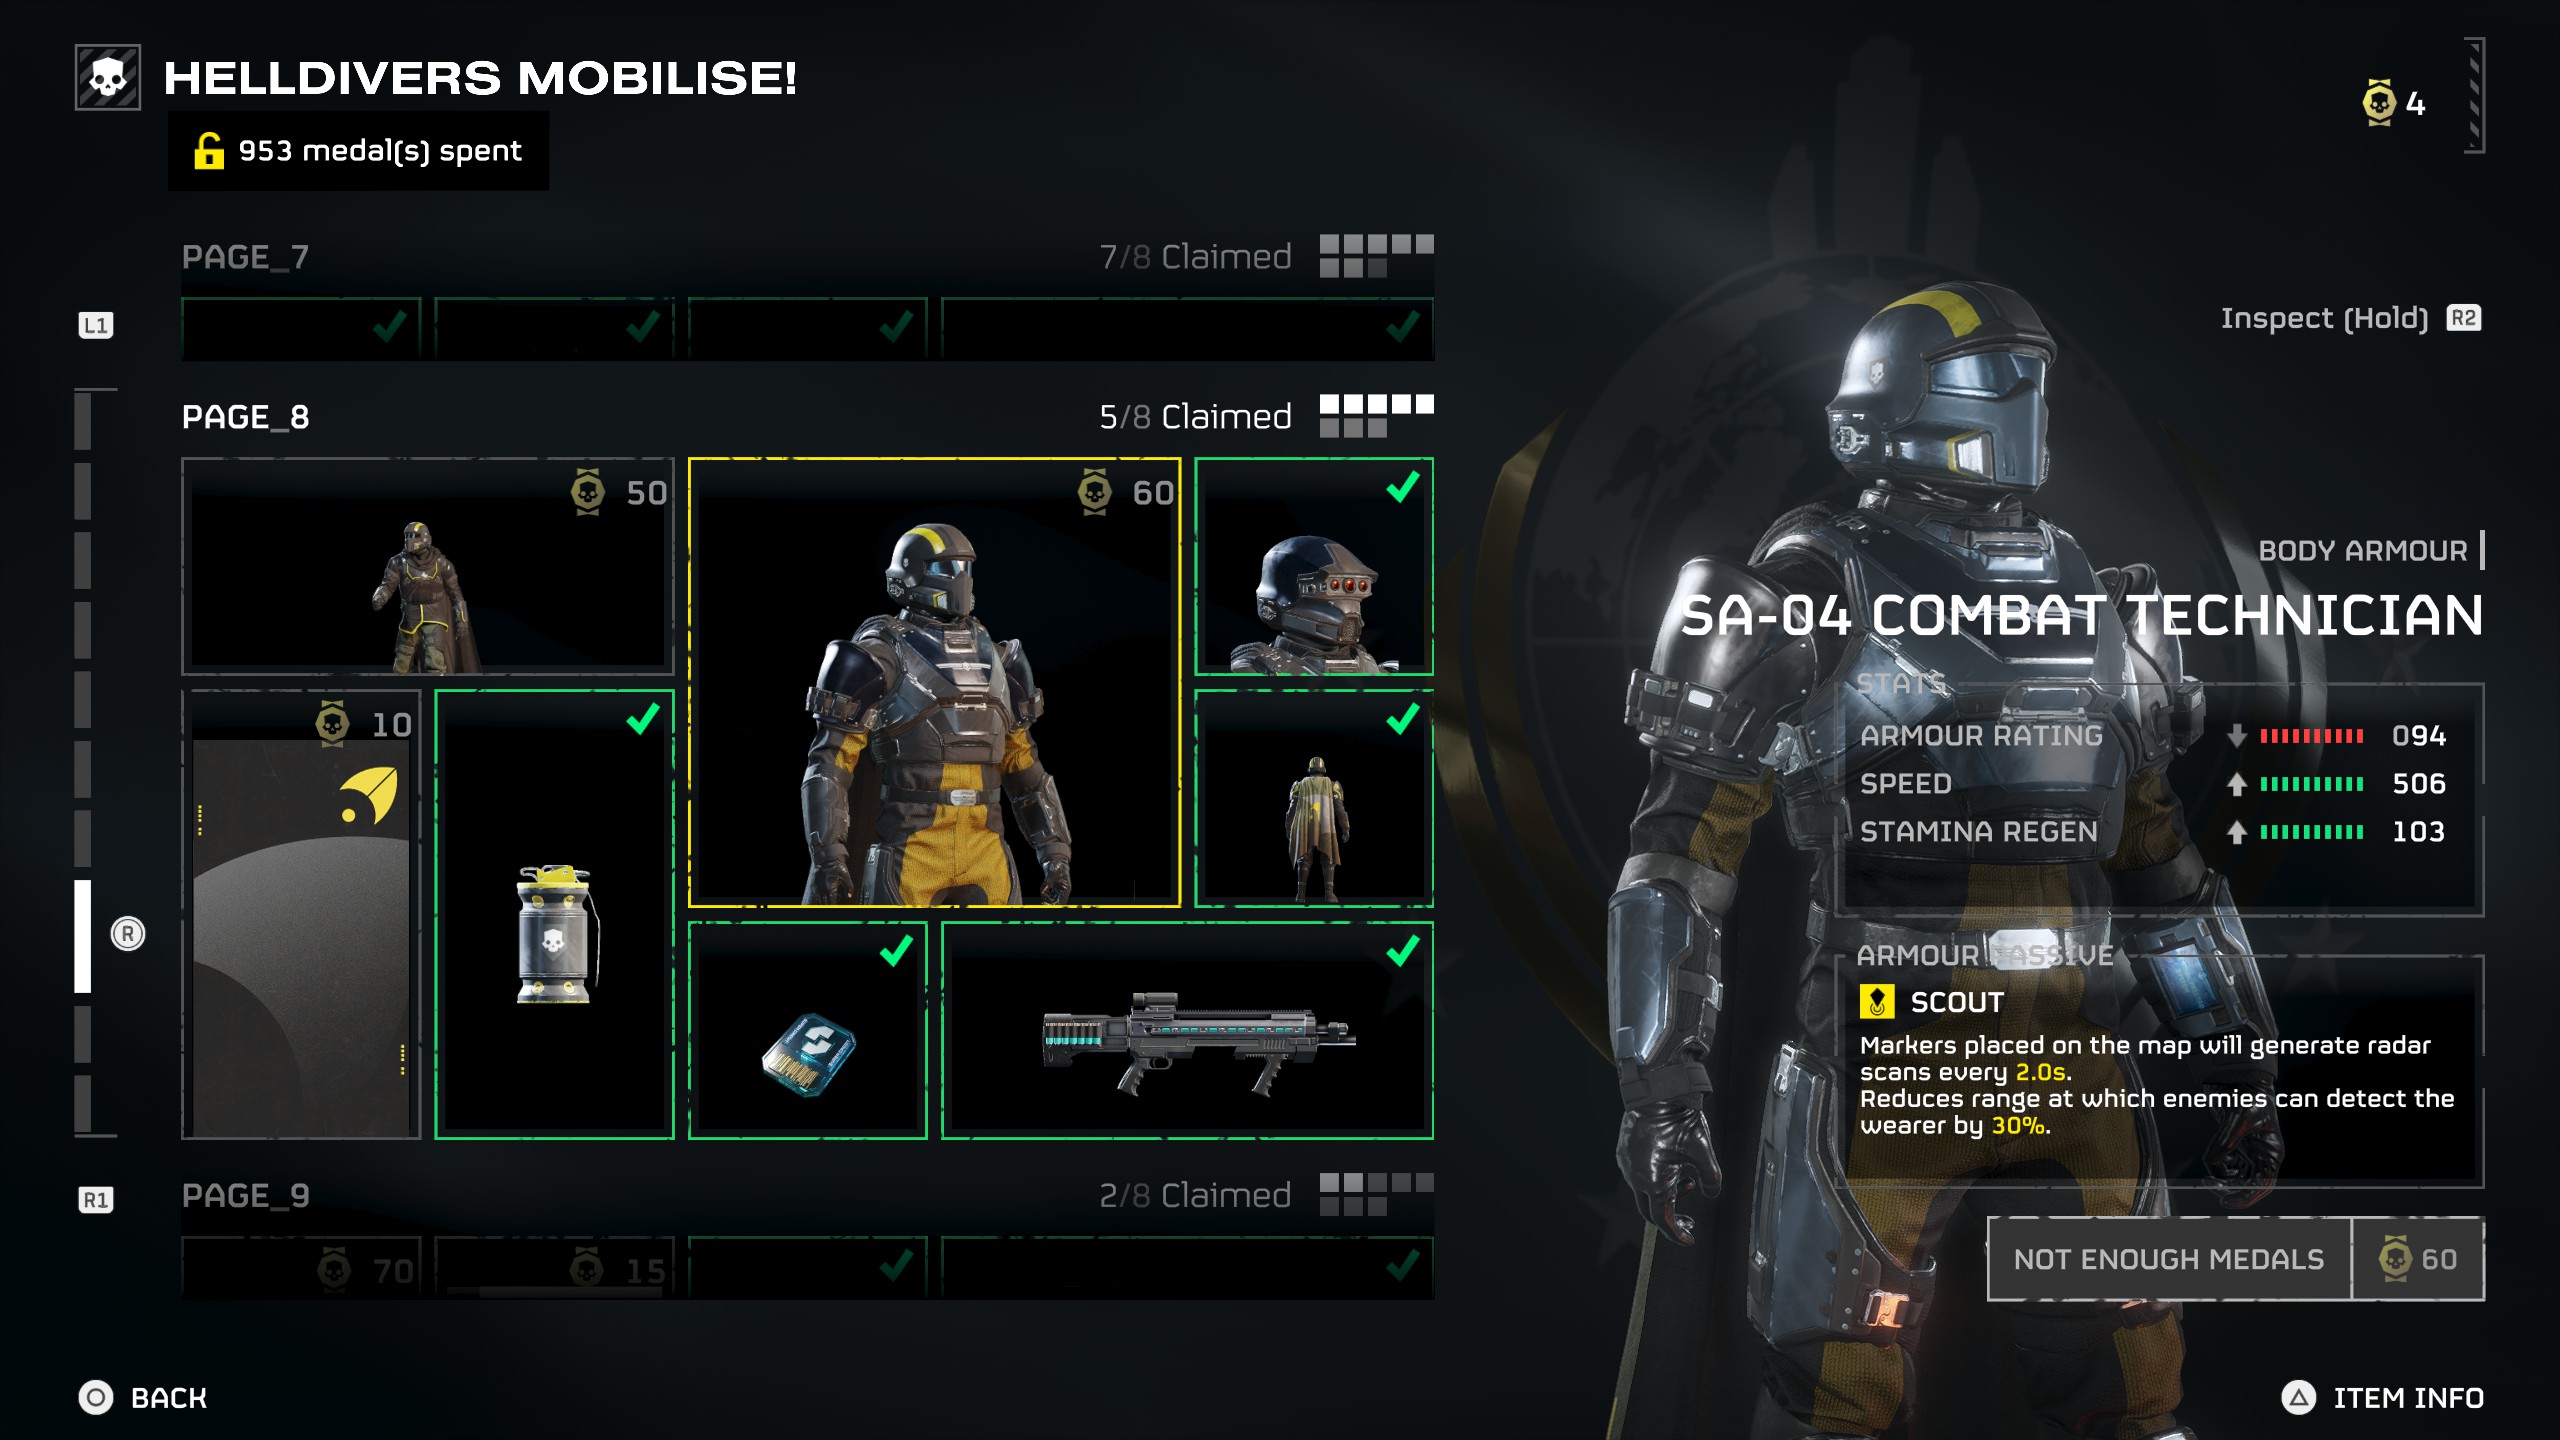
Another way of avoiding protracted fights is not being detected in the first place. Helldivers 2 might not seem like a game with stealth capabilities, but with a light armour passive such as Scout, enemy detection range is reduced, and you'll be far faster because of that armour type's stamina bonus. You could even bring a jump pack and just escape most fights altogether, staying on the move, speedrunning objectives, and picking off any enemies who are about to call for backup.
Bring versatile stratagems
When you're running solo, you've got to do everything yourself, and so a versatile loadout of stratagems is important. In particular, if you're fighting bugs, you need a way to quickly deal with Chargers such as the railgun. For my part, I always bring the orbital railcannon strike since it's a quick one-shot kill for Chargers, but the orbital laser is also very effective at both focusing down armoured targets, and mopping up enemies chasing you.
It's even possible to use something more basic like the orbital precision strike, provided the Charger hasn't spotted you yet, or it's well placed. Stratagems like the eagle cluster bomb are also very effective since it's the only airstrike that has four uses before cooldown, and you'll want your stratagems available as much as possible.
Know when to quit
Since you have so few reinforcements when playing solo, it's vital to know when you're beat, especially if you're slogging through completing all secondary objectives rather than just focusing on the main ones. You'll have a far easier time if you prioritise completing the main mission, then decide if you want to do secondary objectives. Extraction will be available at that point, so you can choose whether you want to spend your spare lives getting a little extra XP, or if you'd prefer to just run for it and prioritise getting your medals.
Speedrun objectives with the grenade launcher
When I'm playing solo I always bring the grenade launcher. It can deal with 99% of Automaton enemies, destroy secondary objectives like Spore Spewers and Illegal Broadcast Towers at a long distance, and can also seal bug holes and blow up Automaton factories in place of you actually quite valuable grenades.
While you get all the supplies to yourself in solo play, you often won't have enough grenades to complete secondary objectives. Sure, you could use an armour set with the Engineering Kit passive for two extra grenades, but the grenade launcher will serve you even better if you intend to speedrun all those extra objectives, or even if you're doing a blitz mission.
The Railgun is an incredible anti-armour stratagem
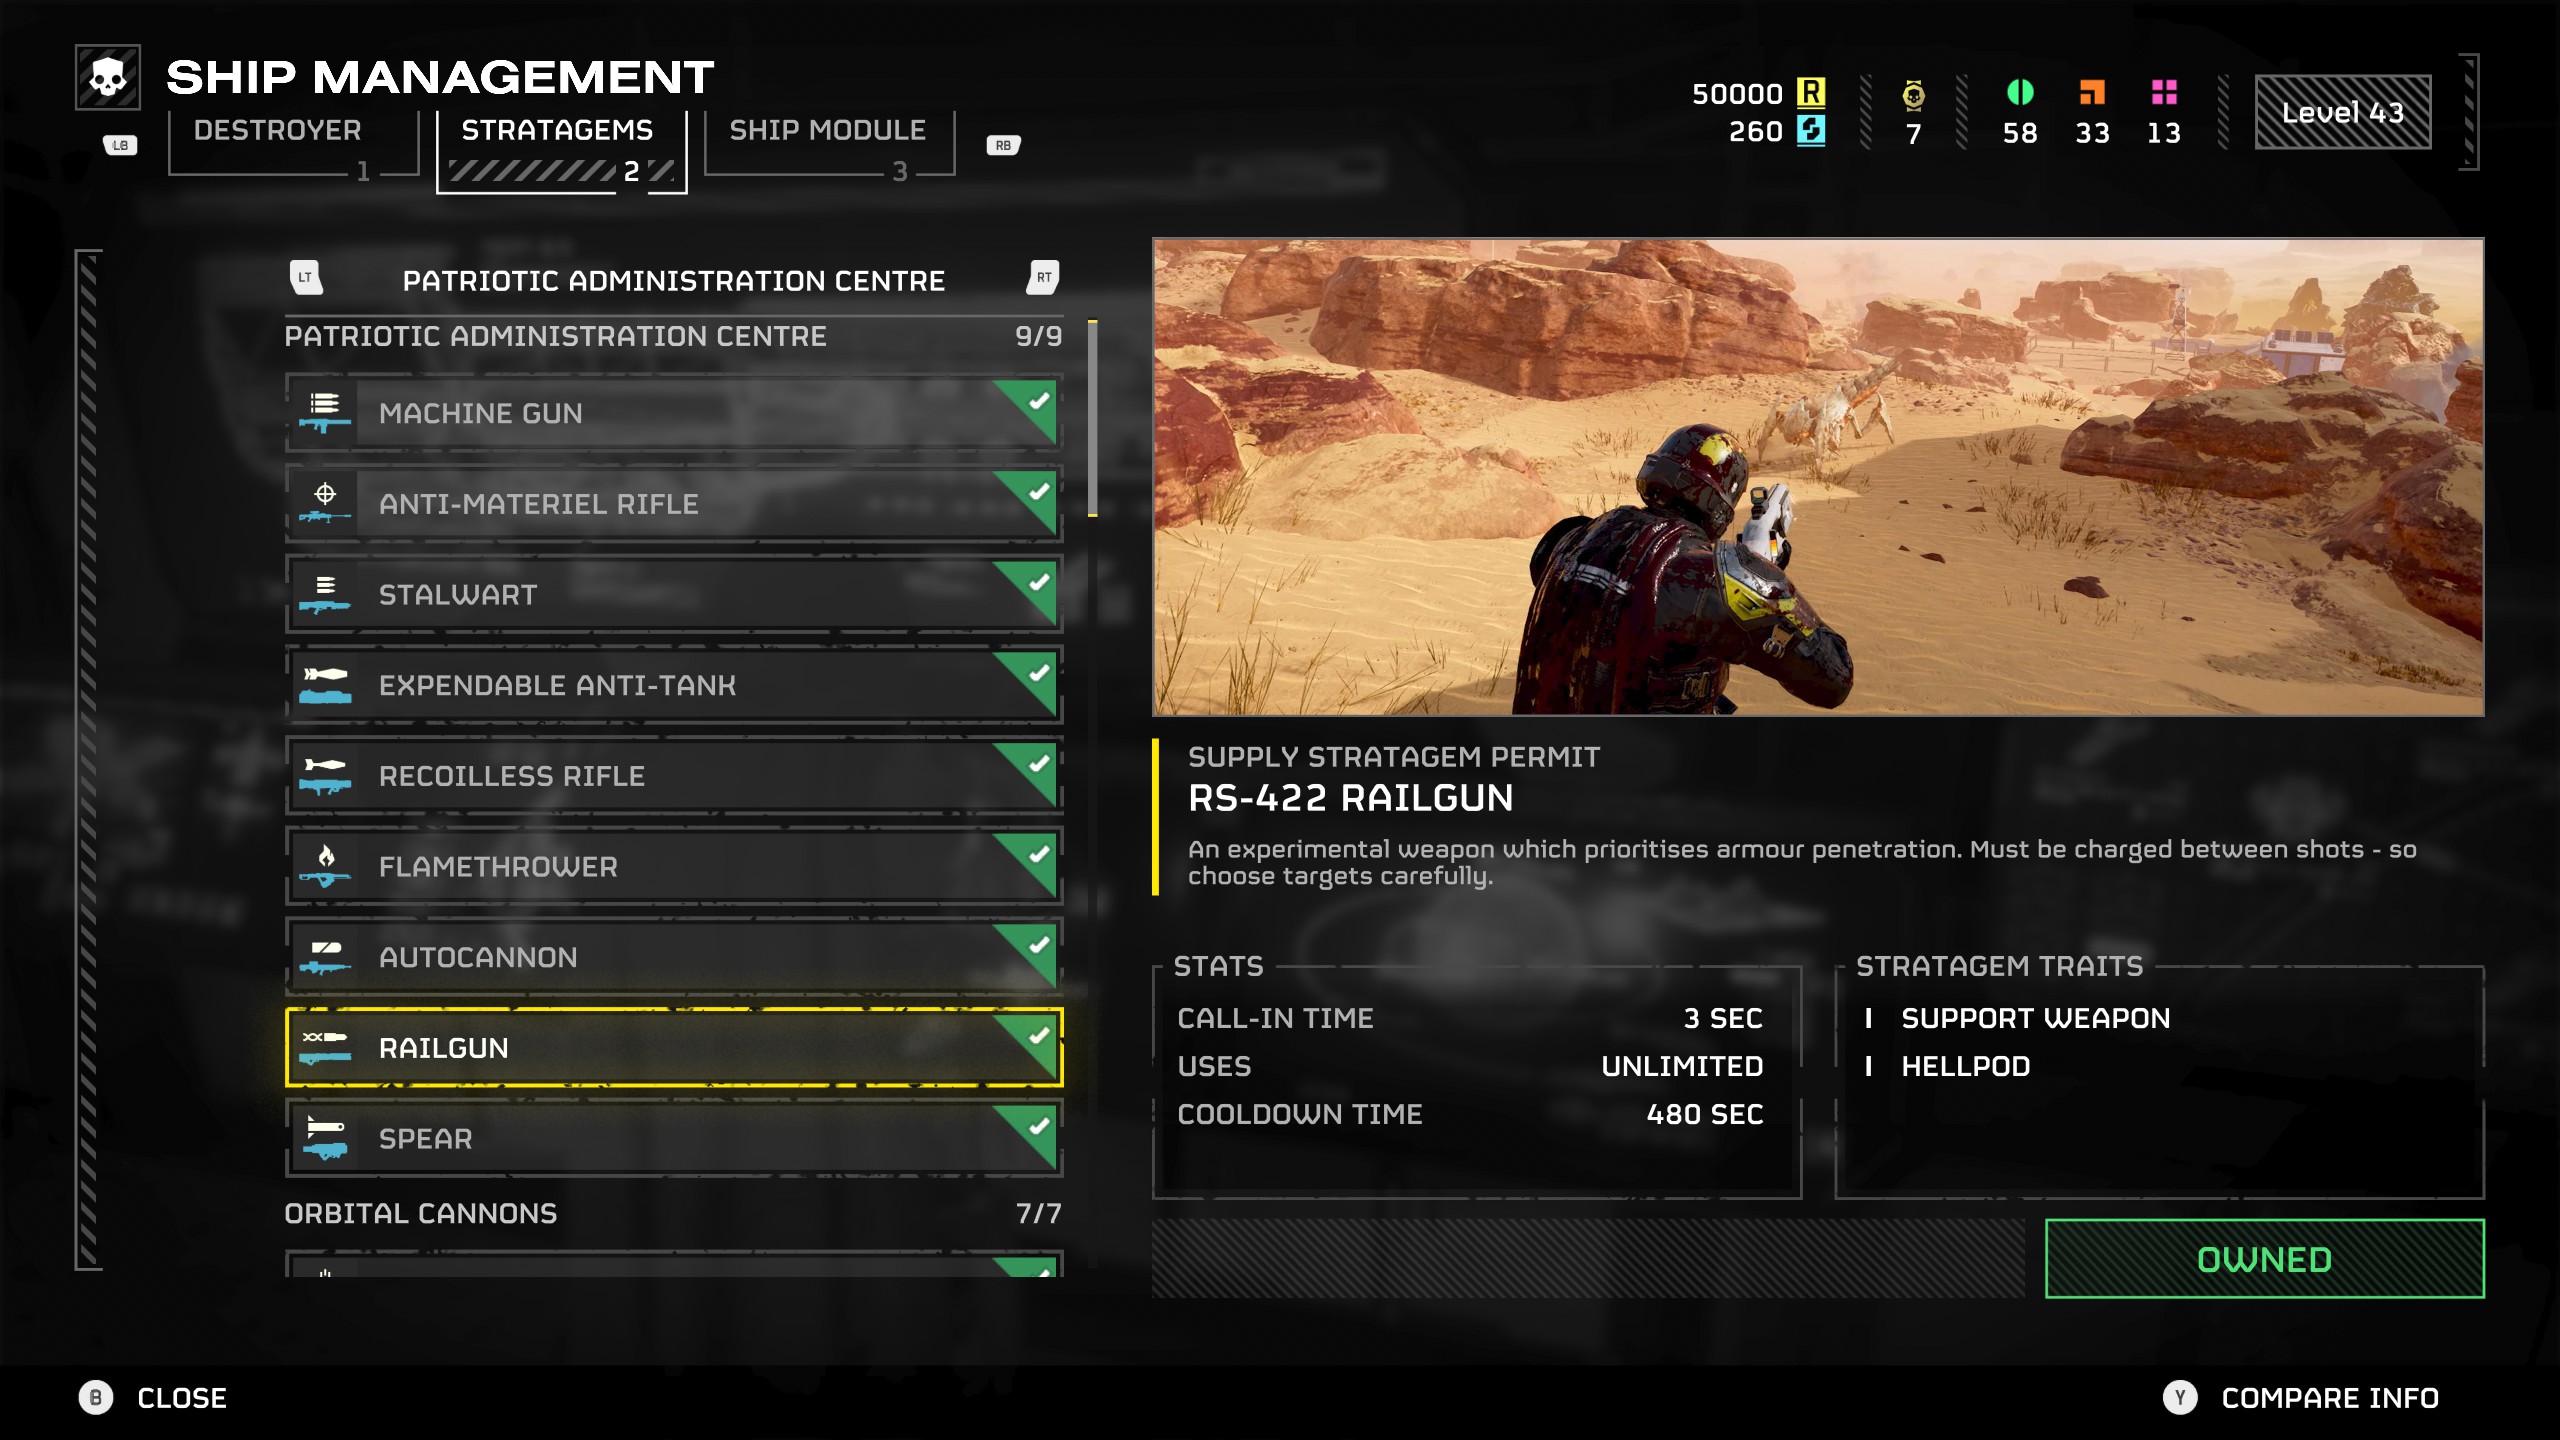
Crowd control weapons are valuable when you're by yourself, especially when you're up against bugs, but if you're struggling to deal with armoured enemies, I recommend bringing the Railgun. This is quite a high-level stratagem, but it's absurdly powerful, capable of headshotting Bile Titans, quickly stripping Charger armour, or even just one-shotting regular armoured enemies.
The Railgun holds 20 shots and it only takes two to blow off a Charger's leg armour so you can finish them. This makes it a far more efficient choice than the Recoilless Rifle or the Expendable Anti-Tank. It's genuinely one of the best stratagems in the game, so well worth bringing if you're having a hard time dealing with armoured enemies all by yourself.

Sean's first PC games were Full Throttle and Total Annihilation and his taste has stayed much the same since. When not scouring games for secrets or bashing his head against puzzles, you'll find him revisiting old Total War campaigns, agonizing over his Destiny 2 fit, or still trying to finish the Horus Heresy. Sean has also written for EDGE, Eurogamer, PCGamesN, Wireframe, EGMNOW, and Inverse.

 Join The Club


