The best Helldivers 2 Stratagems
Take the fight to Super Earth's deadliest foes with the best tactical abilities.
October 16, 2024: We added three new Stratagems to the list.
For any who didn't play the original, the sheer number of Stratagems in Helldivers 2 might seem a bit overwhelming. There are so many different flavors of destruction that you can bring to bear on the battlefield against bugs and bots that it's hard to know what you should prioritise spending your precious credits on when unlocking them in Ship Management.
Since the game launched all sorts of powerful new Stratagems have been introduced, from mechs to OP heavy weapons like the Quasar Cannon. Though these powerful additions usually get nerfed before long, many of them remain viable in endgame content.
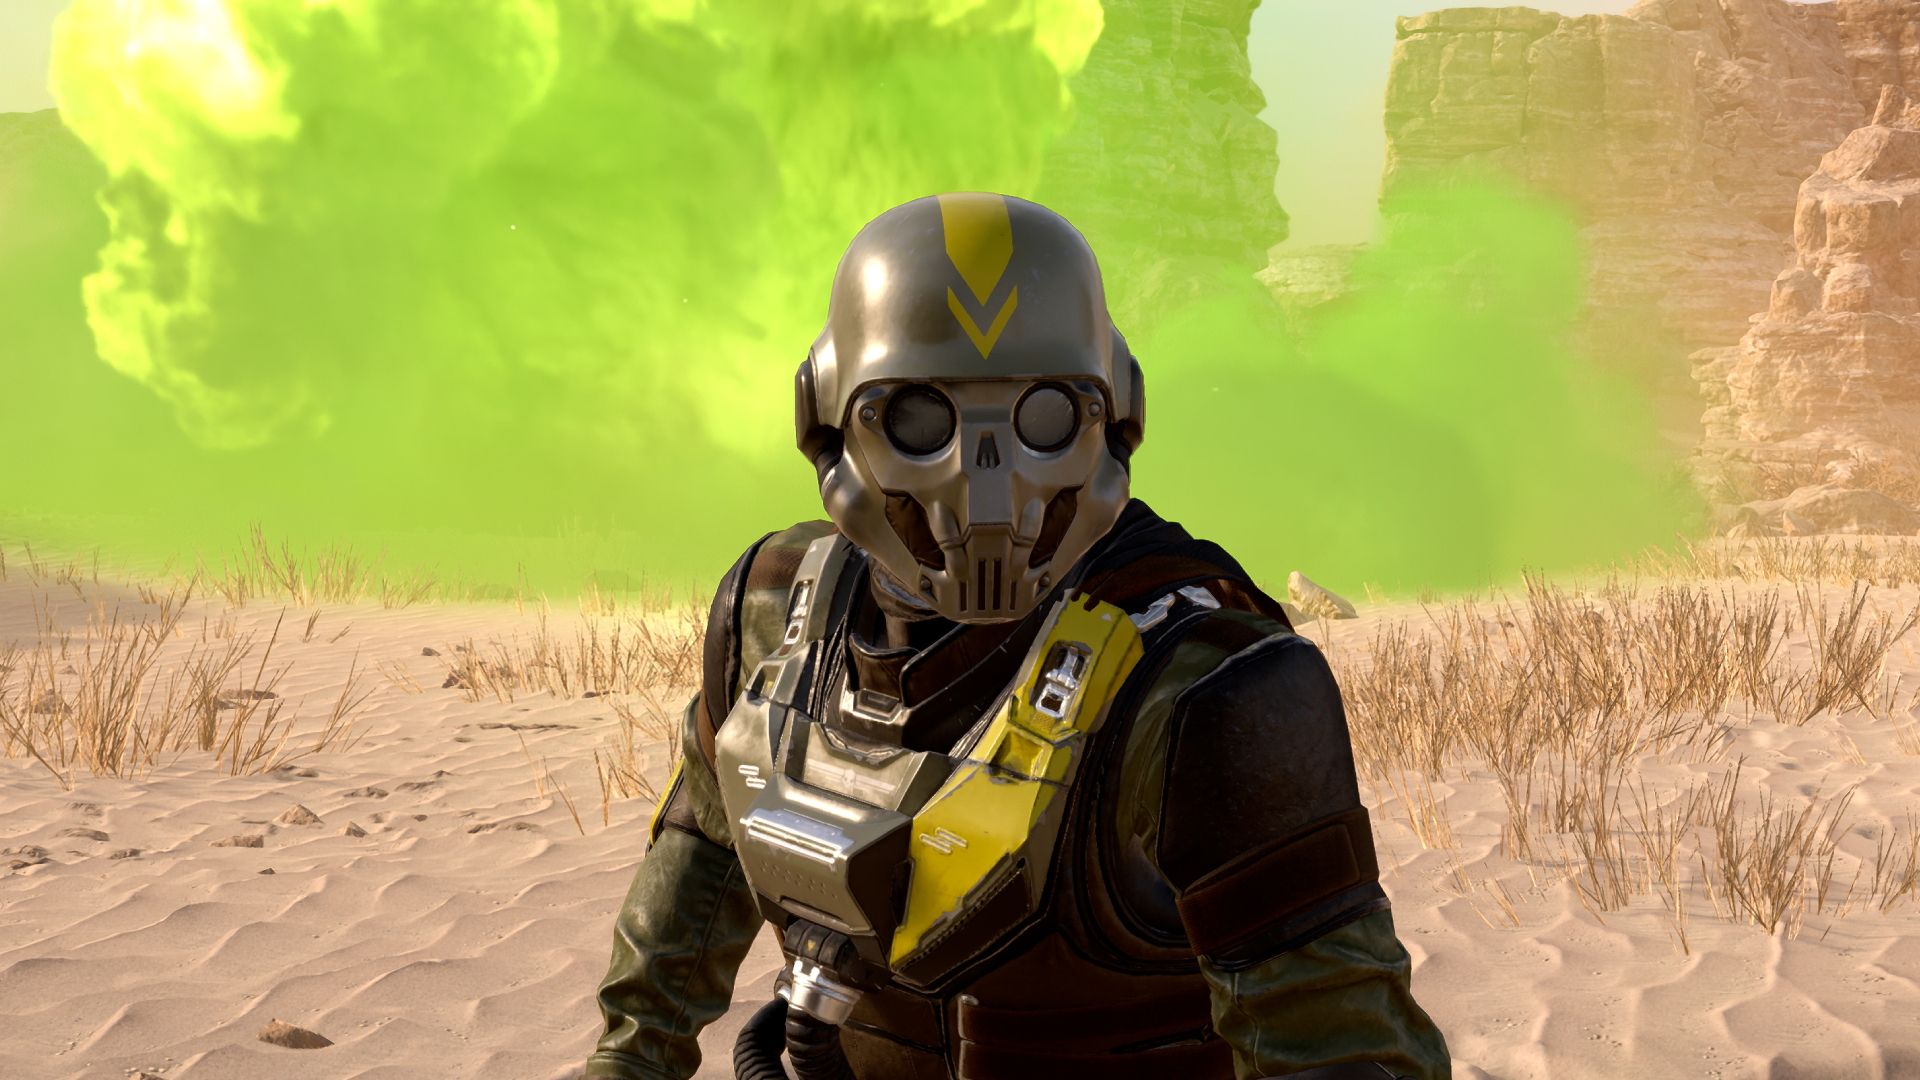
With the release of Chemical Agents, there's now a small selection of Stratagems you can only unlock via that warbond, so I've added a section at the bottom with any recommendations. All that said, here are some of the best Stratagems to try in Helldivers 2.
Patriotic Administration Centre

Stalwart
While the base Machine Gun is very strong, the Stalwart is a lighter version that removes that weapon's primary drawback with faster reload times. If you pair this with the Supply Pack early on, you can refill your ammo from the pack as you run out, and keep firing for days. It won't punch through armour, but it will kill just about anything else.
Flamethrower
Though it used to be quite weak initially, the Flamethrower has been buffed in recent patches and is strengthened even further by Ship Modules like Enhanced Combustion. Like the Arc Thrower, it's a somewhat dangerous pick for the rest of your team, but provided you're skilled with it and careful where you shoot, it's a great pick against bugs and can cope with most enemies you'll meet.
Anti-Material Rifle
This heavy sniper rifle lets you pick off troublesome enemies at a longer distance than many of the other weapons if you switch to first-person view while aiming. It's also great at headshotting bots and hitting crit spots like a Hulk's glowing red visor. Equally, if an armoured enemy is charging forward, you can also hip-fire at point-blank range and unload the entire mag to make quick work of it.
Autocannon
The Autocannon is your go-to anti-Automaton tool, since it'll cut through their light armour and make short work of those otherwise fairly tanky enemies. One nice thing about the Autocannon is it's also pretty ammo efficient and has a relatively fast reload, making it far more effective for taking out a lot of lightly armoured targets than say, the Recoilless Rifle or Expendable Anti-Tank.
Keep up to date with the most important stories and the best deals, as picked by the PC Gamer team.
Railgun
Despite its nerf, the Railgun is still a very good endgame Stratagem in Helldivers 2, especially against bots. Though it struggles to deal with Factory Striders and Gunships, it will headshot elite Automaton enemies in one while in unsafe mode, including Hulks if you can hit them in their red visor. Since the Quasar Cannon released, the Railgun is no longer the best pick against bugs, but it can still be used to strip Charger leg armor or shoot Bile Titans in the head, so it's definitely a viable option.
Commando
The Commando is essentially a better version of the Expendable Anti-Tank. Where that Stratagem only has one rocket, this multi-barreled missile launcher has four you can fire and guide towards enemies with its laser sight. Admittedly its cooldown is 50 seconds longer than the expendable, but it's well worth it for an AT weapon that can take down most foes if you unload all four rockets.
Orbital Cannons
Orbital Gatling Barrage
The problem with most of the Orbital barrages in Helldivers 2 is that they have a very wide spread, often making them deadly to other members of your squad, while still not guaranteeing you'll actually hit the thing you want to. The Orbital Gatling Barrage is great because it has a very short cooldown and similar to the airburst, covers a focused area so you can use it in a more targeted way against enemies.
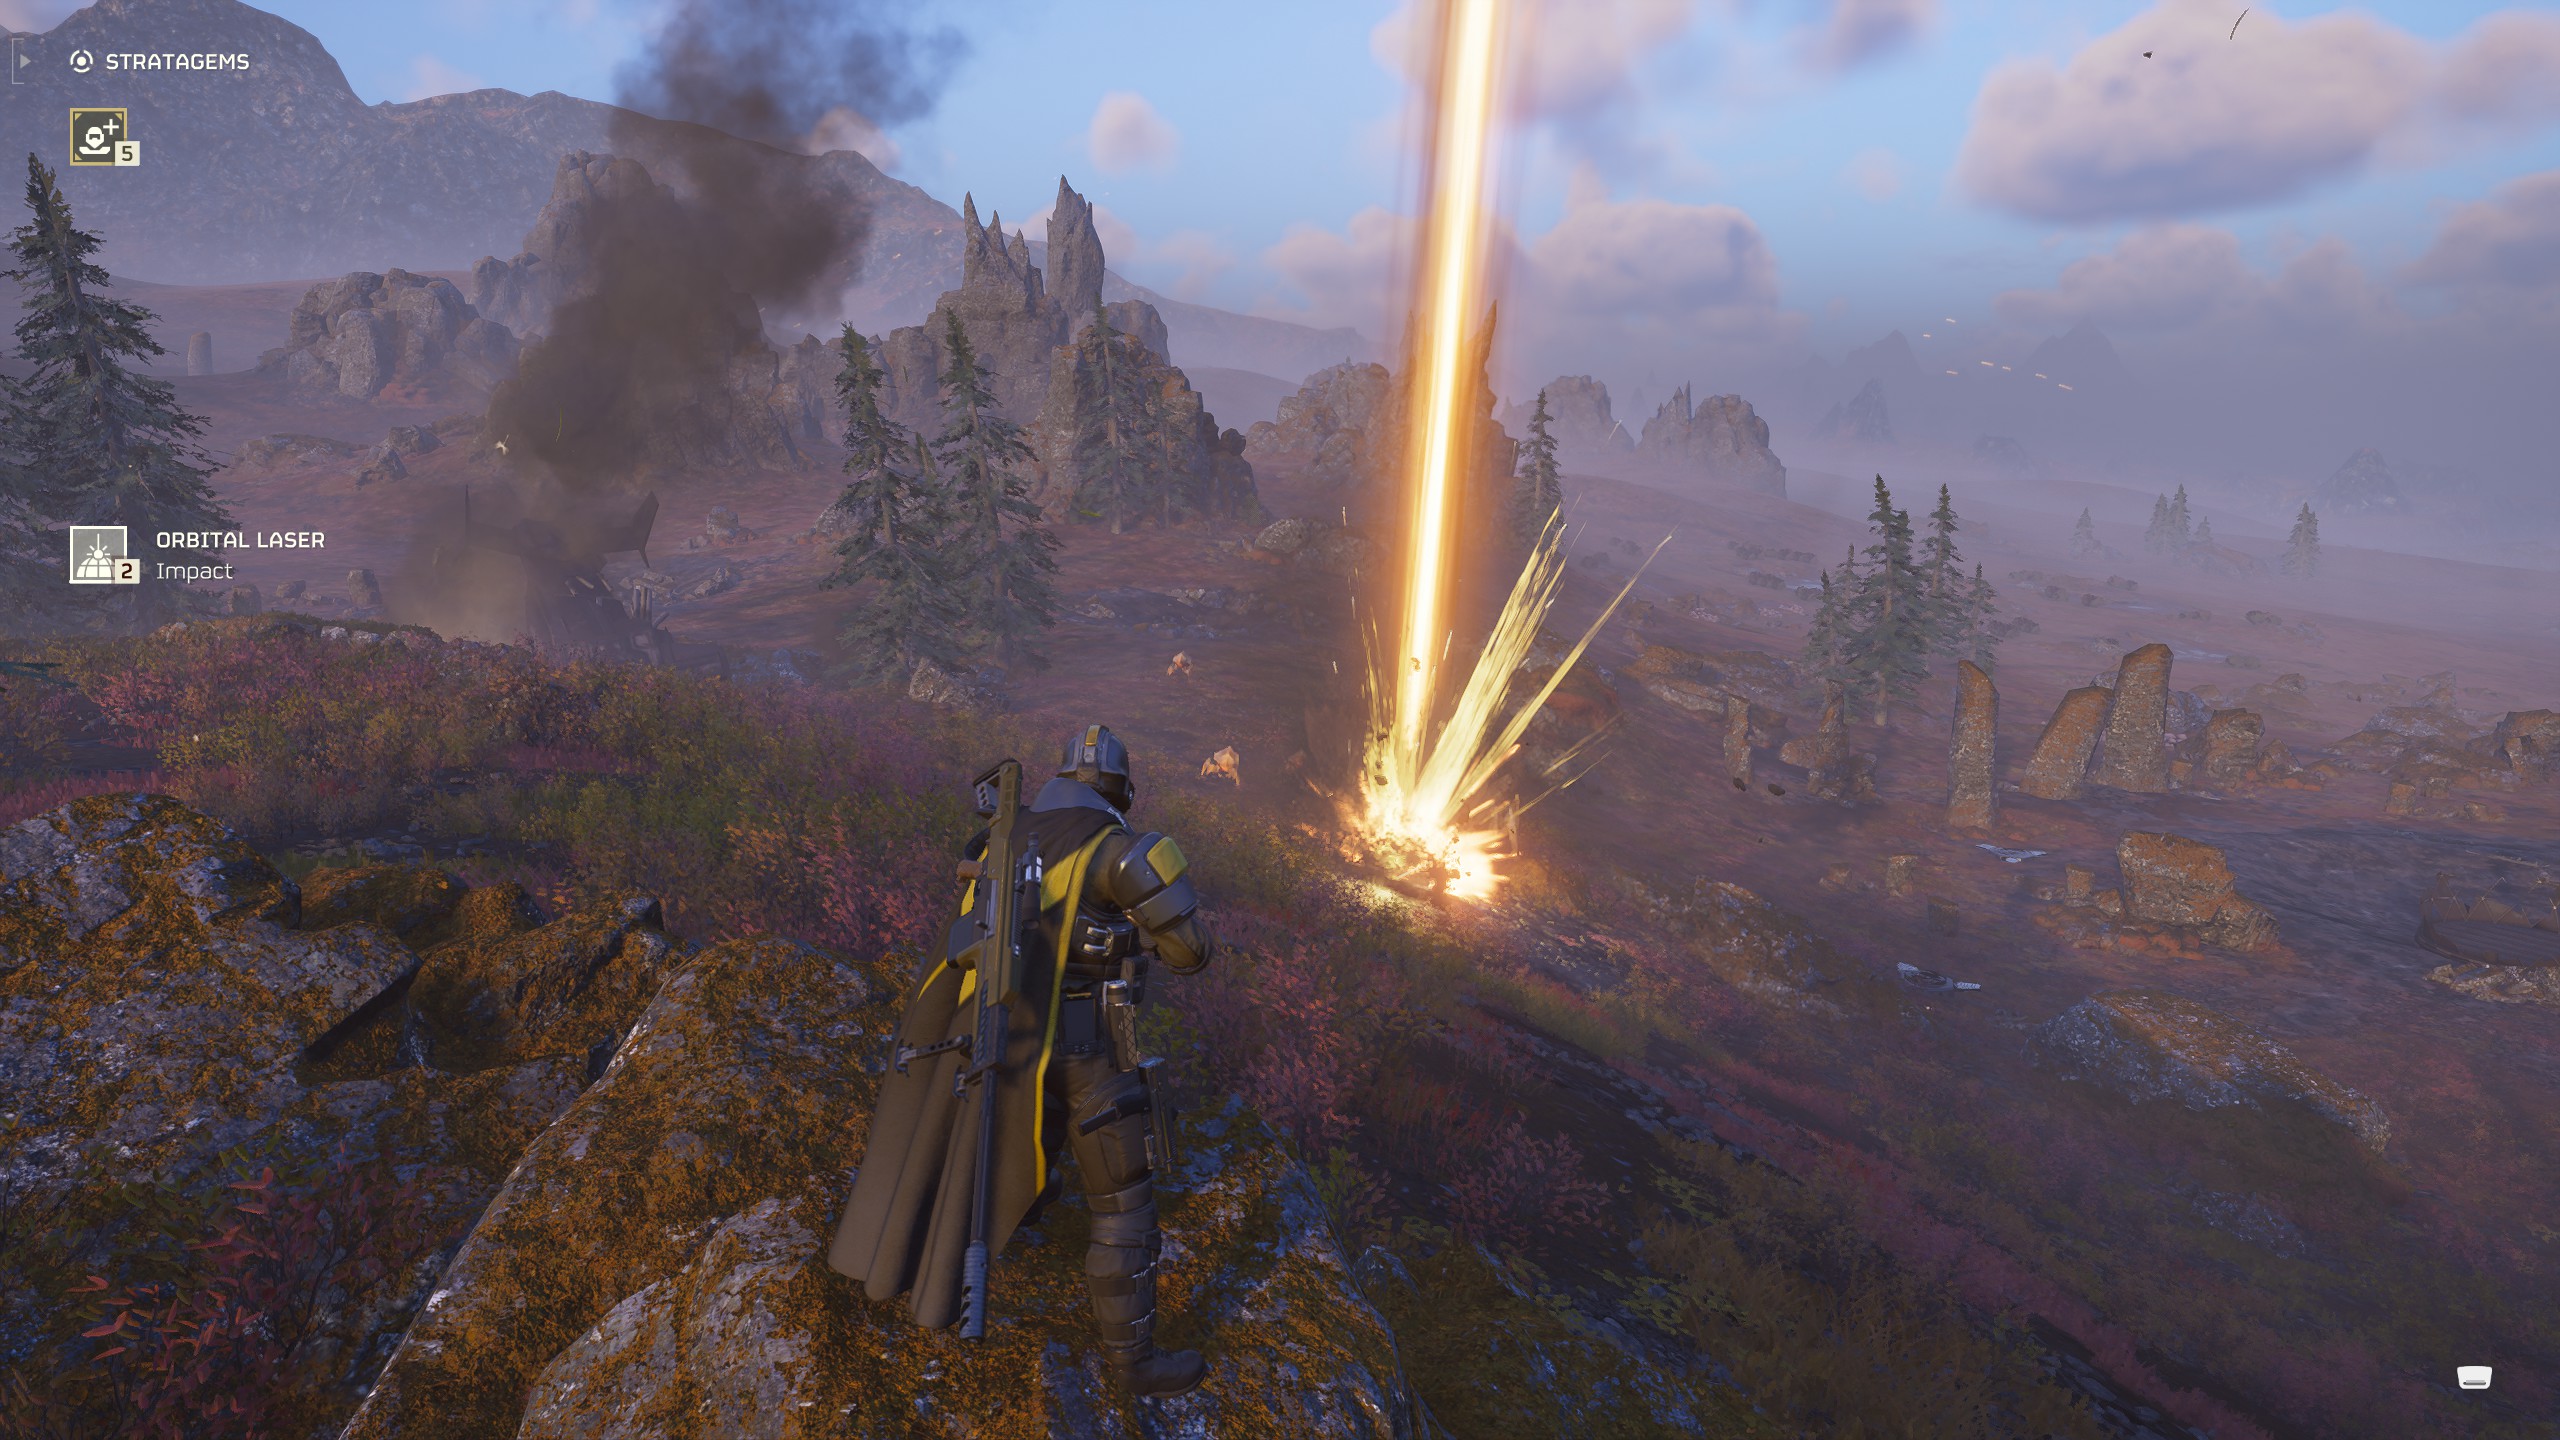
Orbital Laser
The Orbital Railcannon Strike is the best Stratagem for big armoured enemies, since it has unlimited uses, and automatically targets the biggest enemy in the area. However, I personally think the Orbital Laser is more versatile. This Stratagem fires a prolonged beam that moves between each enemy in the area, while also setting the ground on fire for extra damage.
It's the perfect ability to deal with a large armoured target, throw down on a bug breach, or if you're running away from a swarm to extraction and need a fire-and-forget ability that'll cover your retreat. The only thing to watch out for is if you're standing between the beam and an enemy it wants to melt, but you can always dodge out of the way.
Orbital Railcannon Strike
With its unlimited number of uses, the Orbital Railcannon Strike is effectively an "I'd like this dead please" button. Especially useful in missions with Bile Titans and Chargers, throw down the beacon and the laser will immediately track to the nearest big bad and end it. One thing worth noting is that for some reason the Orbital Railcannon Strike sometimes recognizes Brood Commanders as being bigger than Chargers, which is annoying when they're far easier to kill, so be careful throwing this about when both are nearby.
Orbital Napalm Strike
Though less effective against bots, this barrage of fiery napalm sets the ground alight, making it the perfect area denial tool against bugs. If you've got a big swarm chasing you or a bug breach has just opened up nearby, whack one of these down as you retreat and watch as it clears up most of the smaller, weaker bugs. Obviously you'll want to be careful about friendly fire if you're using this and ideally aim for an area you don't then need to run through.
Hangar

Eagle Airstrike
Need a few bombs to explode an Automaton fabricator or Terminid bug hole? With plenty of uses and a fairly short cooldown, this airstrike is perfect for quickly destroying minor outposts. For me, it's a must-have against Automatons since it'll one-shot their tank enemies and destroy anything but their biggest outposts with ease. If push comes to shove, you can even use it against patrols or groups of closely packed enemies.
Eagle Cluster Bomb
This Stratagem is ideal for dealing with large groups of enemies, and since it's the only Eagle ability with four uses, you'll get more bang for your buck between each resupply. Admittedly, this Stratagem is annoying for teammates if you use it incorrectly, but you just have to consider that the bombs will drop in a line horizontally to where you throw the beacon. Just make sure to give it a little extra distance and you'll quickly be able to judge its AoE.
Eagle 500KG Bomb
Though pretty impractical, the 500KG bomb is very enjoyable to use. Throw down the beacon and a few seconds later a gigantic explosion will decimate anything in the area. Though its limited number of uses make it a poor choice in comparison to others, if you just want the biggest explosion in the game at your fingertips, it's a fun Stratagem to throw towards a large concentration of enemies, a Bile Titan, or a bug best.
Bridge
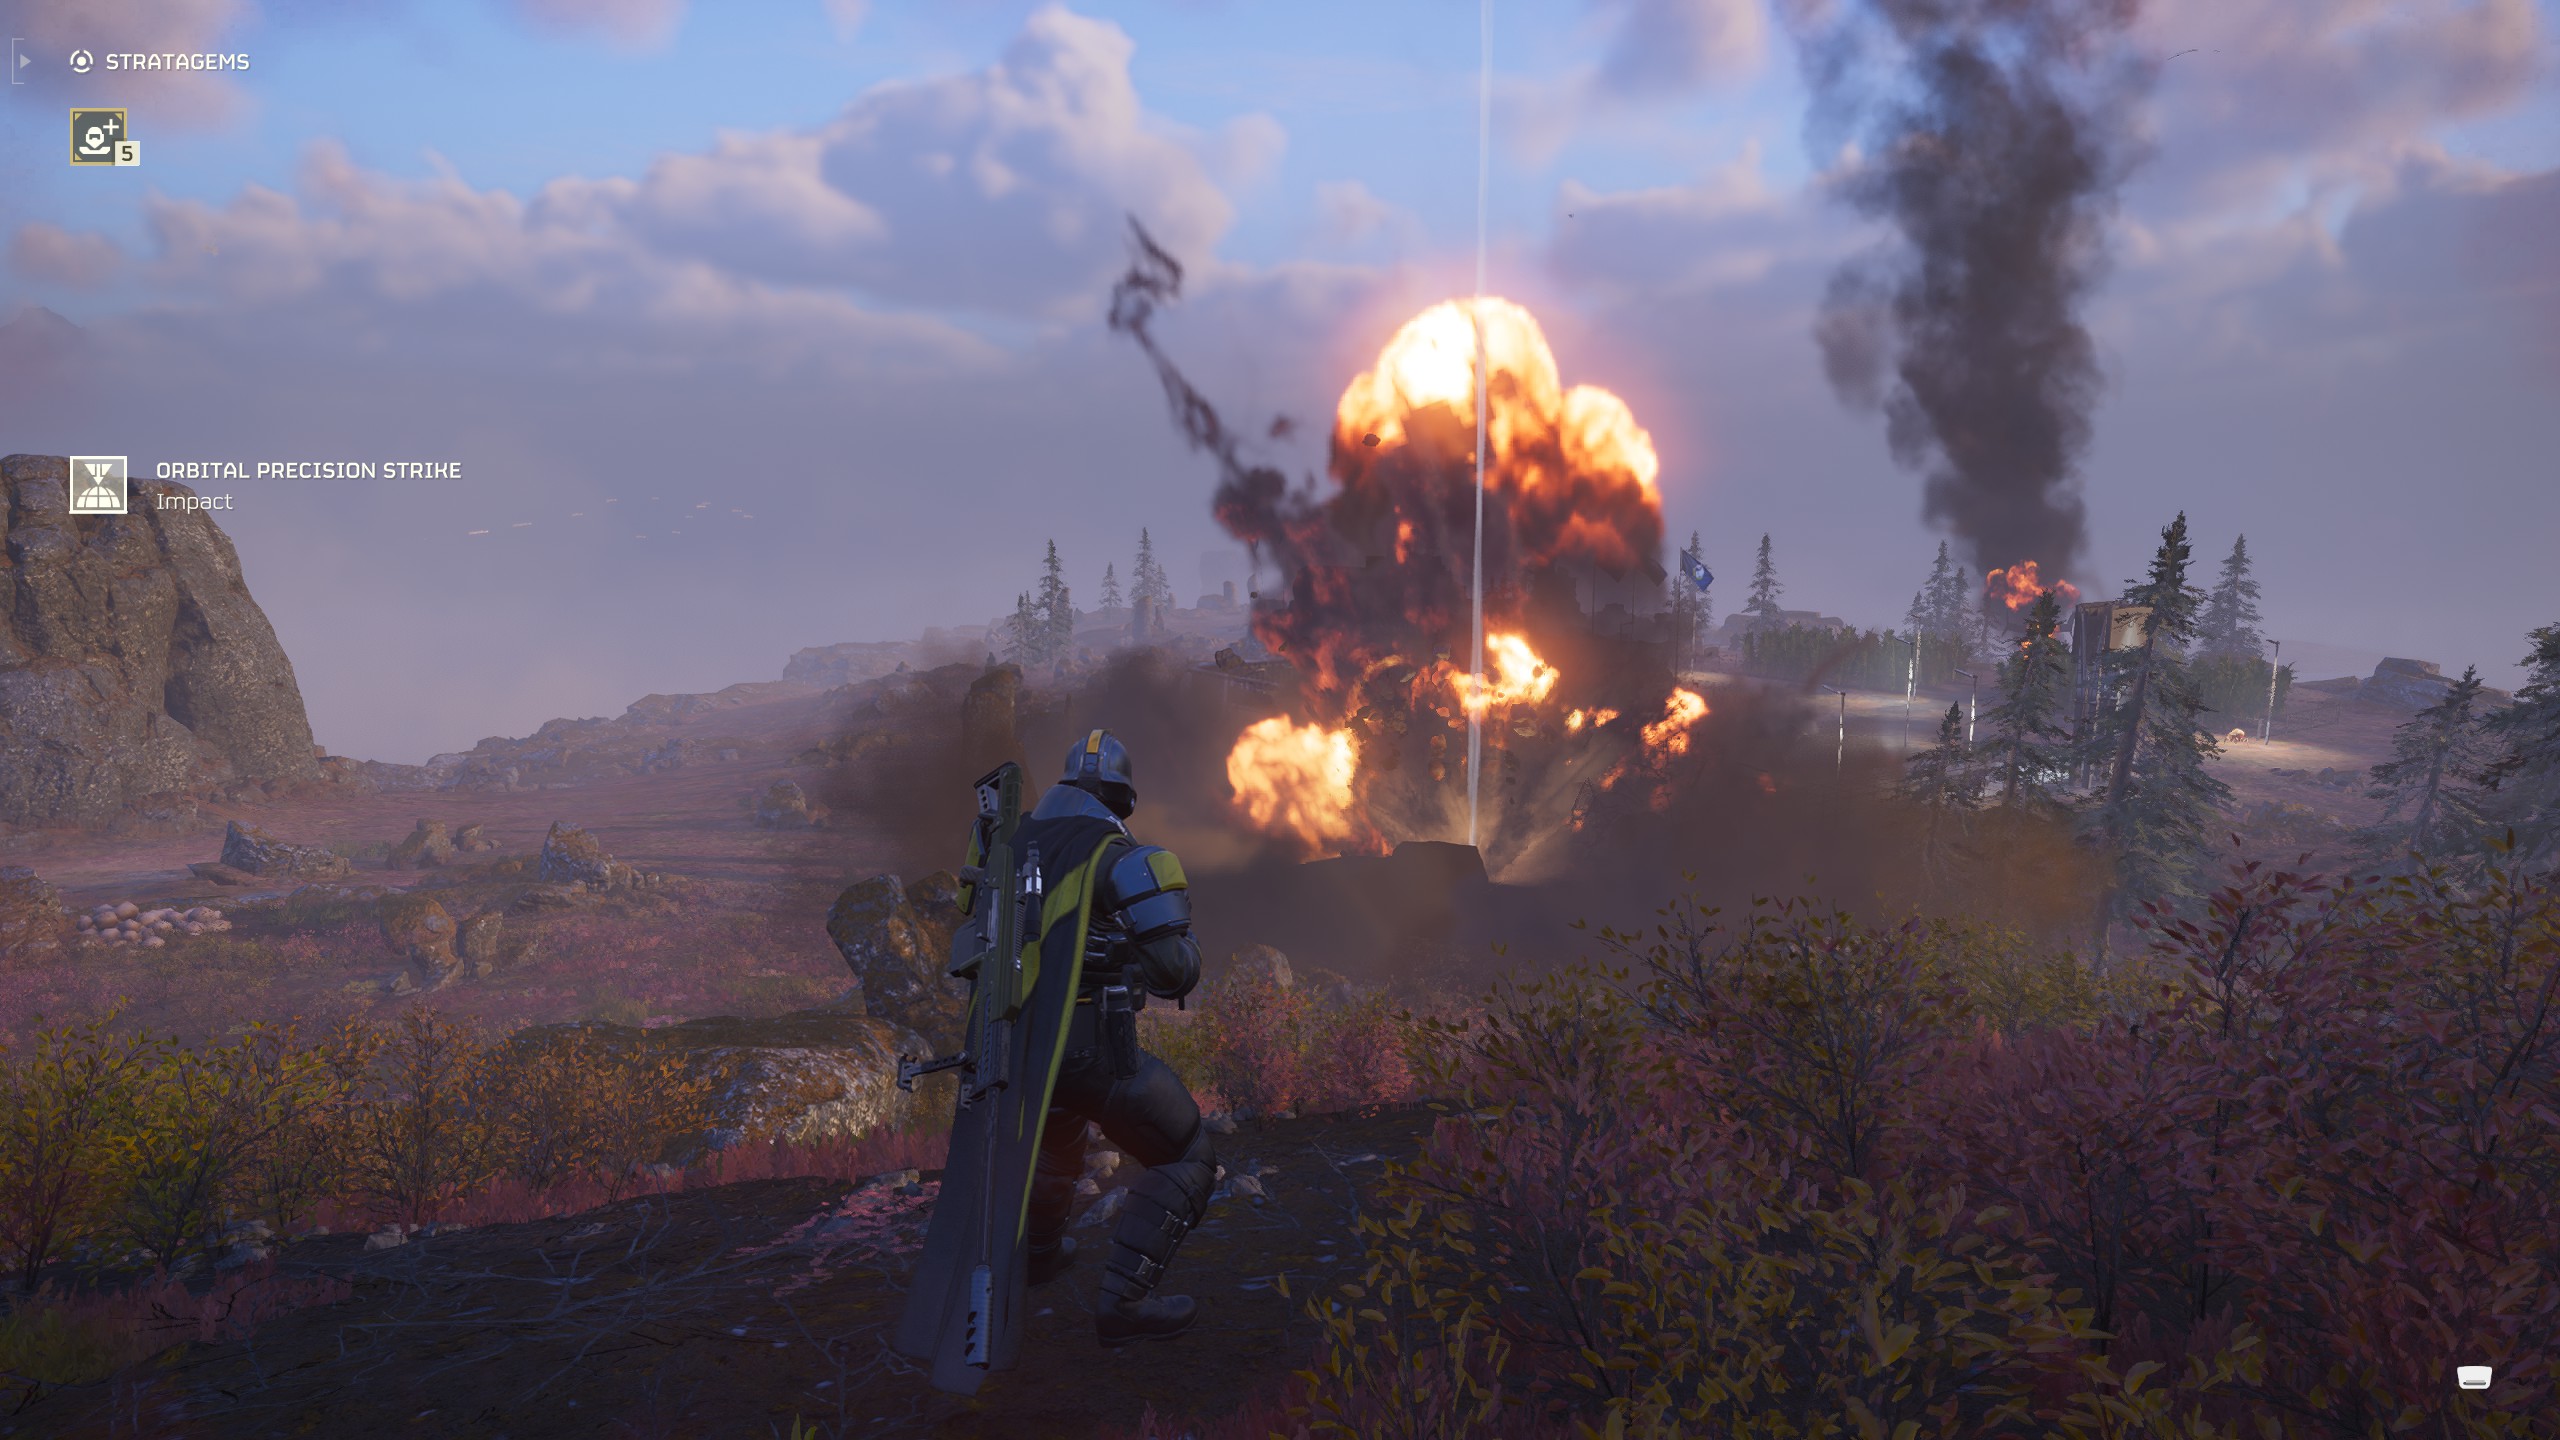
Orbital Precision Strike
Between its short cooldown and unlimited number of uses, the Orbital Precision Strike is the best Orbital bombardment. You don't need a massive area of effect with an Orbital Stratagem—you're usually either targeting a structure or a specific armoured enemy, and you're better off using the Eagle Stratagems if you want to deal with big groups instead. Rather than a giant rolling bombardment that stops you entering an area, kills your teammates, and still misses what you wanted to hit, this targeted strike is far better at getting the job done.
Engineering Bay
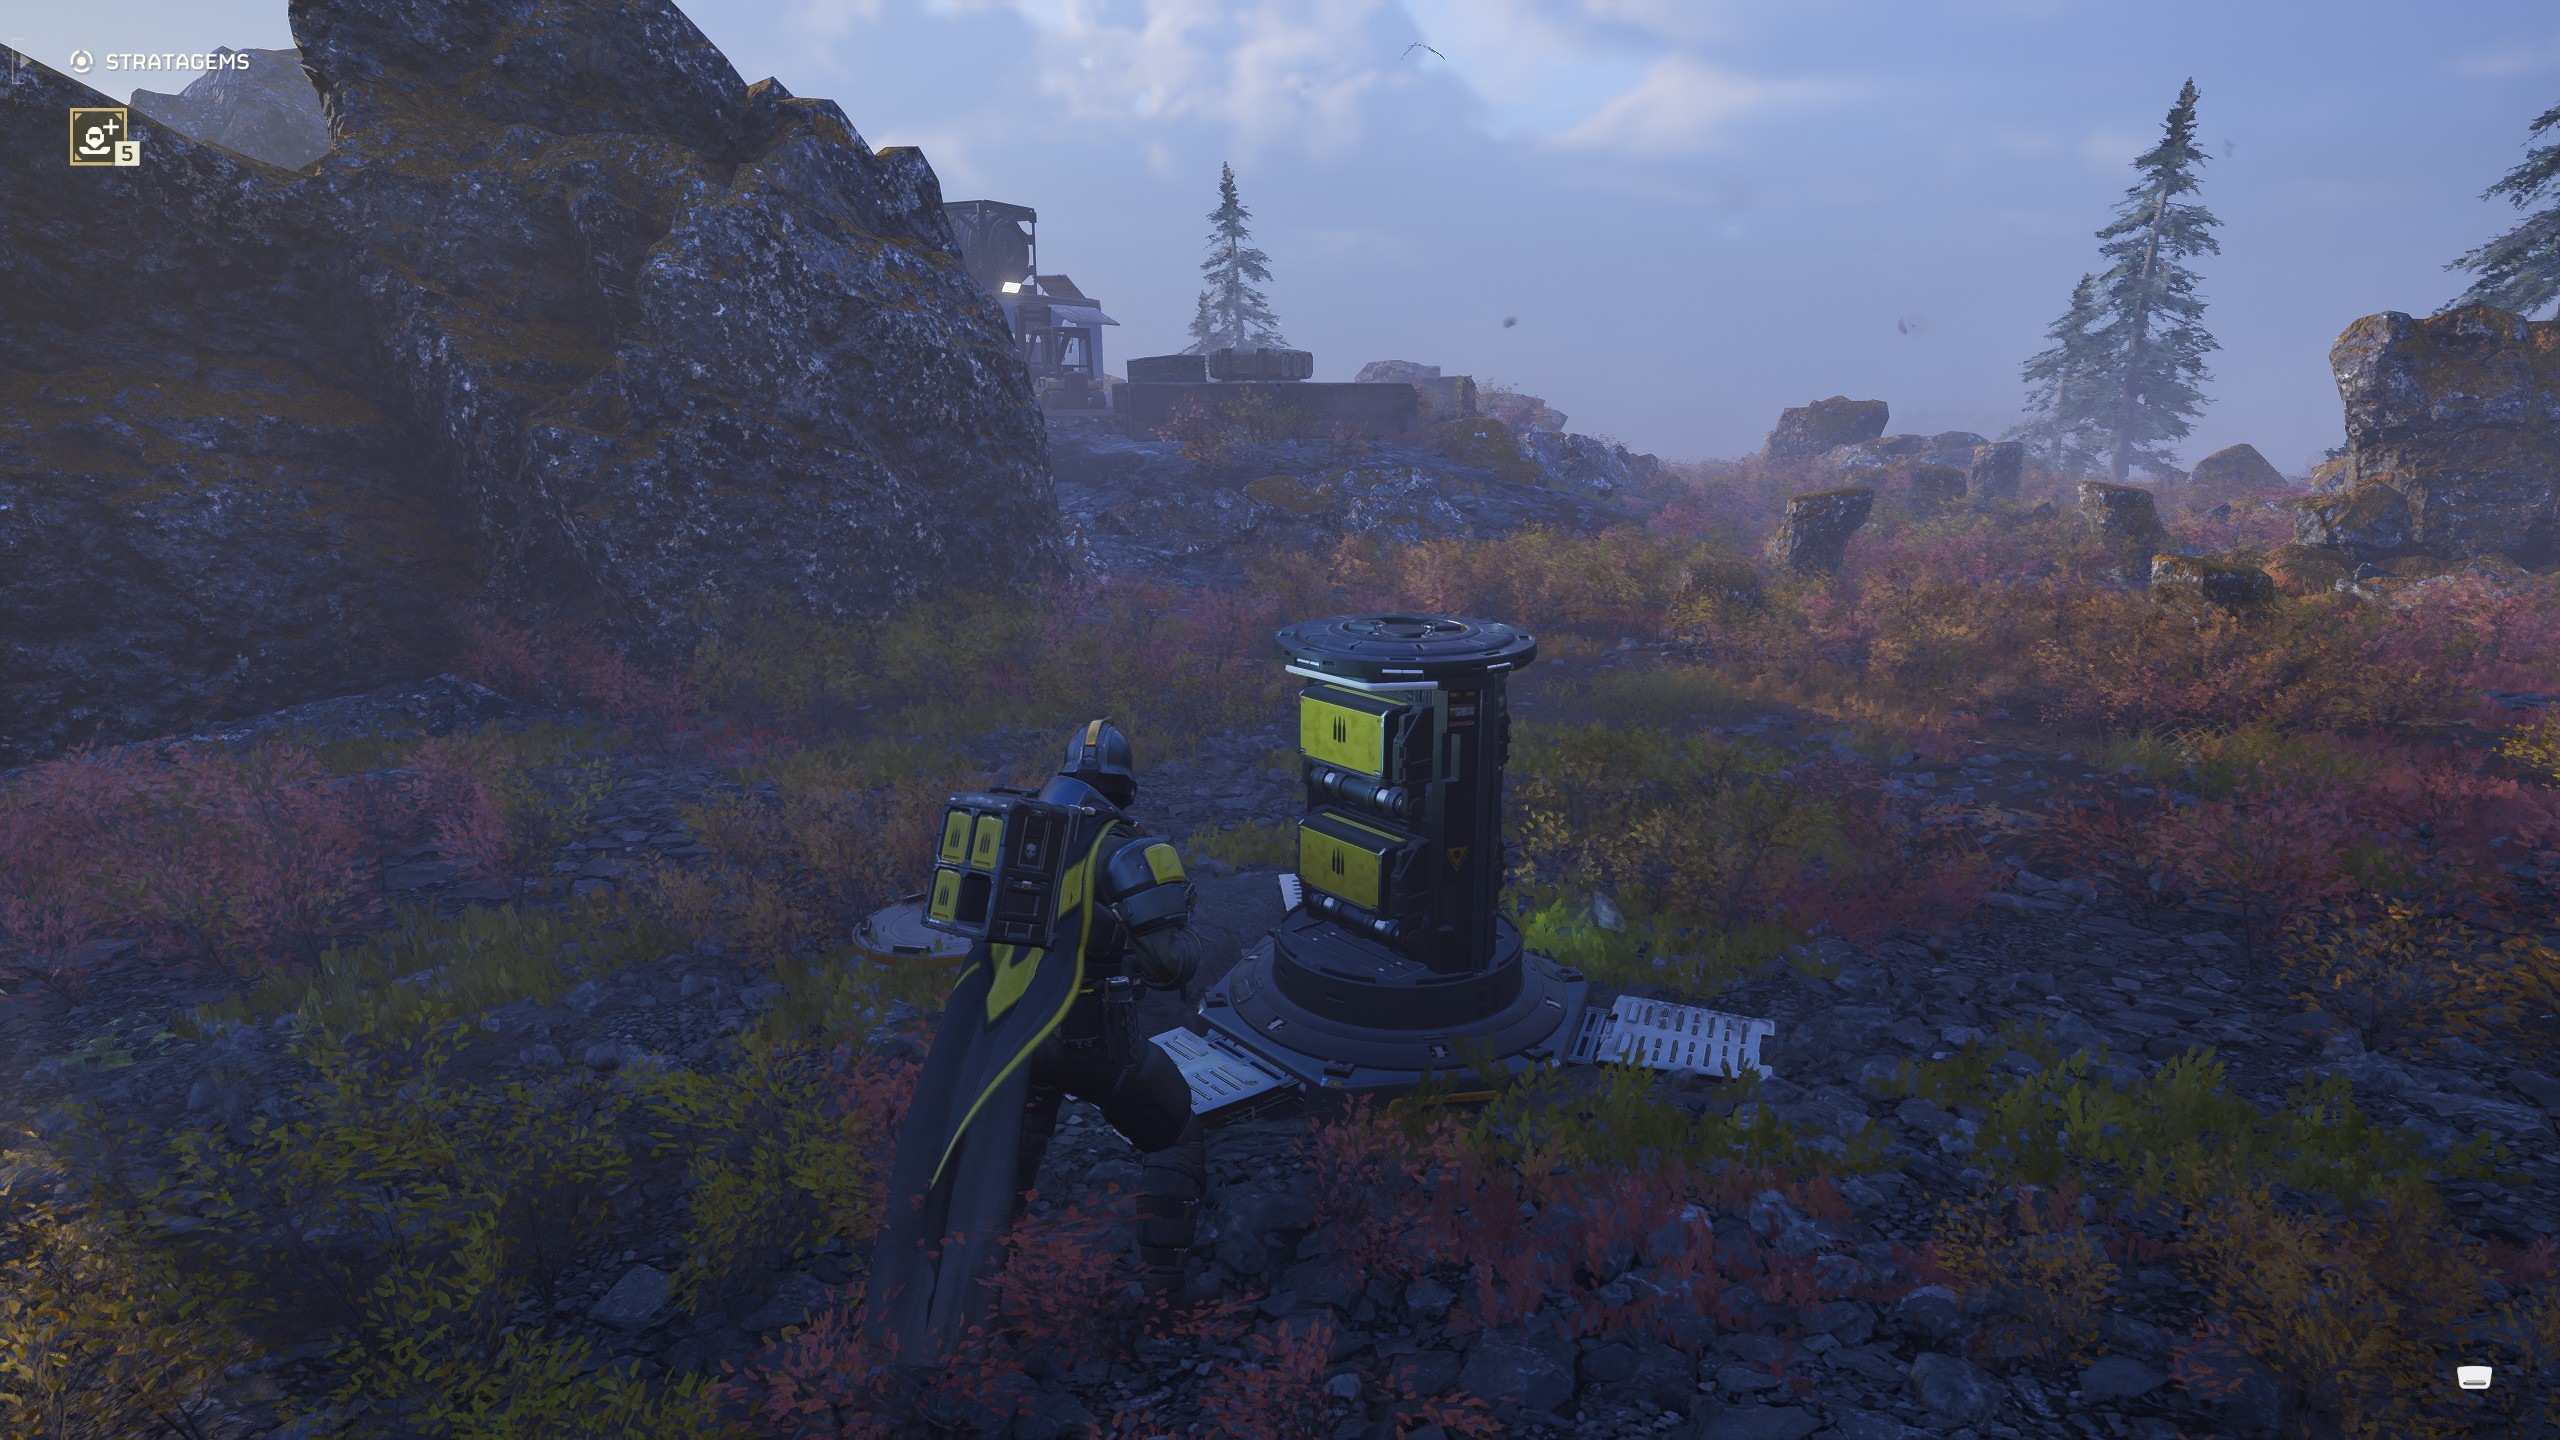
Supply Pack
Definitely one of the best Stratagems in the game; when your ability to kill stuff hinges on ammo, having more of it is never a bad thing. The Supply Pack carries four boxes that you can use to resupply your teammates, or yourself by pressing 5 or down on the D-pad on a controller. What's even stronger is that you can pick up ammo boxes to refill your pack, meaning Supply Drops never go to waste. If you're running a Machine Gun, this can be a potent combo as you refill your ammo from the pack and keep blazing away.
Grenade Launcher
While you've got to be careful firing this near teammates, the Grenade Launcher is well worth it even if just for its ability to close bug holes at a distance without having to eat into your grenades, resupply to get more, or use an Orbital Strike. You can also use the Grenade Launcher to destroy Spore Stalks or antenna arrays from far away, generally making it a no-nonsense tool for completing sub-objectives. It's really good at killing stuff, too.
Shield Generator Pack
While the relay is good for covering everyone, the Shield Generator Pack is one of the best individual survivability tools in the game—I always take this when I'm doing any kind of bot mission, but it works with bugs, too. Essentially, the shield will block any damage up to a certain level and then break, but if you don't take damage for a while, it'll recharge quite quickly. This is especially useful against bug spit or any damage effect that slows you down, though it works against enemies attacking you in melee as well.
Quasar Cannon
Though it was significantly more powerful when it first released, the Quasar Cannon is still a top pick against bugs or bots. It'll take down a Charger or a Bile Titan with a few shots and can destroy enemy structures at range like Spore Stalks or Shrieker Nests. Though a little less handy against Automatons, it'll destroy an enemy drop ship if you land a direct hit on an engine, and can take down Hulks if you hit them in their red visor or glowing back.
Robotics Workshop
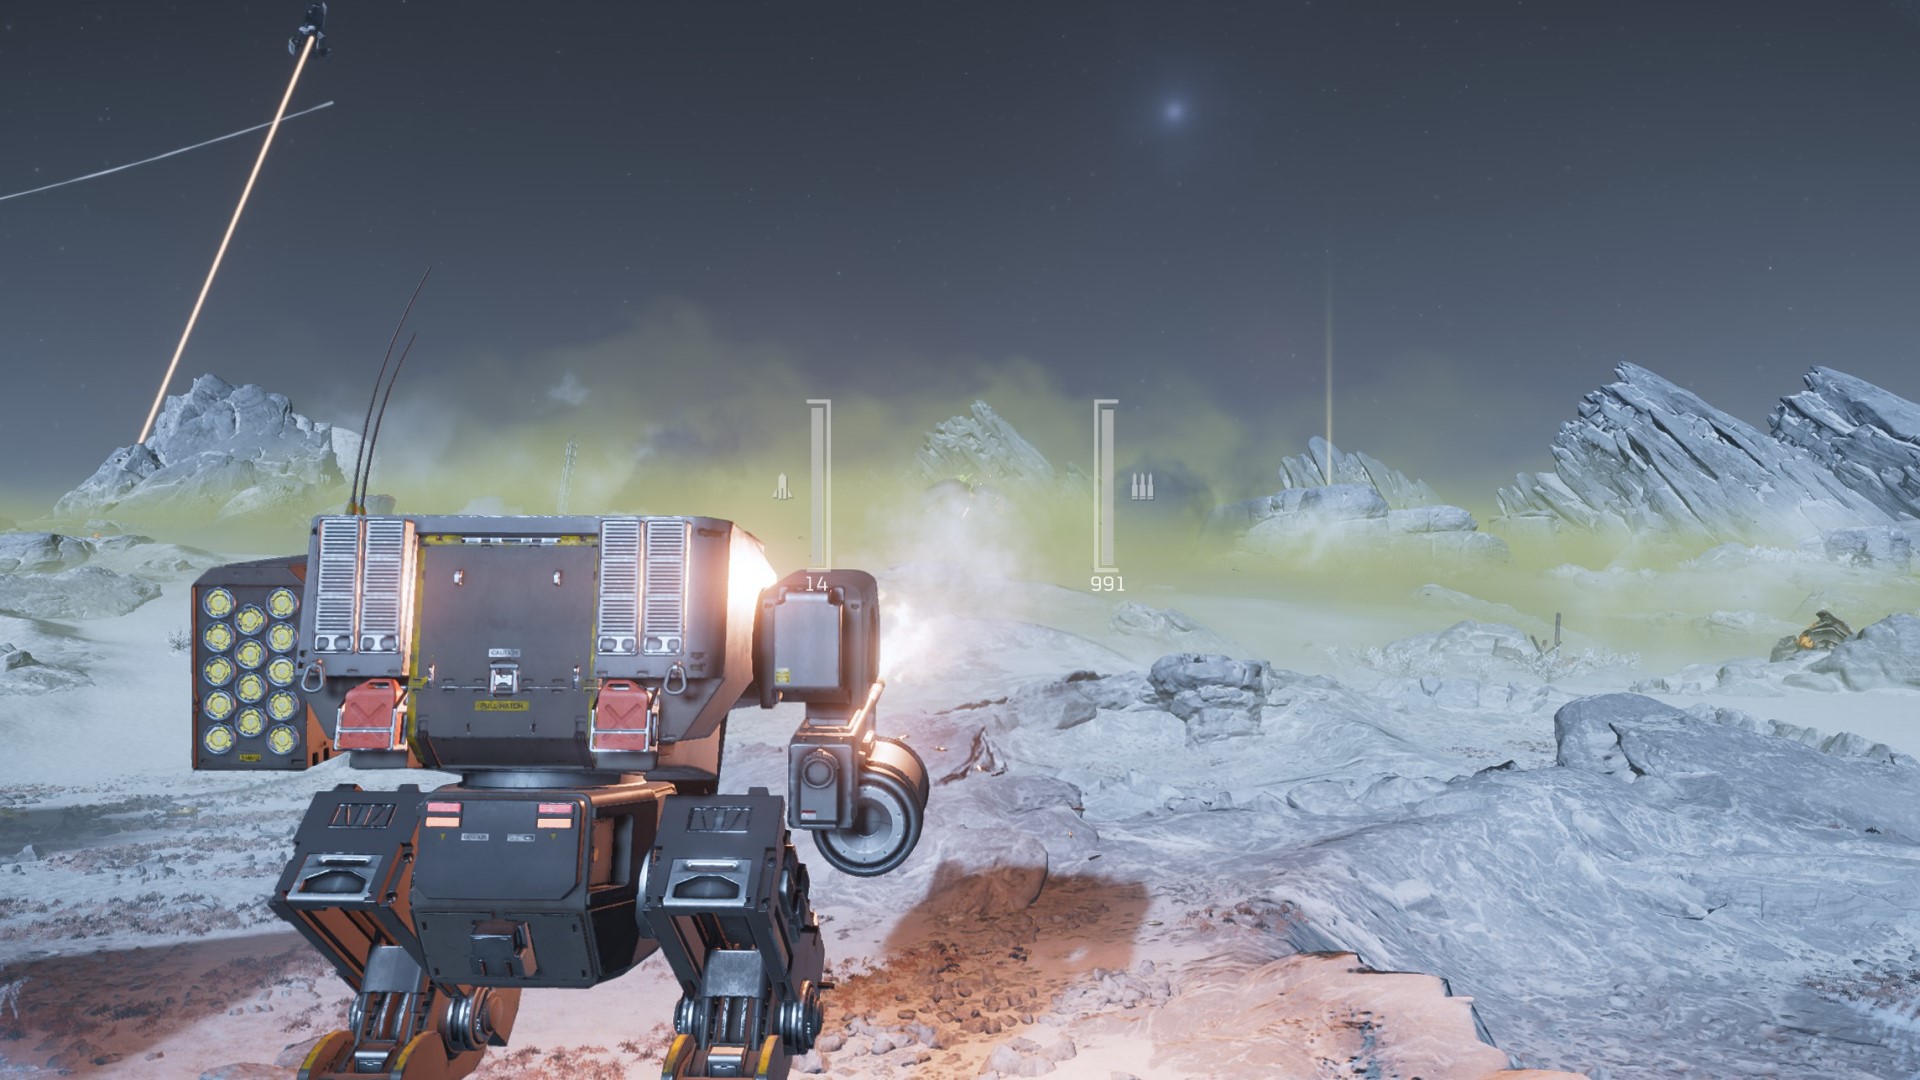
Gatling Sentry
There isn't all that much to say about the Gatling Sentry besides that it's a better version of the basic Machine Gun Sentry and has the exact same cooldown. Of course, placement is very important in terms of turrets, especially if you don't want to get shot in the back, so be sure to whack them down where they'll hit the enemy and not you.
"Guard Dog"
My personal favourite backpack; the Guard Dog is a drone that follows you around and gives you 360 cover, shooting anything that comes close when it's not on cooldown in your backpack. It's perfect for if you're reloading or running away from enemies. One thing I will note is that it's terrible if you're trying to be stealthy, since it'll shoot any enemies in range no matter what. If you'd prefer an energy weapon version, you can grab the "Guard Dog" Rover in the Engineering Bay instead, but they're just different flavours of the same Stratagem.
Rocket Sentry
The Mortar Sentry is one of the most annoying Stratagems in the game for friendly fire. It's impossible to tell where those shells are going to land next. The Rocket Sentry is generally a less lethal option for your team. While it will certainly hurt you if it spots an enemy standing right next to you and blasts it—as with any turret—the fact that it works based on line of sight means that you can place it in such a way that it won't murder you all.
Mortar Sentry
Wait, wasn't I just complaining about the Mortar Sentry in the previous entry? Yes, but here's the thing, the Mortar Sentry is incredibly good in specific situations, namely, defensive missions like Eradicate Terminid or Automatons. They can even be valuable when you're trying to extract—the key to not getting killed by mortars is that you stay close to them and stay away from enemies, making the mortar good in any situation where you can blast away from a distance.
EMS Mortar Sentry
This stratagem is one of Helldivers 2's best crowd control tools. Set it up and it'll start blasting away, dropping EMS strikes on nearby enemies and slowing them—if you pair it with a regular Mortar Sentry for a one-two punch, enemies will be sitting ducks as the explosive shots rain down on them. The EMS Mortar is really just a fantastic way of reducing enemy pressure on your squad and it's especially effective against bots. When an EMS mortar drops on a Hulk, for instance, it'll stop moving entirely so you can get behind it and blast that glowing weak spot.
Emancipator Exosuit
Though it's quite a high-level unlock, the Exo-49 Emancipator Exosuit is essentially a better version of the regular Patriot model. This mech comes equipped with two autocannons that'll deal with just about every enemy and it's also got quite a bit of ammo. With the Patriot version you often find yourself limited in terms of what you can kill once you've run out of rockets, but the Emancipator can keep killing right up until both guns run dry. It is still quite squishy, though, so be careful about letting enemies get close.
Chemical Agents
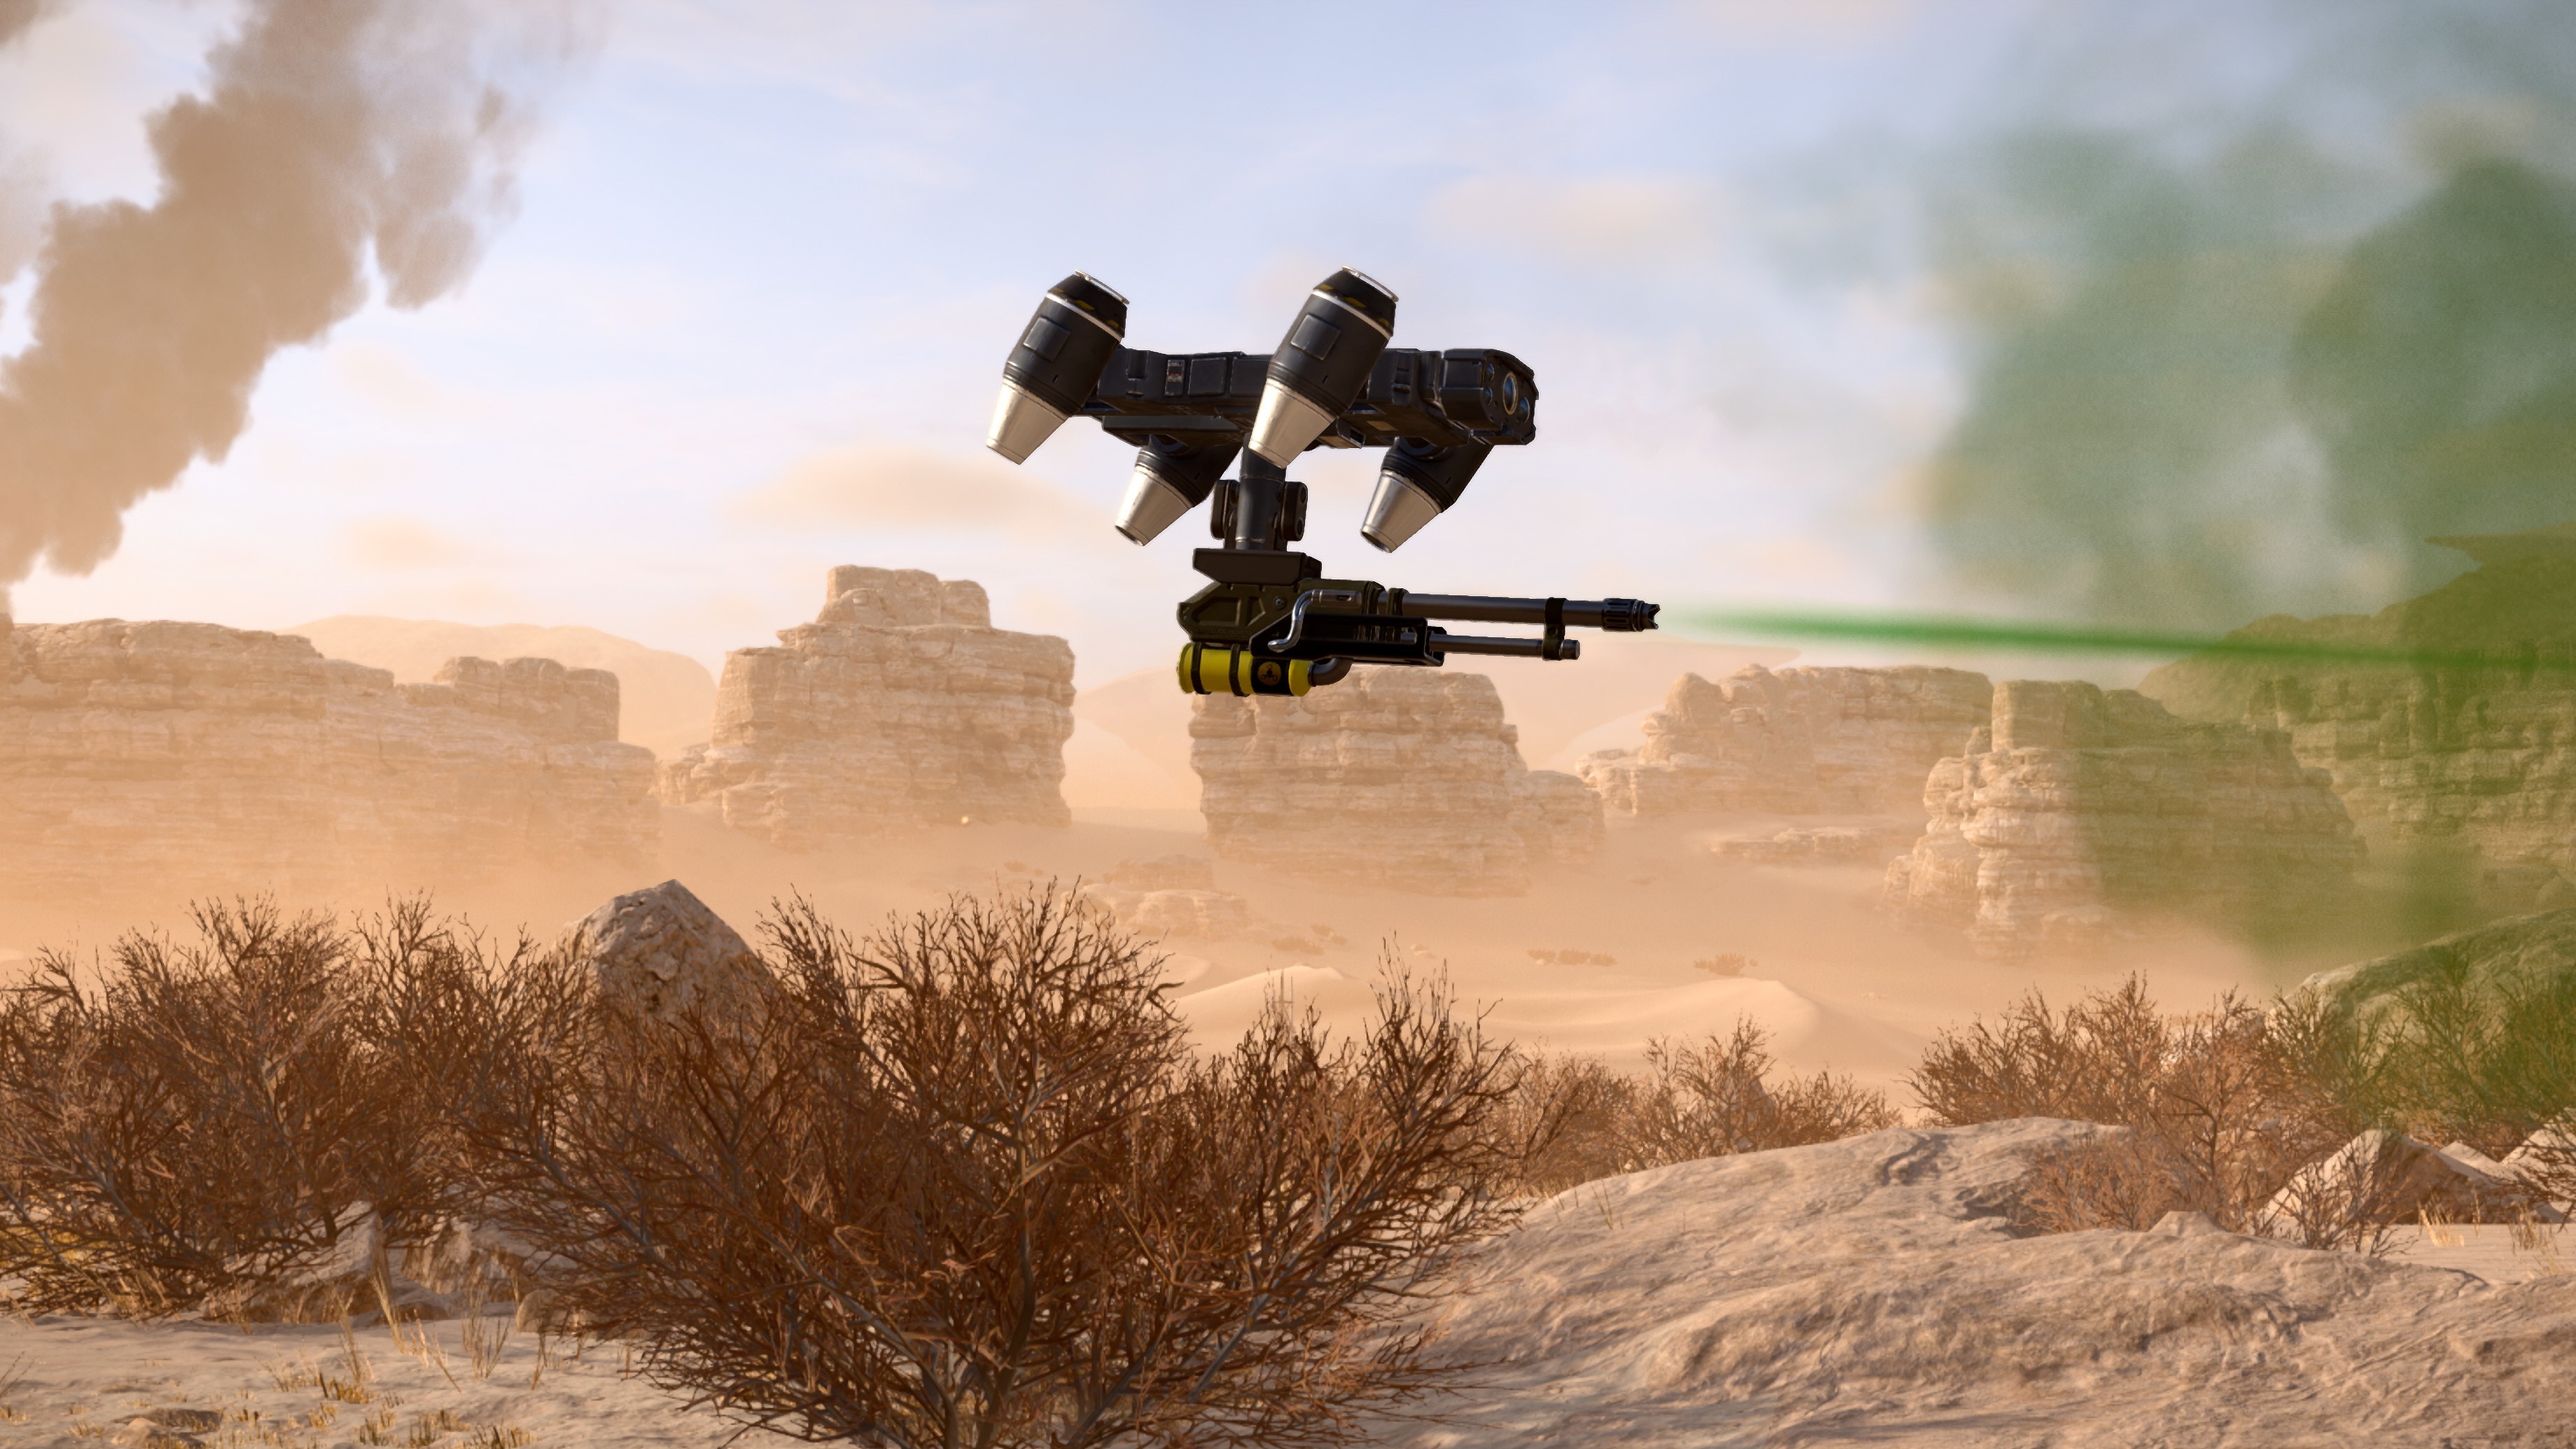
'Guard Dog' Dog Breath
This is pretty unique Stratagem; a guard dog backpack that fires a short range stream of poison gas, confusing enemies and slowing them. It can be pretty good against bugs, especially if you often find yourself being ambushed by Stalkers or other big enemies. The Dog Breath will give you a little time to get away and deal with them. Like the Rover version it also doesn't need ammo boxes to reload, though it will have to recharge in the backpack from time-to-time.
Helldivers 2 weapons: Best guns of Super Earth
Helldivers 2 stratagems: Understand the ordinance
Helldivers 2 loadouts: Finest kits for bug-killing
Helldivers 2 armor: Which suits to wear
Helldivers 2 medals: Where to claim more currency

Sean's first PC games were Full Throttle and Total Annihilation and his taste has stayed much the same since. When not scouring games for secrets or bashing his head against puzzles, you'll find him revisiting old Total War campaigns, agonizing over his Destiny 2 fit, or still trying to finish the Horus Heresy. Sean has also written for EDGE, Eurogamer, PCGamesN, Wireframe, EGMNOW, and Inverse.
