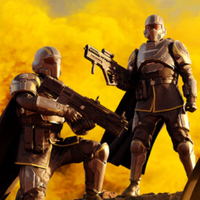
The best Helldivers 2 armour
It probably won't stop a giant bug pincer, but hey, it can't hurt.

Trying to determine the best Helldivers 2 armour set that you can equip first requires you to understand the differences between each different type. Armour stats aren't actually that important when gearing up your diver. What matters more is your armour passive; a unique buff that can offer extra protection against certain kinds of damage, or even extra consumables like grenades and Stims.
If you're gearing out your diver, you might also be wondering about the best weapons to take or the best Stratagems to use when dropping into hostile territory. Regardless of what stage you're at, here's my tier list of the best Helldivers 2 armour passives, plus which sets you can find them on and how to get them. It's worth noting that armour stats are currently bugged in Helldivers 2 and are not providing protection, so it makes even more sense to double down on your passive.
Helldivers 2 armour types and passive tier list
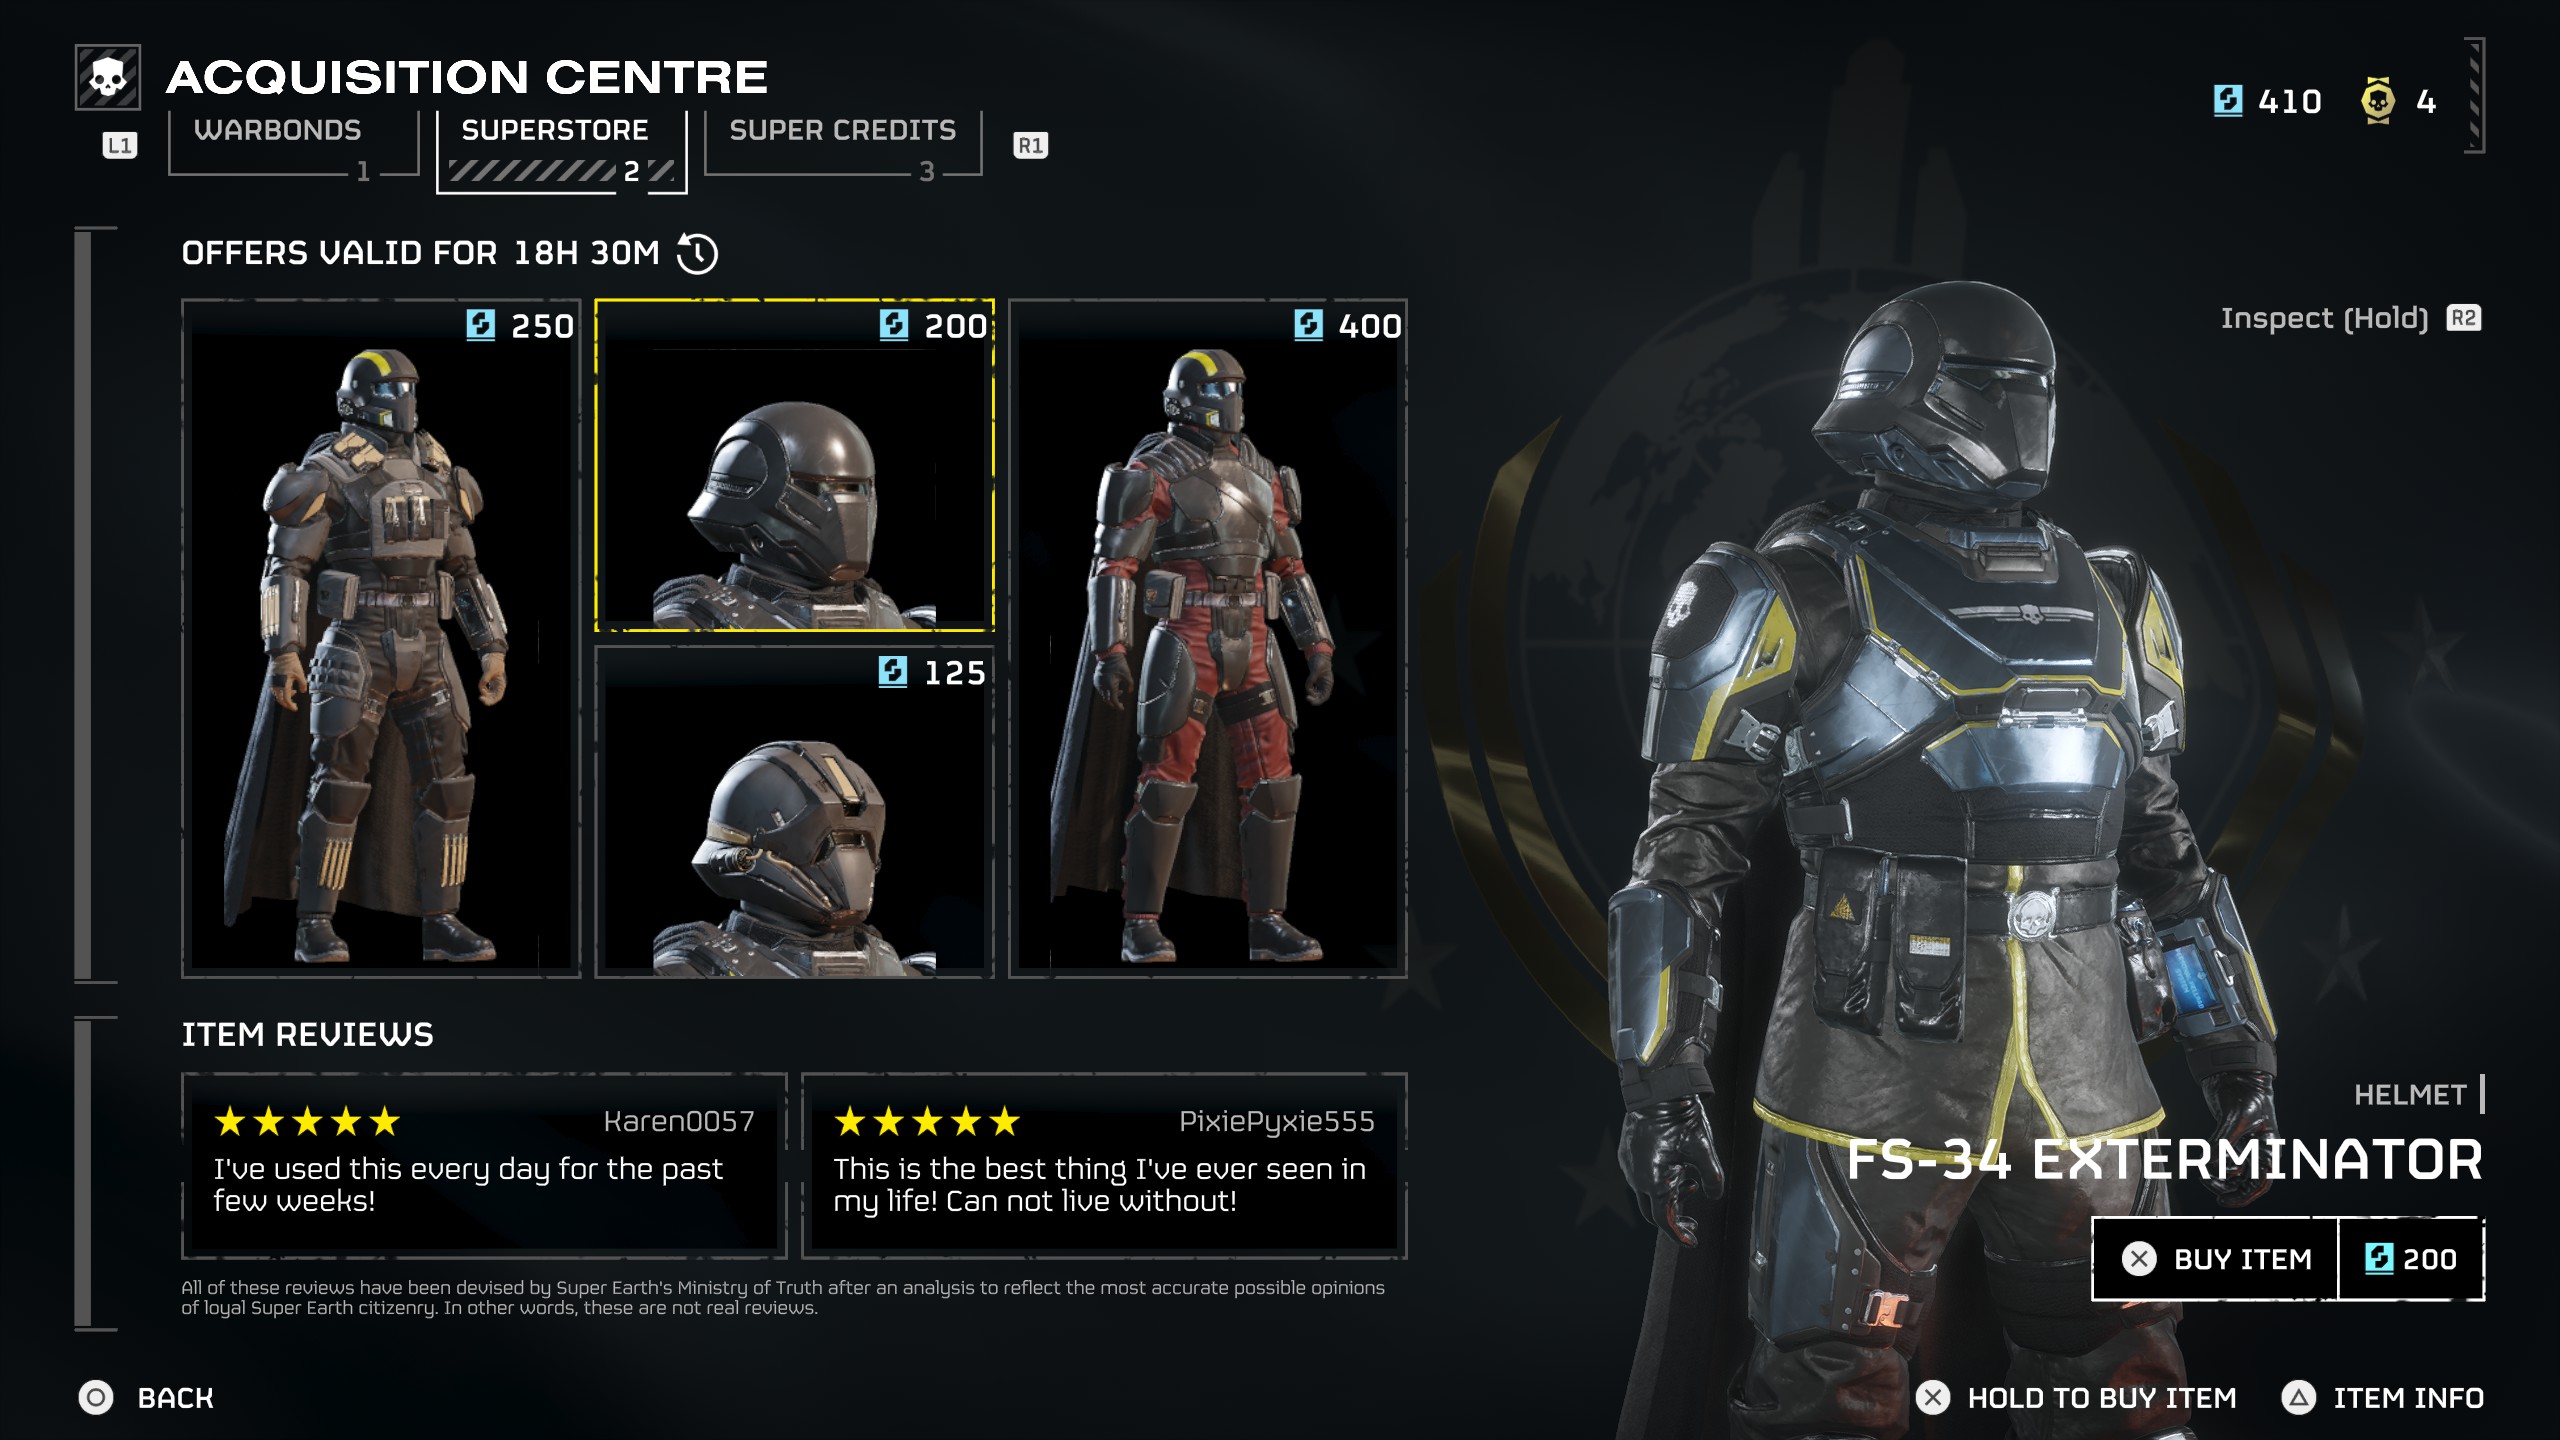
There are three types of armour in Helldivers 2 with almost identical stats based on their type:
- Light Armour: You'll be less resistant to damage but you can sprint longer and will recover stamina faster.
- Medium Armour: The best of both worlds; slightly more damage resistance but a bit less stamina.
- Heavy Armour: Maximum damage resistance, but lower overall stamina and stamina recovery.
These armour types come with one of a certain set of passives, though you can find a couple of exceptions to this in the Superstore and Warbond. Generally, when choosing armour, passives are more important than stats, since these offer powerful additional buffs. Below I've broken down all of the current armour traits into a tier list based on how worthwhile I think they are.
Helldivers 2 best armour passive tier list
| Tier | Passive |
|---|---|
| S-tier | Democracy Protects, Med-Kit |
| A-tier | Engineering Kit, Fortified |
| B-tier | Servo-Assisted, Scout |
| C-tier | Extra Padding |
S-tier
Democracy Protects
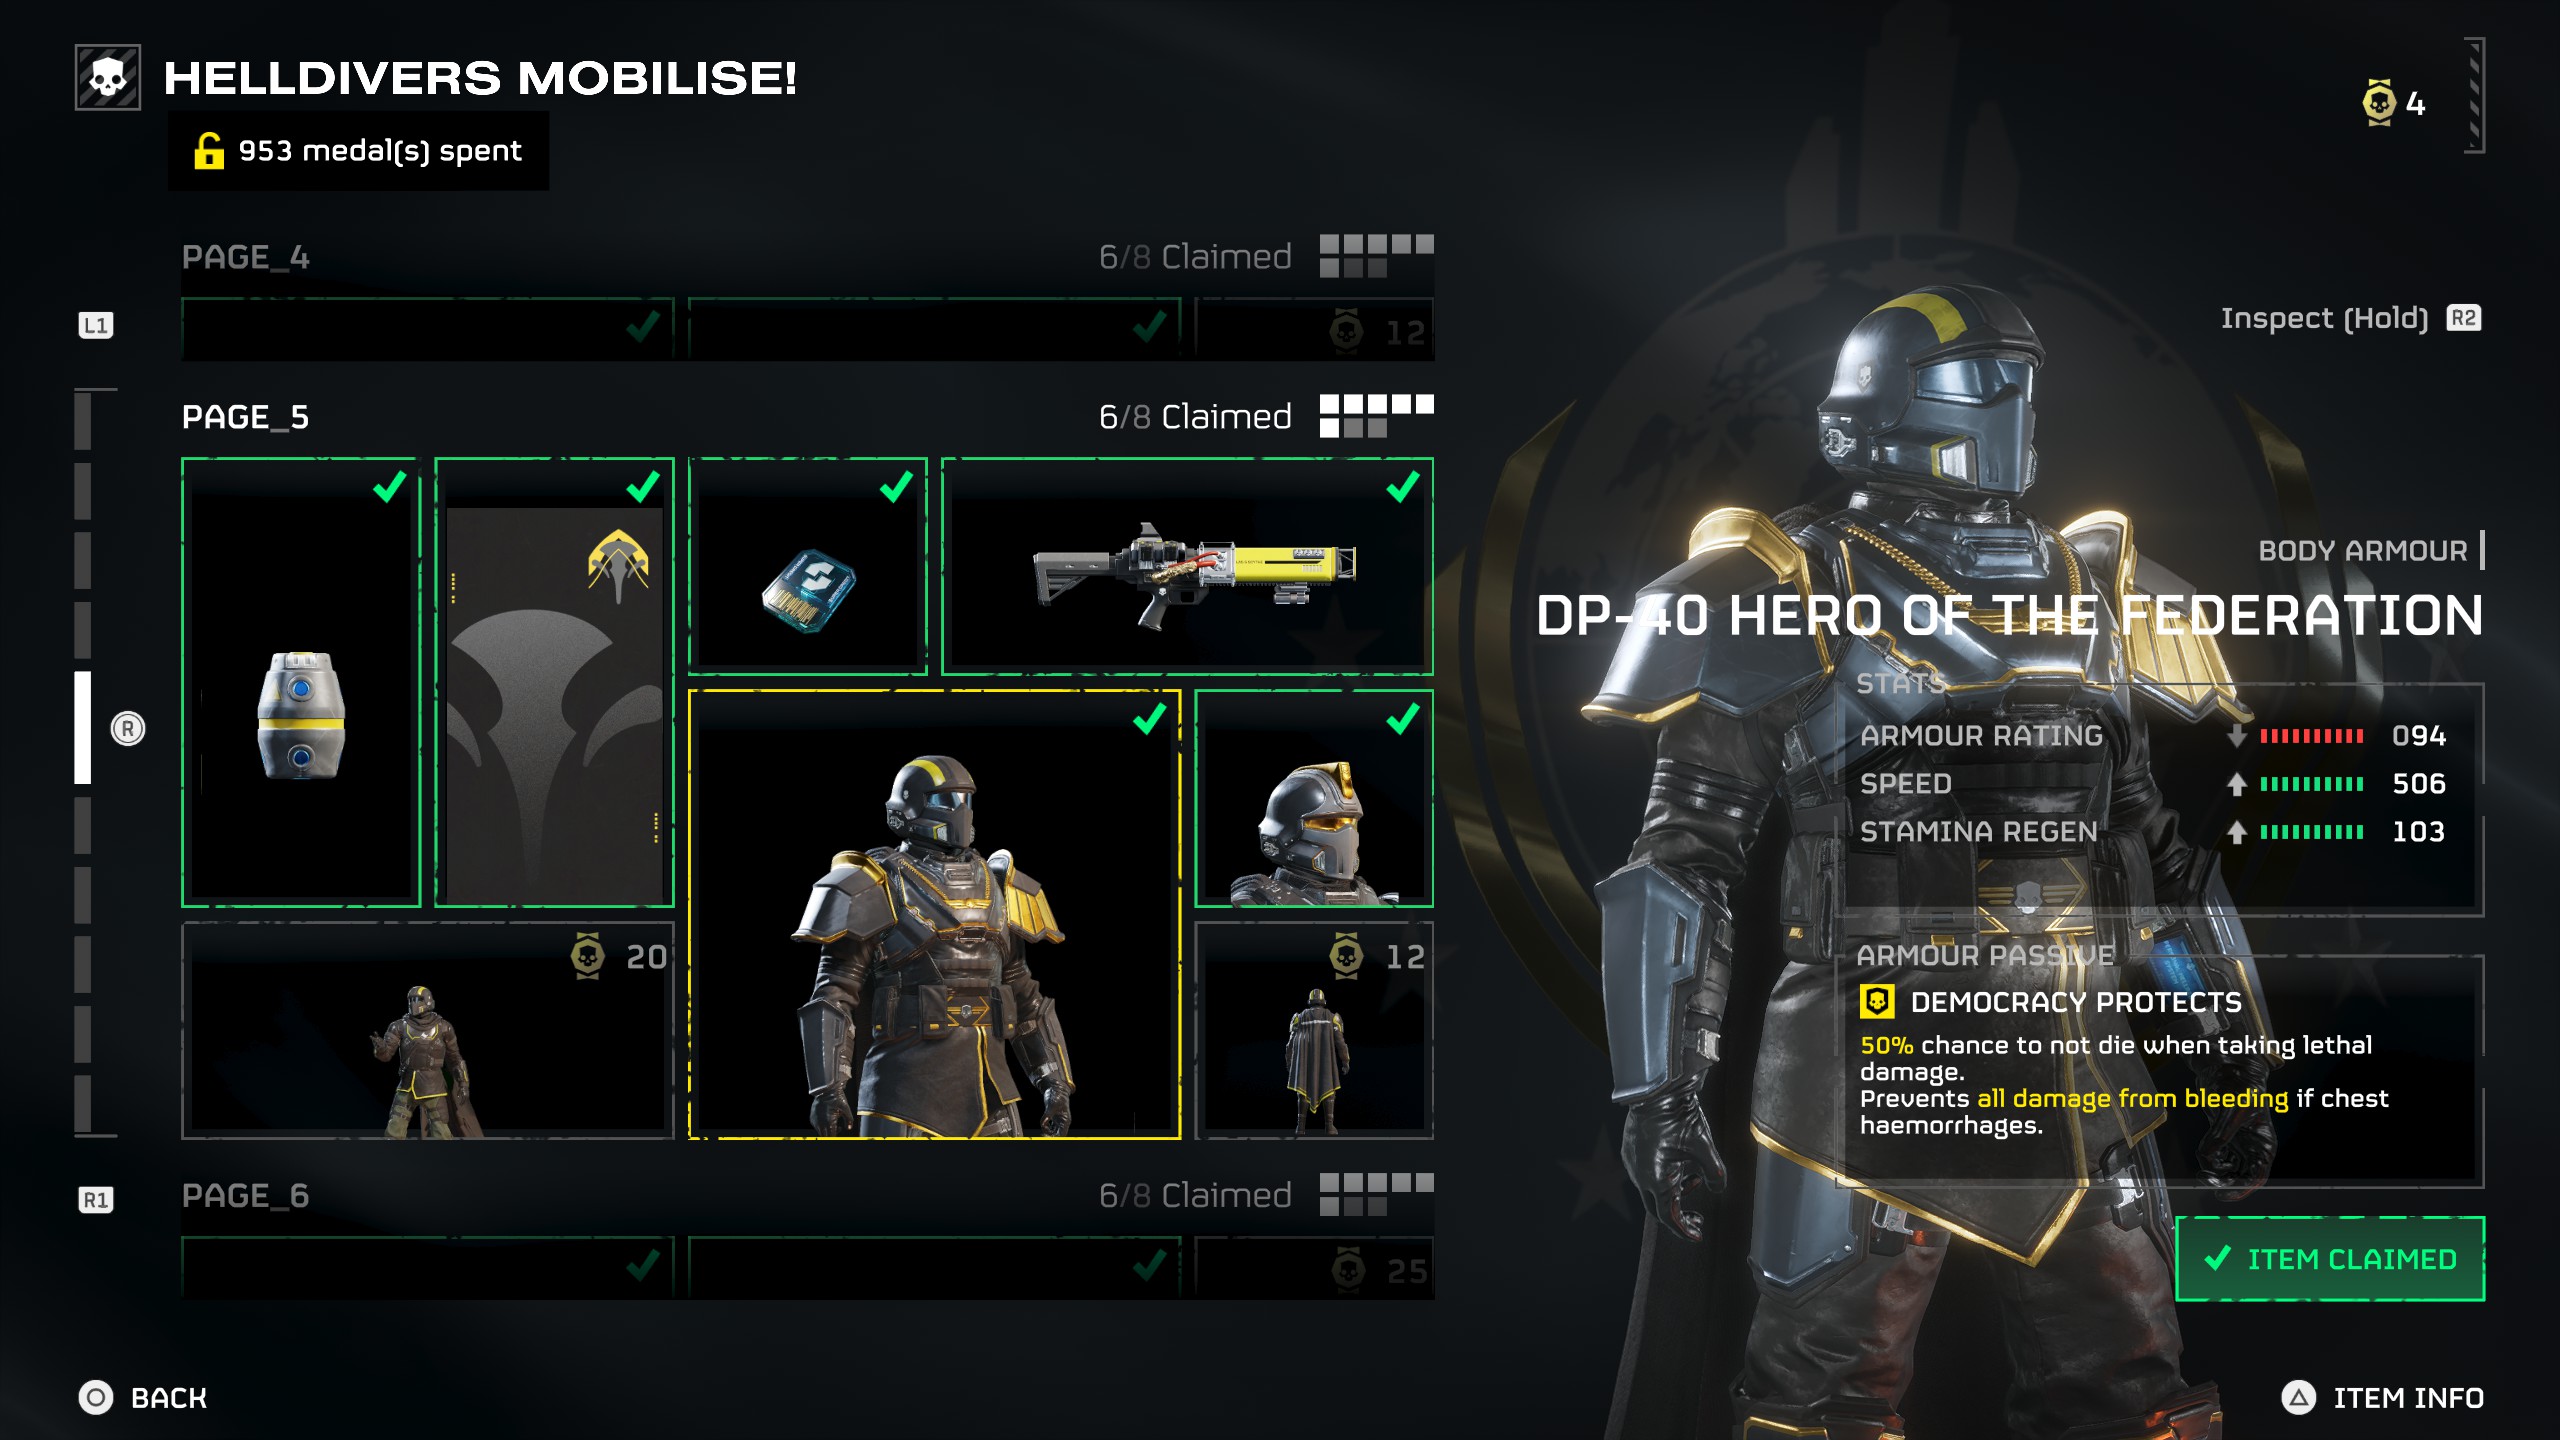
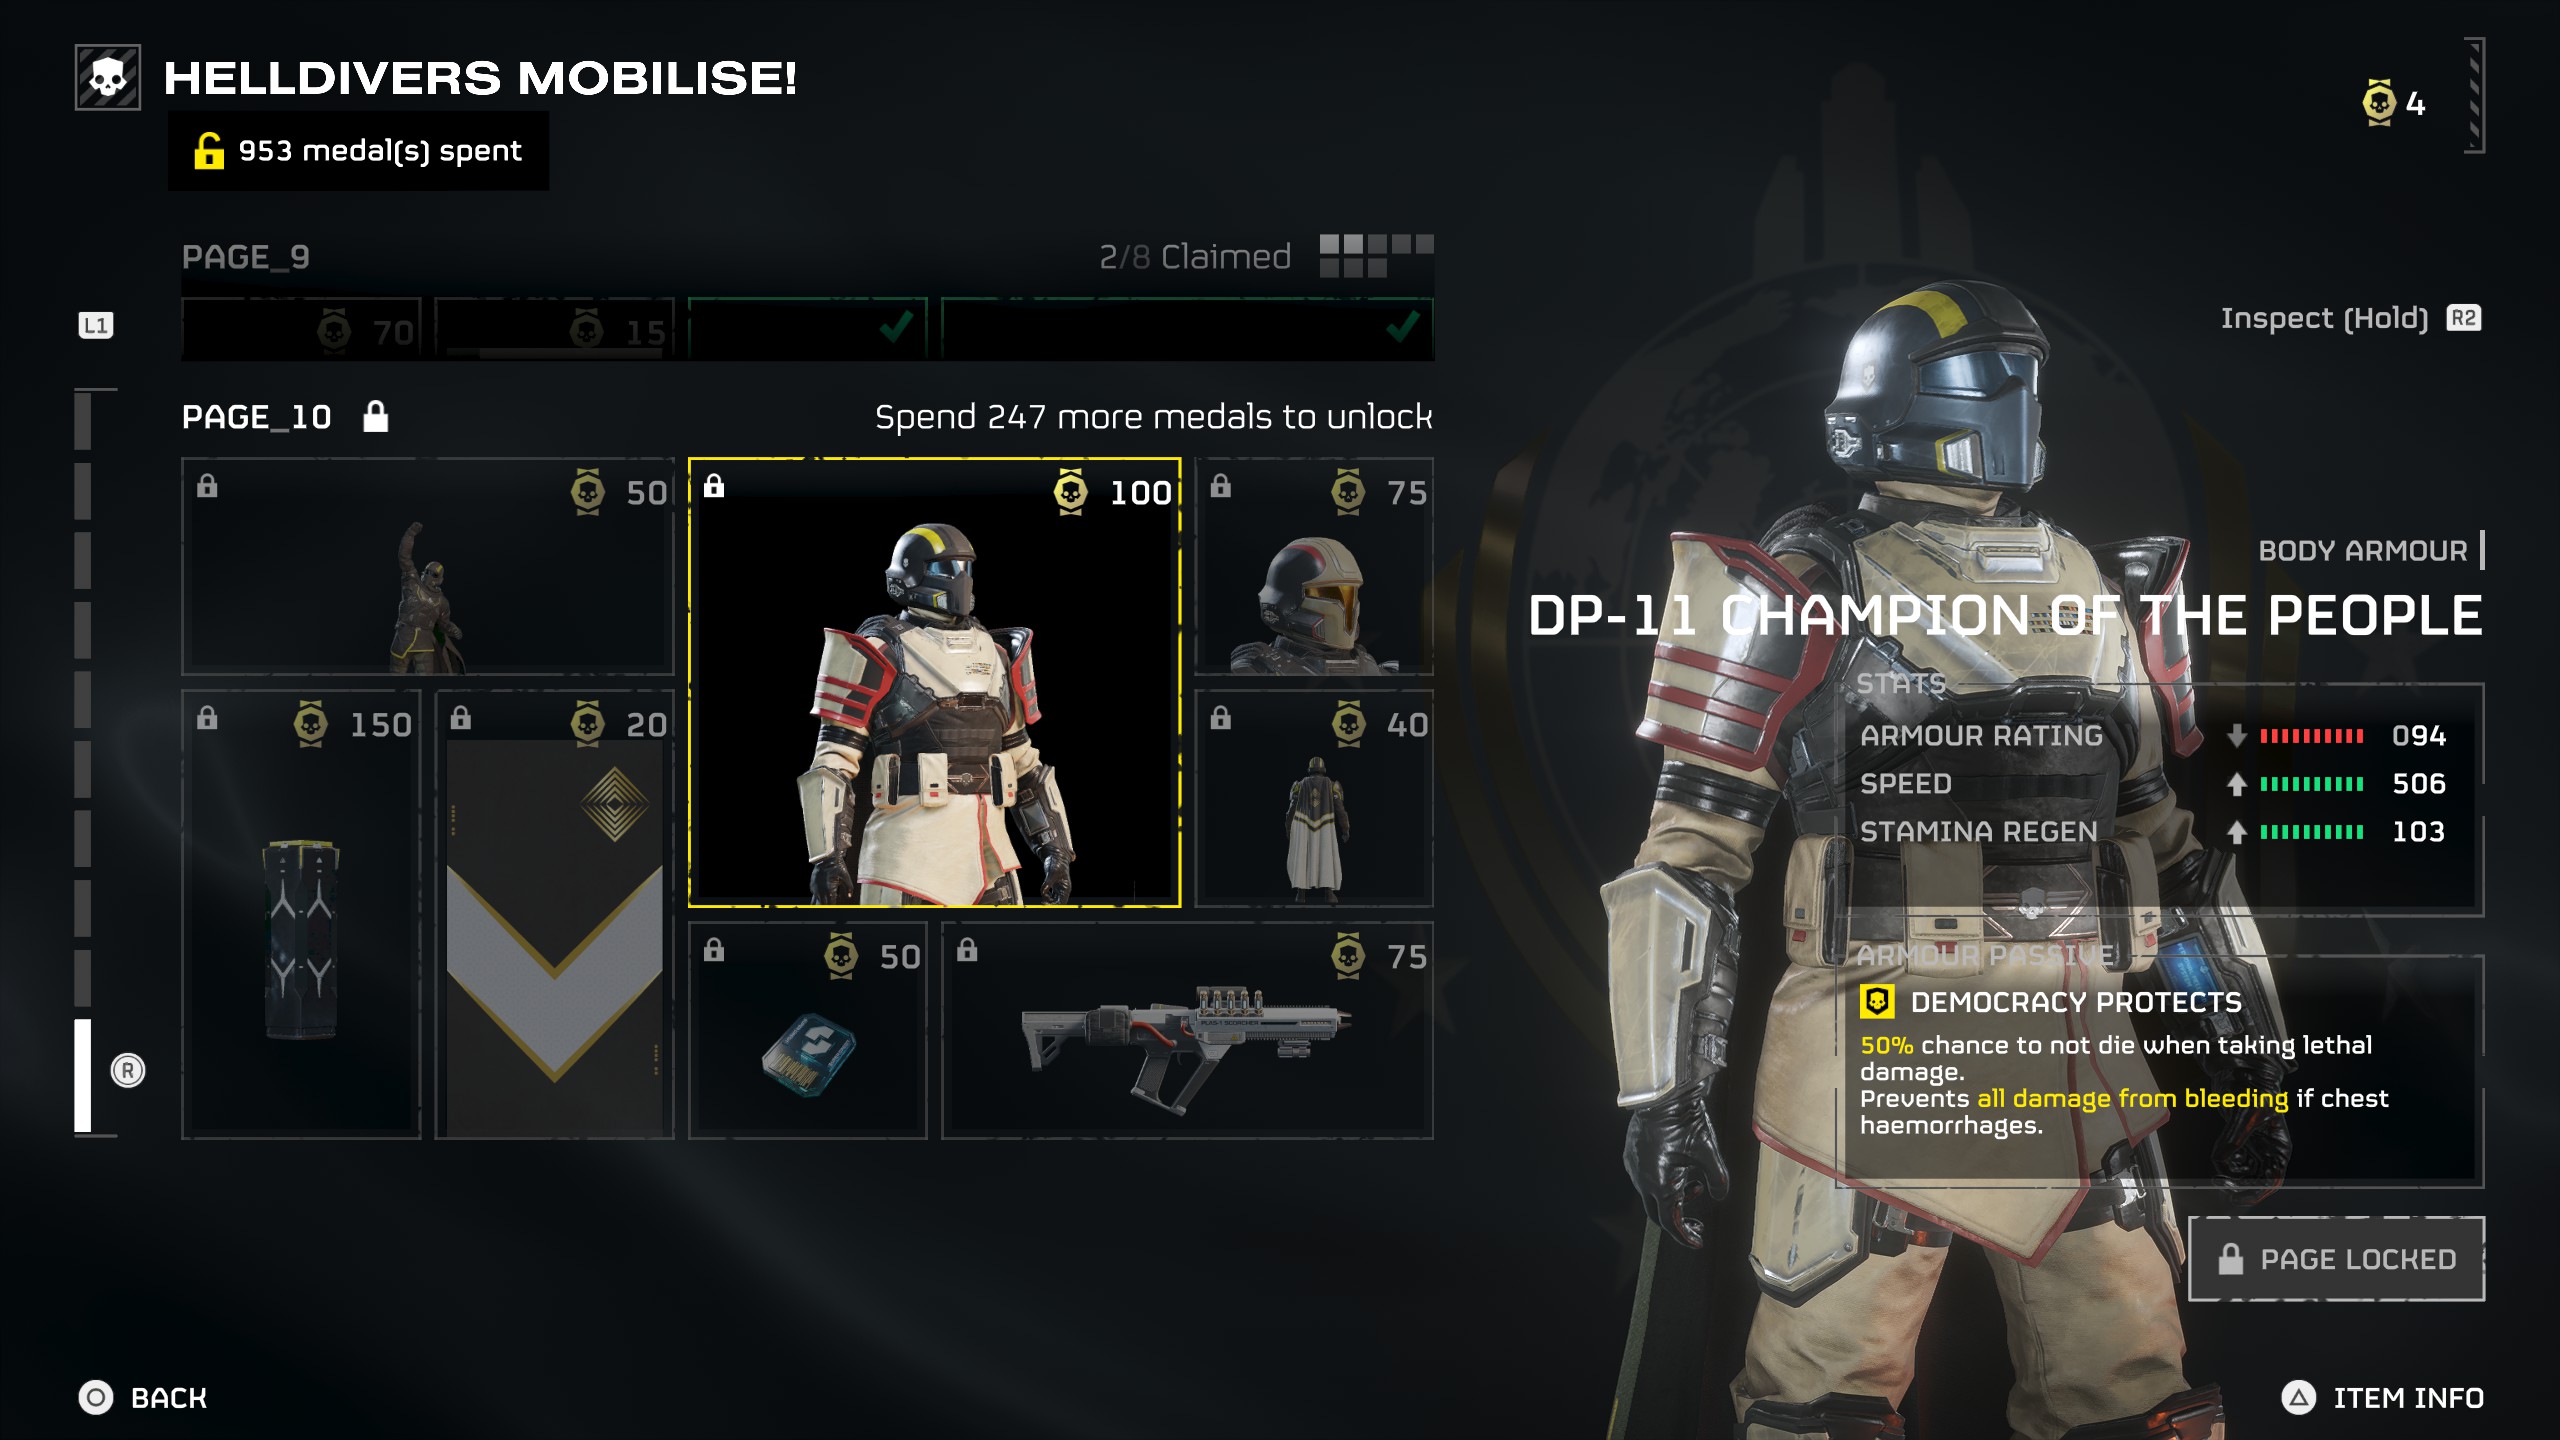
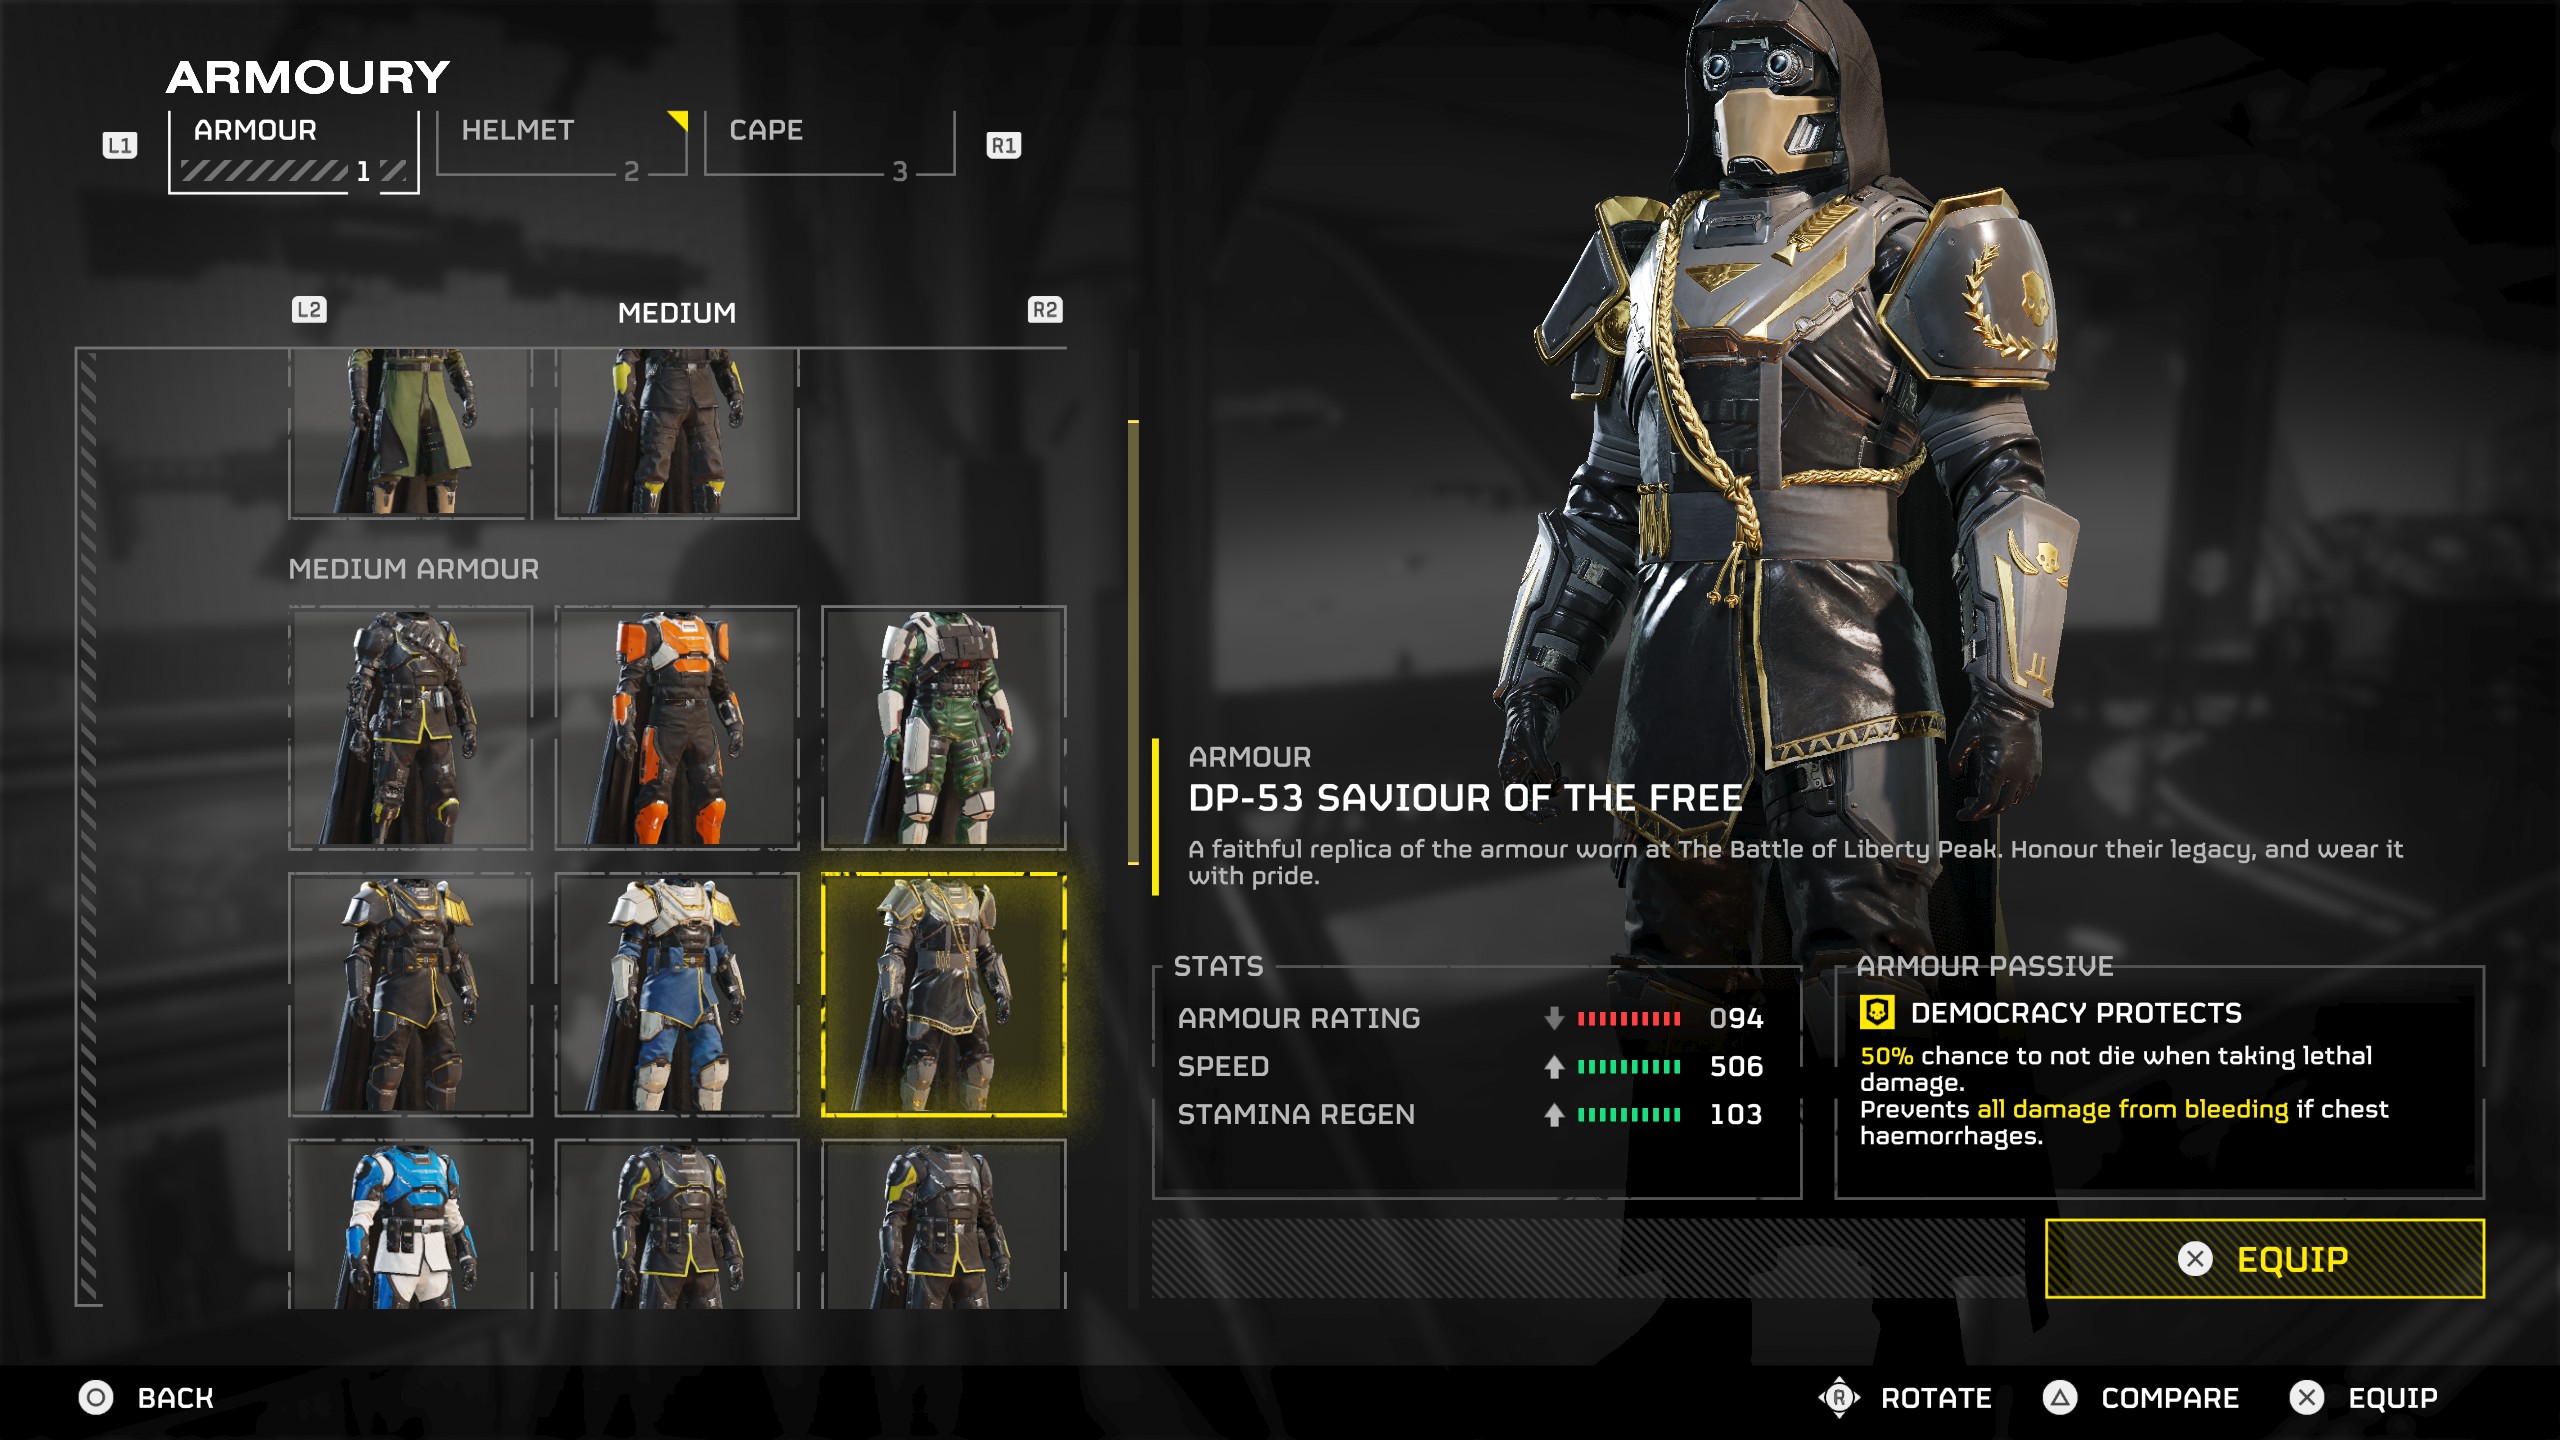
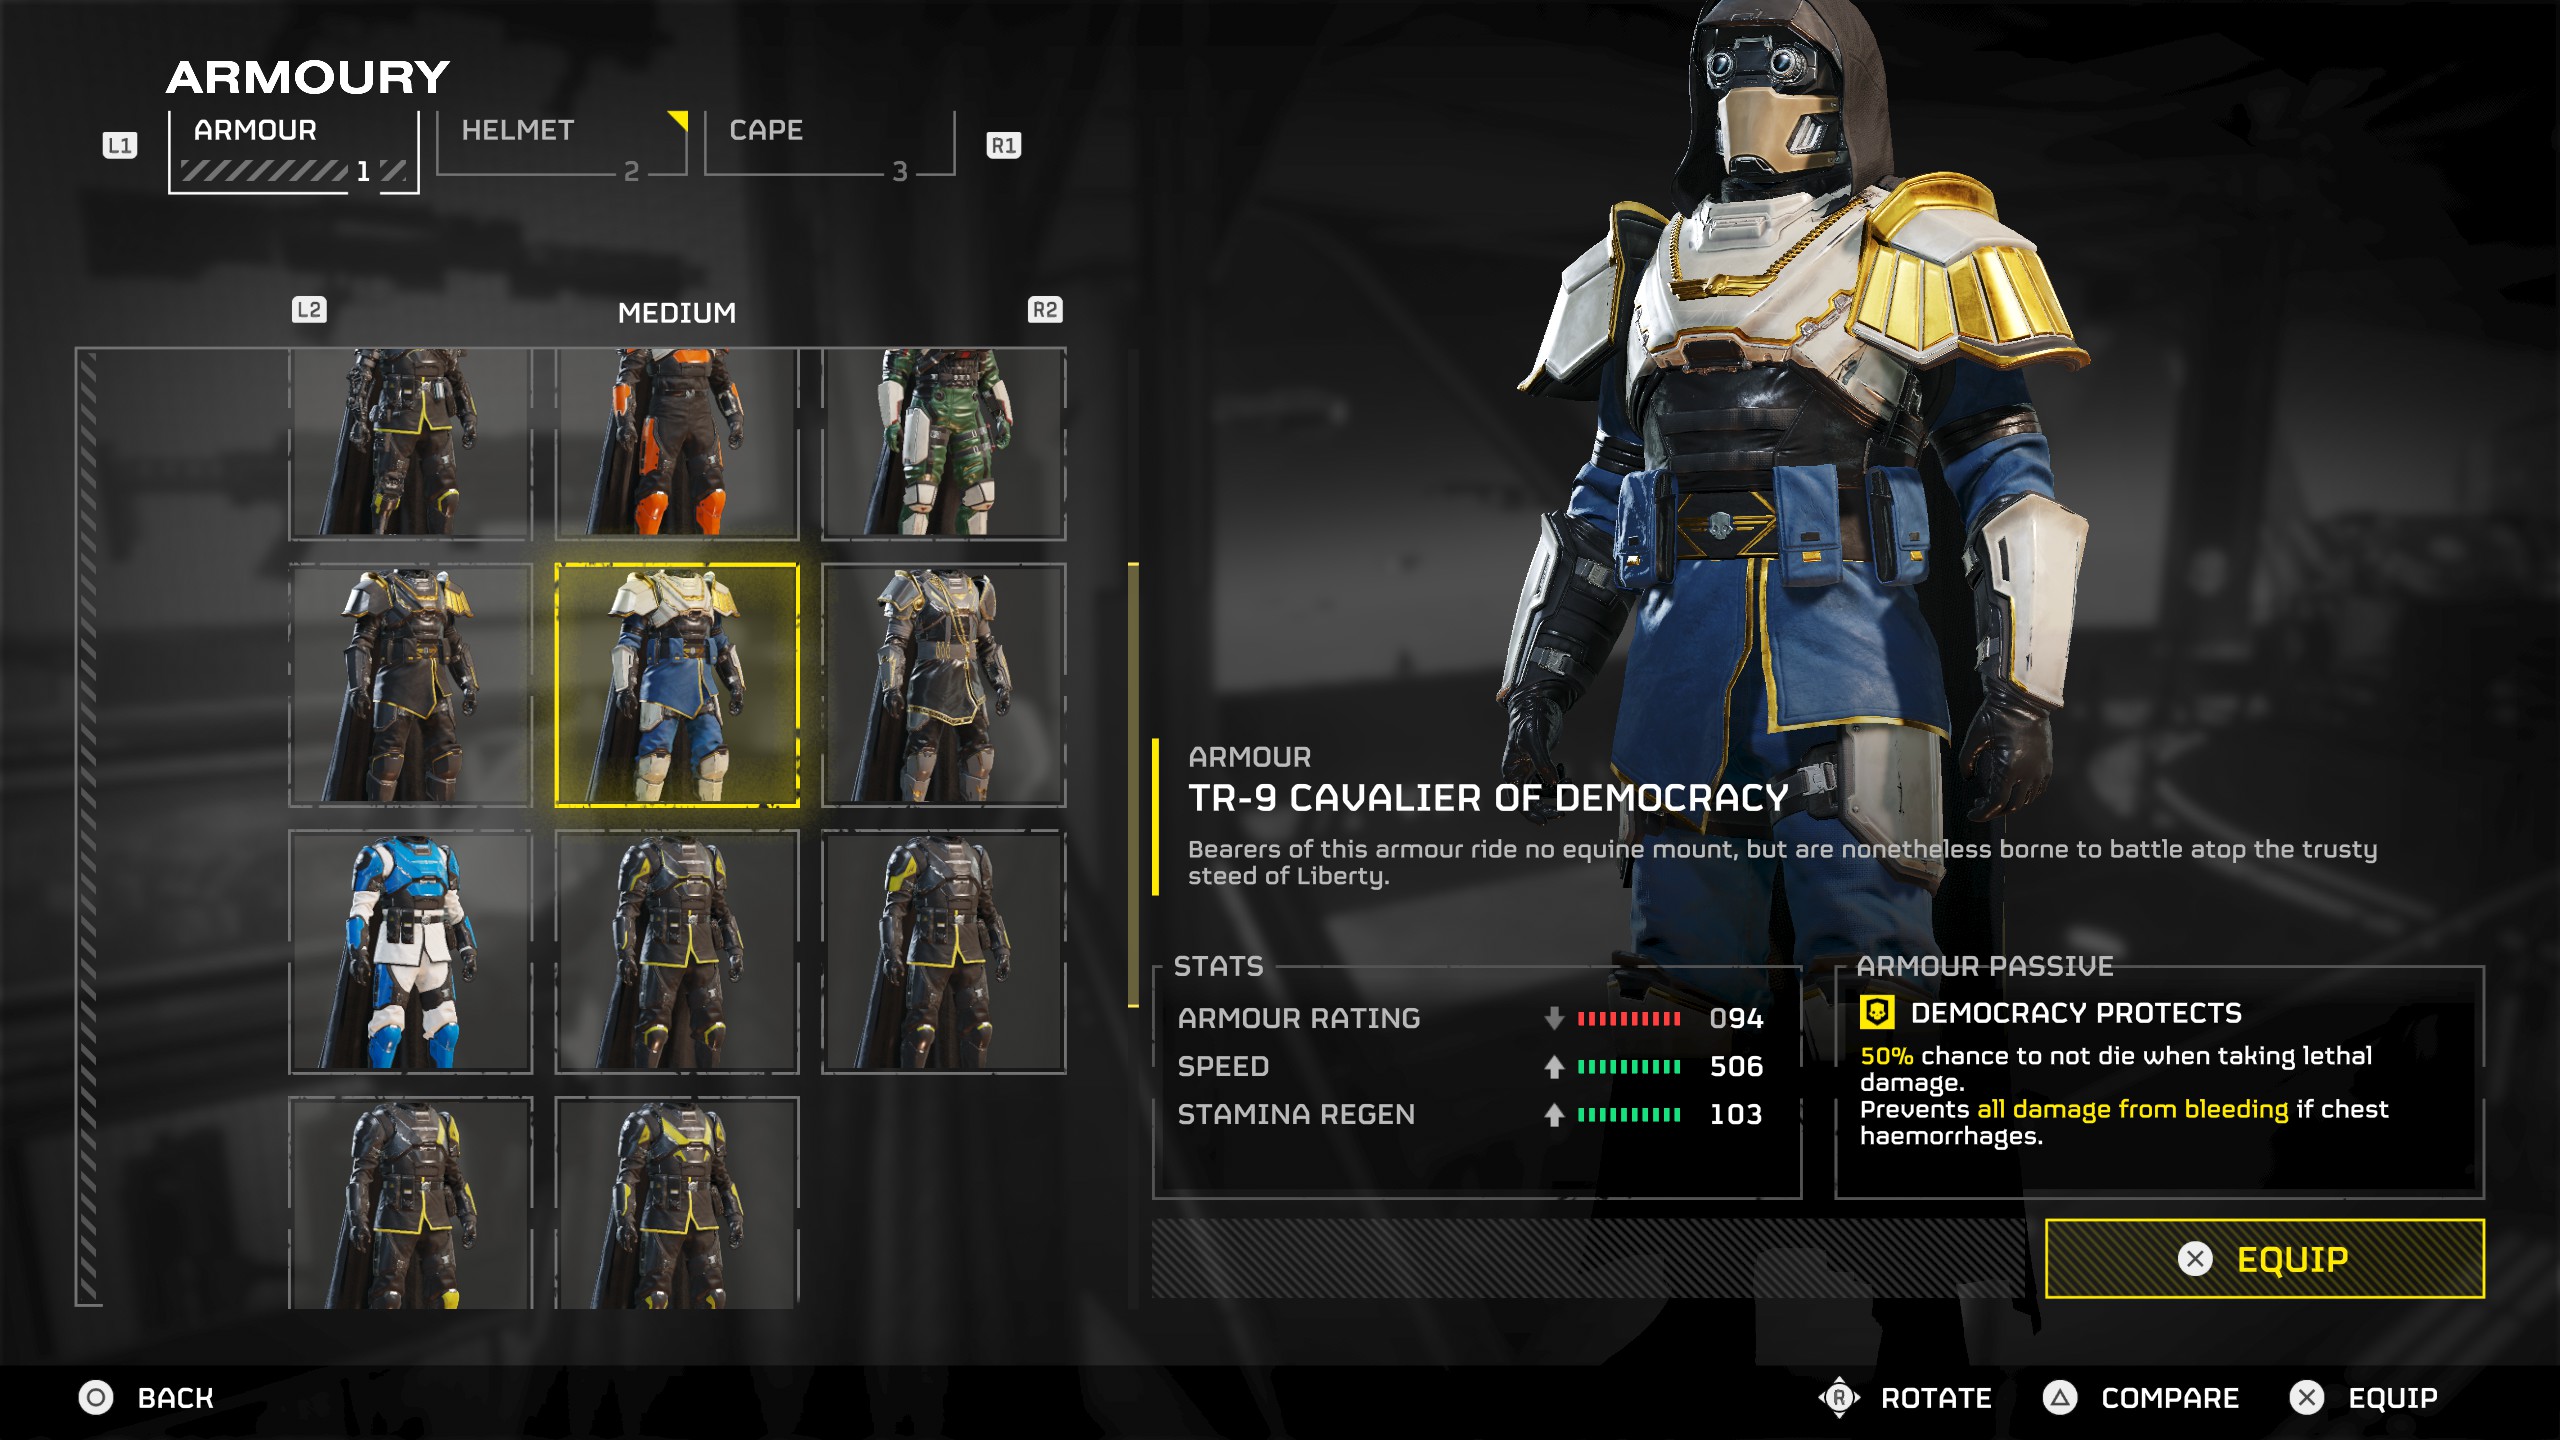
- 50% chance not to die when taking lethal damage. Prevents all damage from bleeding if chest haemorrhages.
This passive is first available with the DP-40 Hero of the Federation set on page five of the regular Warbond plus the DP-11 Champion of the People set on page ten. You can get it far sooner with the DP-53 Saviour of the Free and TR-9 Cavalier of Democracy sets you get from the Super Citizen Edition of the game. It's pretty self-explanatory why this passive is so good; 50% chance not to die on lethal damage is great when you'll be taking lethal damage lots. Fewer deaths means more reinforces left to use.
Med-Kit
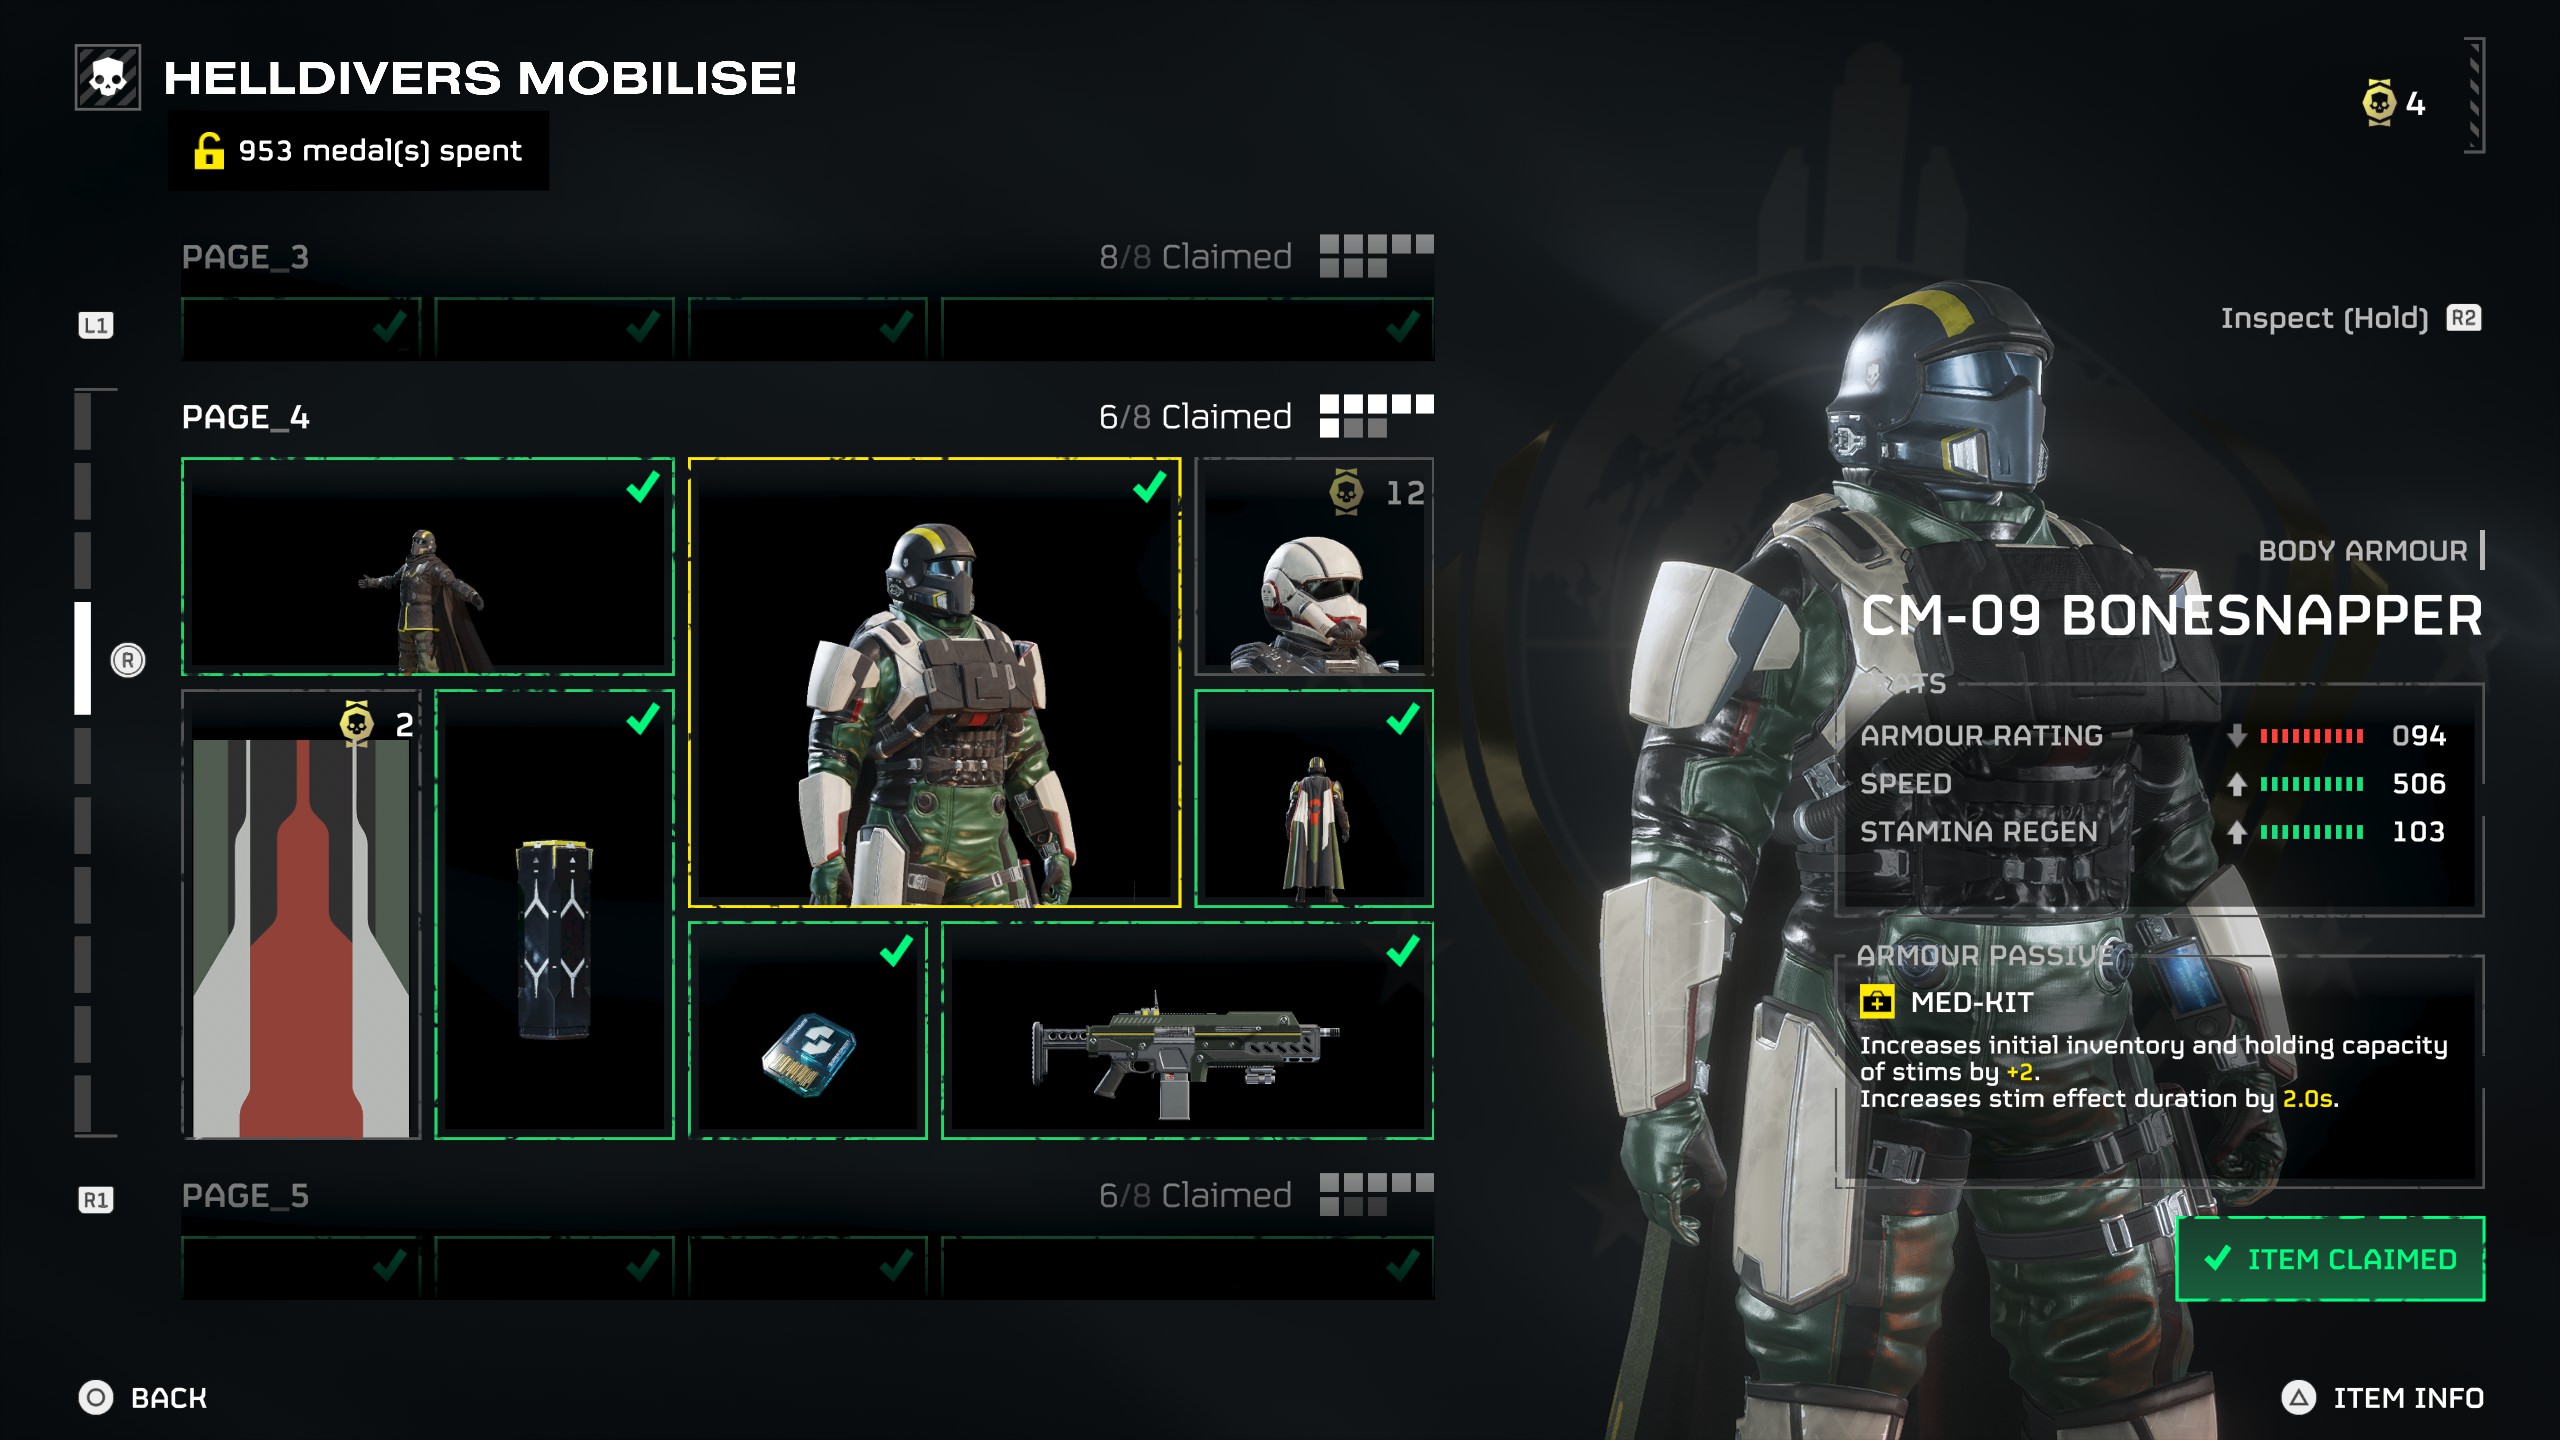
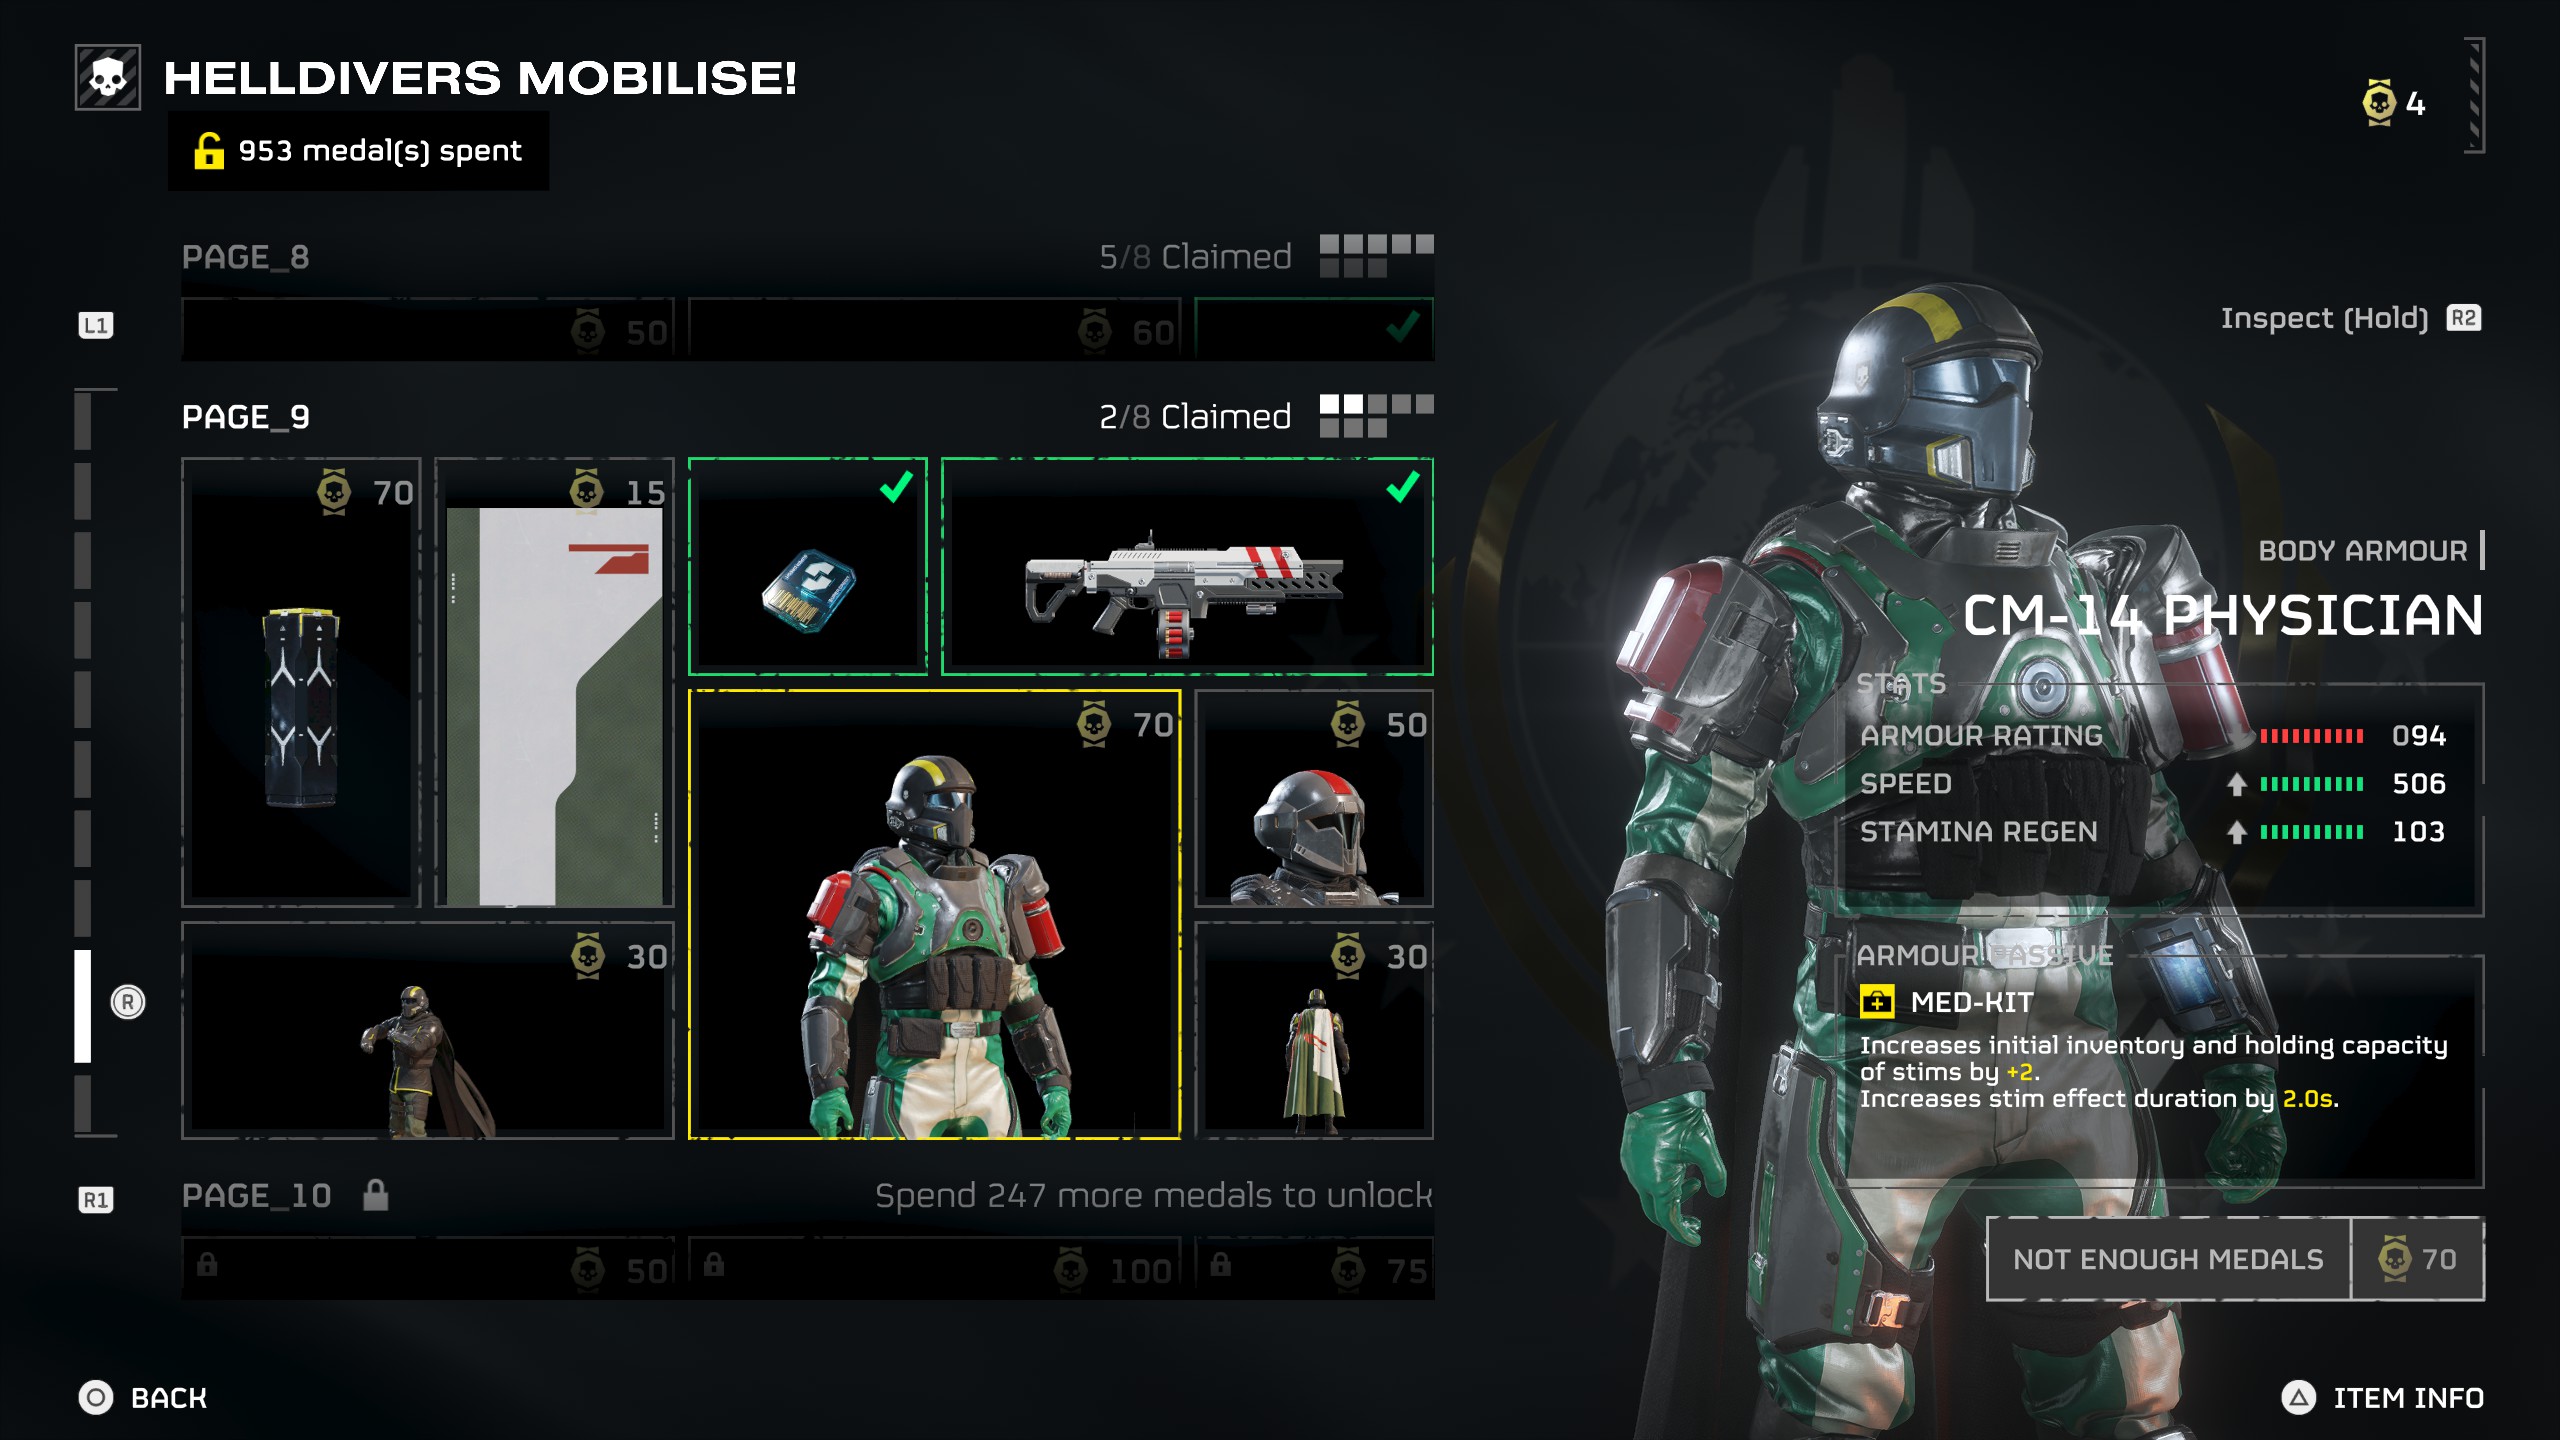
- Increases initial inventory and holding capacity of Stims by +2. Increase Stim effect duration by 2.0s.
The first armour set you can get this passive on is the CM-09 Bonesnapper on page four of the regular Warbond, or later with the CM-14 Physician set on page nine. Having two extra Stims helps you stay alive, but the more important detail here is that the continuous healing effect keeps going for two seconds extra. Usually when you get damaged, you're in danger of getting damaged again, so this gives you an extra bit of survivability.
A-tier
Engineering Kit
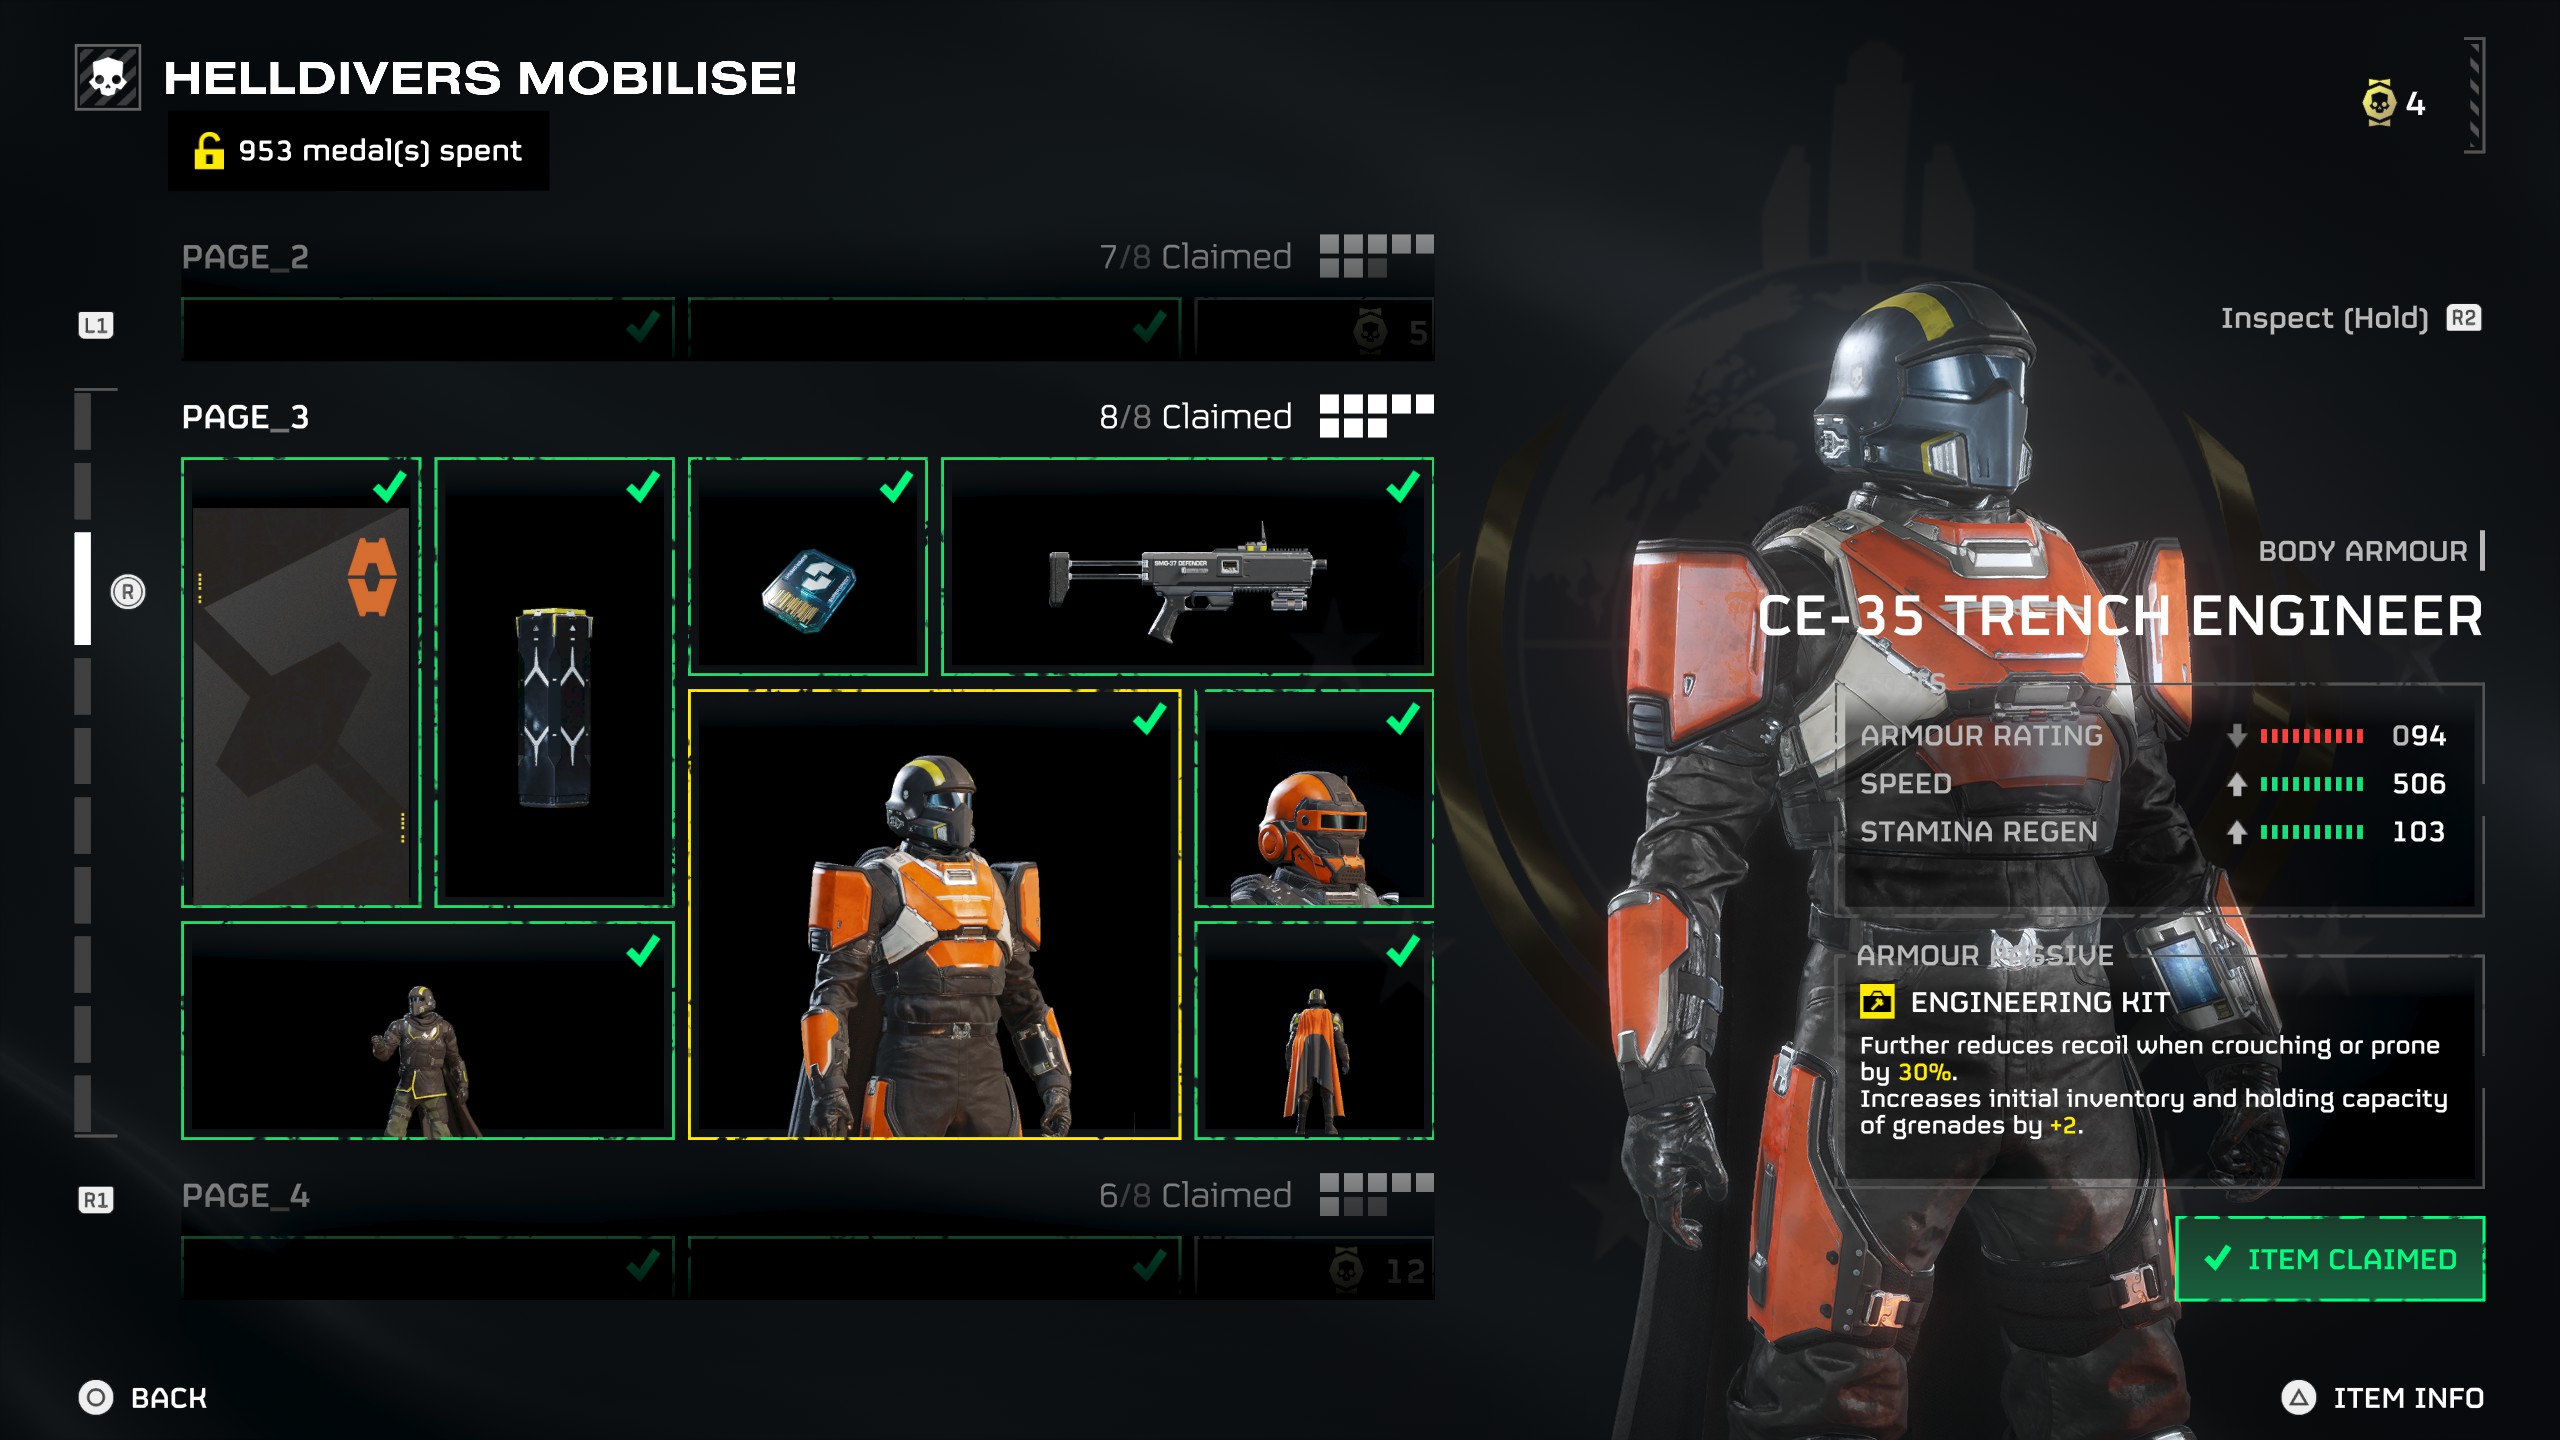
- Further reduces recoil when crouching or prone by 30%. Increases initial inventory and holding capacity of grenades by +2.
This passive is first available on the CE-35 Trench Engineer set on page three of the regular Warbond. While the recoil reduction is nice if you're using a machine gun, the better part is those two extra grenades. There's no situation in which that wouldn't be helpful, and it's especially good if you have to clear lots of bug holes but don't have a Grenade Launcher and your Orbital Strike's still on cooldown.
Keep up to date with the most important stories and the best deals, as picked by the PC Gamer team.
Fortified
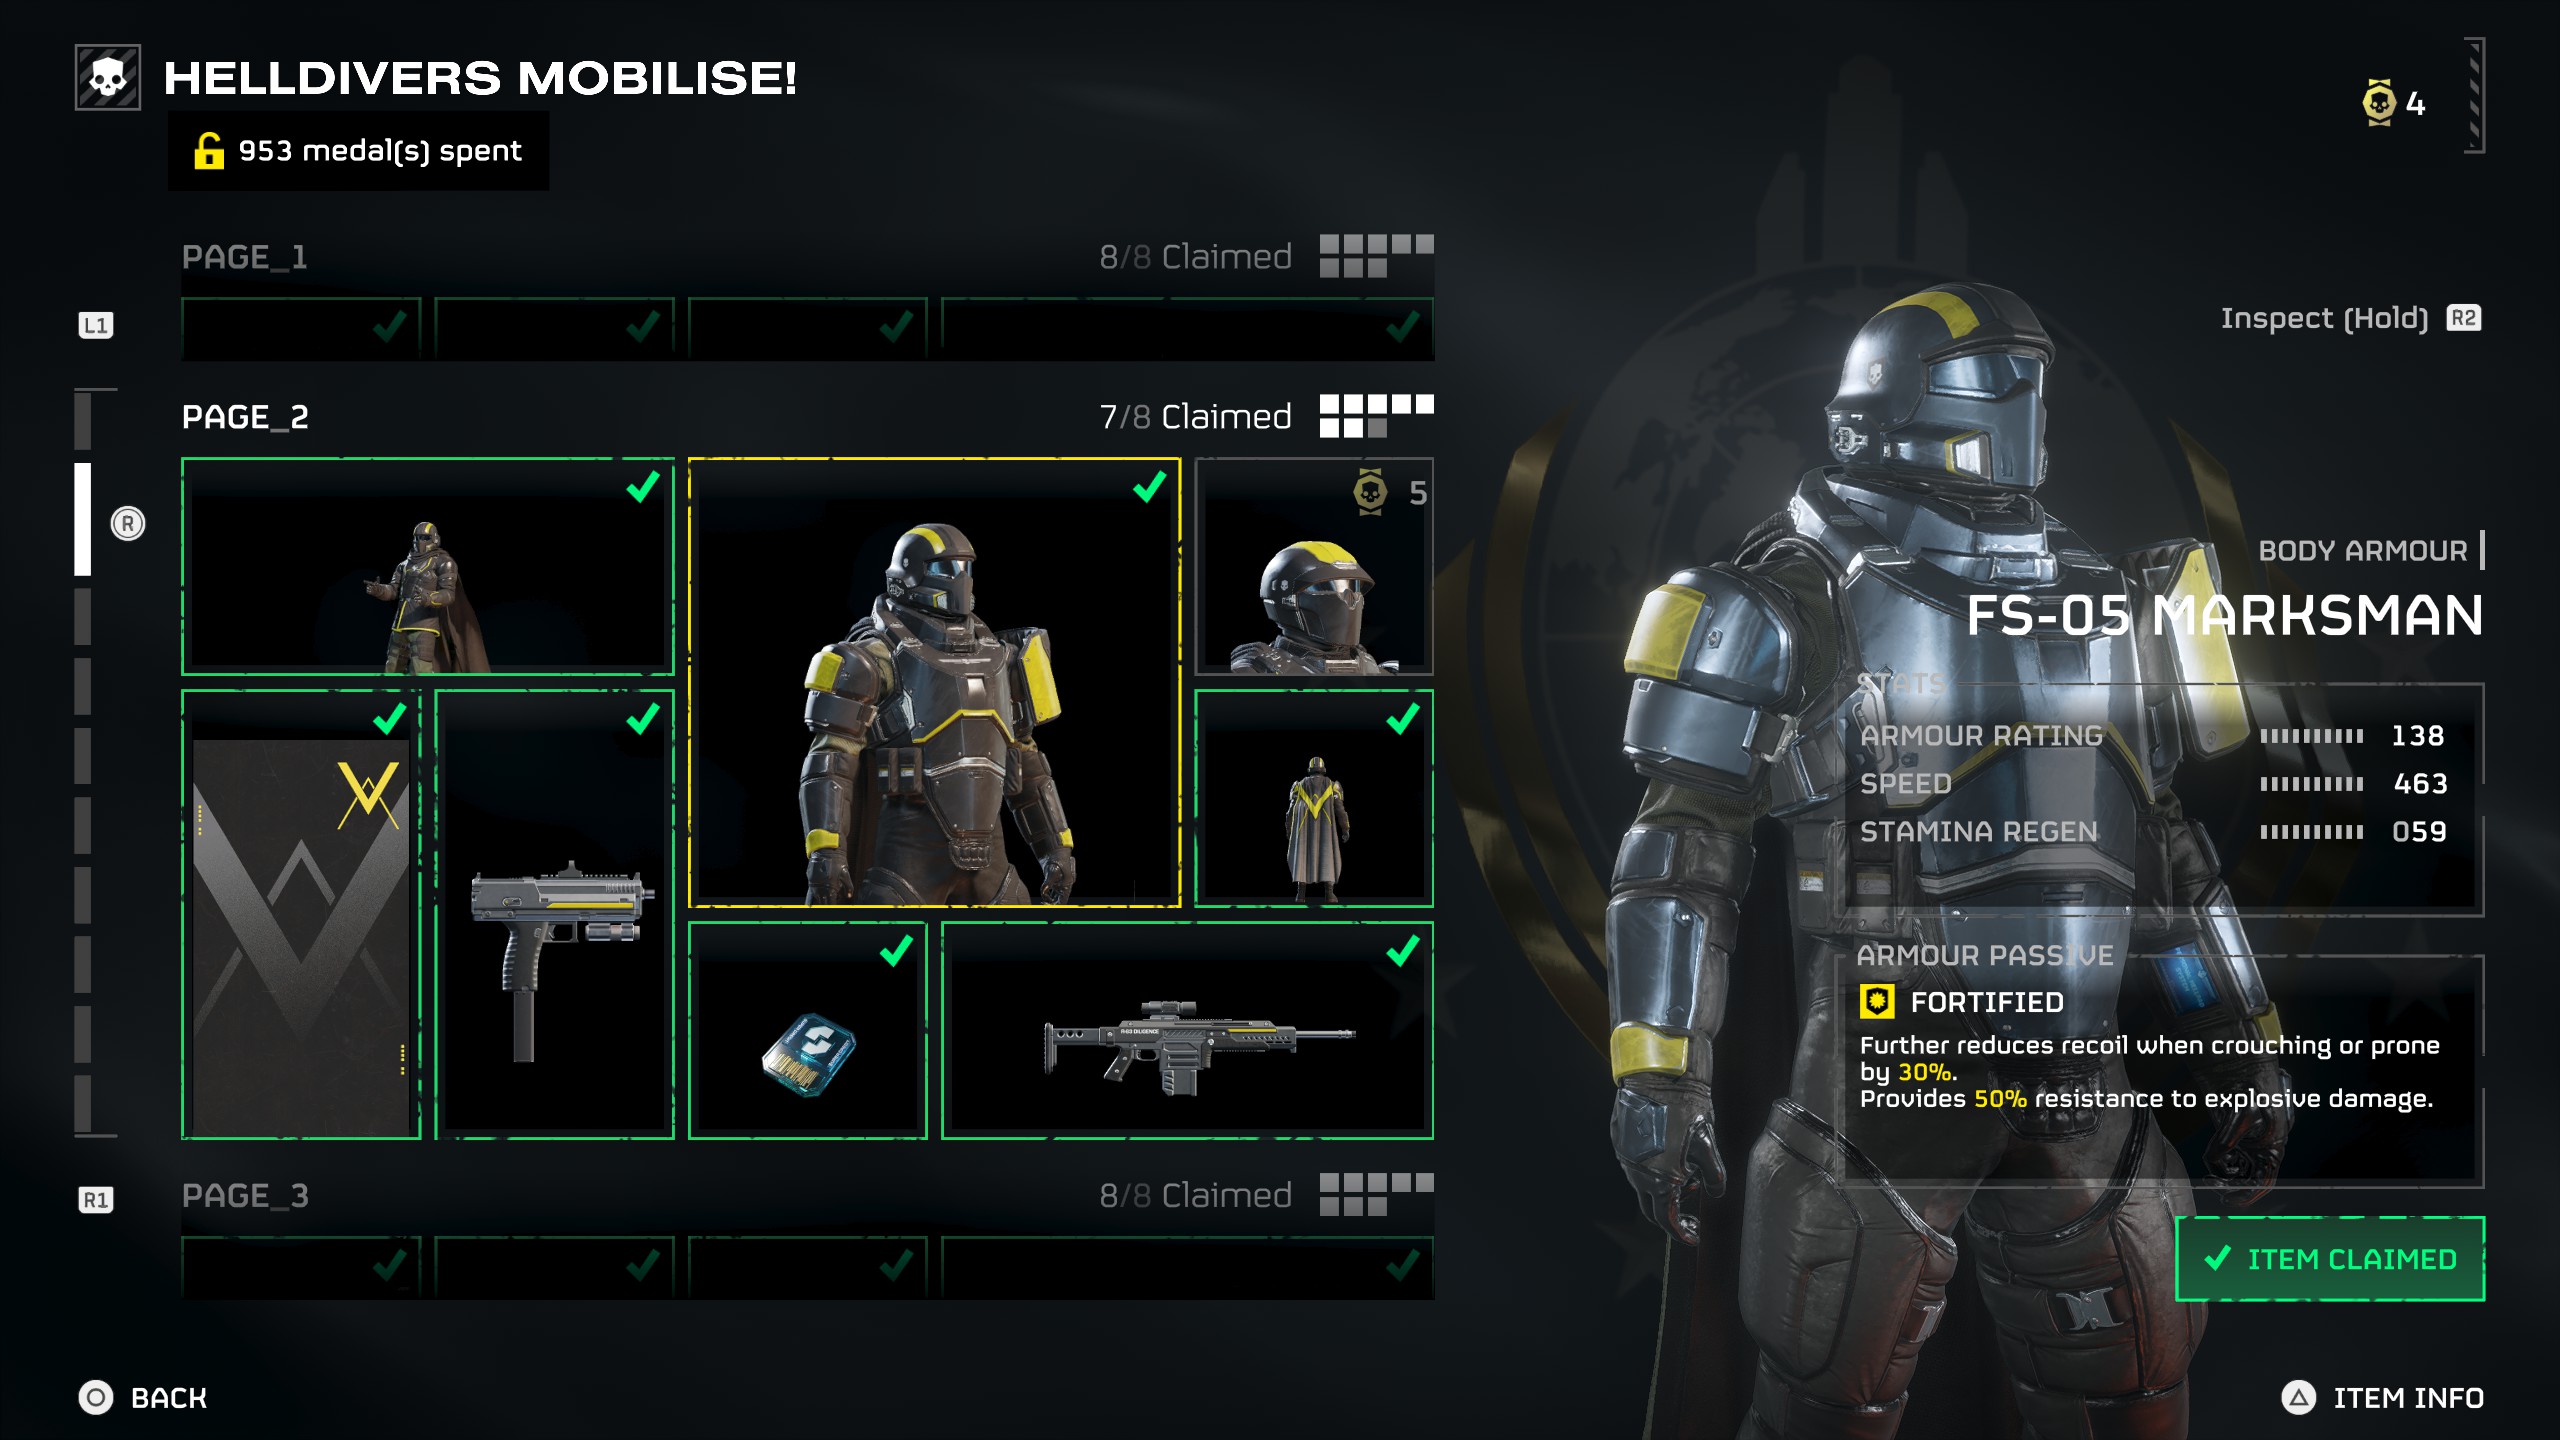
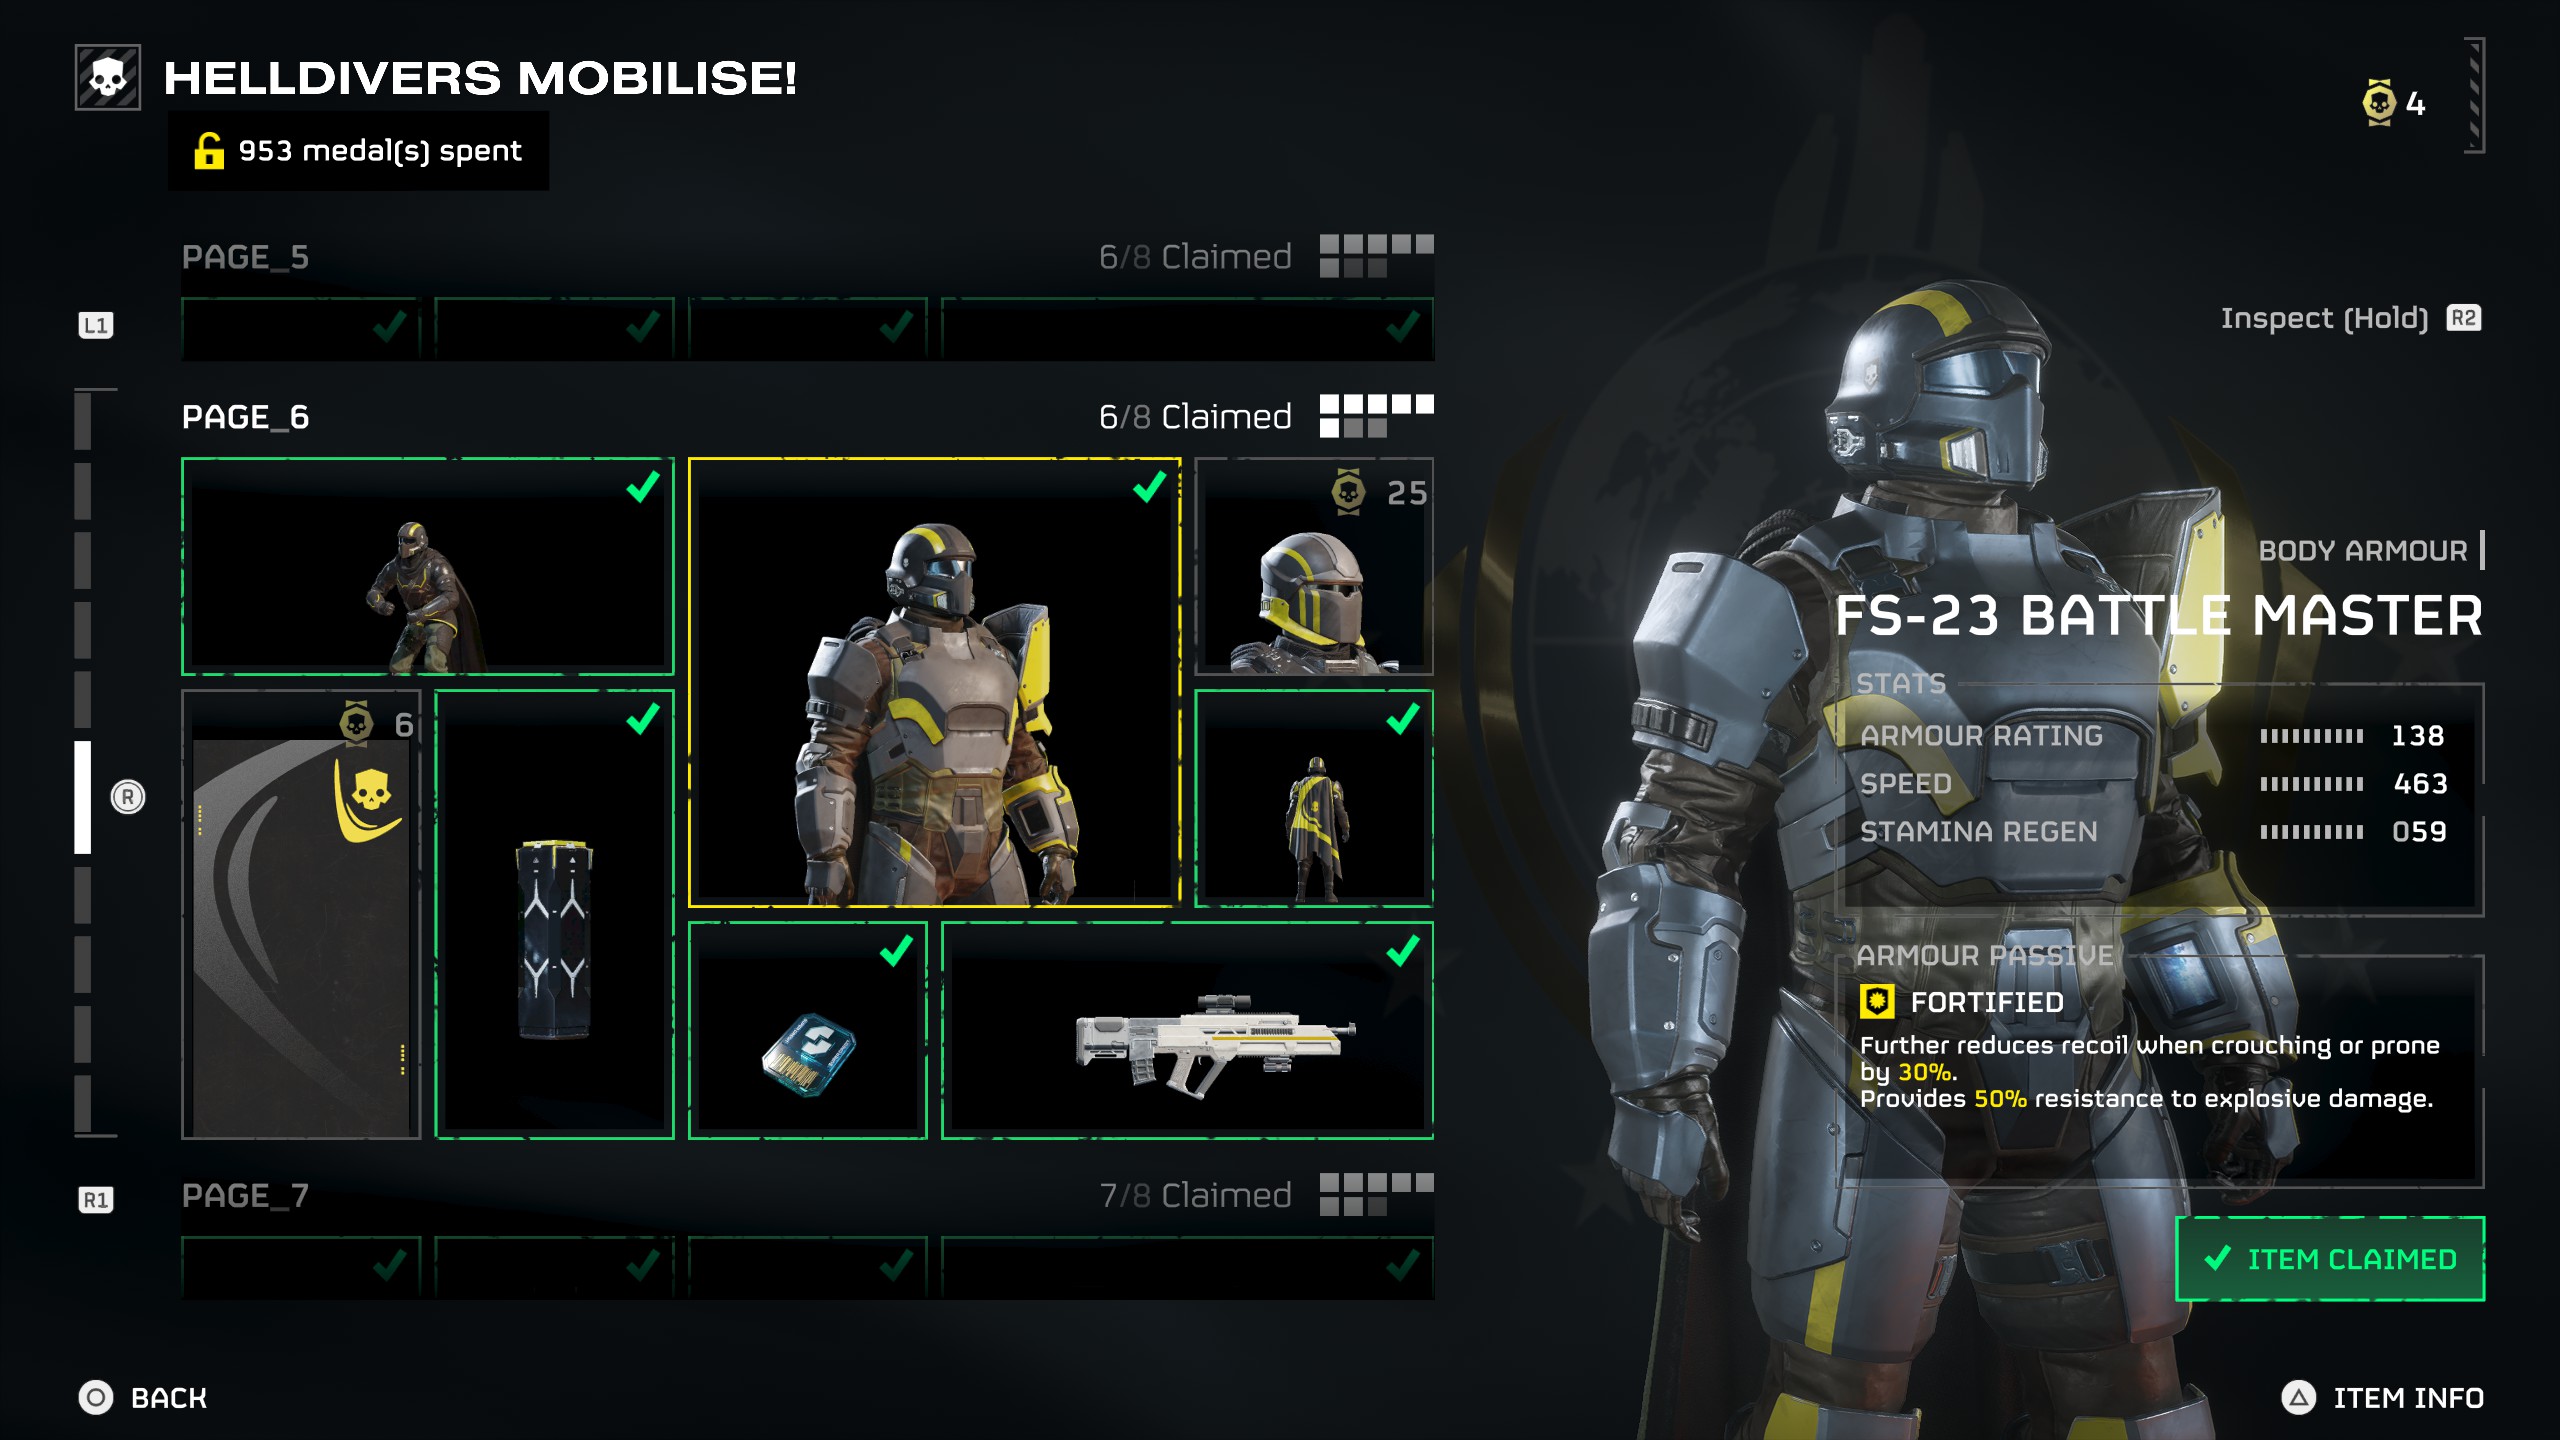
- Further reduces recoil when crouching or prone by 30%. Provides 50% resistance to explosive damage.
You can first get this passive on the FS-05 Marksman Set on page two of the Warbond and later with the FS-23 Battle Master on page six. This is generally a heavy armour passive. As above, it's nice to have that recoil reduction, but the best bit is 50% less explosive damage. Considering how often you're likely to get friendly-fired by grenades and airstrikes, or even hit by Automaton missiles, this handy little reduction can be the difference between life and death a lot of the time.
B-tier
Servo-Assisted
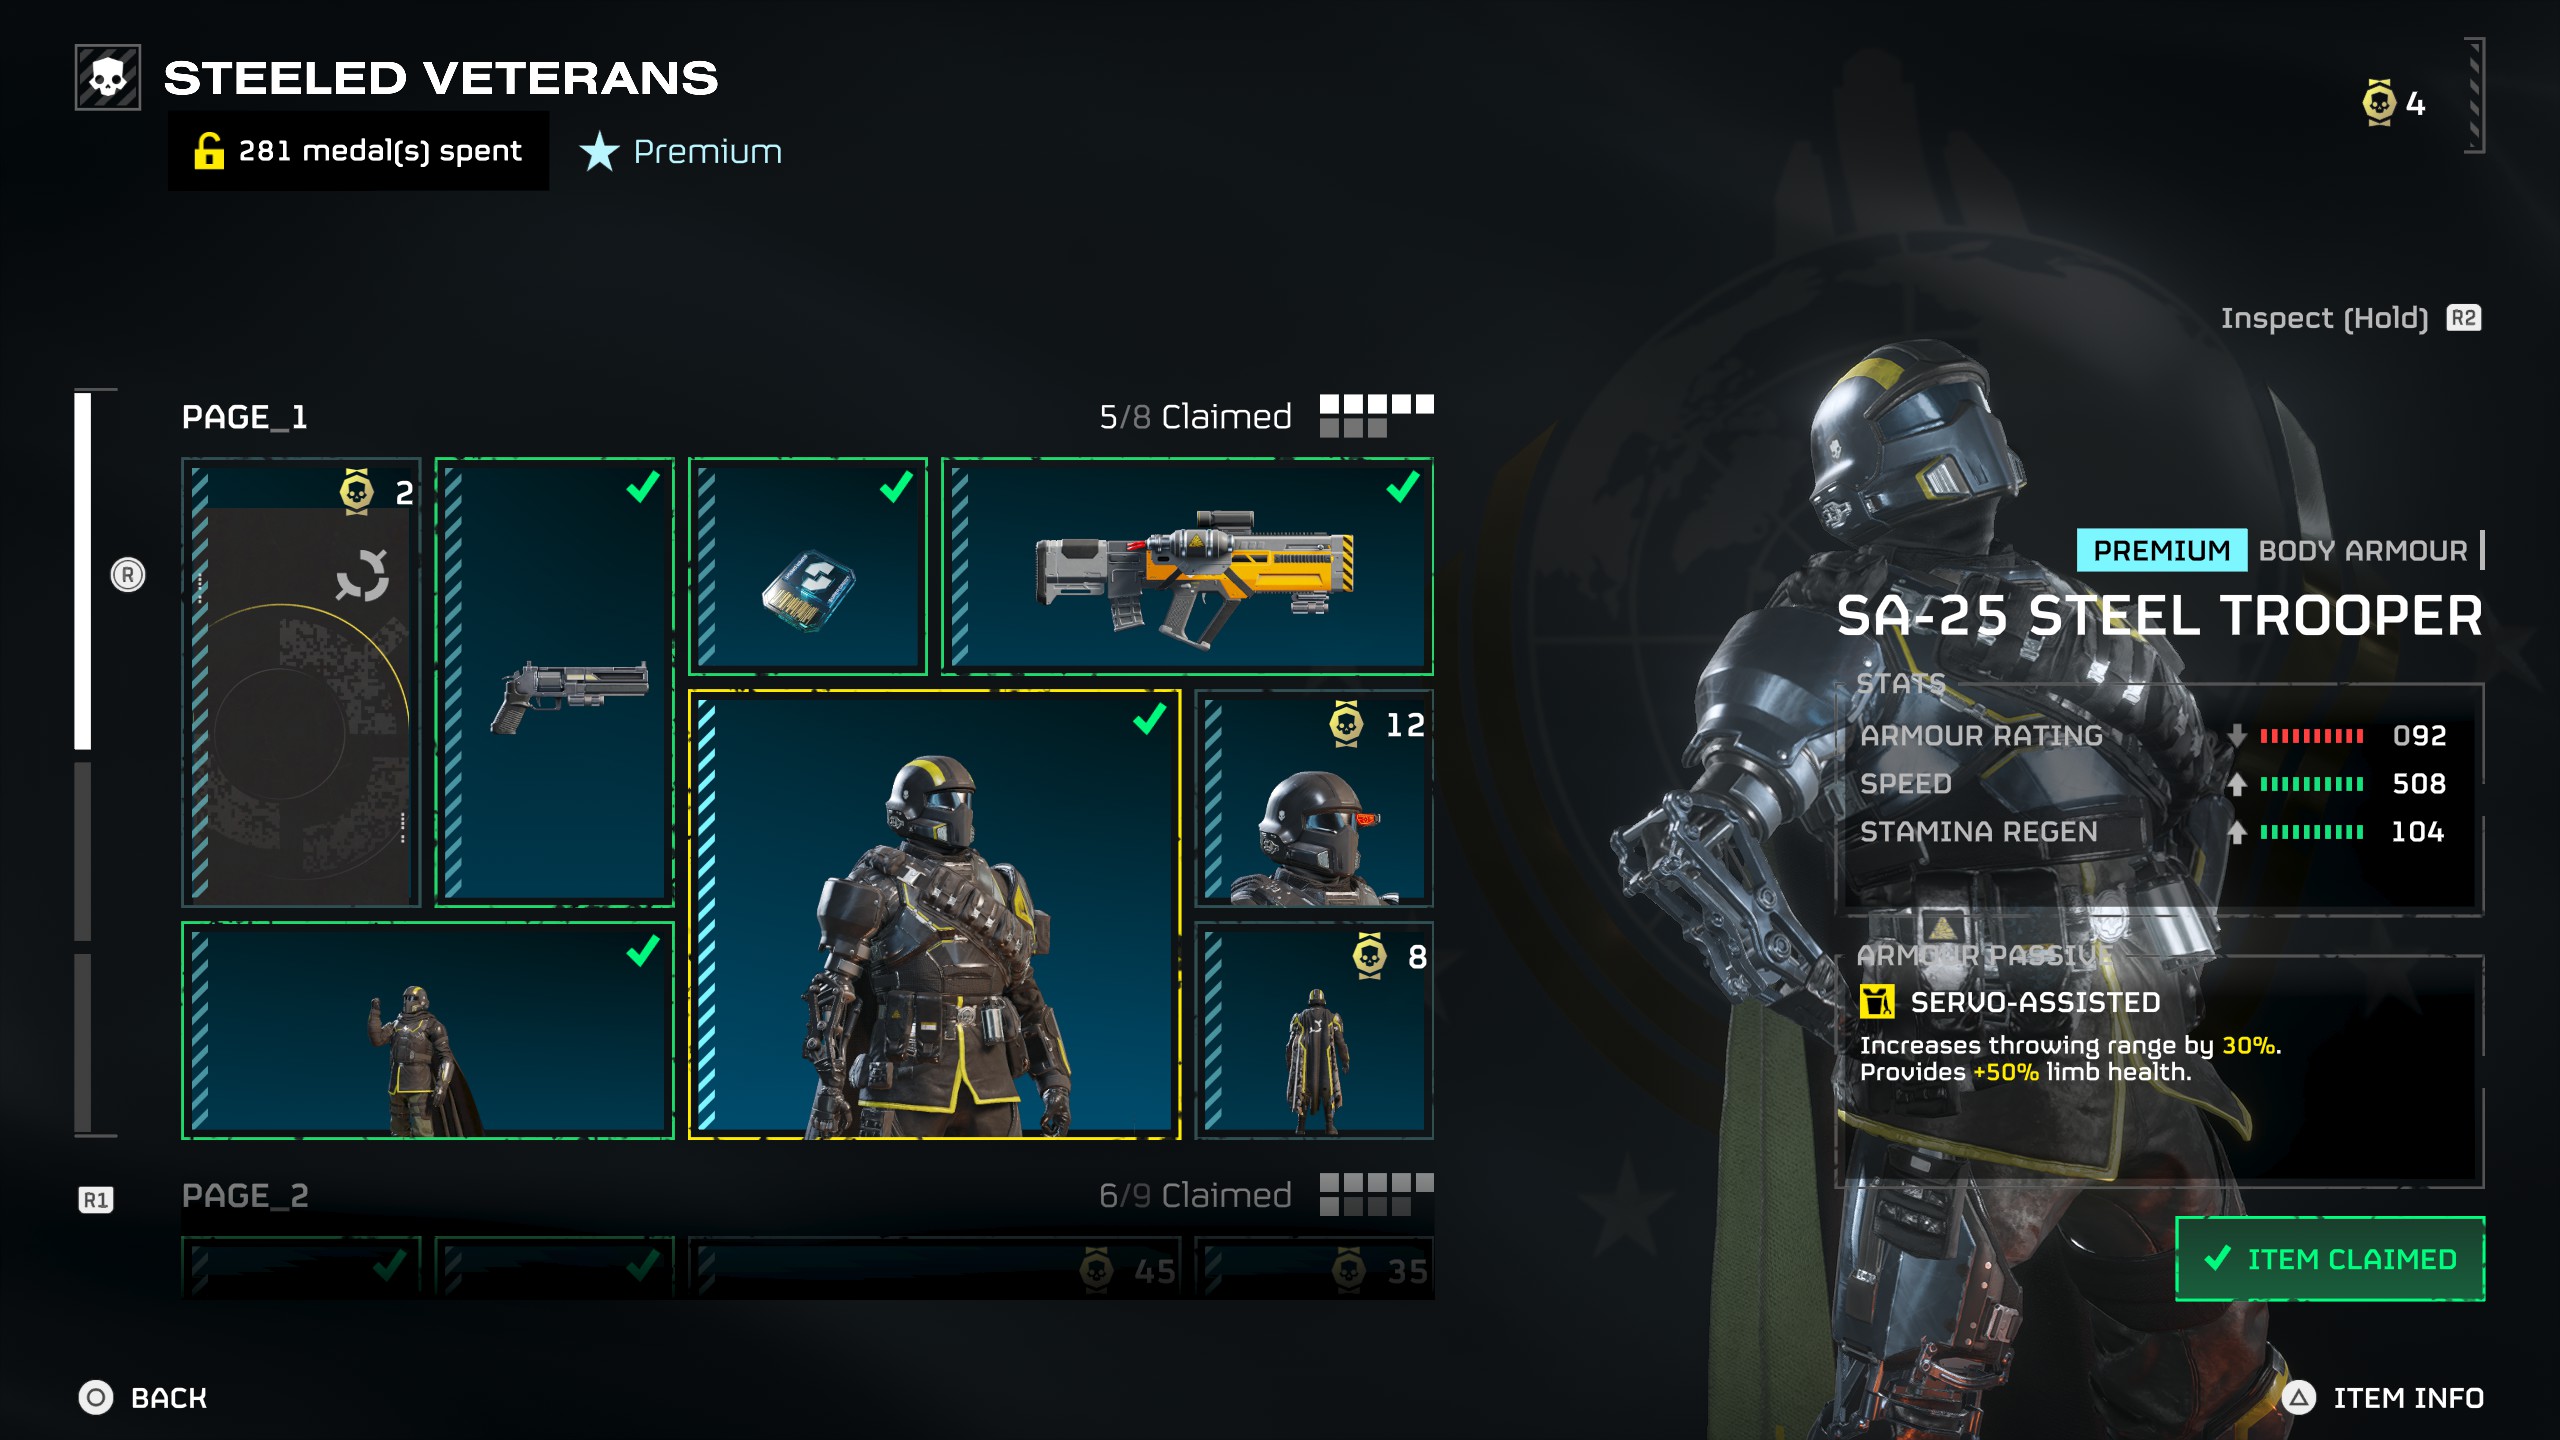
- Increases throwing range by 30%. Provides +50% limb health.
This passive is only available through armour sets in the Superstore or the SA-25 Steel Trooper set in the Premium Warbond. Luckily, it's not all that strong. You'll mainly feel the 30% extra throwing distance when hurling Stratagems, but it's not really necessary when you can already yeet stuff pretty far. The same could be said for 50% bonus limb health; if you get a broken limb, you immediately fix it with a Stim, plus you'll generally have someone in the team taking a Vitality Enhancement Booster which already buffs resistance to injury.
Scout
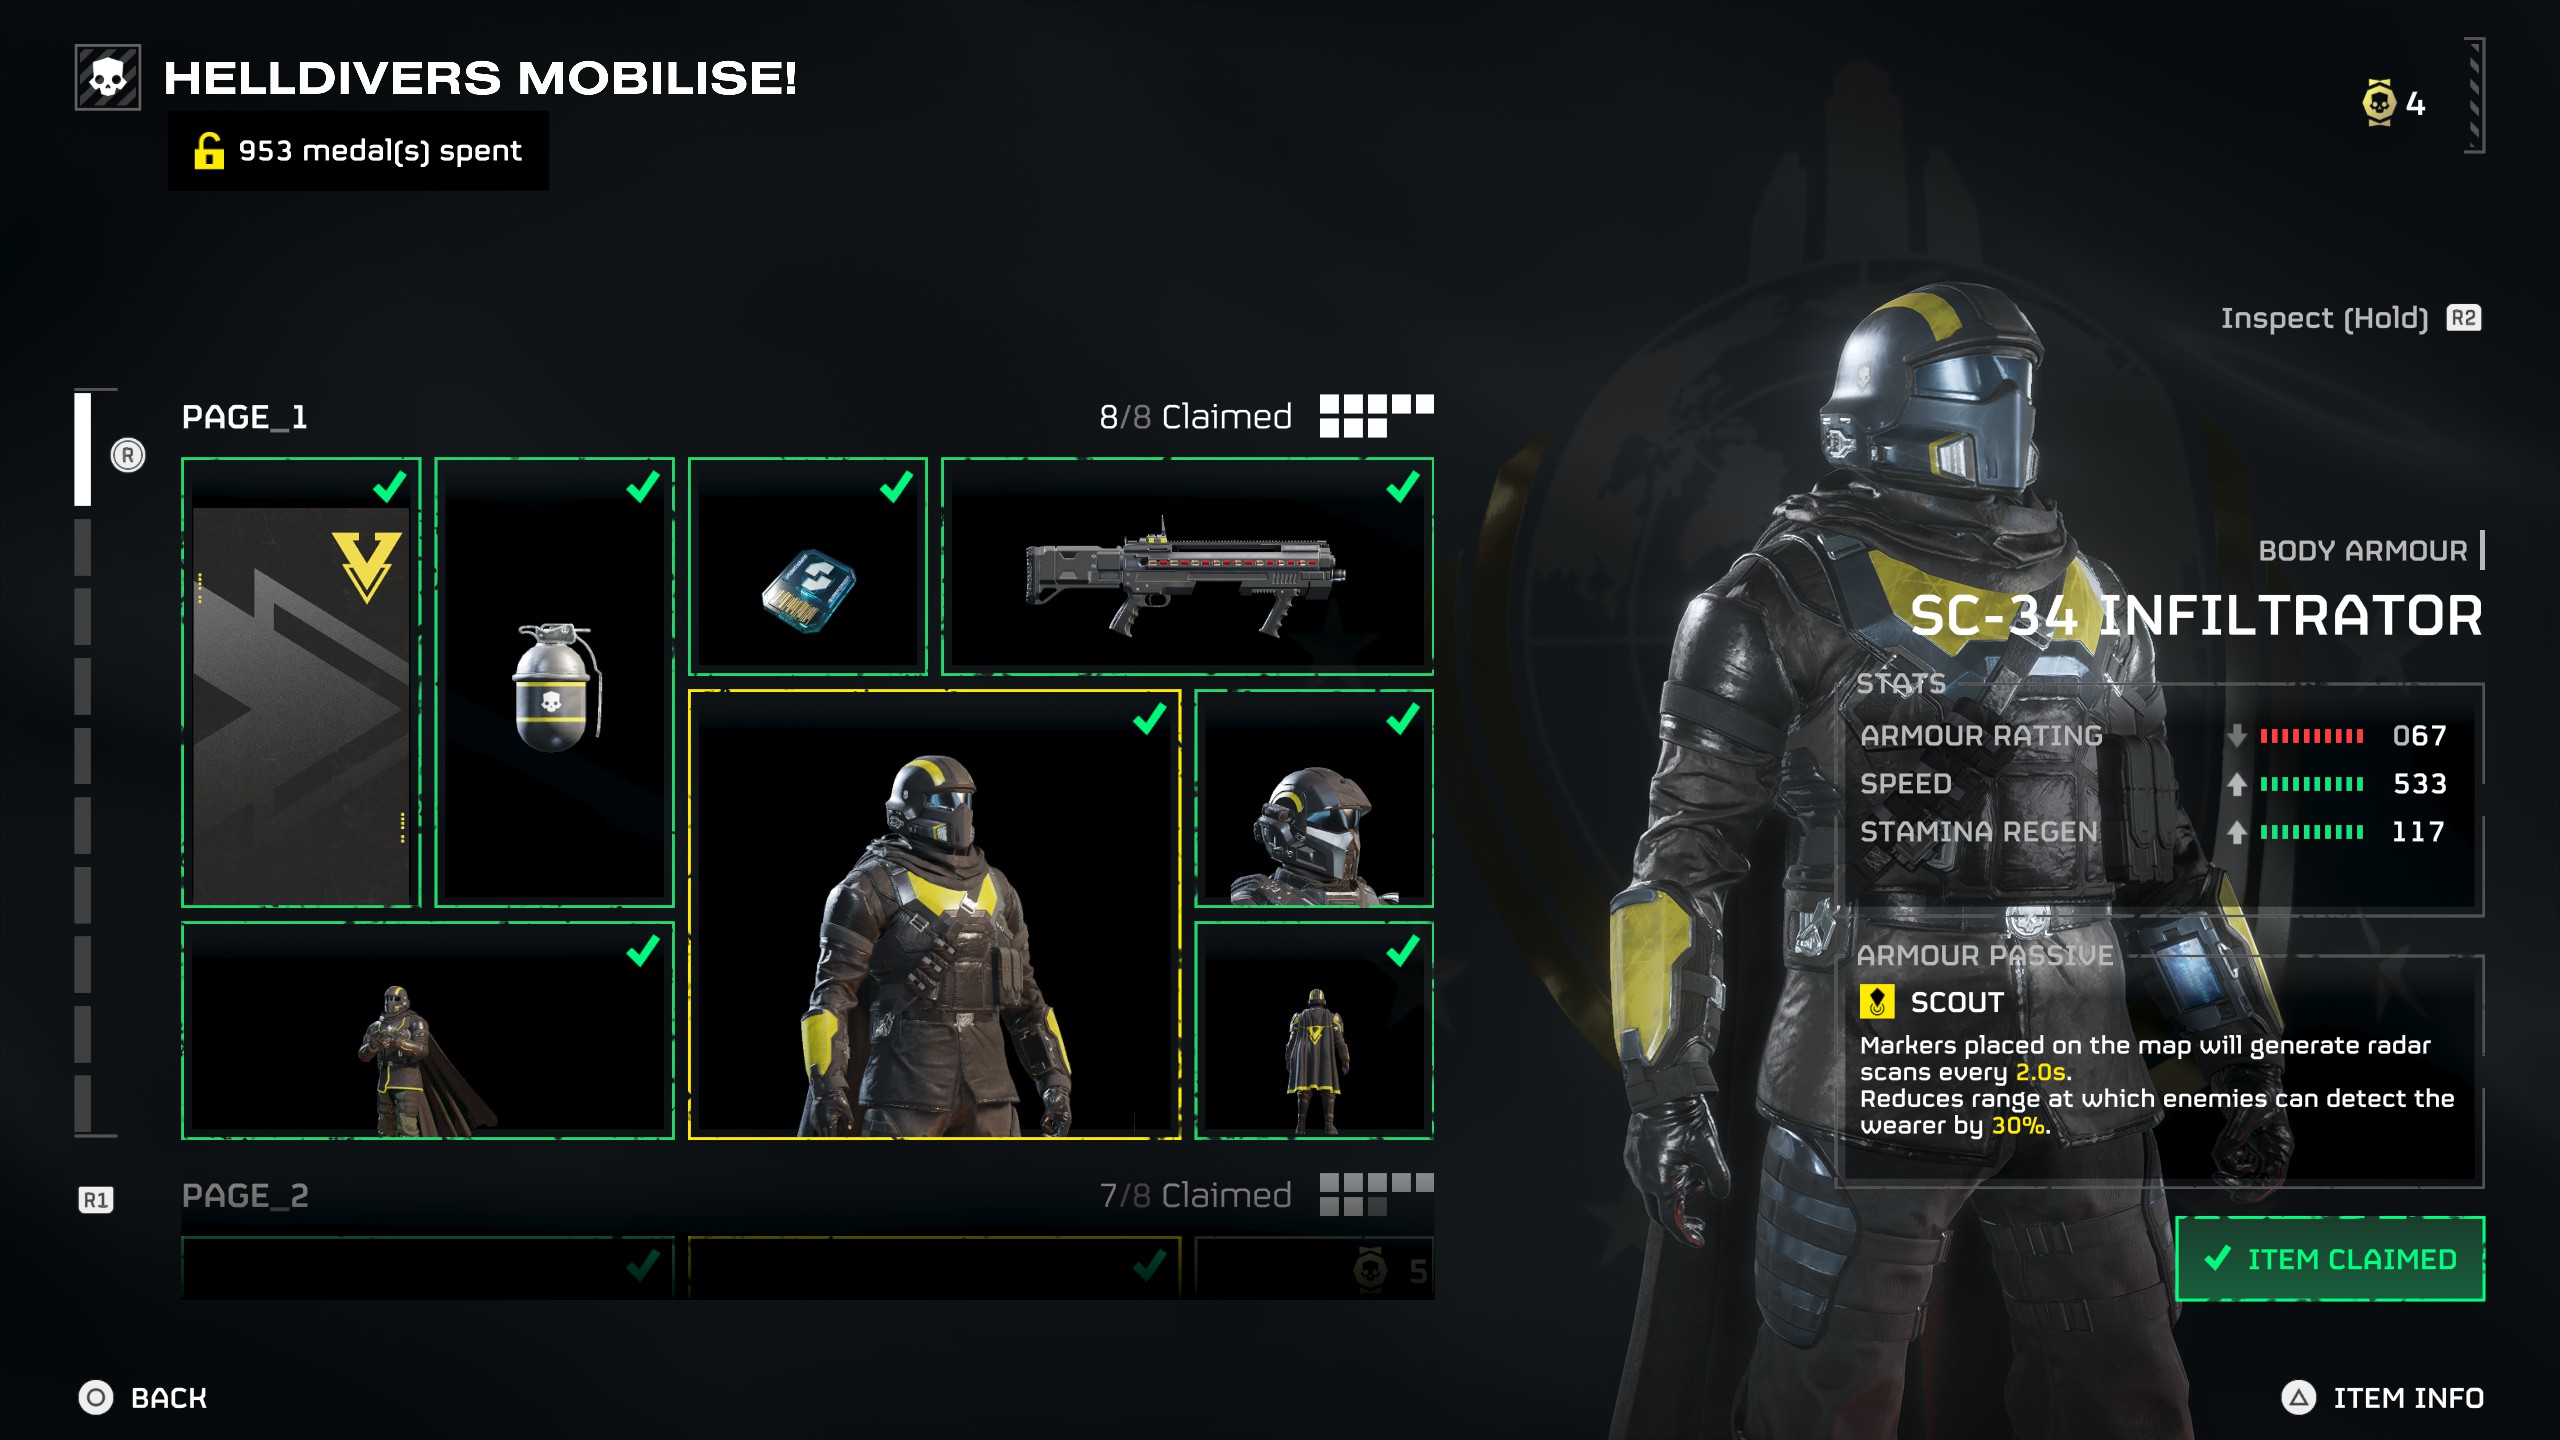
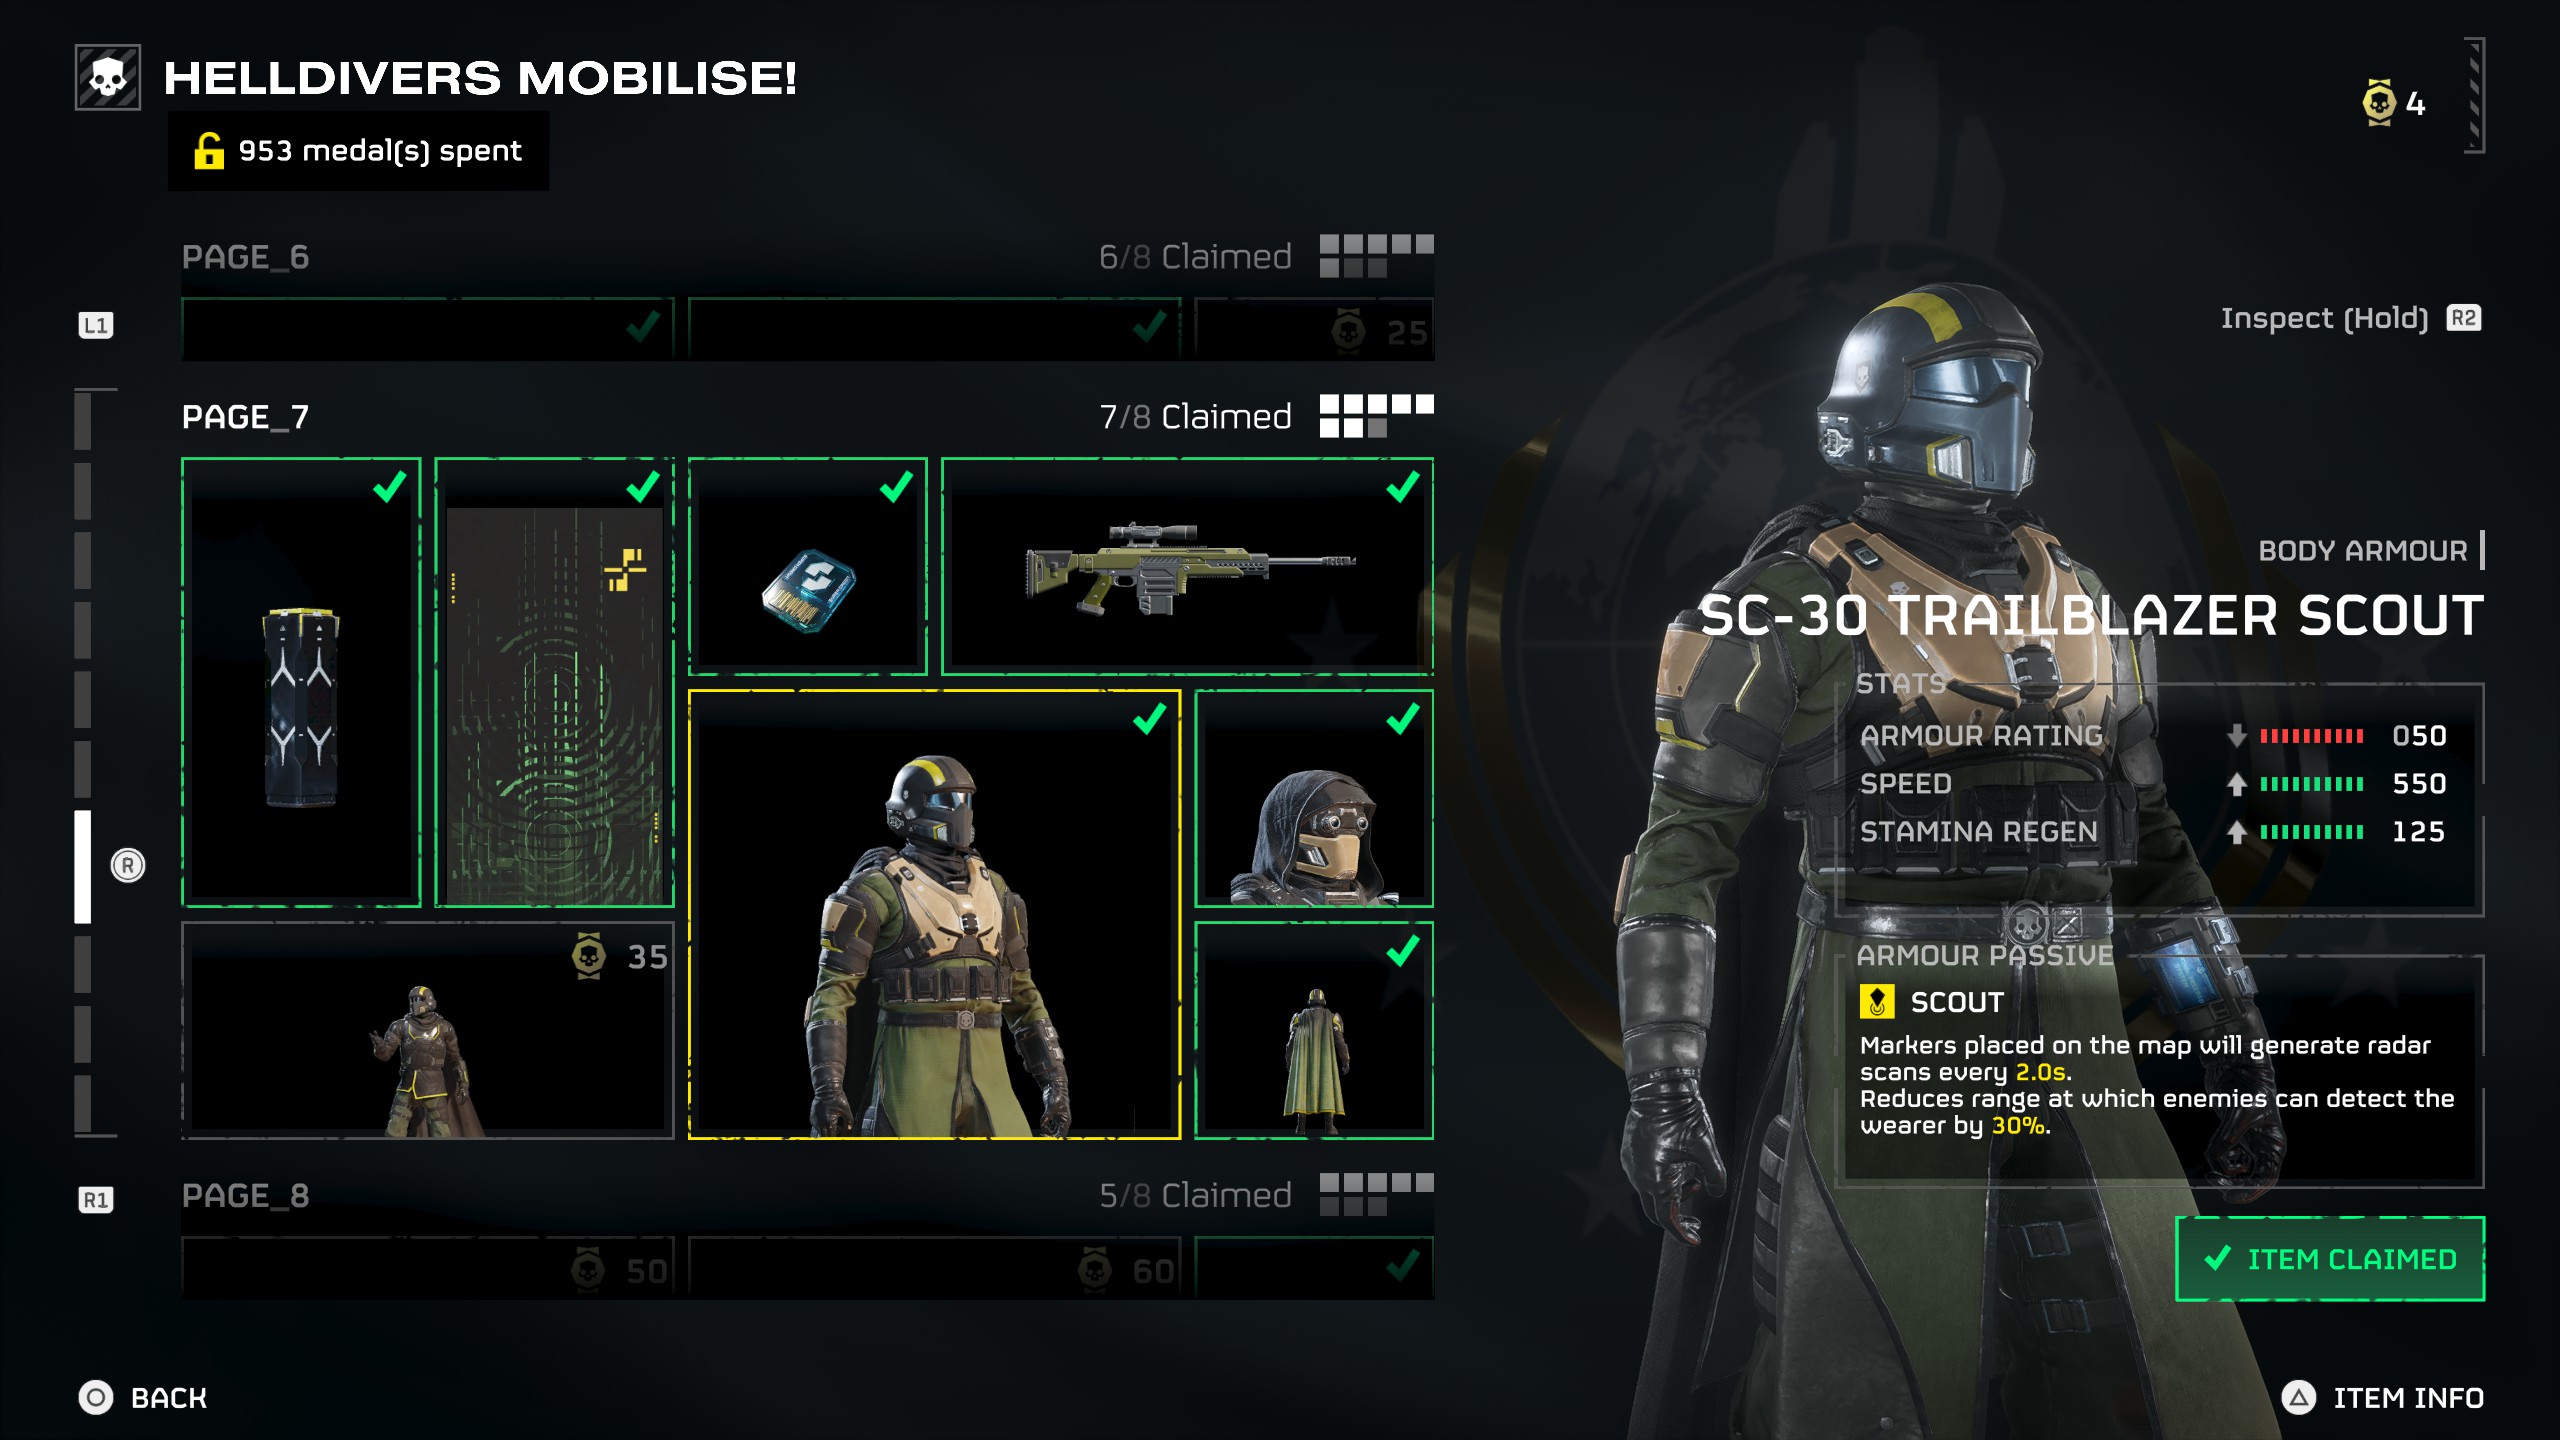
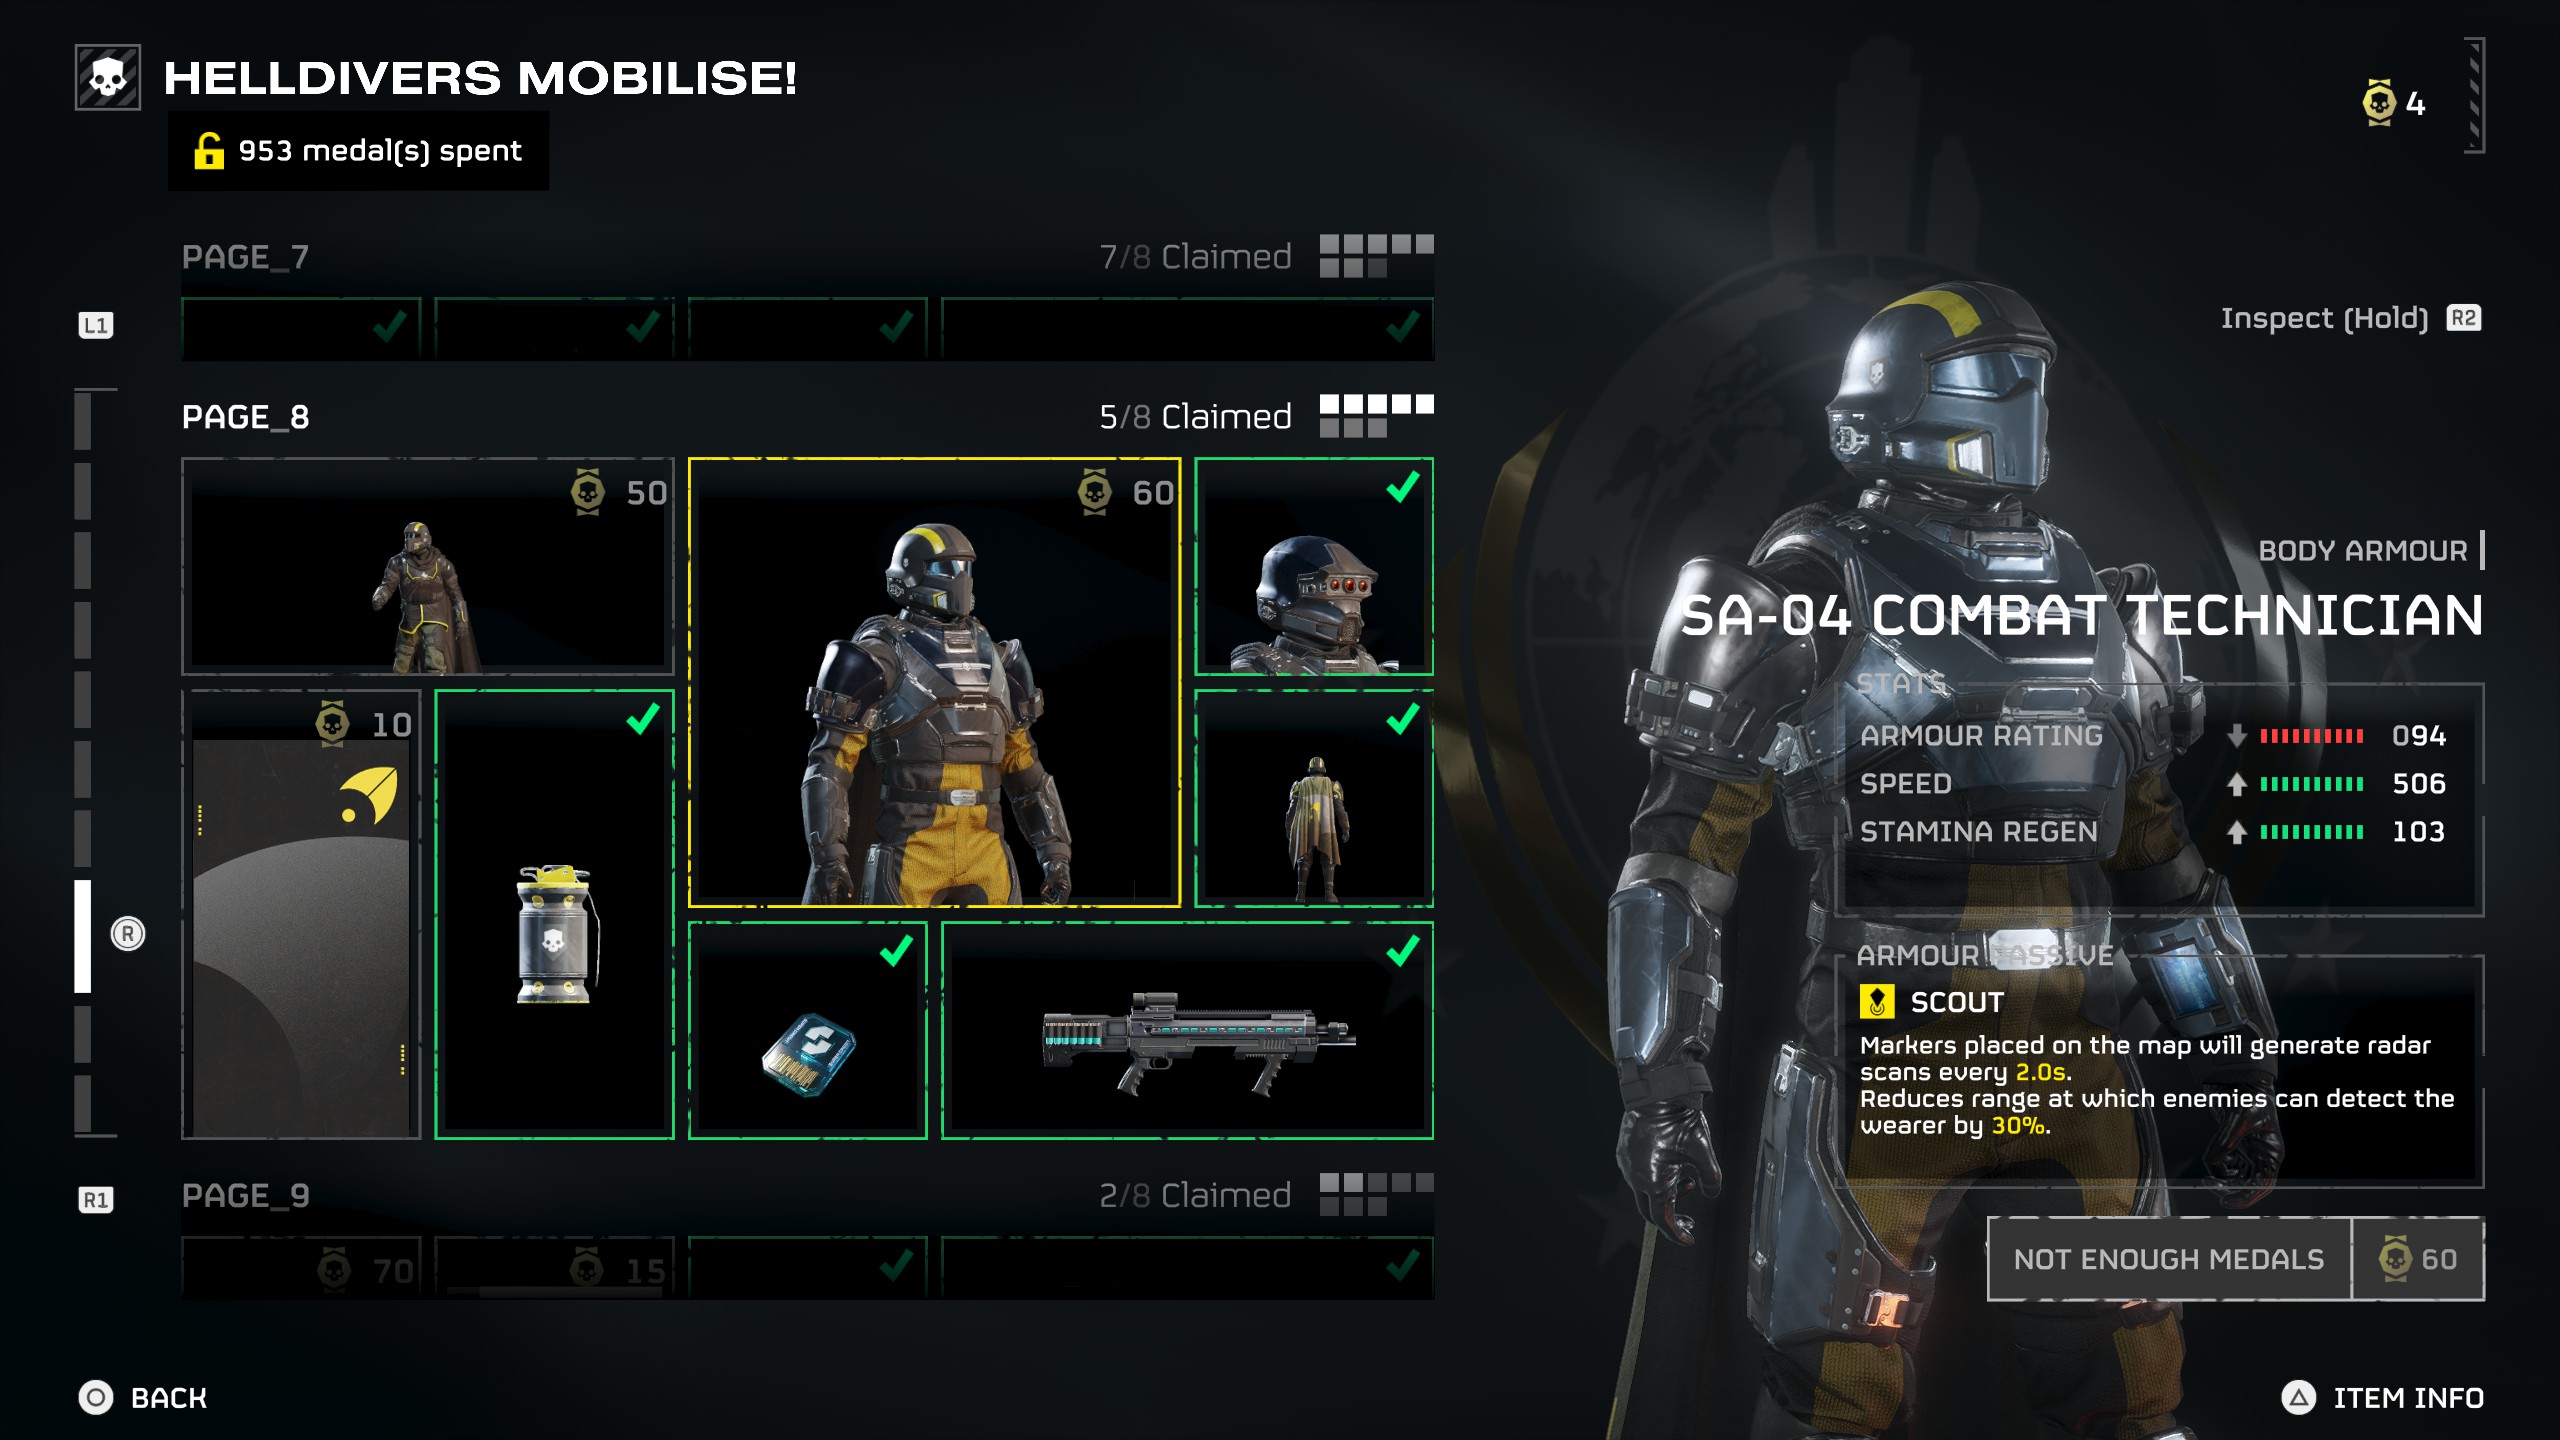
- Markers placed on the map will generate radar scans every 2.0 seconds. Reduces range at which enemies can detect the wearer by 30%.
This passive is first available on the SC-34 Infiltrator set on page one of the regular Warbond, then later on the SC-30 Trailblazer Scout set on page seven. This is generally a Light Armour passive, but it's worth noting that the SA-04 Combat Technician set on page eight of the Warbond is a rare exception of a Medium Armour set with the passive. If you're someone who likes playing solo then I kind of rate this perk, but avoiding detection when in a big team is pretty much impossible. It's also a bit of a bother to ping the map constantly to scan different areas when 90% of the time you can just spot secondary objectives, or take the UAV Recon Booster to give your team improved radar.
C-Tier
Extra Padding
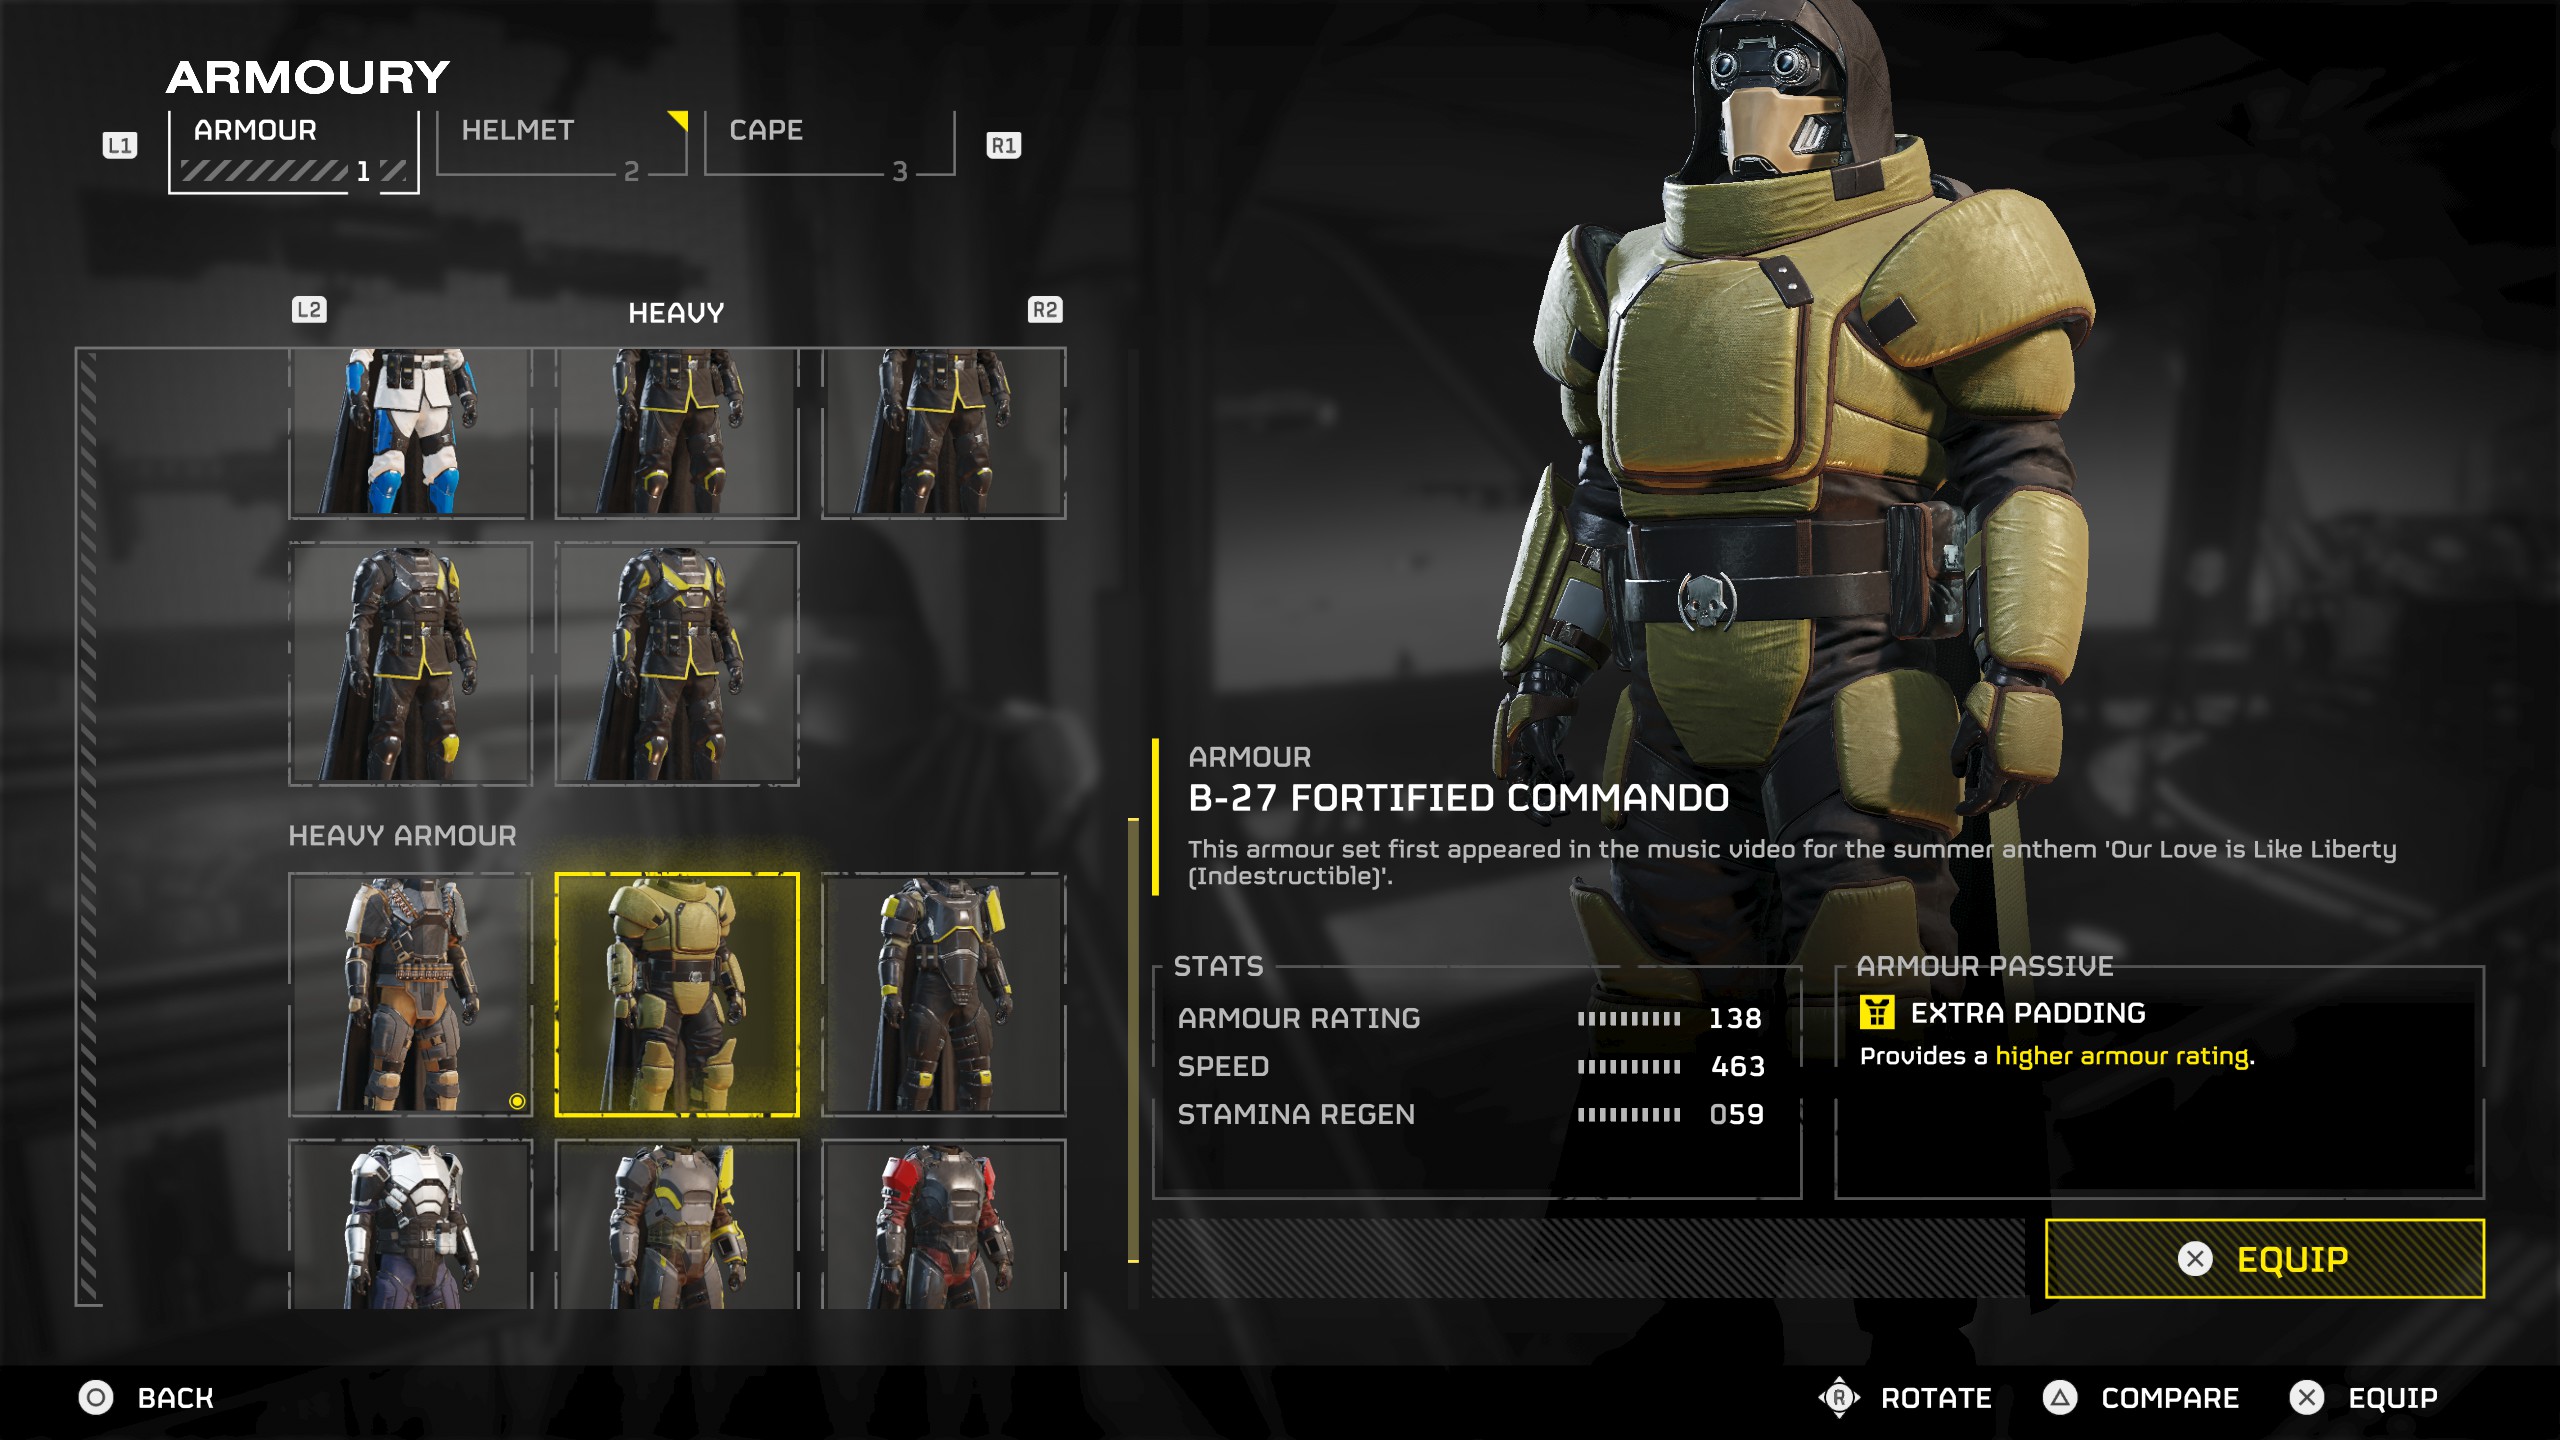
- Provides a higher armour rating.
This passive is one that you can get through the Superstore or the default armour you start with, but no one seems to know what it actually does. It says it provides a higher armour rating, but if you look at another set of the same type… it just doesn't. What's more likely is that this is a default passive for armour sets when they don't have any other, since it looks like all armour sets have a passive no matter what.
Helldivers 2 weapons: Best guns of Super Earth
Helldivers 2 stratagems: Understand the ordinance
Helldivers 2 loadouts: Finest kits for bug-killing
Helldivers 2 armor: Which suits to wear
Helldivers 2 medals: Where to claim more currency

Sean's first PC games were Full Throttle and Total Annihilation and his taste has stayed much the same since. When not scouring games for secrets or bashing his head against puzzles, you'll find him revisiting old Total War campaigns, agonizing over his Destiny 2 fit, or still trying to finish the Horus Heresy. Sean has also written for EDGE, Eurogamer, PCGamesN, Wireframe, EGMNOW, and Inverse.
