Best Sorceress build in Path of Exile 2
Also incidentally the best build in the game right now.

Today, I have a very special guide for you, my friends. Here's a bold claim. The Spark Archmage Stormweaver build I'm about to share is not only the best sorceress build in all of Path of Exile 2 right now, it's the best build full stop. It's functional with minimal investment, has tremendous offensive and defensive capabilities, and you can scale it to the absolute moon with proper investment. It has no weaknesses, with the possible exception of the nerfly Eye of Jonathan (although we dodged this bullet in 0.1.1, so here's hoping!).
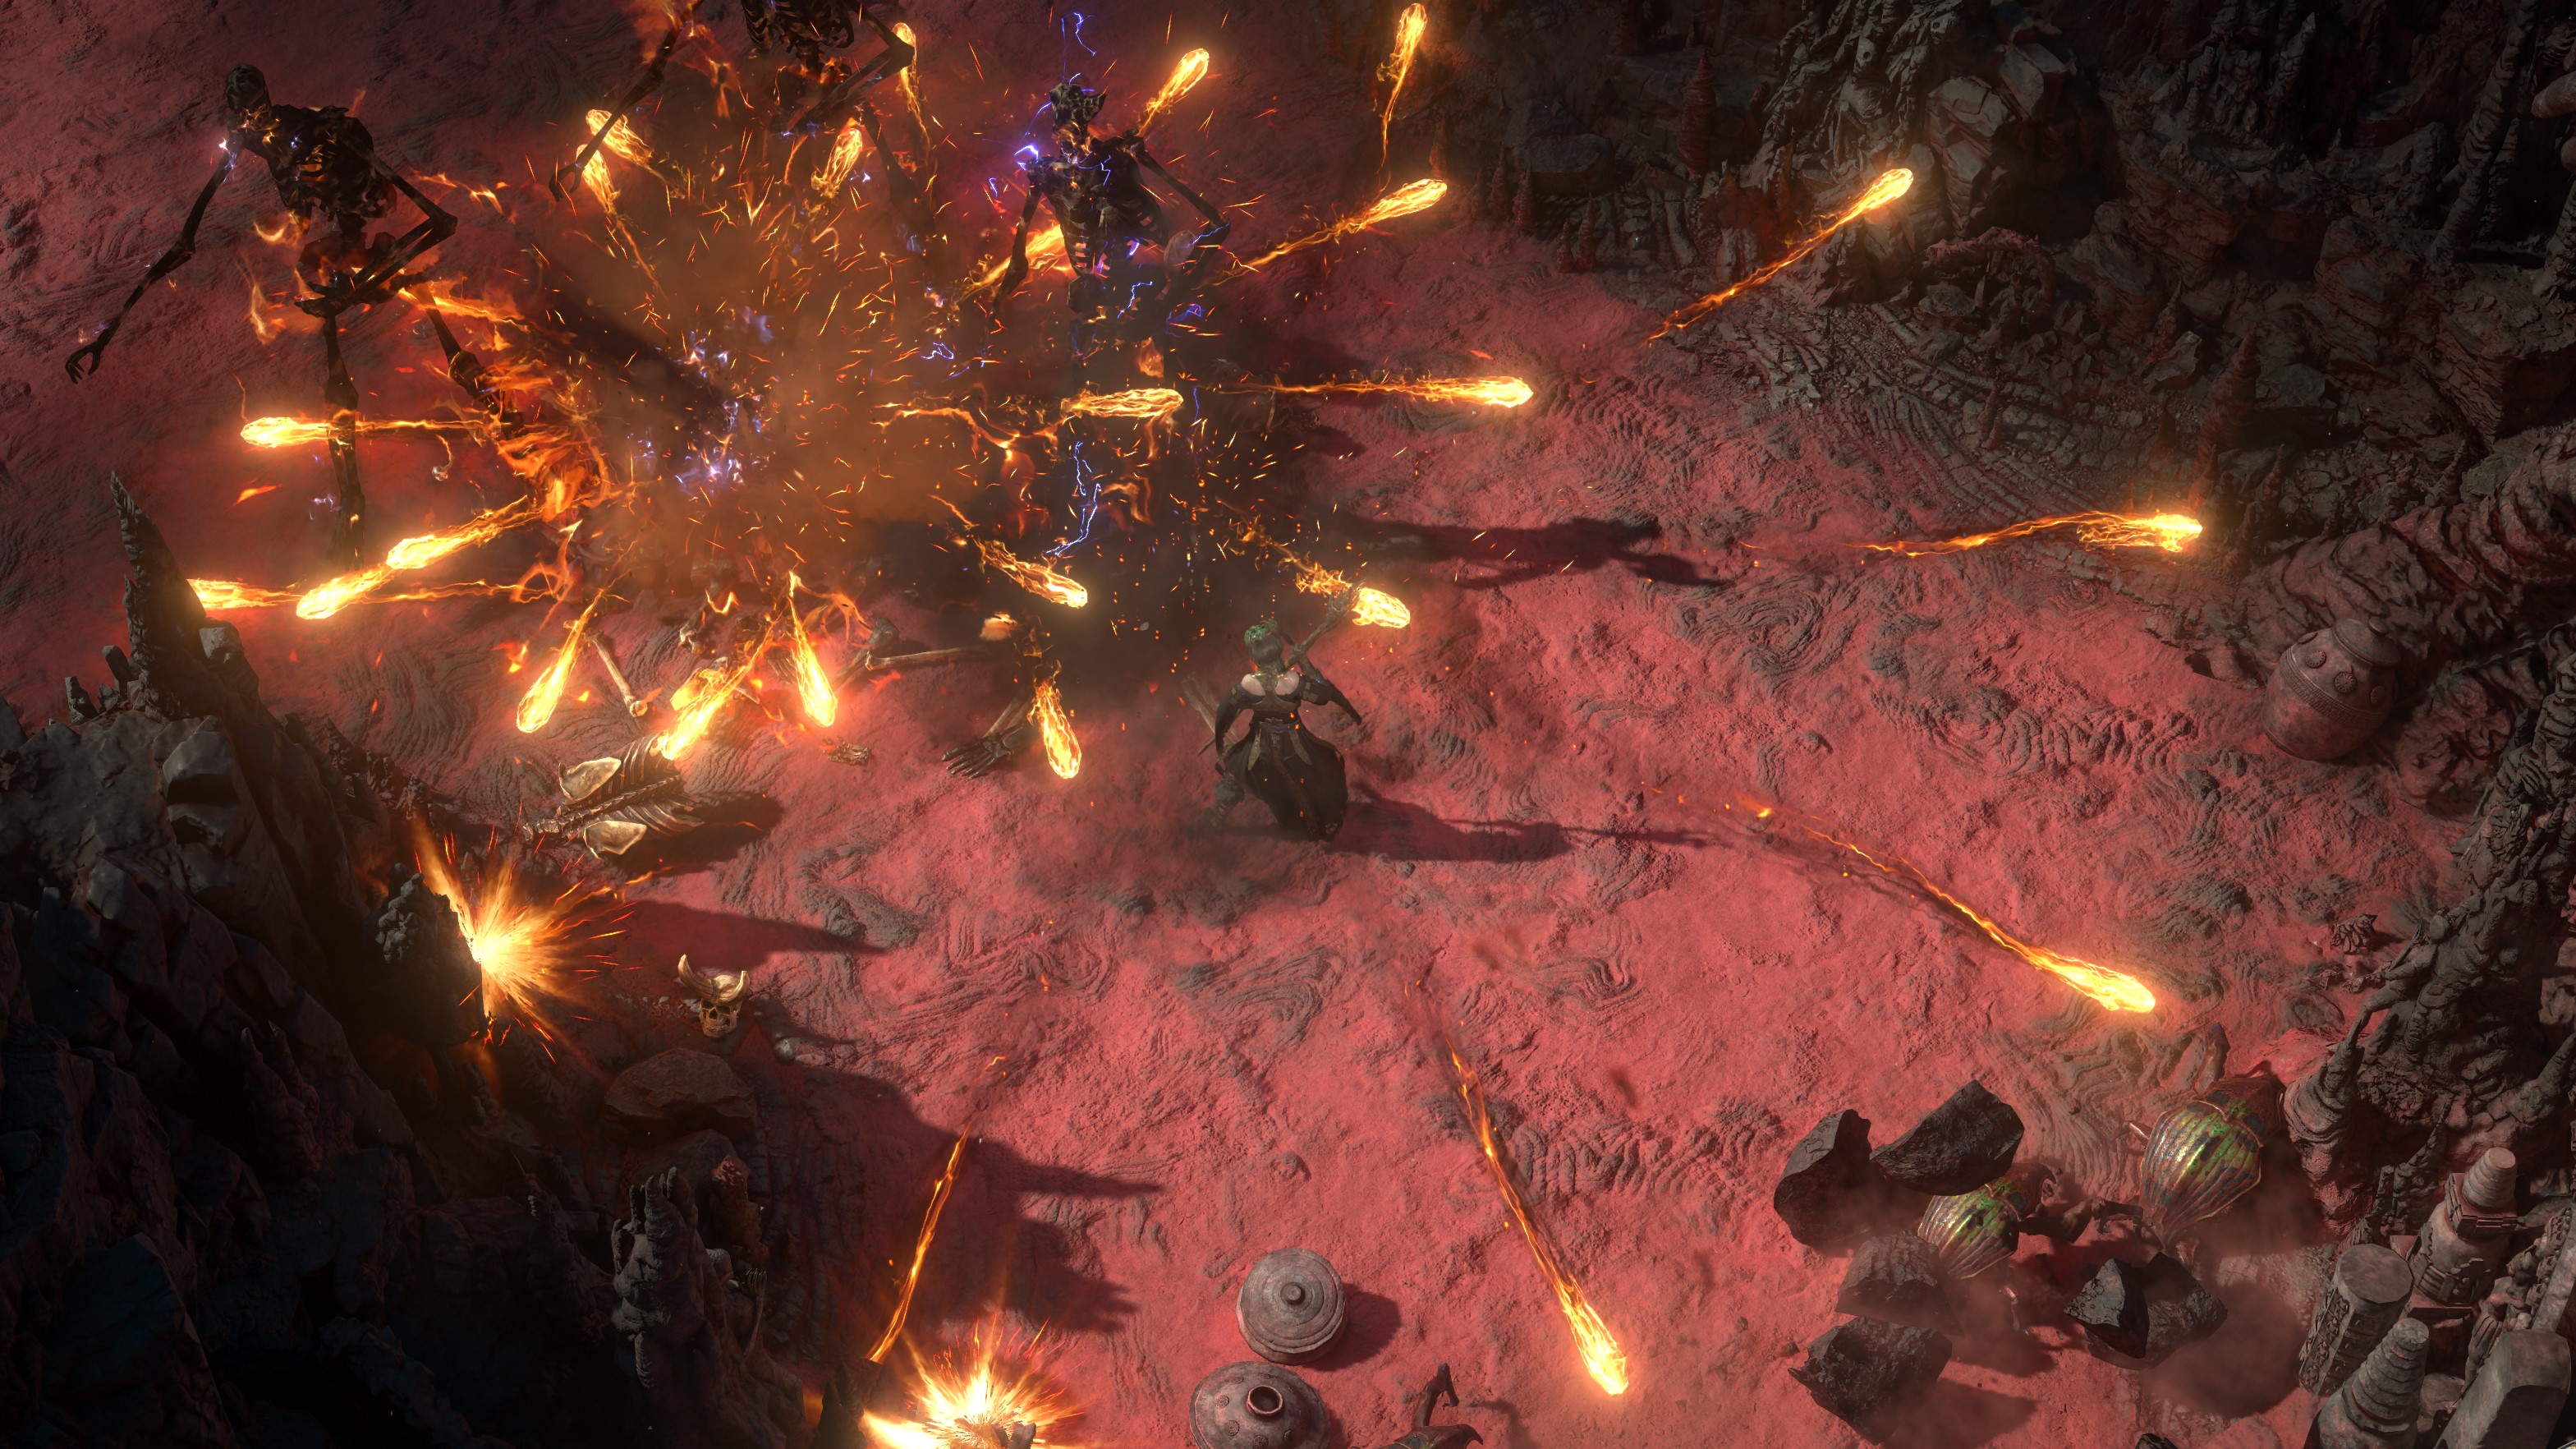
The build is very simple in concept and has a tremendous amount of complexity in execution should you choose to pursue it. The first two skills you get as a sorc, Spark and Flame Wall, form the backbone. Cast Flame Wall, shoot sparks through it to pick up flat fire damage, and profit.
Then we scale our mana past the point of absurdity, socket in the Archmage spirit buff to scale our damage with that mana, and watch the beatdowns go from decent to godlike. Further adding to this ridiculousness is the Stormweaver Ascendancy, which not only gives us huge amounts of cast speed and mana regen, but further multiplies our damage by letting us shock twice and improve our lightning exposure.
The build profits from one of the most powerful concepts in all of roleplaying games—we scale both our offense and defense with the same stat. Our giant mana pool lets us cast our spells while also scaling our damage and our defense with Eldritch Battery and Mind Over Matter. The Everlasting Gaze unique amulet negates the downside of Eldritch Battery by giving us energy shield that scales off of our mana as well (this happens after the conversion), forming a potent defensive layer.
Path of Exile 2 Monk build: Flow like water
Path of Exile 2 Warrior build: Shock and awe
Path of Exile 2 Mercenary build: Hail of bolts
Path of Exile 2 Witch build: Summoned army
Spark Archmage Stormweaver

If you want to dig into every possible iteration and nuance, NickTew does a fantastic job covering a bunch of variations above. Otherwise, here's how to set up your character.
Key skills
Spark is the star of the show here. Pretty much everything else we do is a supporting actor, adding flat fire damage, letting it chain and fork, or just giving it a huge chunk of spell damage. I'll list the supports roughly in the order you should socket them as you level.
Spark
- Arcane Tempo: Supported skills have 25% more cast speed
- Considered Casting: Supported spell skills have 15% less cast speed, but deal 40% more damage with spell hits
- Acceleration: Supported skills have 40% more projectile speed
- Inspiration: Supported skills have 40% less cost
- Persistence: Supported skills have 40% more skill effect duration
Cast speed is basically the best way to scale Spark, and because we're stacking so much of it with our passive tree and Arcane Surge, we can afford to socket Considered Casting for a huge multiplier. Inspiration helps us offset the huge mana costs associated with the Archmage setup, and Acceleration and Persistence both help our little sparklers go find friends to cuddle with.
You can use Controlled Destruction instead of Considered Casting while leveling, since you won't have the cast speed to make it cozy yet, and won't be critting much anyhow.
Make sure to upgrade the quality of this as soon as possible! Getting Spark to 20% quality results in four extra projectiles, which is incredibly powerful for your clearspeed.
Flame Wall
- Fortress: Walls from supported skills are created in a circle instead, but deal 50% less damage with hits
- Spell Cascade: Supports skills that affect an area around you, causing those spells to also target additional areas on either side of the target area
Flame Wall is our first improvement to Spark—by firing the Sparks through the wall, we get a nice chunk of flat fire damage added. Because Spark has so many projectiles, each of which get the bonus, this results in a huge amount of added destruction. Fortress makes our walls into circles, and Spell Cascade gives us multiple for the cost of one. We don't care at all about the damage of the wall itself, but adding spell levels scales the fire damage, so make sure to keep it current.
Orb of Storms
- Lightning Exposure: Supported skills inflict Lightning Exposure for 8 seconds on shocking an enemy
- Conduction: Supported skills have 100% more chance to shock
- Strip Away: Exposure applied by supported skills has 30% increased effect
- Font of Mana: Objects created by supported skills create a Font of Mana, which grants 40% increased mana regeneration rate to you and your allies
The orb is an early source of single target damage as we level, but in the endgame it's our main source of exposure. Drop this on rares or bosses to tear away their resistances and watch them melt.
Mana Tempest
- Premeditation: Skills empowered by supported skills deal 15% more damage
The tempest is our second major buff to Spark, letting us trade huge amounts of mana to let our sparks fork, chain, and deal more damage. Note that with this endgame setup our mana is also basically our life, so be careful not to stand in this thing too long. Its effects will last for a little while after we leave the cloud, so use it tactically.
Lightning Warp
- Soul Drain: Recover 12% of mana over four seconds when supported skills cull an enemy
Lightning Warp is super fun. Enemies that are low on life will start glowing, and we can use this to teleport to them, cull them, and watch them explode in a huge lightning storm. It gives us a bit of a get out of jail free card when we get surrounded, creates shocked ground by default, and returns a huge amount of mana with Soul Drain. You won't use this all the time, but every once in a while it'll be the best thing on your bar.
Archmage
- Lightning Mastery: +1 to level of supported lightning skills
Ah, Archmage. It costs a whopping 100 spirit to equip, but it's worth every penny. Once you can socket this bad boy (and pay for it with enough mana regen), you'll see your damage skyrocket. This is another one where you should make sure to upgrade quality as soon as you can, as doing so improves the damage multiplier you'll get from your mana.
Conductivity
- Heightened Curse: 25% increased effect of supported curses
- Focused Curse: Curse zones from supported skills erupt after 30% reduced delay
- Hex Bloom: Curses from supported skills spread to enemies within 3 meters when a cursed enemy dies
Our final debuff, Conductivity, strips away enemy lightning resistance and further increases our damage. With Hex Bloom you can often apply this effect to lots of enemies with just one cast, which is nice because we generally won't have enough spirit to have Blasphemy on all the time. Definitely use this on rares and bosses.
Sigil of Power
- Magnified Effect: Supported skills have 40% more area of effect
You'll want Sigil on a weapon swap, so find the highest level Chiming Staff you can and throw it on your alternate equipment. If you really want to minmax, you can tinker with the weapon swap skill tree and try to find some more skill effect duration and cast speed so the setup time is less and the buff lasts longer.
One skill that's notably absent from this list is Mana Remnants. You'll want to use this while leveling, probably socketed with Clarity. Lategame we won't need it, but until we get everything set up it's a very nice skill to have and a good use of our spirit in the early to midgame.
Passive tree
Nick has four variations in a Mobalytics guide here and a leveling build here, but I'll go over the highlights.
Your passive tree will be a constantly evolving beast. One thing I can't stress enough as you build and play this character is not to get locked into using one particular passive tree or item loadout and consider it gospel. You'll have to periodically reassess: am I doing lots of damage, but running out of mana? Do I have enough cast speed to actually utilize all the mana I'm building? Do I have lots of mana and damage but the hardiness of a piece of wet toilet paper? Take a moment every act or two and make sure that you're making smart decisions.
As you level, prioritize cast speed and intelligence. Cast speed is absolutely instrumental in scaling our Spark, and int lets us use the highest level skill gem we have for it, but also pay the cost. I don't mind taking a bunch of travel nodes early and beelining for stuff like Ingenuity and Mental Alacrity. Heading up to this part of the tree also lets us start taking points in the excellent lightning cluster up top, including Pure Power, which scales our damage with that intelligence.
One other node you'll want to take early is Exploit the Elements, which offers us a gigantic 24% increased damage to shocked or ignited enemies. It also helps us land our shocks on rares and uniques, which is where we'll really need it.
Ascendancy

We're using Stormweaver for this build, which gives us lots of power. Our first four points will go down the left side to take Constant Gale and Force of Will. They give us Arcane Surge, which is a buff that increases our cast speed and mana regeneration rate by huge amounts. Force of Will also lets that Arcane Surge scale off our mana, which is incredible.
For your 5th and 6th points, take Strike Twice. Shocking twice is a nice multiplier to our damage, especially since we're scaling our shock magnitude with the passive tree and jewels. The duration hardly matters—either stuff is dead, or we just shock it again.
Finally, you'll want Scouring Winds to improve your exposure by reducing enemy resistance by an additional 20%.
Gear and stat priorities
| Wand | + to level of all lightning spell skills / % increased spell damage / % increased cast speed / + to maximum mana / % increased lightning damage / % increased crit chance for spells |
| Focus | + to maximum mana / + to maximum energy shield / % increased energy shield / + to level of all spell skills / % increased cast speed / % increased crit chance for spells |
| Body Armour | + to maximum energy shield / % increased energy shield / + to intelligence / % to resistances |
| Gloves | + to maximum mana / + to maximum energy shield / % increased energy shield / + to intelligence / % increased crit damage bonus / % to resistances |
| Boots | % increased movement speed / + to maximum mana / + to intelligence / % to resistances |
| Rings | + to maximum mana / % increased rarity / % increased lightning damage / % increased cast speed / % increased mana regen / % to resistances |
| Amulets | The Everlasting Gaze unique amulet (can get a decent one for 10ex at time of writing) |
| Helmet | + to maximum mana / + to maximum energy shield / % increased energy shield / % increased crit chance / % to resistances |
| Belt | + to maximum mana / charm slots / % to resistances (really, you want the Ingenuity belt) |
Your gear will depend a lot on your progression into the endgame, but most of these stats are evergreen. As you level, look for pieces with life, mana, and resistances. Movement speed on boots is obviously mandatory, so take the best you can get. Cast speed on rings and + levels of spell skills are early modifiers you can get on rings and amulets that will improve your damage nicely, so if monsters are lasting too long, look for those.
As you progress into the endgame, you have lots of options. You can scale life and energy shield and use the Ghostwrithe/Atziri's Disdain combo, stick with the above mods on rare stuff, buy an Everlasting Gaze for 10ex, and do an early CI swap—the world is your oyster.
If you have a lot of currency to spend, you can look at picking up an Ingenuity belt and finding some nice breach rings with big mana rolls. Neural catalysts will let us scale those mana rolls super high, which are further multiplied by the belt. This is the end goal, and will let you absolutely demolish all of the pinnacle content.
One last thing to mention: make sure you grab a jewel with recover 2% mana on kill as soon as you can. This will give you a tremendous amount of mana back as you map, and helps a ton in solving the issue of how to pay for Archmage.
Keep up to date with the most important stories and the best deals, as picked by the PC Gamer team.
Russ has been playing PC games since the top of the line graphics were in ASCII and has been obsessed with them just about as long. After a coordinated influence campaign to bamboozle his parents into getting a high speed internet connection to play EverQuest, his fate was well and truly sealed. When he's not writing about videogames, he's teaching karate, cooking an overly complicated dish, or attempting to raise his daughter with a well rounded classical education (Civilization, Doom, and Baldur's Gate, of course). He's probably mapping in Path of Exile right now.
